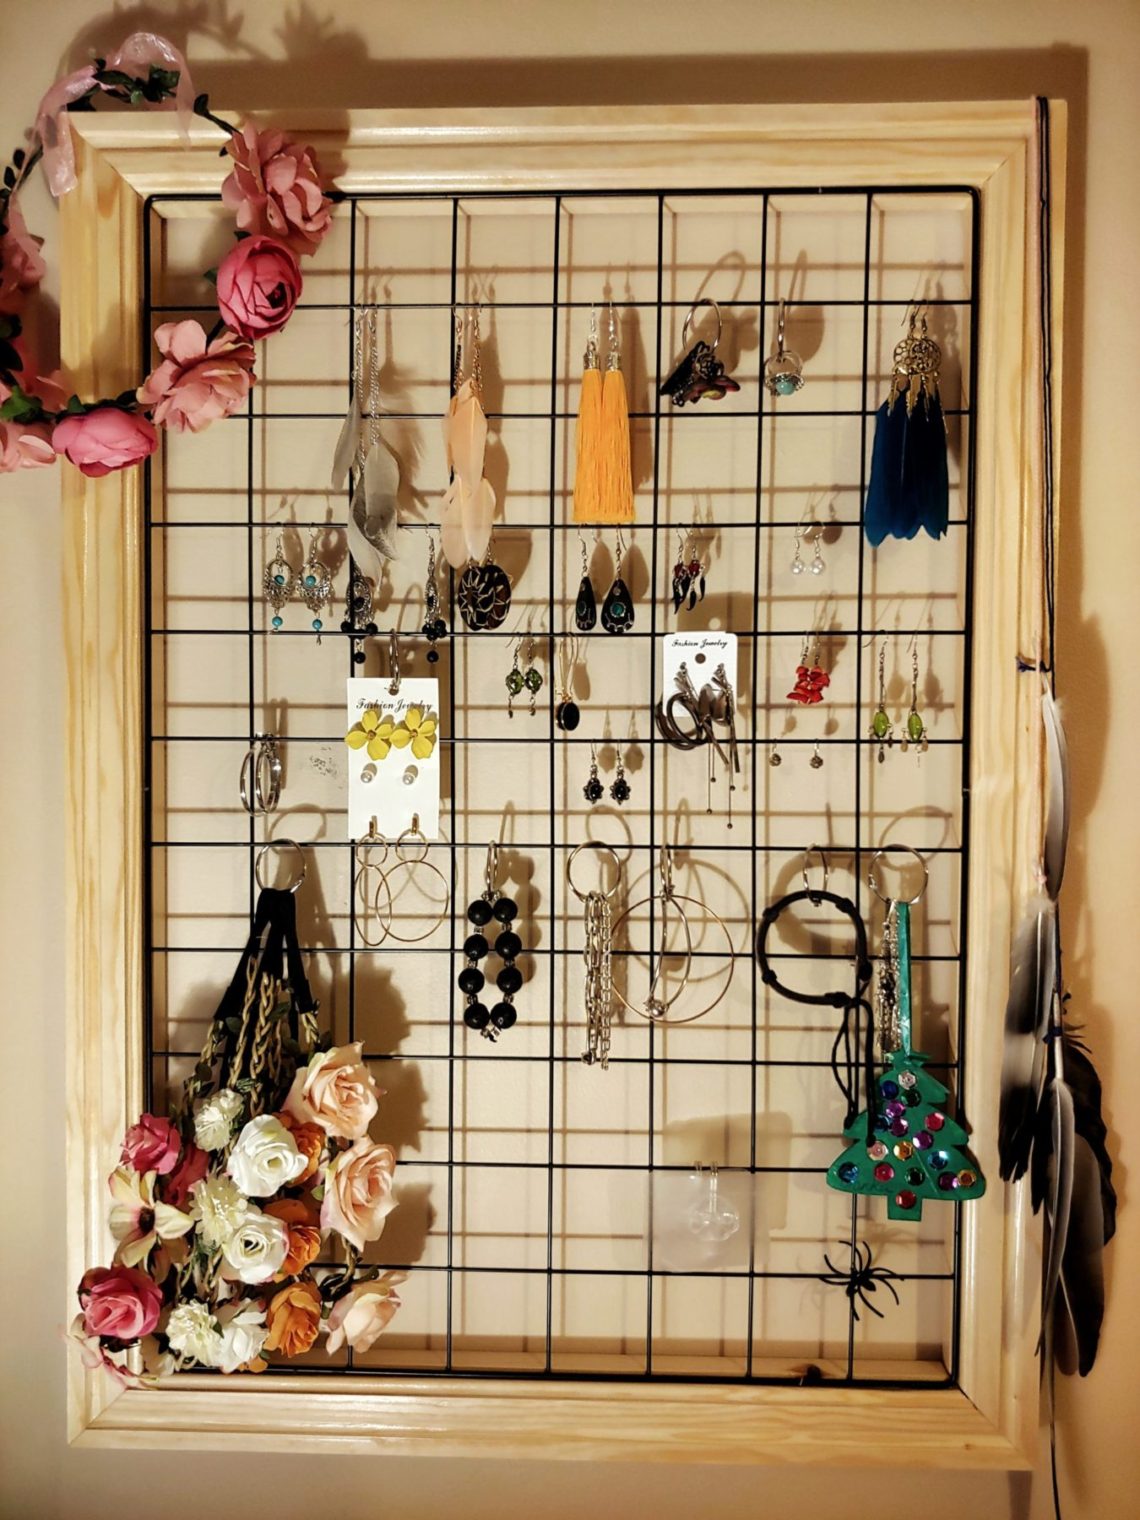
Earring hanger
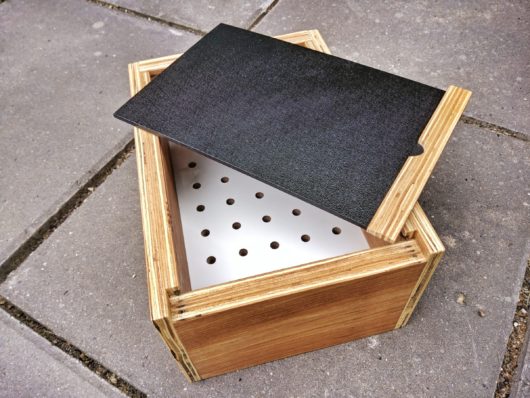
This one is very like a regular picture frame except that there’s no artwork and its substitute is loaded from the front, not the back. That was the goal, to expose the whole grille and keep all these little squares visually equal.
The timber was rough cut to length on a table saw.
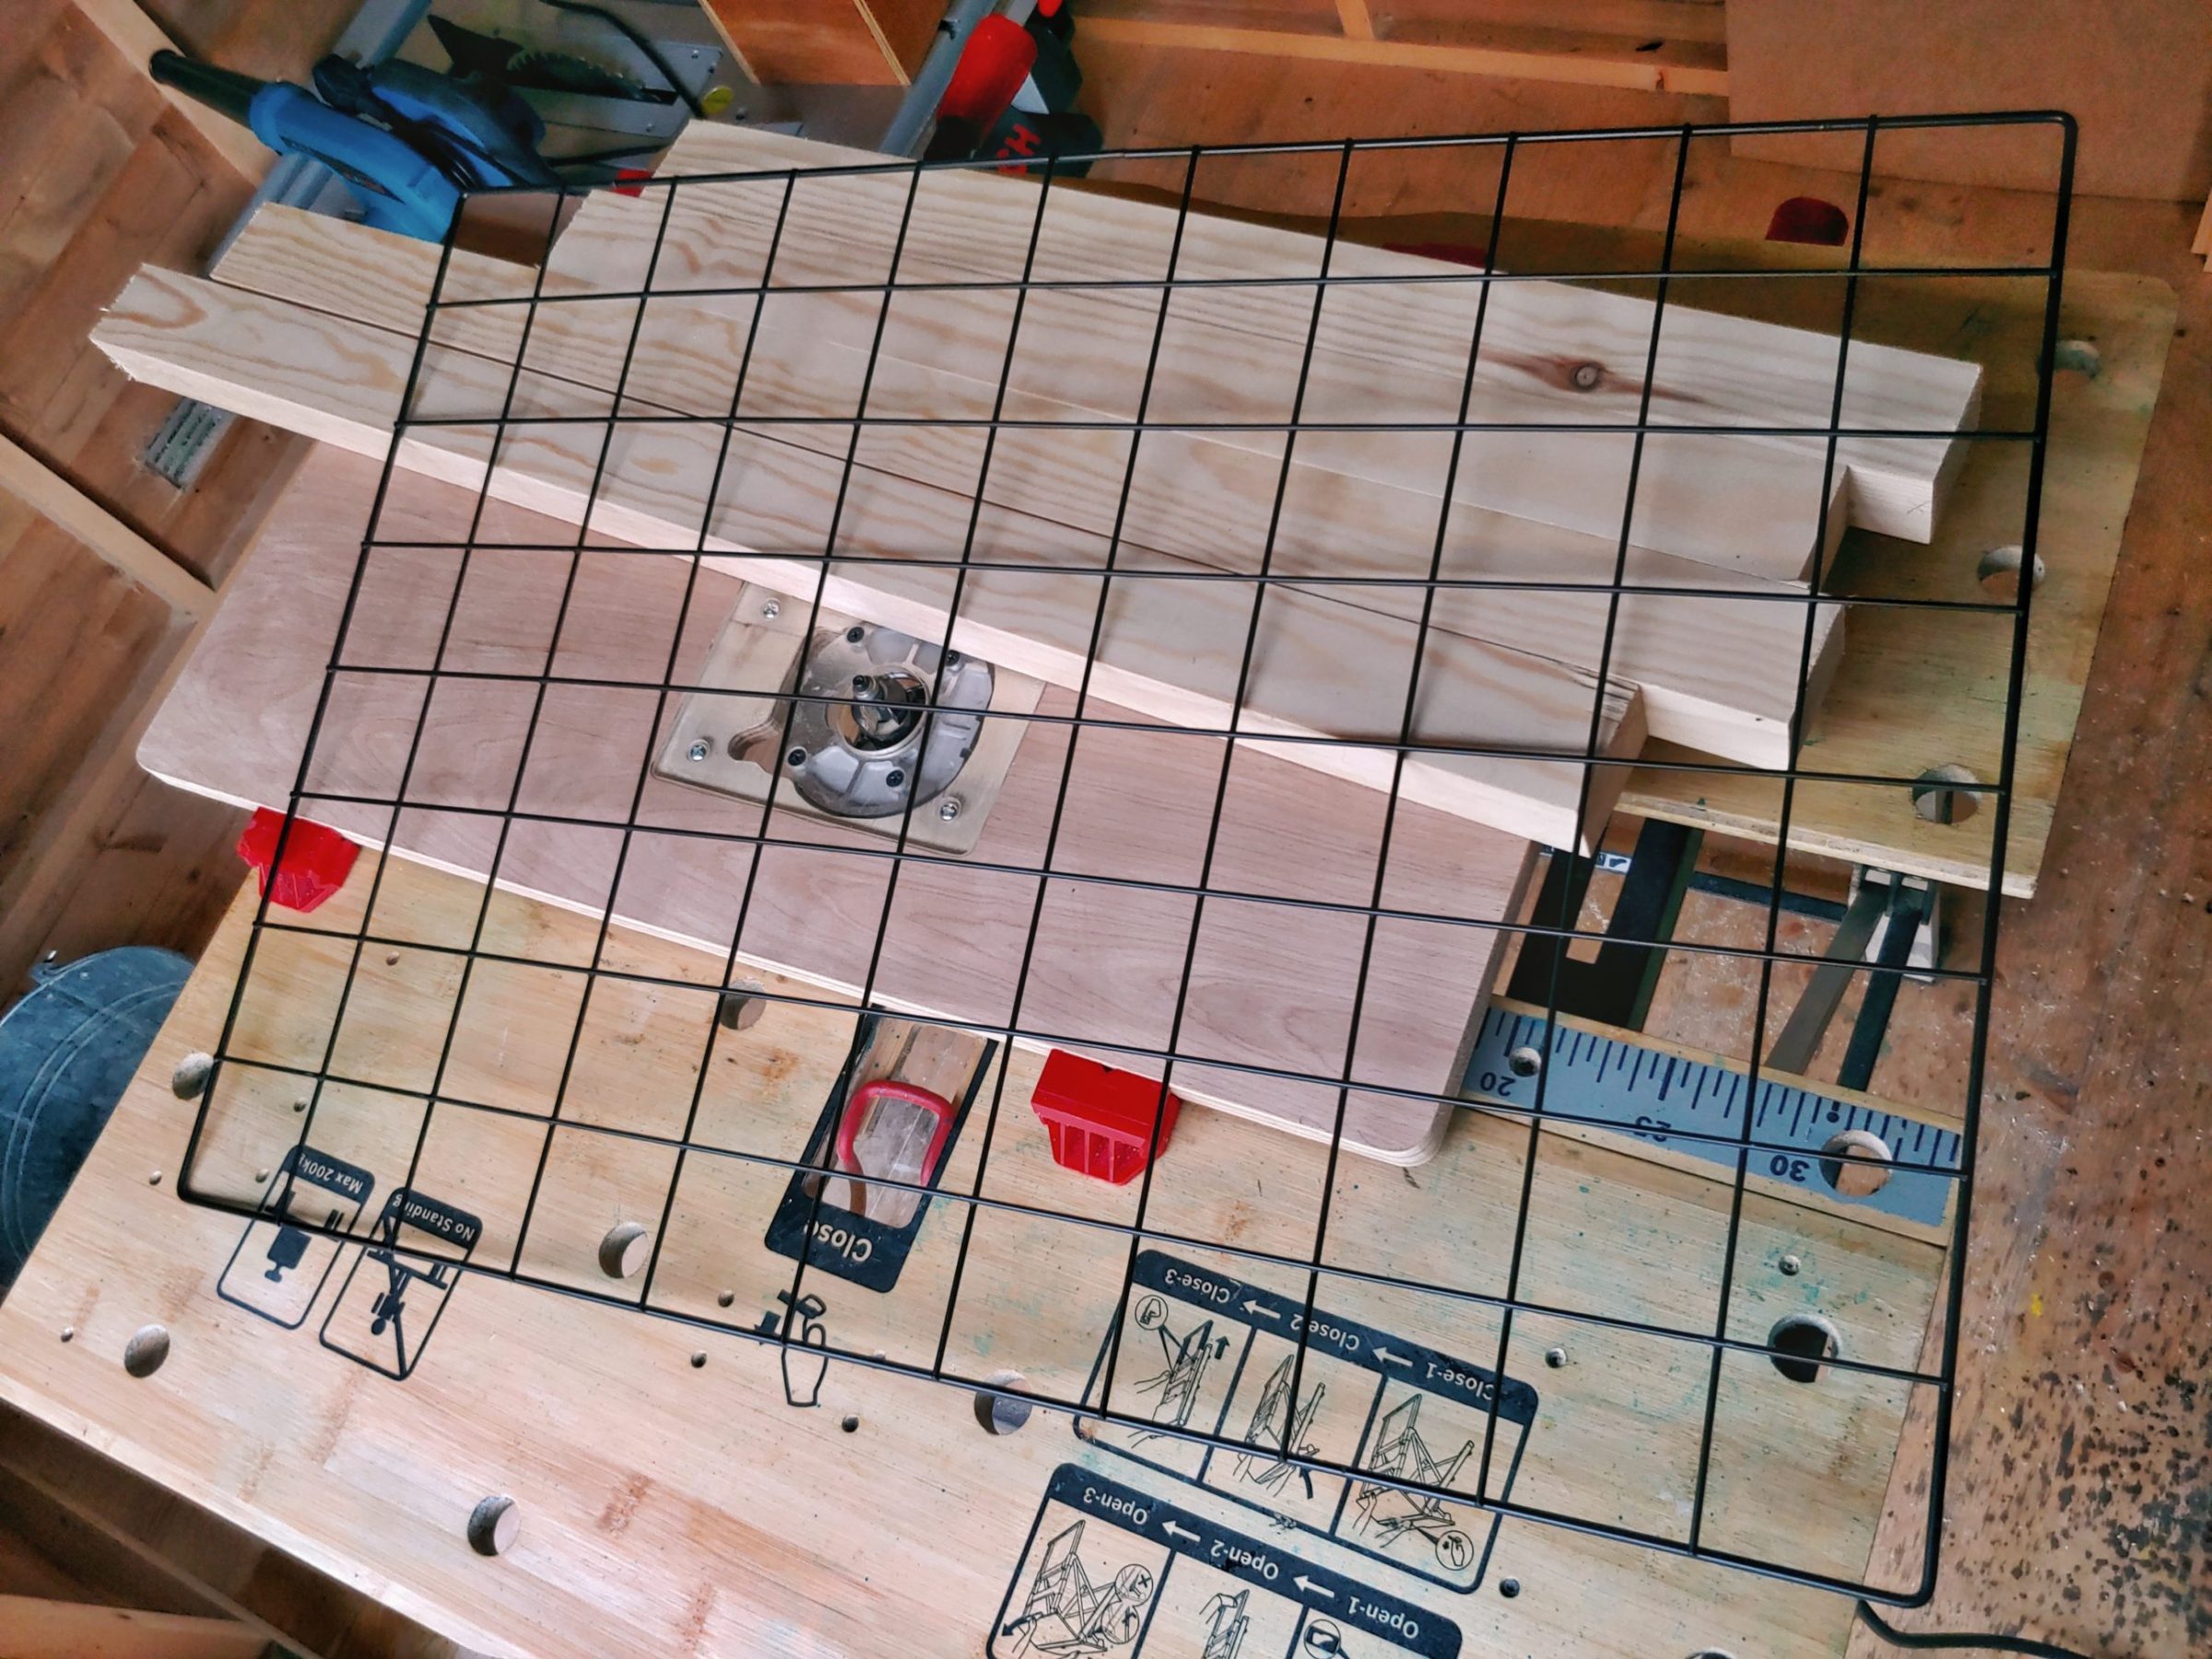
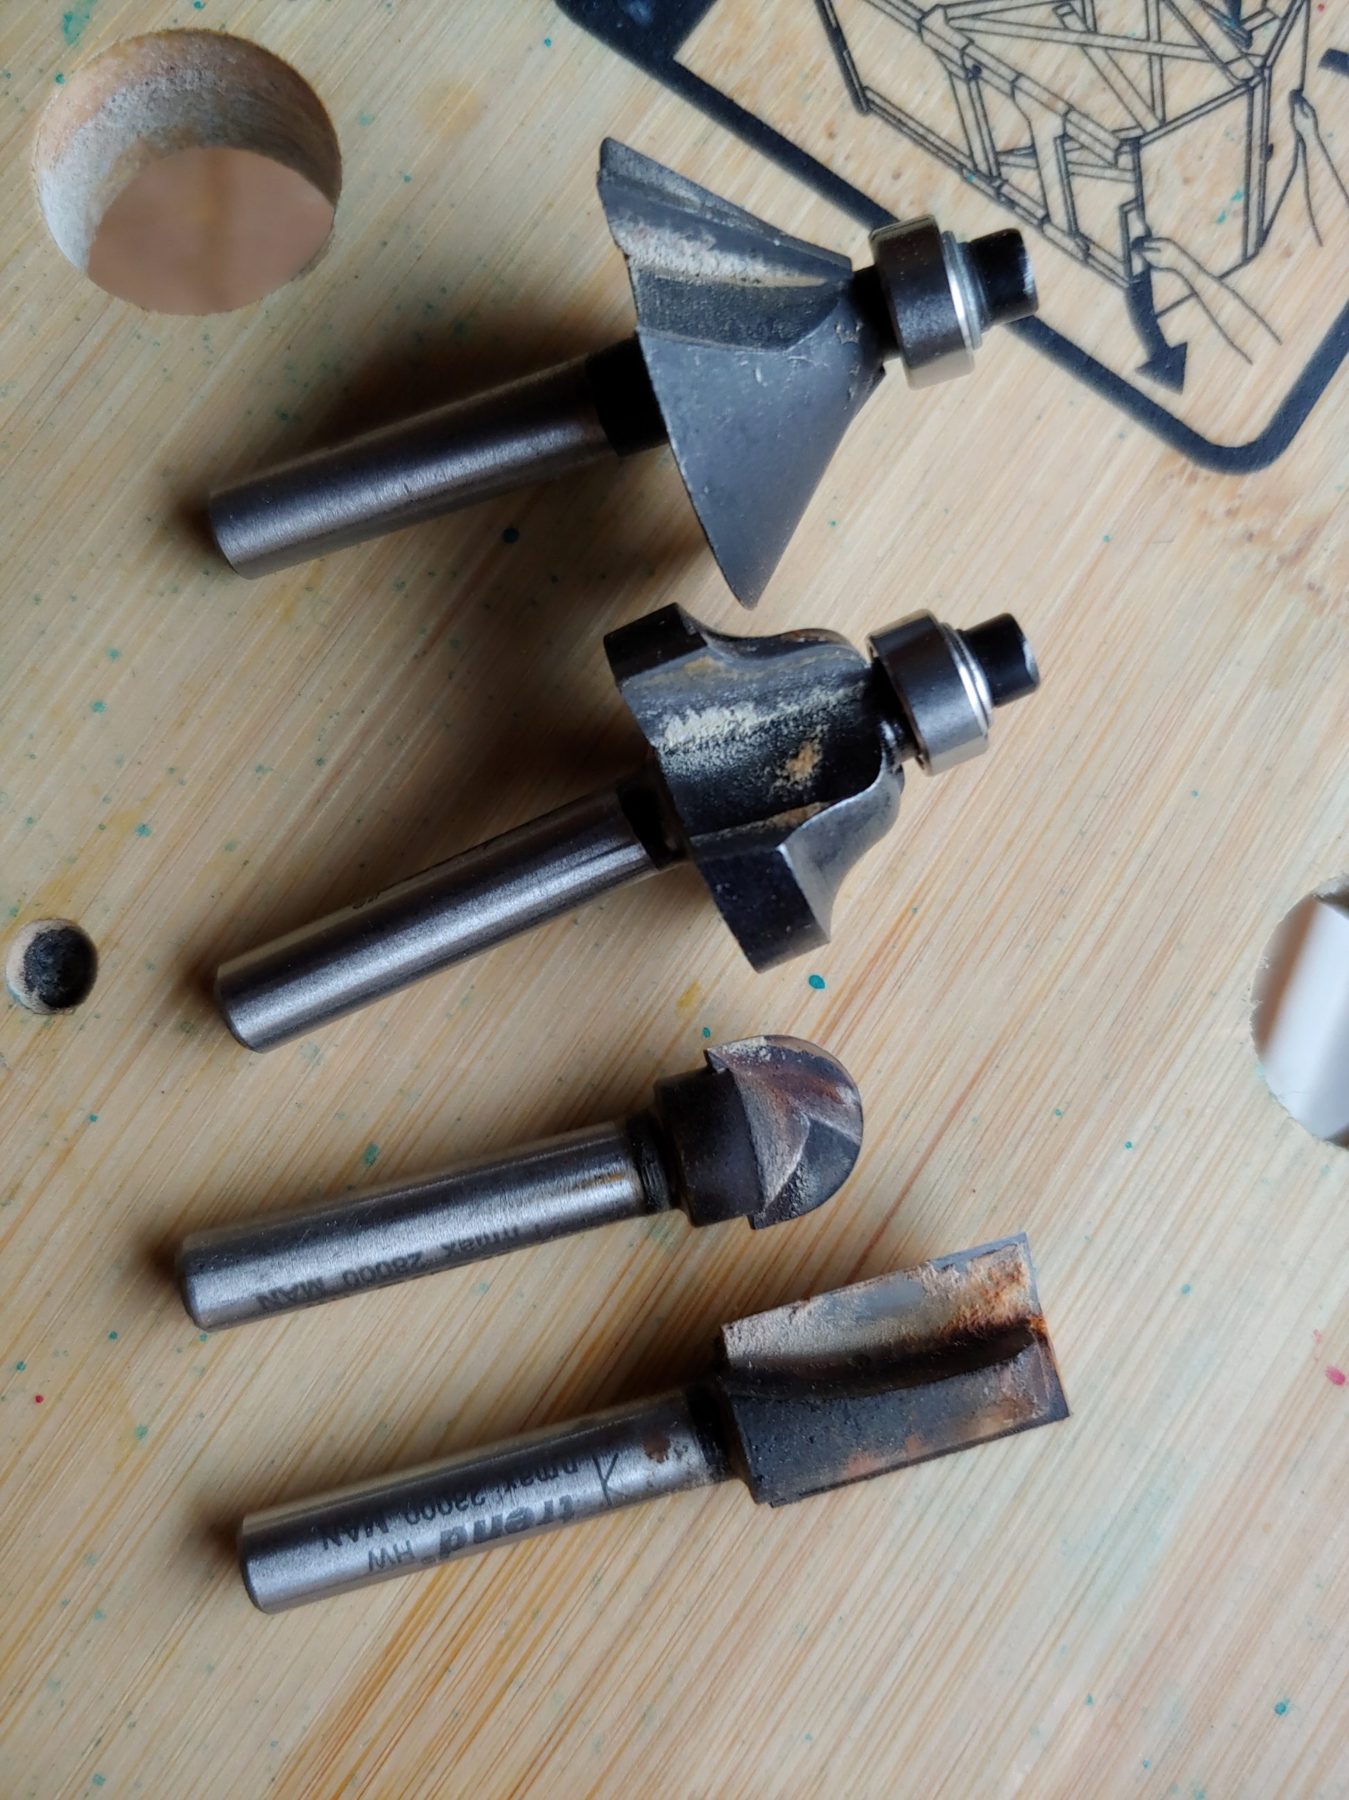
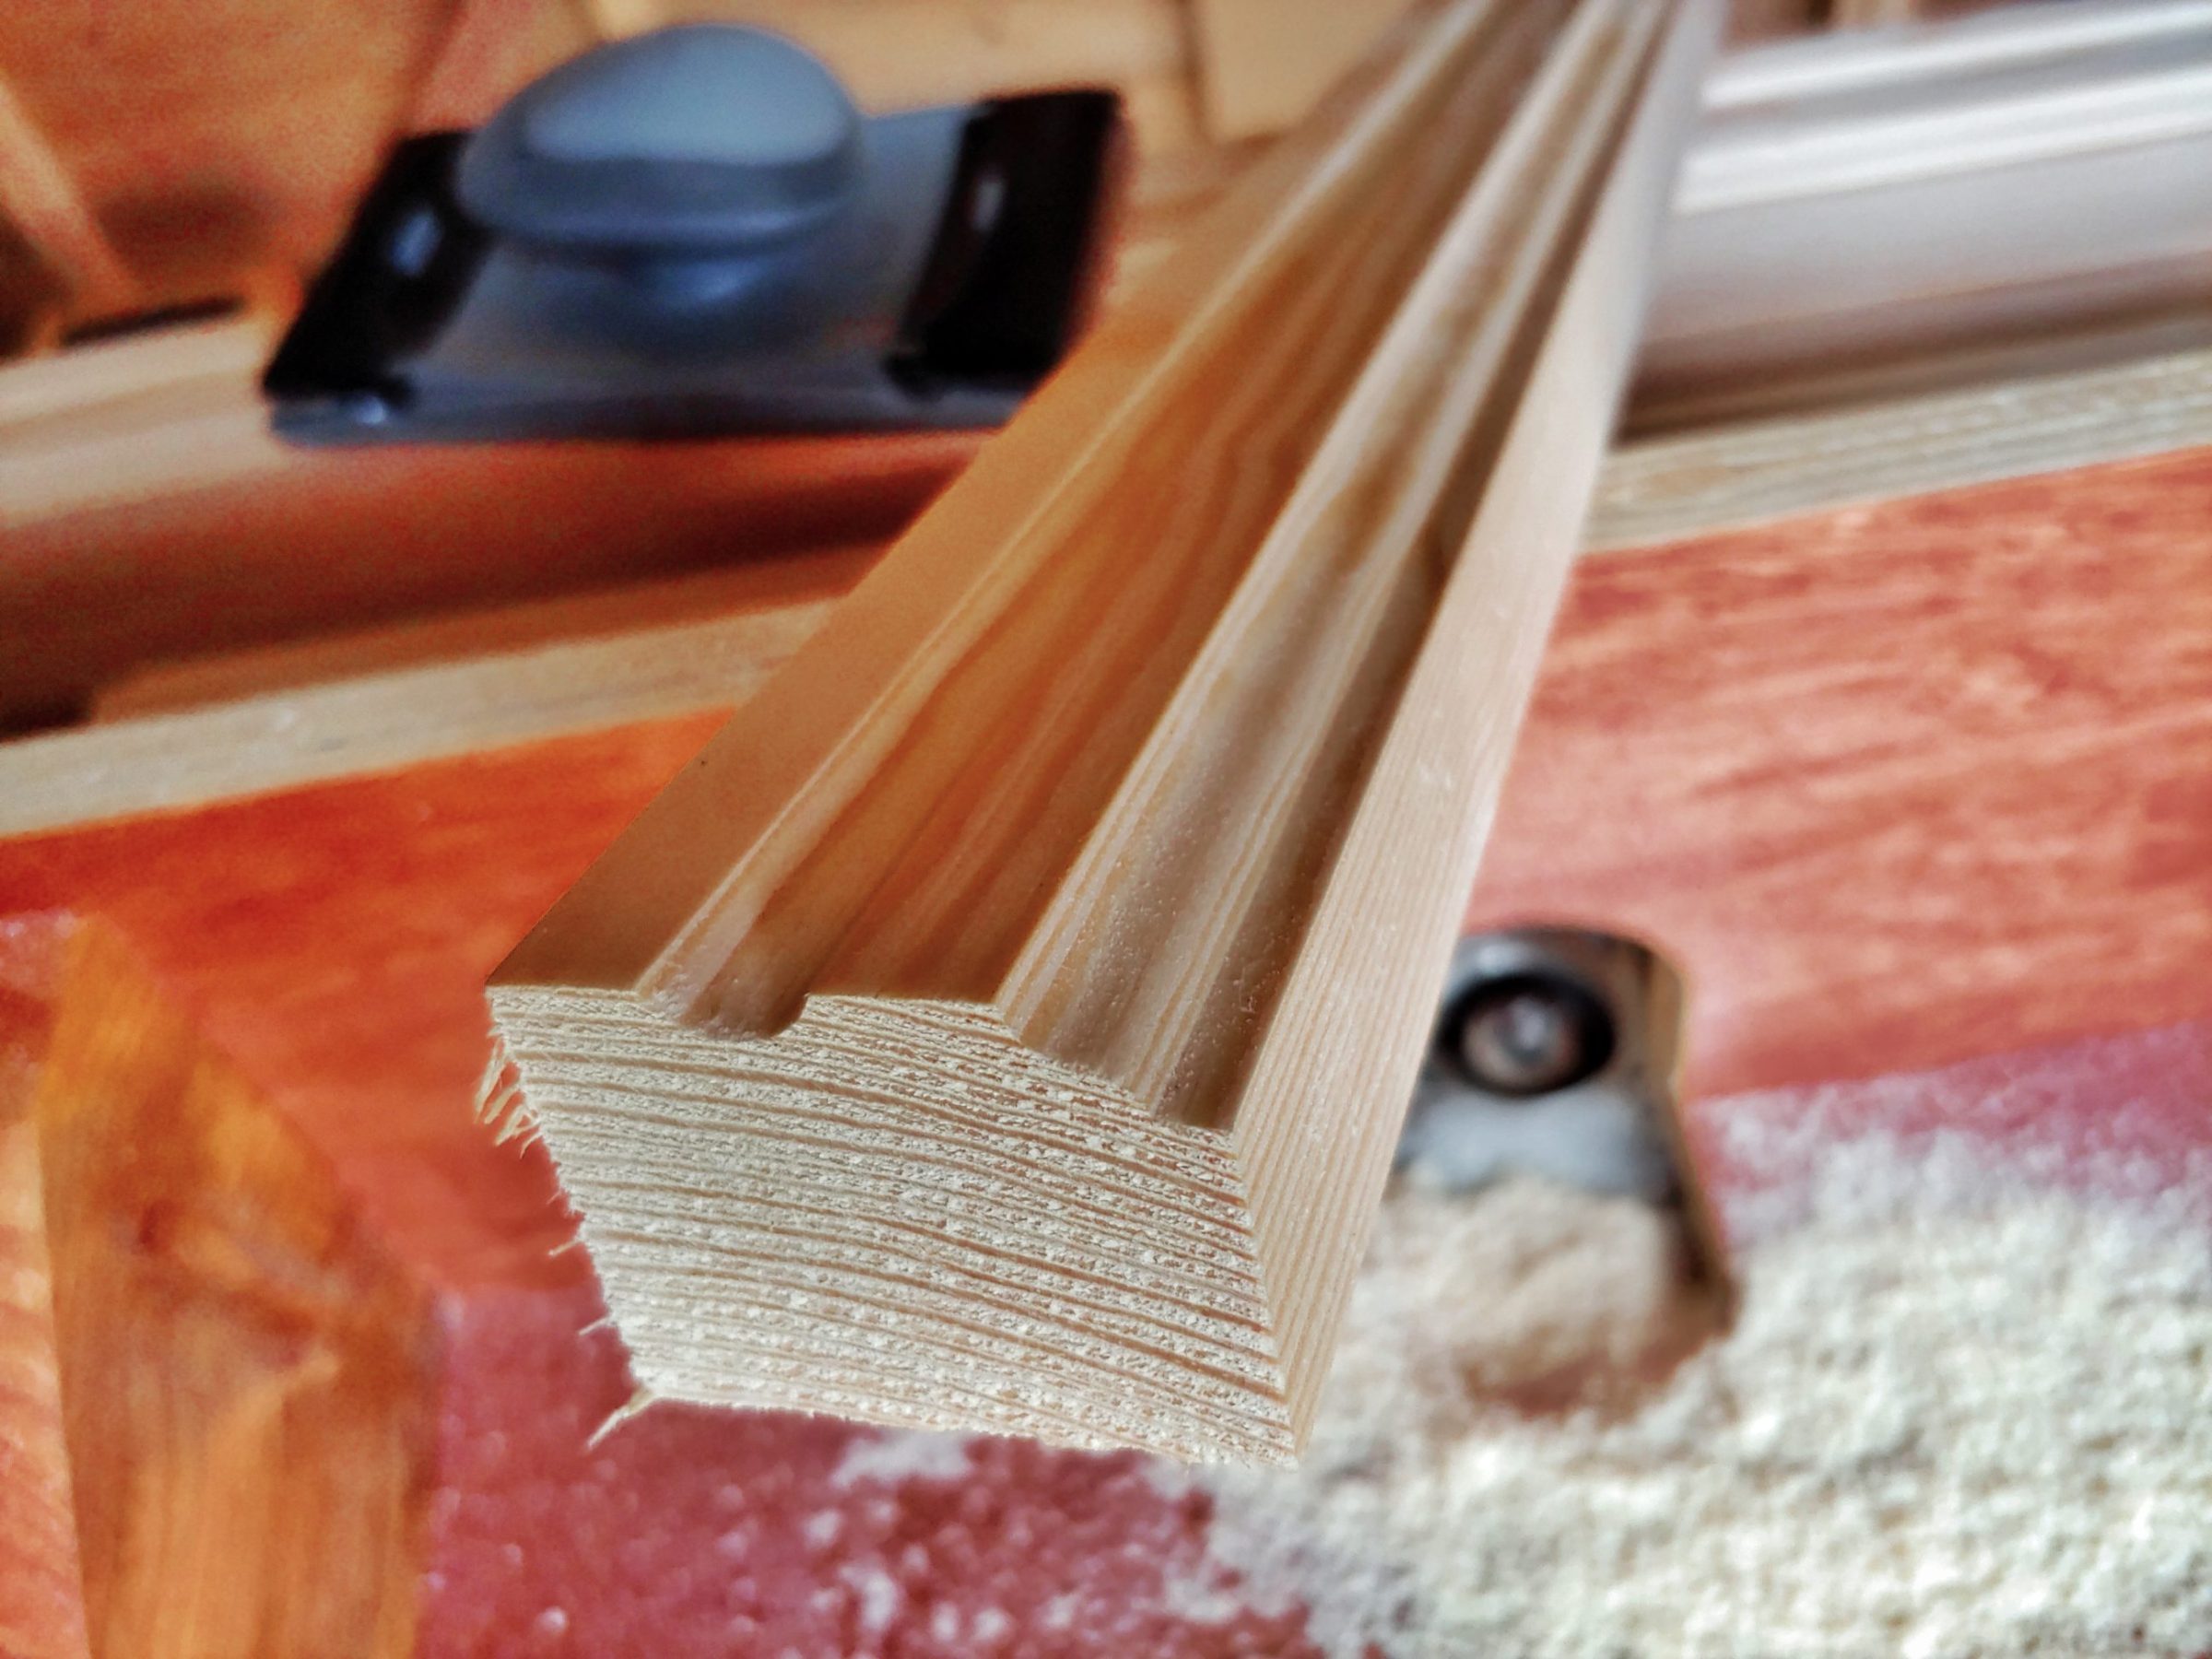
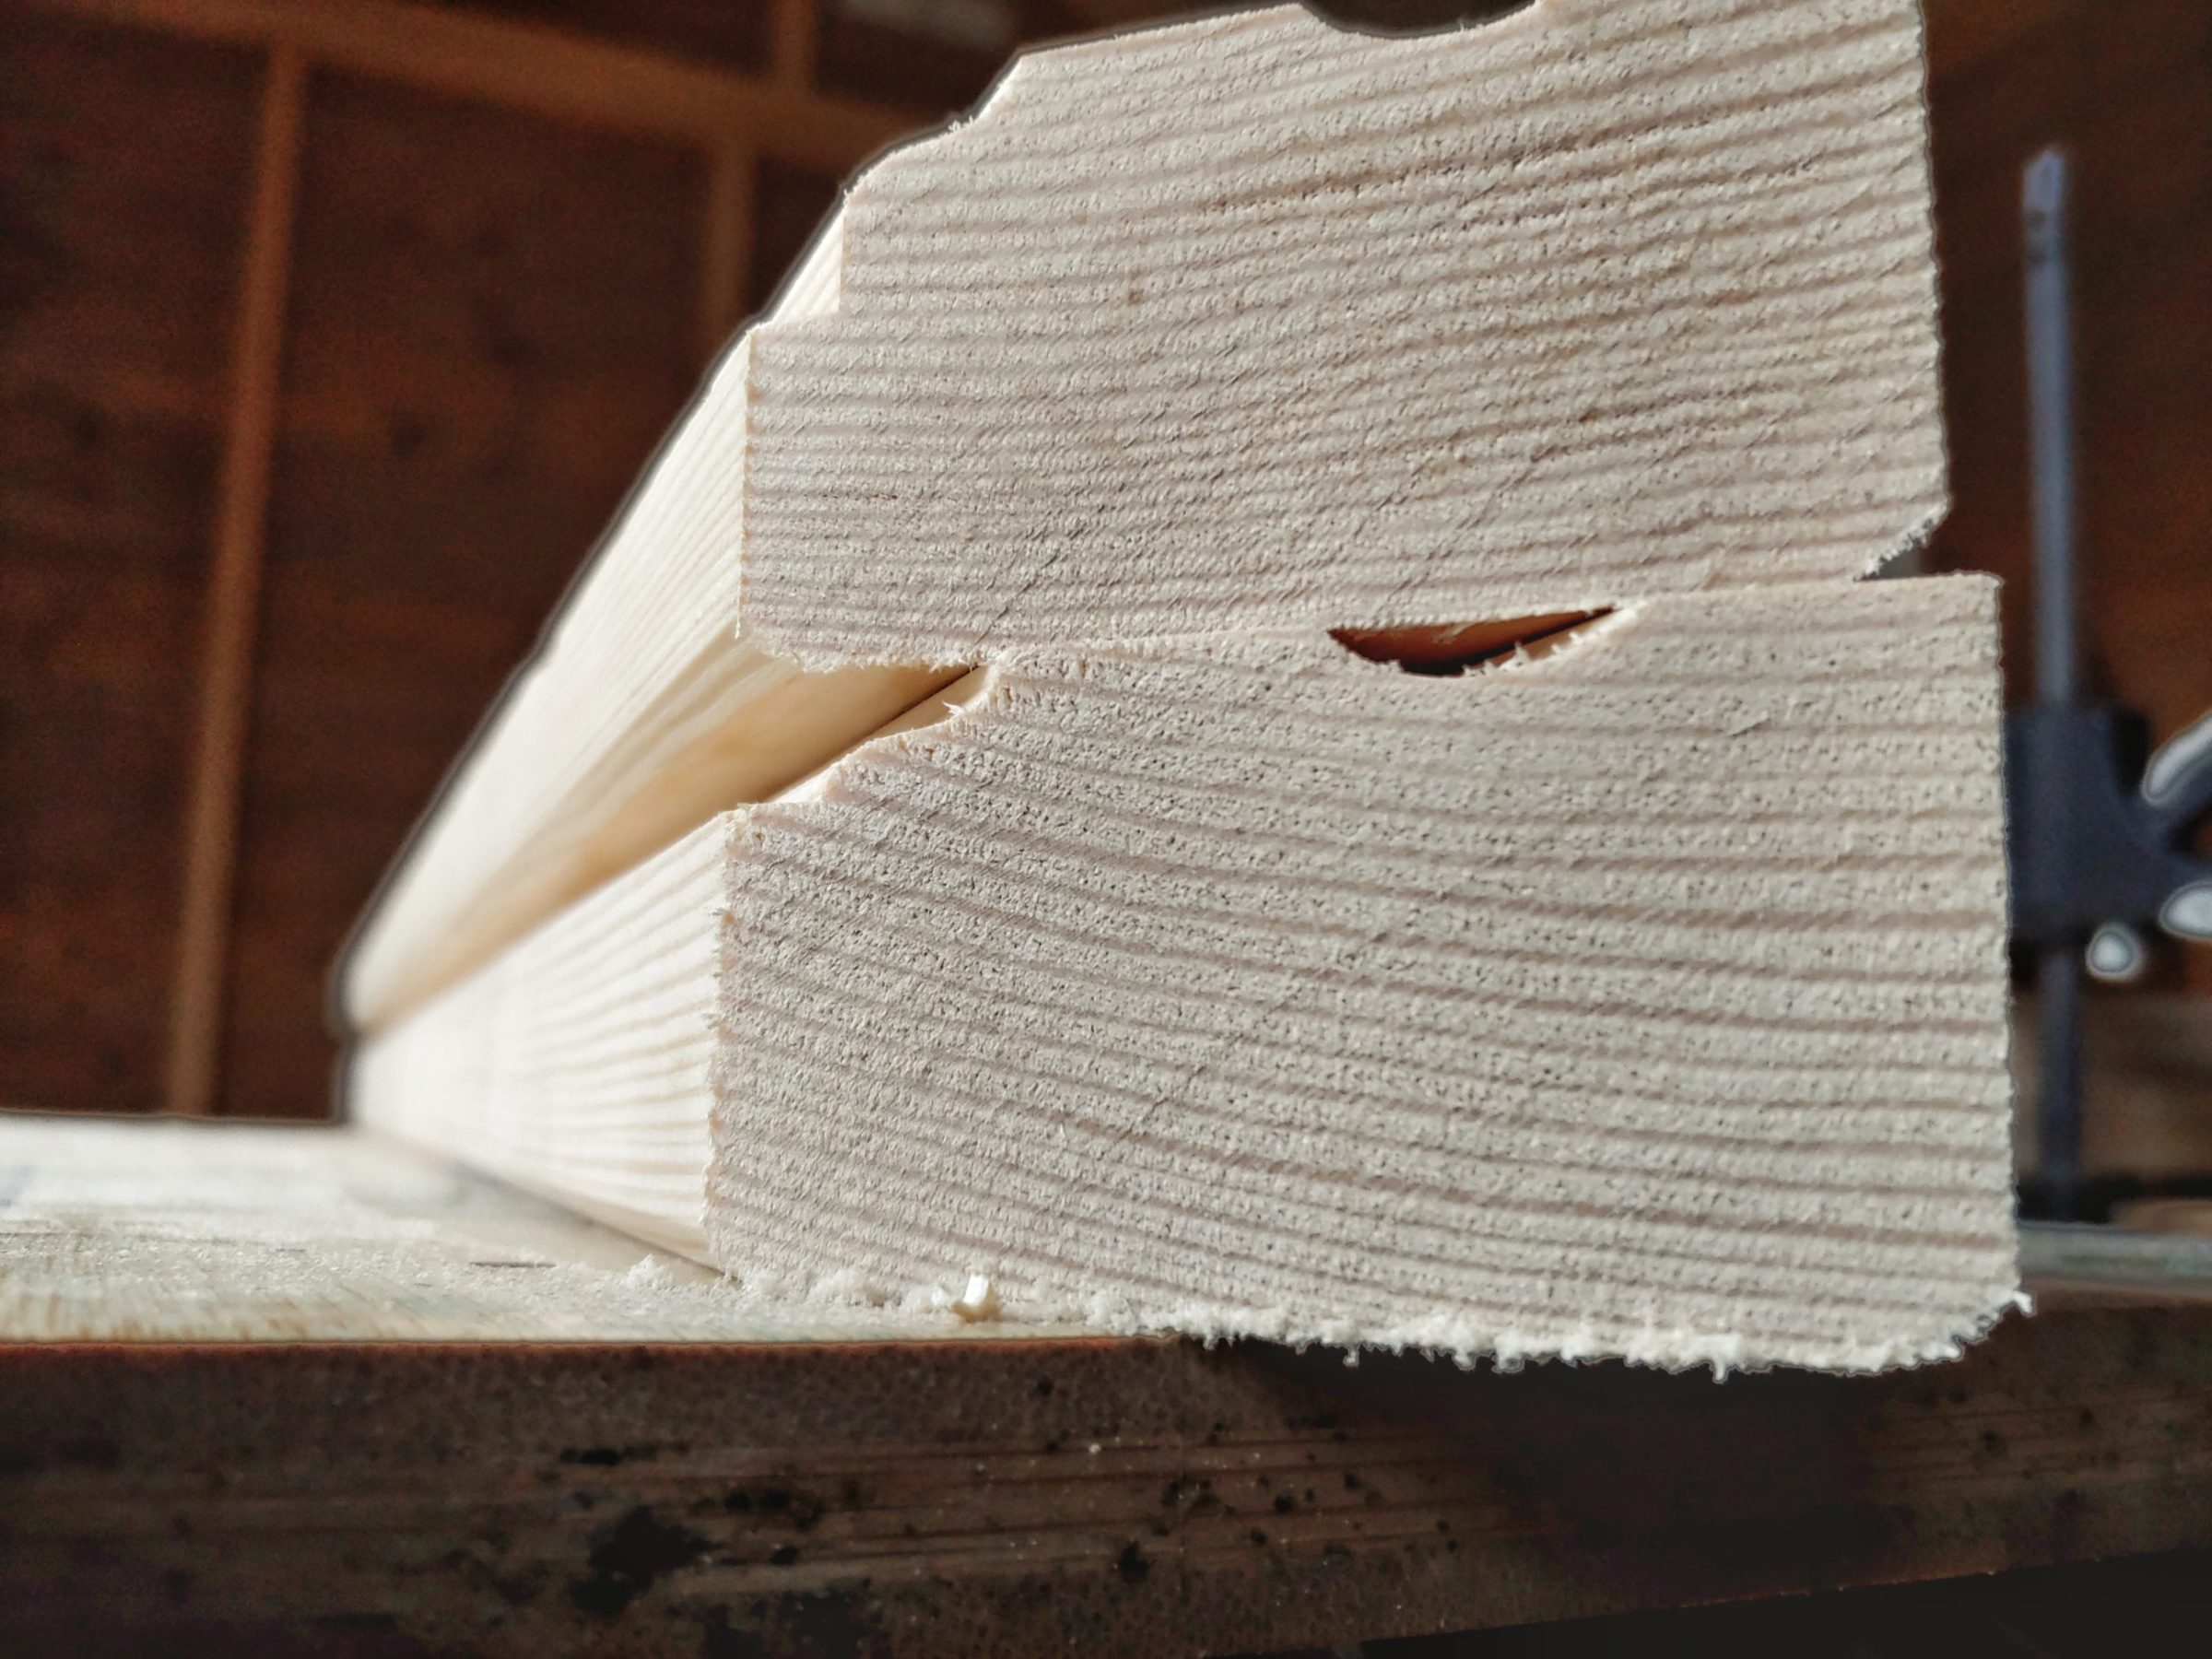
It was then ready for routing. To complete the task I had to use 4 router bits, a DIY-ed router table-top and a fence (for the bits without a bearing). The last step was to put chamfers on the bottom edges and deepen the recess for the metal grille and the nails.
Hand sanding was followed by cutting mitres. The frame was much larger than my workbench, so I had to do the glue-up on the floor.
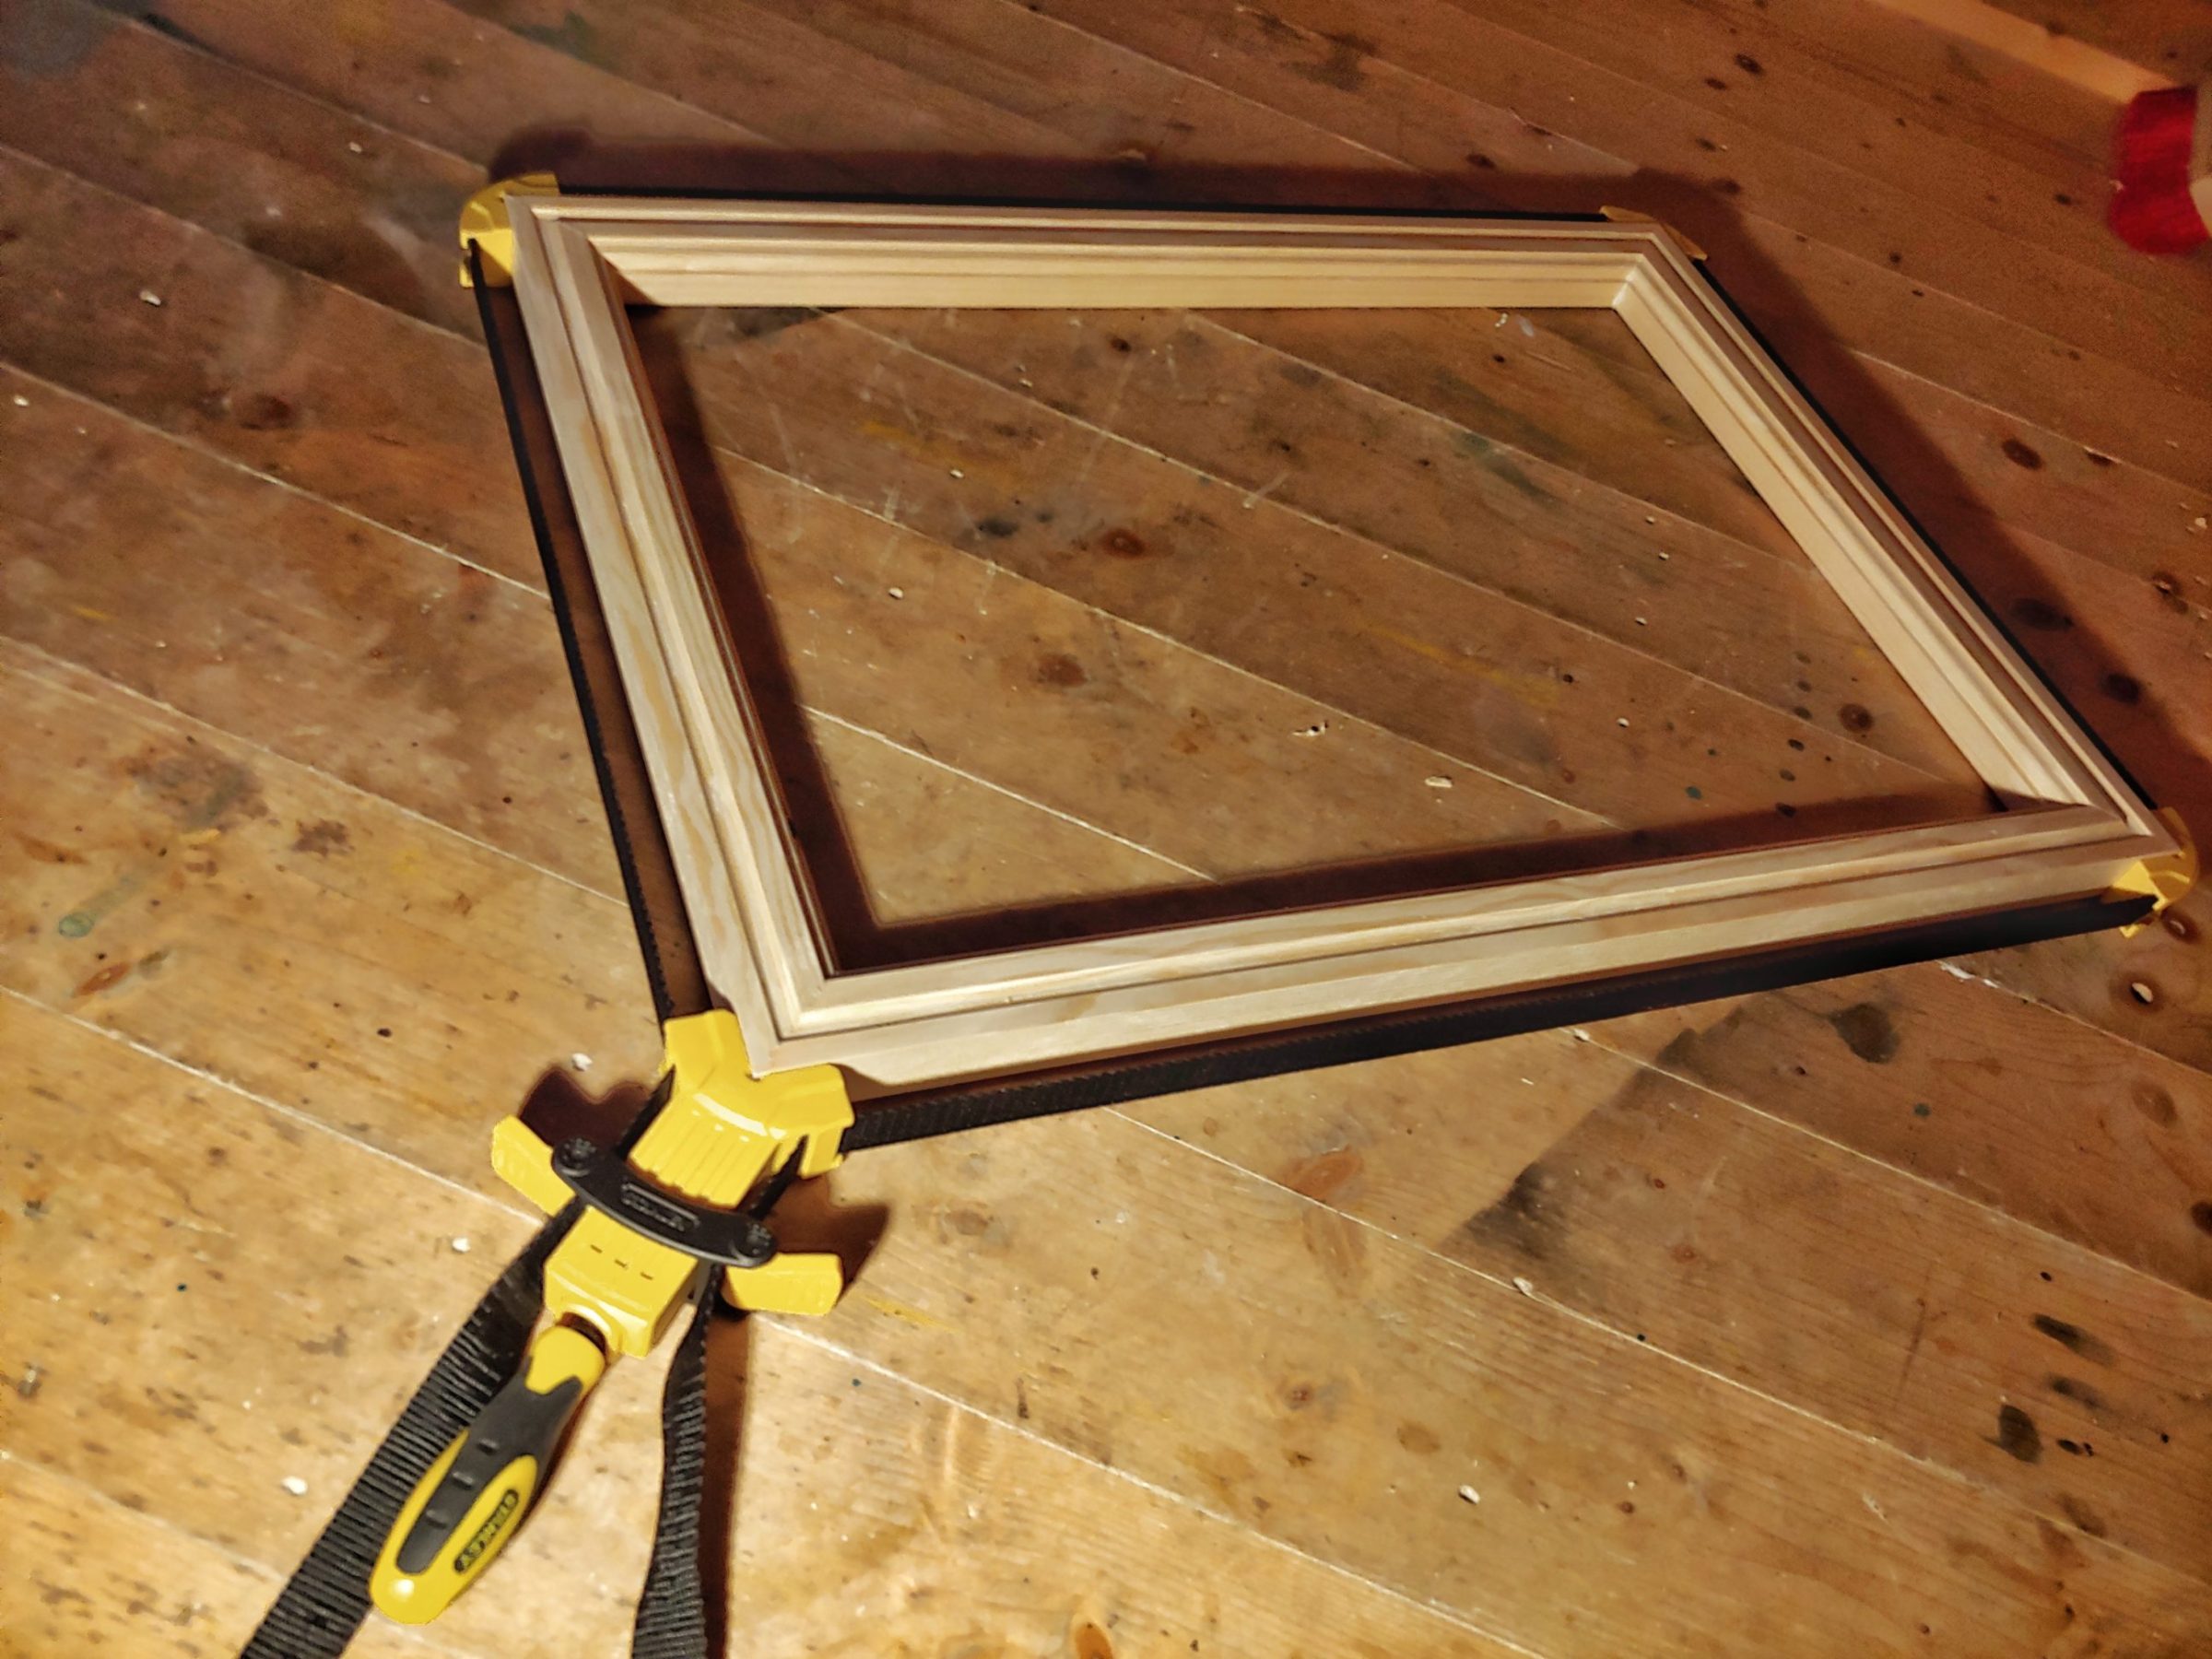
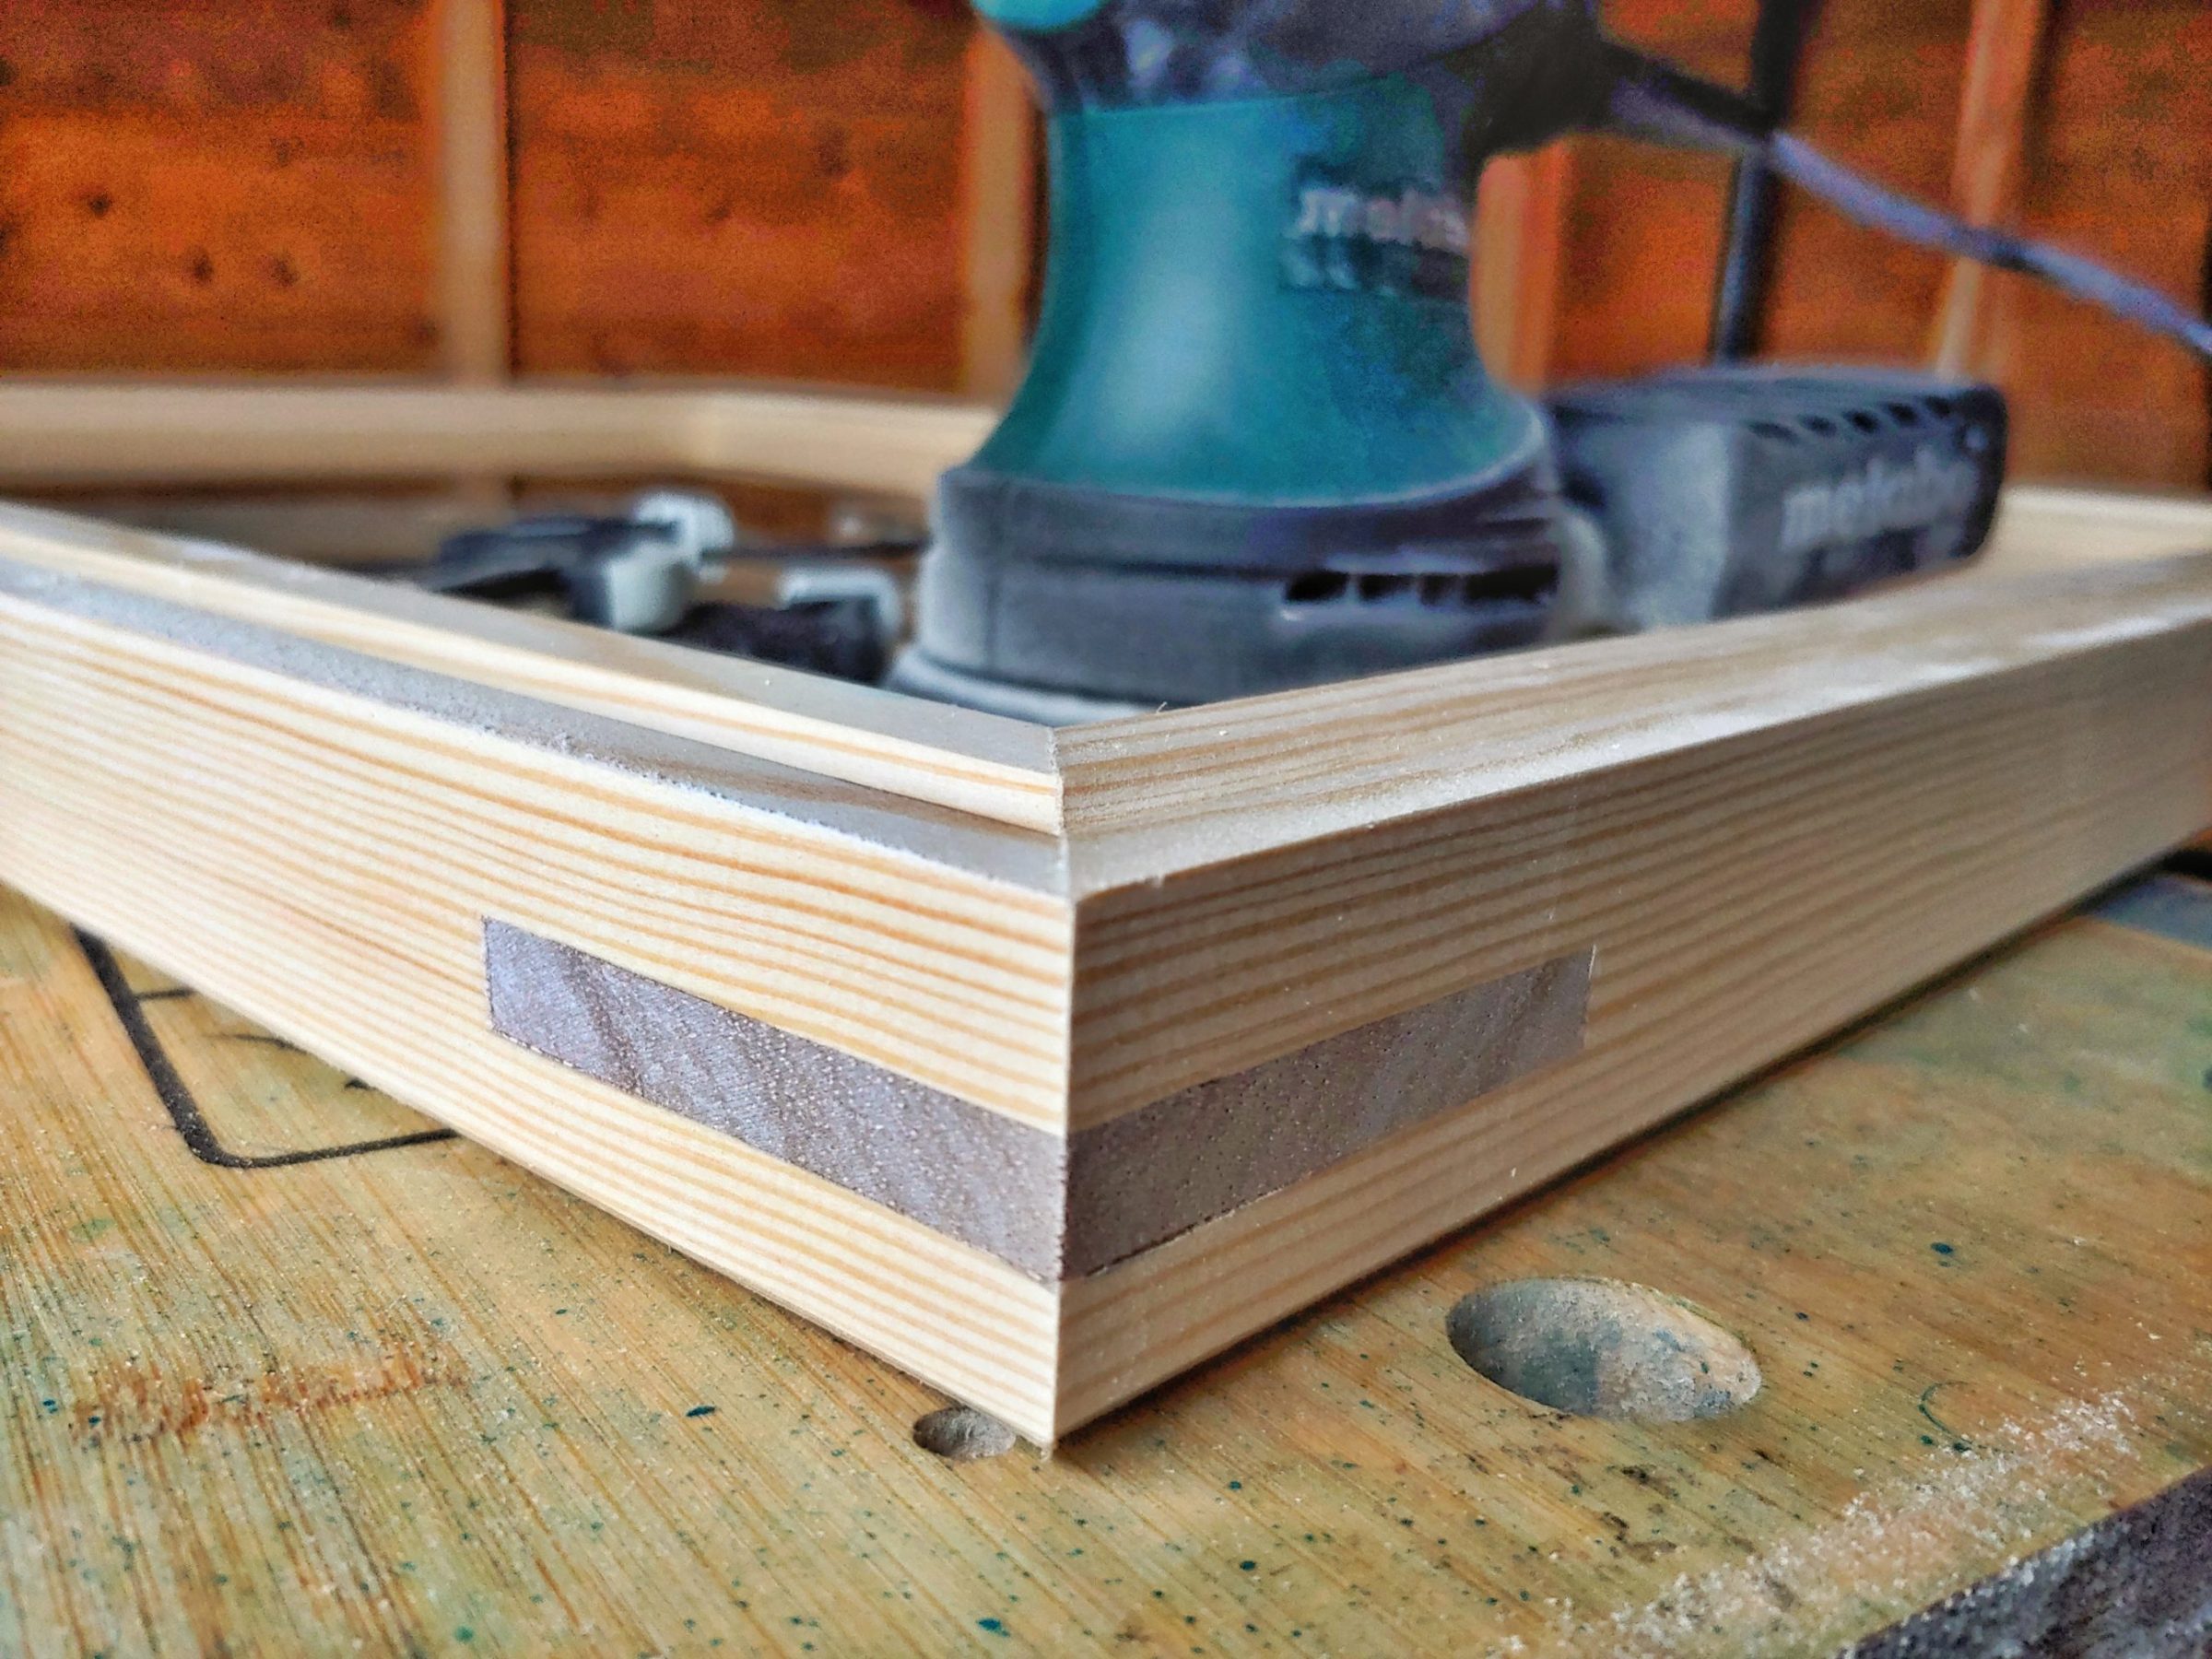
Of course, the frame had to be reinforced with splines. I used strips of contrasting timber for that task. To avoid any dents in the front side of the frame (coming from the clamps) it was clamped in this orientation:
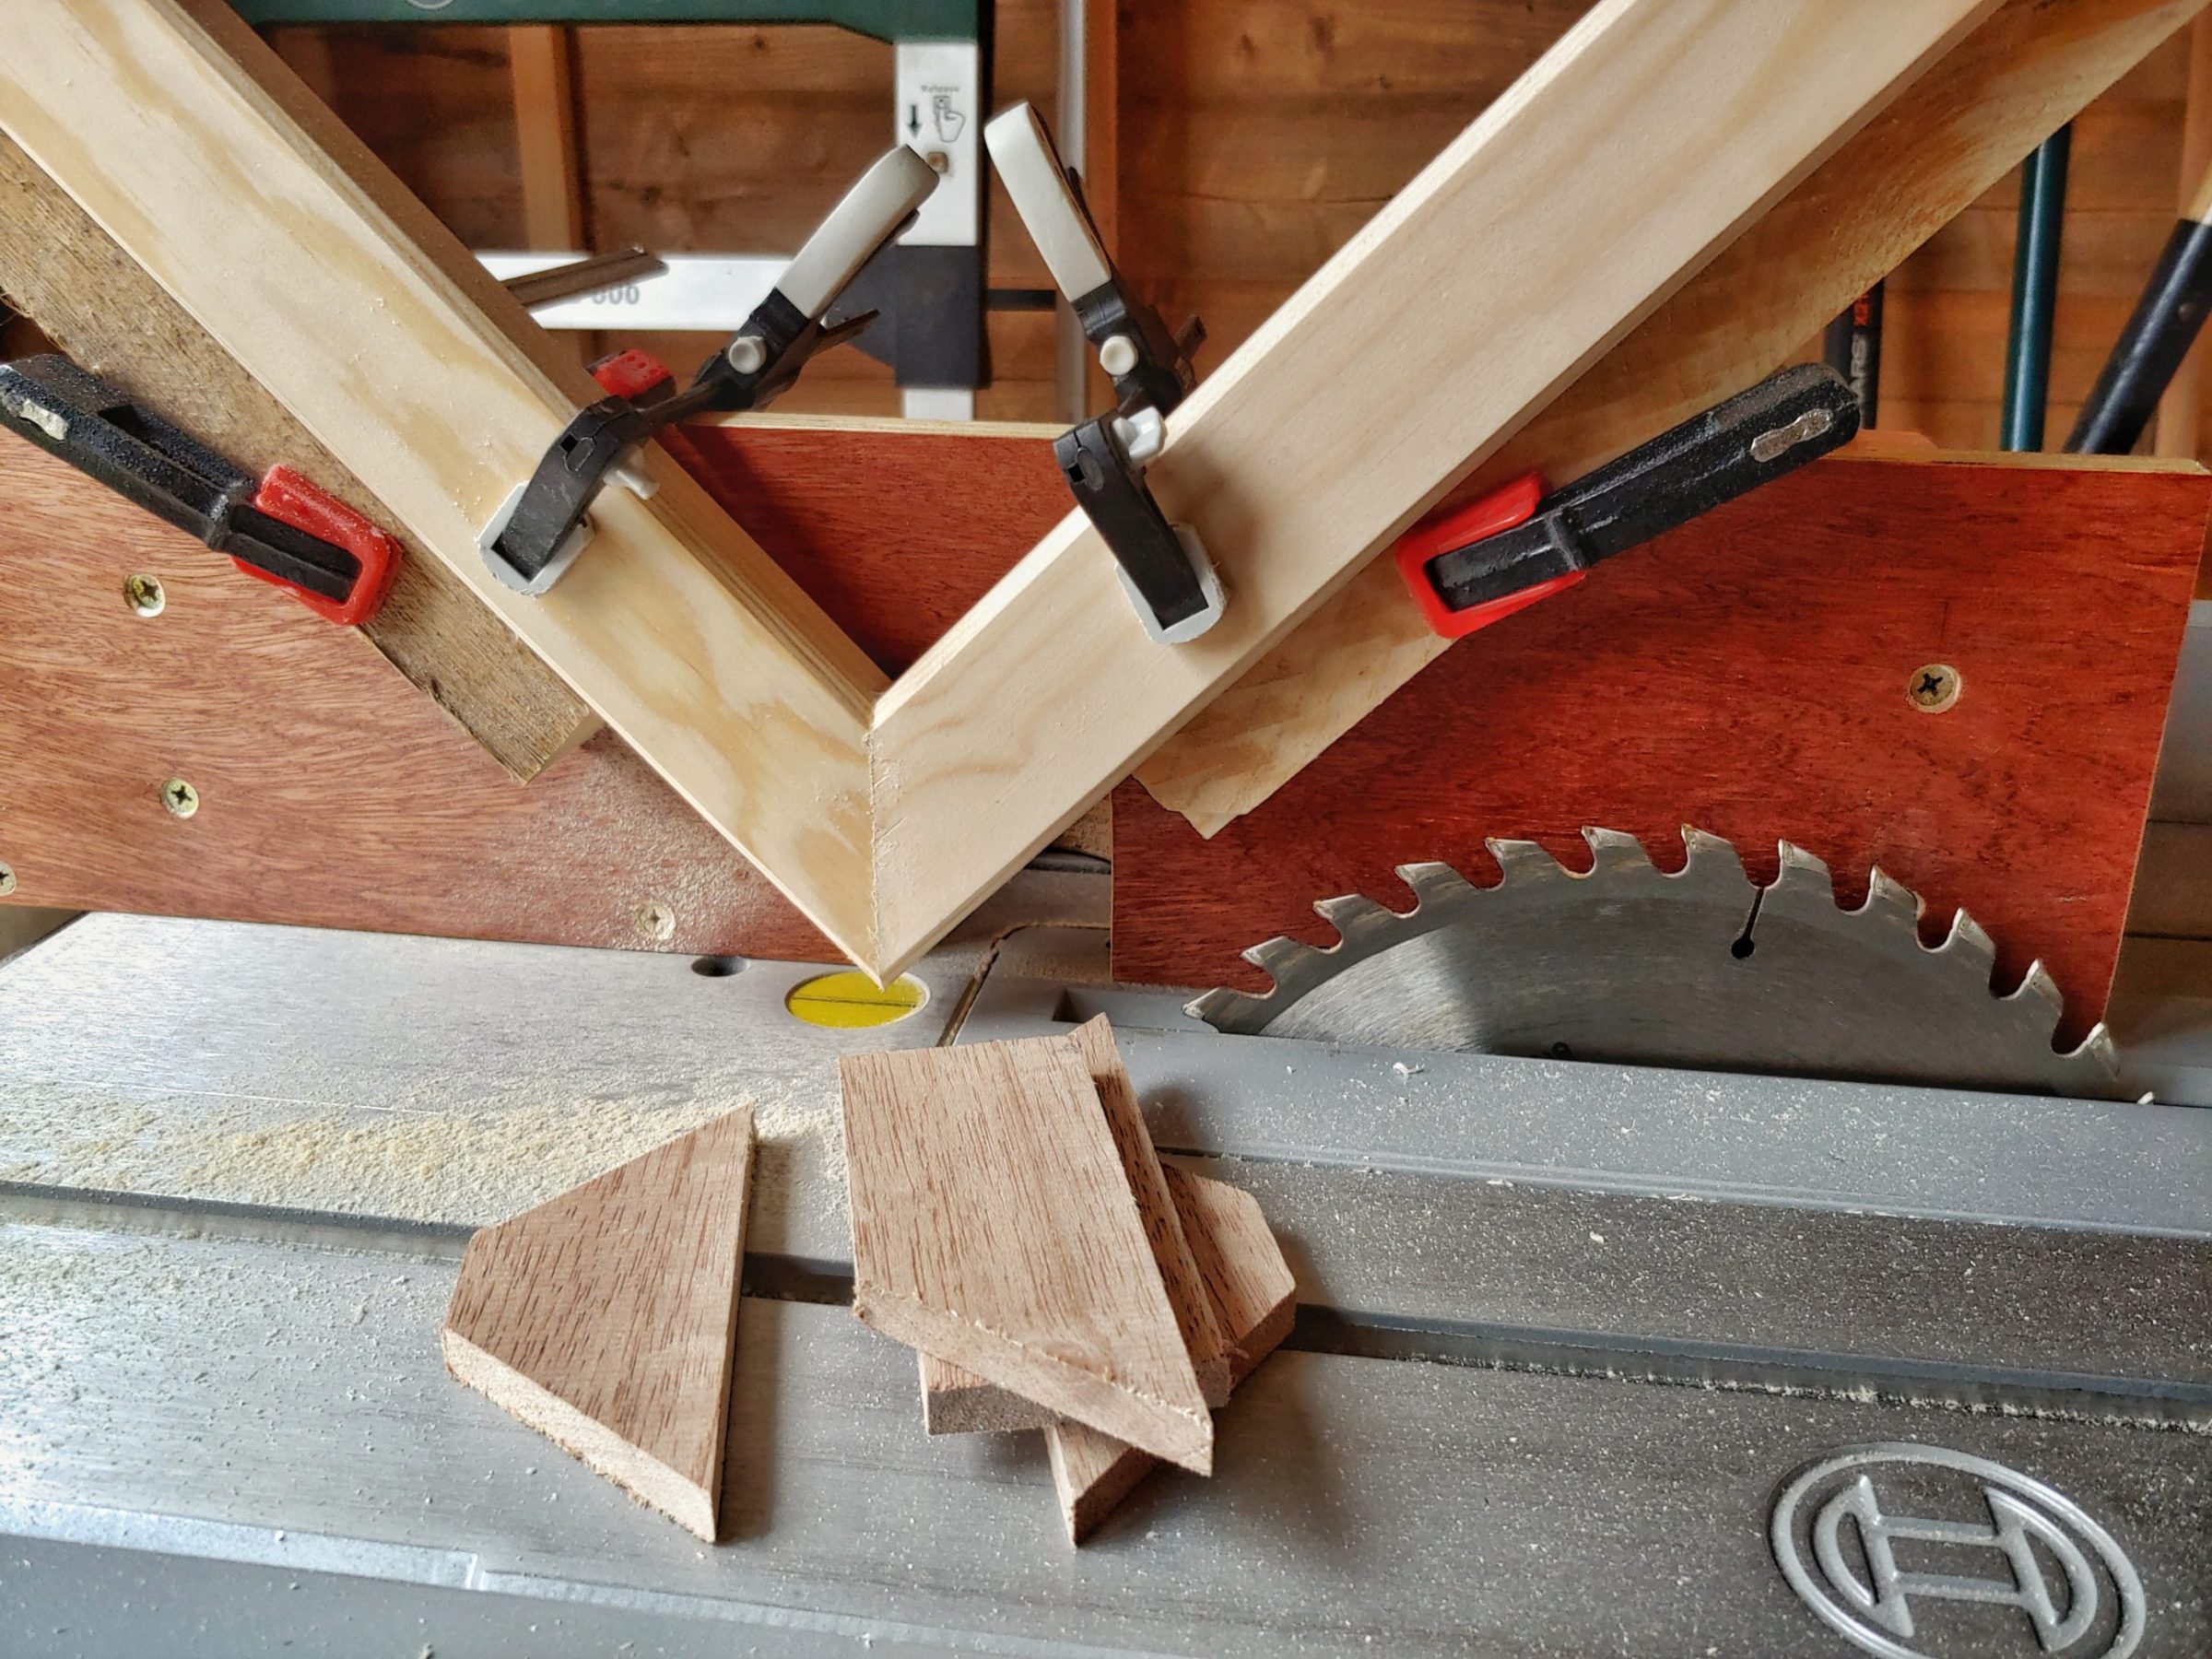
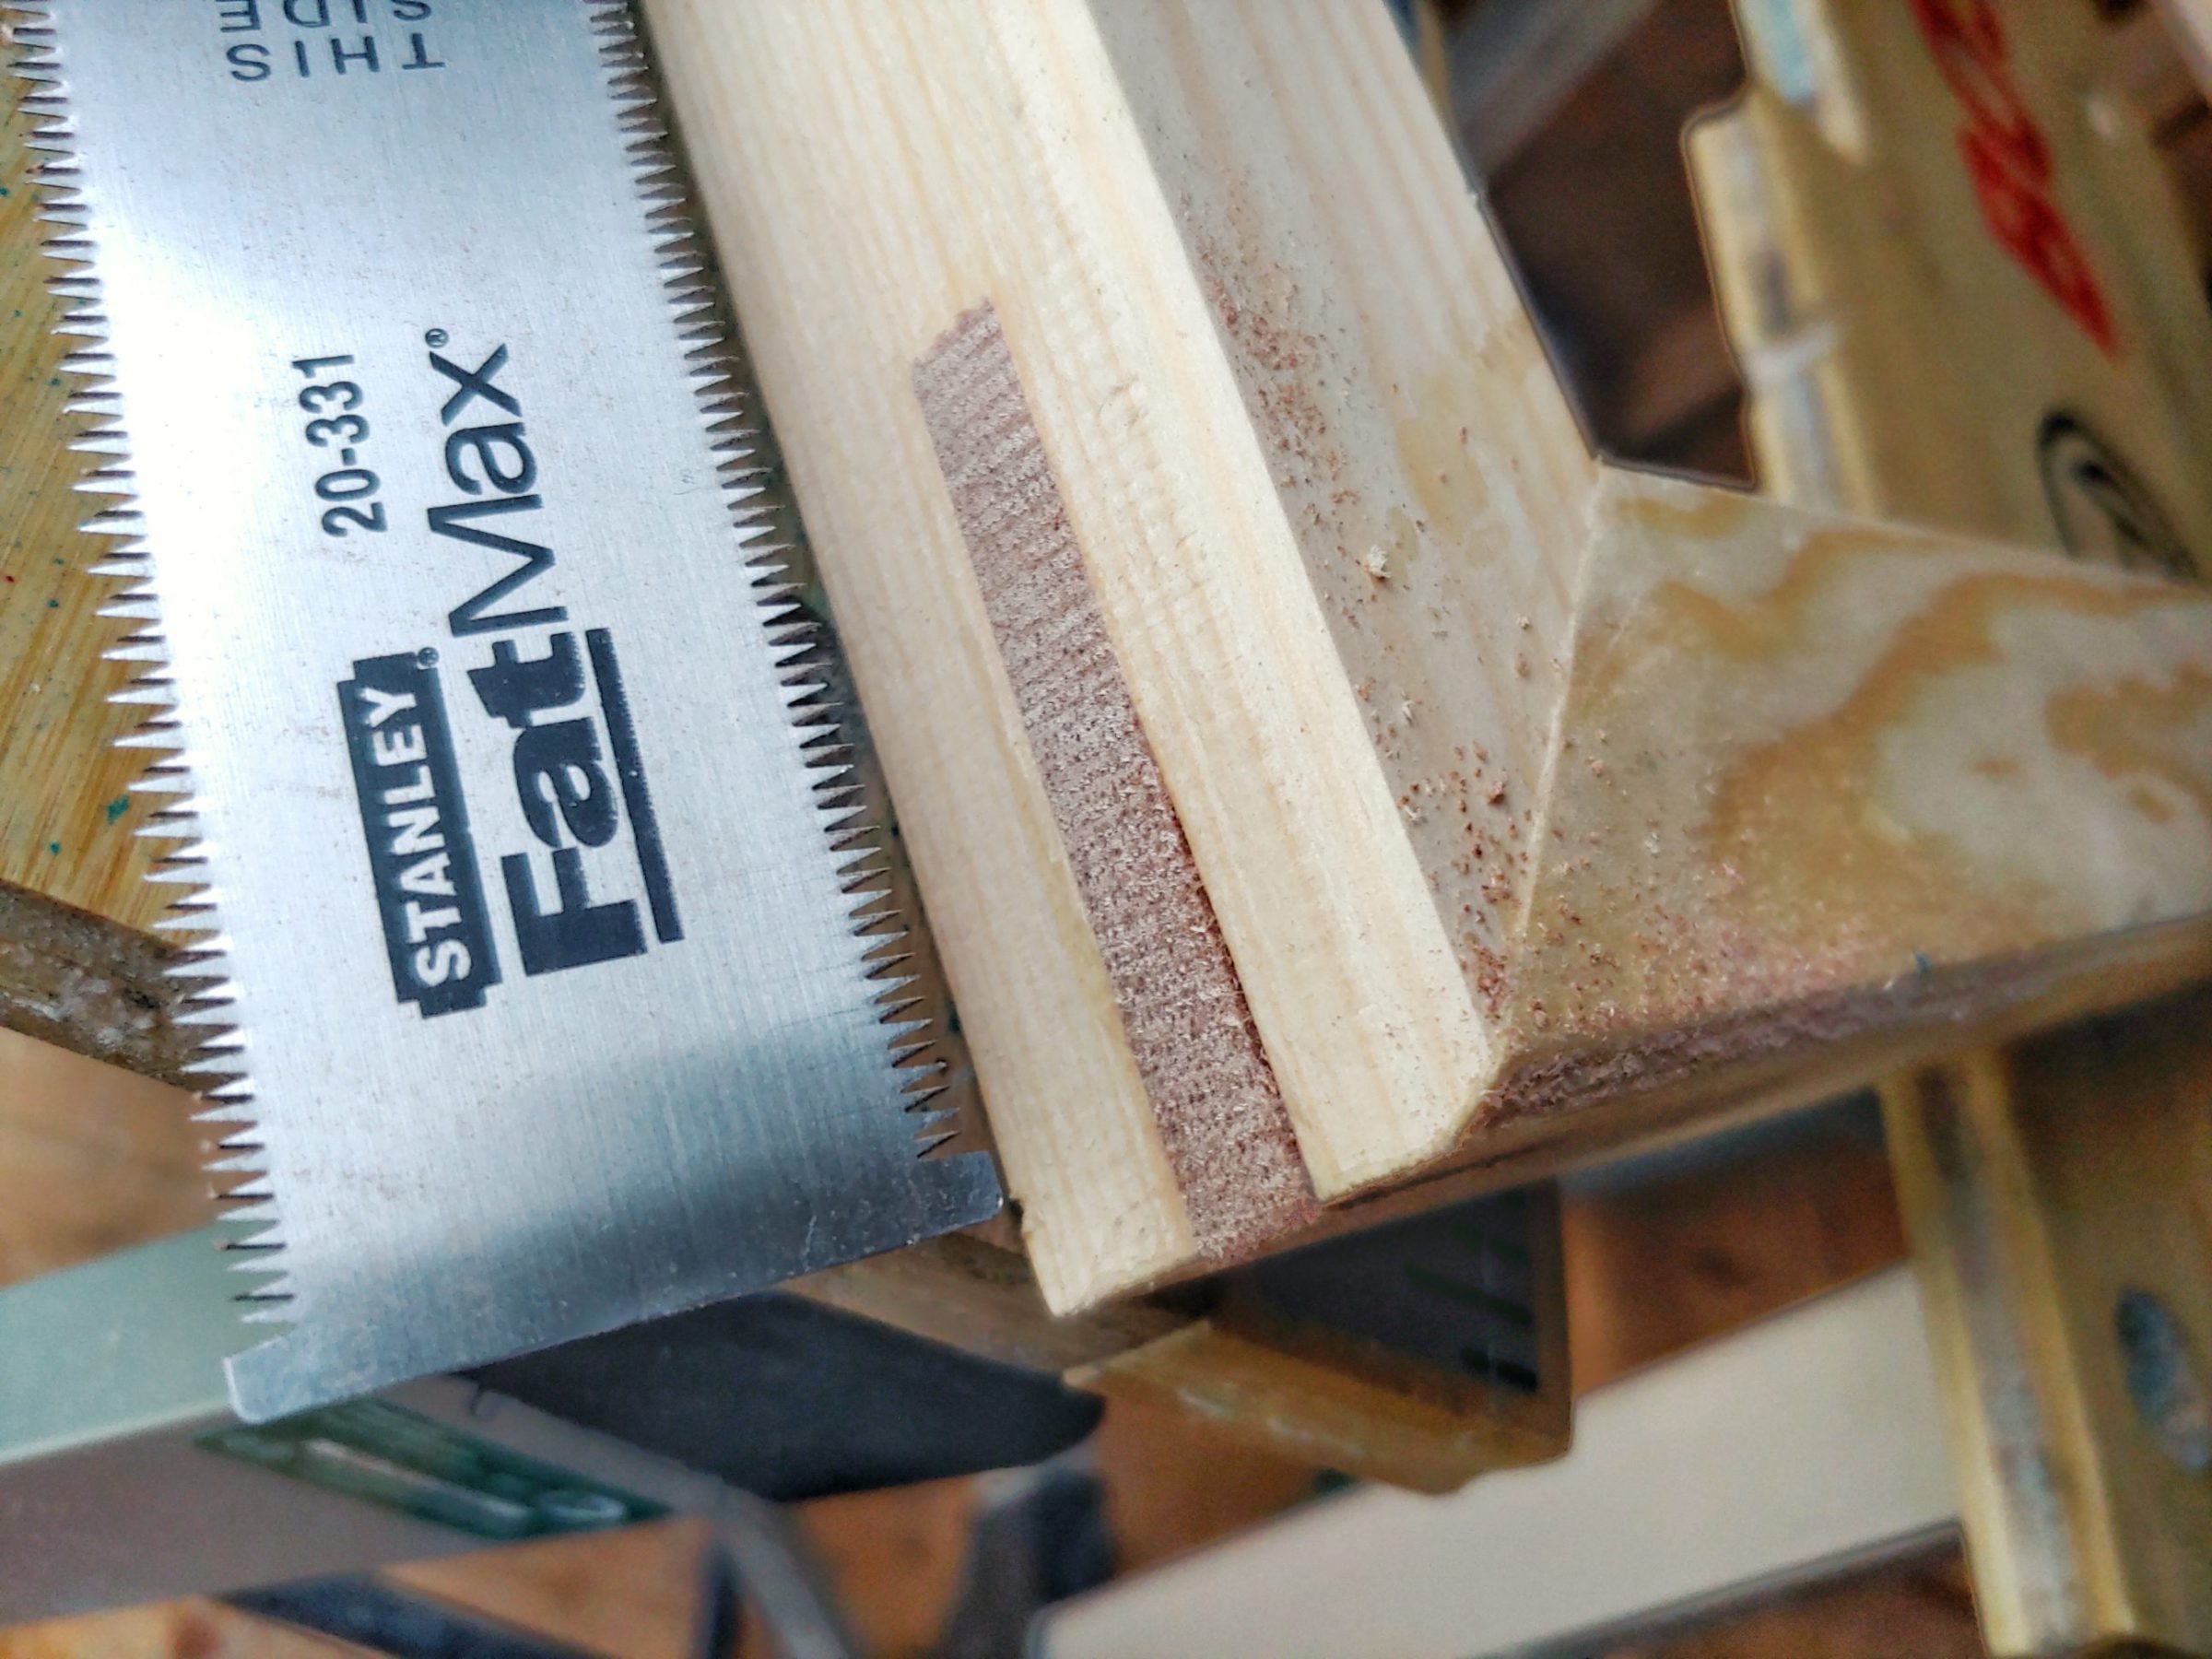
After a couple of passes on a table saw, it was ready for gluing, again. Once it dried, I use my flush-cut saw to finish the splines. I then sanded the frame, and it was ready for the next step …
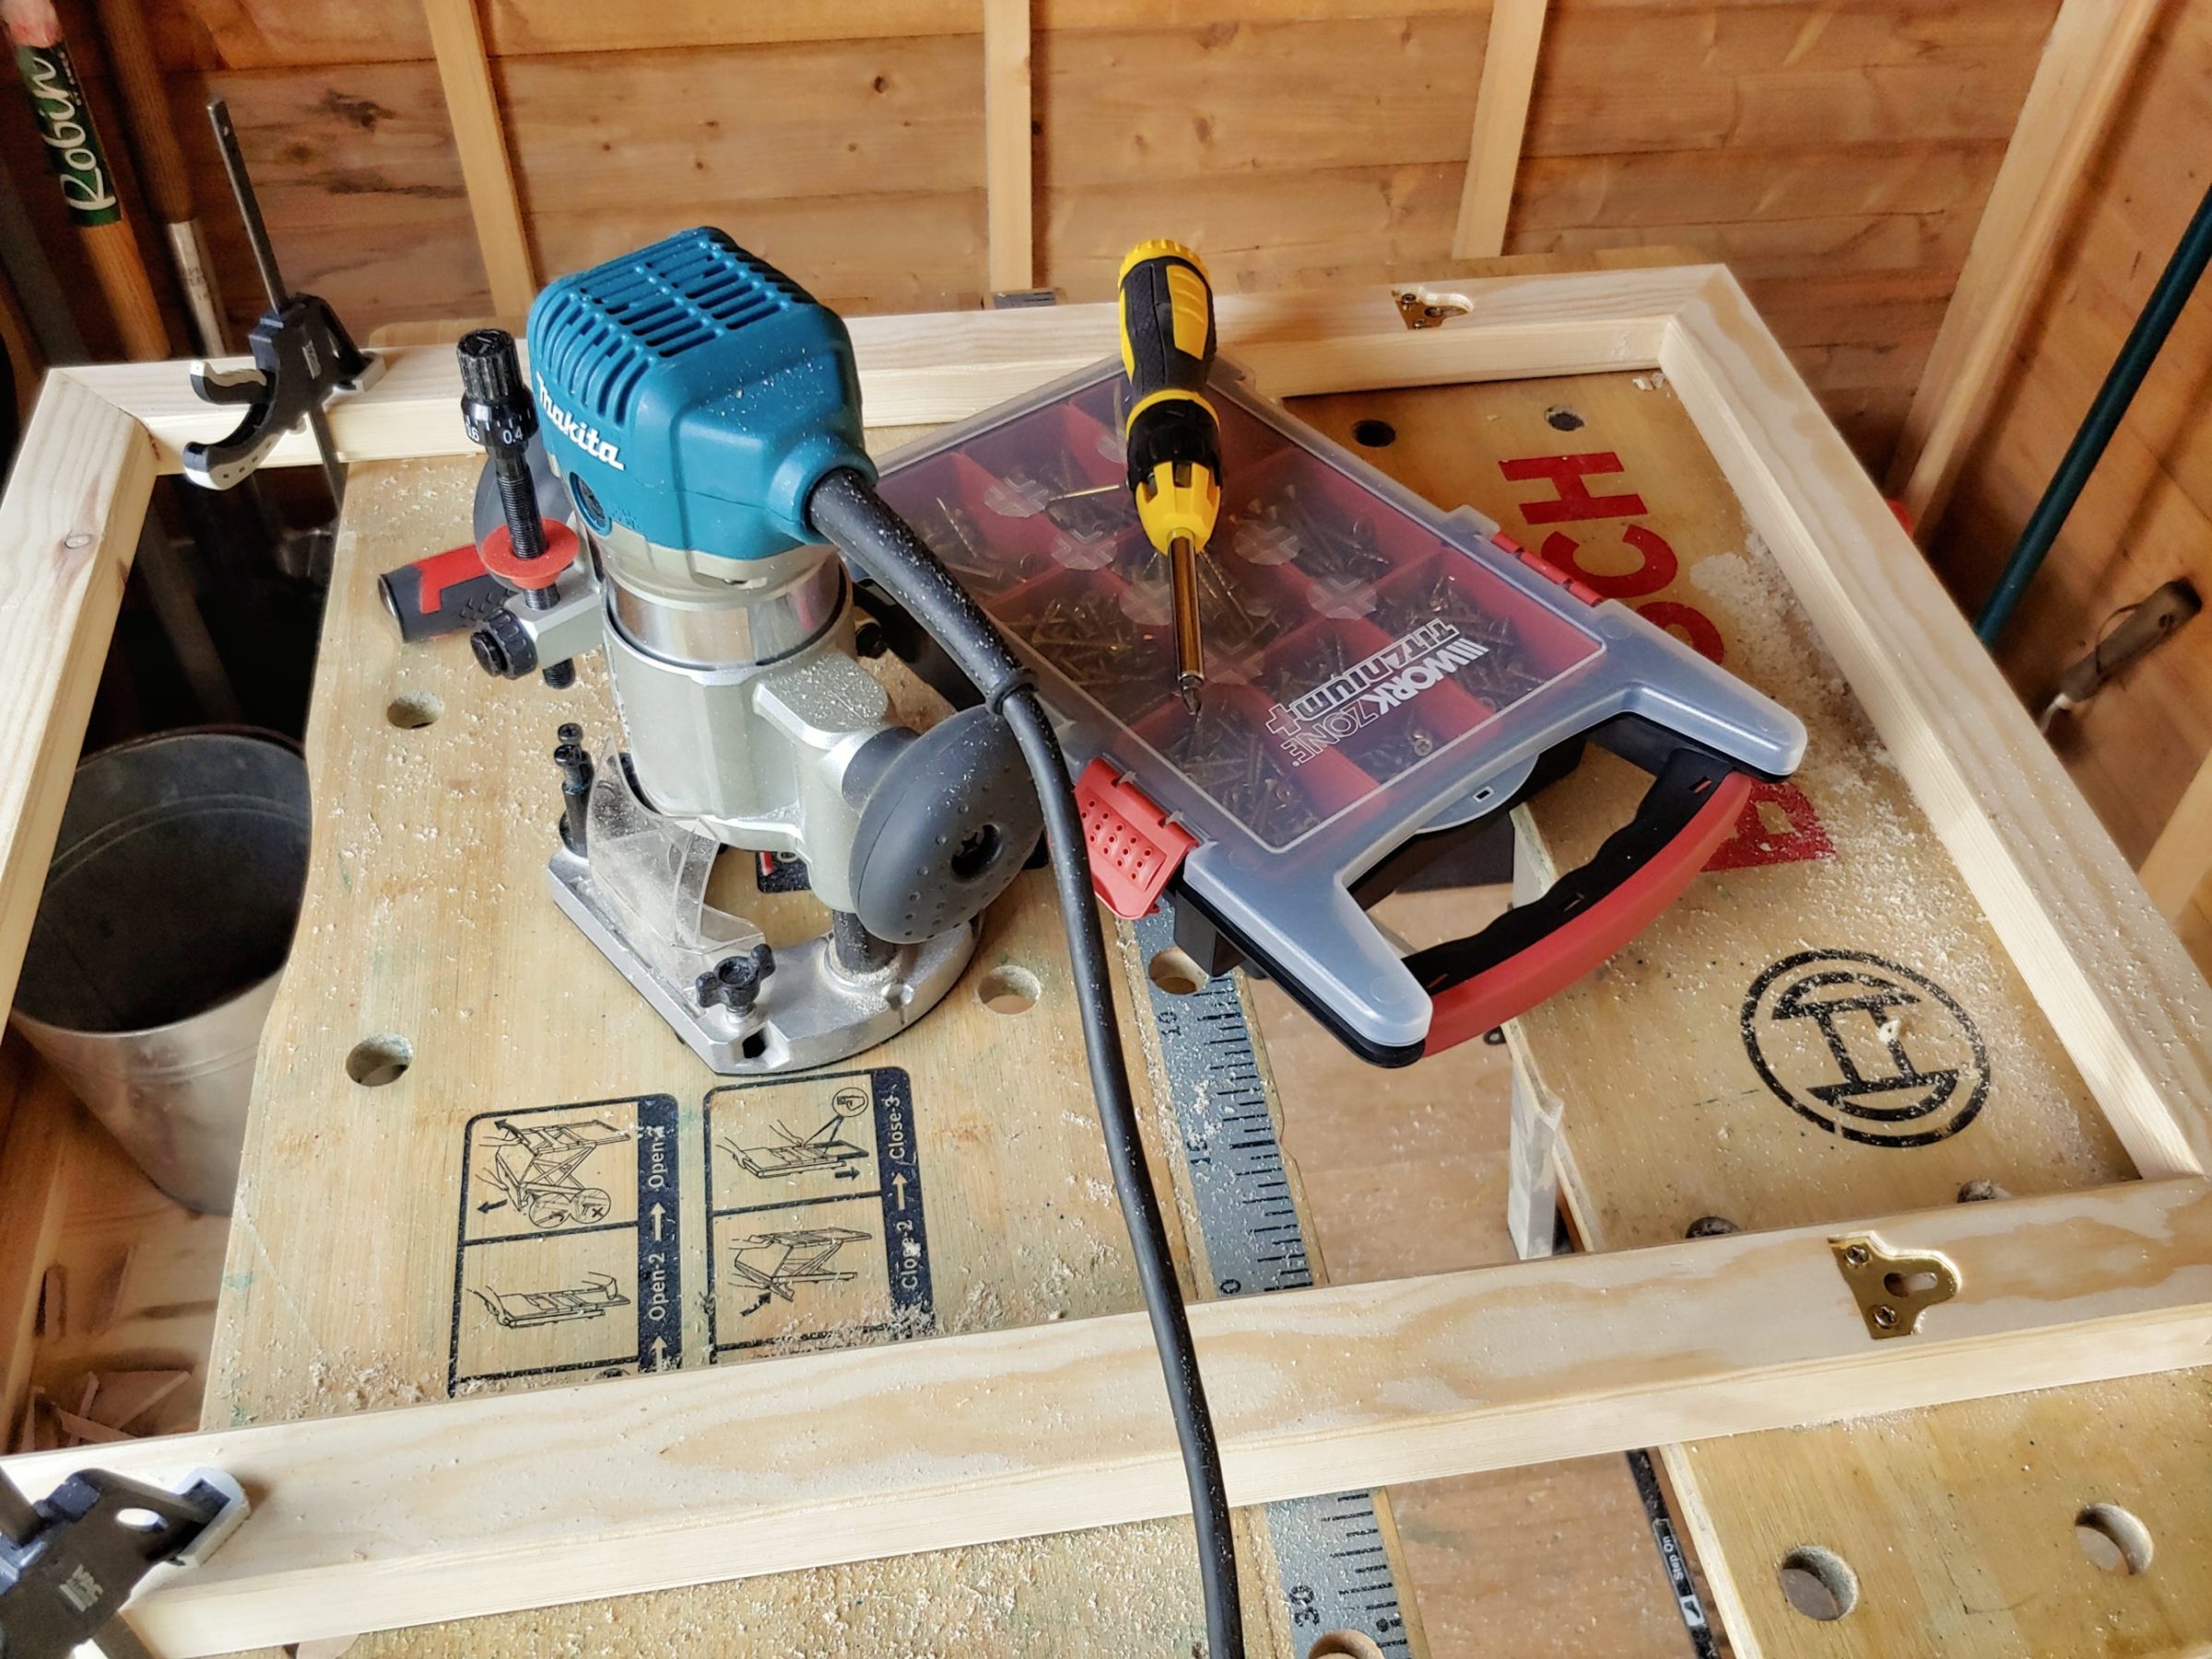
… which was the plate hangers at the back. I used my plunge router with 2 different bits to complete the task. There was also a need to use a chisel and sandpaper.
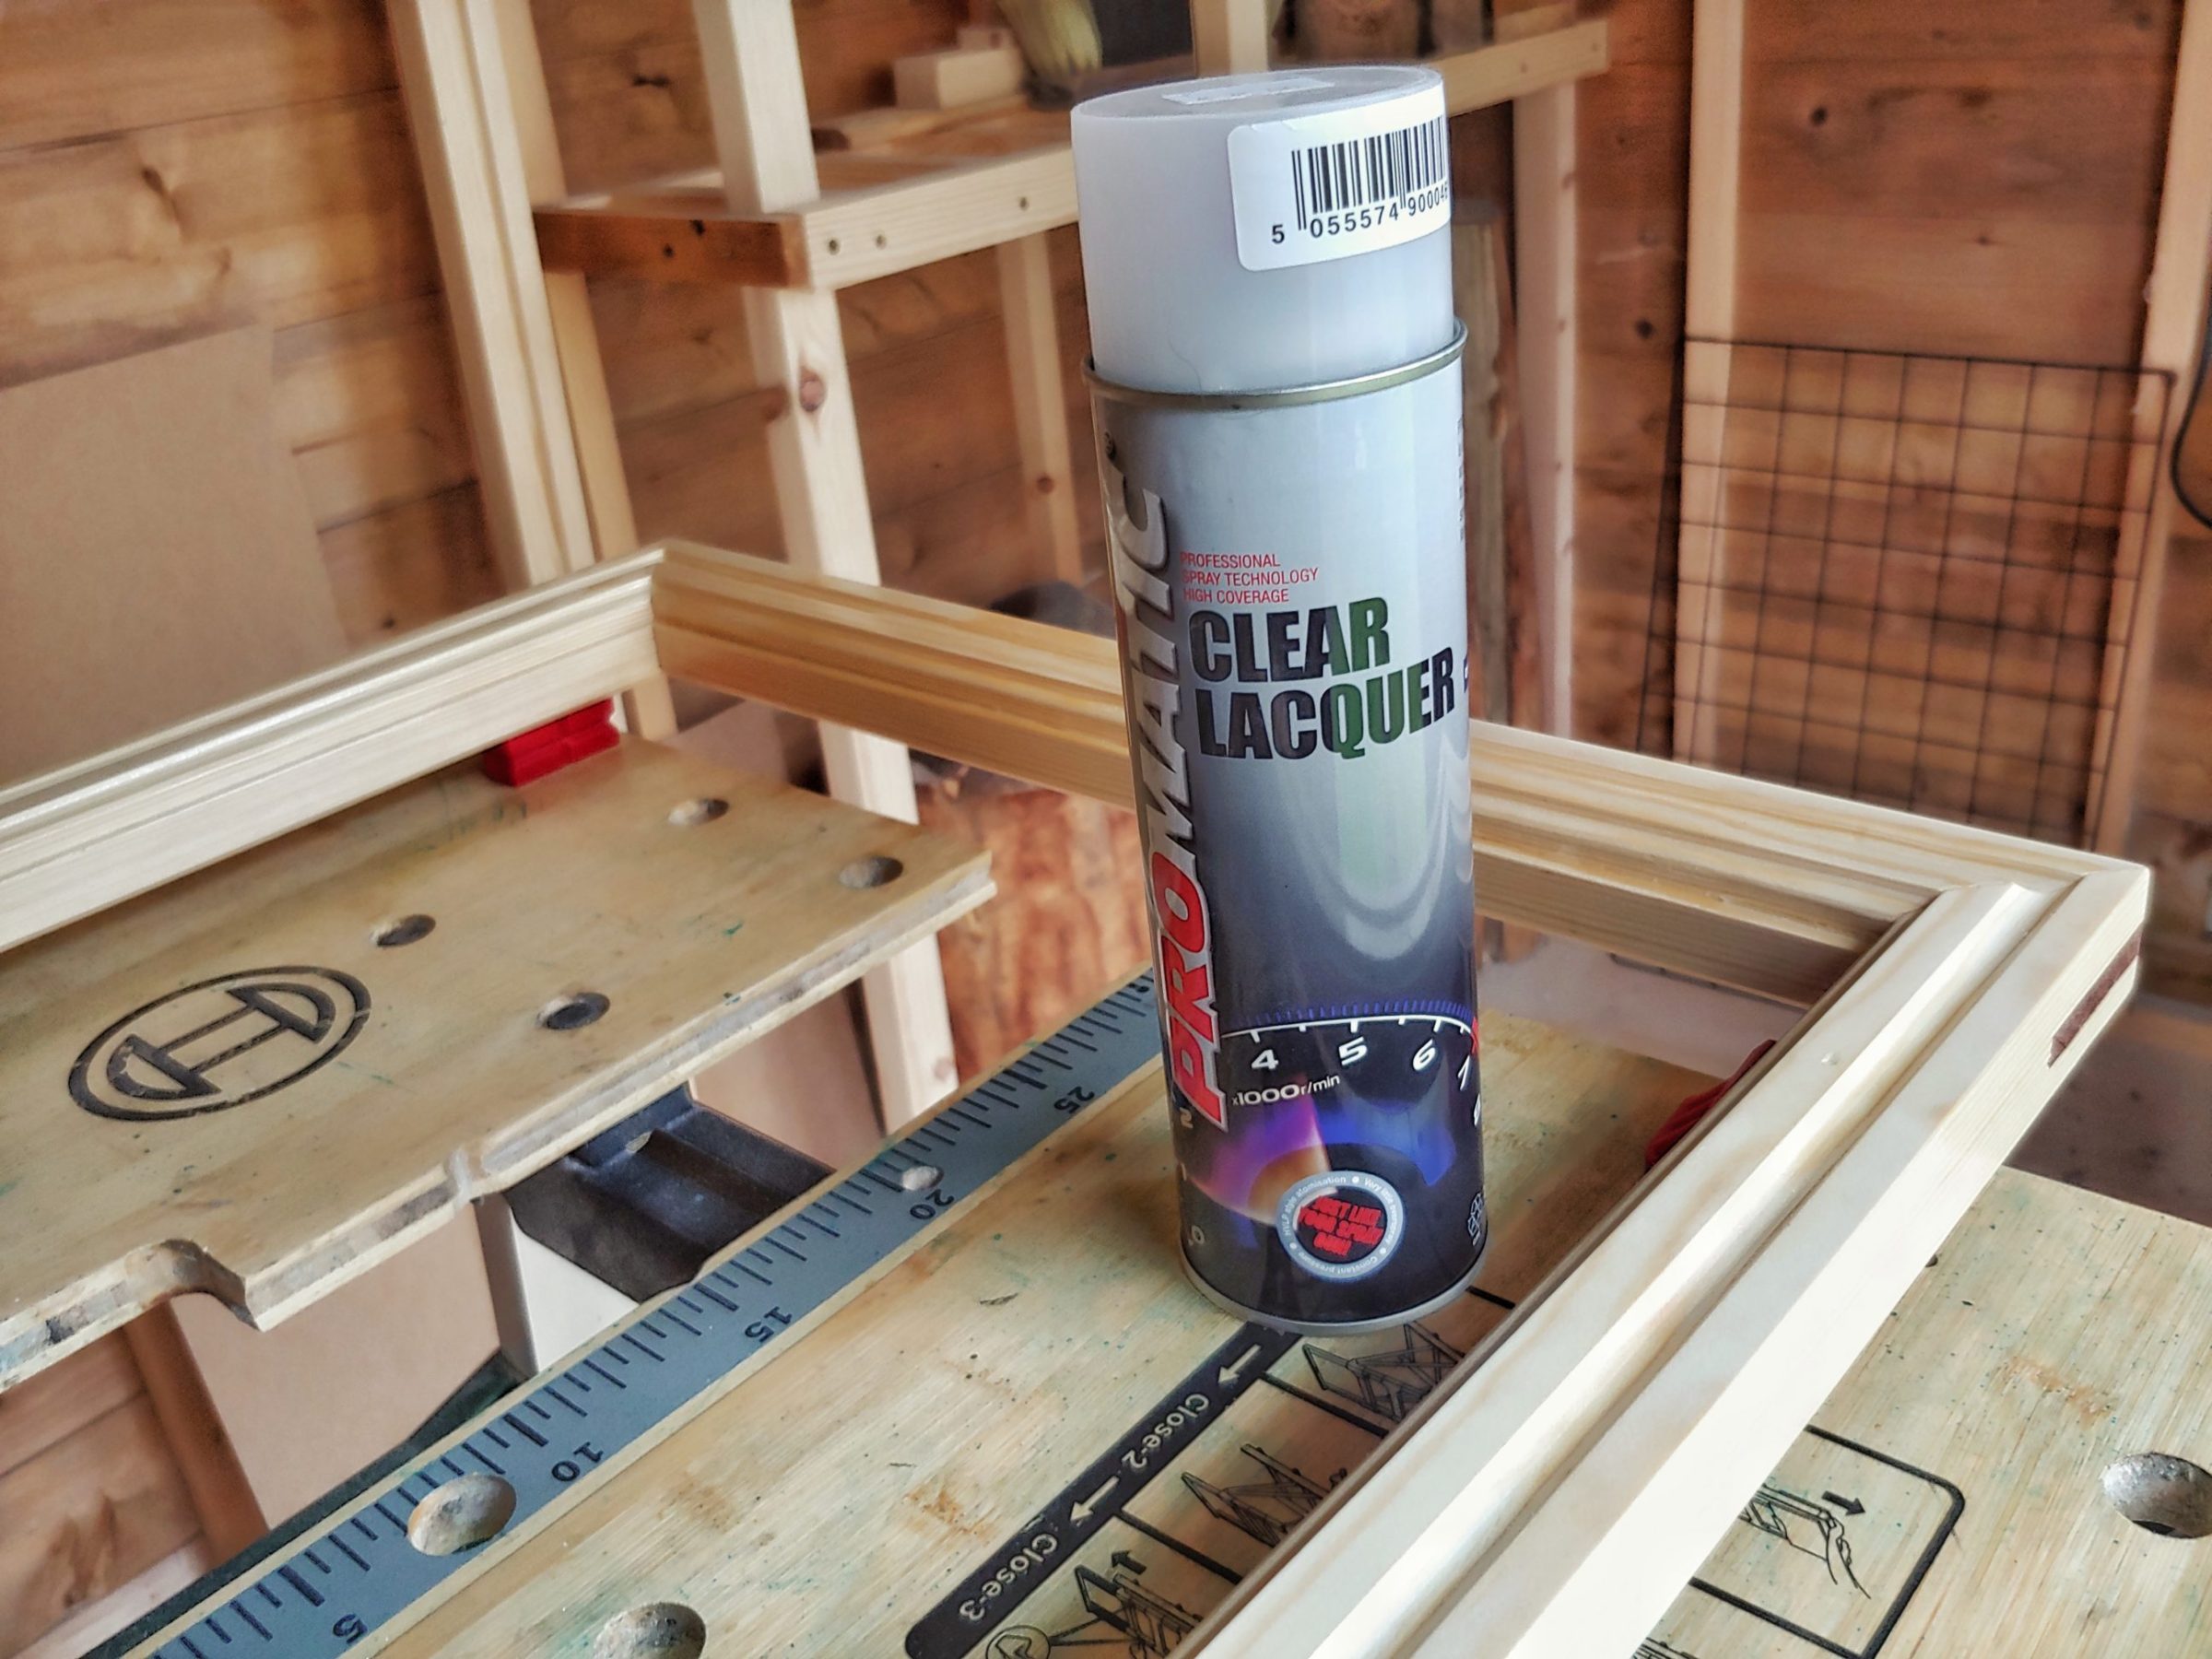
The plates and the screws were installed, and the project was ready for spraying lacquer. 5 – 6 coats applied within 2 – 3 hours finished the job.
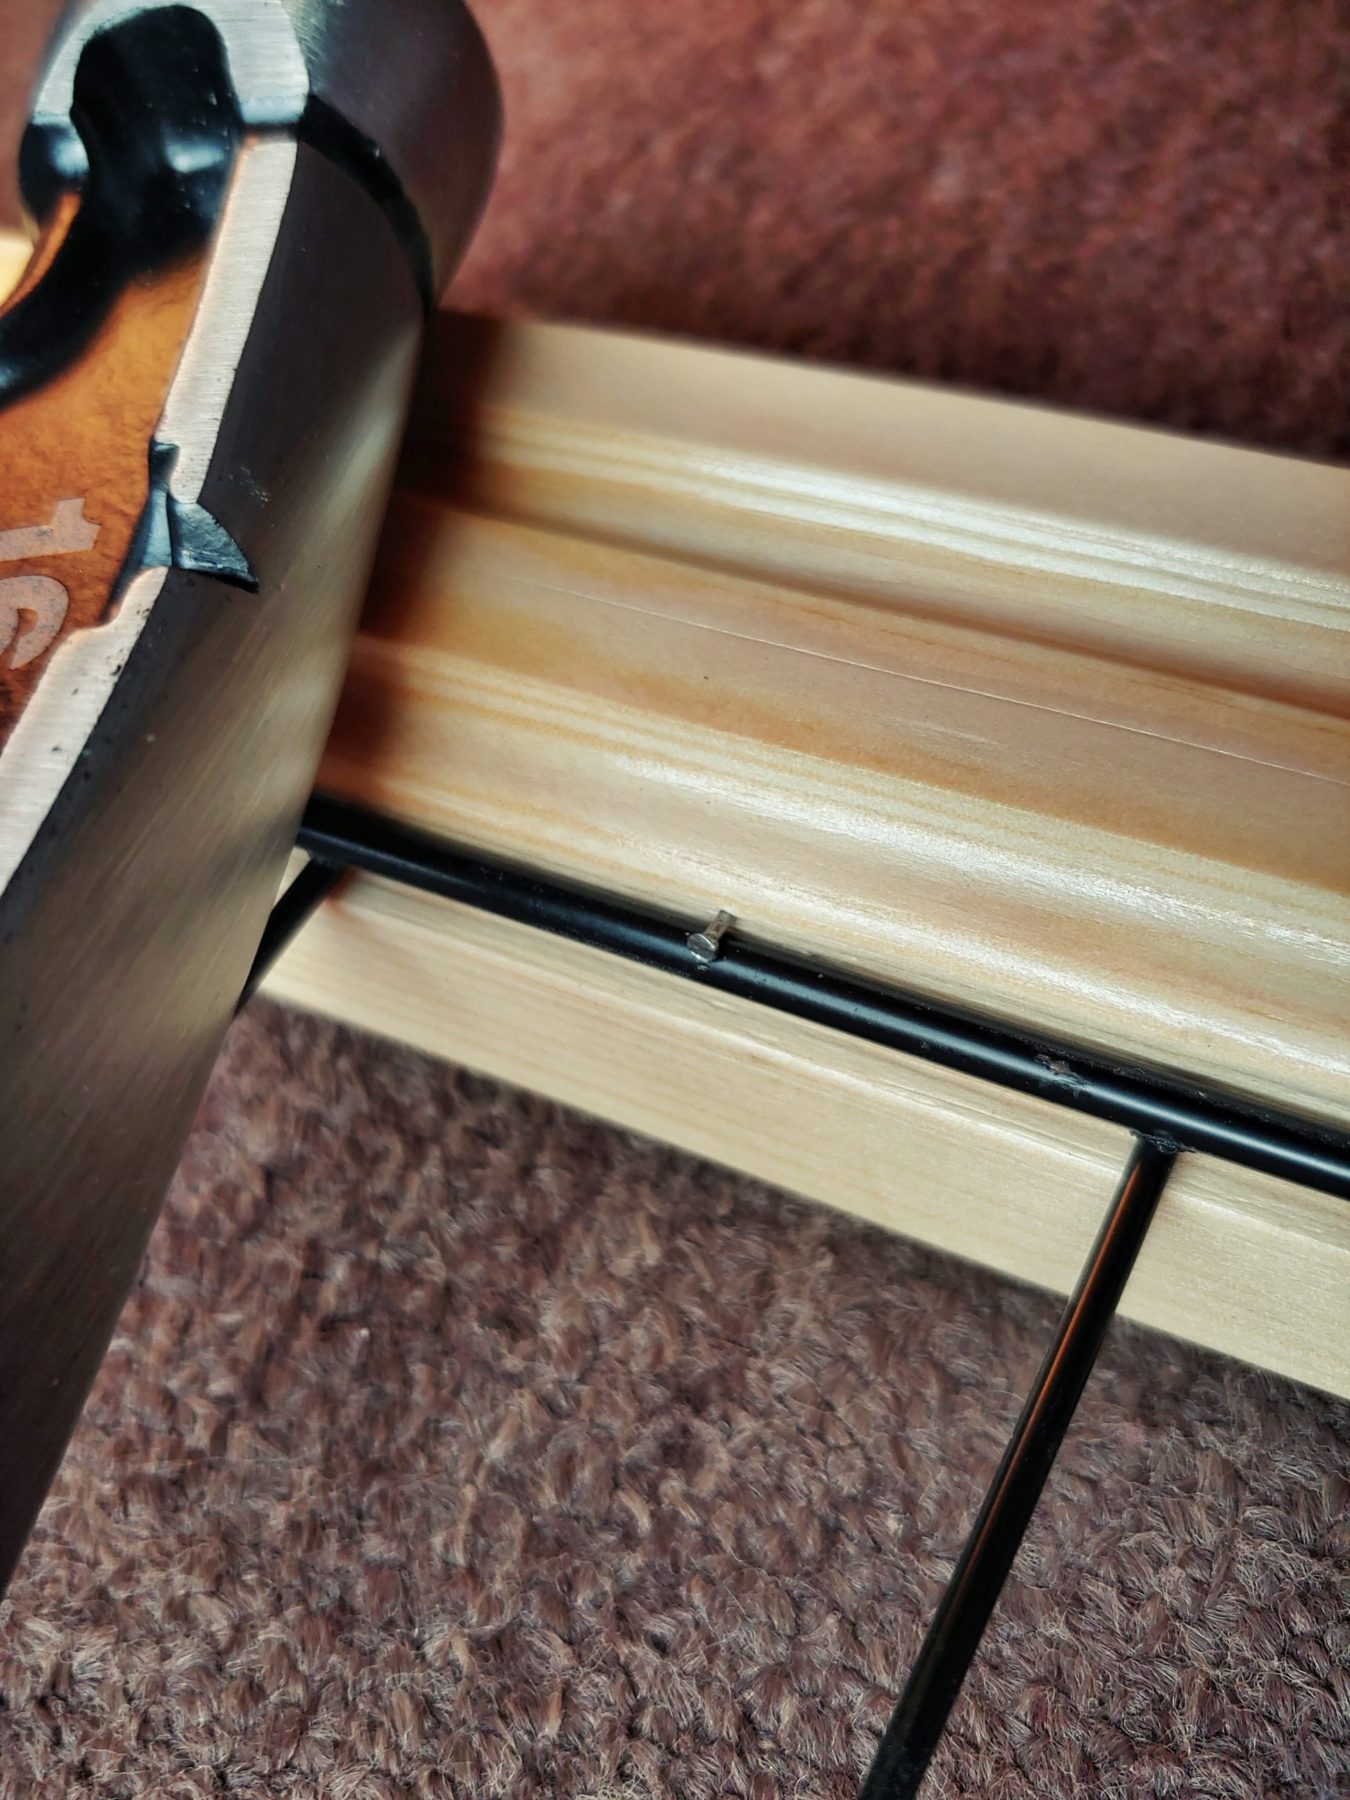
The grille was fixed to the frame with veneer pins, which was very like old-school glaziery.
Drilling holes in concrete had to be done very accurately. There was no room for any error, and I got it done like a pro. The dust was hoovered, and the frame was filled out with some girls’ stuff.


One Comment
Pingback: