-
Light-duty rustic shelf
It was built to make use of unused space behind my bandsaw. There was another shelf there in the past, which left a couple of ready-to-go holes, already drilled and fitted with wall plugs. I only had to buy some brackets and cut a board to size. I had some pallet wood boards lying around and I wanted to give them a shot. To be honest, I had no choice but to slightly complicate the build, otherwise, it couldn’t be called a project. Buying things and putting them together is not a project. It’s different when you dismantle a pallet…
-
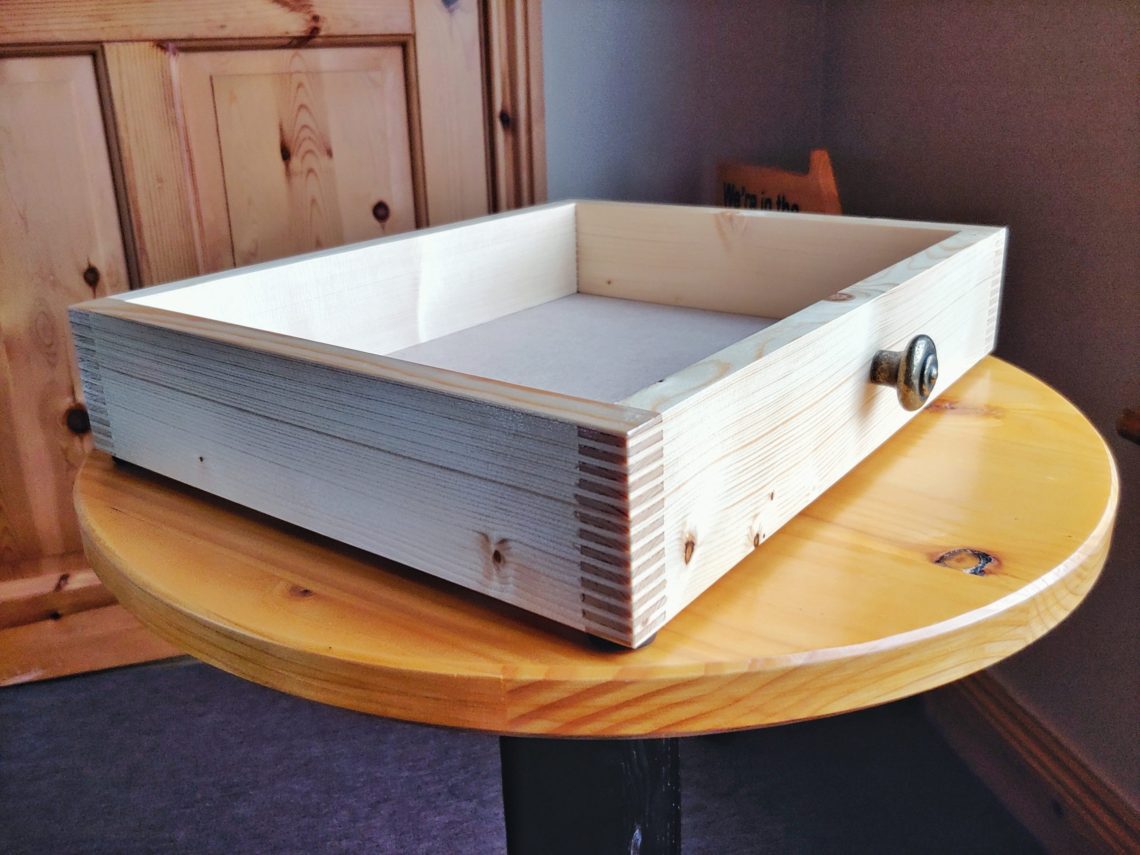
Finger joint tray
A simple organizer, used mostly for storing personal protective equipment like work gloves, safety glasses and hearing protection. That determined its size, but also or maybe most importantly it had to fit under the shelving unit. I was very excited to try out the jig and the glue with a longer clamping time. First I cut the timber to length using my table saw. Then I attached the jig and started cutting the joints. They were on the loose side, but I was happy to be able to experiment with them. Last time they were too tight and the glue…
-
Gin bottle lamp
This is a continuation of my latest project – square gin bottle cut – largely about woodworking as the glass was already cut and ready to go. With the right tool, which was my new bandsaw, cutting the base was easy and accurate. I cut it just outside the line and removed the rest of the material with my belt sander. I also eased the edges with sandpaper, the top one just a bit and the bottom one quite much. I usually do the same for table tops, platforms and such, but I use my router instead of a sanding…
-
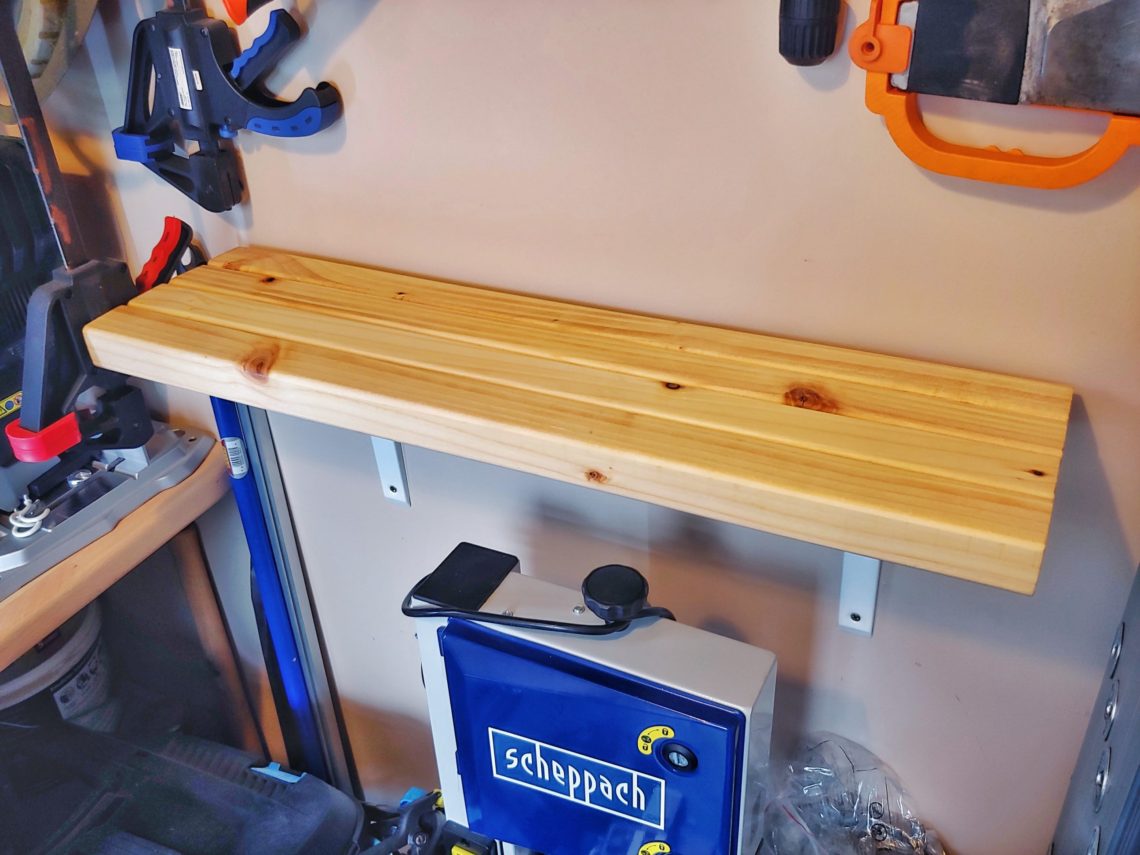
No-nonsense shelf
Made of scrap material, the same batch was used for a couple of other projects, like the bath mat or the plant stand. The timber was the right length and that way I just had to sand it. I only used 40 and 80-grit discs as it was supposed to be a shelf for tools and not a piece of art. Some of the edges had deep saw marks, but still – quick sanding just to make it flat. Once it was good enough, I recreated the round-over edges with a router. That was followed by hand sanding and drilling…
-
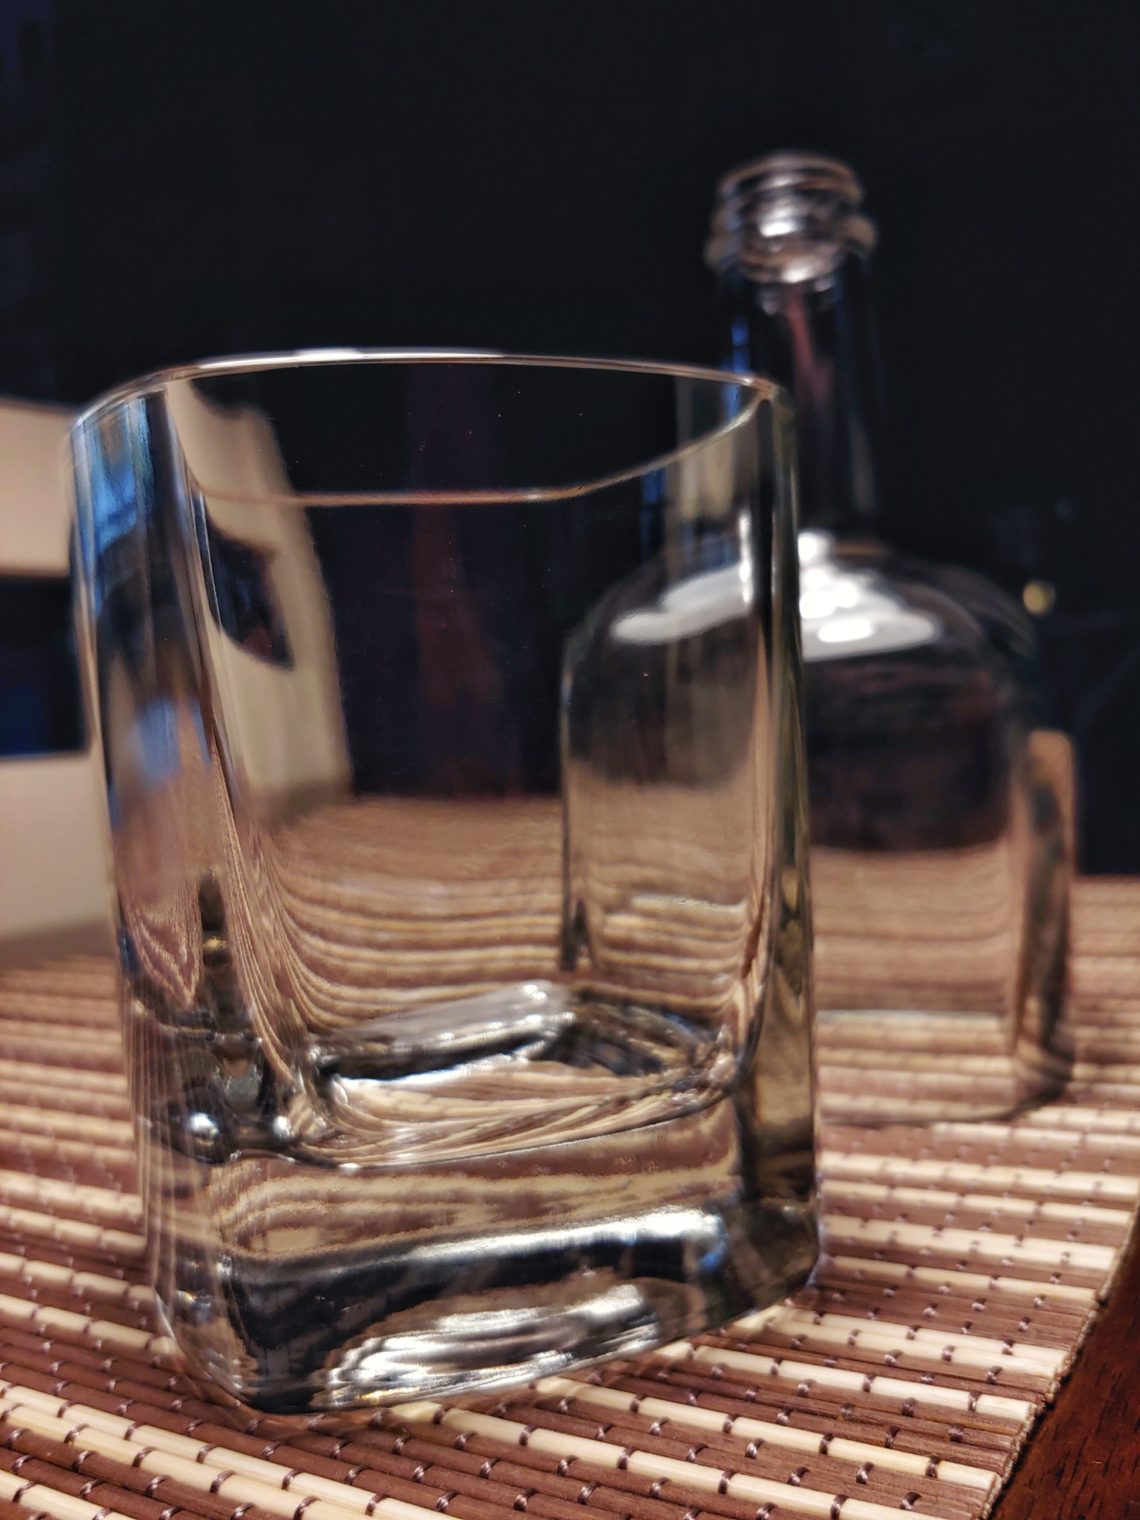
Square gin bottle cut
Rhubarb gin, very tasty if I may say so, in a bottle that could be used for a few projects. I was lucky with this one as it cracked as planned and gave me 2 parts, the bottom one could be a drinking glass and the top one, probably be some decorative lighting with a wooden base. Thick walls, clear glass, flat bottom. It would be way easier to process it if the bottle was round, but that project was a little more challenging and time-consuming, more rewarding though. As always it was done step by step: removing the labels,…
-
Whoa-O Cacao
Out of nowhere, it’s turning into a series of heads, or whatever it may be called. There is already one on the wall, I call it Bandit, this one is the 2nd, and another project is underway. They are always made as I go, without any plans, maybe just with a blurred vision in my head. One thing in common – they’re made from scrap material and other upcycled items. They also have their names. I started by drilling 2 holes/sockets for the dowels. Not all way through, I left lips to support the dowels on them. Next, I routed…
-
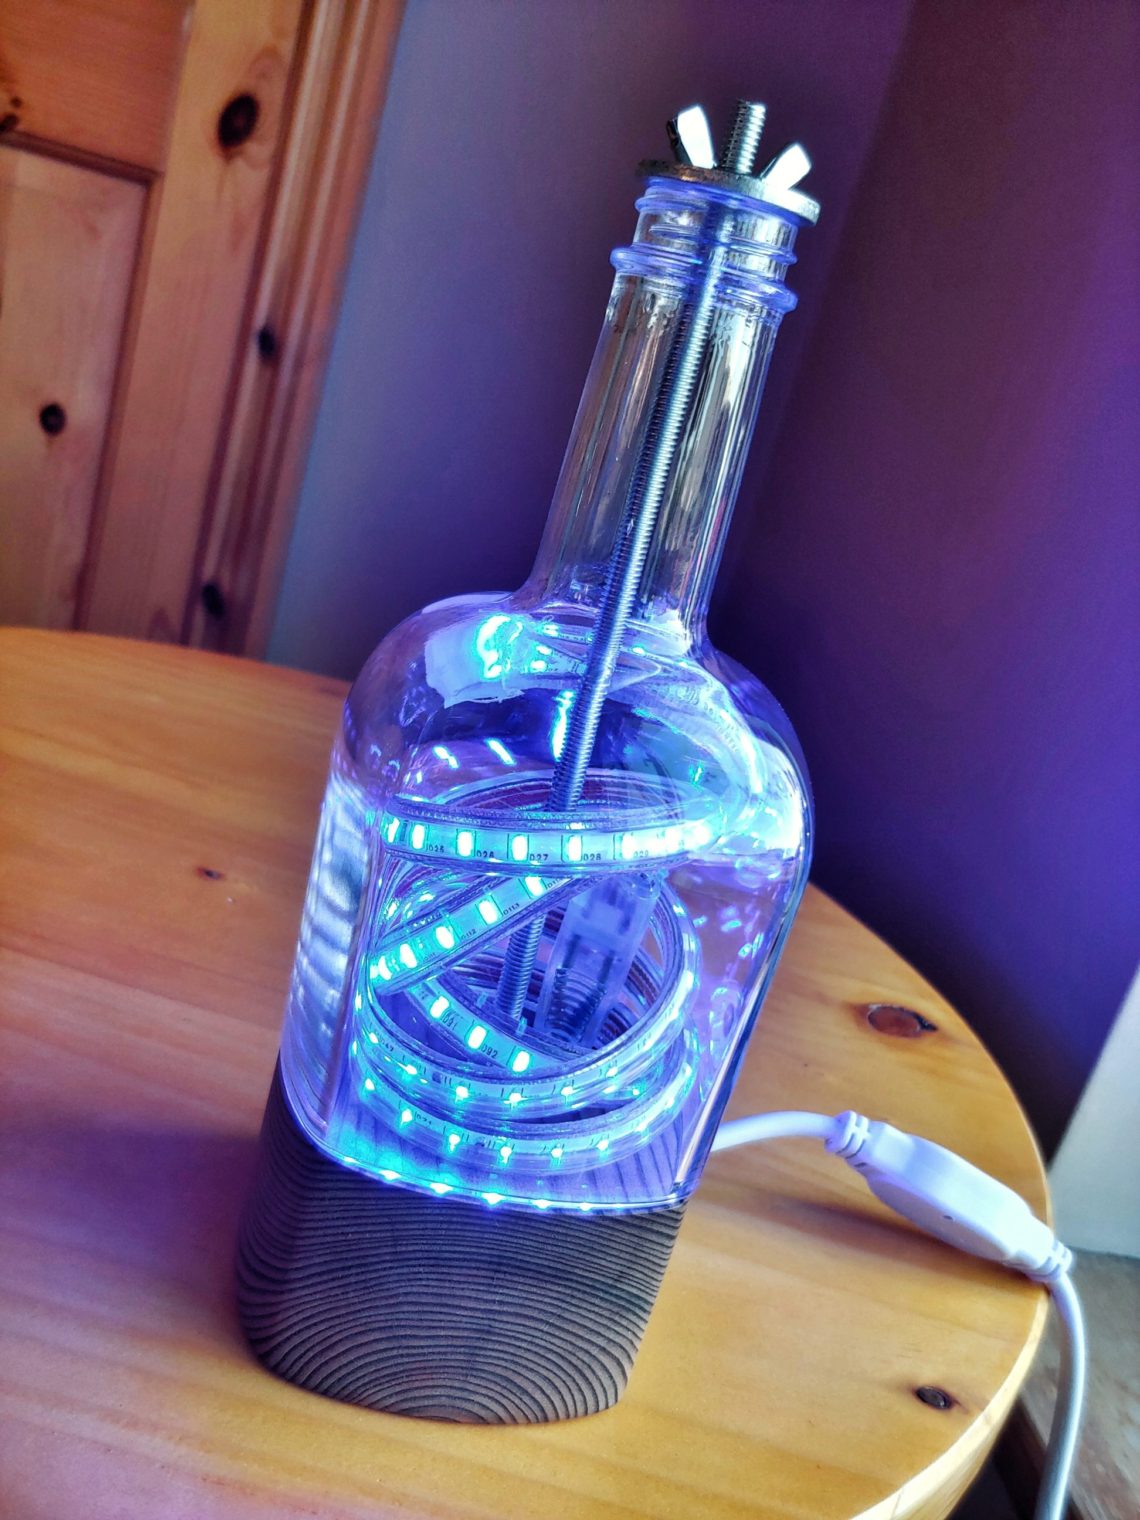
USB LED lamp
This lamp replaced my x-mas lights in a bottle one, as it simply burned out after 2 ½ years of use. The project involved cutting a new bottle and making a wooden base for it. The old bottle finished its life in a recycling bin, it was time to try alternative methods and approaches to making bottle lamps. The challenge was always about inserting a wire through the glass or placing it into the glass (bottle) in a nice and only way, which was from the bottom. There were no safety features to be concerned with because it was using…
-
Simple picture frame
In general, that was a very simple project. Setting the blade to 90º and the mitre gauge to 45º took some time as that had to be done precisely. Once the setup was done, the cutting and glueing were quite straightforward. I lightly clamped the frame with a strap clamp, using very little force and then aligned all 4 corners with small c- and quick-release clamps. I didn’t want any dents in the timber so again I didn’t apply much pressure. Slowly and precisely, there was absolutely no rush and no pressure. Once the glue dried I removed the clamps…
-
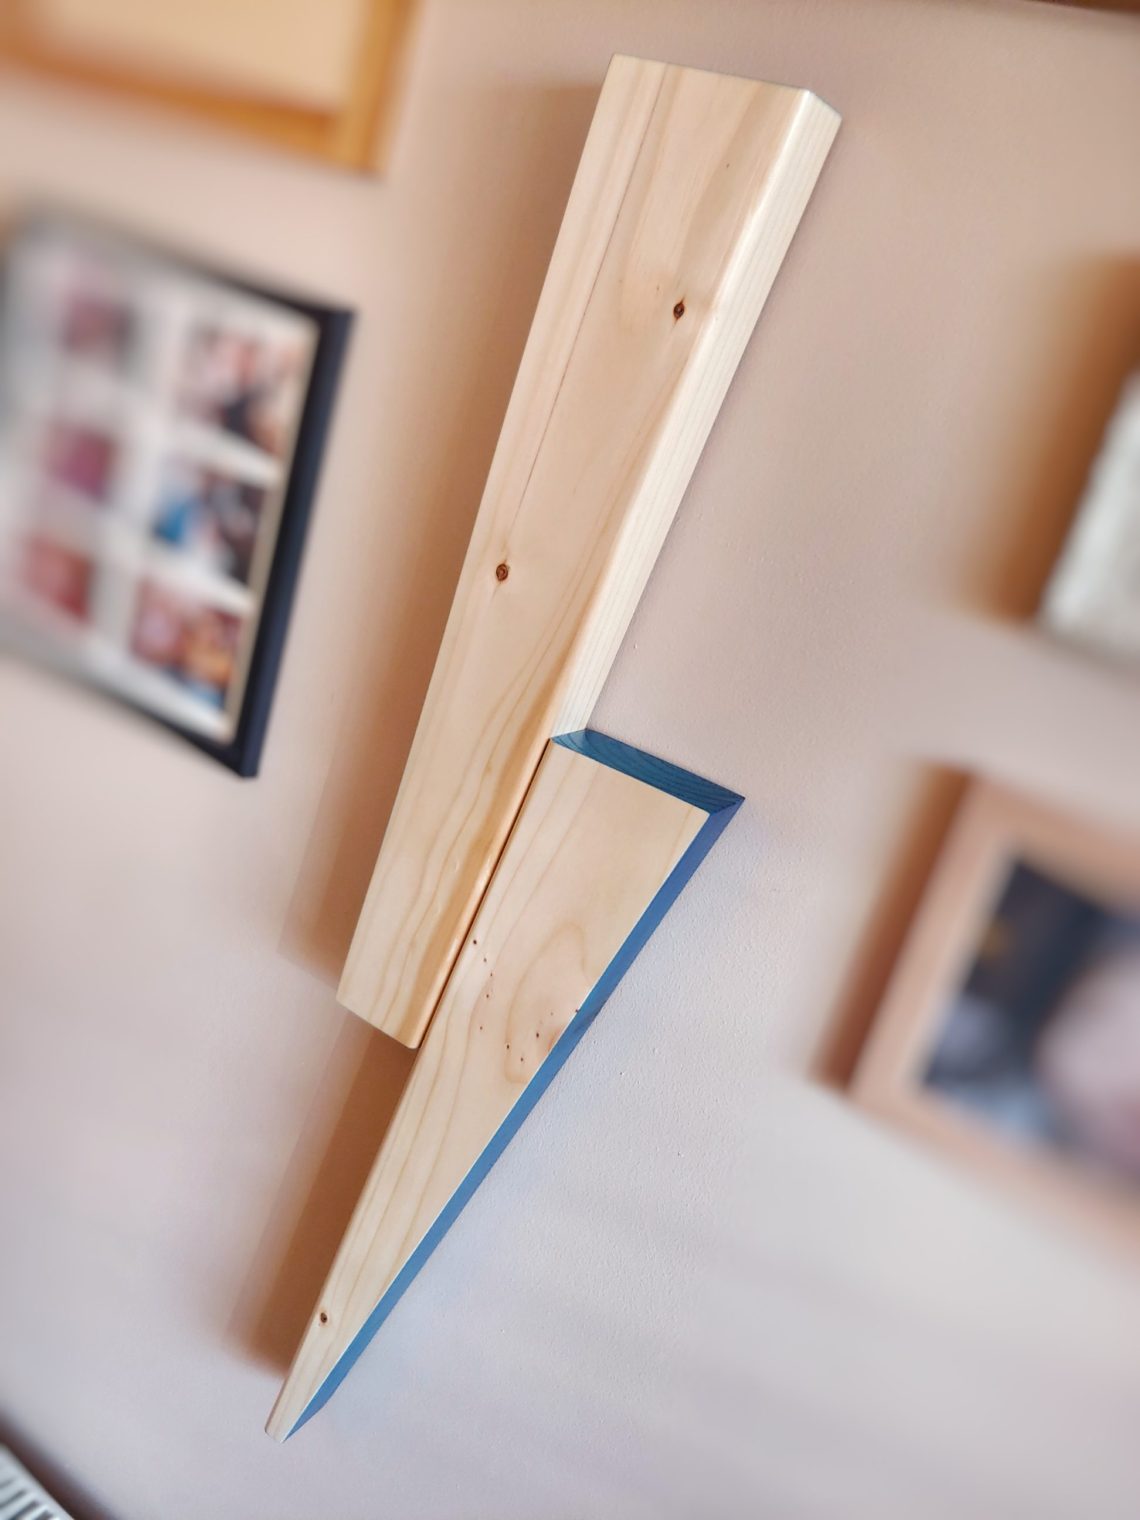
Thunderbolt
Just another wall decoration, but if there is nothing complicated in cutting the timber or if the wood joints are simple – the finish has to differentiate the project from many others. In this case, these are the colours and beautifully exposed grain. The thunderbolt comprises only 2 blocks of timber deliberately divided with 2 rounded edges. I started with cutting tapers using my tapering jig. The first board could be placed against the jig’s fence, but the other was held just with the clamps, it was still safe though. I set my mitre gauge to about 83º and cut…
-
Large round planter
They are quite expensive to buy and relatively easy to make. Since I could purchase cut-to-length timber, that fitted into my boot at a good price I took up the challenge to make a wooden planter. I got 18 pieces of timber, 529 x 97 x 40 mm cut from 2 full lengths of 4.8 m each. Those were way too long for any car, that’s why it was important to get the timber cut to more manageable sizes. I used 14 pieces for the walls and the remaining 4 were supposed to be used for the bottom. However, I…