
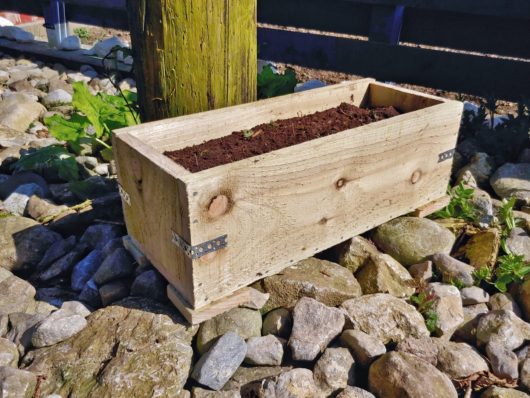
3 button coasters
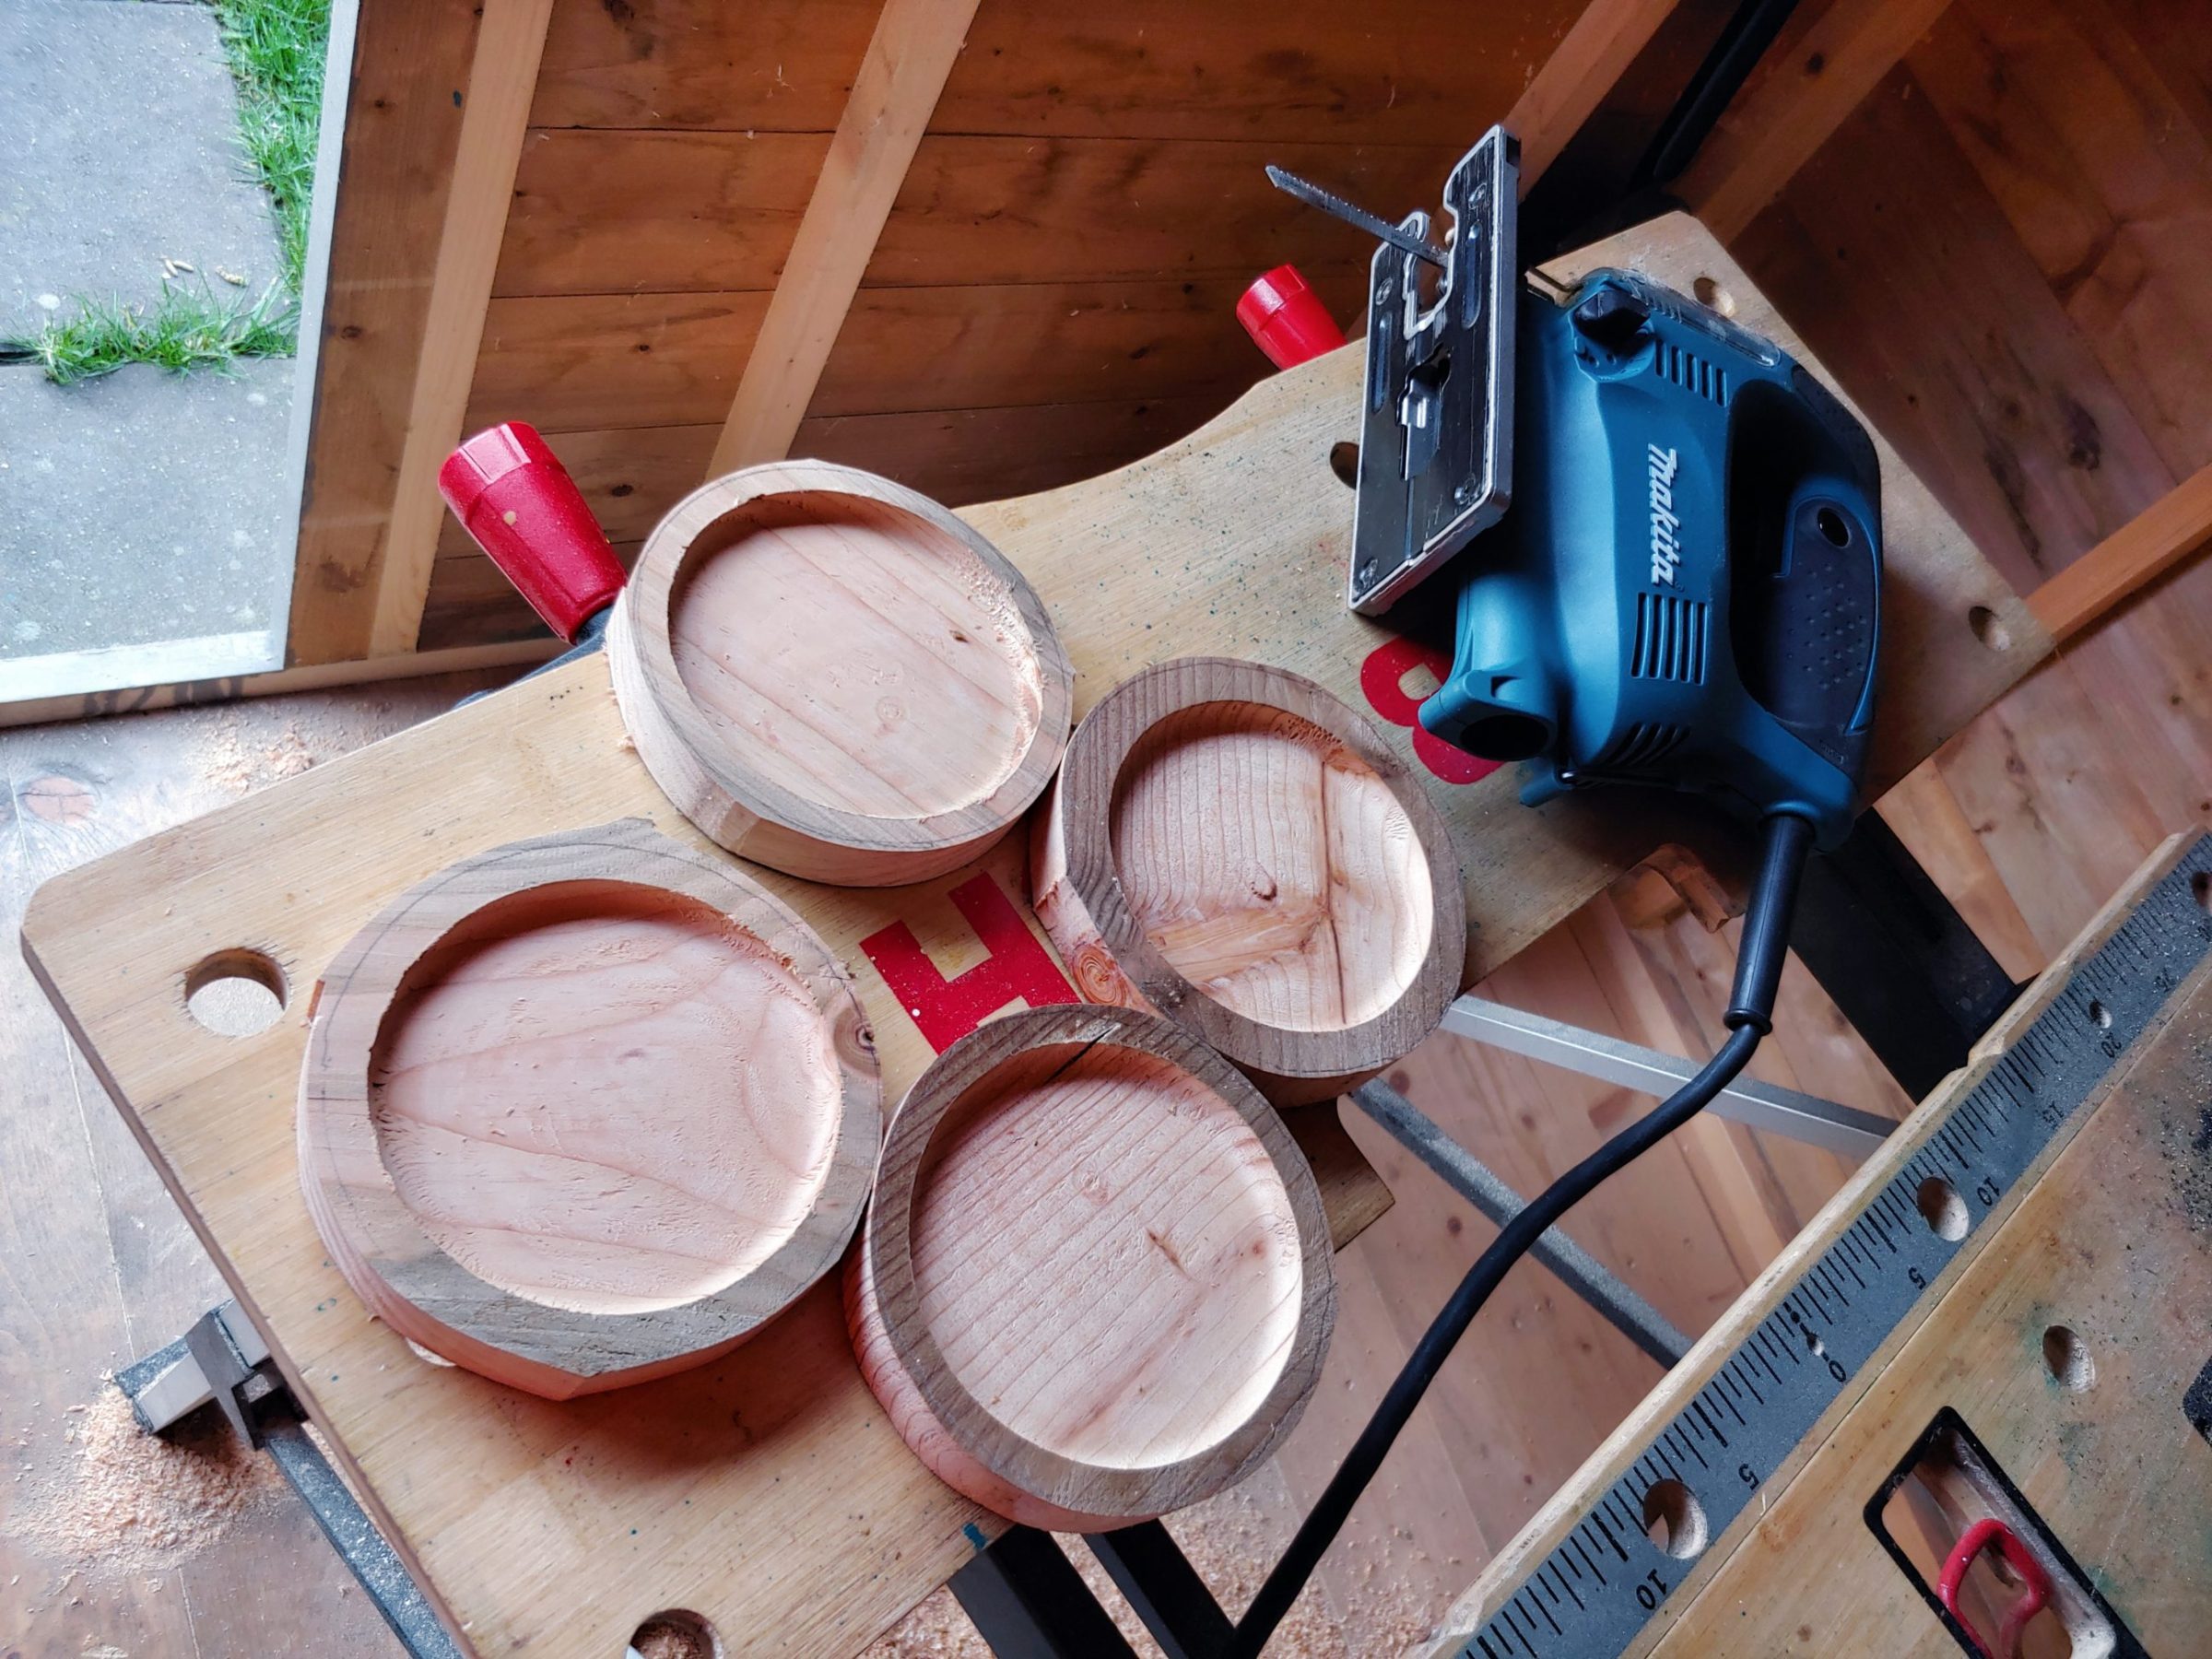
Templates first! Due to the bowl router bit size, its height and the bearing position, the template had to be quite thick. That would allow me to make a whole range of depths from 0 to 1/2 inch, maybe deeper.
I know from my experience that cutting curved lines with a jigsaw can go wrong, and the blade can bend. To avoid that I cut close to the line and then removed the rest with the same blade by cutting perpendicular to the line. That consumed more time, but it was the thing to do. If you don’t have a scroll saw or a band saw you have to improvise. I used my drill, drill stand and sanding drums to smooth the surface out.


I drilled 7 mm holes for the fence clamps, fixed the timber and the template to my portable workbench and started routing. I did it in 2 passes to minimise burning and maximise the bit’s life.


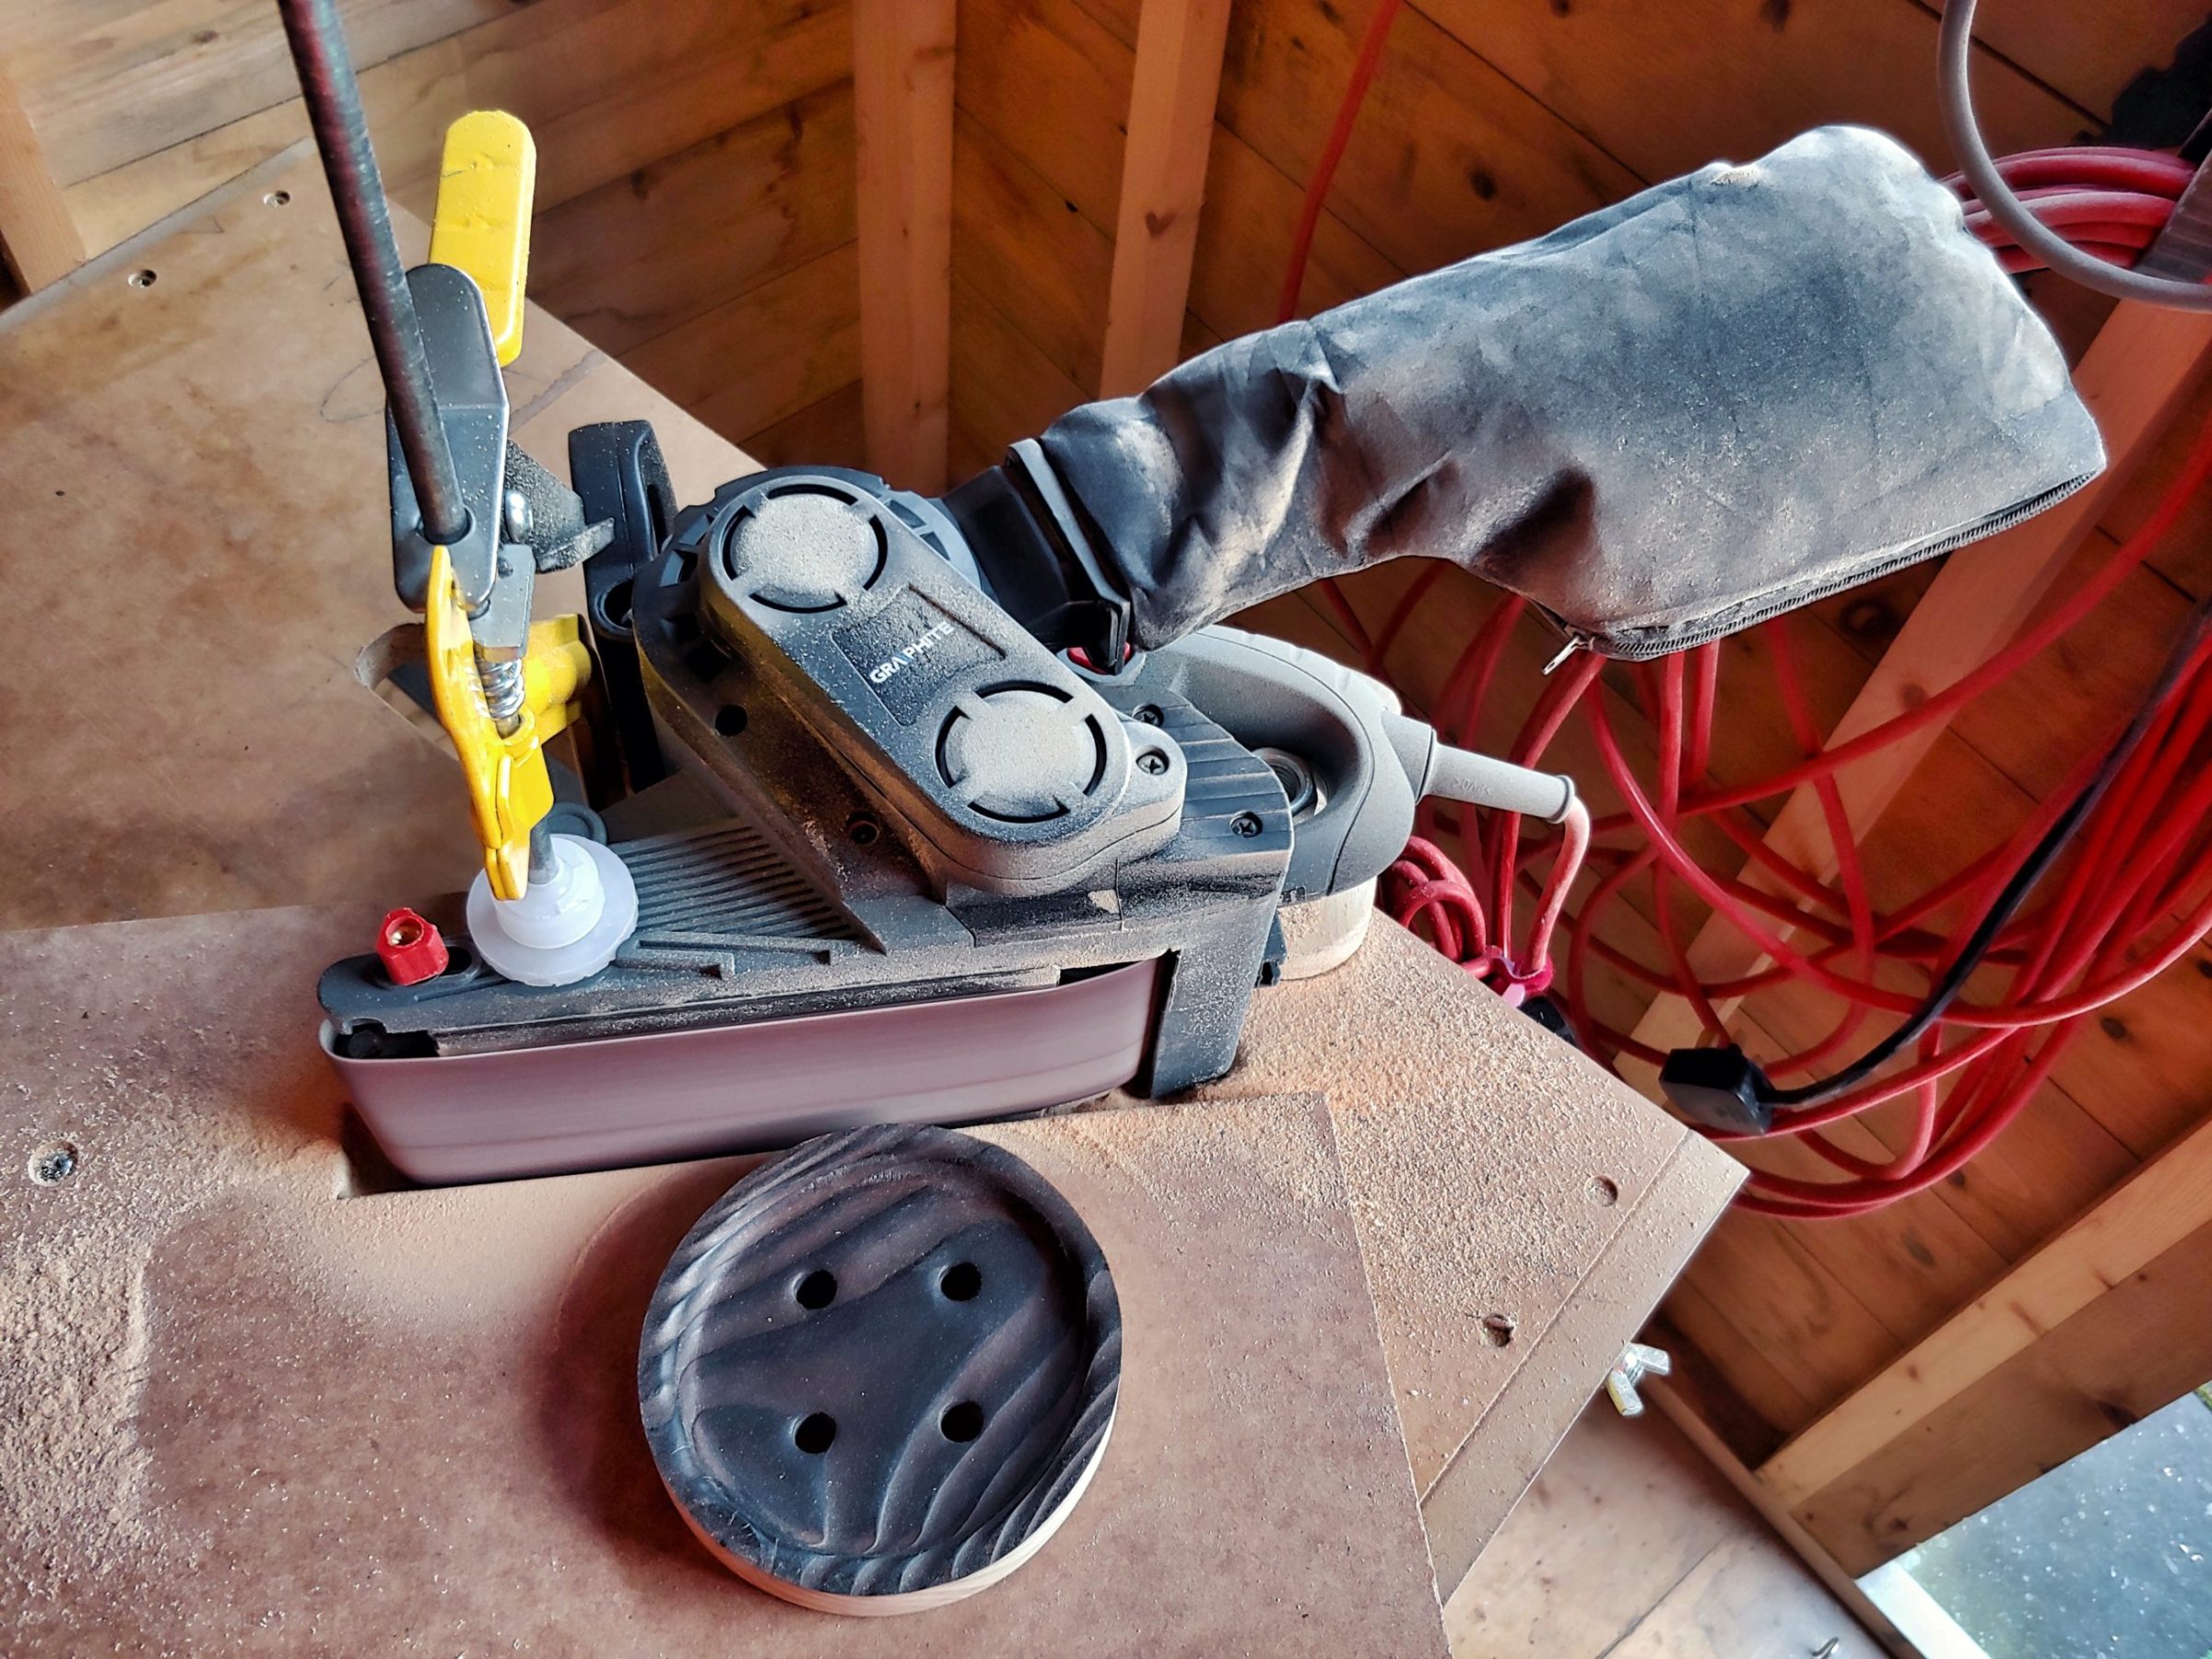
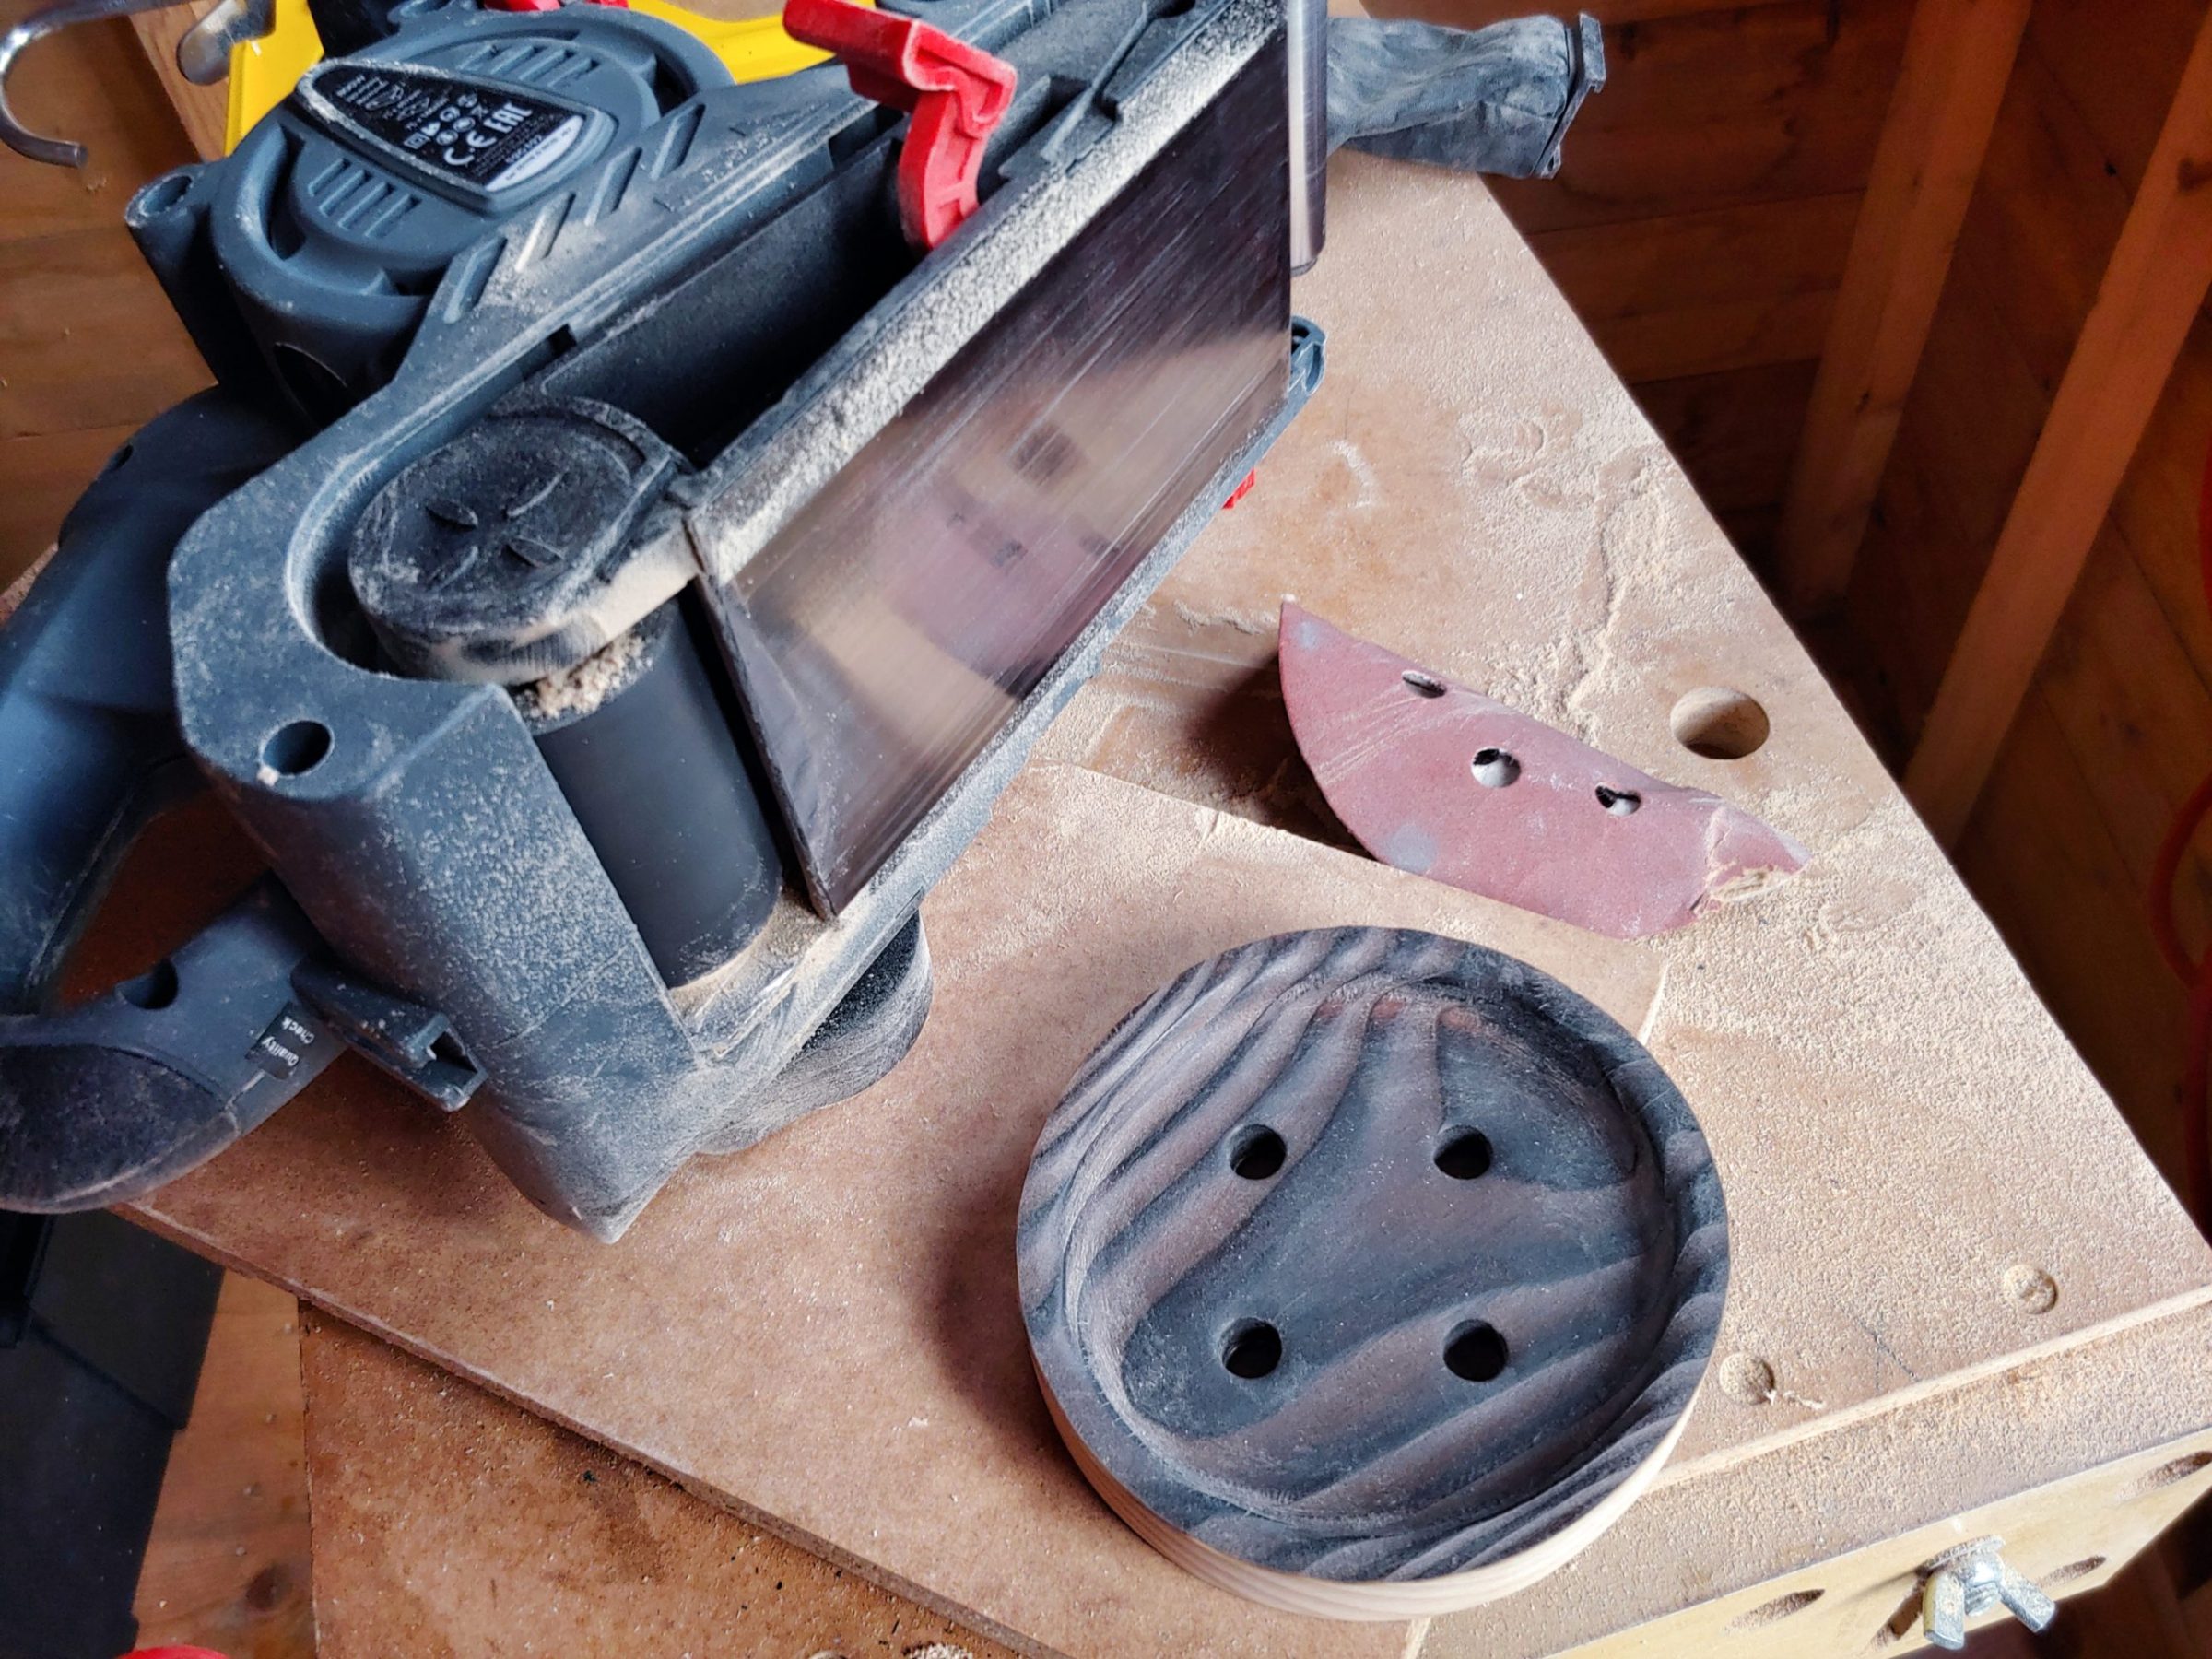
Next, with my jigsaw, I cut the coasters to their rough size. The rest will be removed with my belt sander.

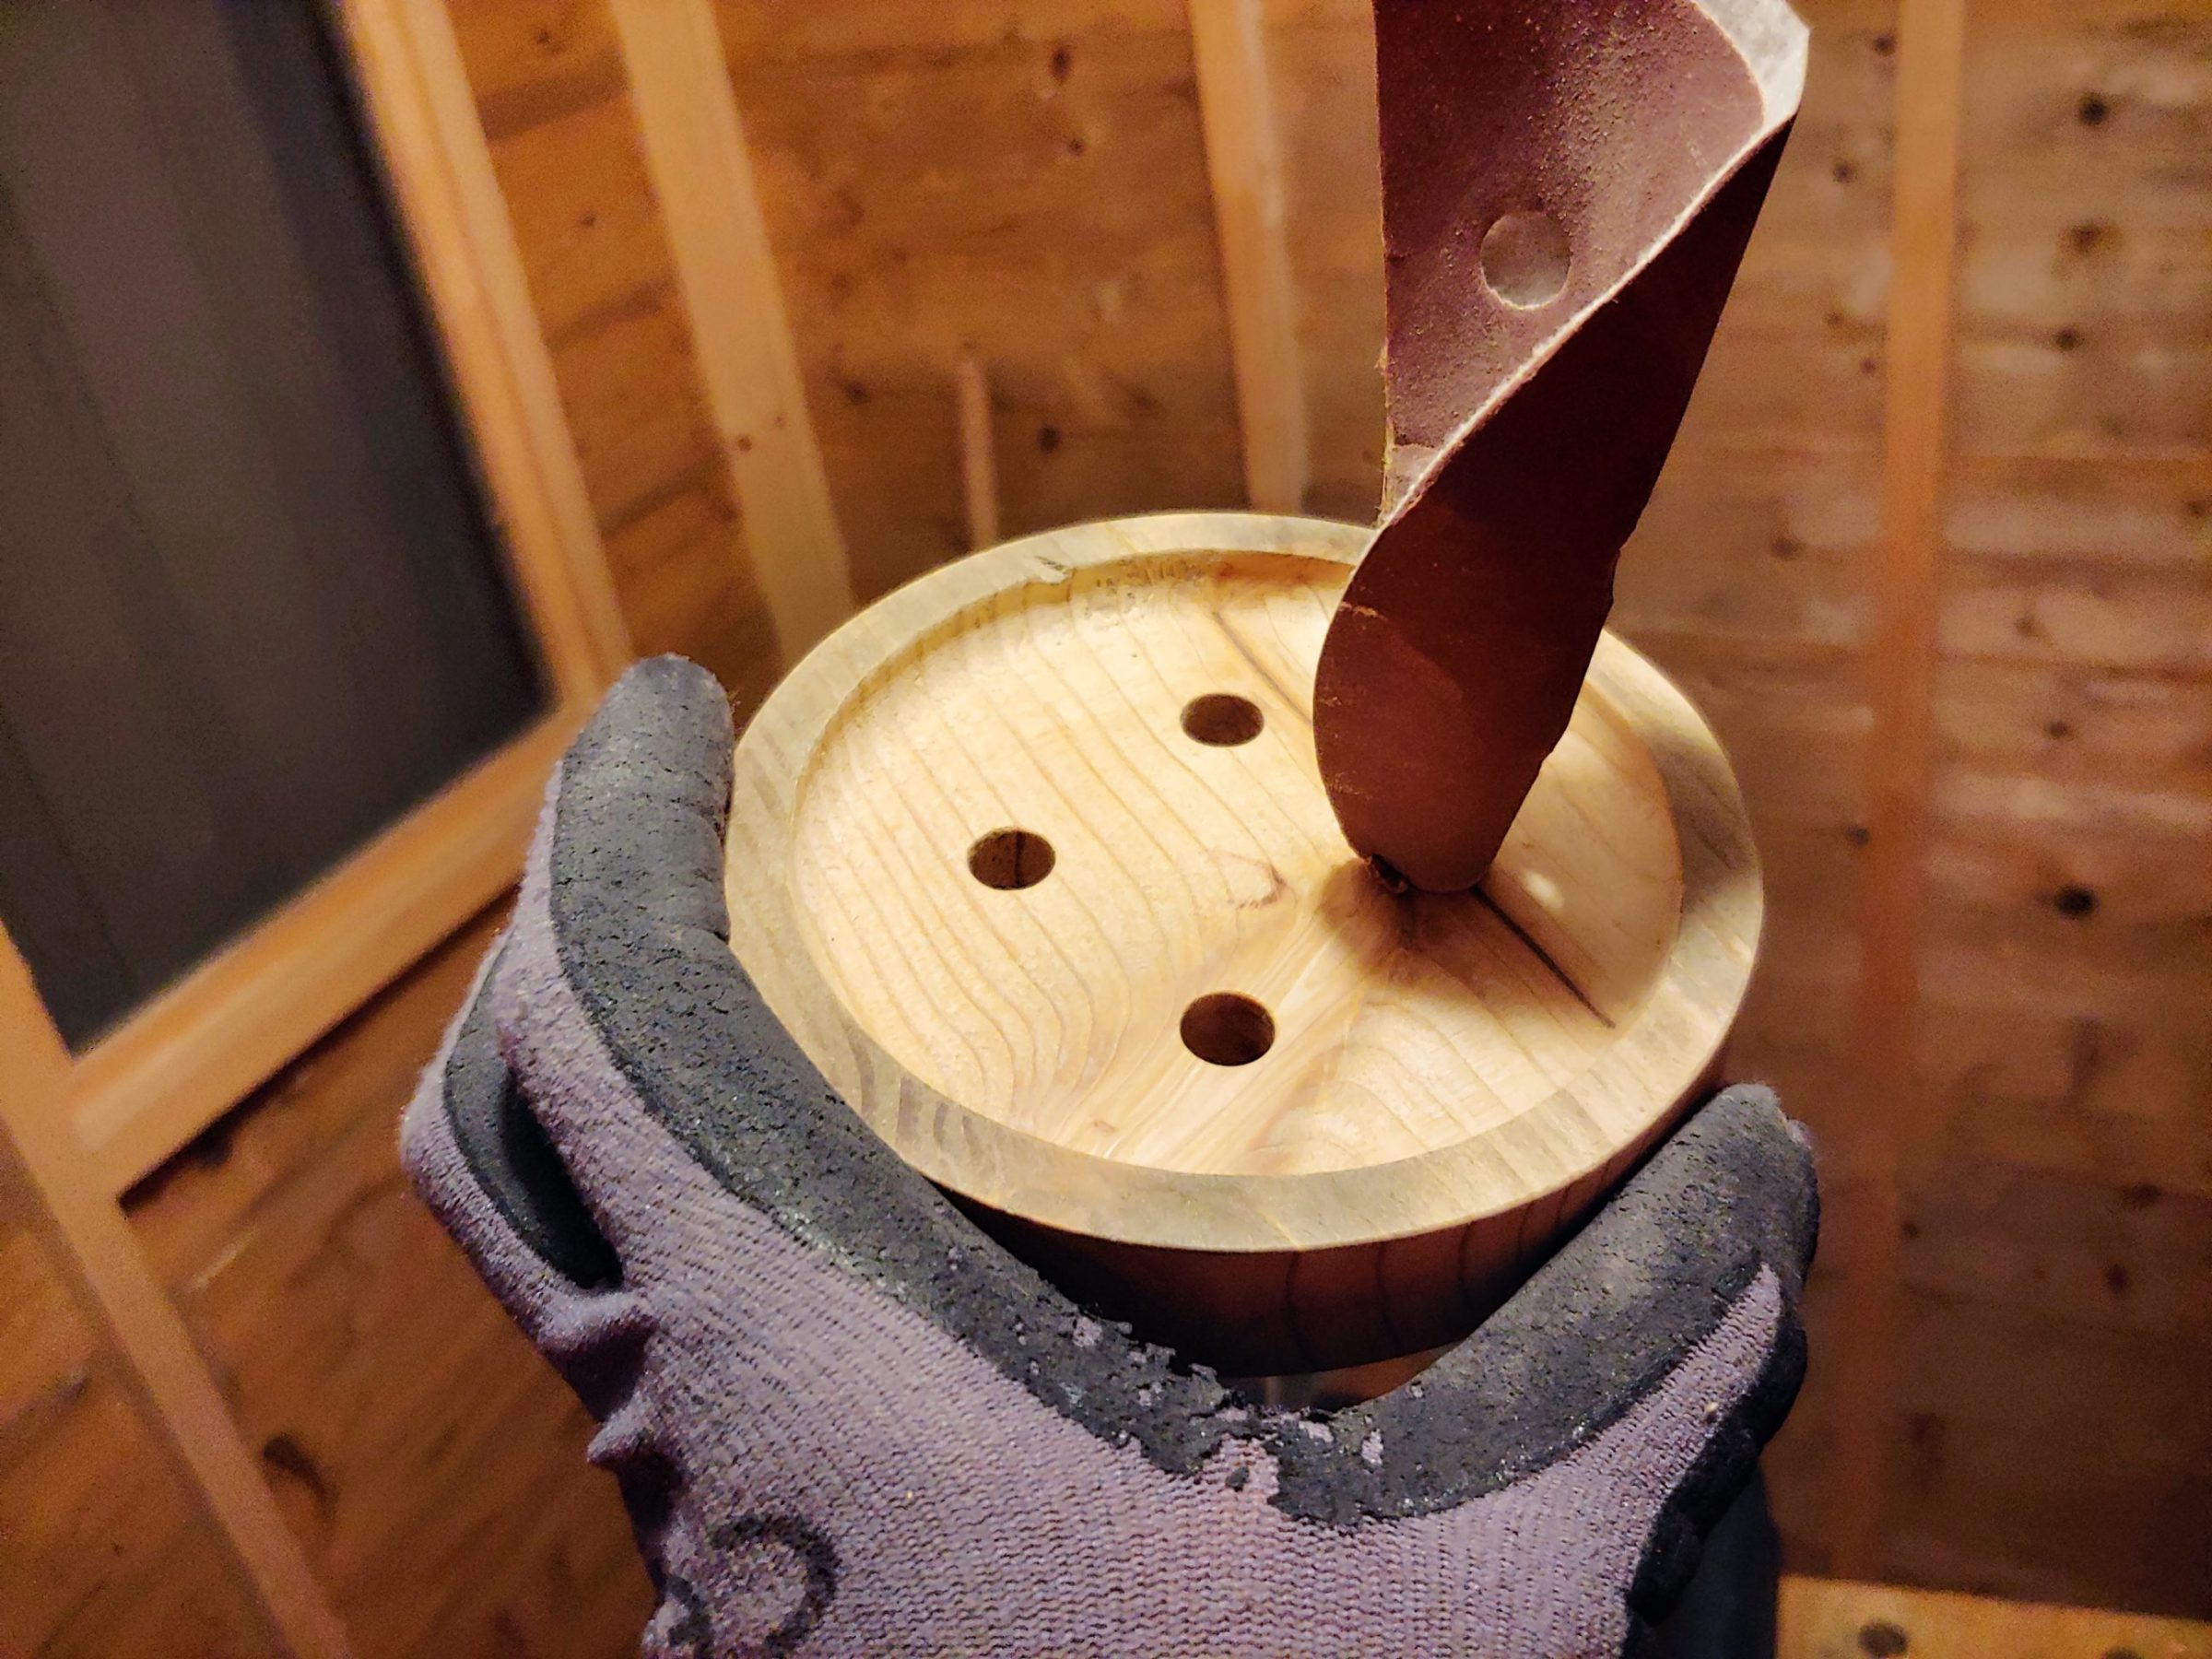
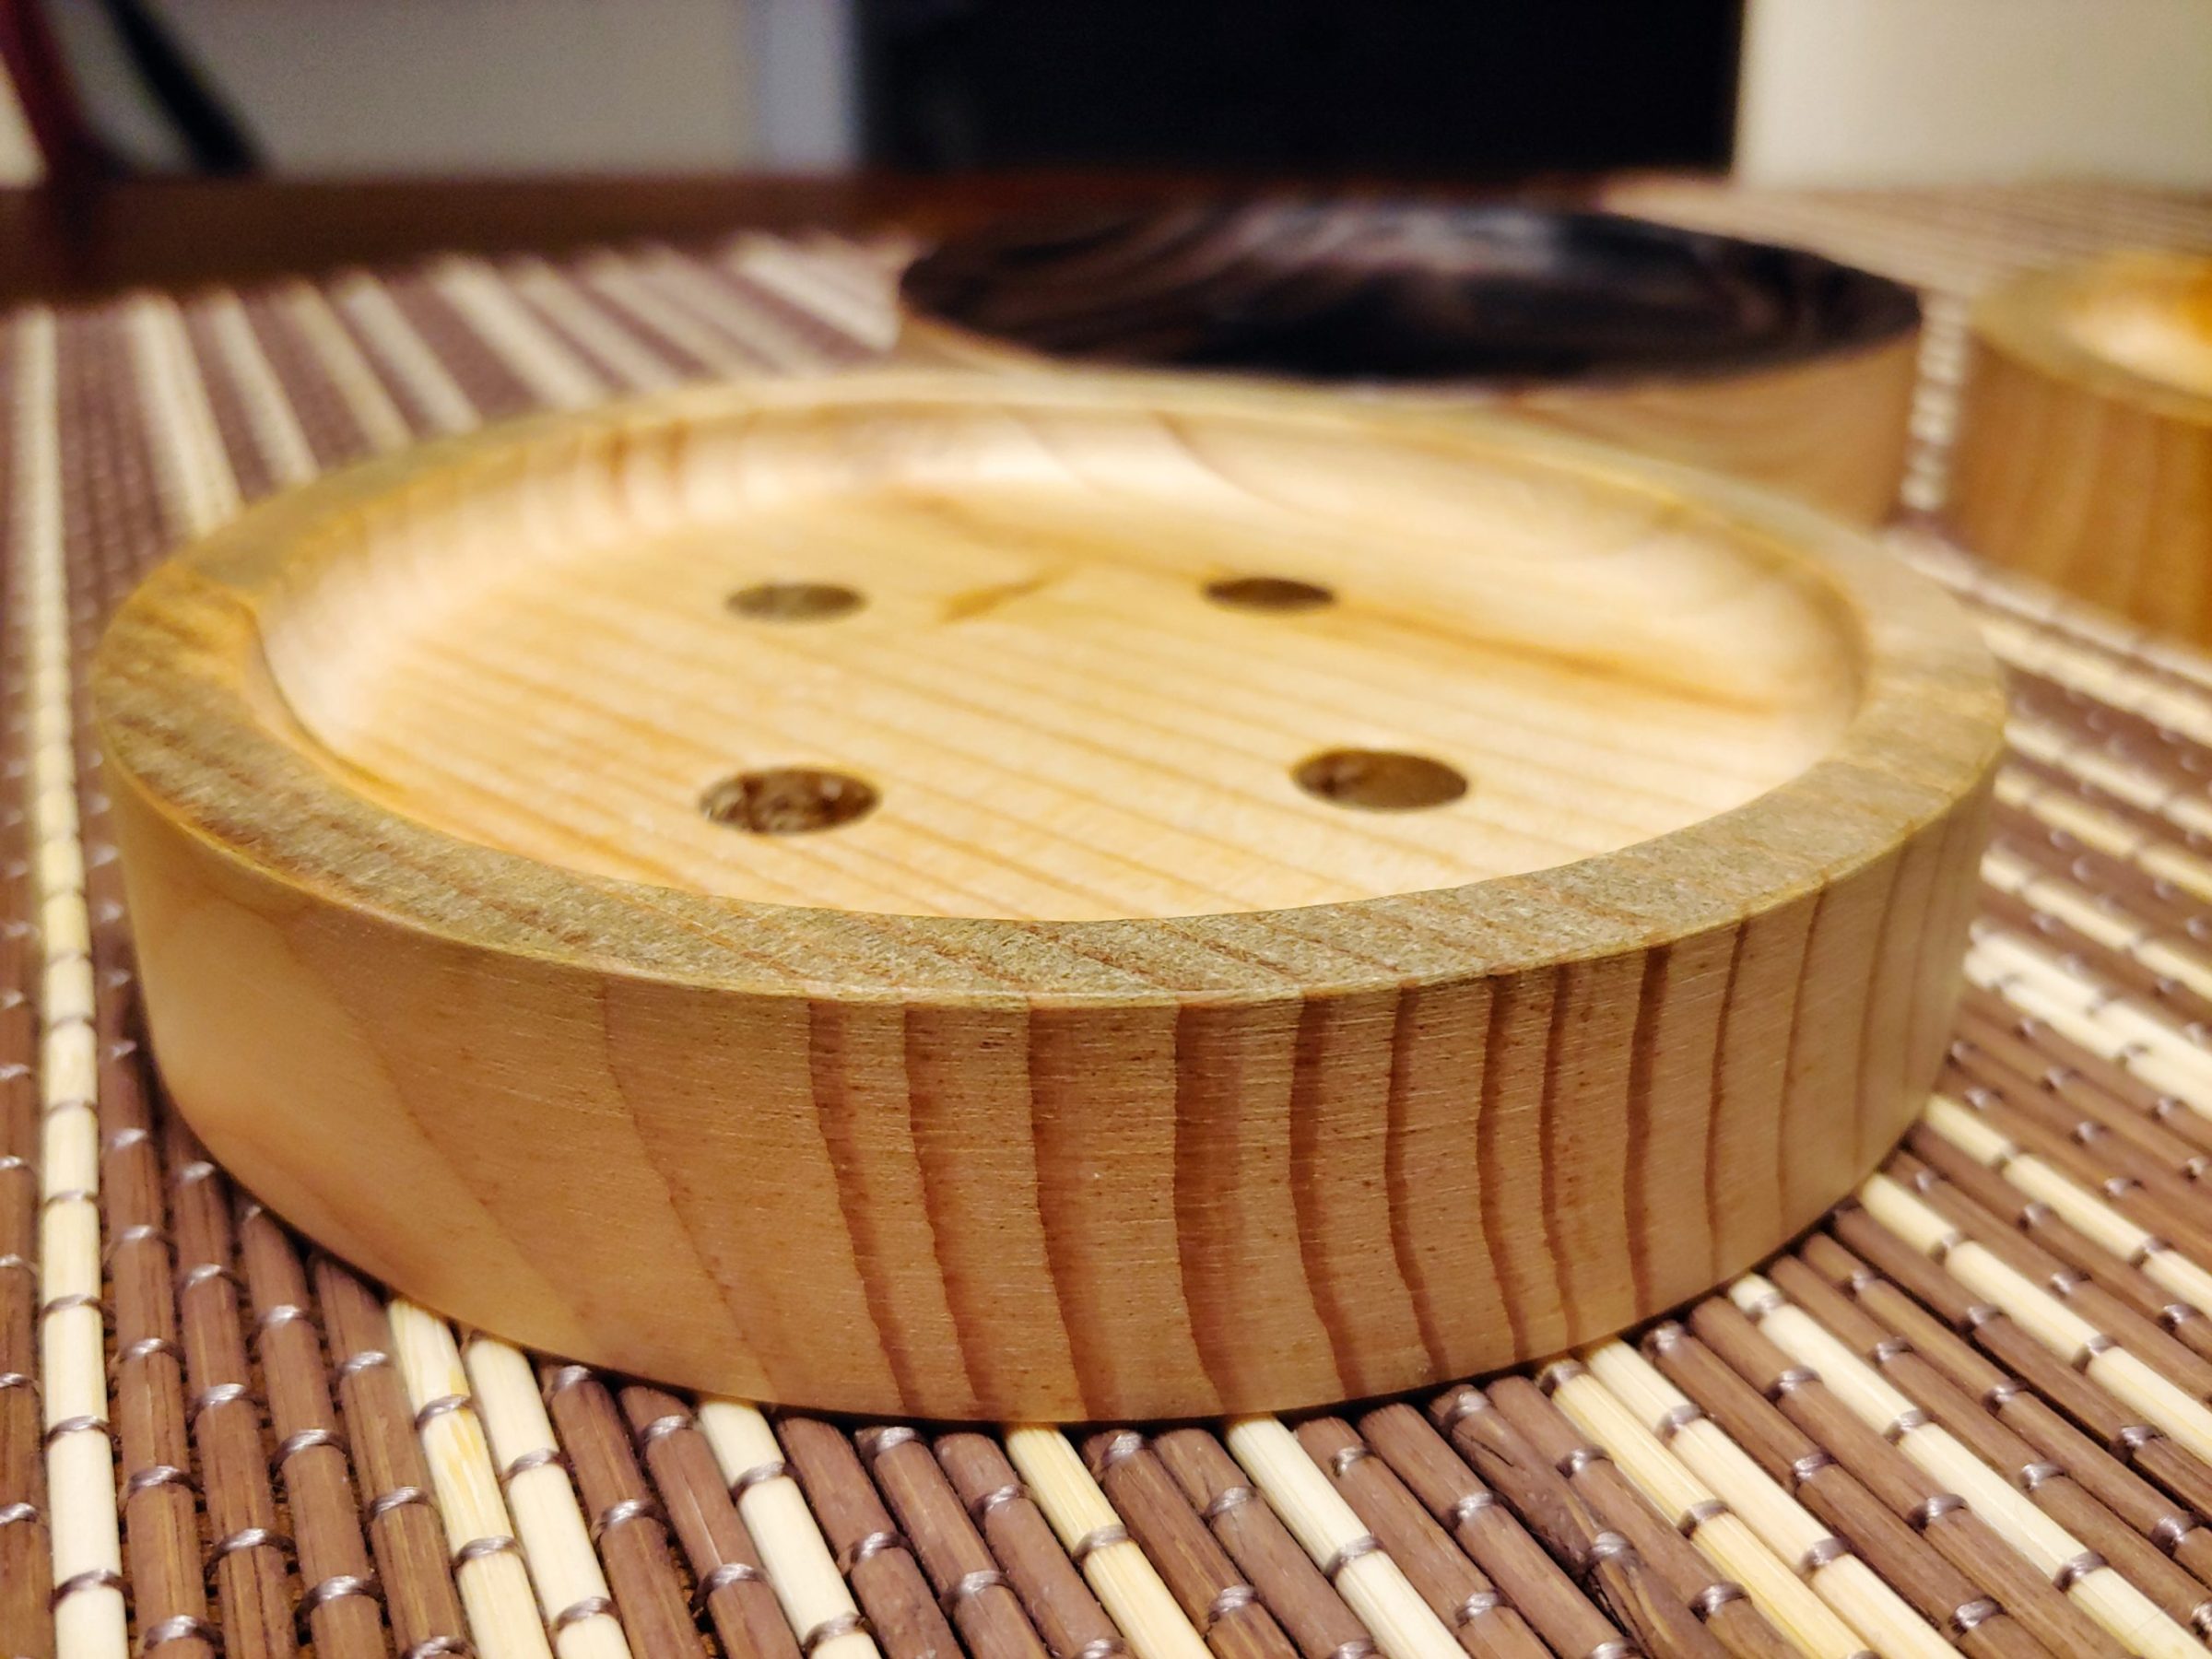
I drew a small circle and found 4 points for drilling, everything was eyeballed, but it should be OK for this project.


I clamped coasters to a wooden block during drilling, to minimise tear-out at the back, but it only worked for 2 pieces, the other 2 didn’t look so nice. That was a big disappointment and I can’t explain why that happened.

Once I had all the holes drilled I started sanding. Inside, outside, manually and using all the machines I had on hand. Sanding belts were cleaned with a synthetic wine cork from time to time. The outside edges of the remaining 2 pieces will be sanded after burning with a torch, this should give a nice colour to them.

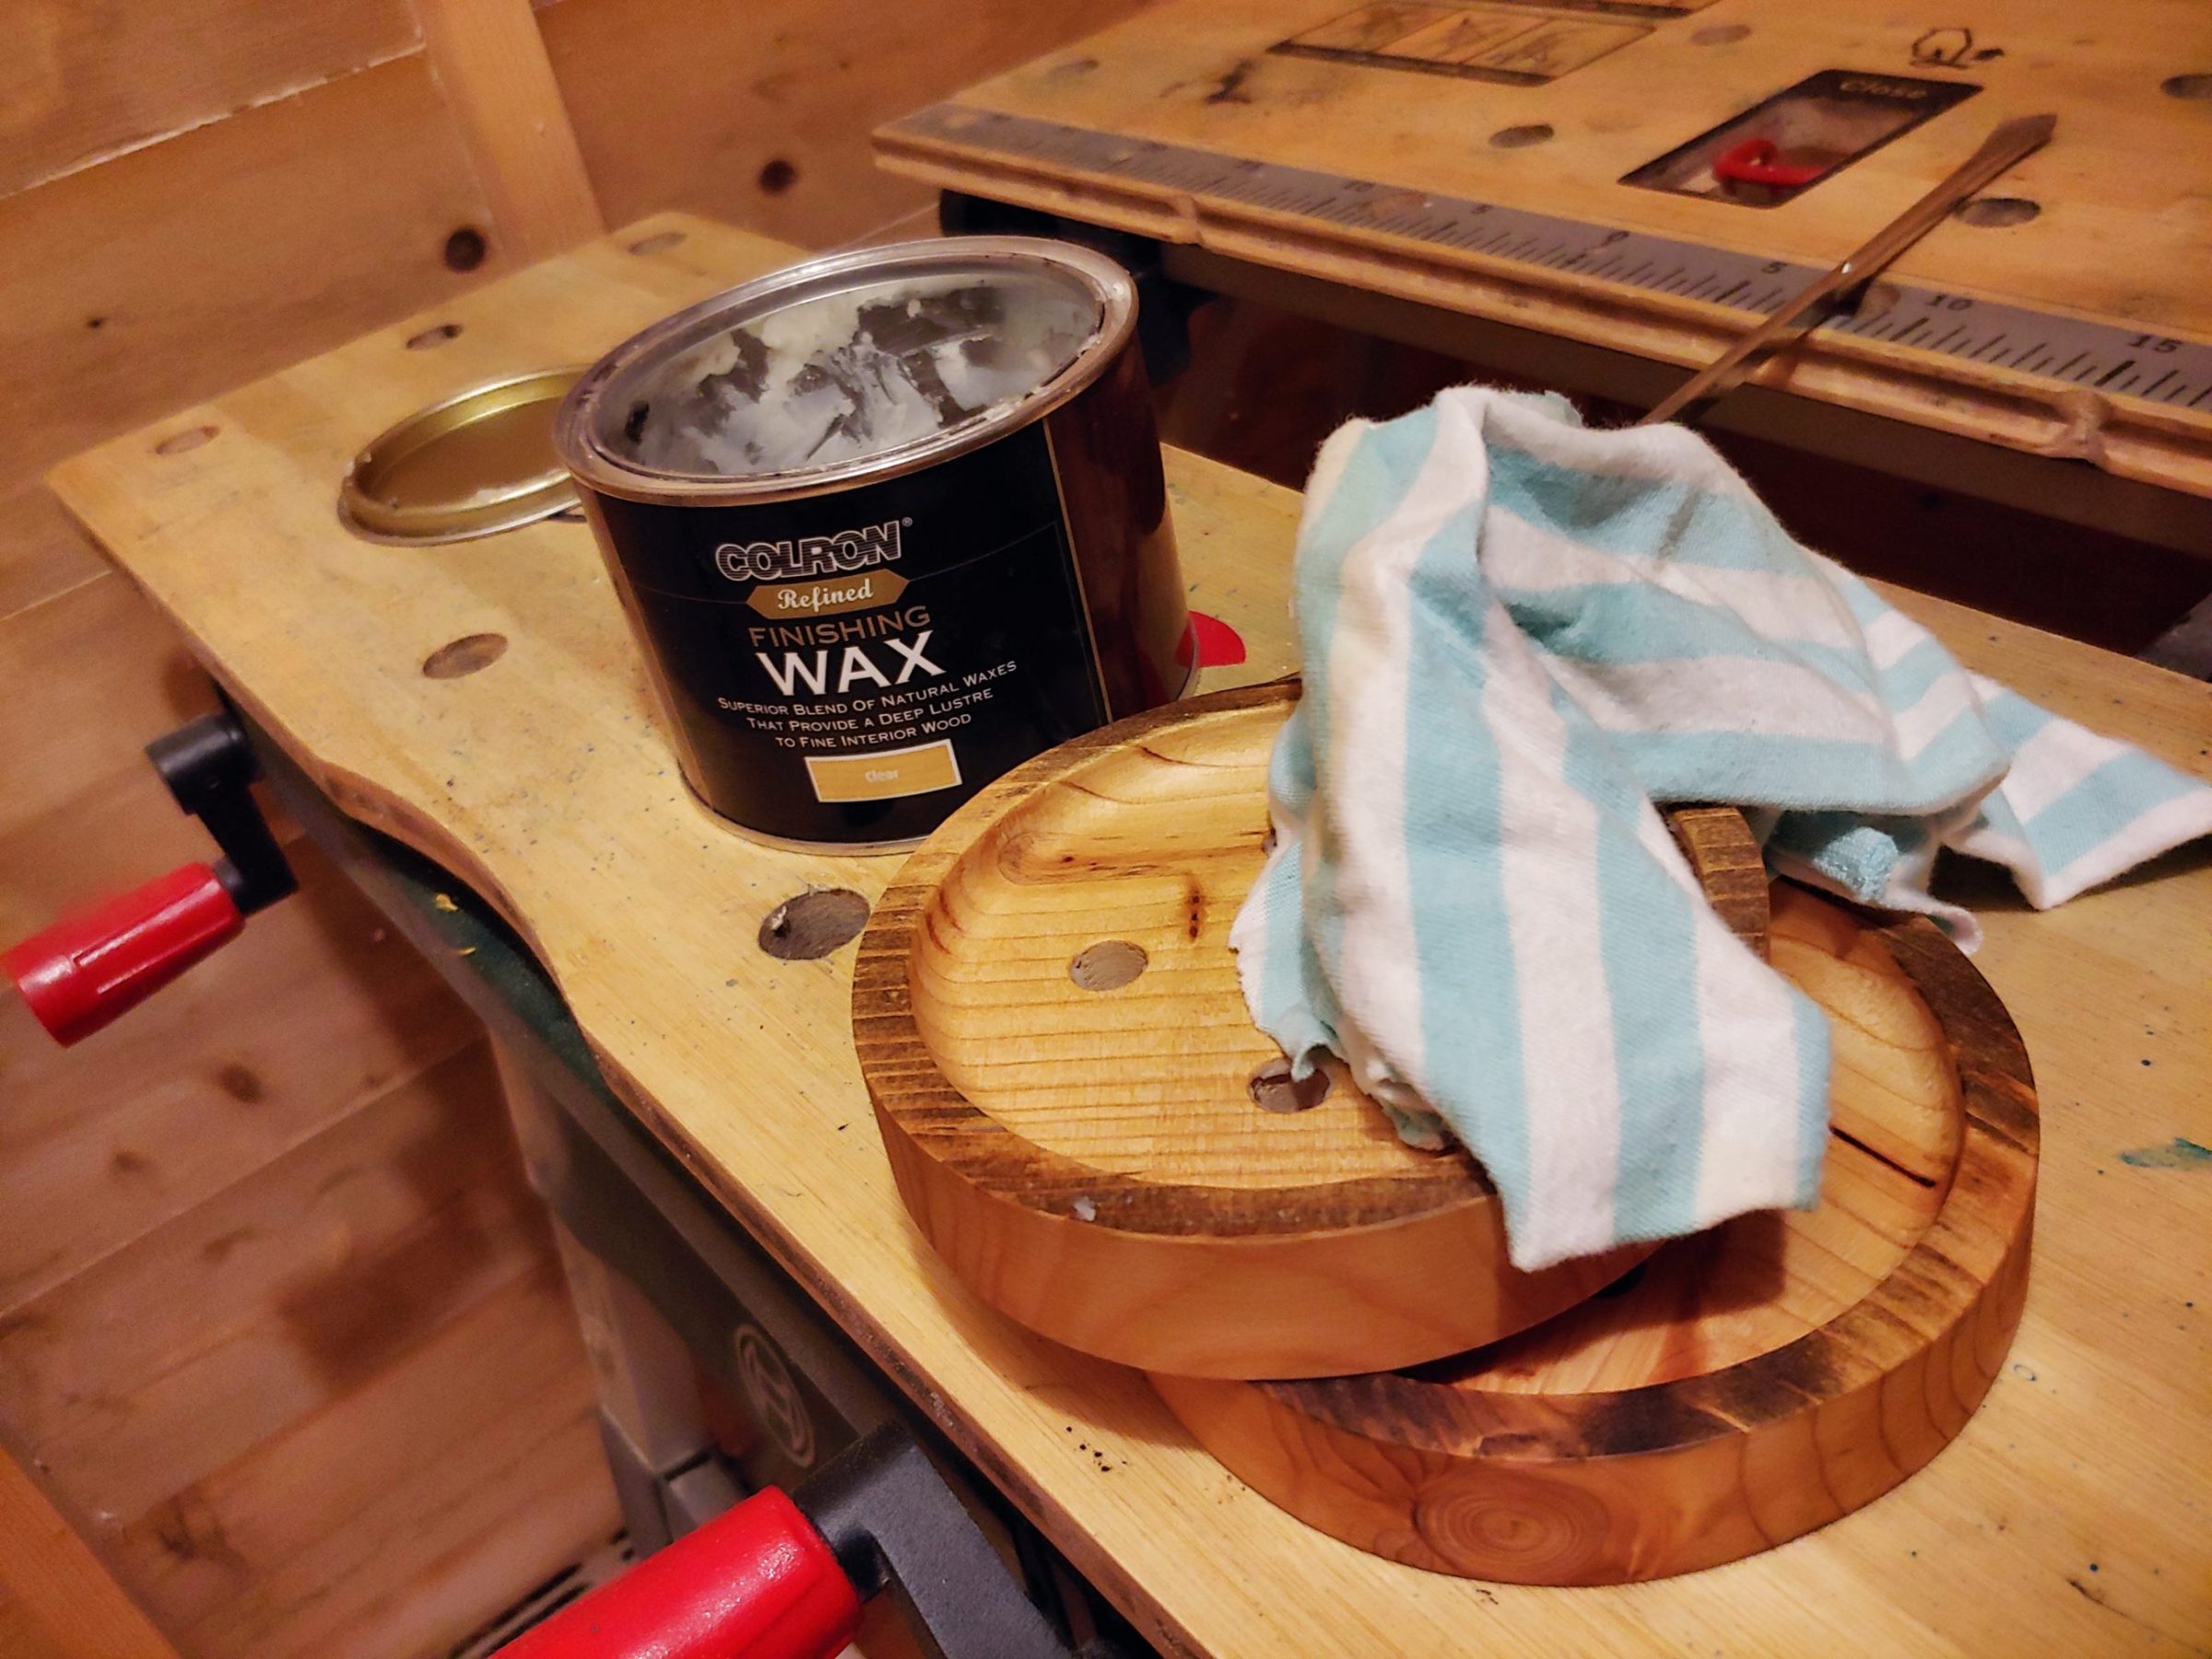
I applied 2 coats of wax over the 24-hour period and moved to the remaining 2 coasters.

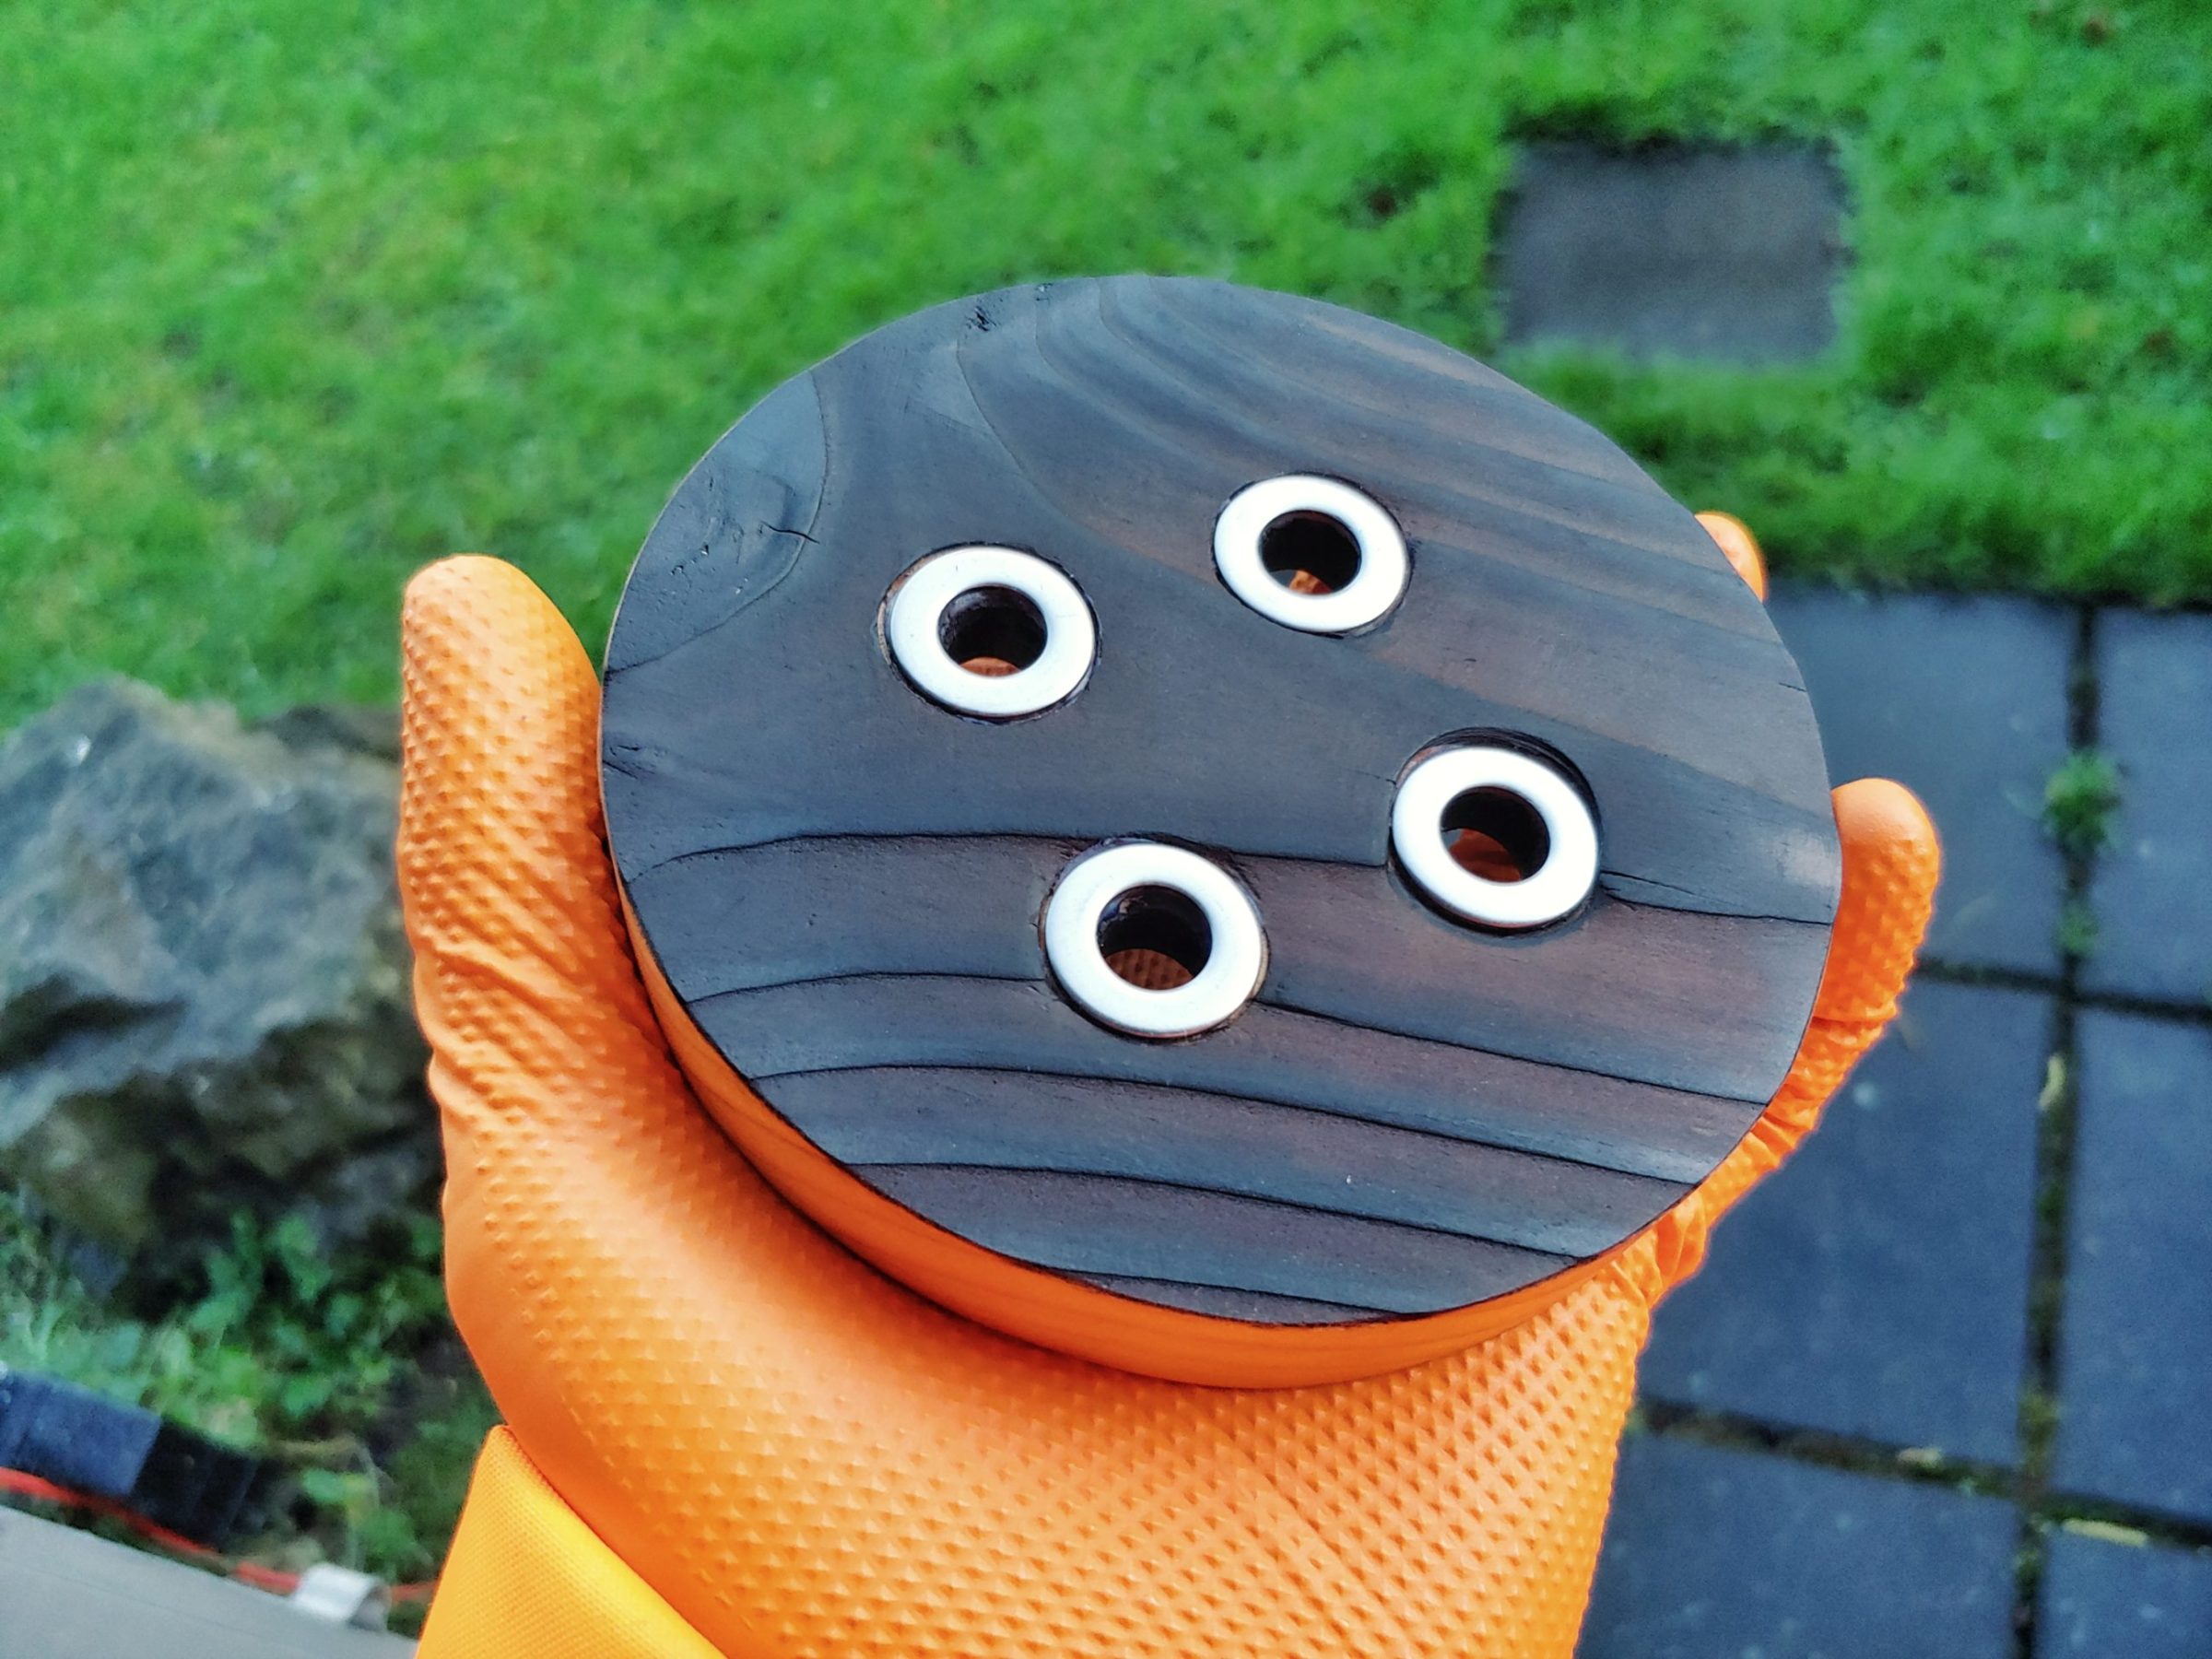
I used the technique I really love – shou sugi ban. To make sure the inside of the holes is black I used black spray paint. I was hoping that it would be easily removed when the paint is dry. I was wrong and had to use a quite stiff brush to remove the paint which also removed the charred wood. So I used my torch again and repeated brushing one more time.


I was happy with the look of the front, but the back wasn’t OK. I had to do something with those holes. First I tried to squash or rather compress the fibres with some metal rod but eventually, it didn’t work, and I came out with another idea!


I drilled some recess with a Forstner bit to place a washer inside. The idea was simple, but my drill stand failed – completely – and I lost one coaster, the damage was too big, the drill bit slipped way too much.

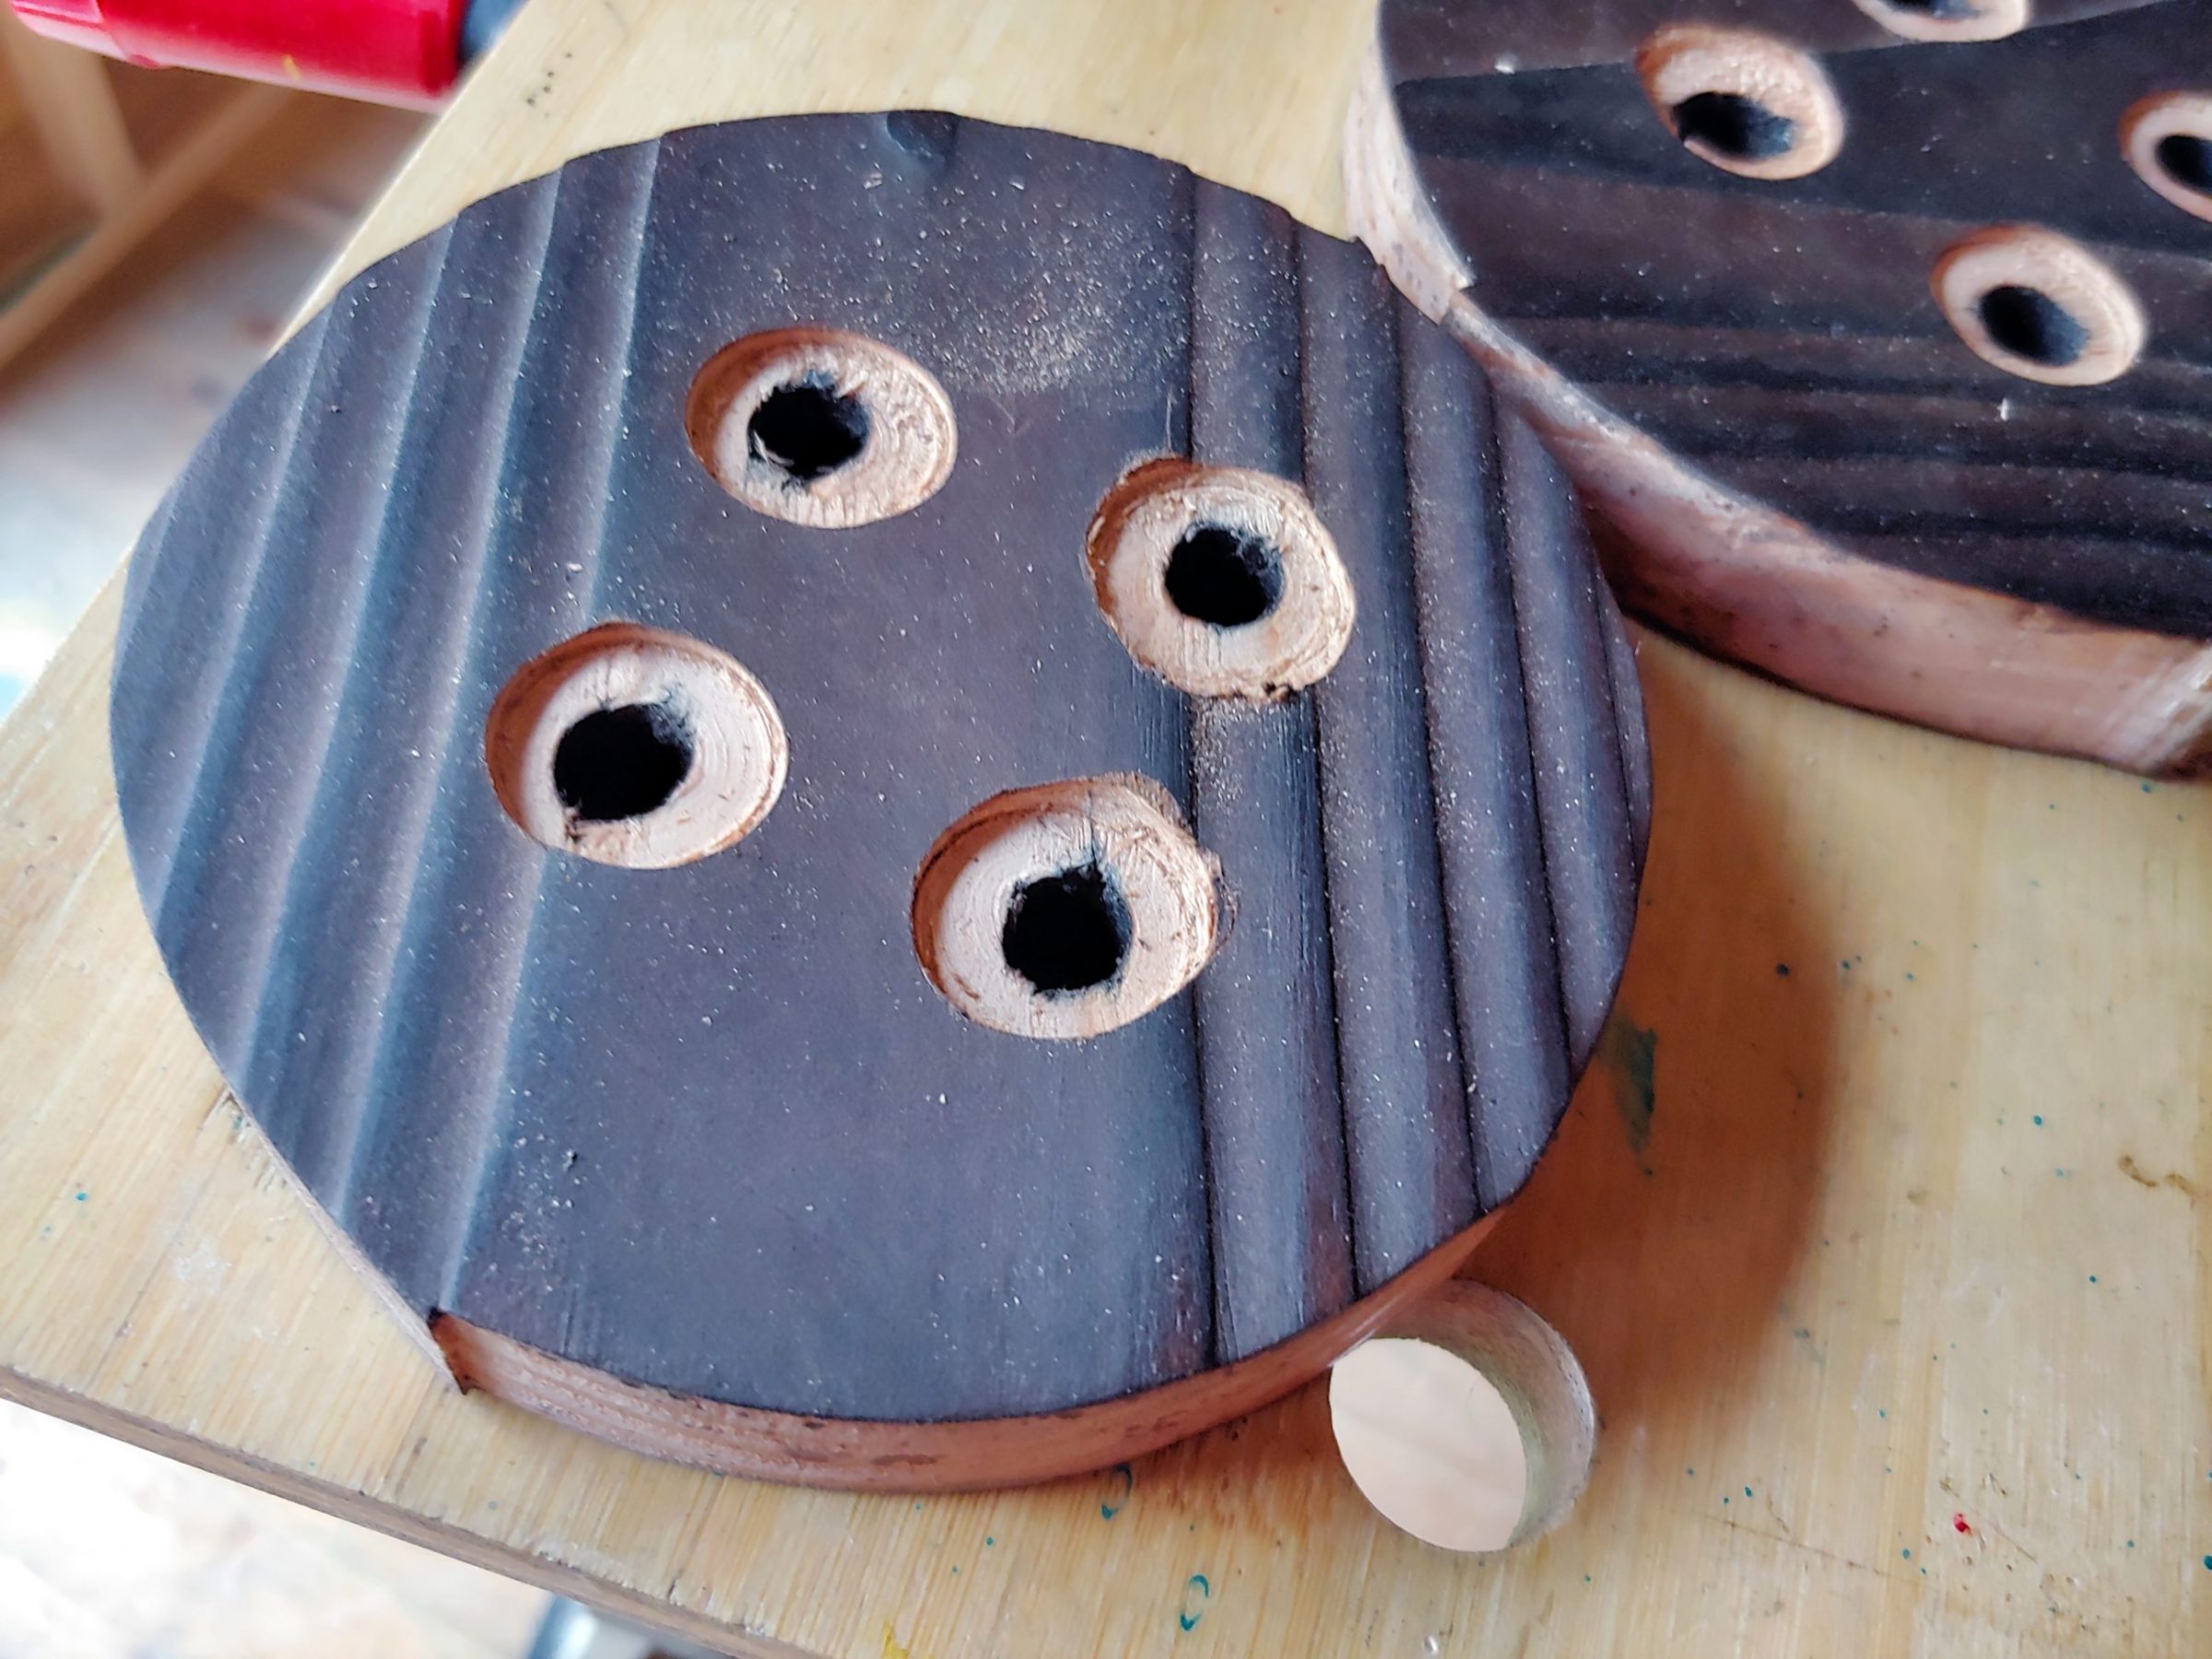
So that one was rejected and the other one I charred again with a blowtorch. There was hope! I glued the washers with hot glue. I used my heat gun to make some adjustments after the glue hardened. Metal washers held the heat and I had plenty of time to move them left and right and to remove the excess glue.


Once I was happy with the washers I used my belt sander to round up the edges. Grits from 60 to 240 were used and that was followed by some hand sanding.
I applied more wax and this project was finally finished! I’m very happy with how they turned out, learned a lot during this project and can’t wait to use the template for another project.


3 Comments
Brian
Thank you for this, will hopefully be making some of these soon.
rolandrolson
Thank you Brian, good luck with them!
Pingback: