Large round planter
They are quite expensive to buy and relatively easy to make. Since I could purchase cut-to-length timber, that fitted into my boot at a good price I took up the challenge to make a wooden planter. I got 18 pieces of timber, 529 x 97 x 40 mm cut from 2 full lengths of 4.8 m each. Those were way too long for any car, that’s why it was important to get the timber cut to more manageable sizes. I used 14 pieces for the walls and the remaining 4 were supposed to be used for the bottom. However, I found 2 scrap pieces and used them instead, saving good timber for future projects. To set my table saw blade to the right angle I did some maths – 360º ÷ 28 = 12.86º. And the 2nd step – 90º – 12.86º = 77.14º. That was the angle I set the blade to, using my speed square and my sliding bevel. It worked well!

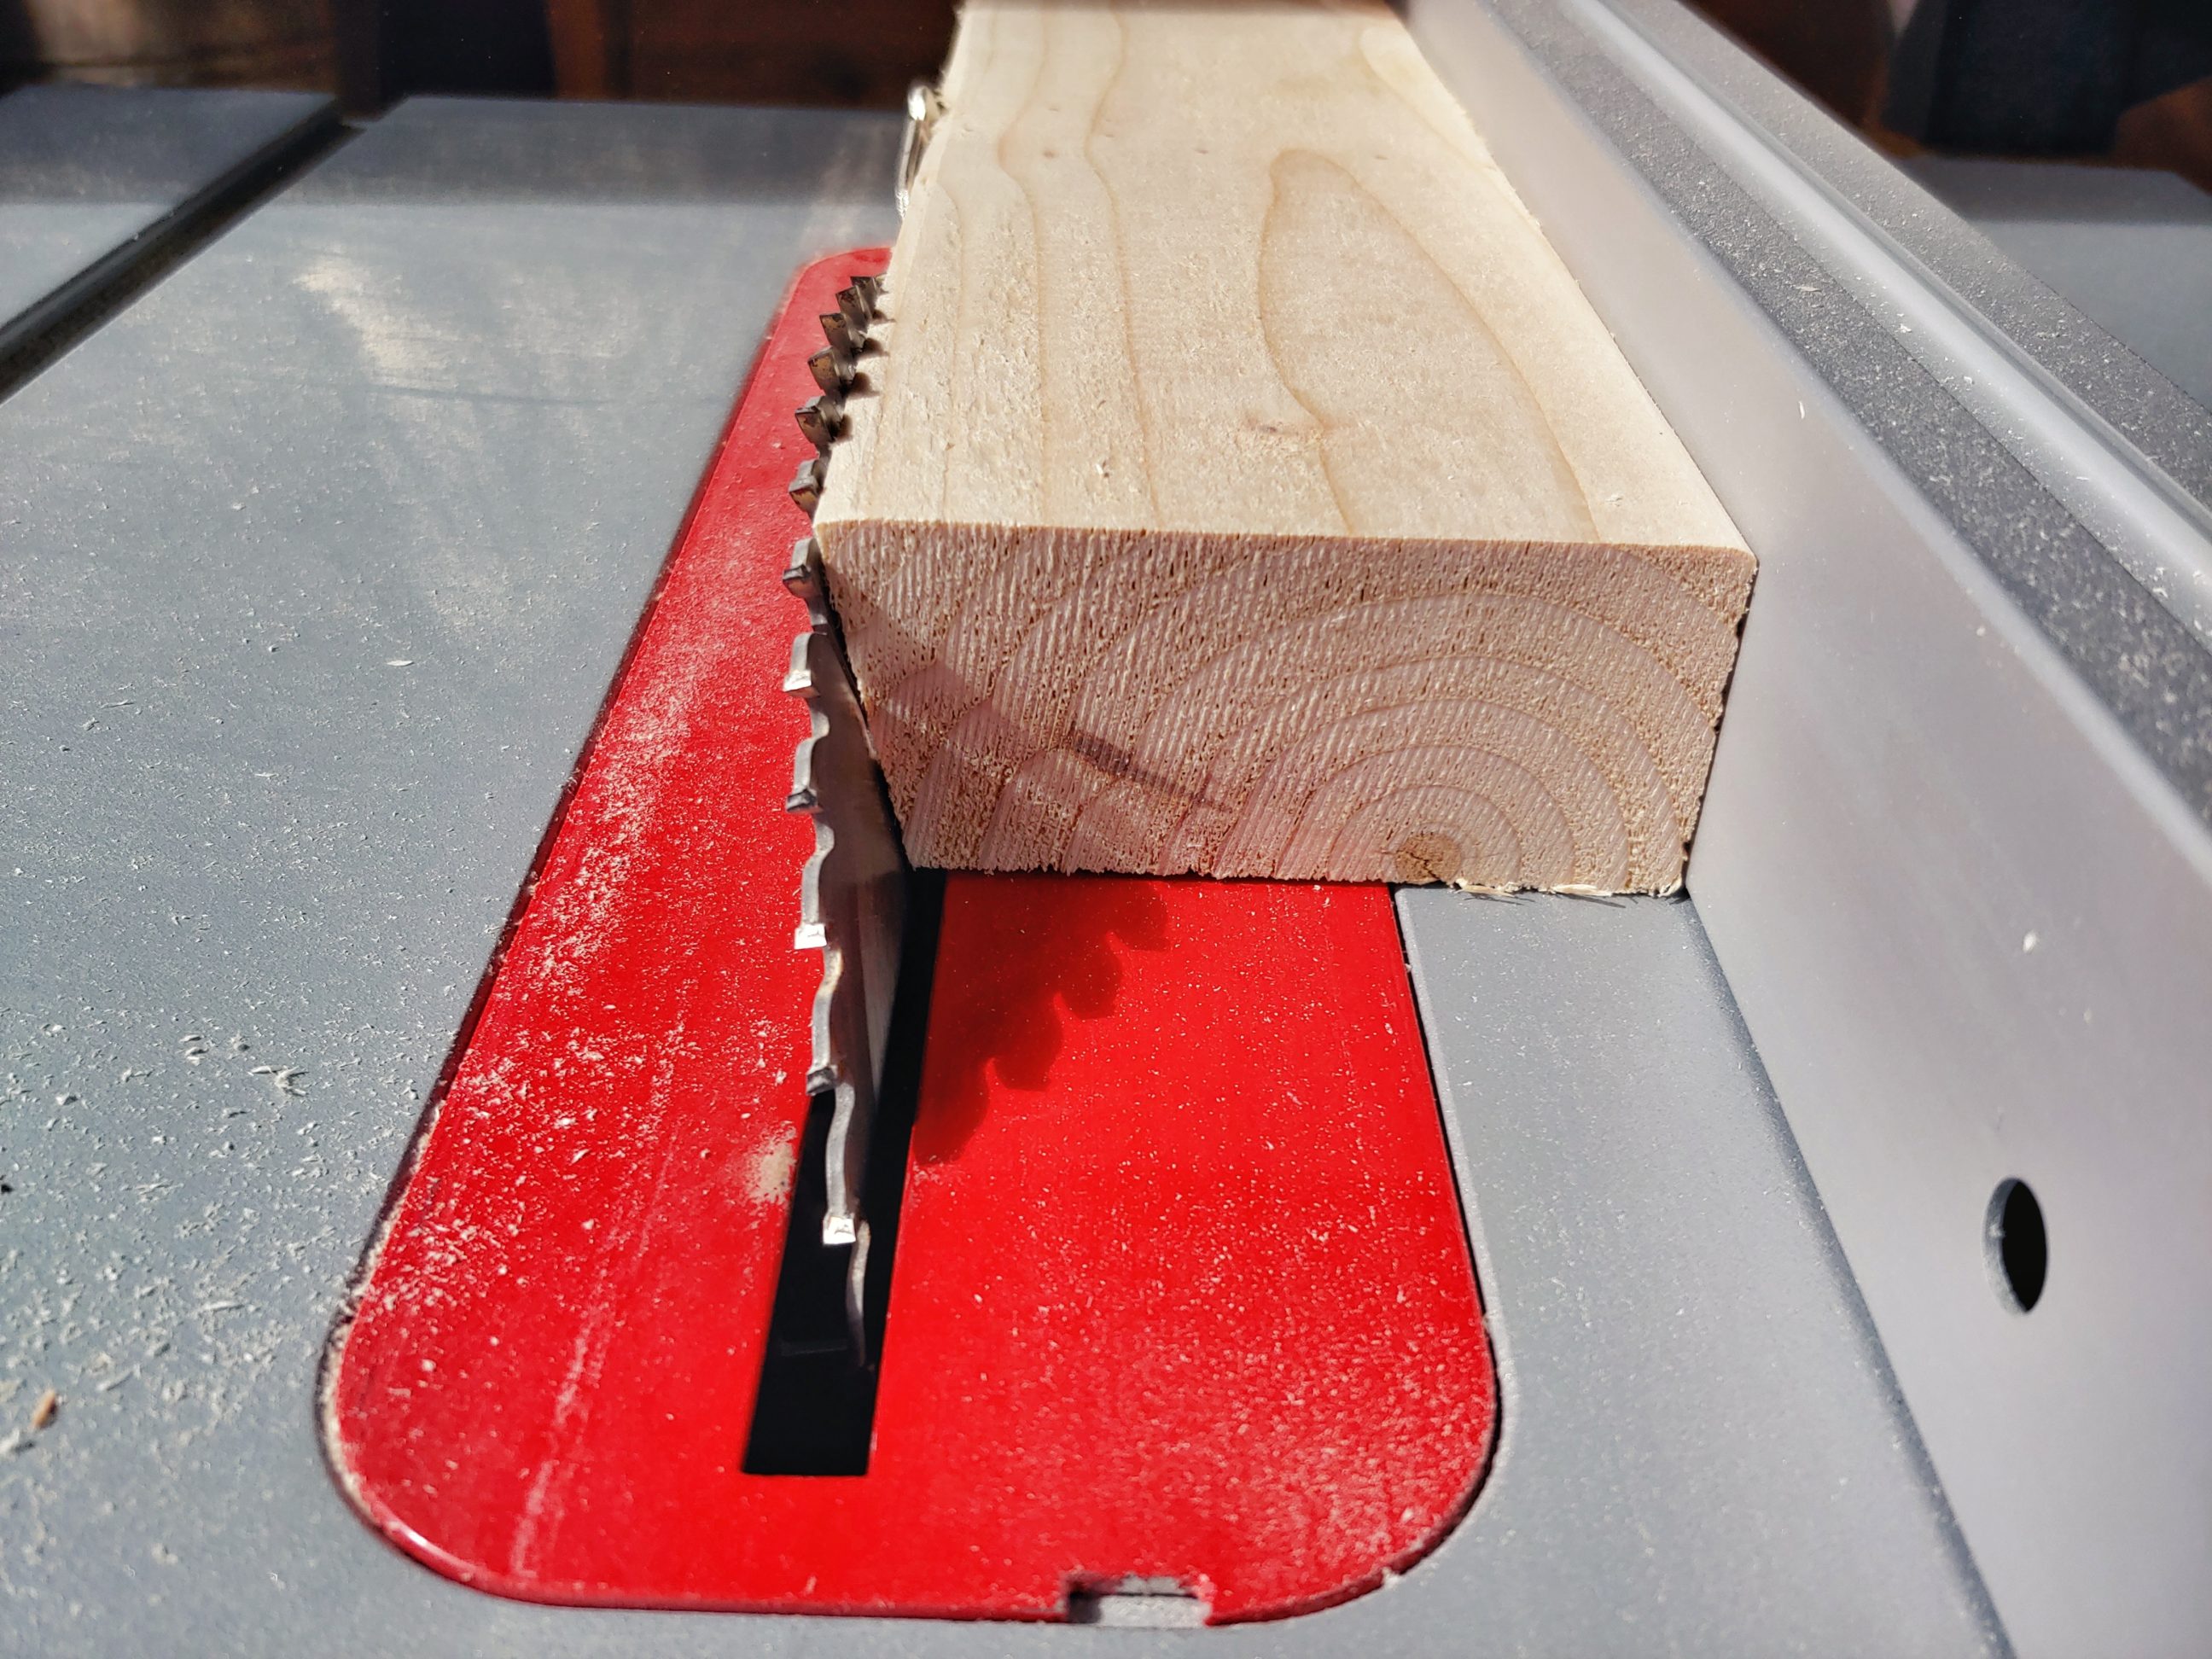

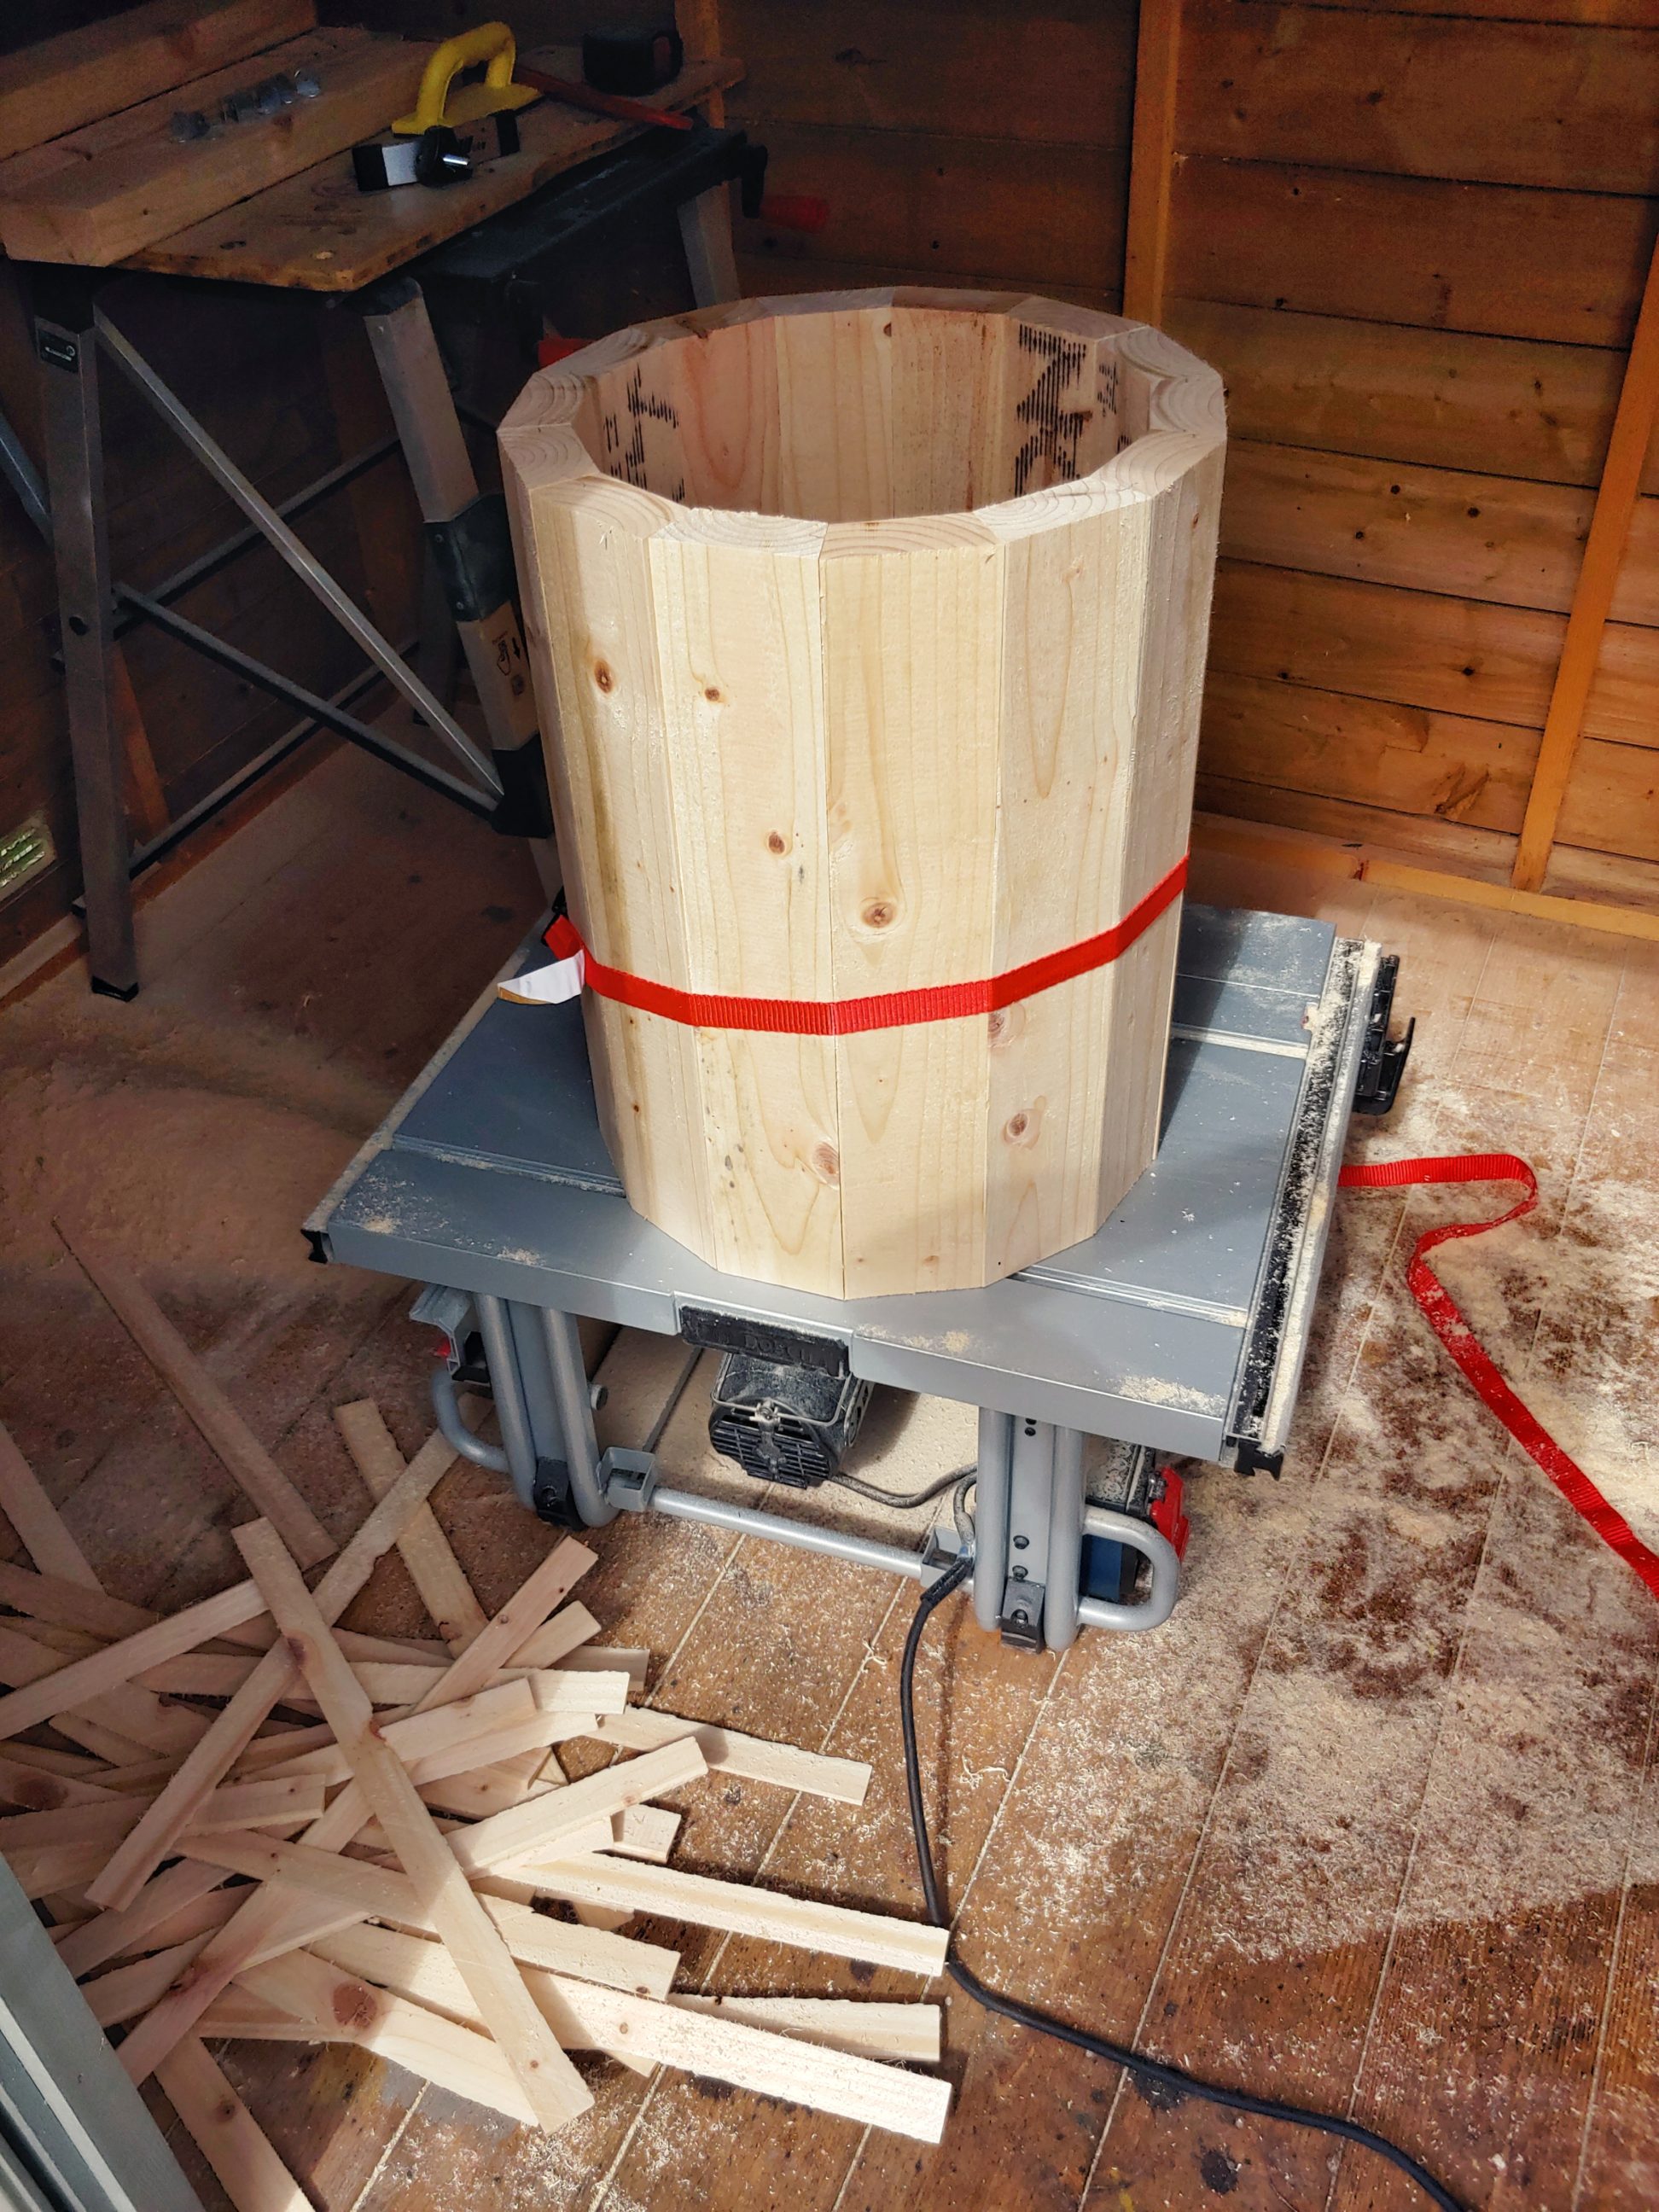
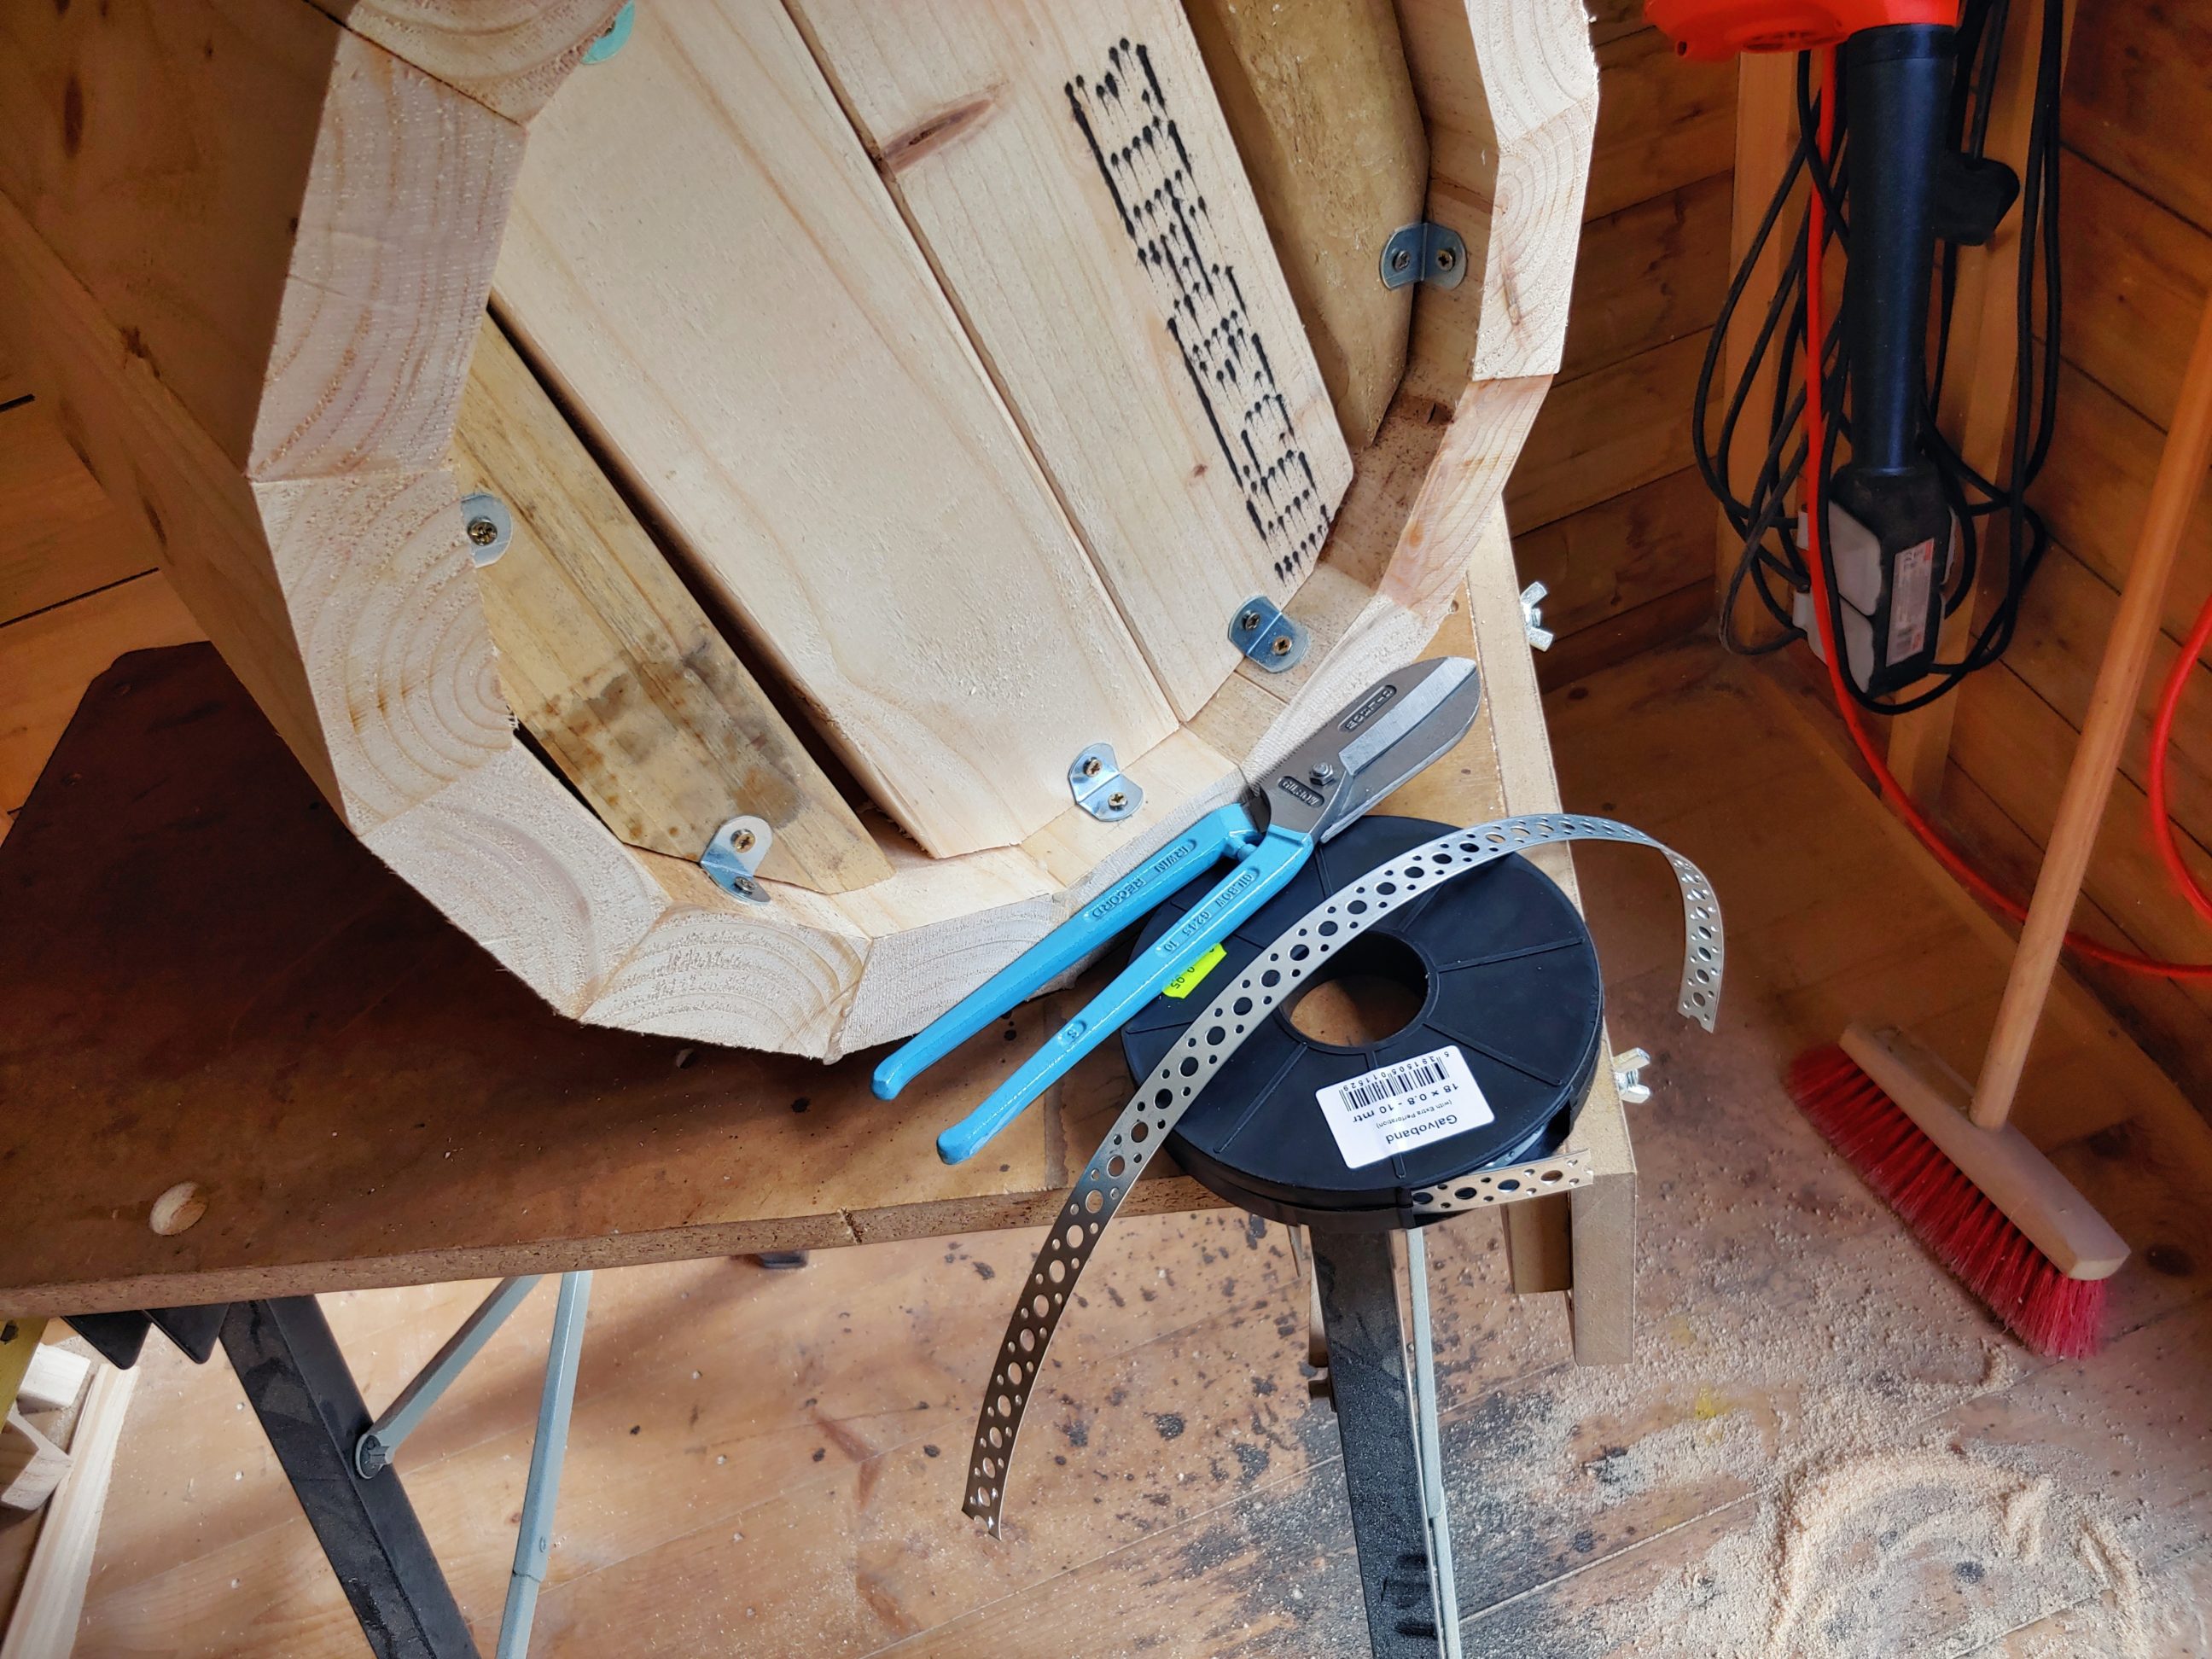
After the first side was done, I moved the fence slightly to the left and cut the other side. A quite easy job, maybe just time-consuming and generating a lot of sawdust. All the pieces were big enough to be pushed over the blade without any push blocks or feather boards. Next, I used a strap and put everything together to check if the pieces formed the walls without any gaps.
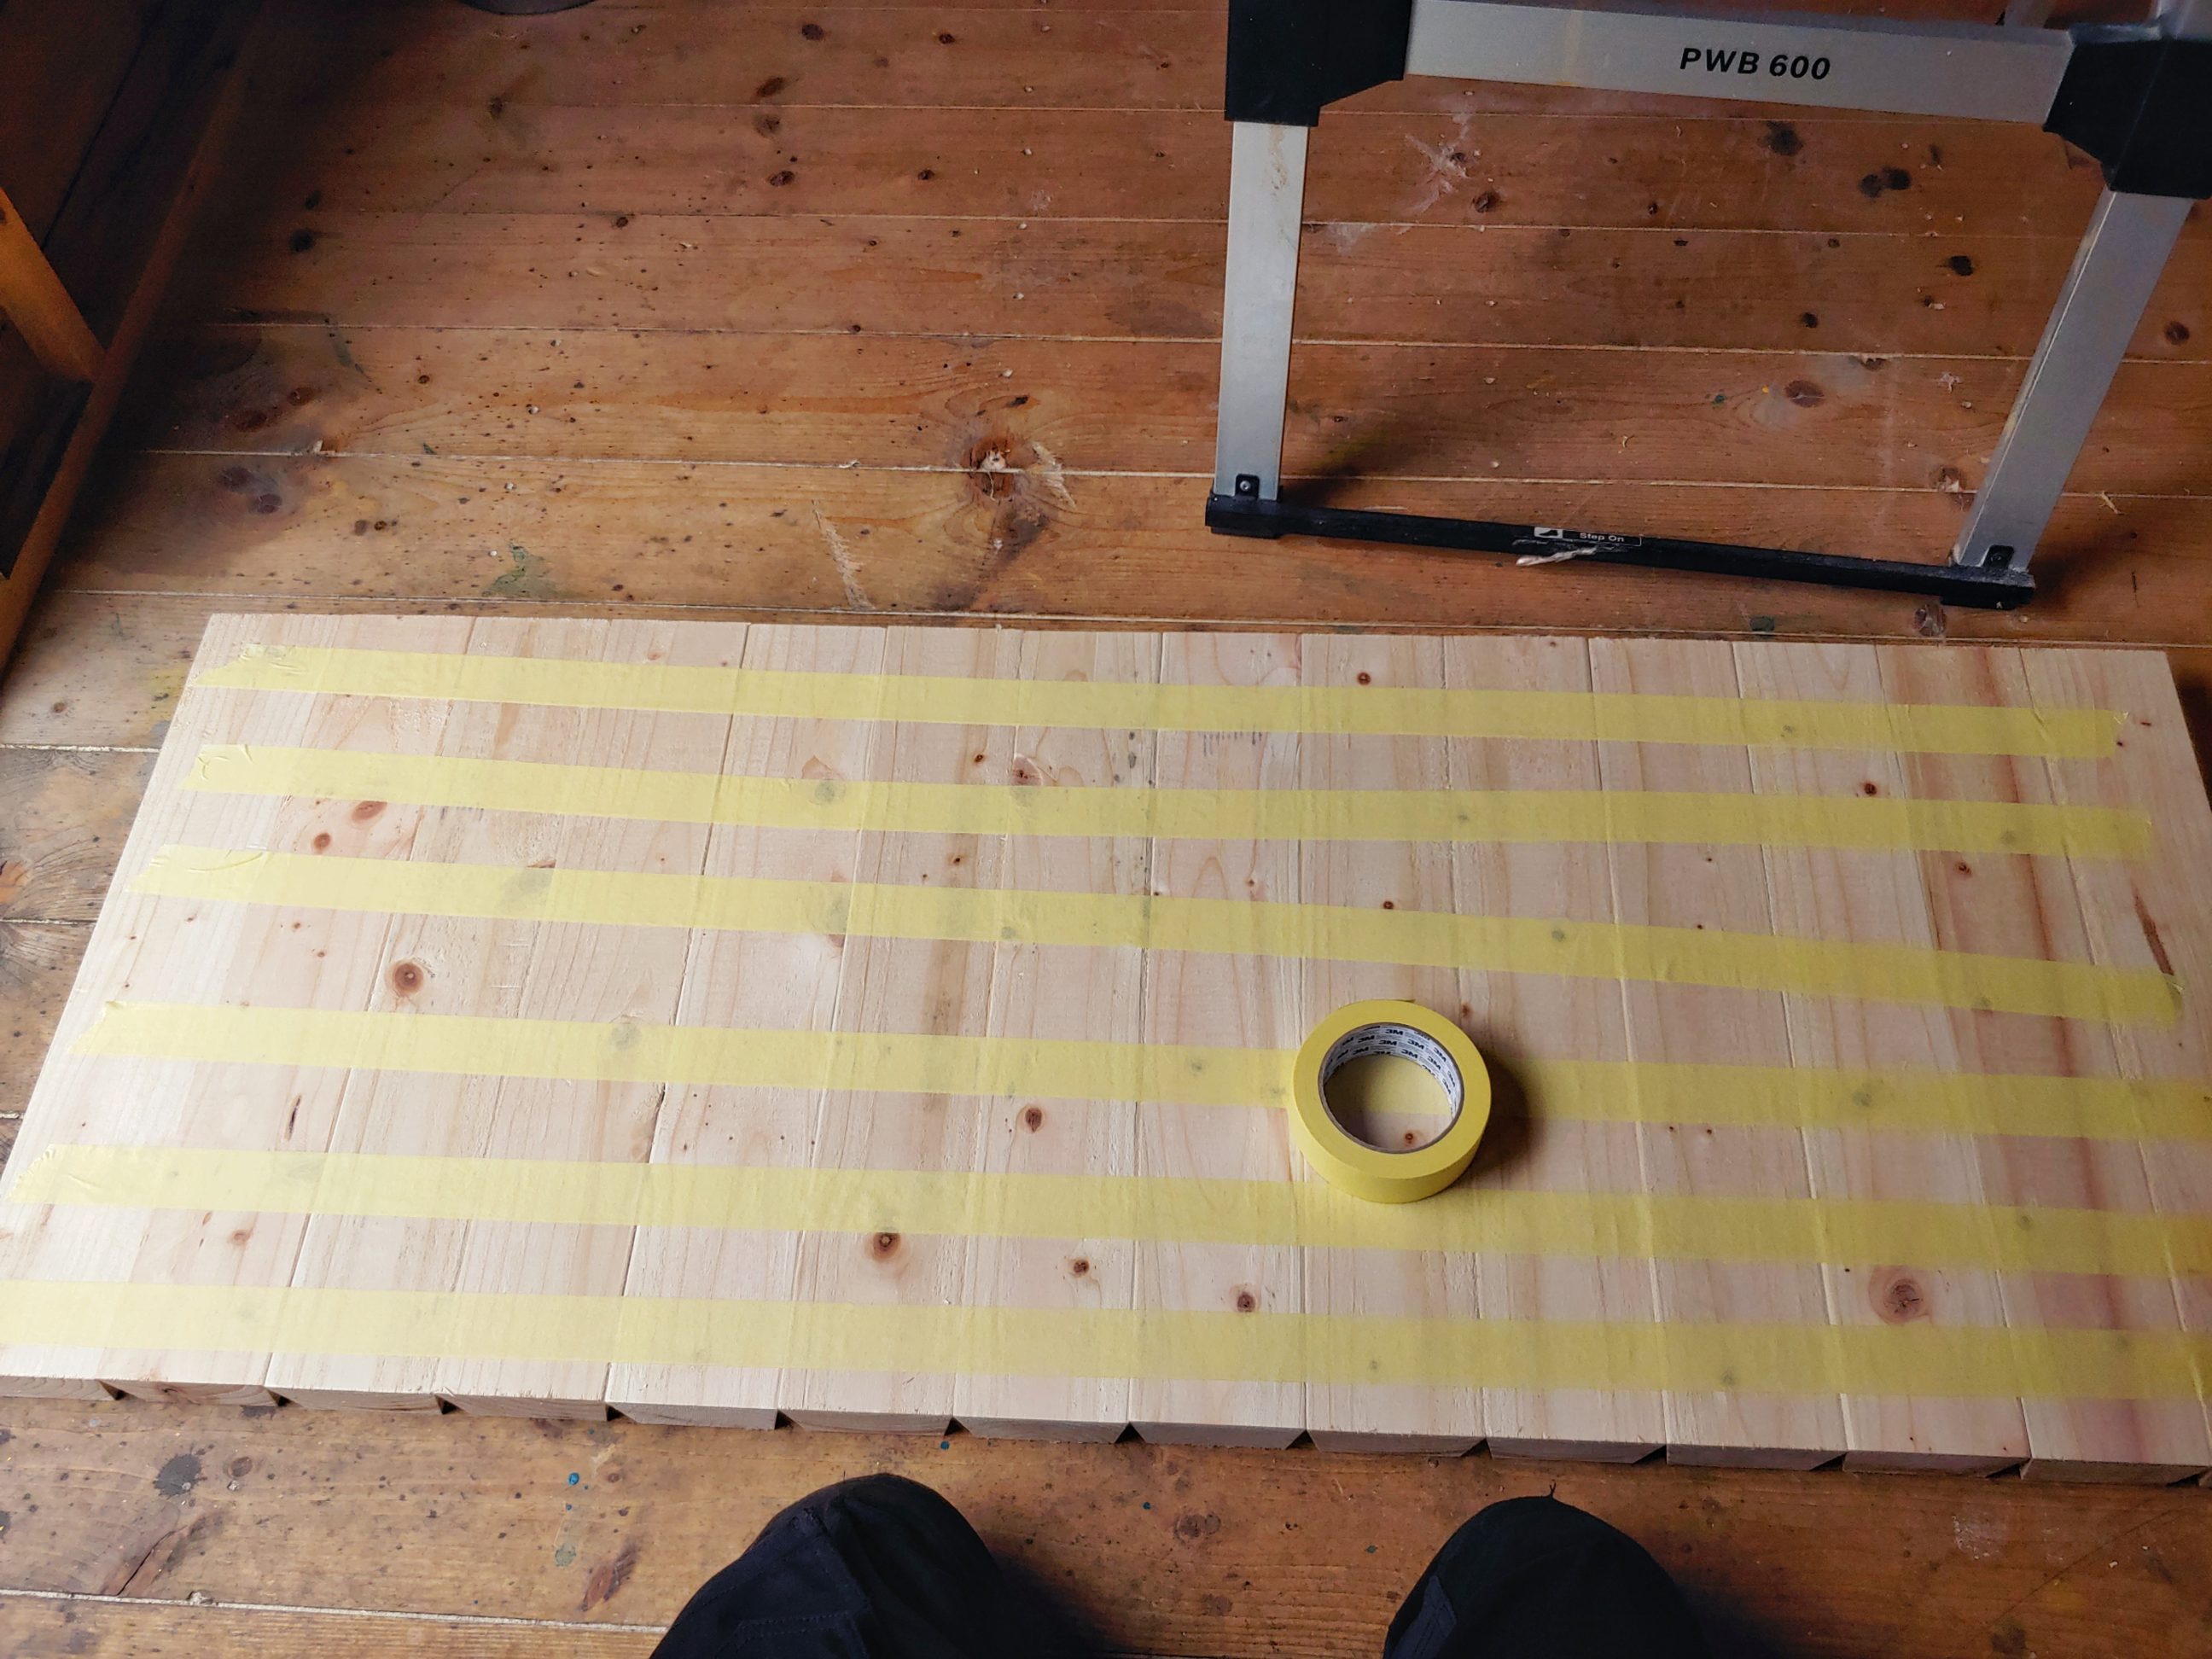

I tried to use the painter’s tape trick for this one, but it was way too heavy to be flipped over. Eventually, I managed to have them secured with tape from the bottom. It wasn’t suitable for clamping though, just made it easier for glueing. I had to use strap clamps and for some reason 2 f-clamps as the joints didn’t line up in 2 spots.


Grain orientation for all pieces was the same, that was an experiment for me. They were not alternated and the grain was always faced in the same direction. That way the joints could only close over time making the bucket look good in any season. That was the theory anyway. There is nothing wrong with learning from your own mistakes.


I cut and fixed the bottom pieces, leaving decent/chaotic gaps for drainage. It was very strong, I could step inside and it easily held my weight. The metal strap bracing going across the bottom was of course fixed to the walls from the inside.


The next thing to do was to give it a sanding and apply 3 coats of varnish, yacht varnish seemed to be a perfect choice – if it’s good for boats, it’s good for garden decoration too.


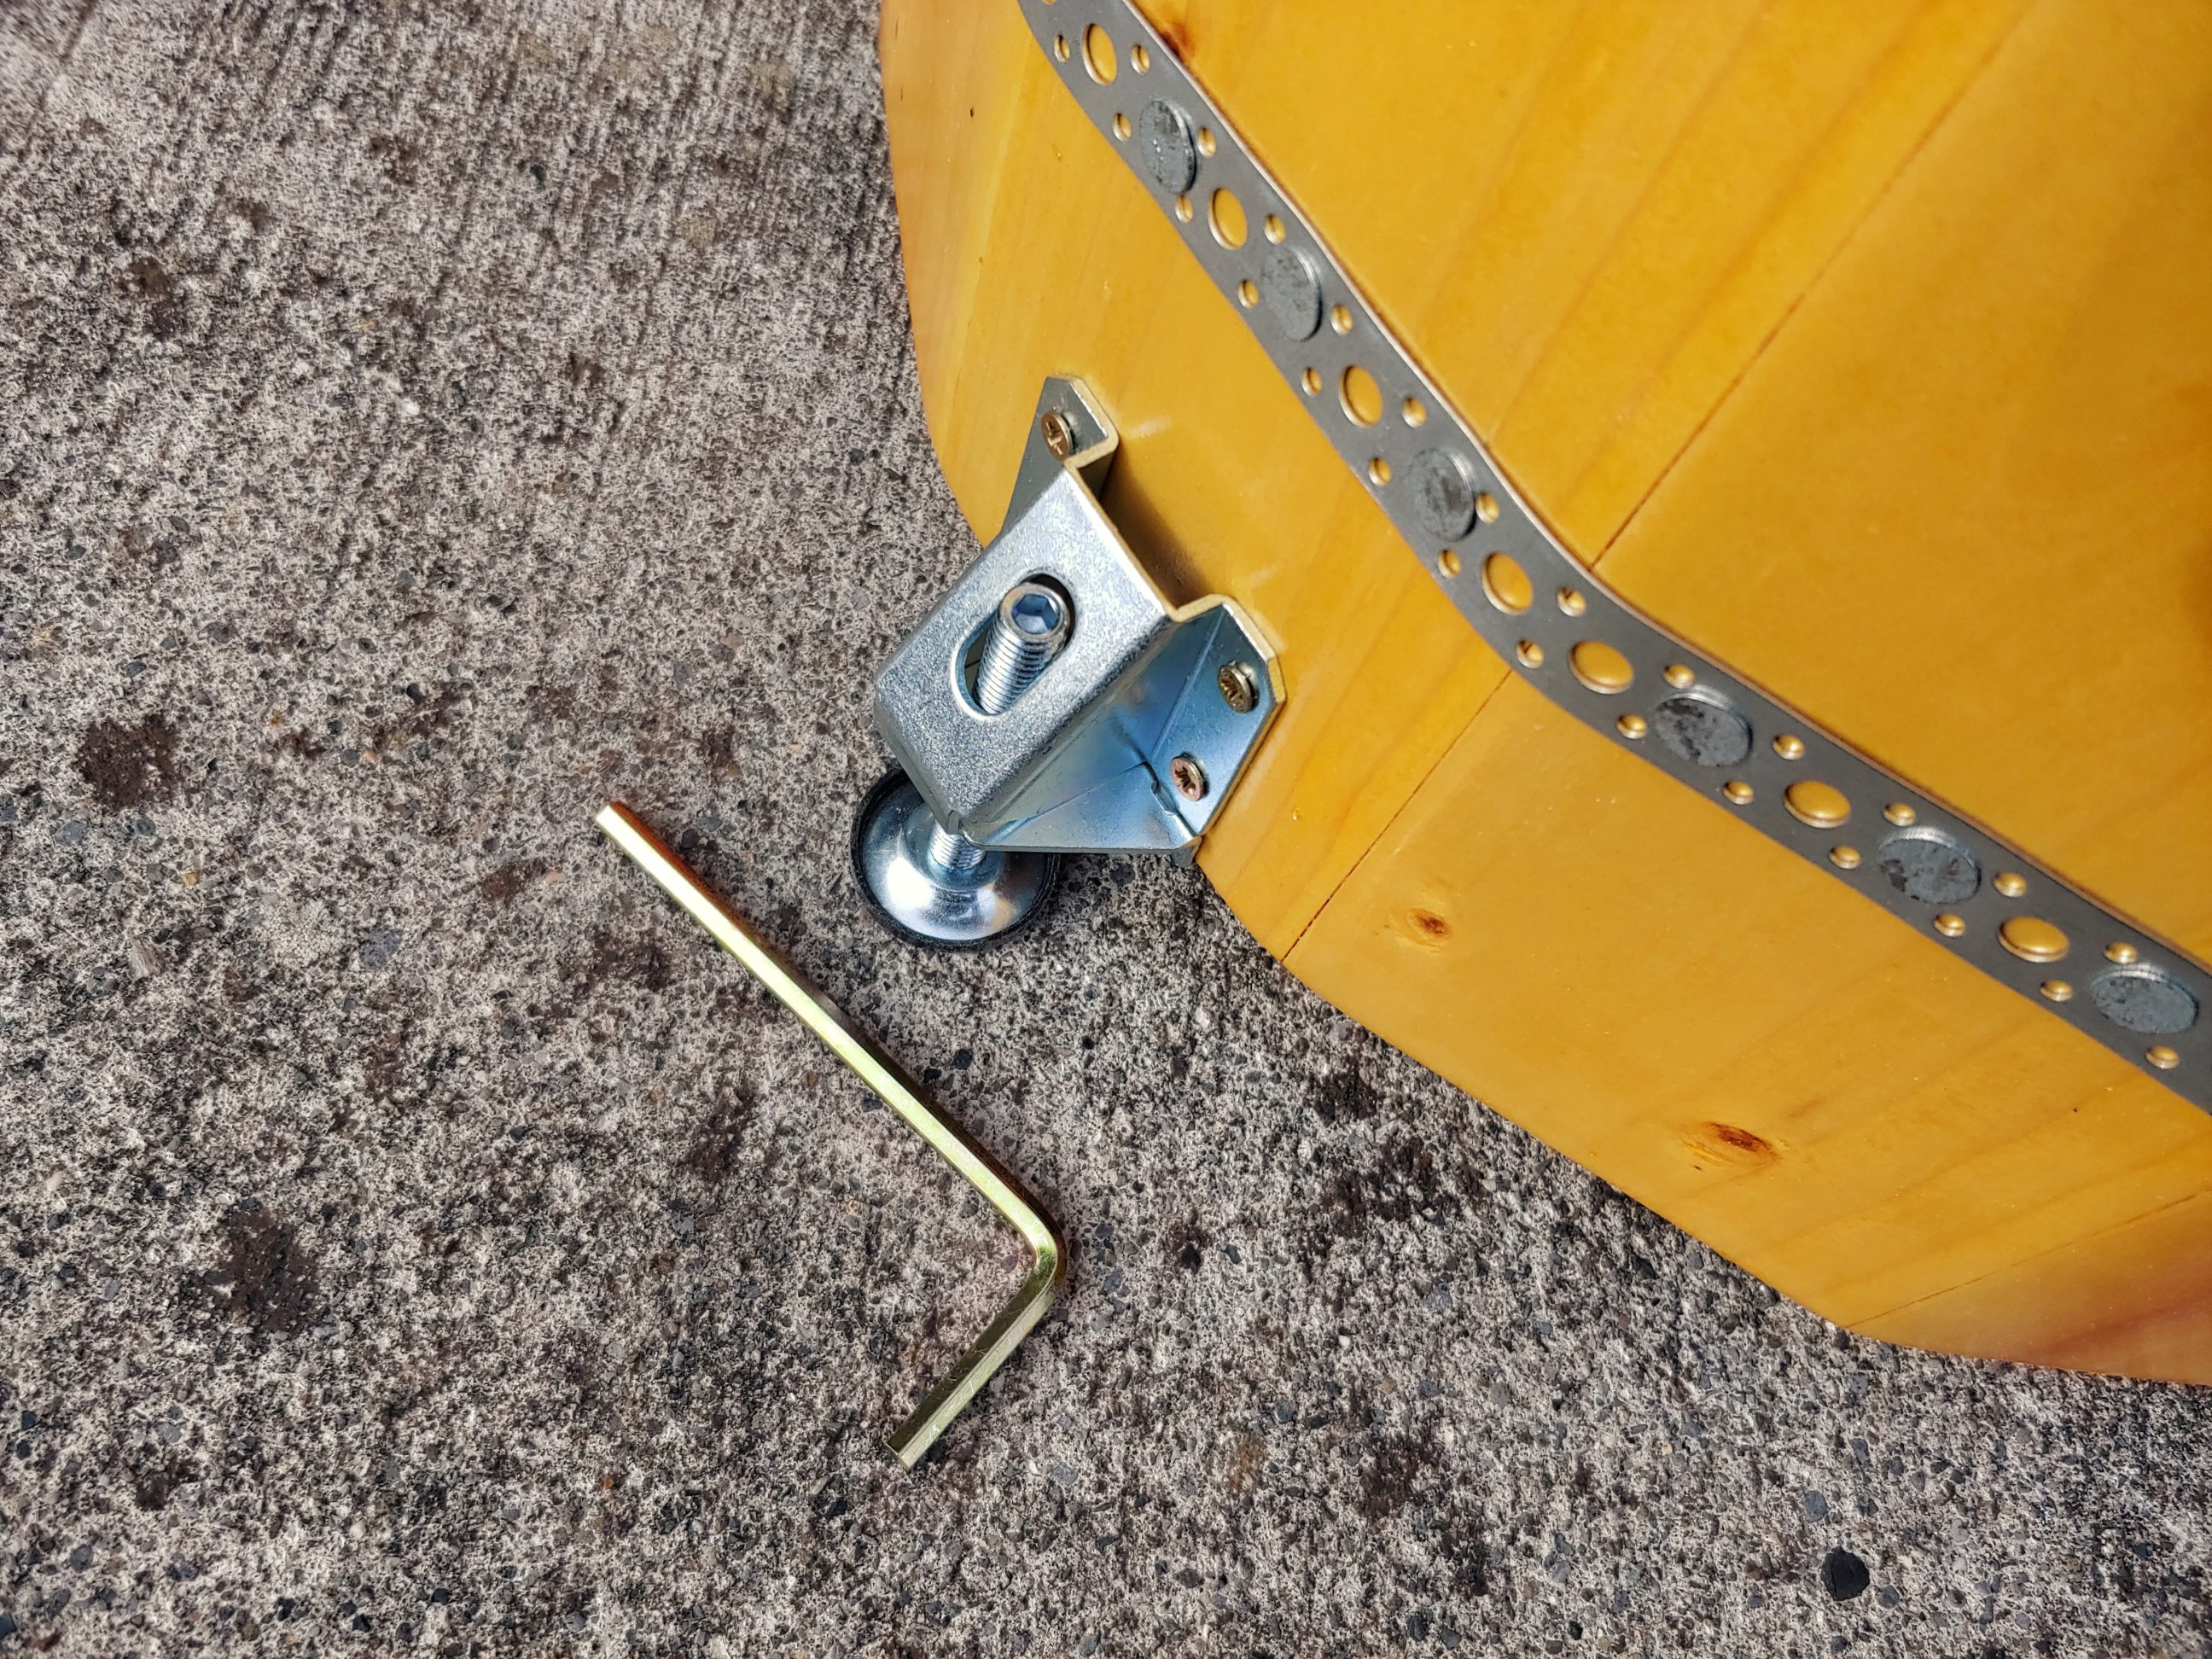
After a few days, I installed adjustable feet and a plastic lining. I drilled 2 large holes in the bottom when I realised that the gaps were too small for proper drainage.


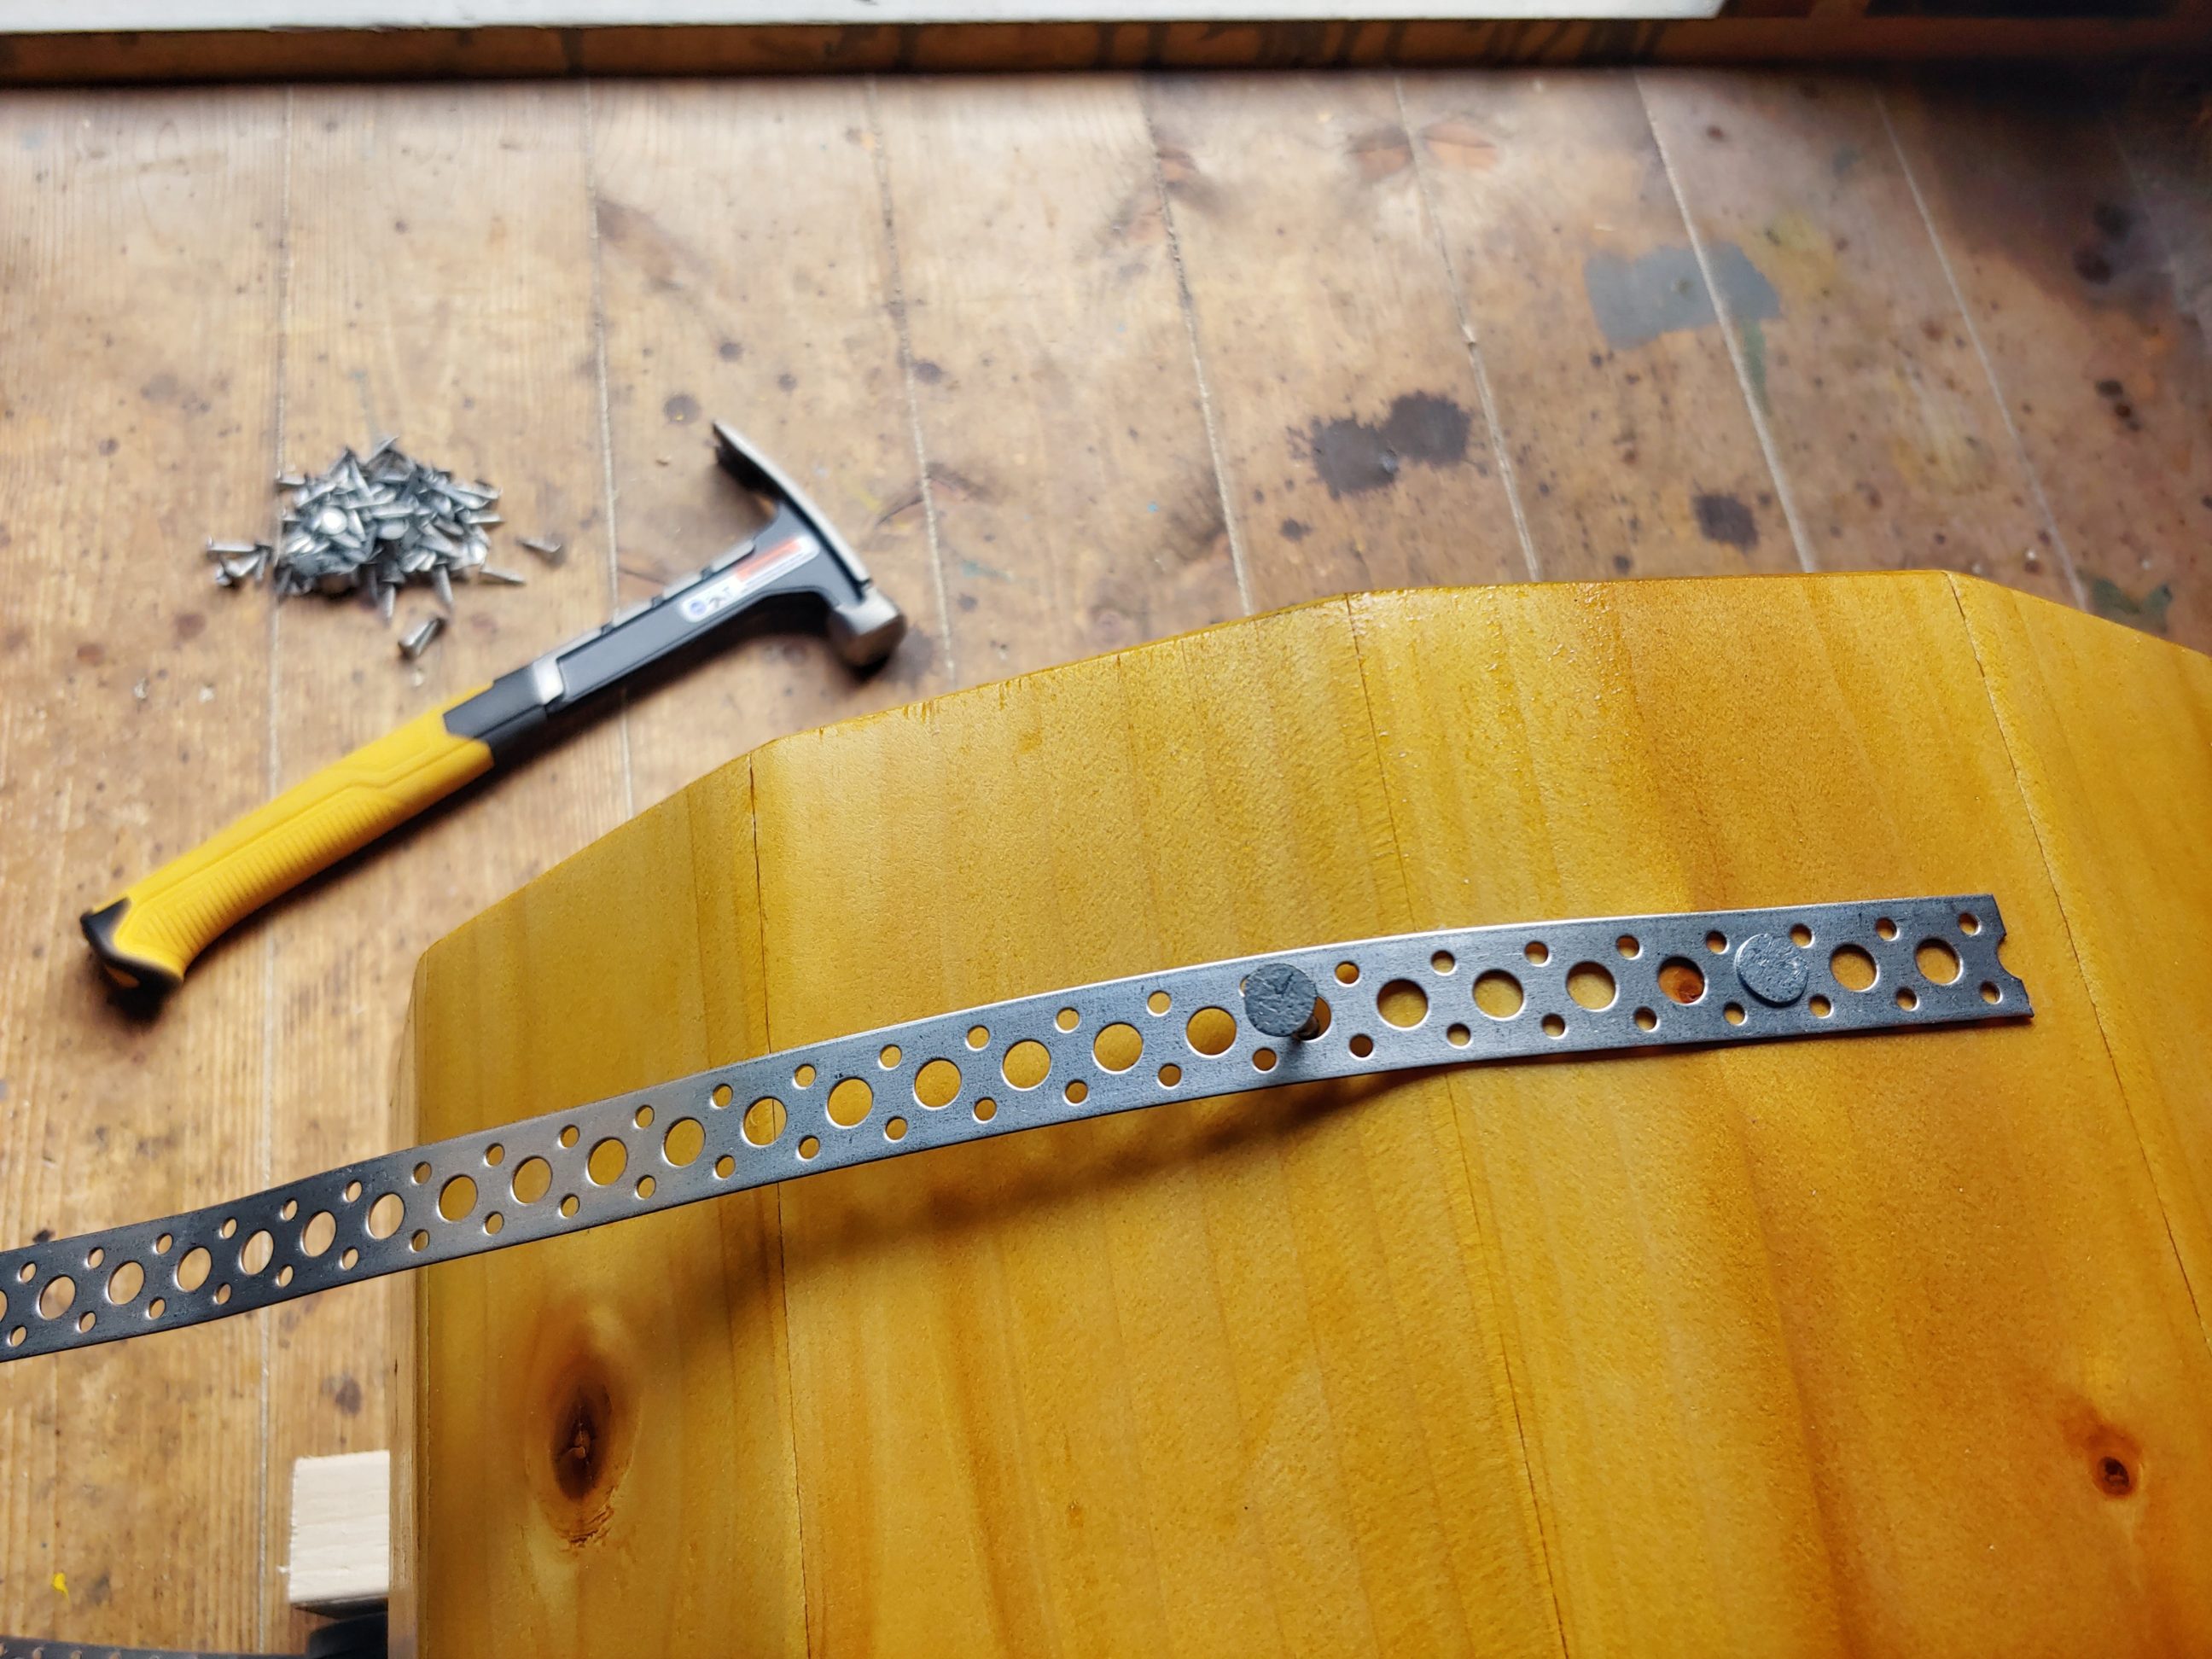
Once that was done I installed 2 straps of metal bracing going around the walls. To secure them I used felt nails which perfectly matched the galvanised look of the straps.


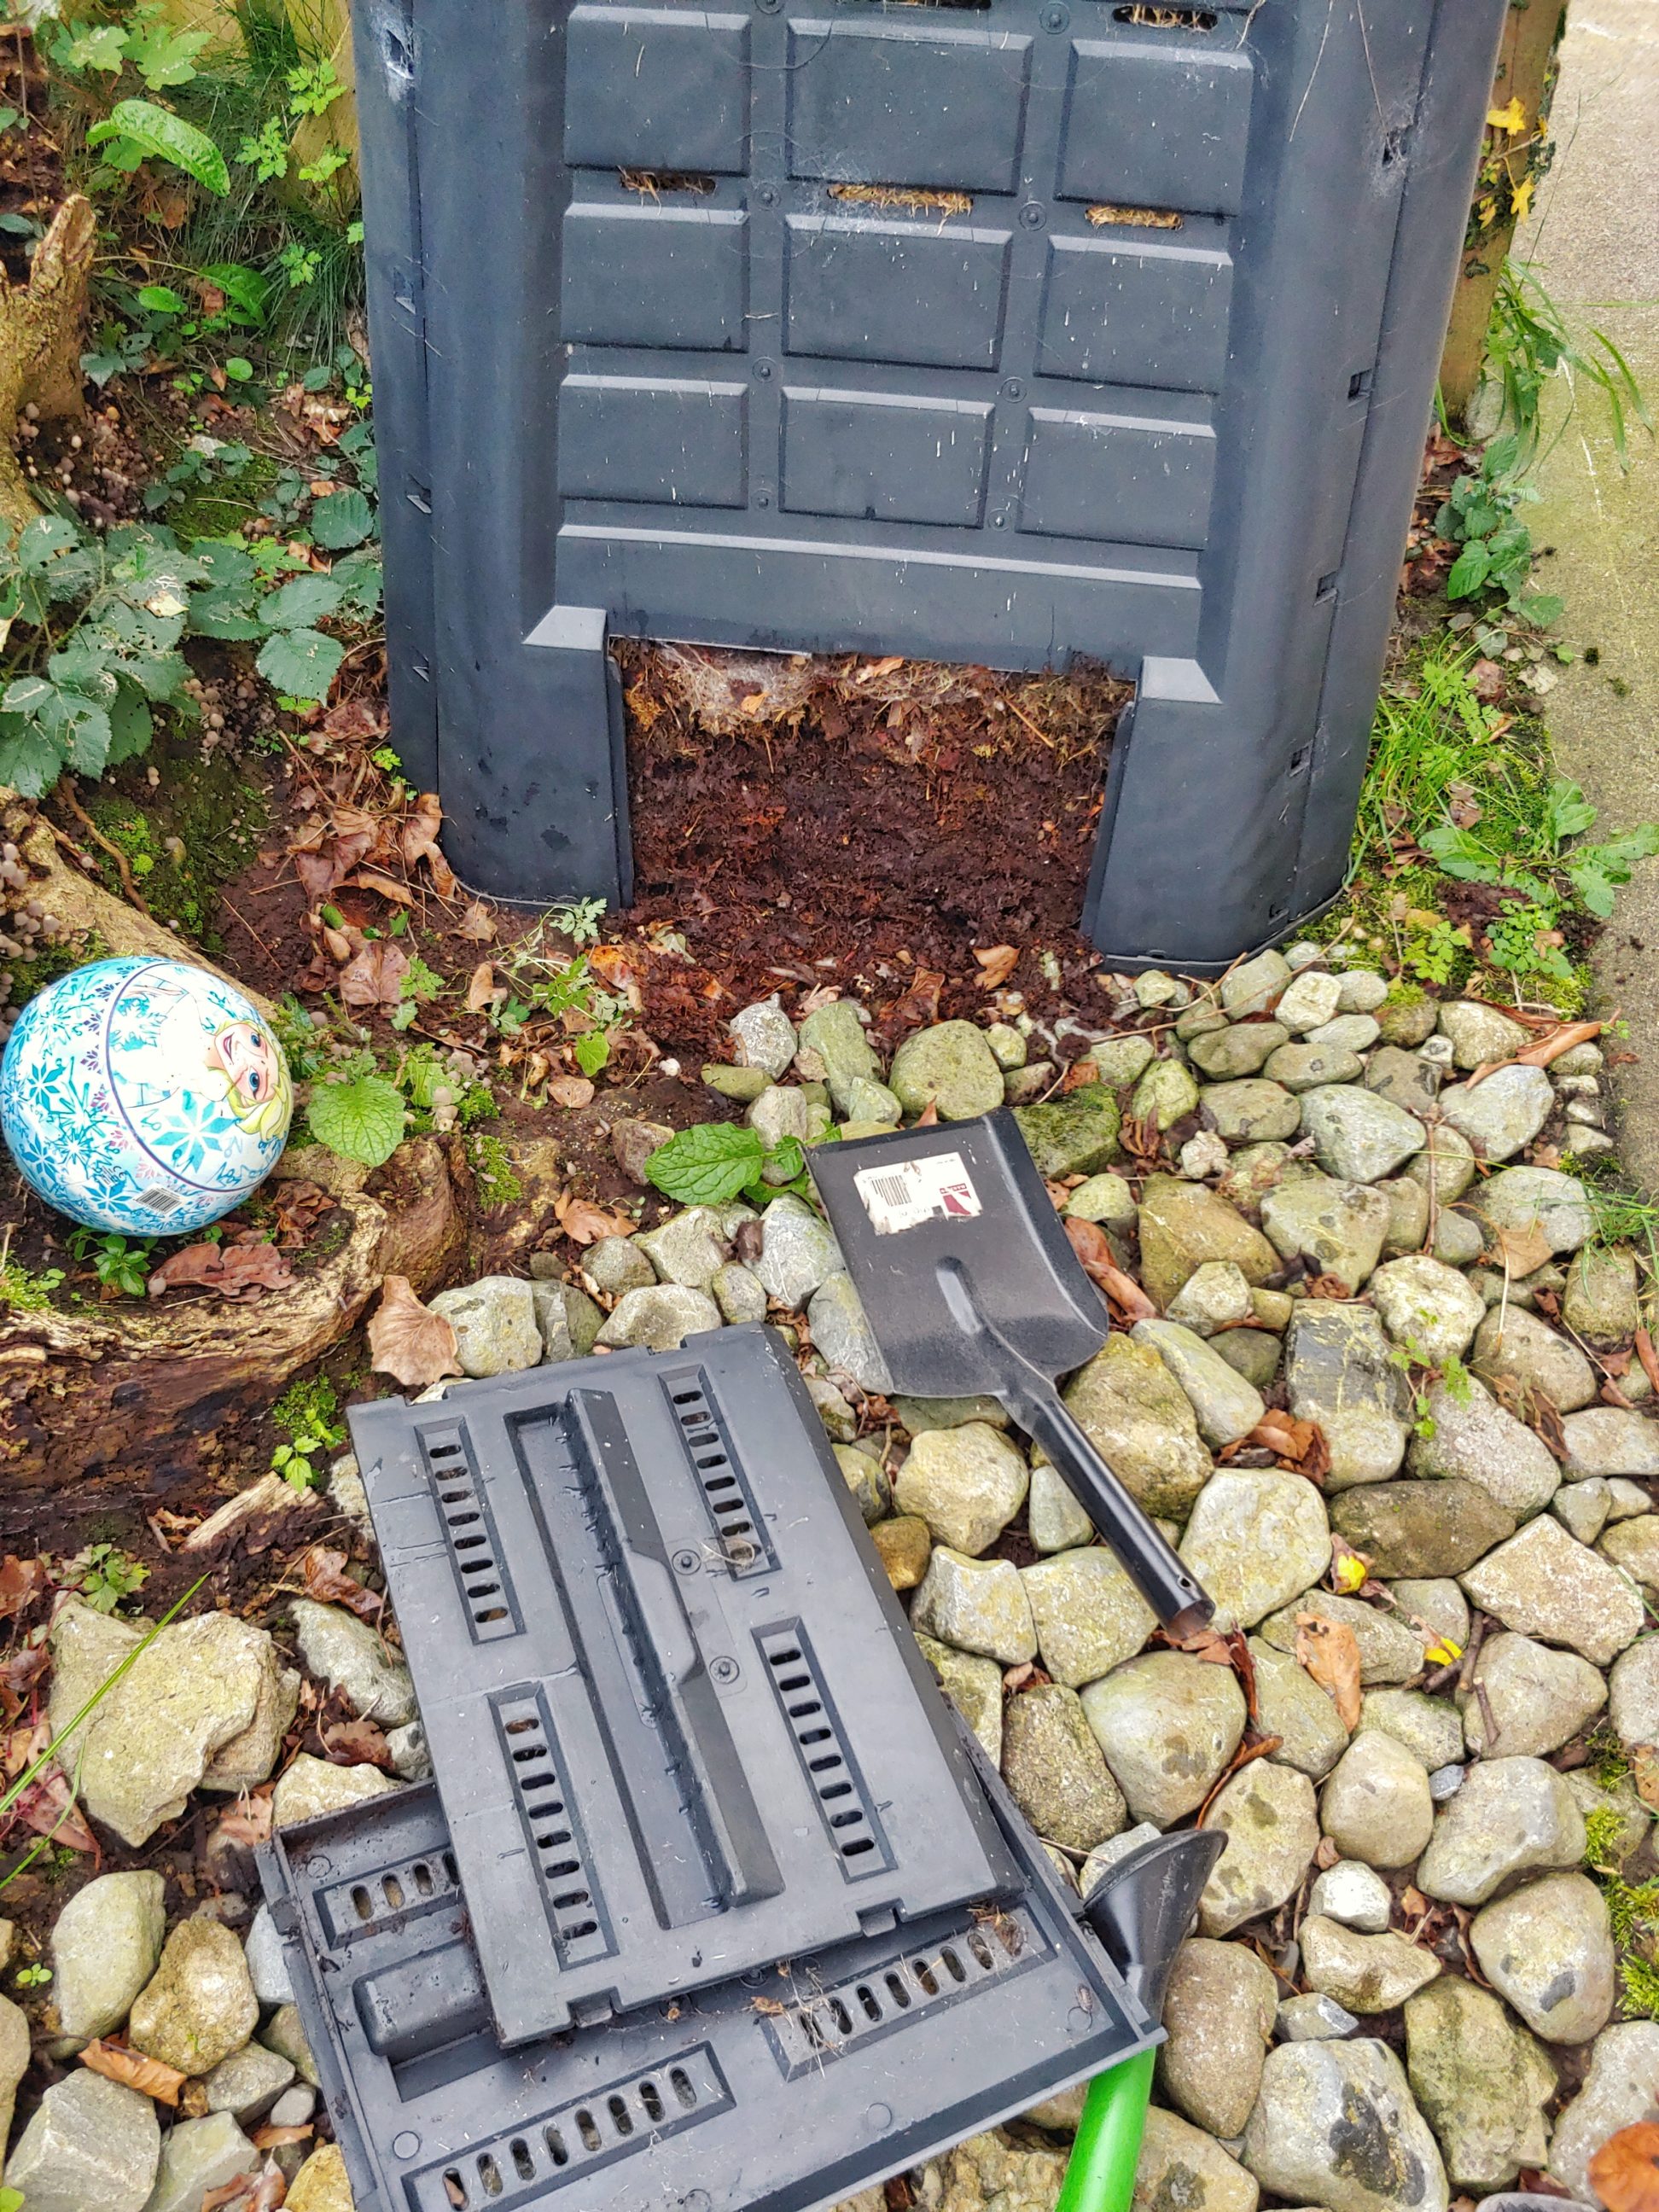
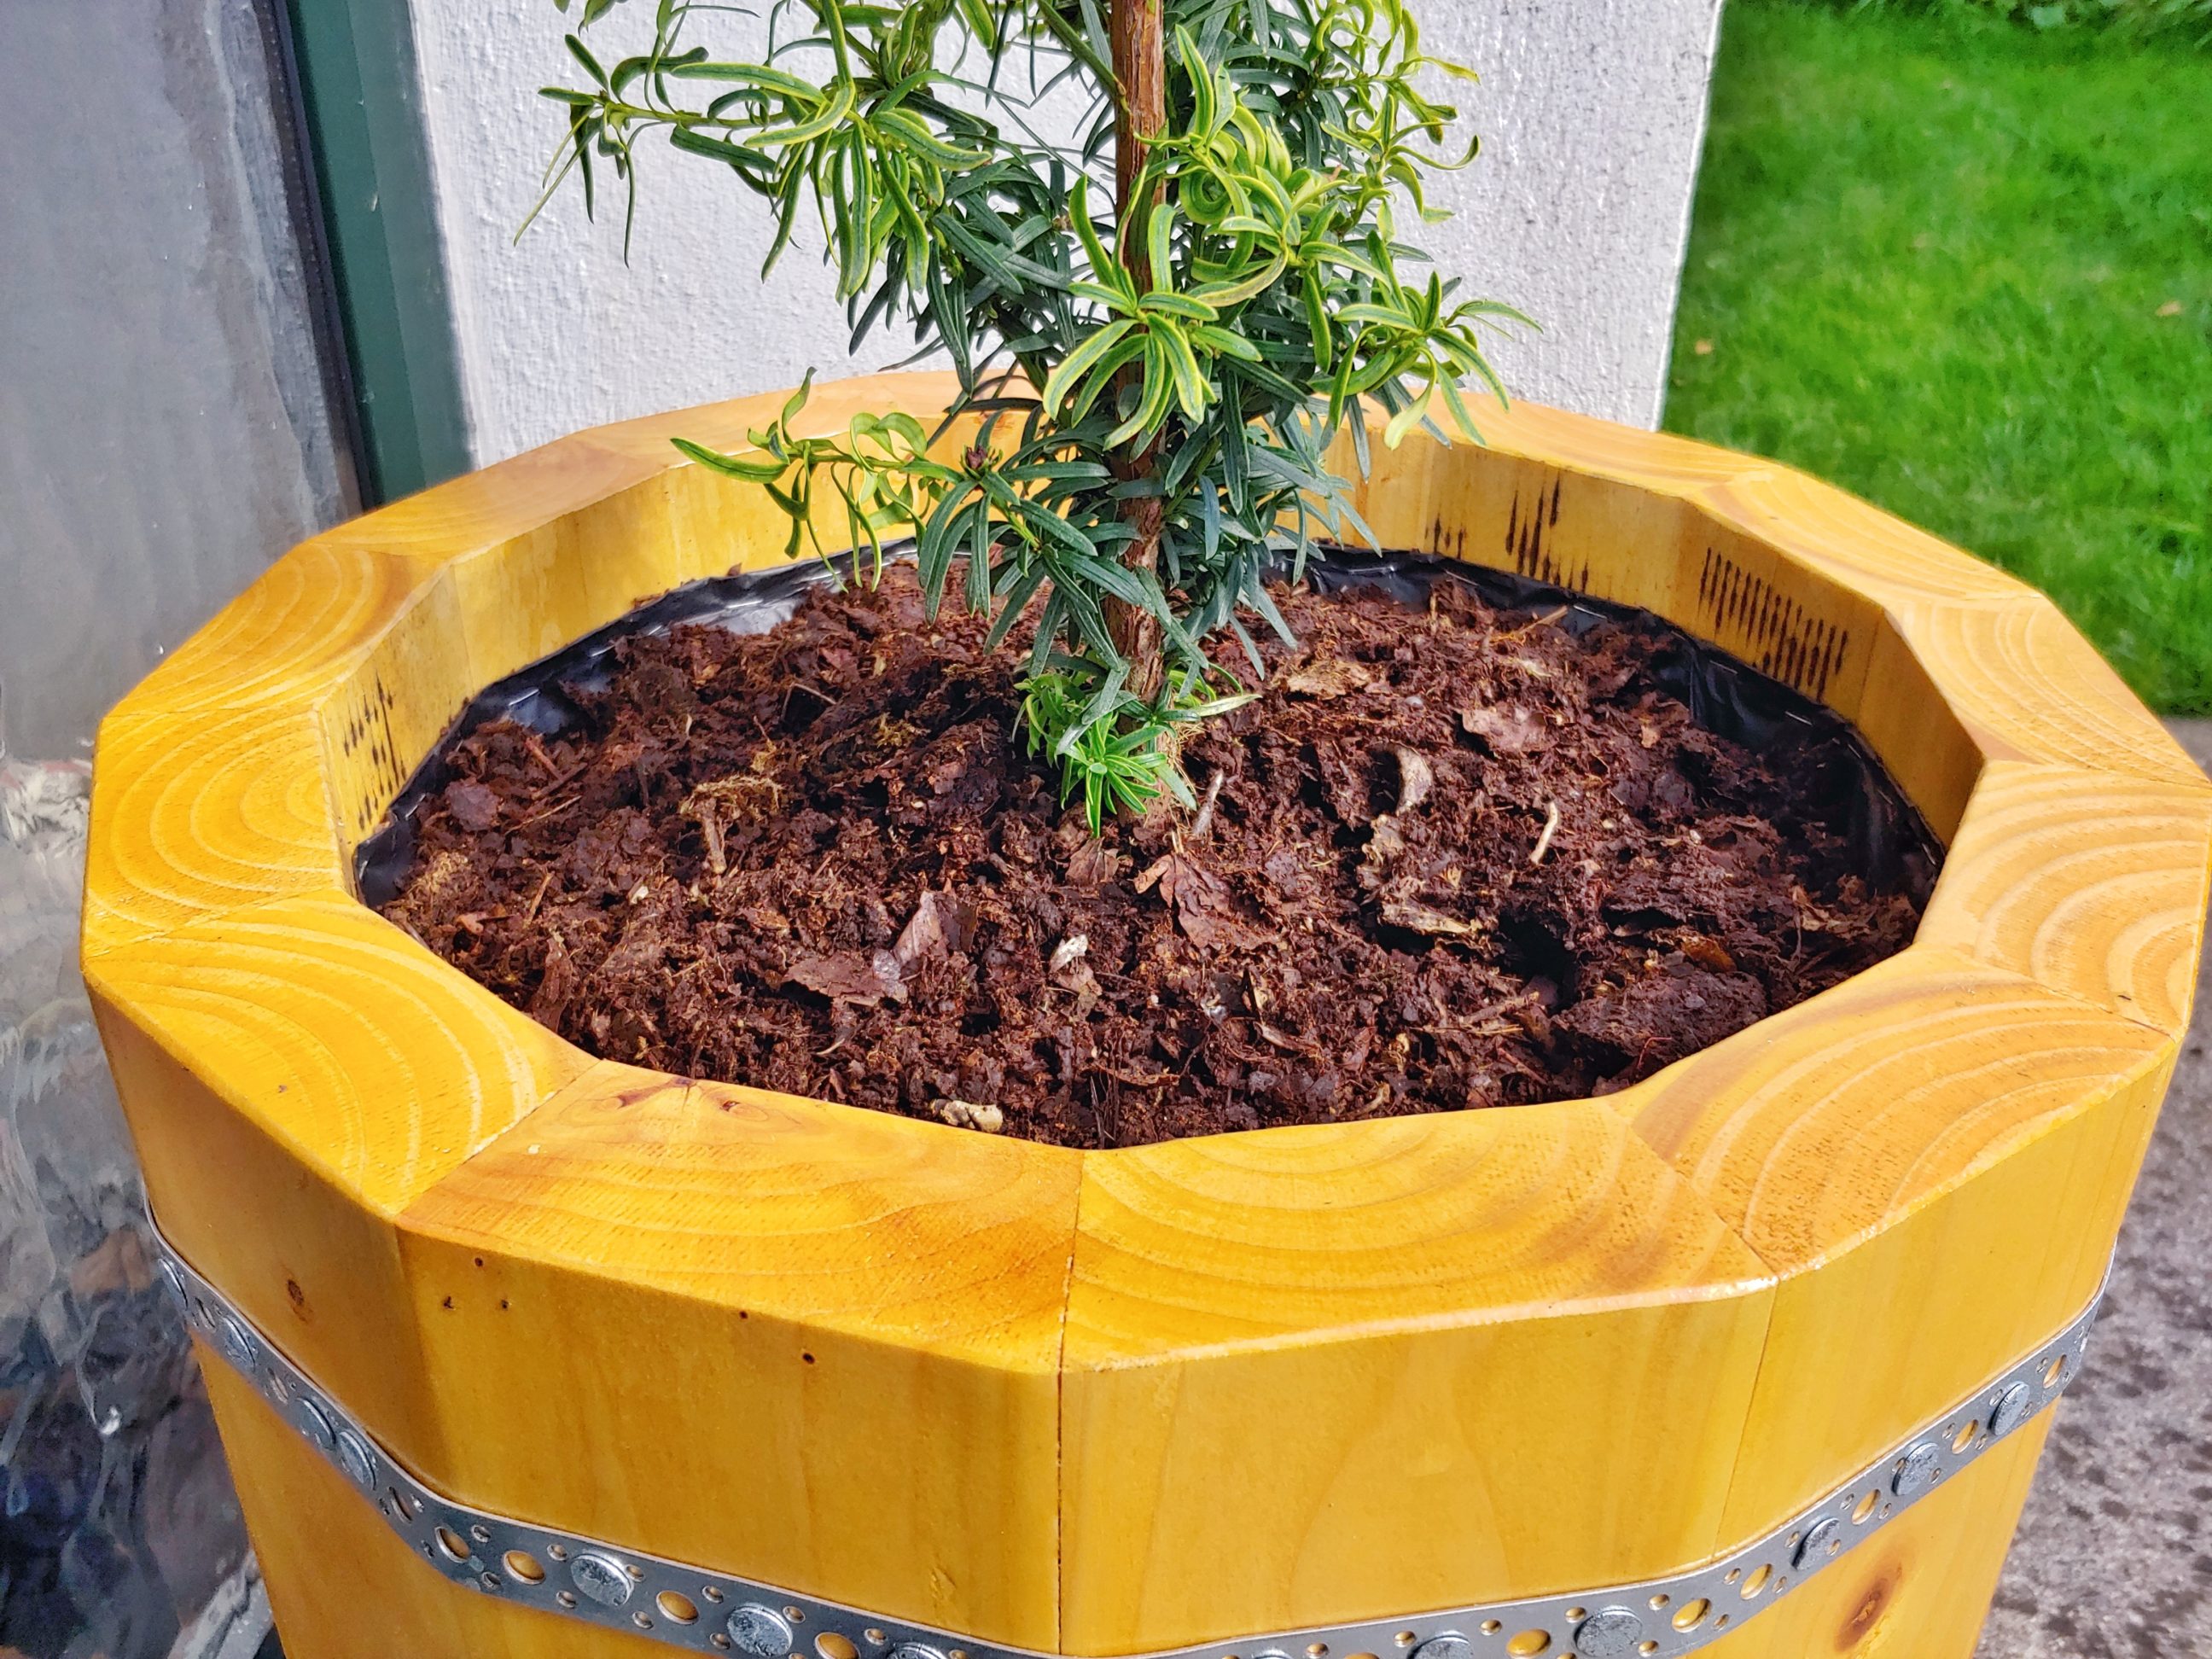
Next, I filled up my wheelbarrow with homemade compost. I transferred a couple of shovels to the planter but left some space for the plant and soil it came with. When potted it almost levelled up with the plastic lining.


The combination of green and yellow looks simply beautiful. There will be more green and less brown in this picture over time. BTW, the plant is called Taxus baccata “David”. Evergreen, grows slowly and maintenance free.
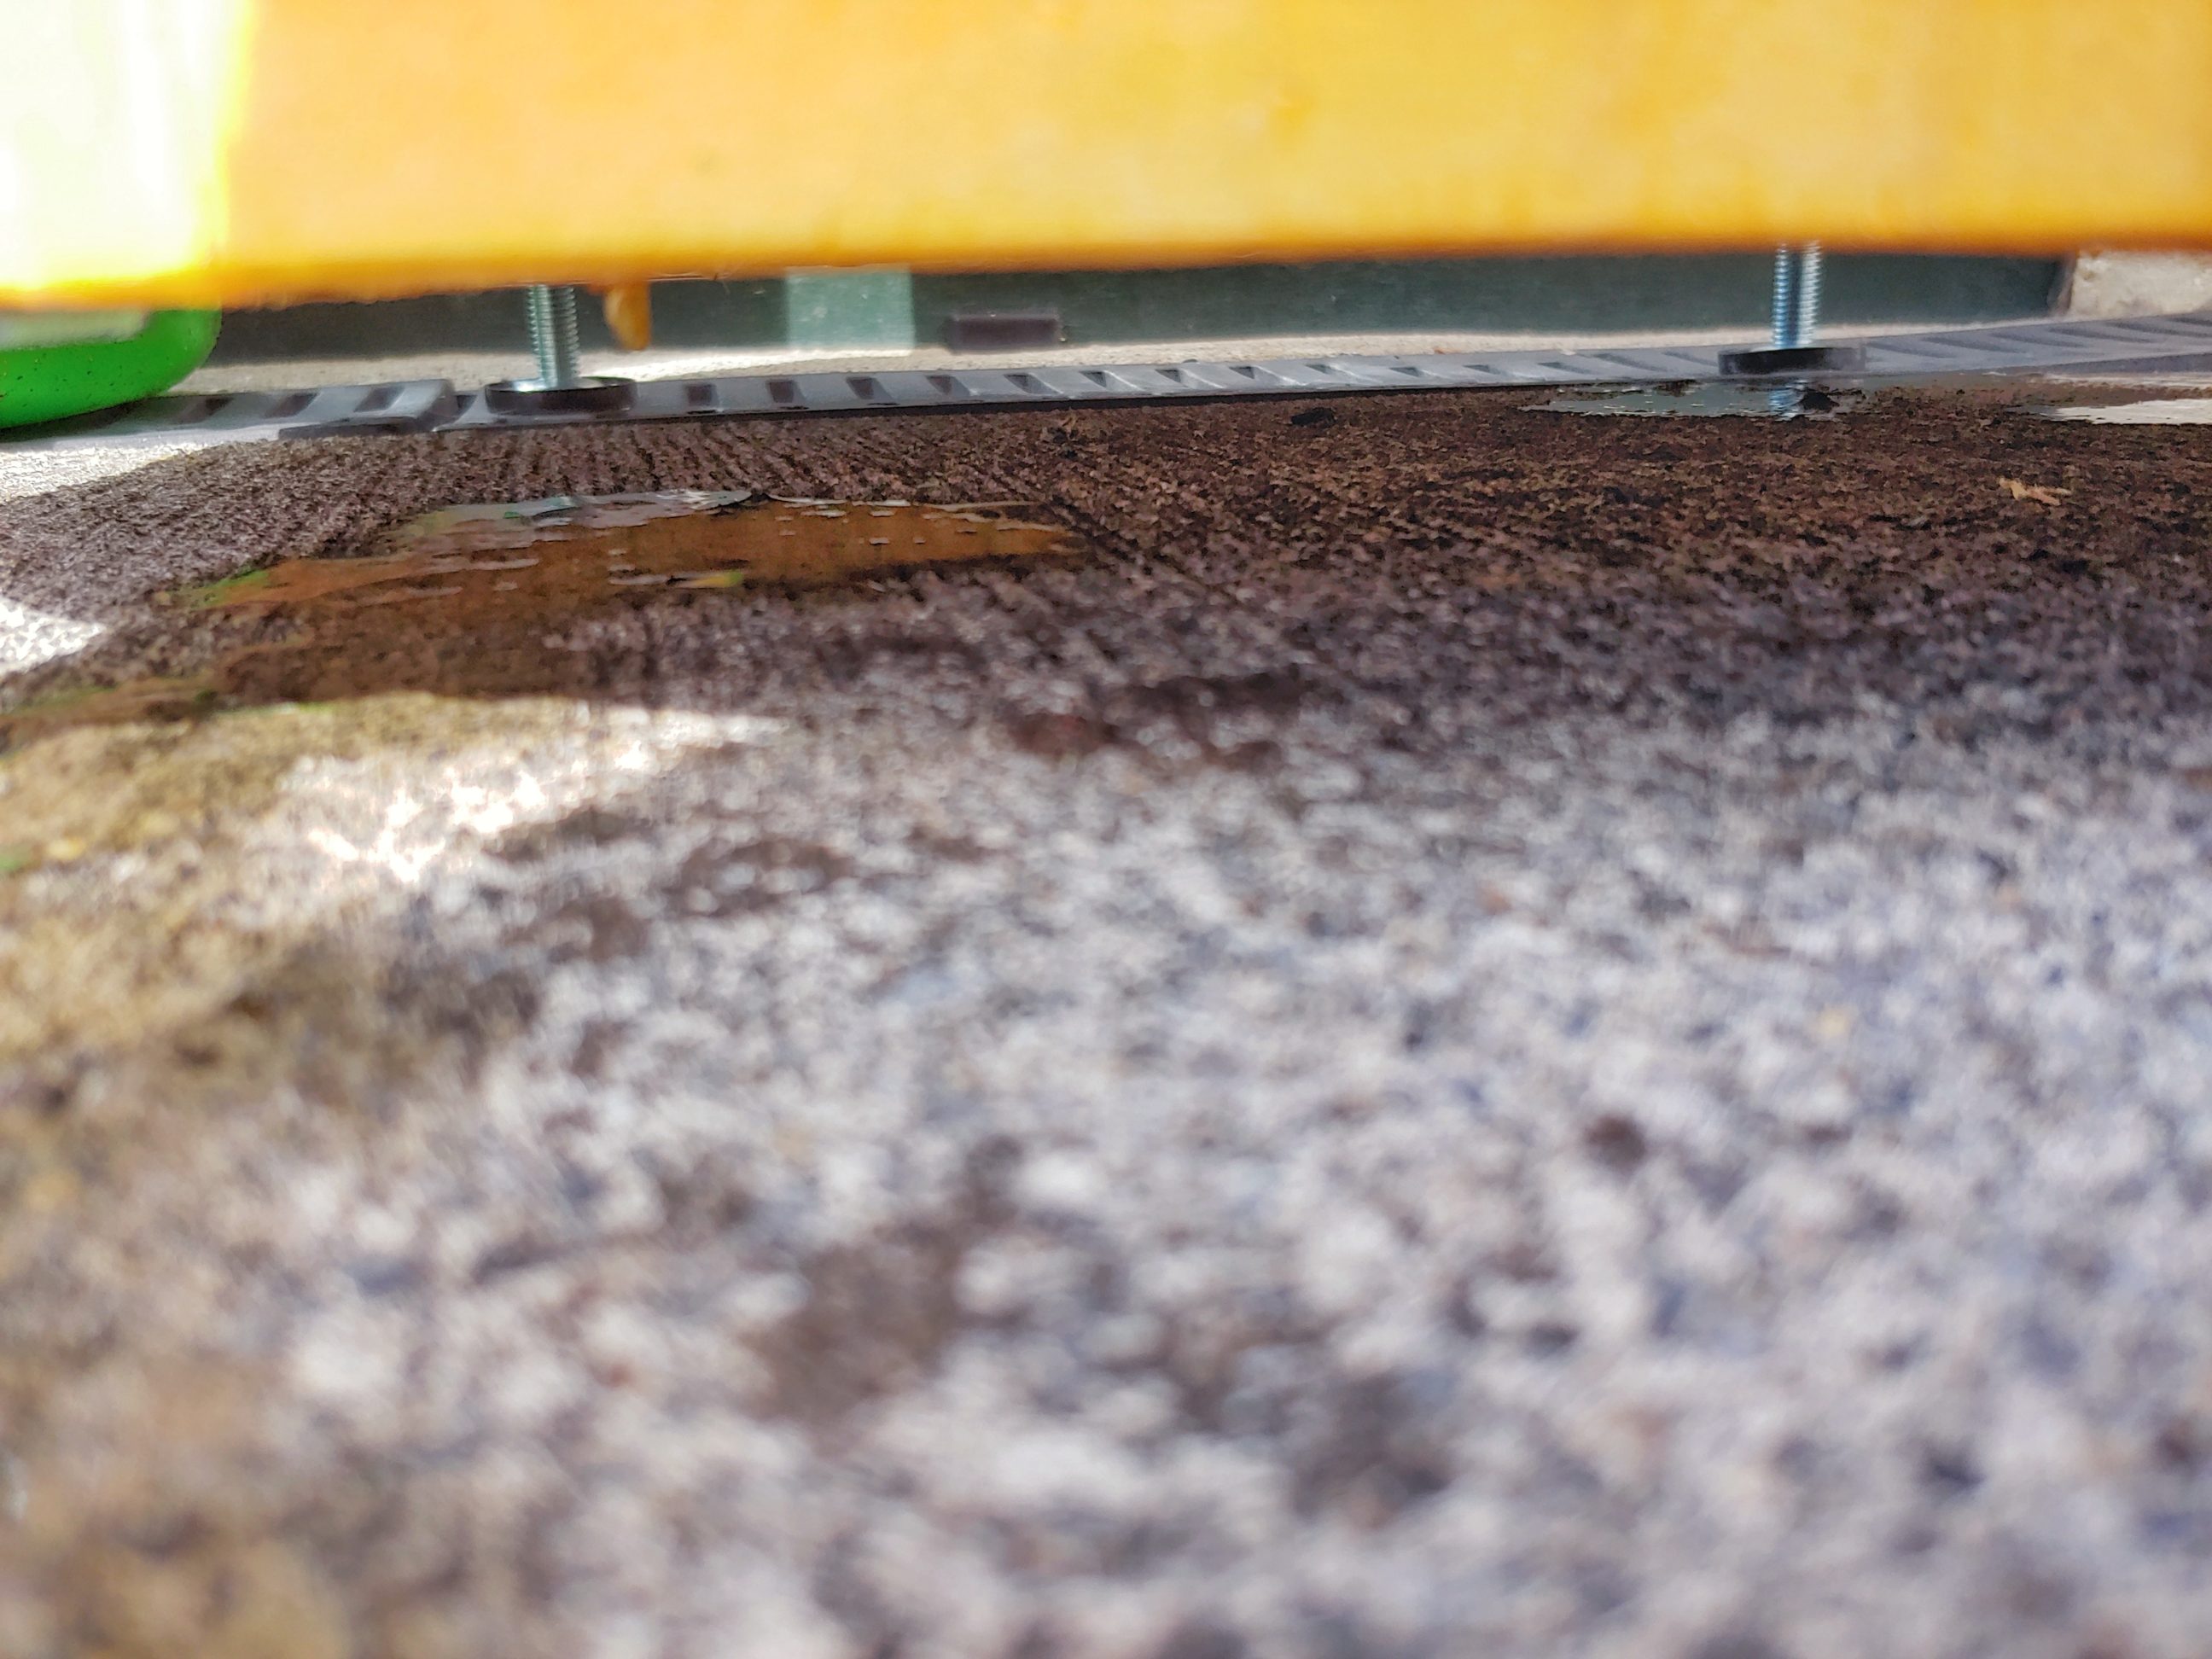
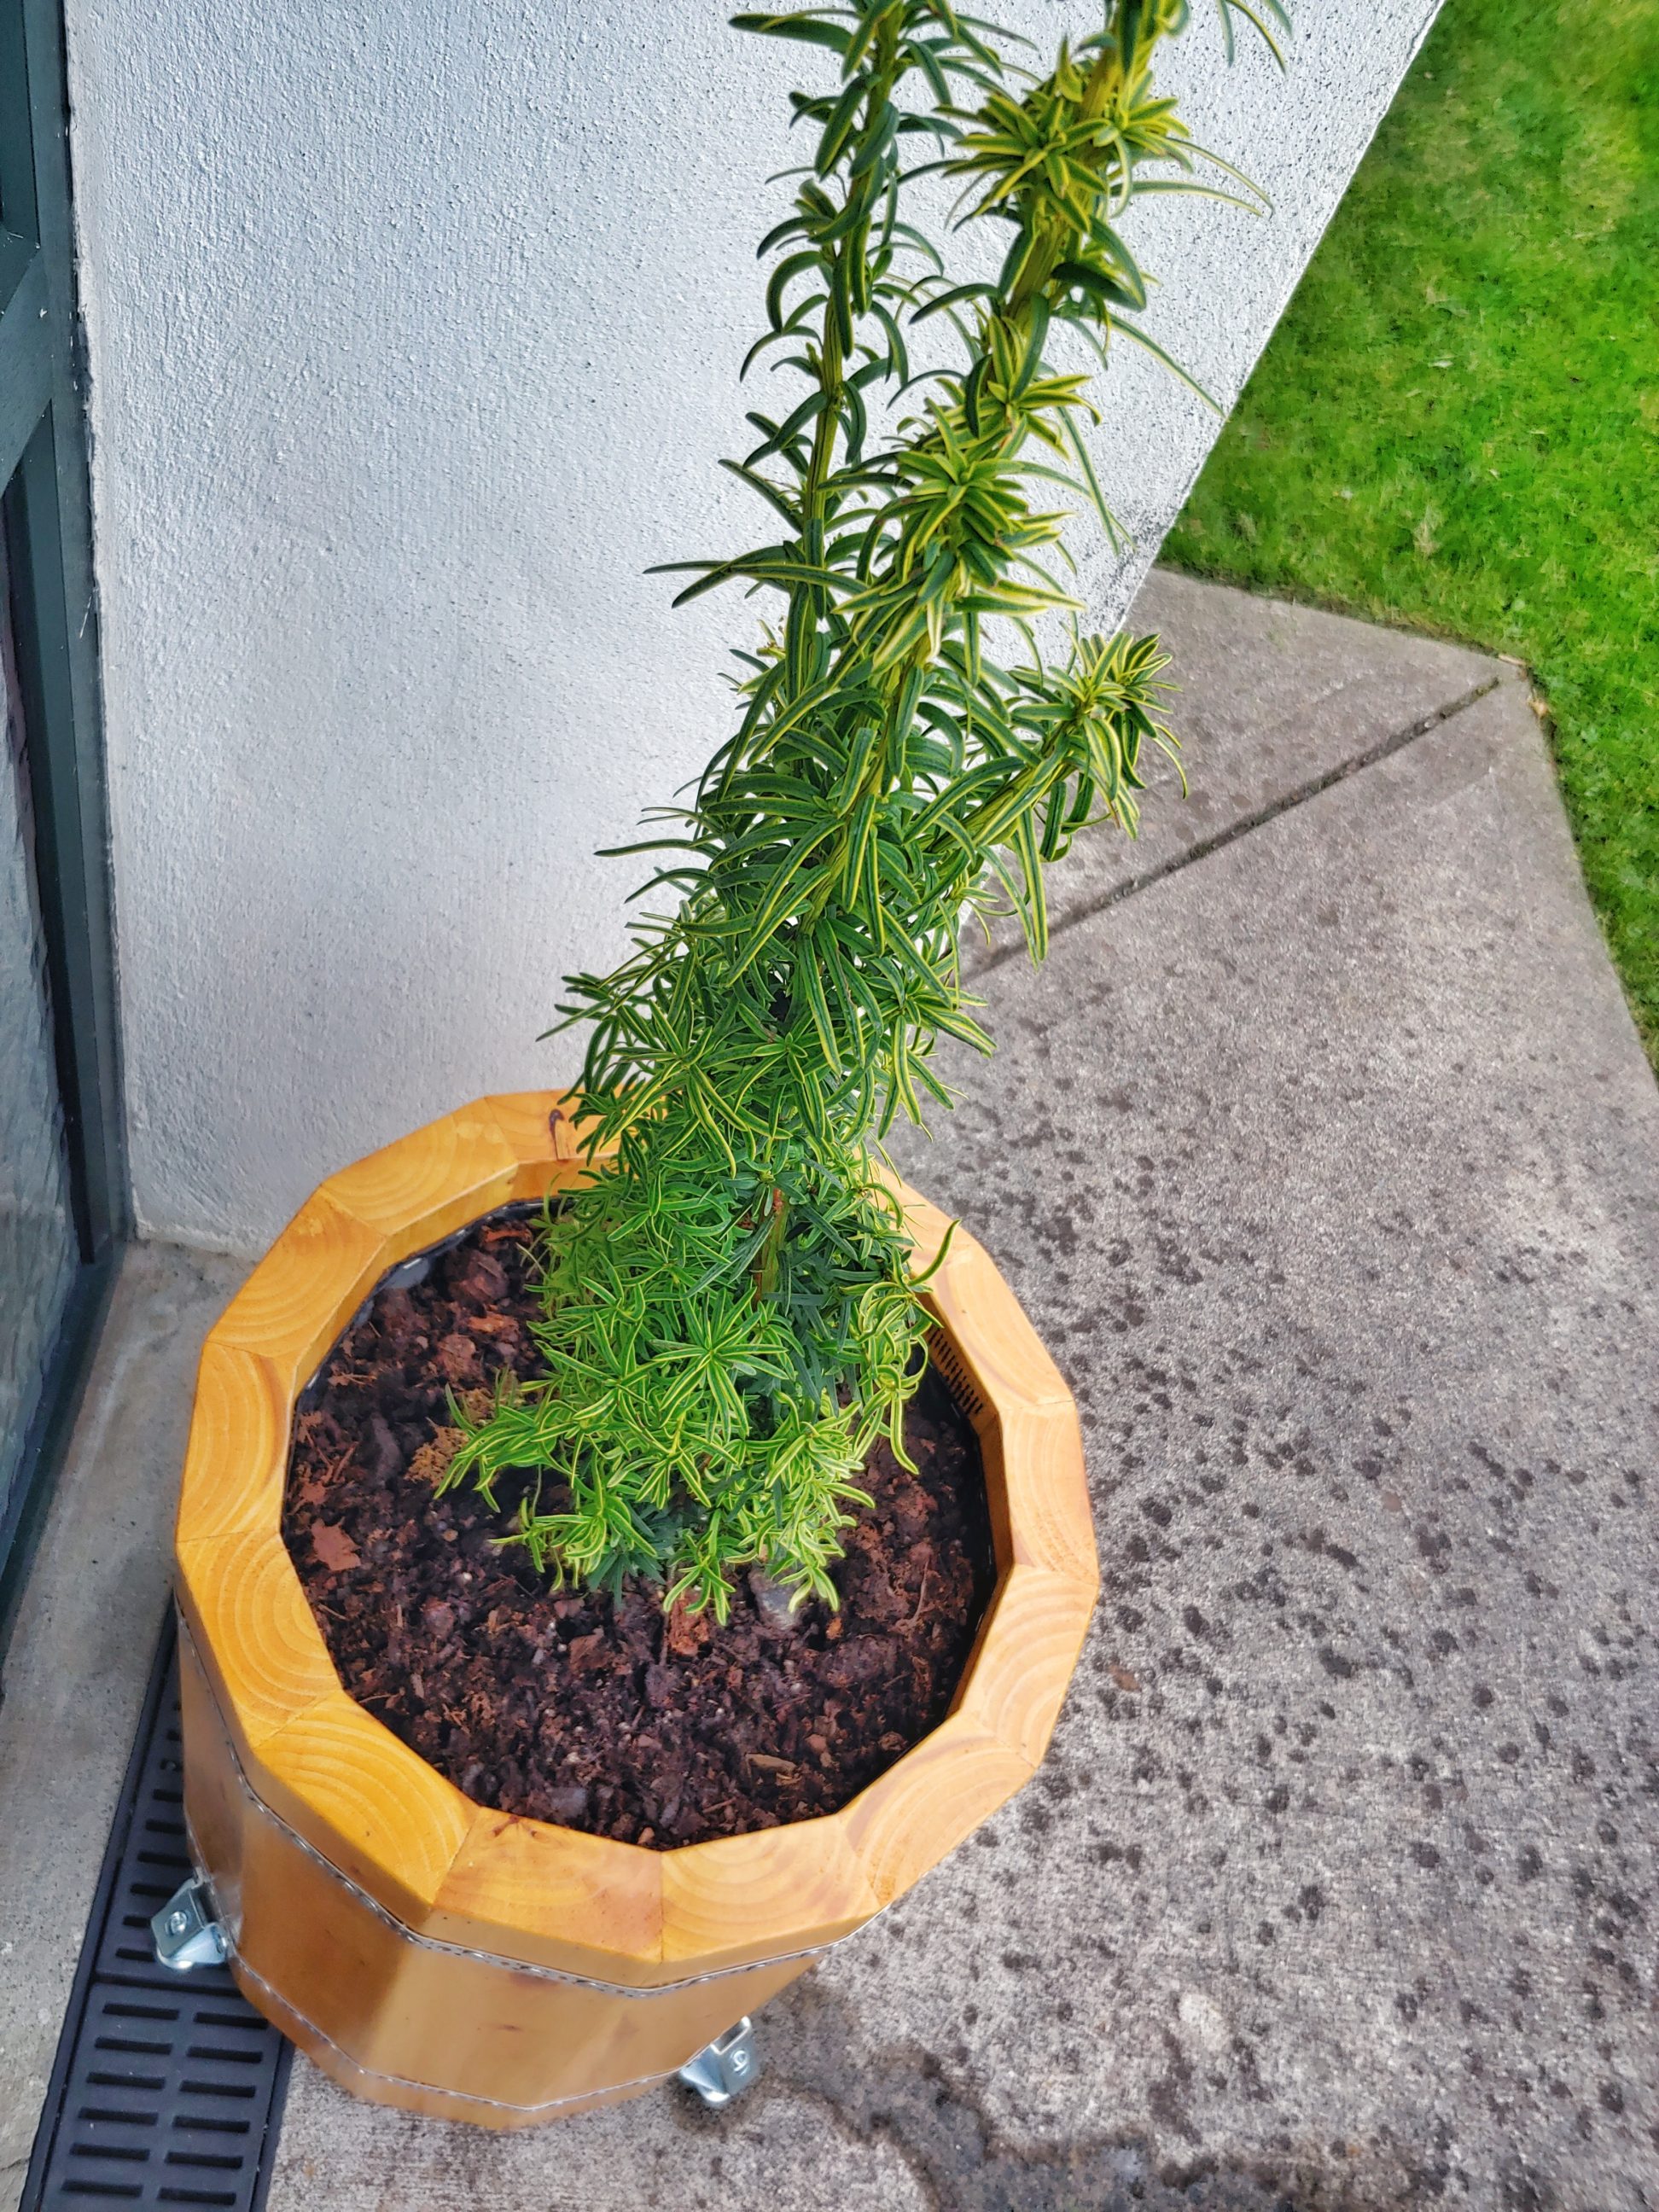
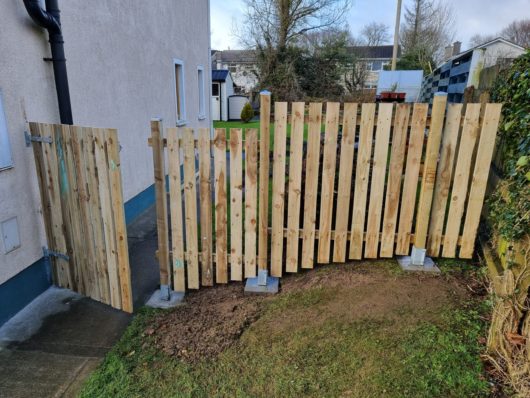
I am very happy with the project and I have proudly displayed it in front of my house. I believe the planter will last 4 – 5 years. The walls are really thick (longer life) and the drainage is working as it should, 2 spots of water underneath the planter are the proof – it’s good for the plant and the planter.


You May Also Like
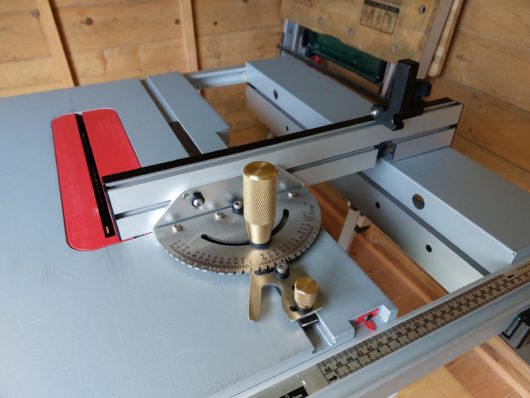
Professional mitre gauge with a 16 mm bar

Improved circular saw jig