
Leaning bookcase
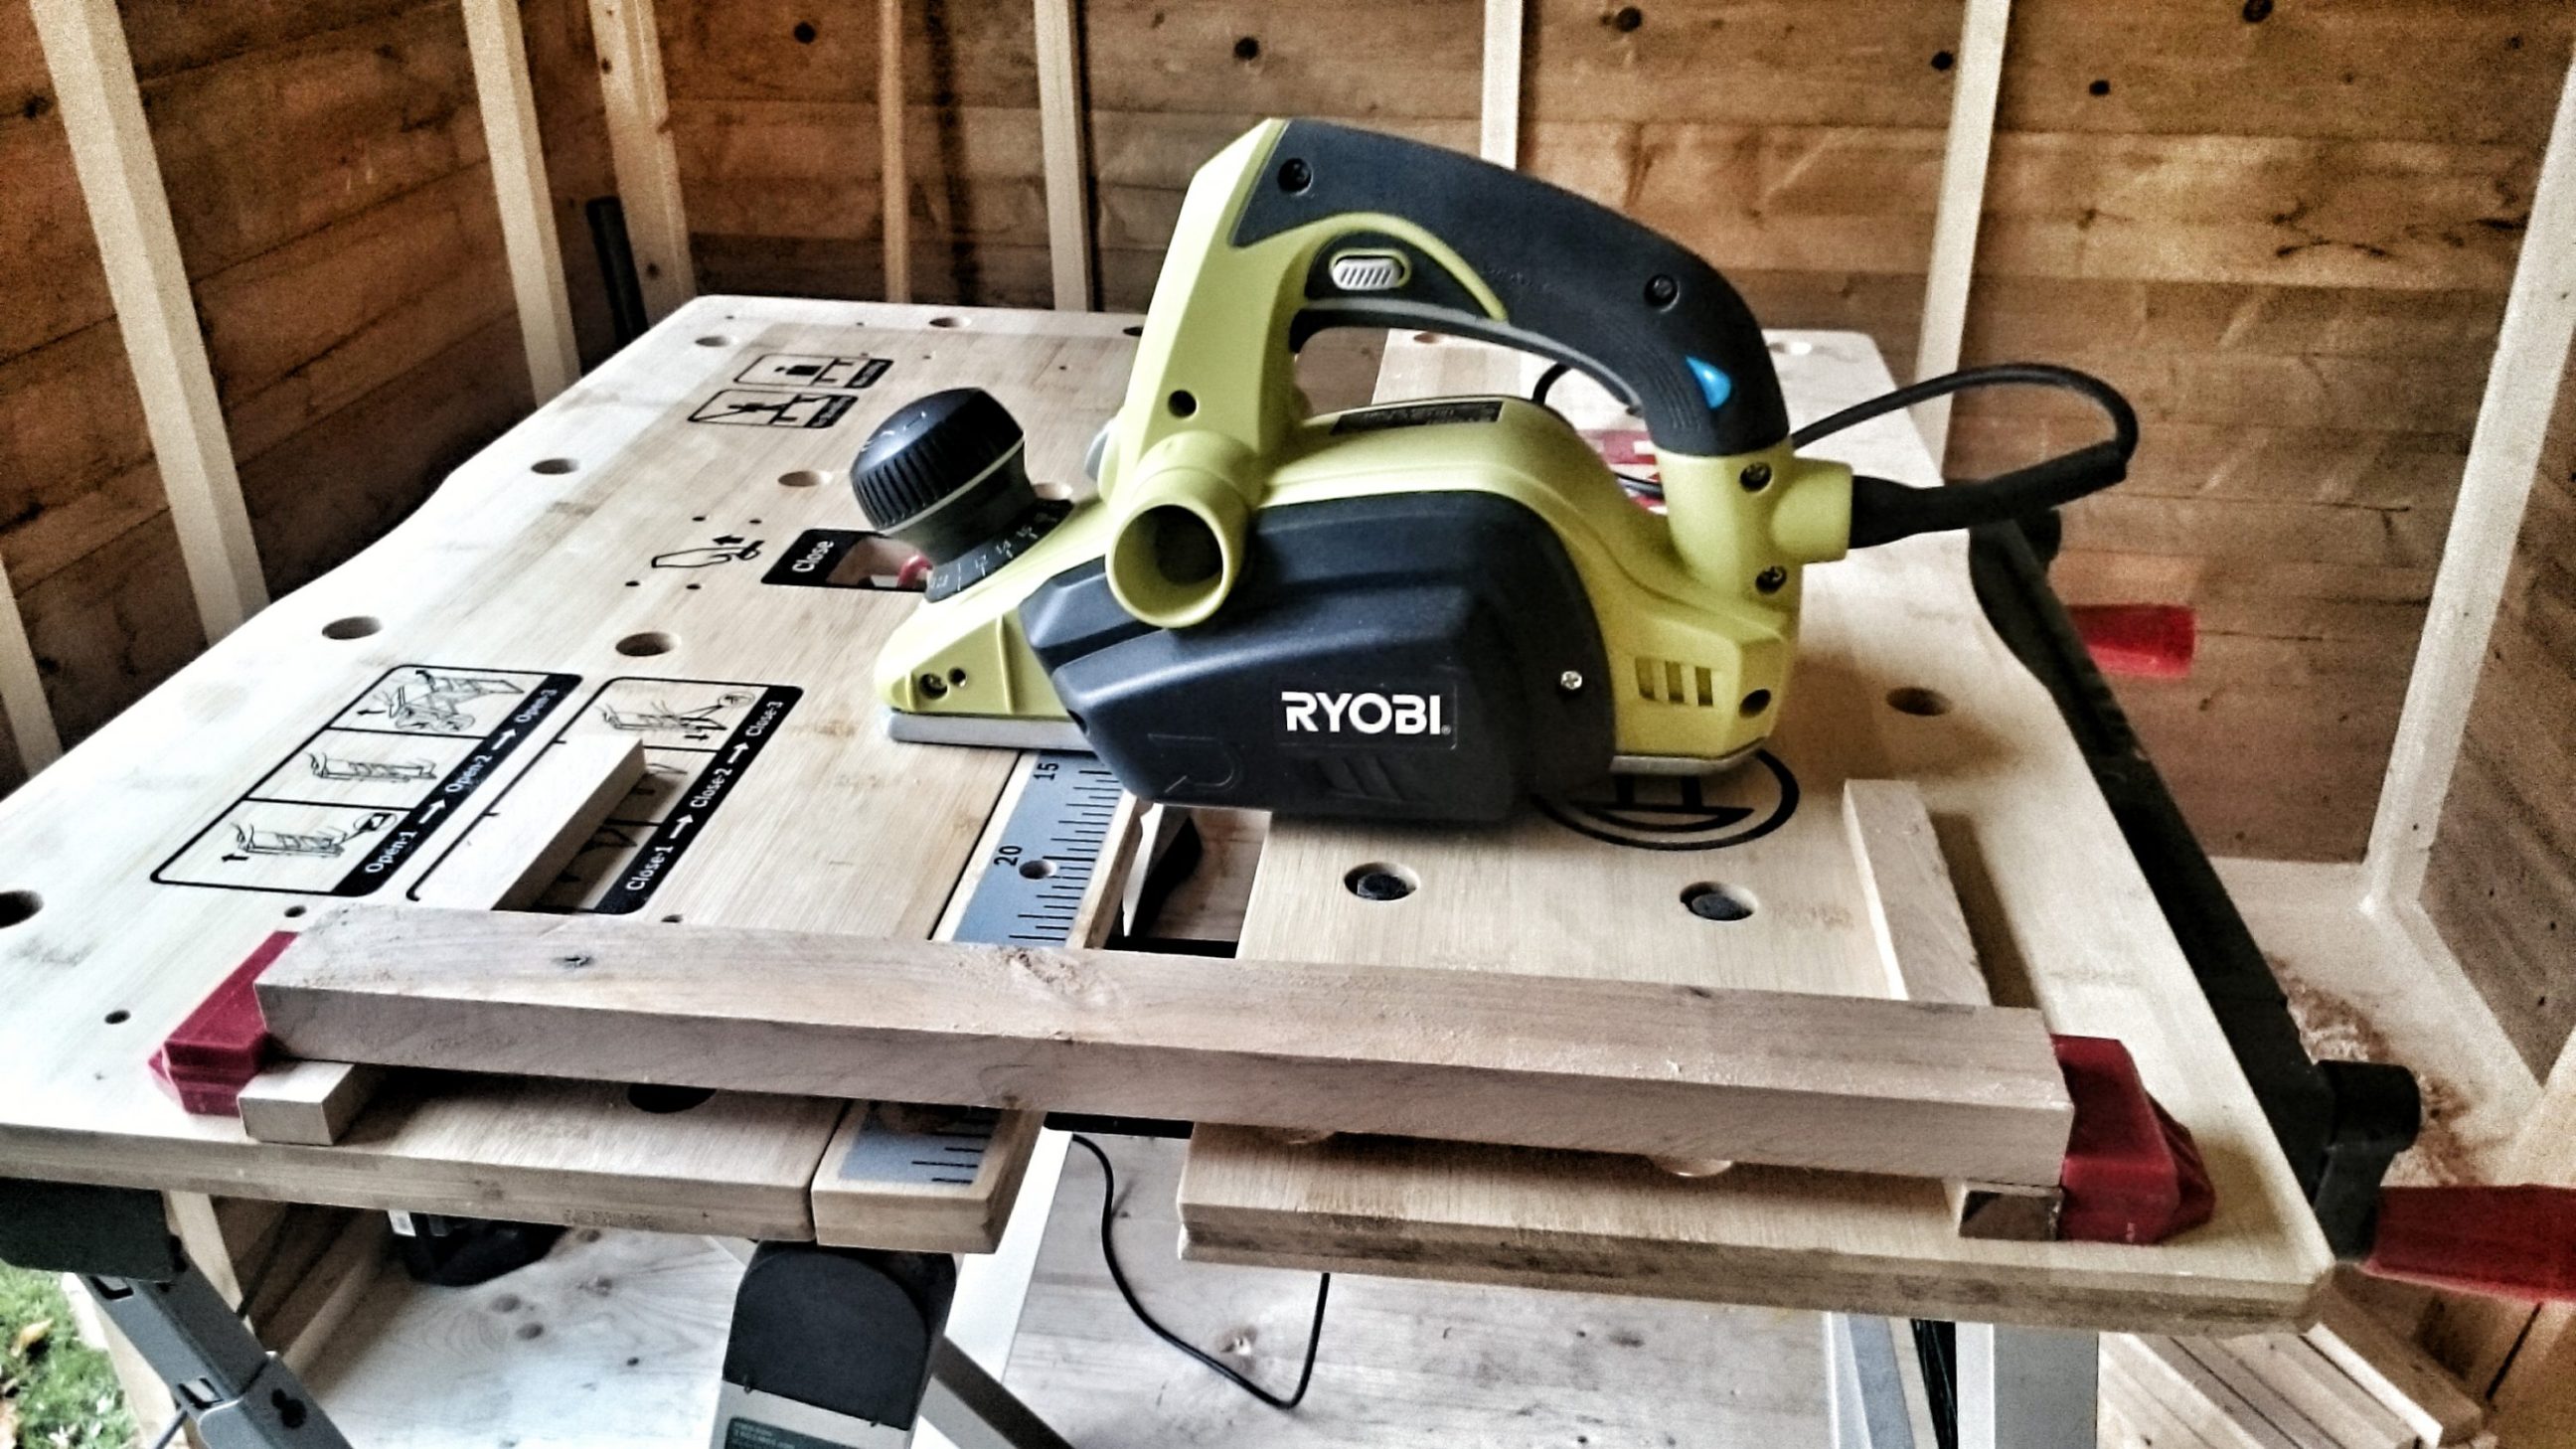
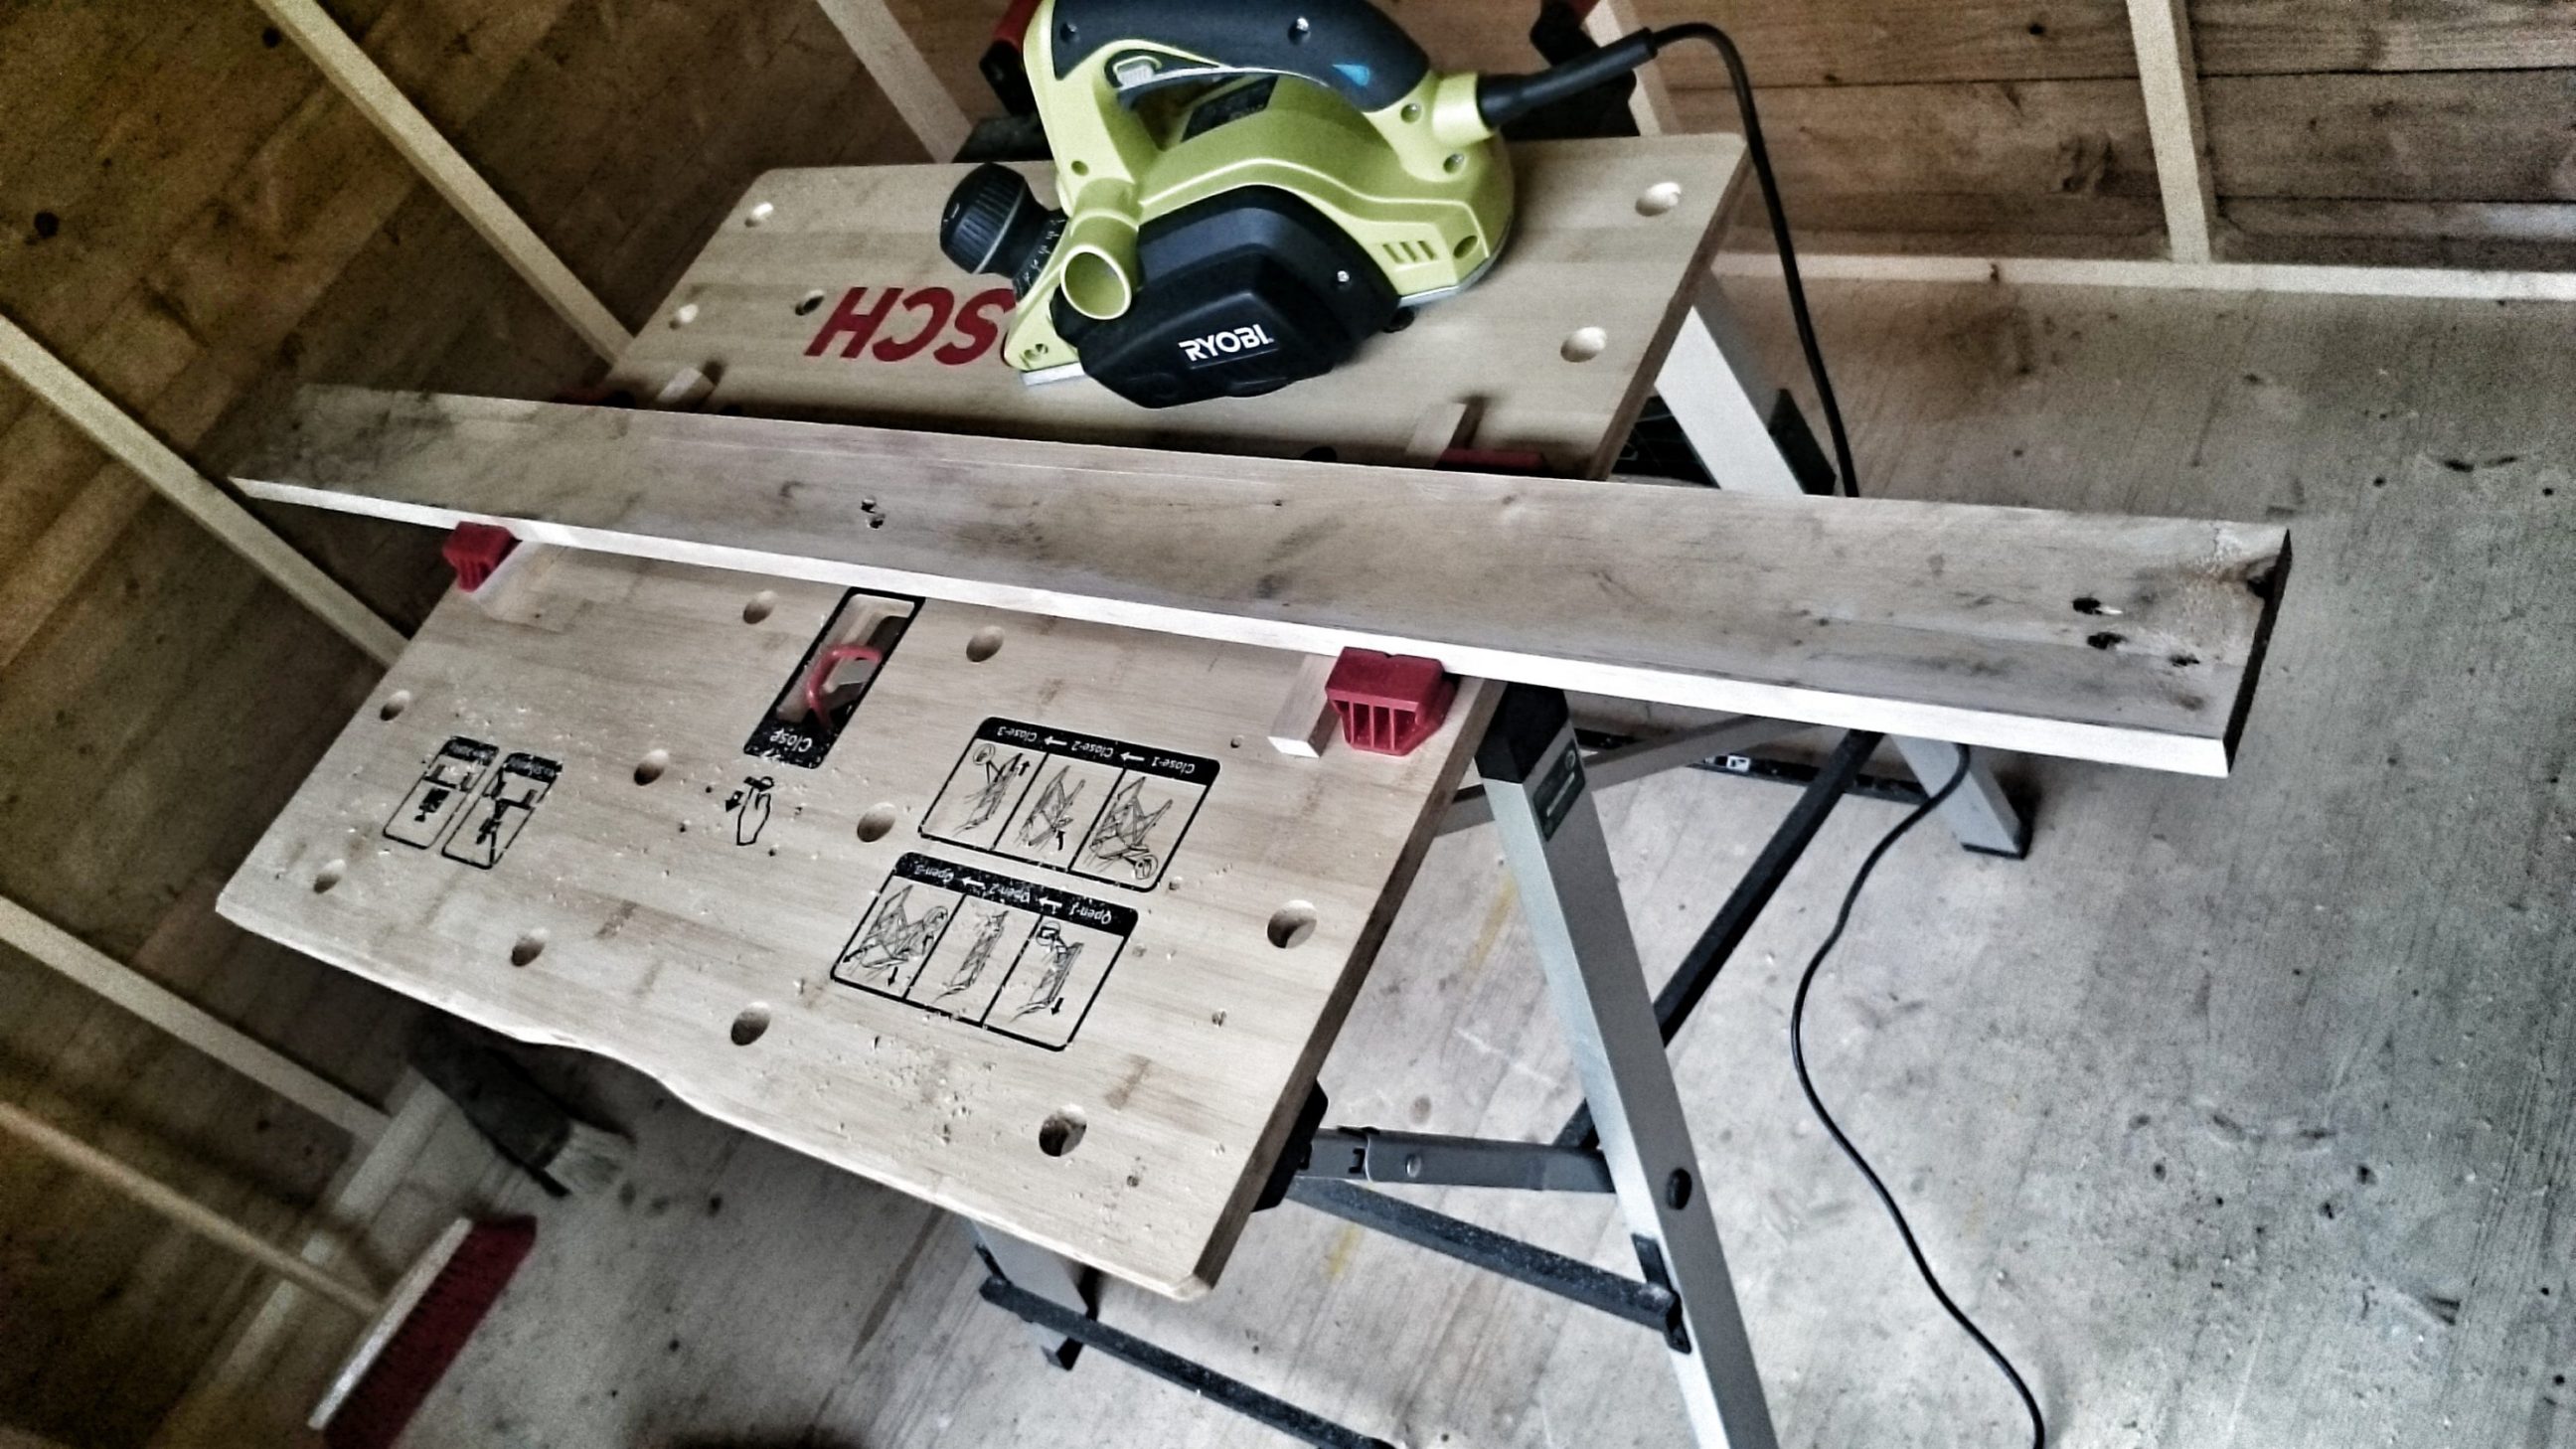
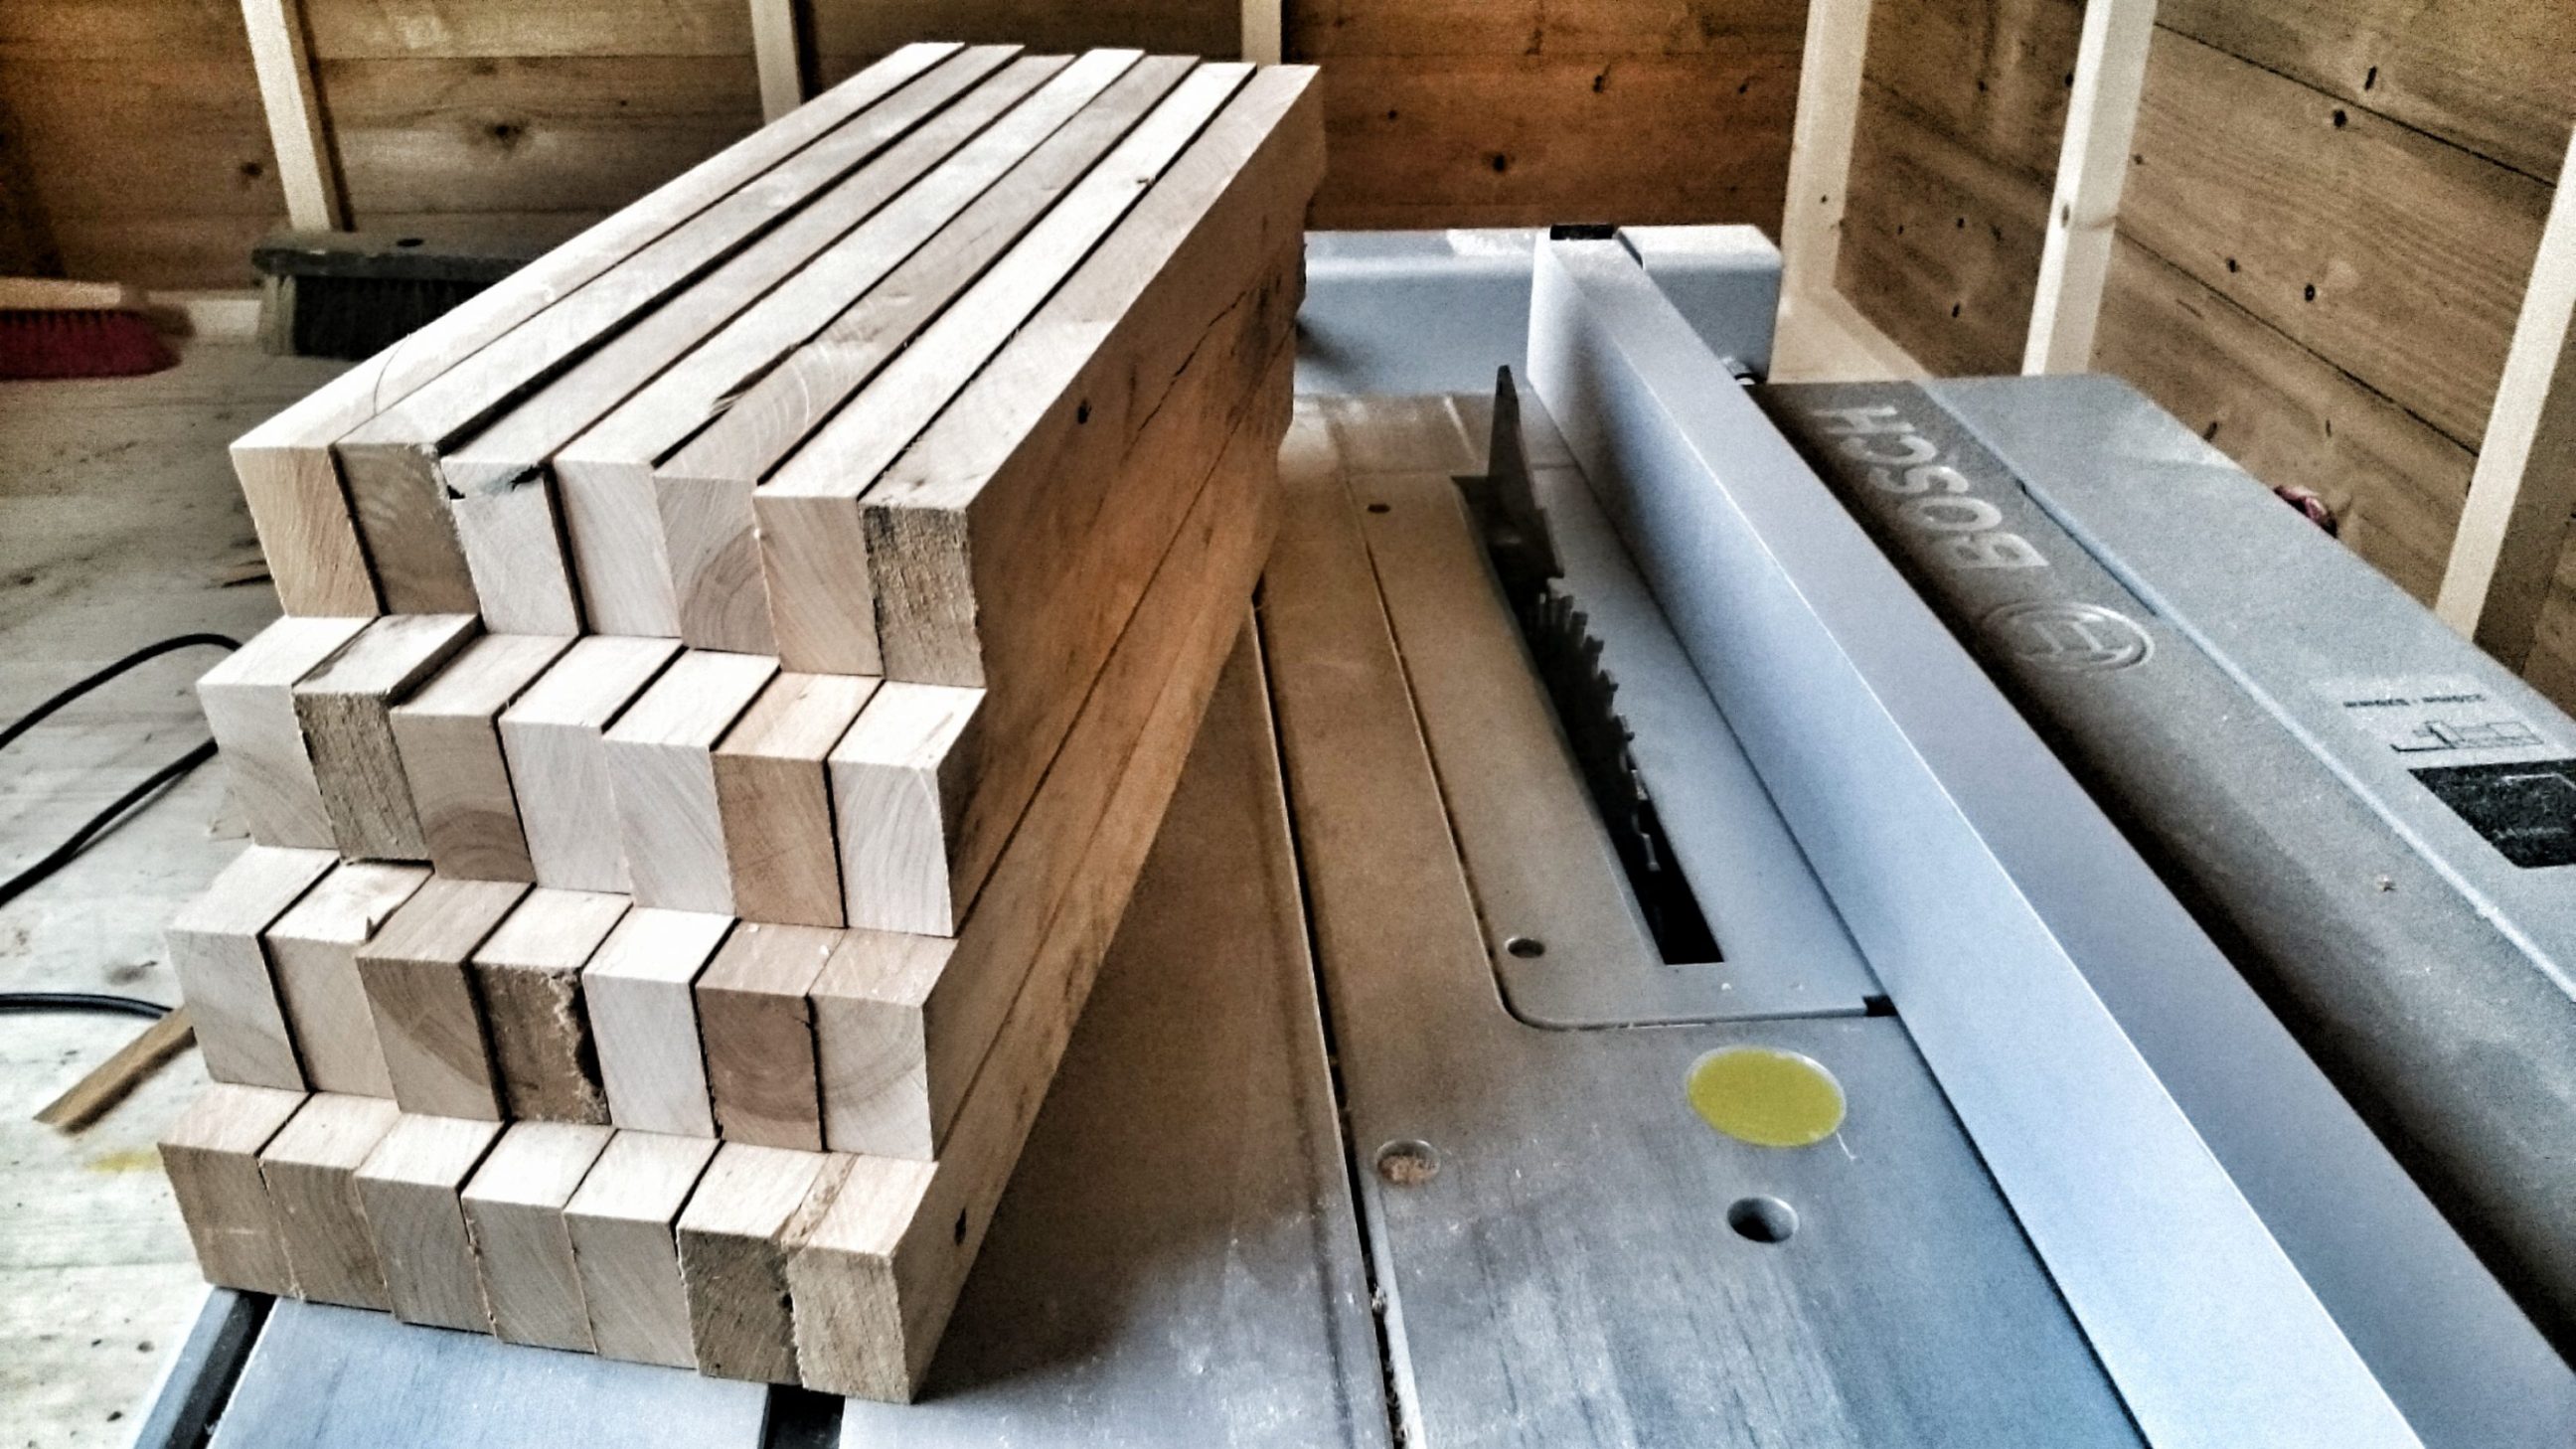
I decided to prepare the wood prior to cutting. Planing wasn’t working for some reason.
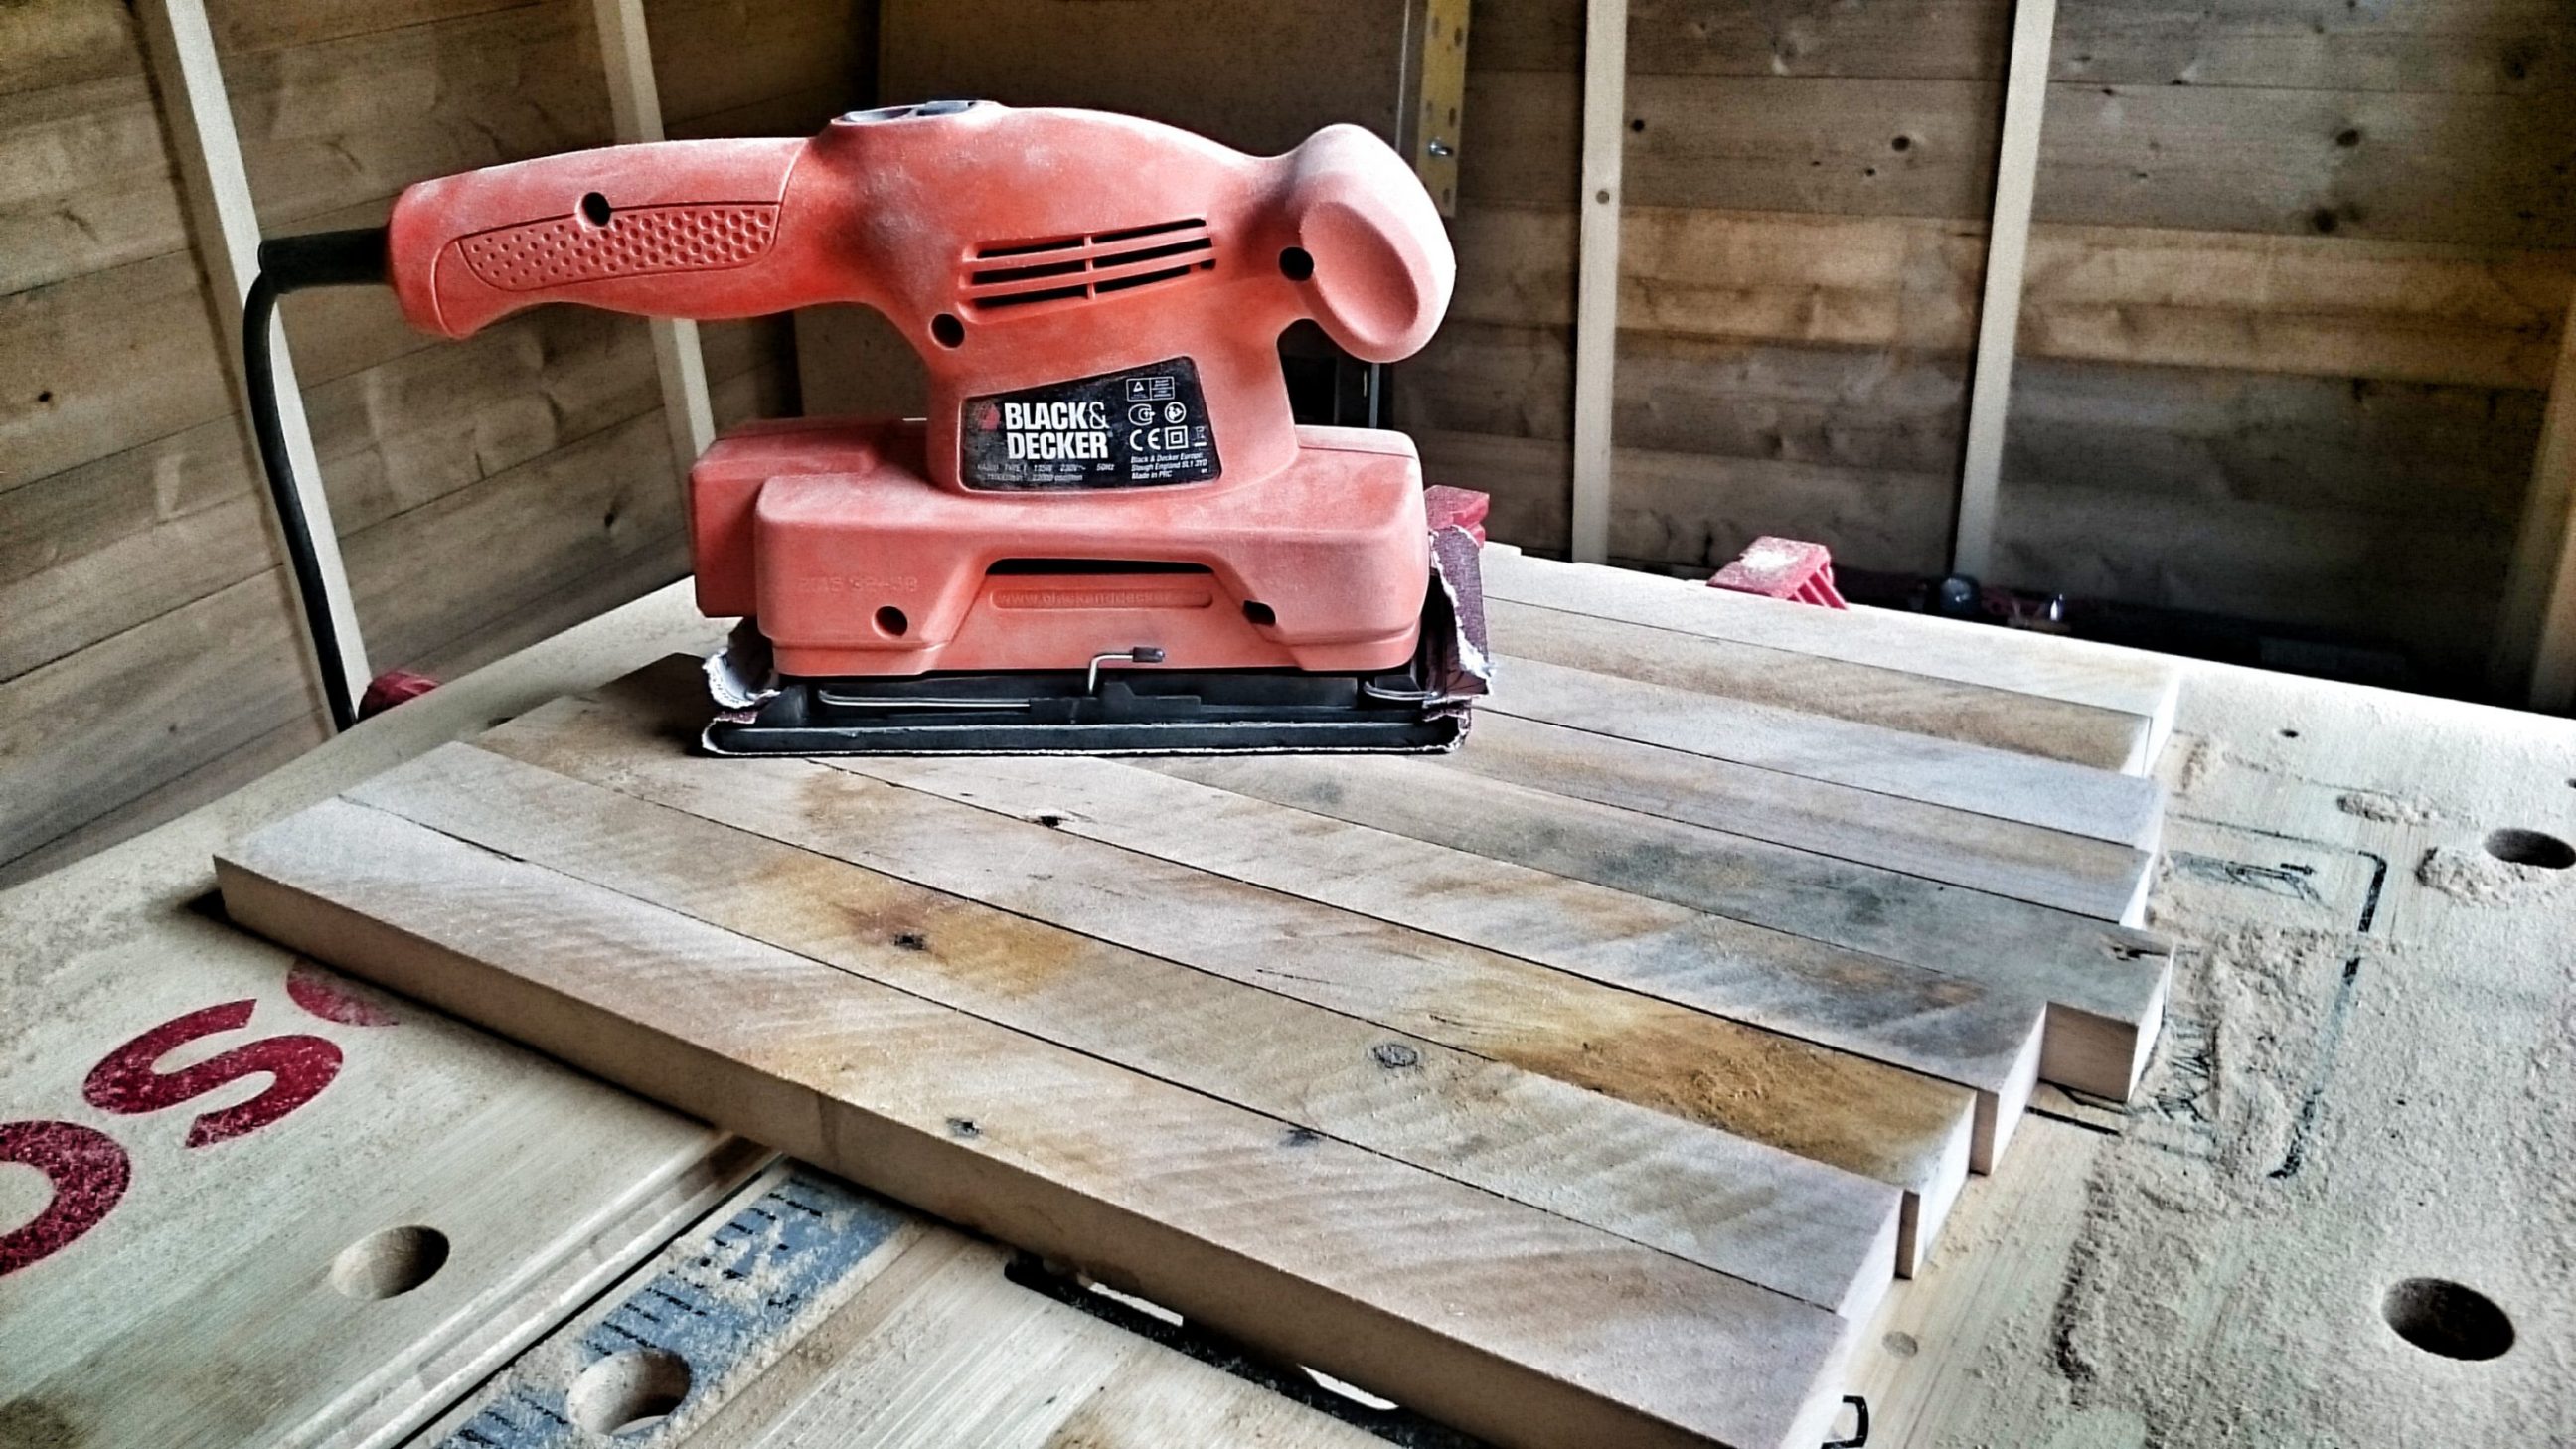
Sanding with 40 and 150-grit sandpaper was the thing to do. It worked.
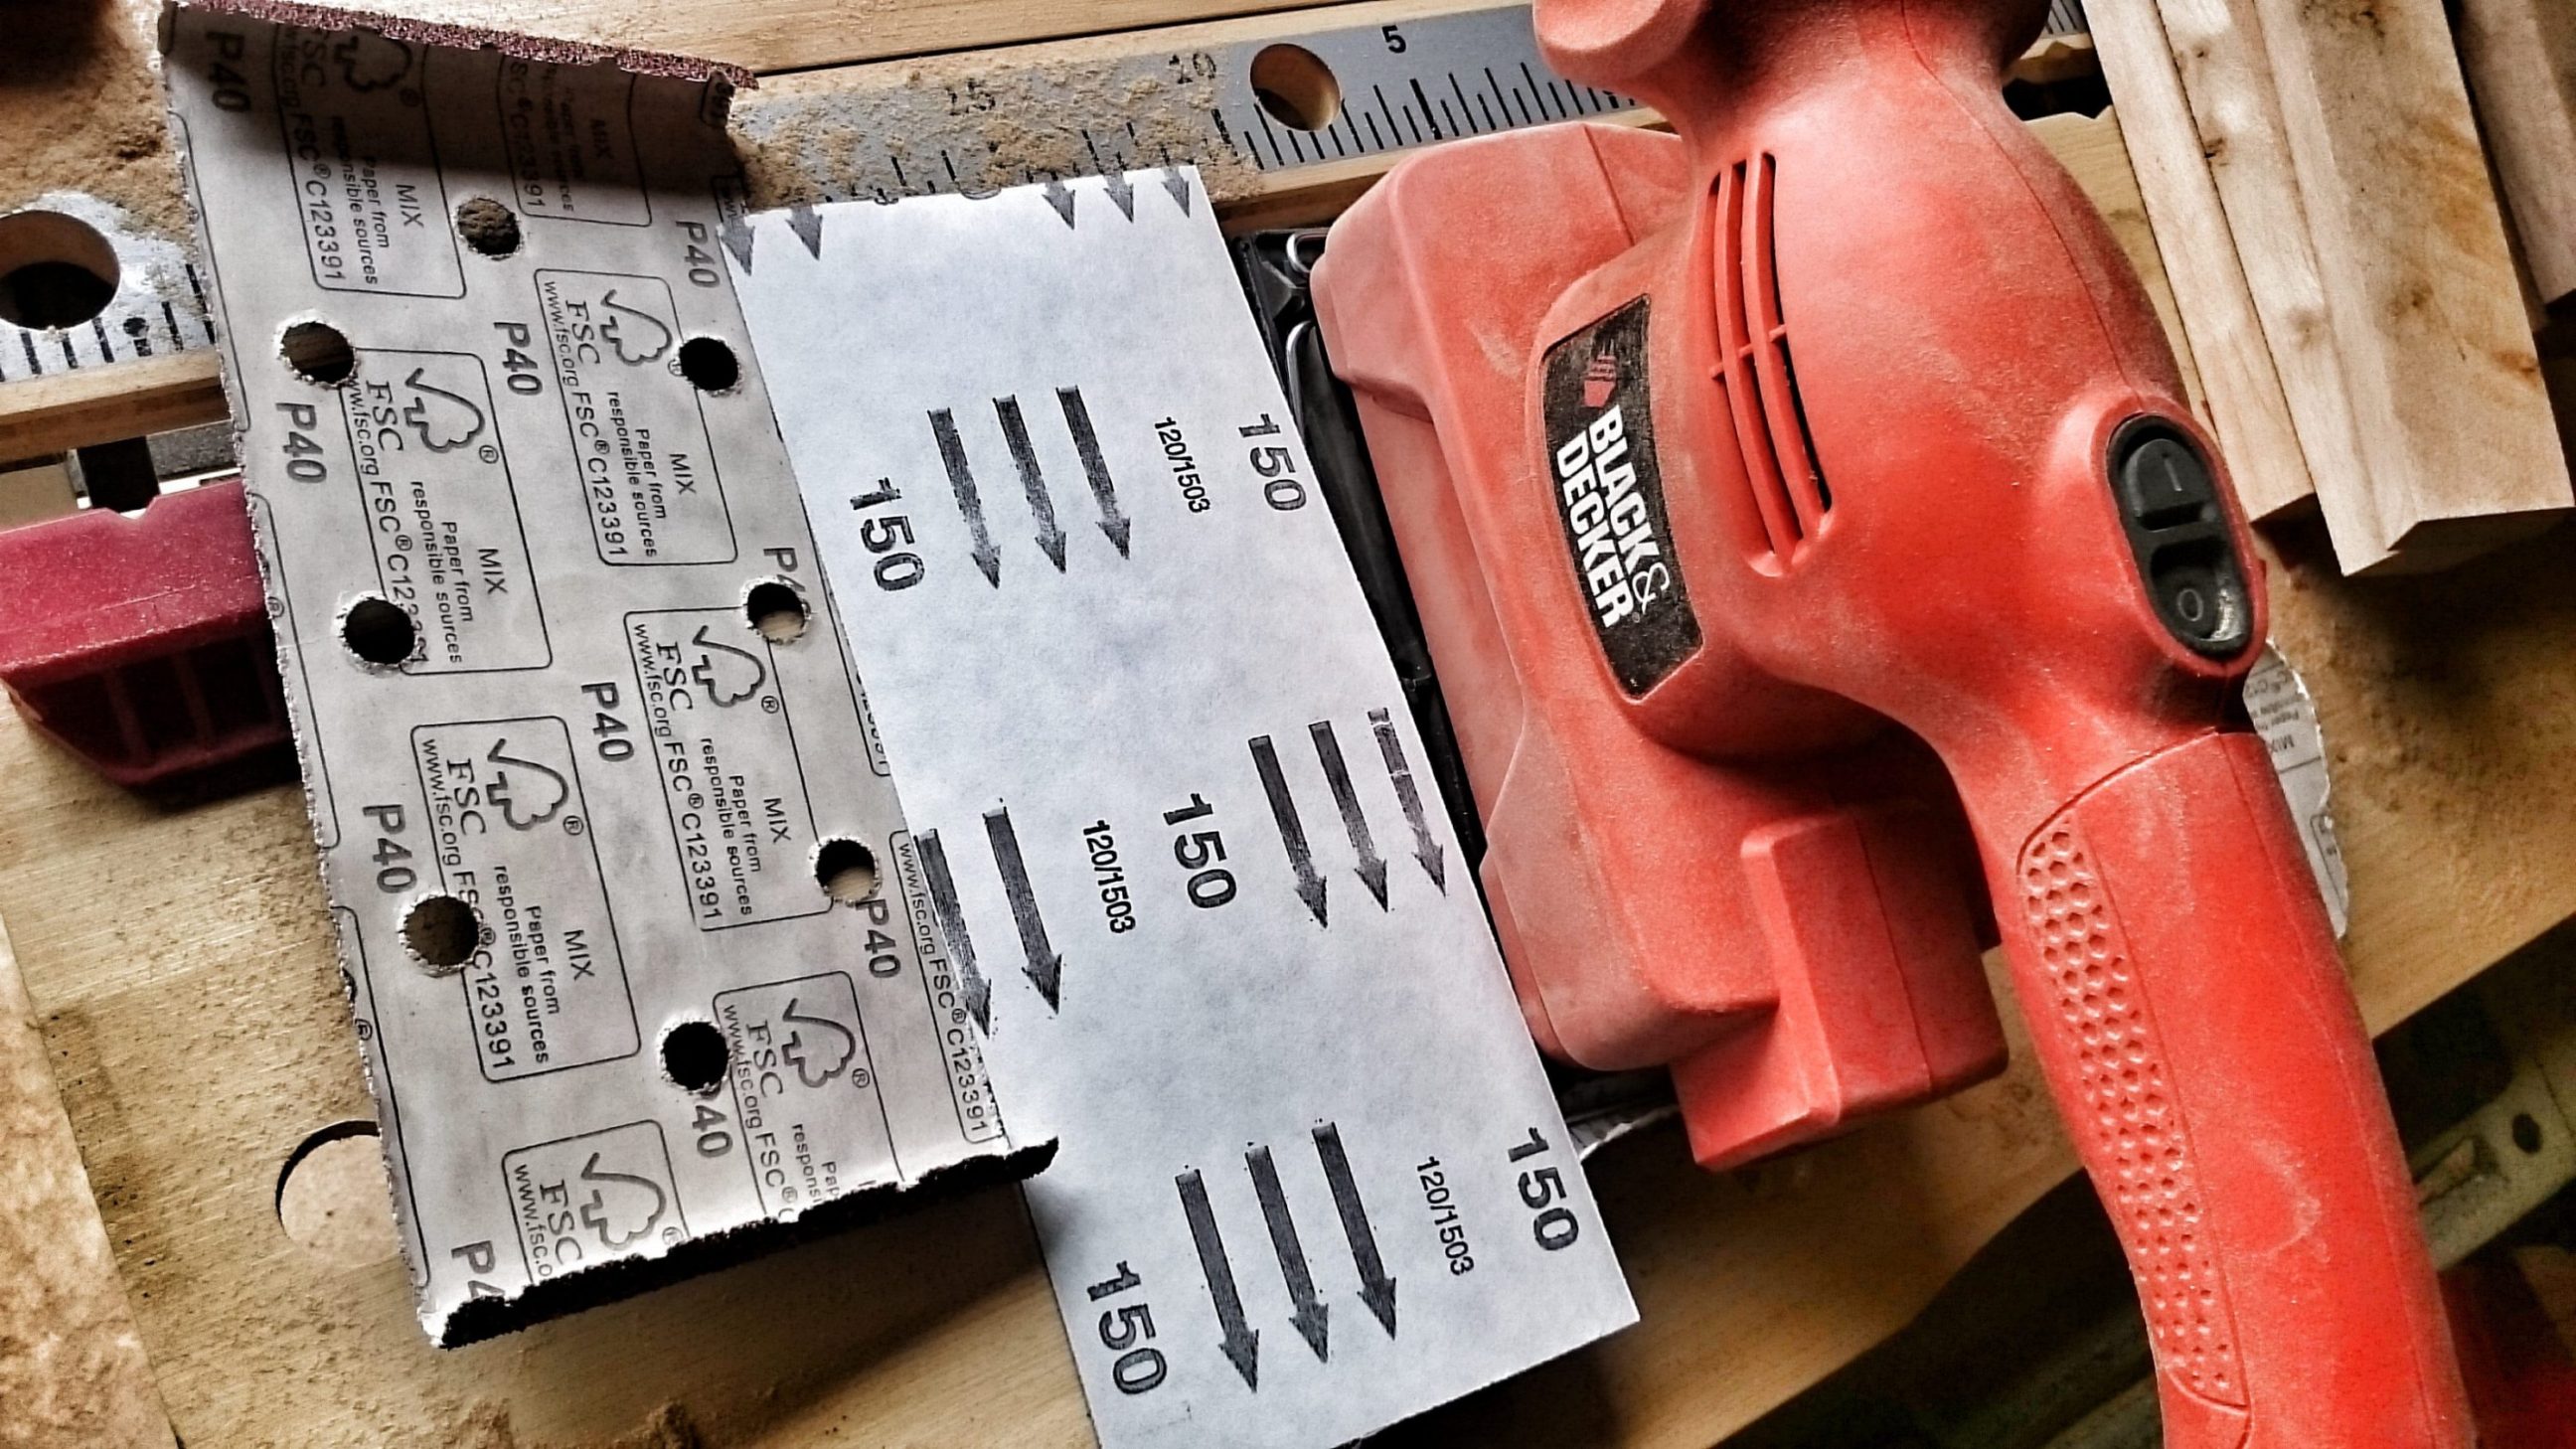

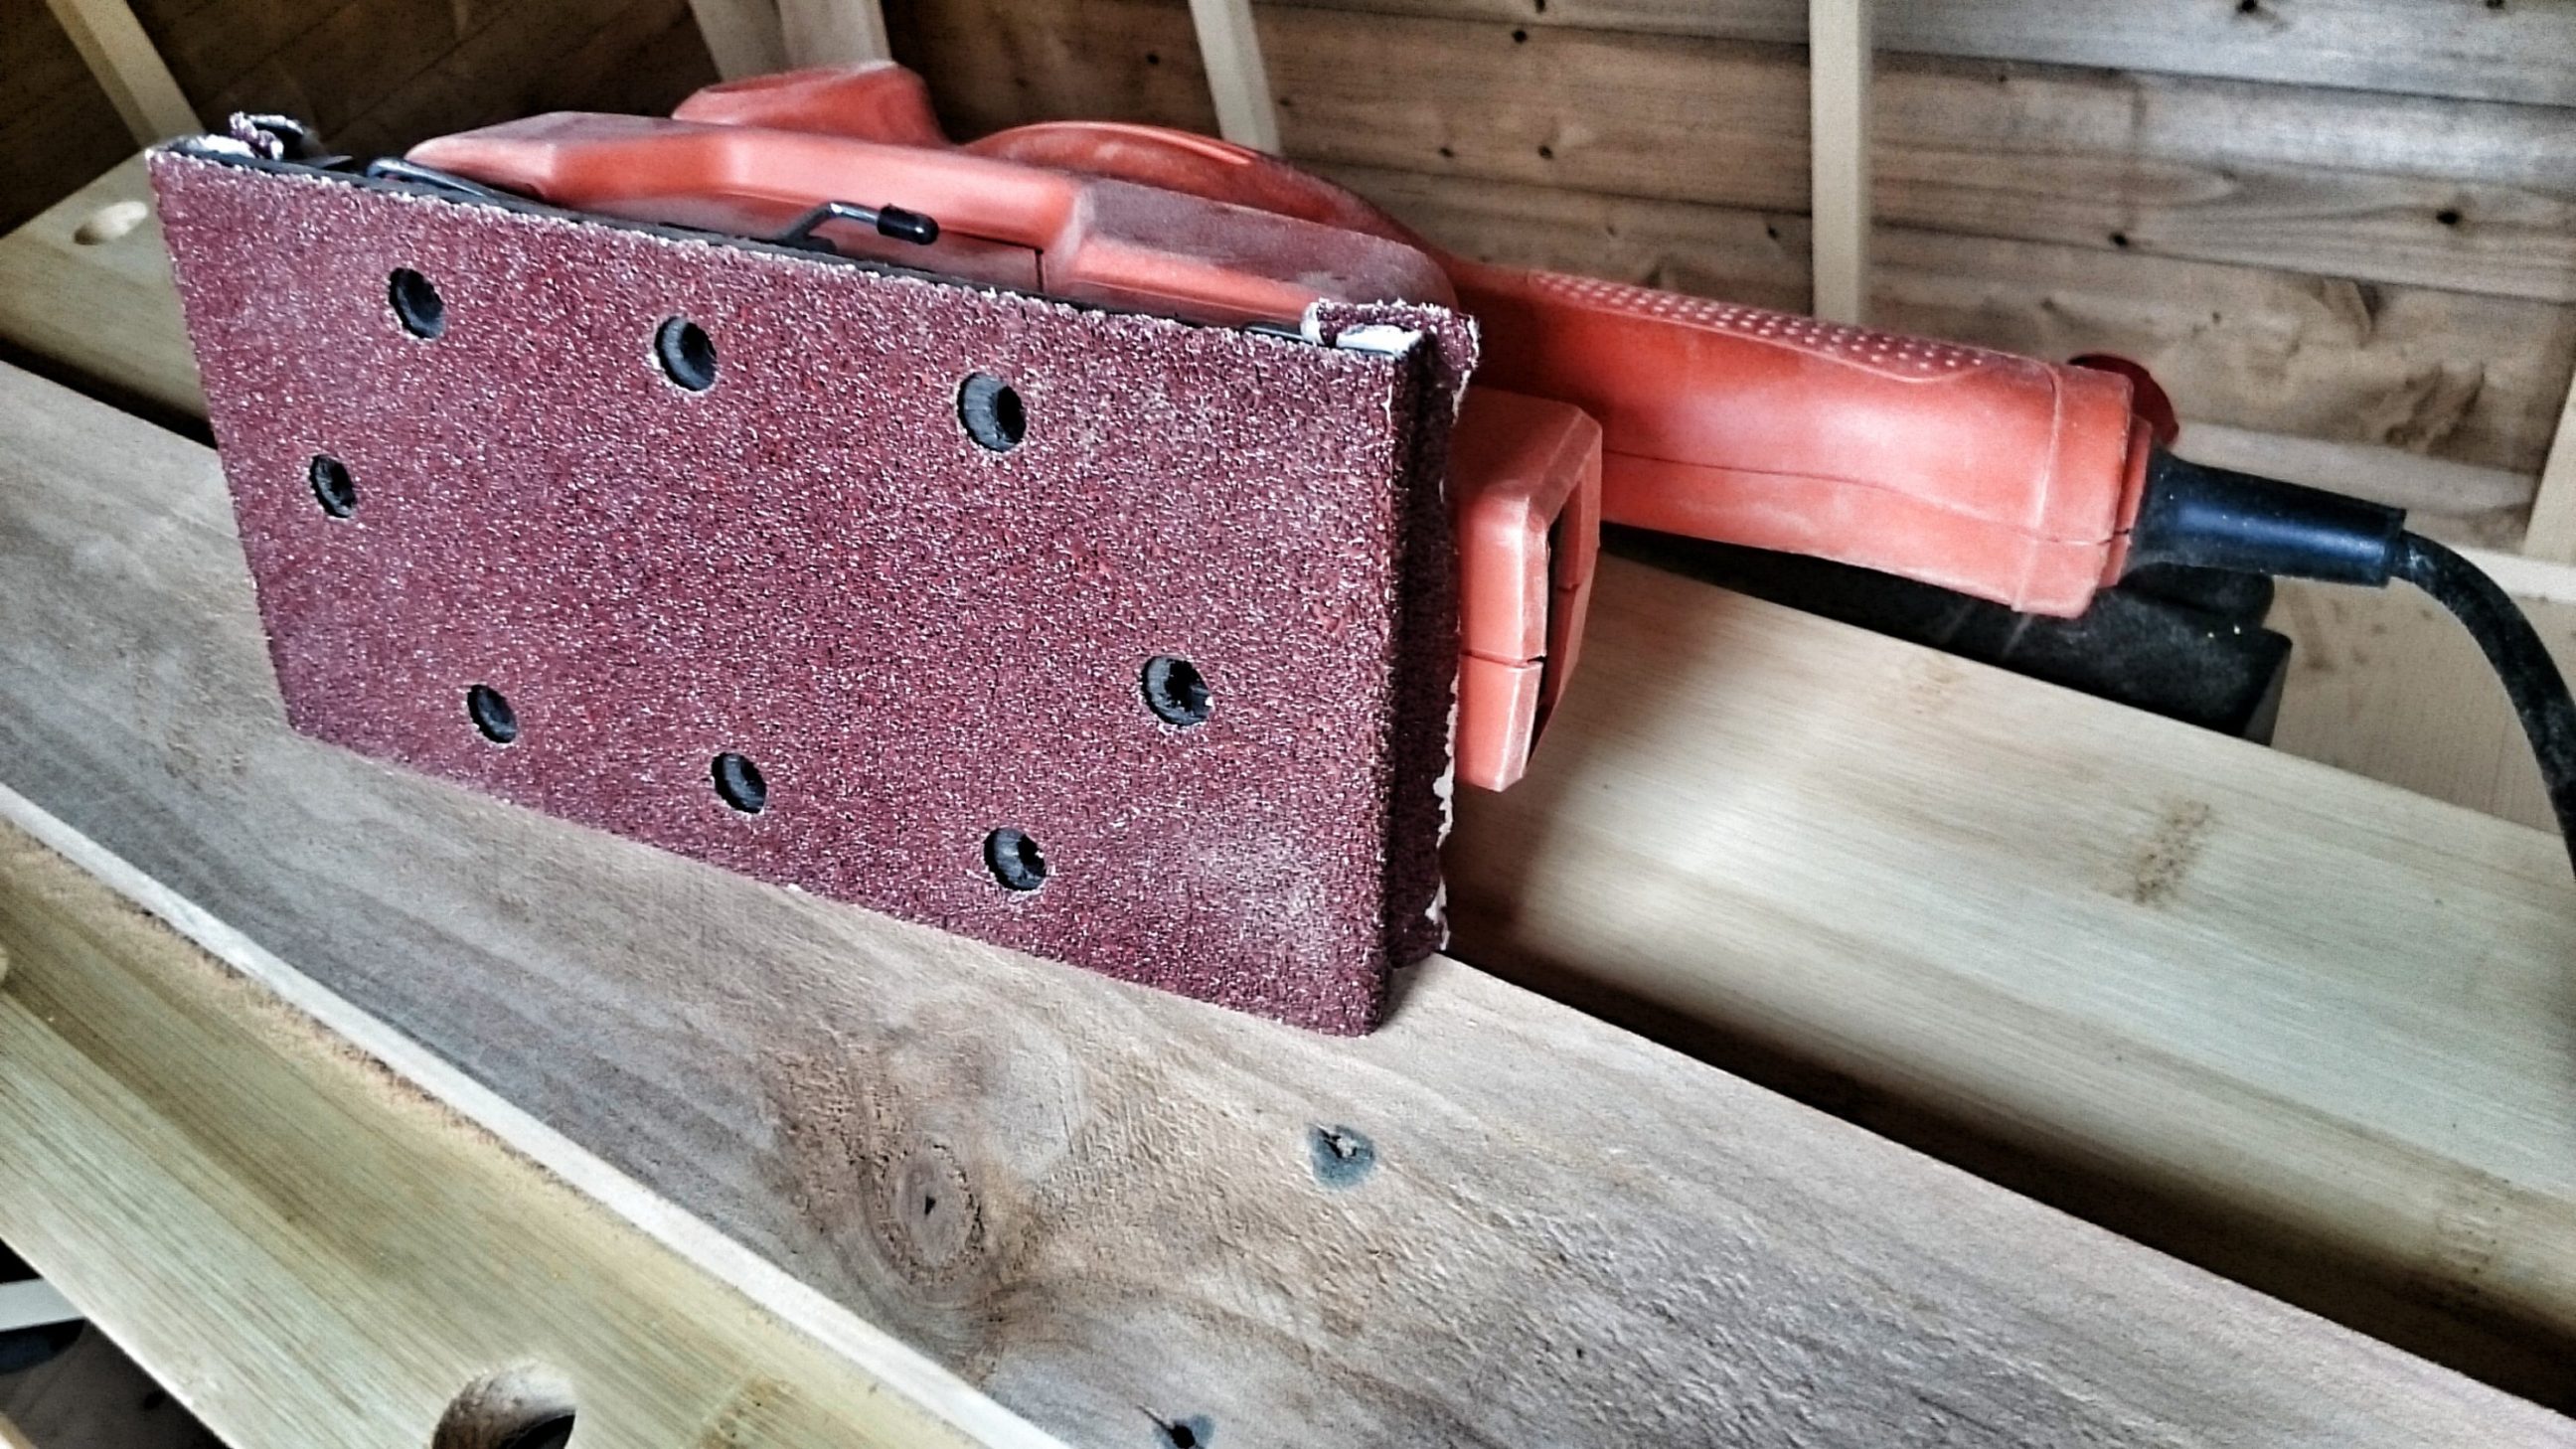
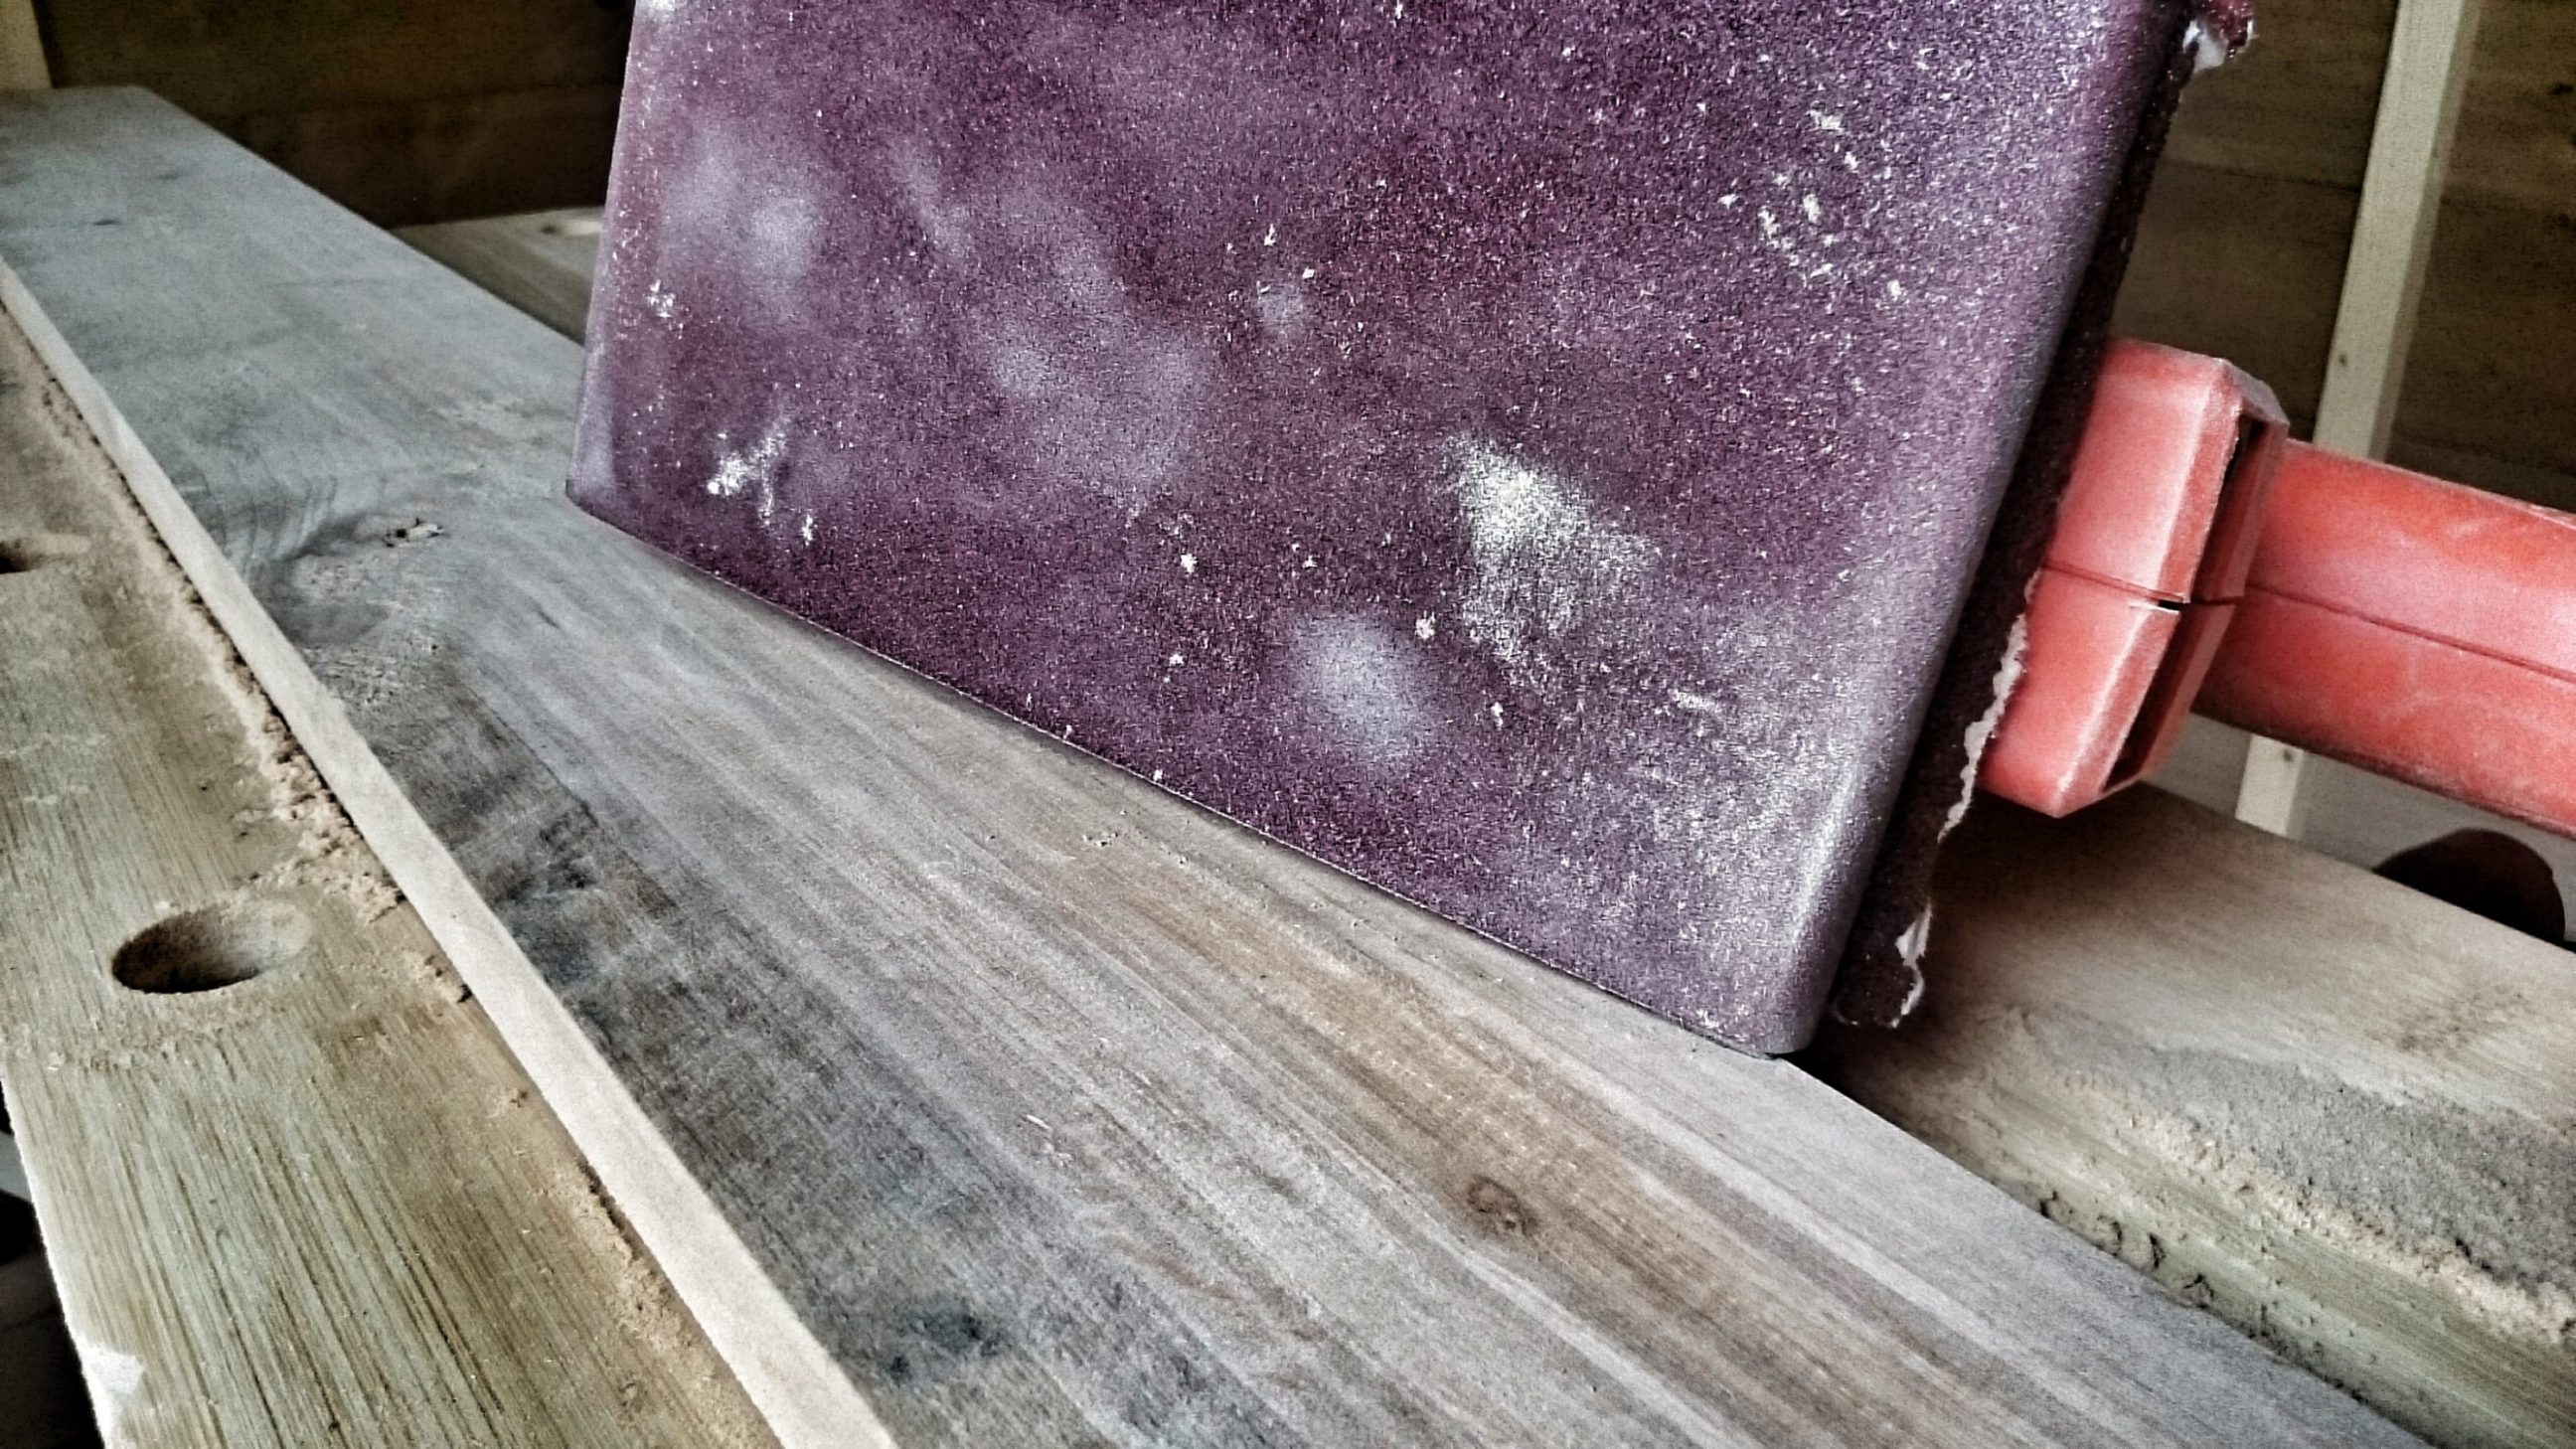
Some elements were sanded in groups but mostly one by one.
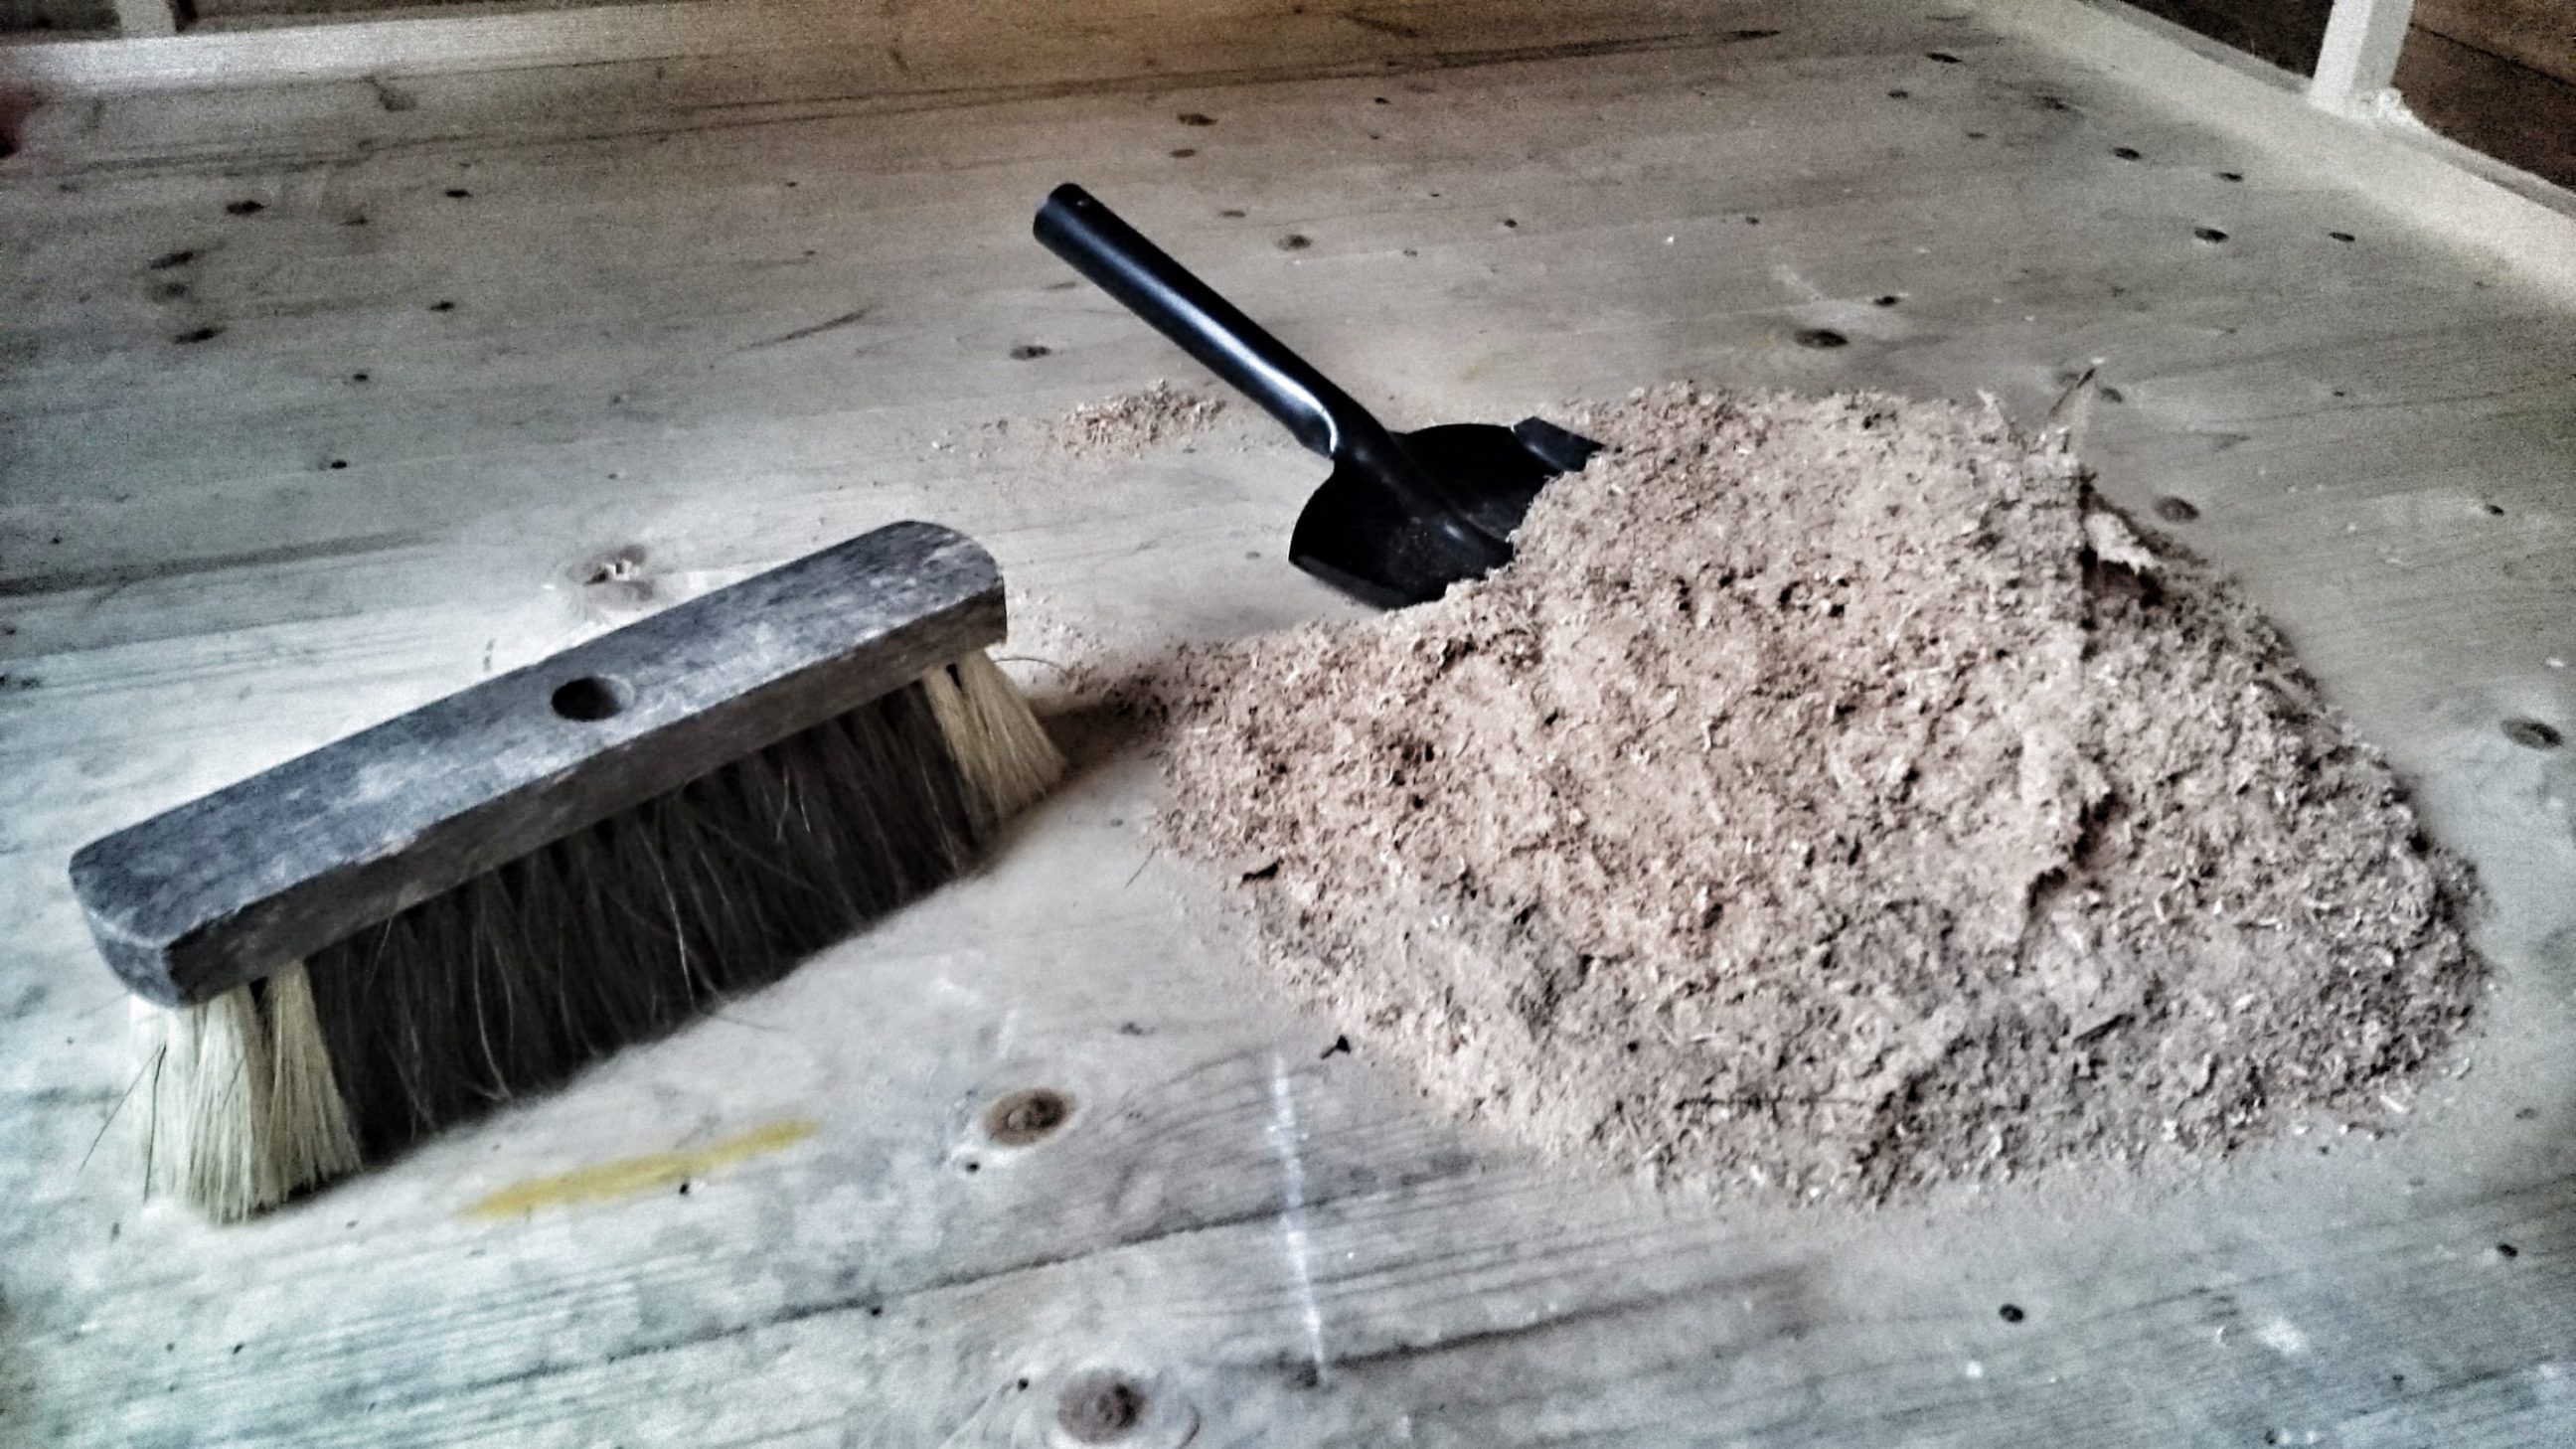
Cleaning the shed at the end of day one.
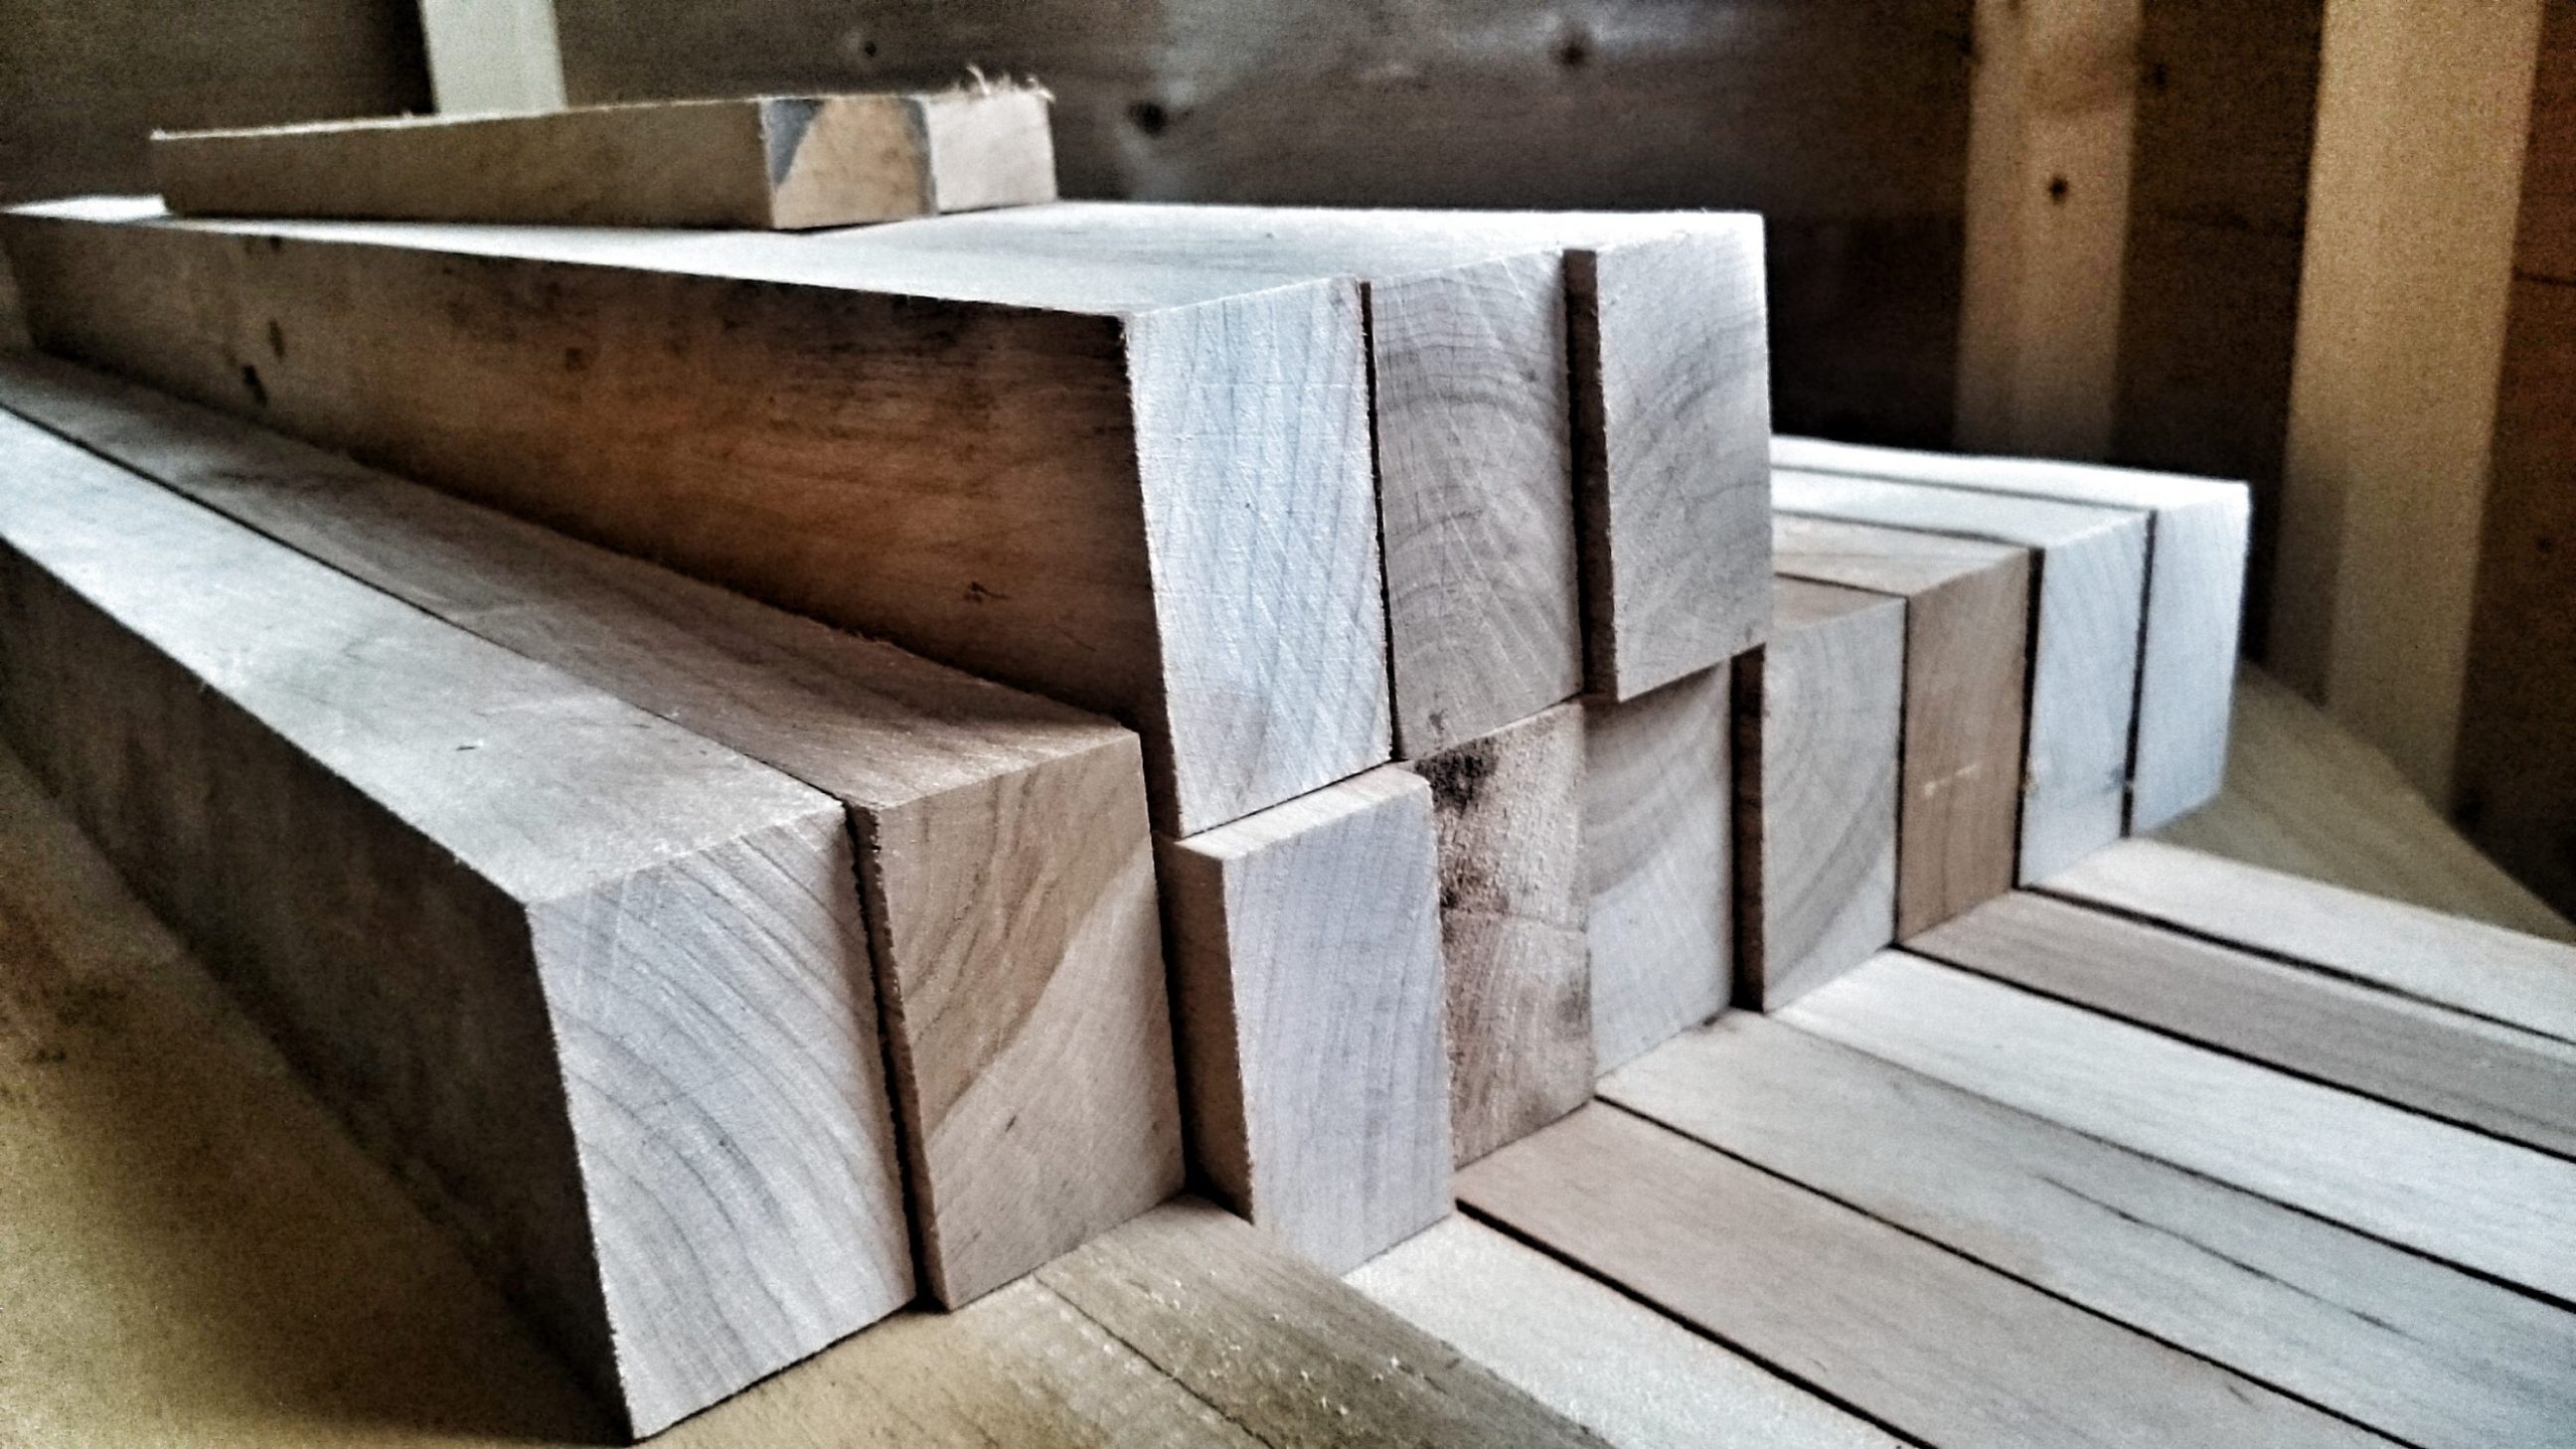
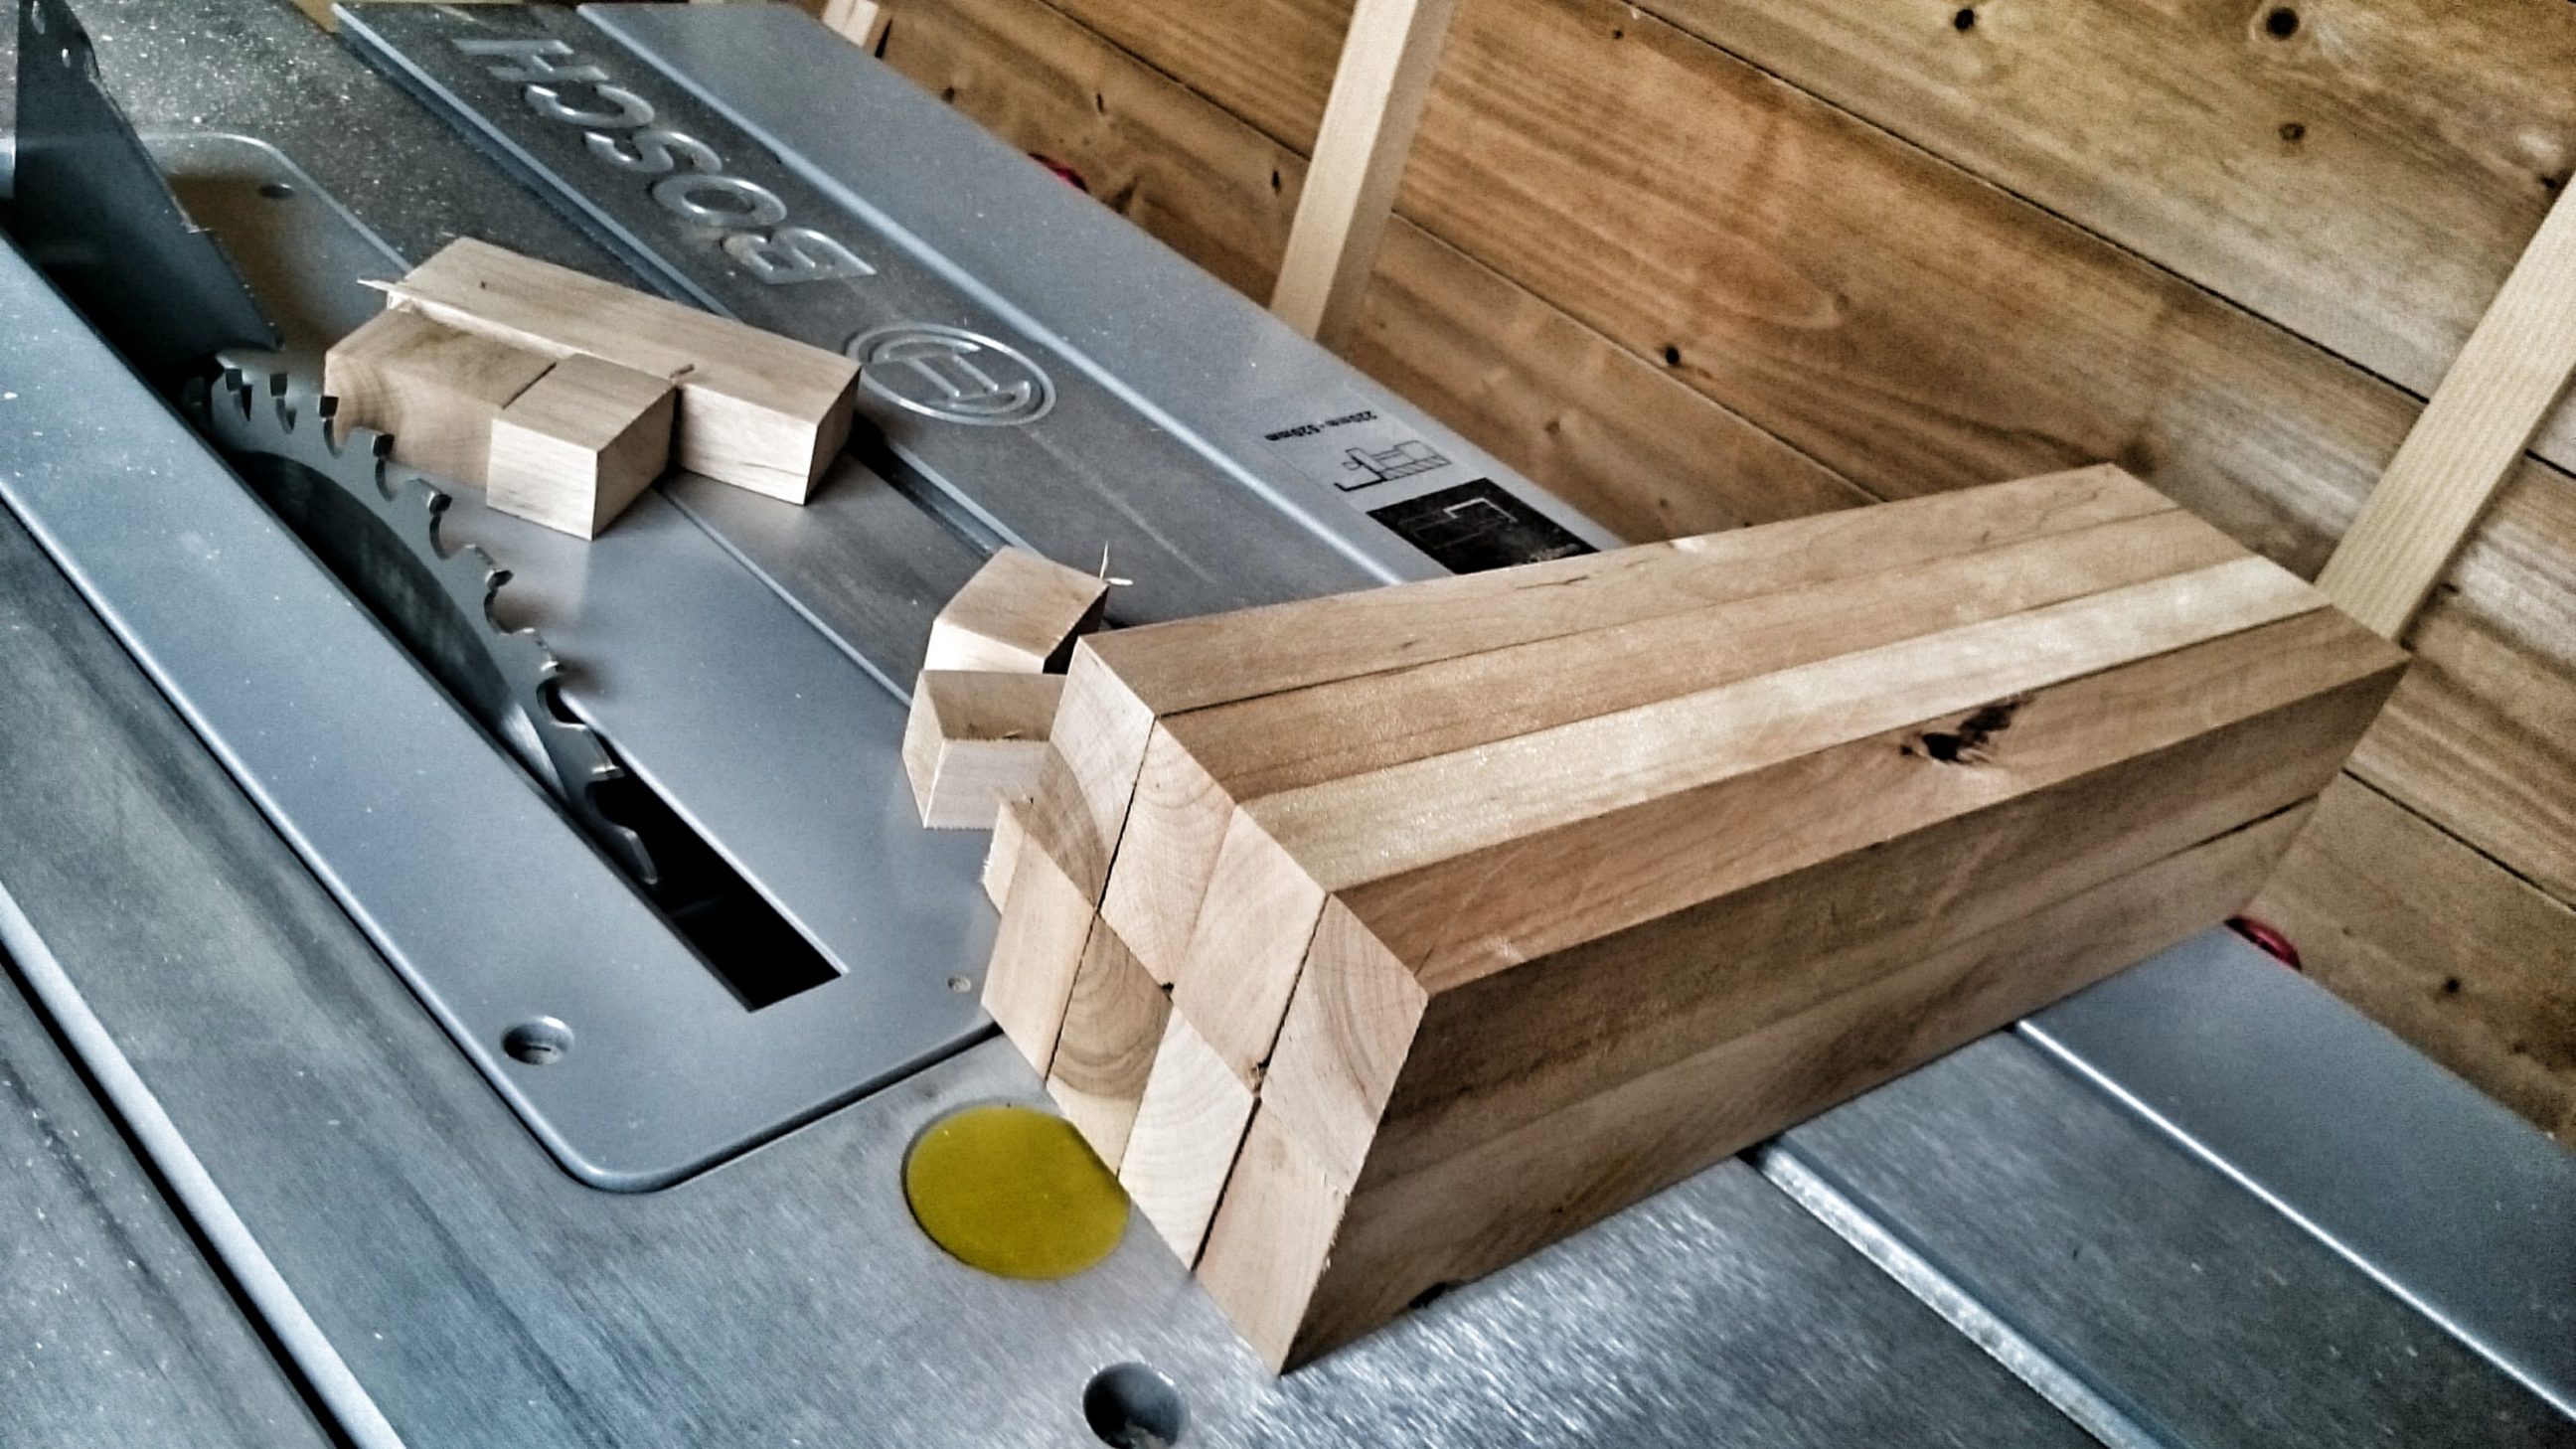
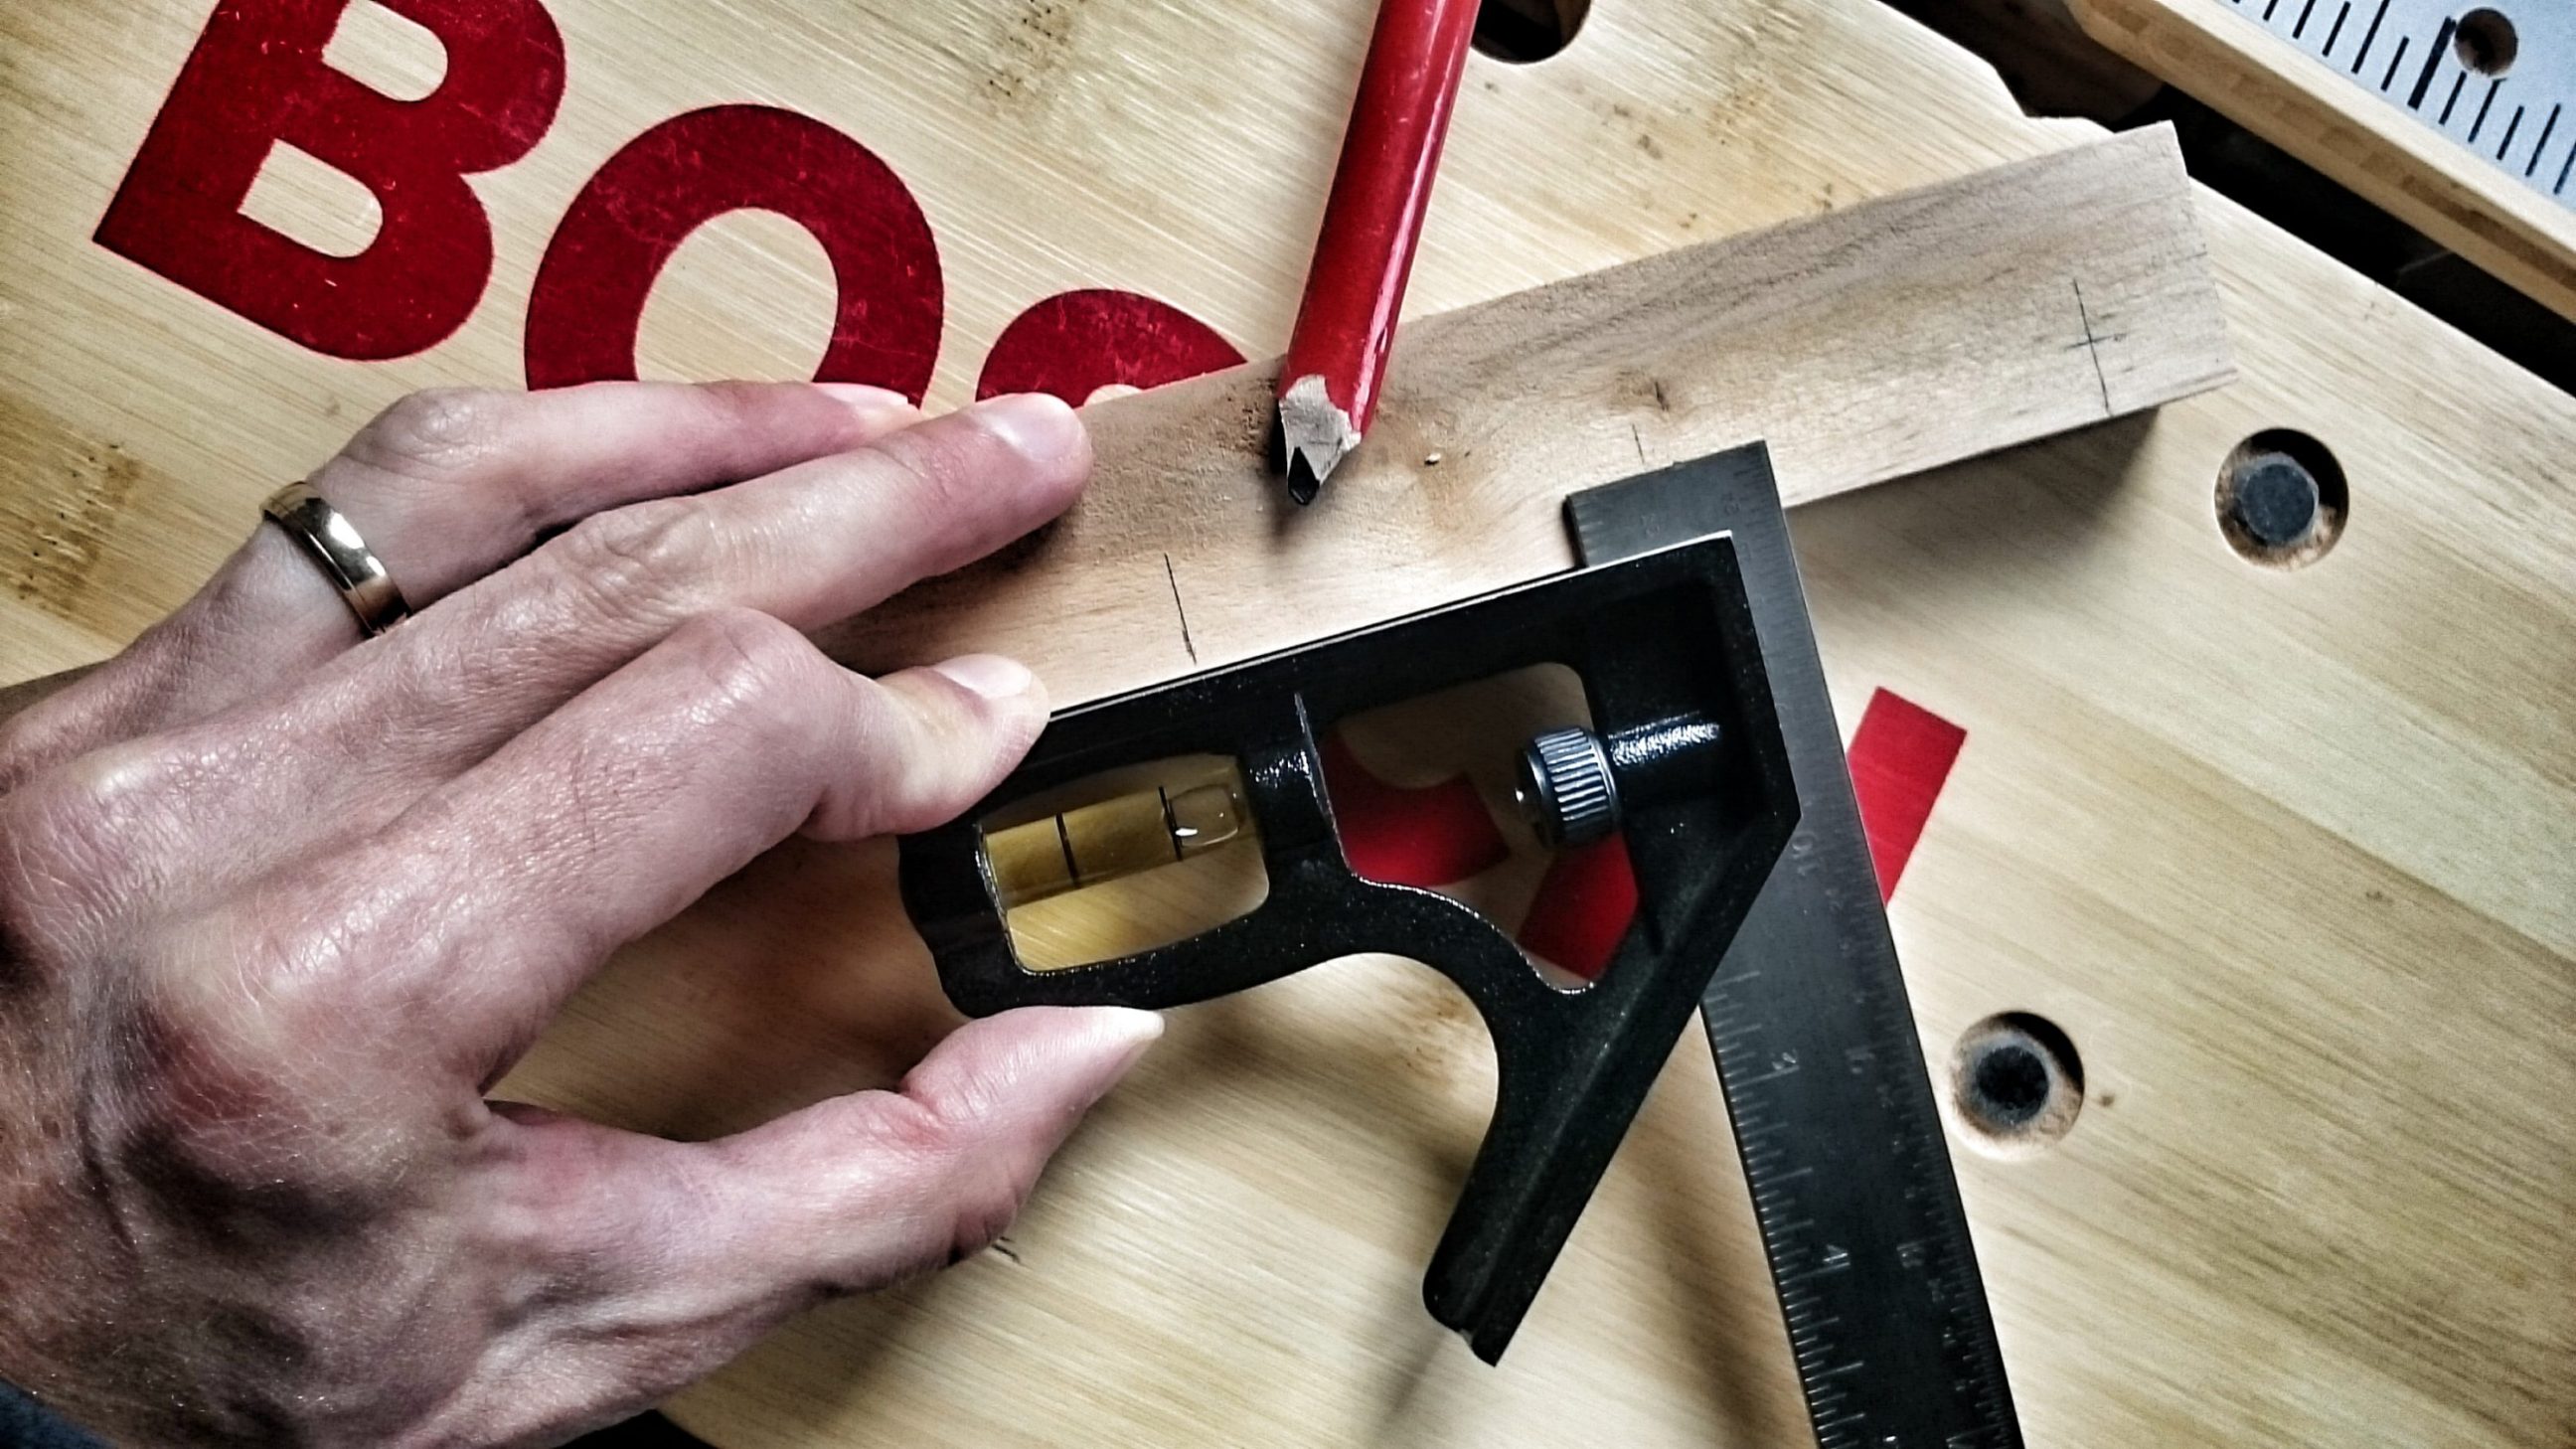
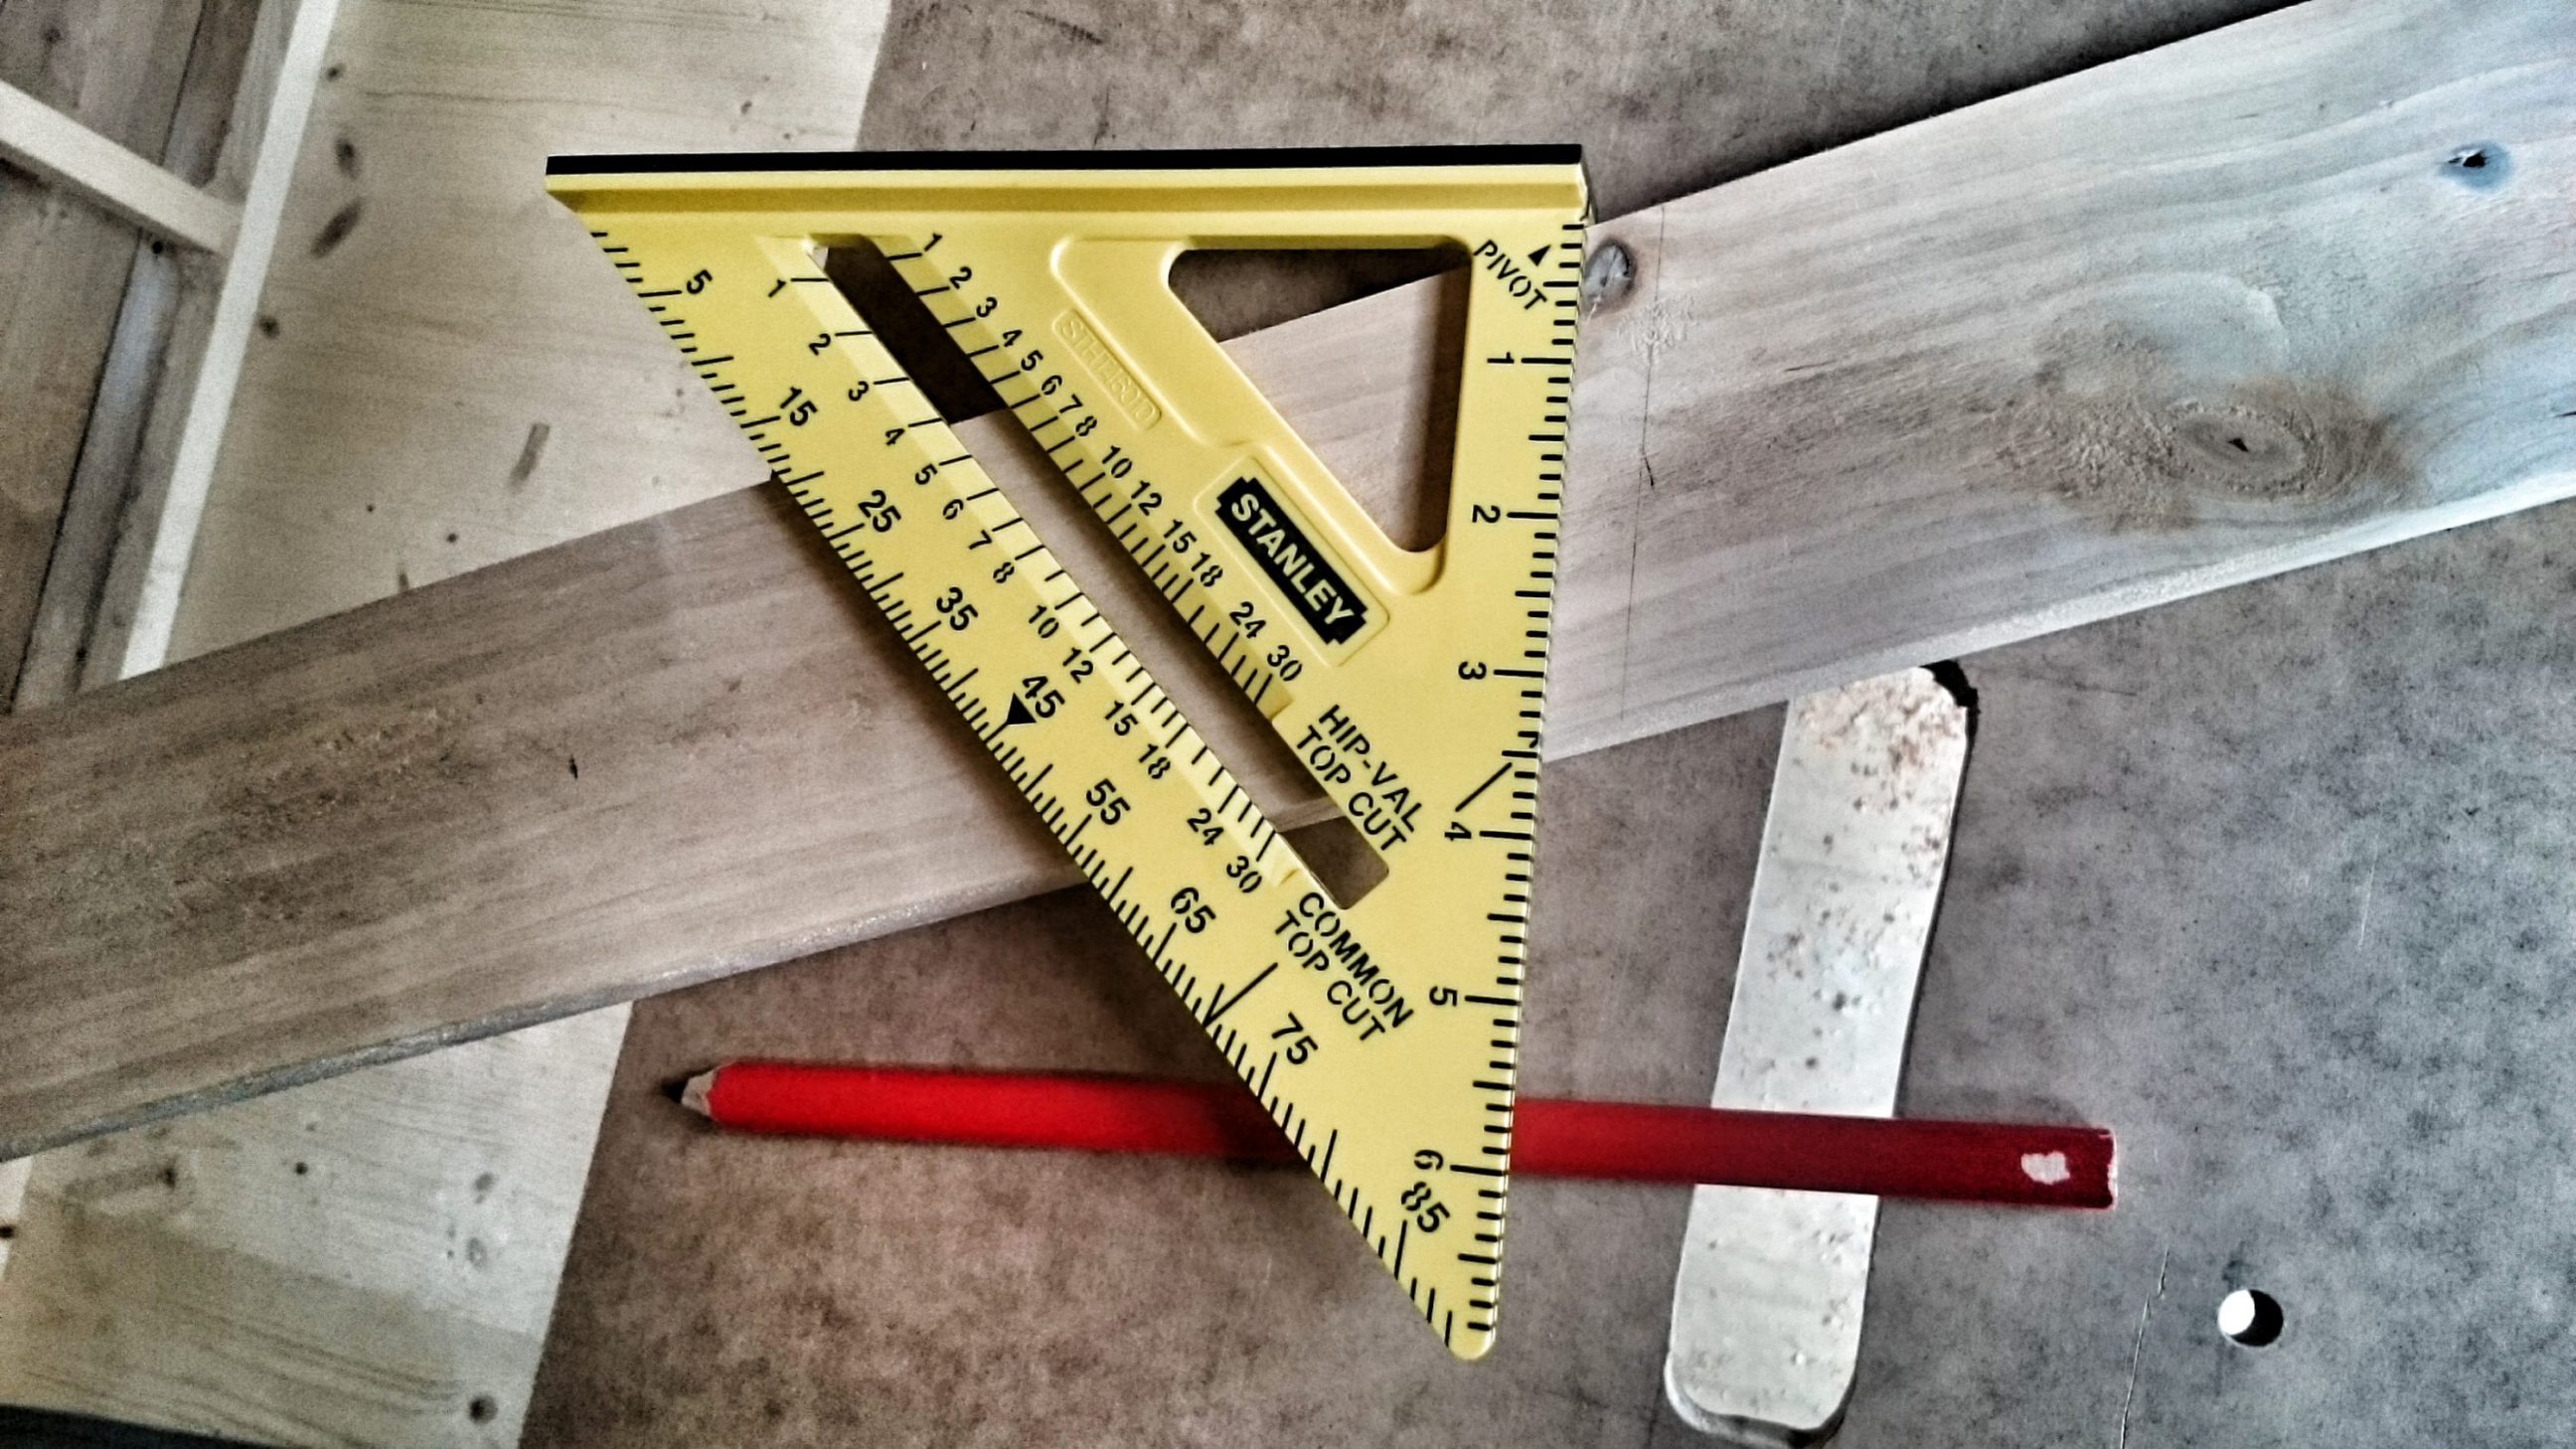
This 4-tier leaning bookcase was meant to be built entirely on a table saw. That was the first time I tried my new purchase. It wasn’t exactly obvious how to cut a plank at a 72º angle.
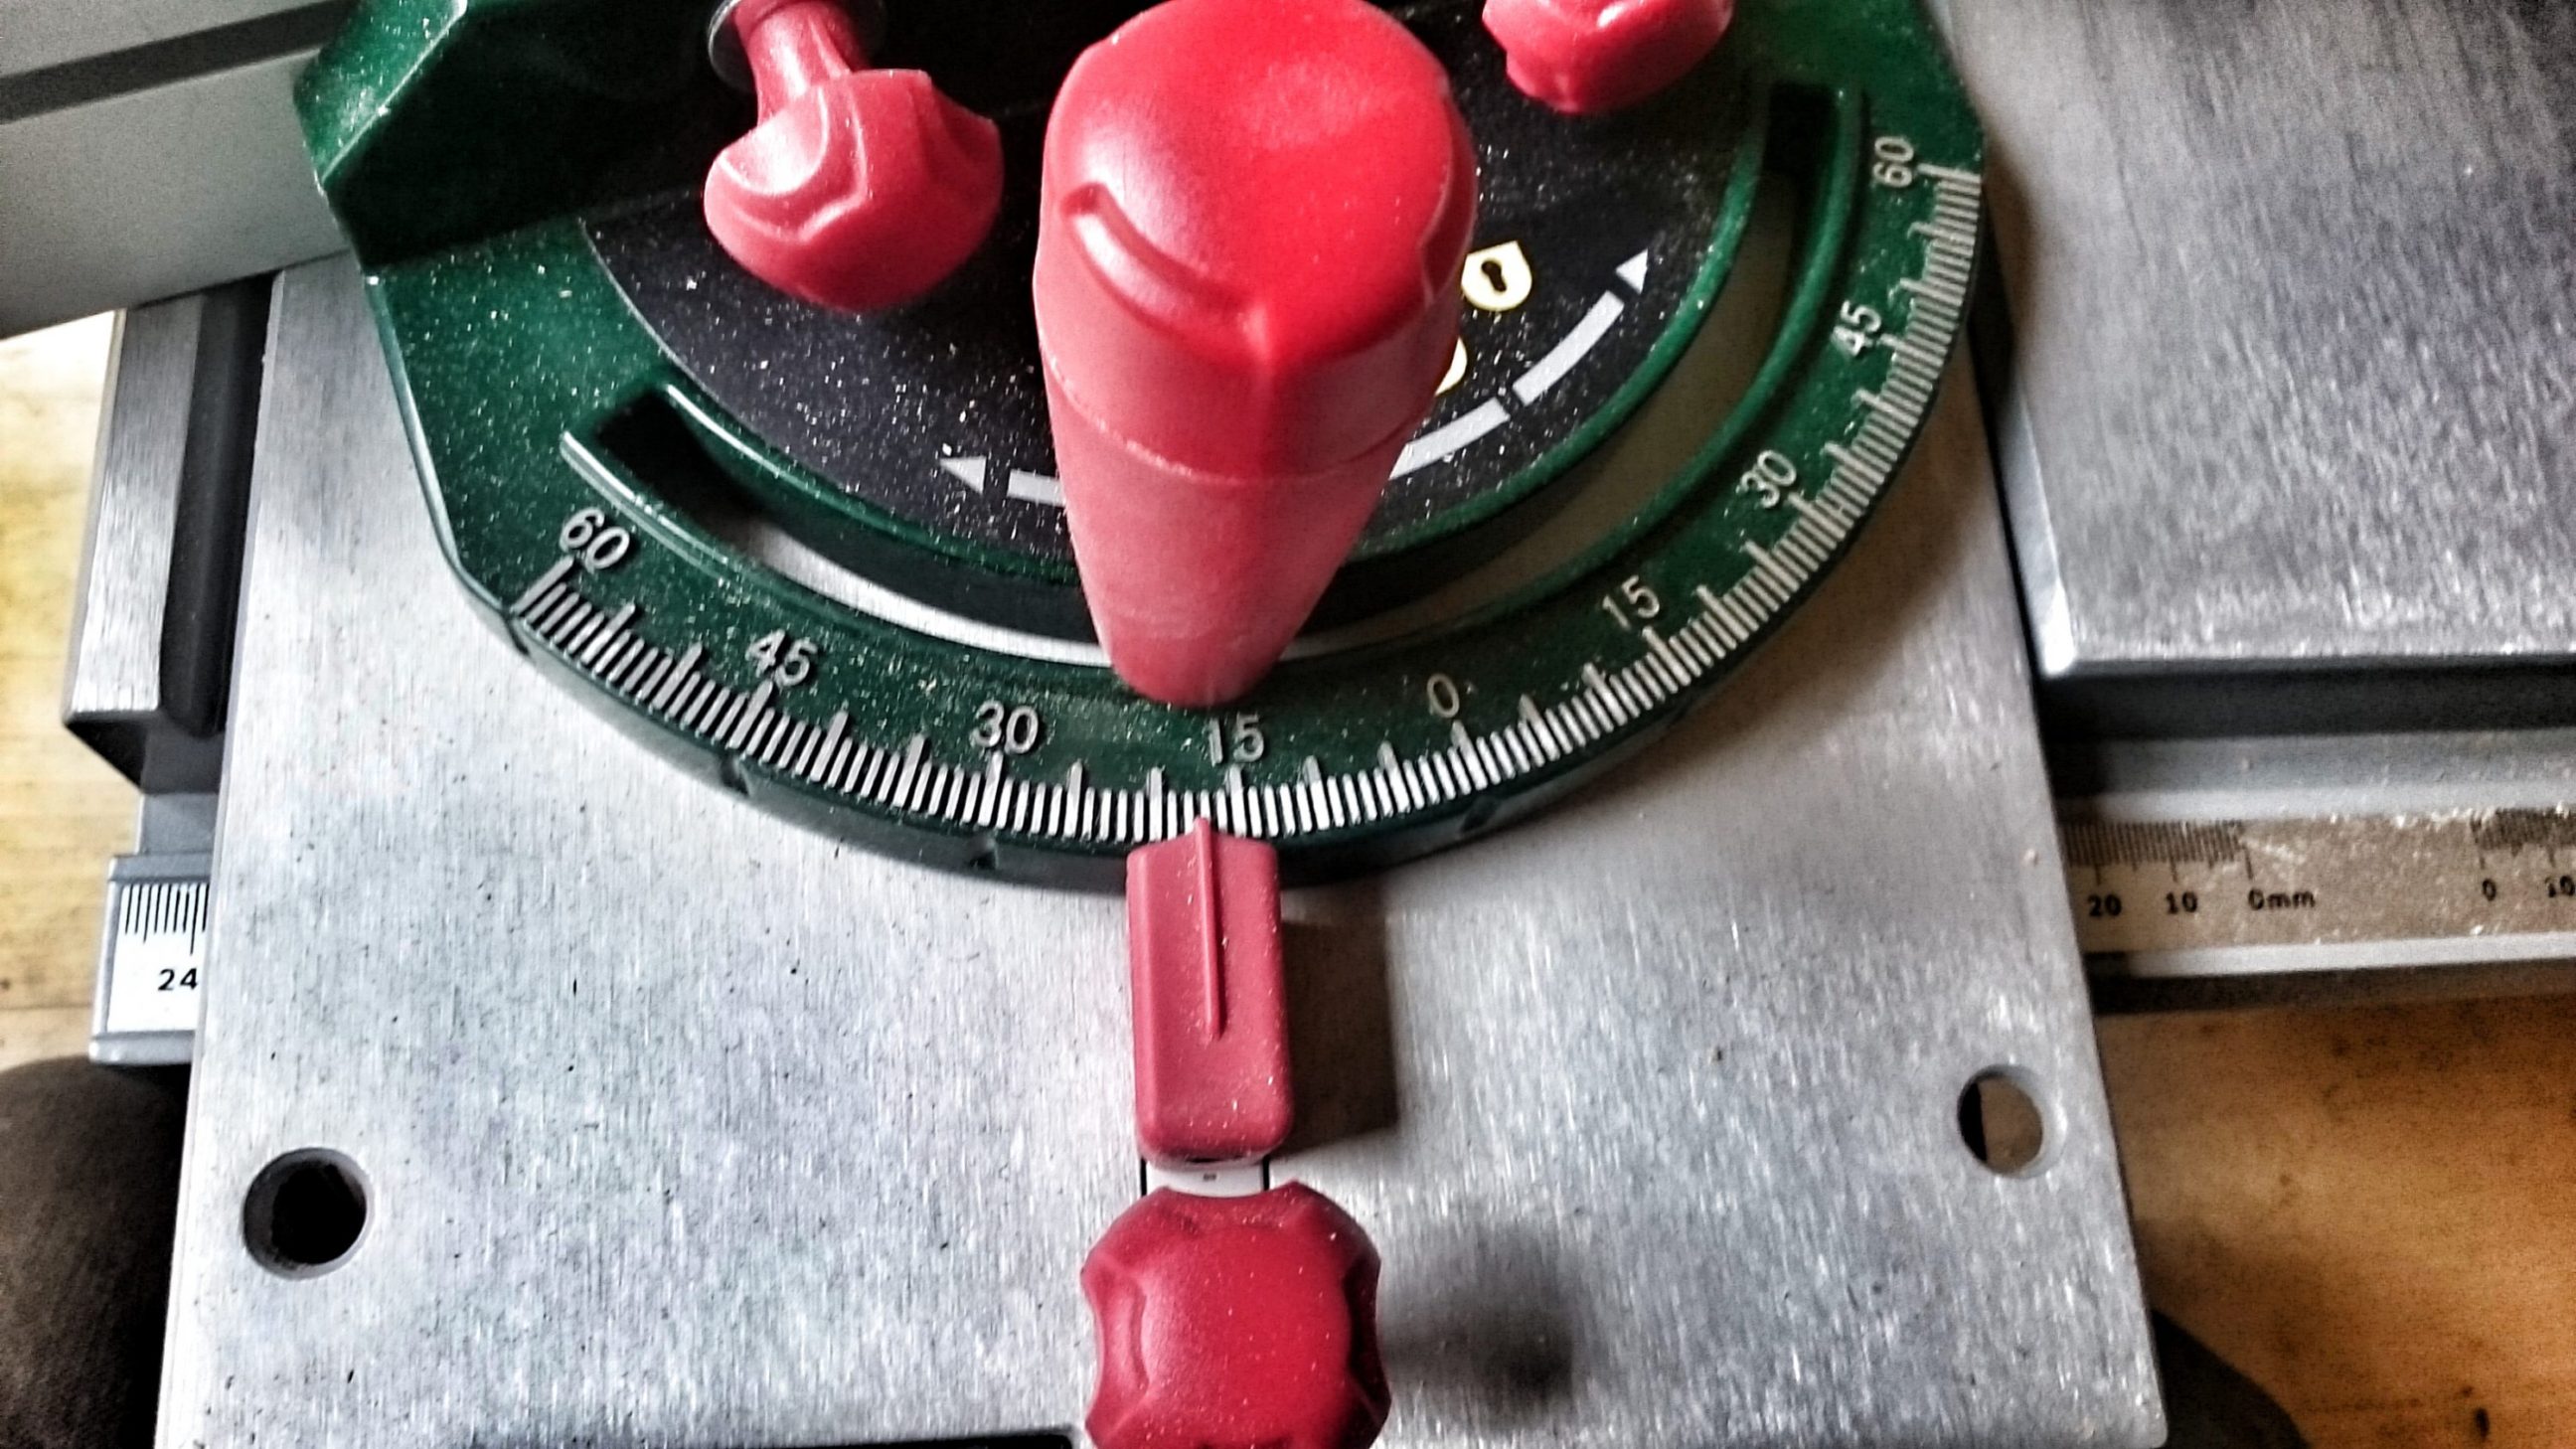
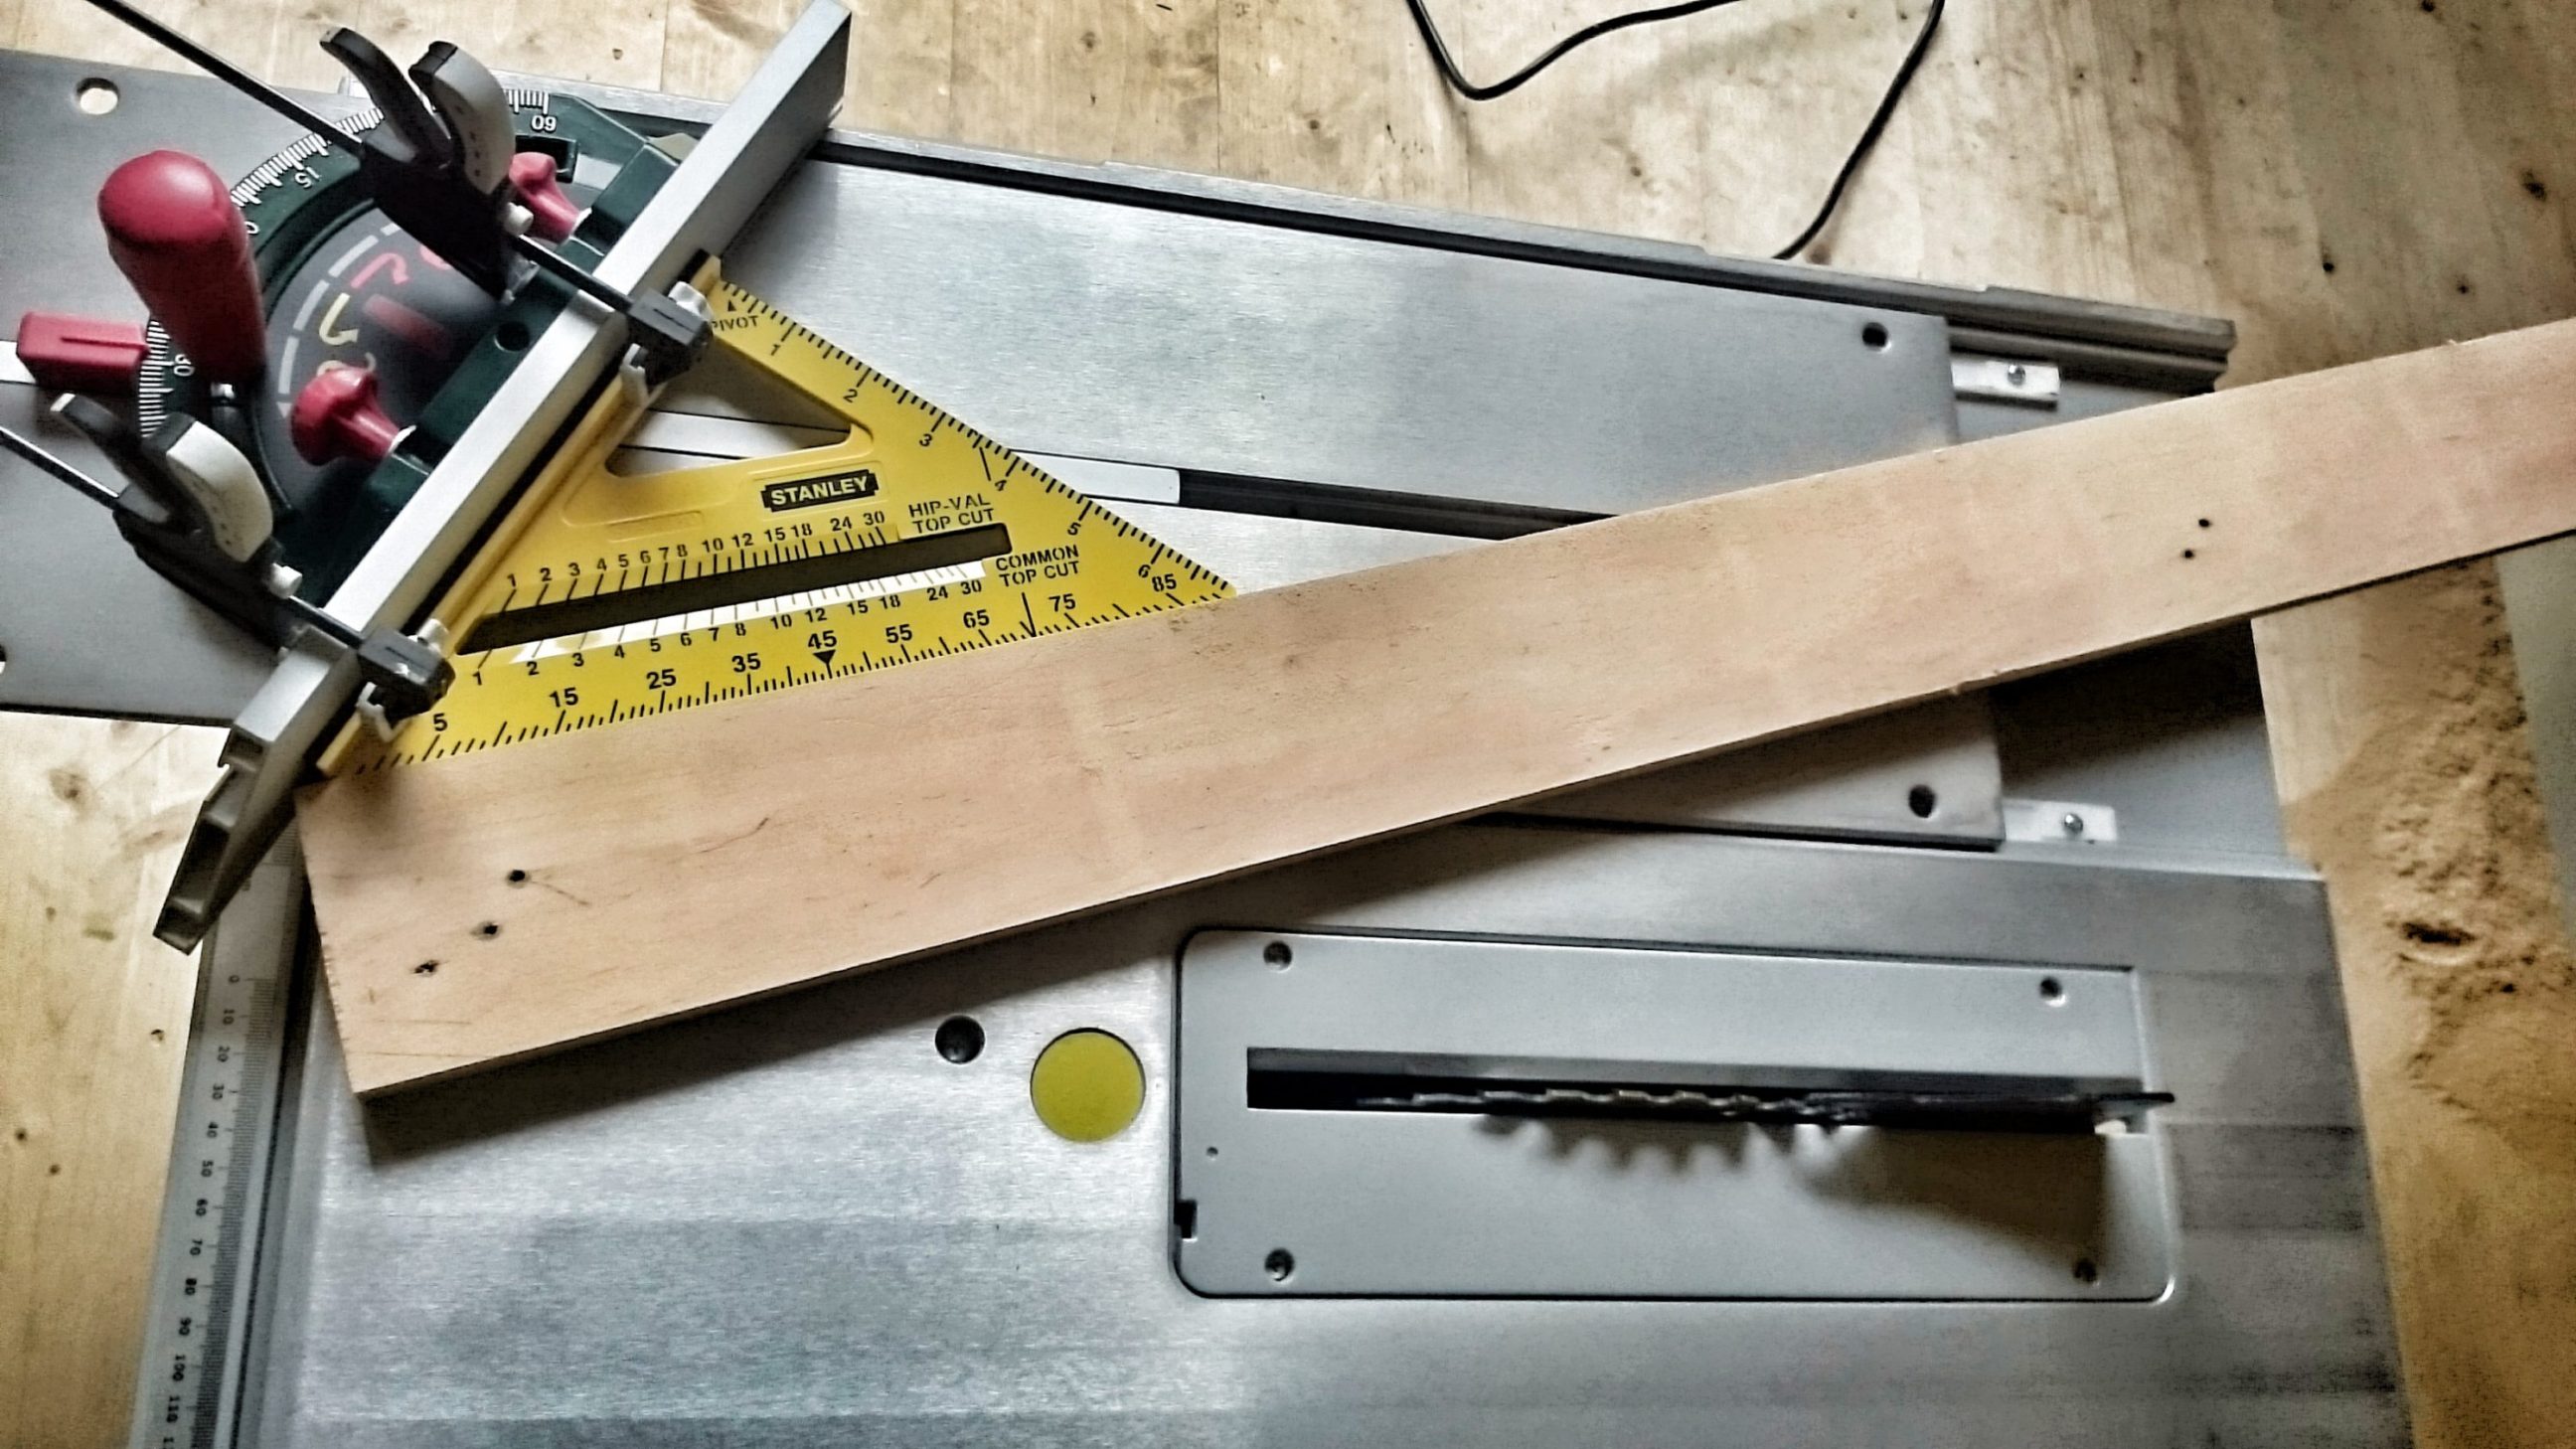
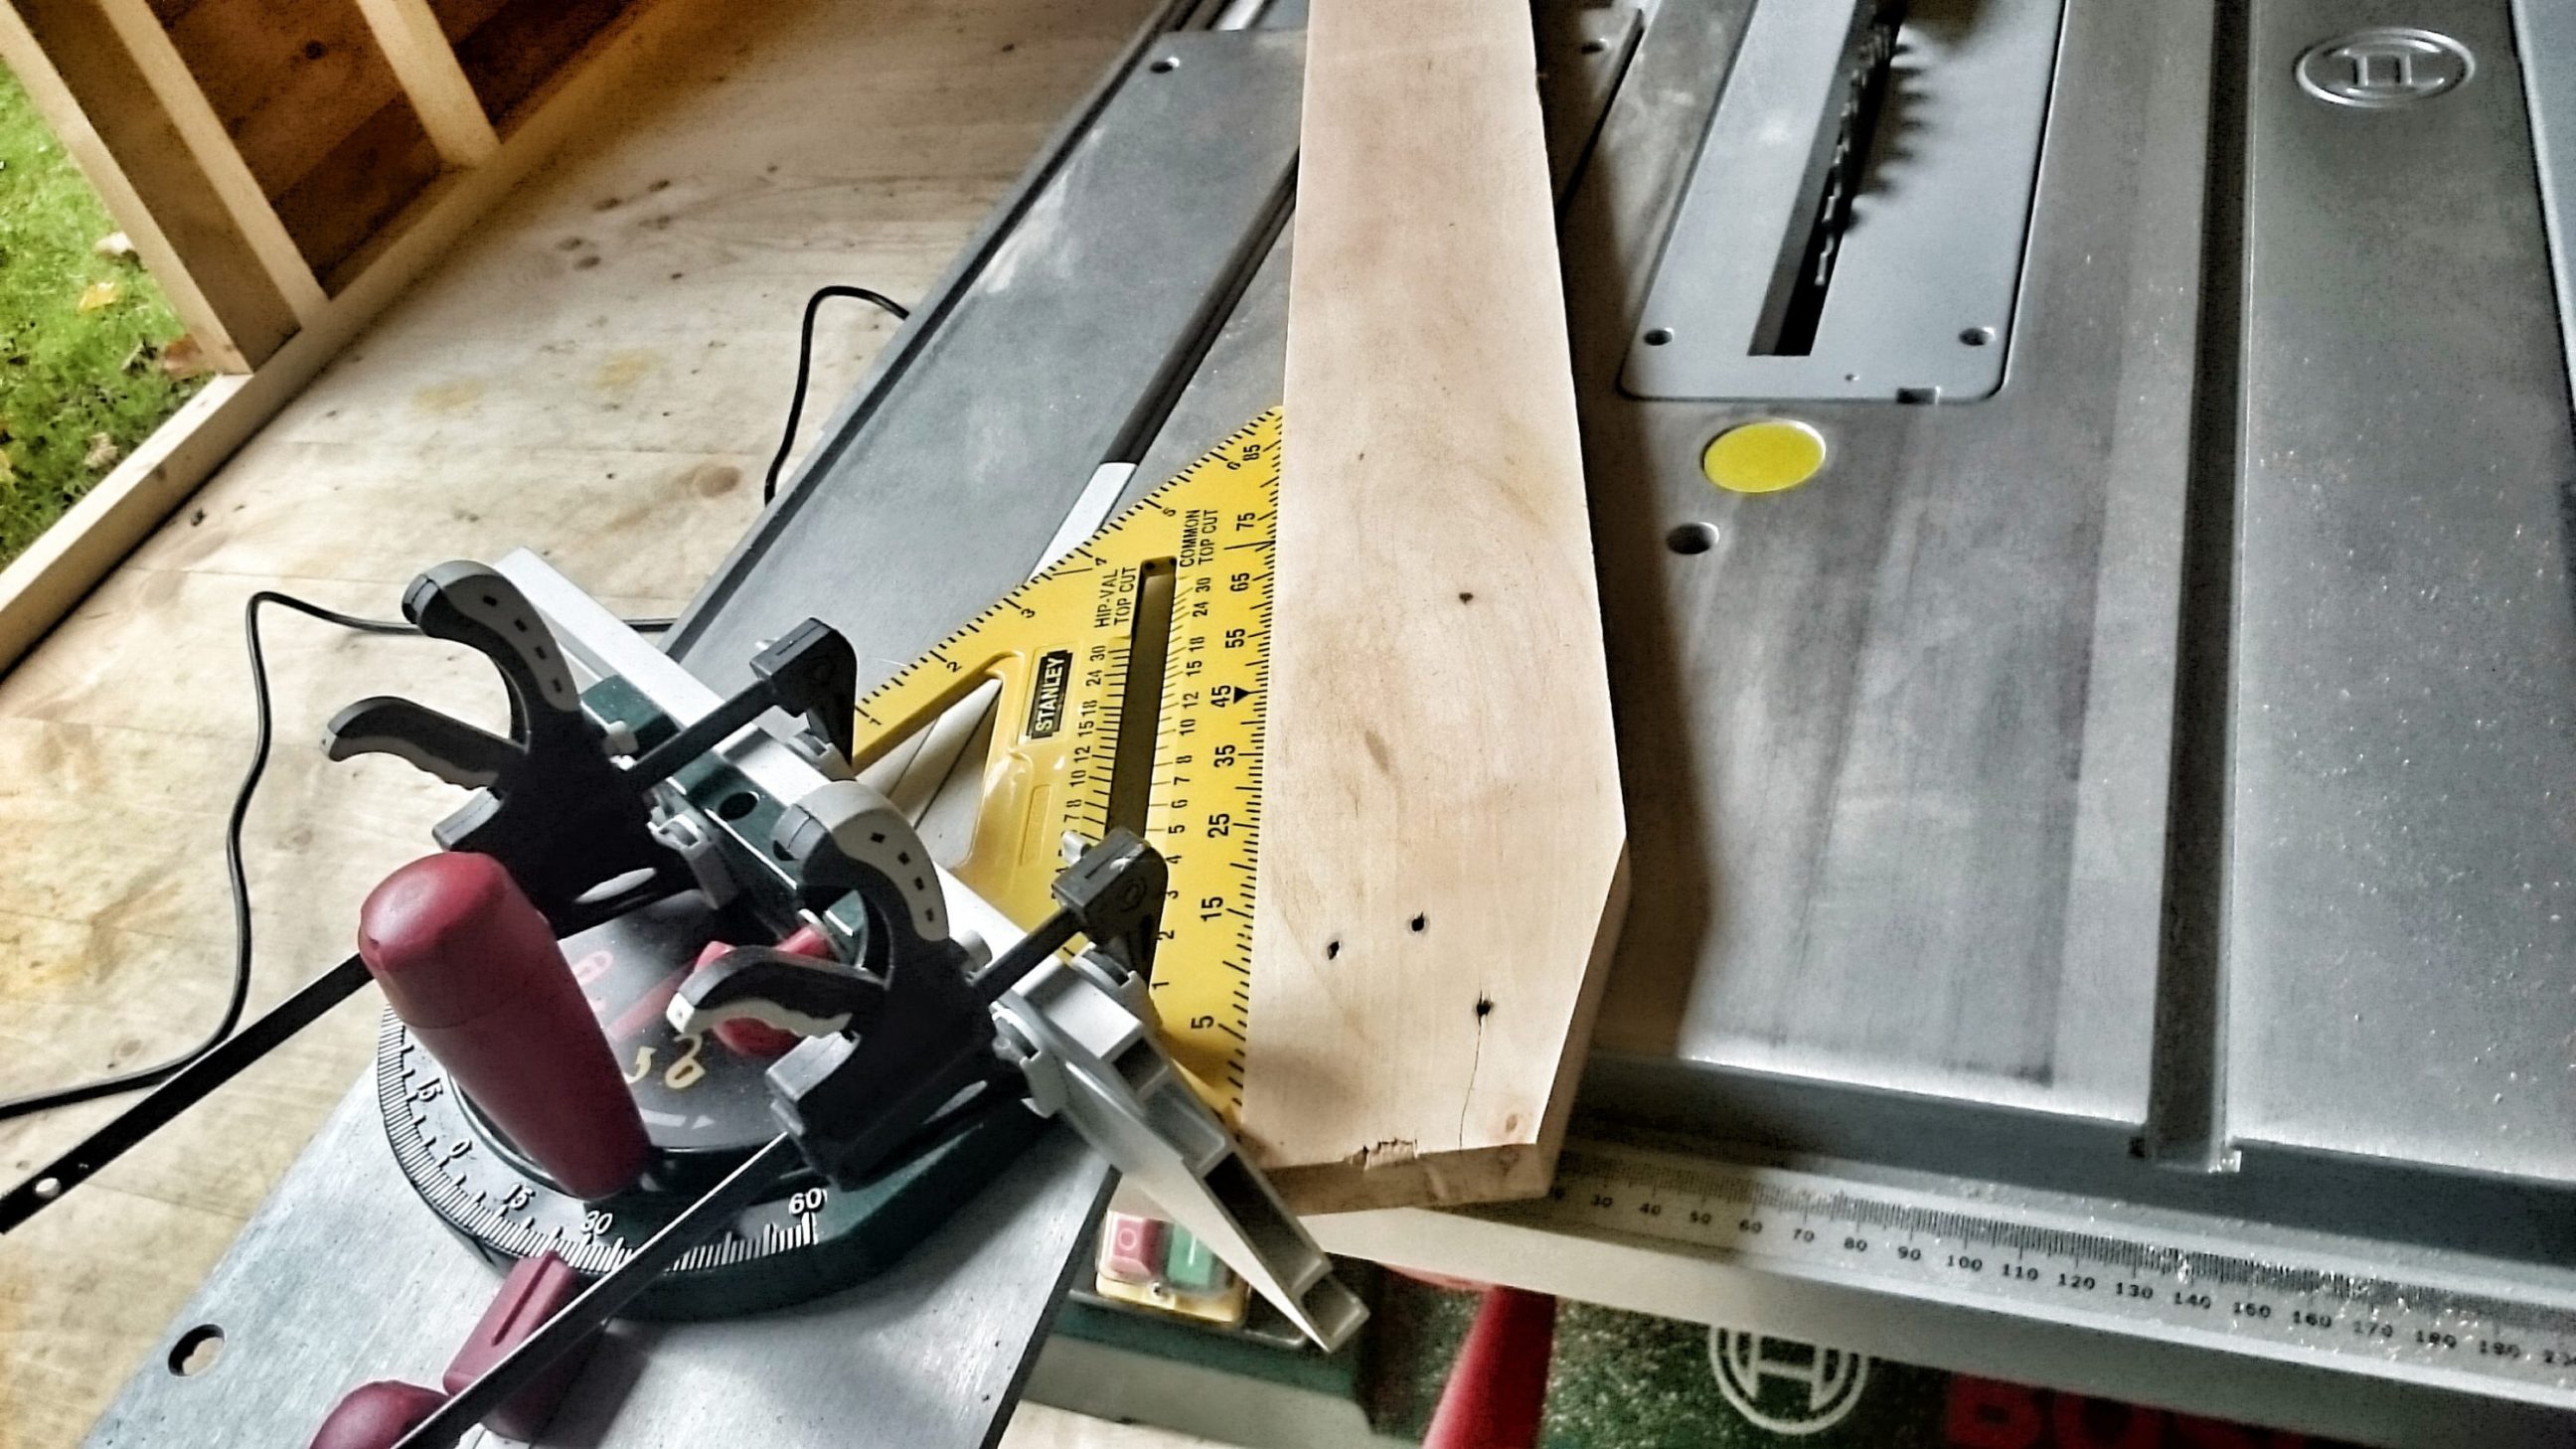
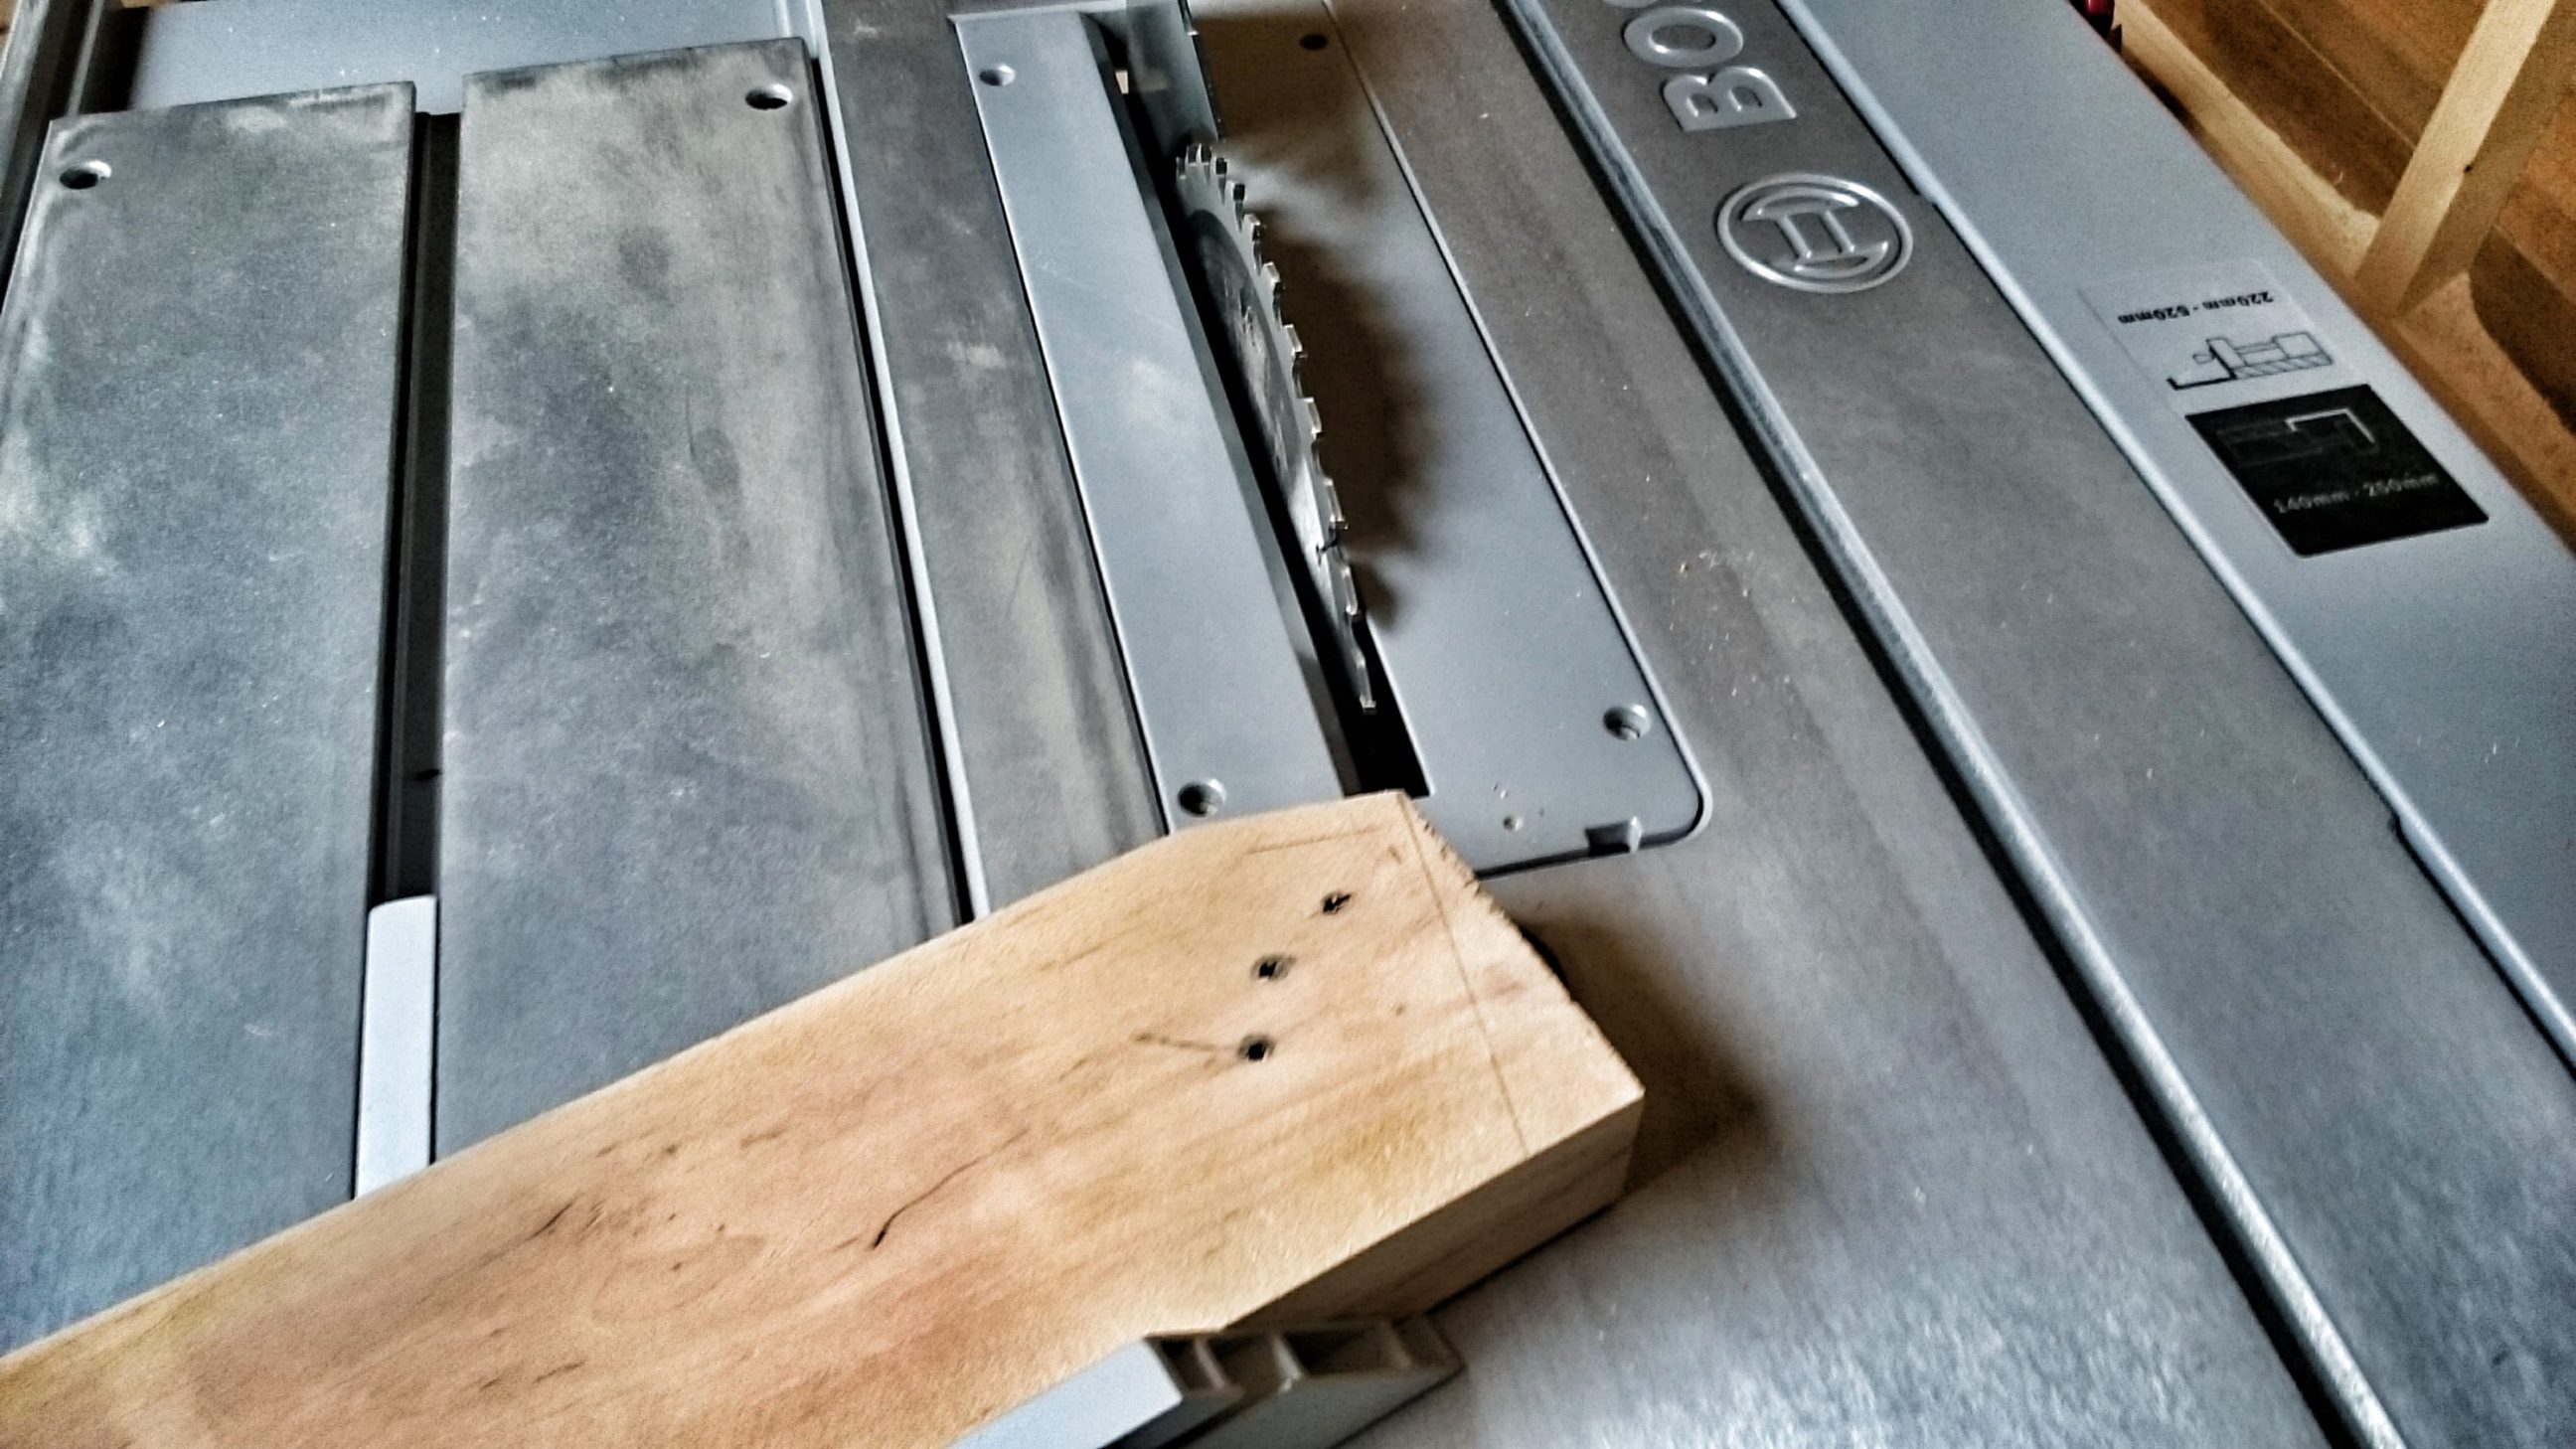
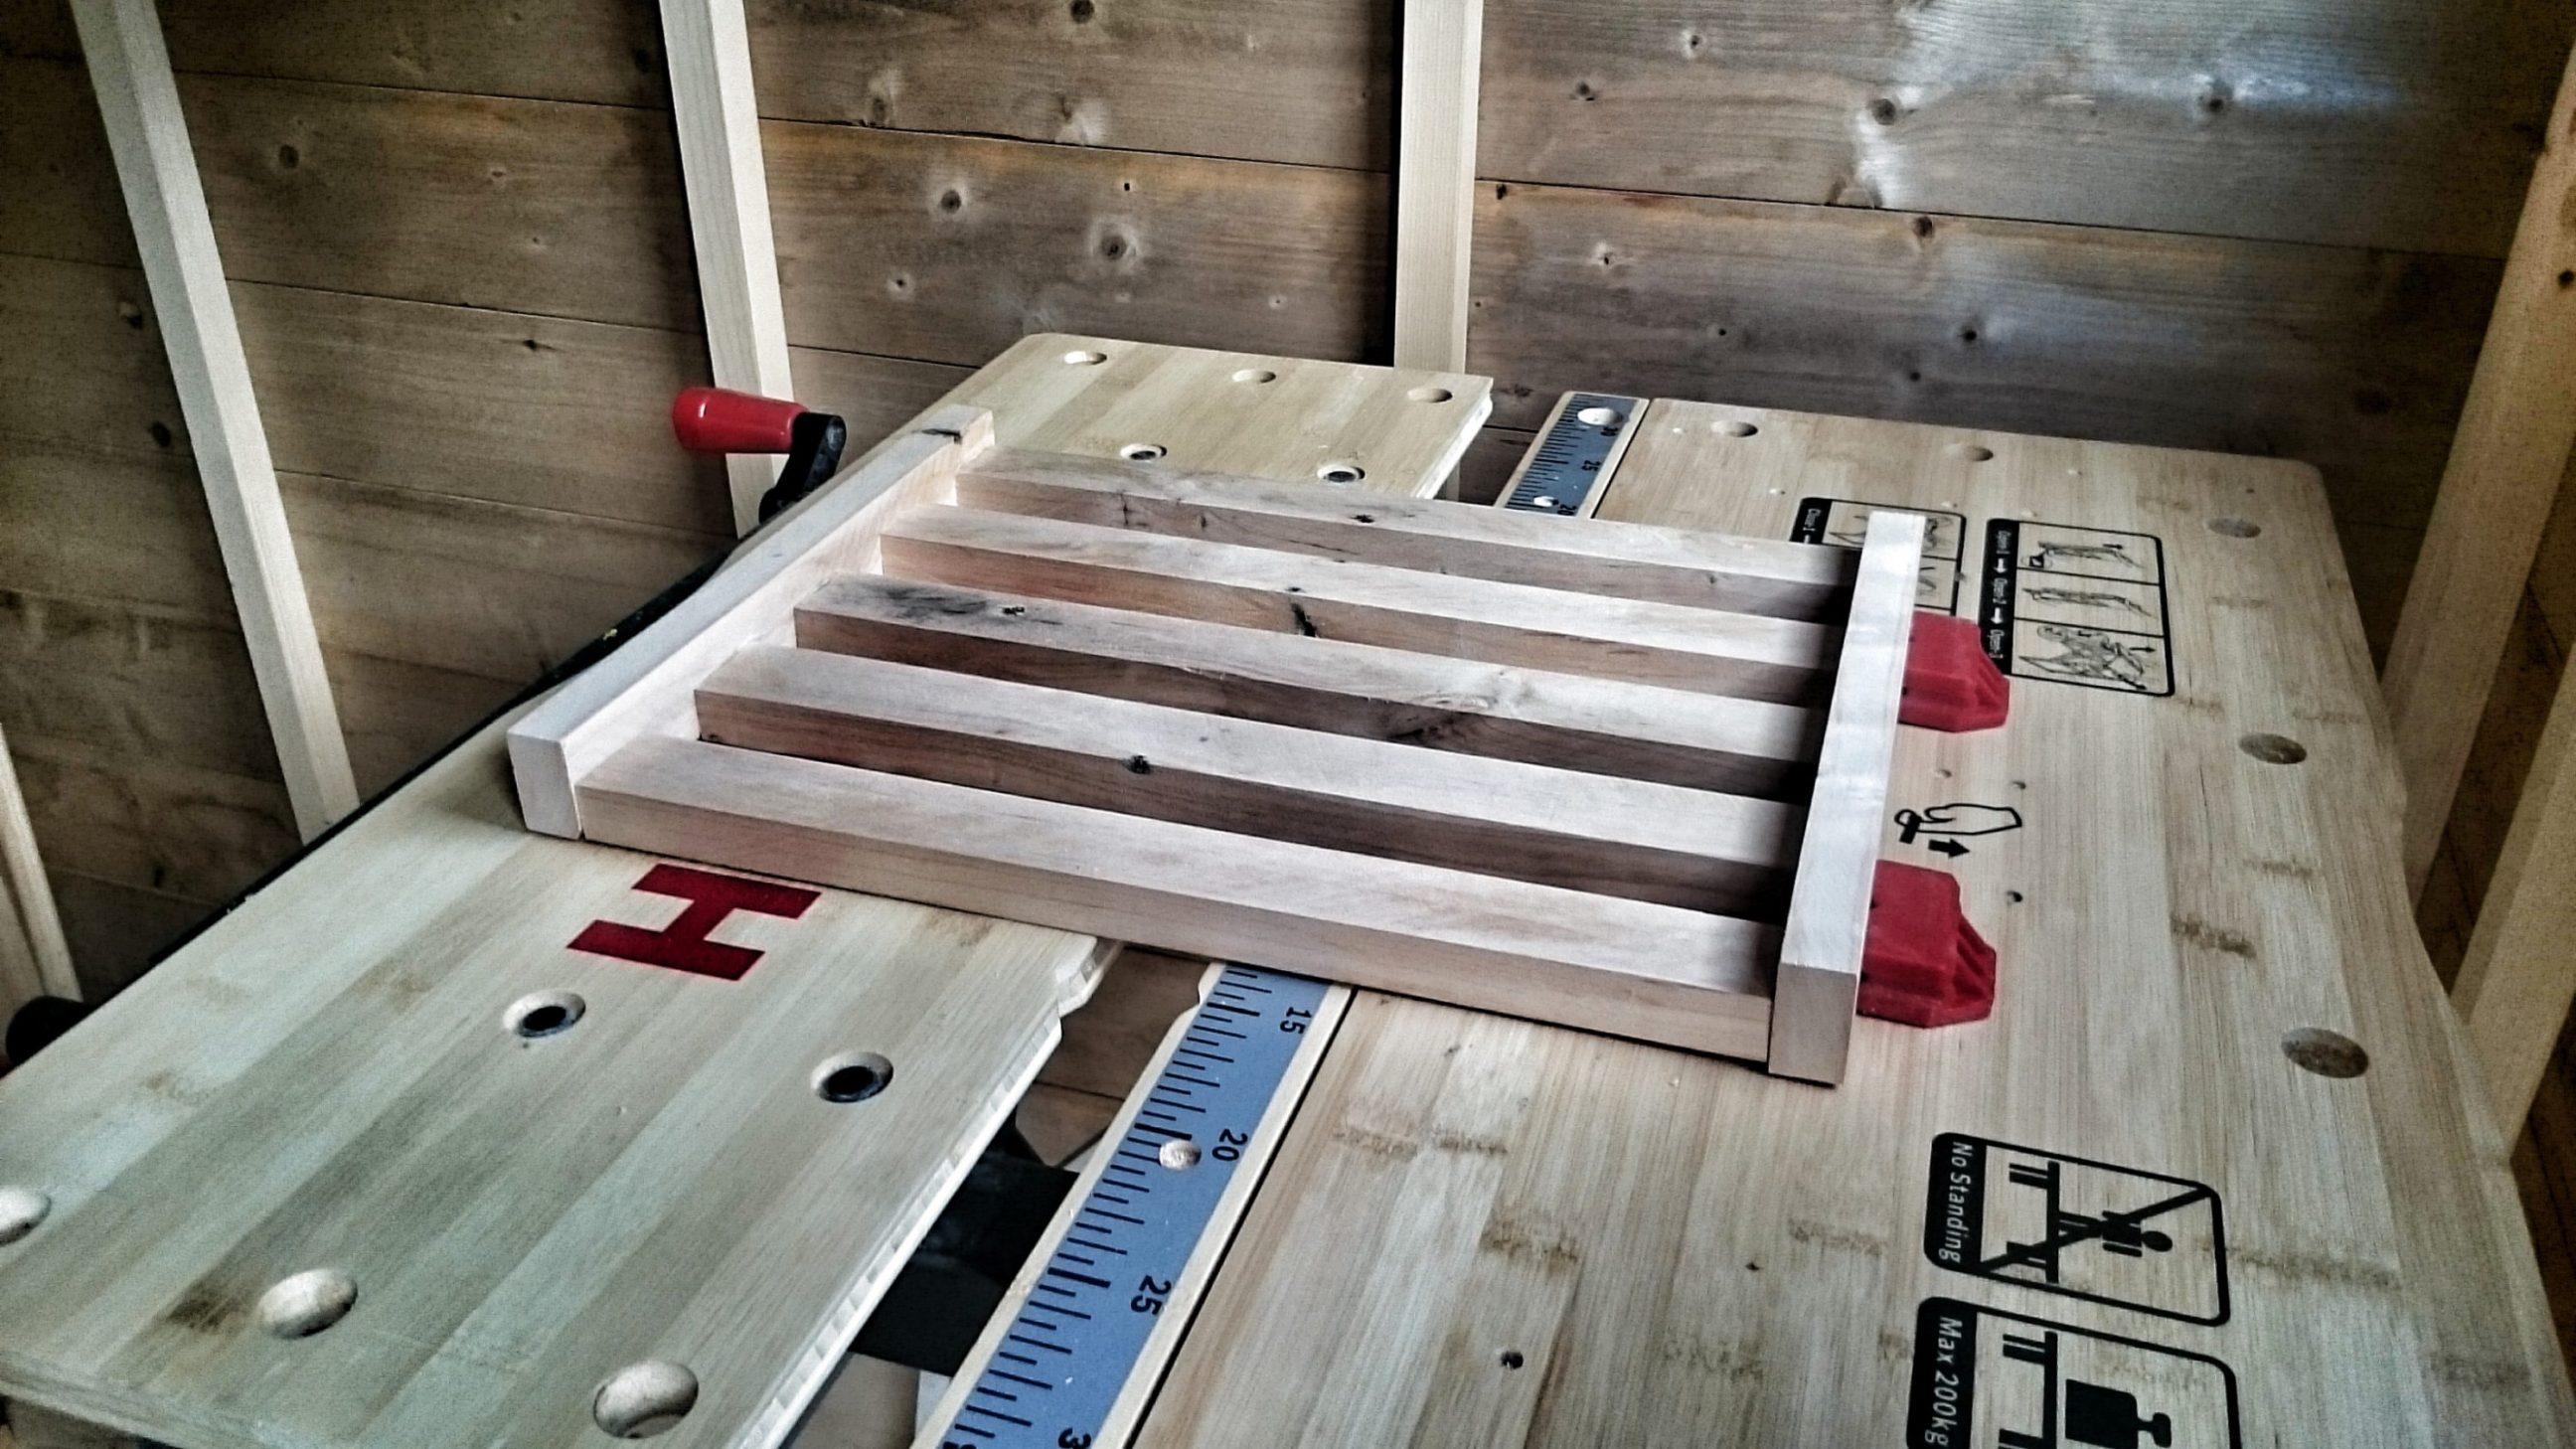
I managed that by using my speed square. The next step was the shelves, 11 x 15 inches was the chosen size.

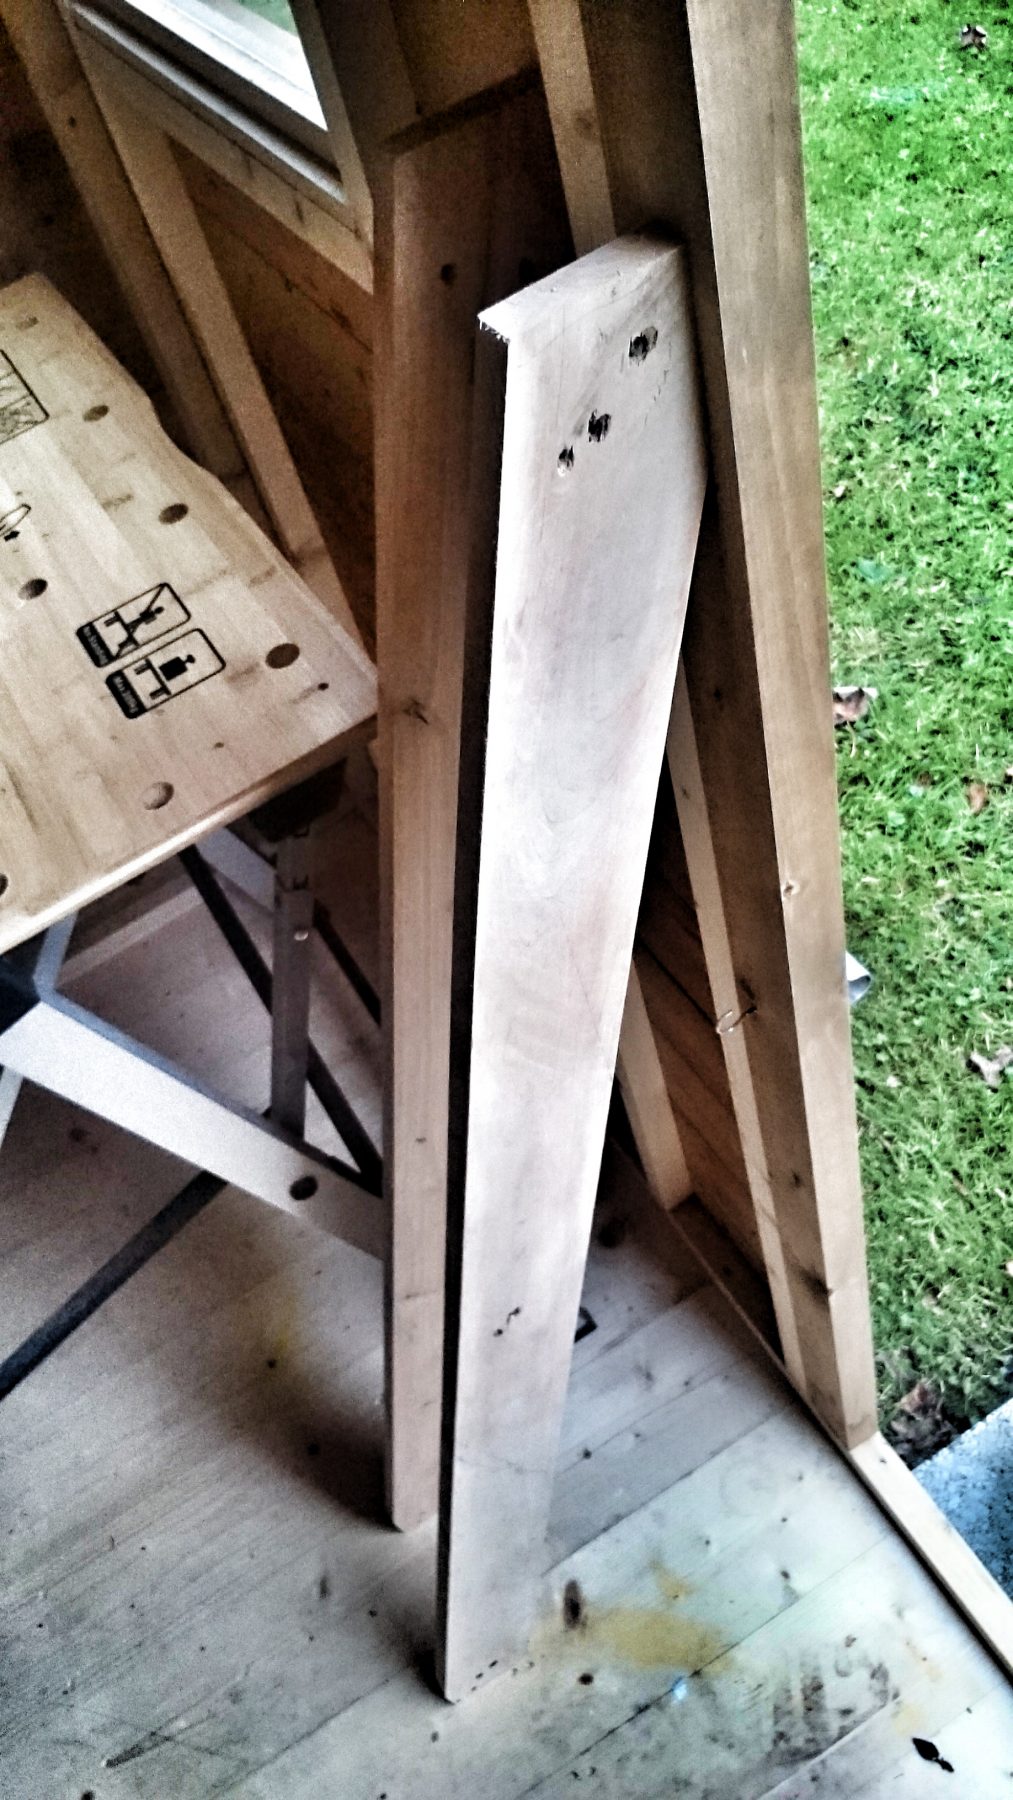
That was the end of day two.
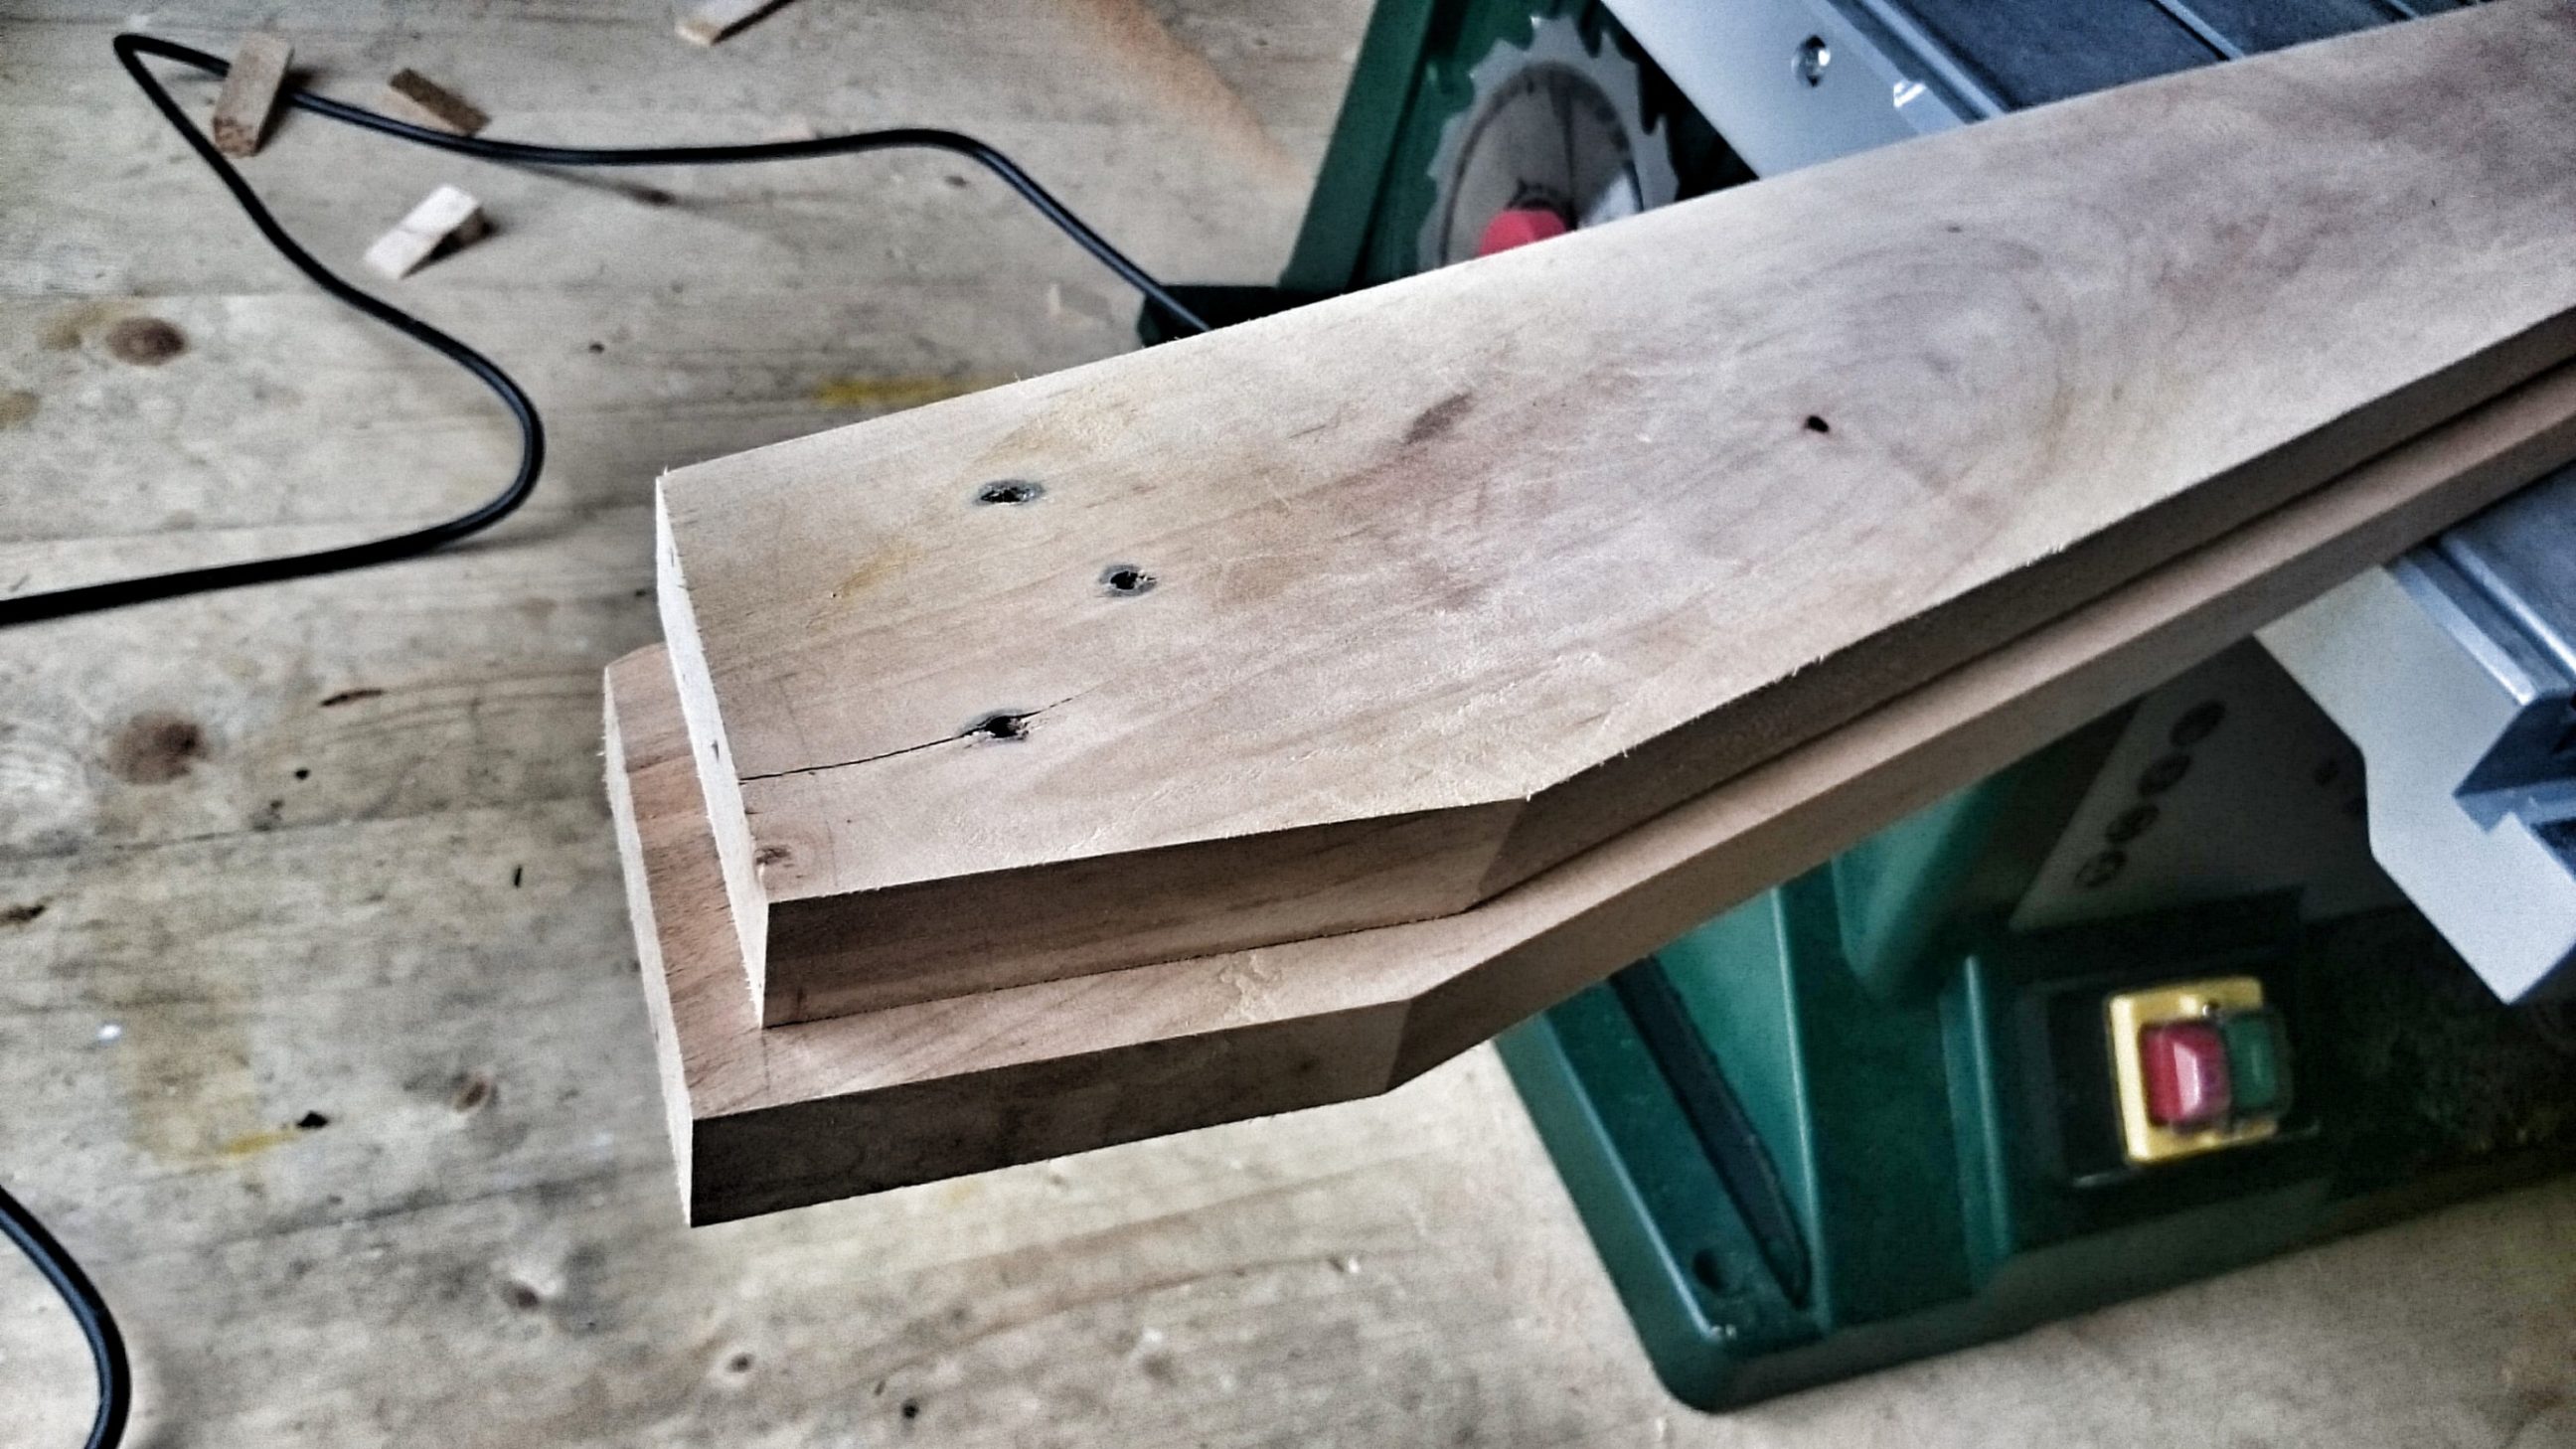
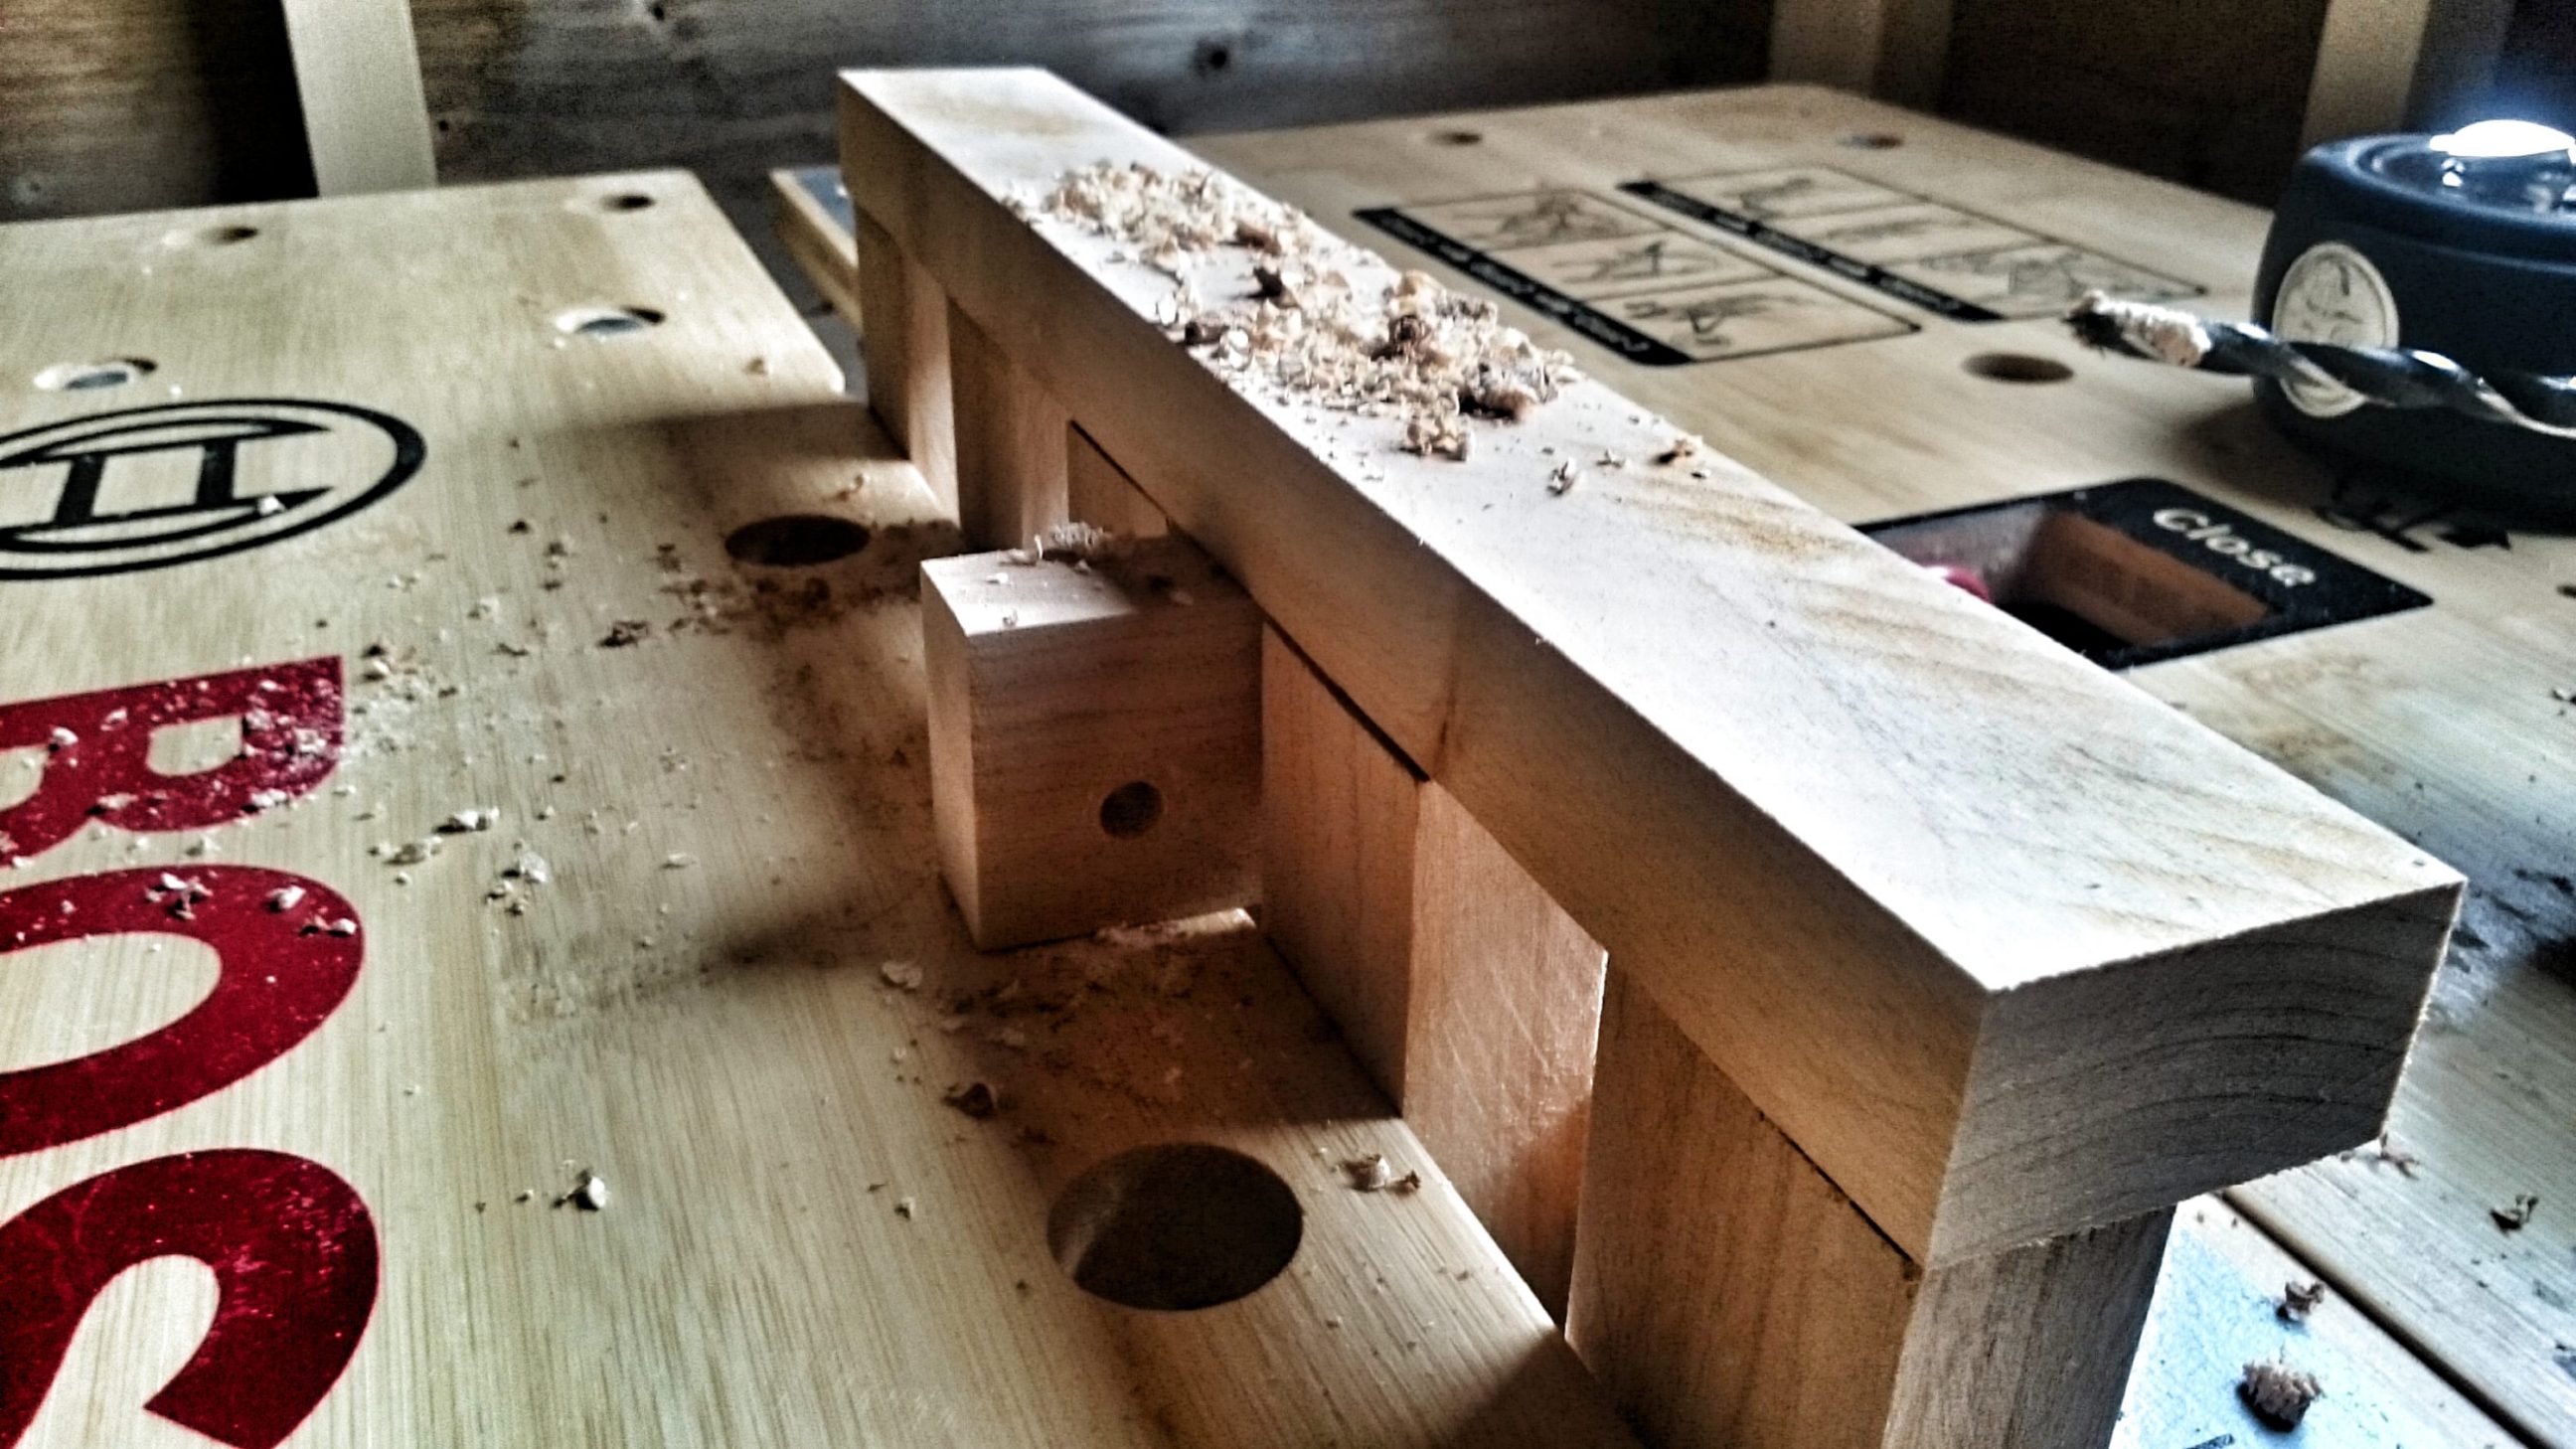
Day 3 was about drilling and glueing dowels.
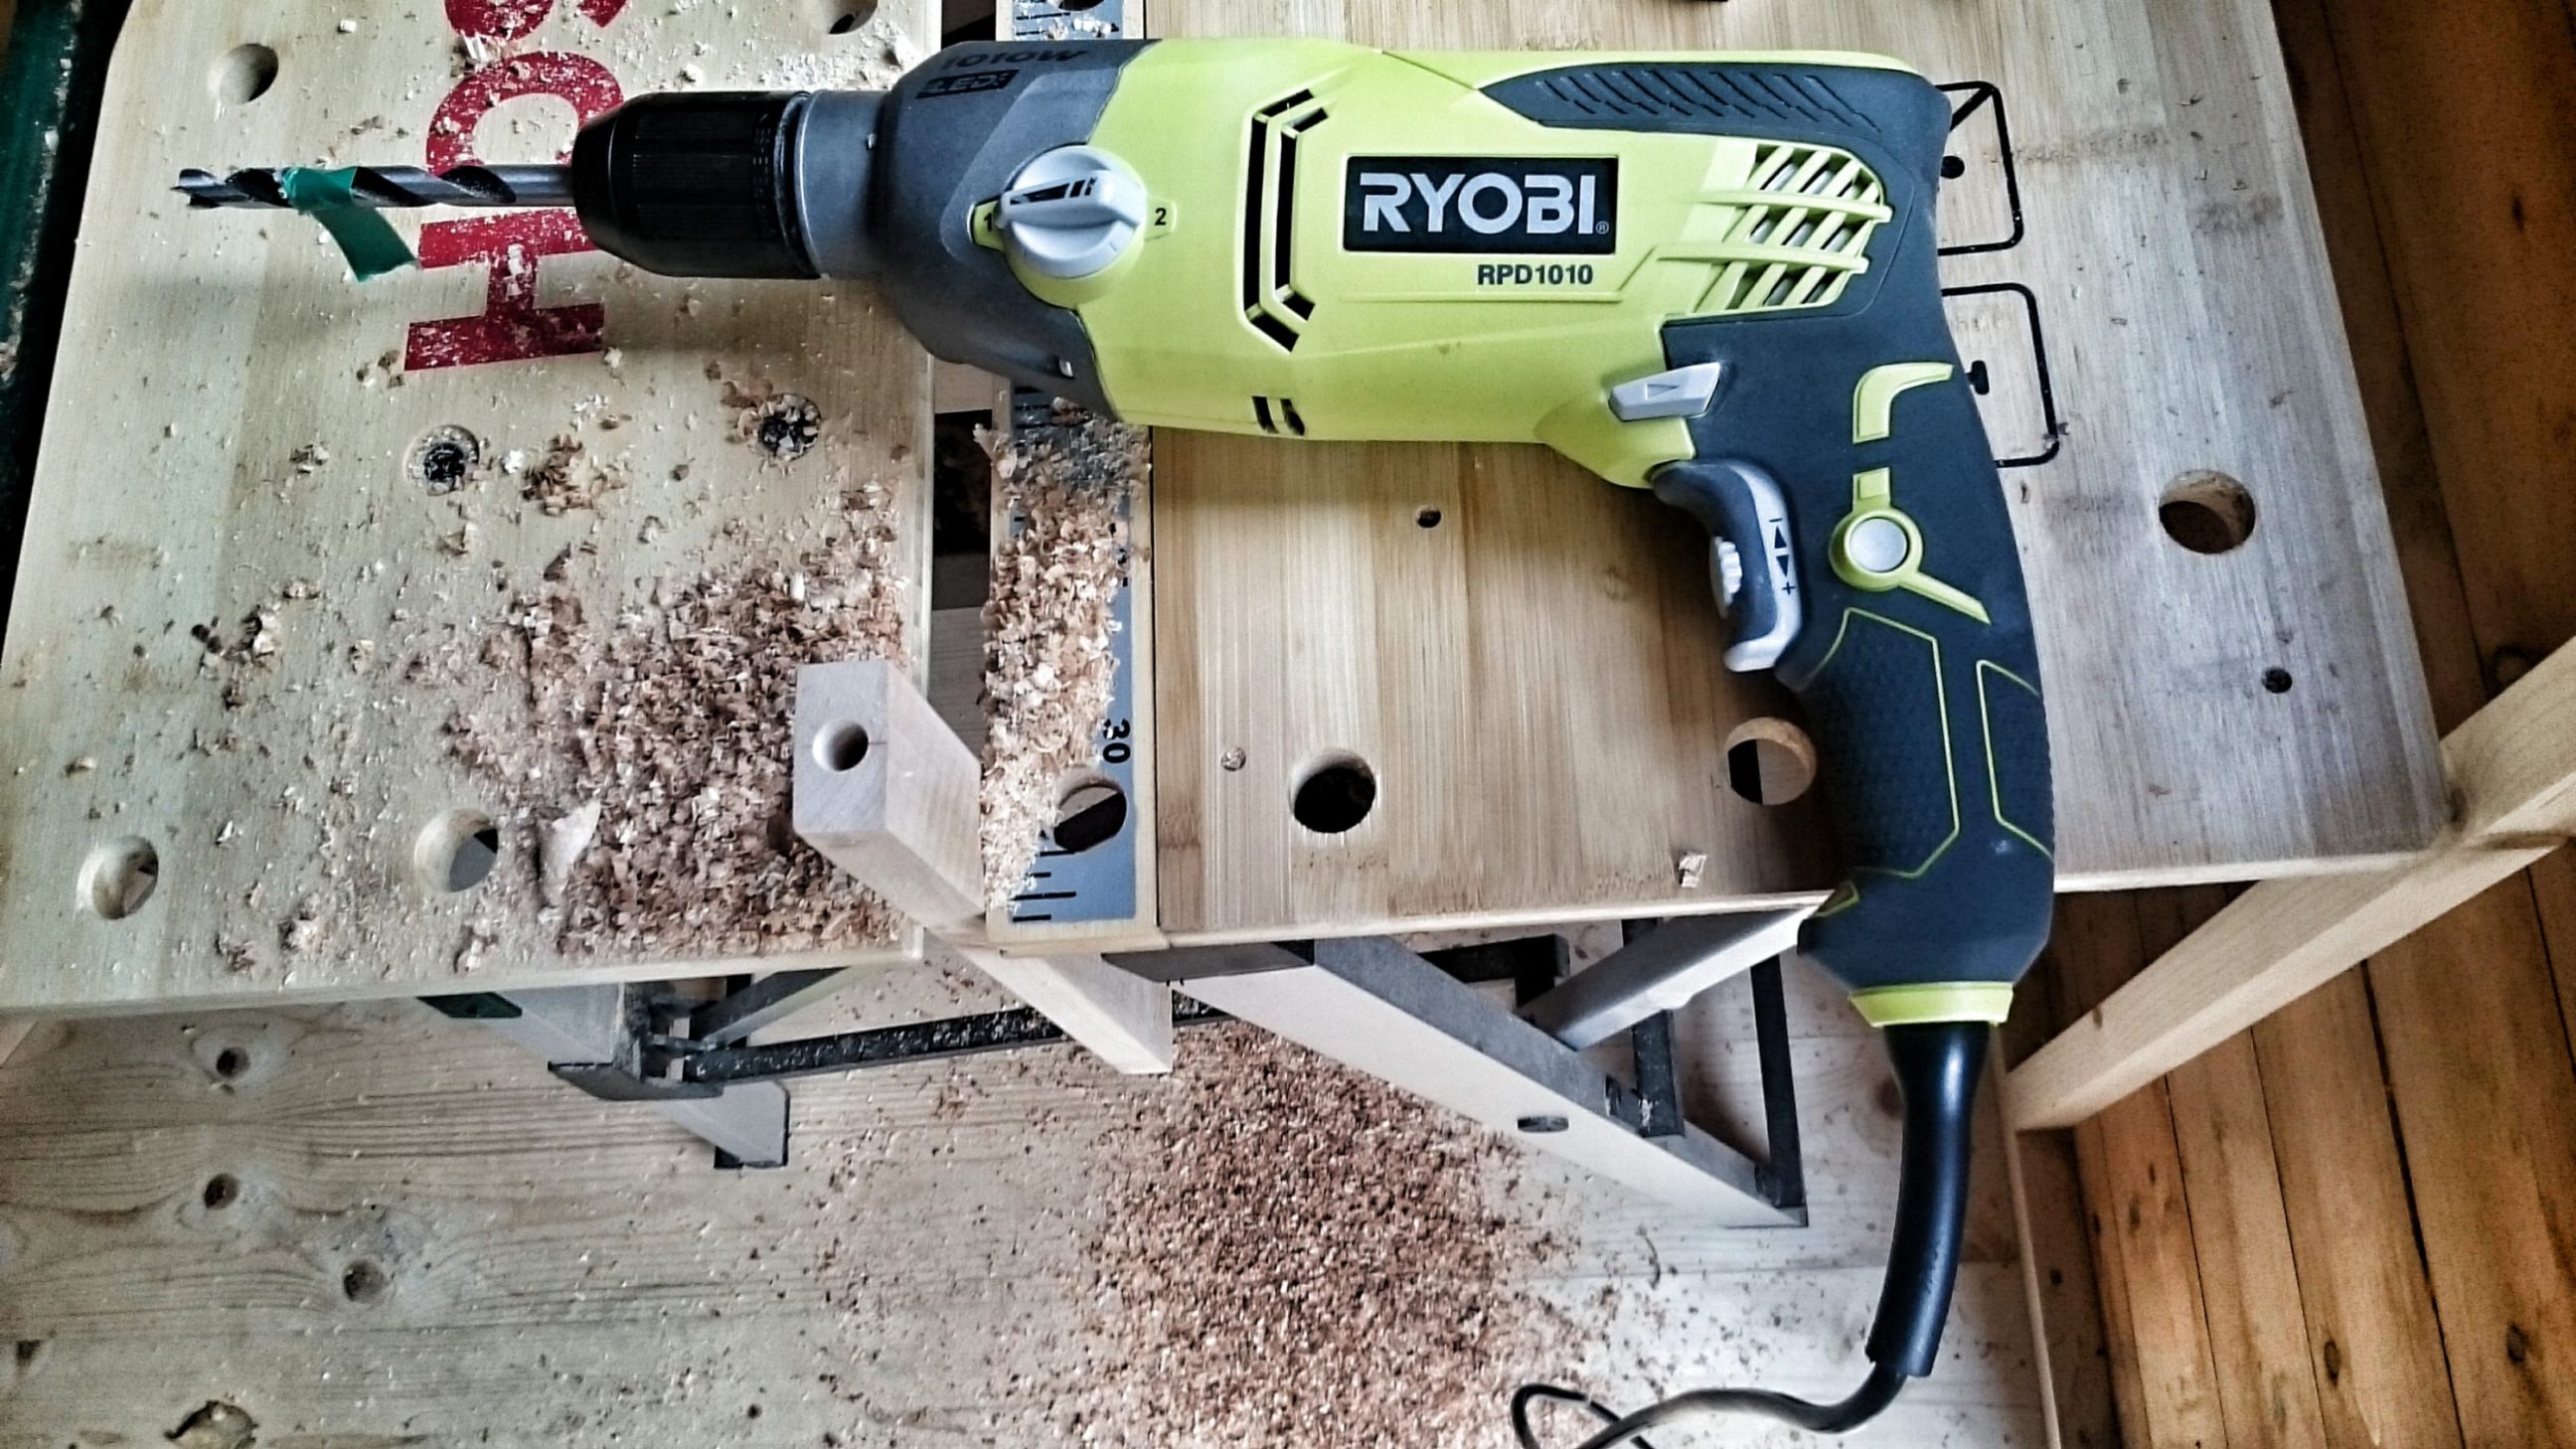
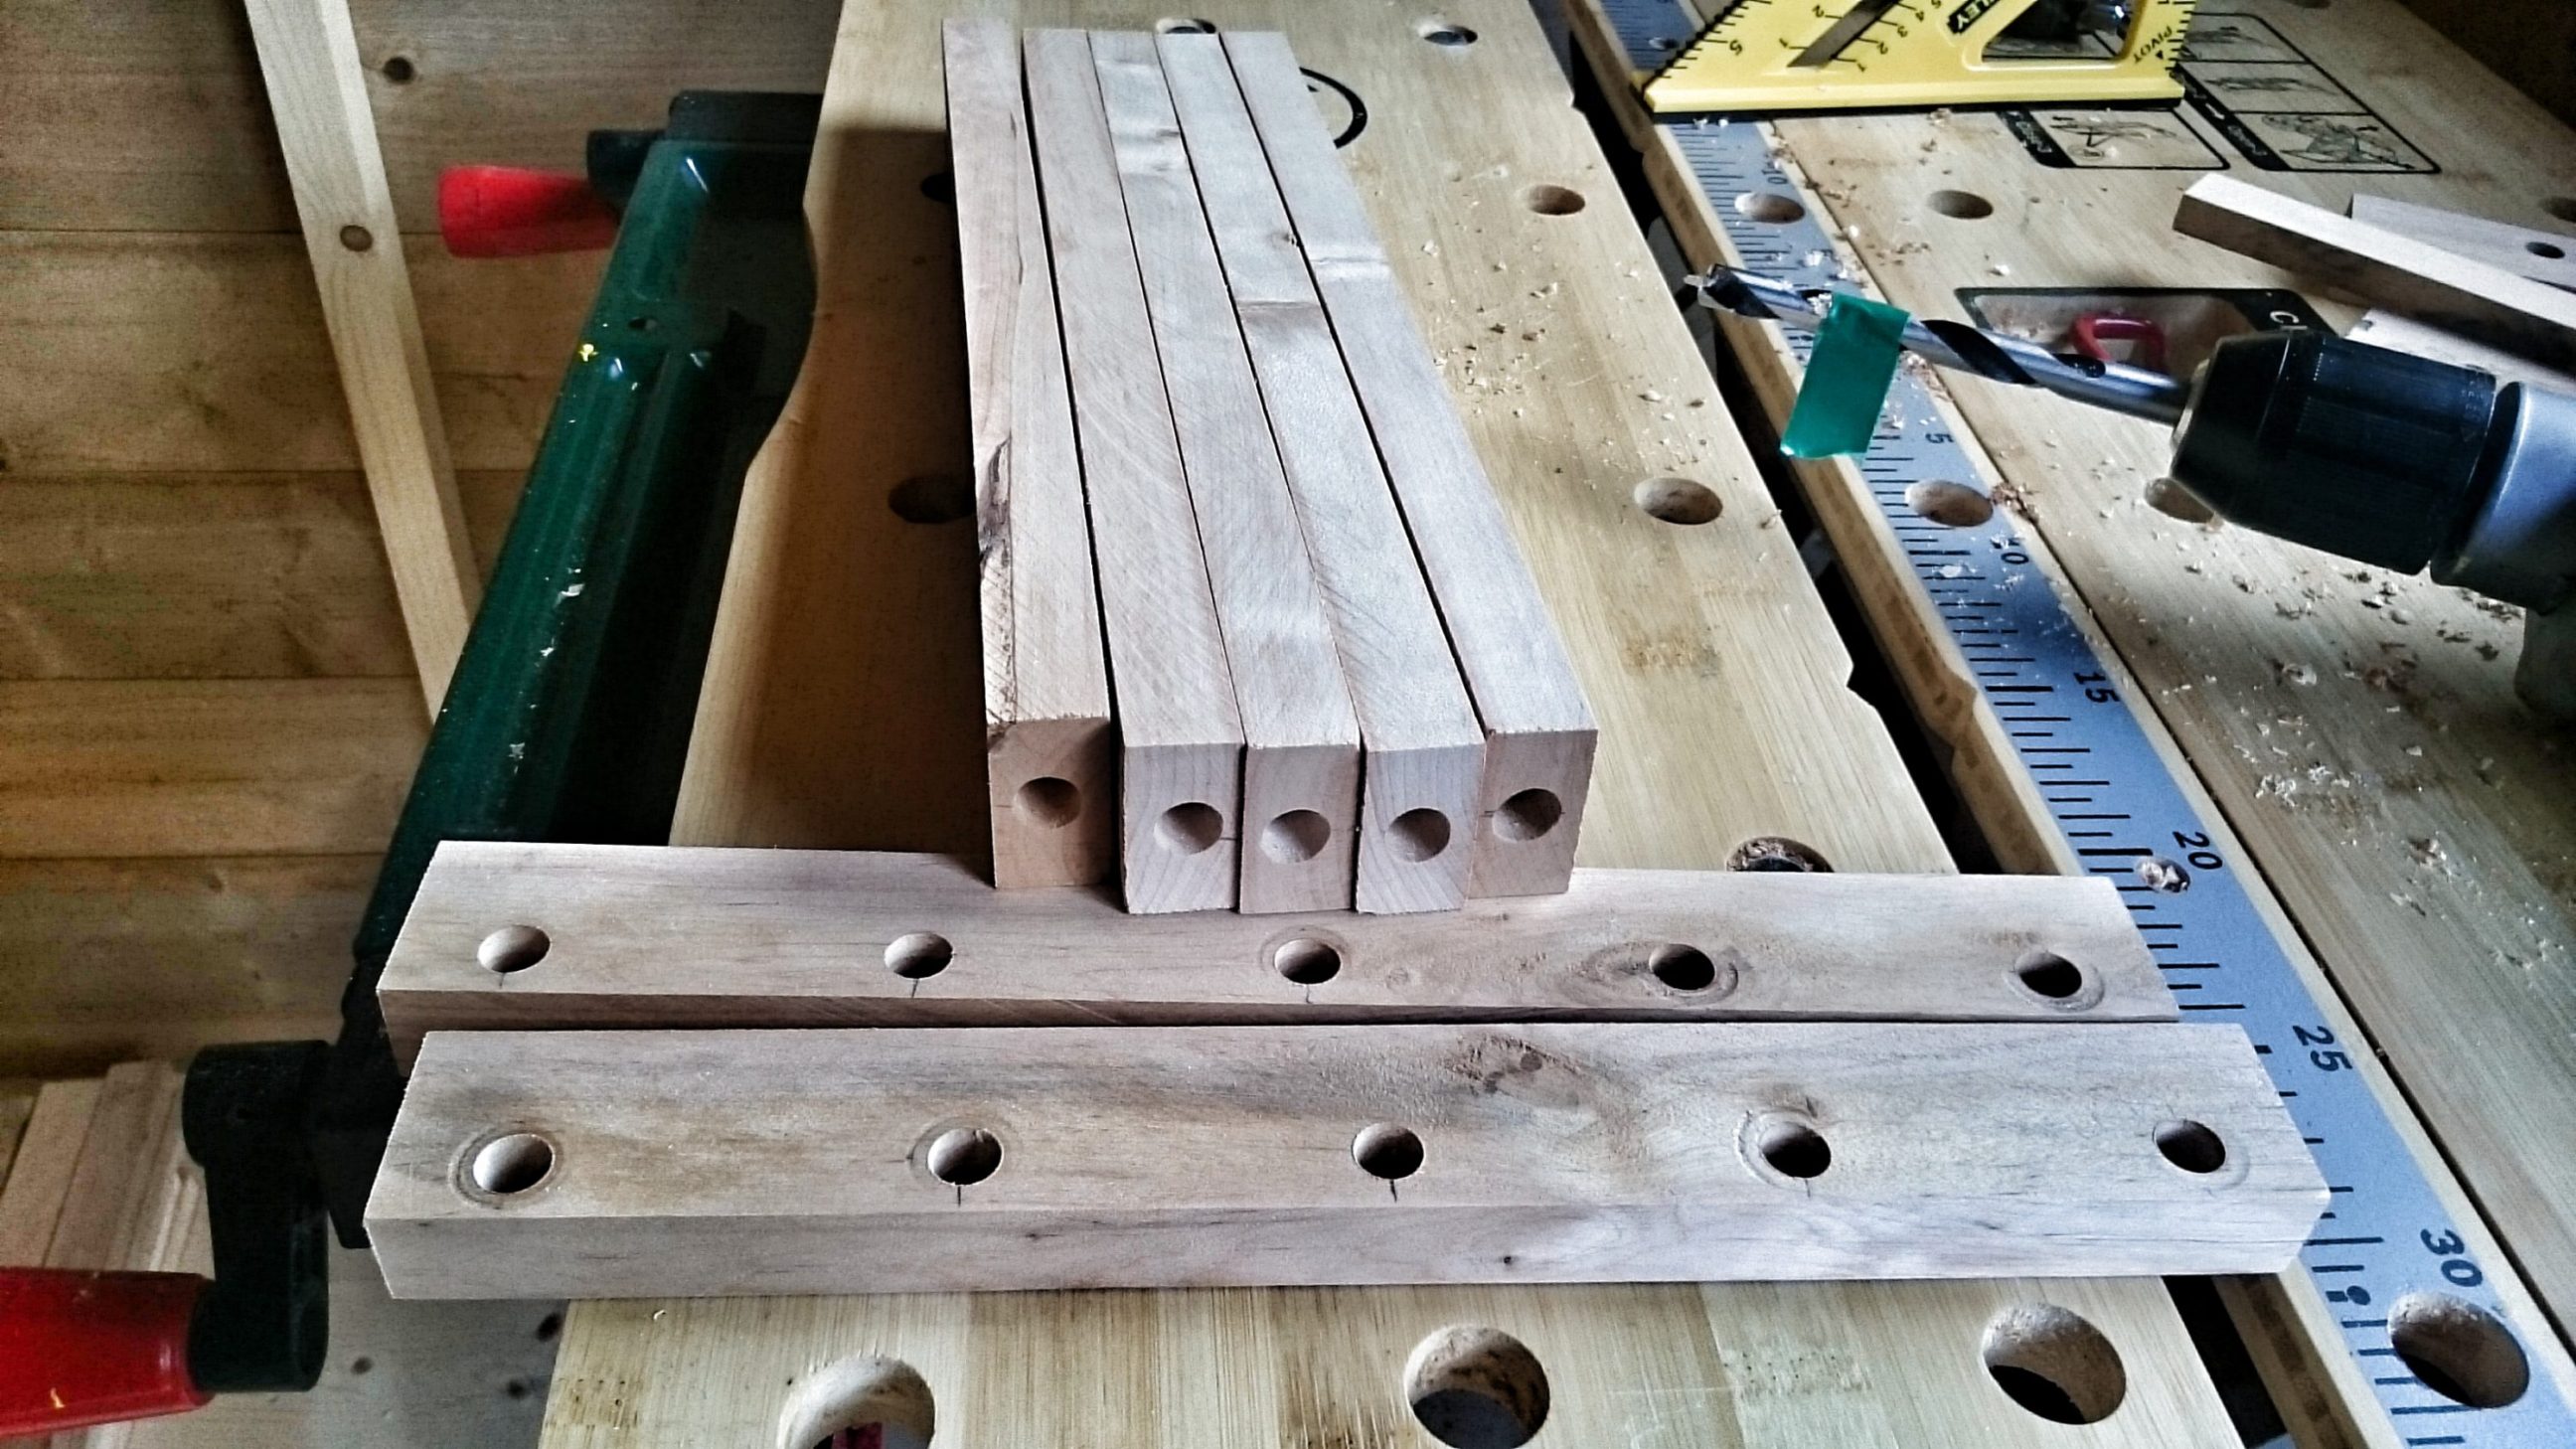
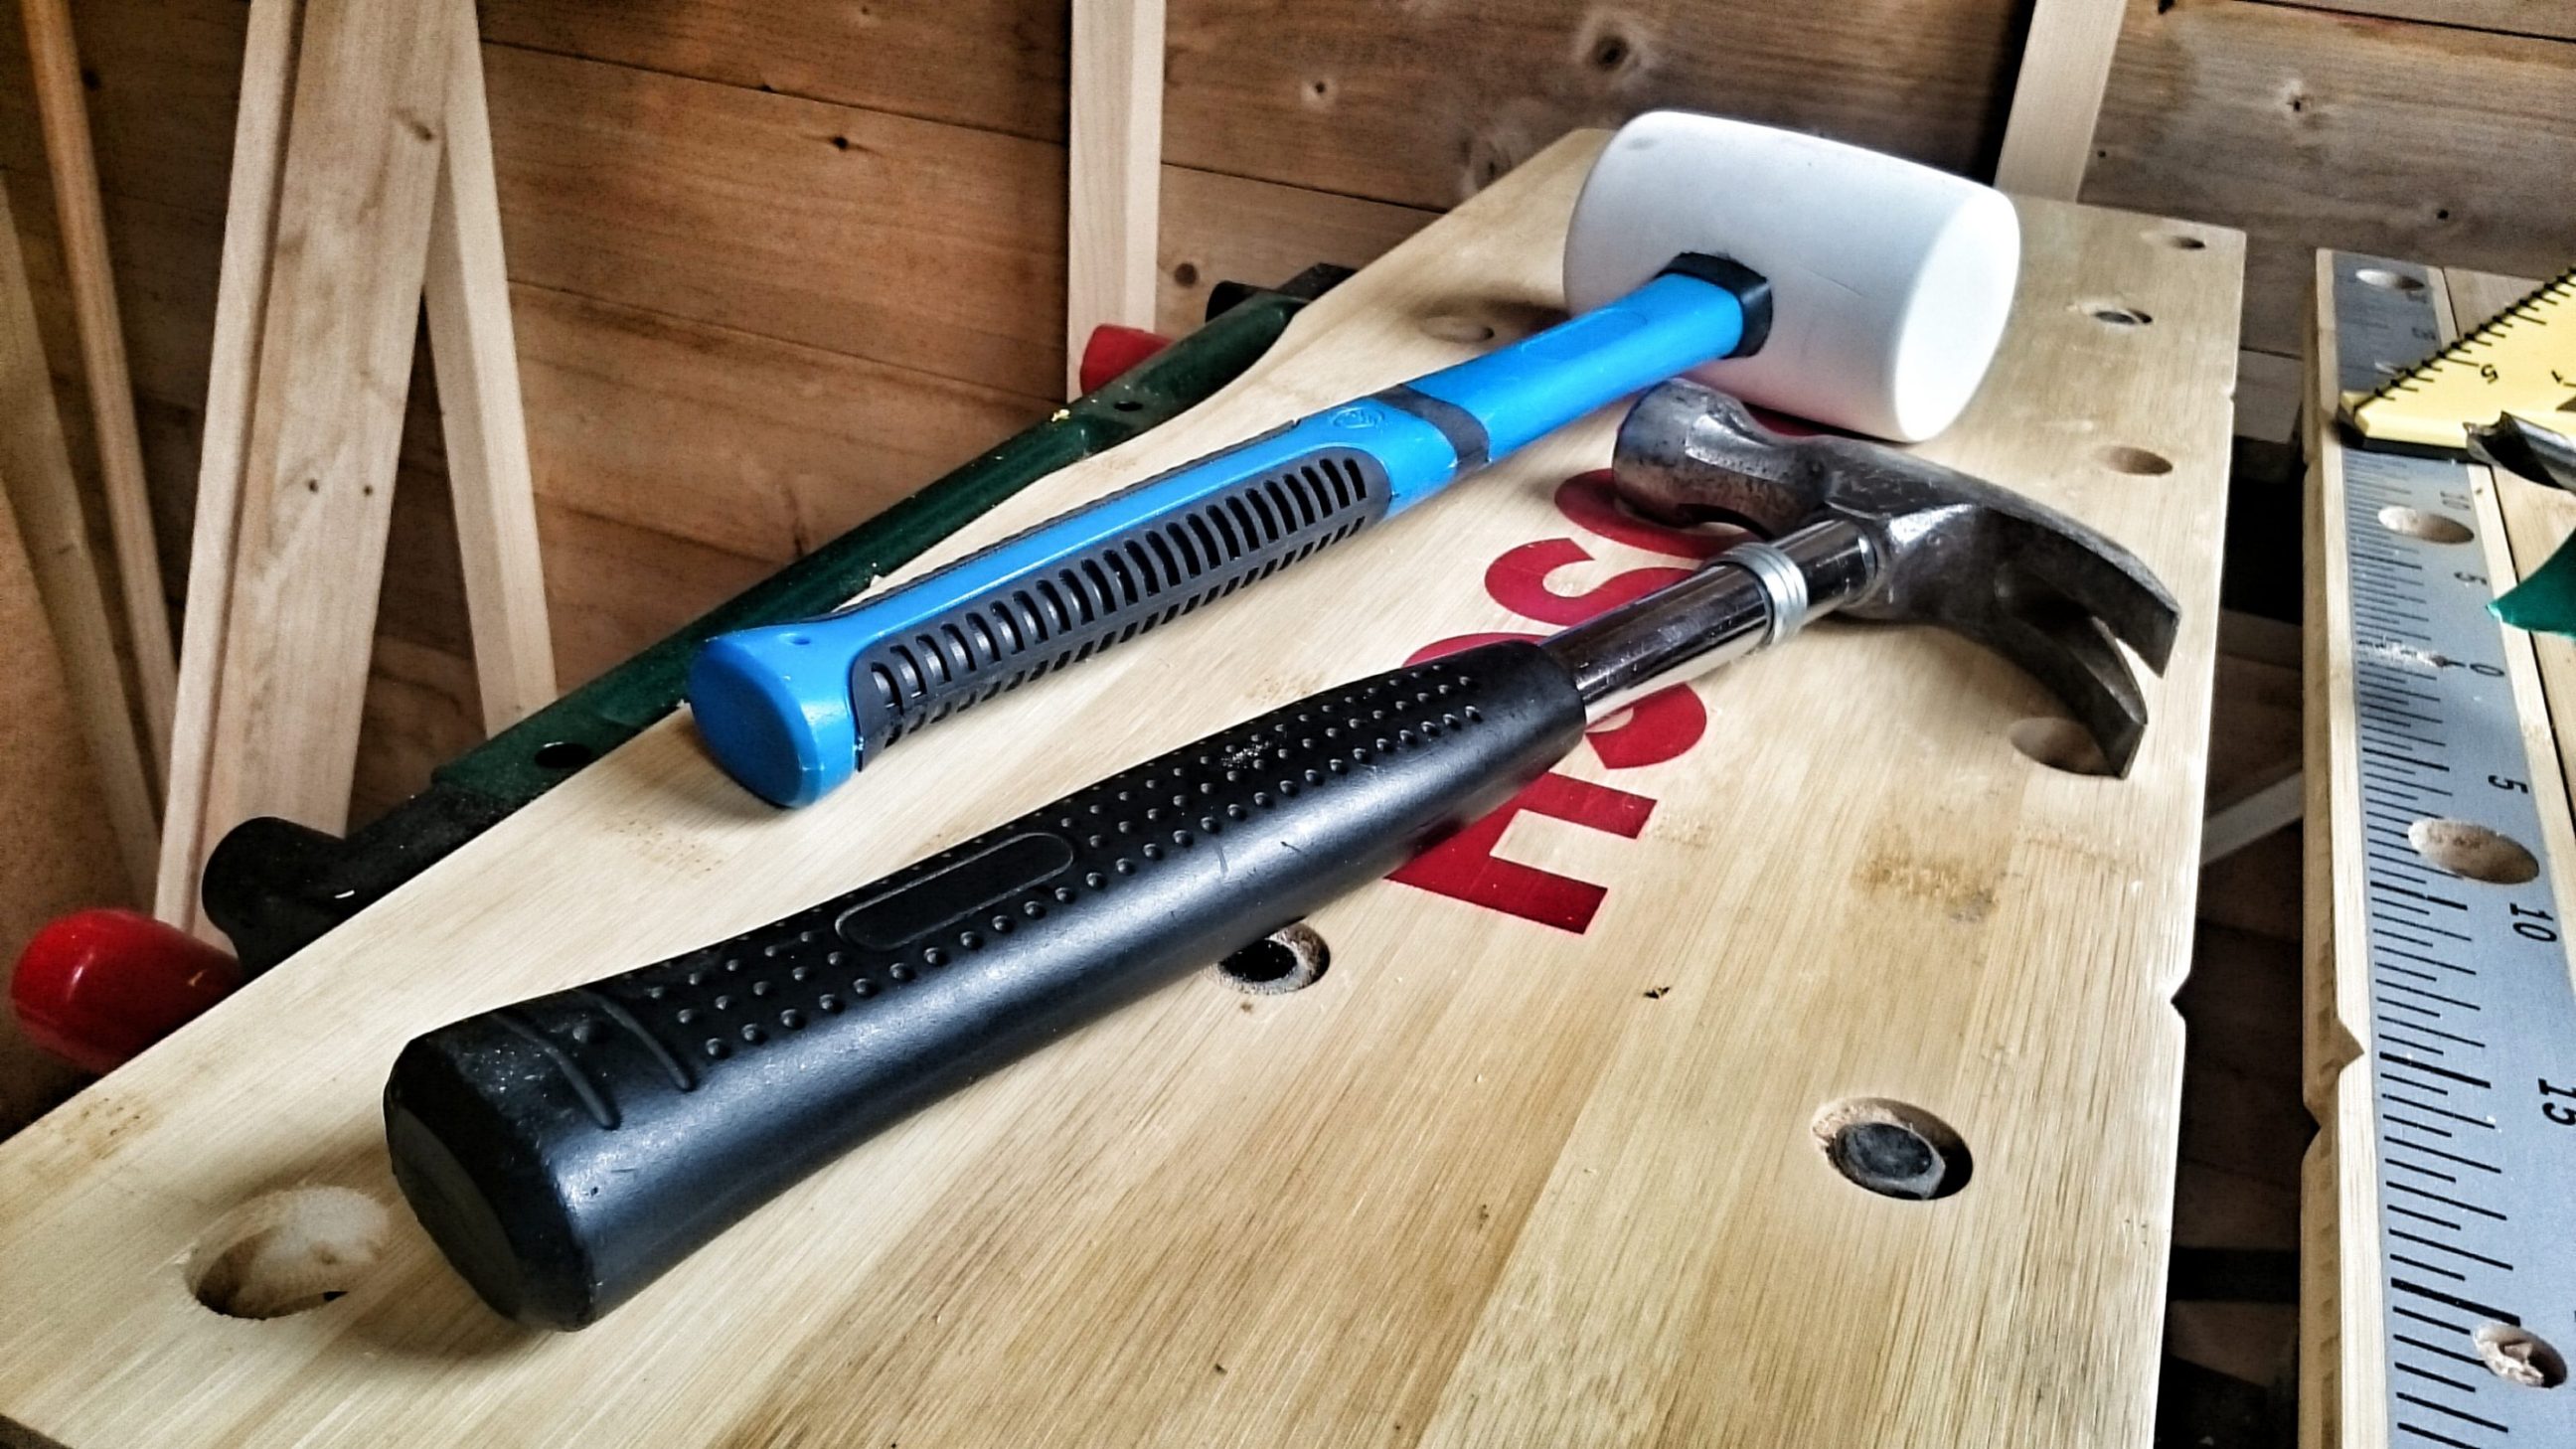
10 mm dowels were used along with glue, a hammer and a mallet.
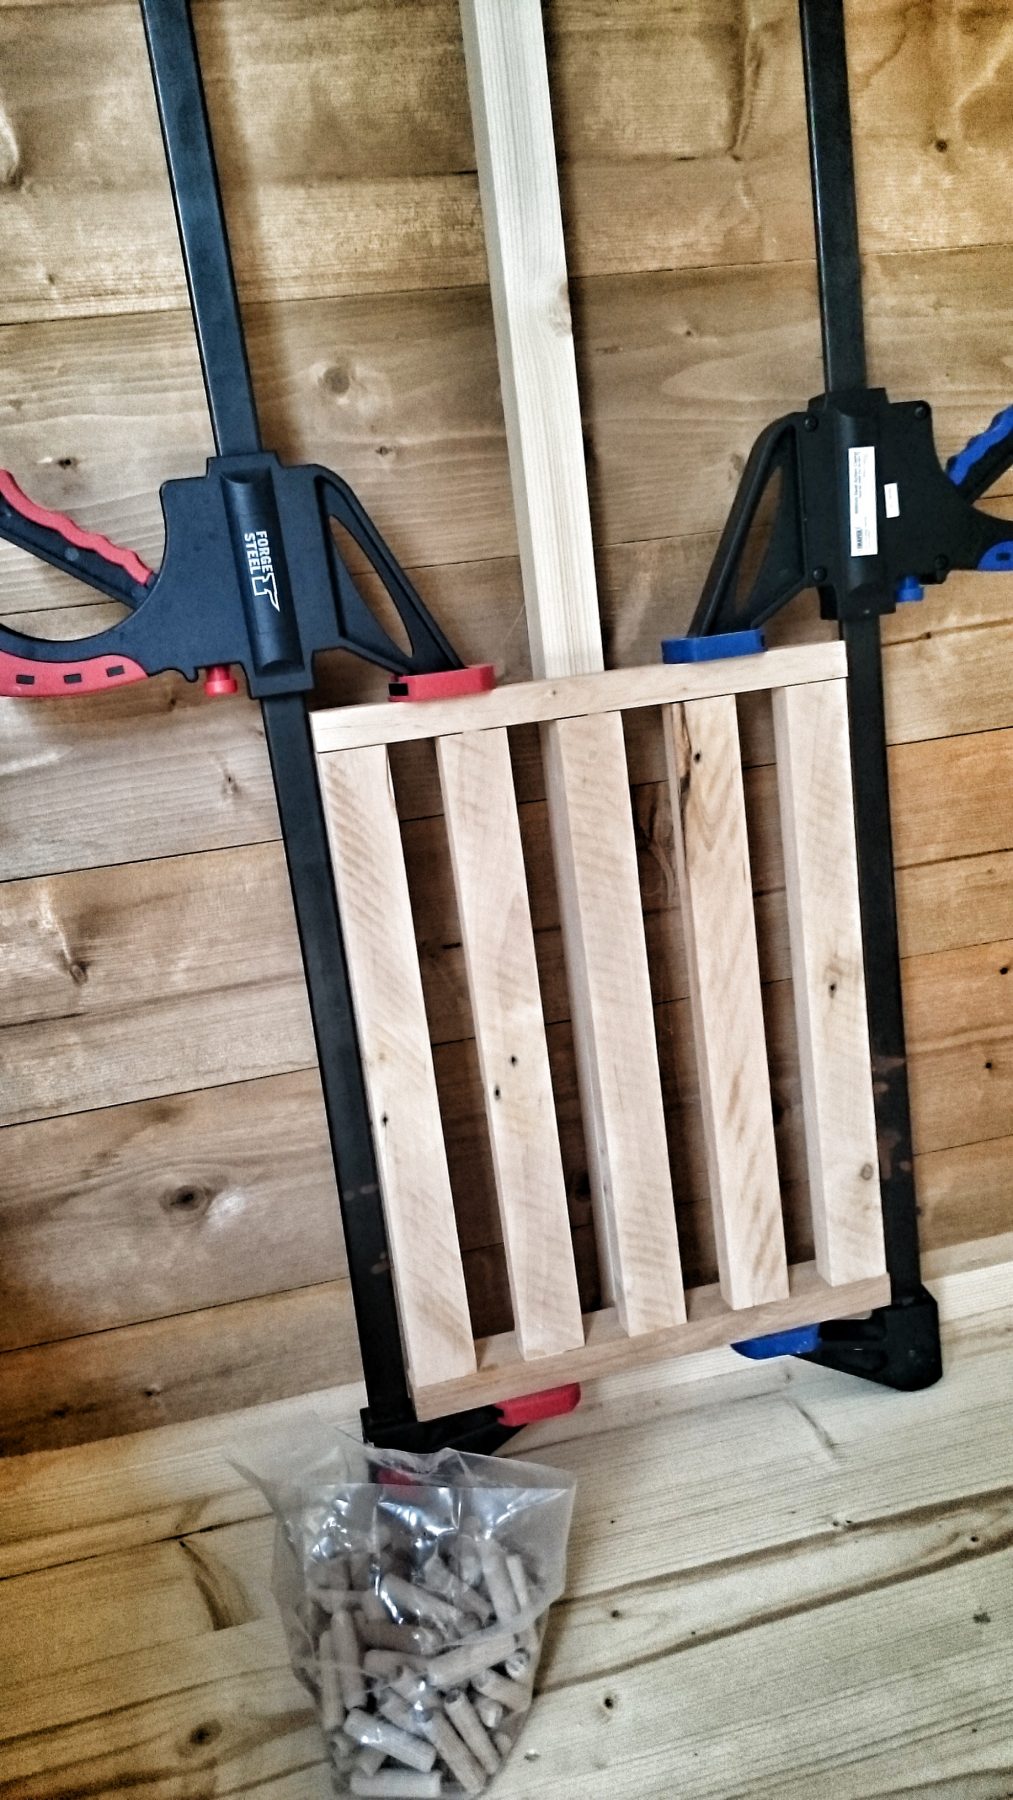
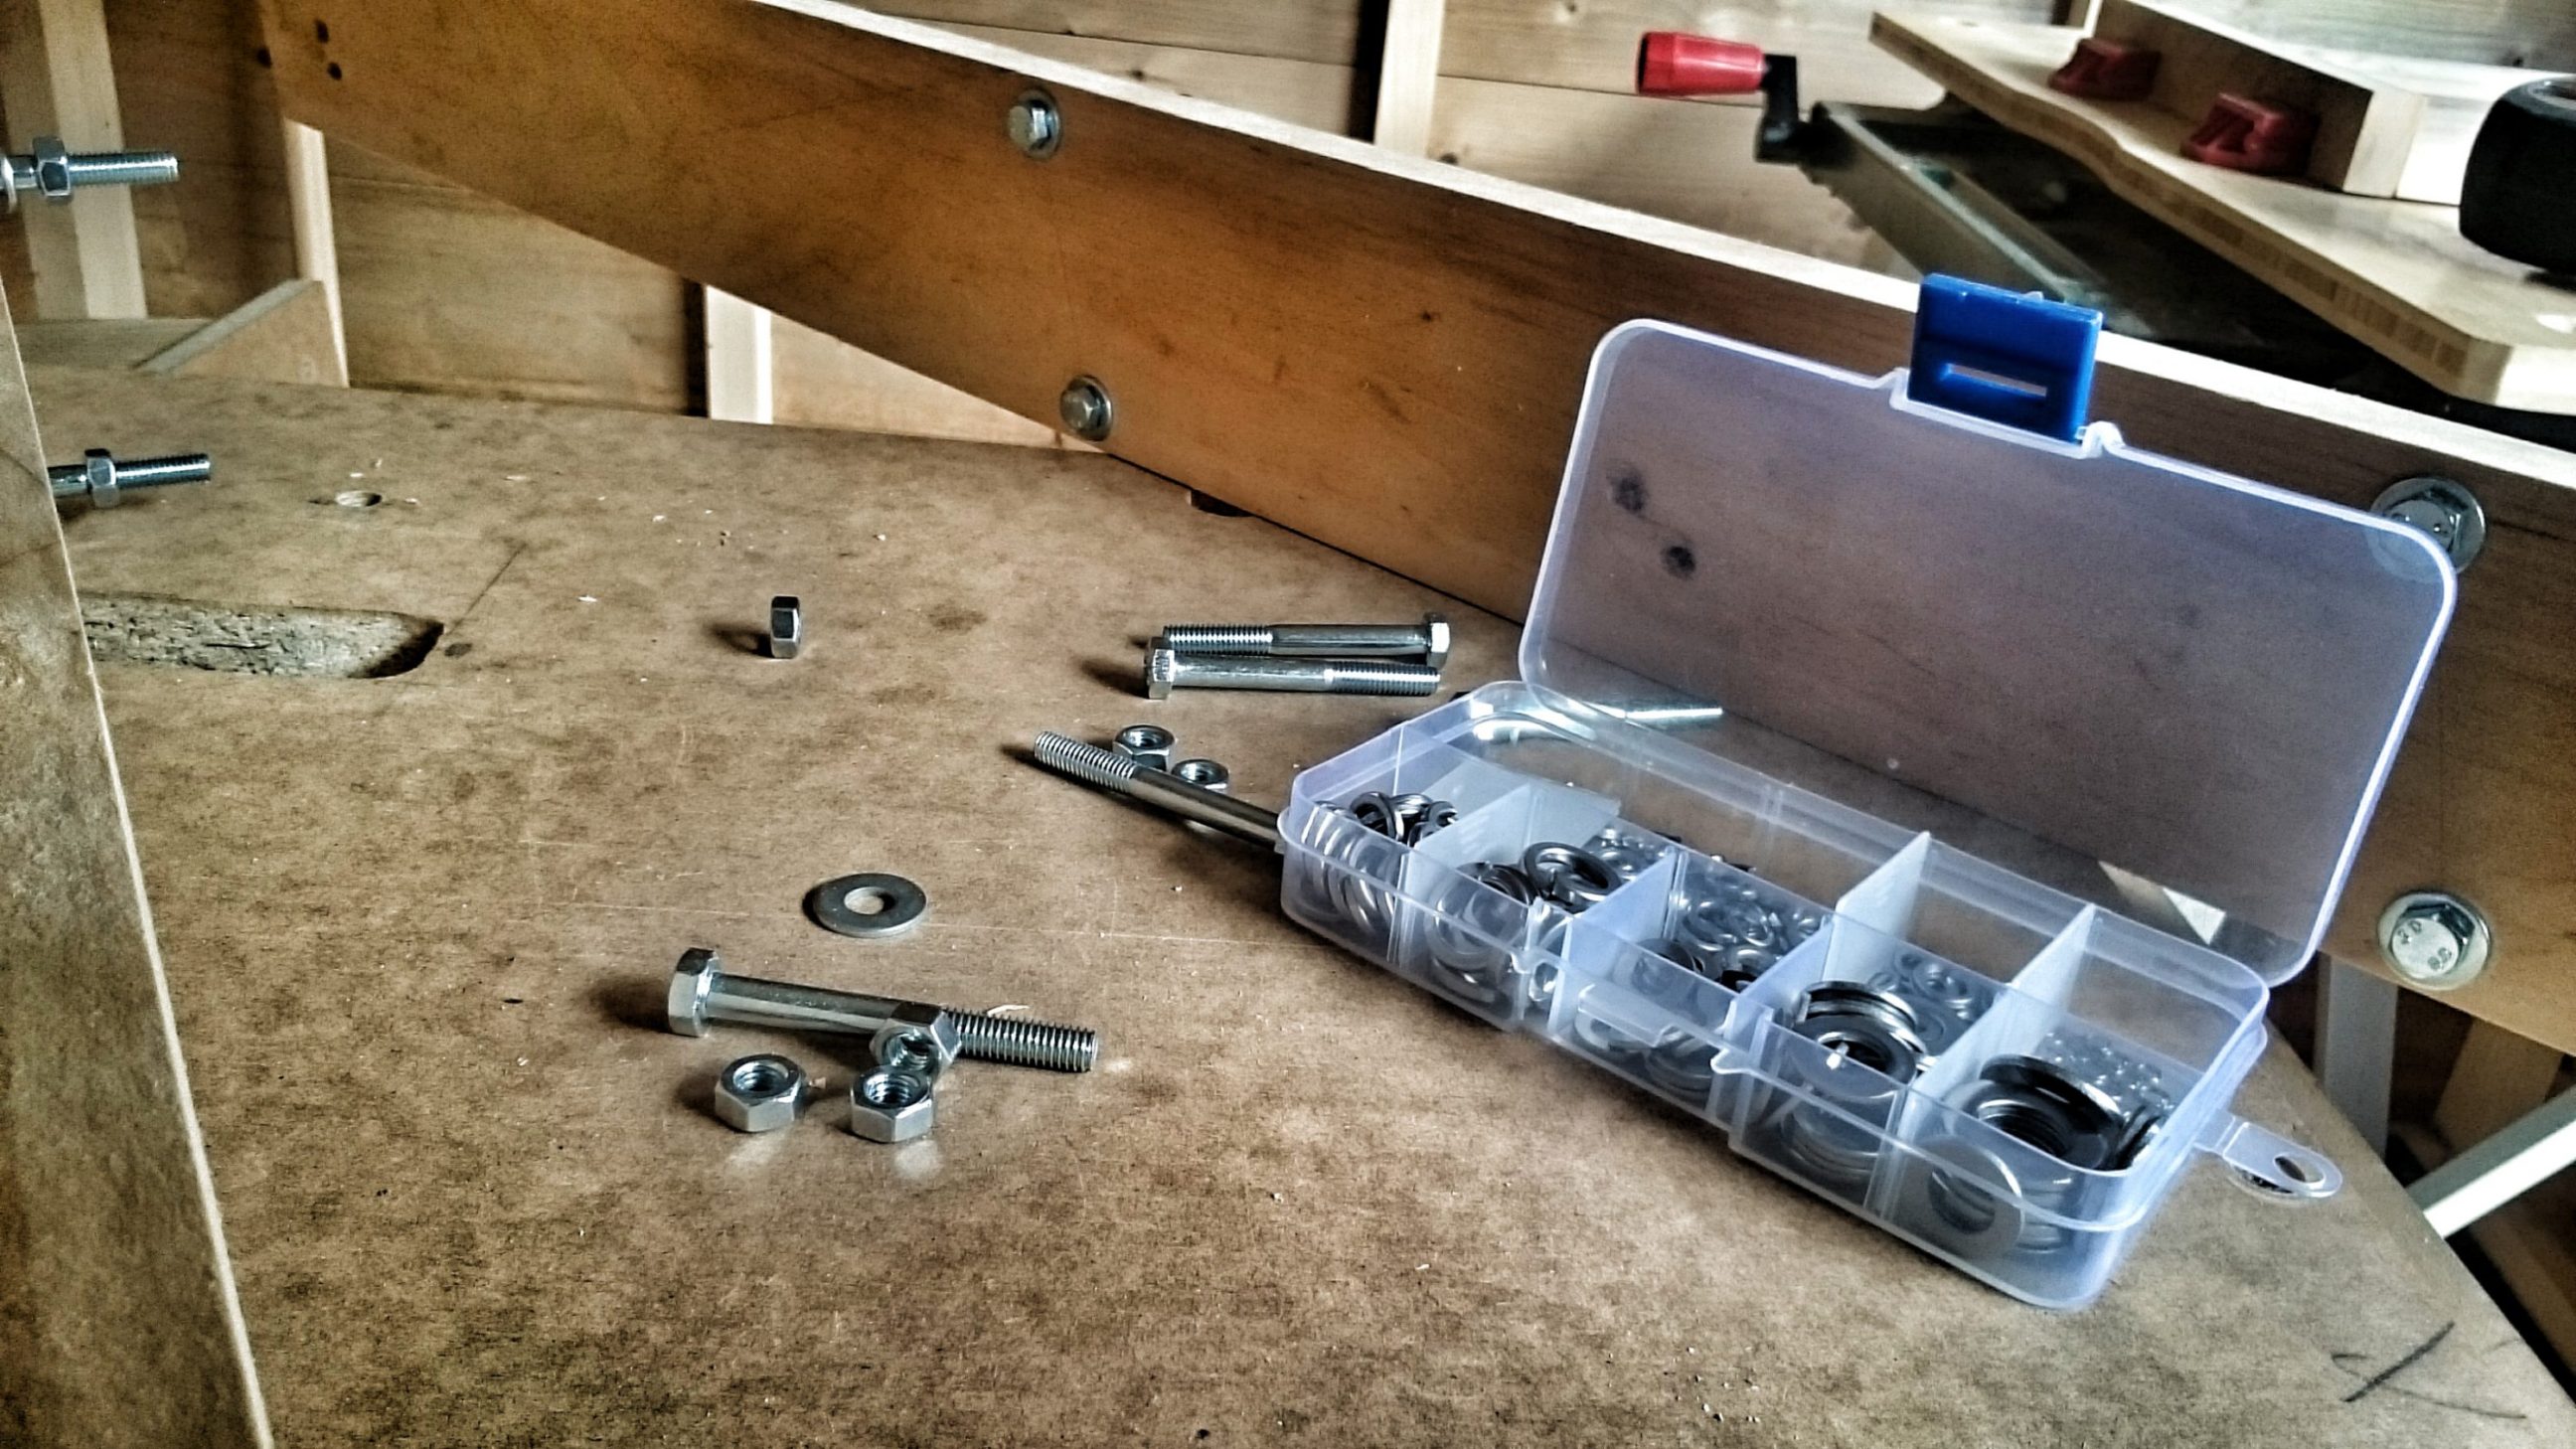
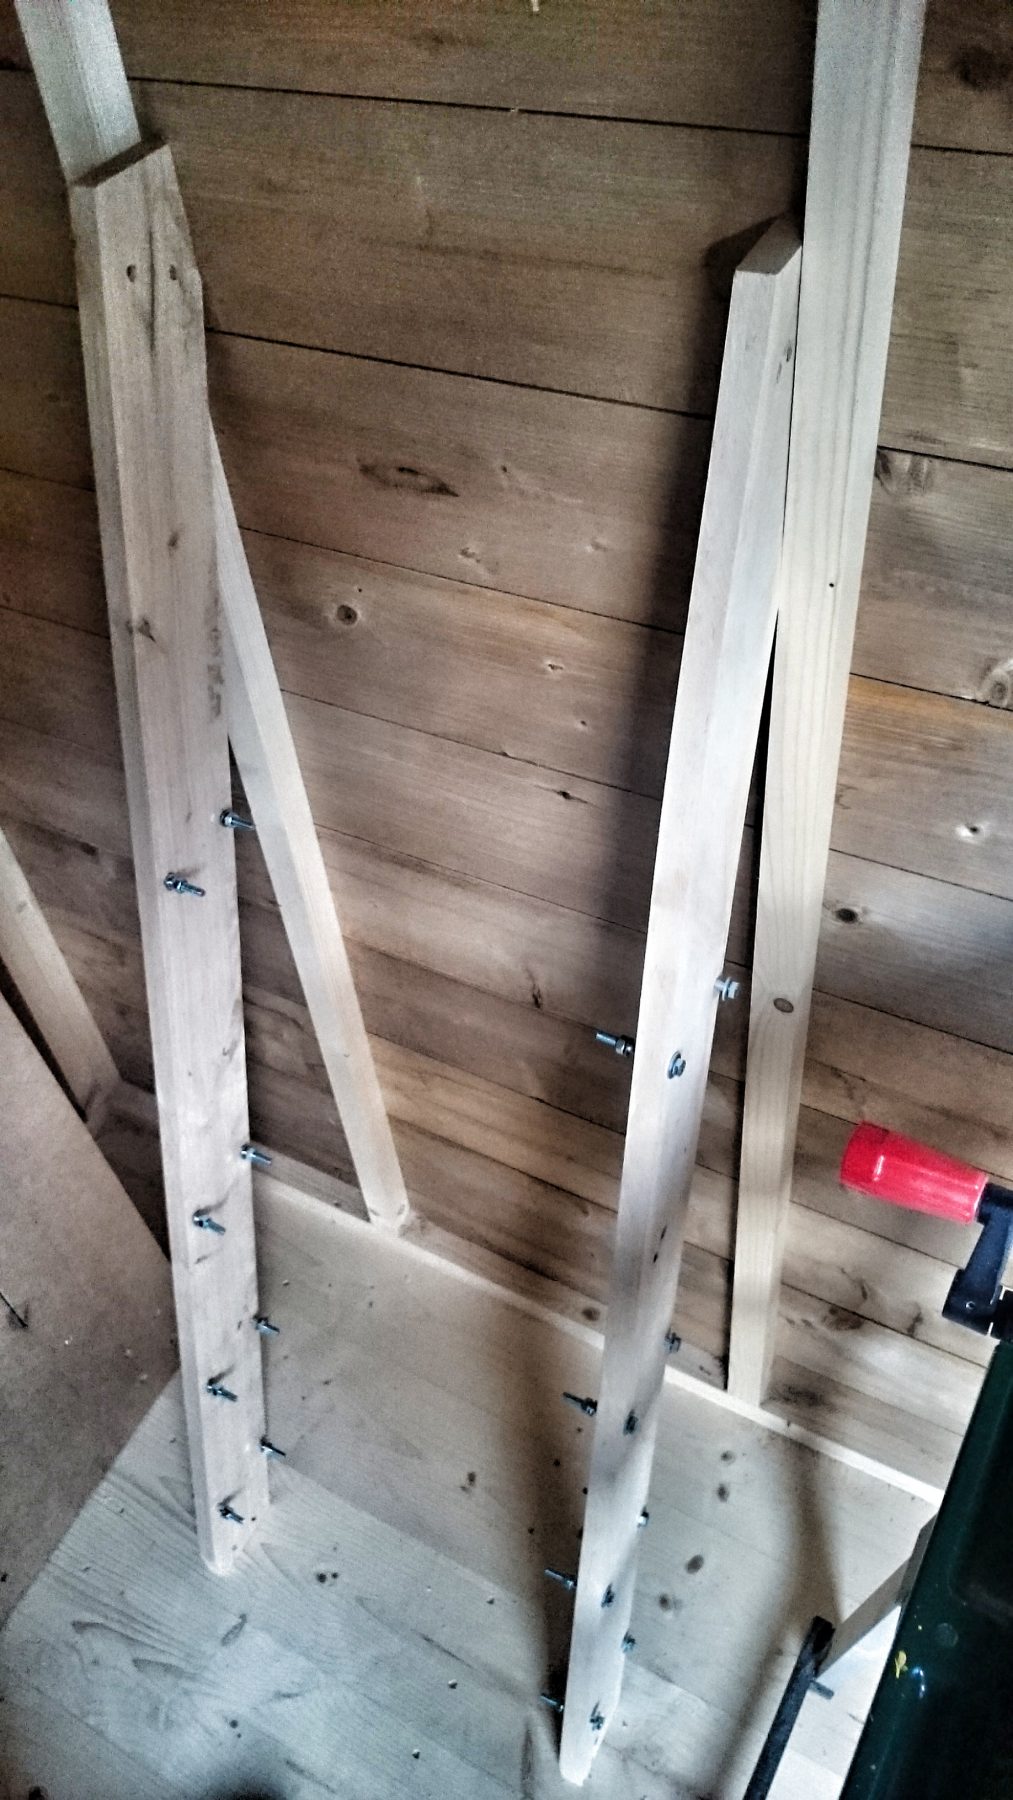
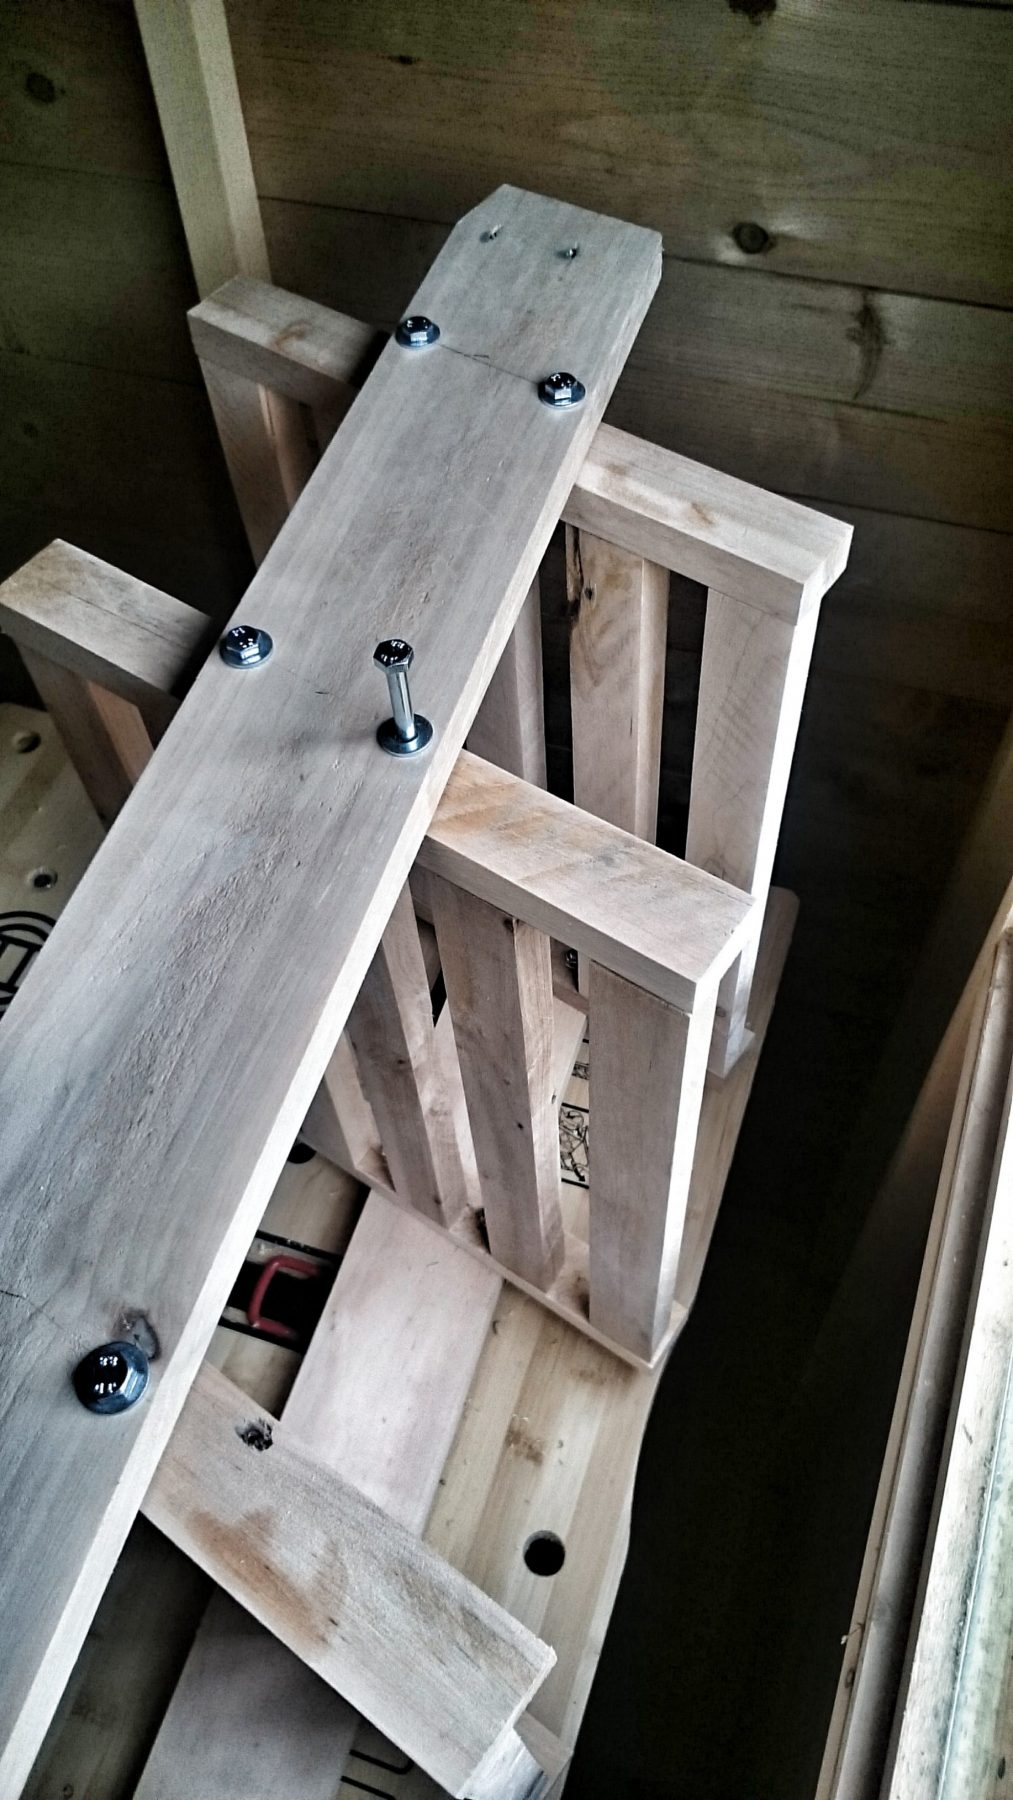
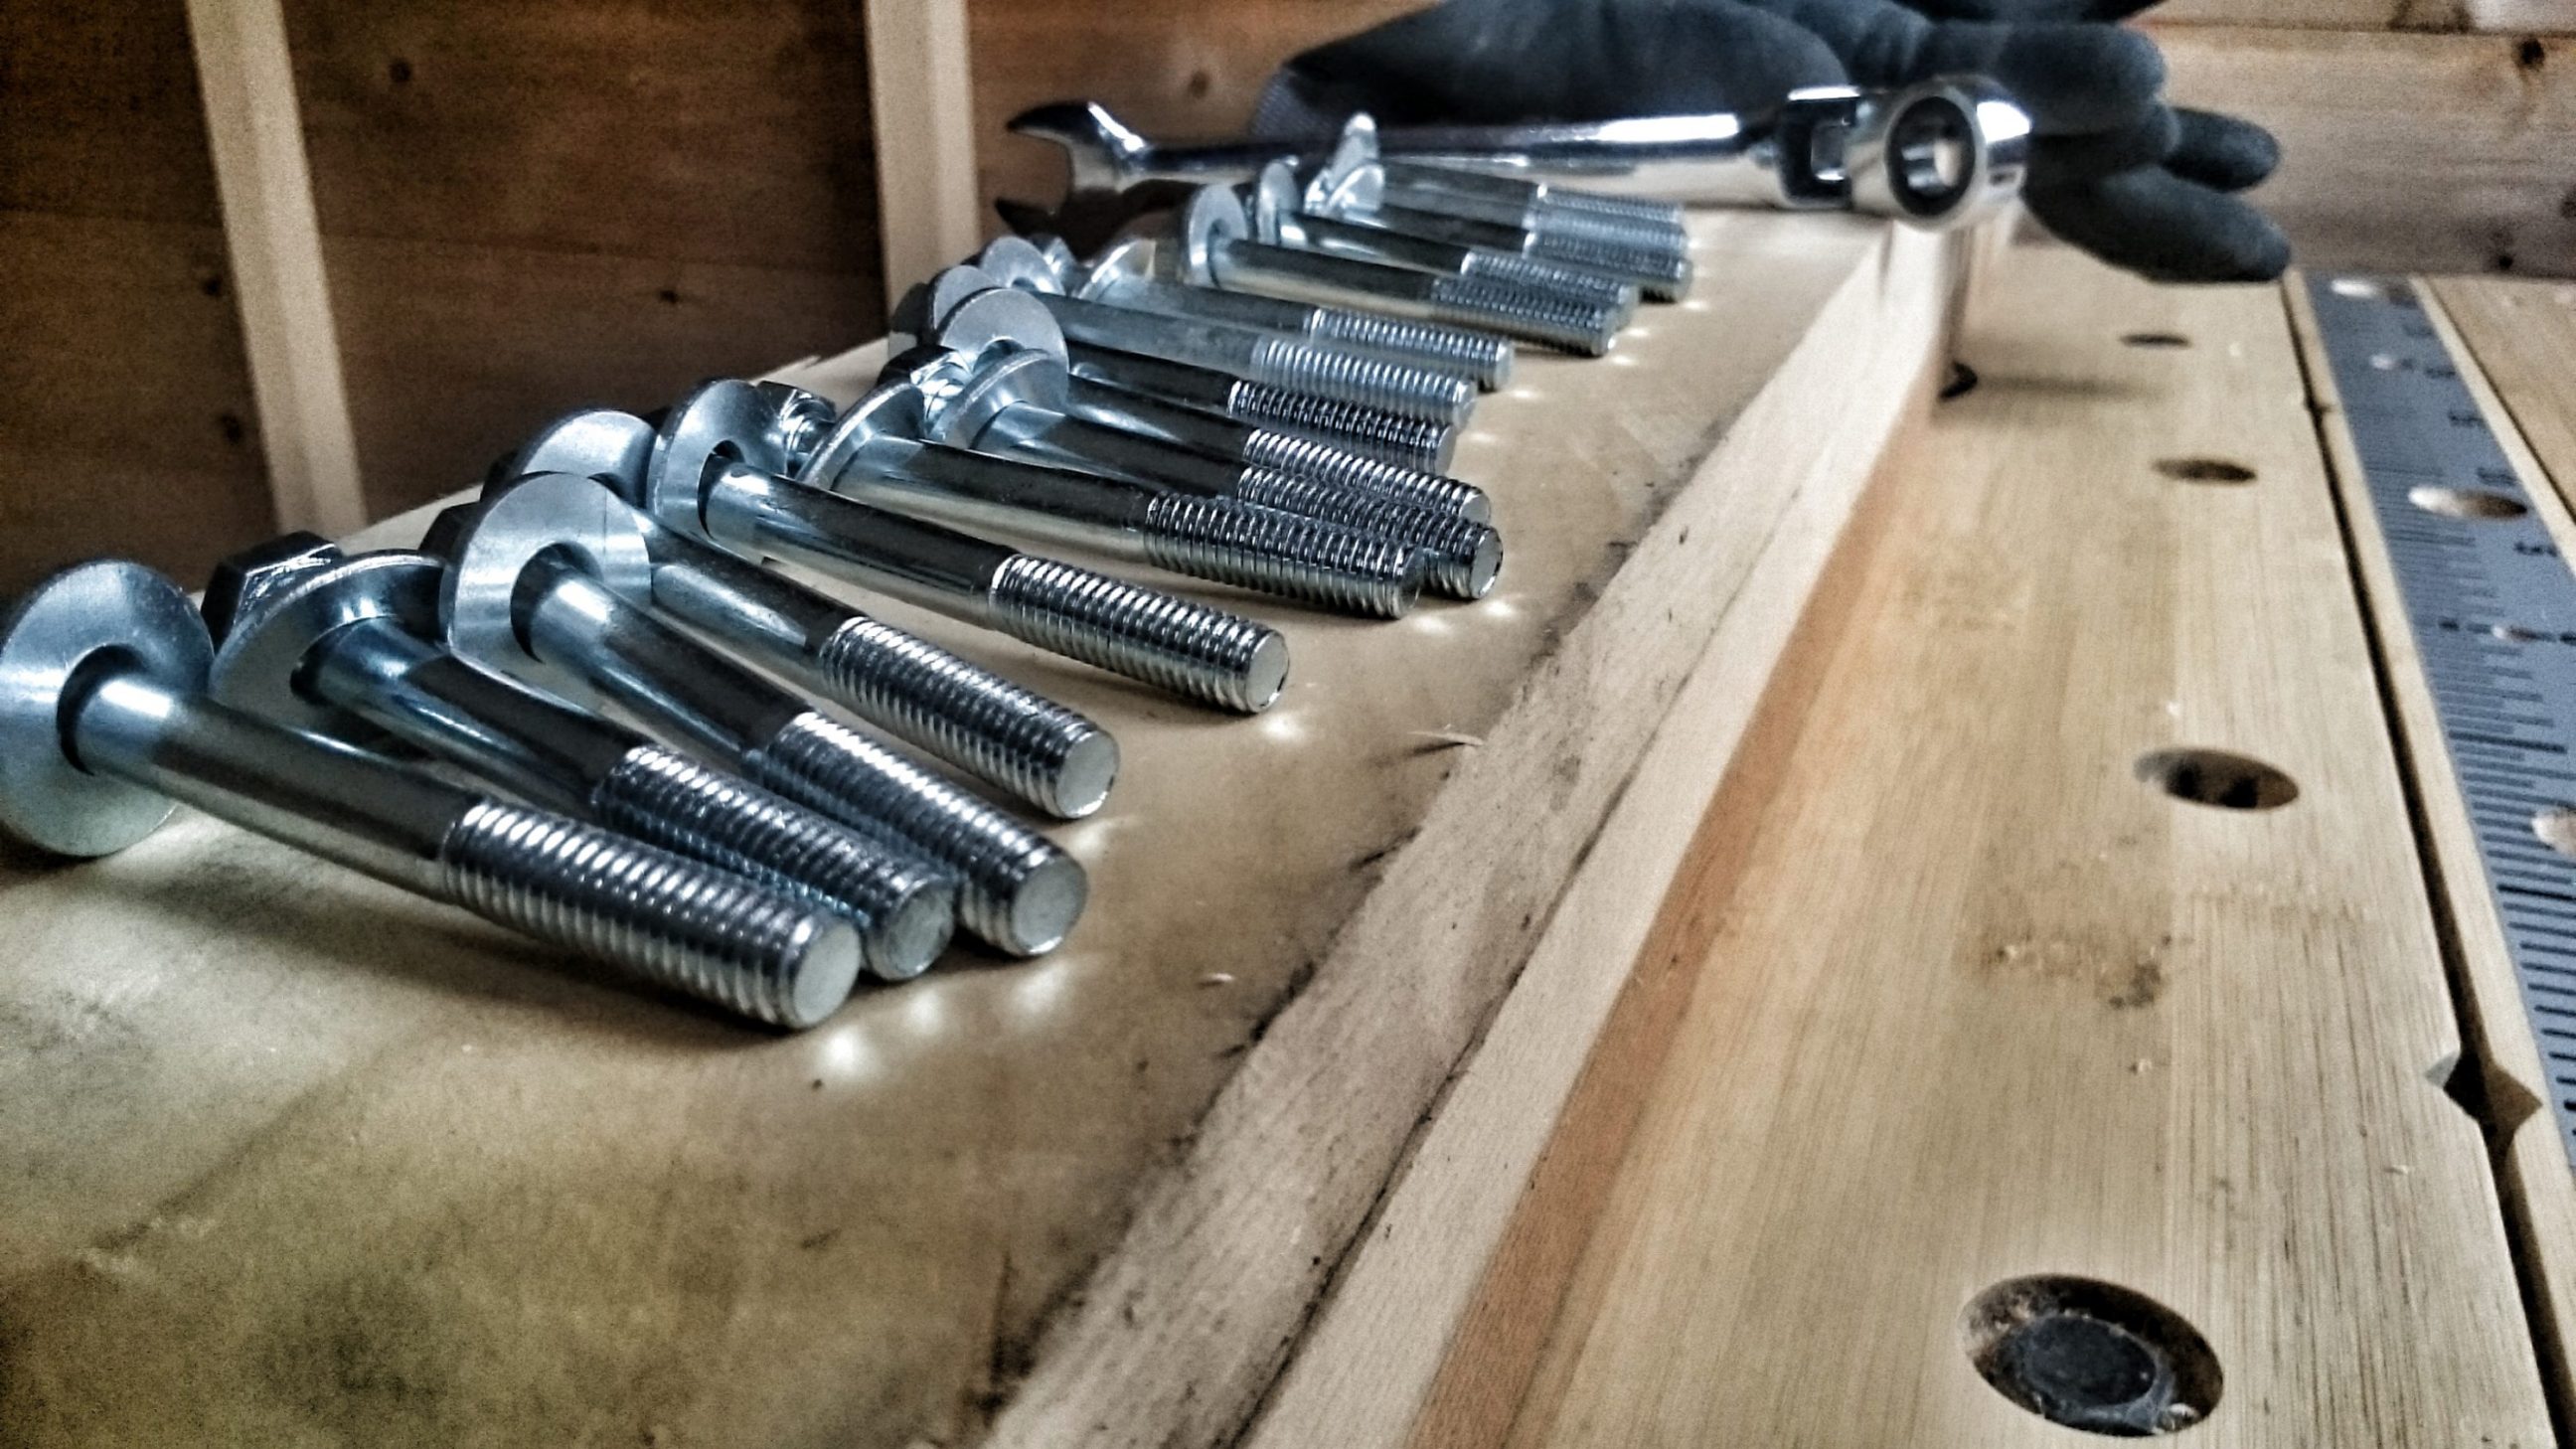
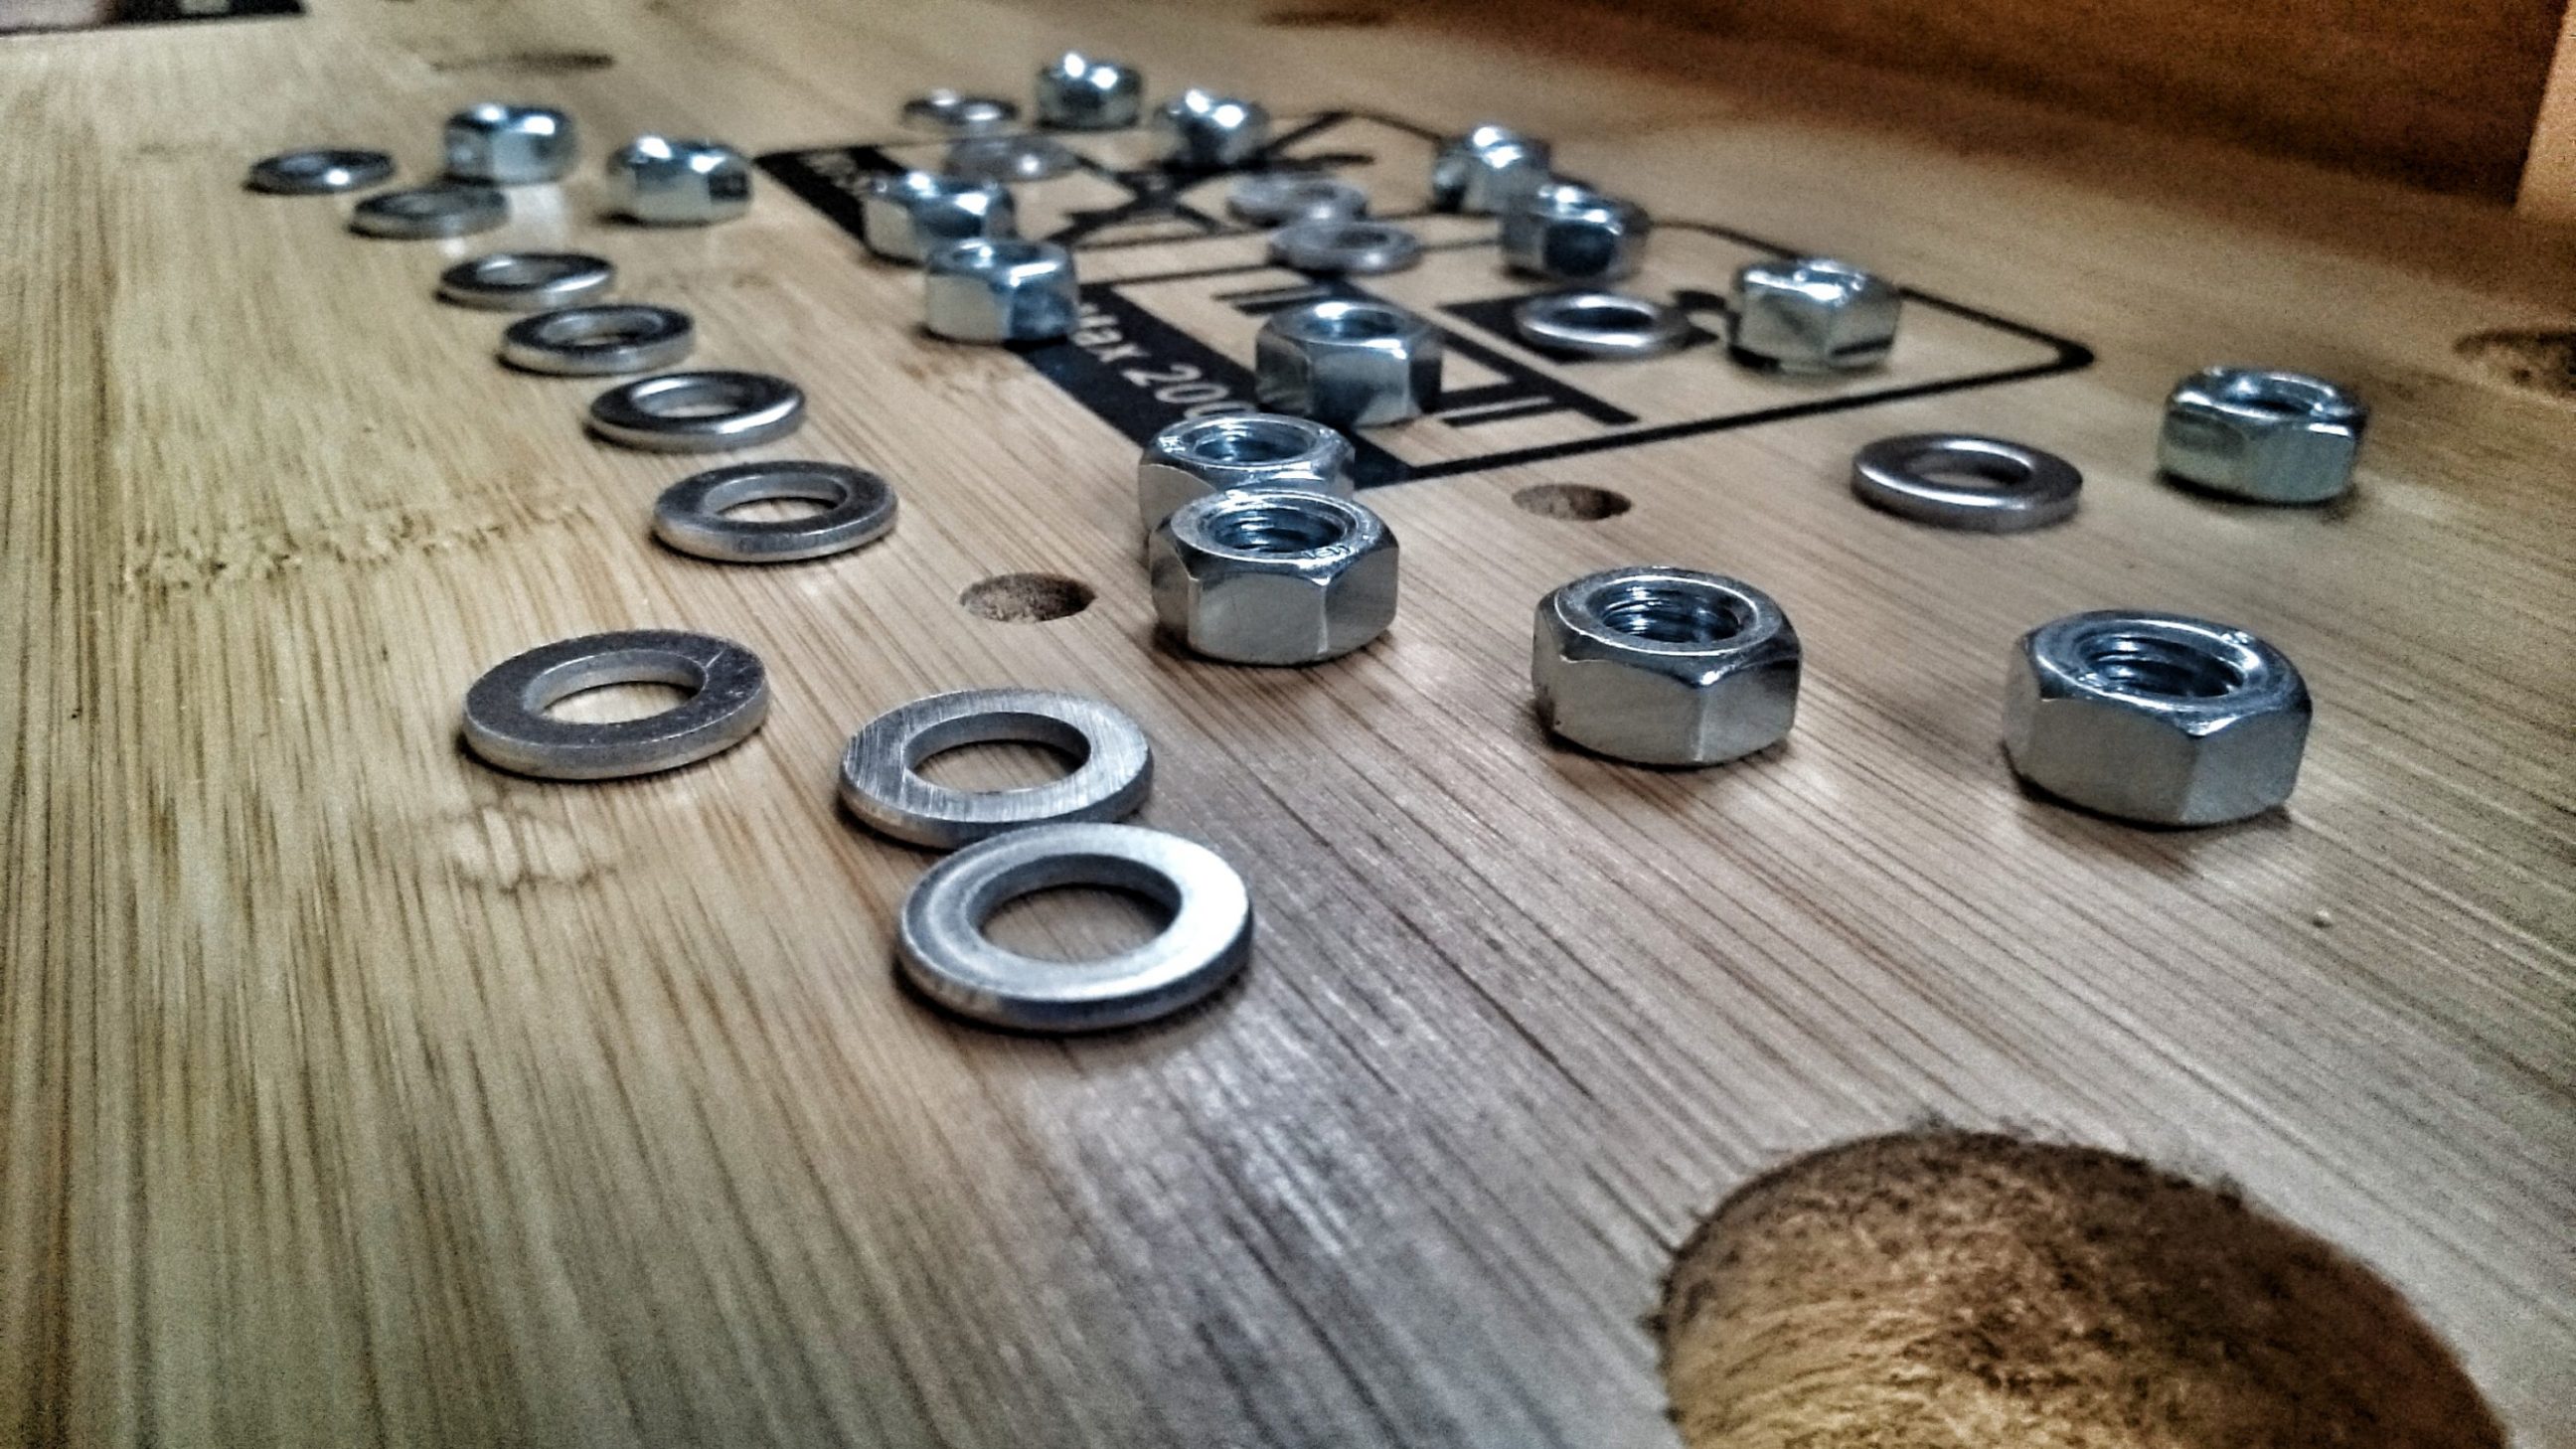
Only 2 tiers were glued due to a lack of clamps. I drilled holes for 6 x 50 bolts and checked if I had enough nuts and washers on hand.
There is still some glueing to be done, but the days are getting shorter (and colder), so that was the end of day 3.
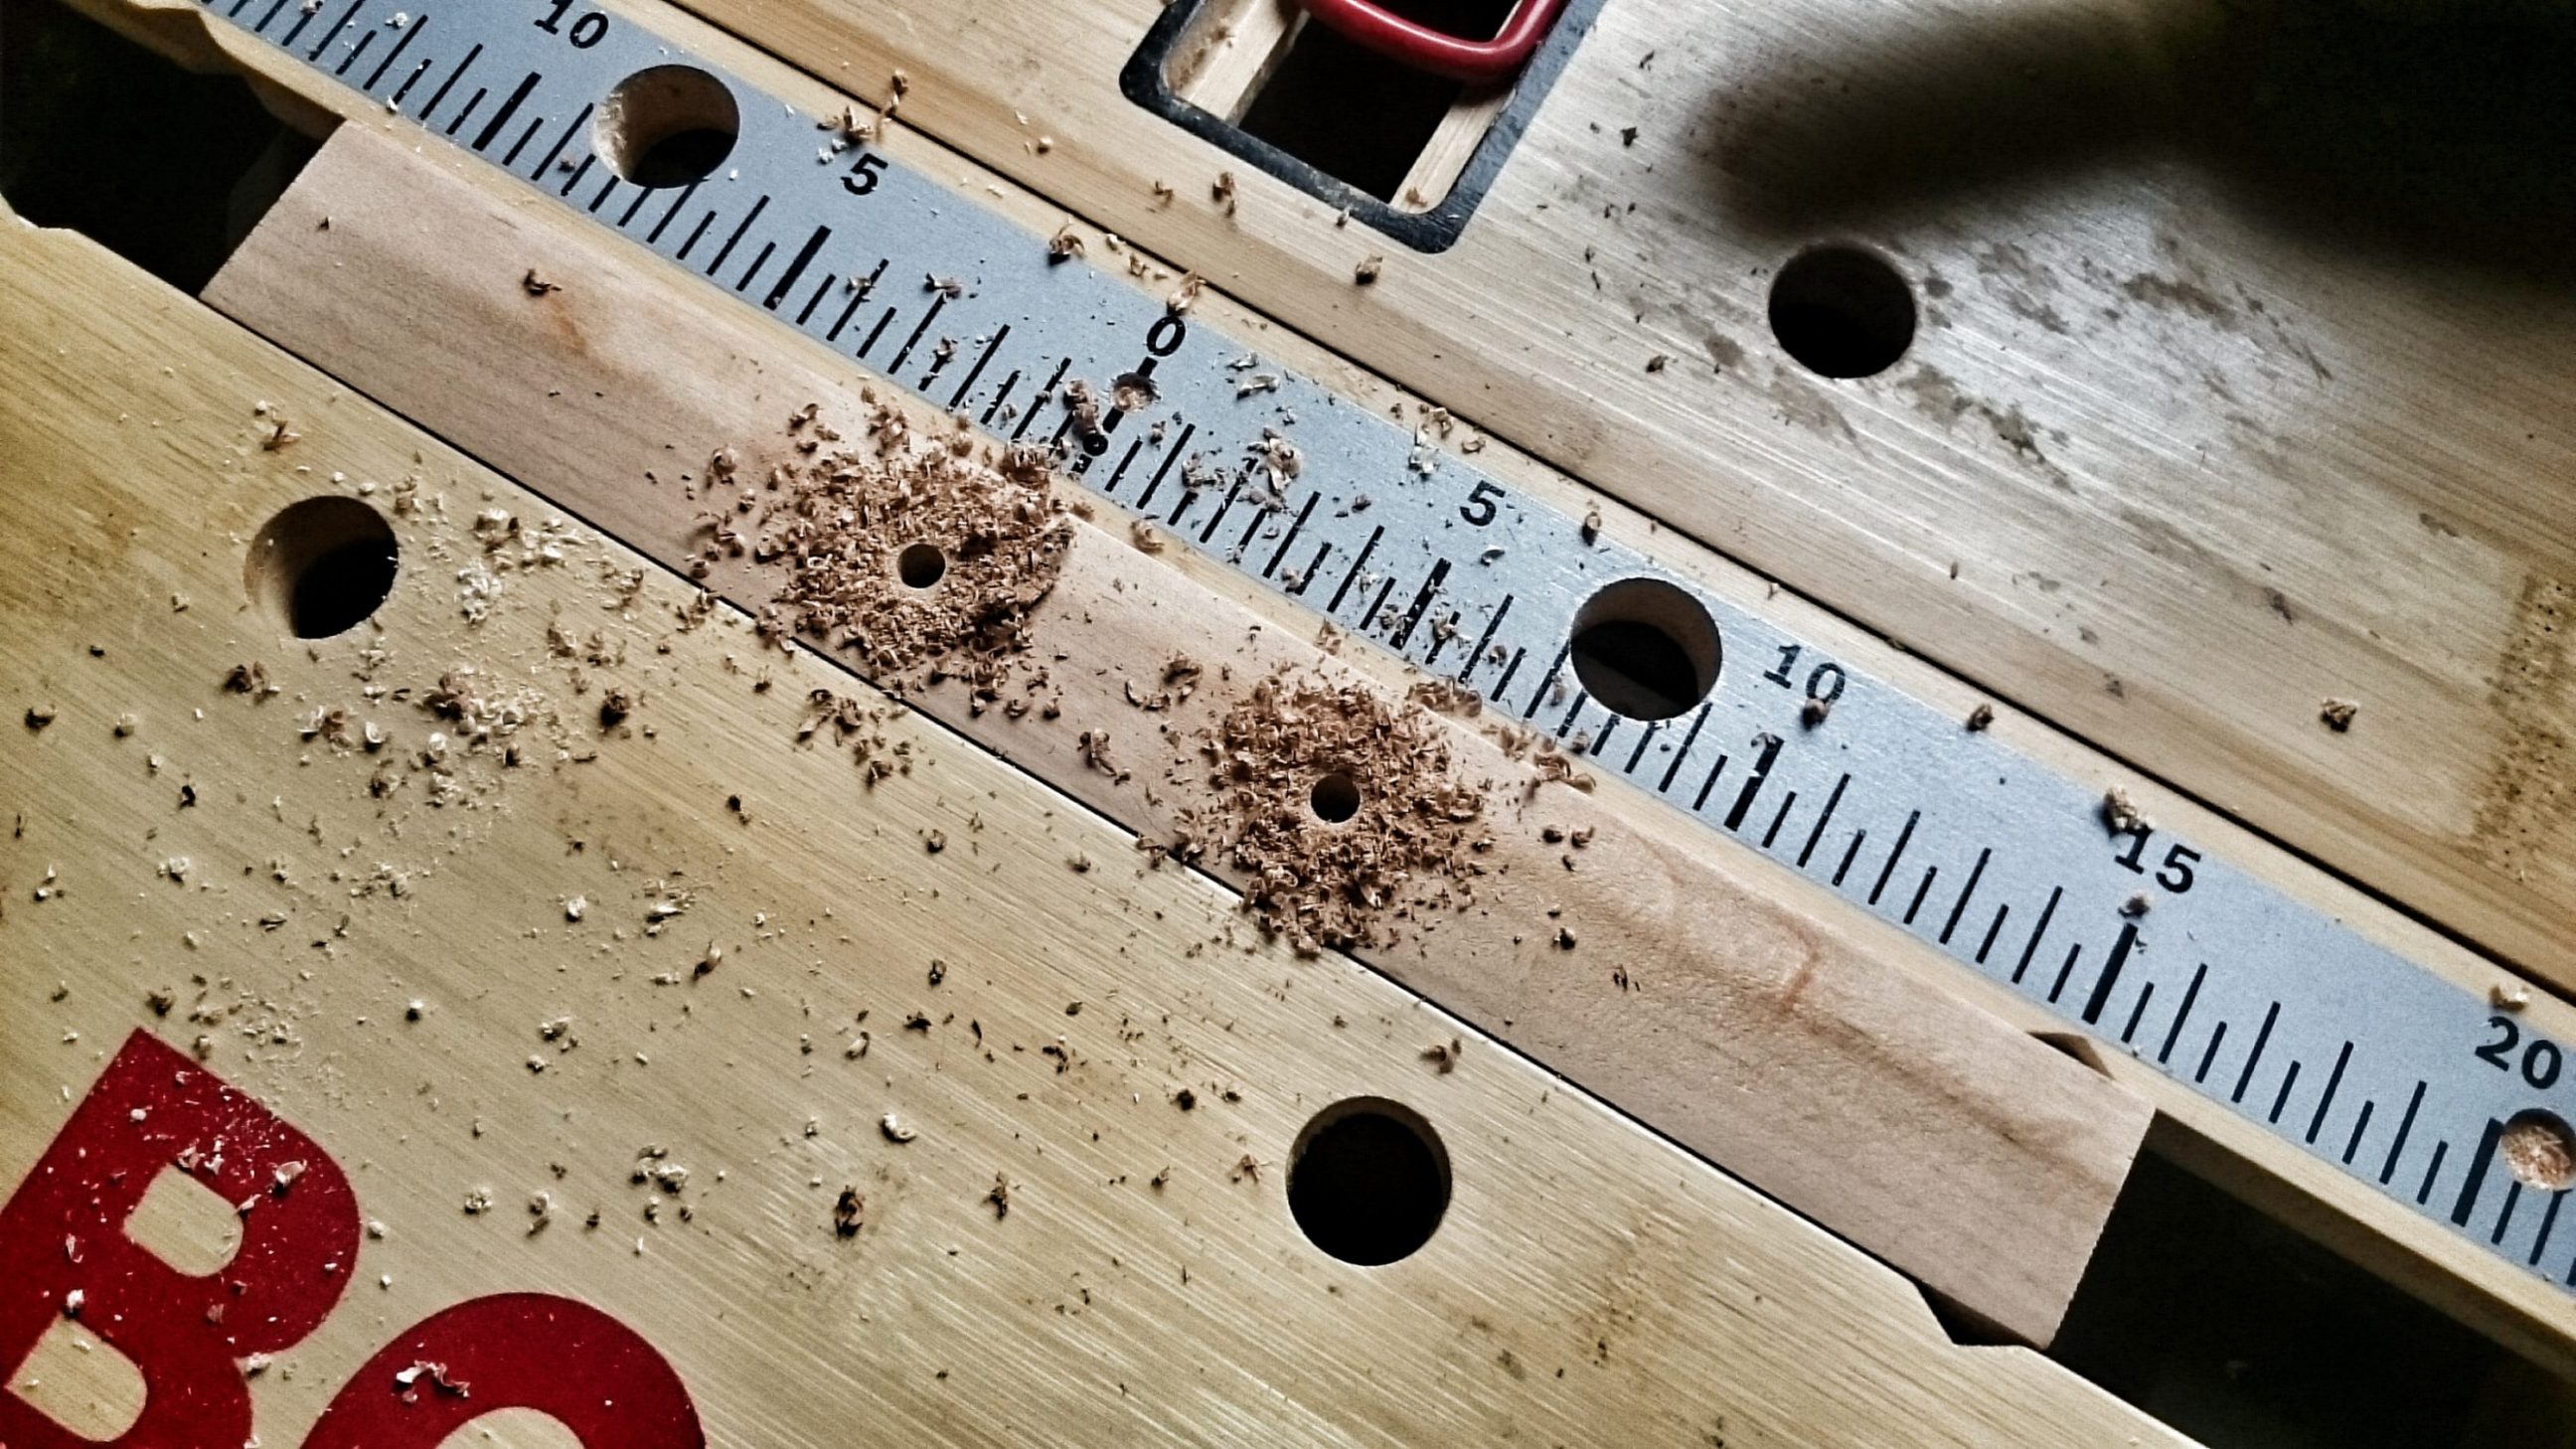
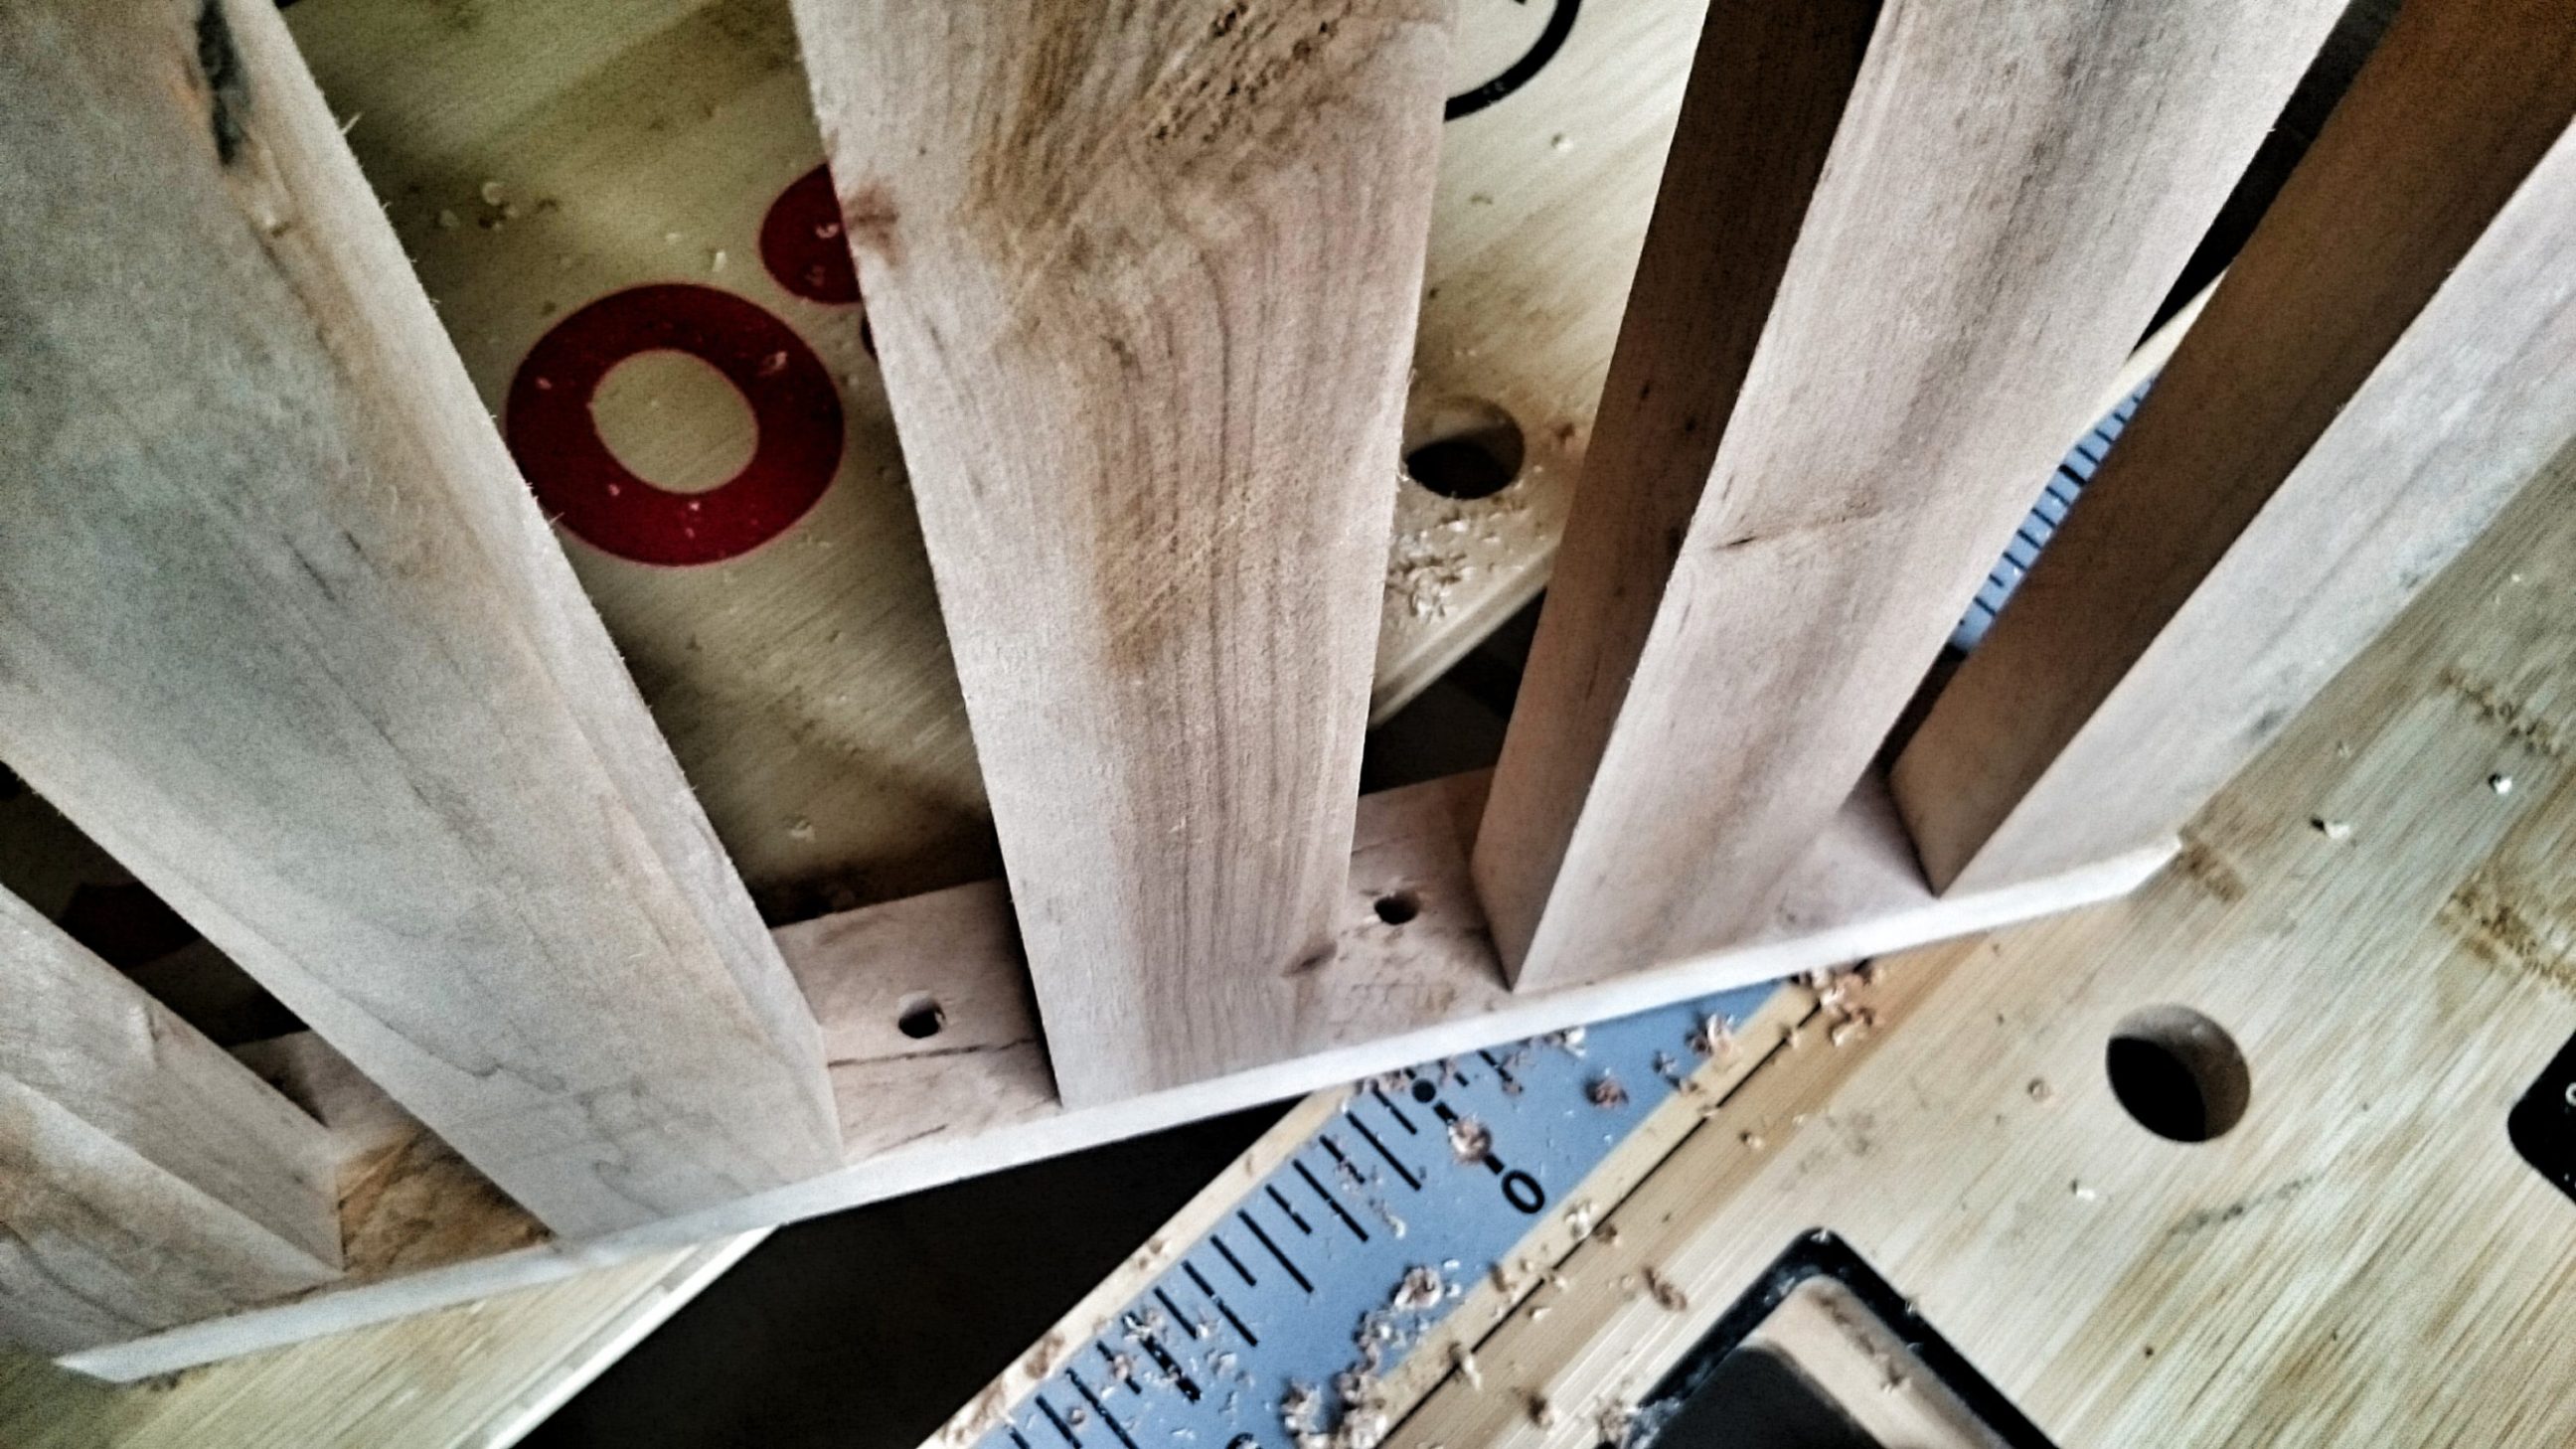
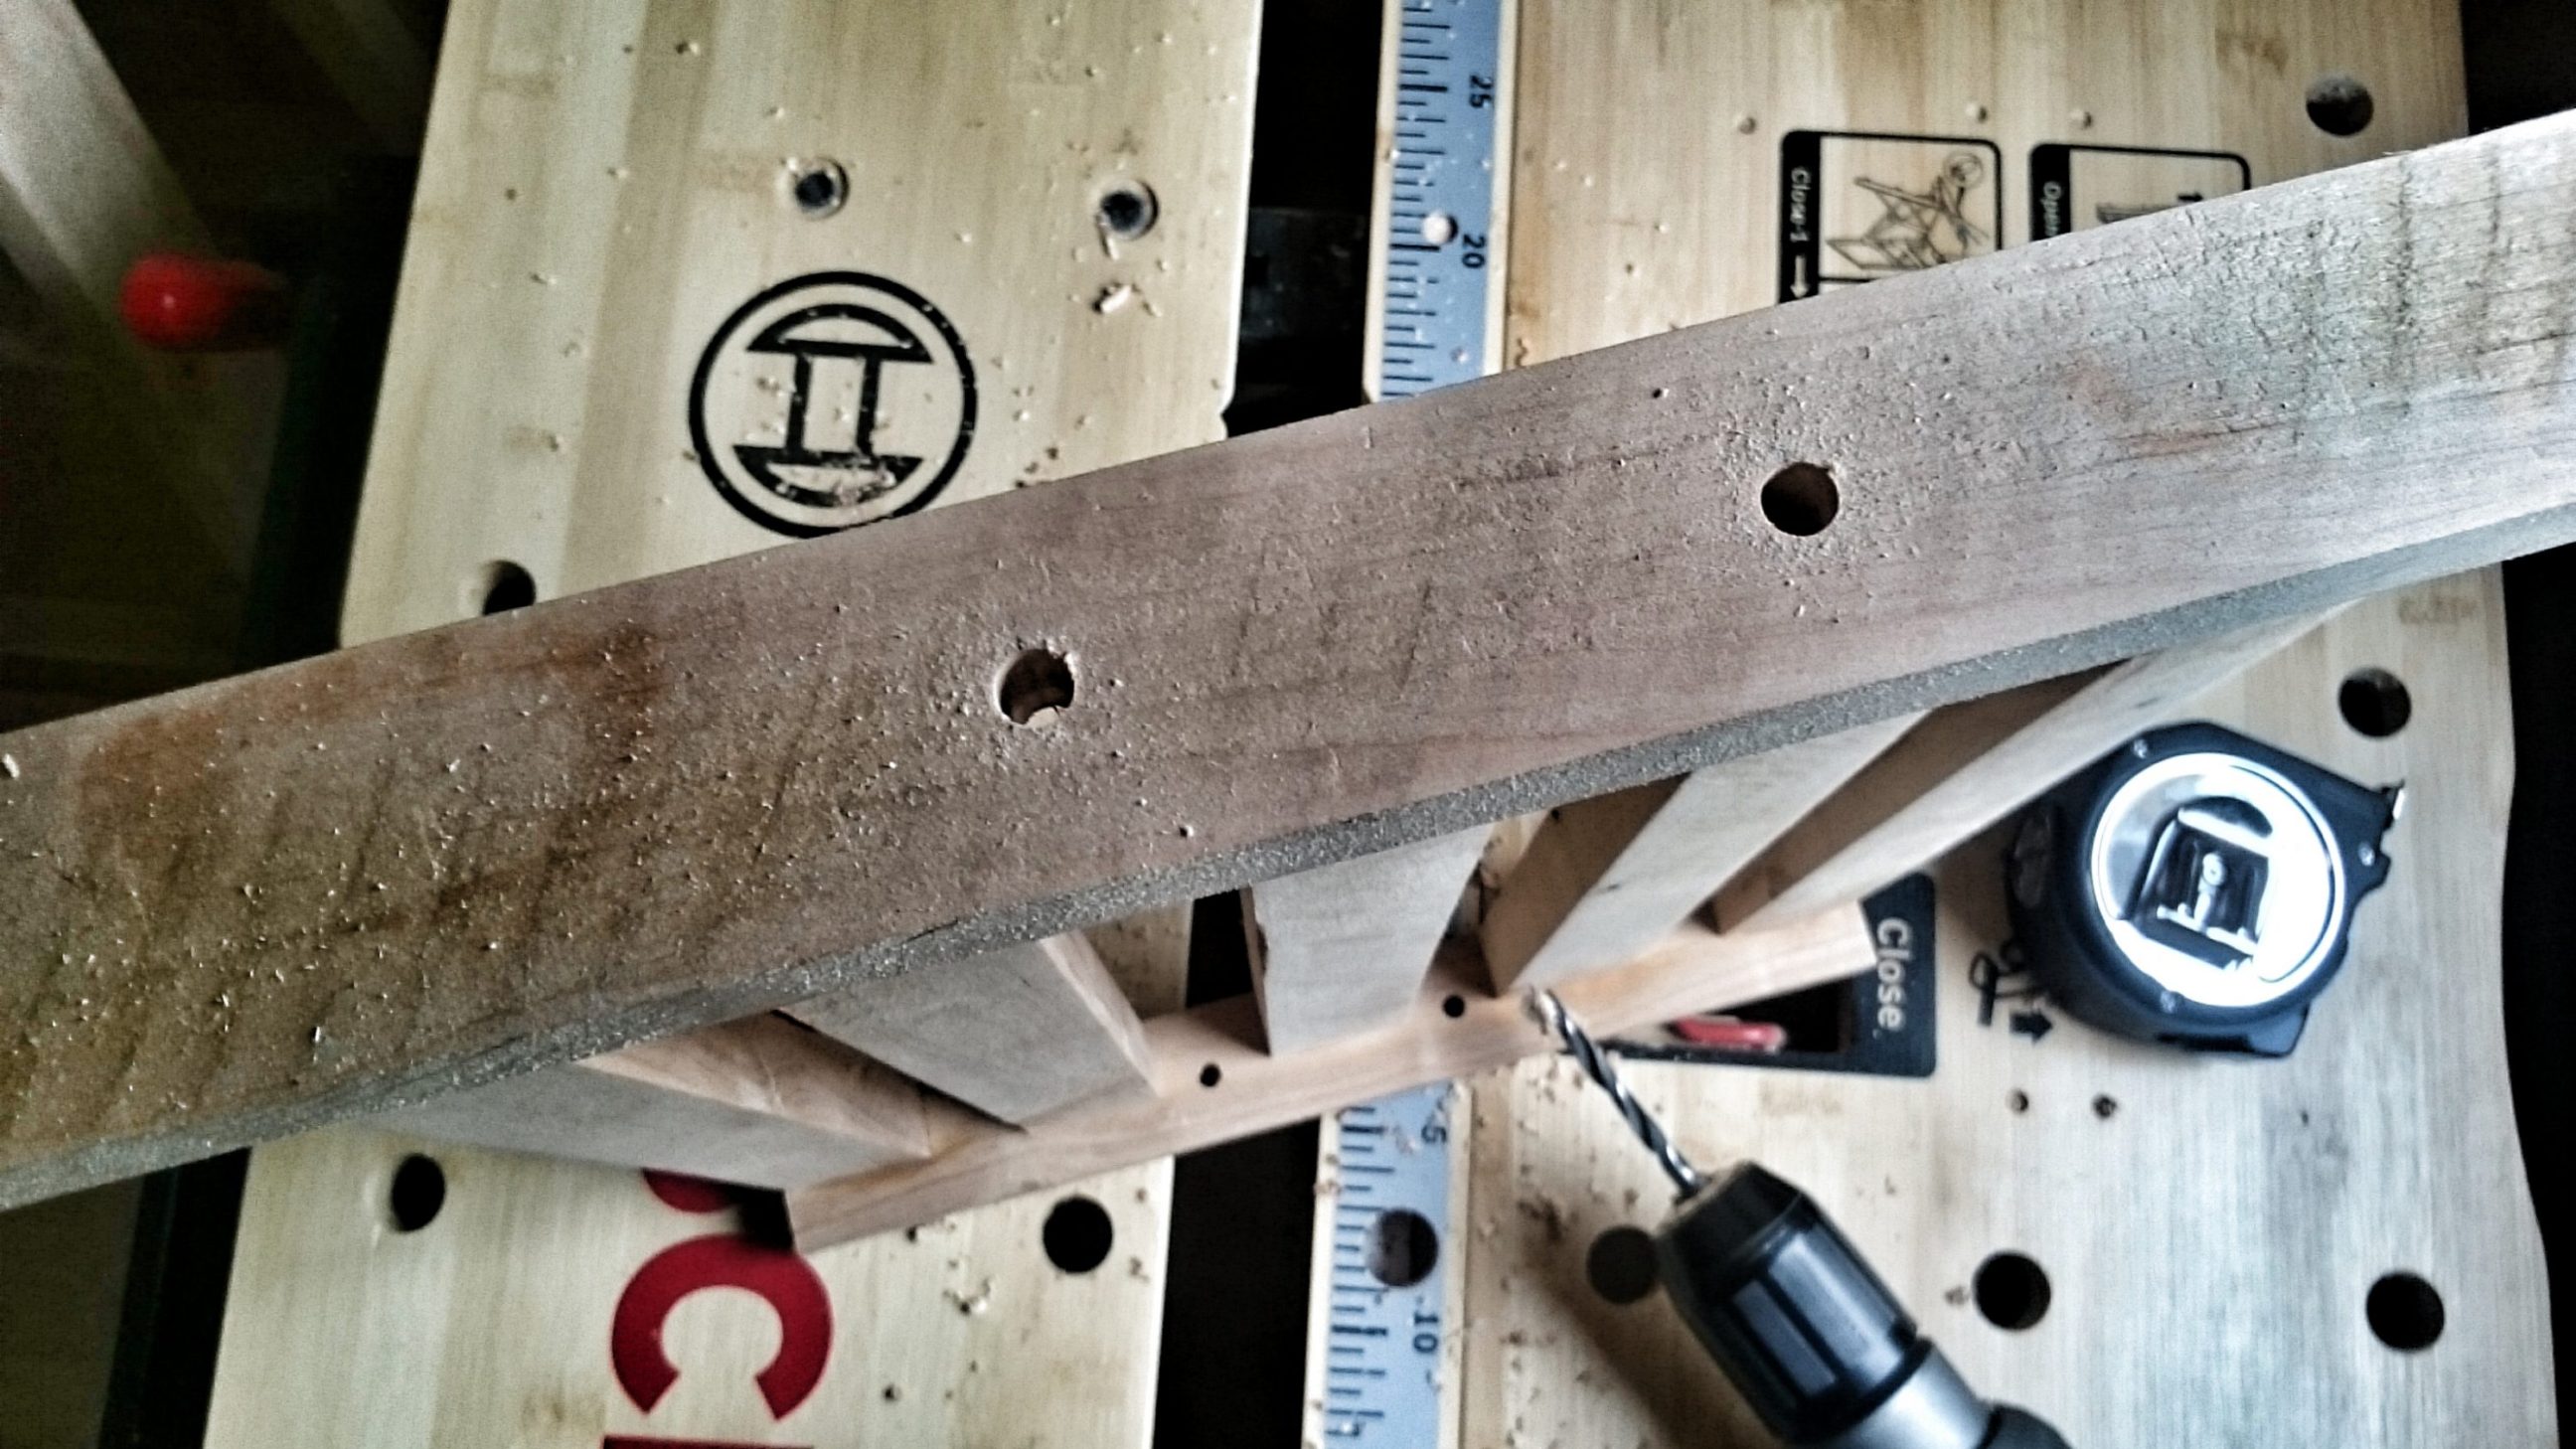
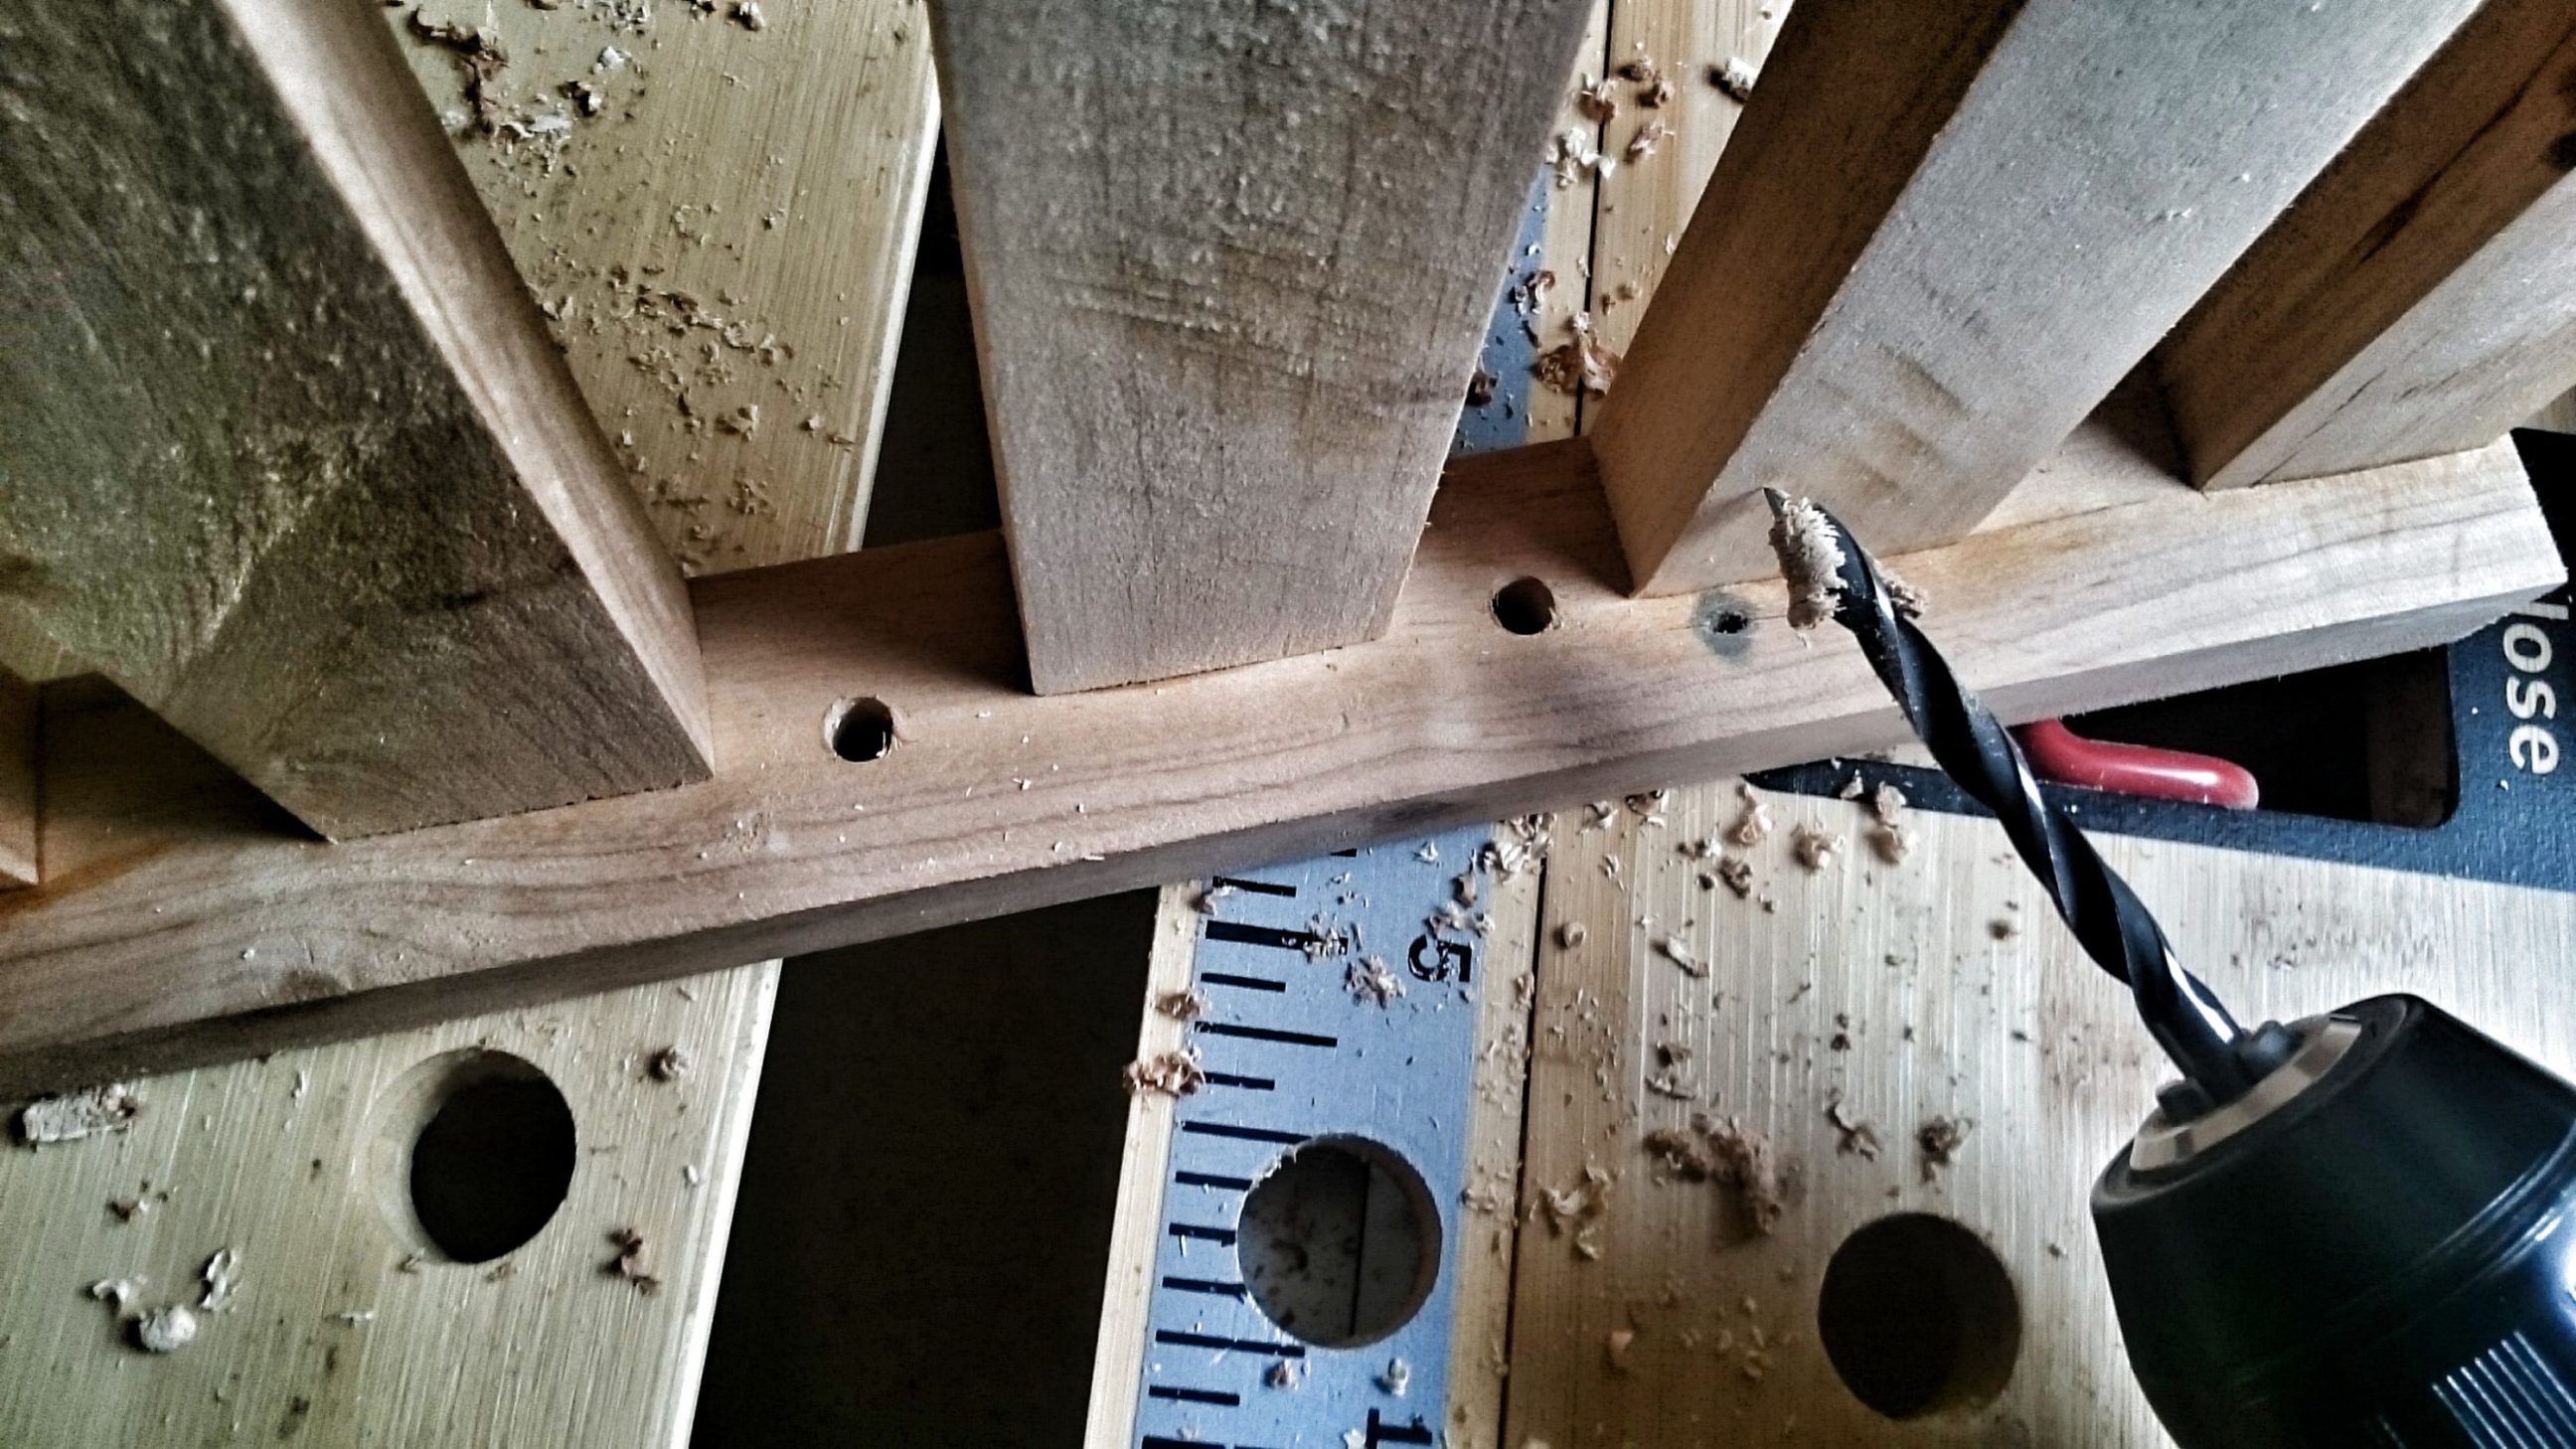
Drilling the holes in the shelves couldn’t wait forever.
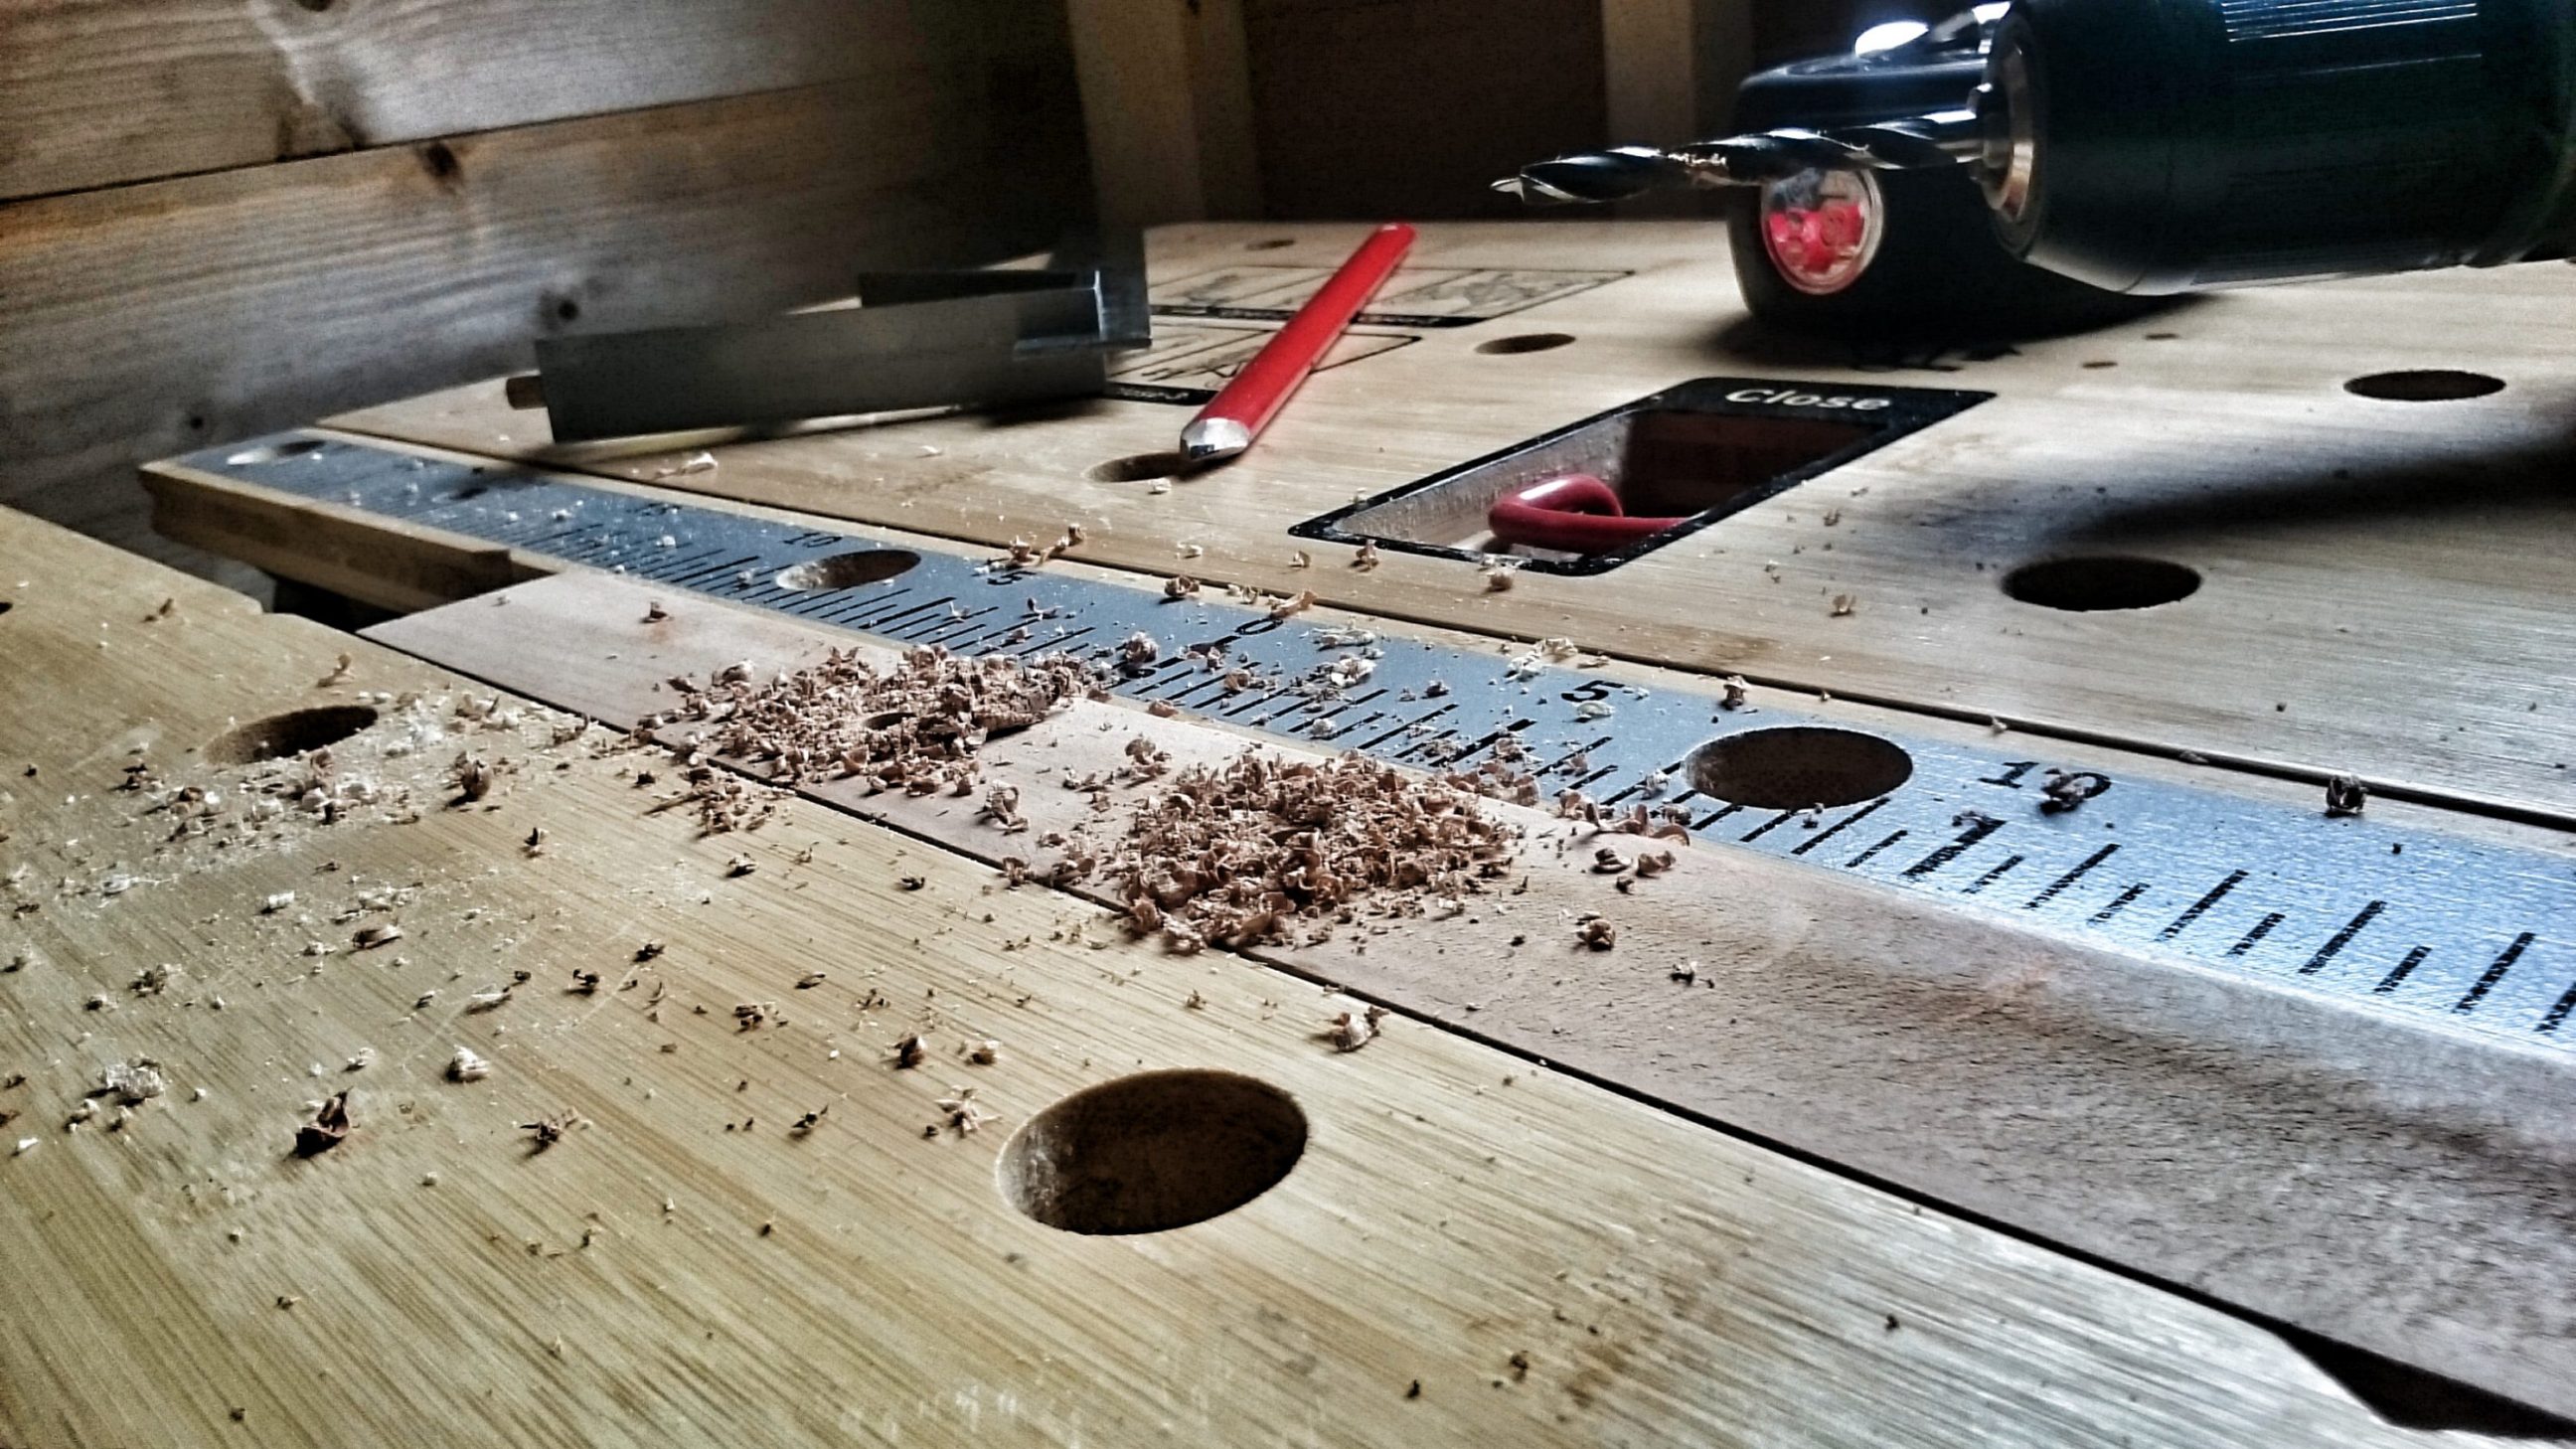
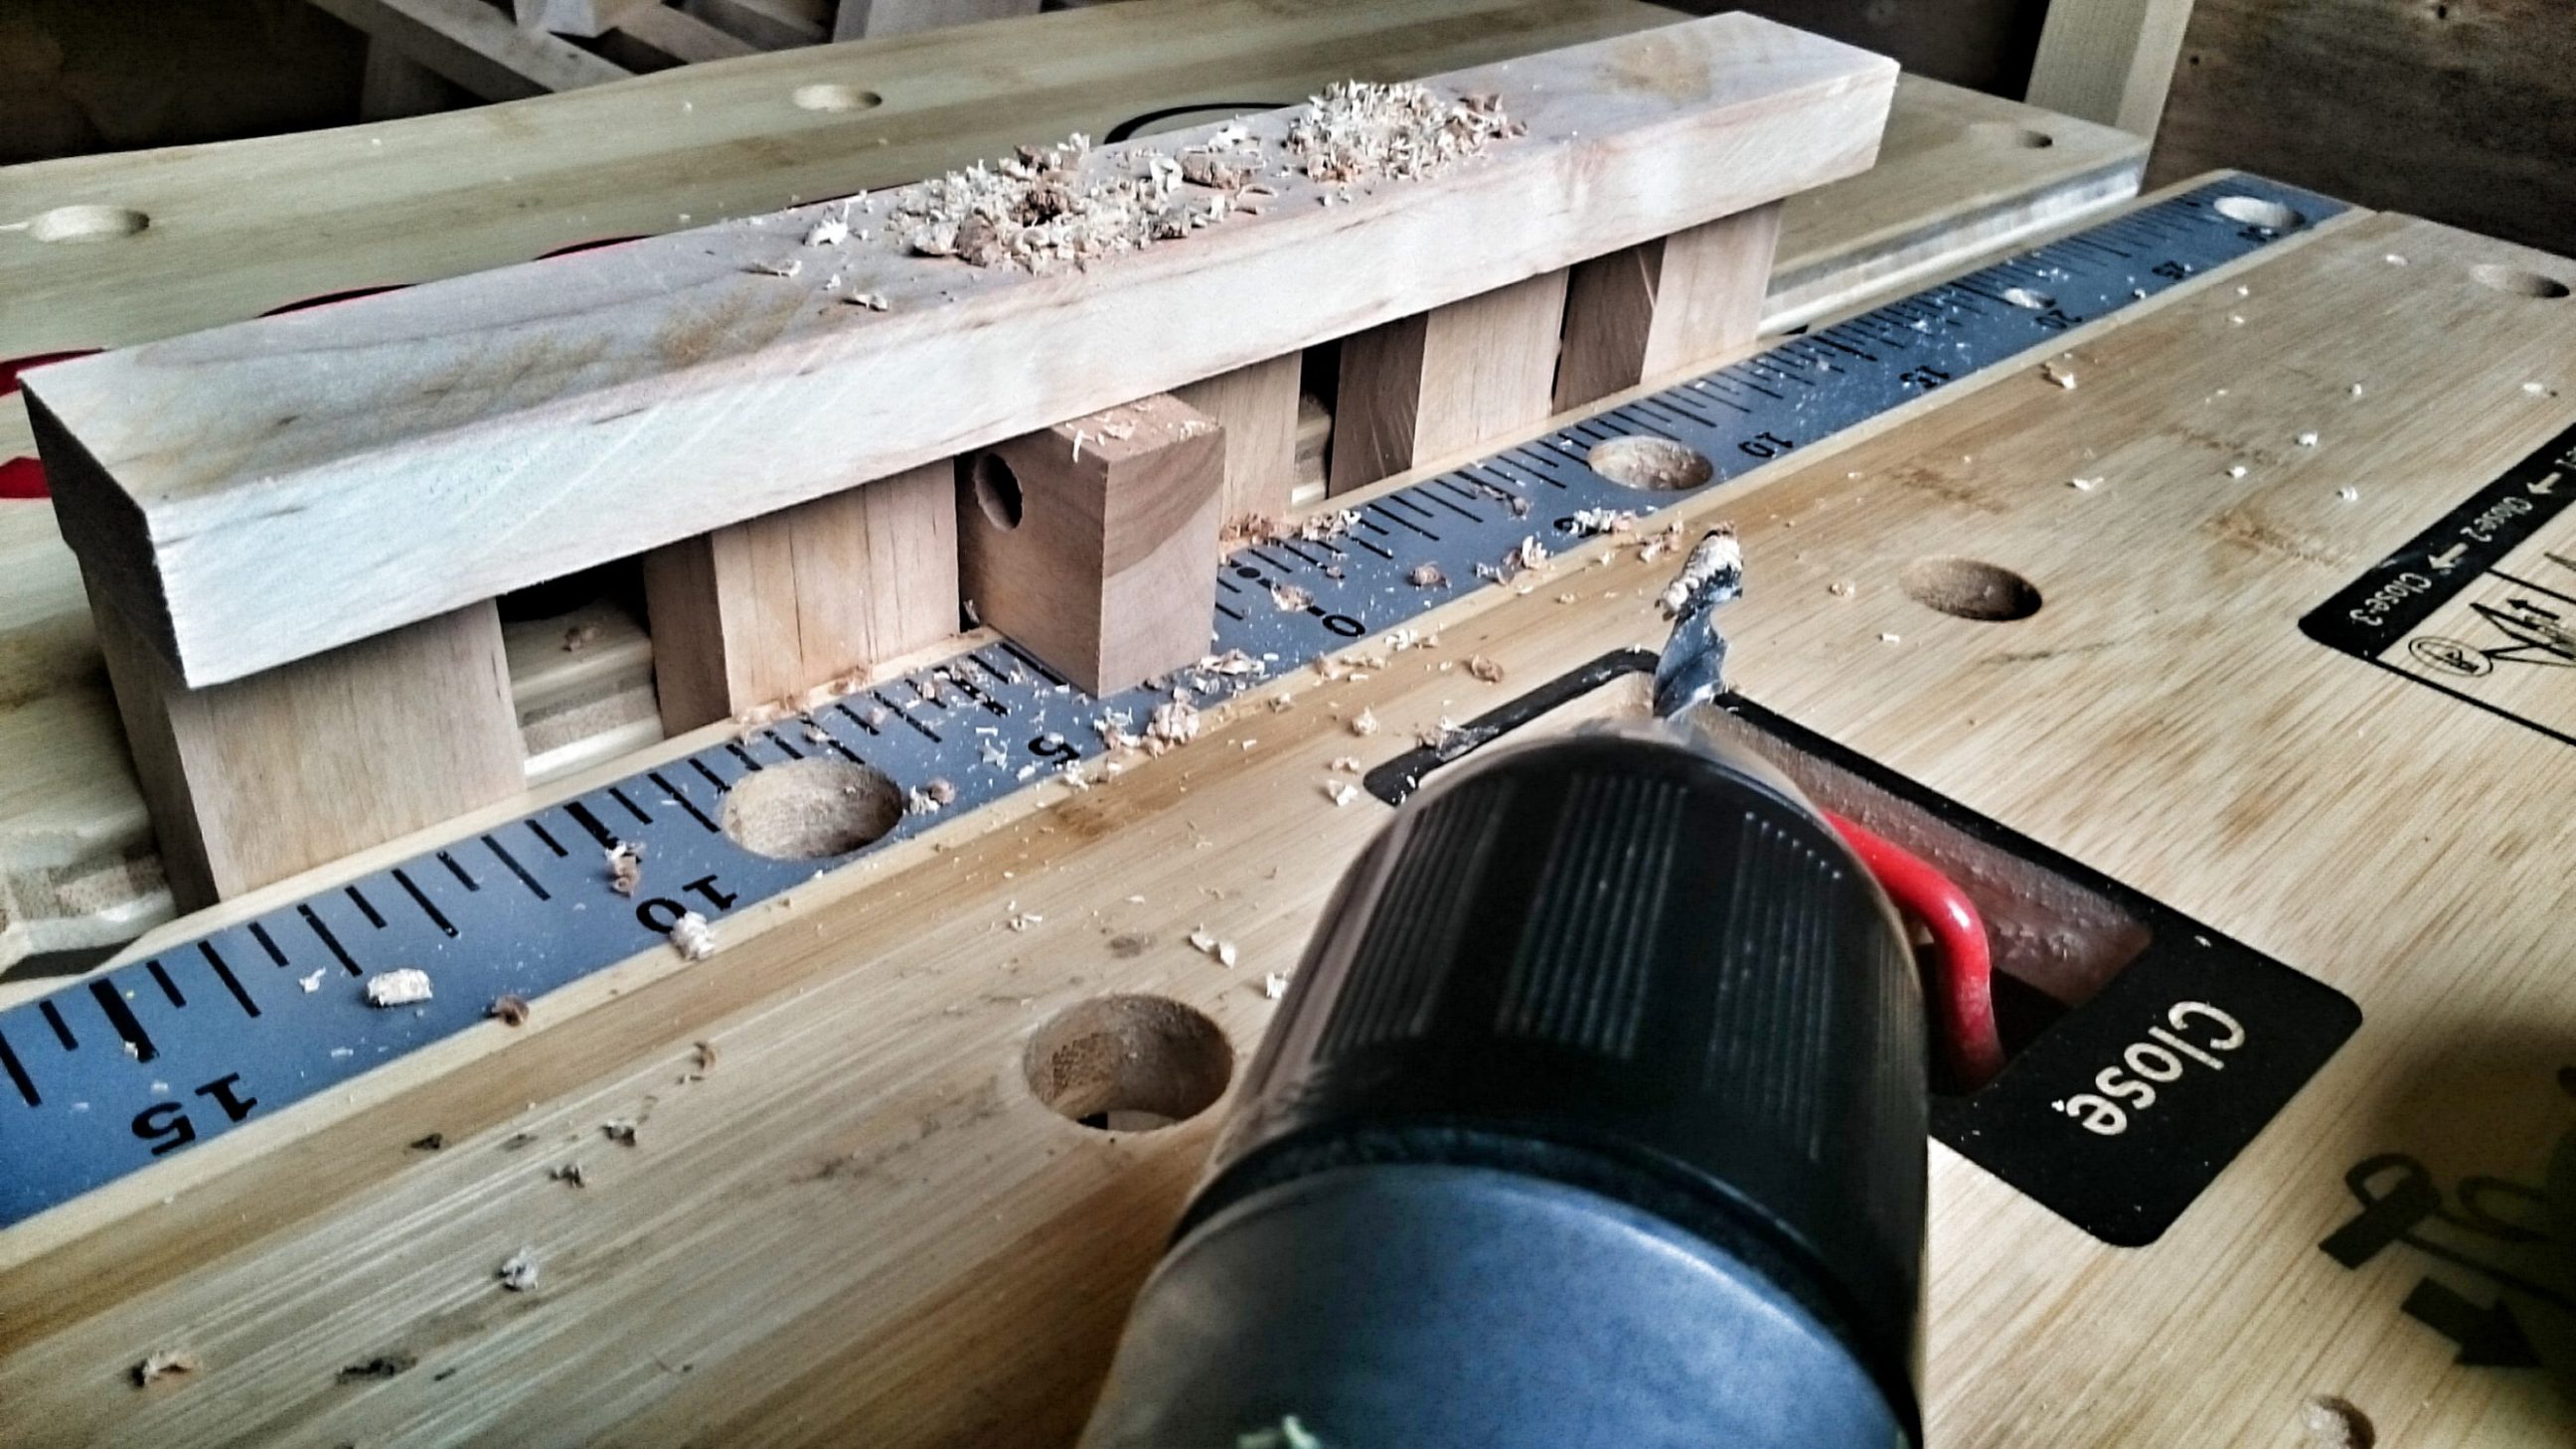
I quickly realized that without any scrap material supporting the back, I was getting a lot of tear-out. I had some scrap wood on hand and the results were exactly what I expected.
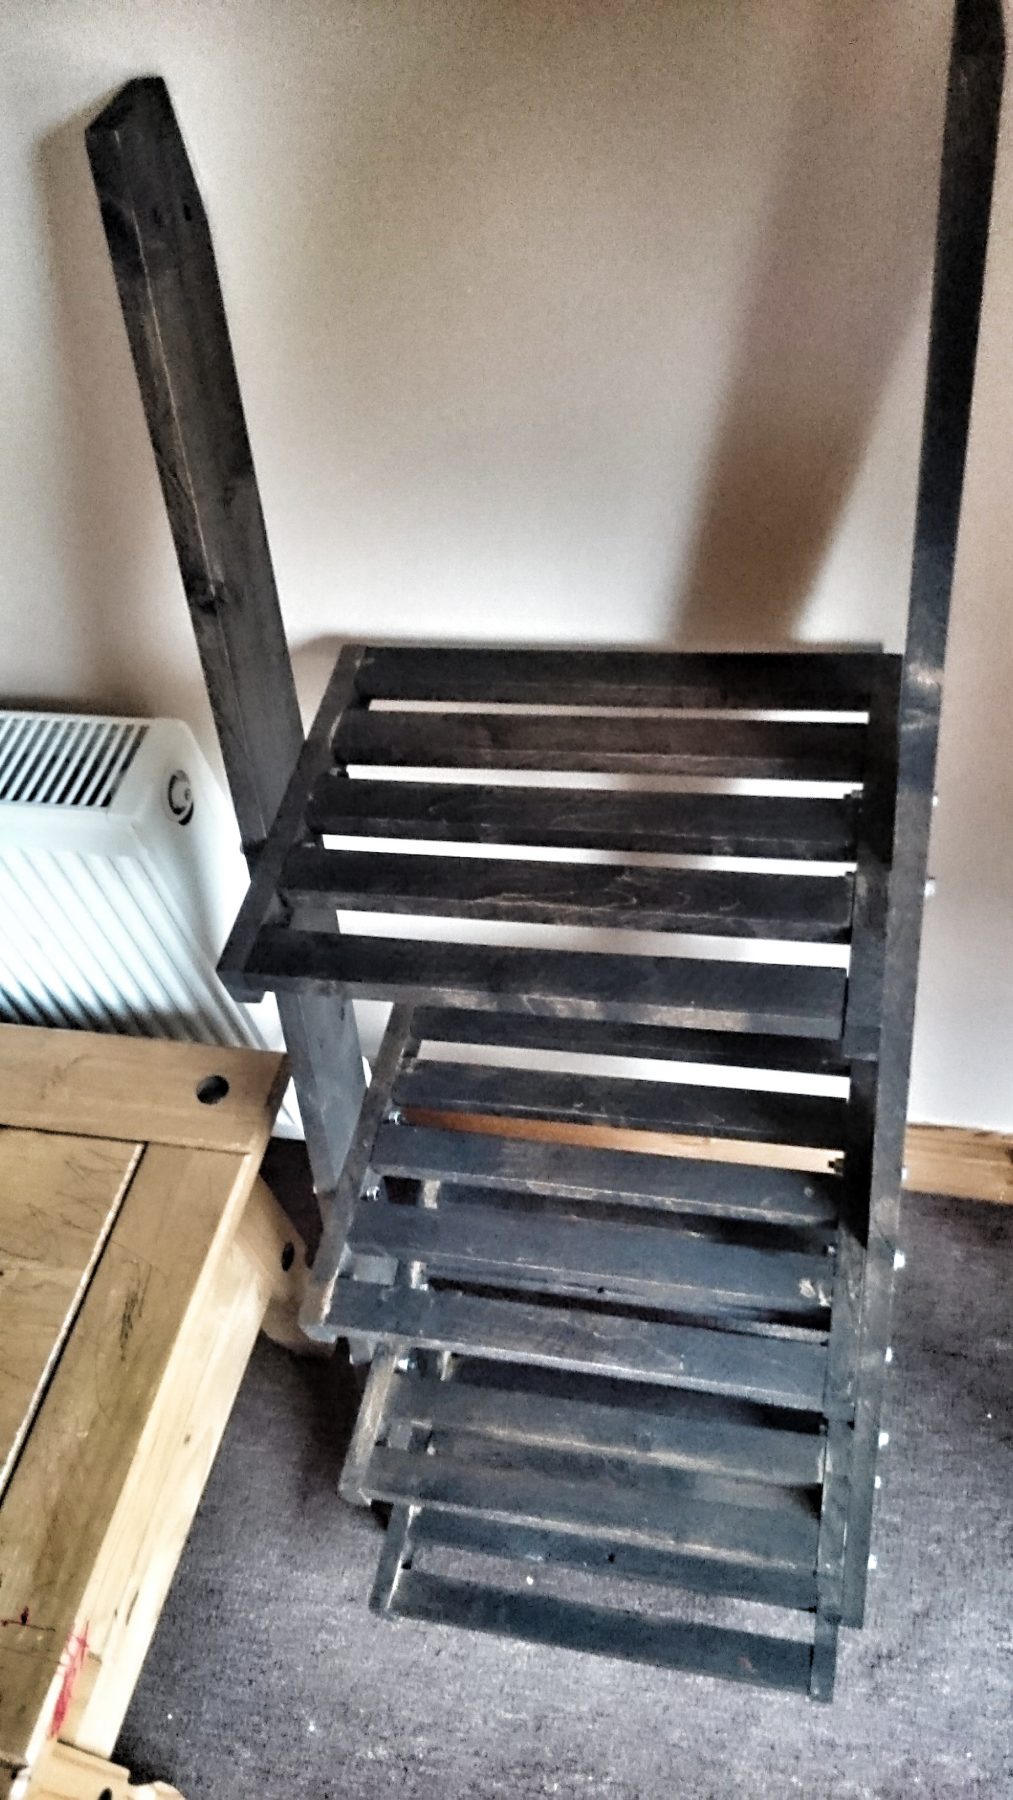
I had to try if the whole assembly won’t fall apart.
Applying the stain was next and I knew from my experience that it was going to be messy.
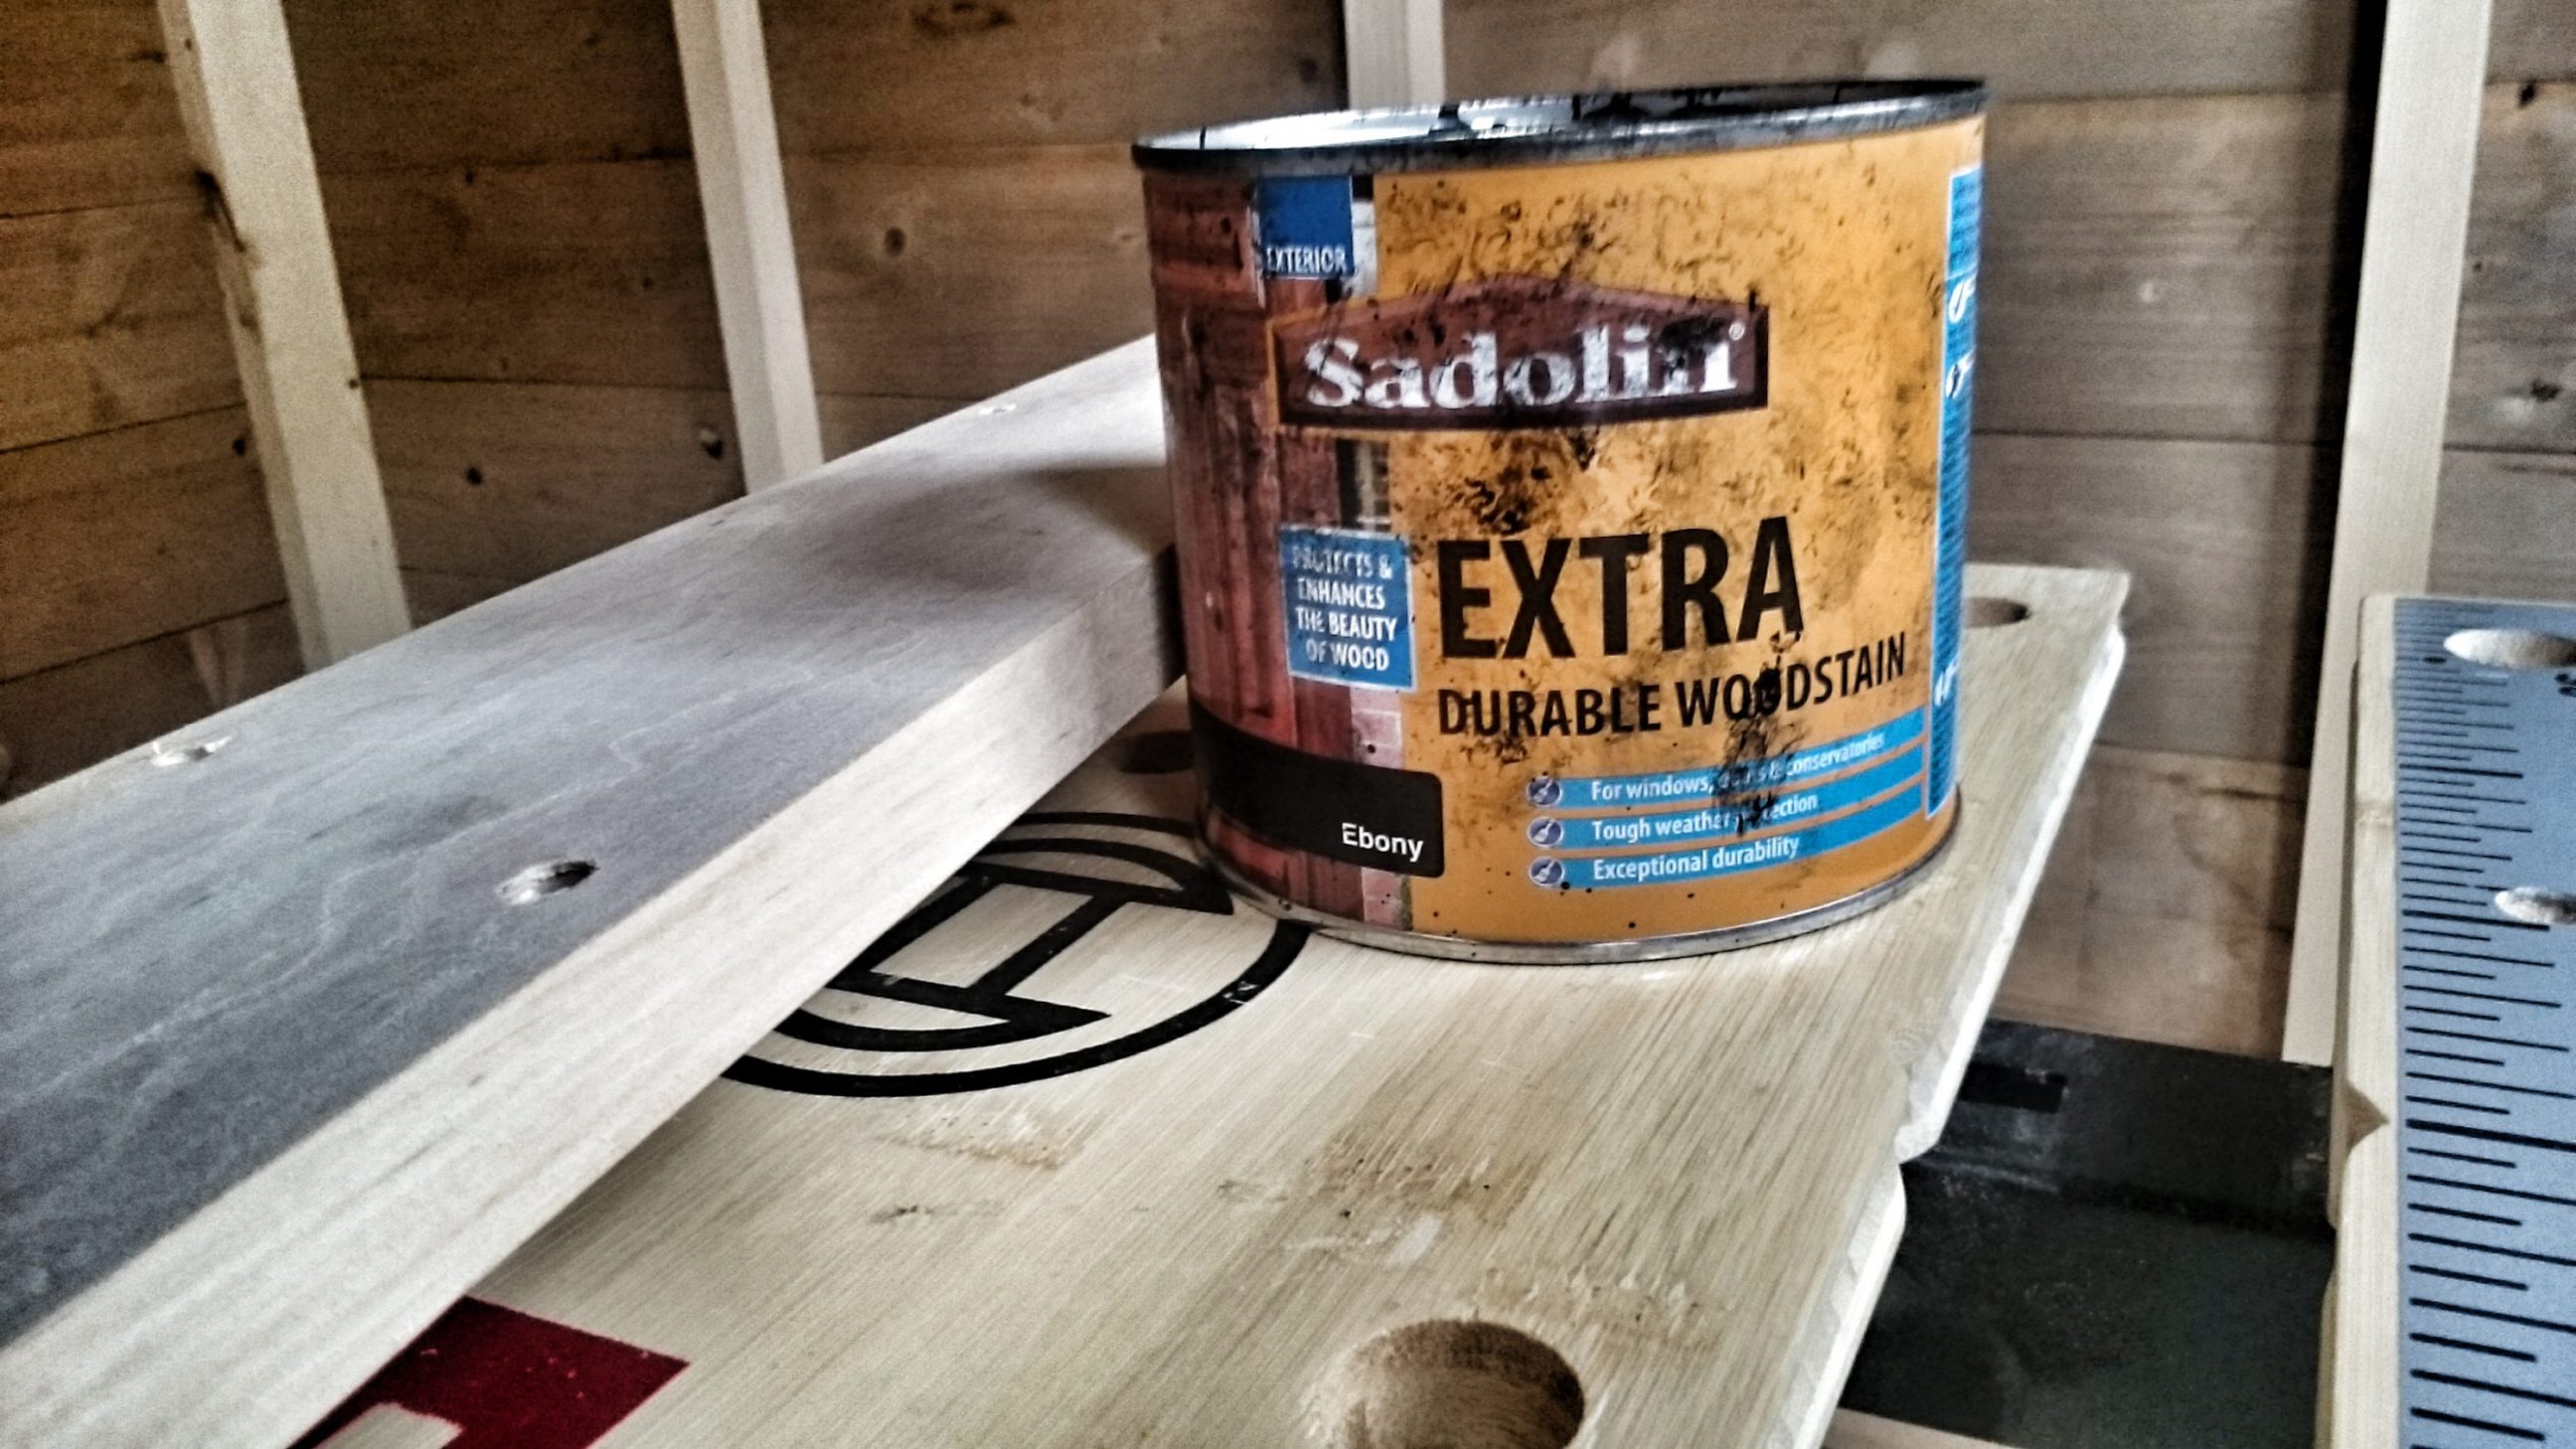
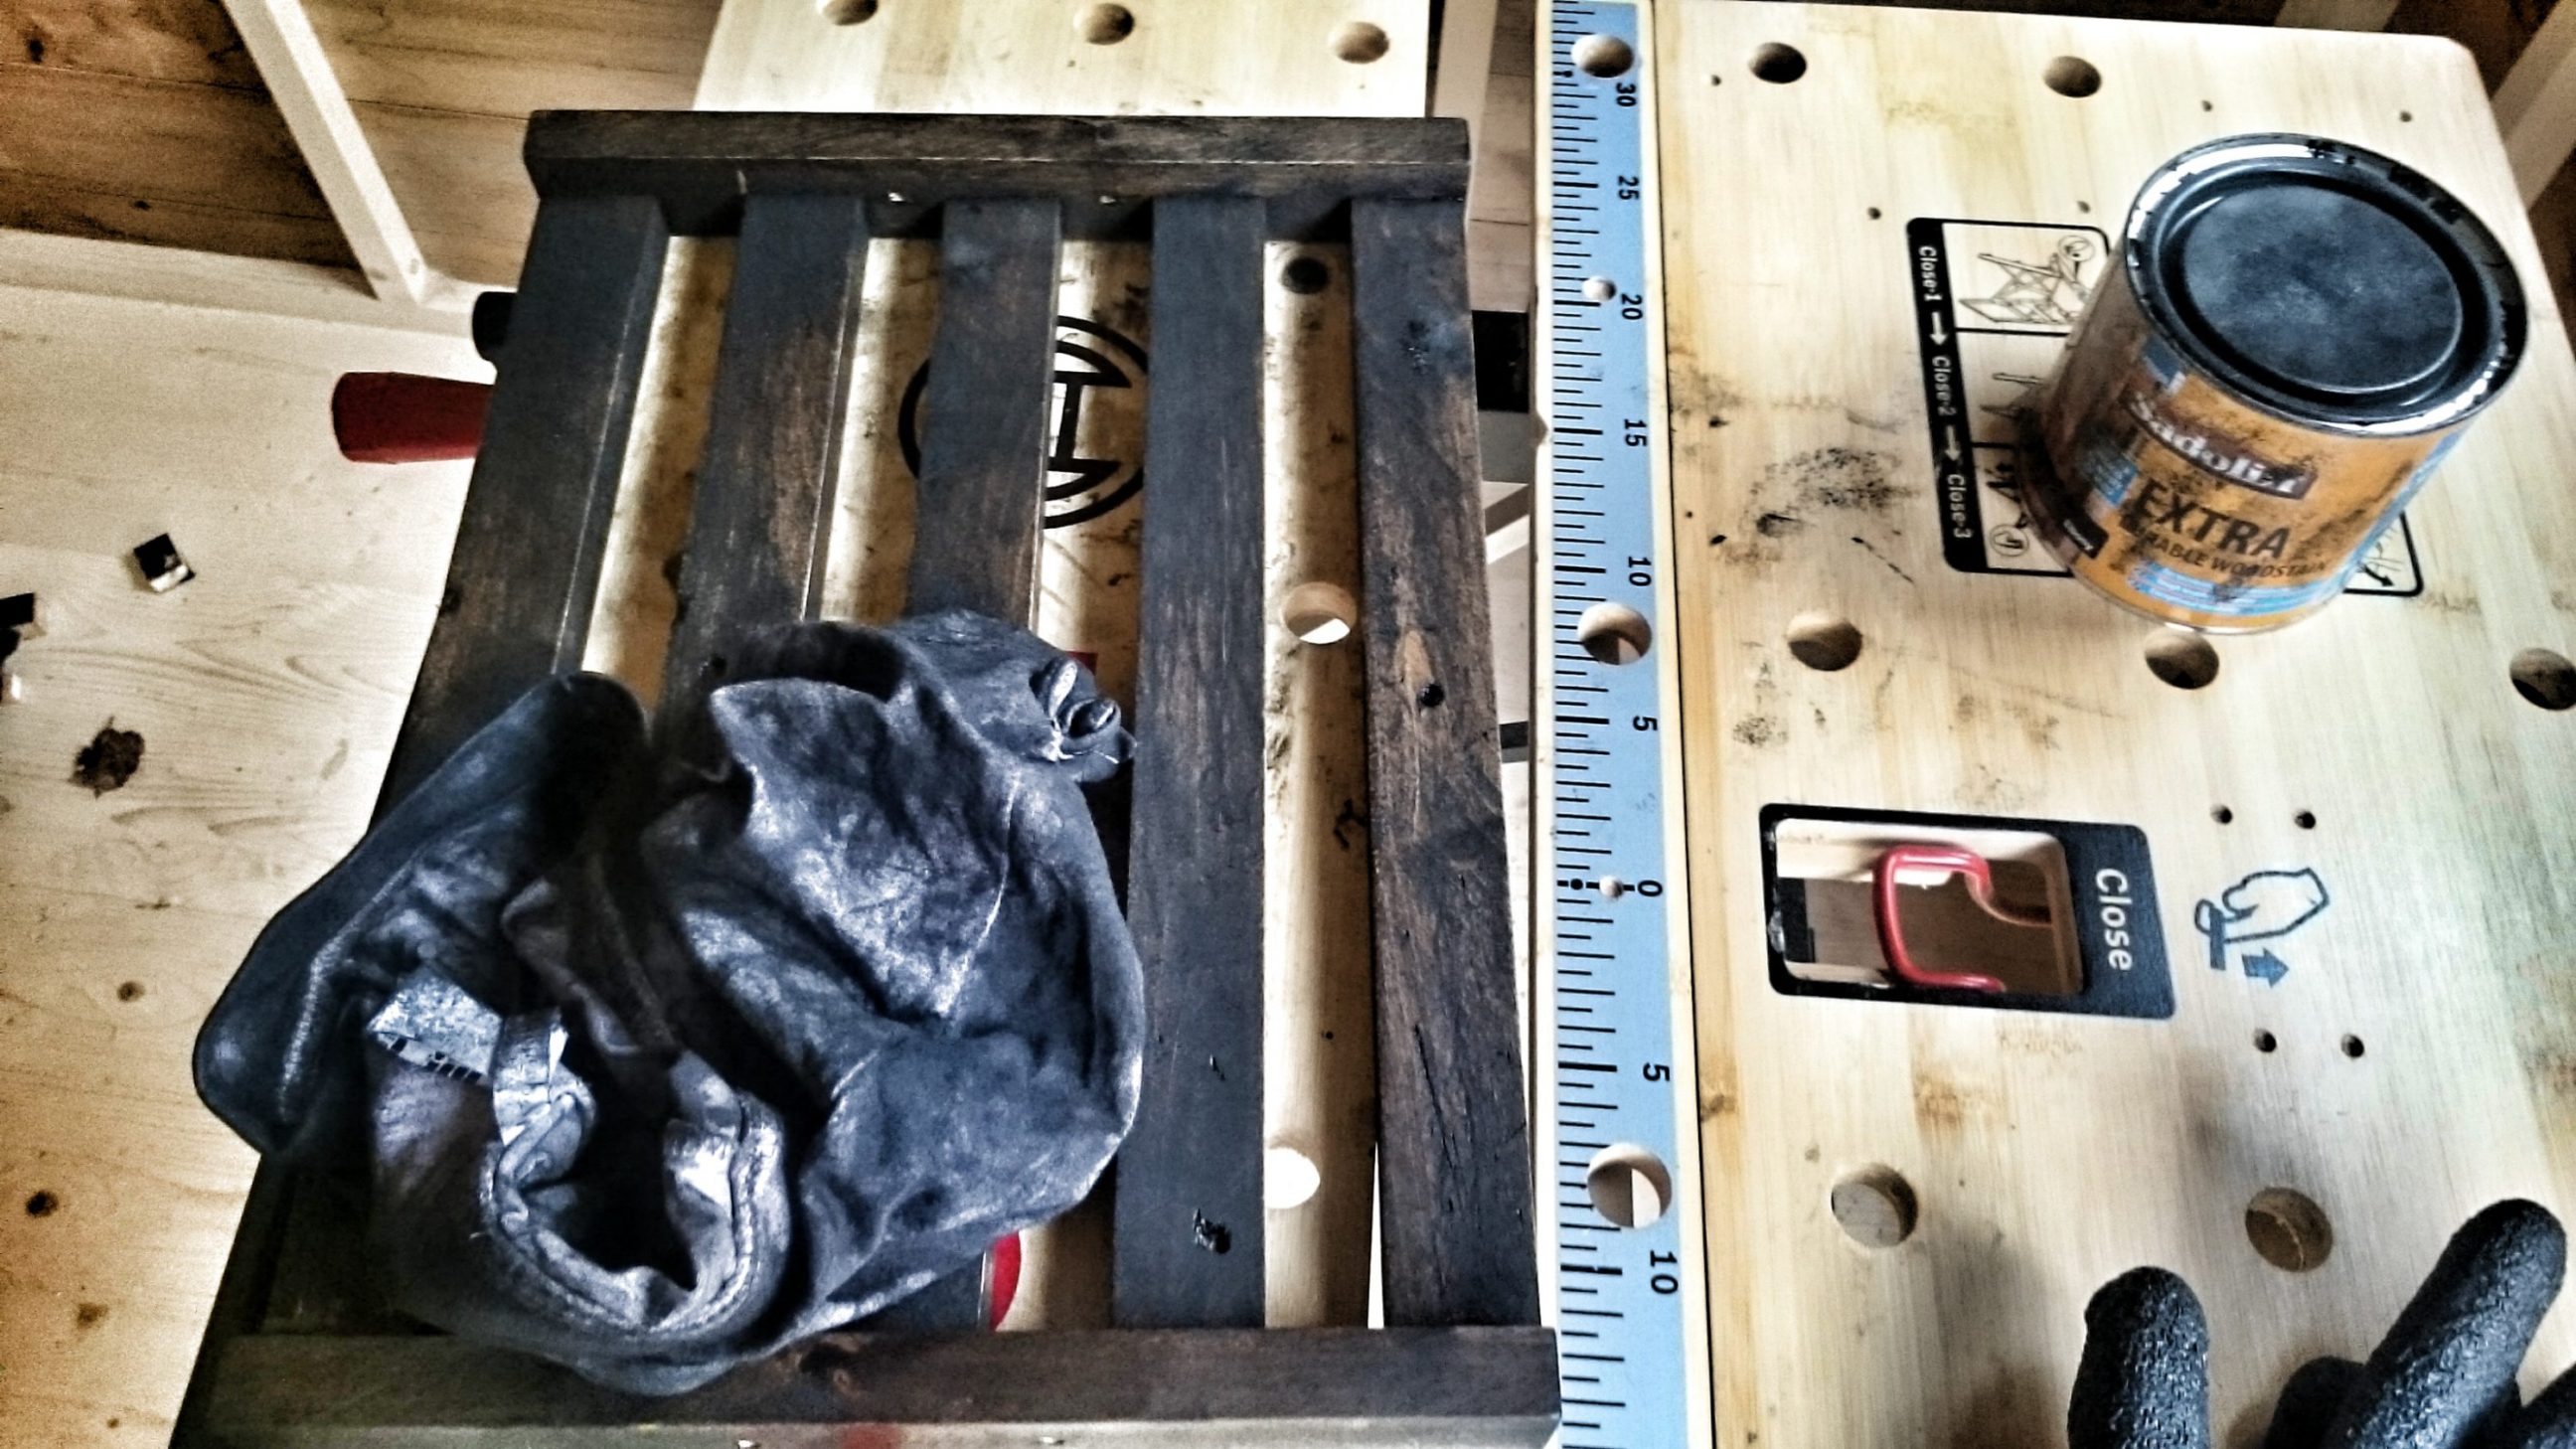
The best result with this particular stain is to apply it with a sponge and then immediately clean the excess with a “clean” cloth. And when I say immediately I mean right away.
White spirit helped to clean the mess.

The elements were touch dry within 1 hour. I couldn’t wait to put it together!
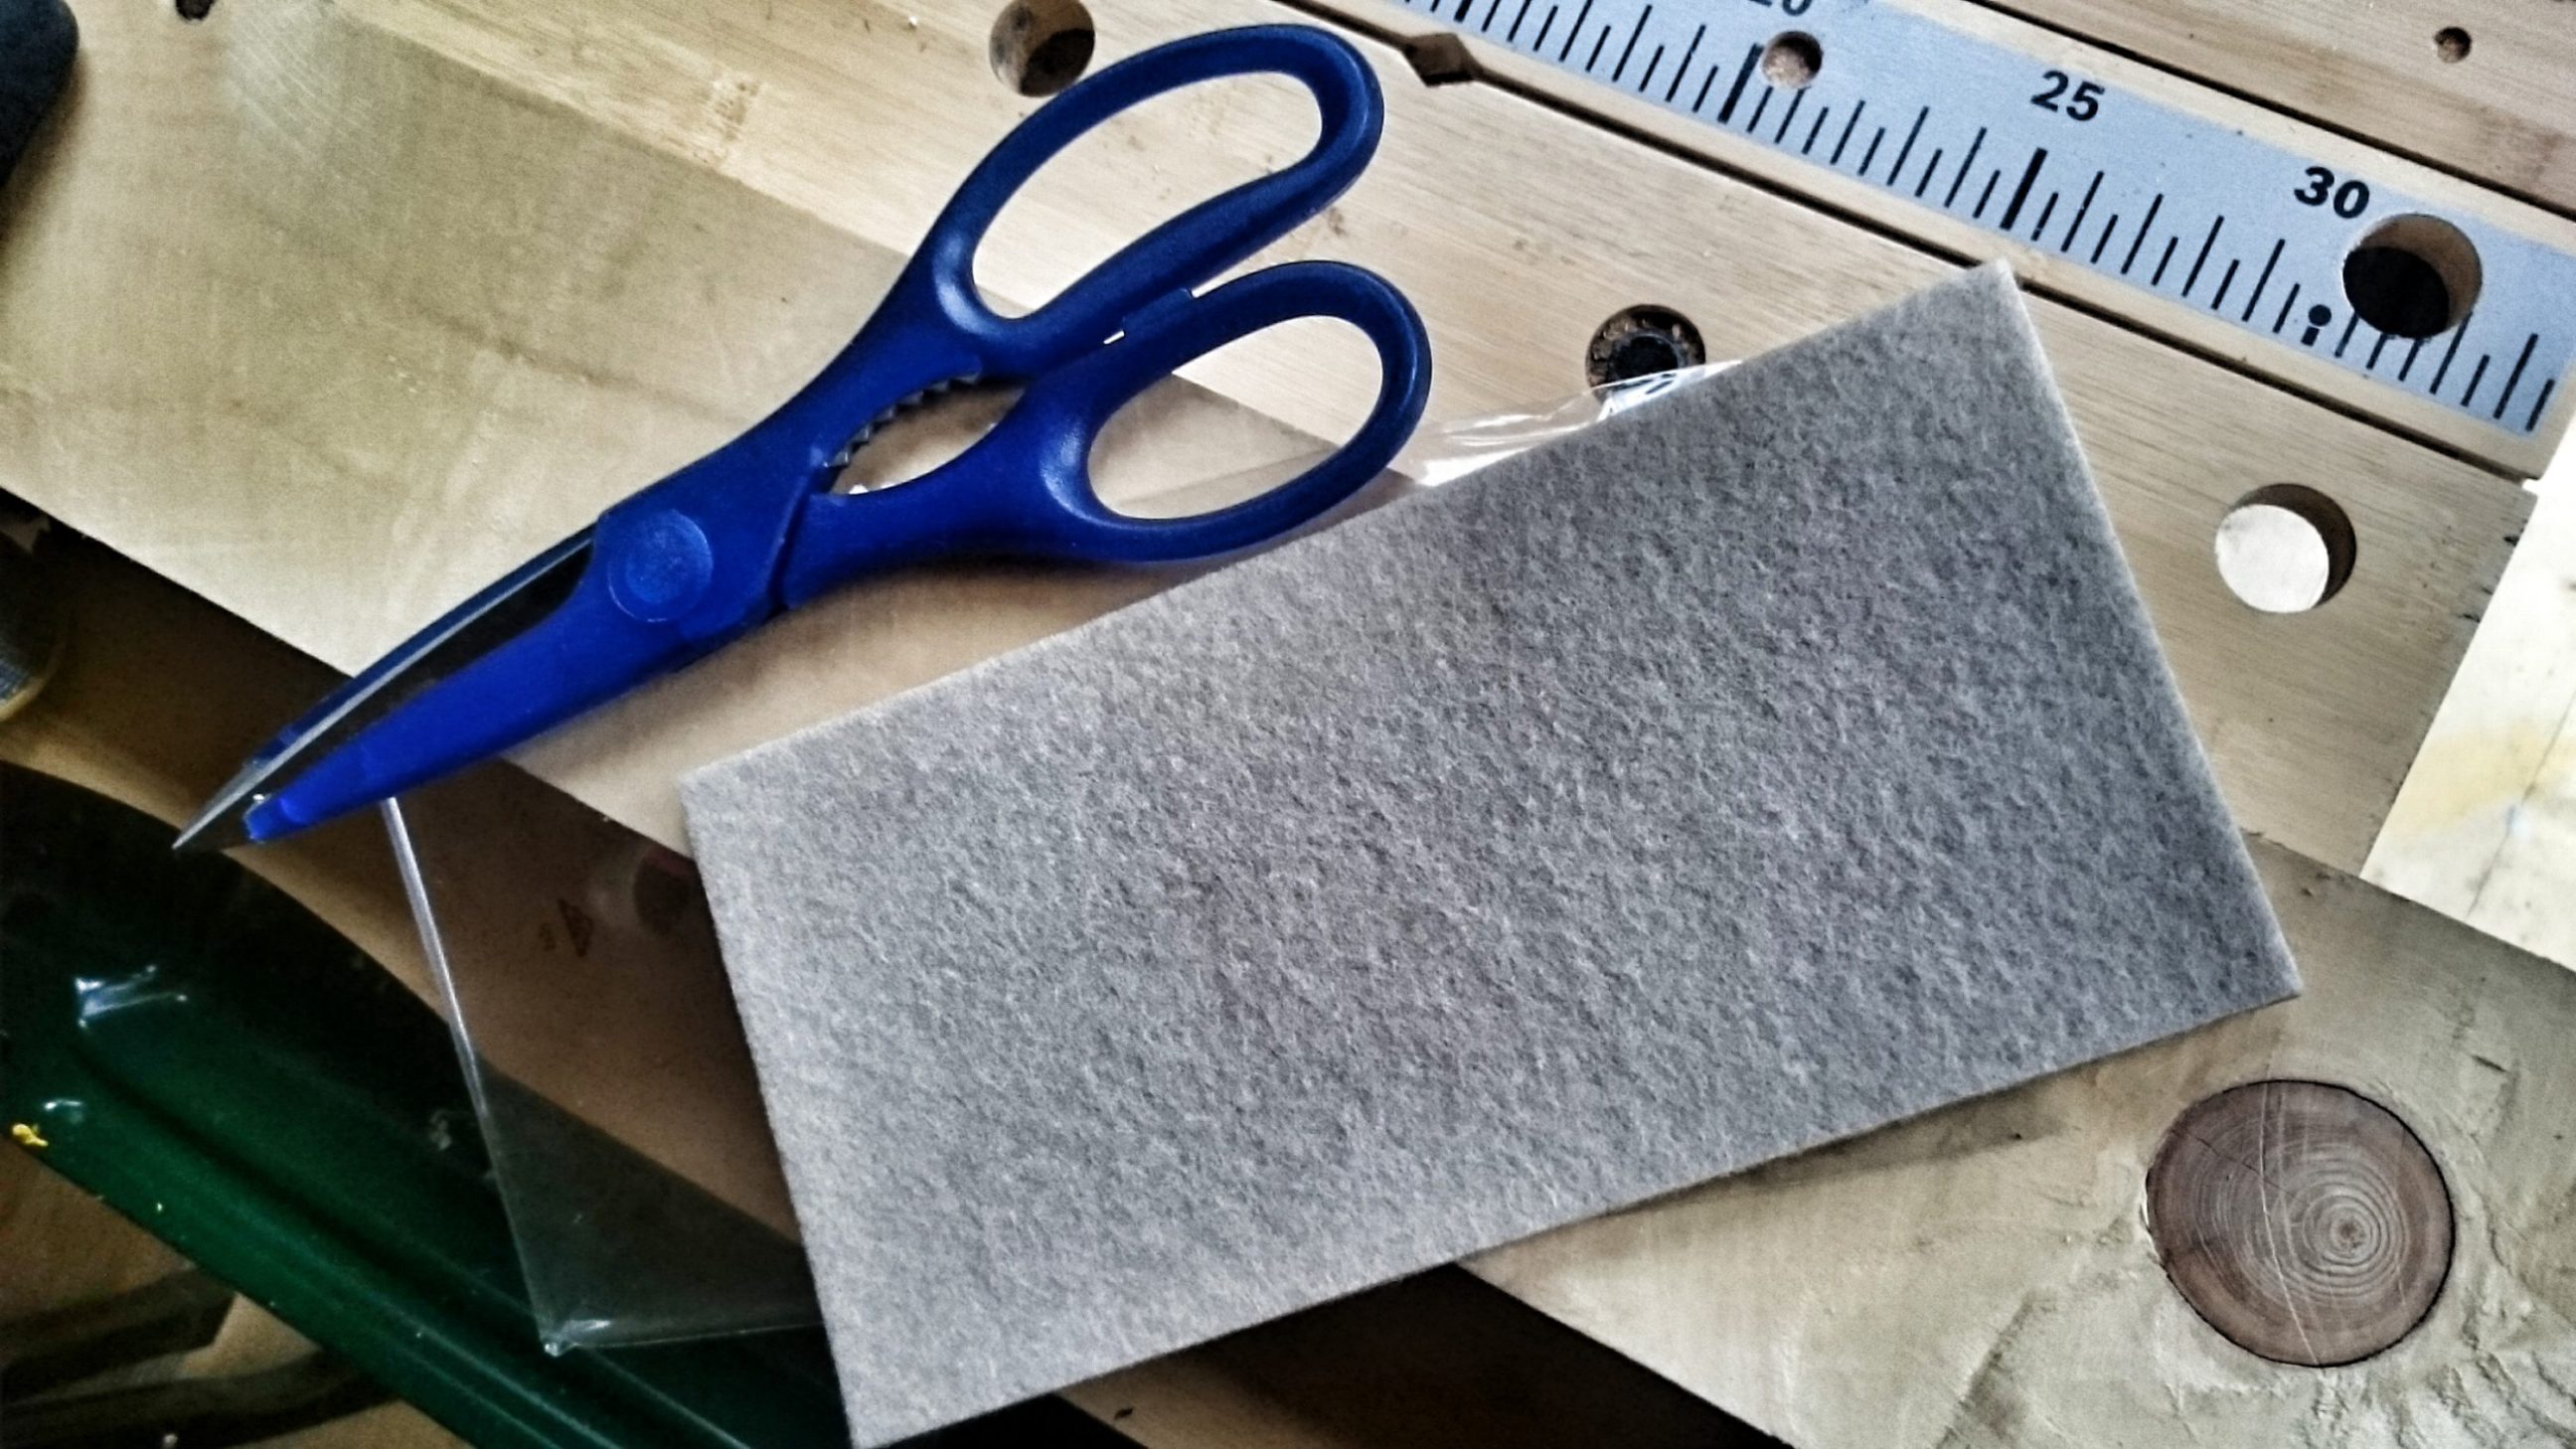
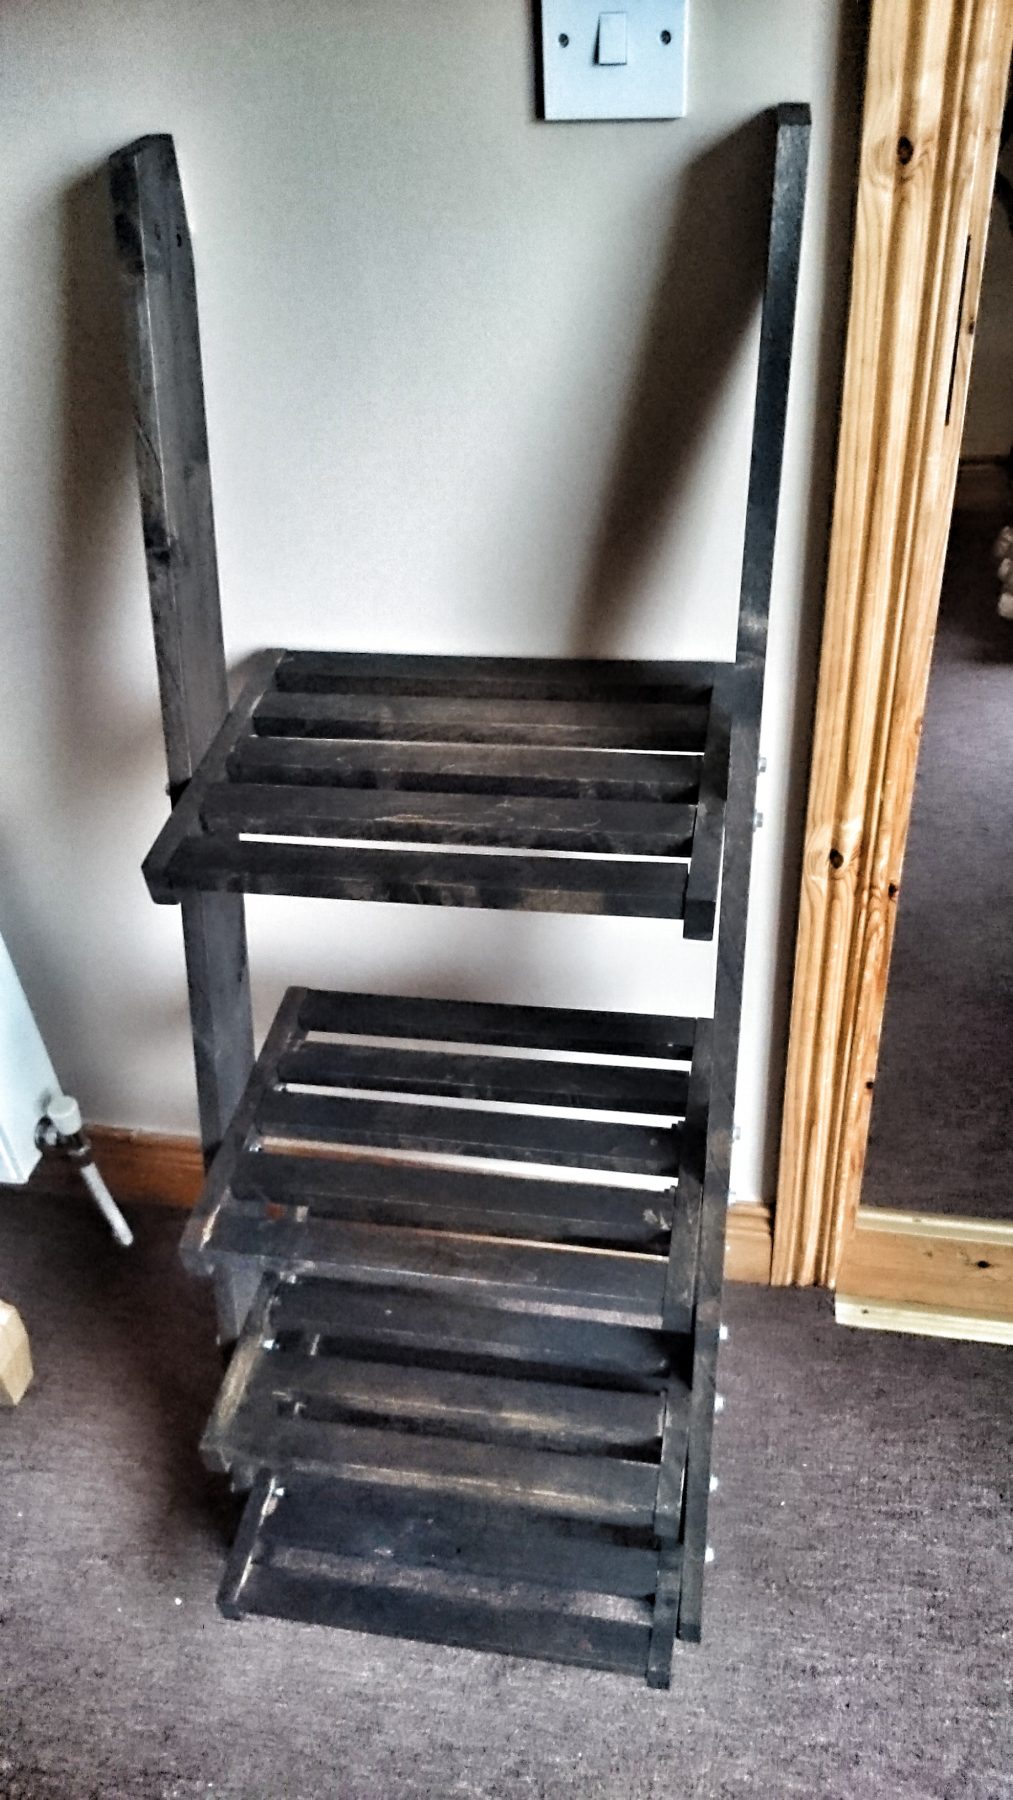
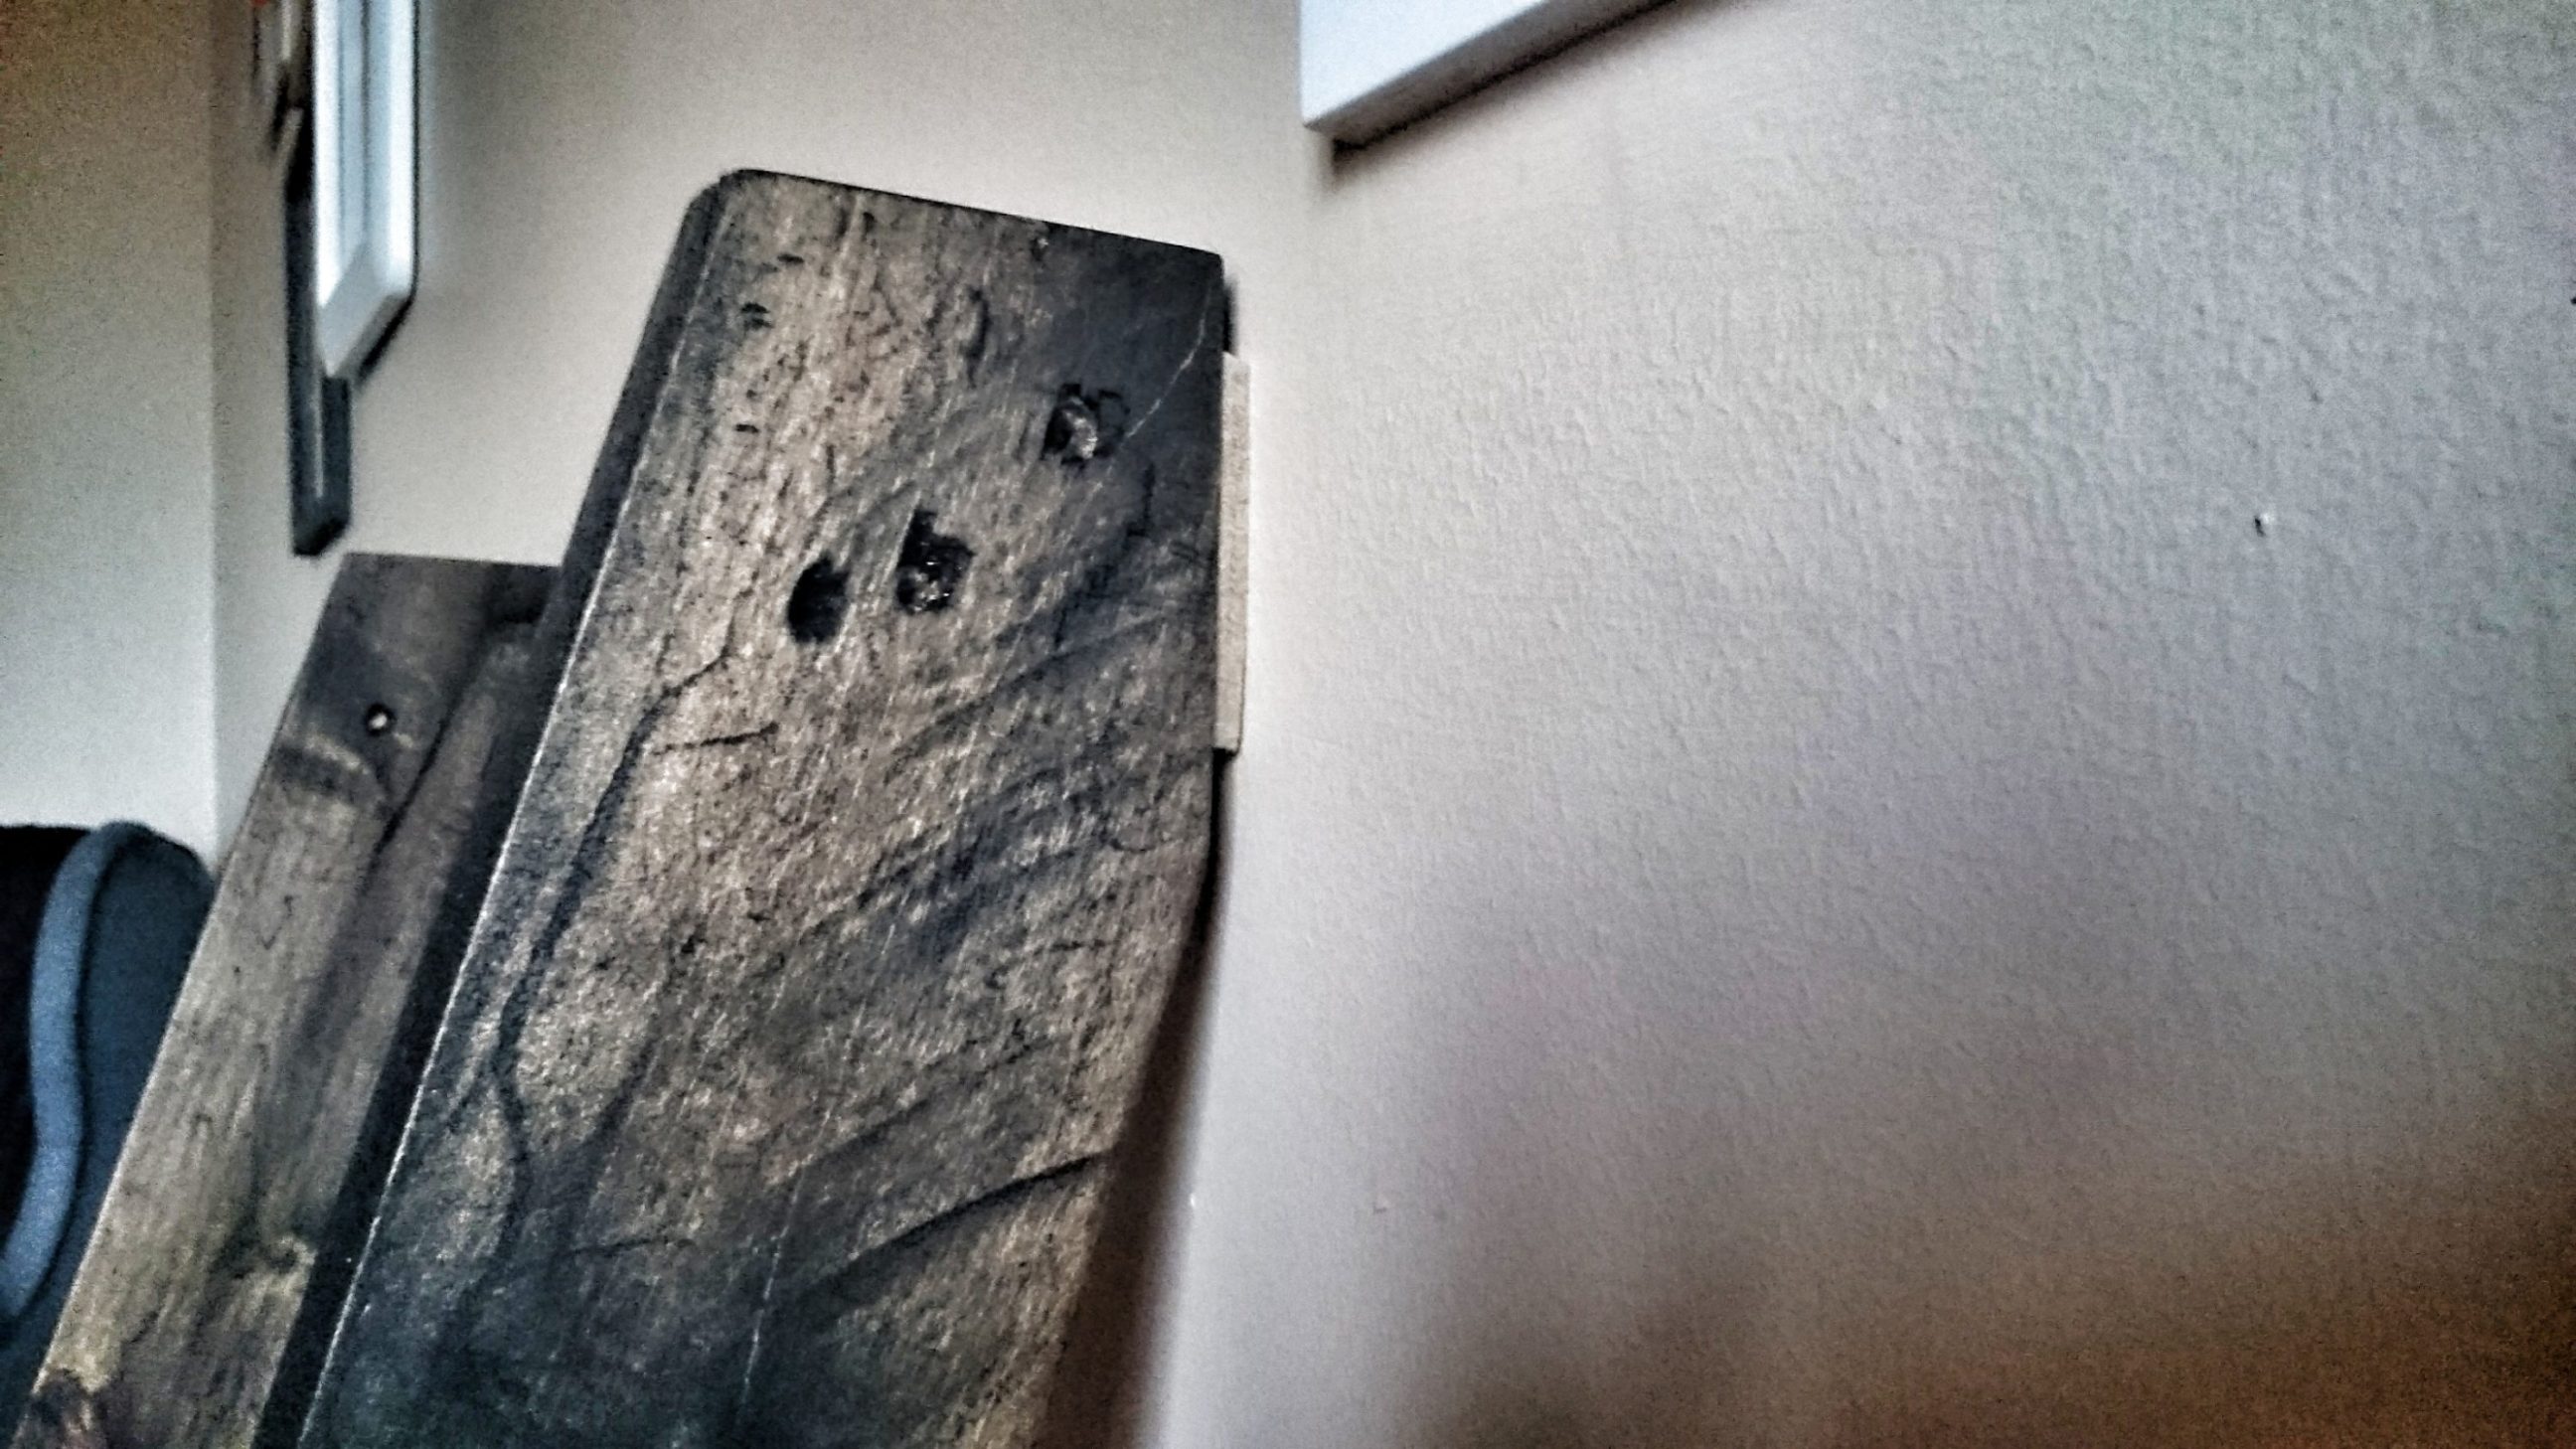
To protect the walls I installed some felt.
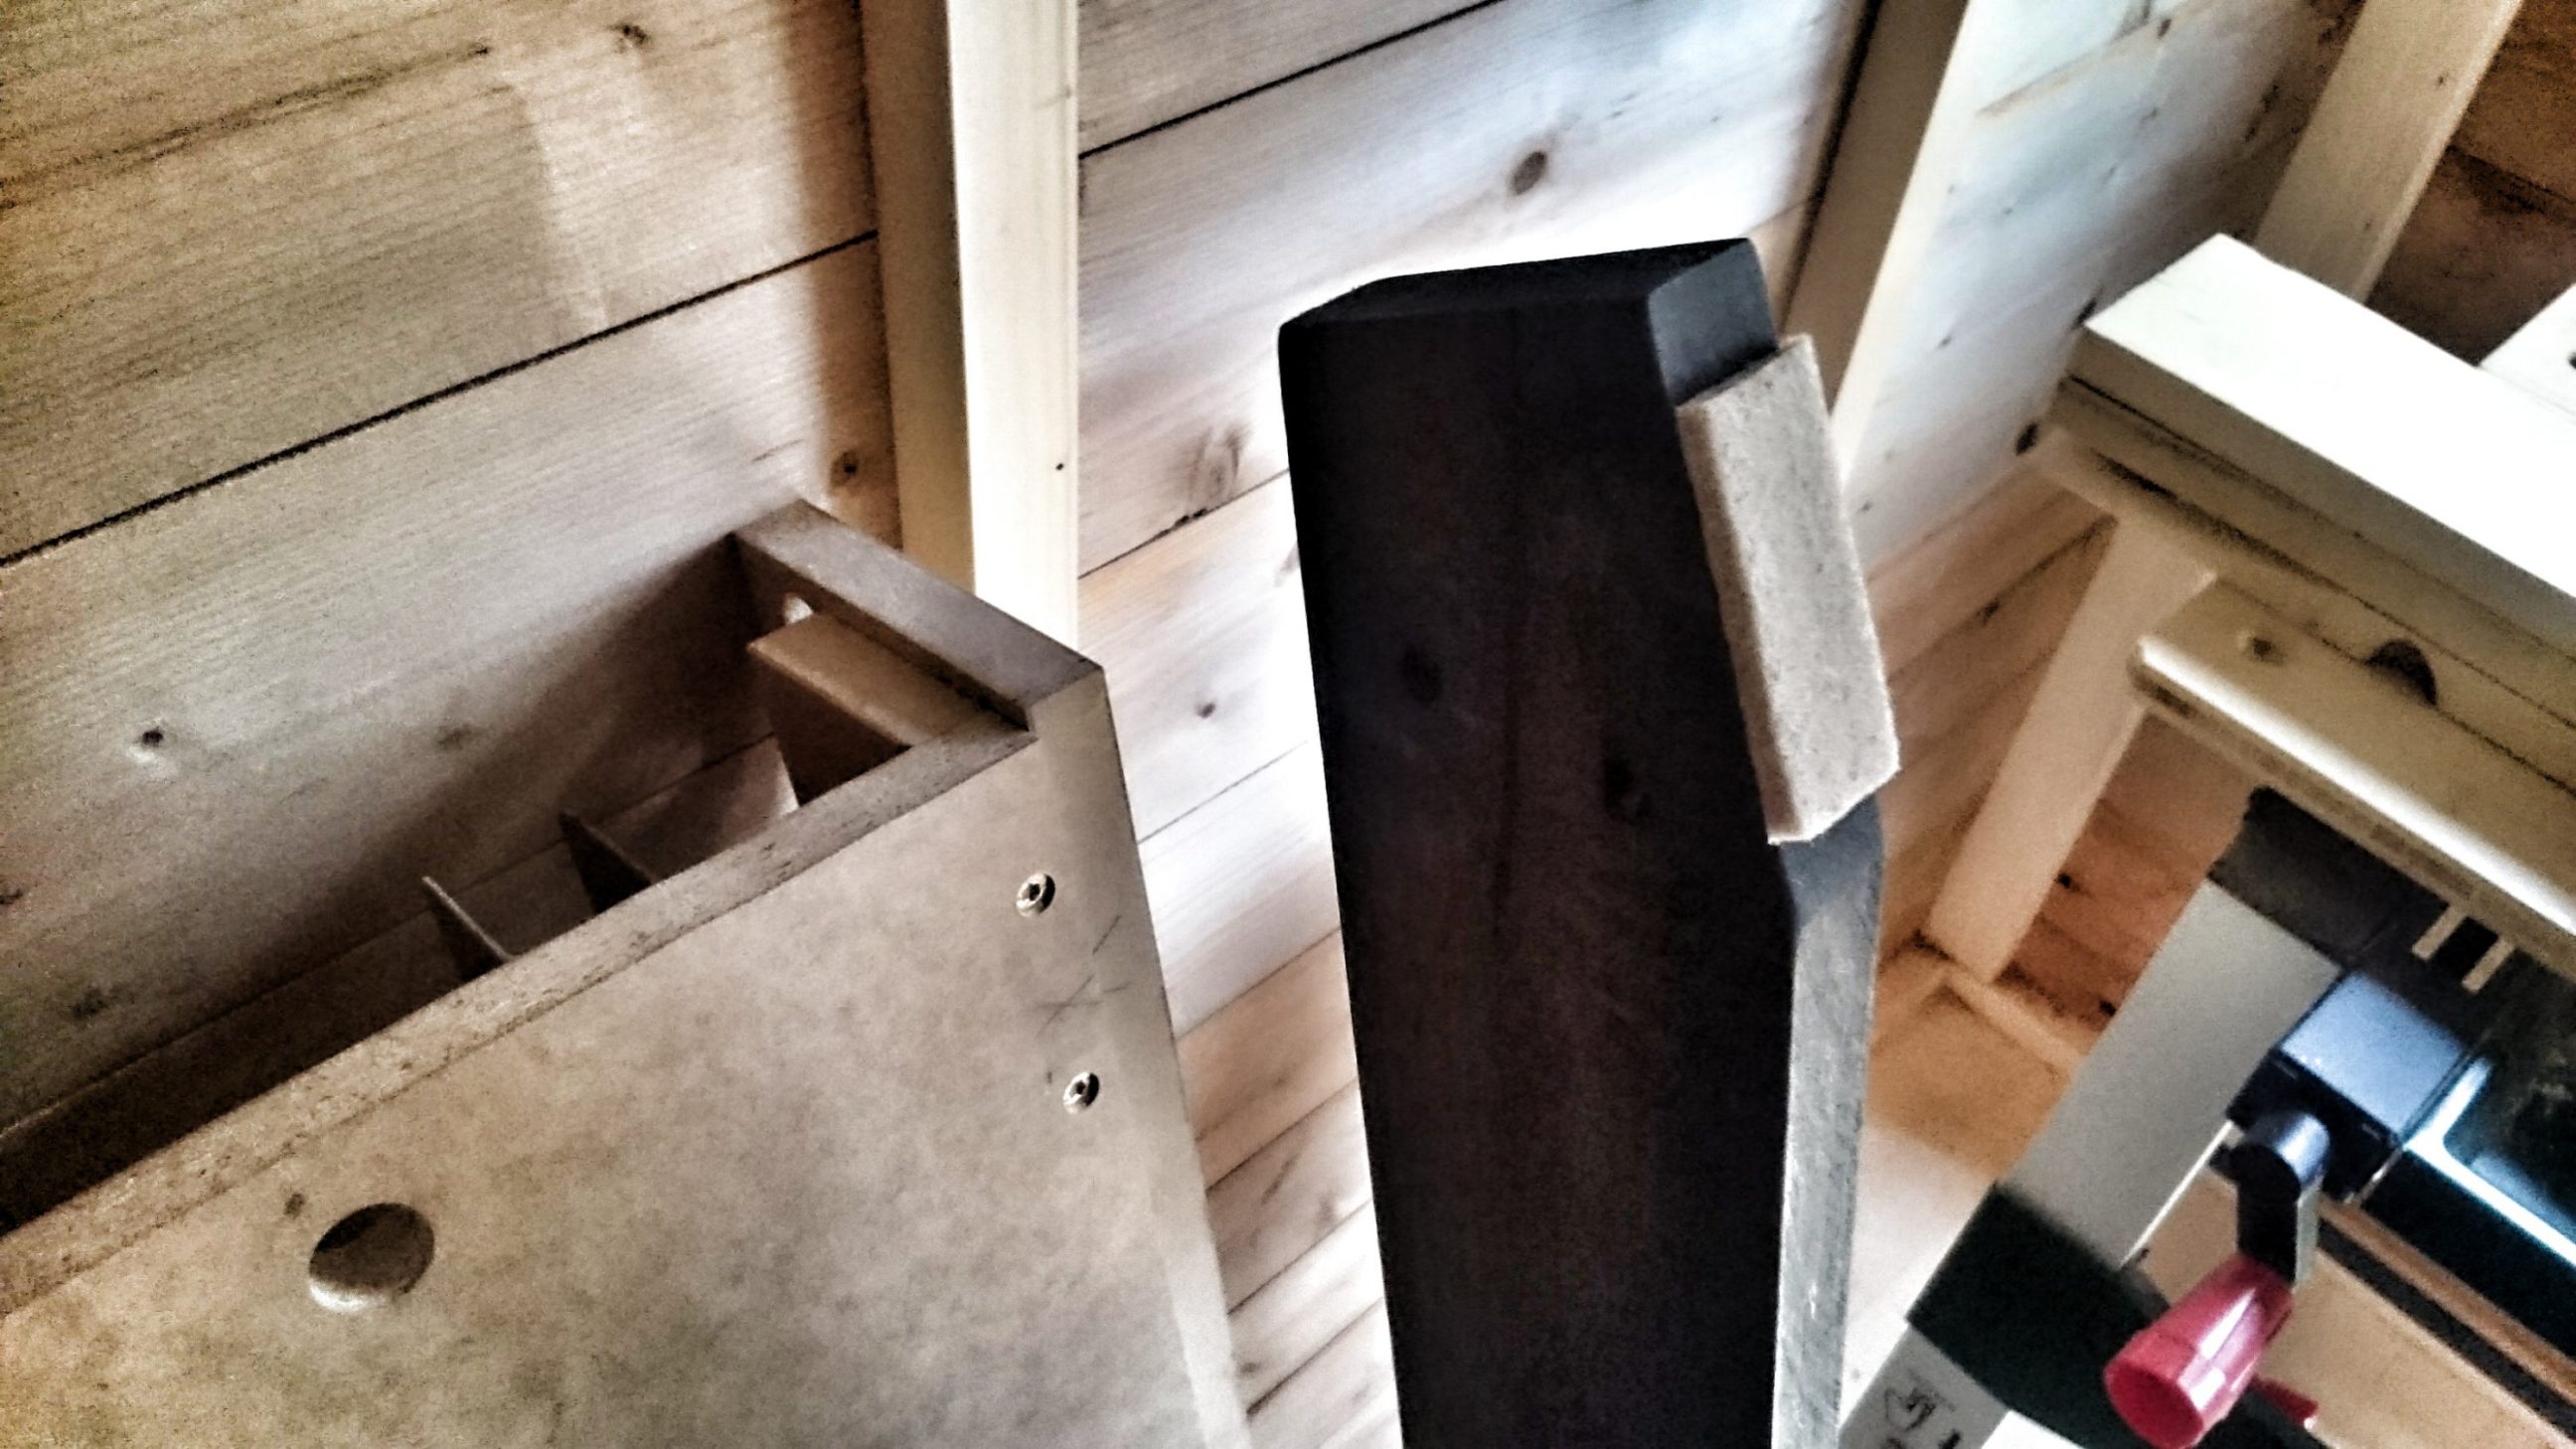
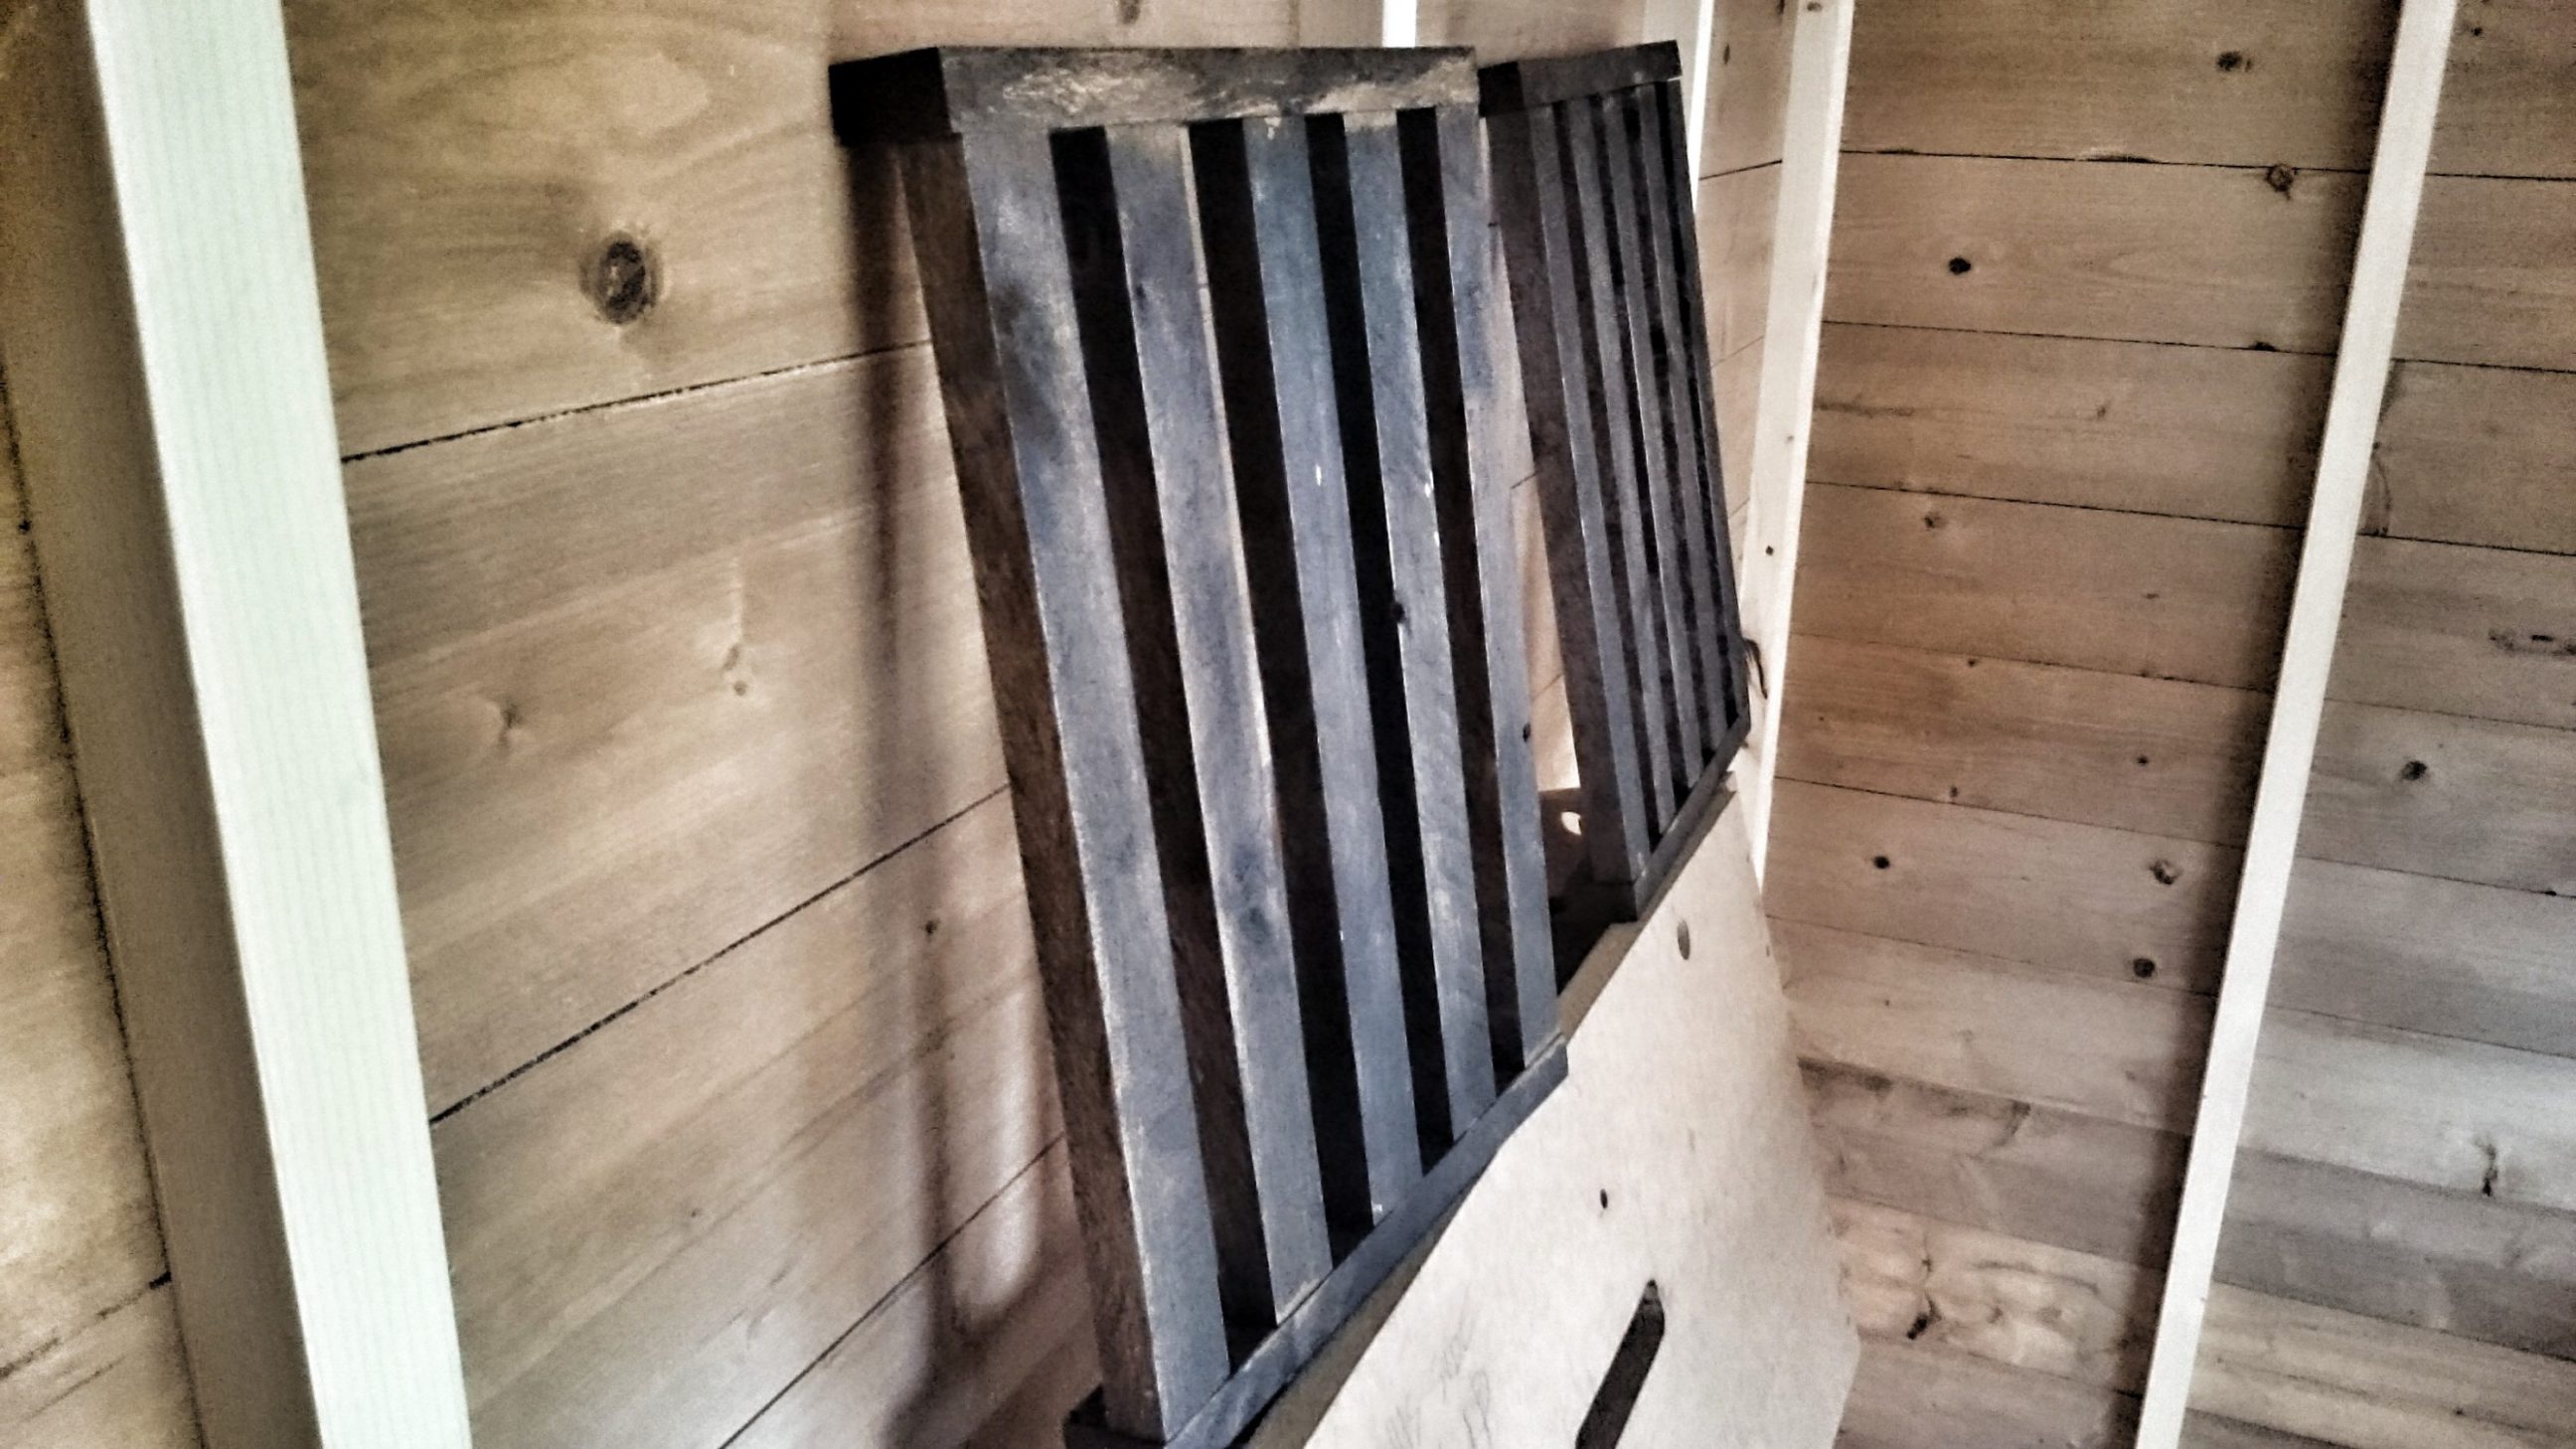
In its temporary destination:

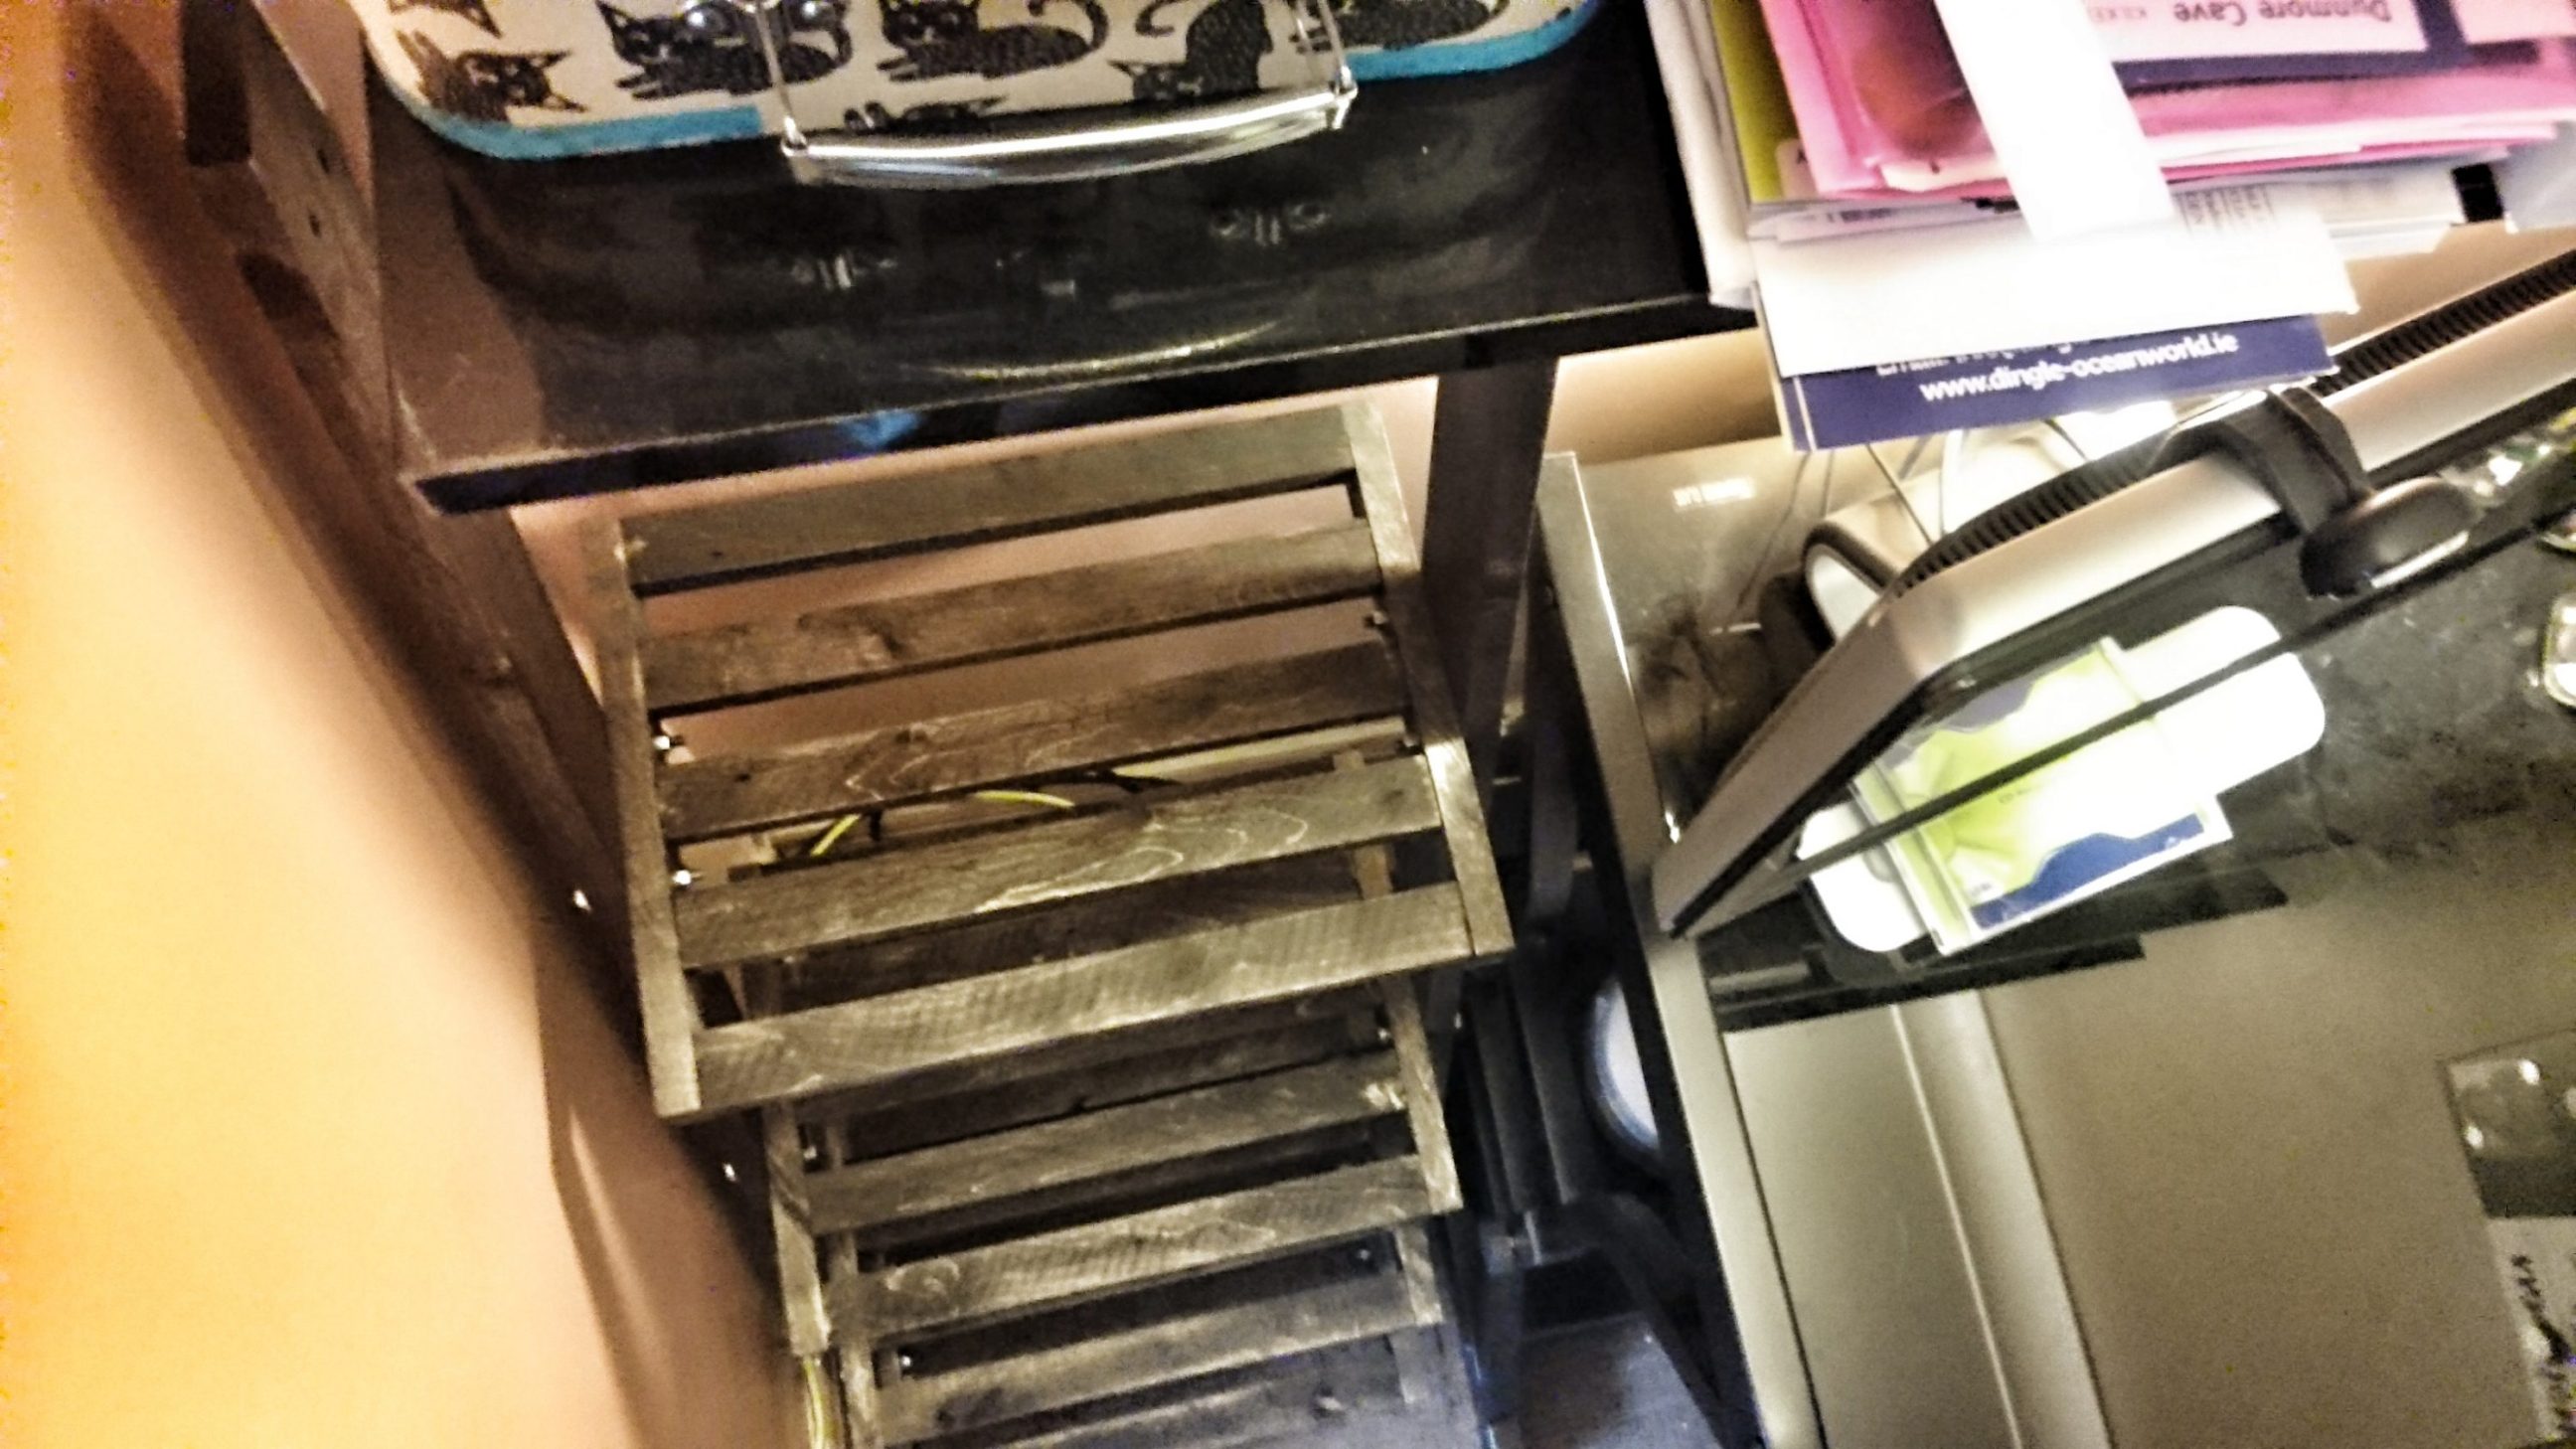
And the final destination – very tight in there!
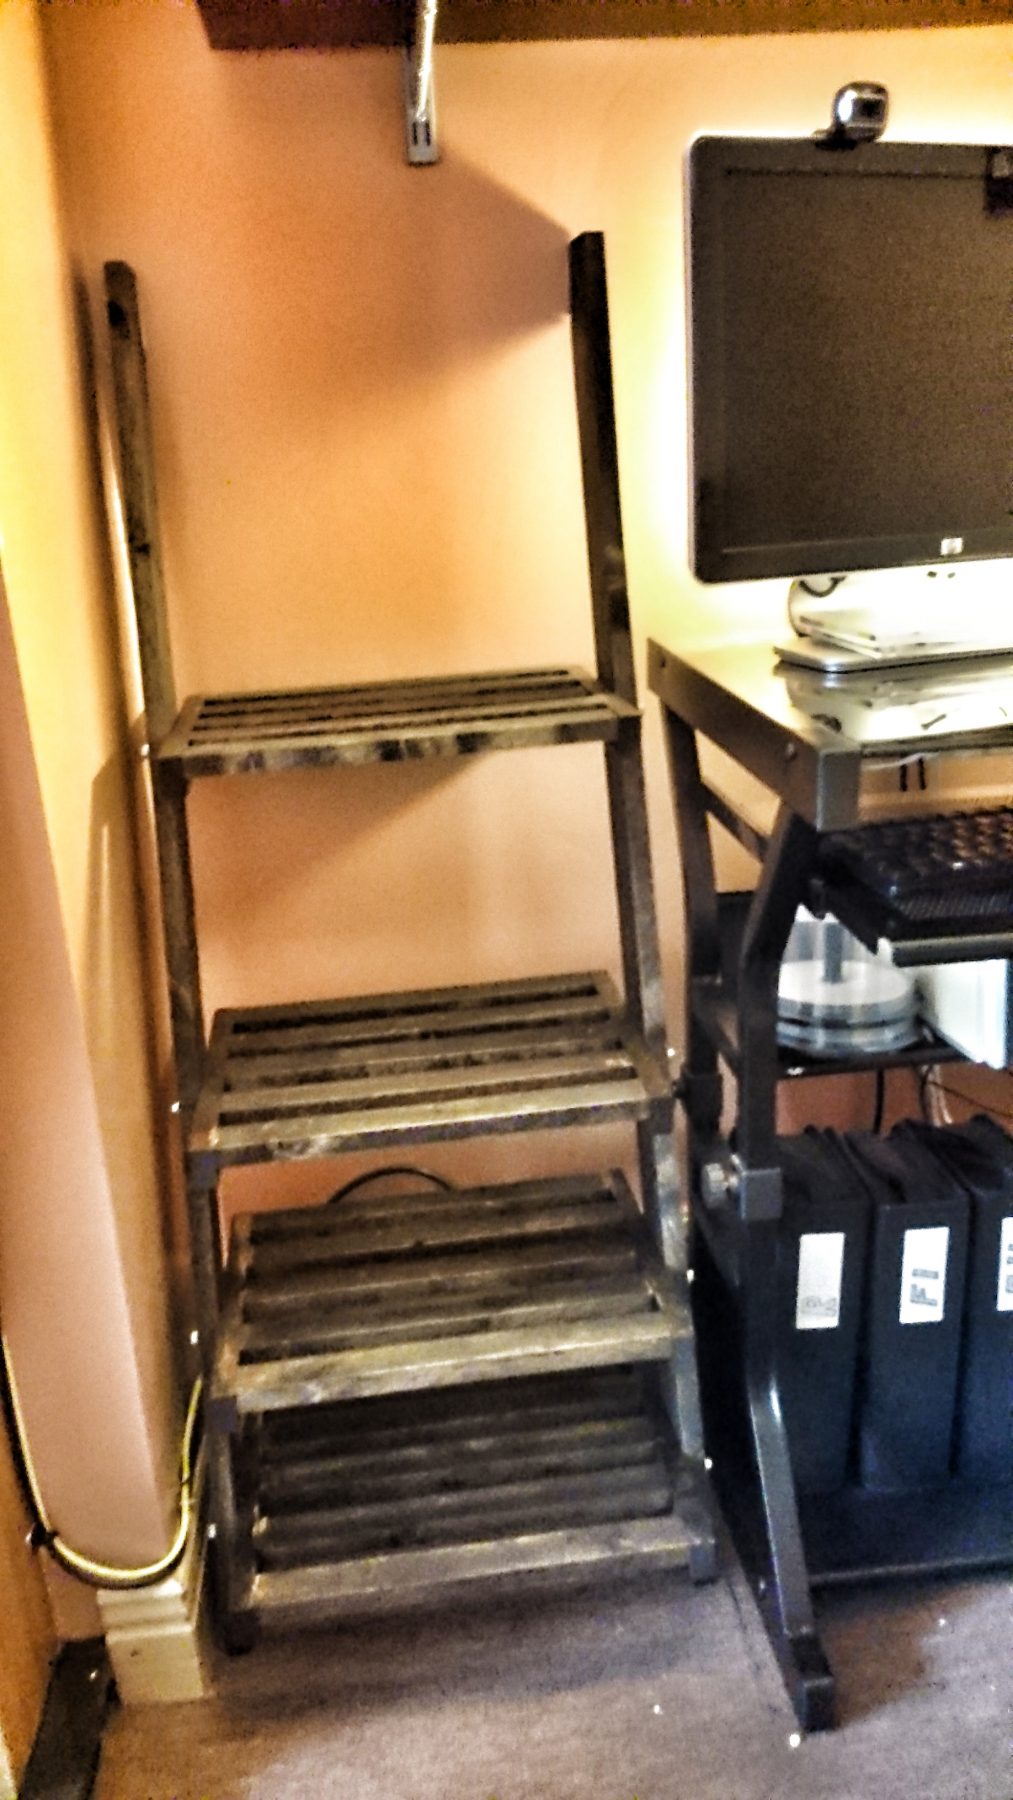
I’m very happy with how this came out. It’s built of lime wood, also called linden. It looks great in the corner and it’s been fun to create it and it is satisfying to save €200 on buying one like this in the shop.


3 Comments
Philip Choate
Do you have a plan you can share for this bookcase?
rolandrolson
There is no plan, I’m sorry. I tried to show all the details in pictures. The height of this bookcase is determined by the length of euro pallets, which is 120 cm. The width – size of A4 sheets. I hope this will help.
Pingback: