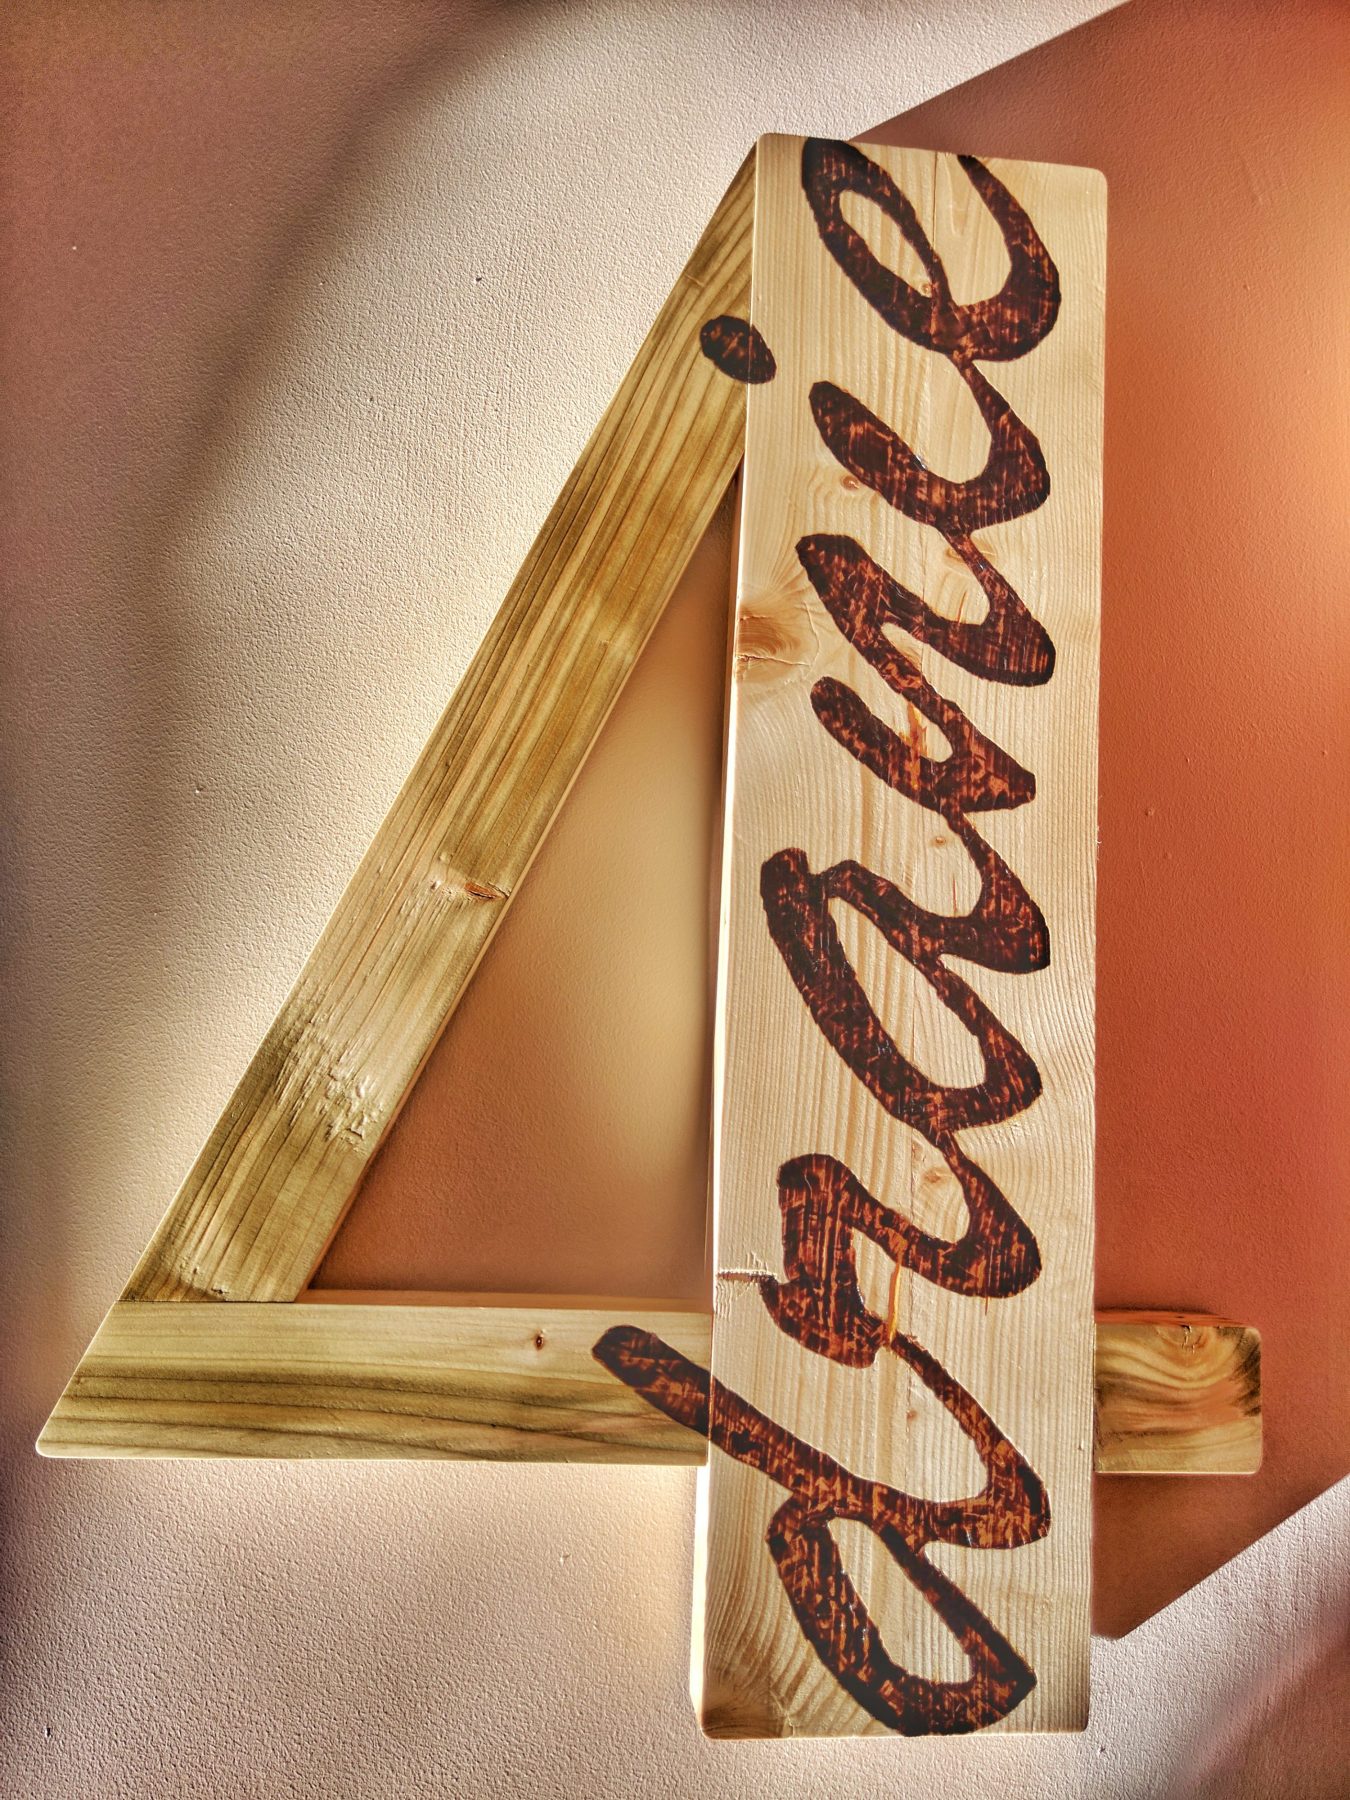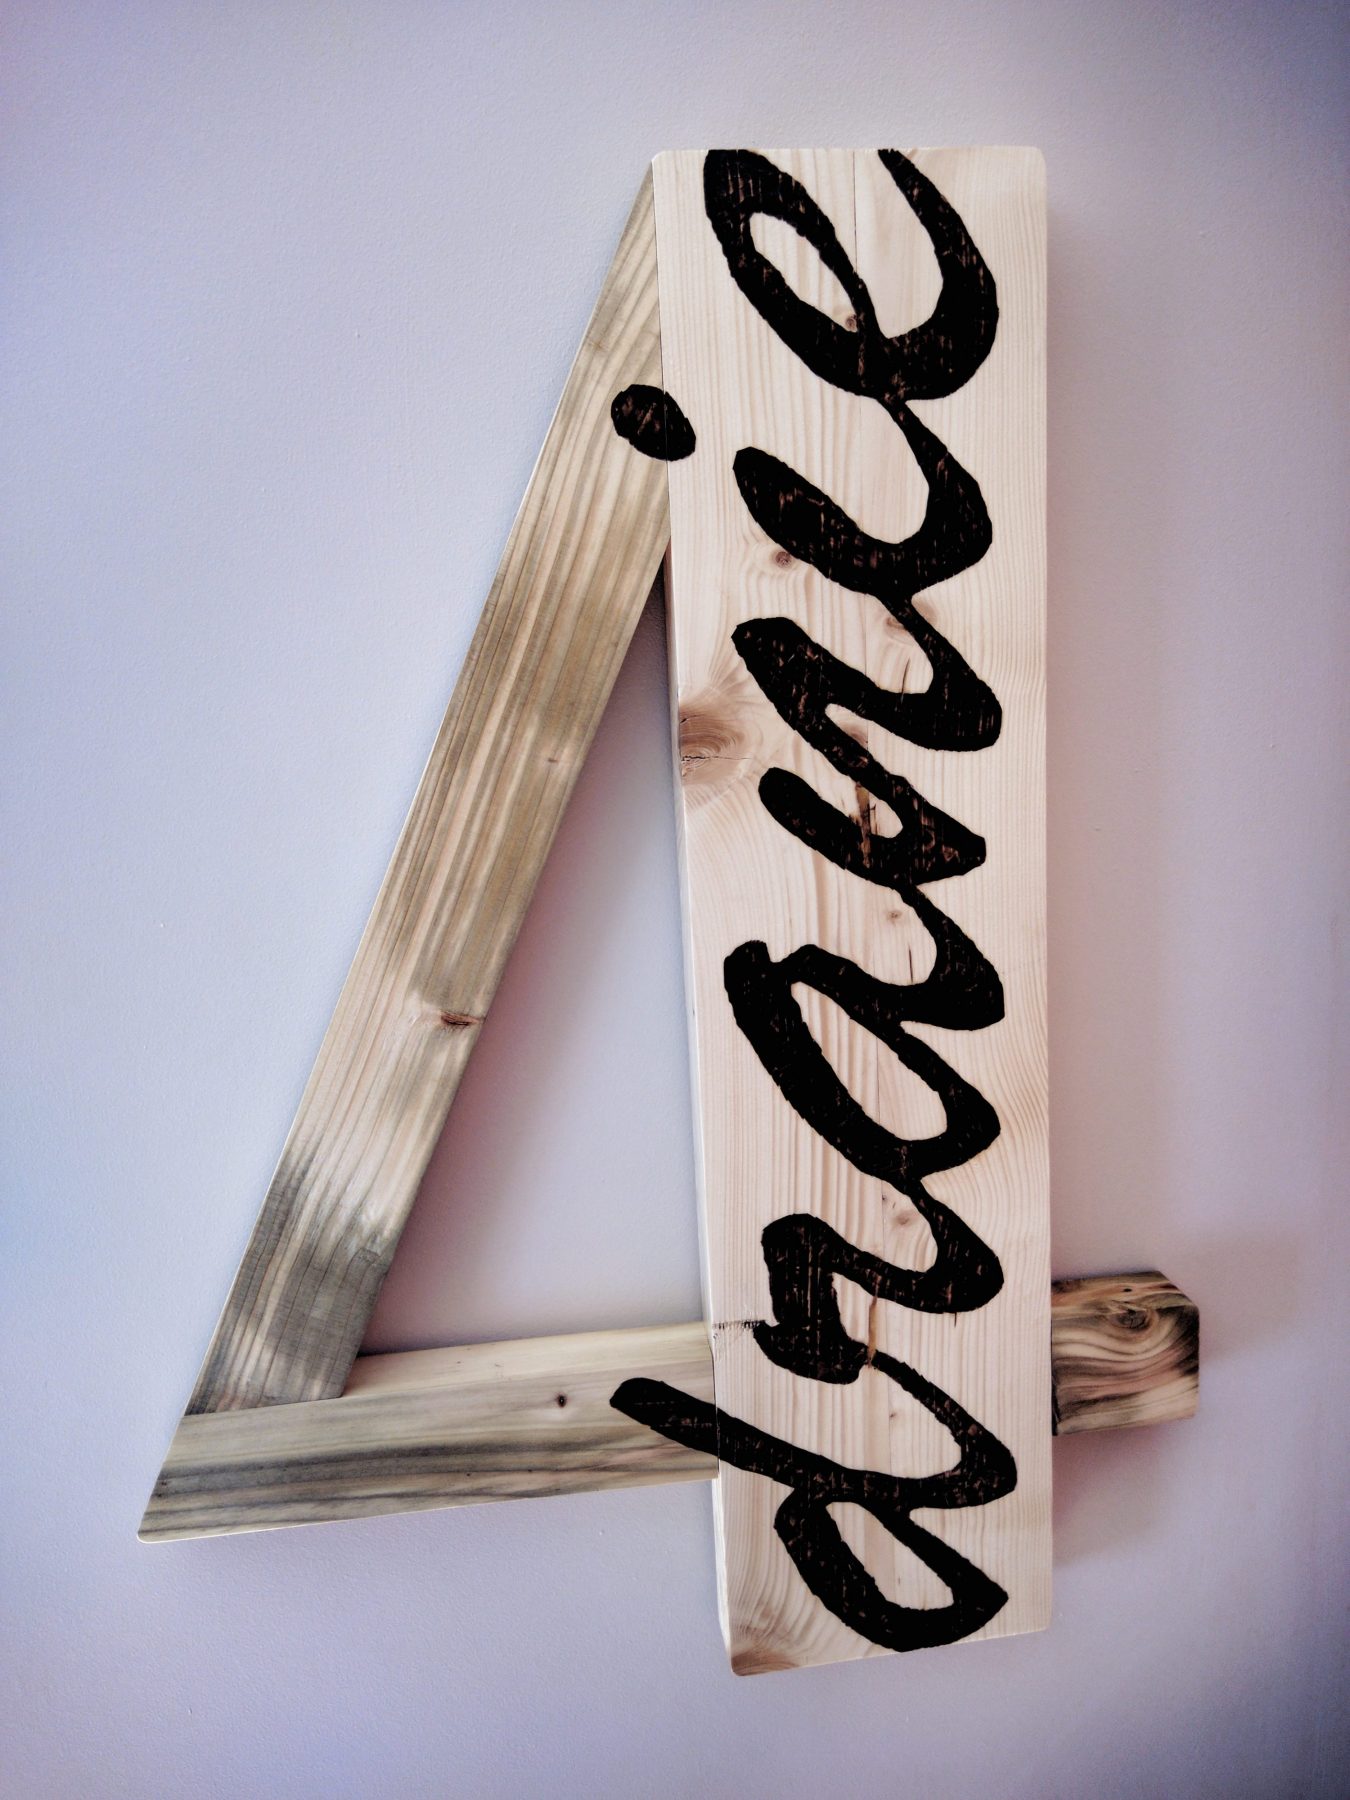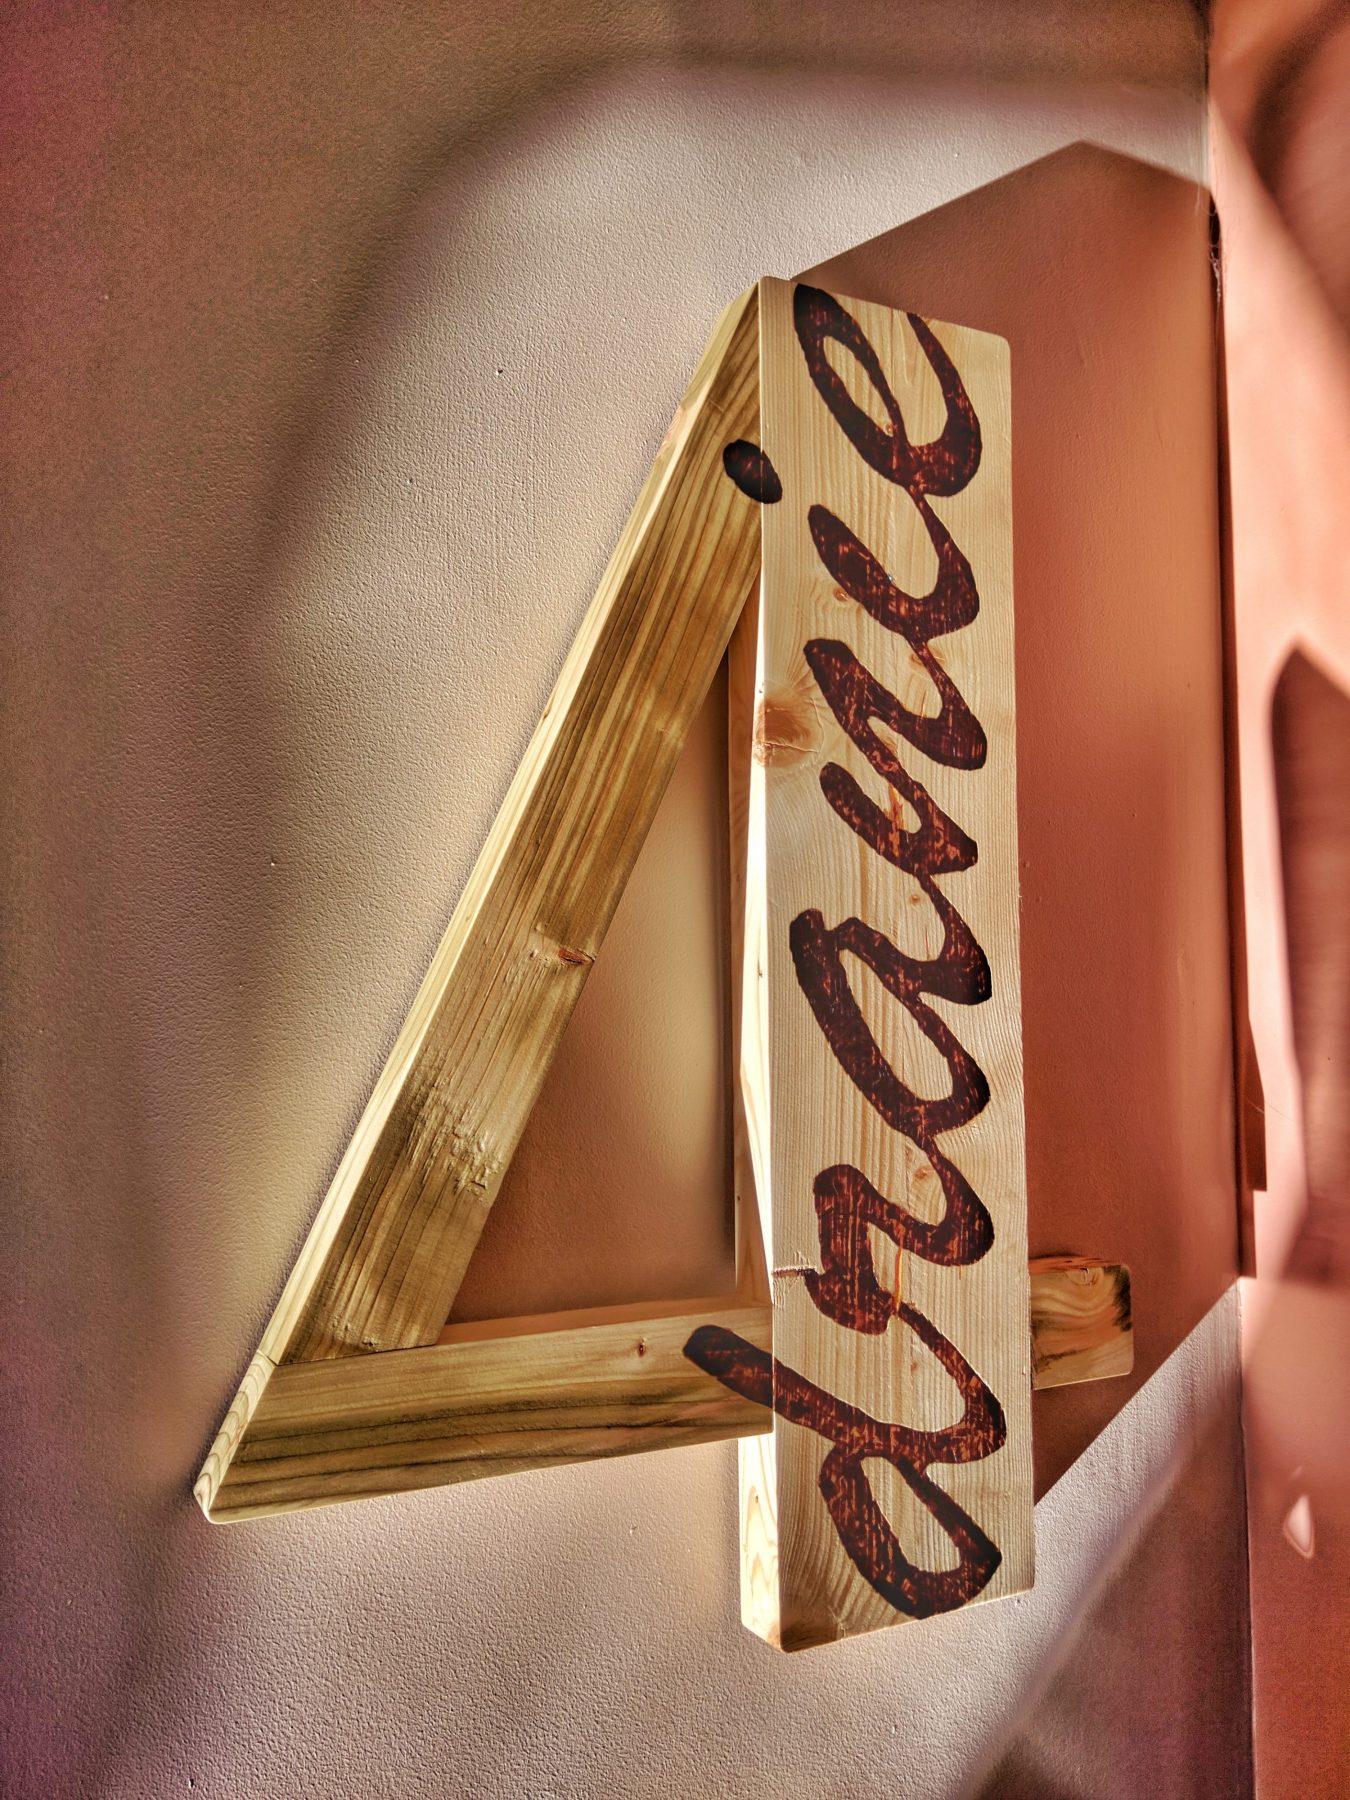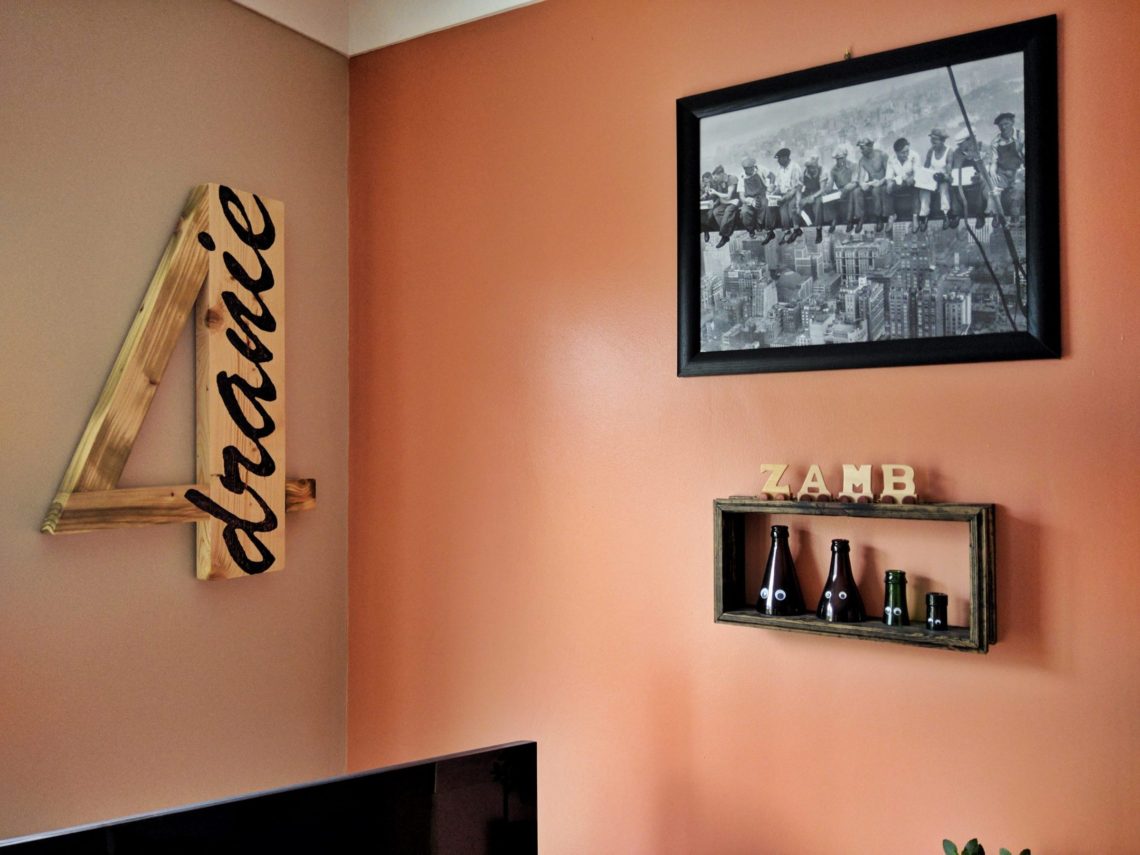
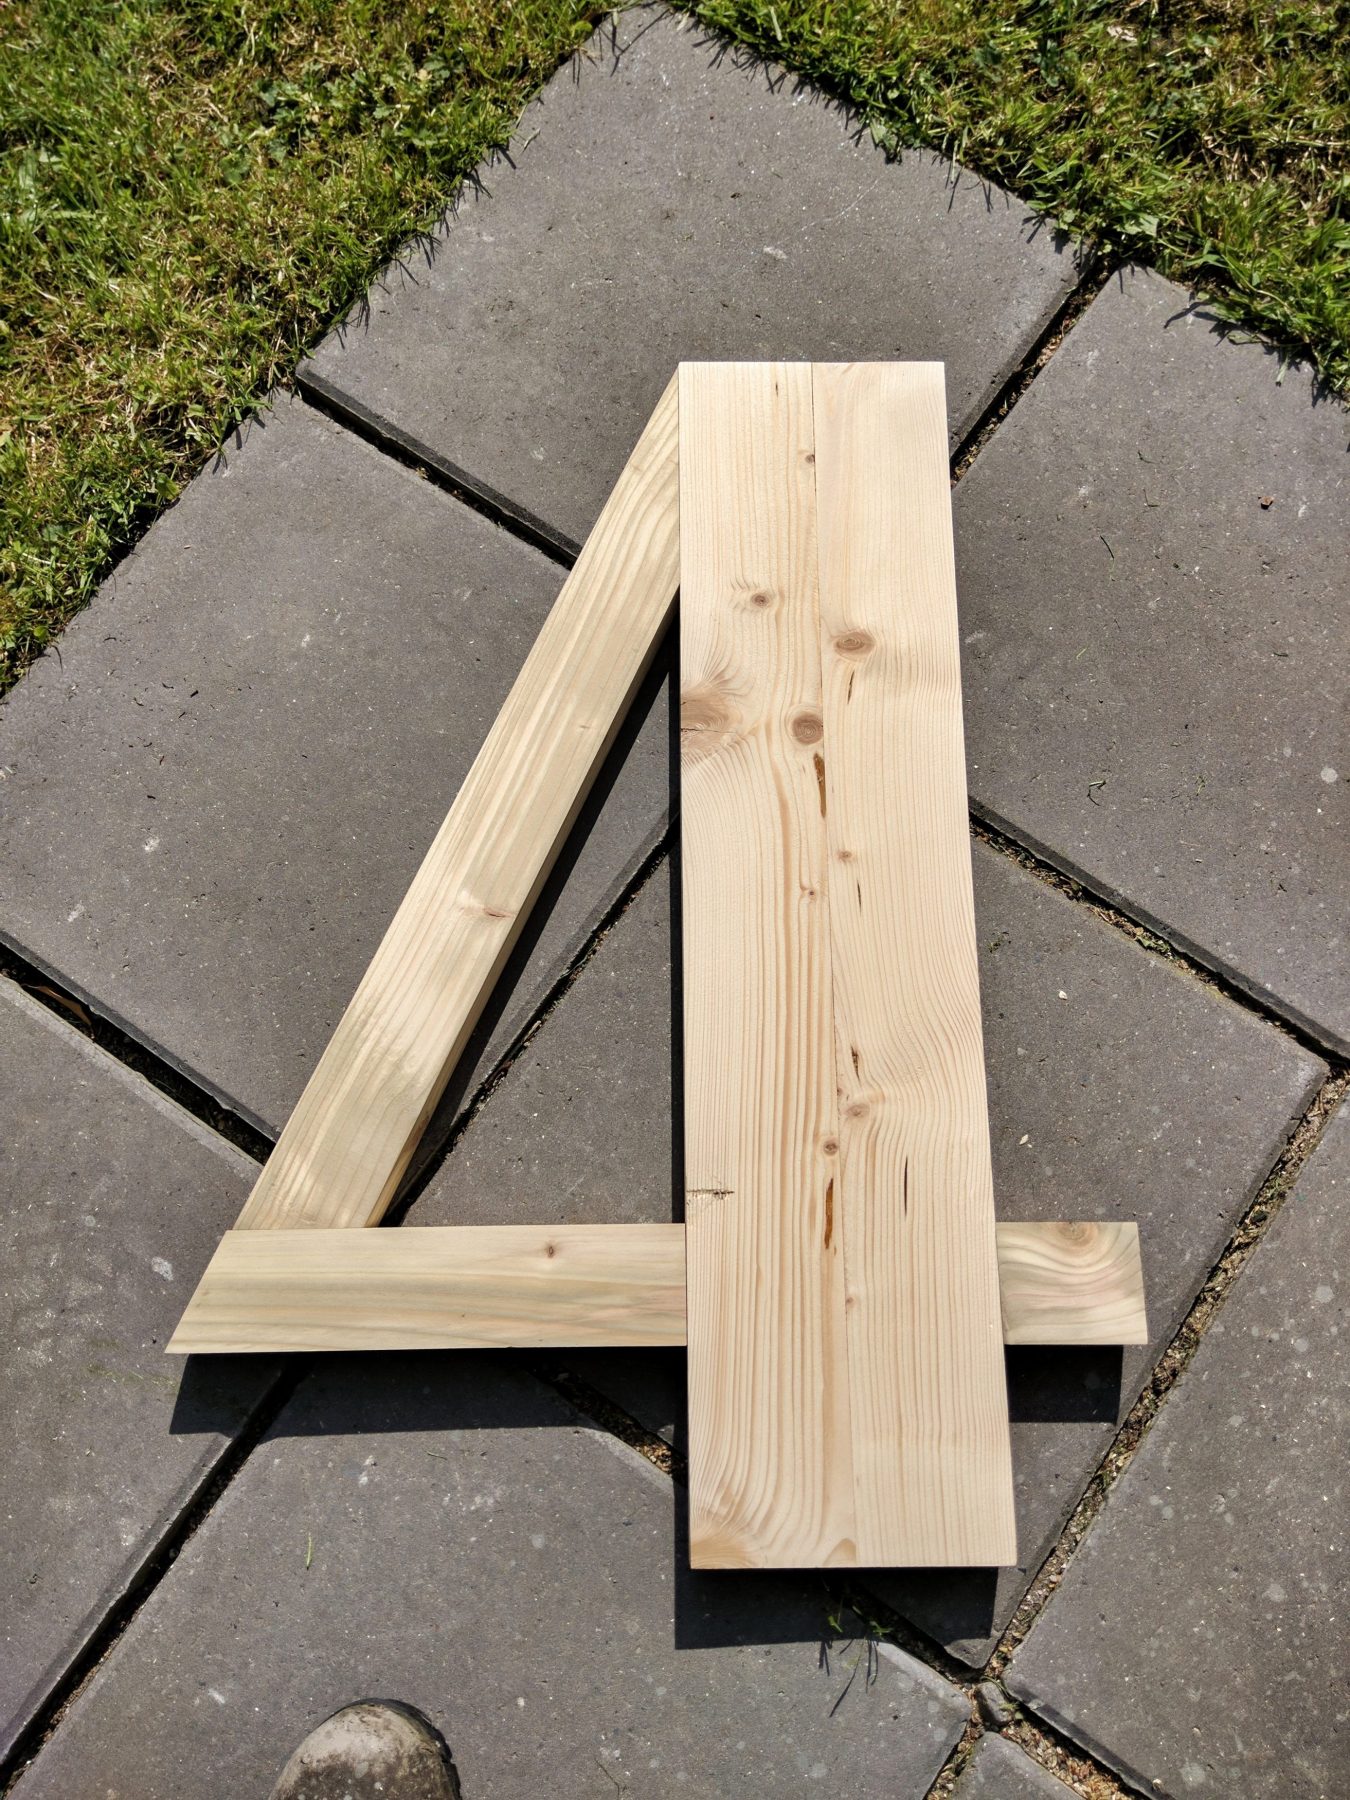
4 rogues wall art
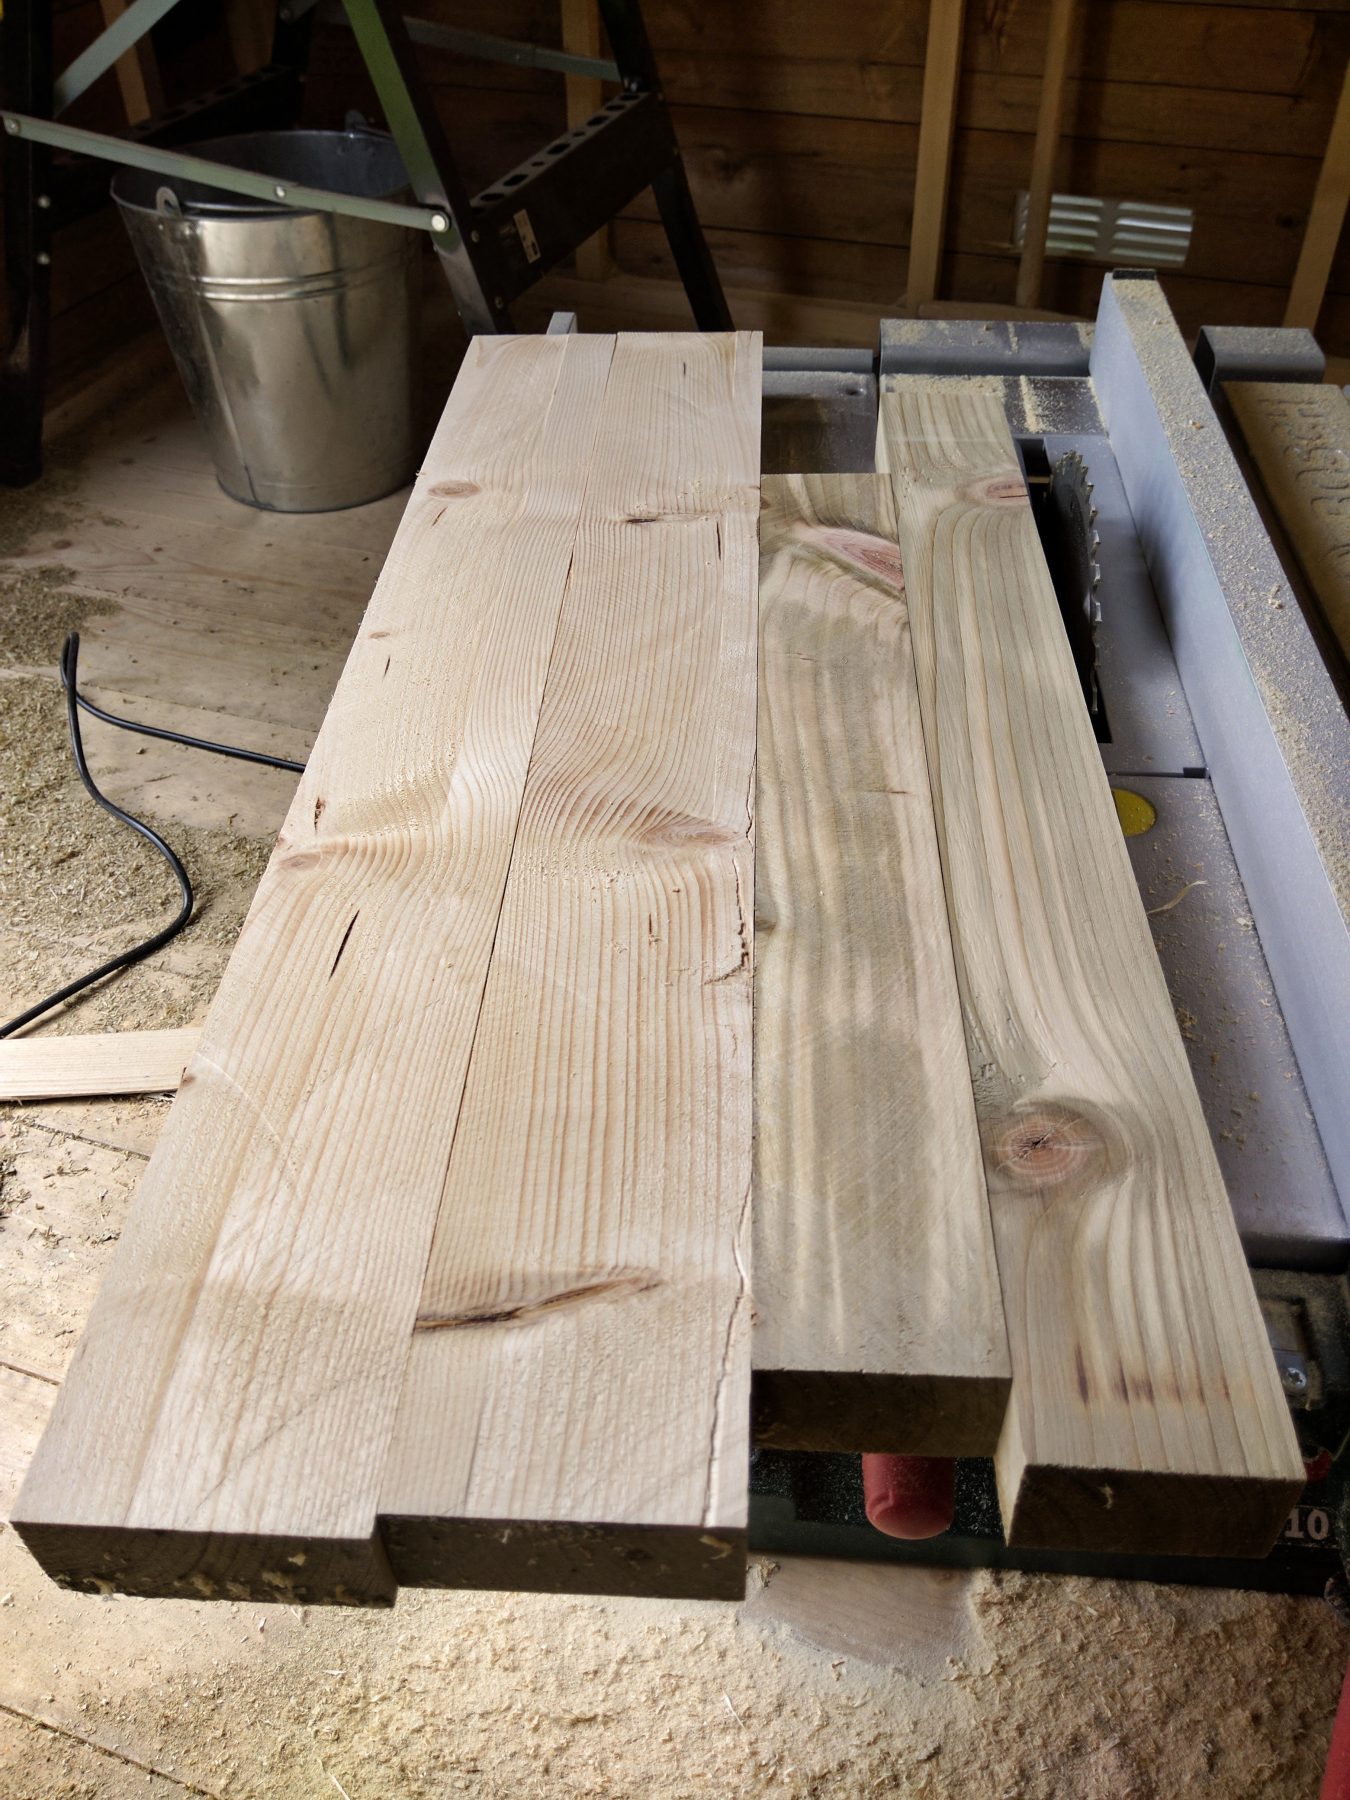
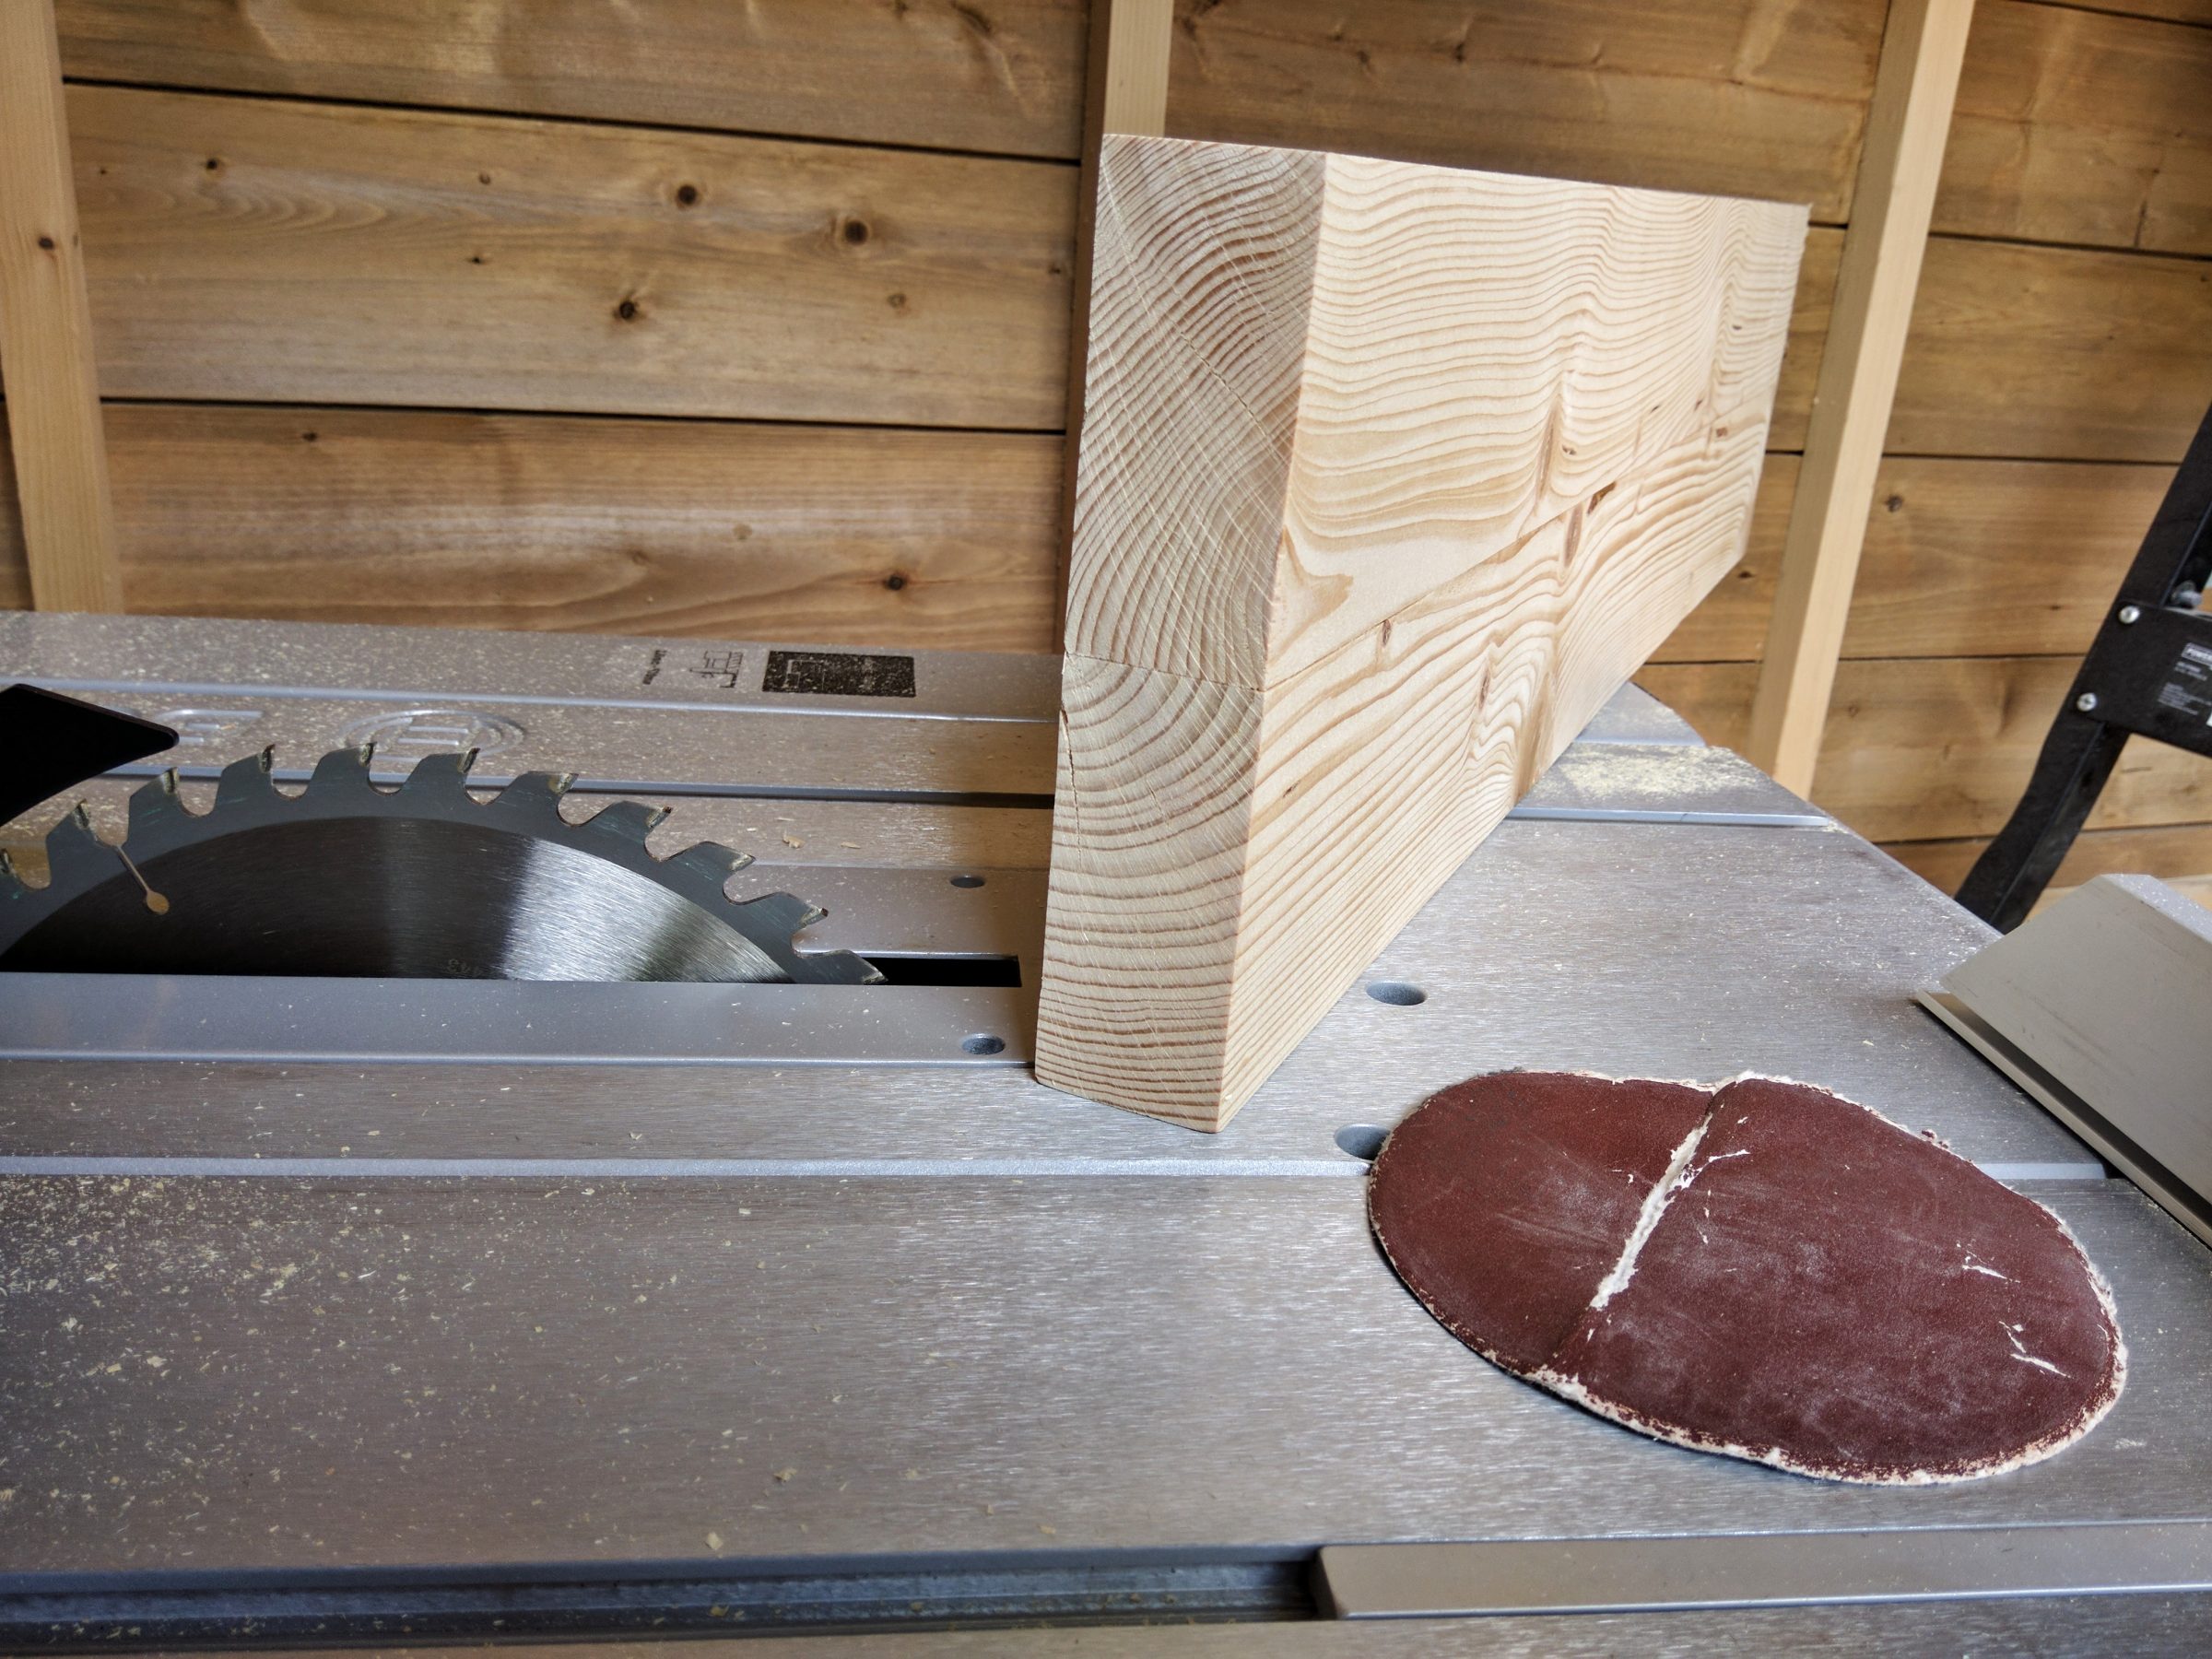
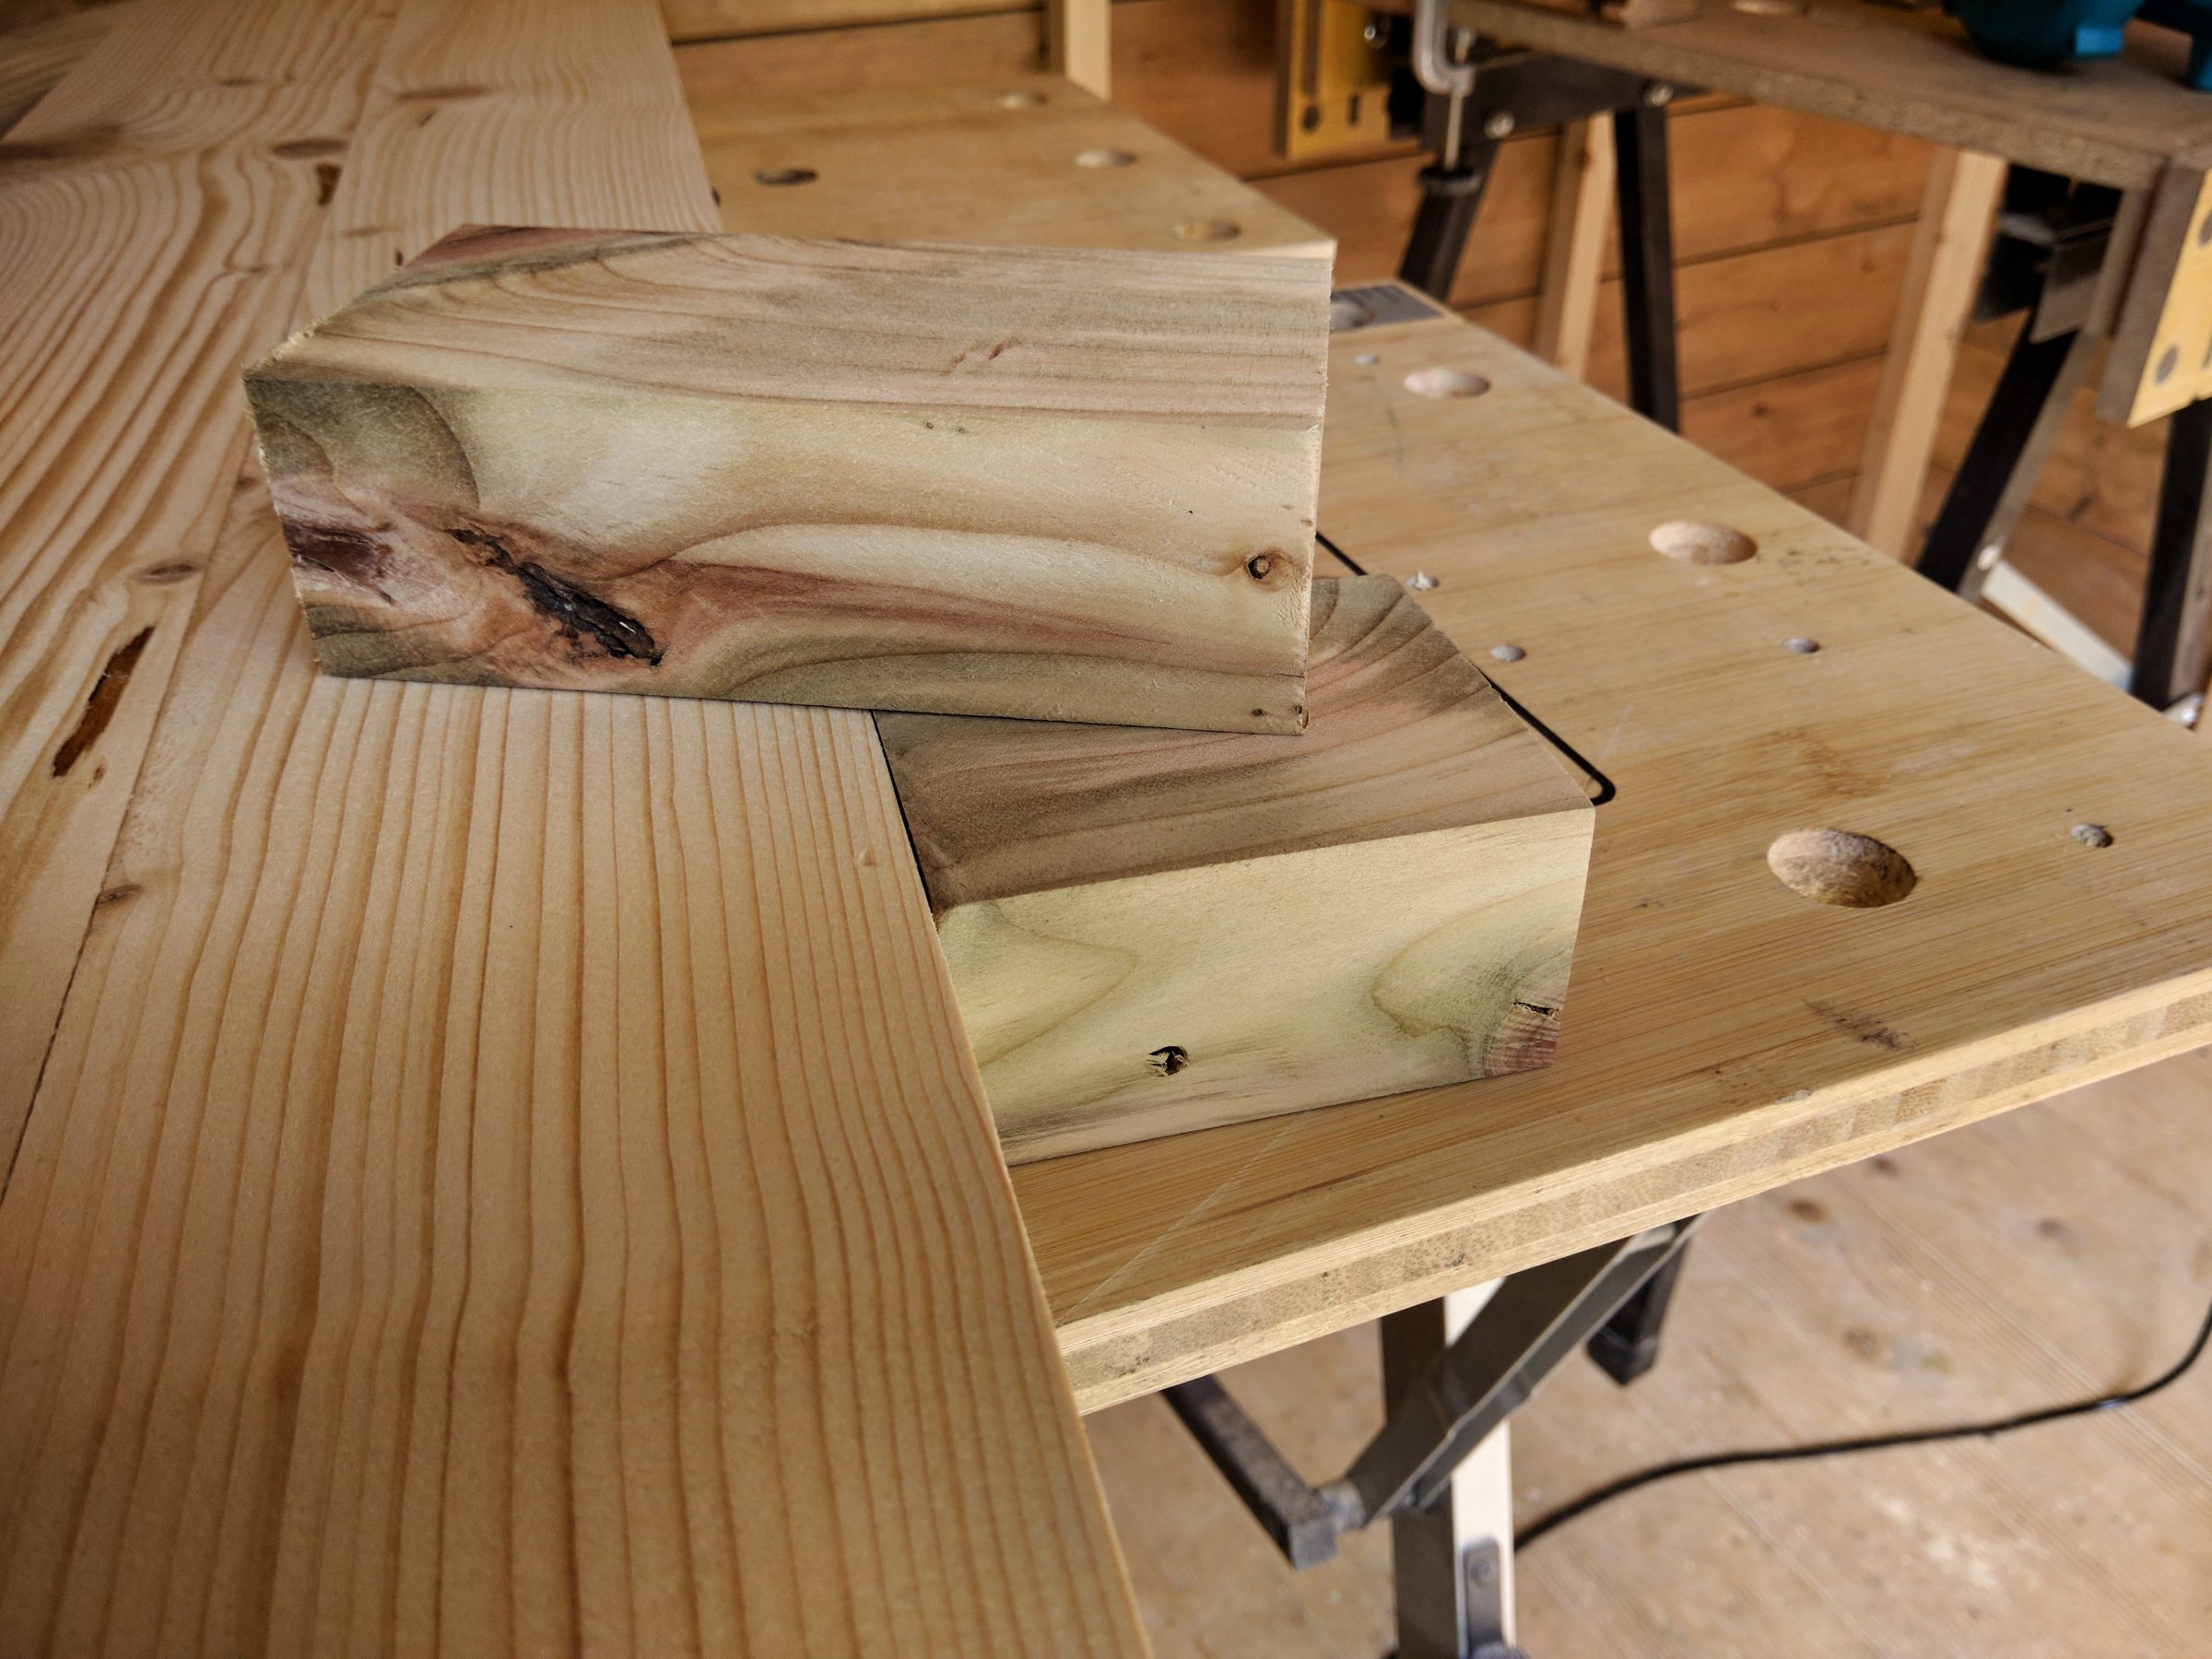
This title is translated from Polish – 4 Dranie means 4 Rogues in English. This is still reclaimed wood, fence parts I guess. I had to square them up, I tried using a planer and belt sander but they didn’t work, or the progress was too slow. What worked was my table saw, good results in no time.
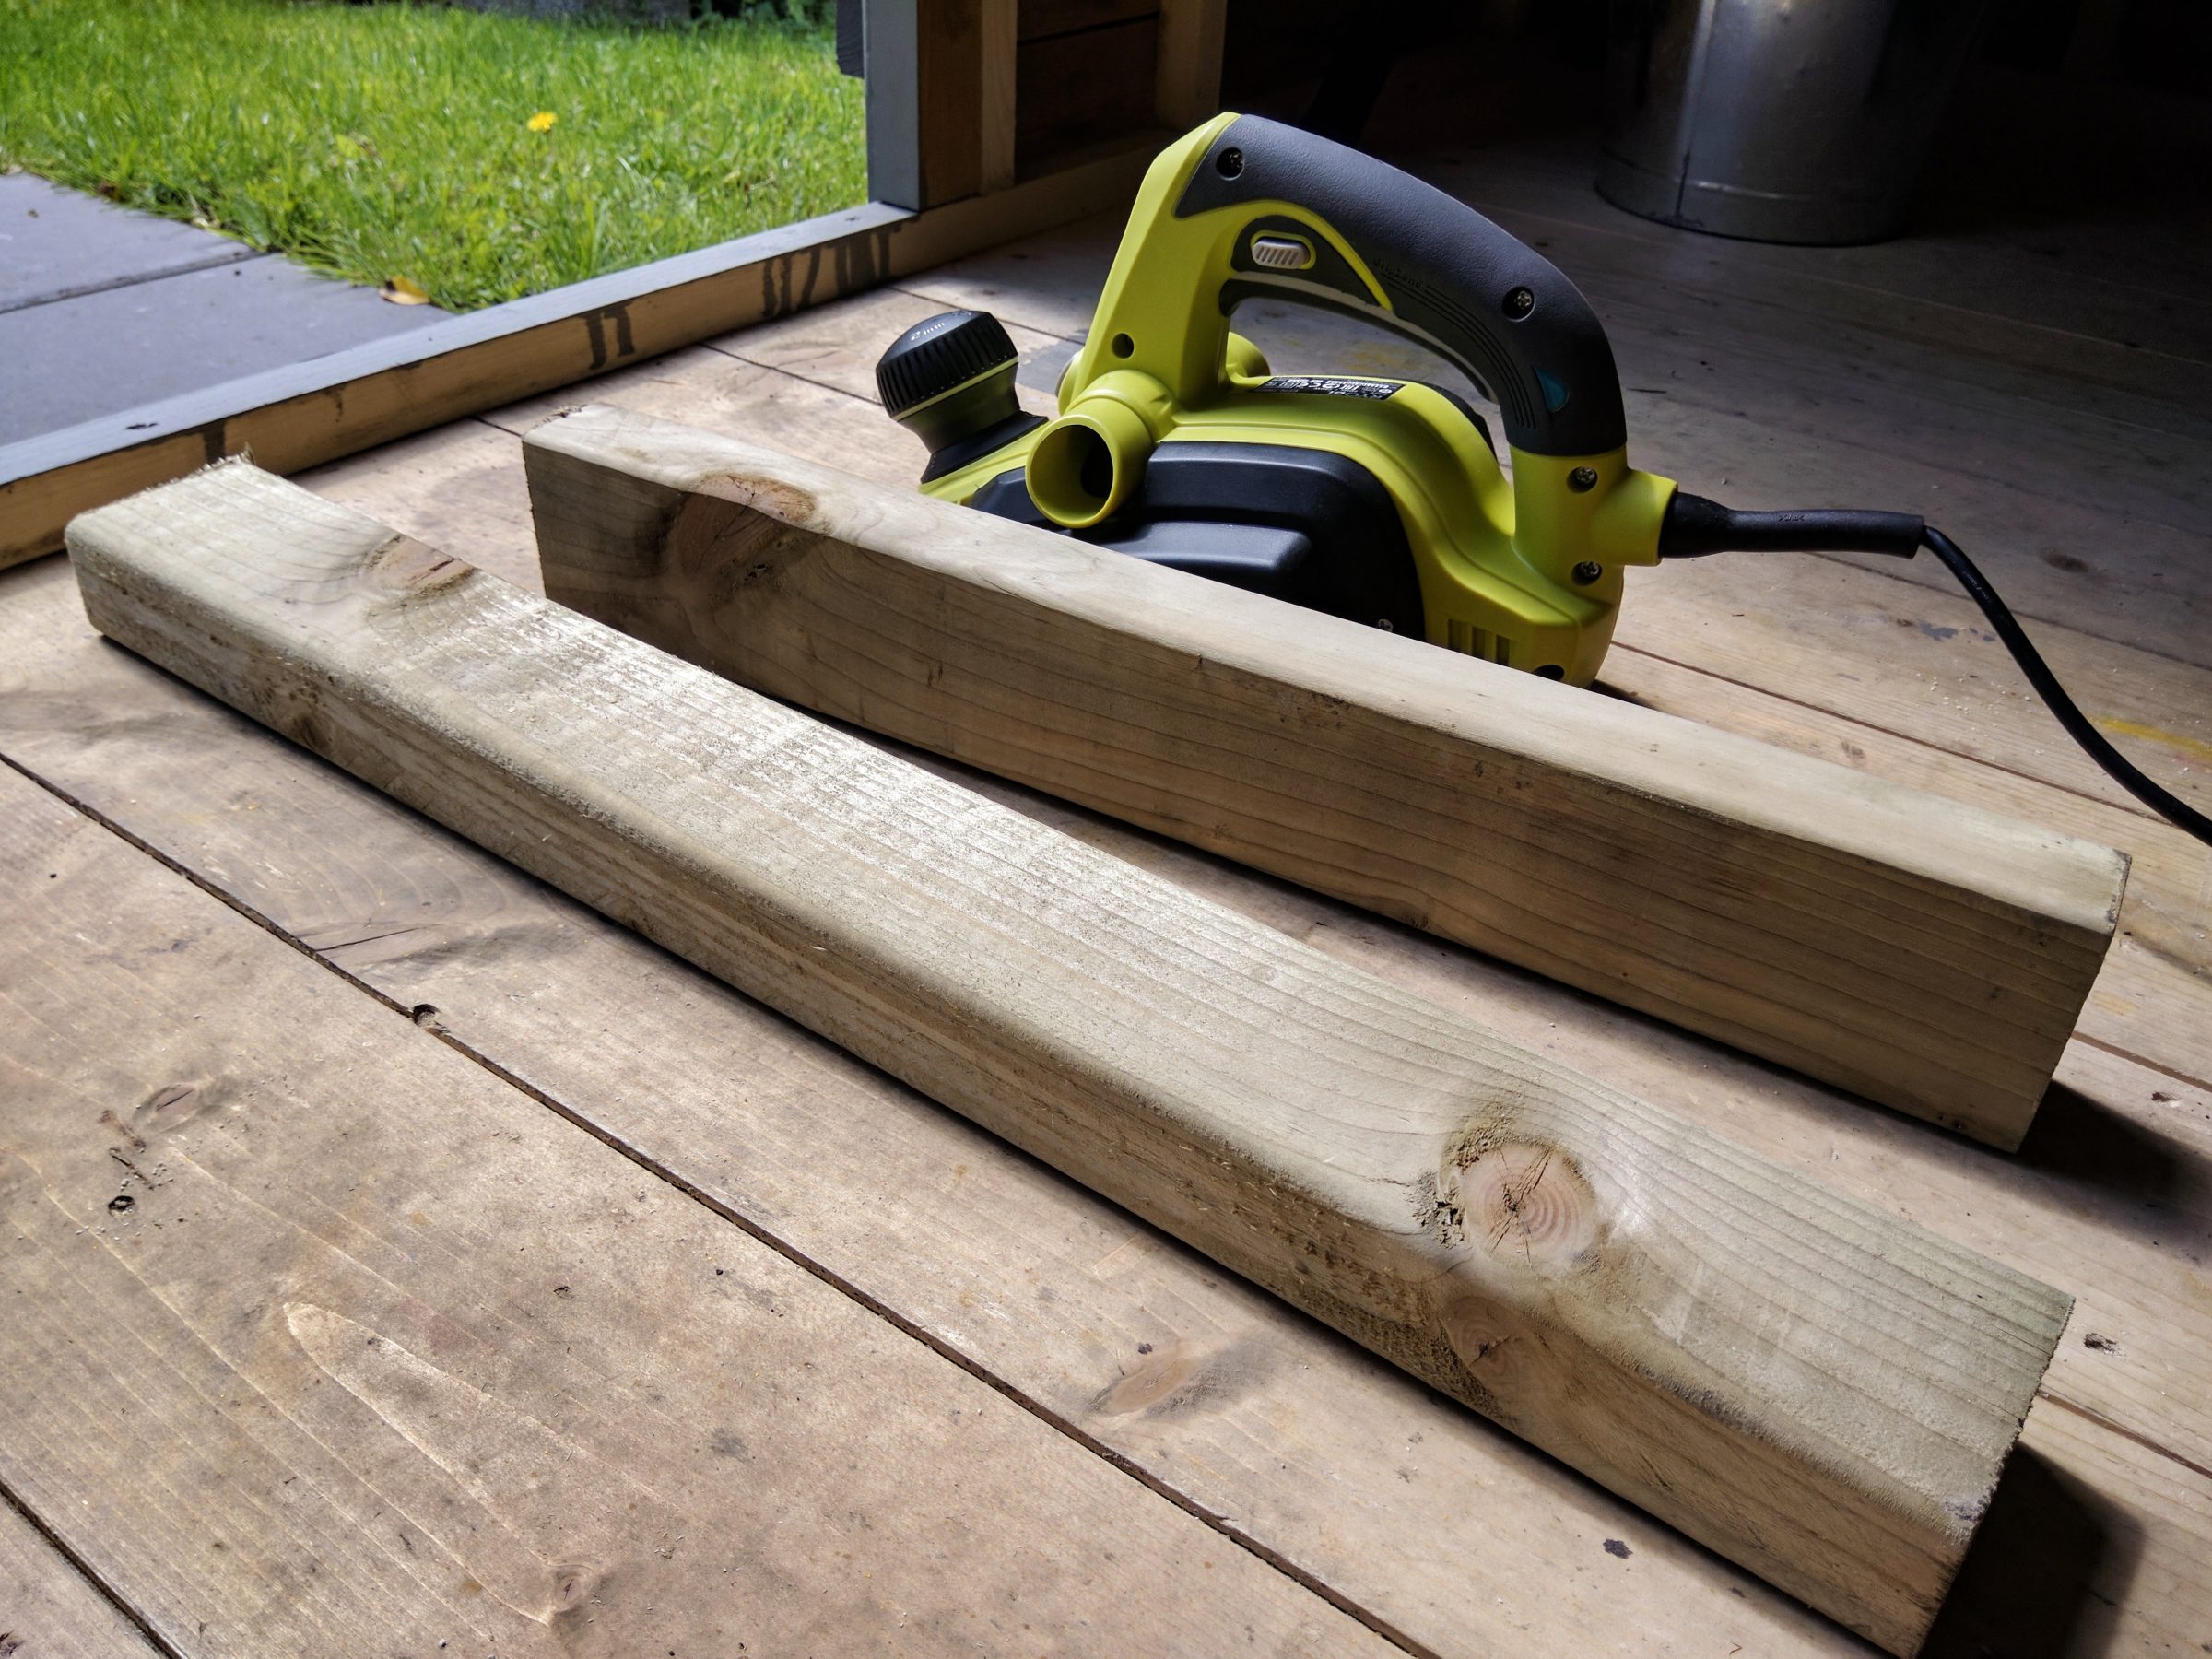

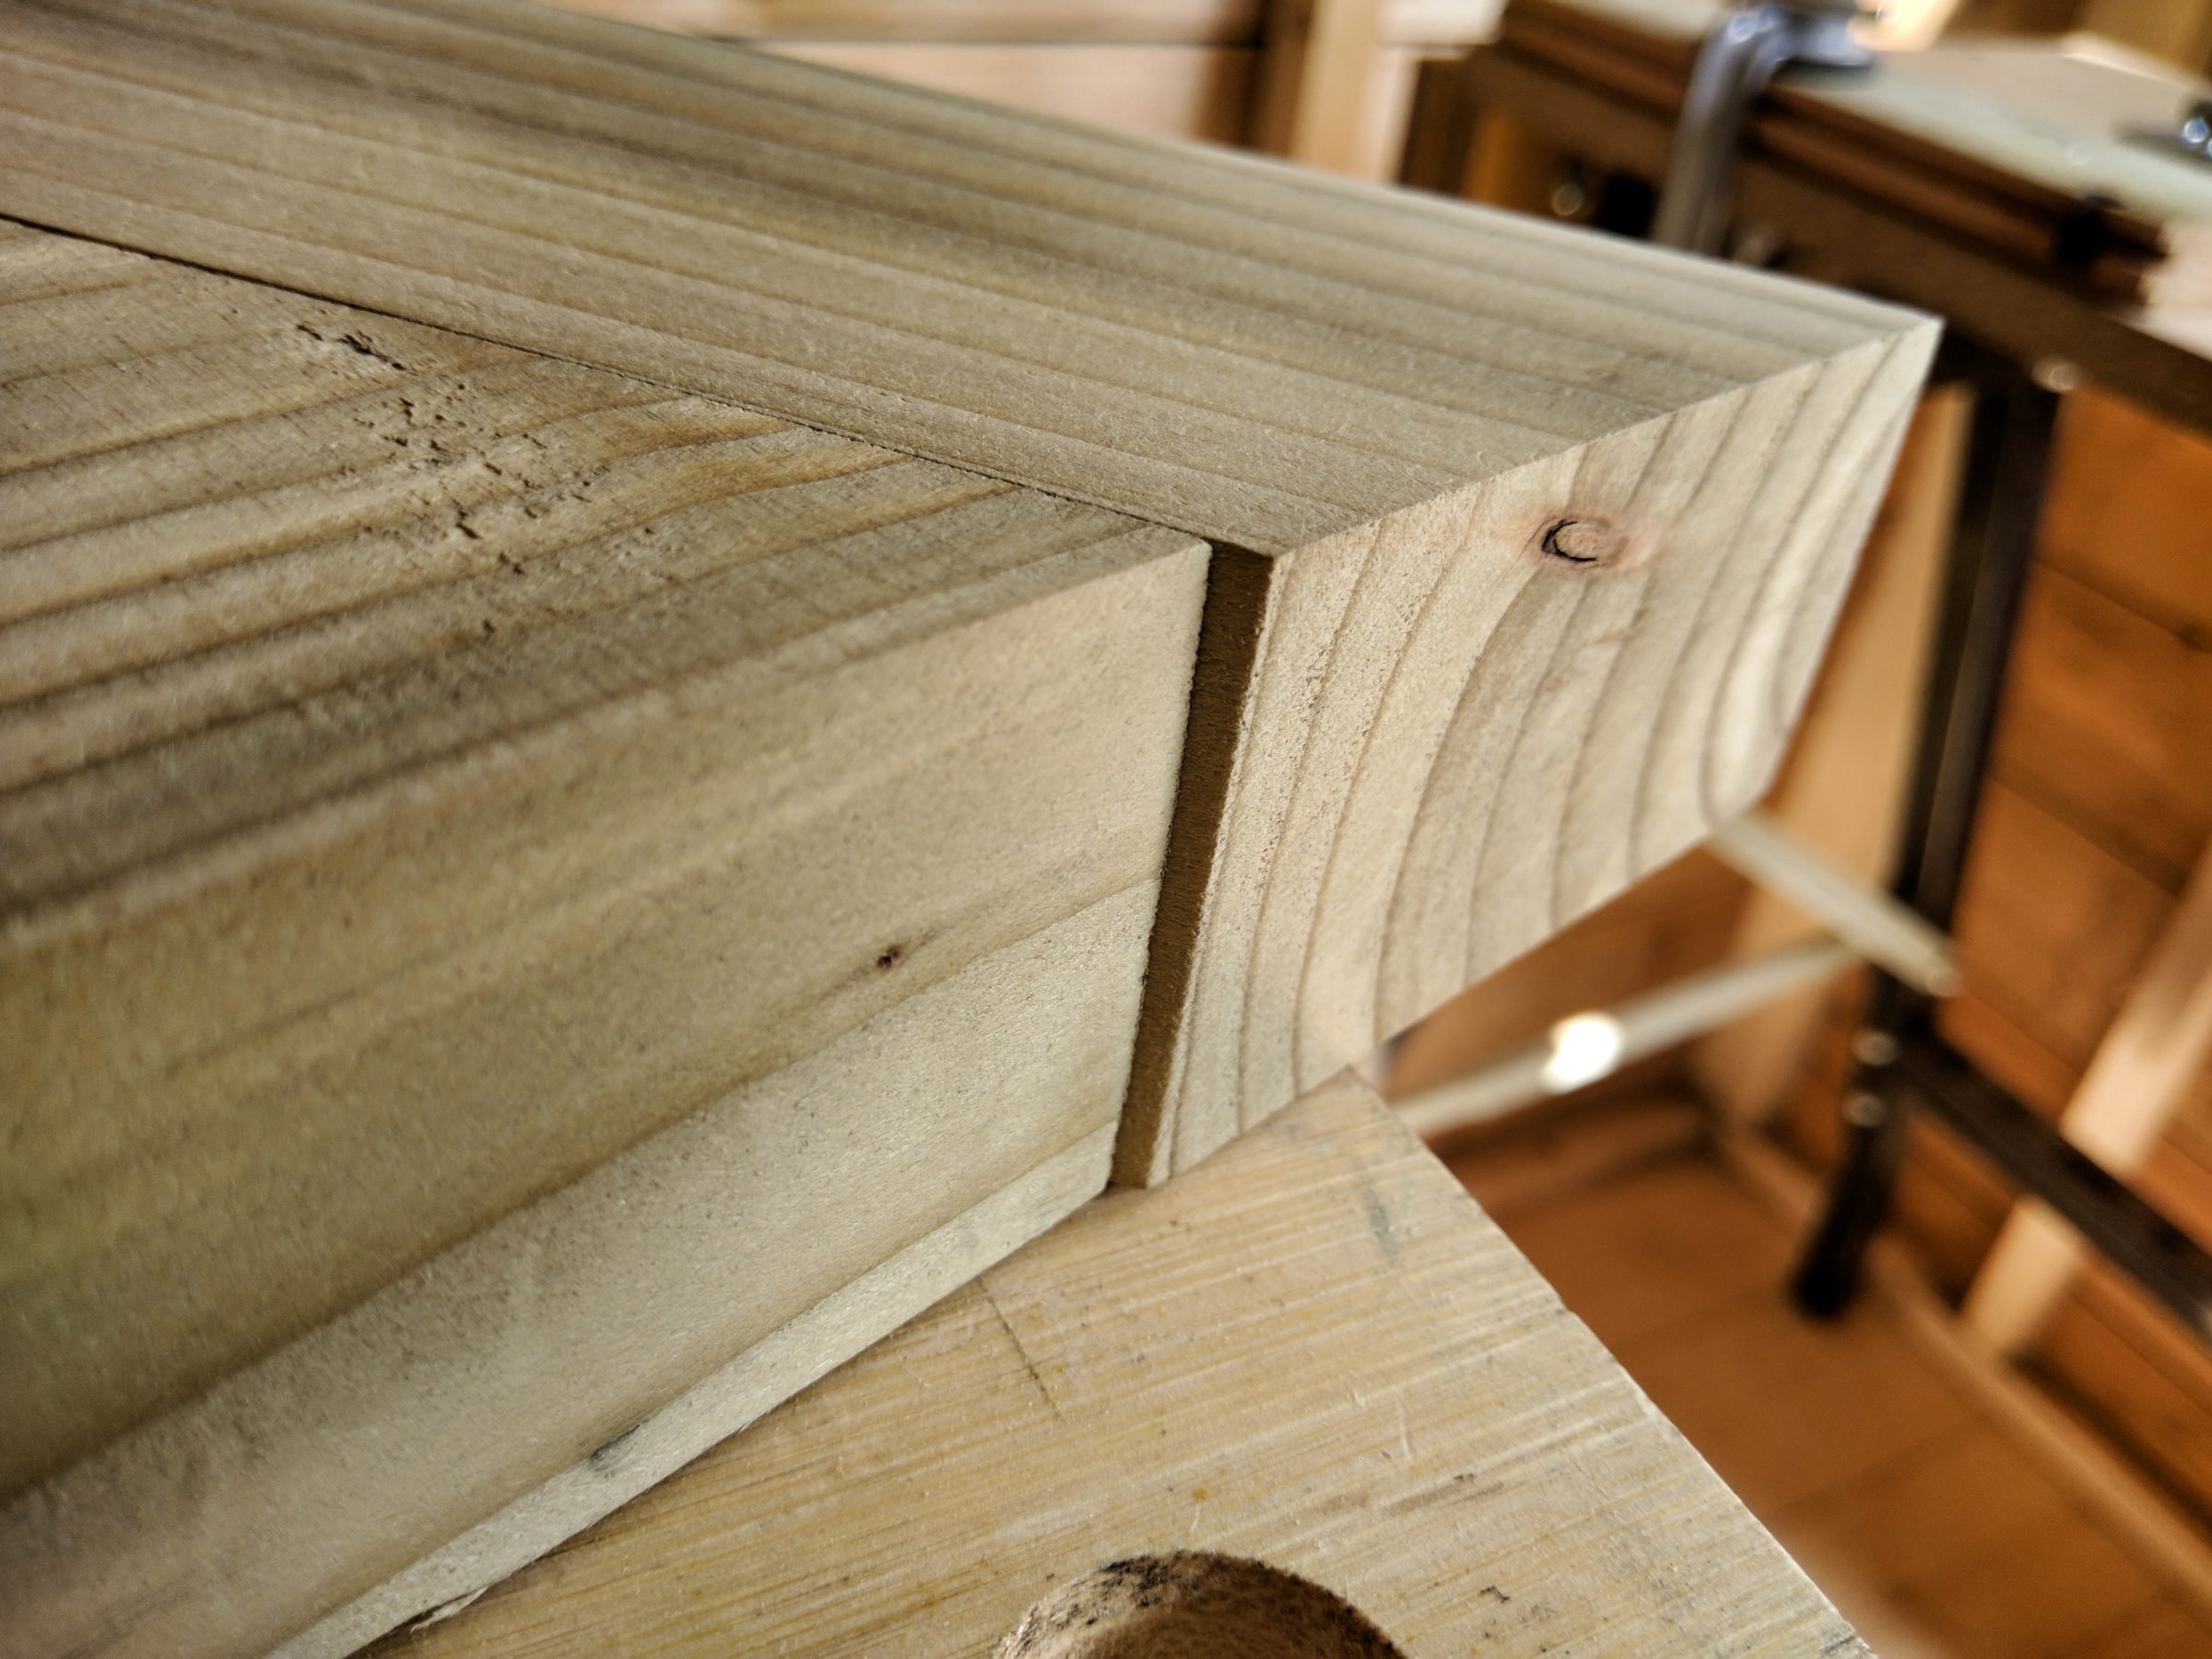
This table saw is a good tool, however, it could be a little bigger. All these elements had different thicknesses, but it didn’t take much time to have them cut.
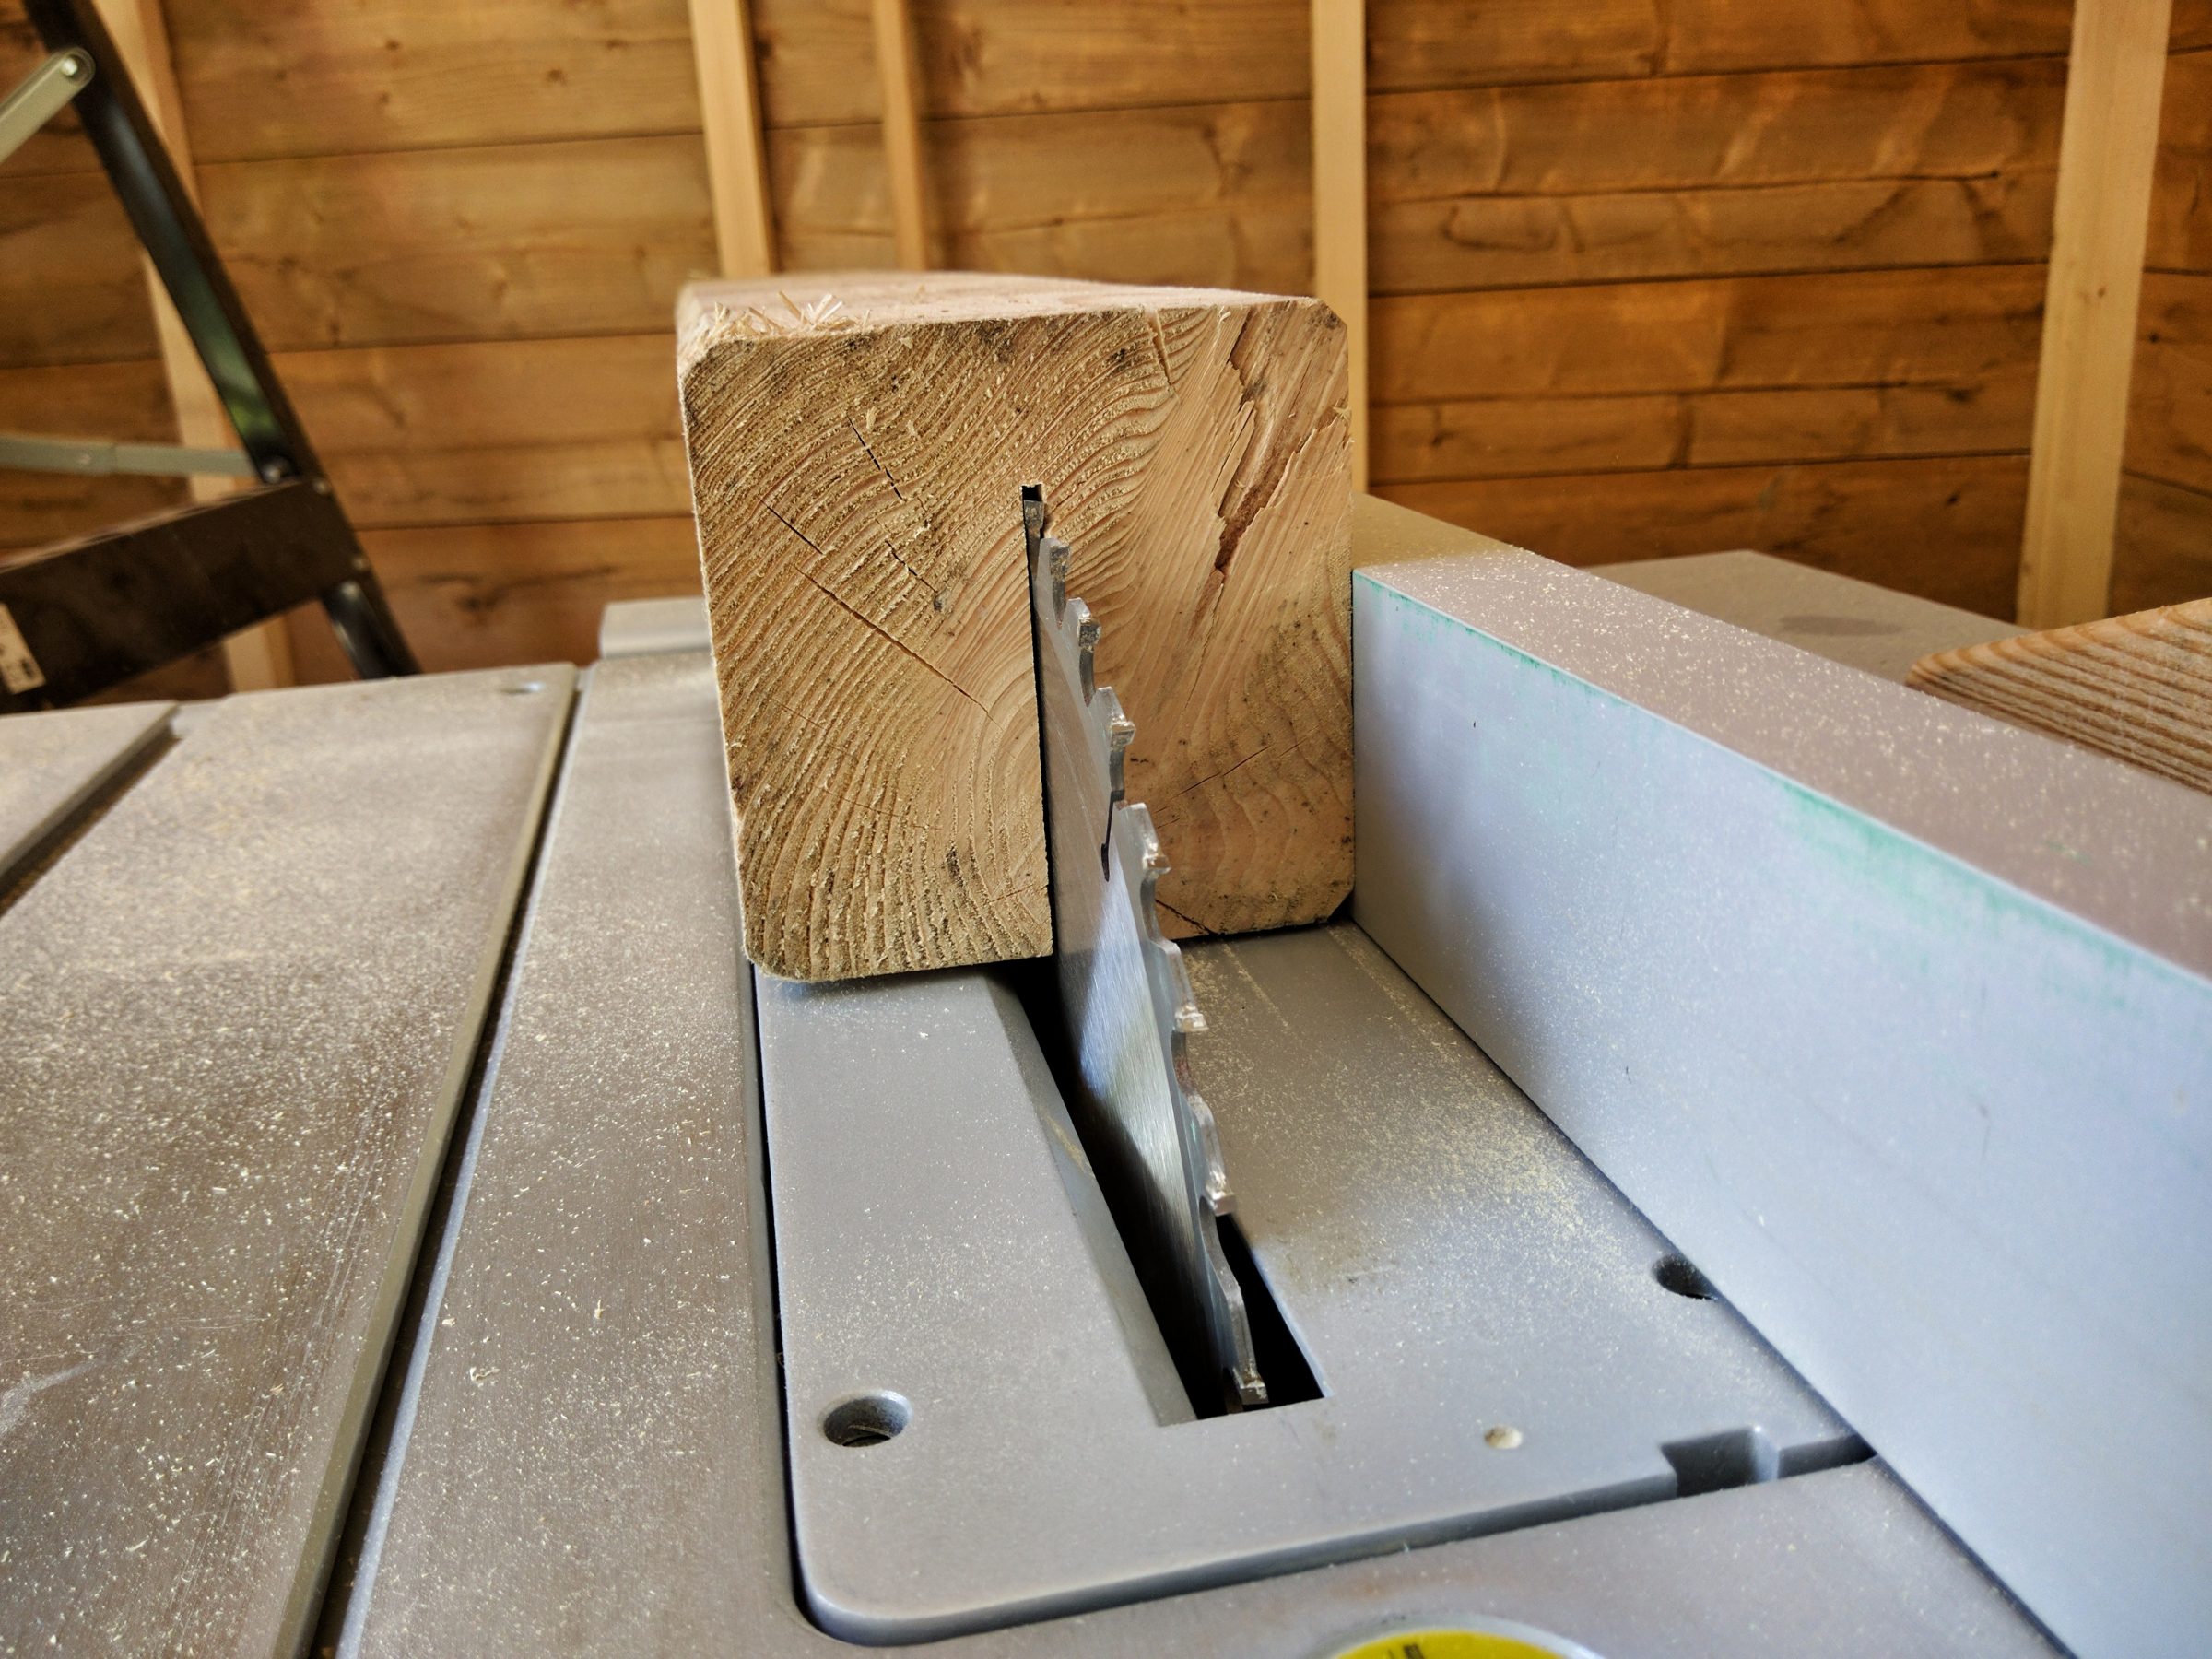
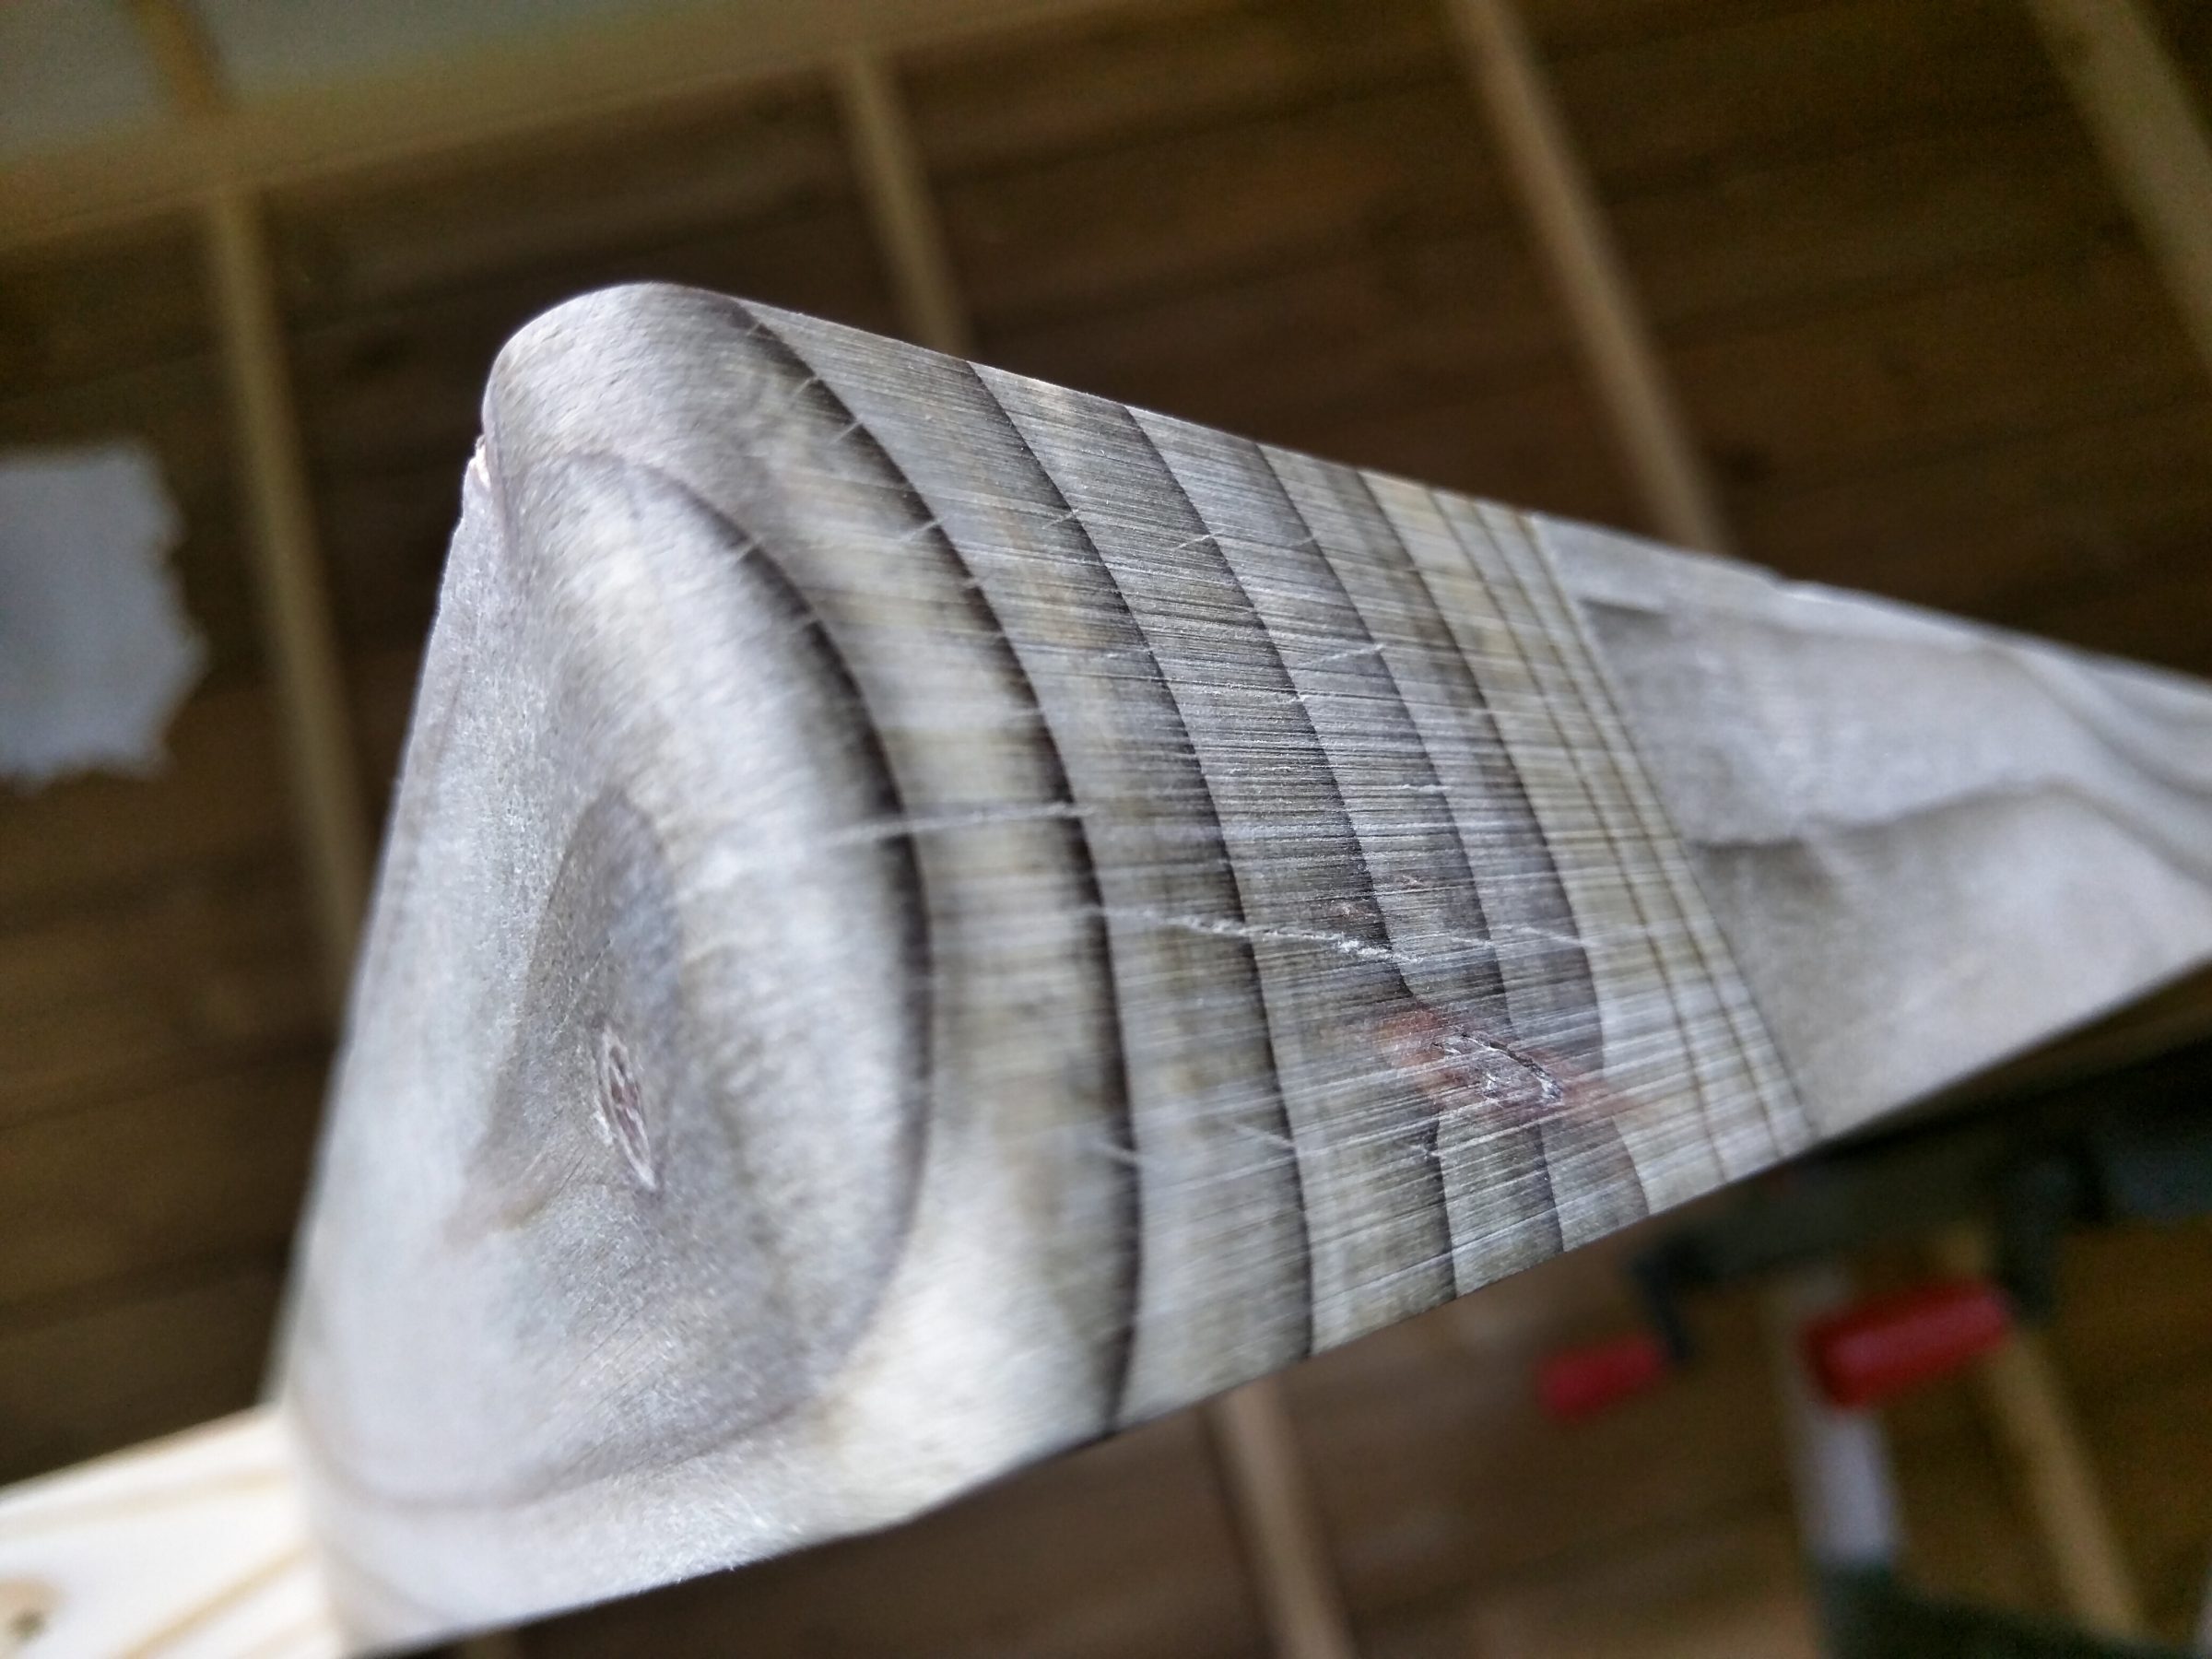
I’ve been looking for an excuse to stop using reclaimed wood and I think I’ve found one. I cut through a screw. This had to be a screw tip because the previous cut didn’t go through that screw. I always check my timber for any metal parts, but this time I missed it. It didn’t do much damage, but it looks like the days of pallet wood are gone.

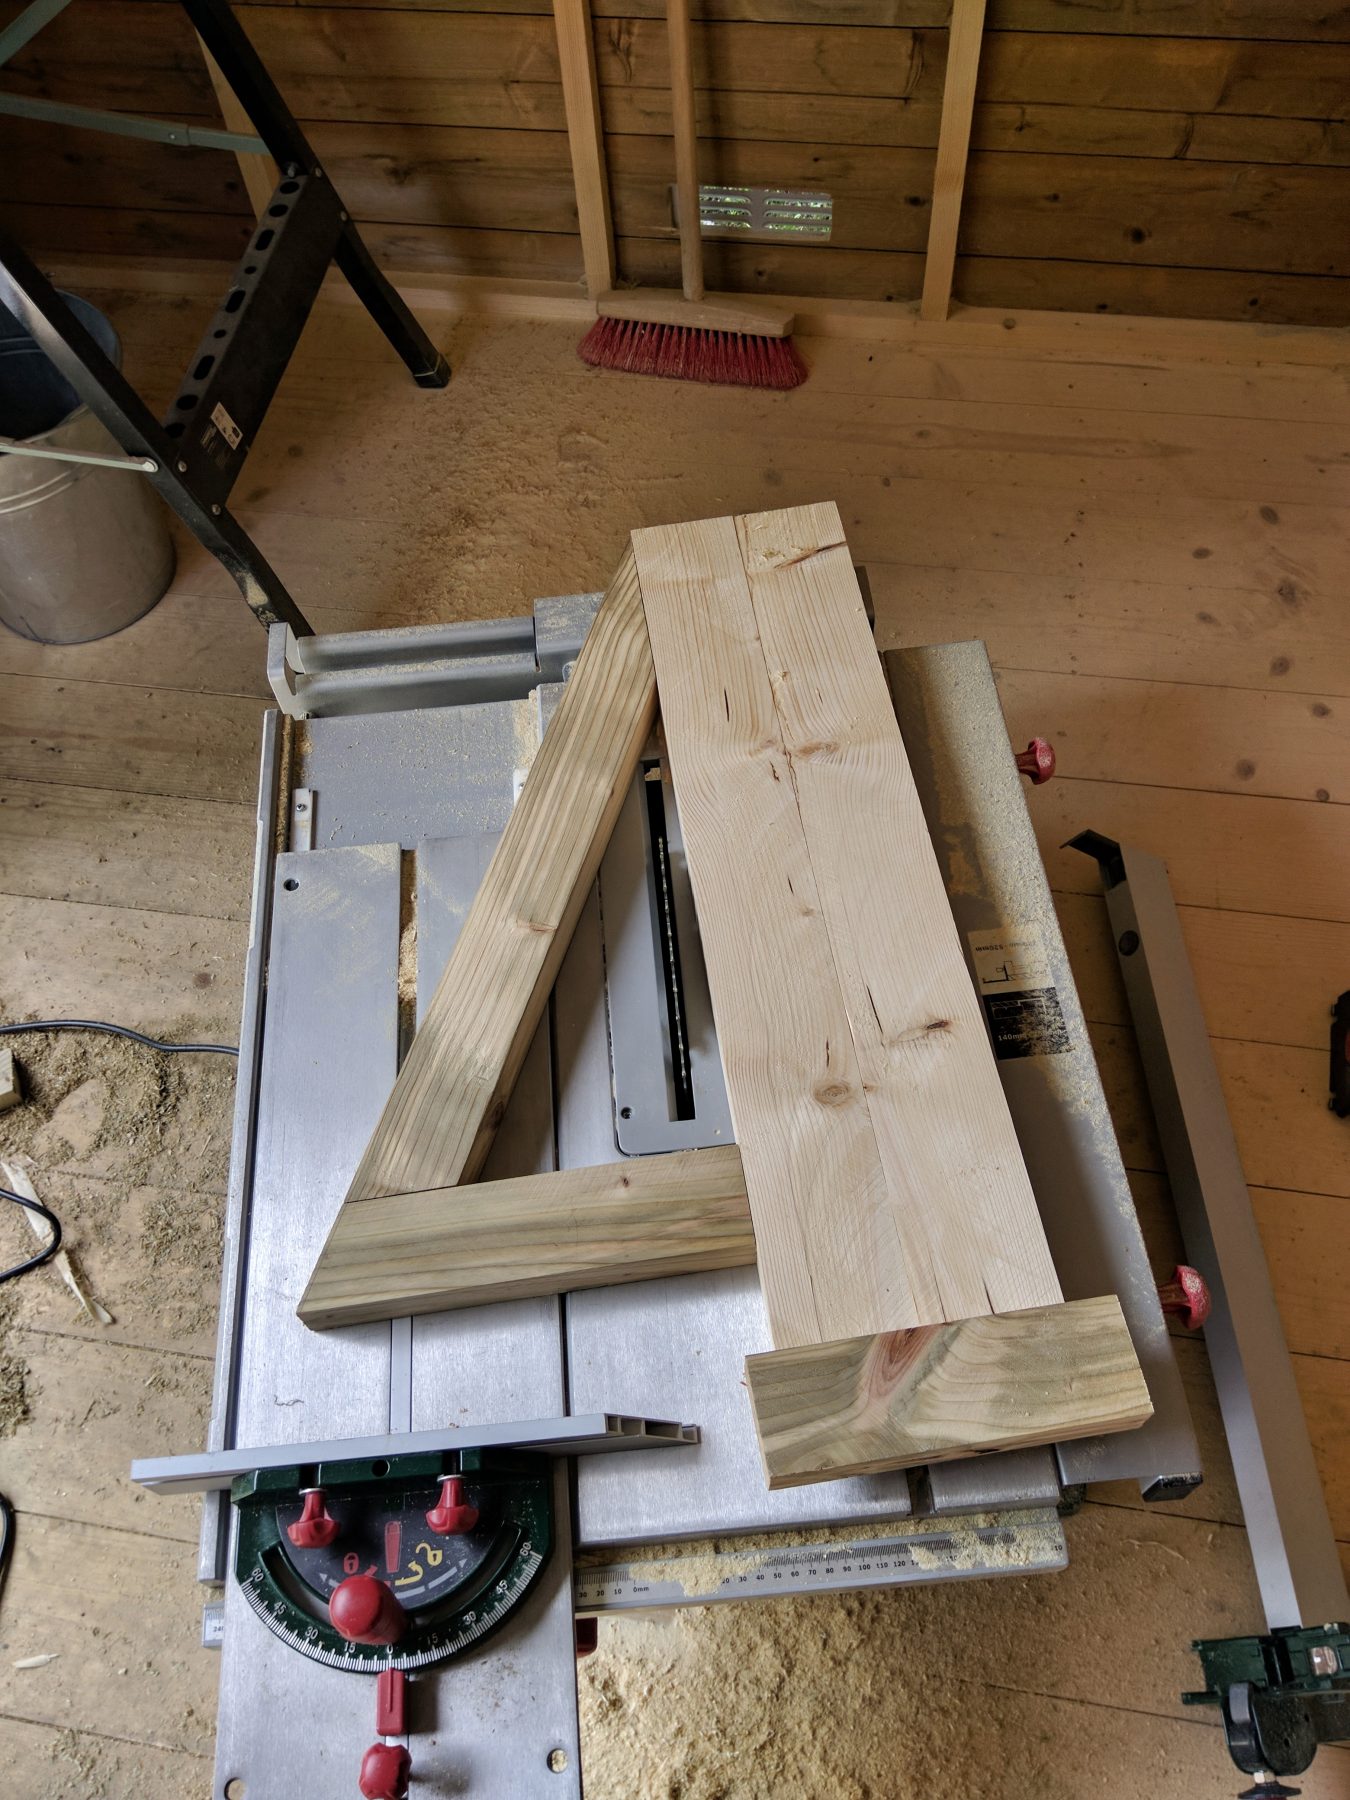
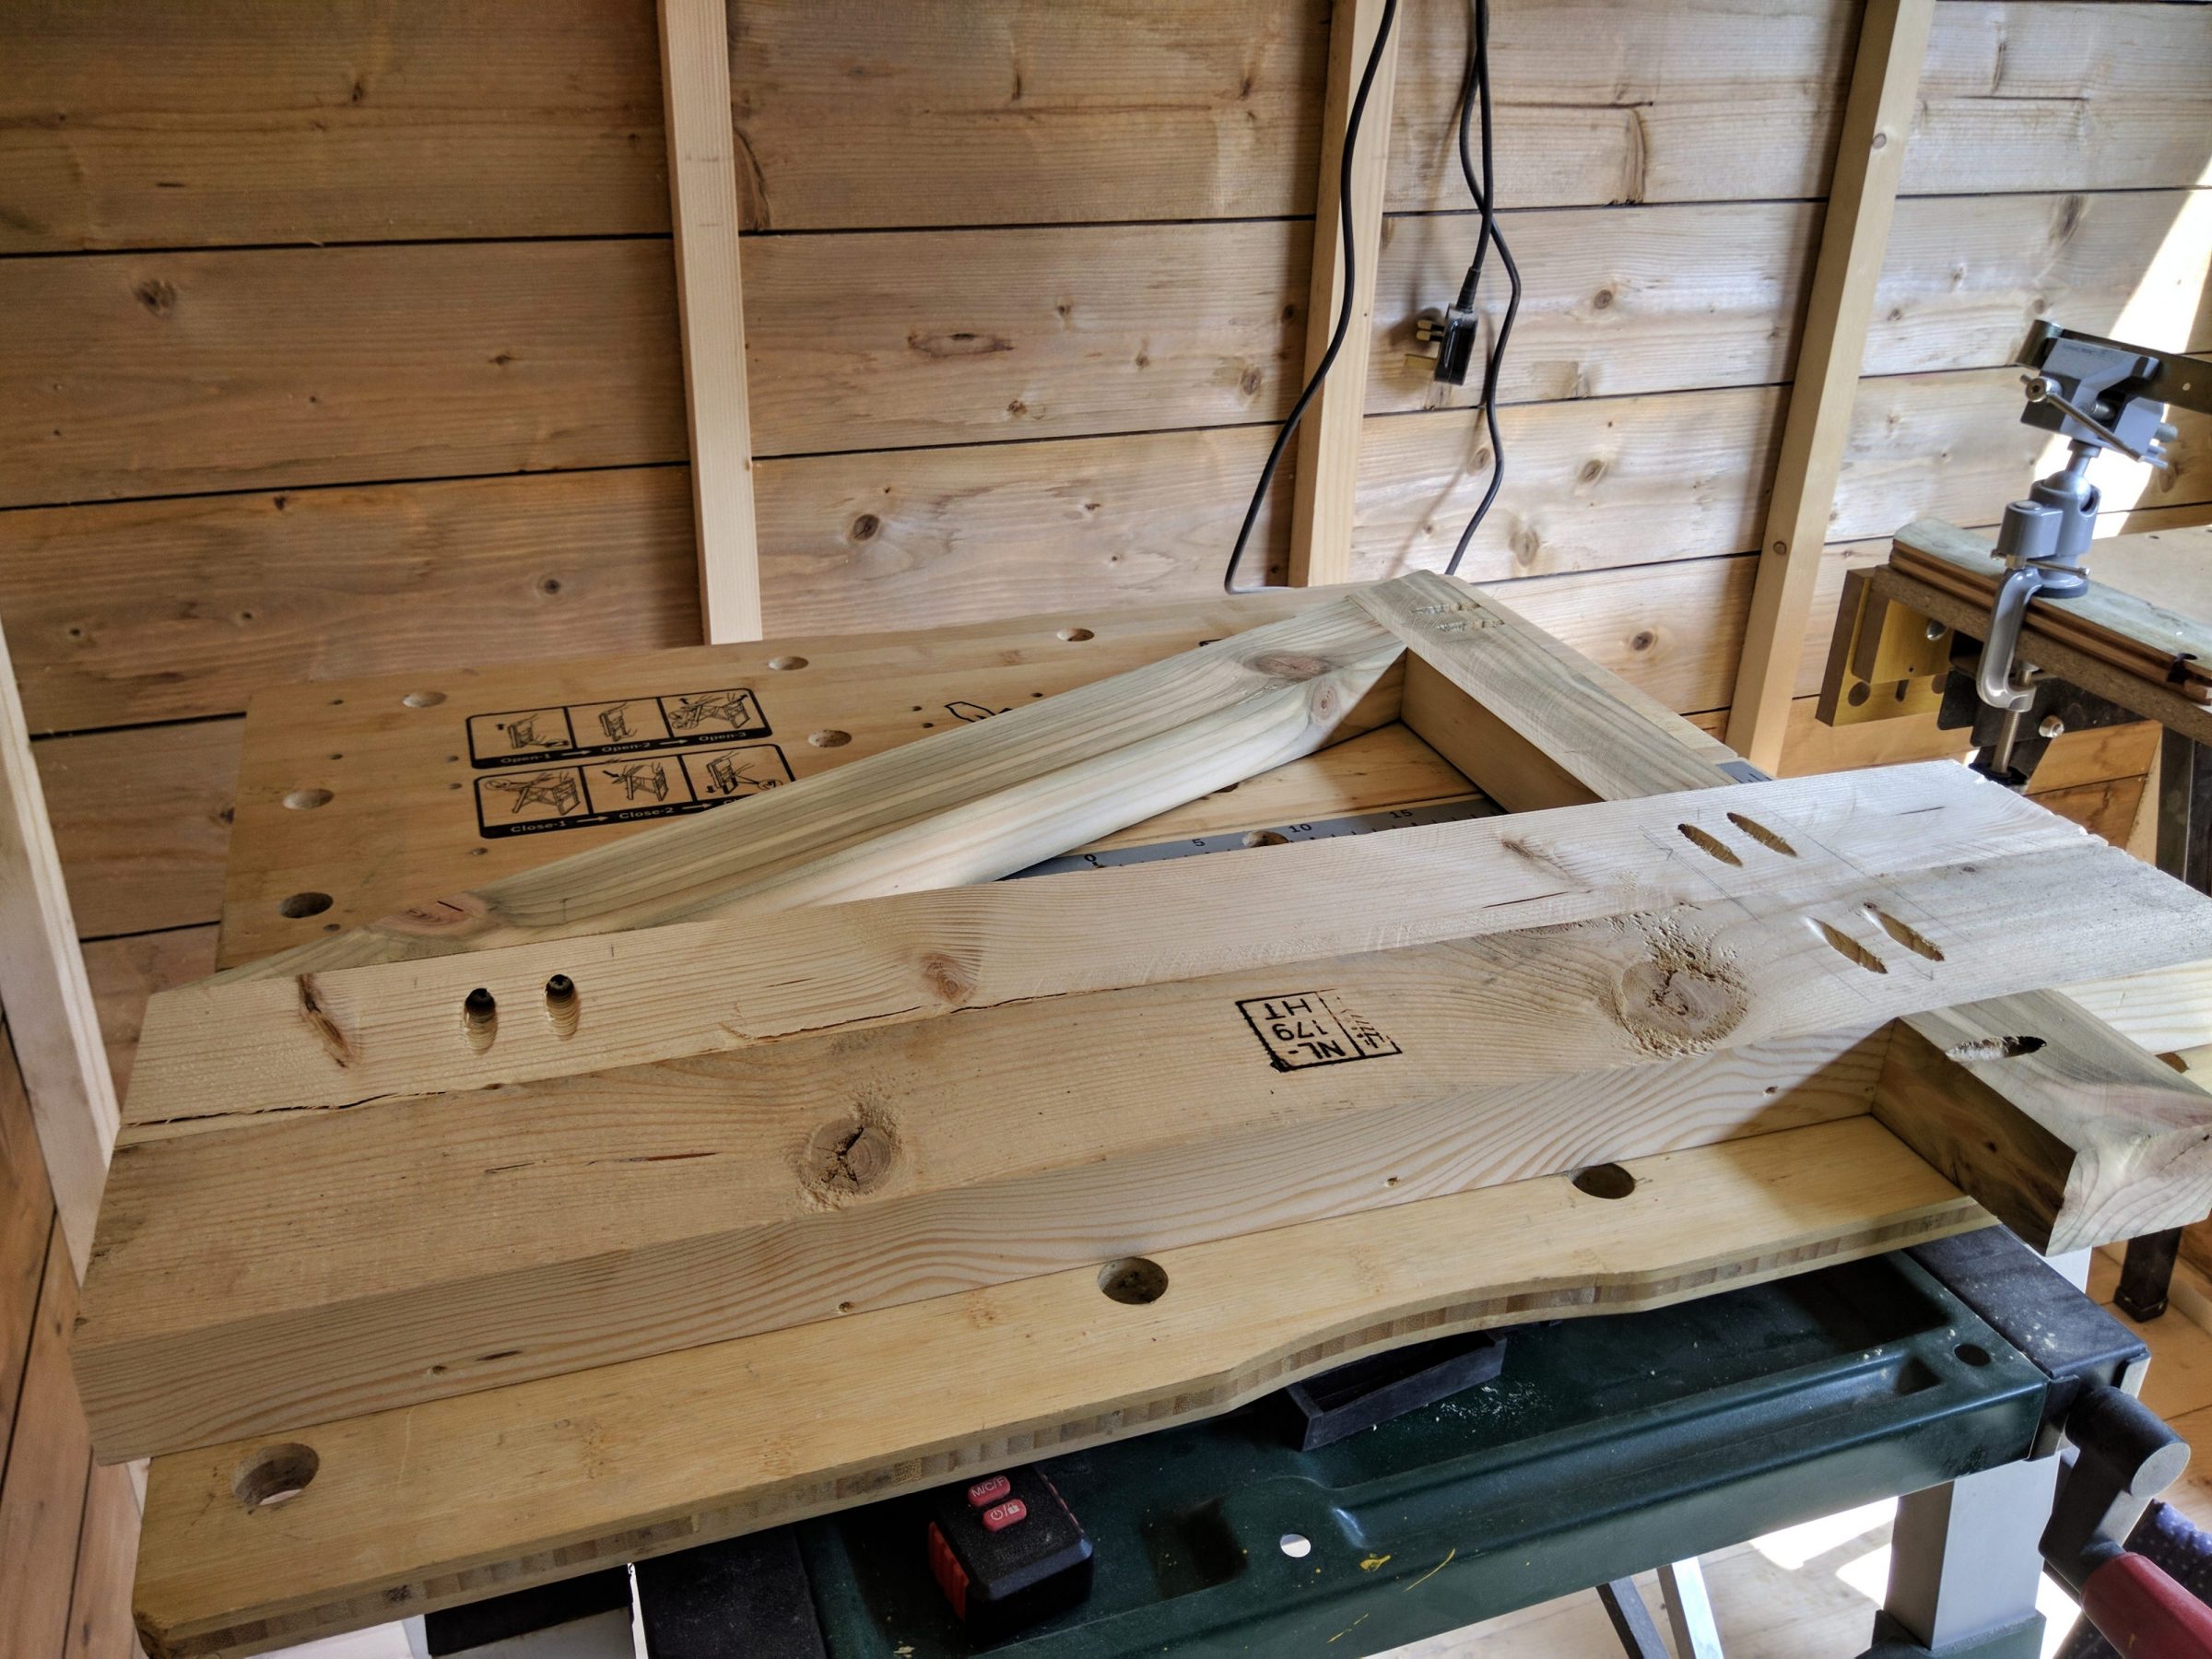
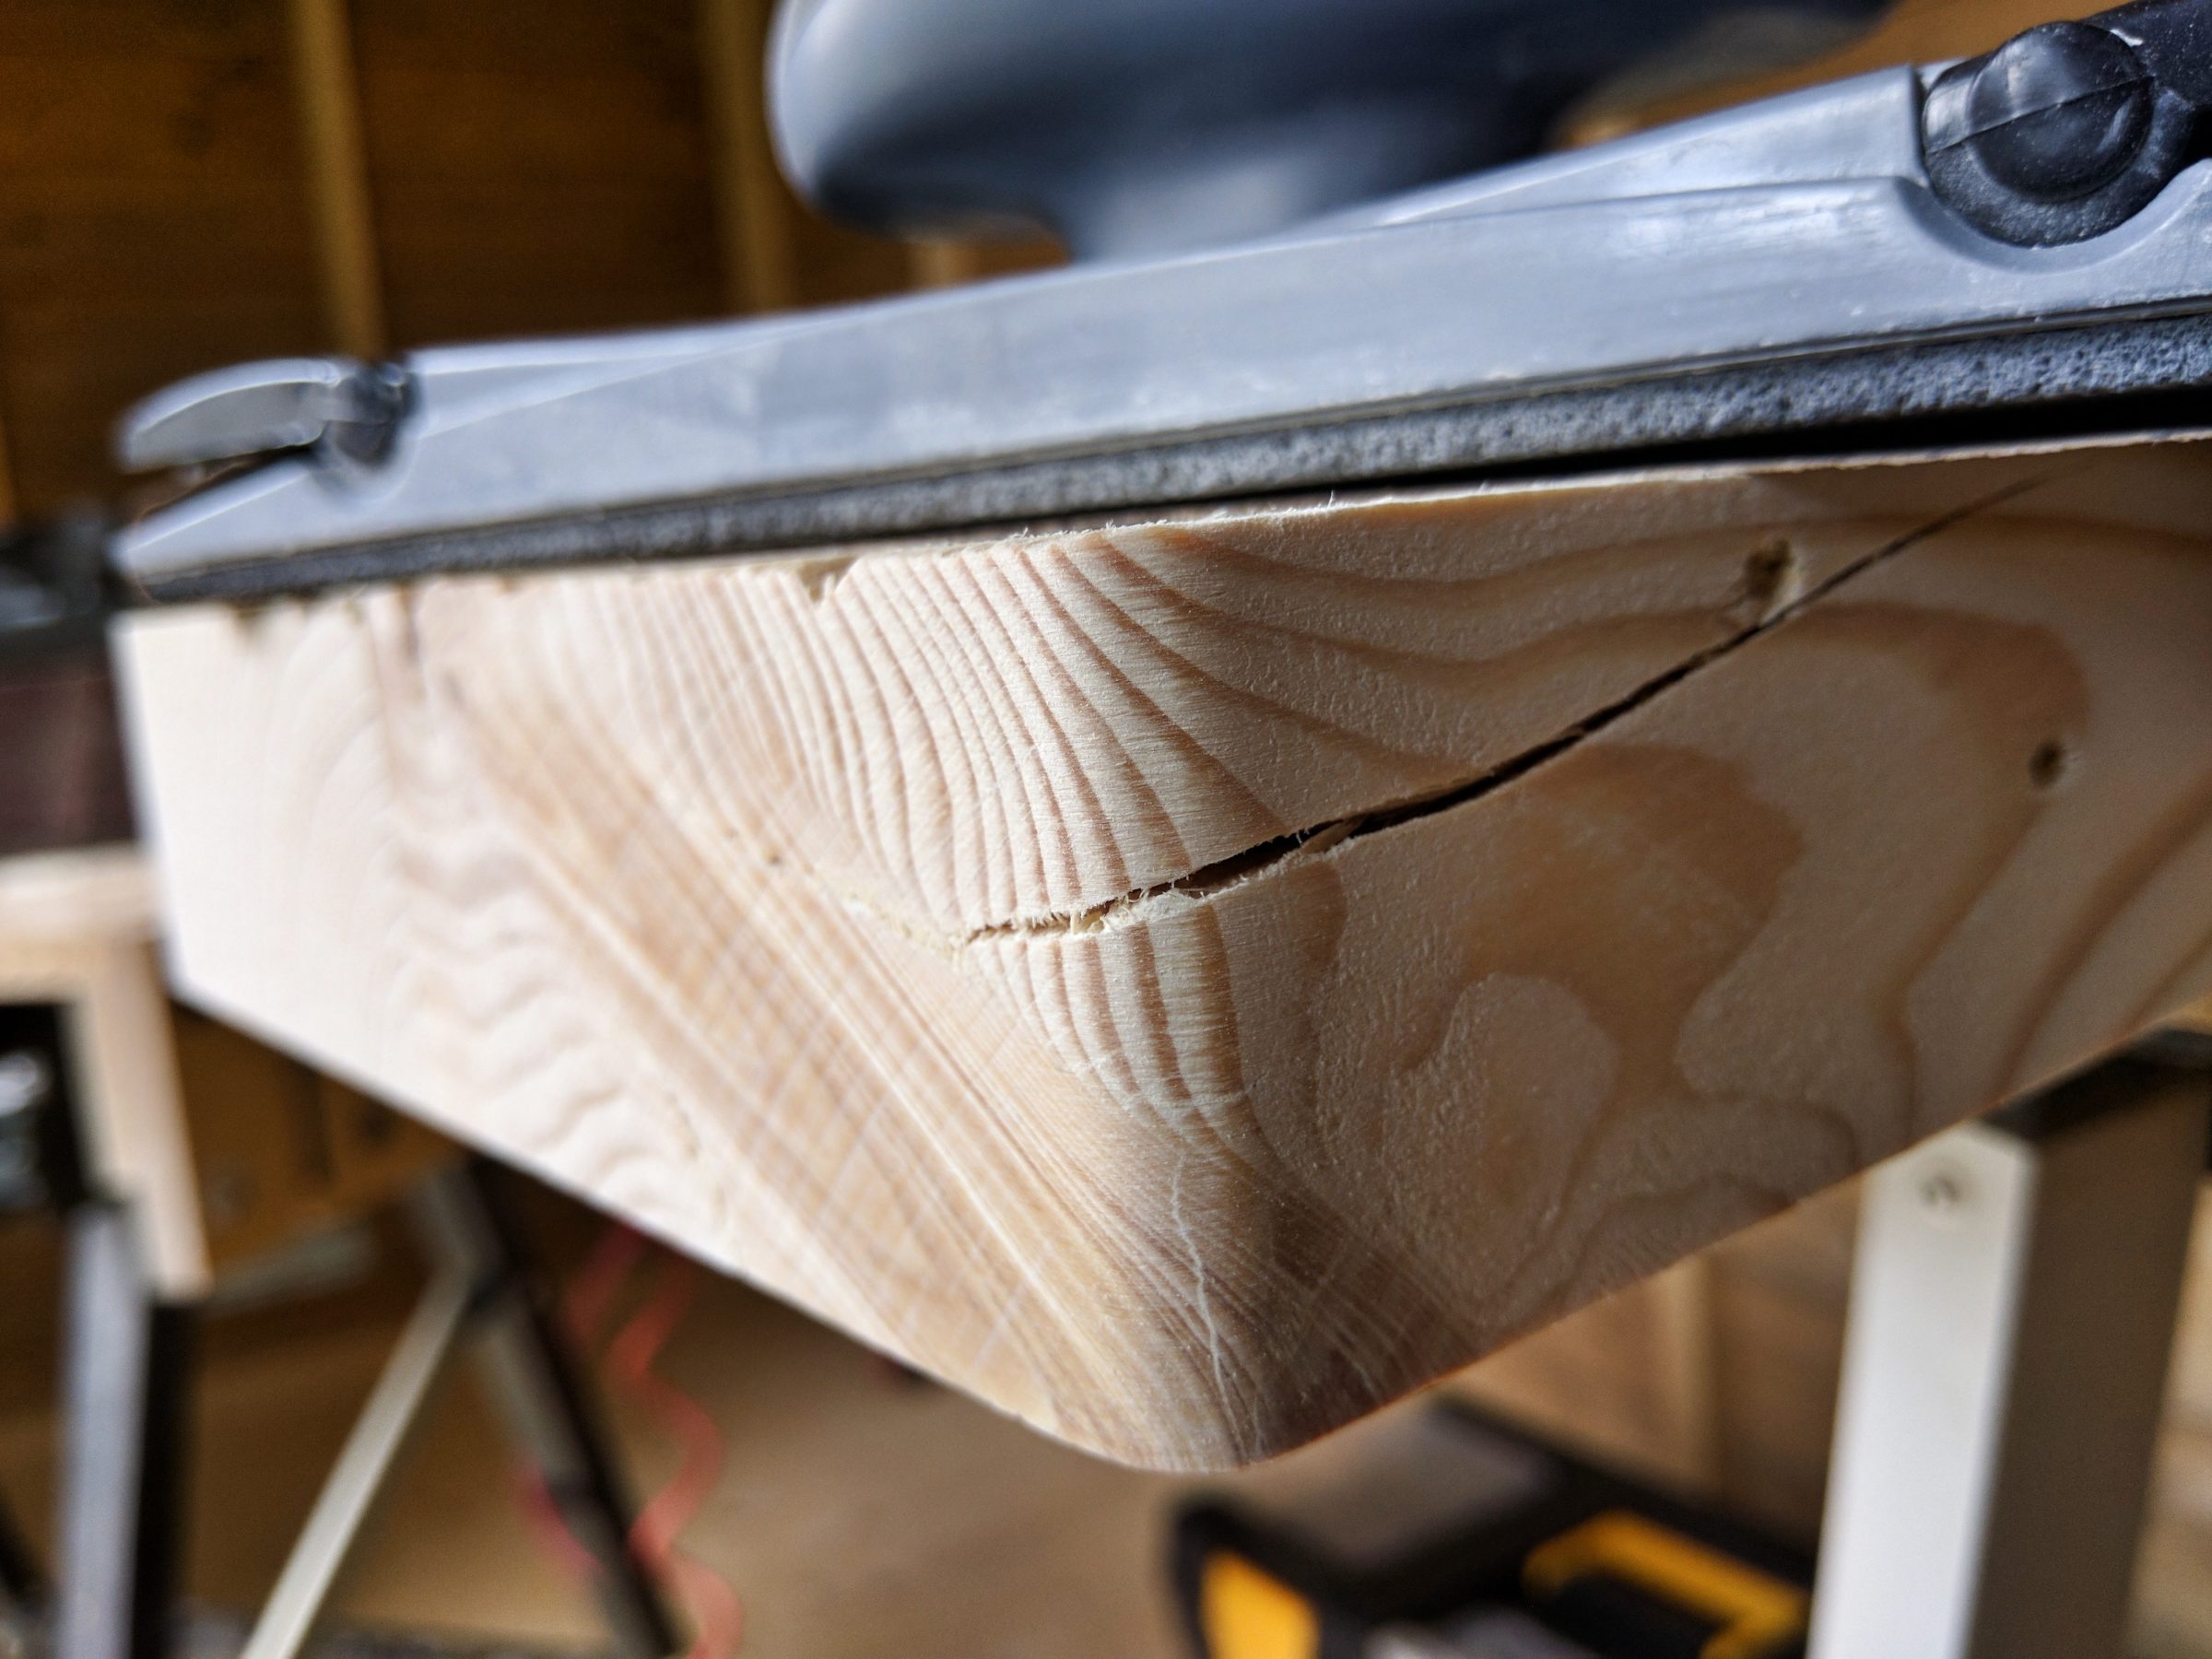
Cutting angles and trying the assembly. My mitre gauge had no capacity to cut at this angle, but I used some tricks – removing screws and knobs and increasing the angle.

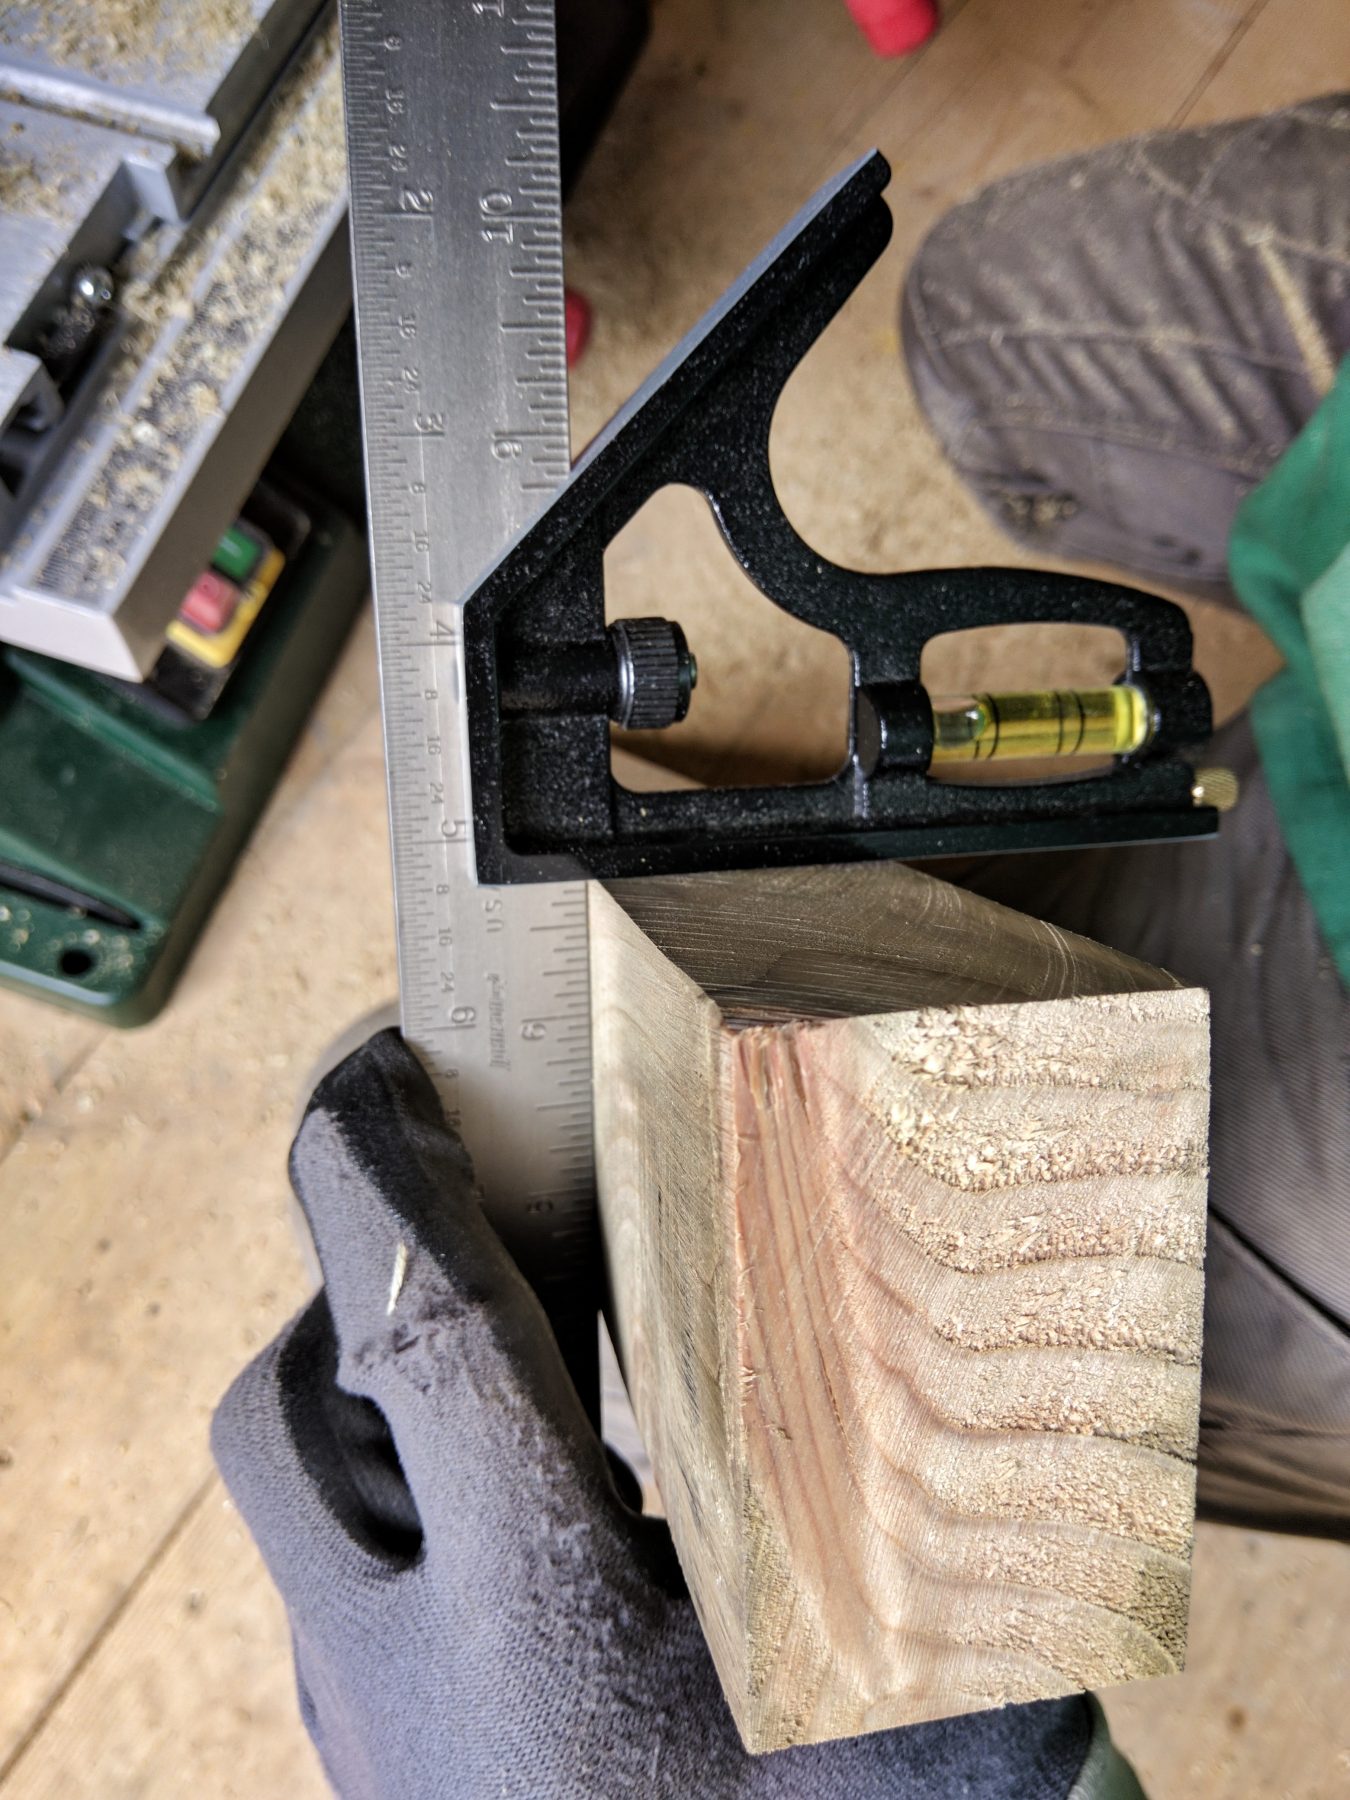
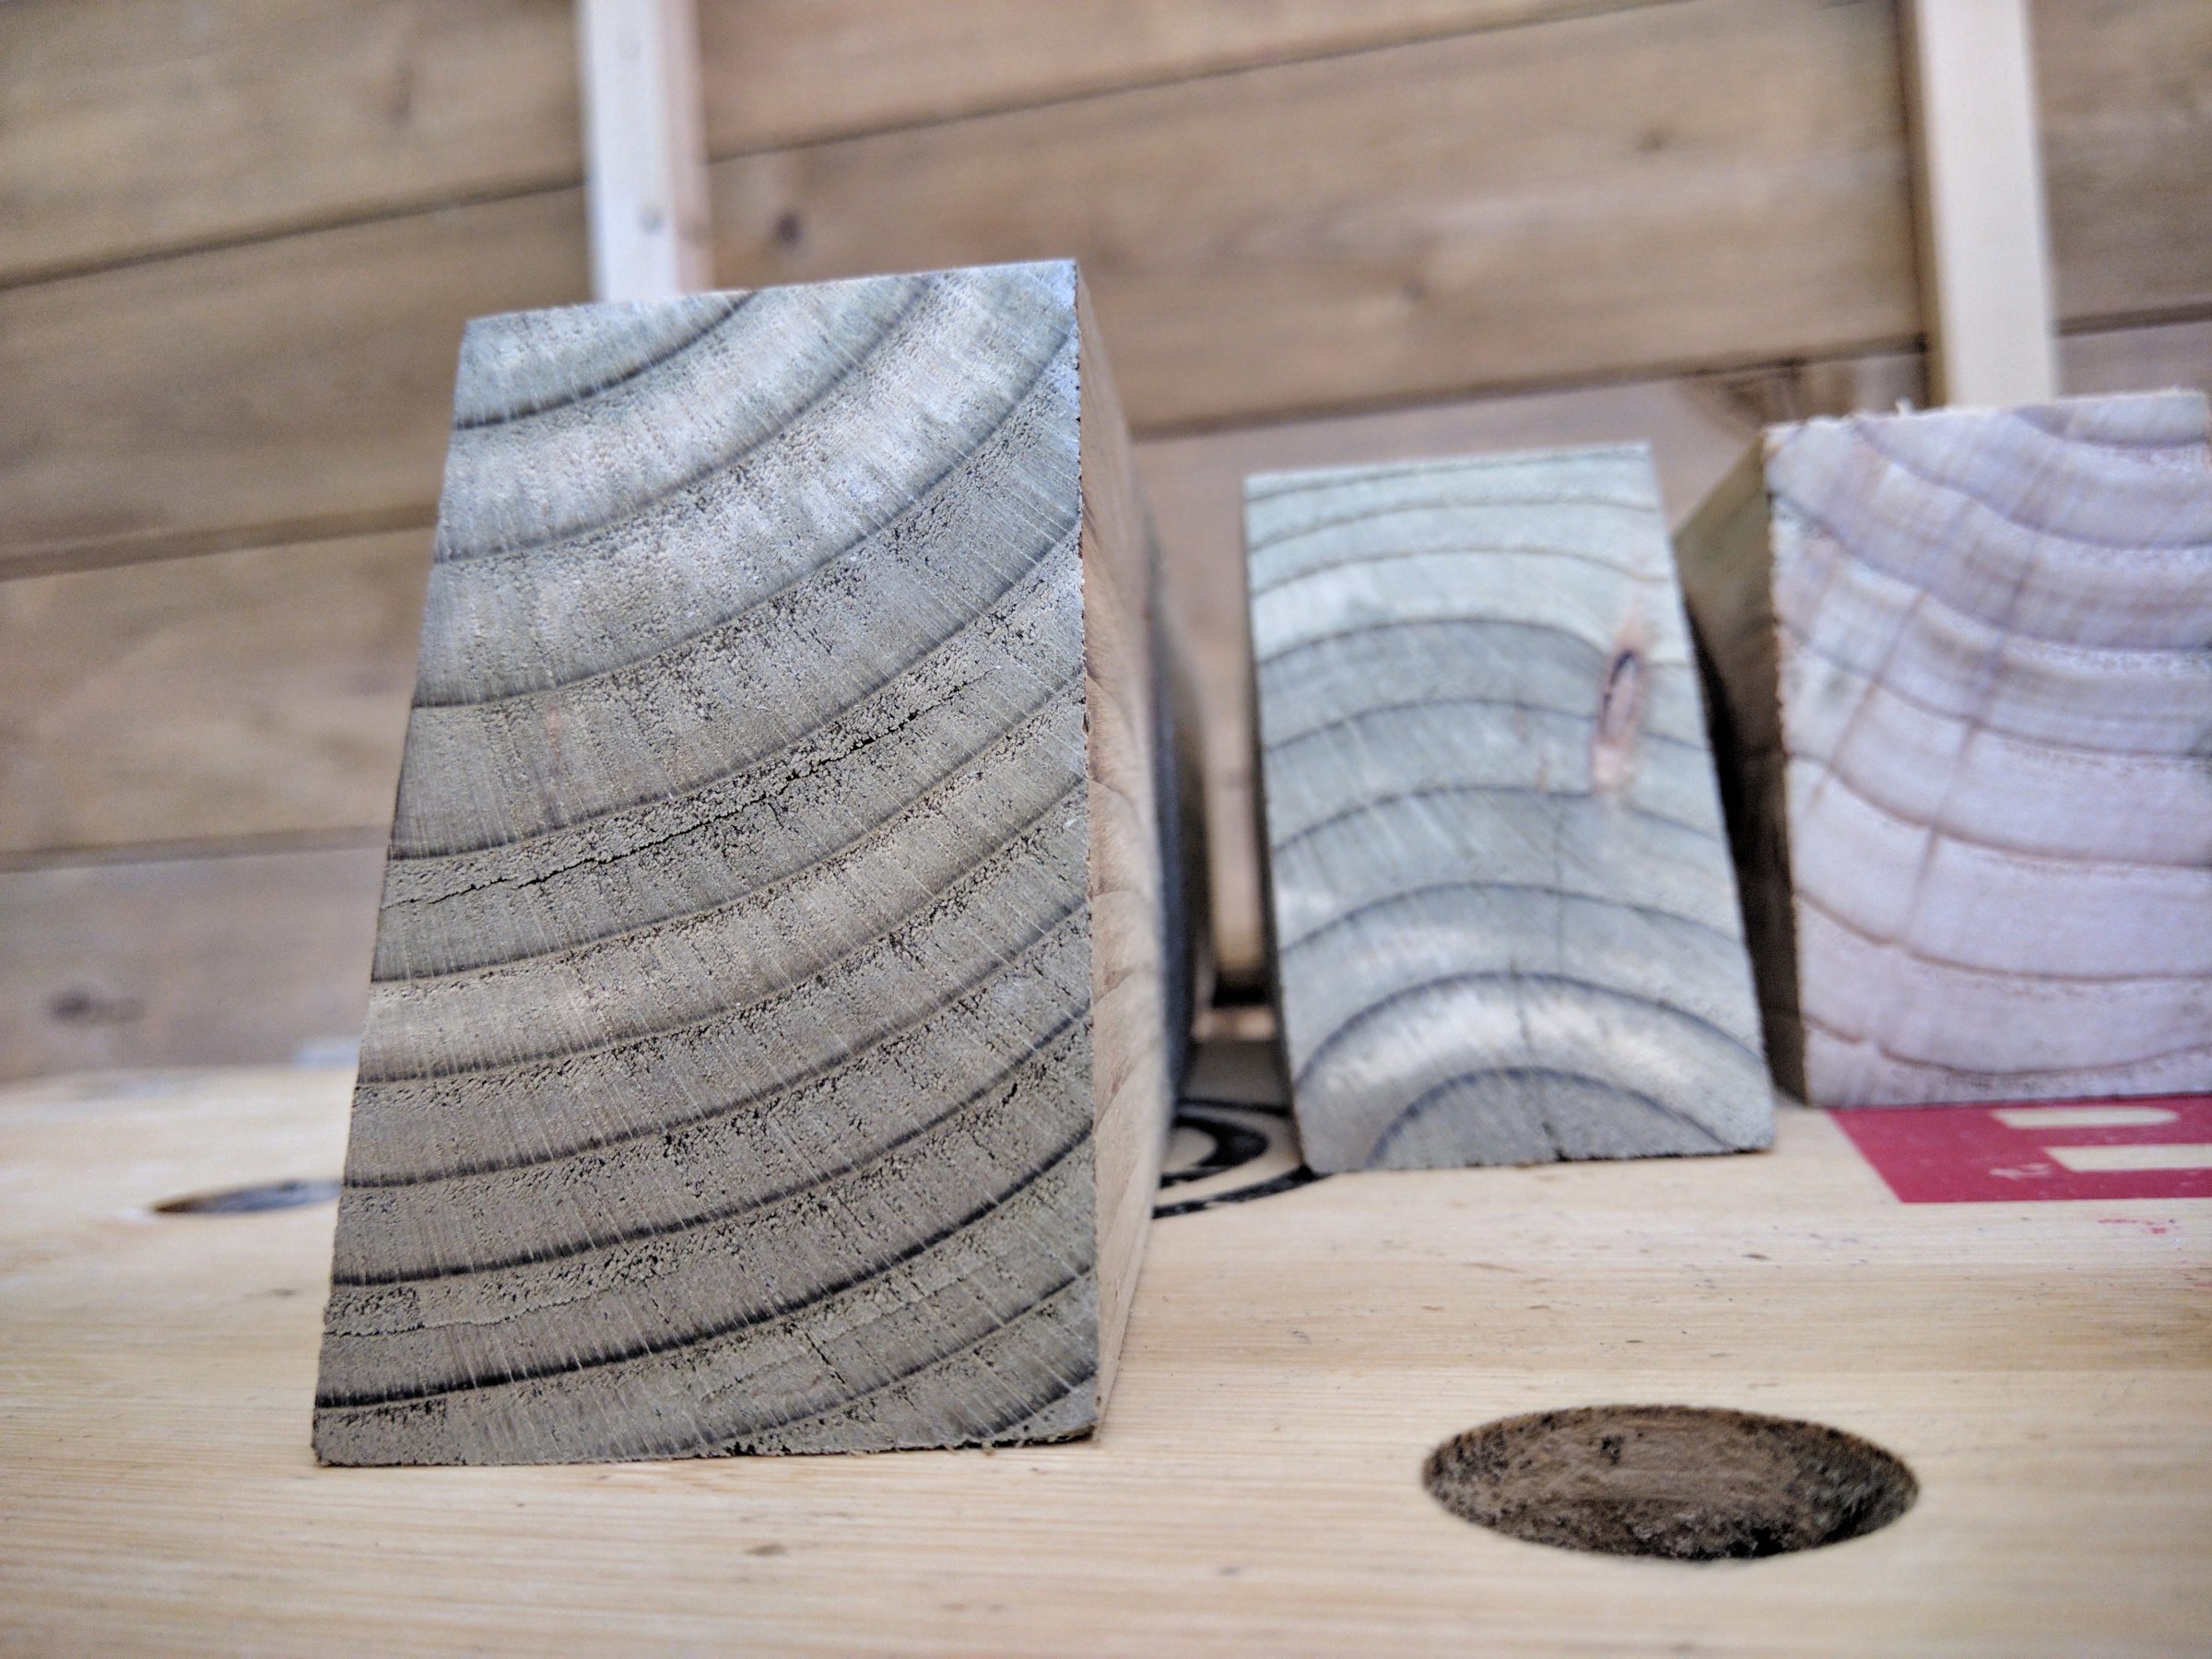
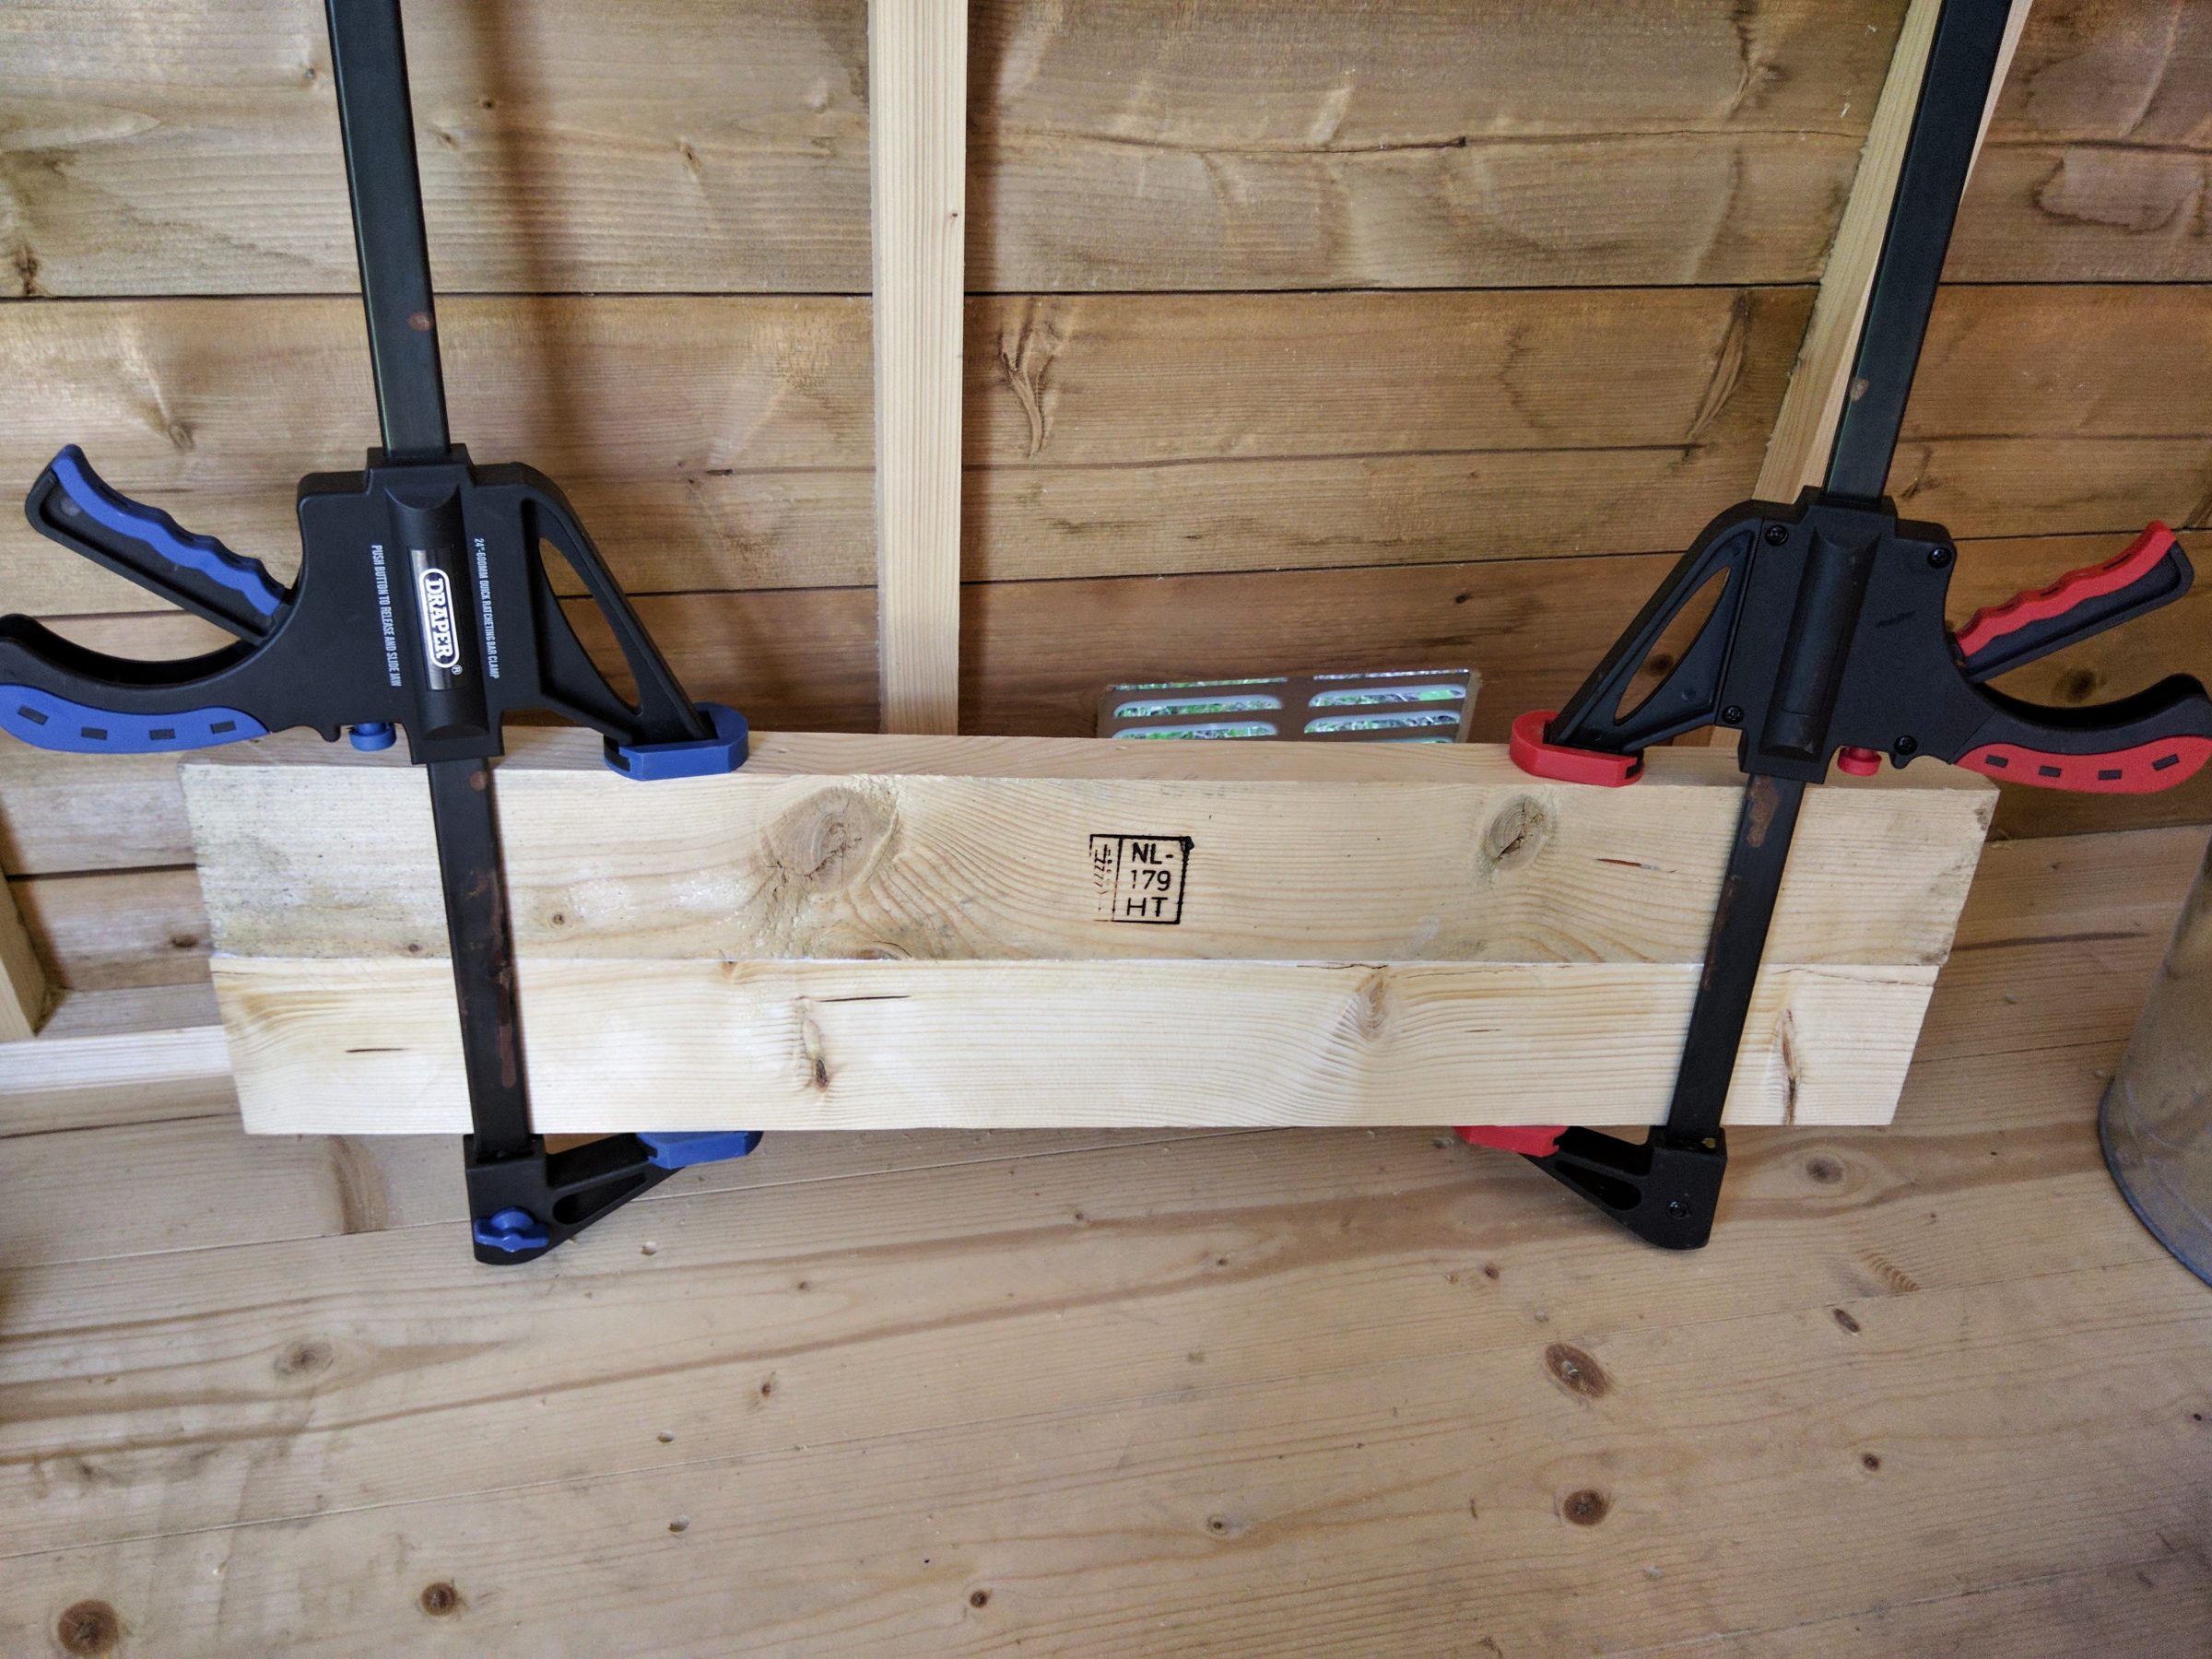
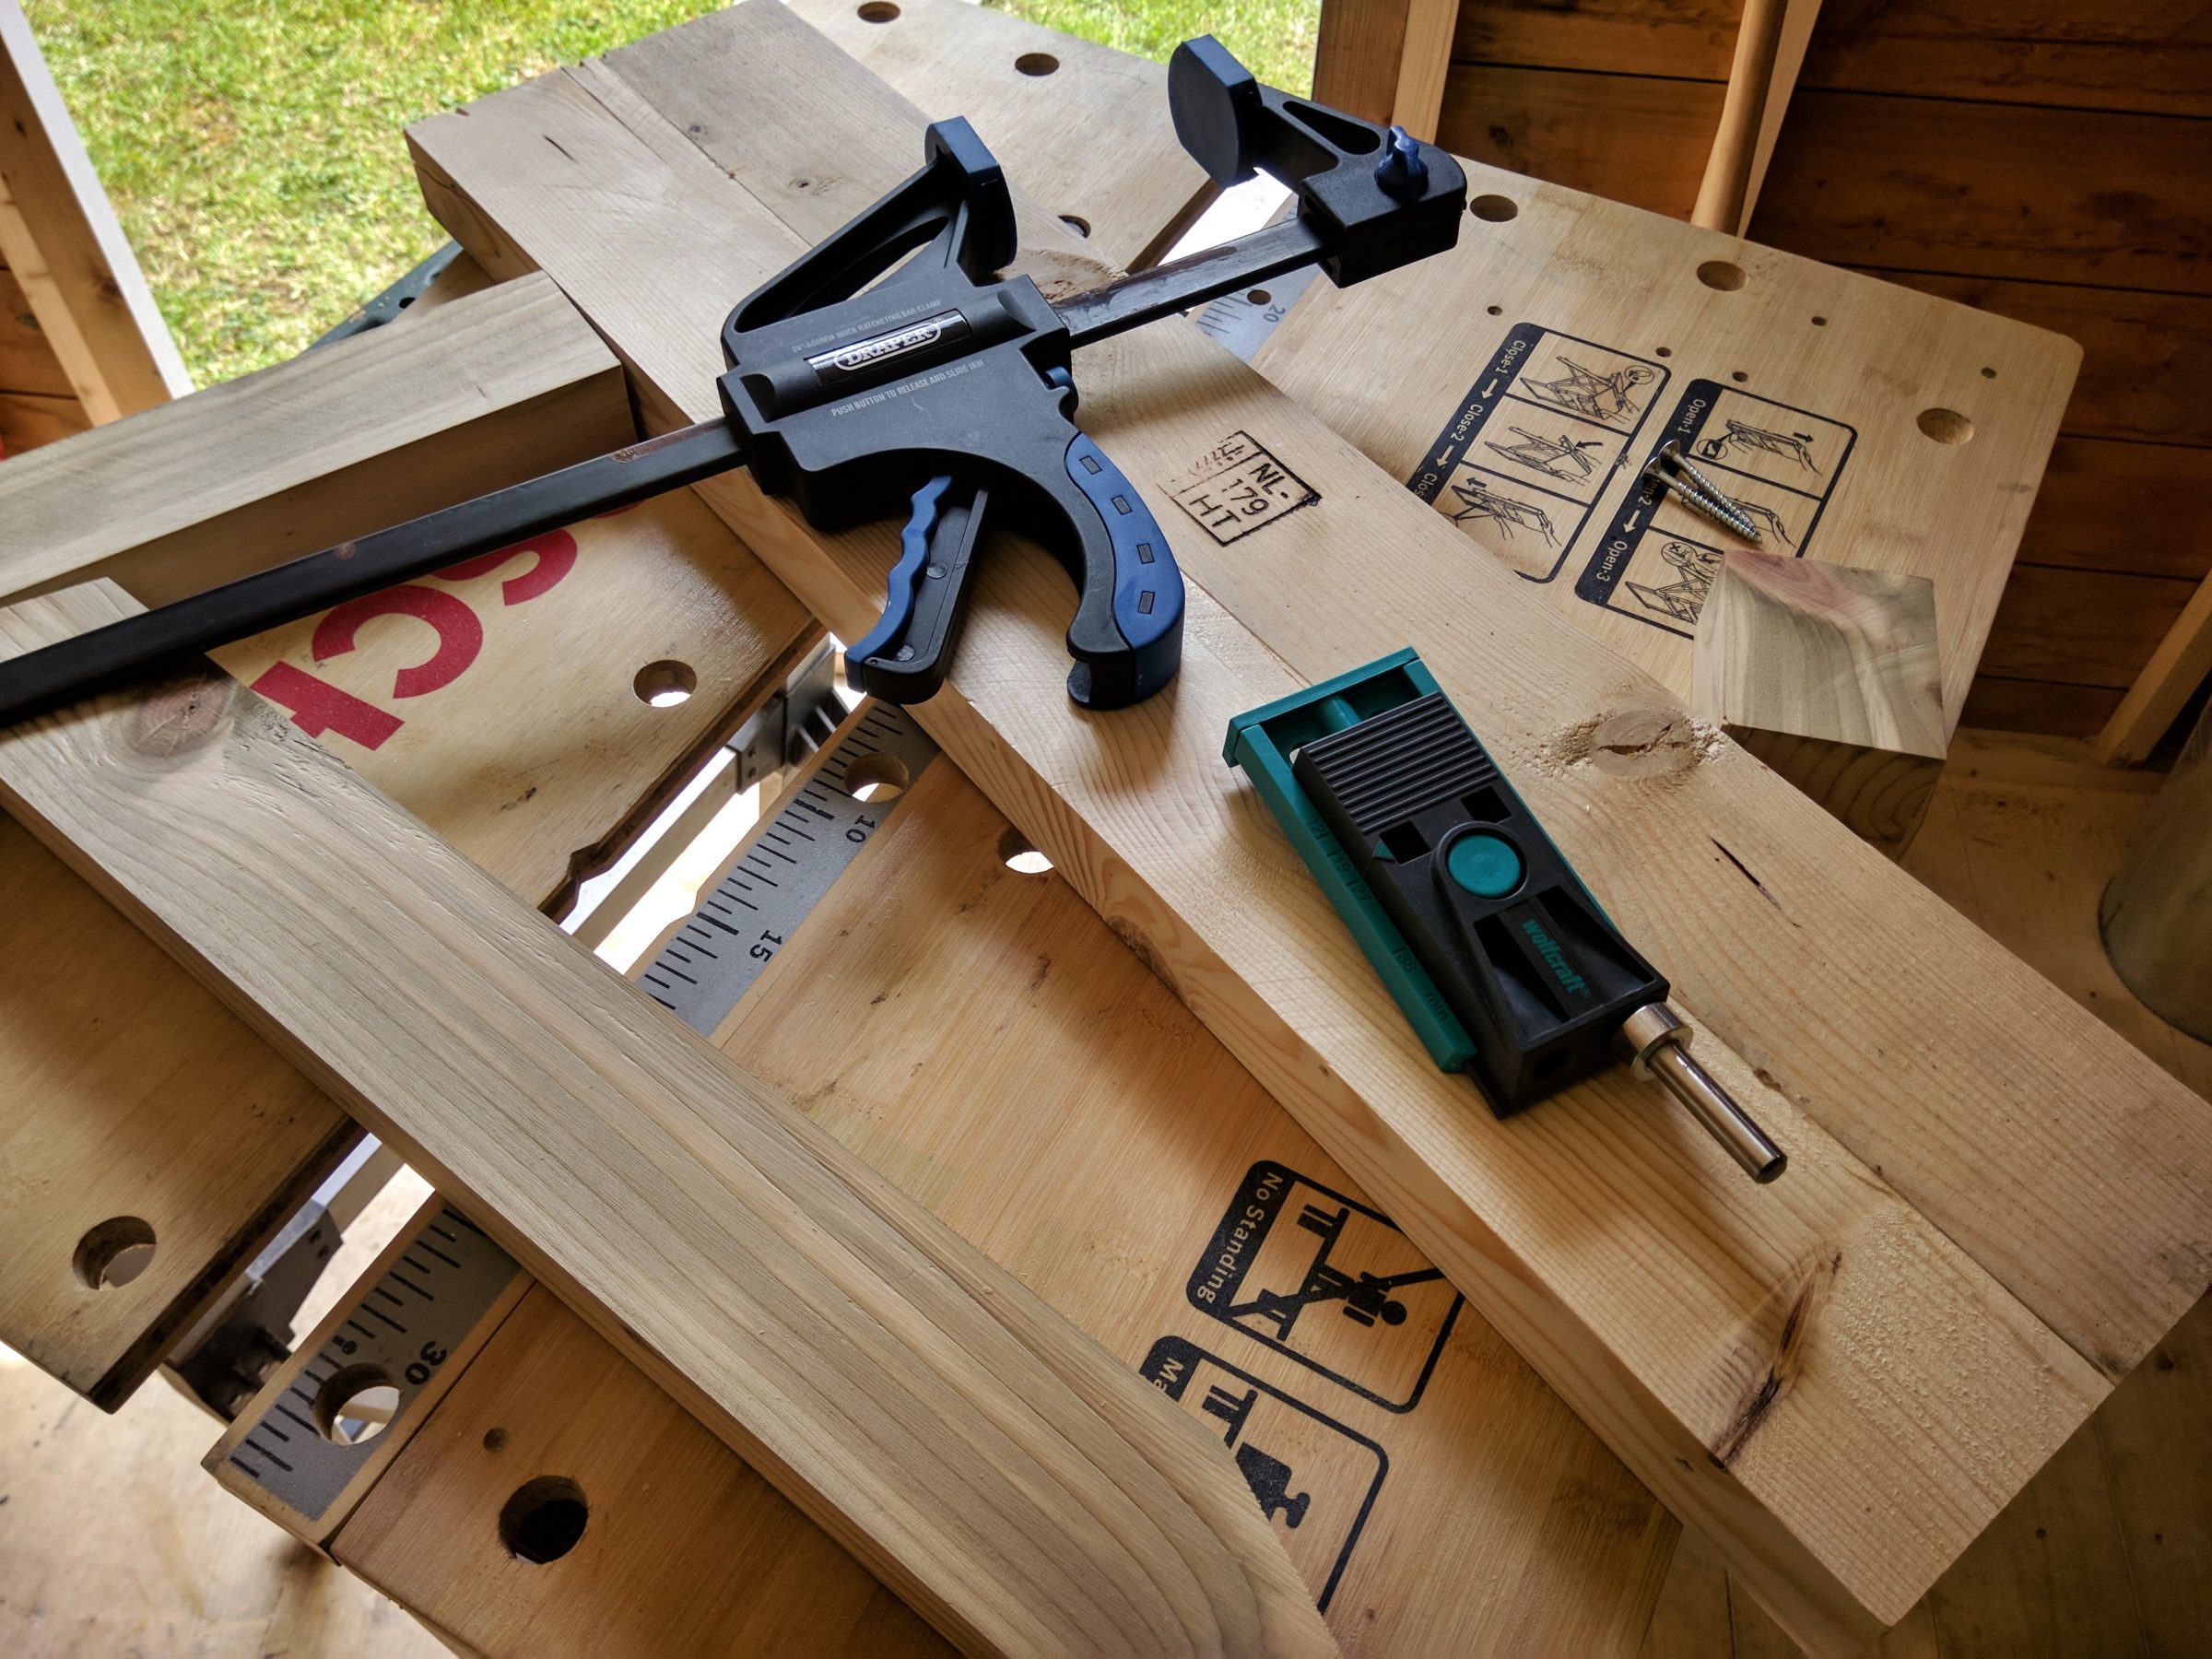
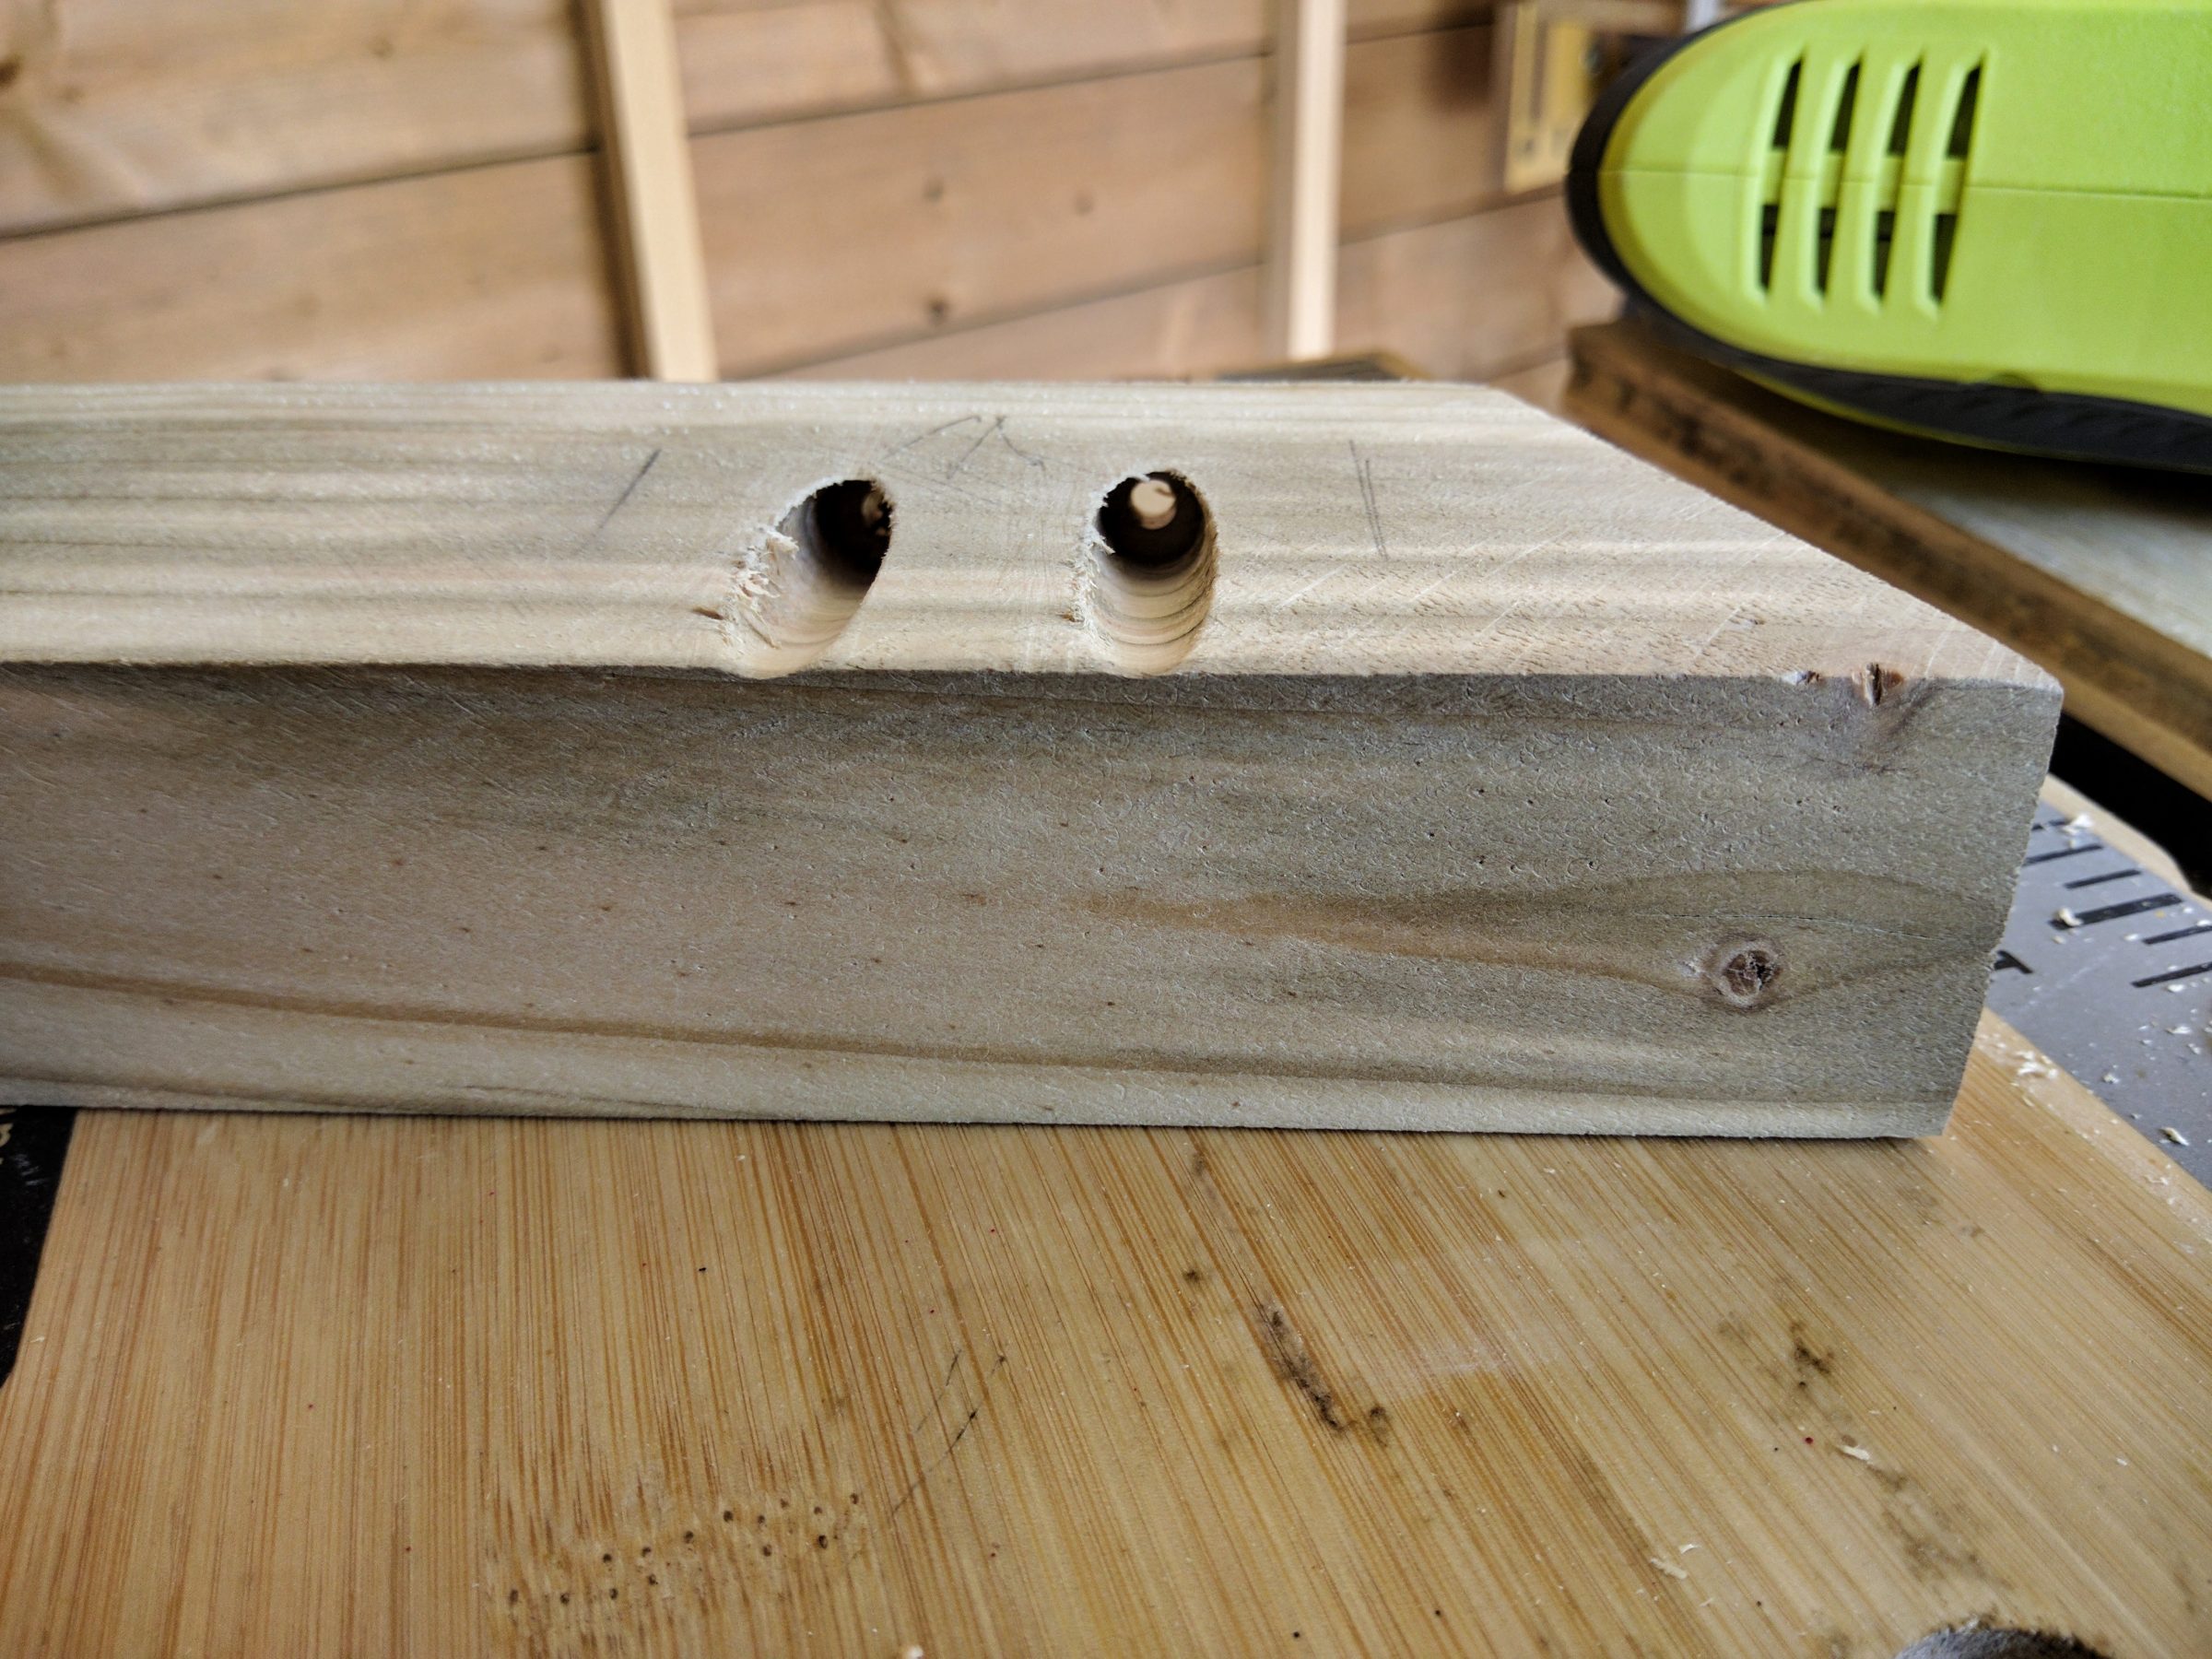
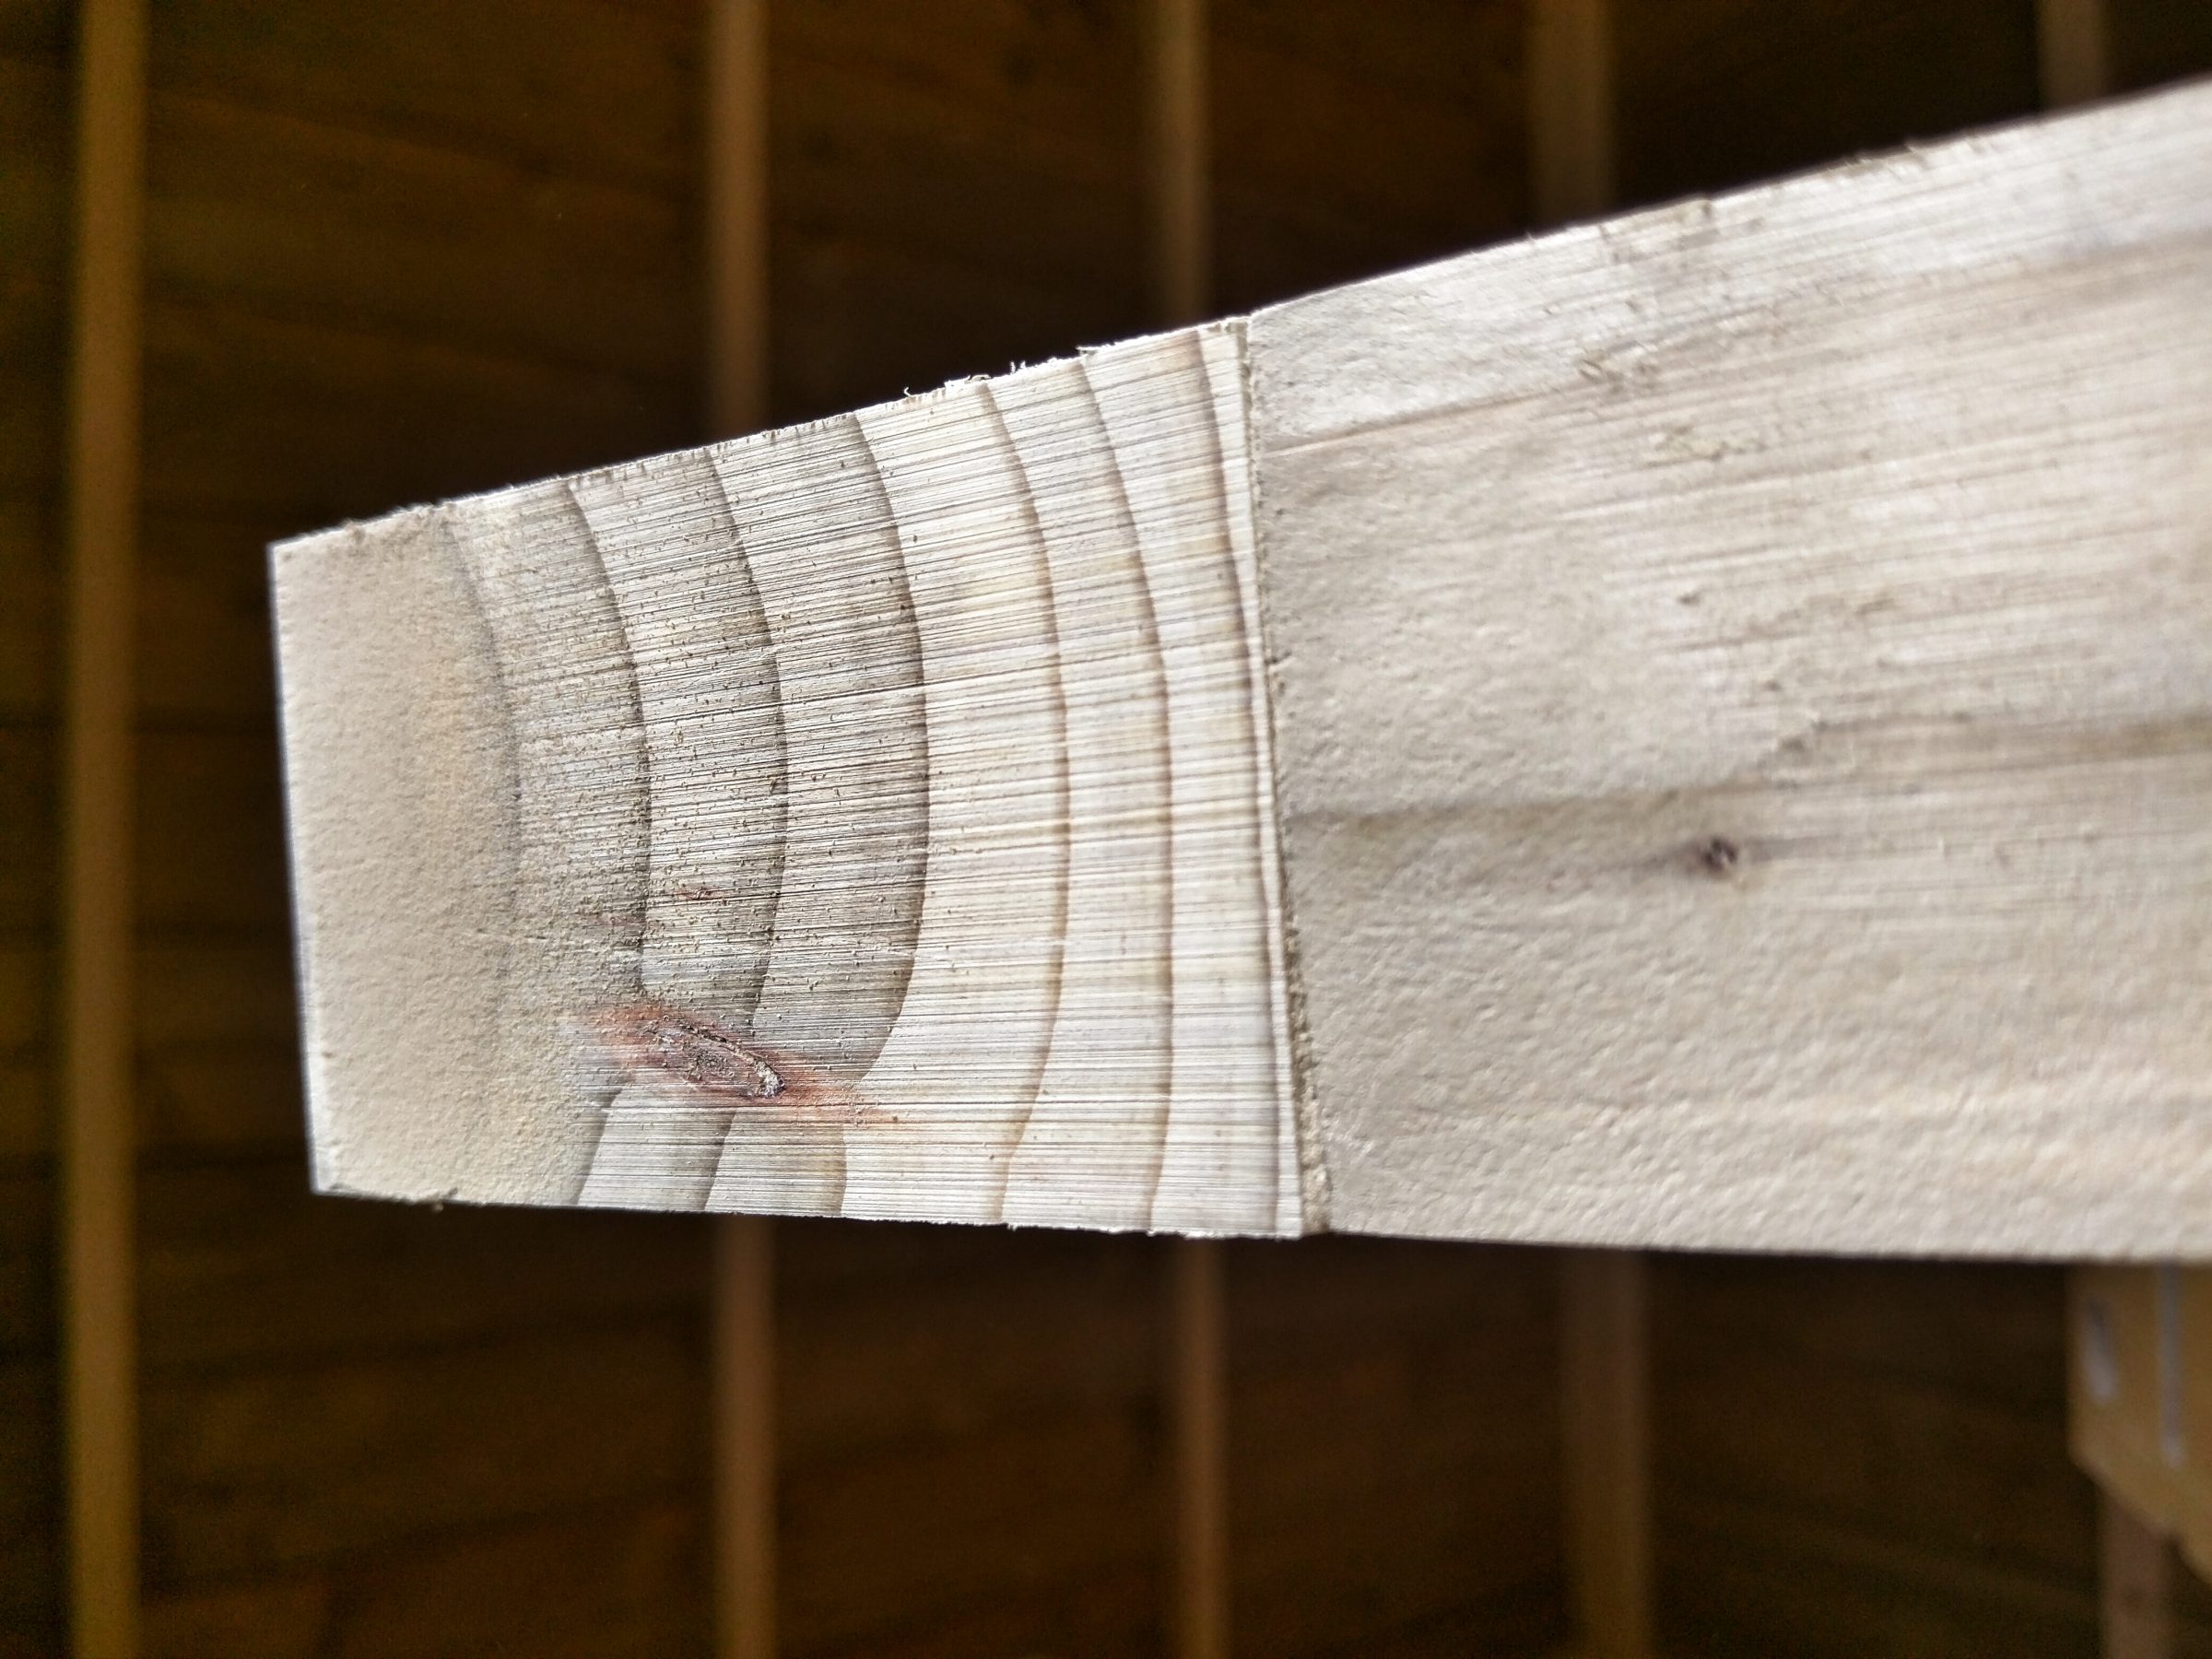
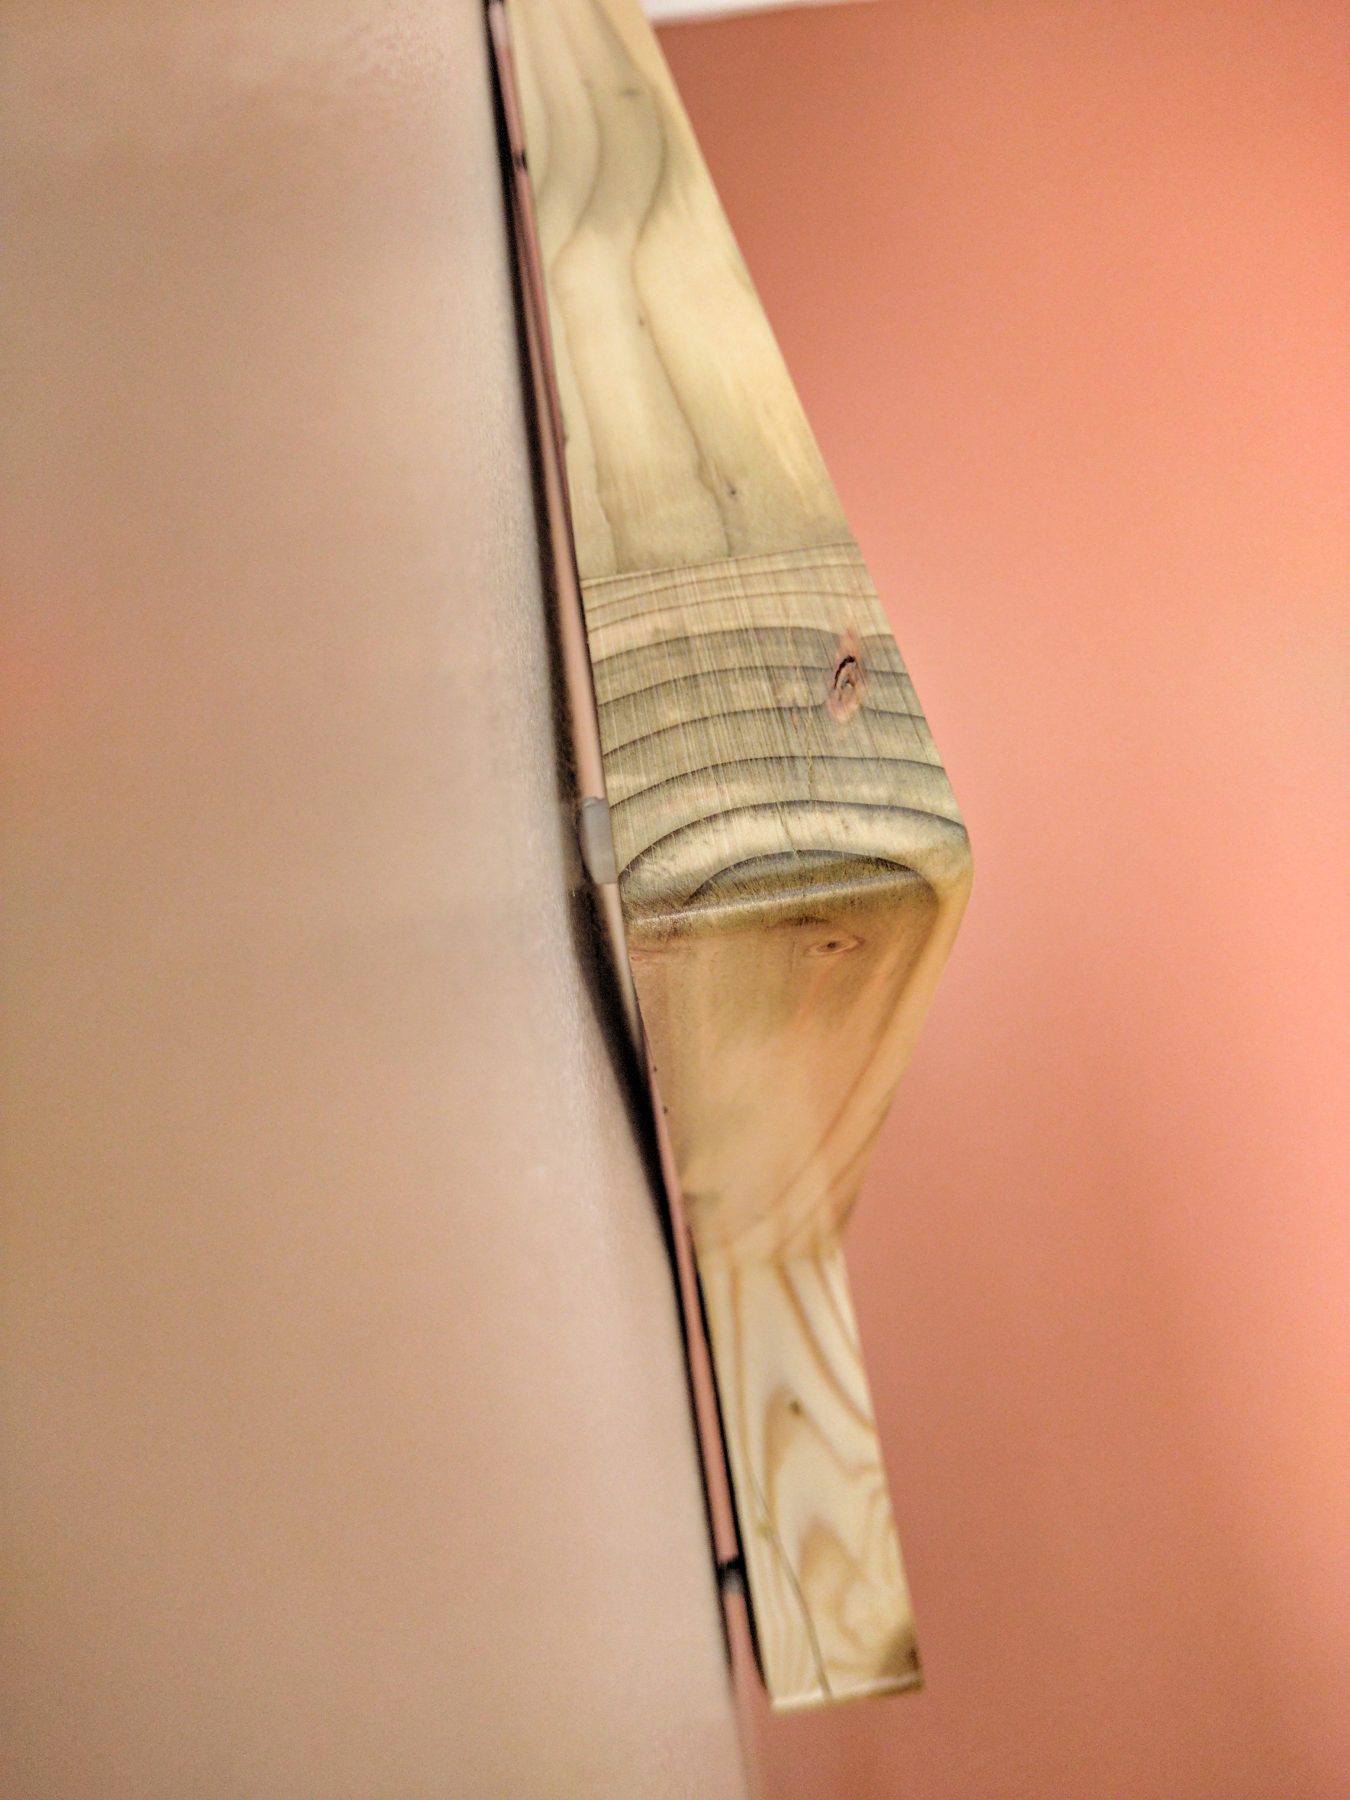
This wood was pressure treated, the picture below shows how deep can the treatment go. Glueing together. I need more clamps!
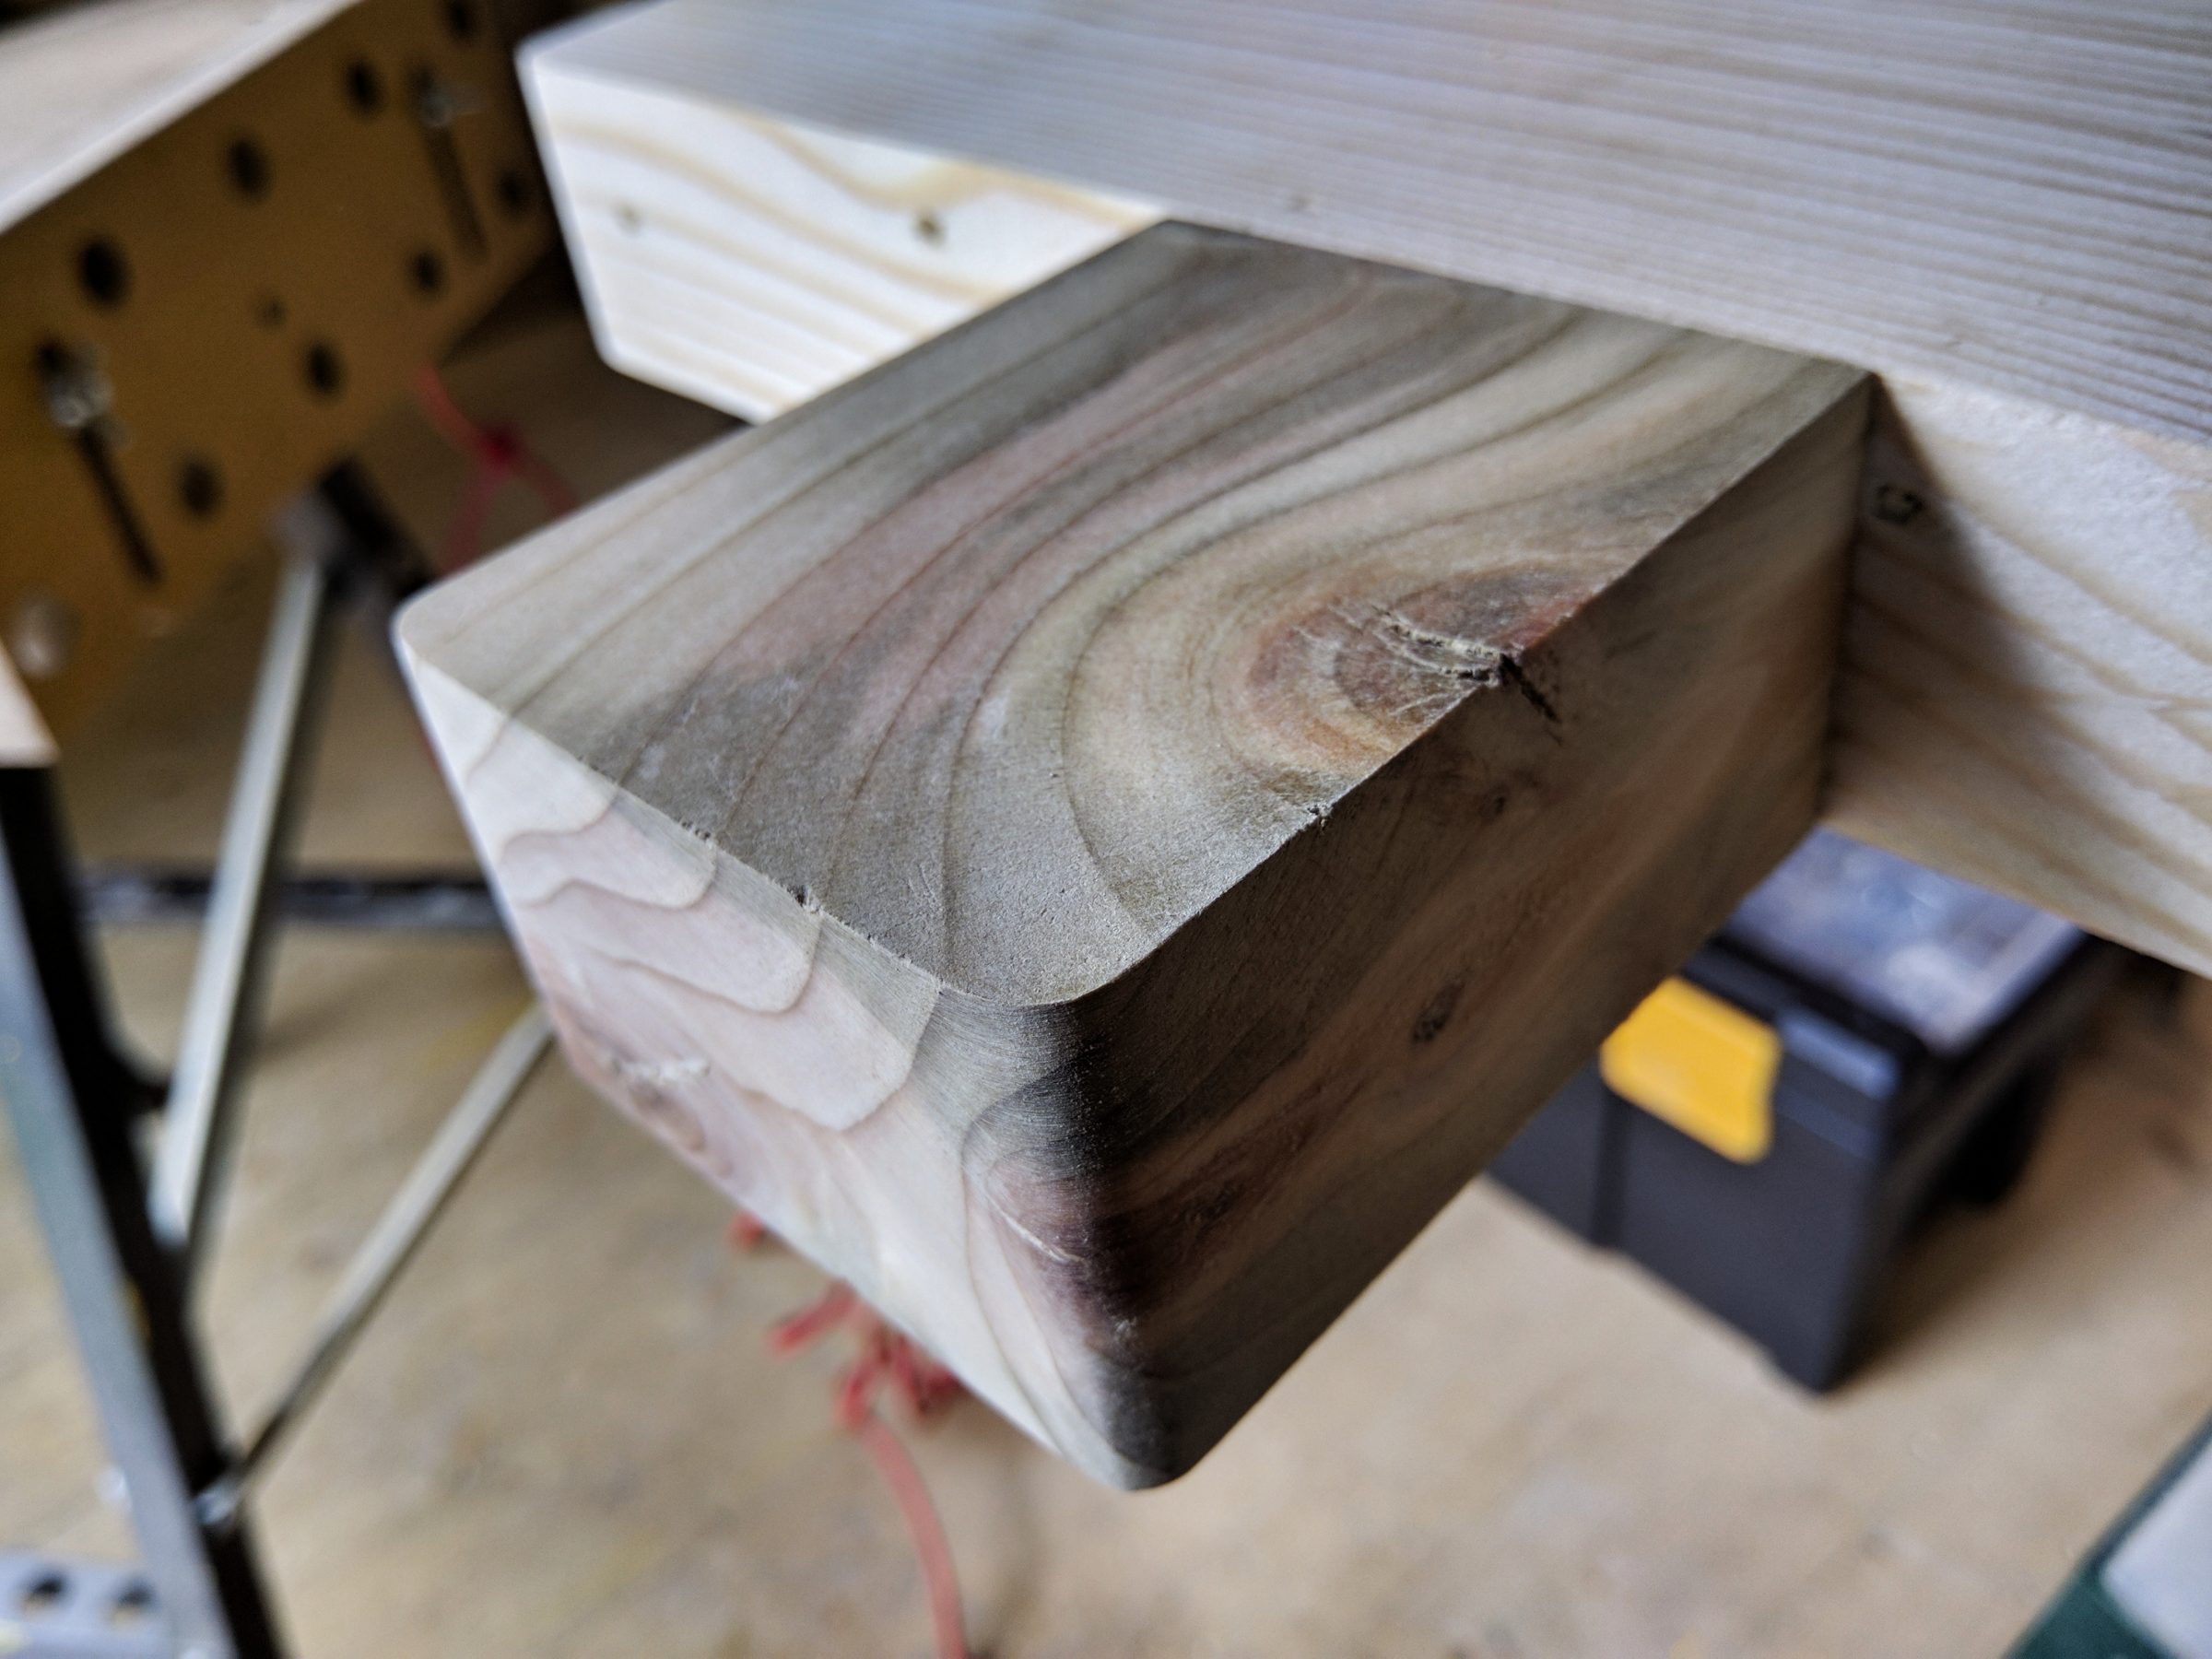
Sanding with coarse, medium and fine sandpaper and making final cuts on a table saw.

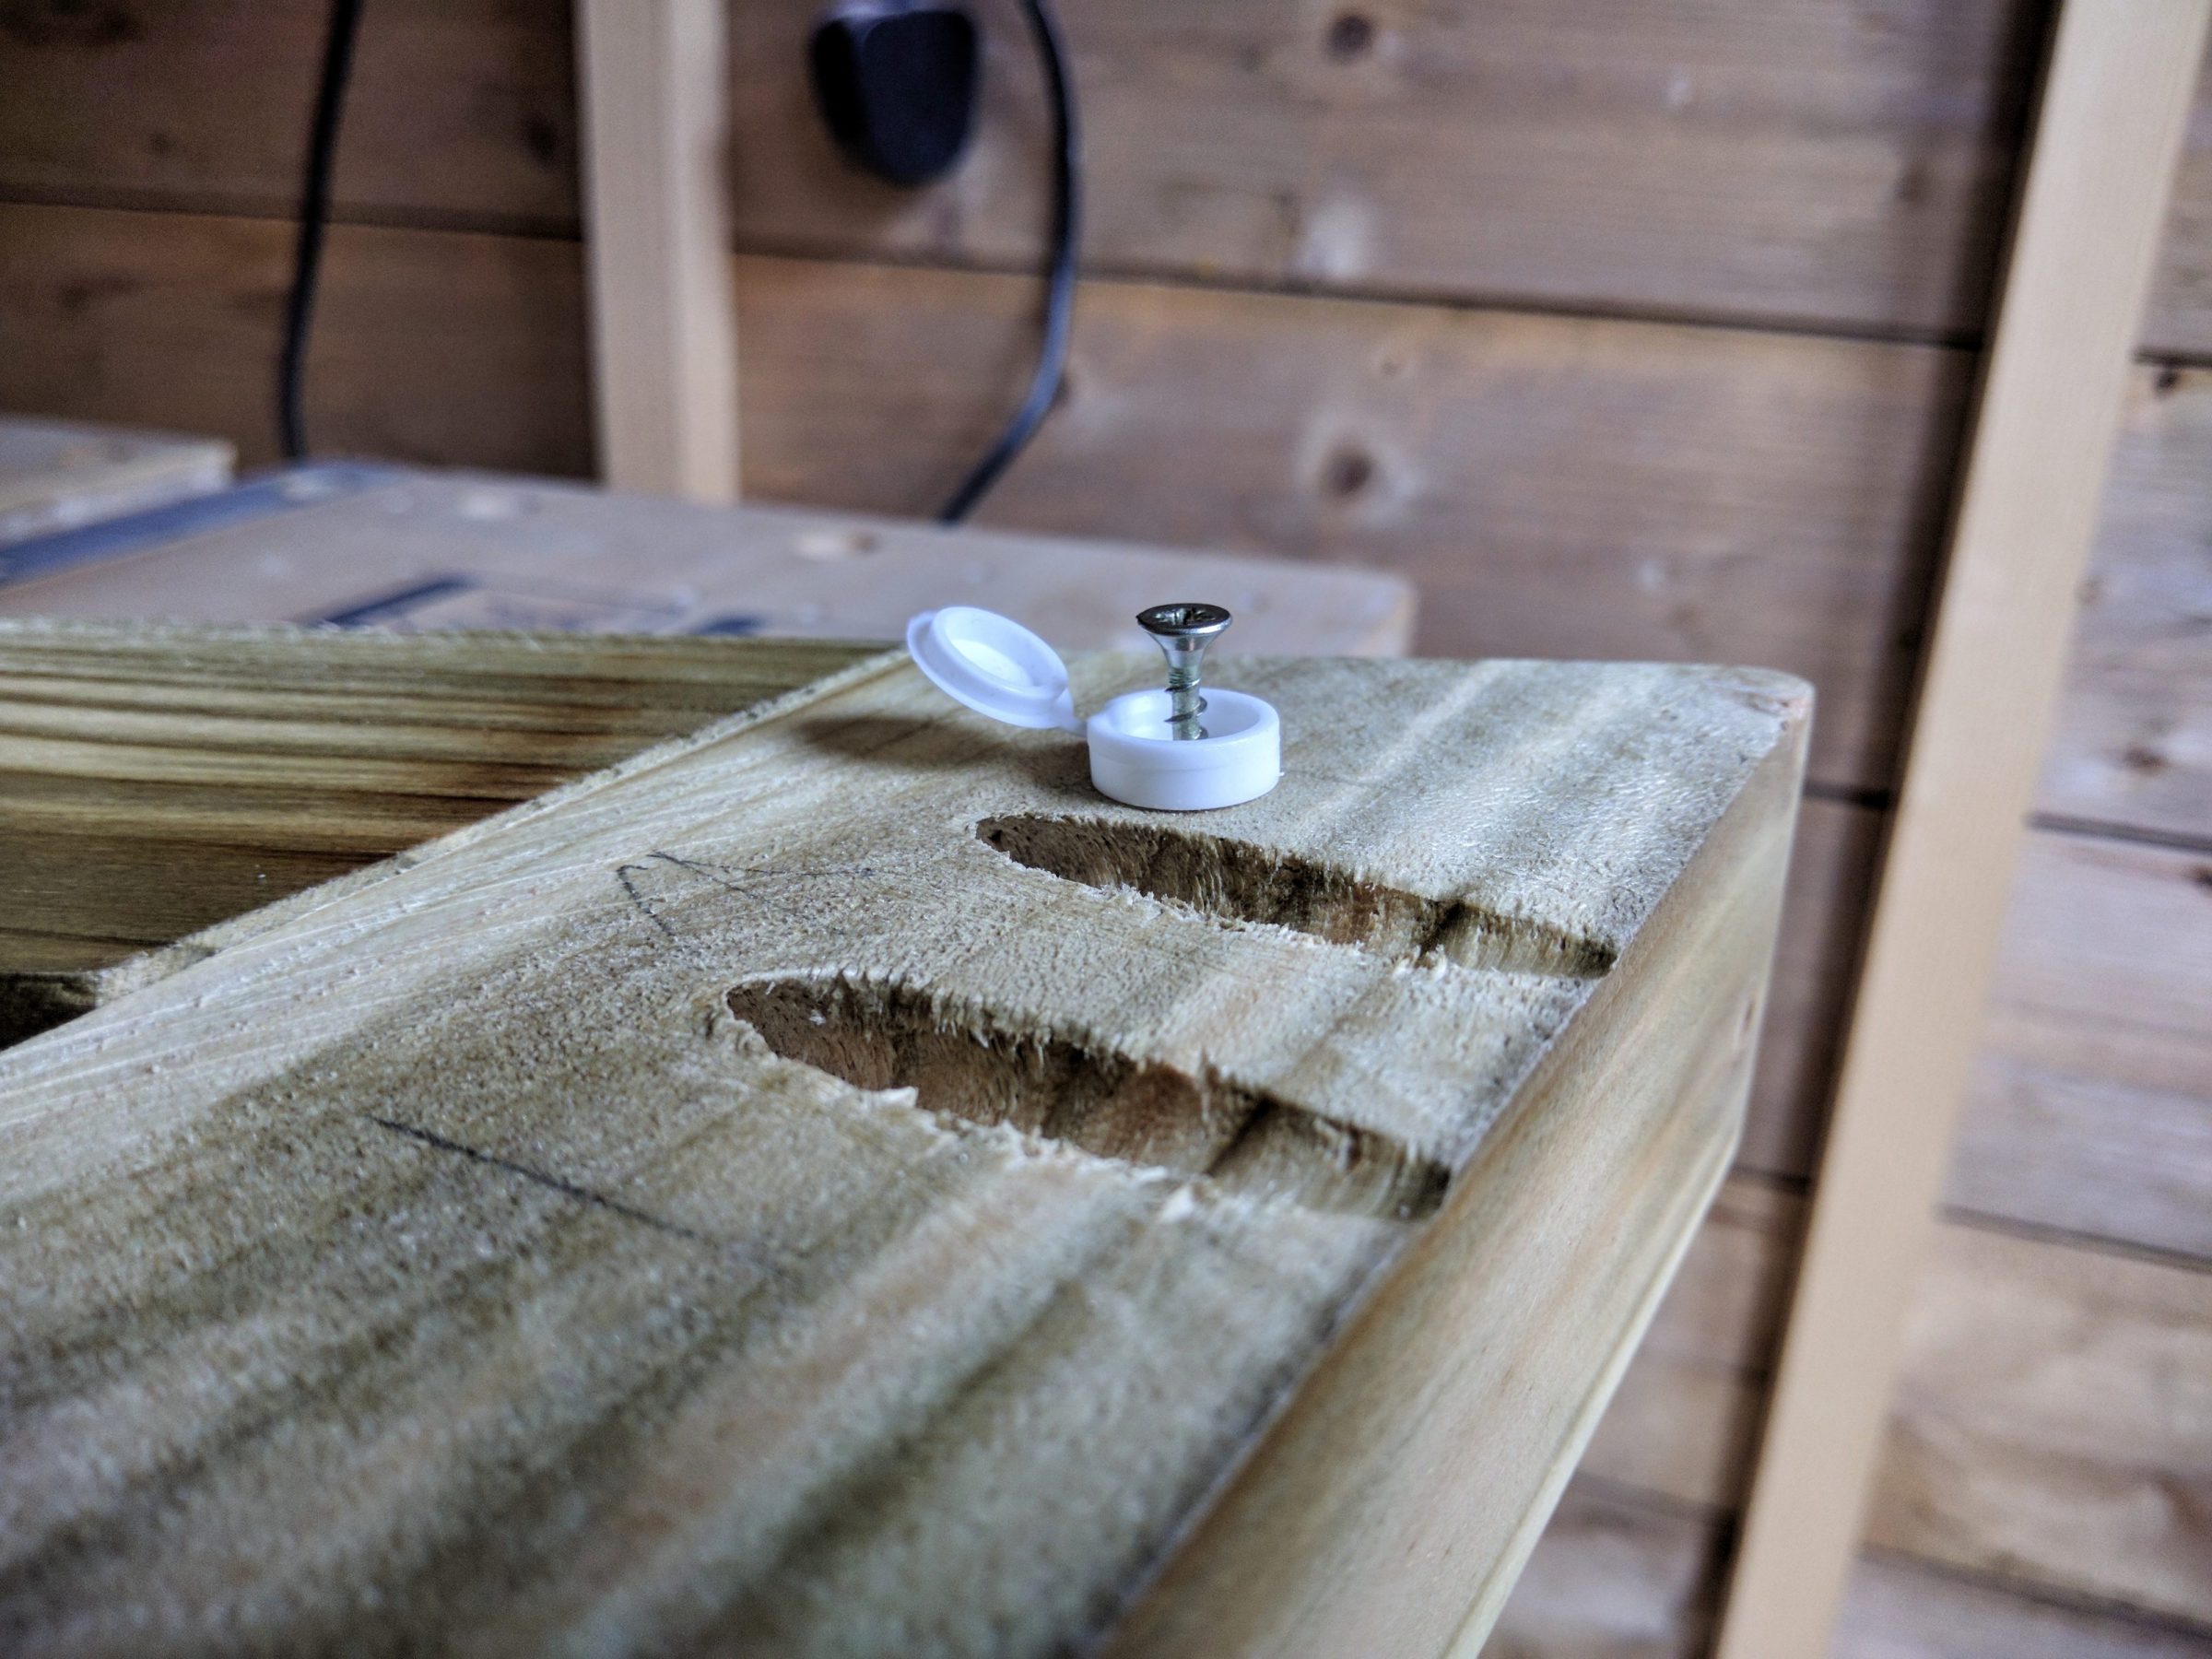
I was sure I used an off-cut to test pocket holes, but unfortunately, I used the wrong piece.

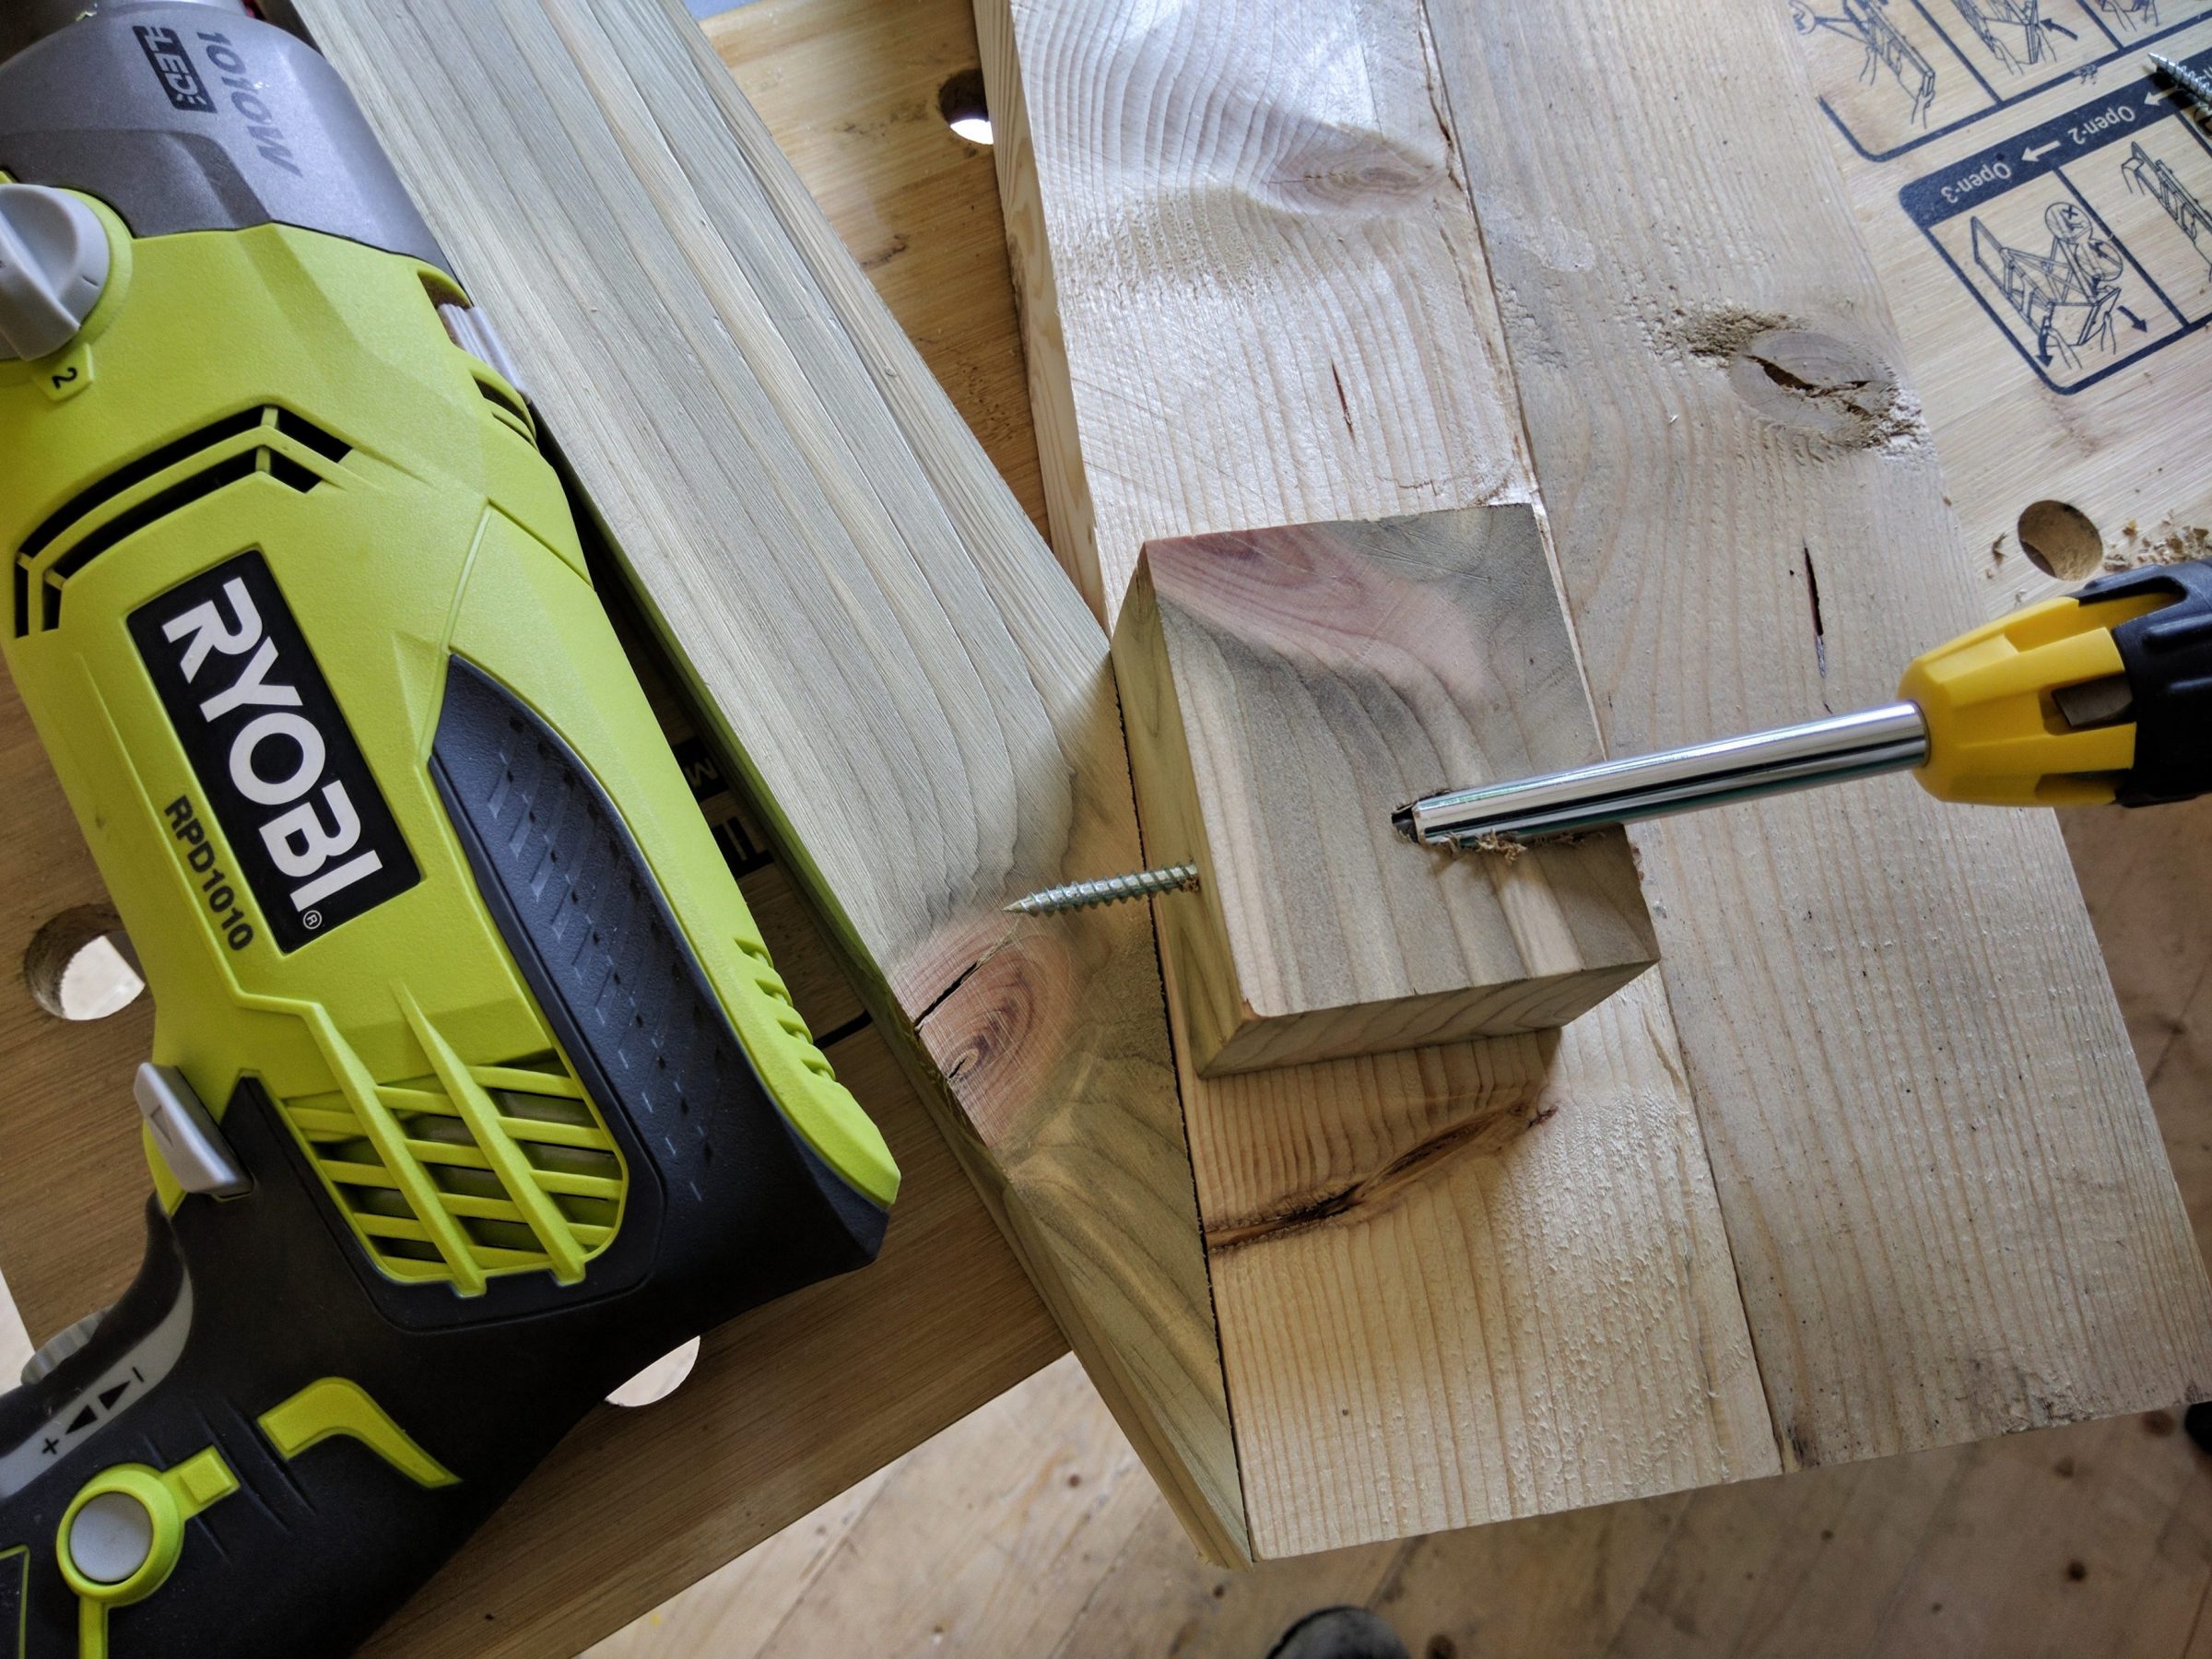
Preparing for pocket holes, some of them were very close to the edge, but still OK.
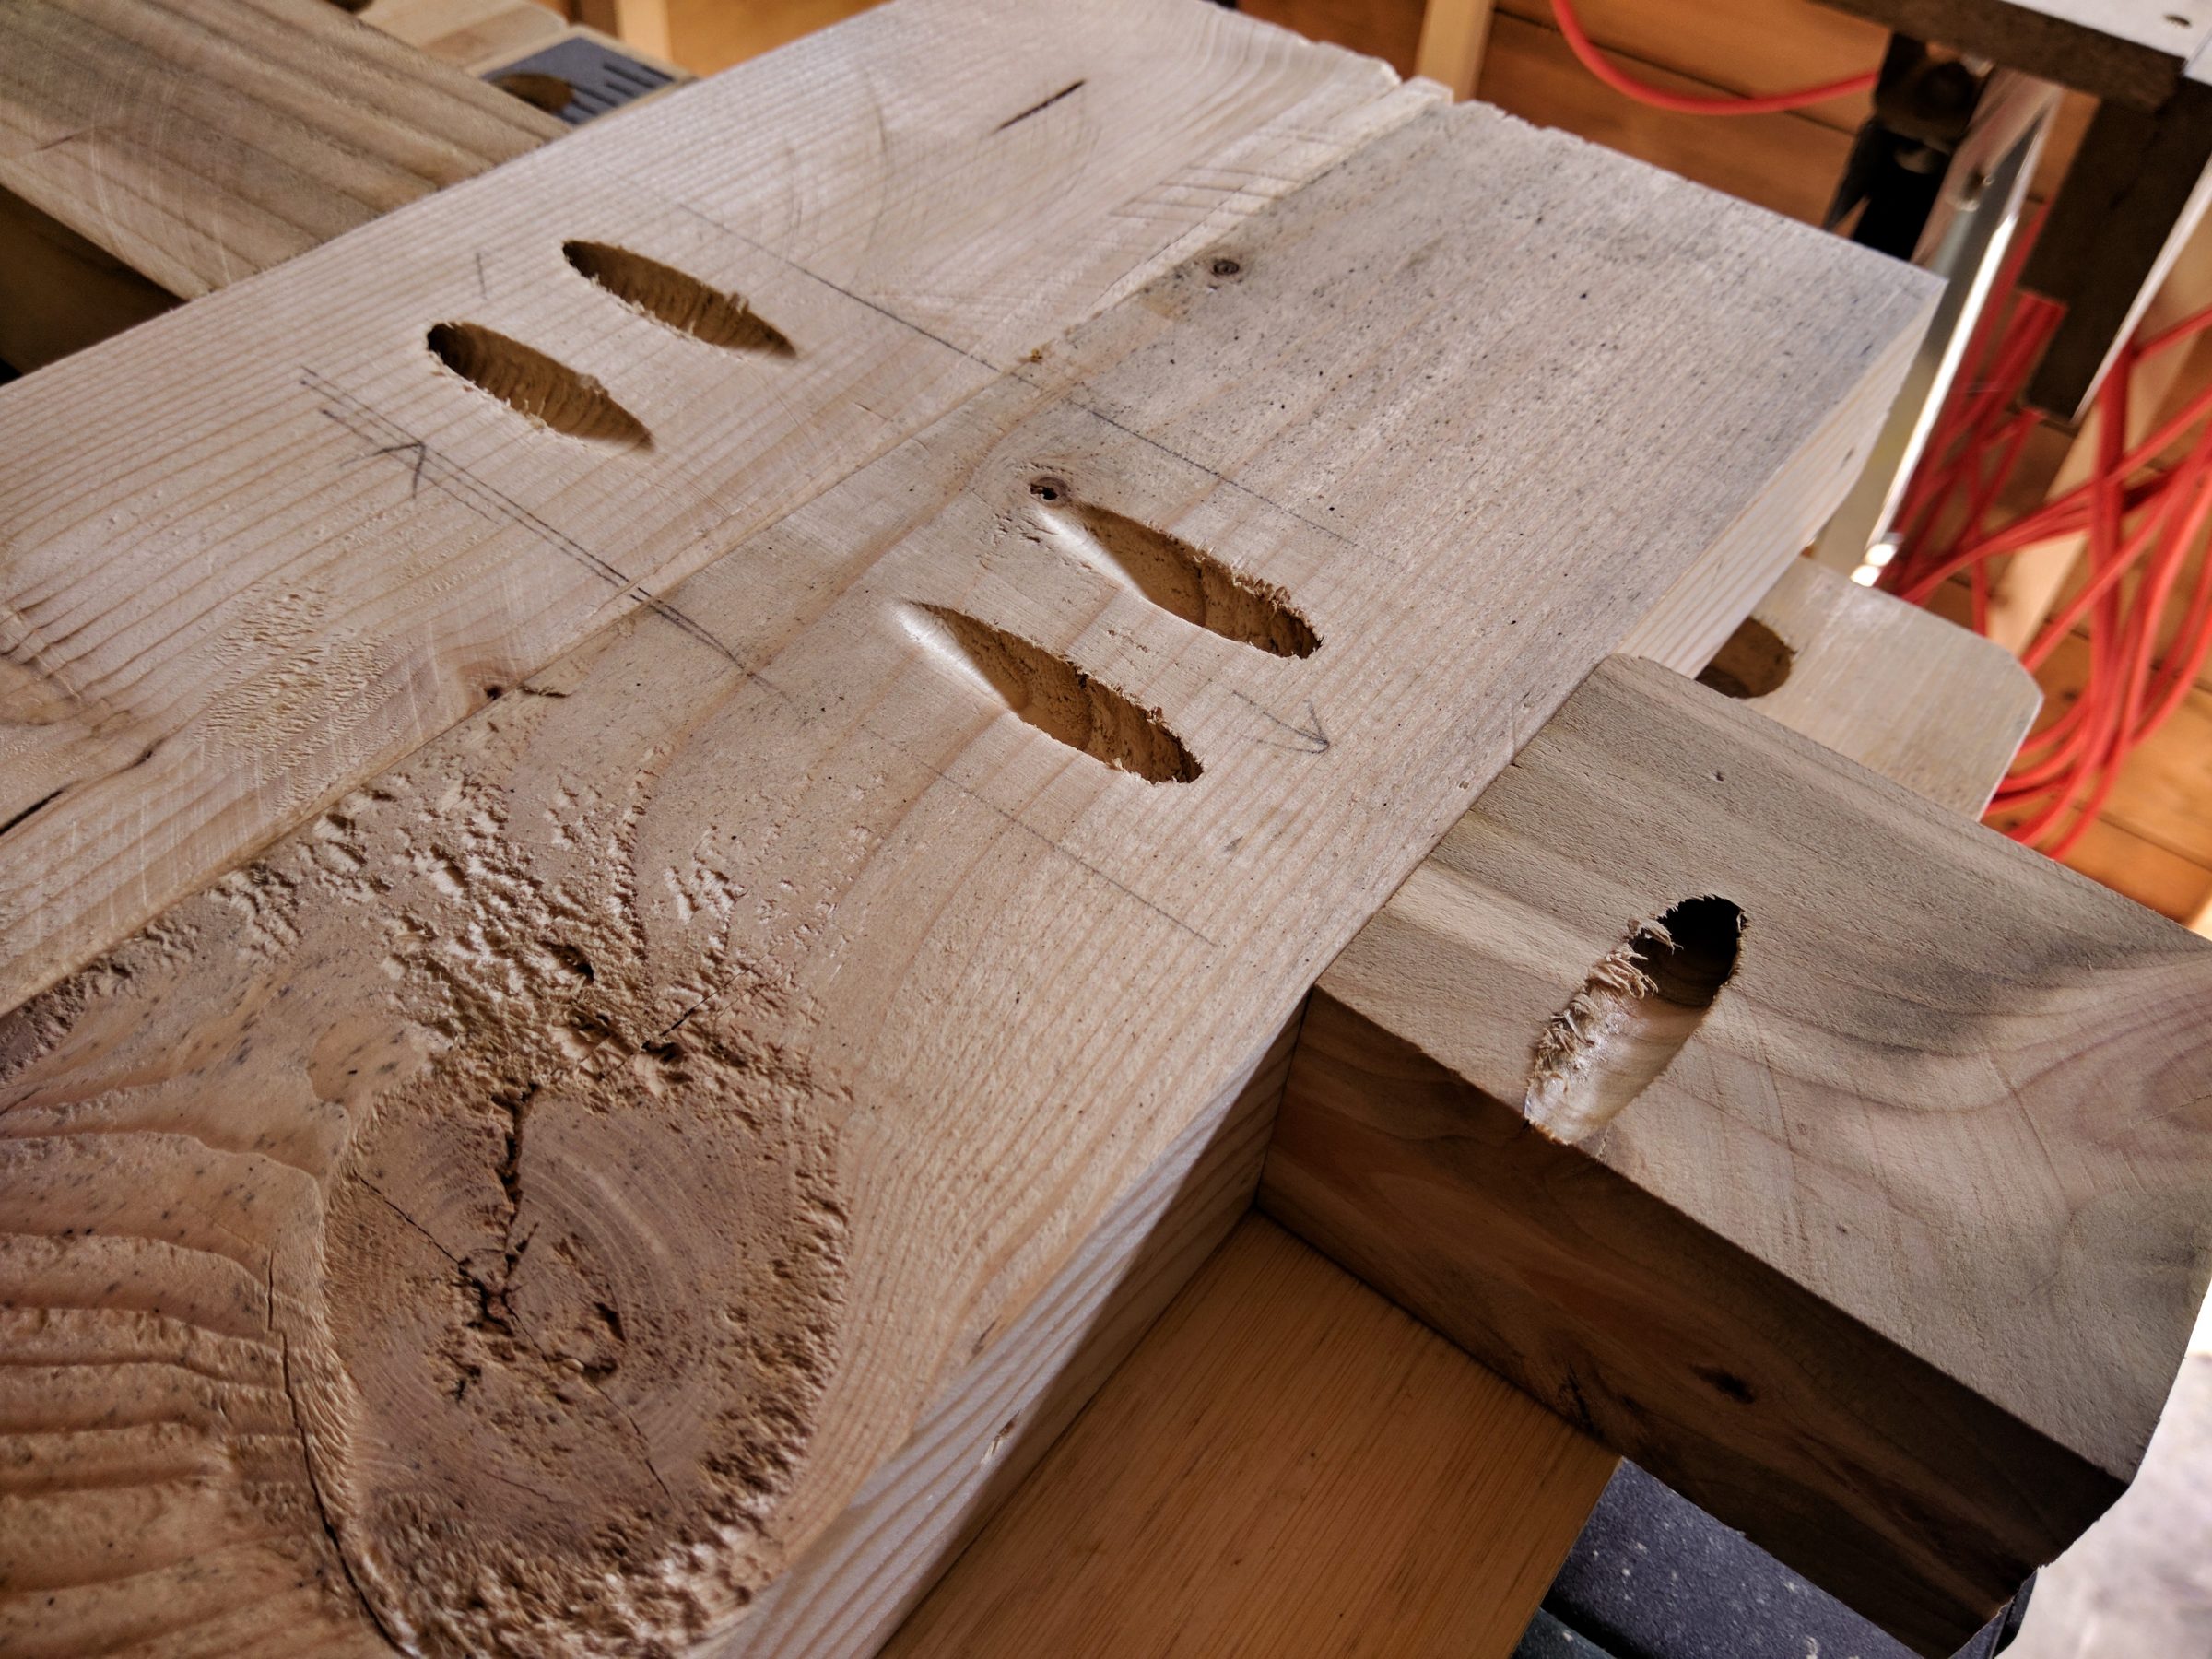
It’s looking alright. There are imperfections to be sanded with my belt sander. The wrongly used piece shows a little hole at the bottom but most of that mistake won’t be seen from the front.

Rounding corners with a belt sander, fine finishing with a hand sander.

Very good results I must say.
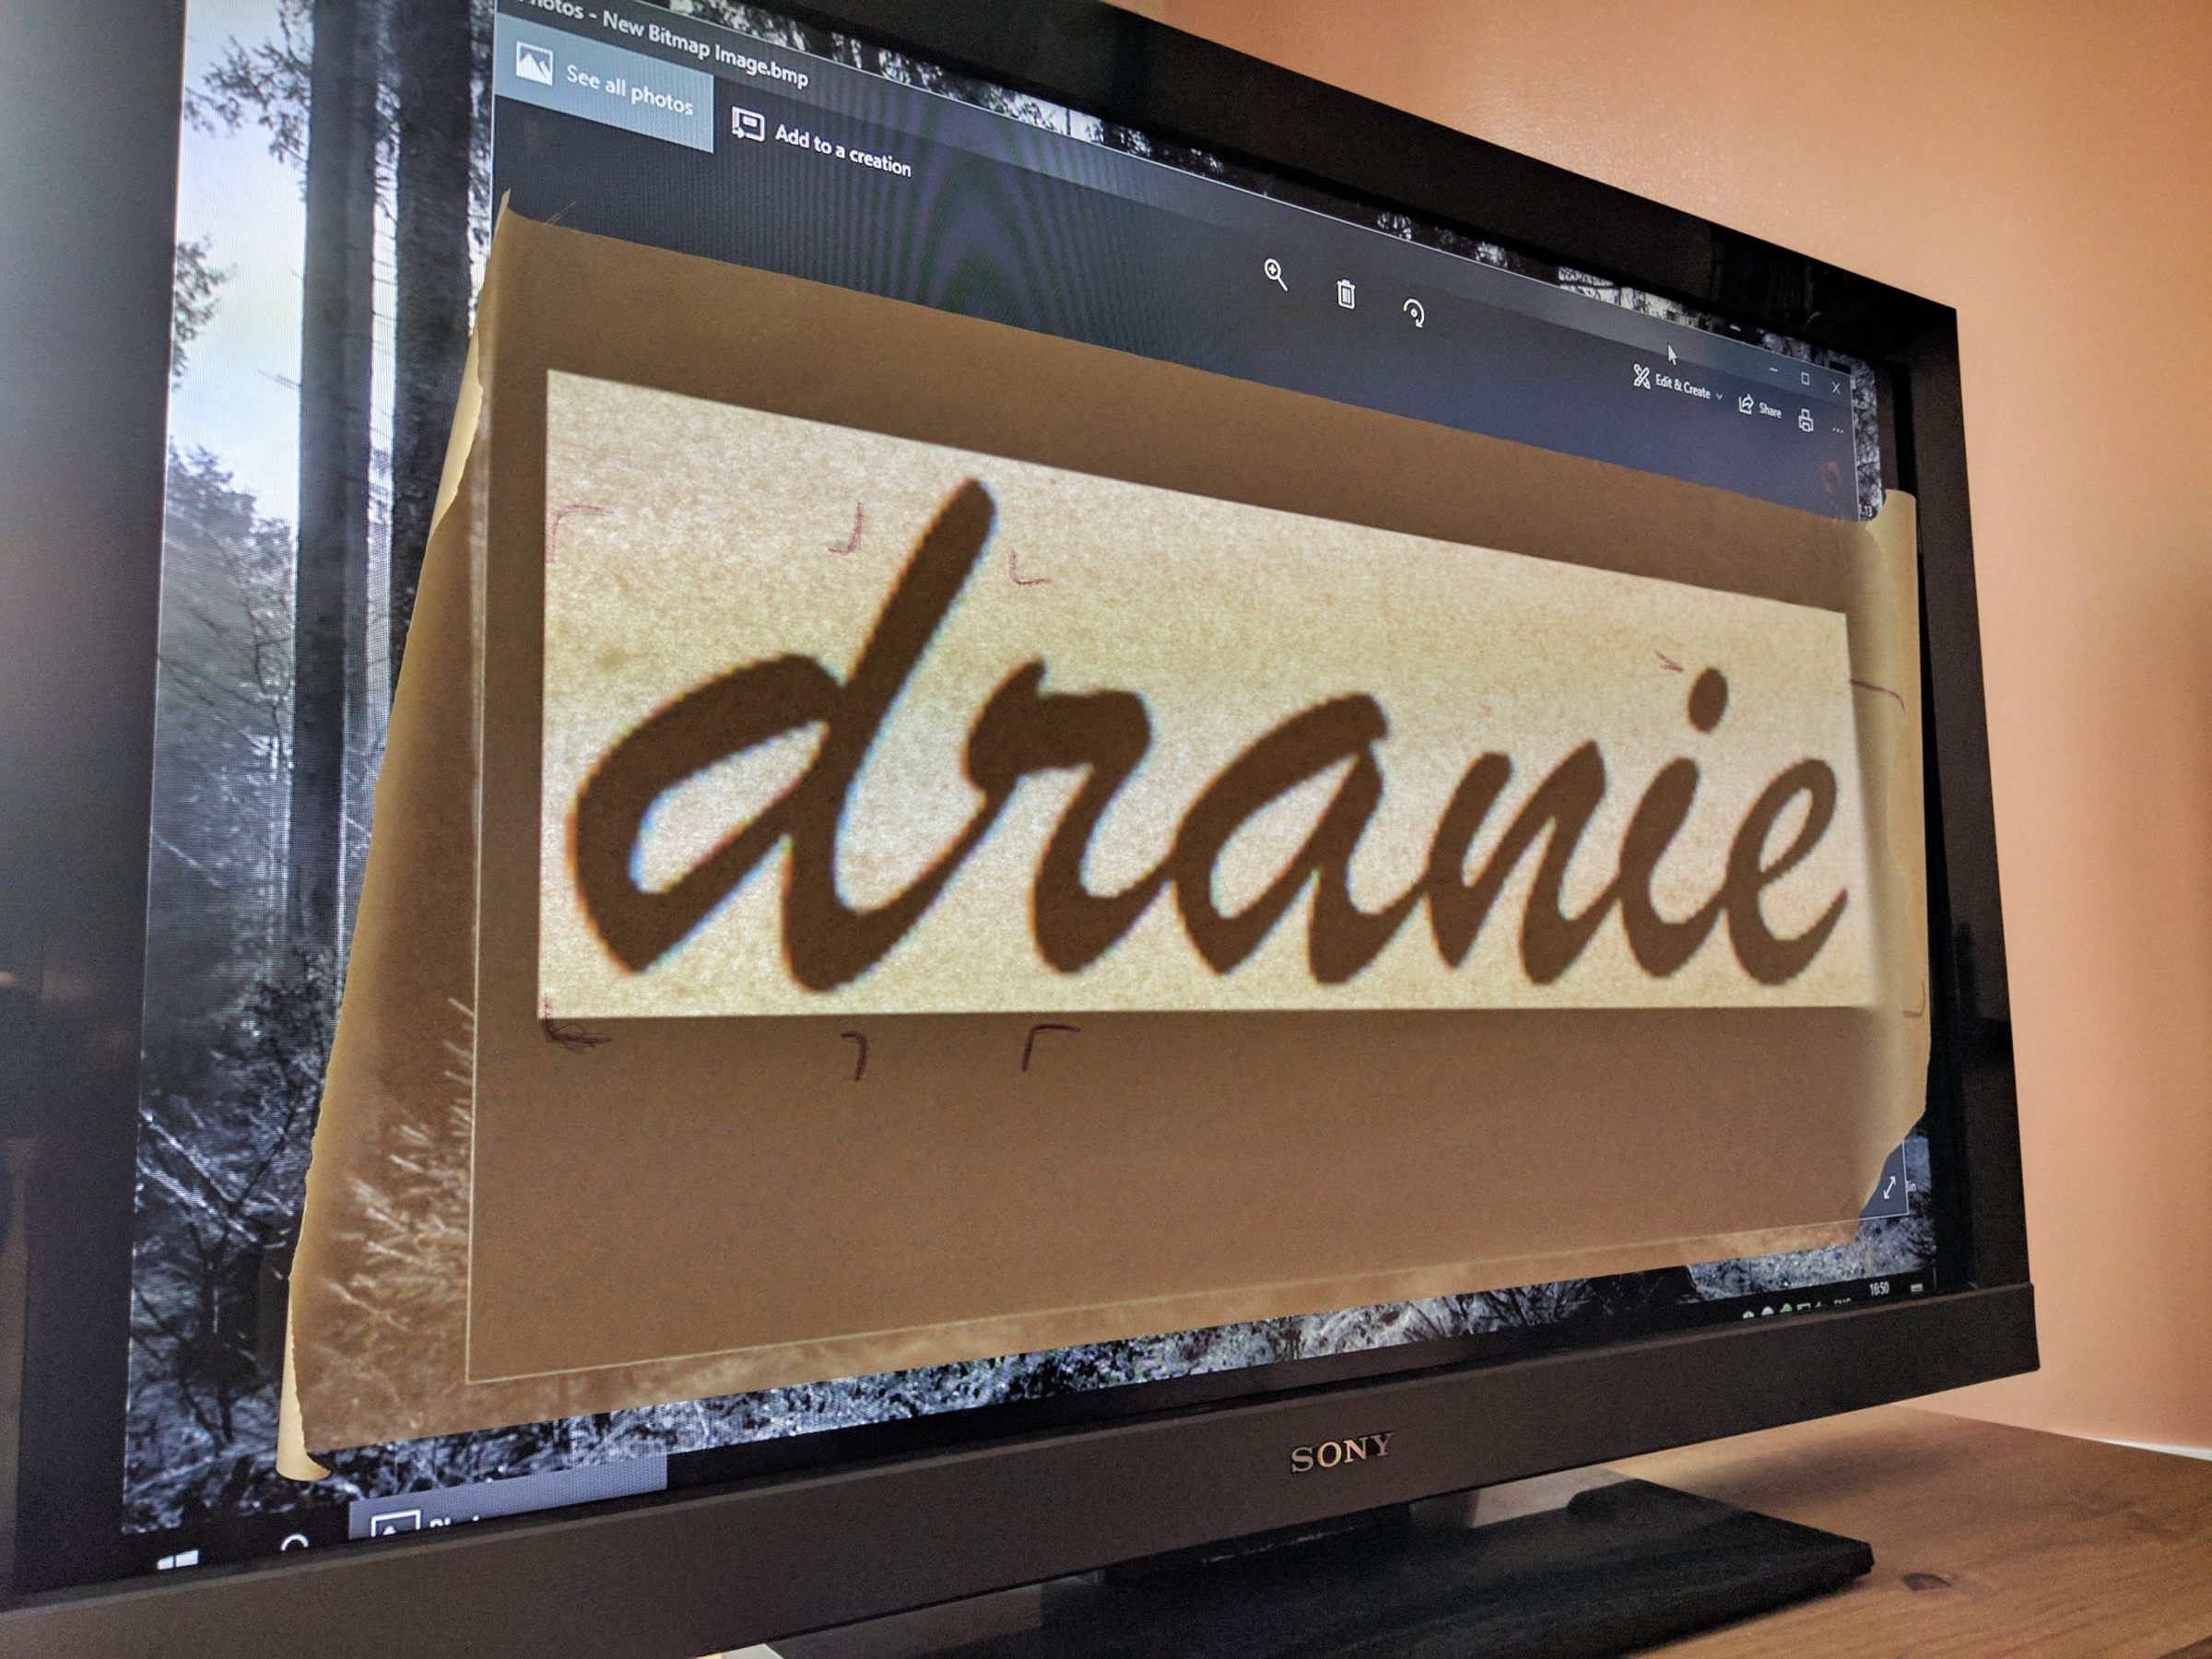
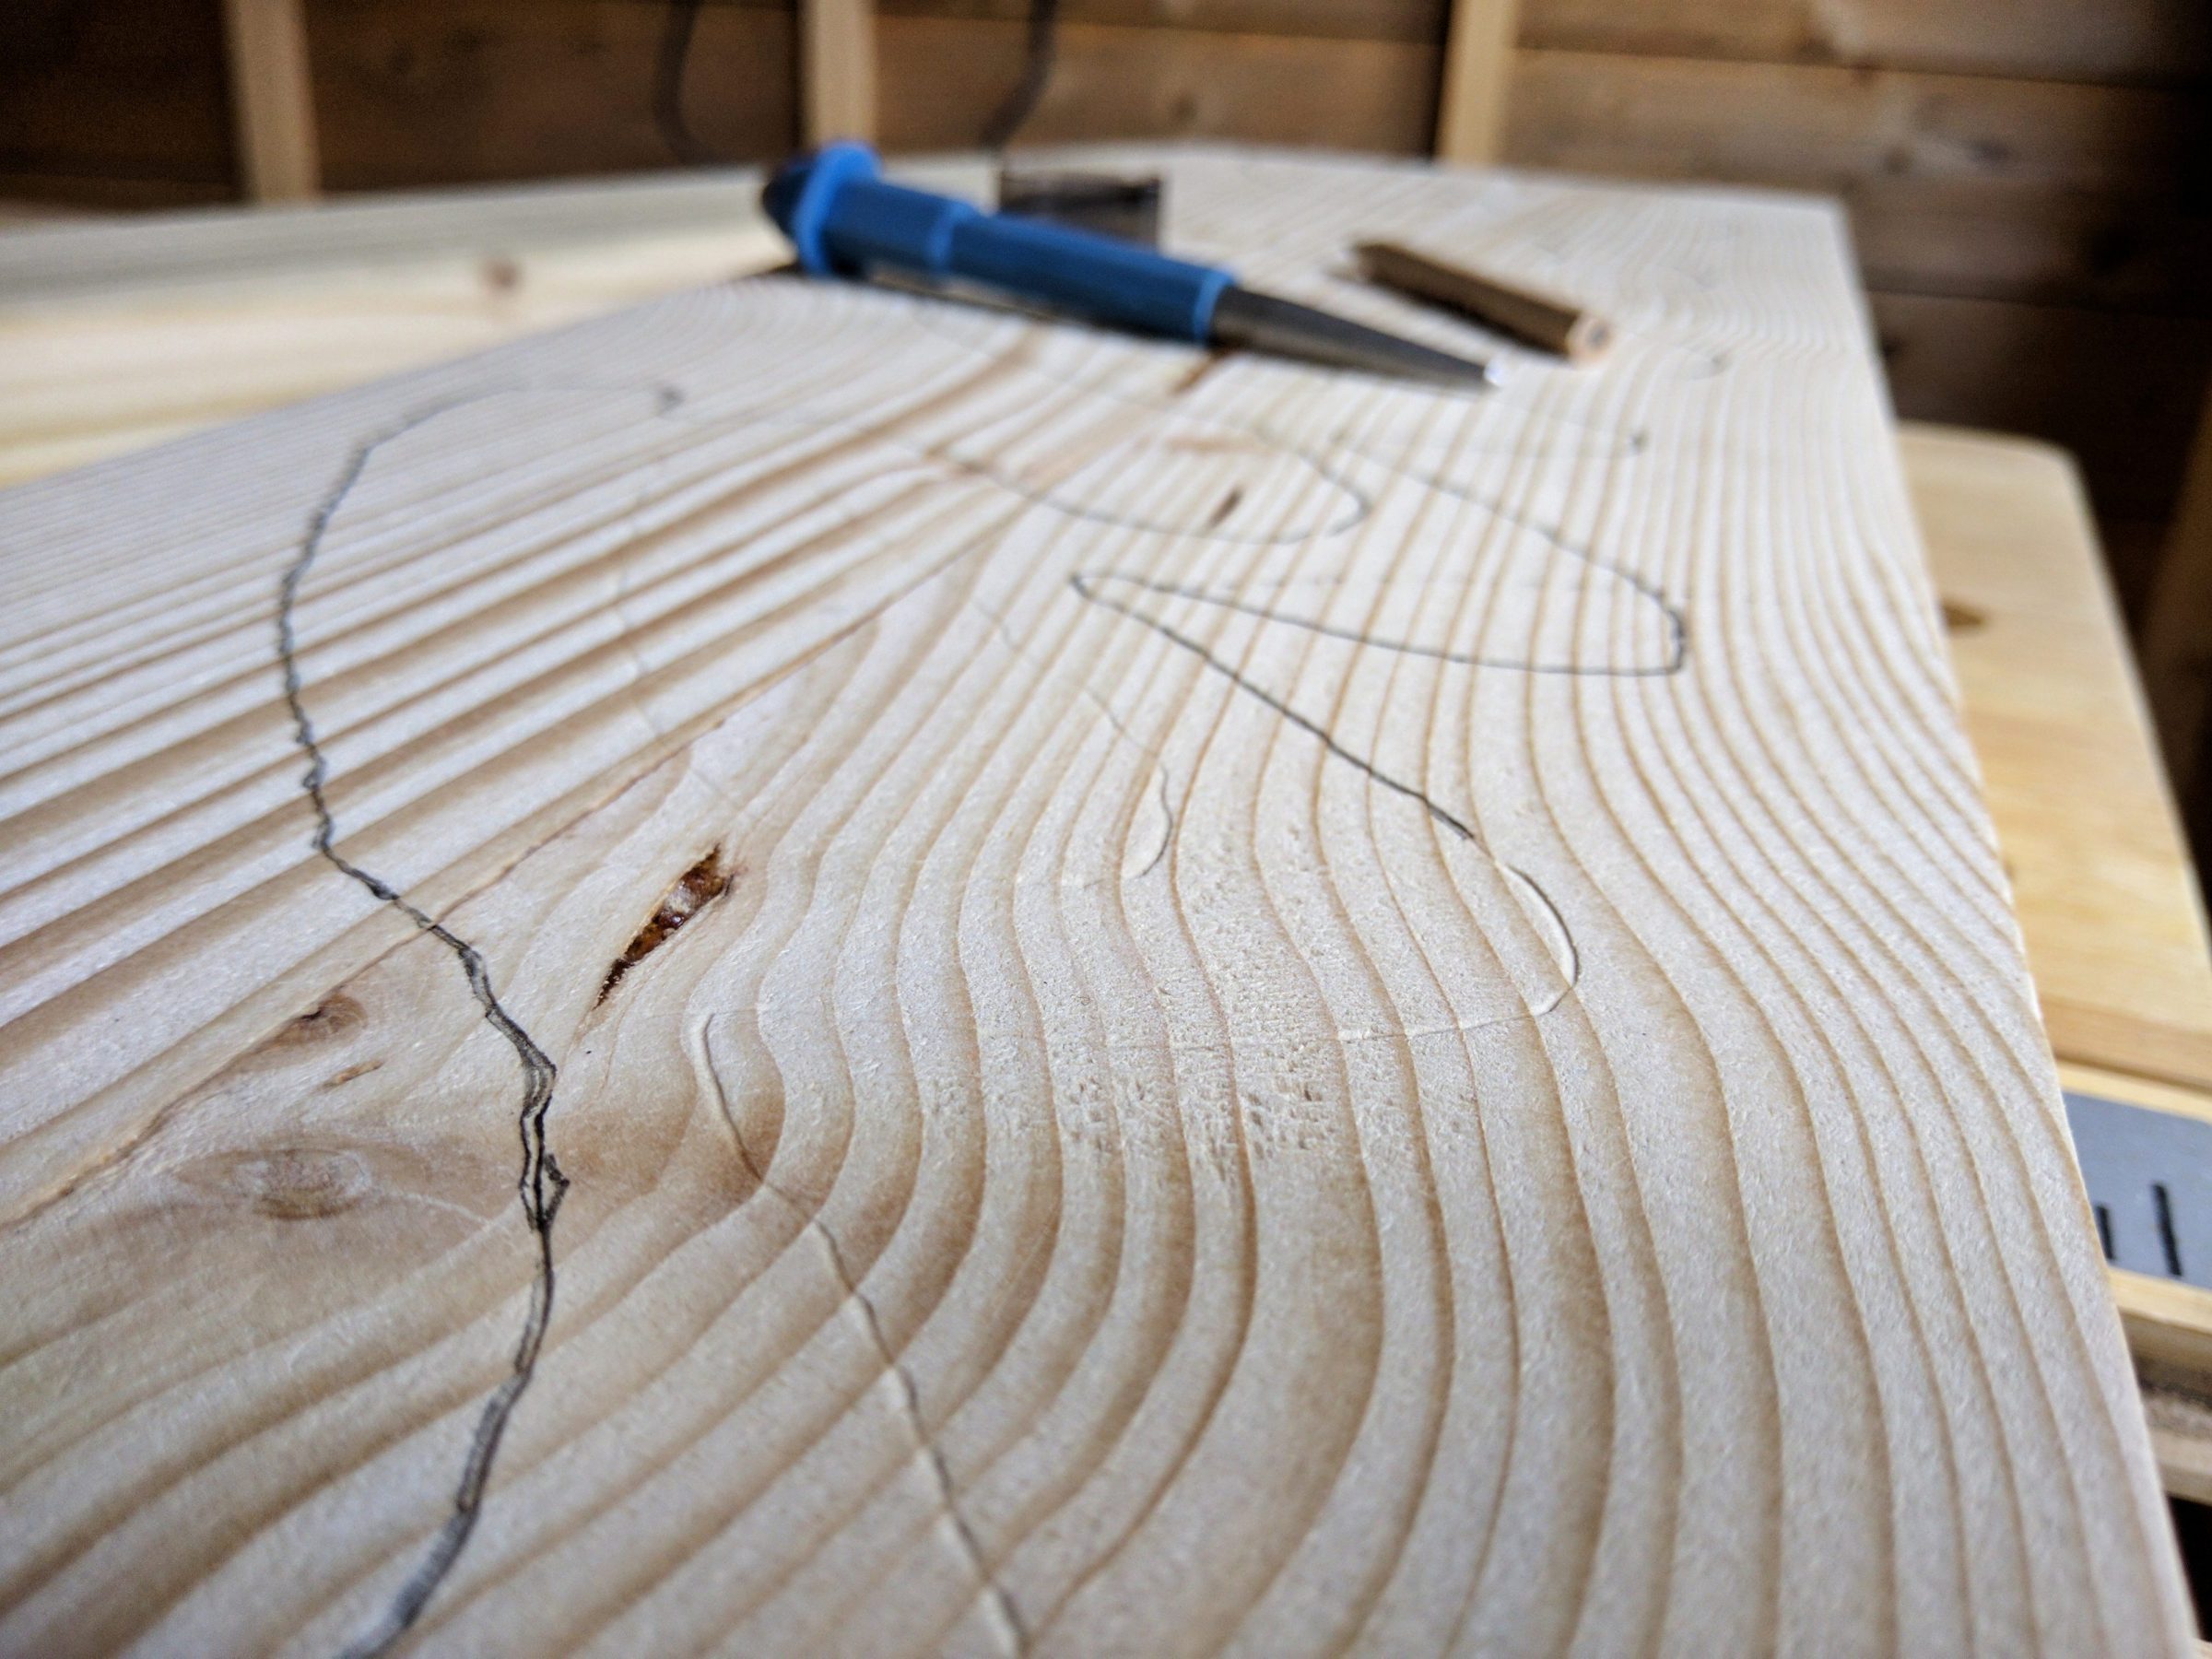
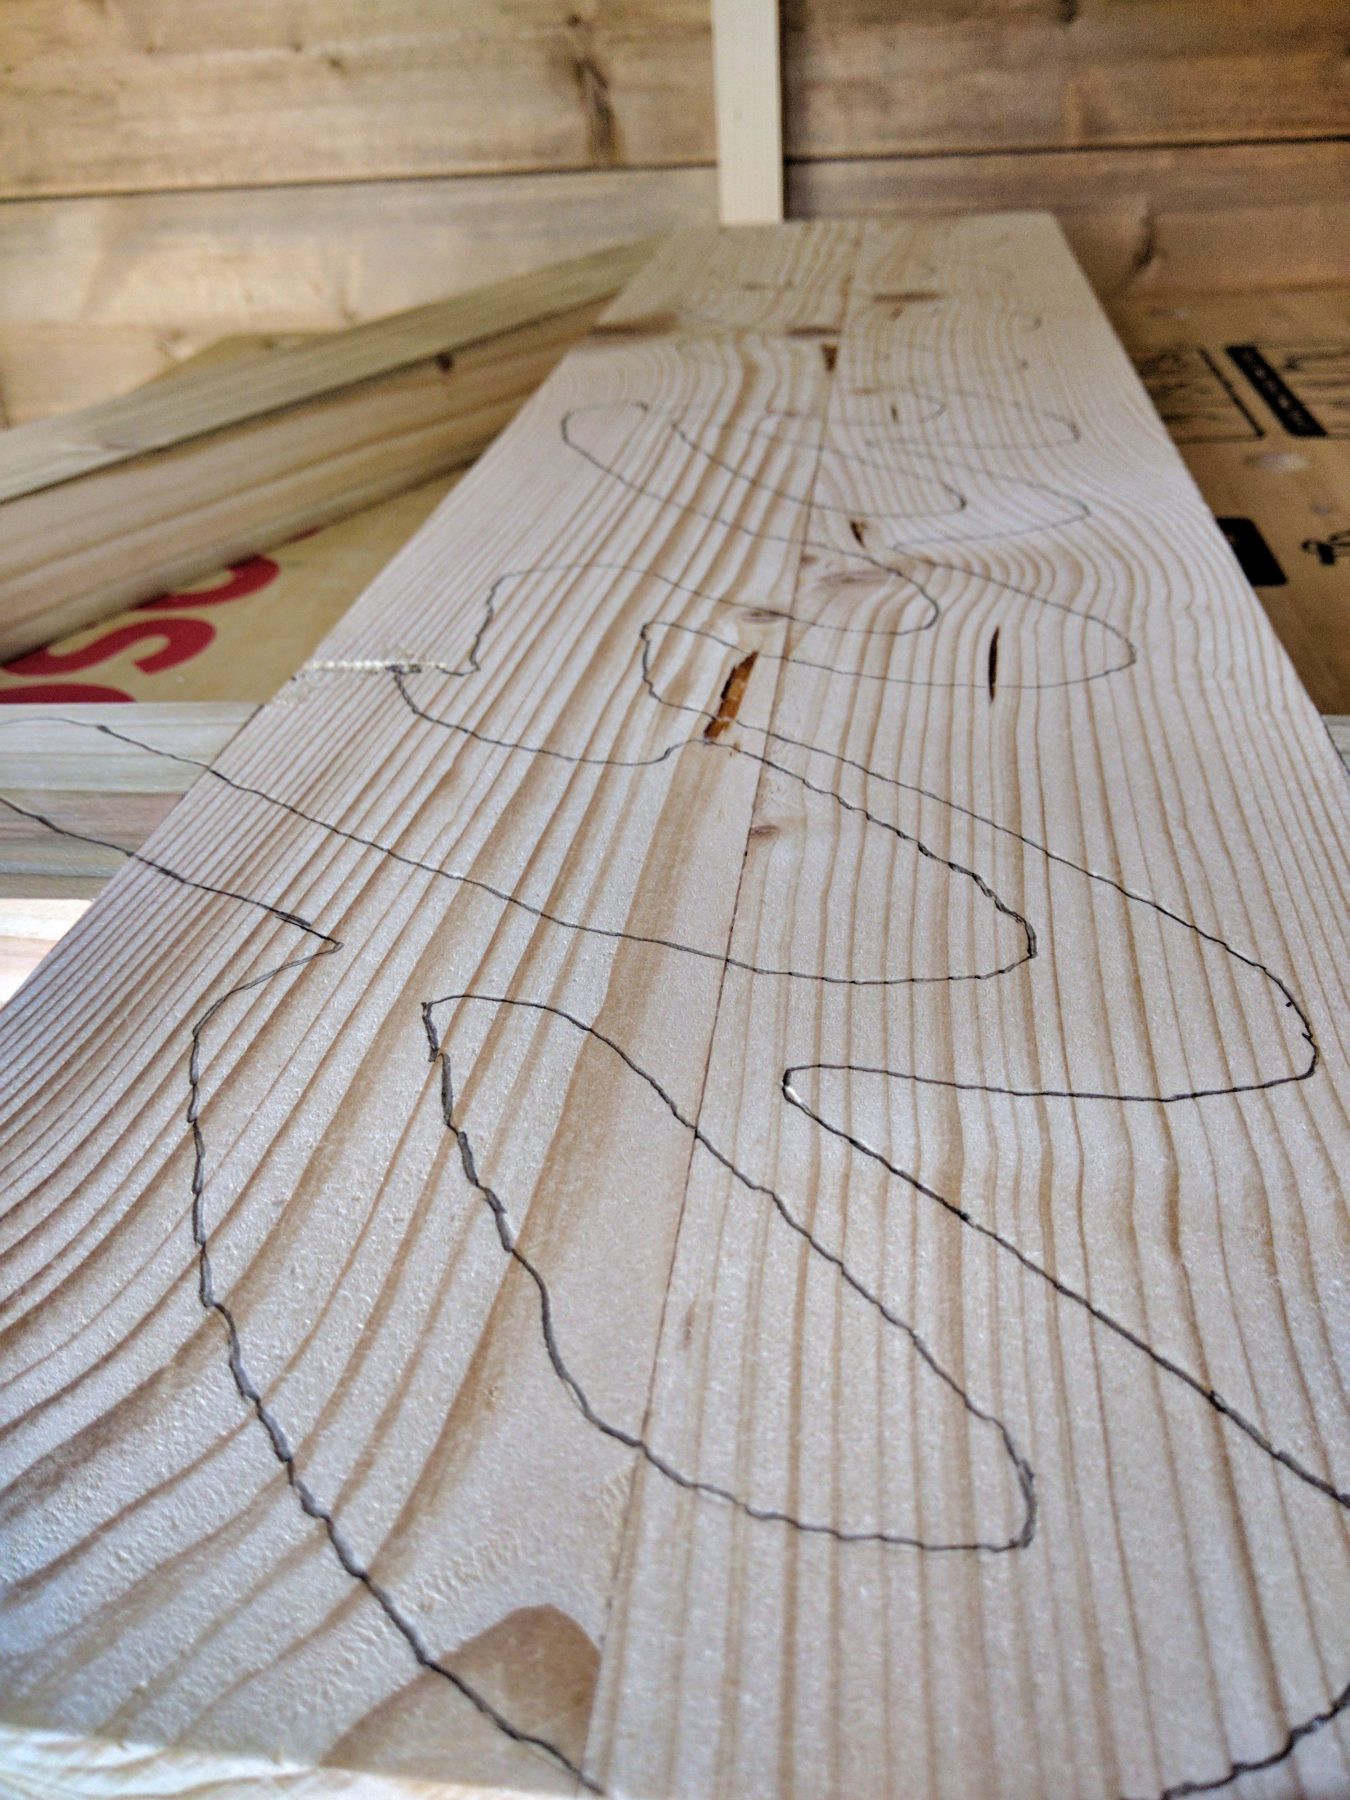
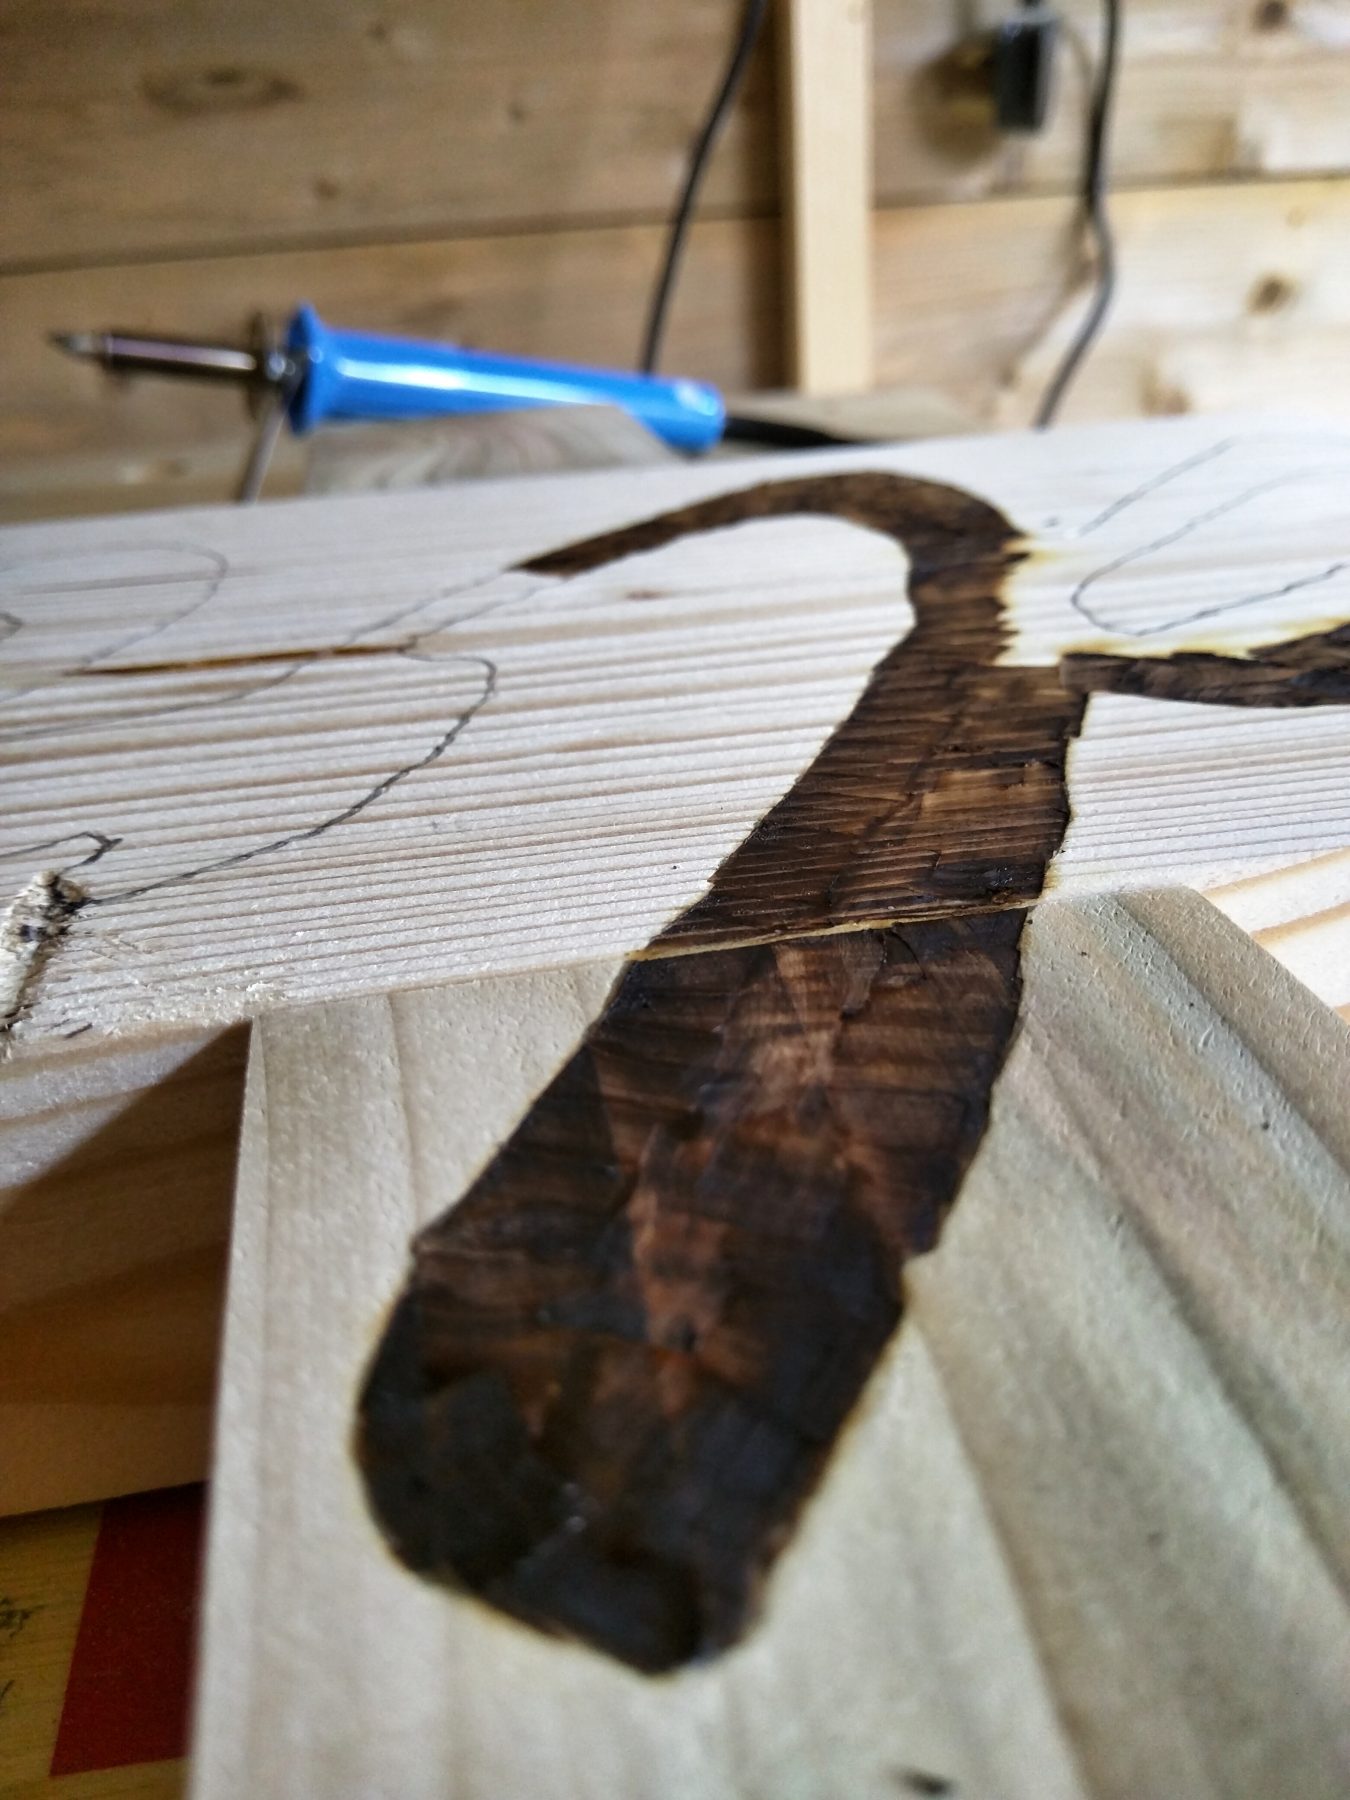
The lettering was transferred to the wood using a TV and parchment paper. Not too sophisticated but it worked. A sharp tool left a guideline in the wood. Wood burning was next – 500 ºC!
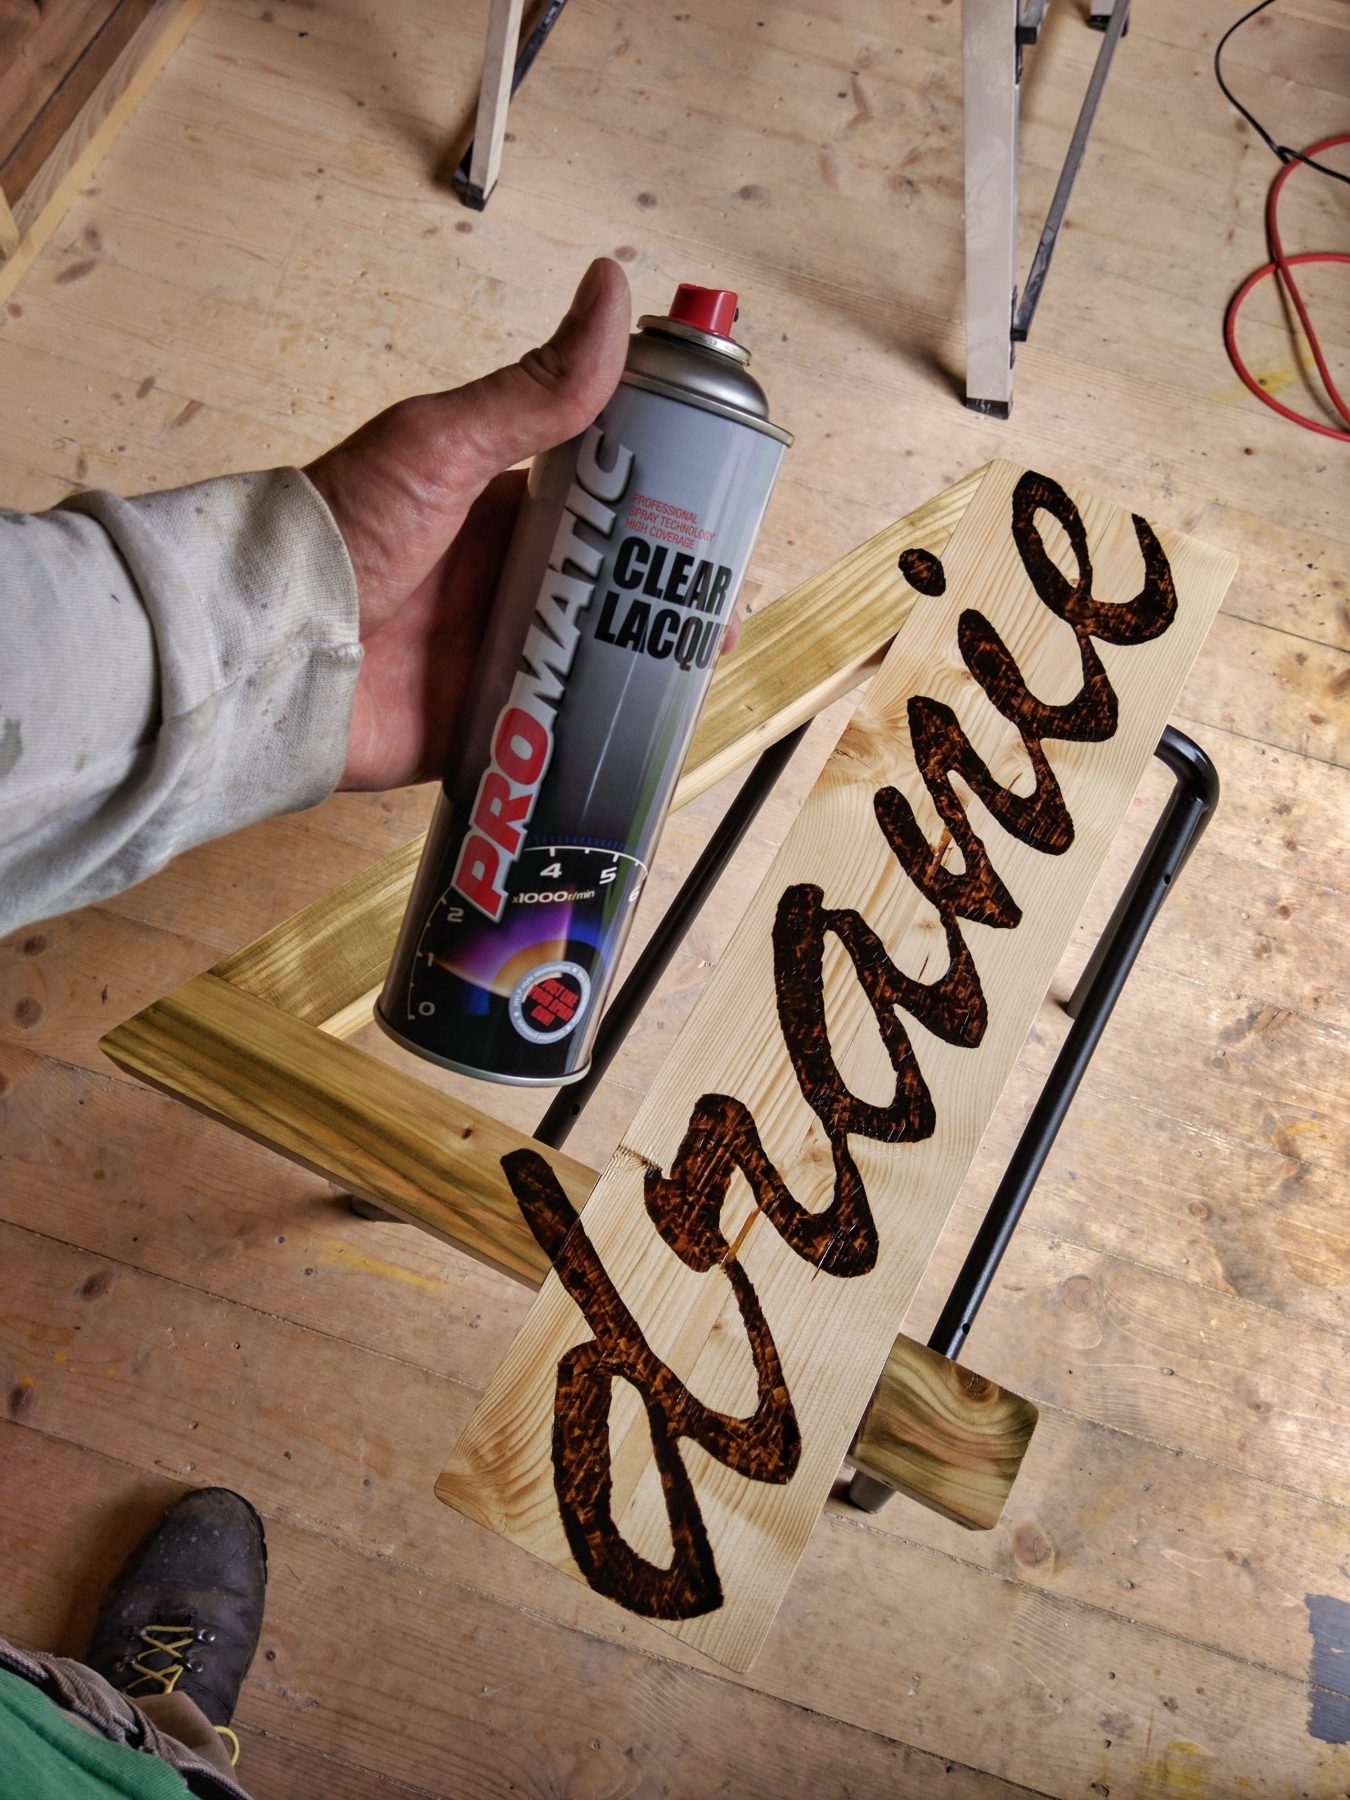
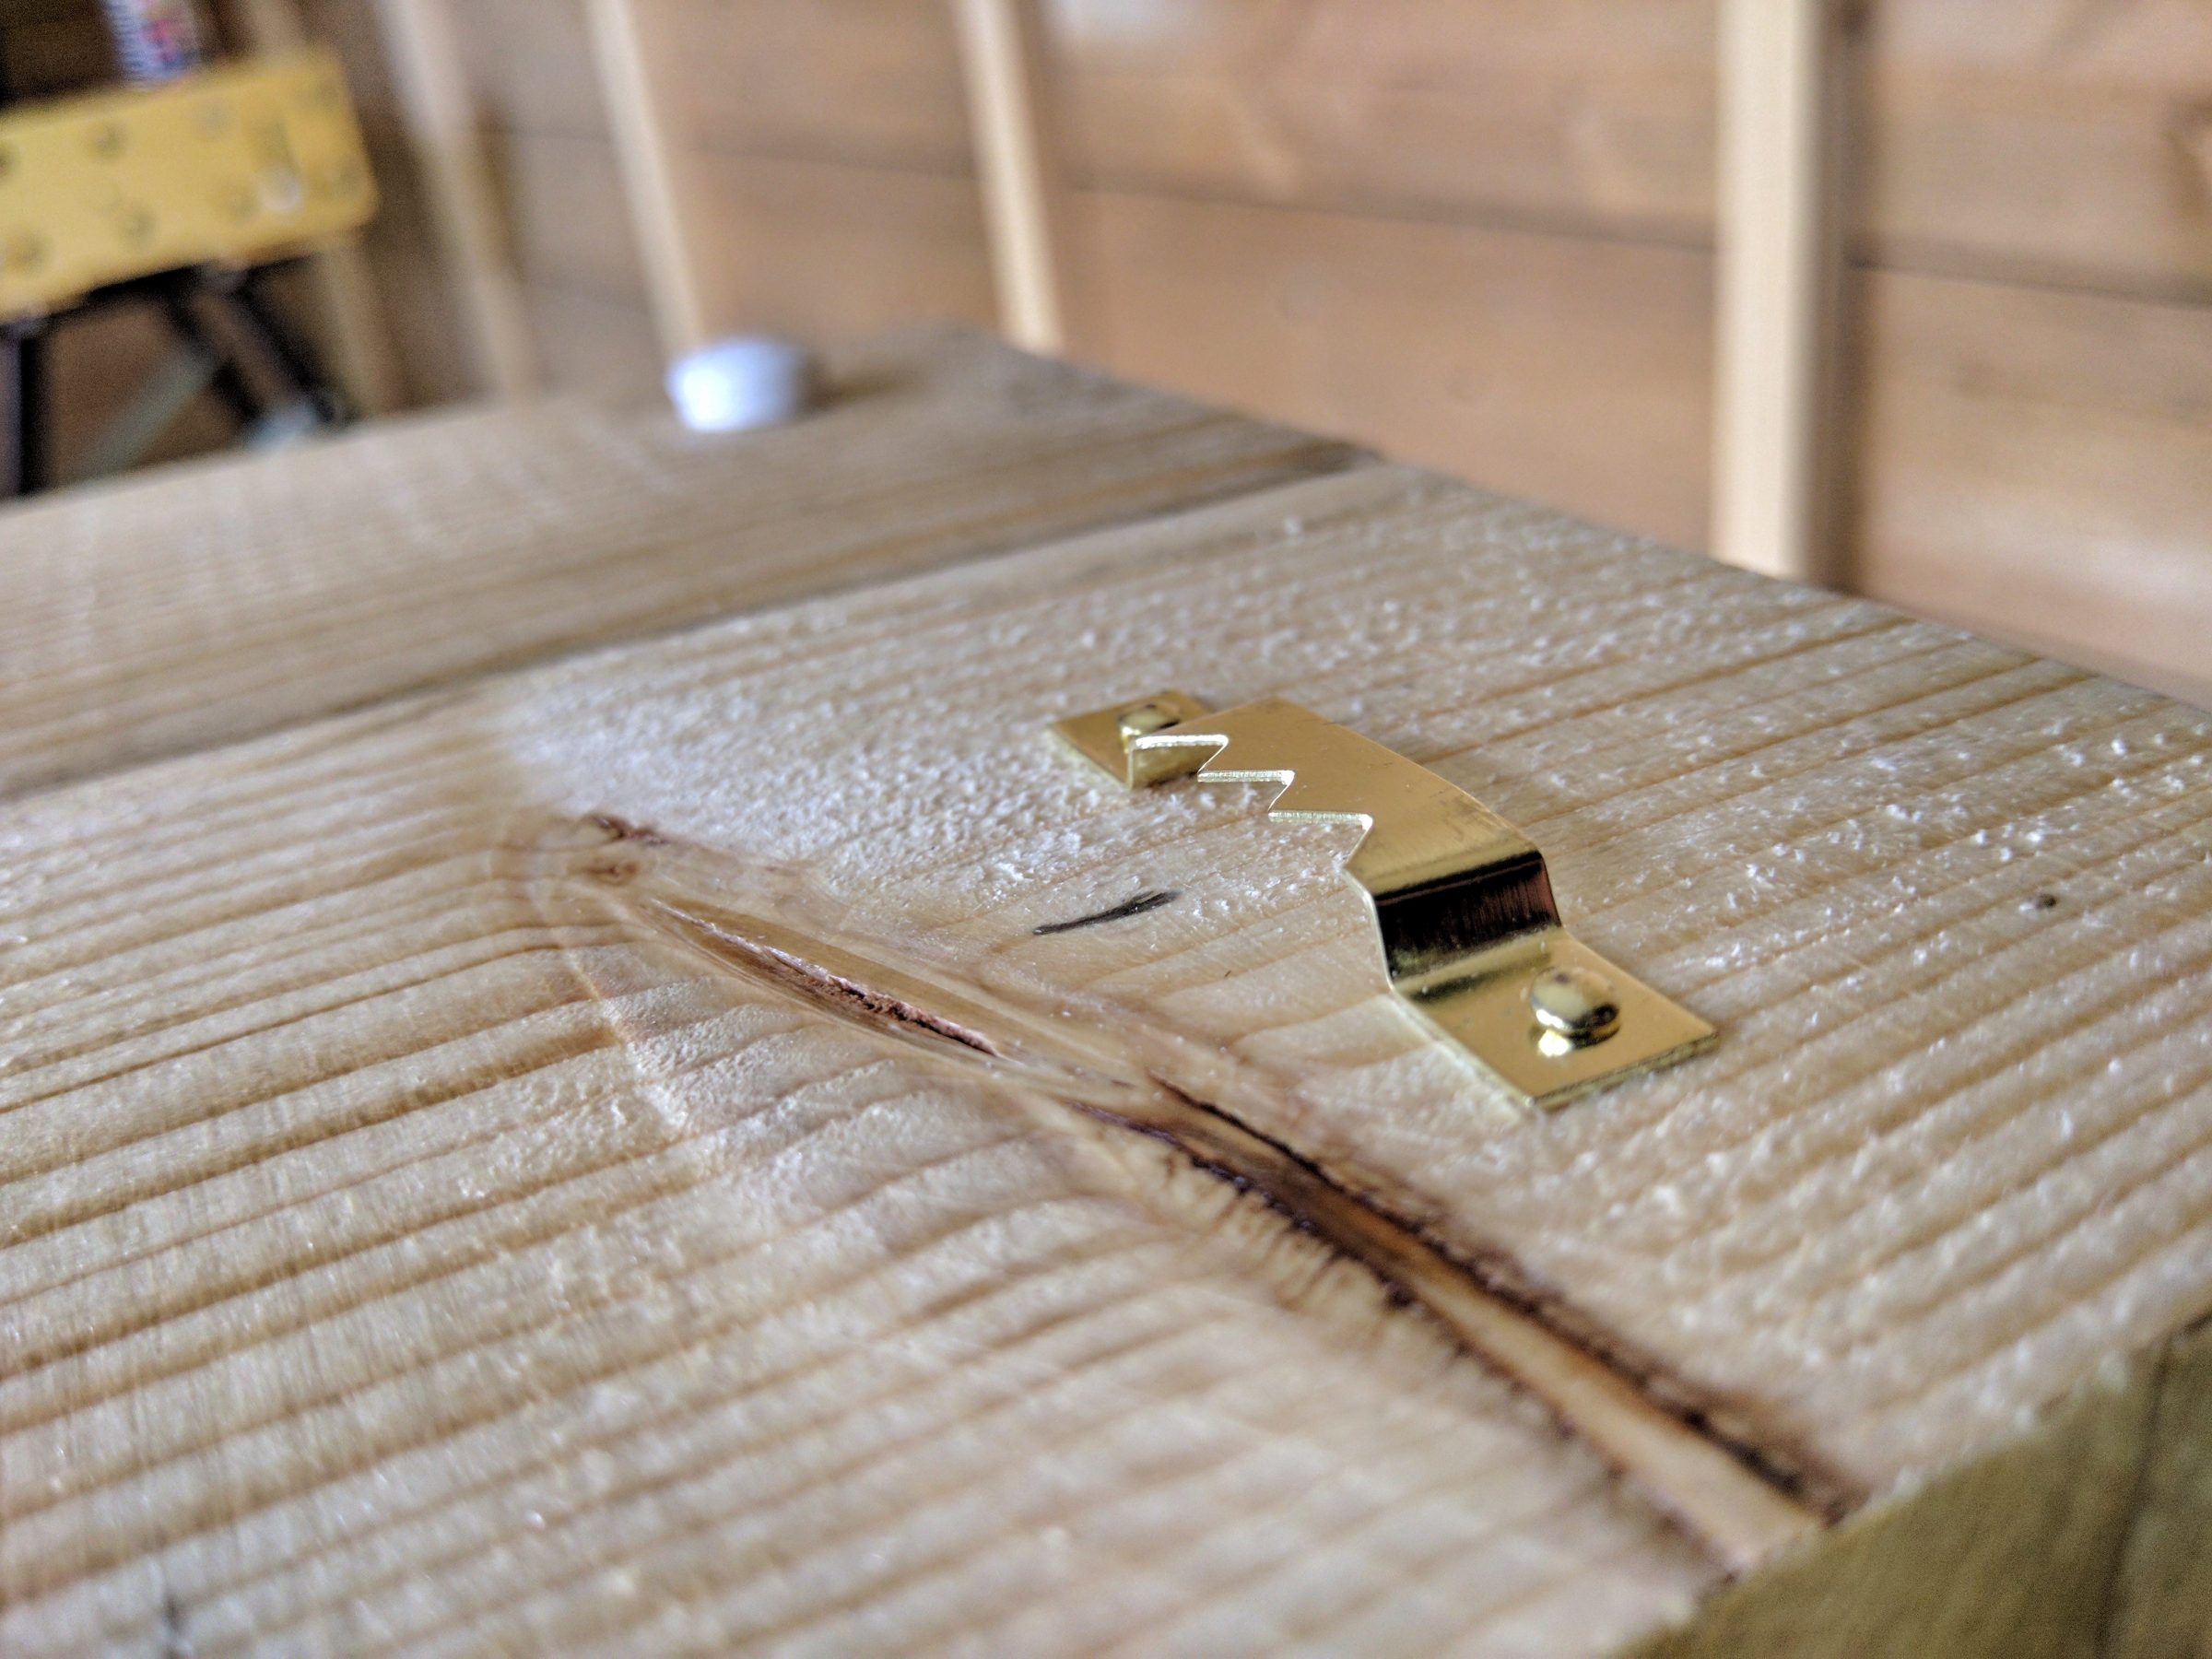
Once burning was finished I moved to the next step, applying lacquer. It’s a high-quality, fast-drying acrylic lacquer. I used 2 500 ml cans for this project. I like how the resin is trapped under the layer of lacquer.

Quick sanding followed by another coat of lacquer. Installing the hardware was the last thing to do. I usually don’t use nails, but I made an exception this time.
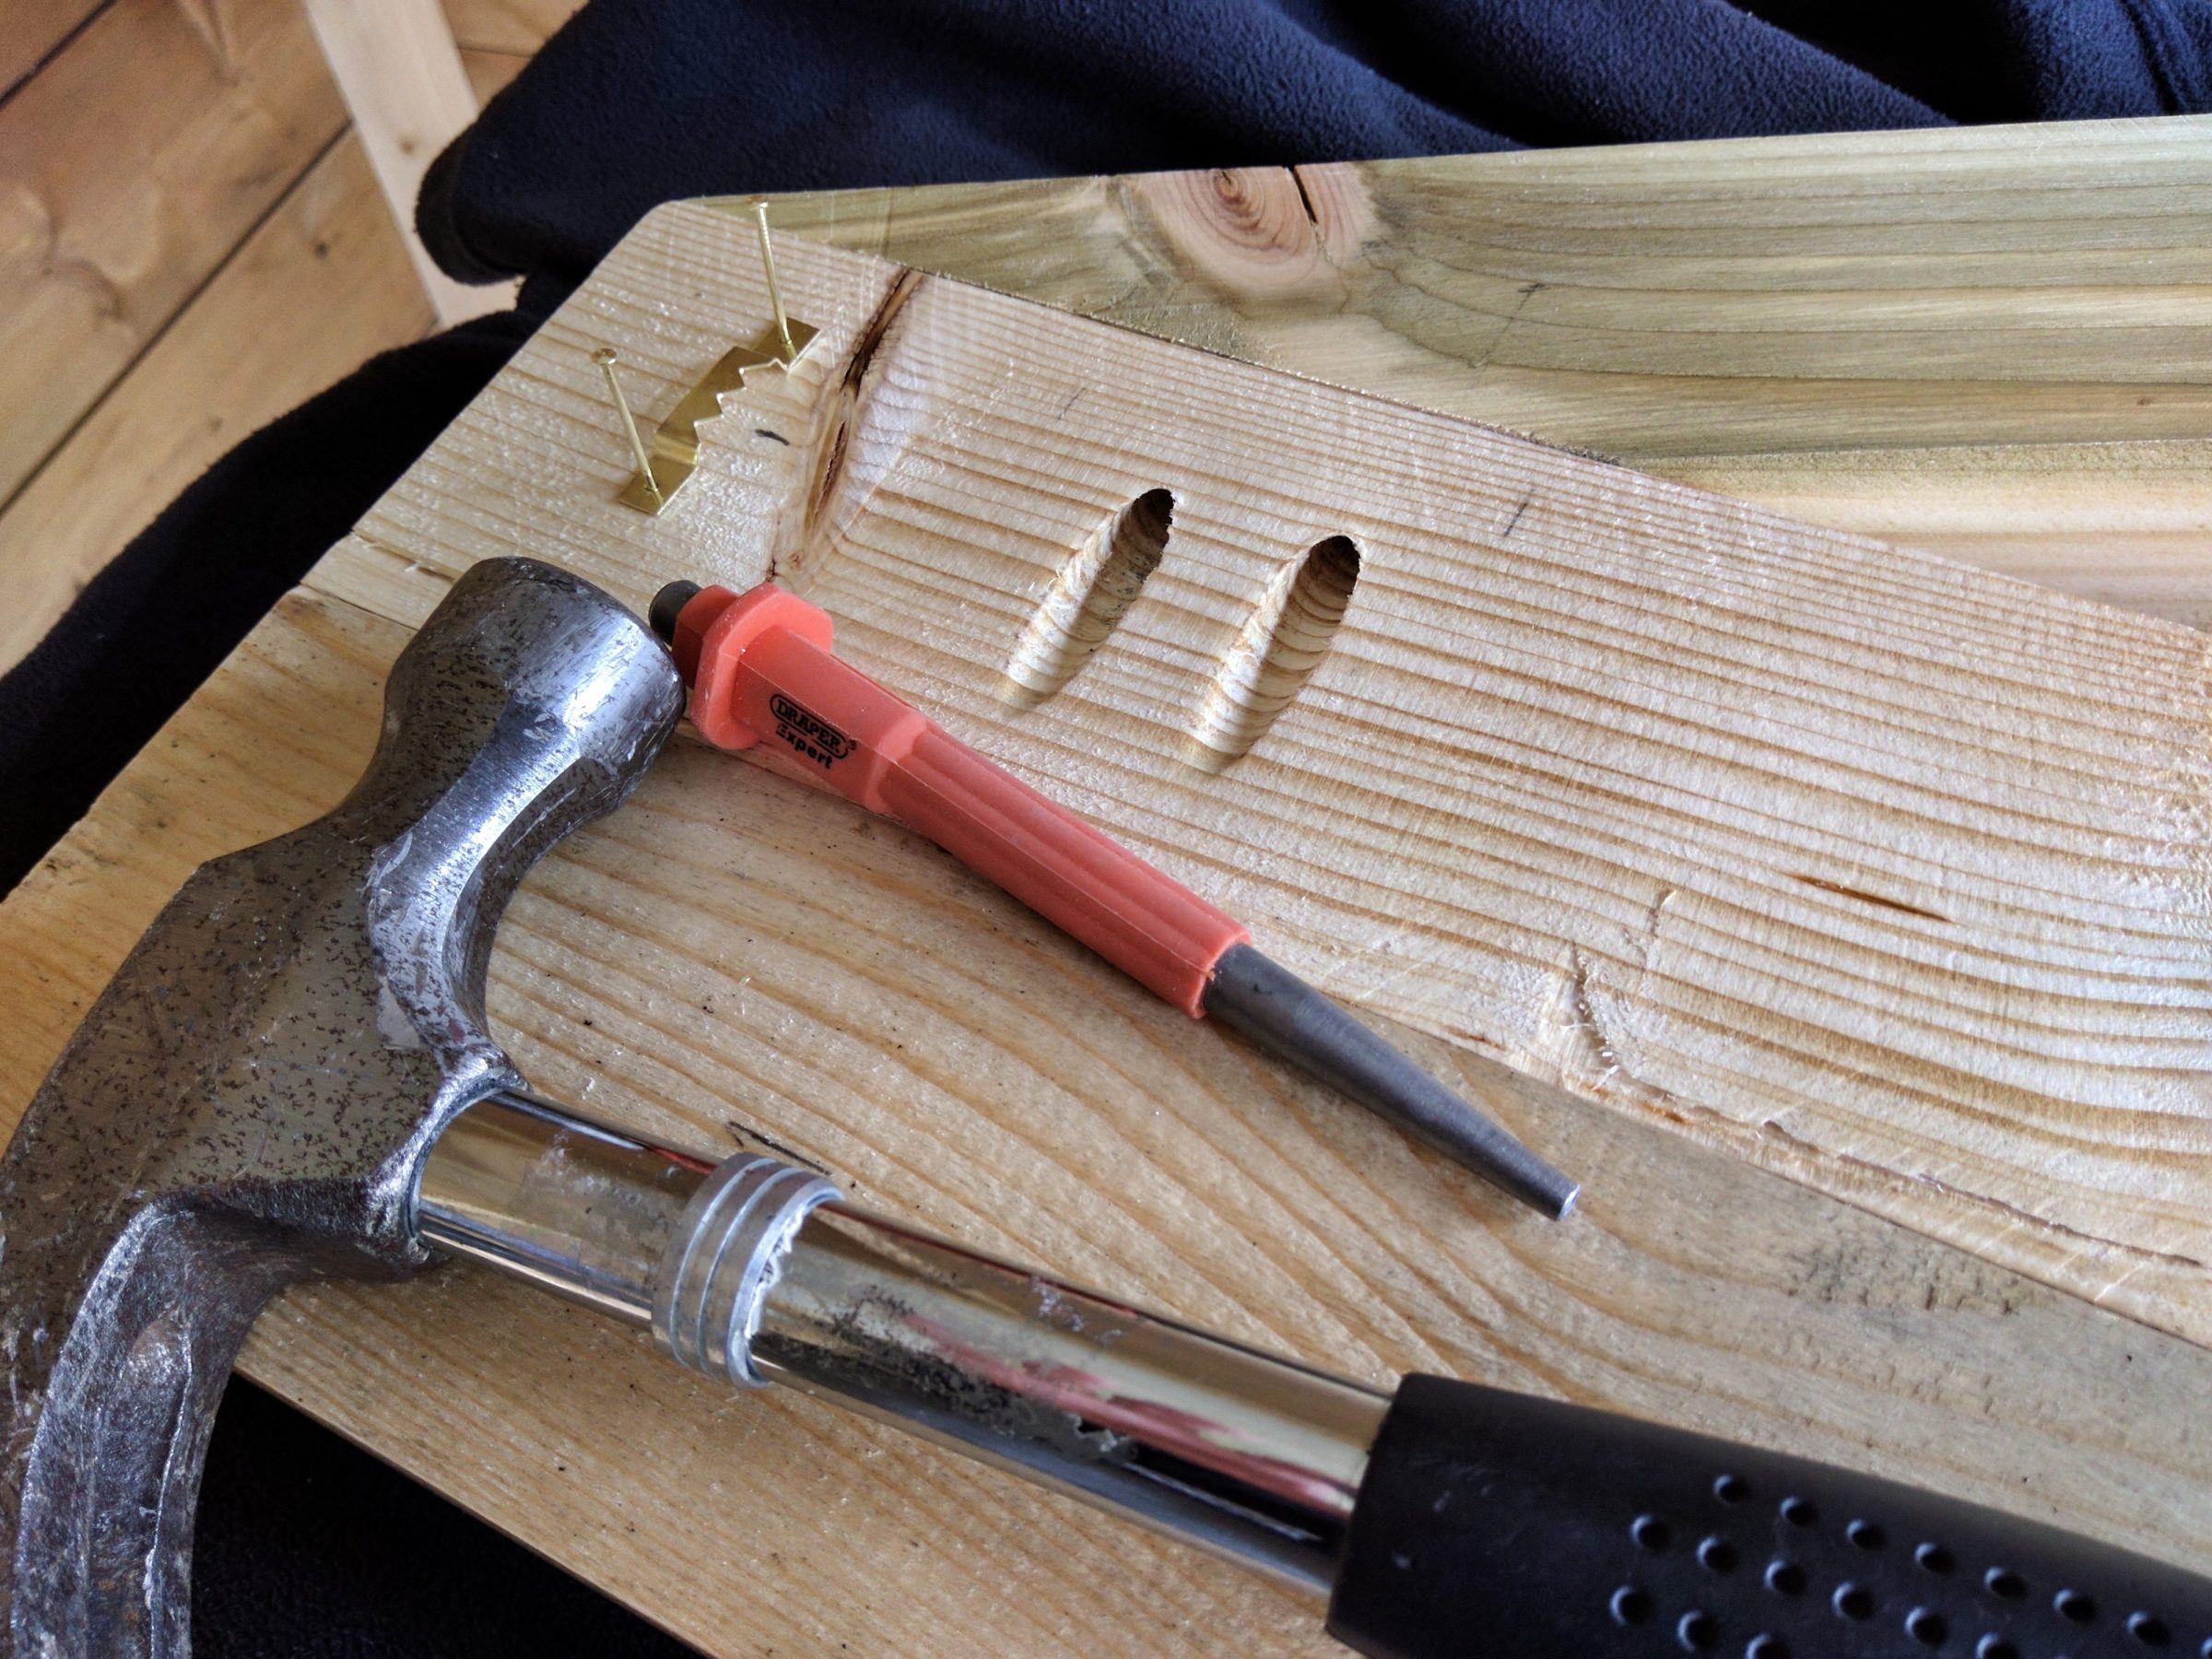
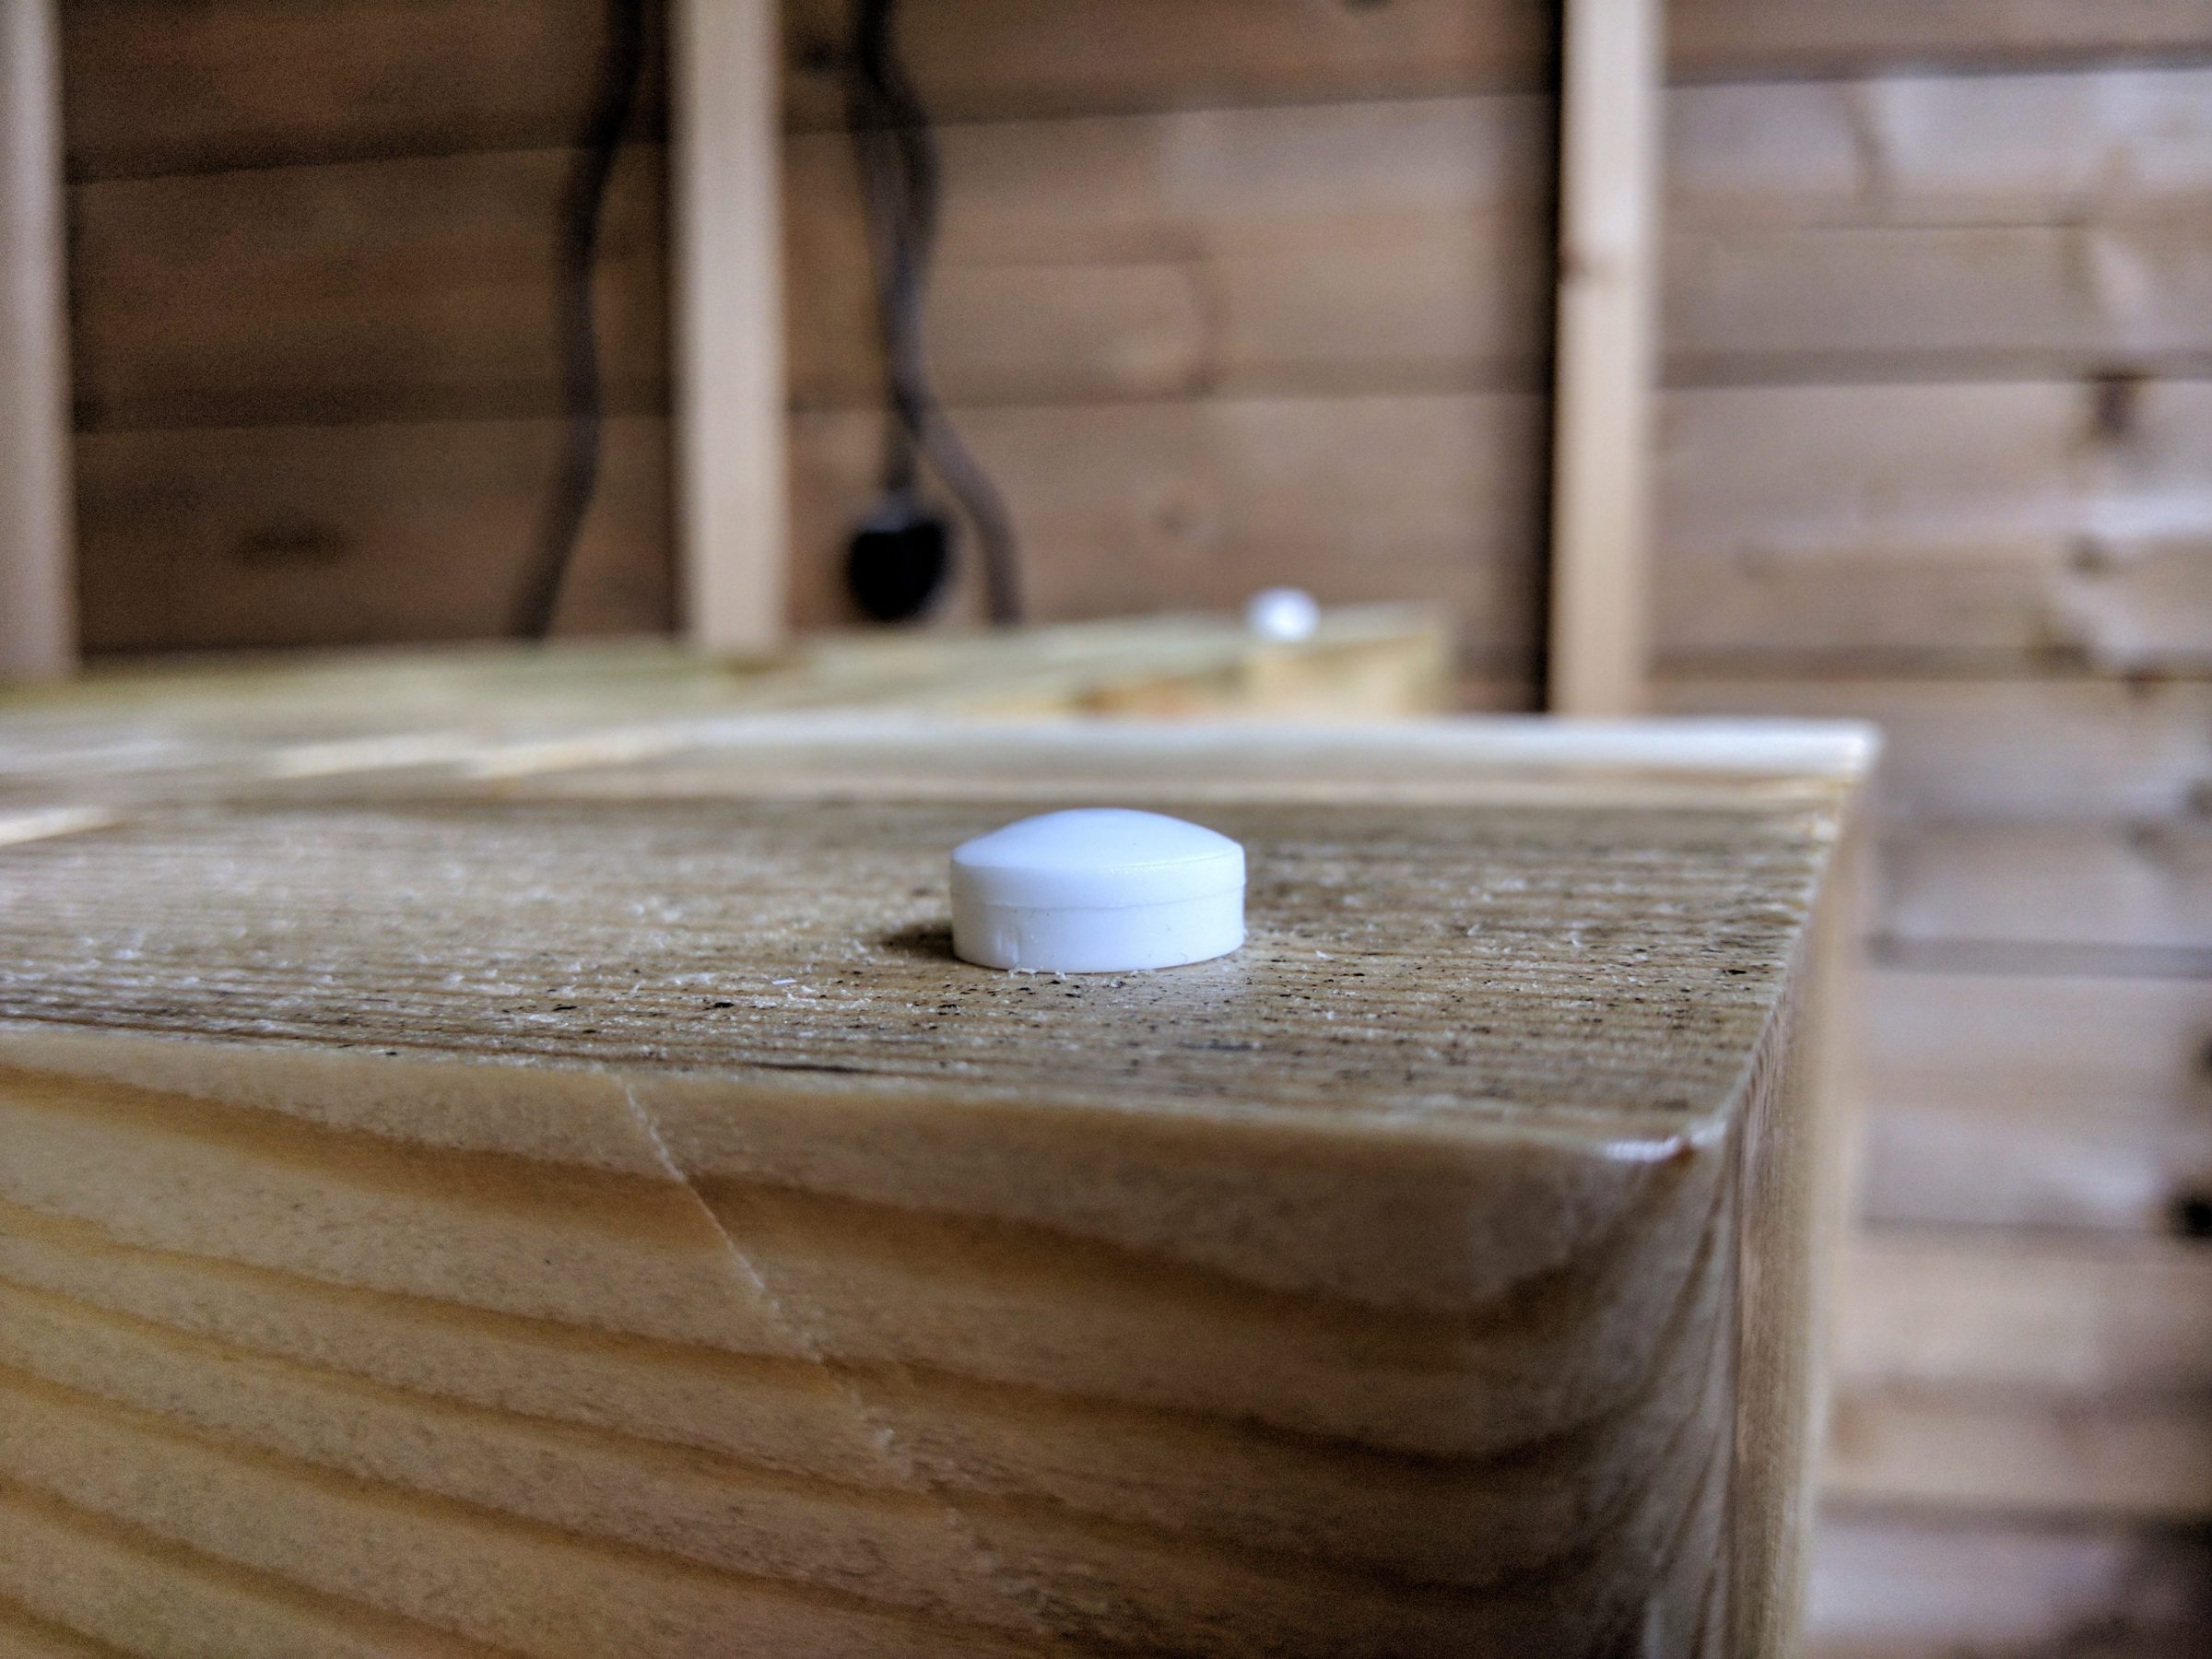
Snap caps helped to achieve a floating effect.

The project showed in different lighting – I had to use a mirror to get some rays into that dark corner: