
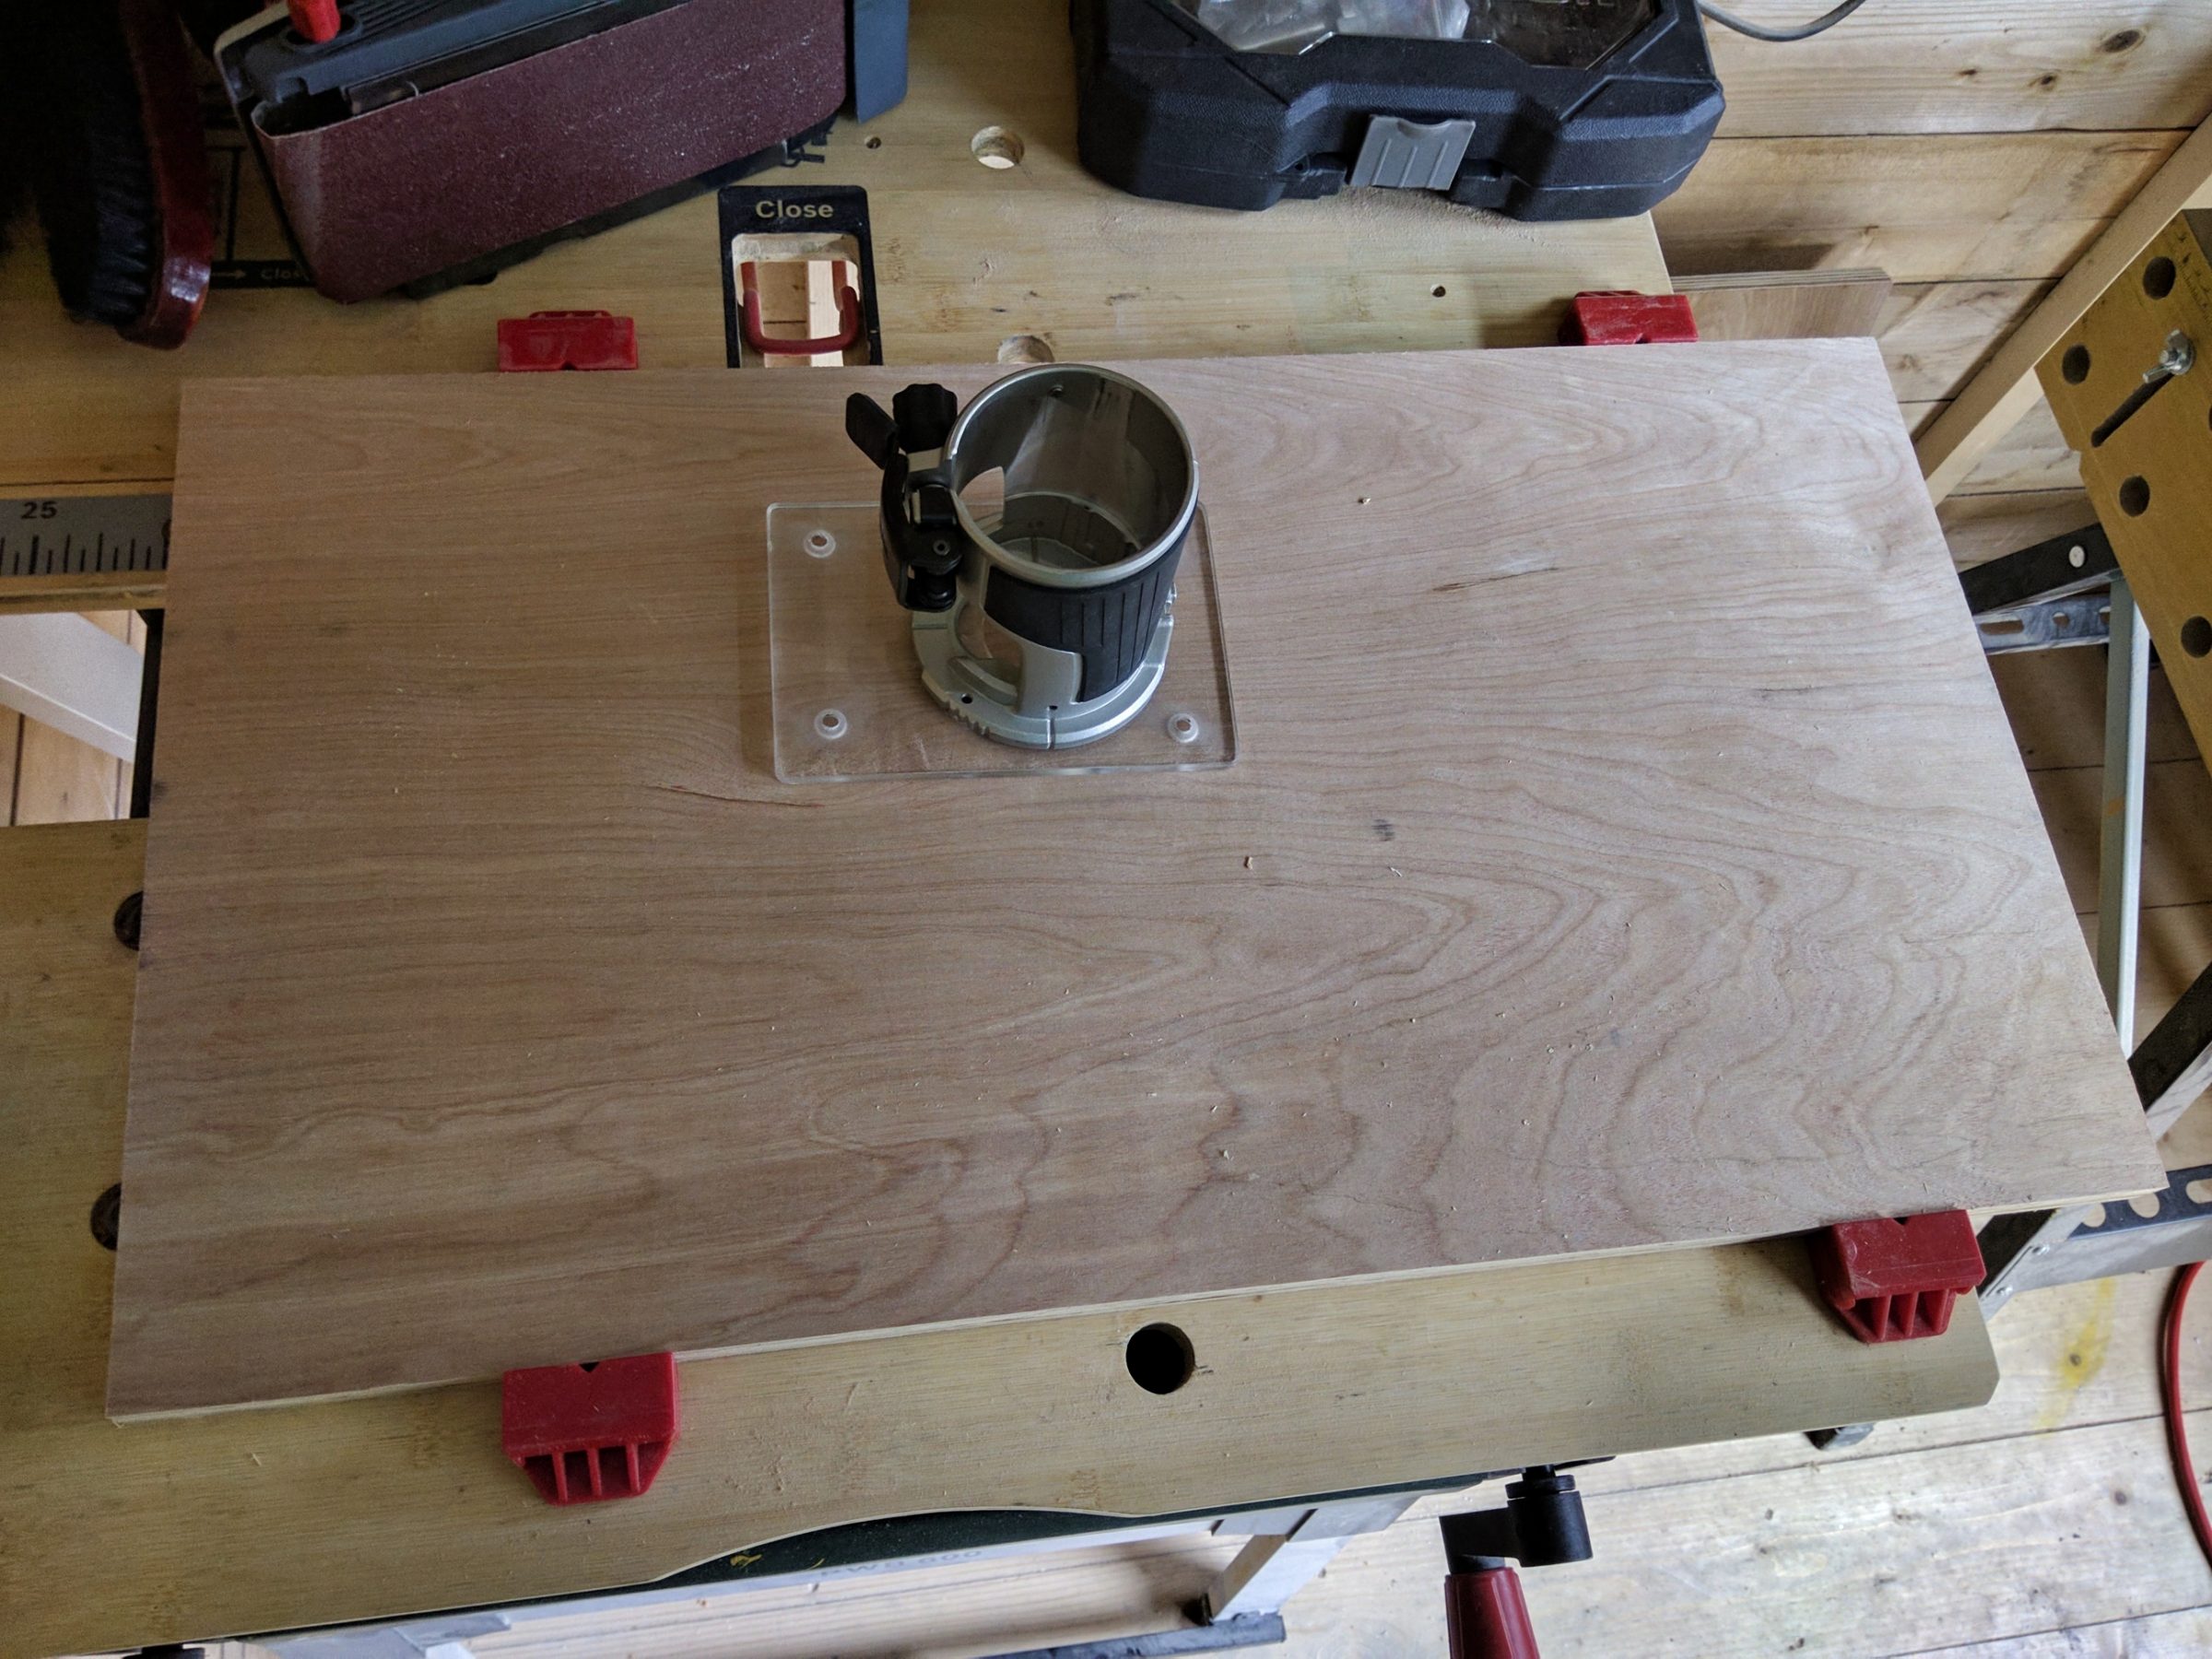
Simple router table-top
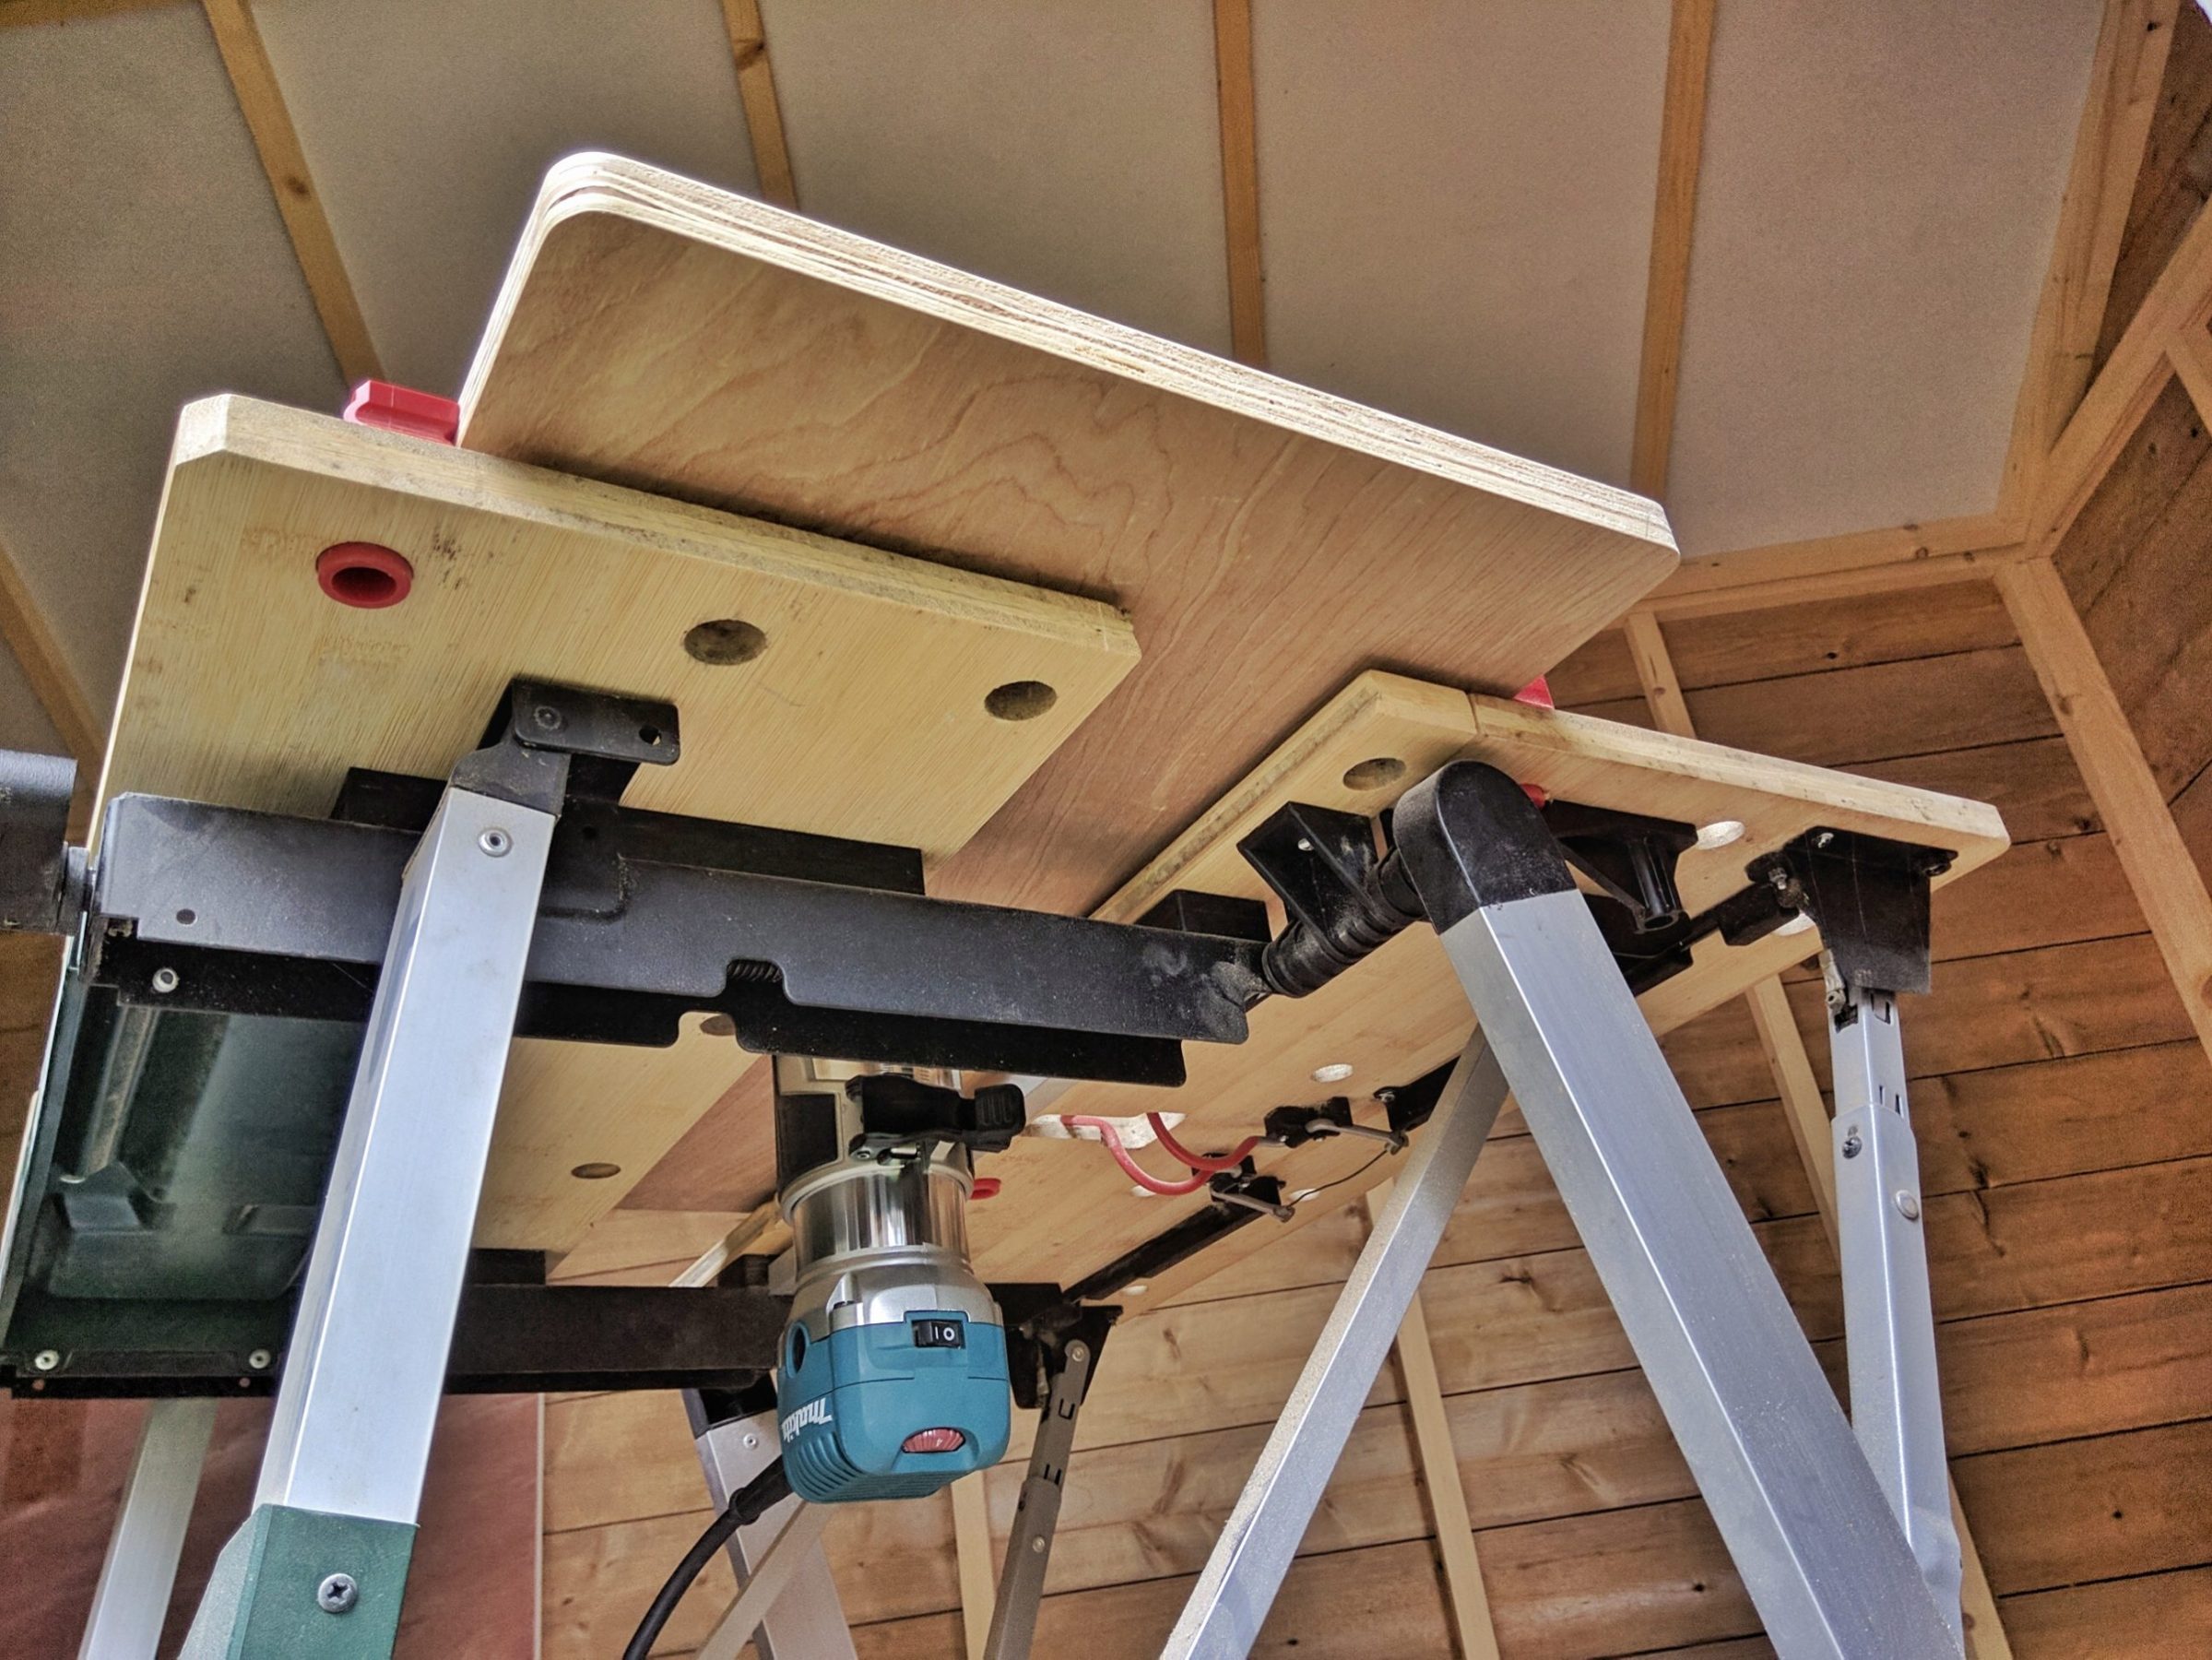
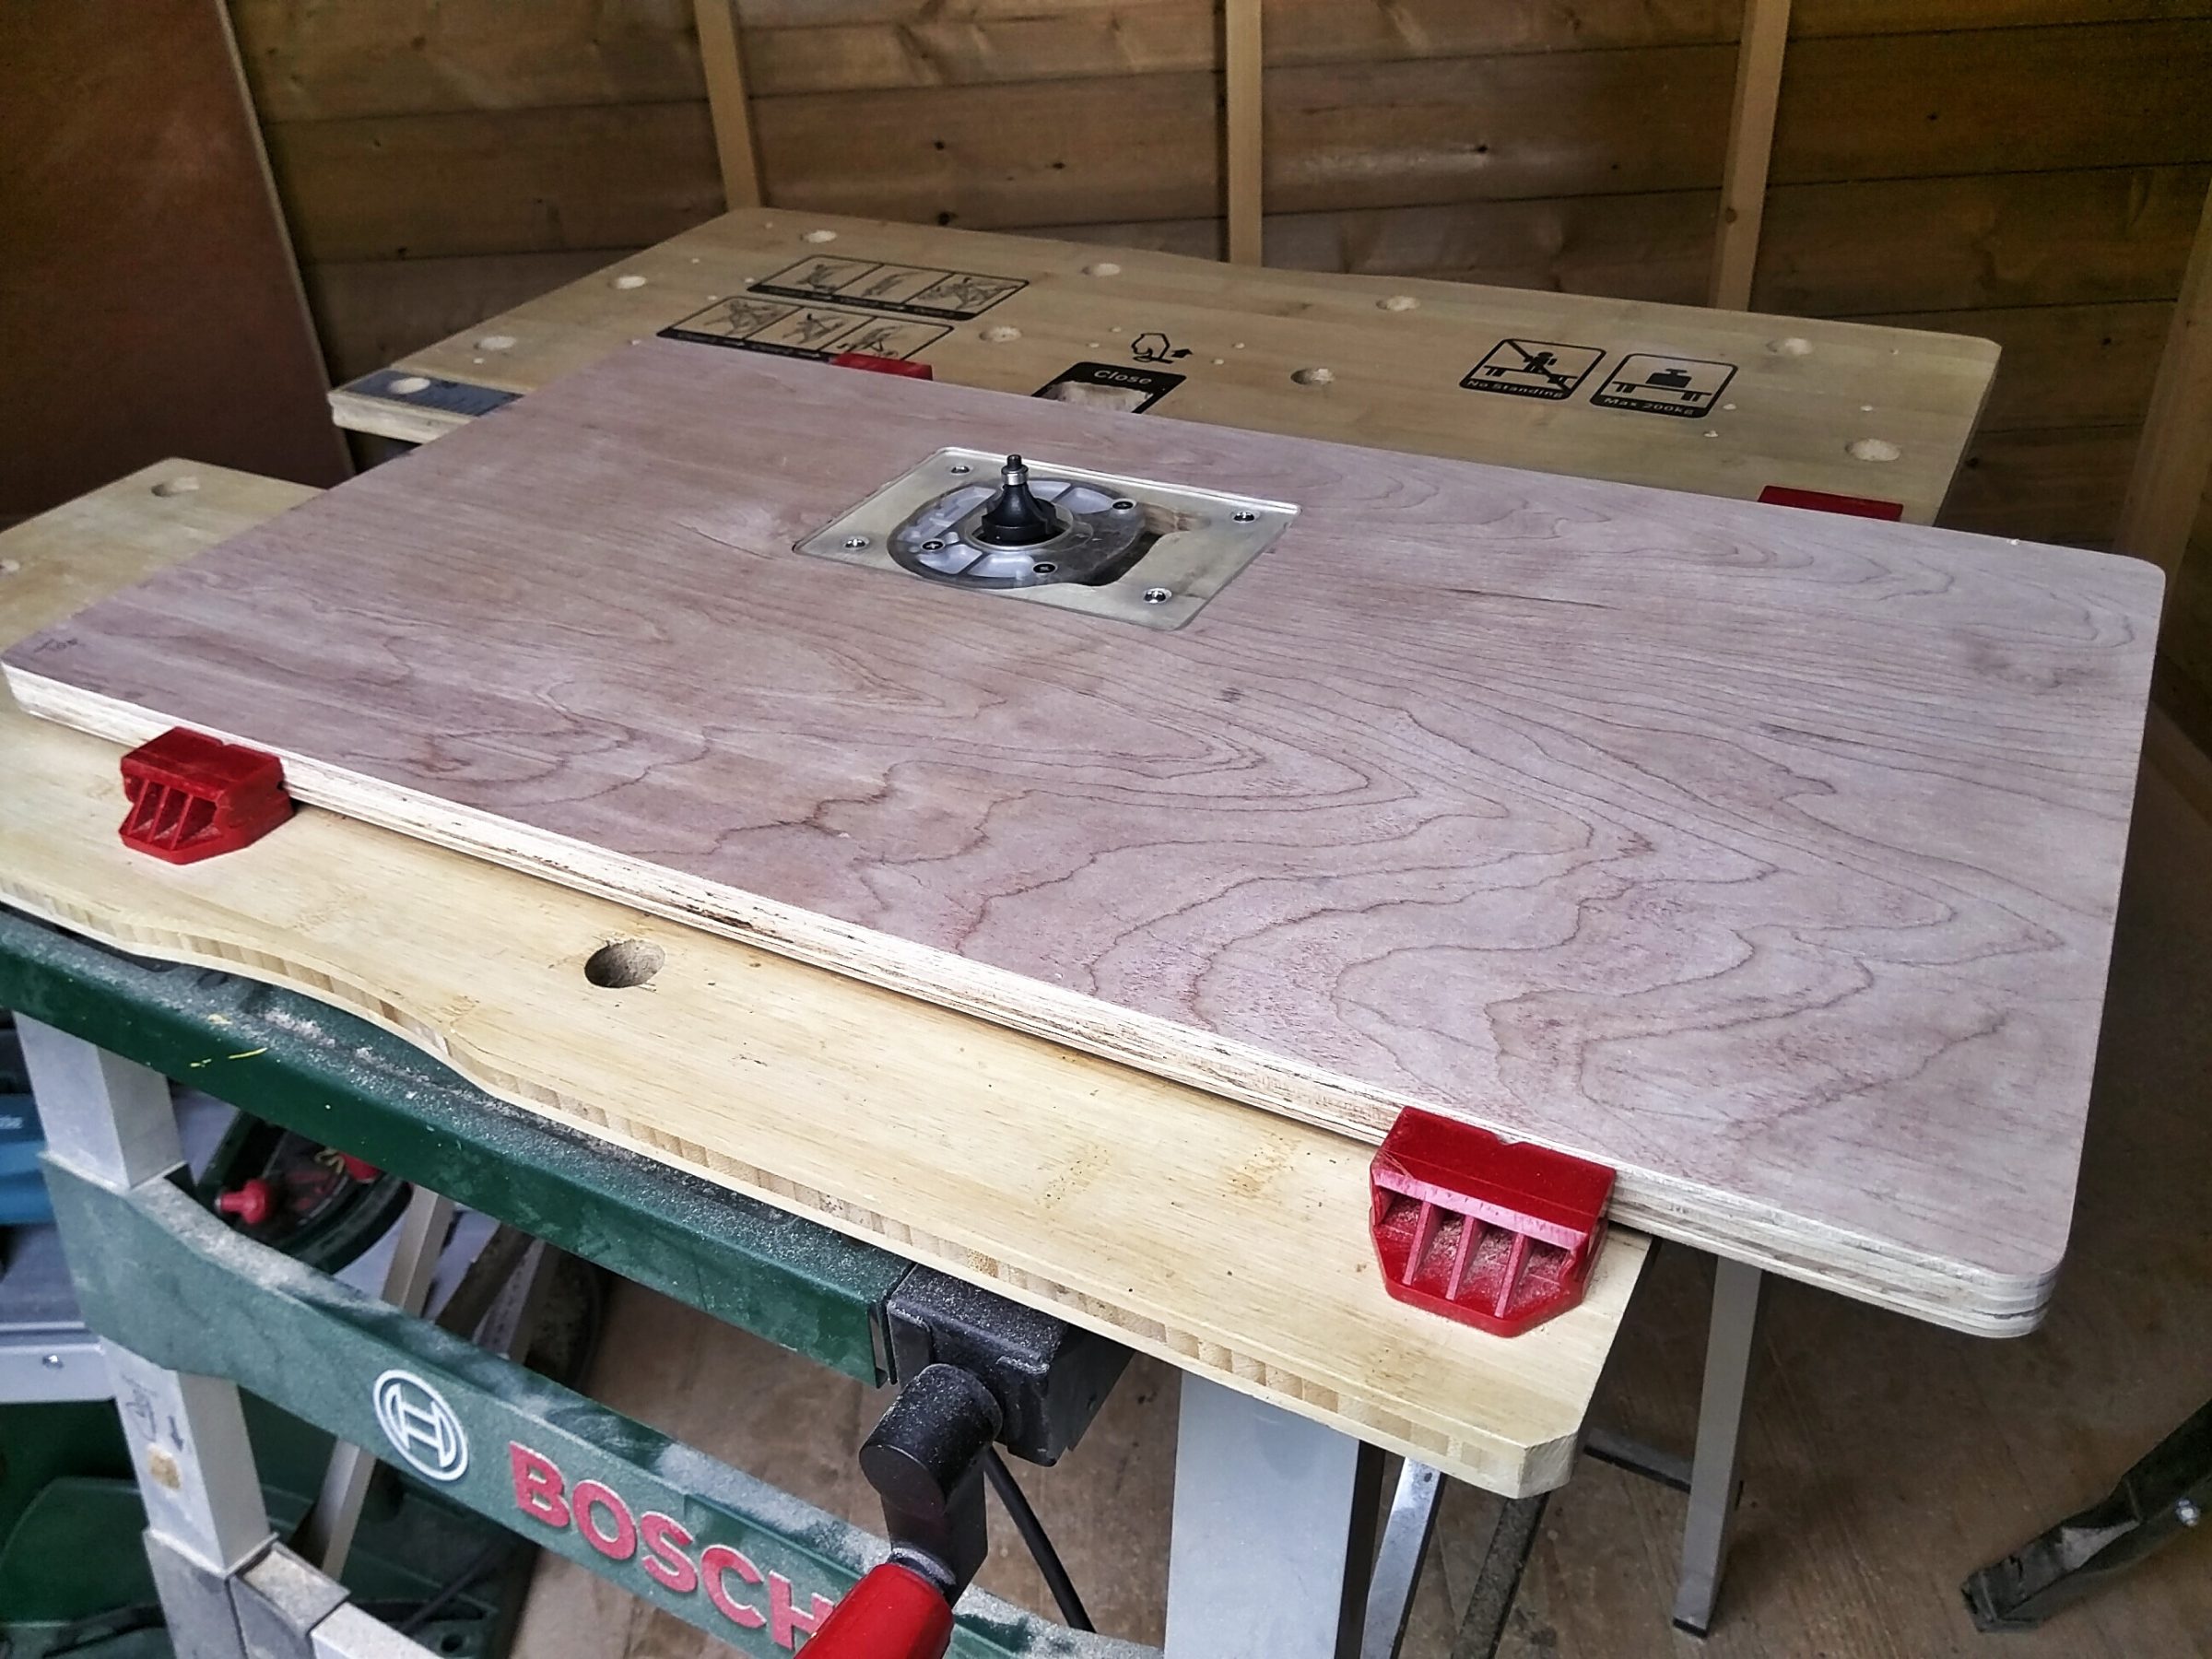
Its size was determined by 2 factors – storing and mounting place. I didn’t have much choice but to cut the plywood board to ~32 cm in width and keep its original length of 61 cm. It will be mounted on my workbench, and it will be stored on a rack while not in use.


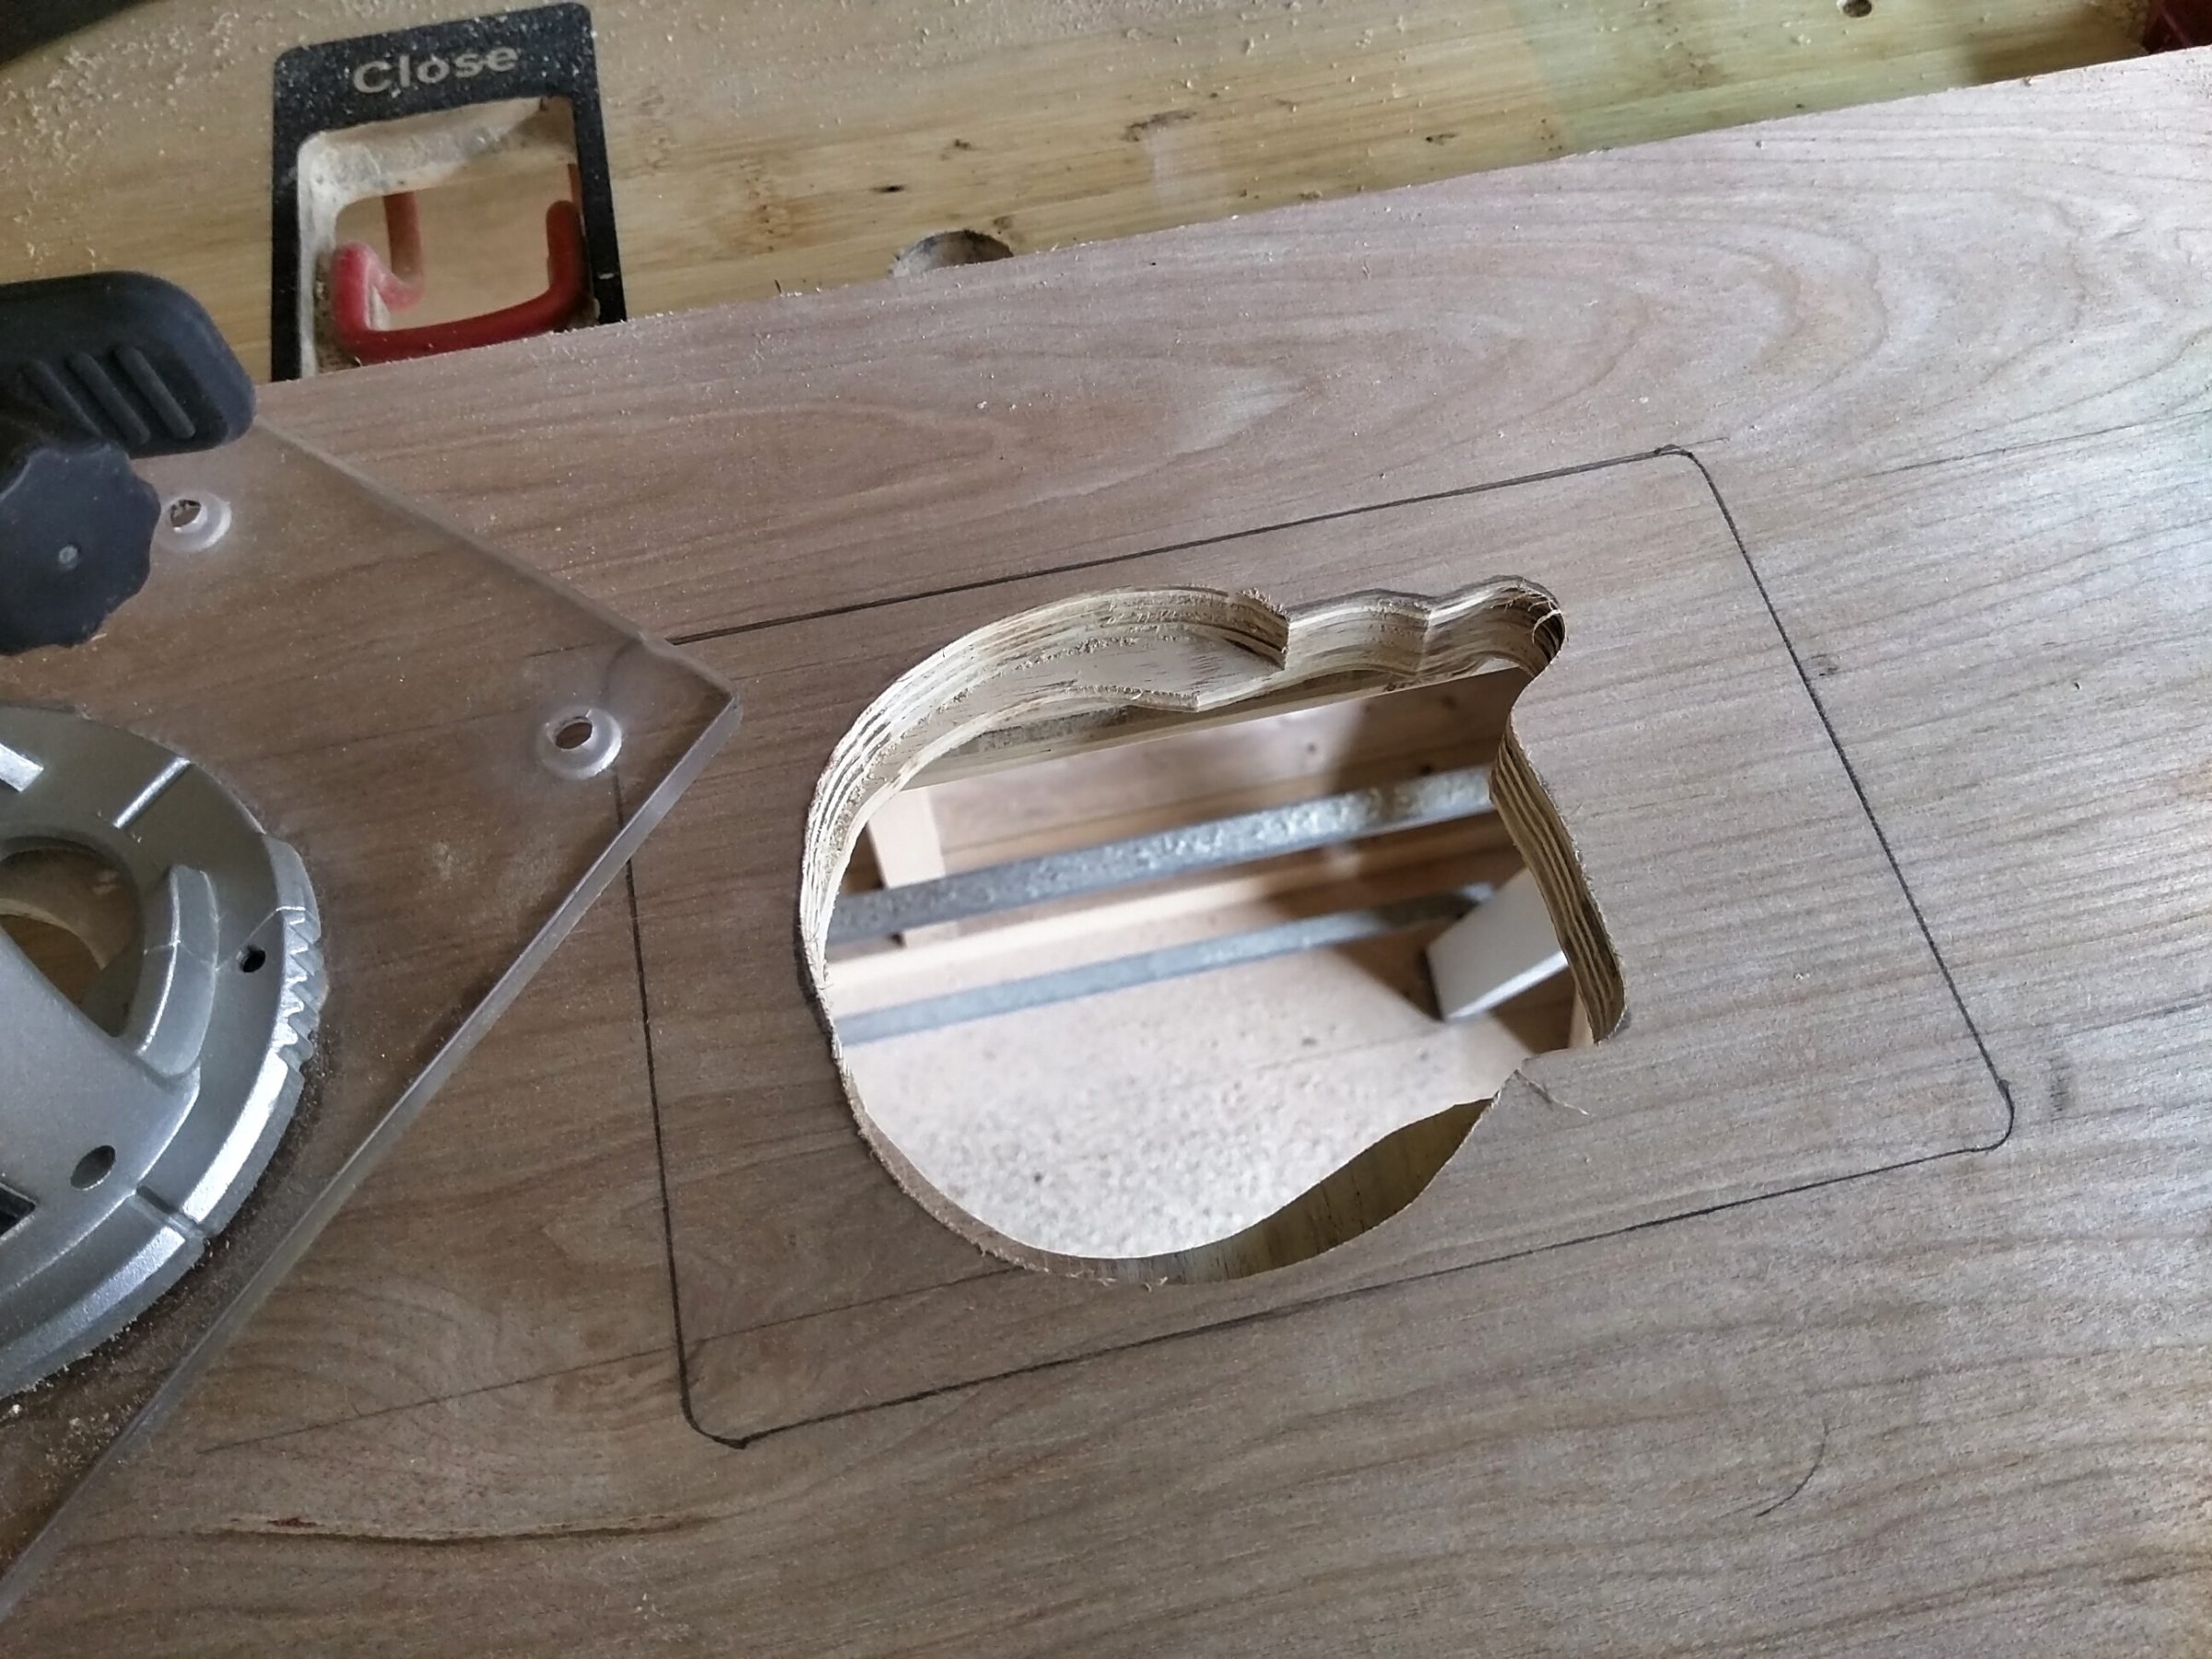
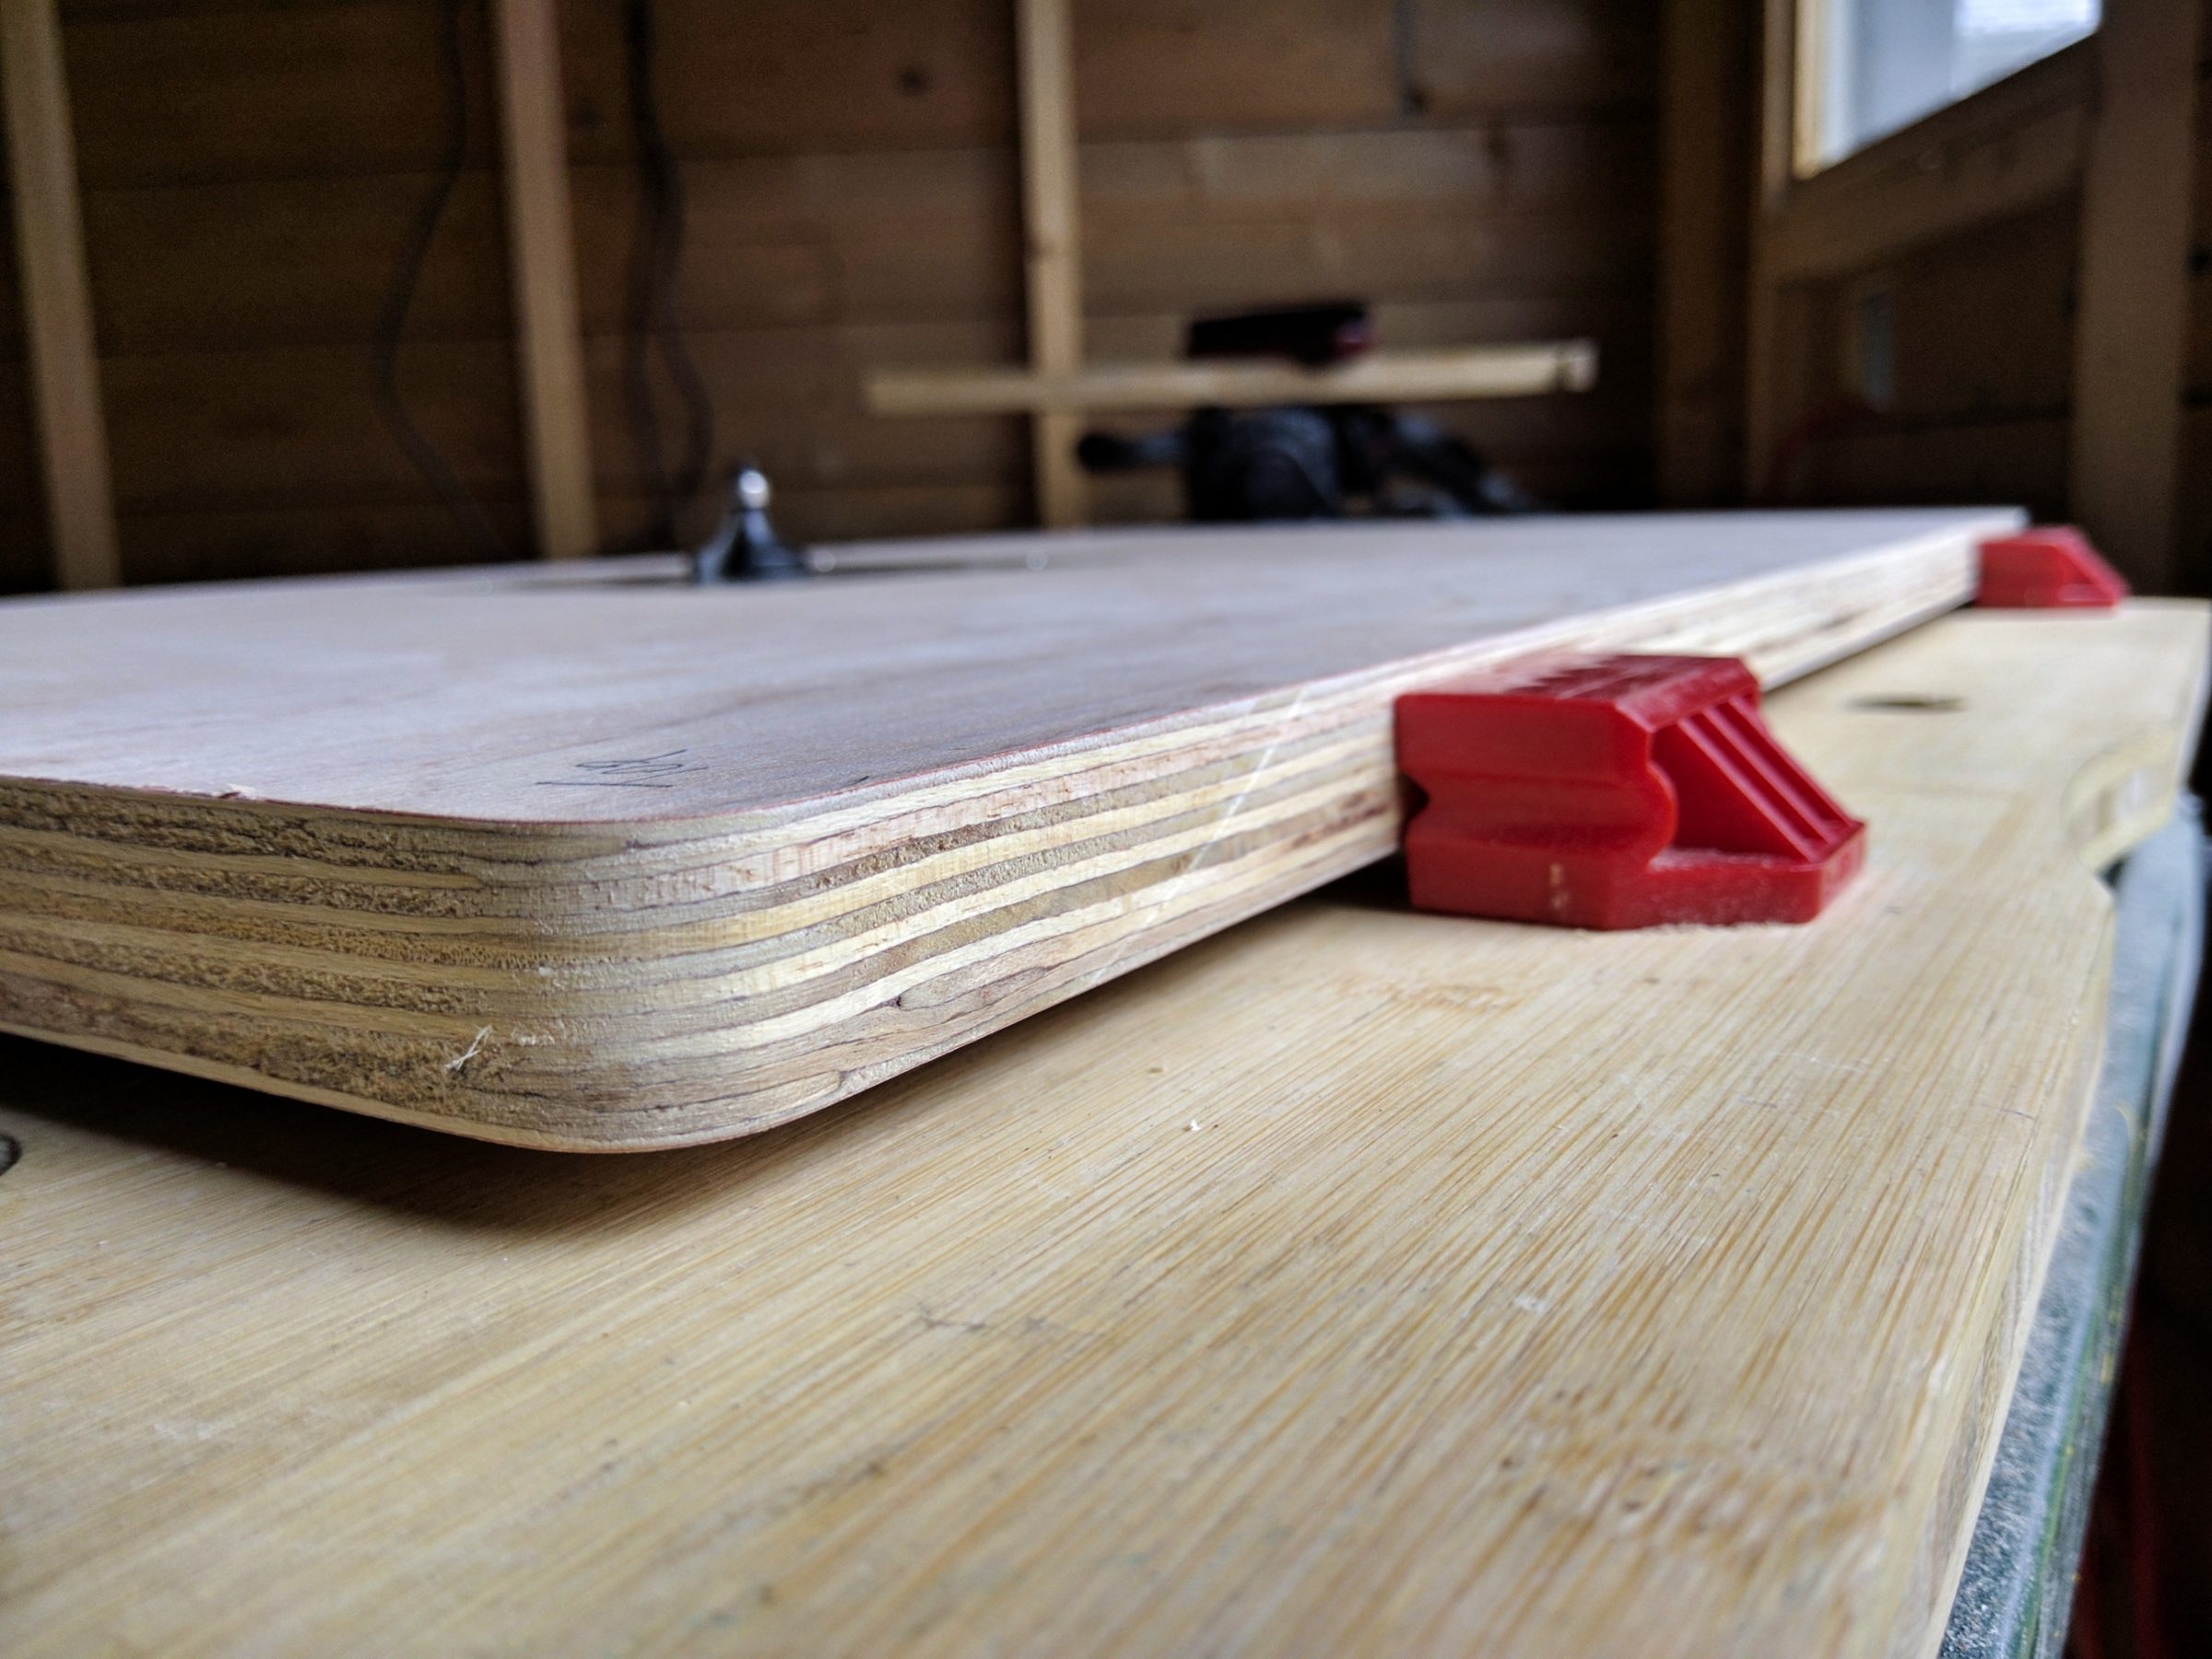
The rough shape was cut with a jigsaw and finished with a router. It’s just more perpendicular to the surface this way. That was the 1st “layer”. Quite tight looking from the bottom.

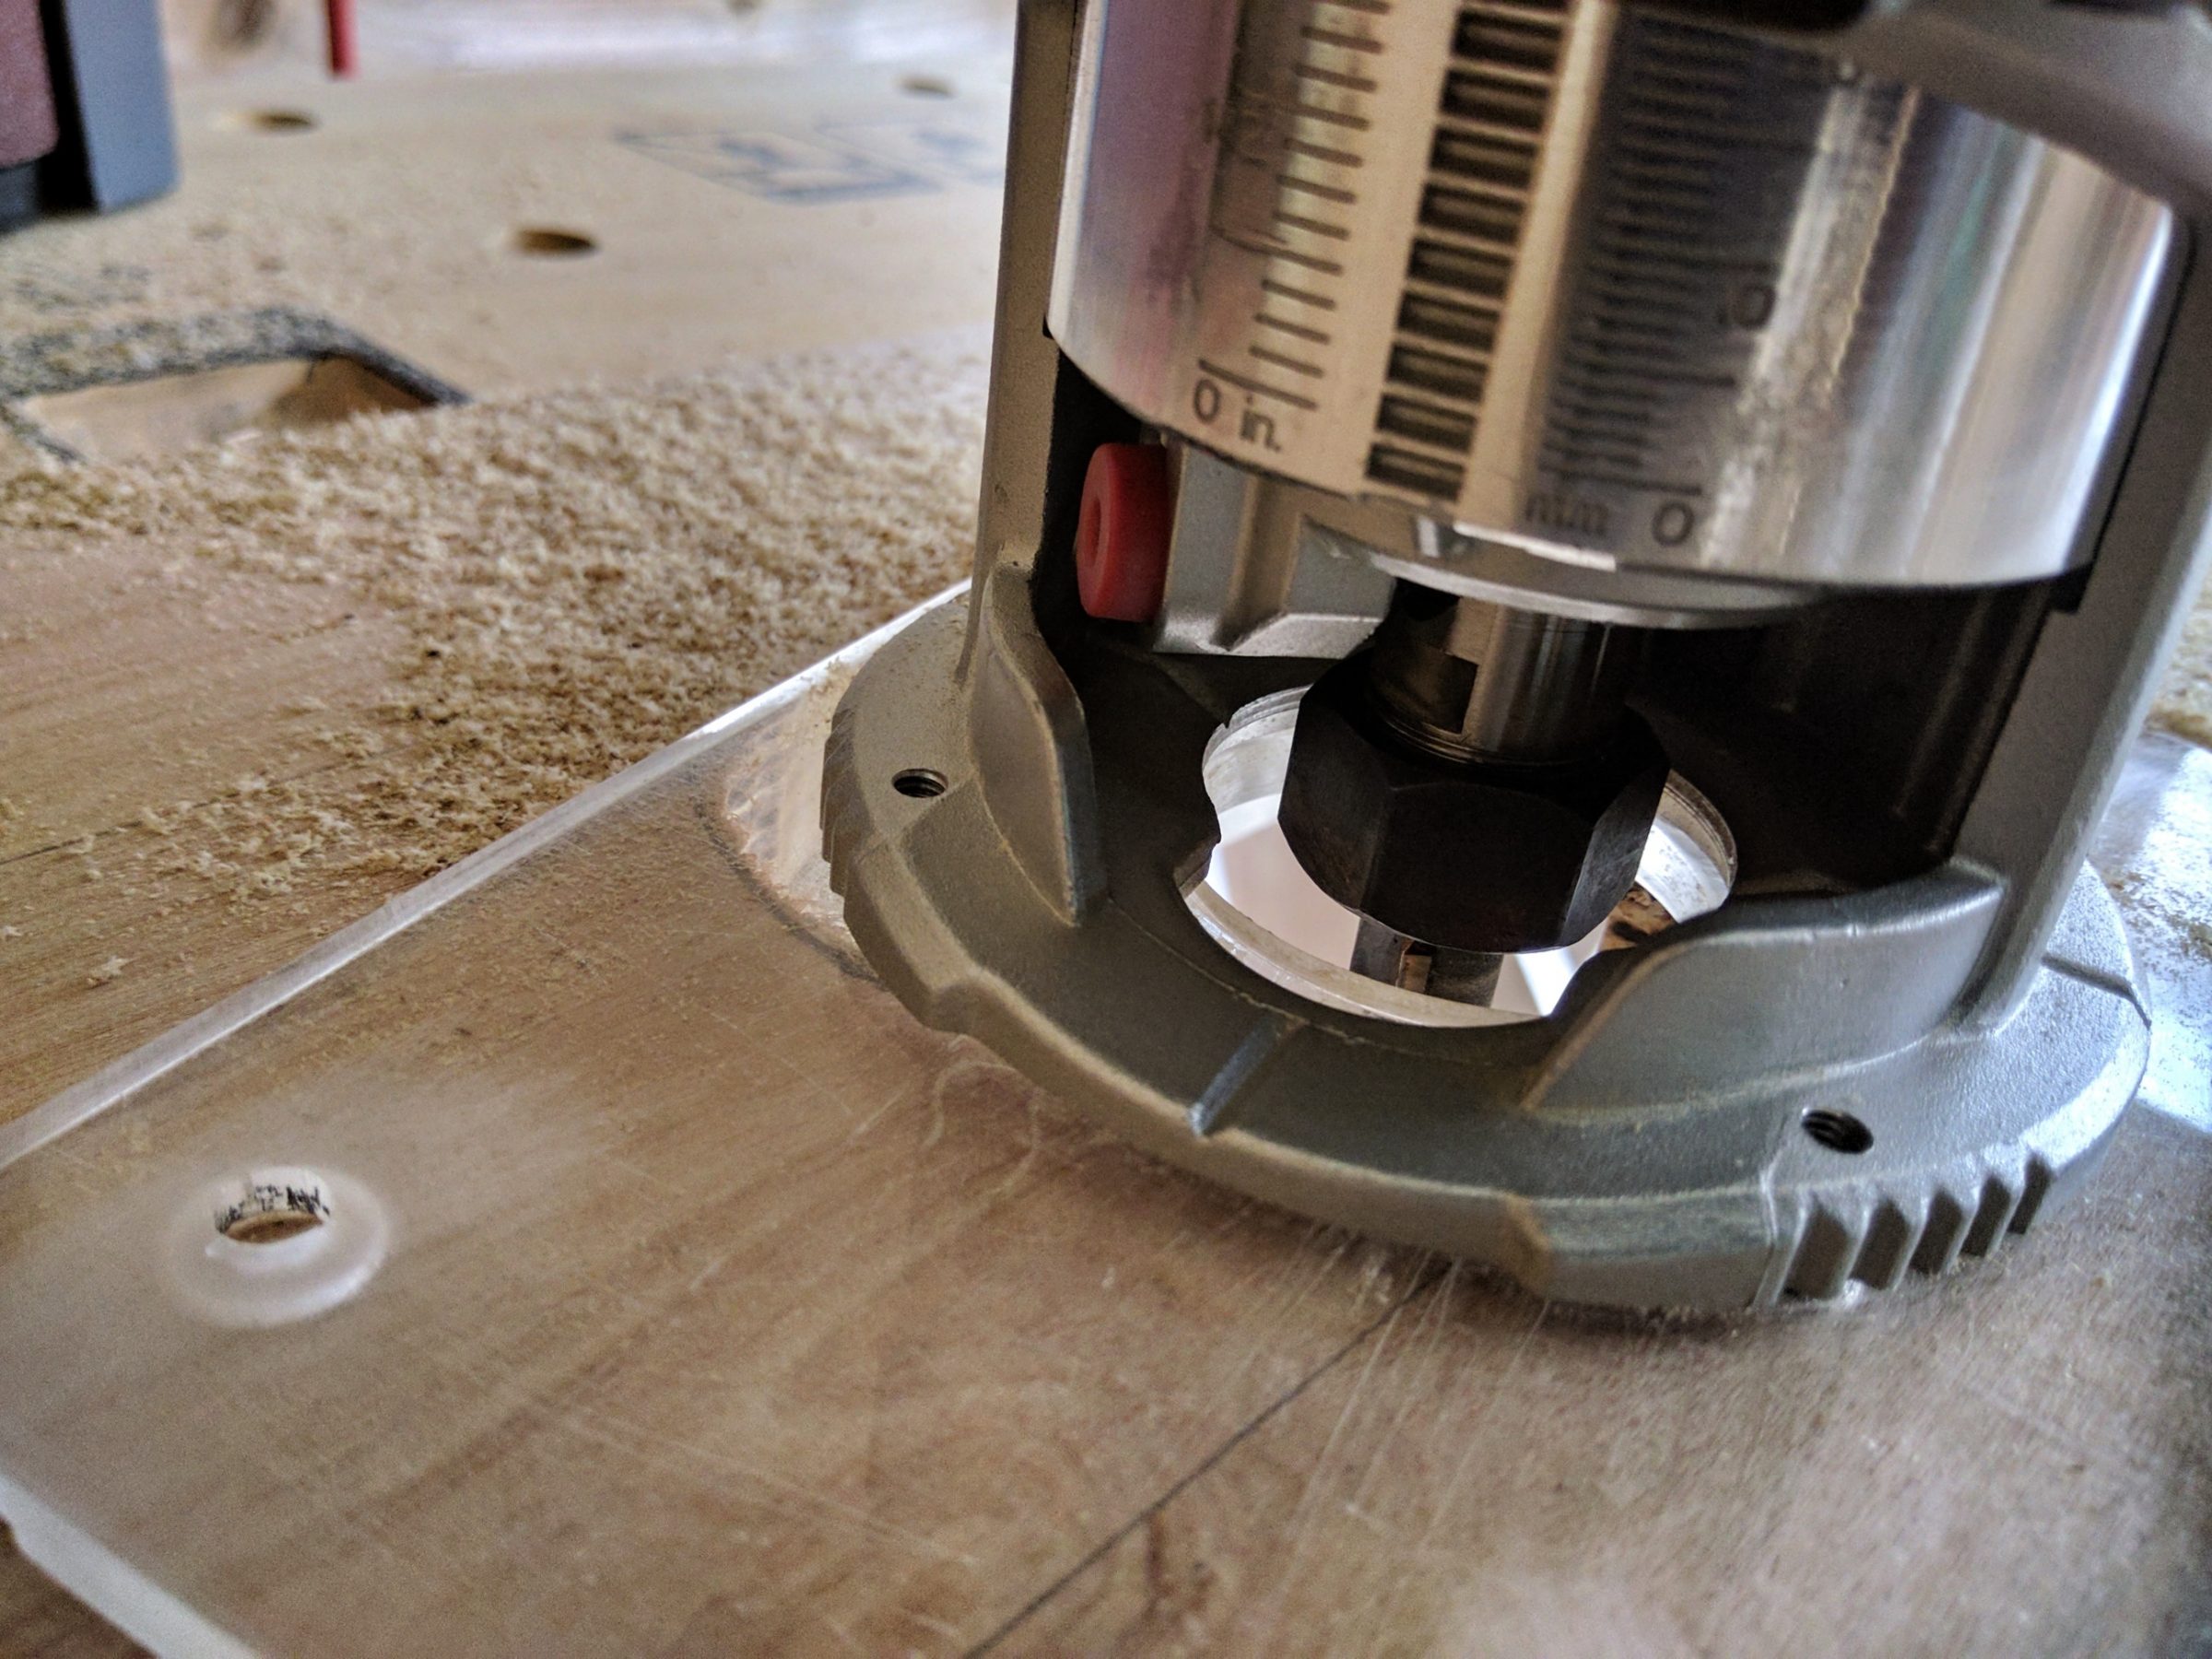

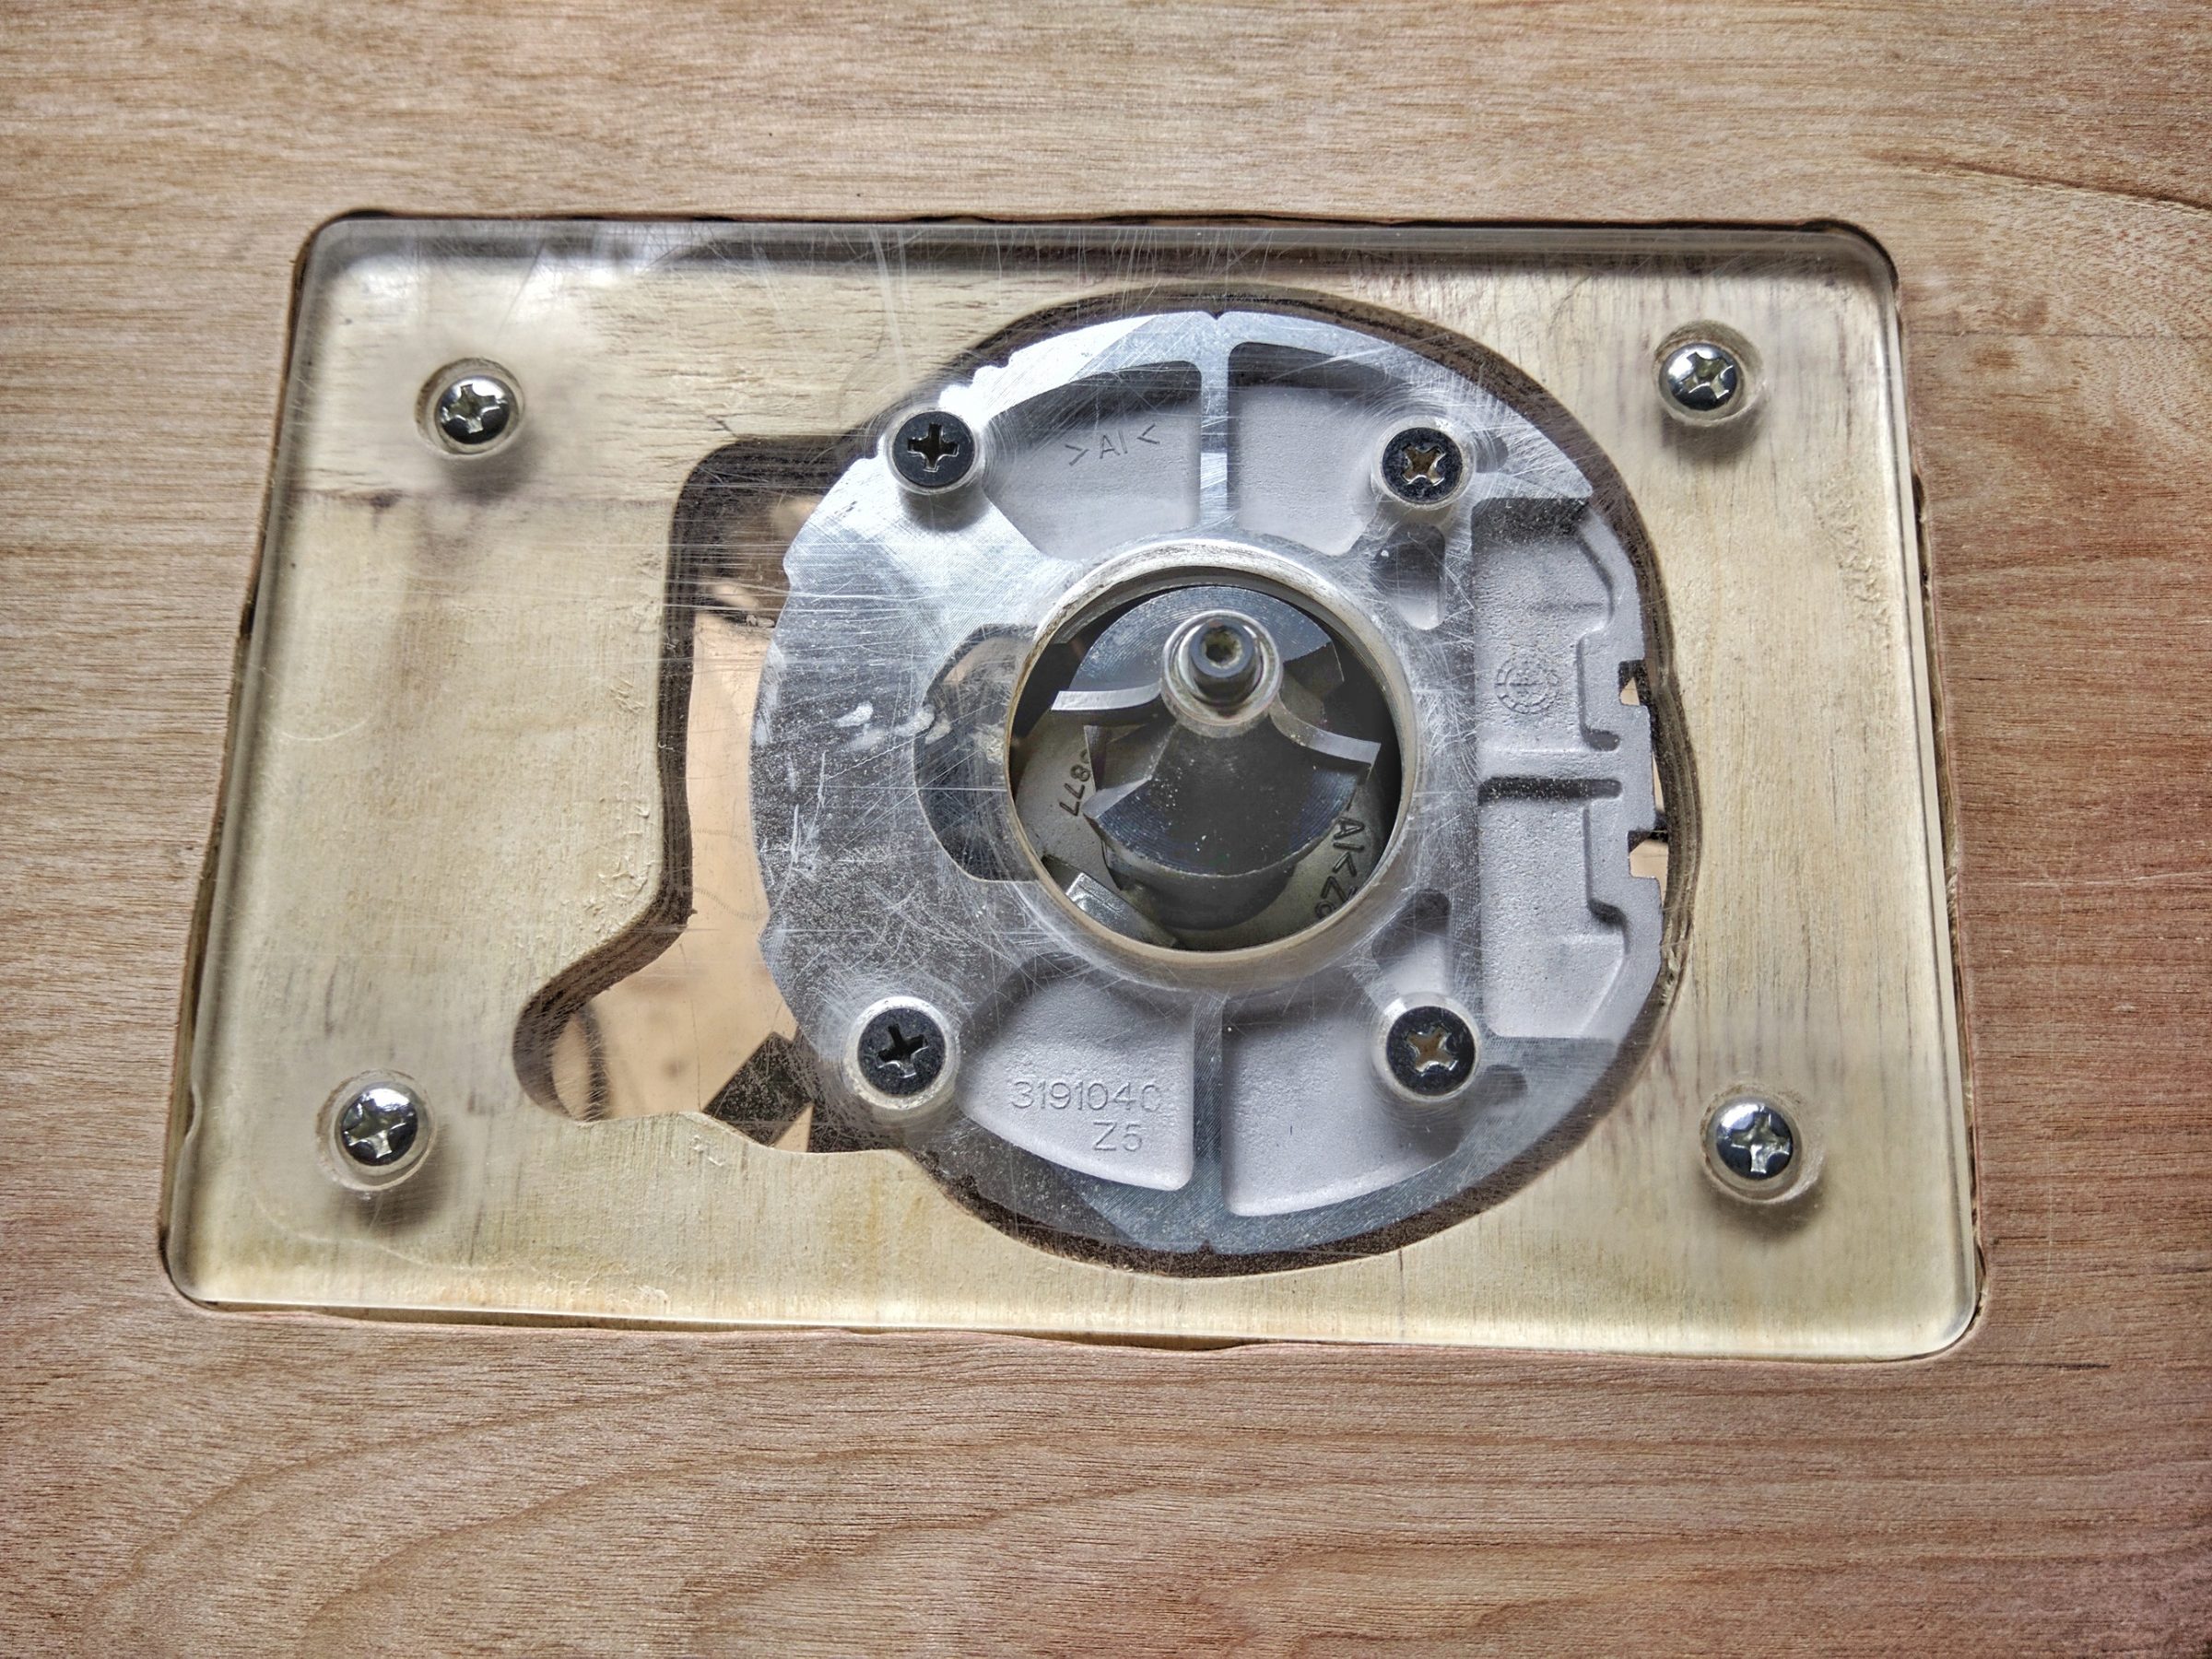
The 2nd layer had to be cut for the collar.


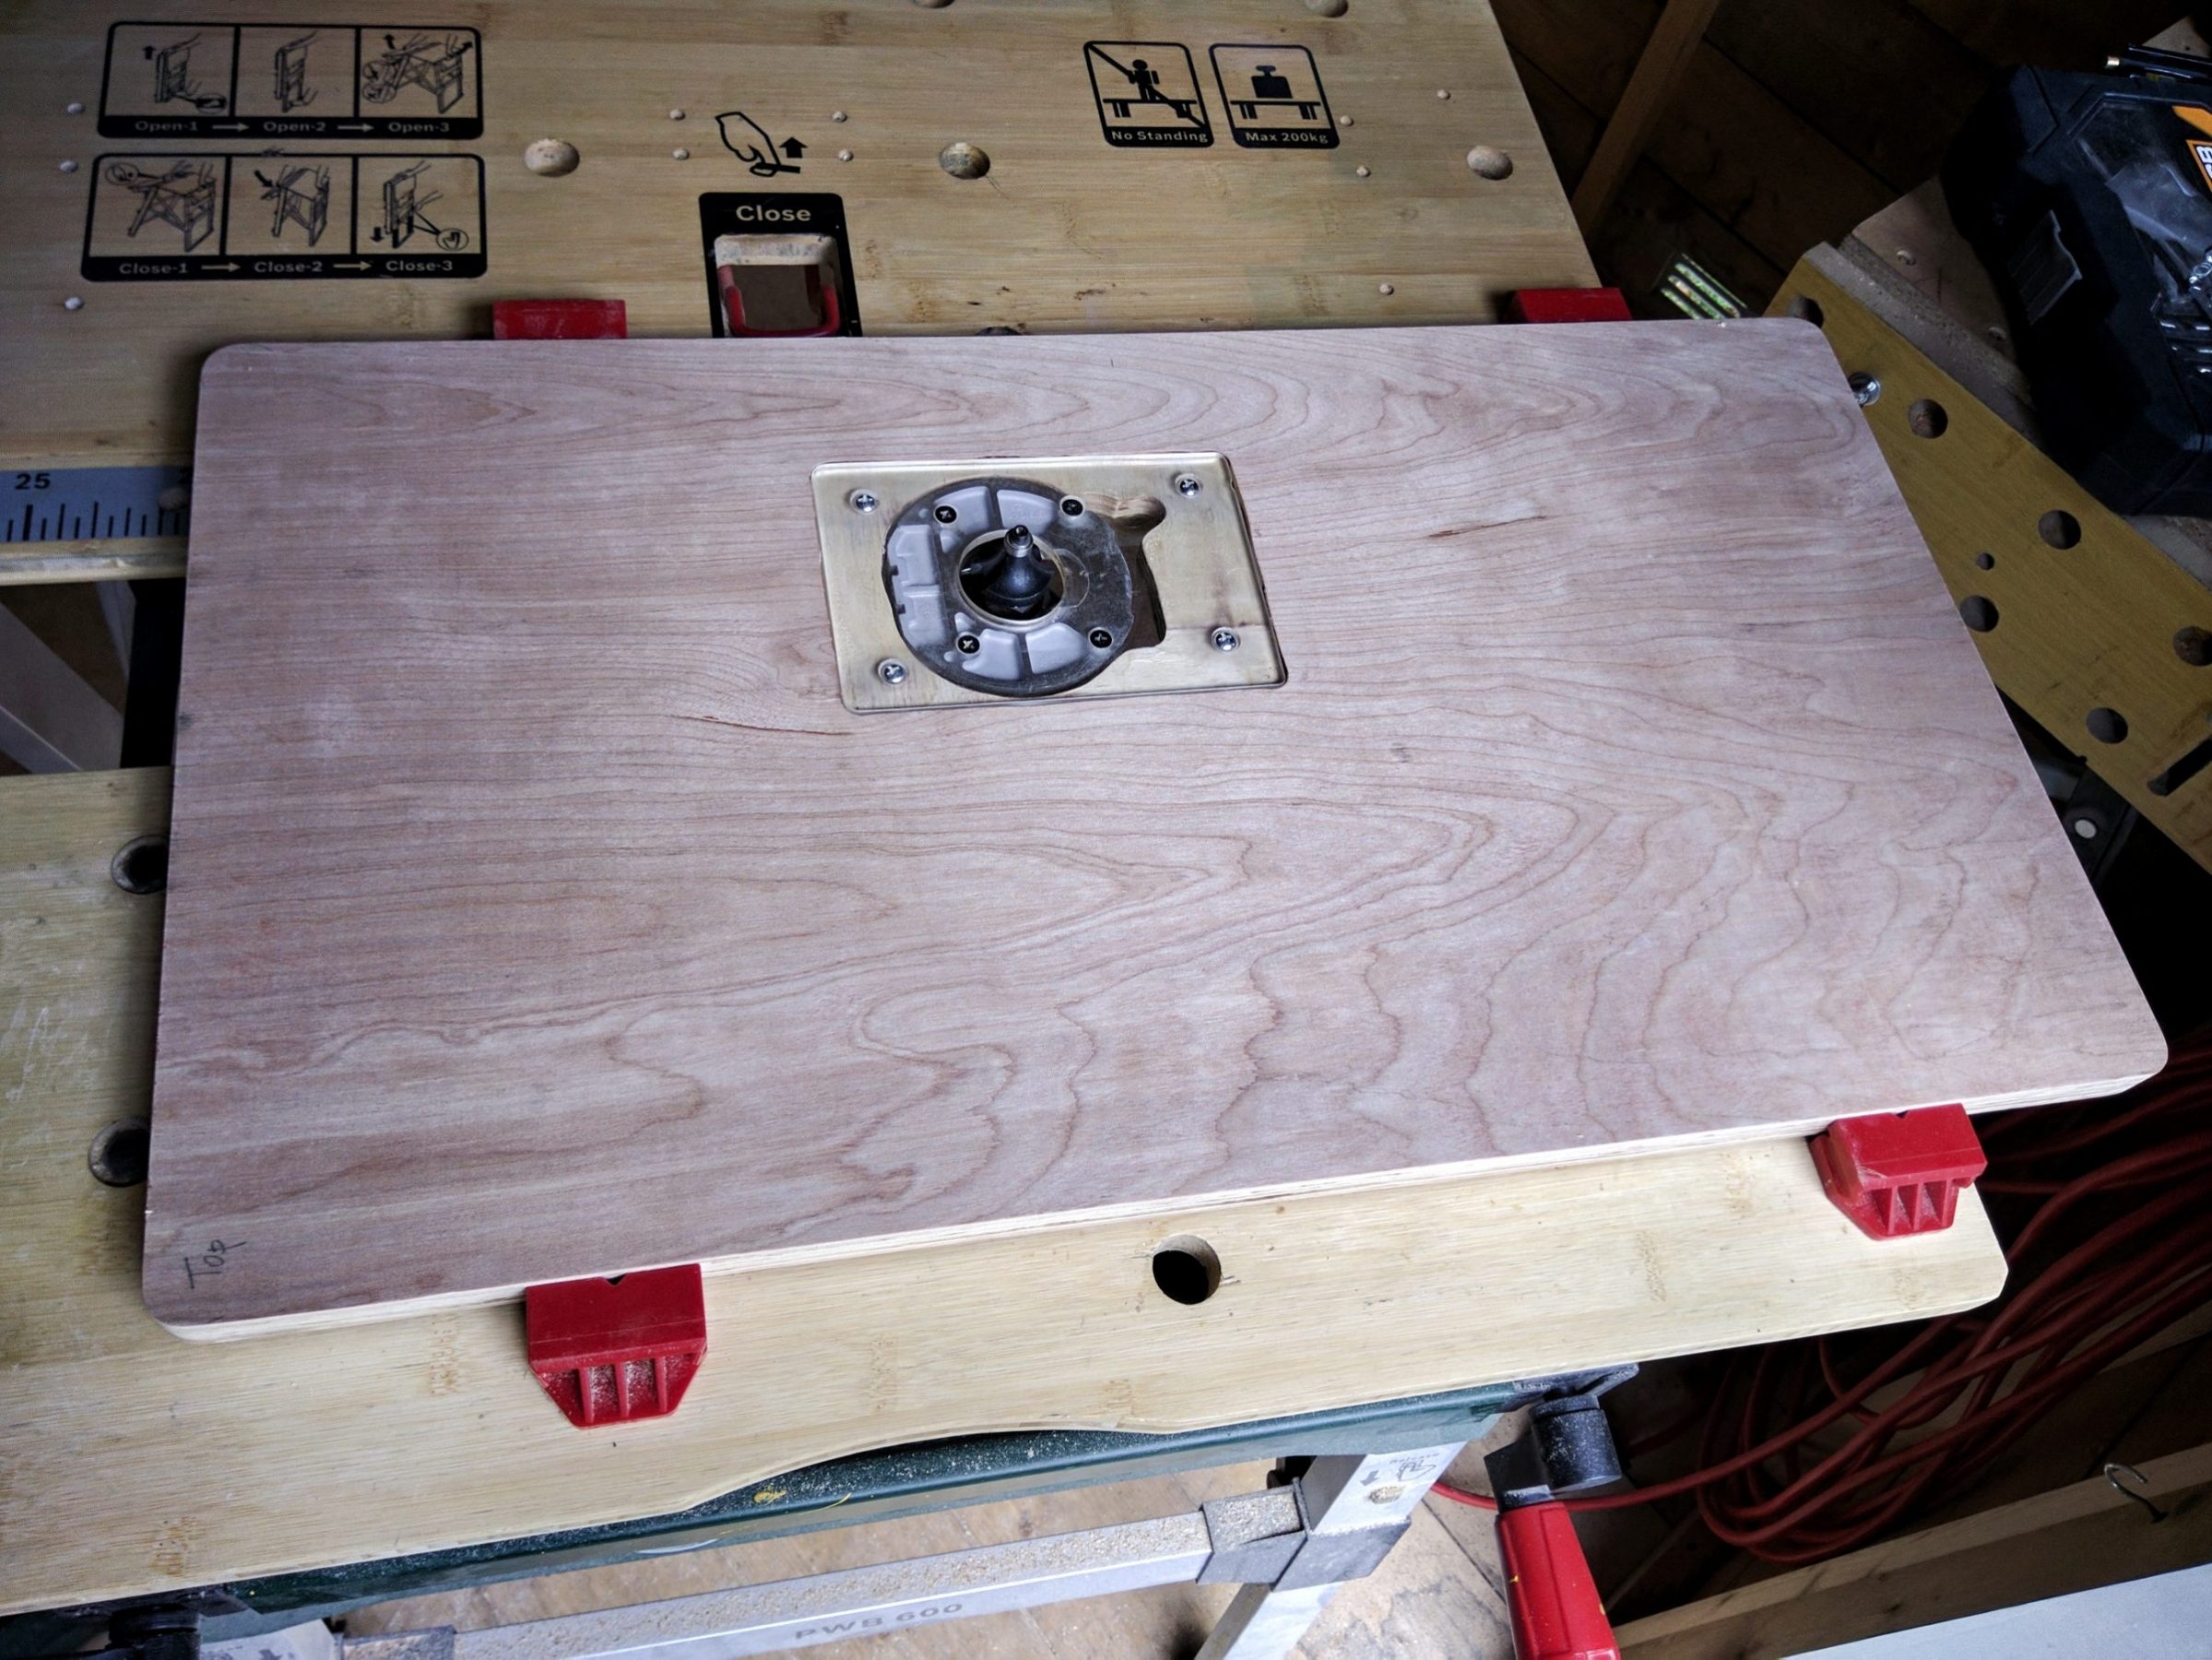
The 3rd layer was cut for the acrylic base.
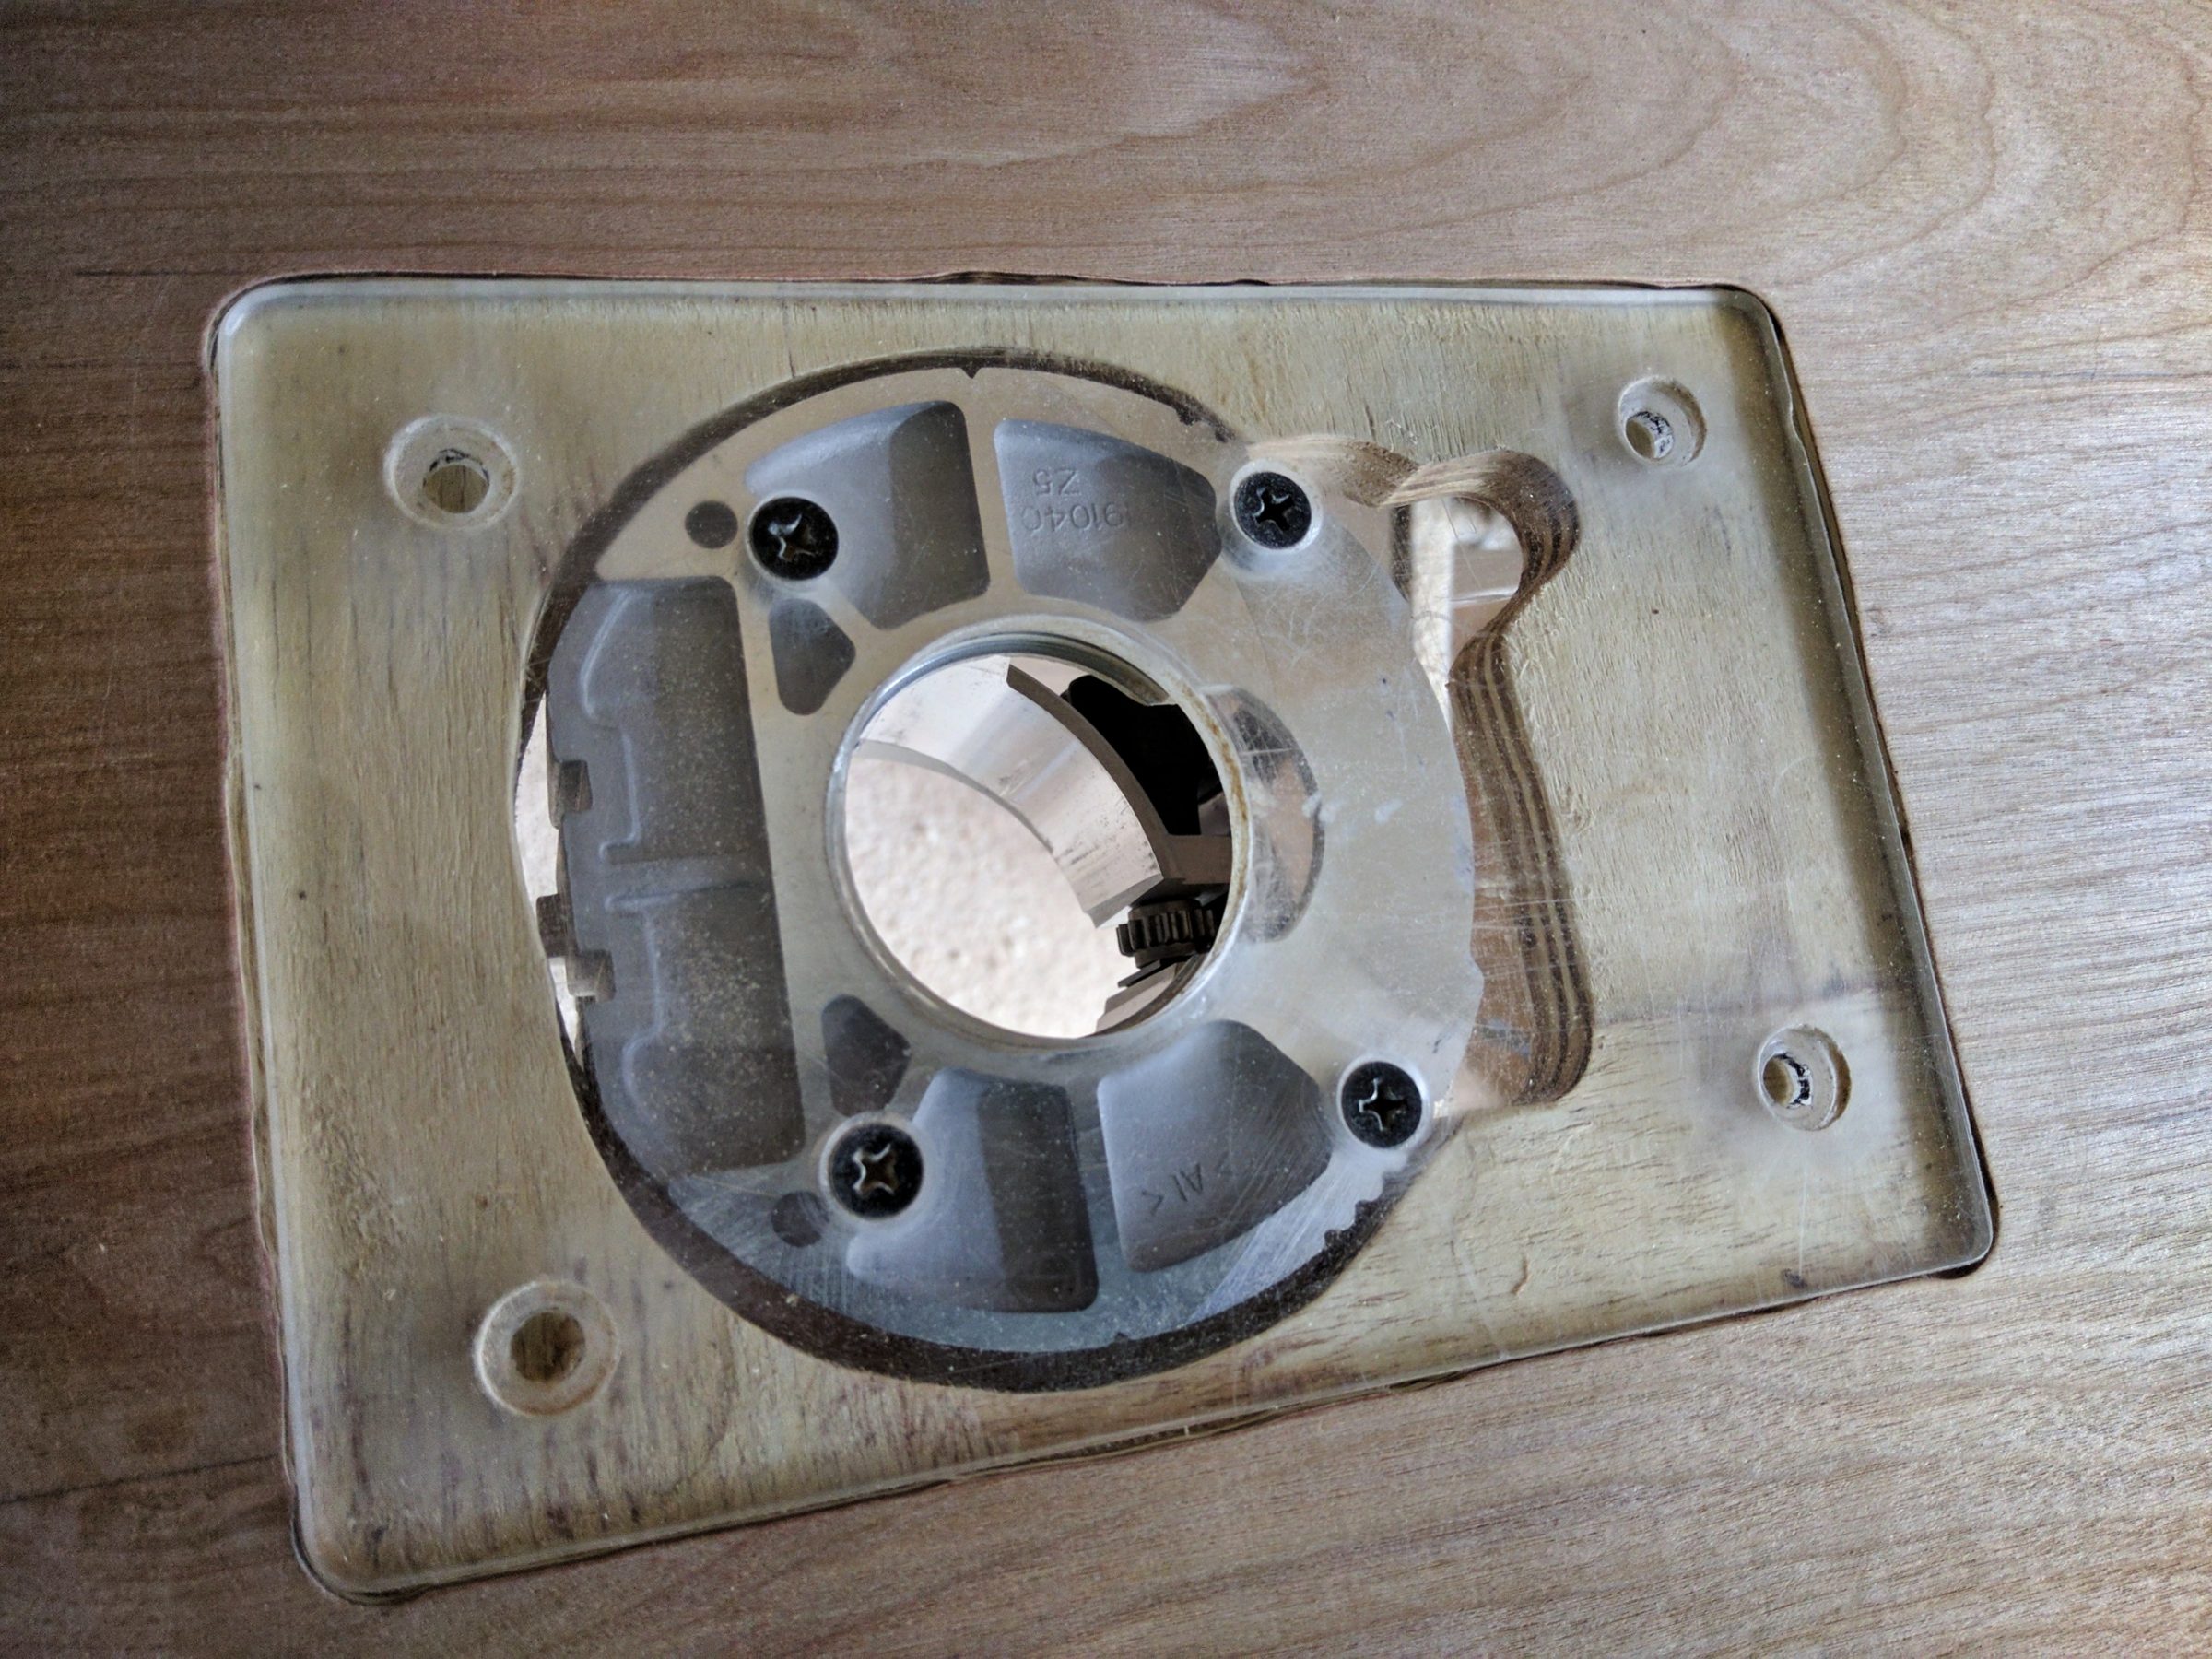
Drilling holes with a self-centering drill bit. I resized them with a regular HSS drill bit later on.


For aesthetic reasons, I really had to round up the corners of that tabletop. First I used (cut) the old table-top to upgrade my processing station with a new insert. Then I used a washer to draw a shape and finished the task with my belt sander. A quick sanding with a used sanding disc closed the job.


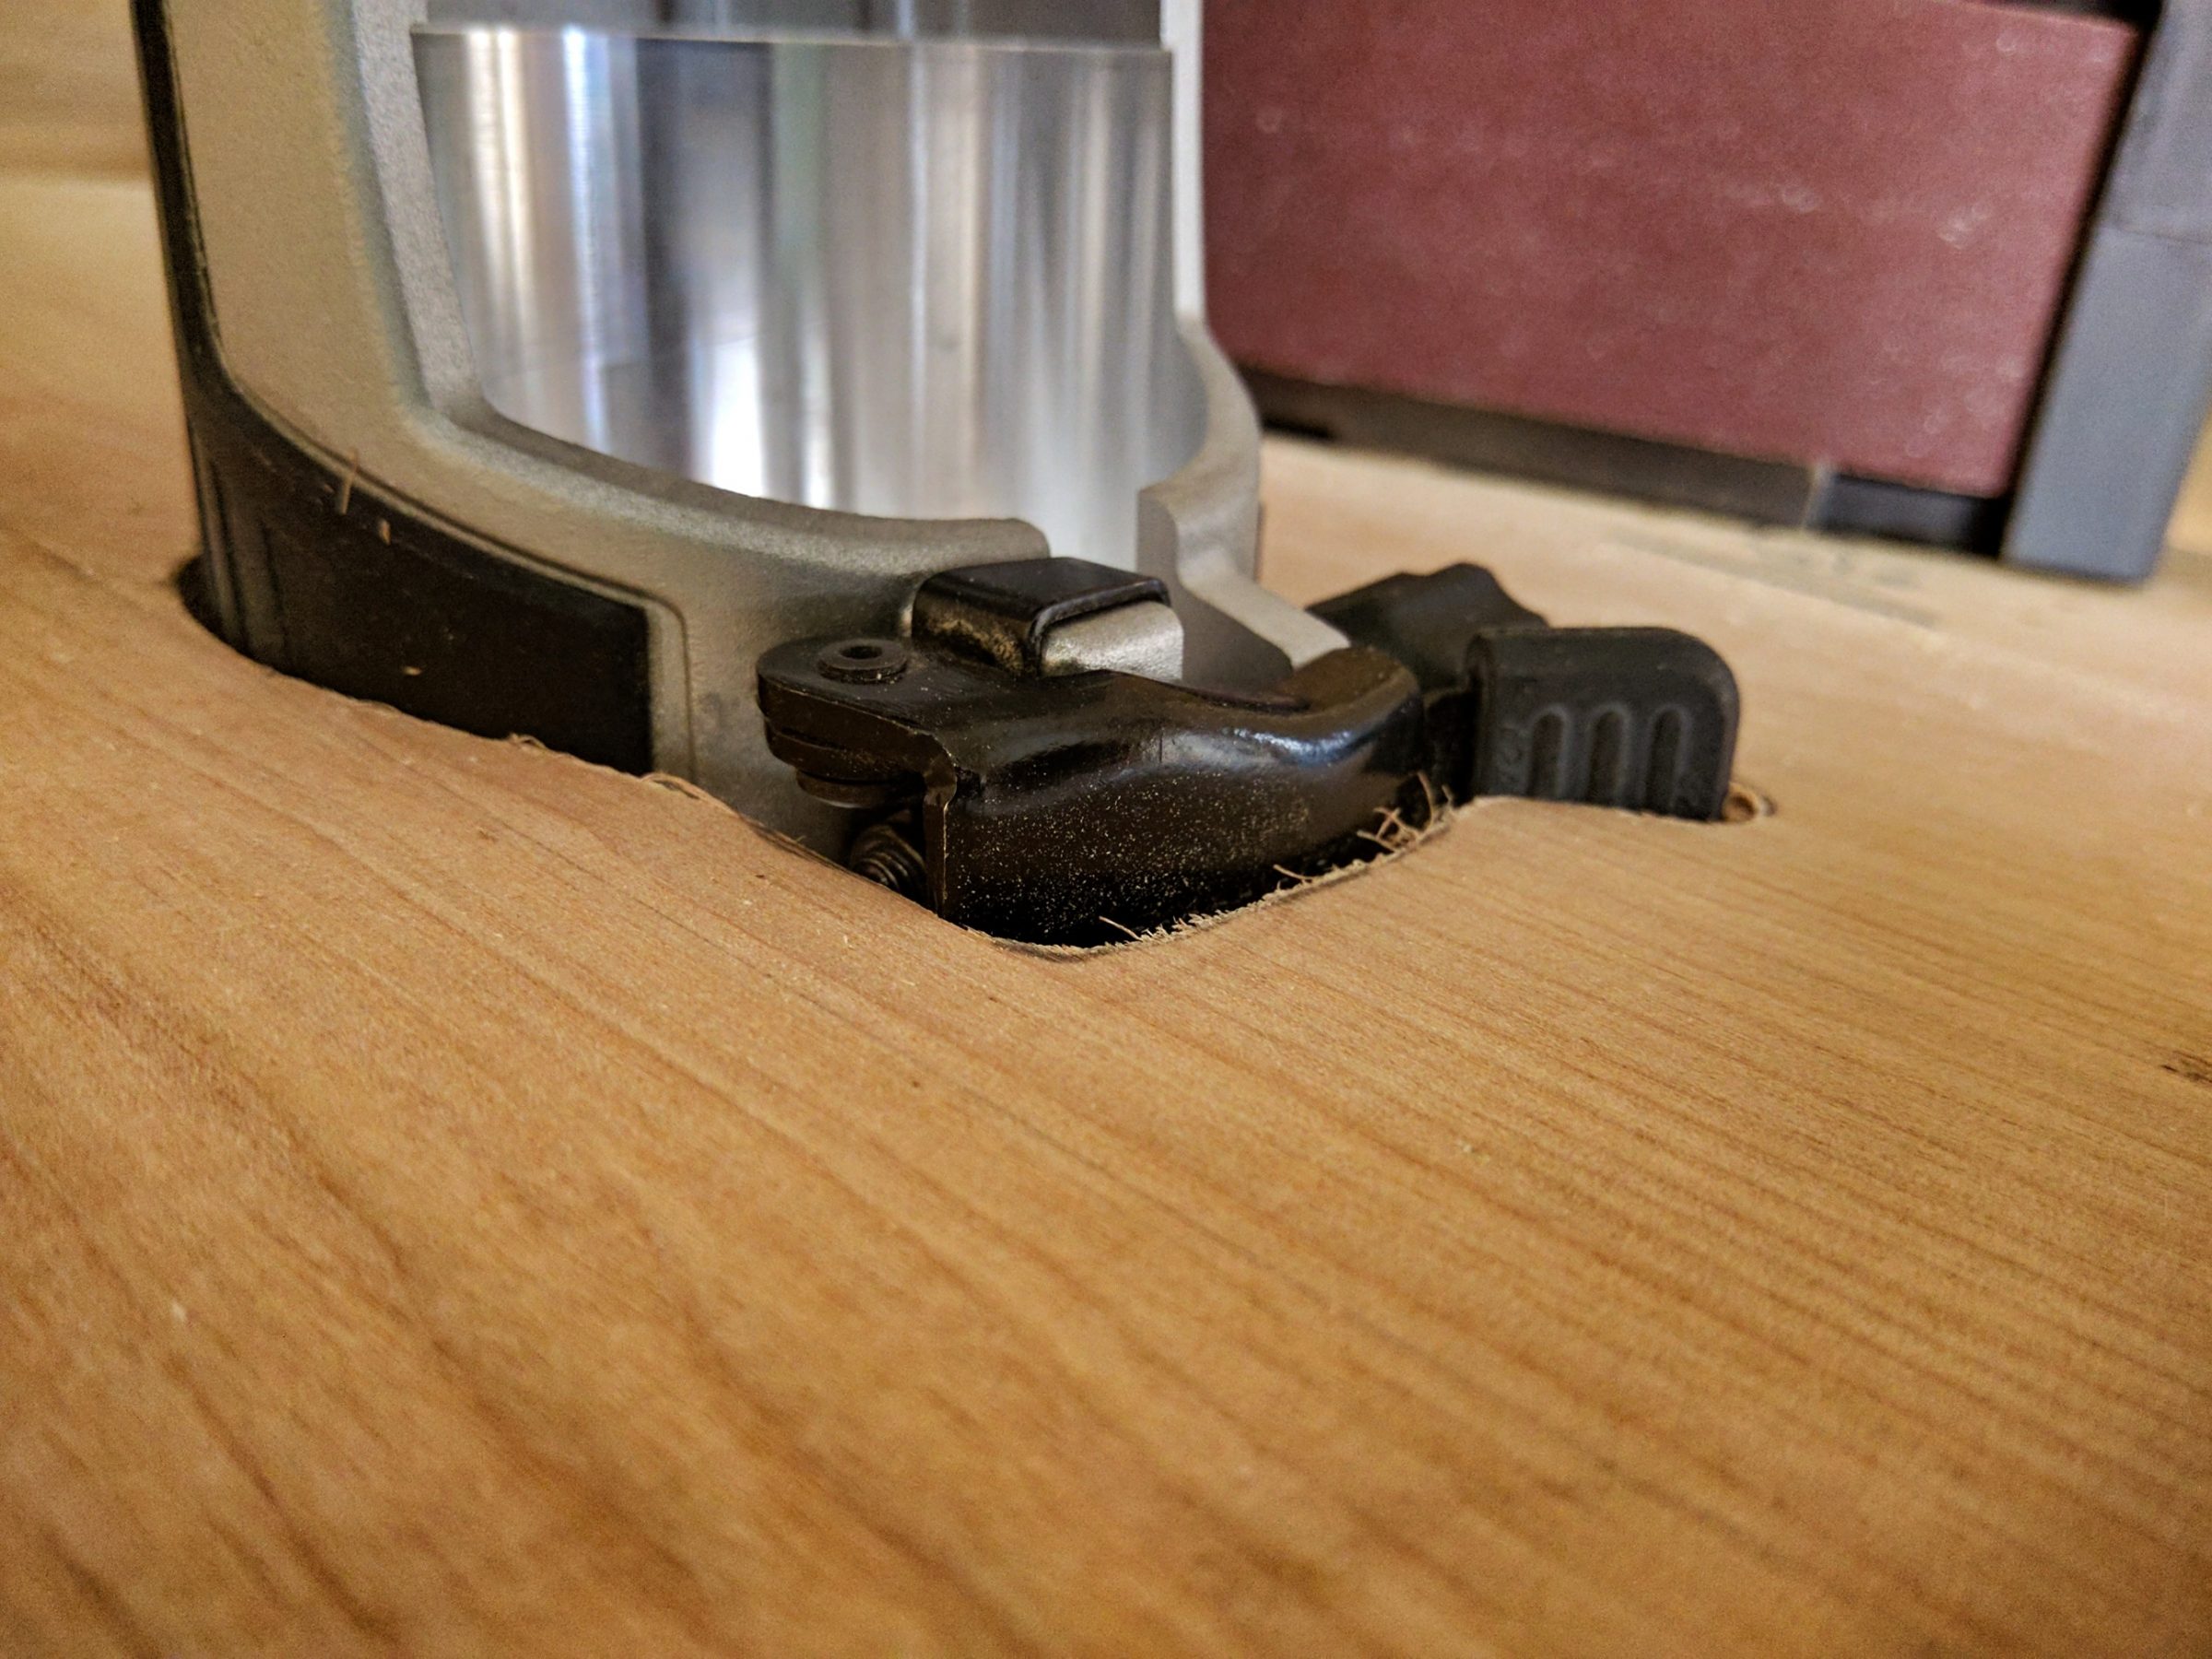
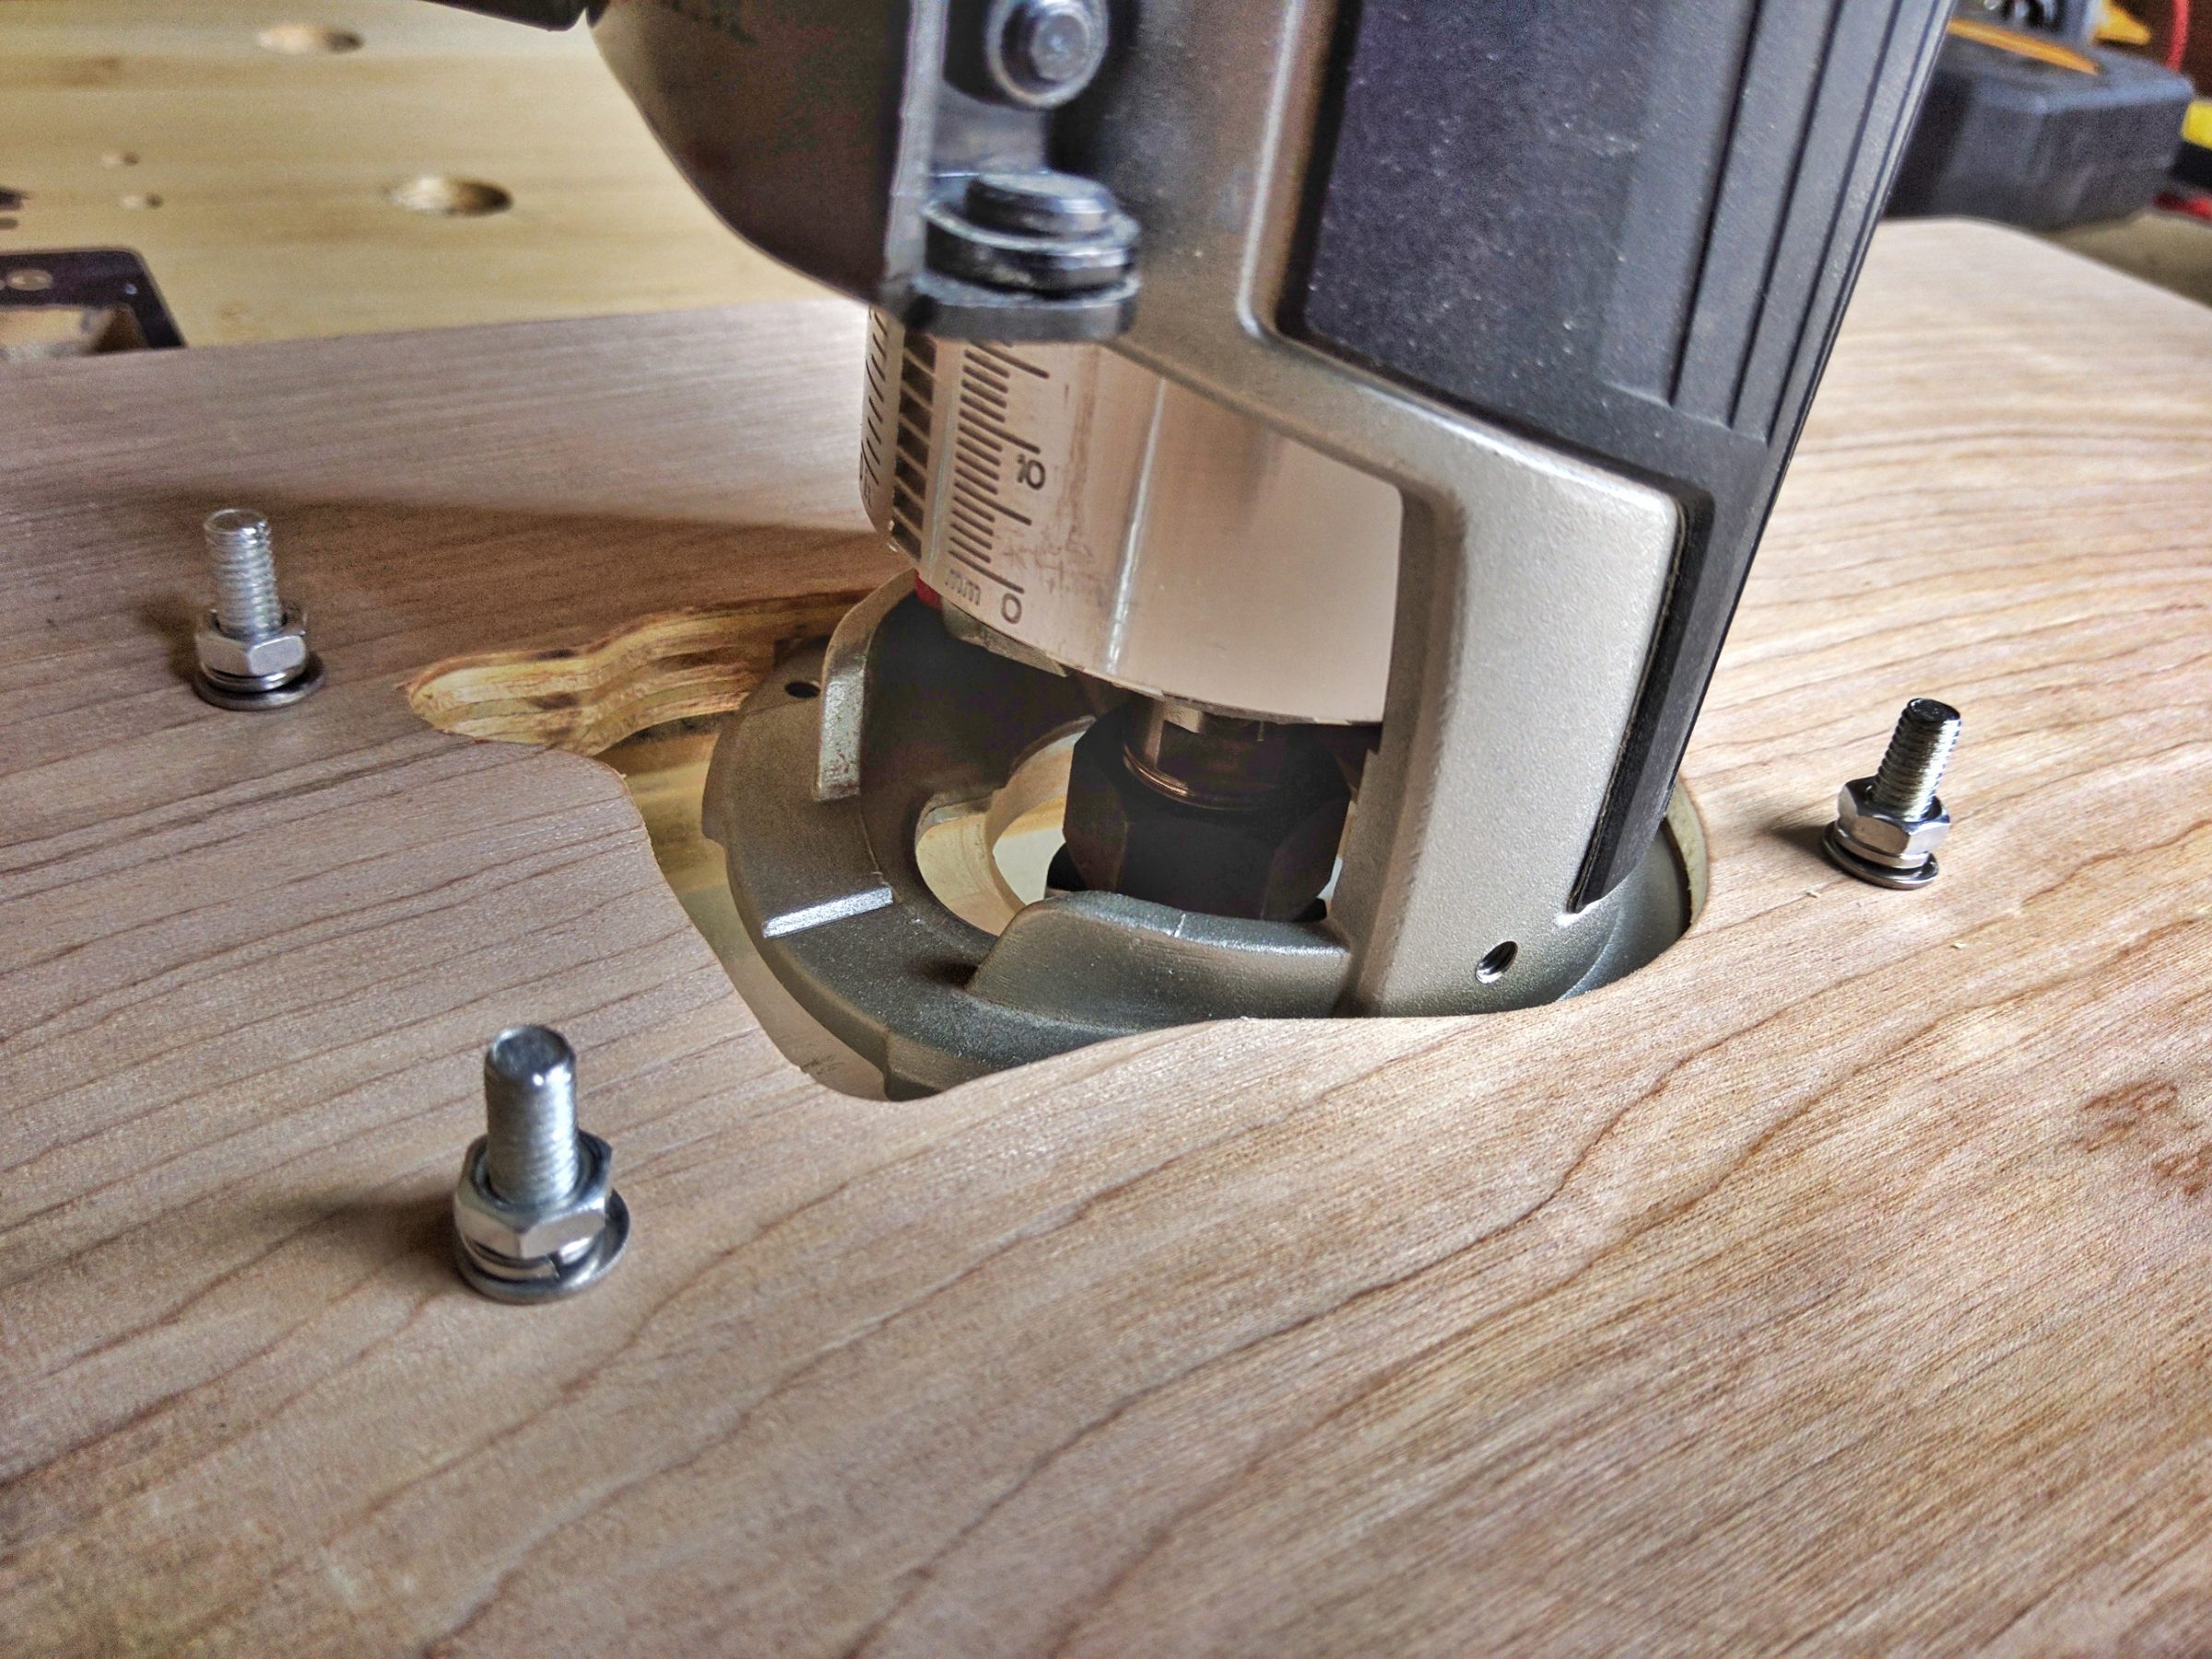
I installed some plastic spacers to keep it raised above the pegs.

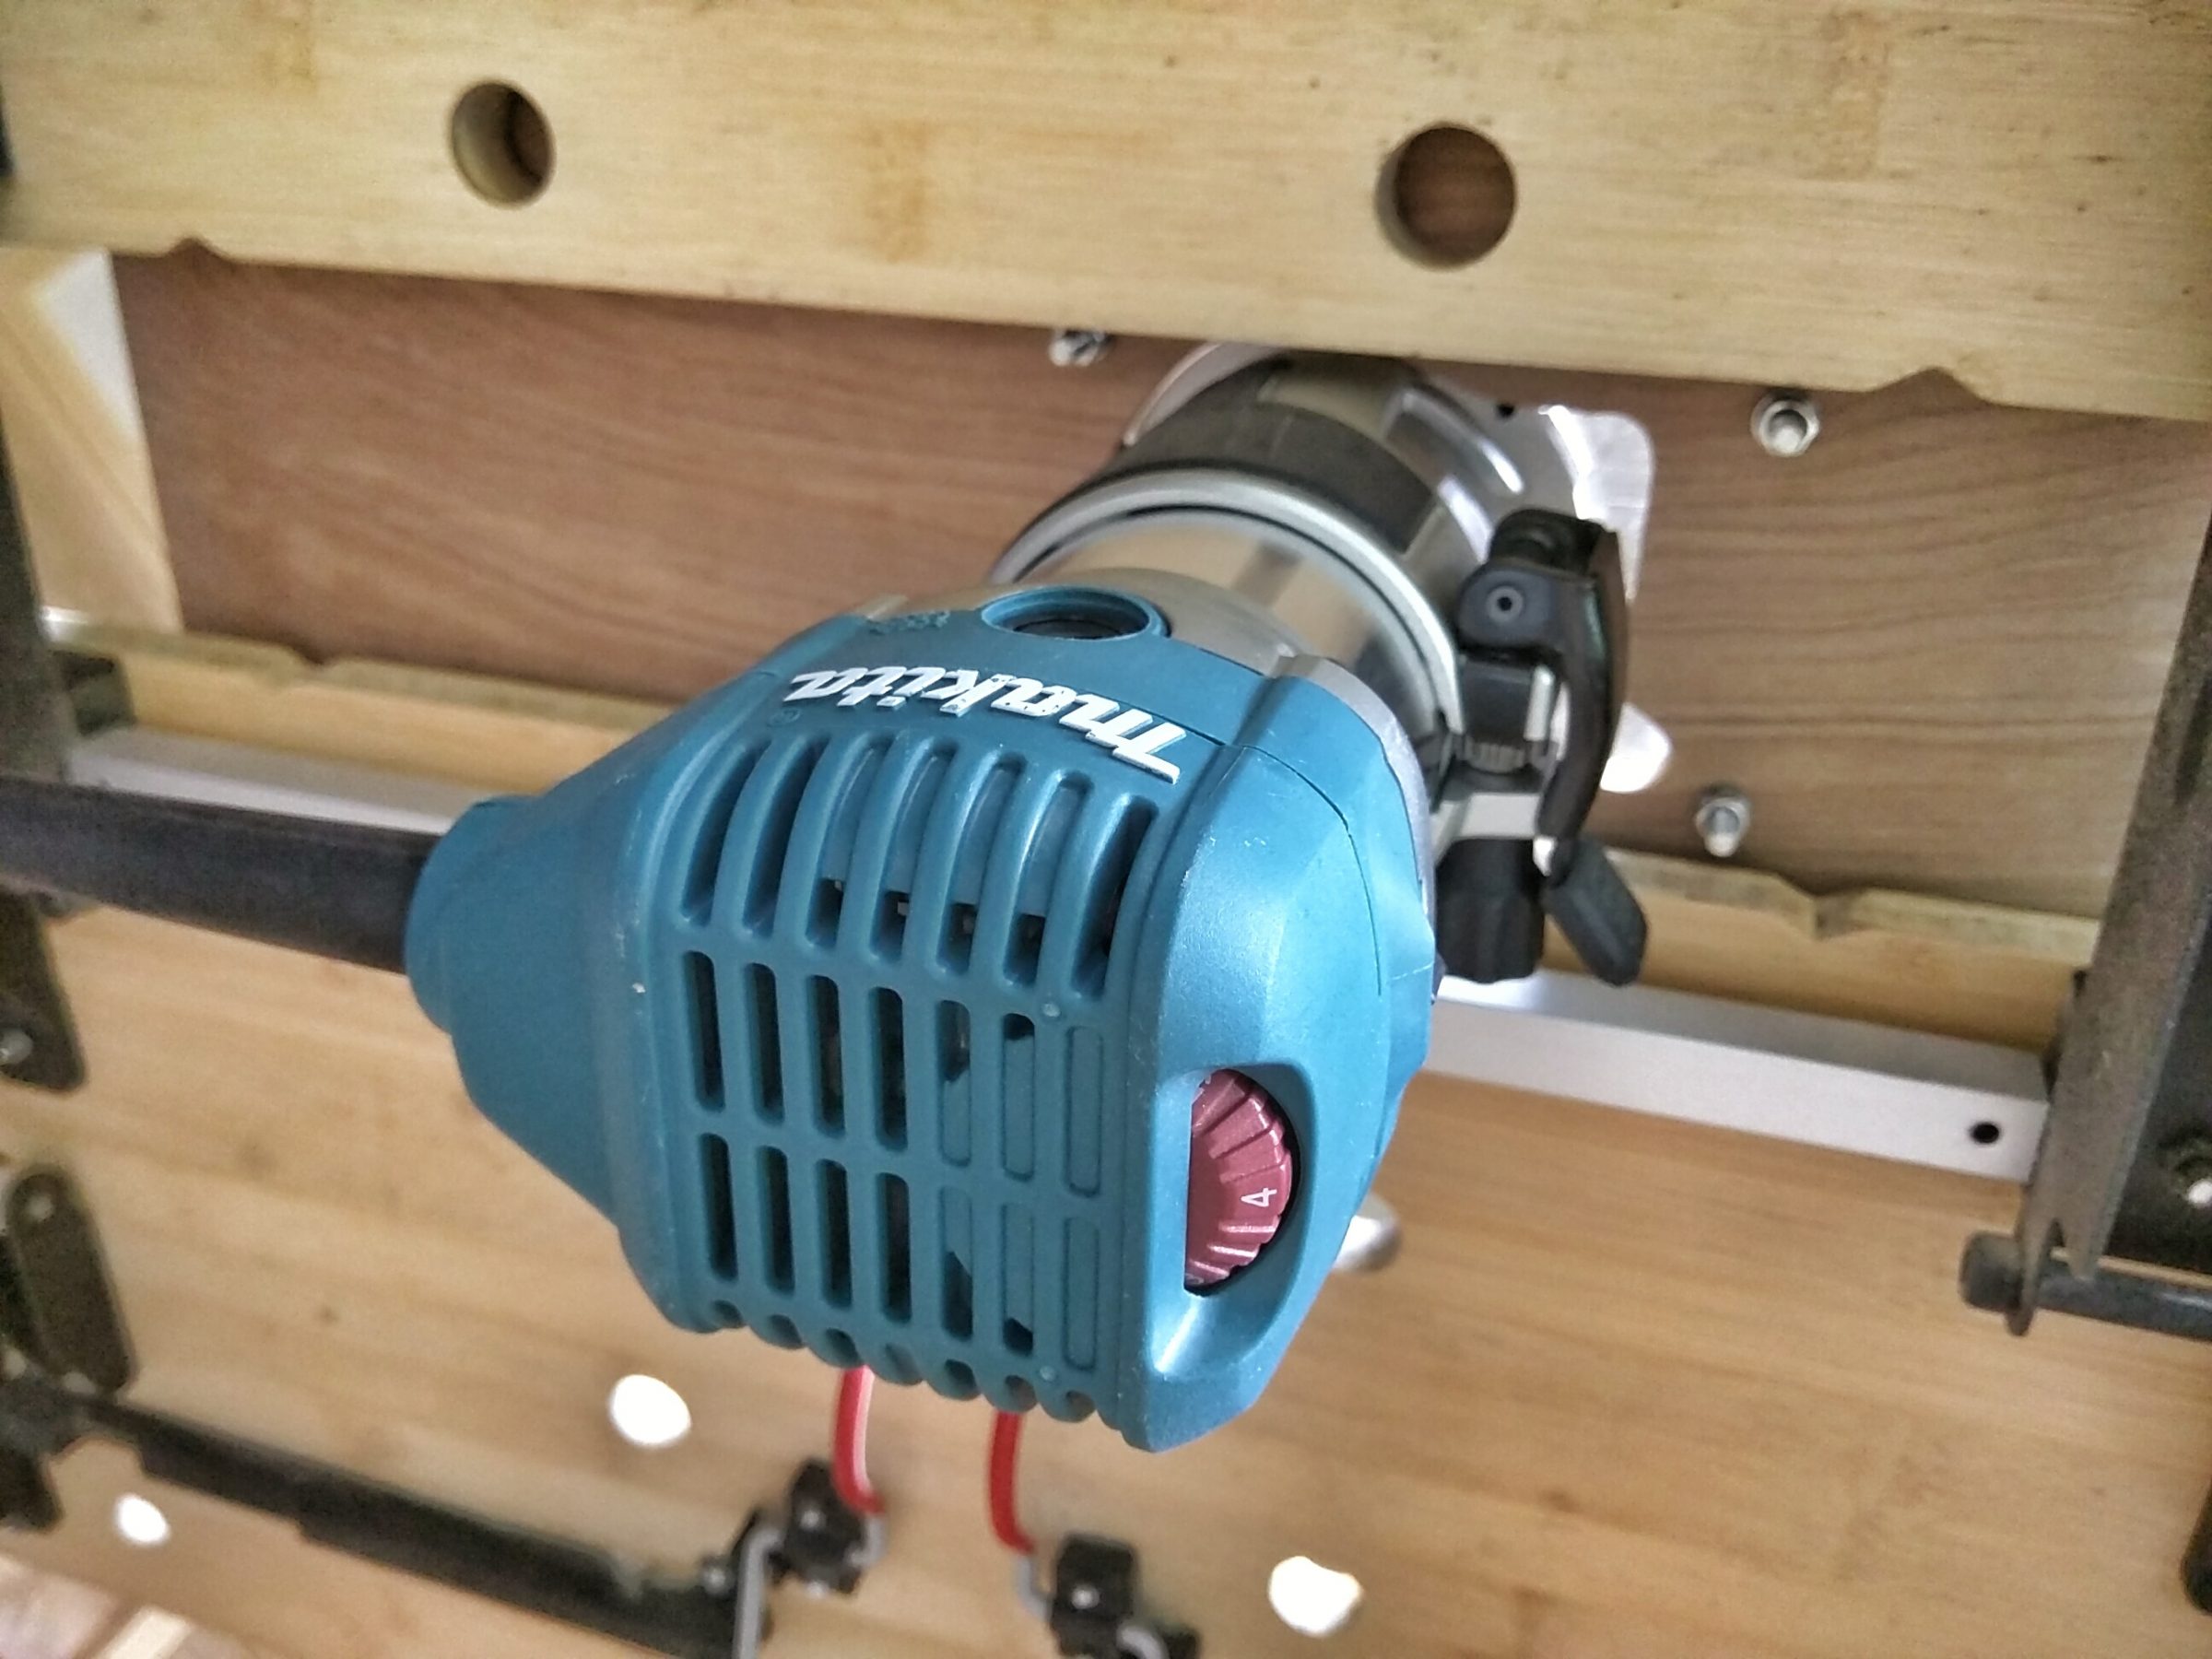
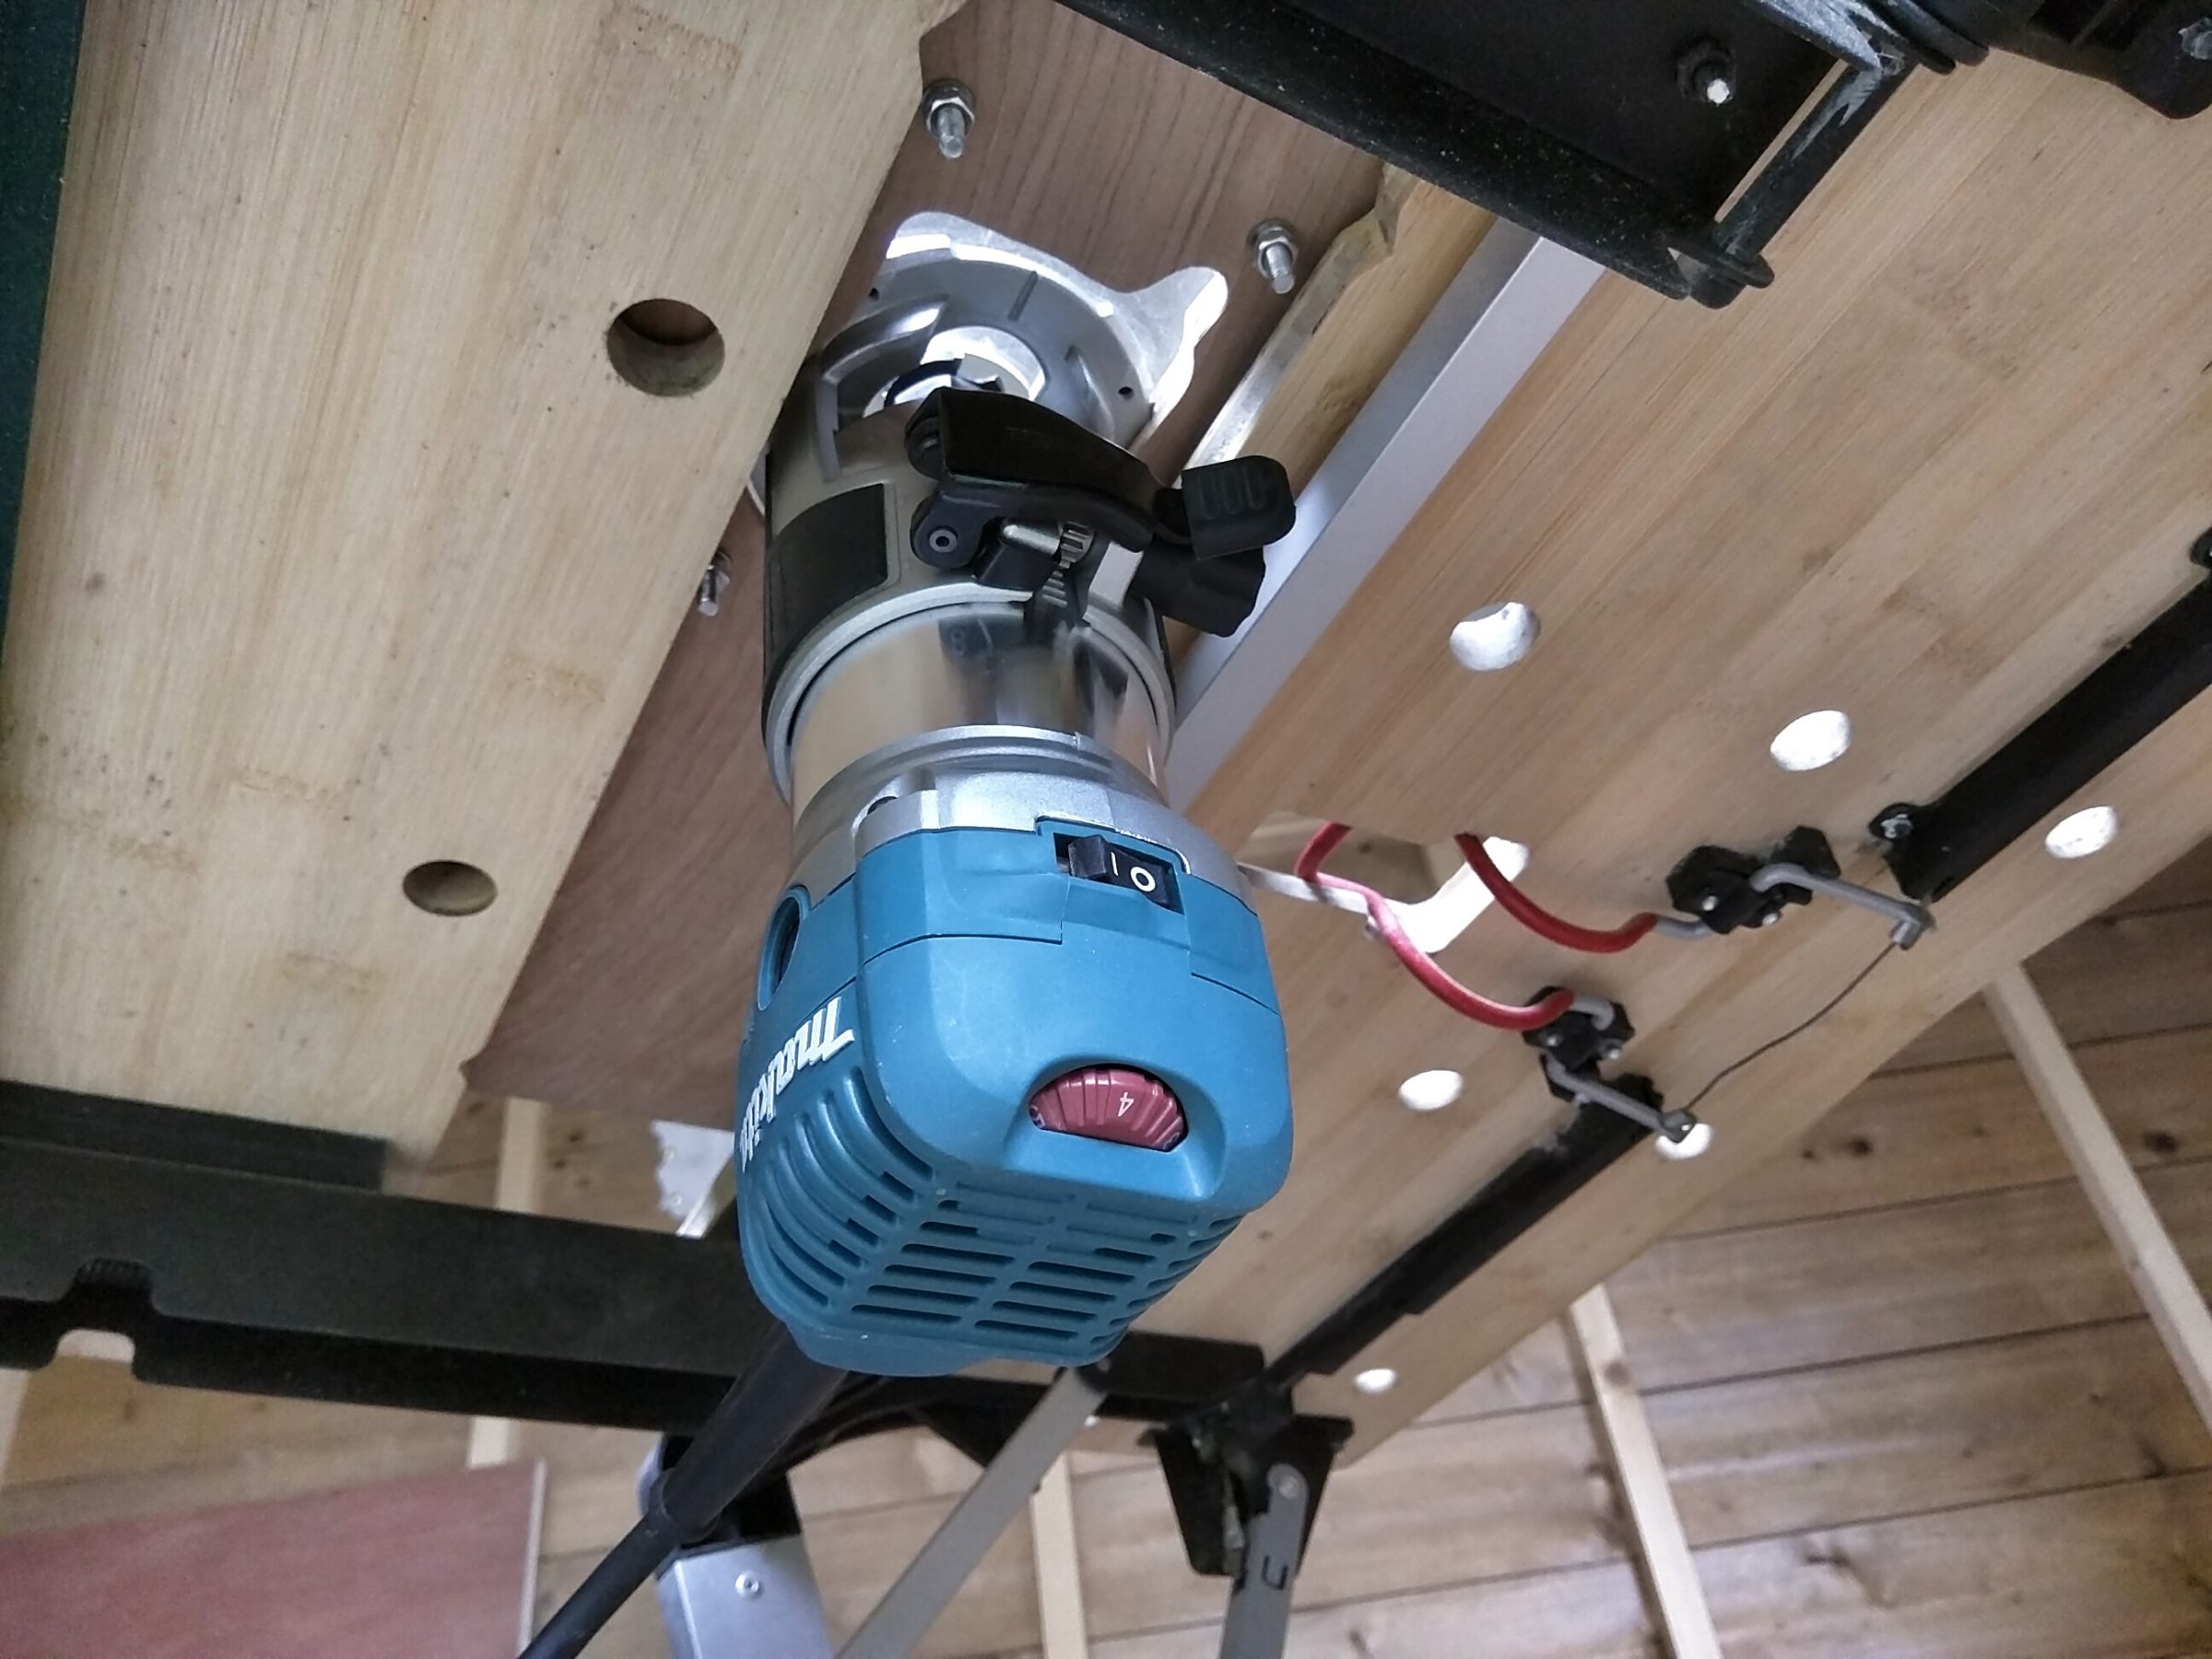
The view from the bottom.
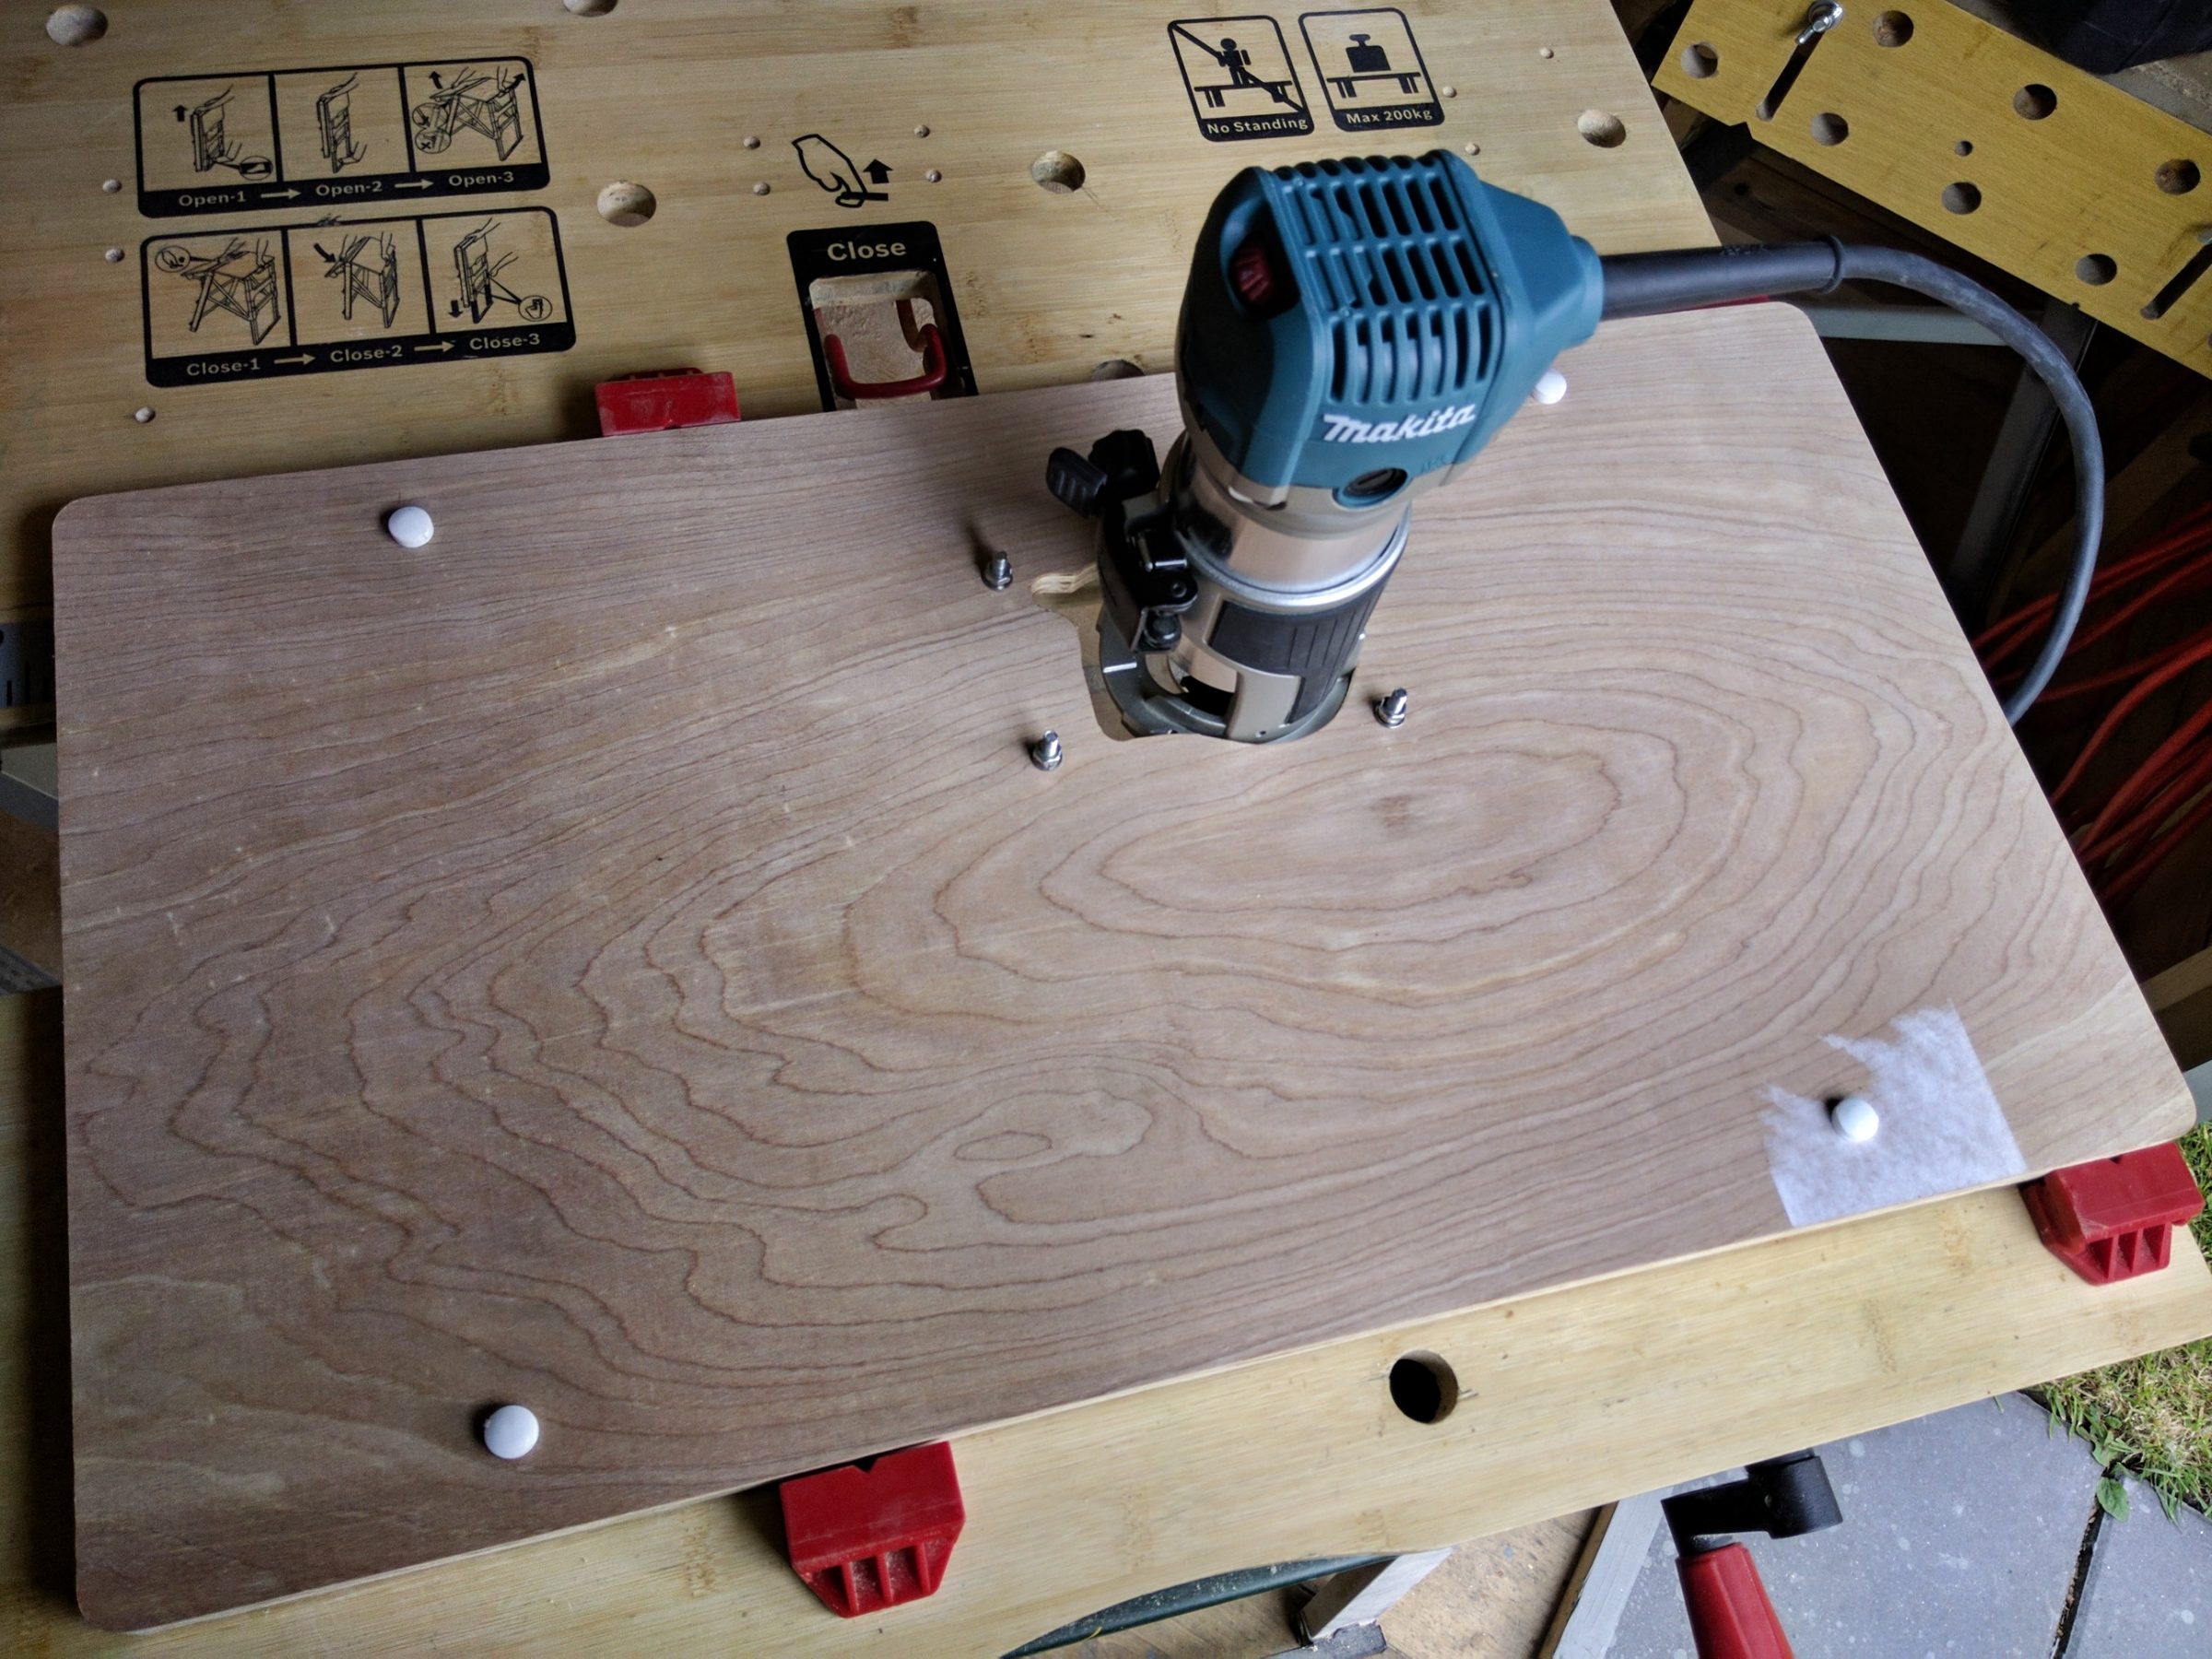
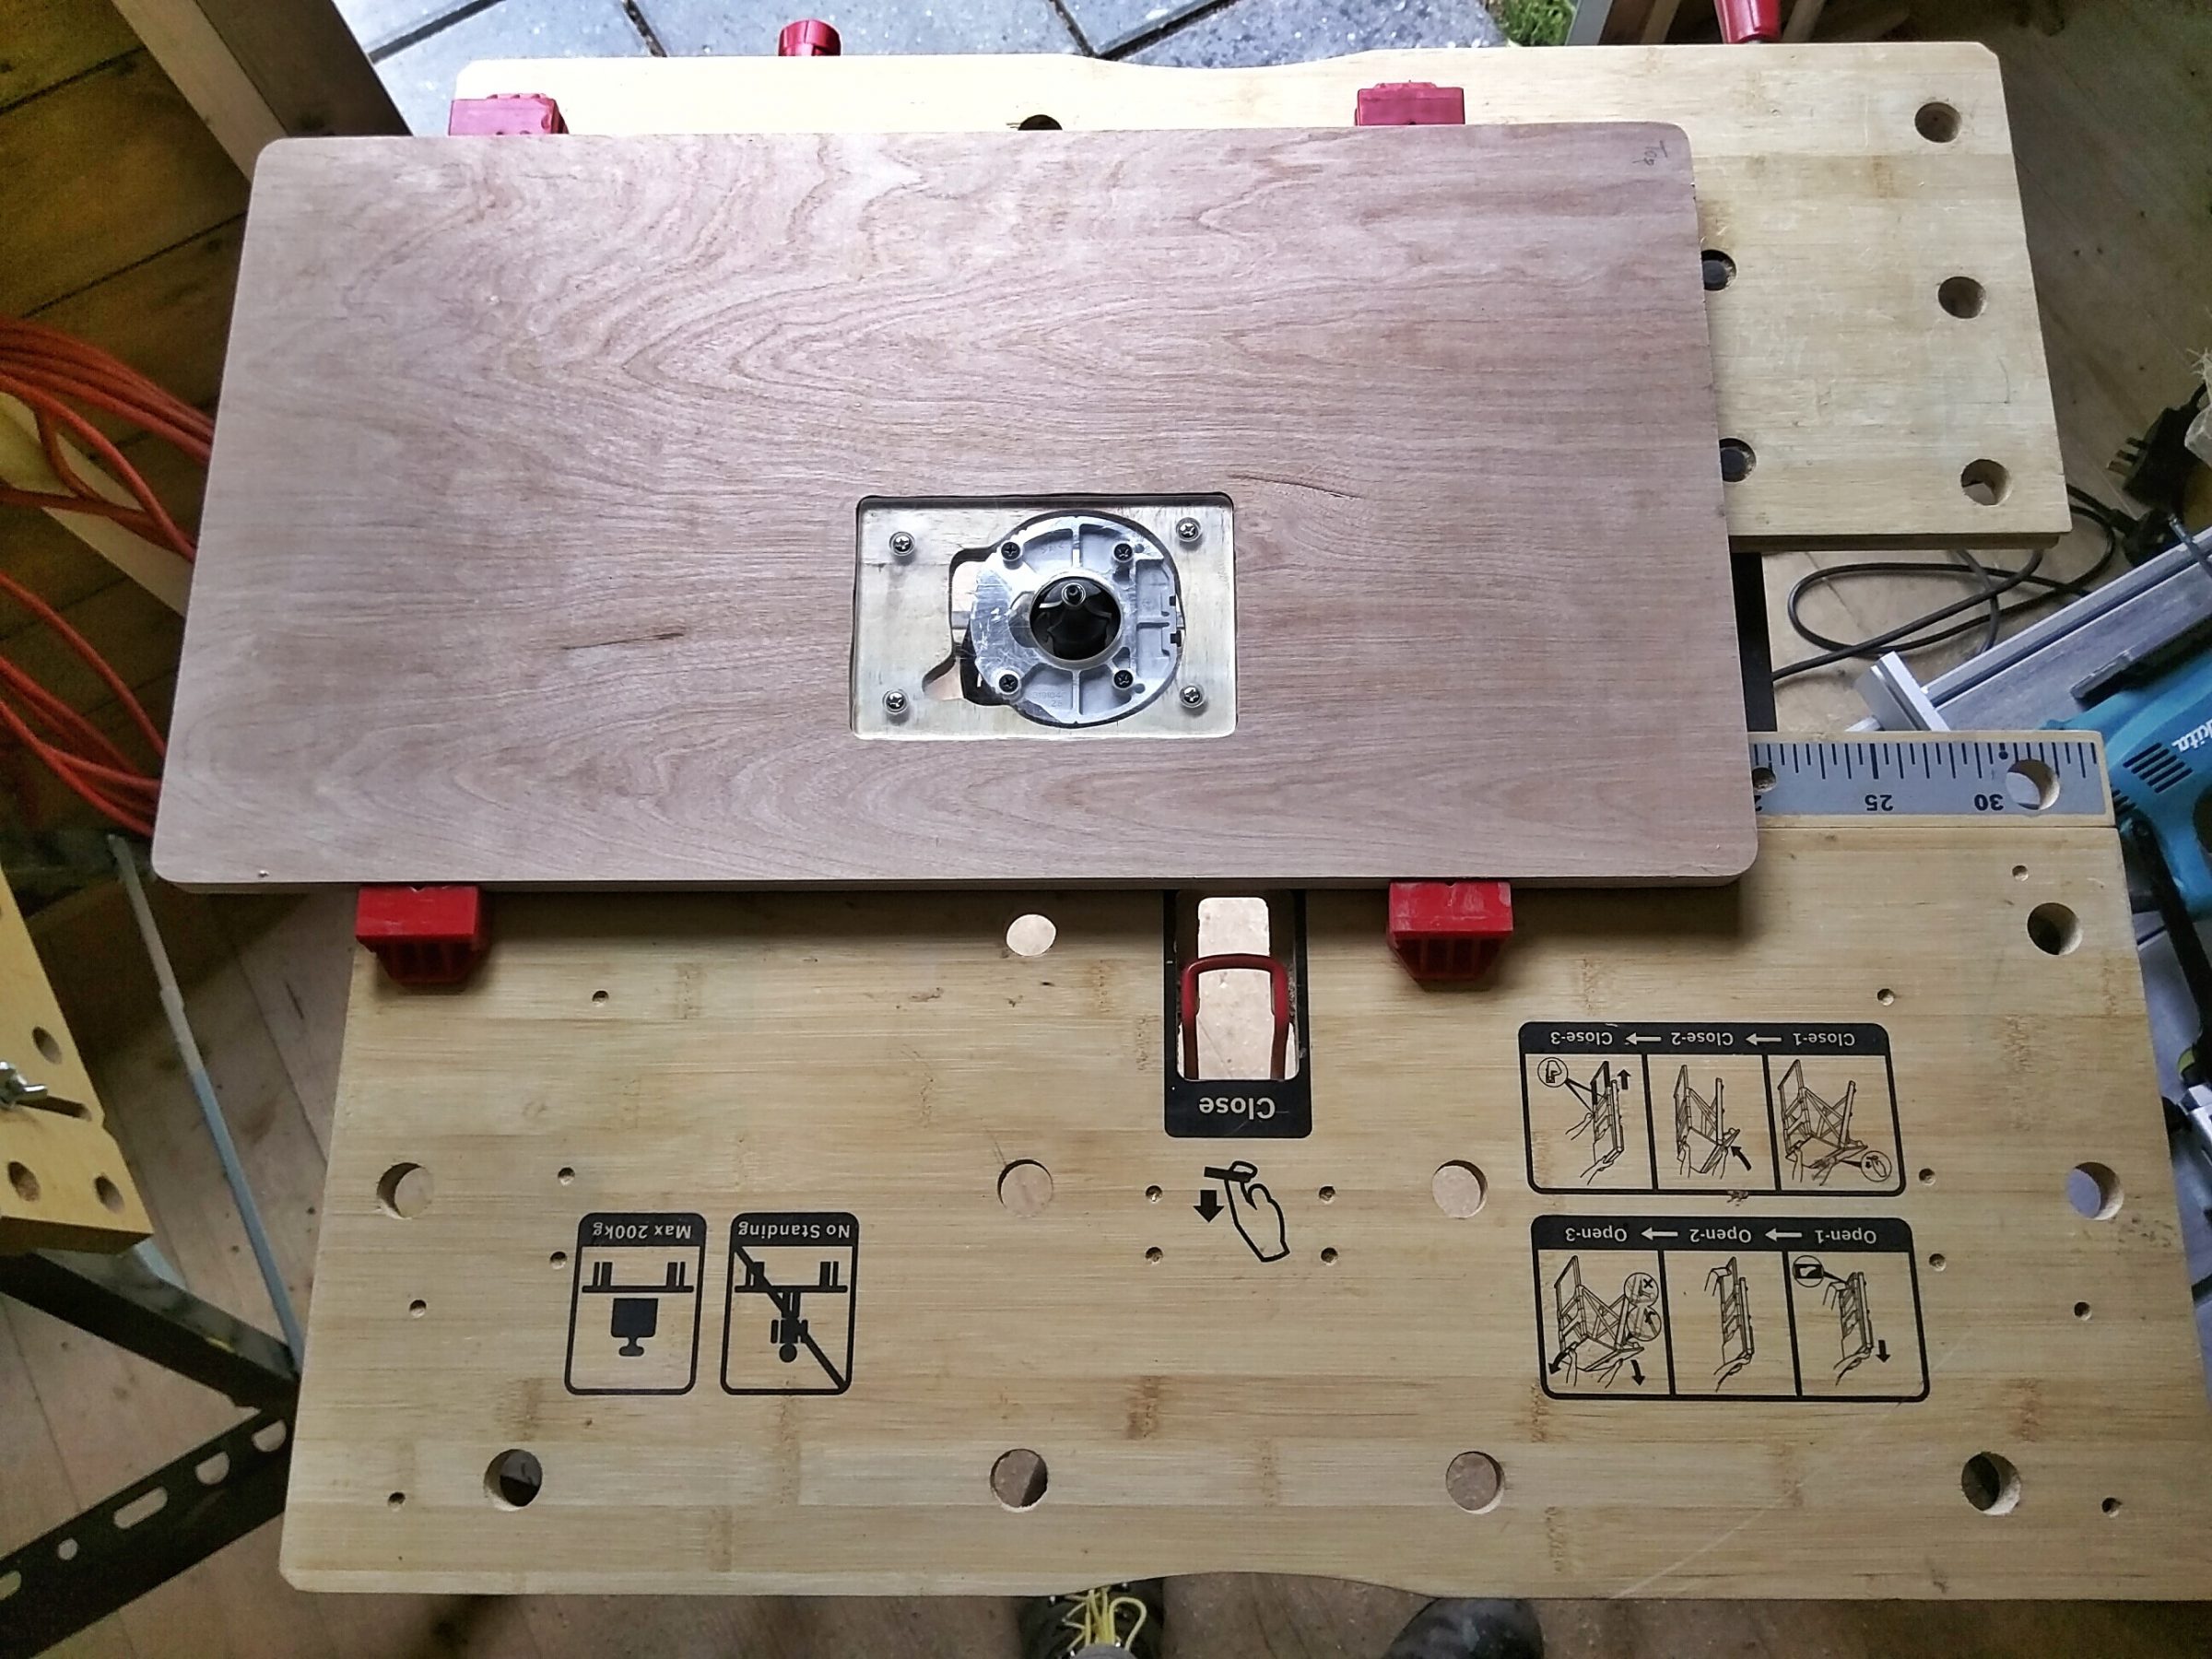
And the view from the top. It’s not intentionally placed in the centre of the table, I had my reason to do so – it’s easier to reach from the side.


2 Comments
Pingback:
Pingback: