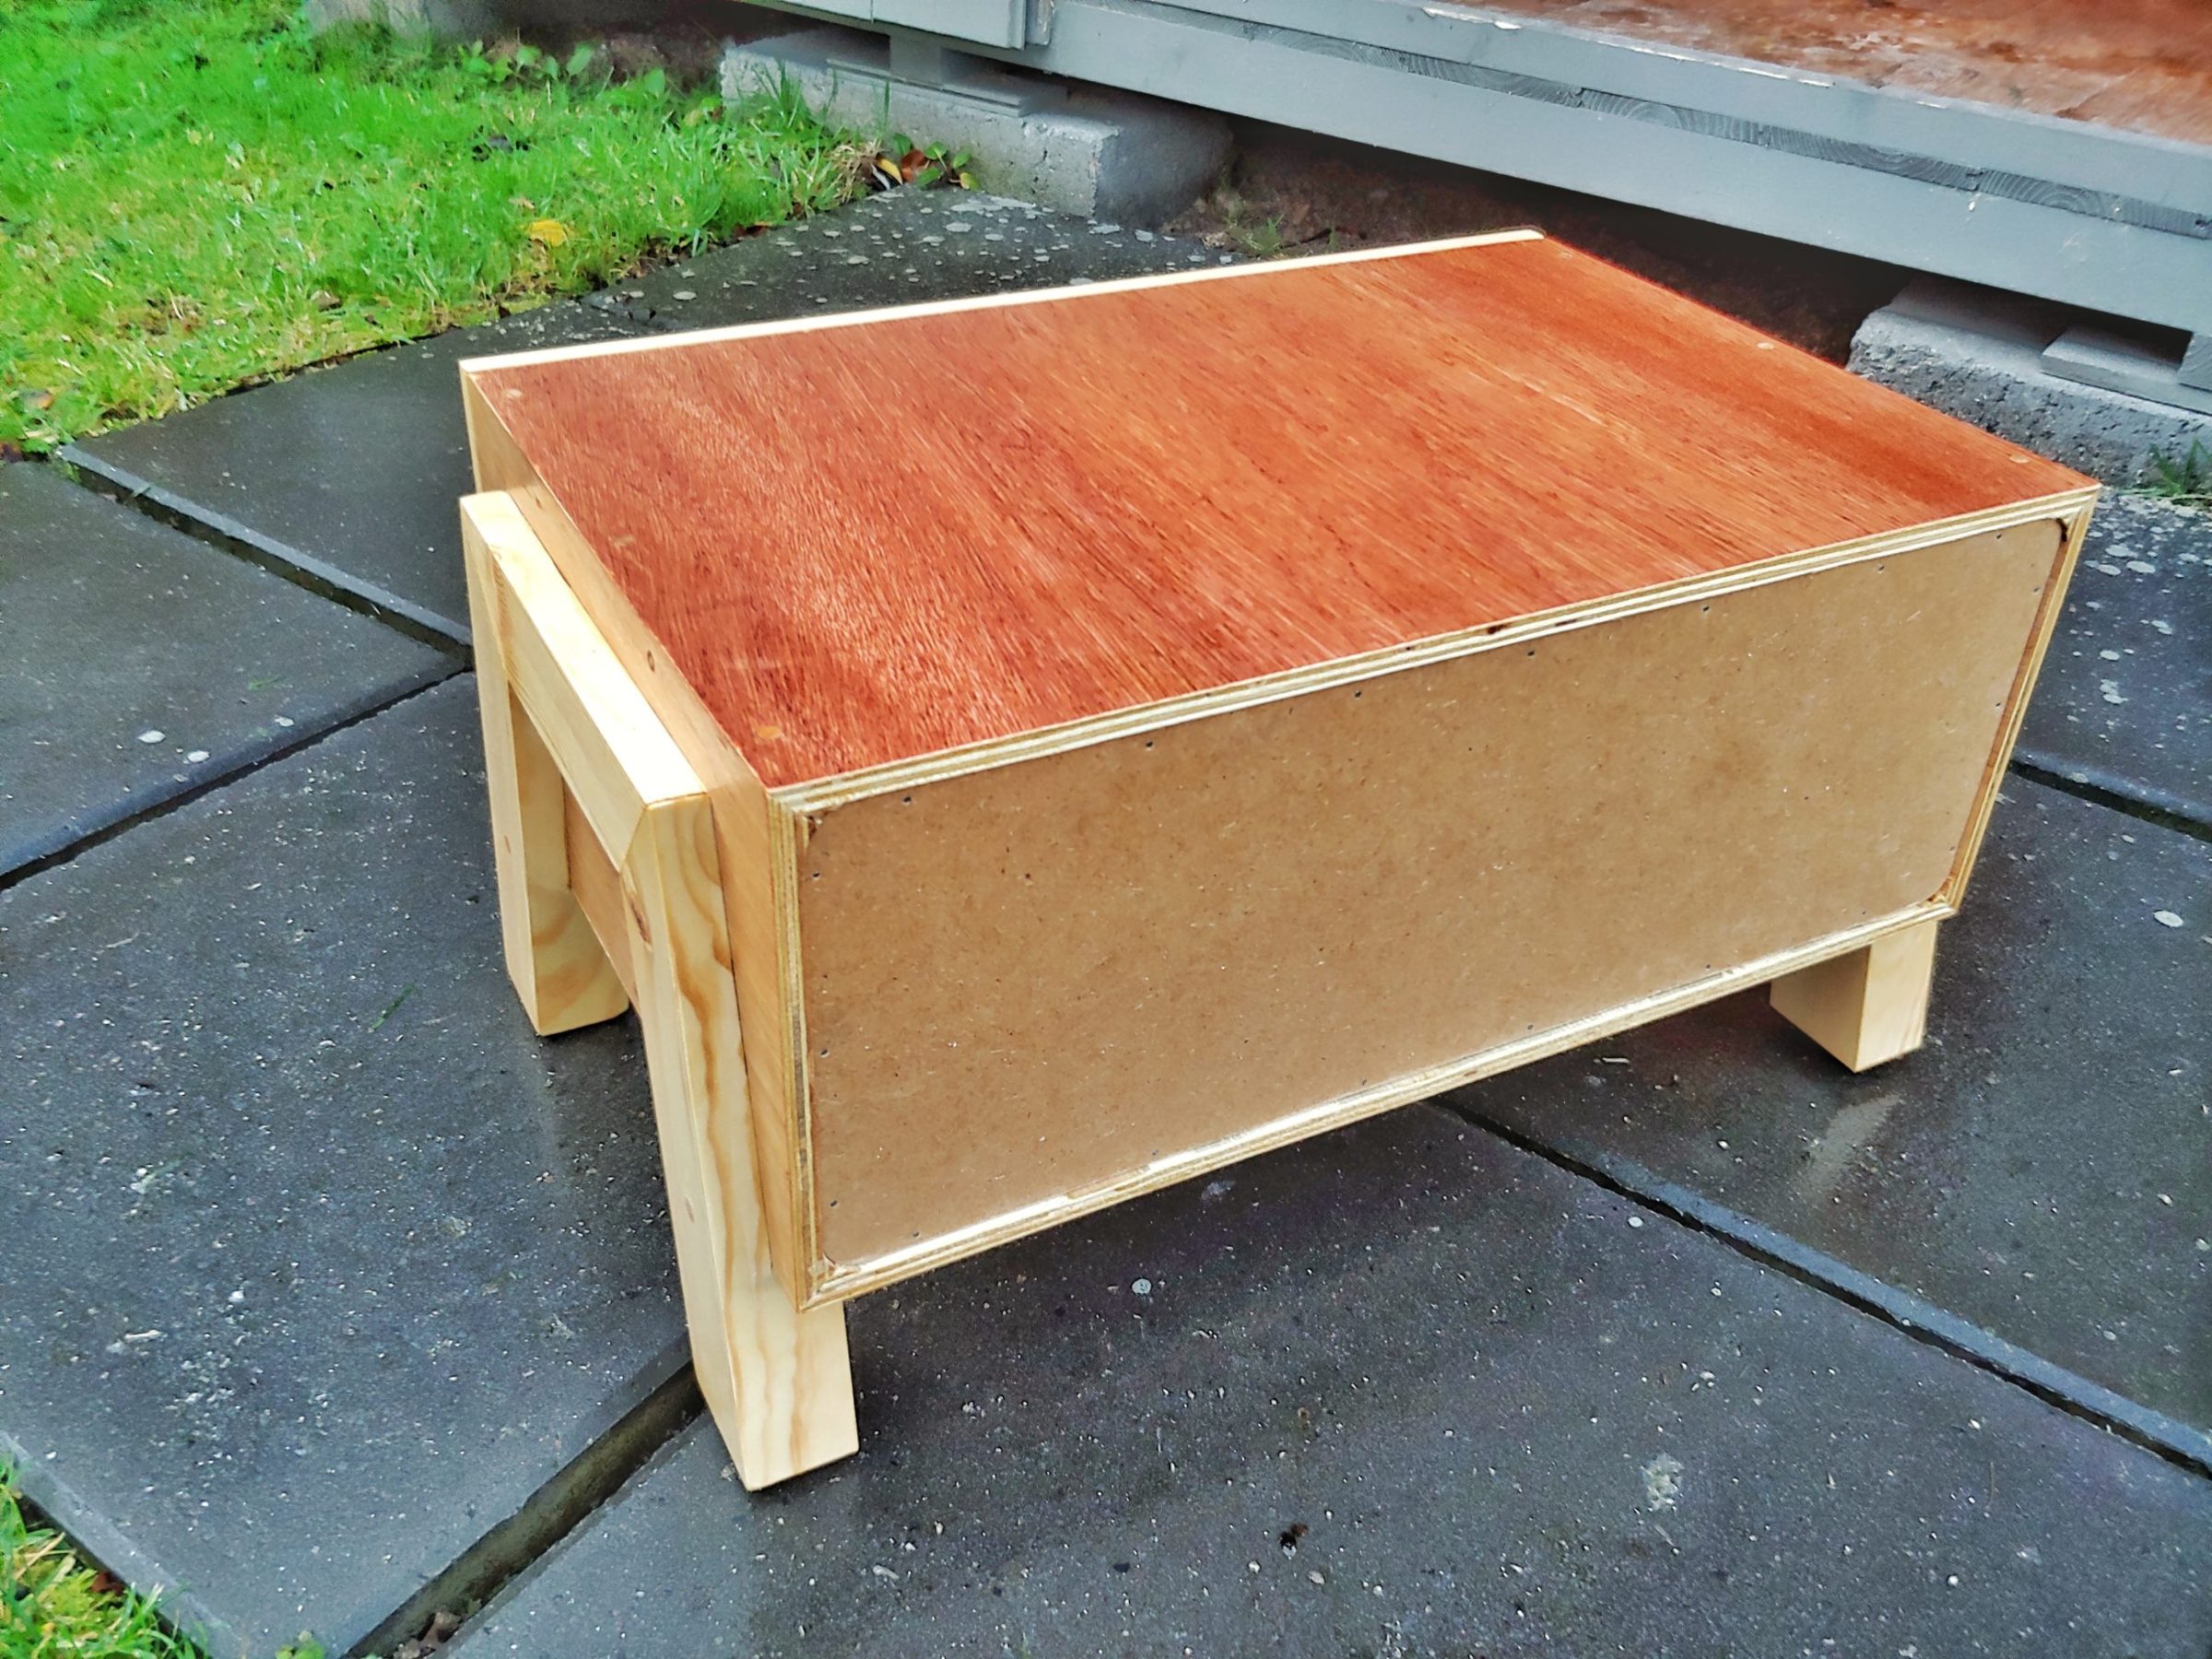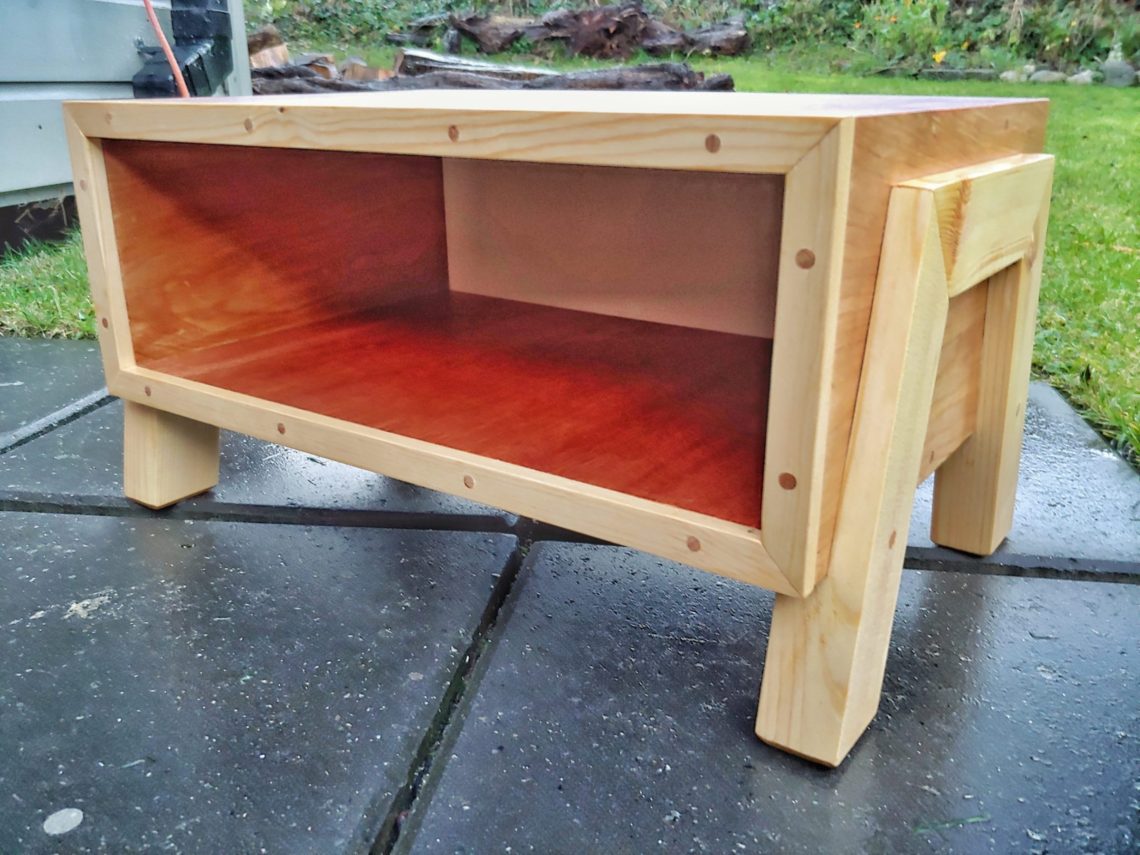
Low stand
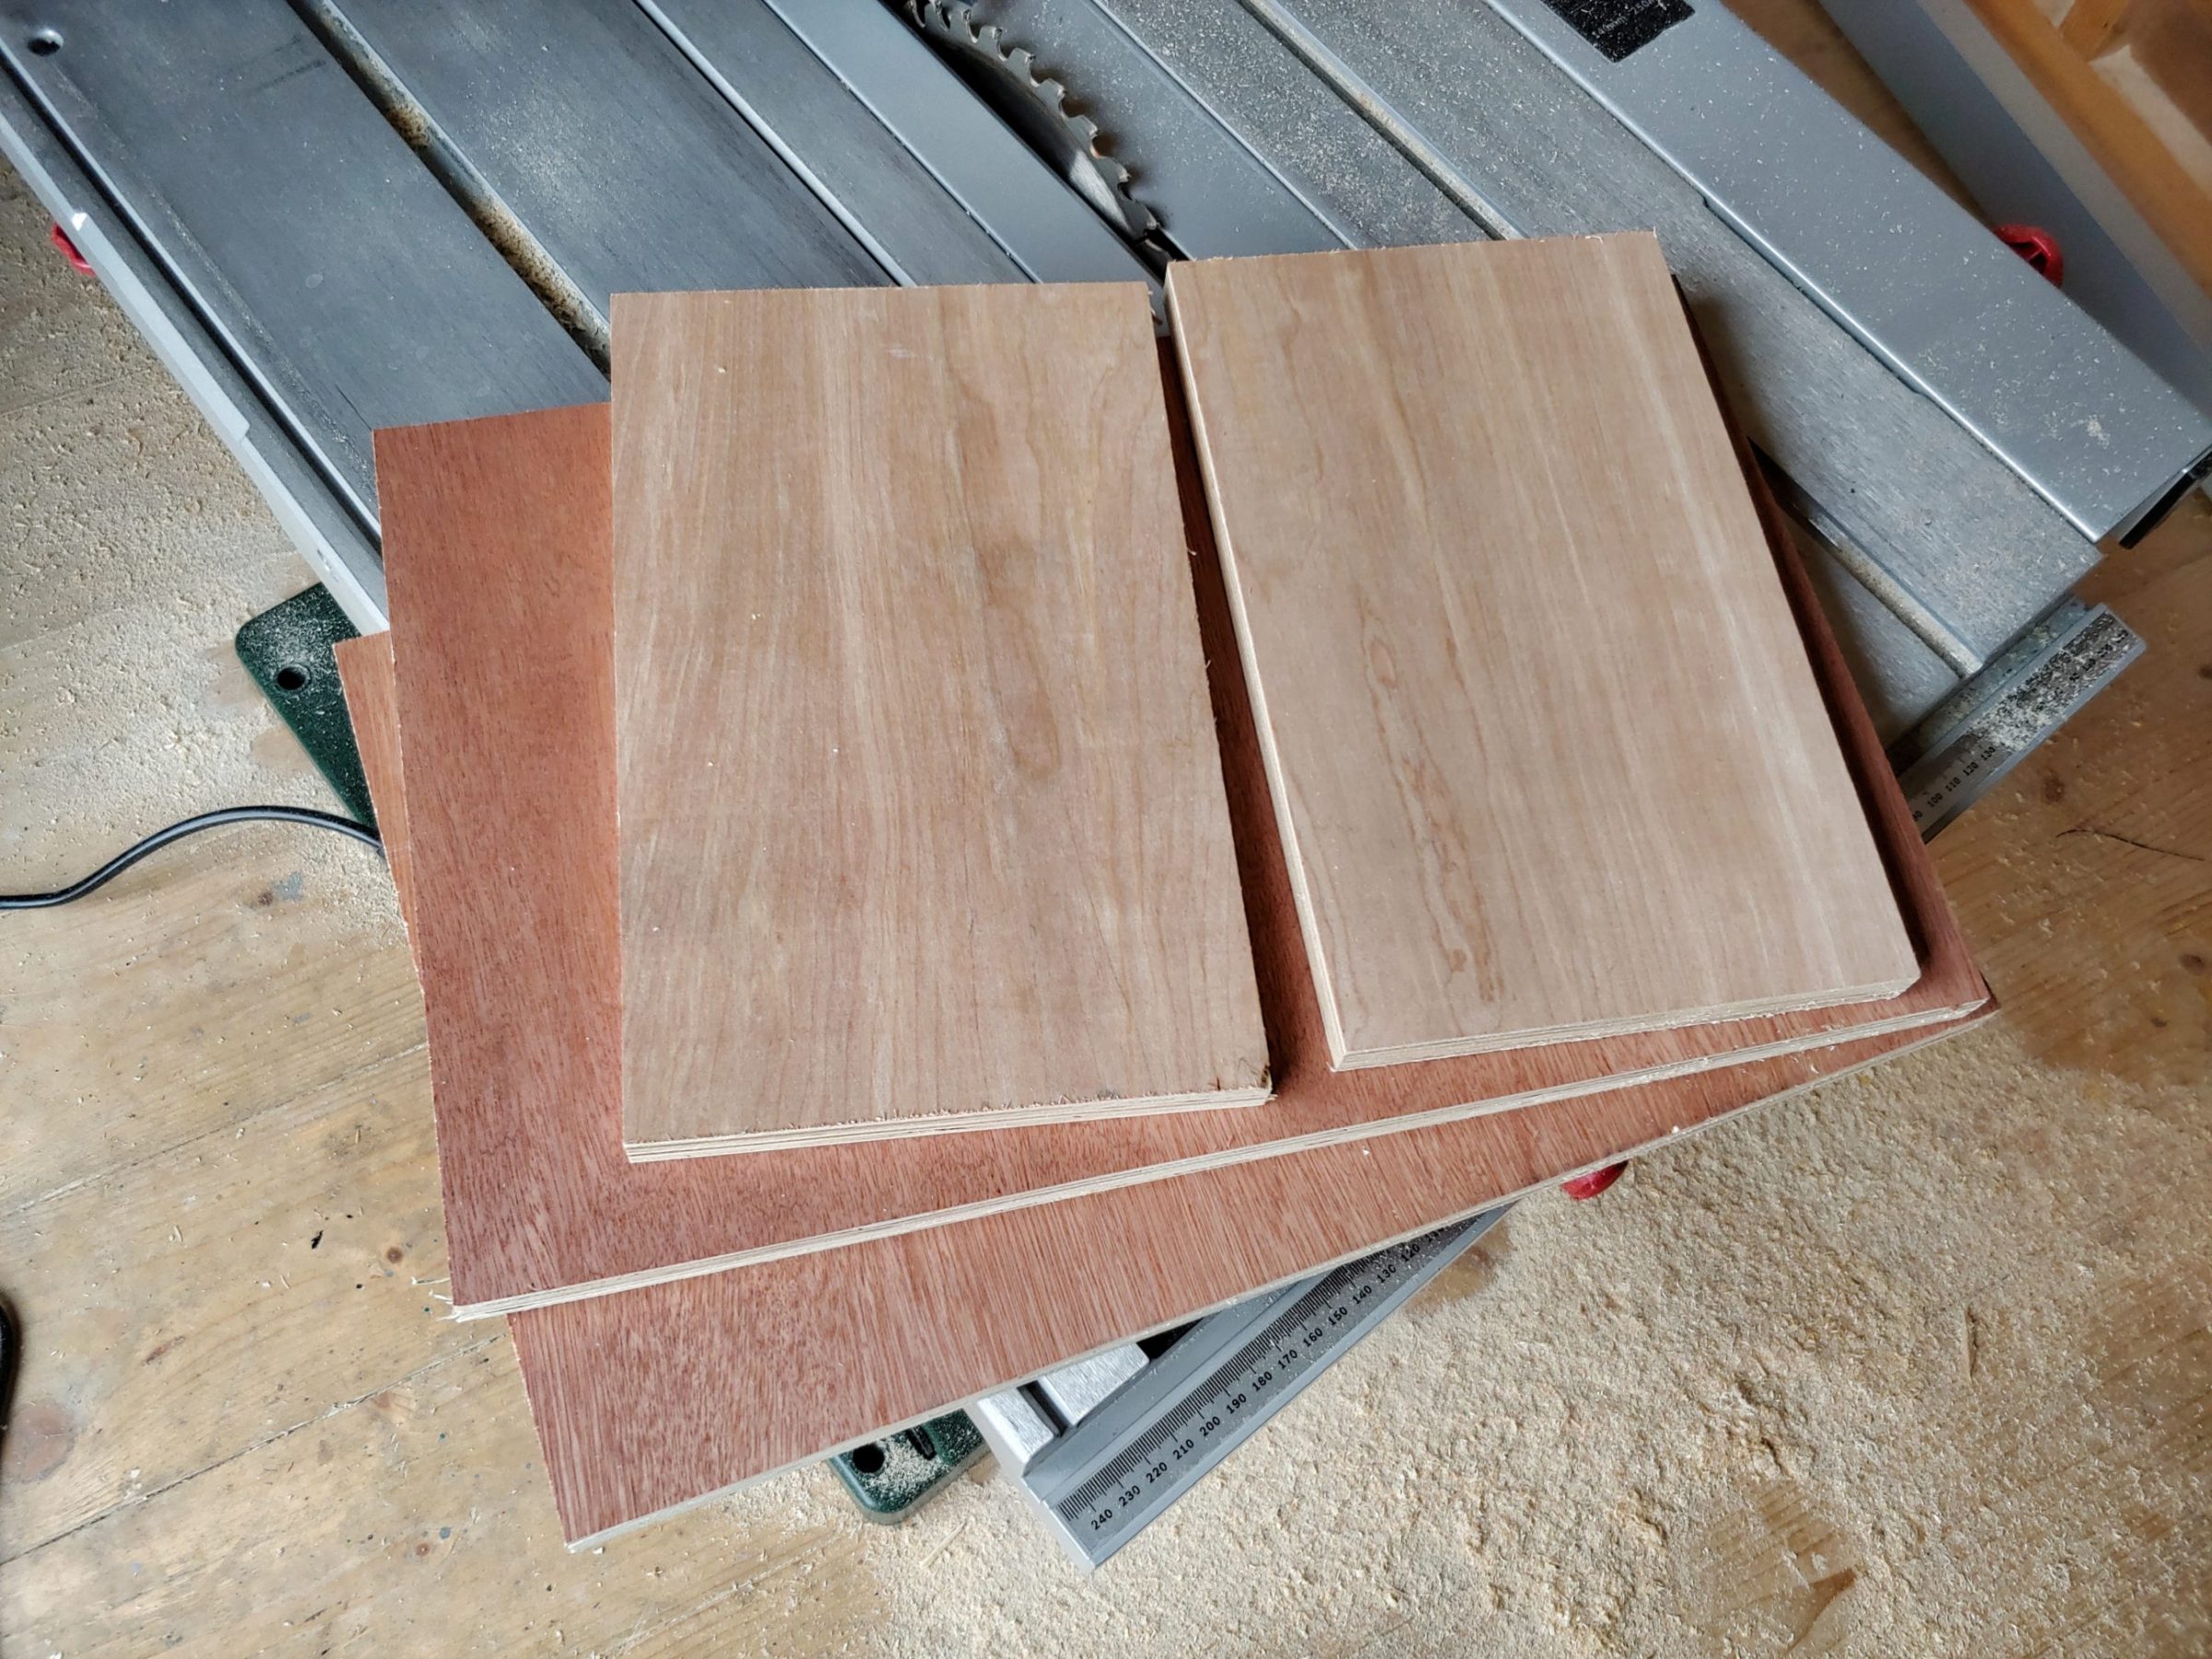
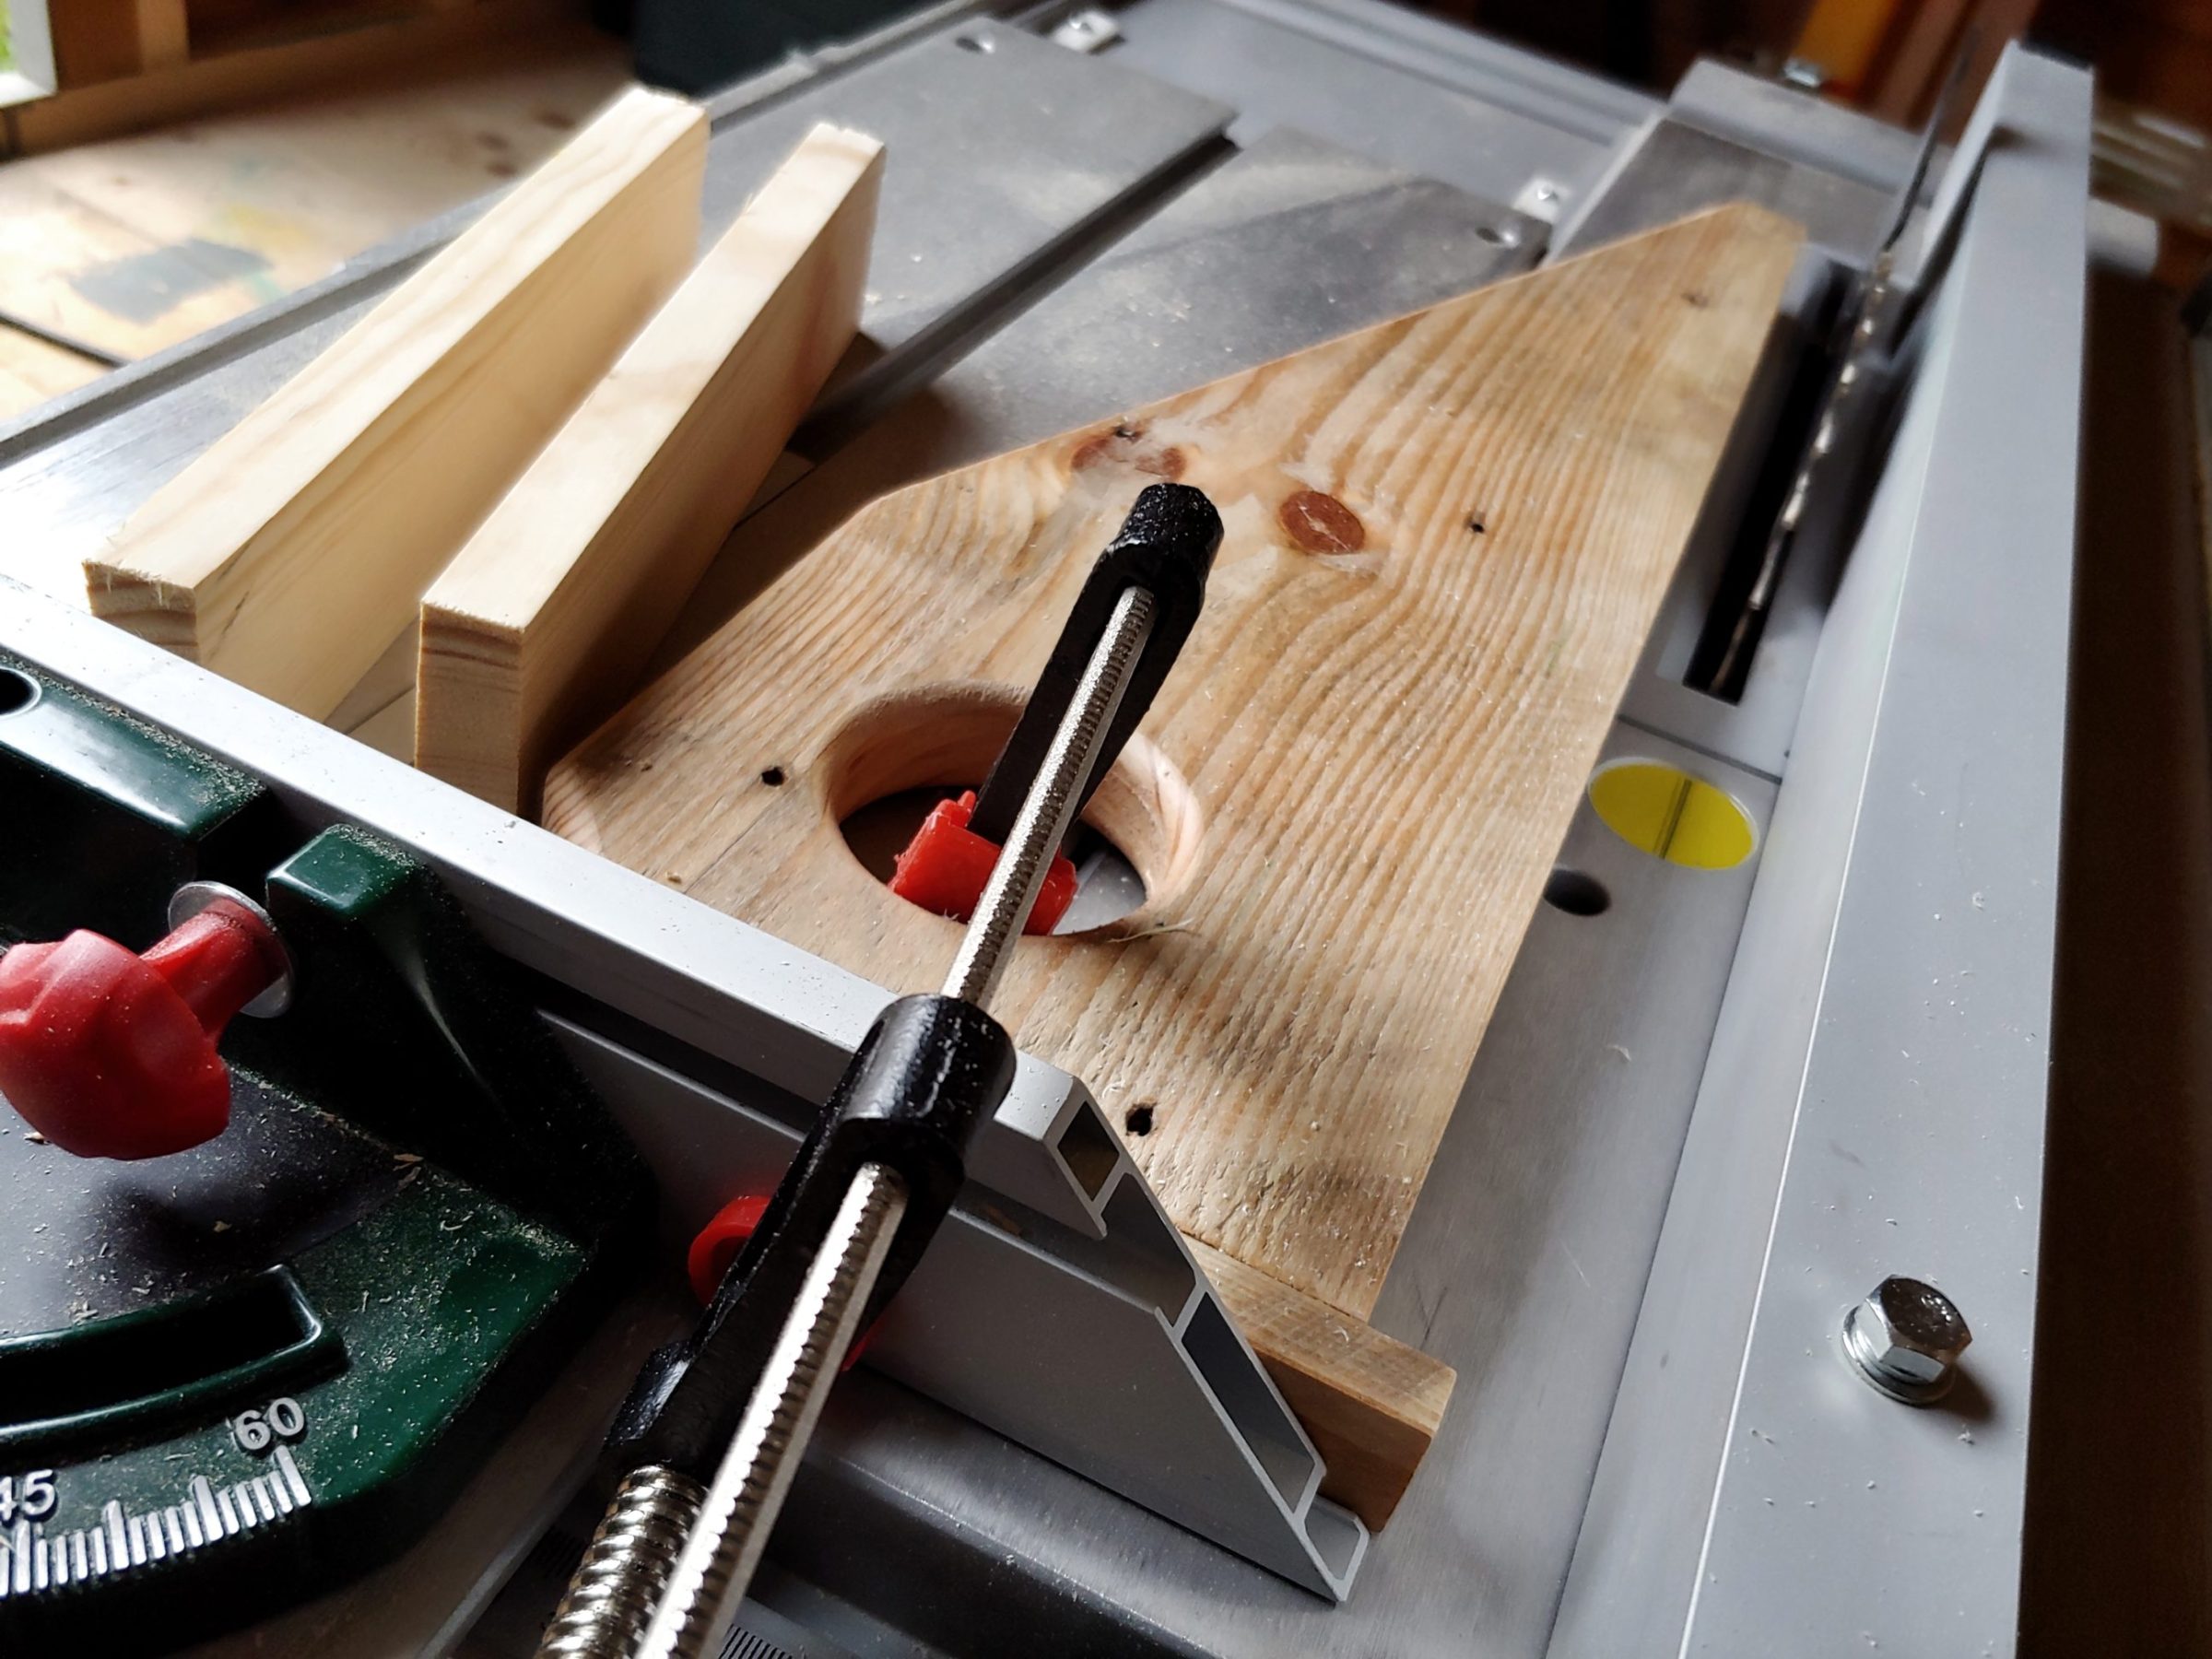
Scrap plywood was used to build the box. First I cut everything to width and length.
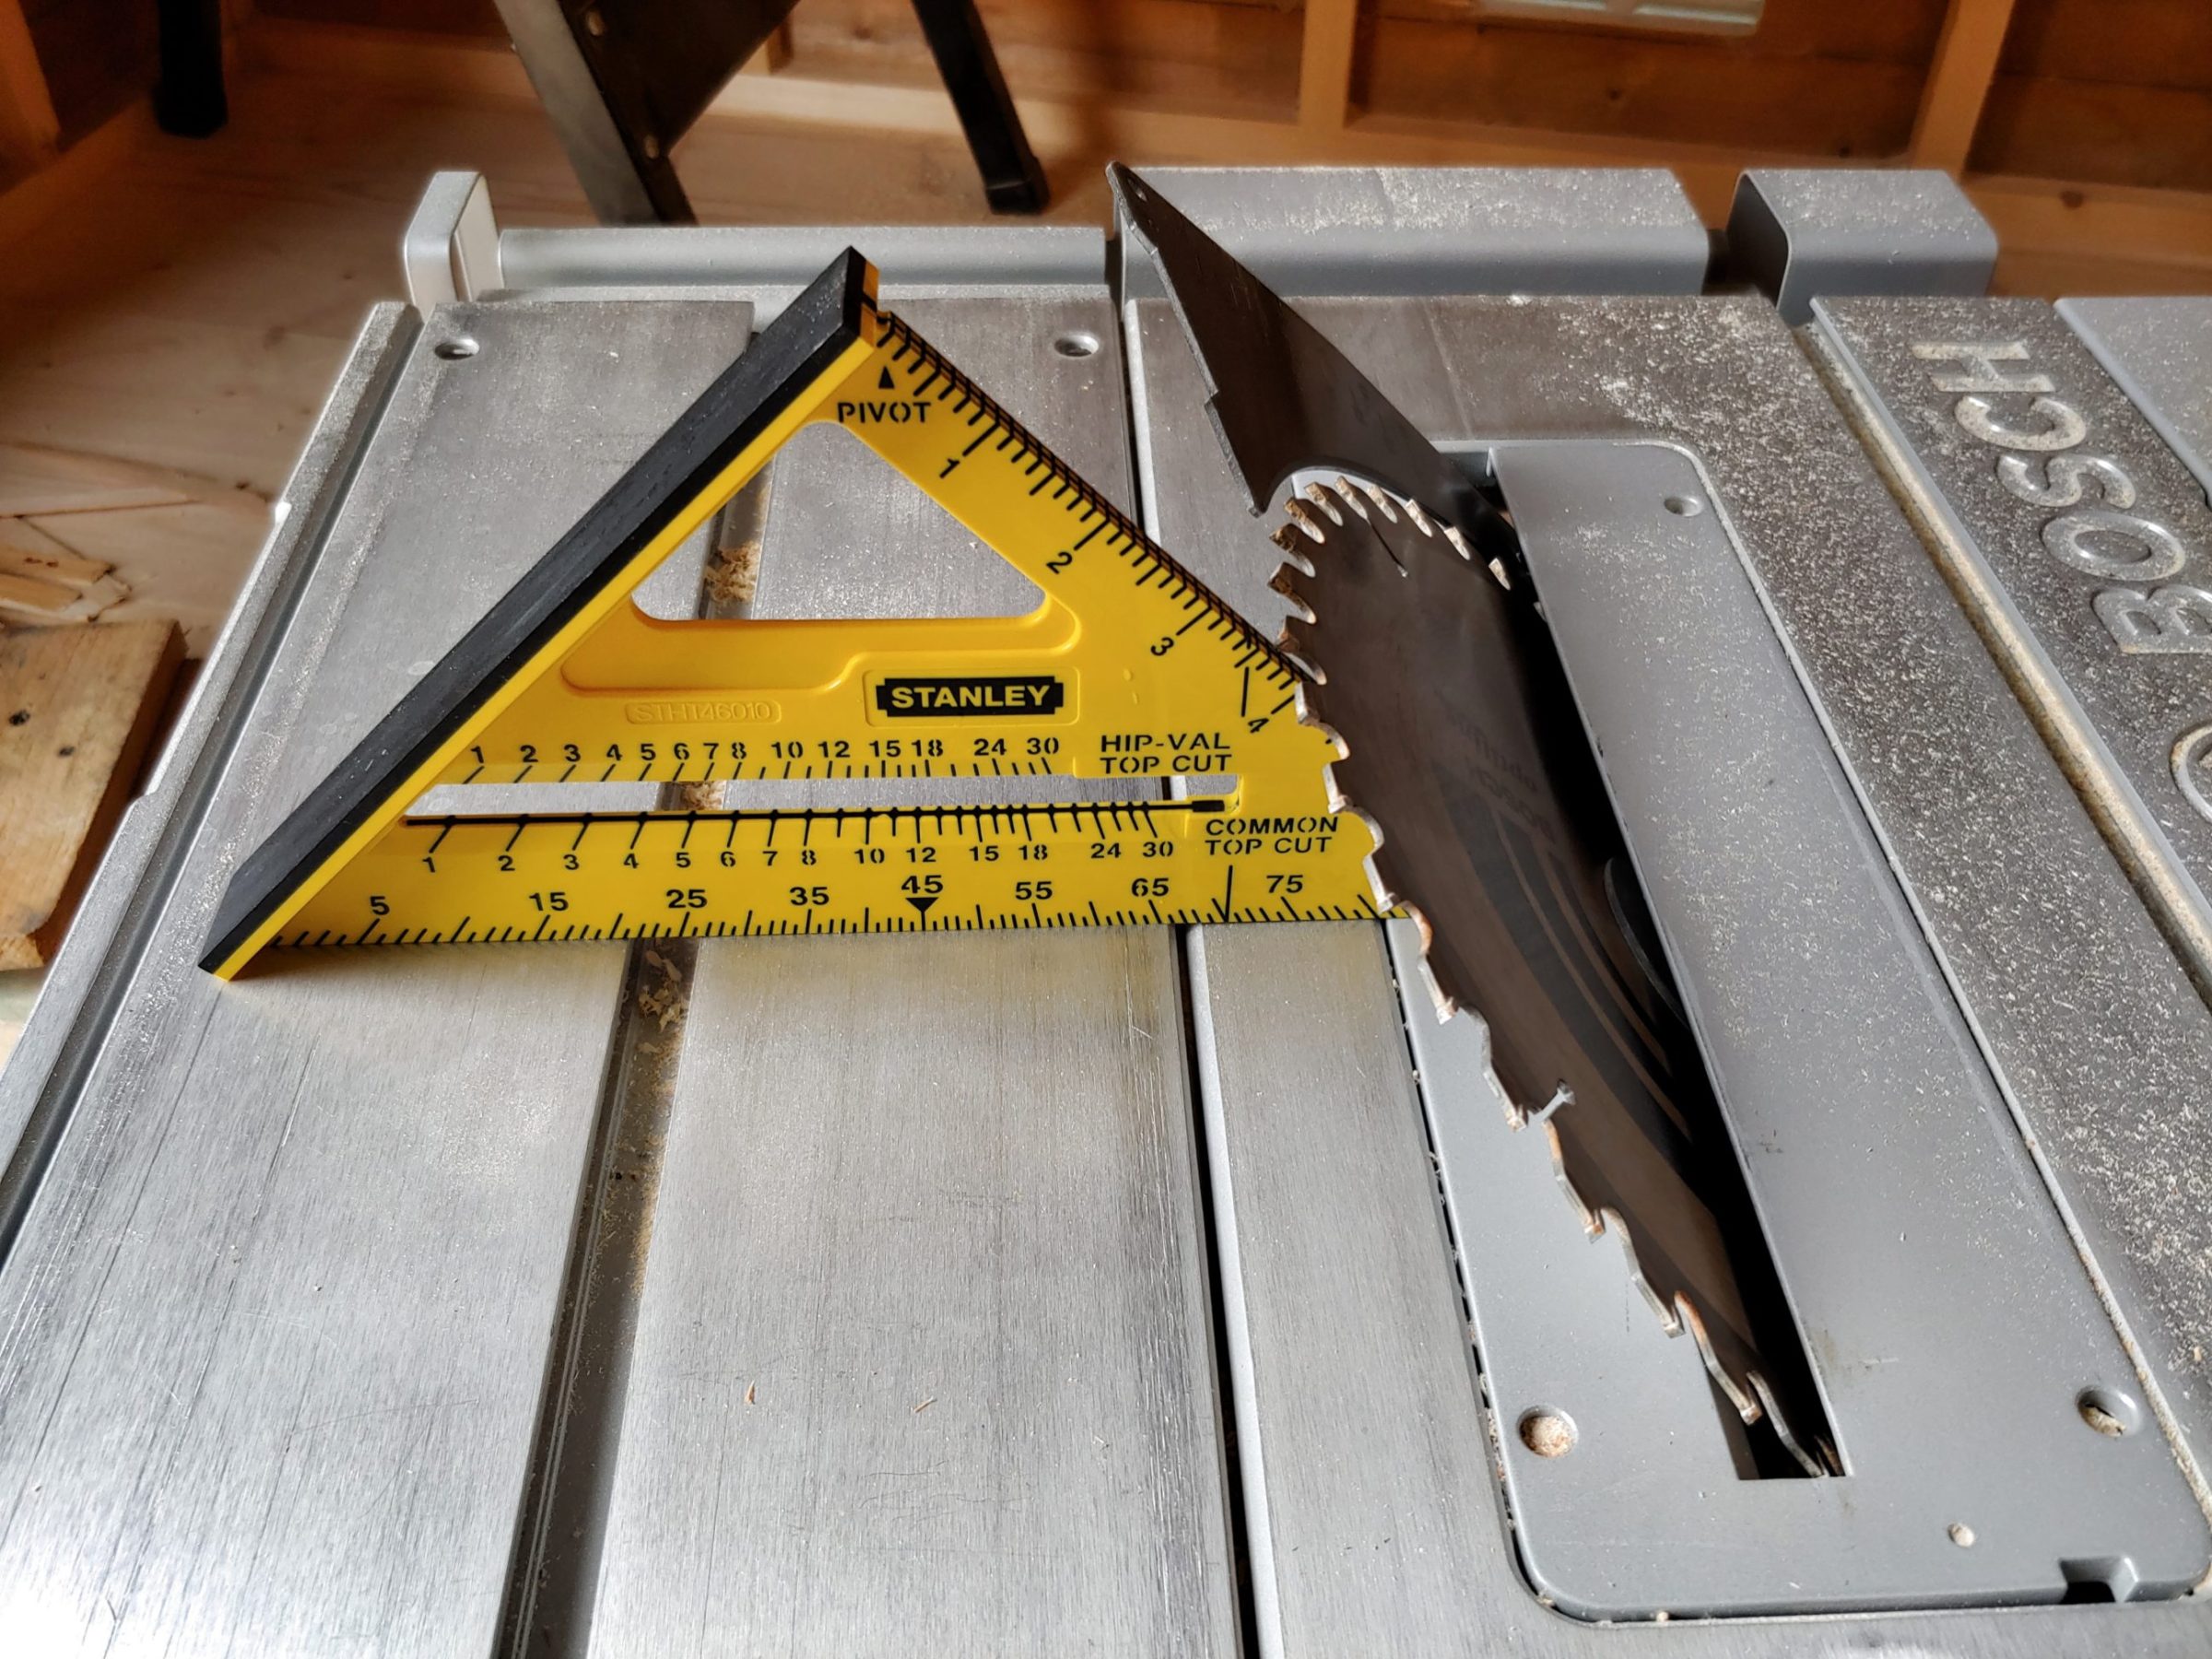
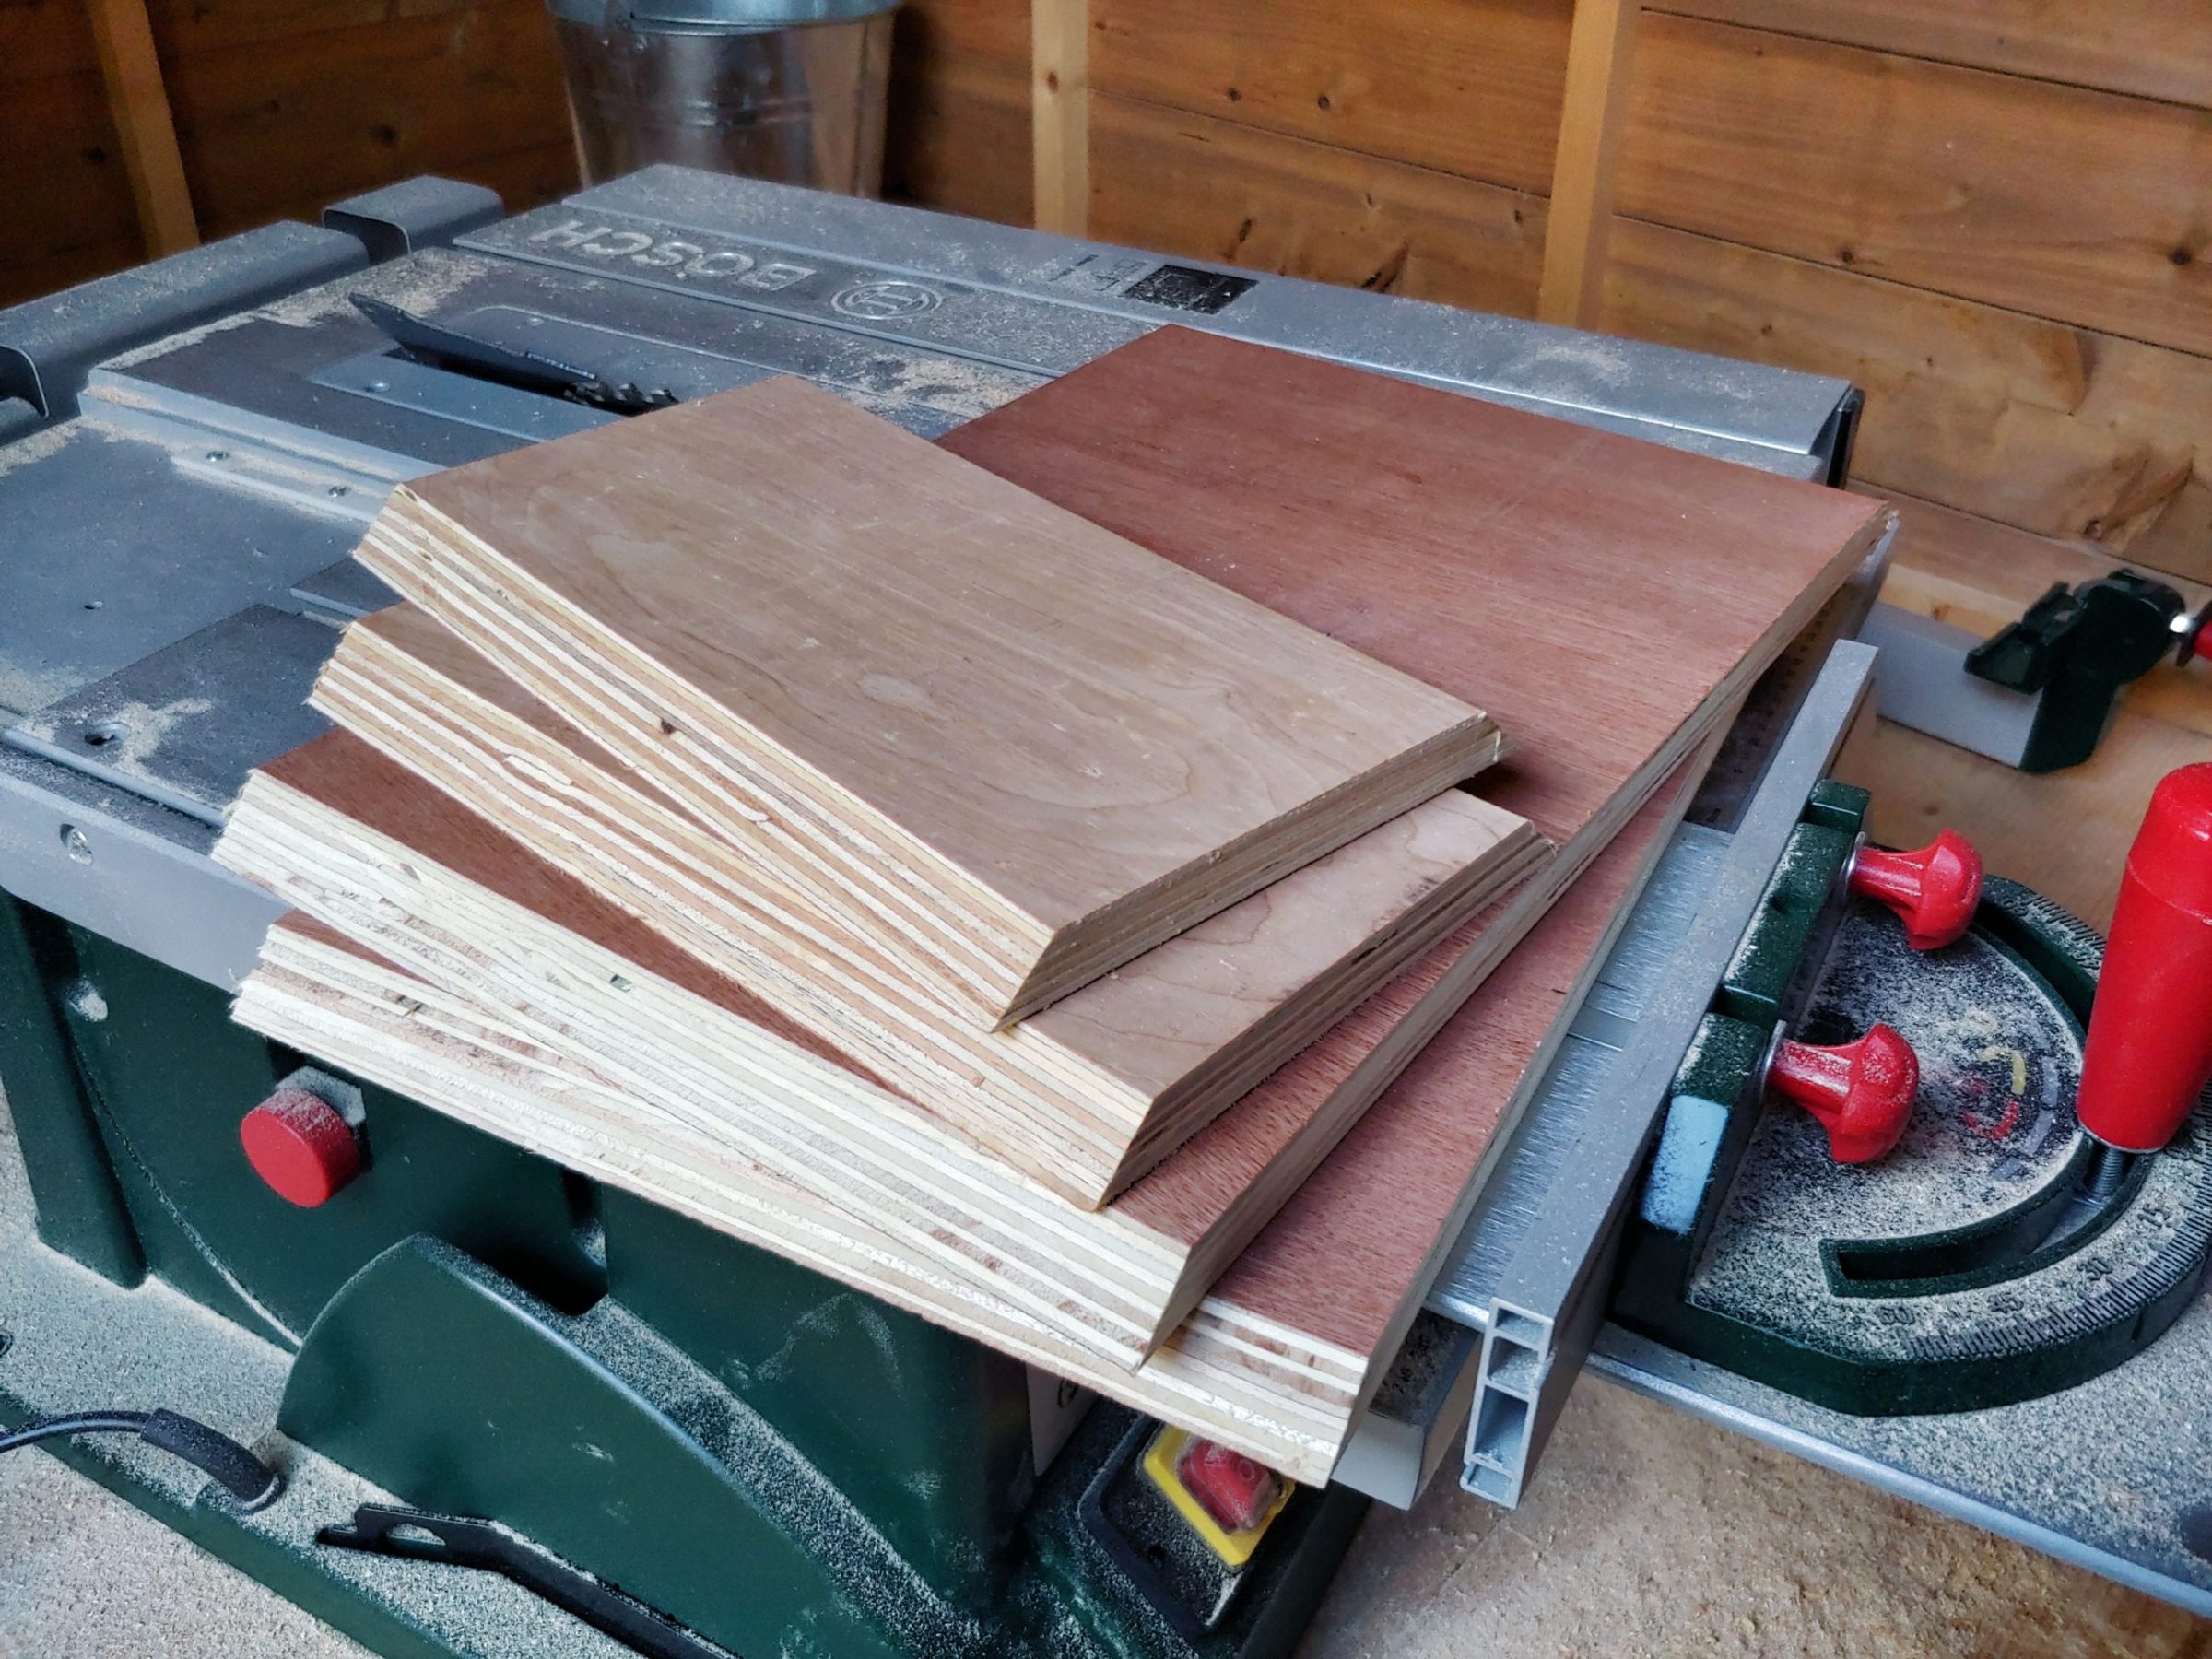
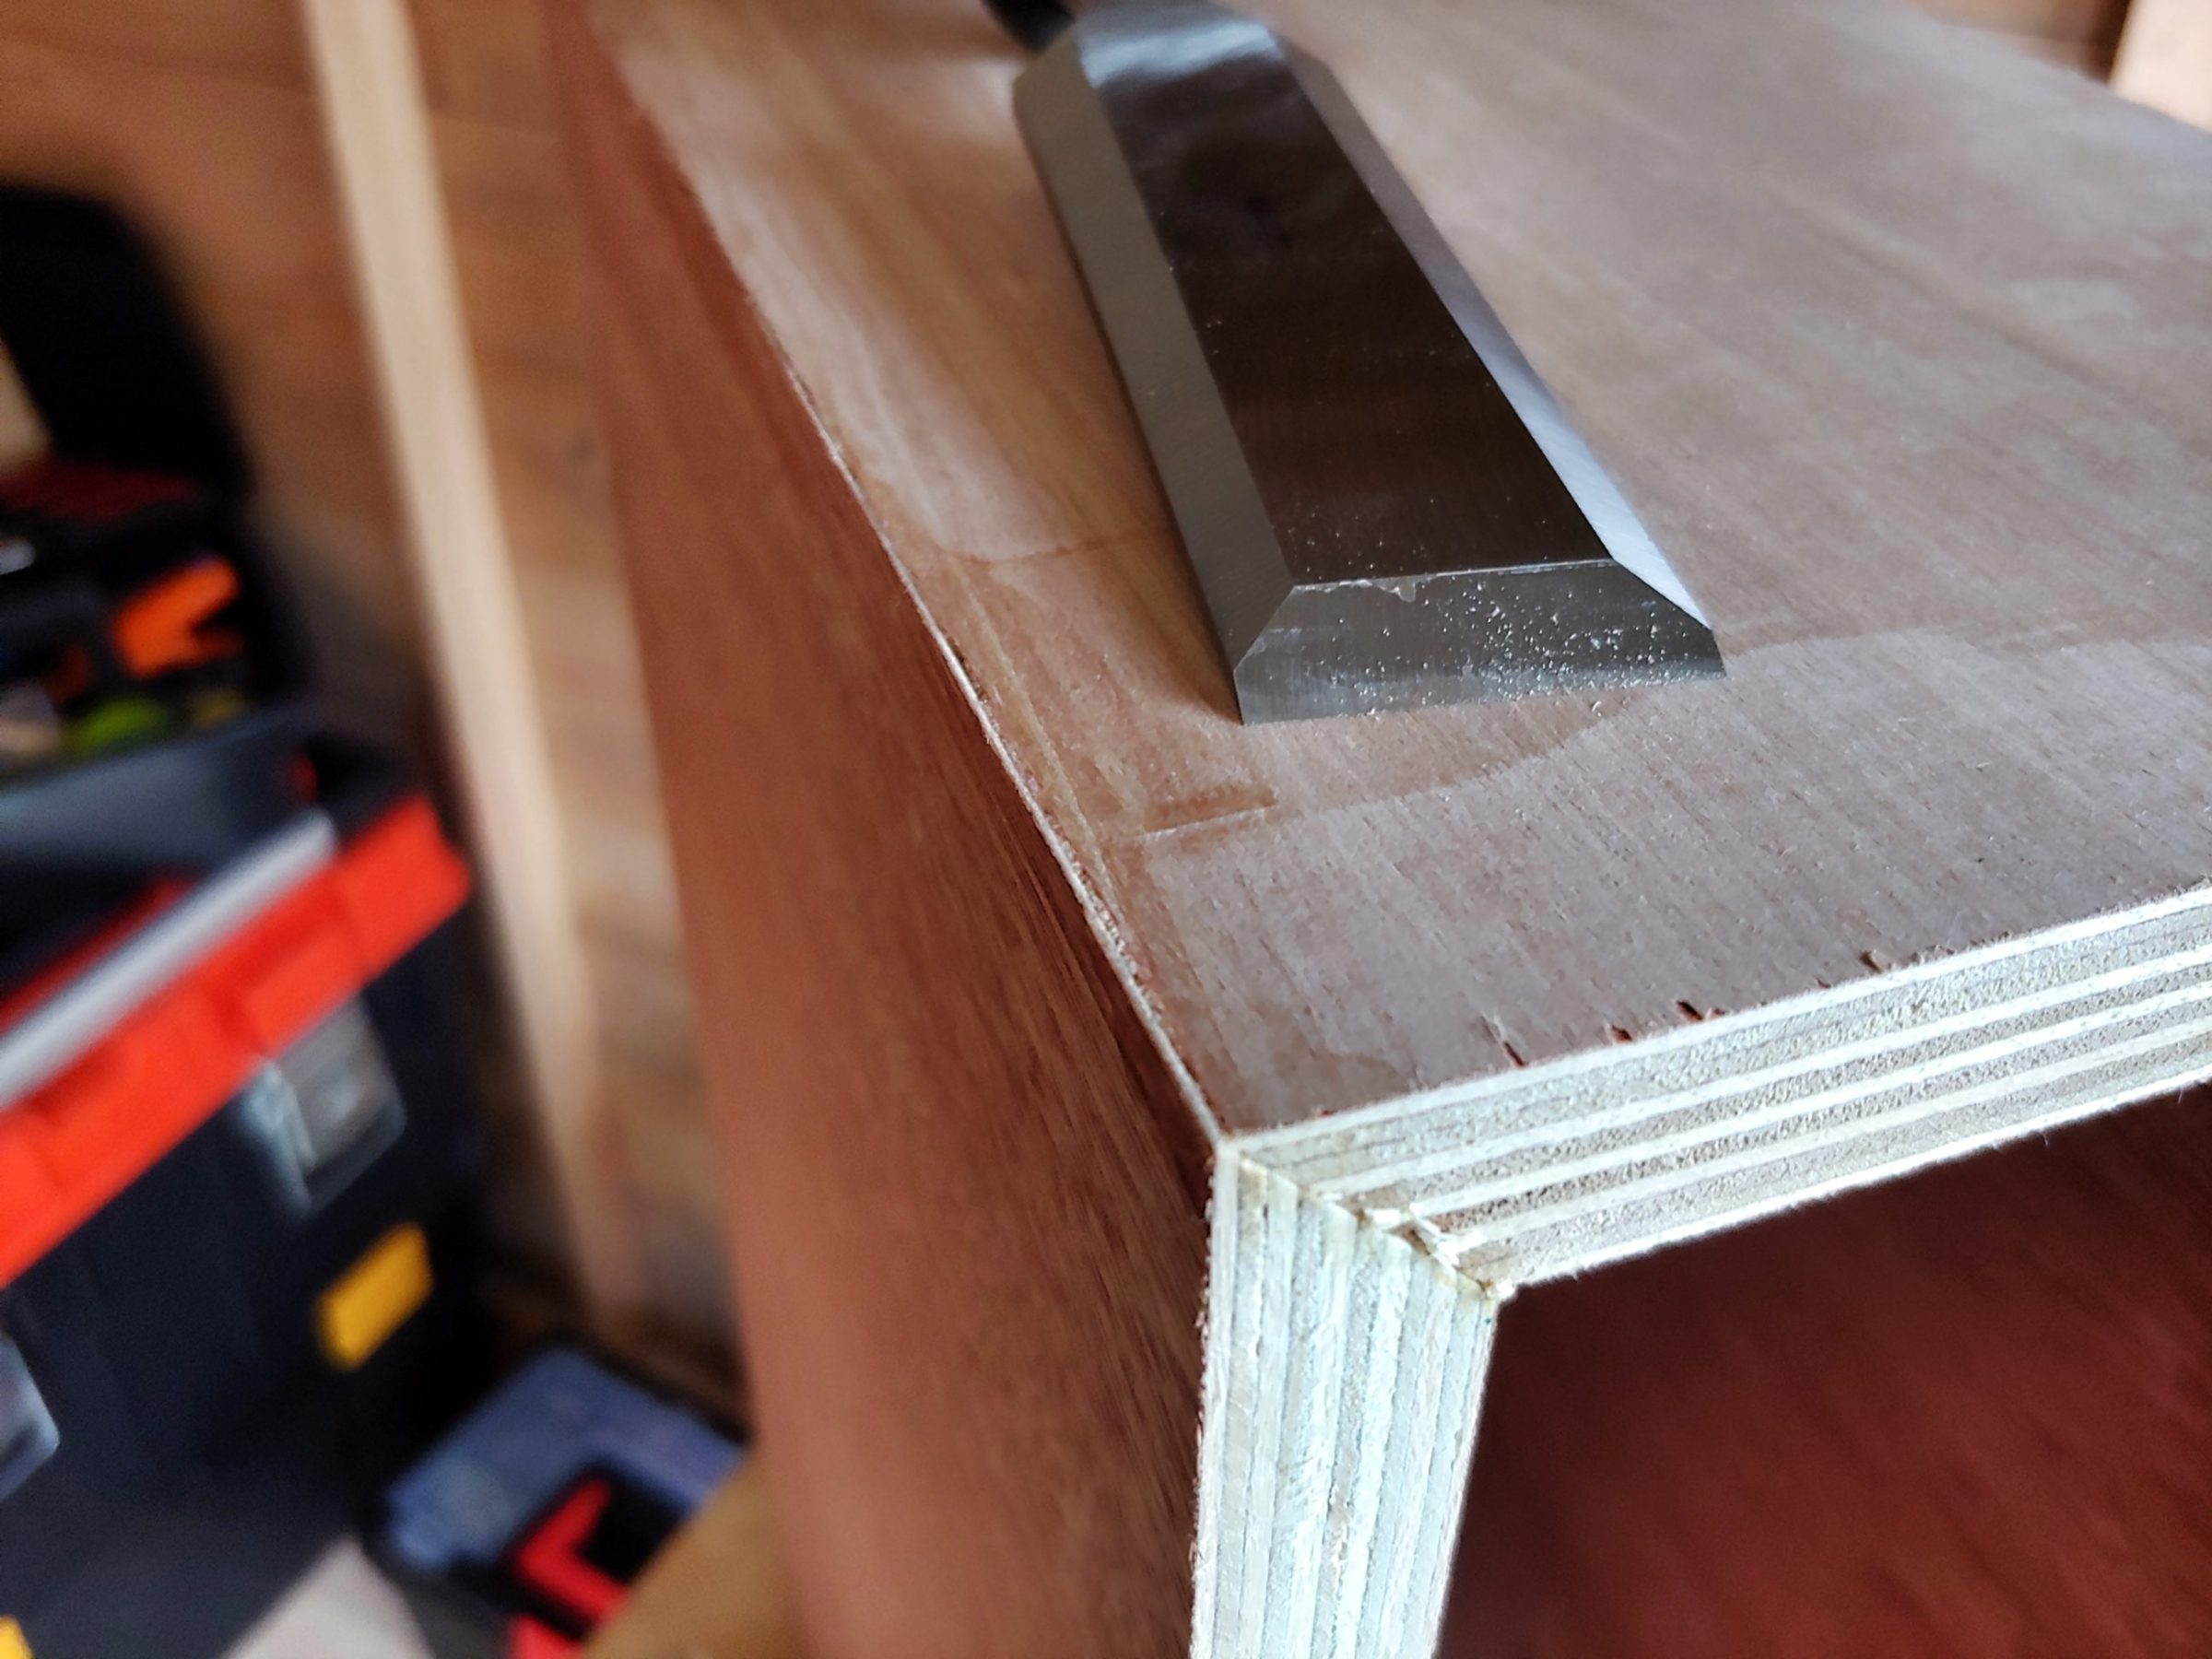
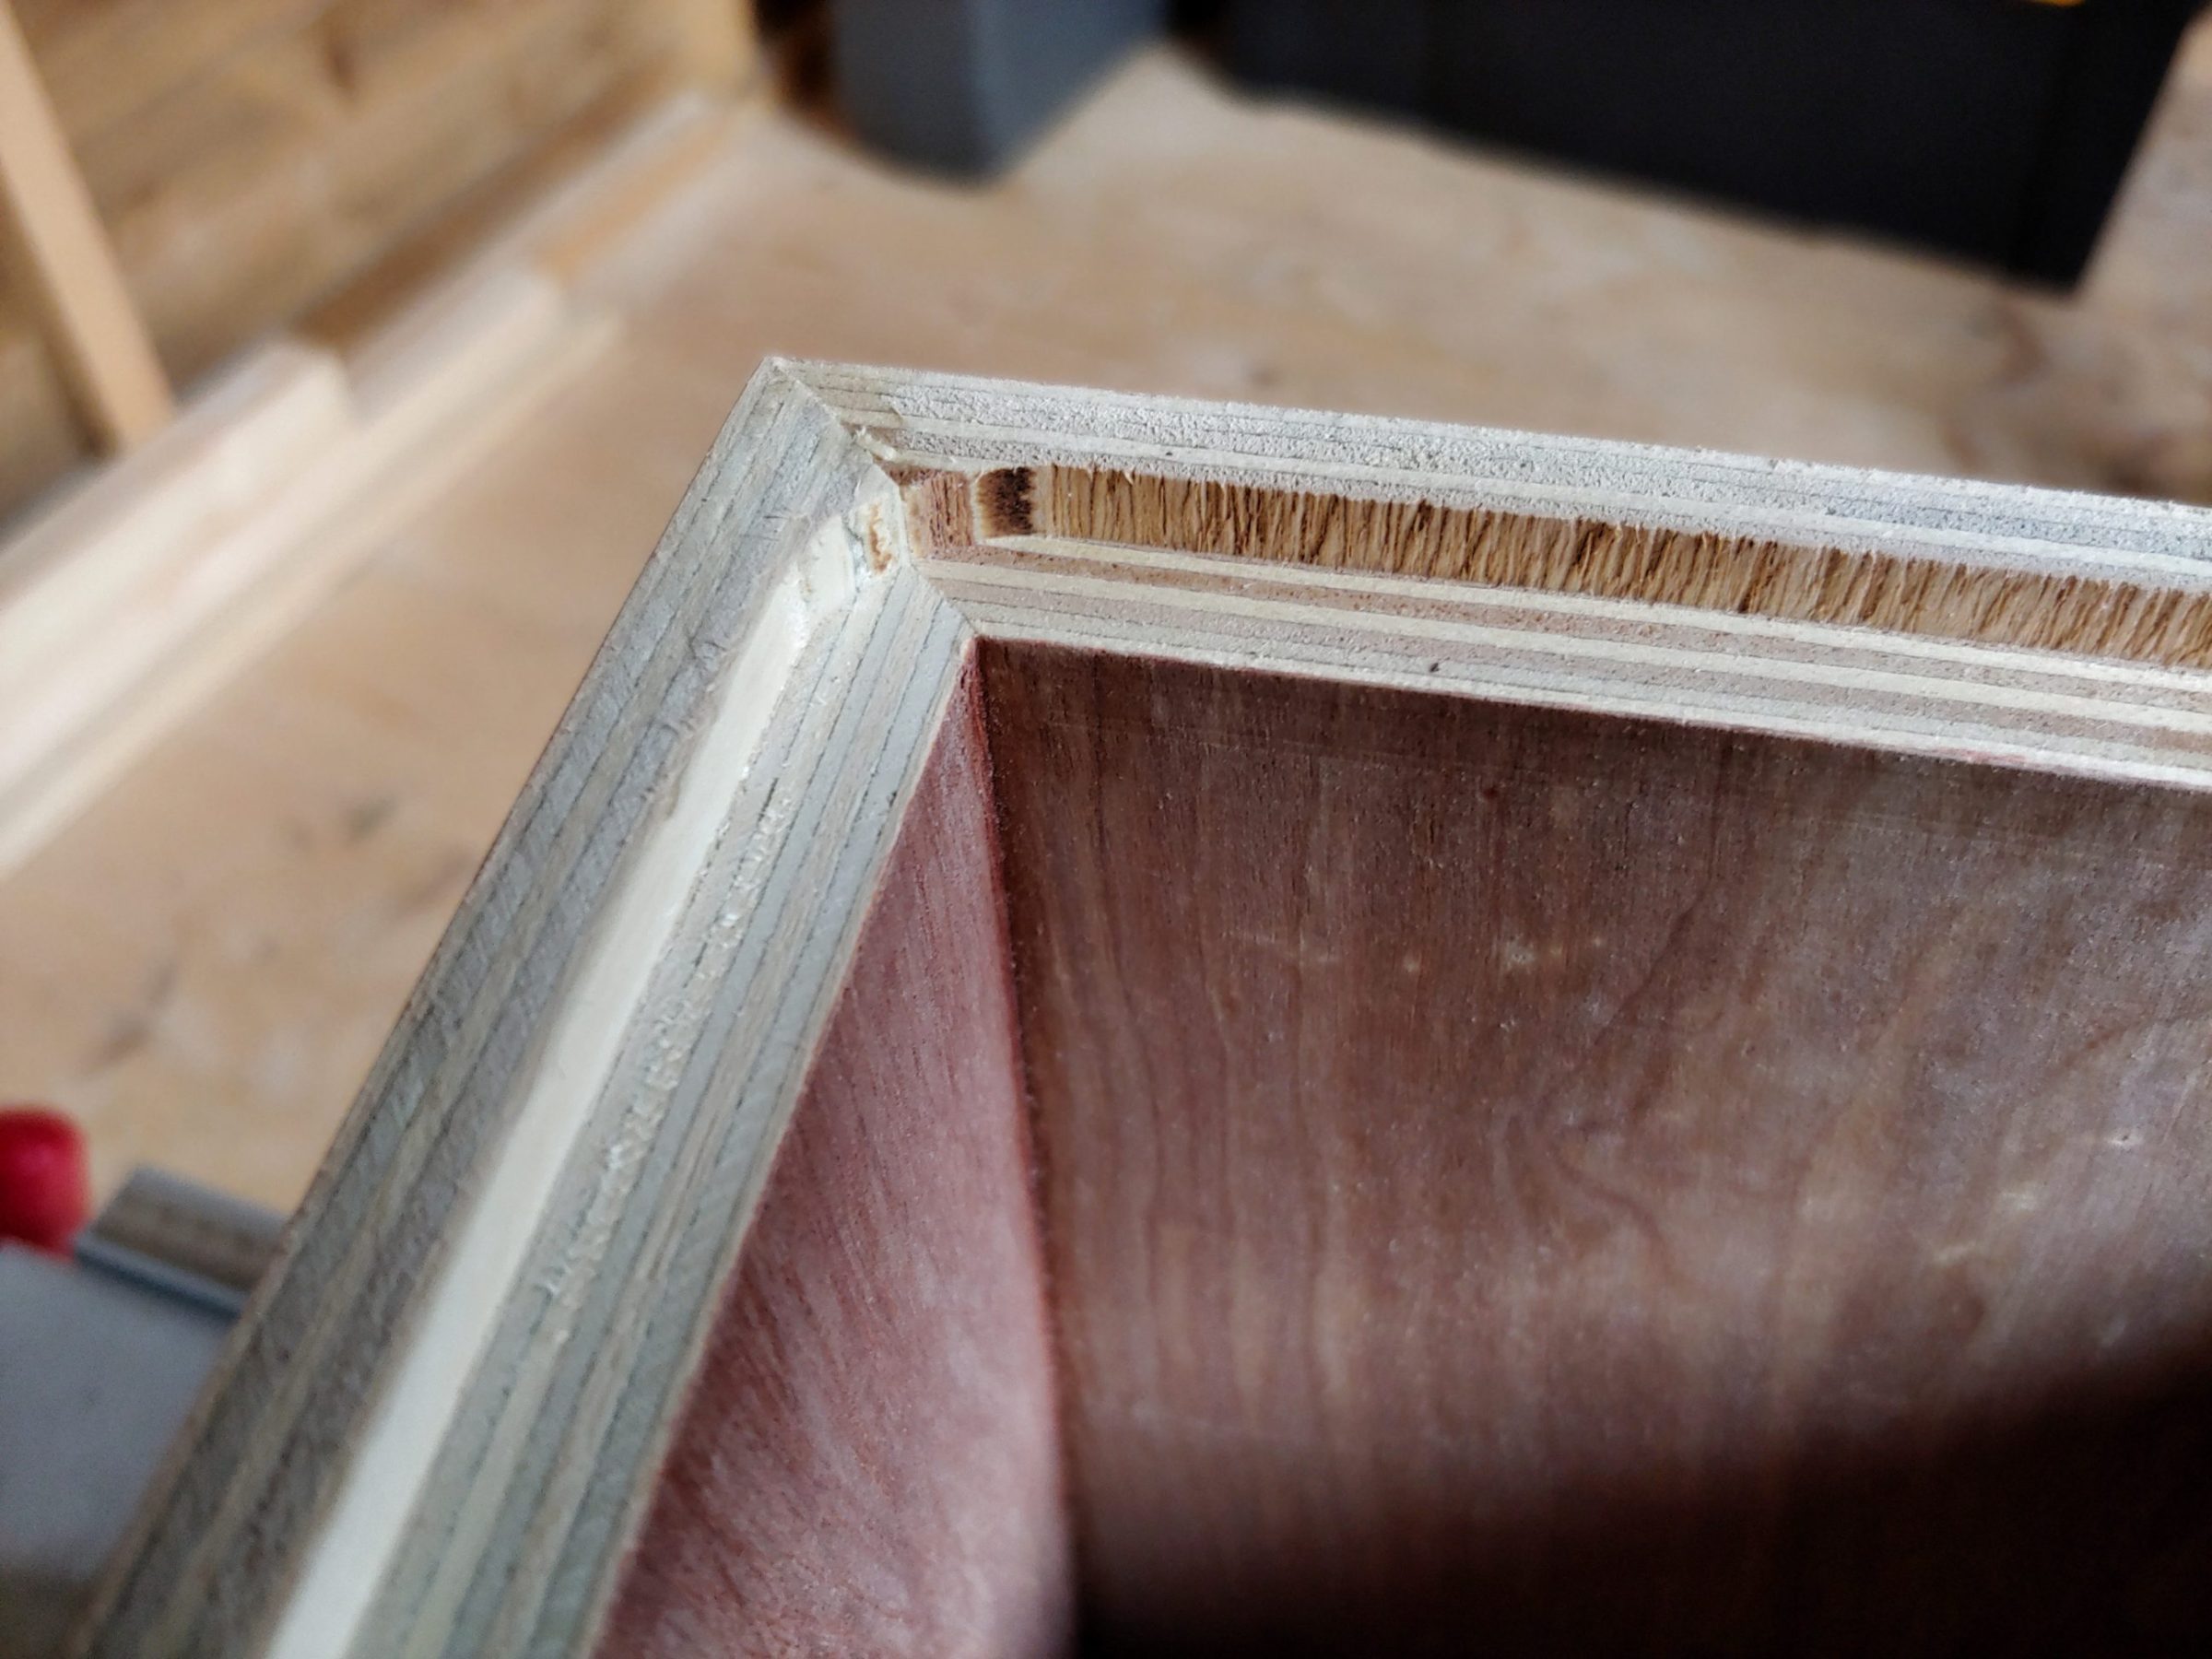
Then I set the blade to 45º and removed the corners from all 4 pieces.
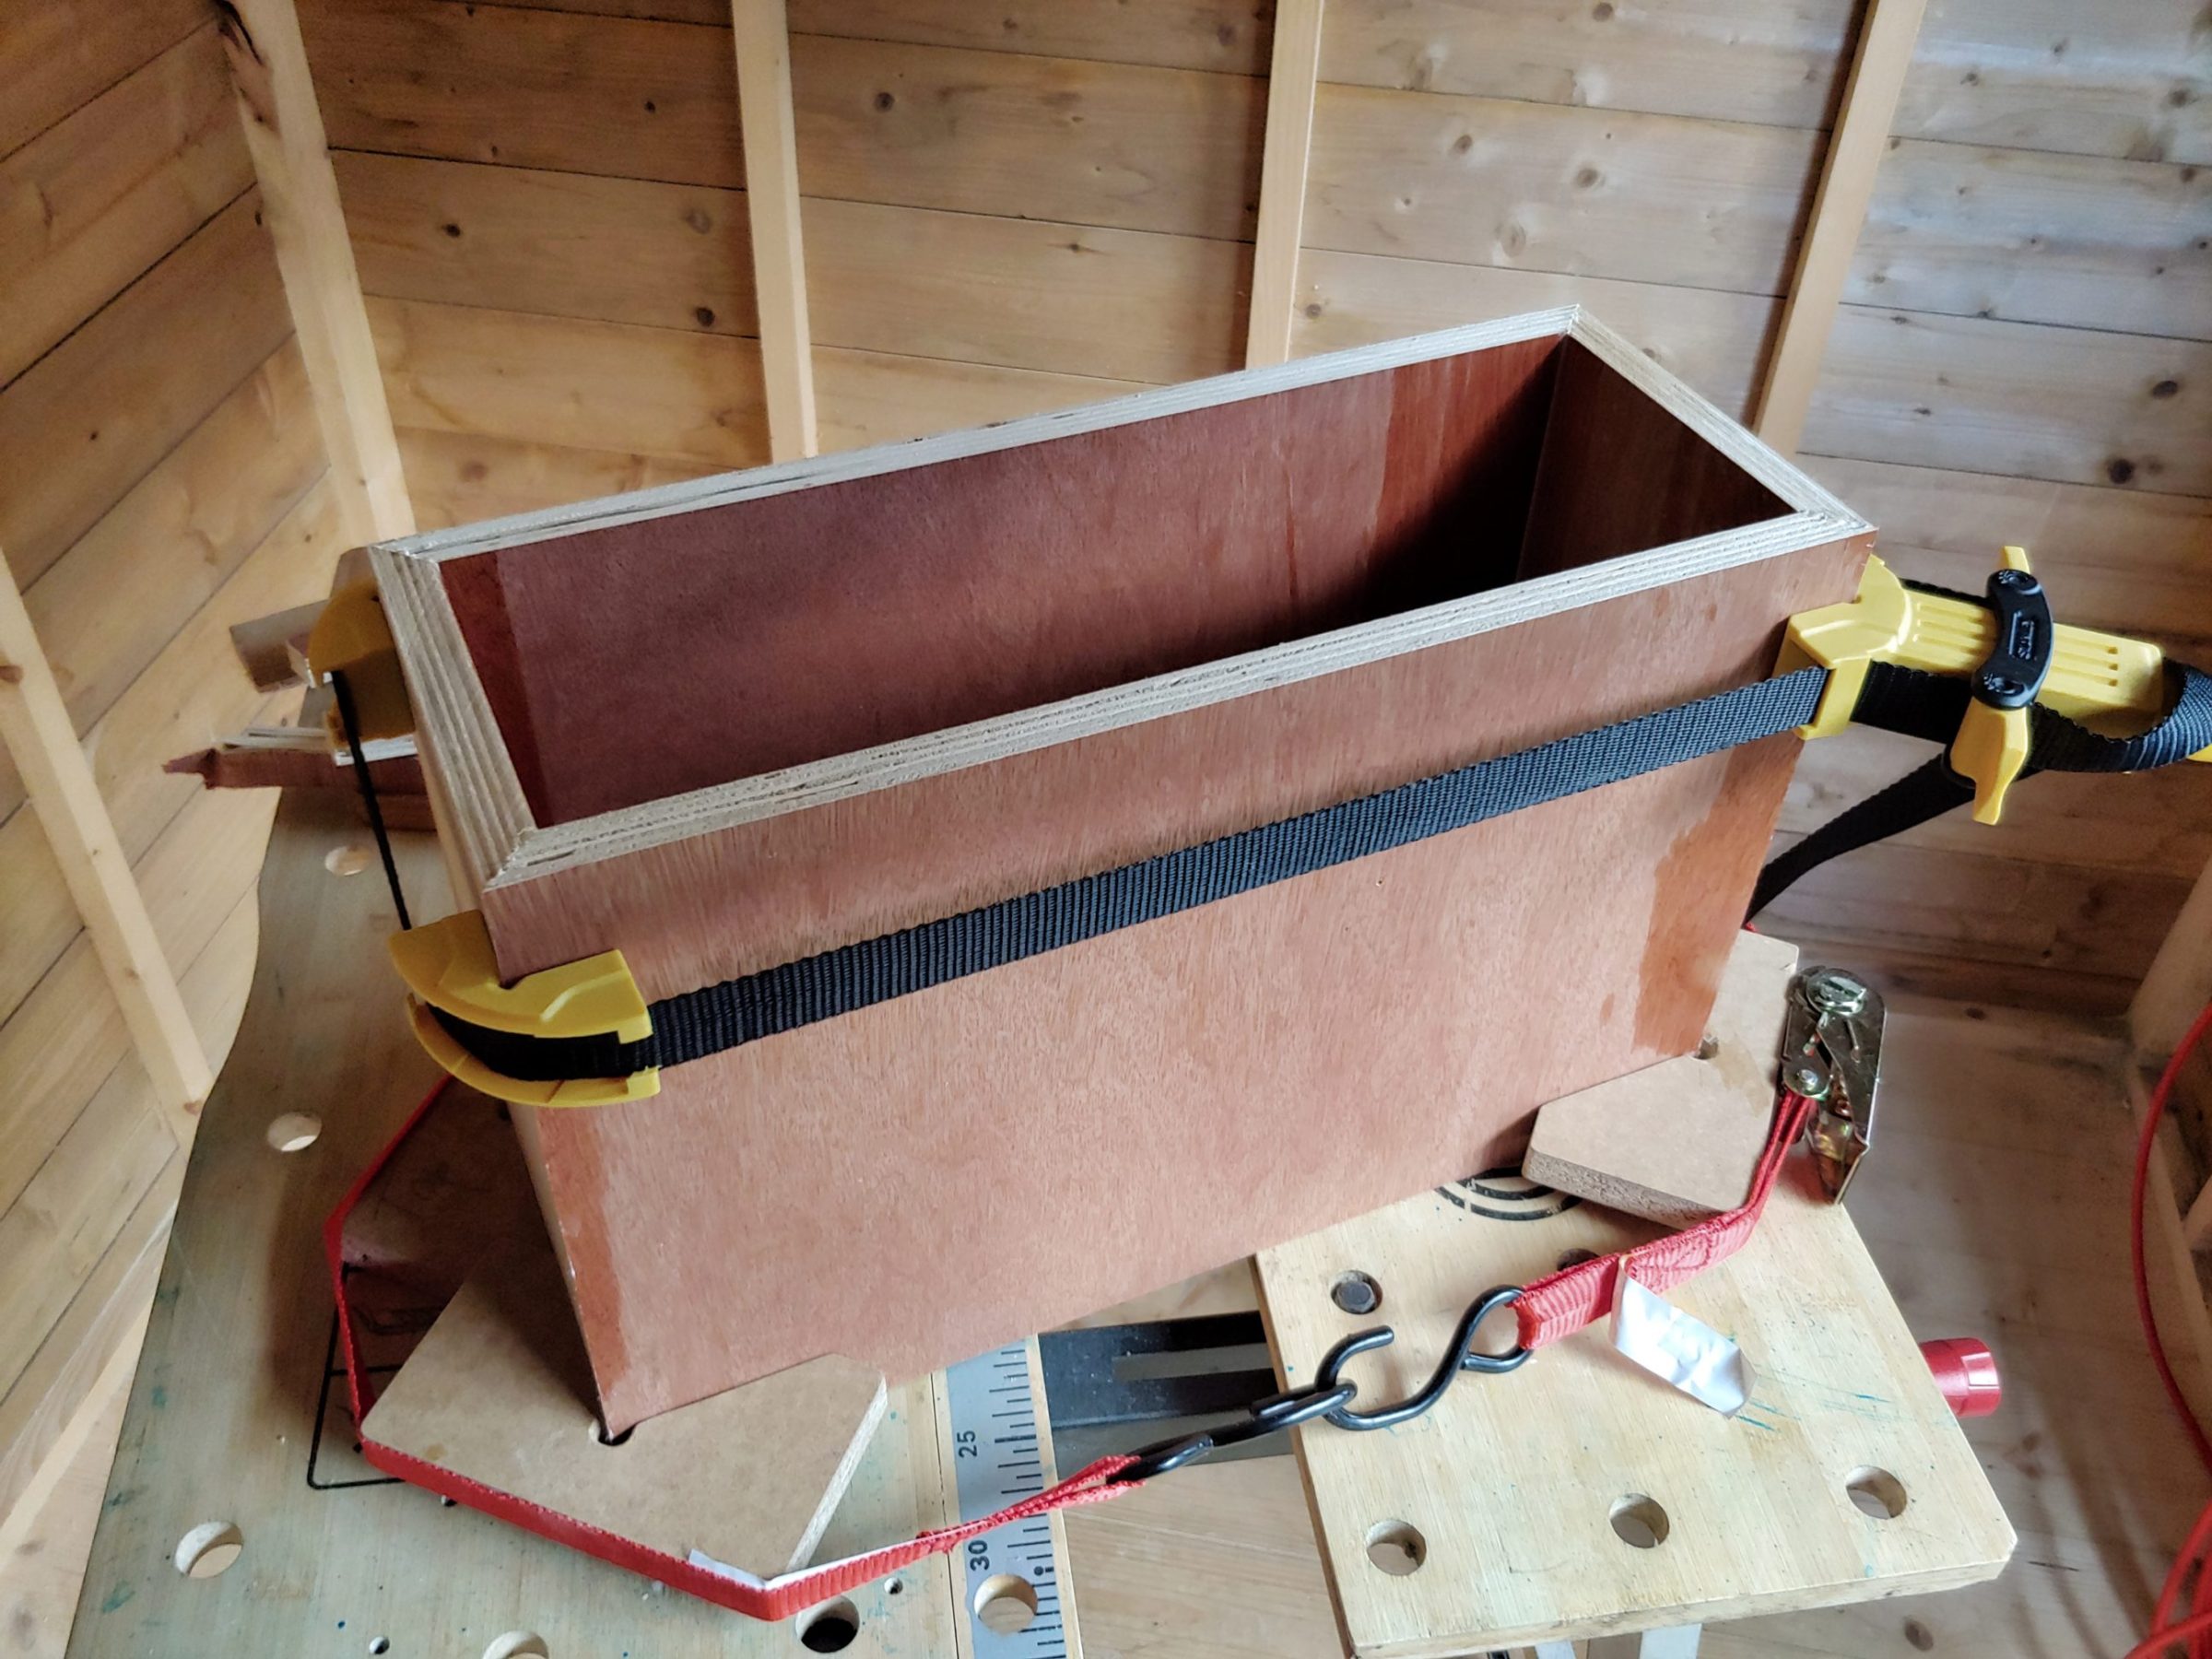
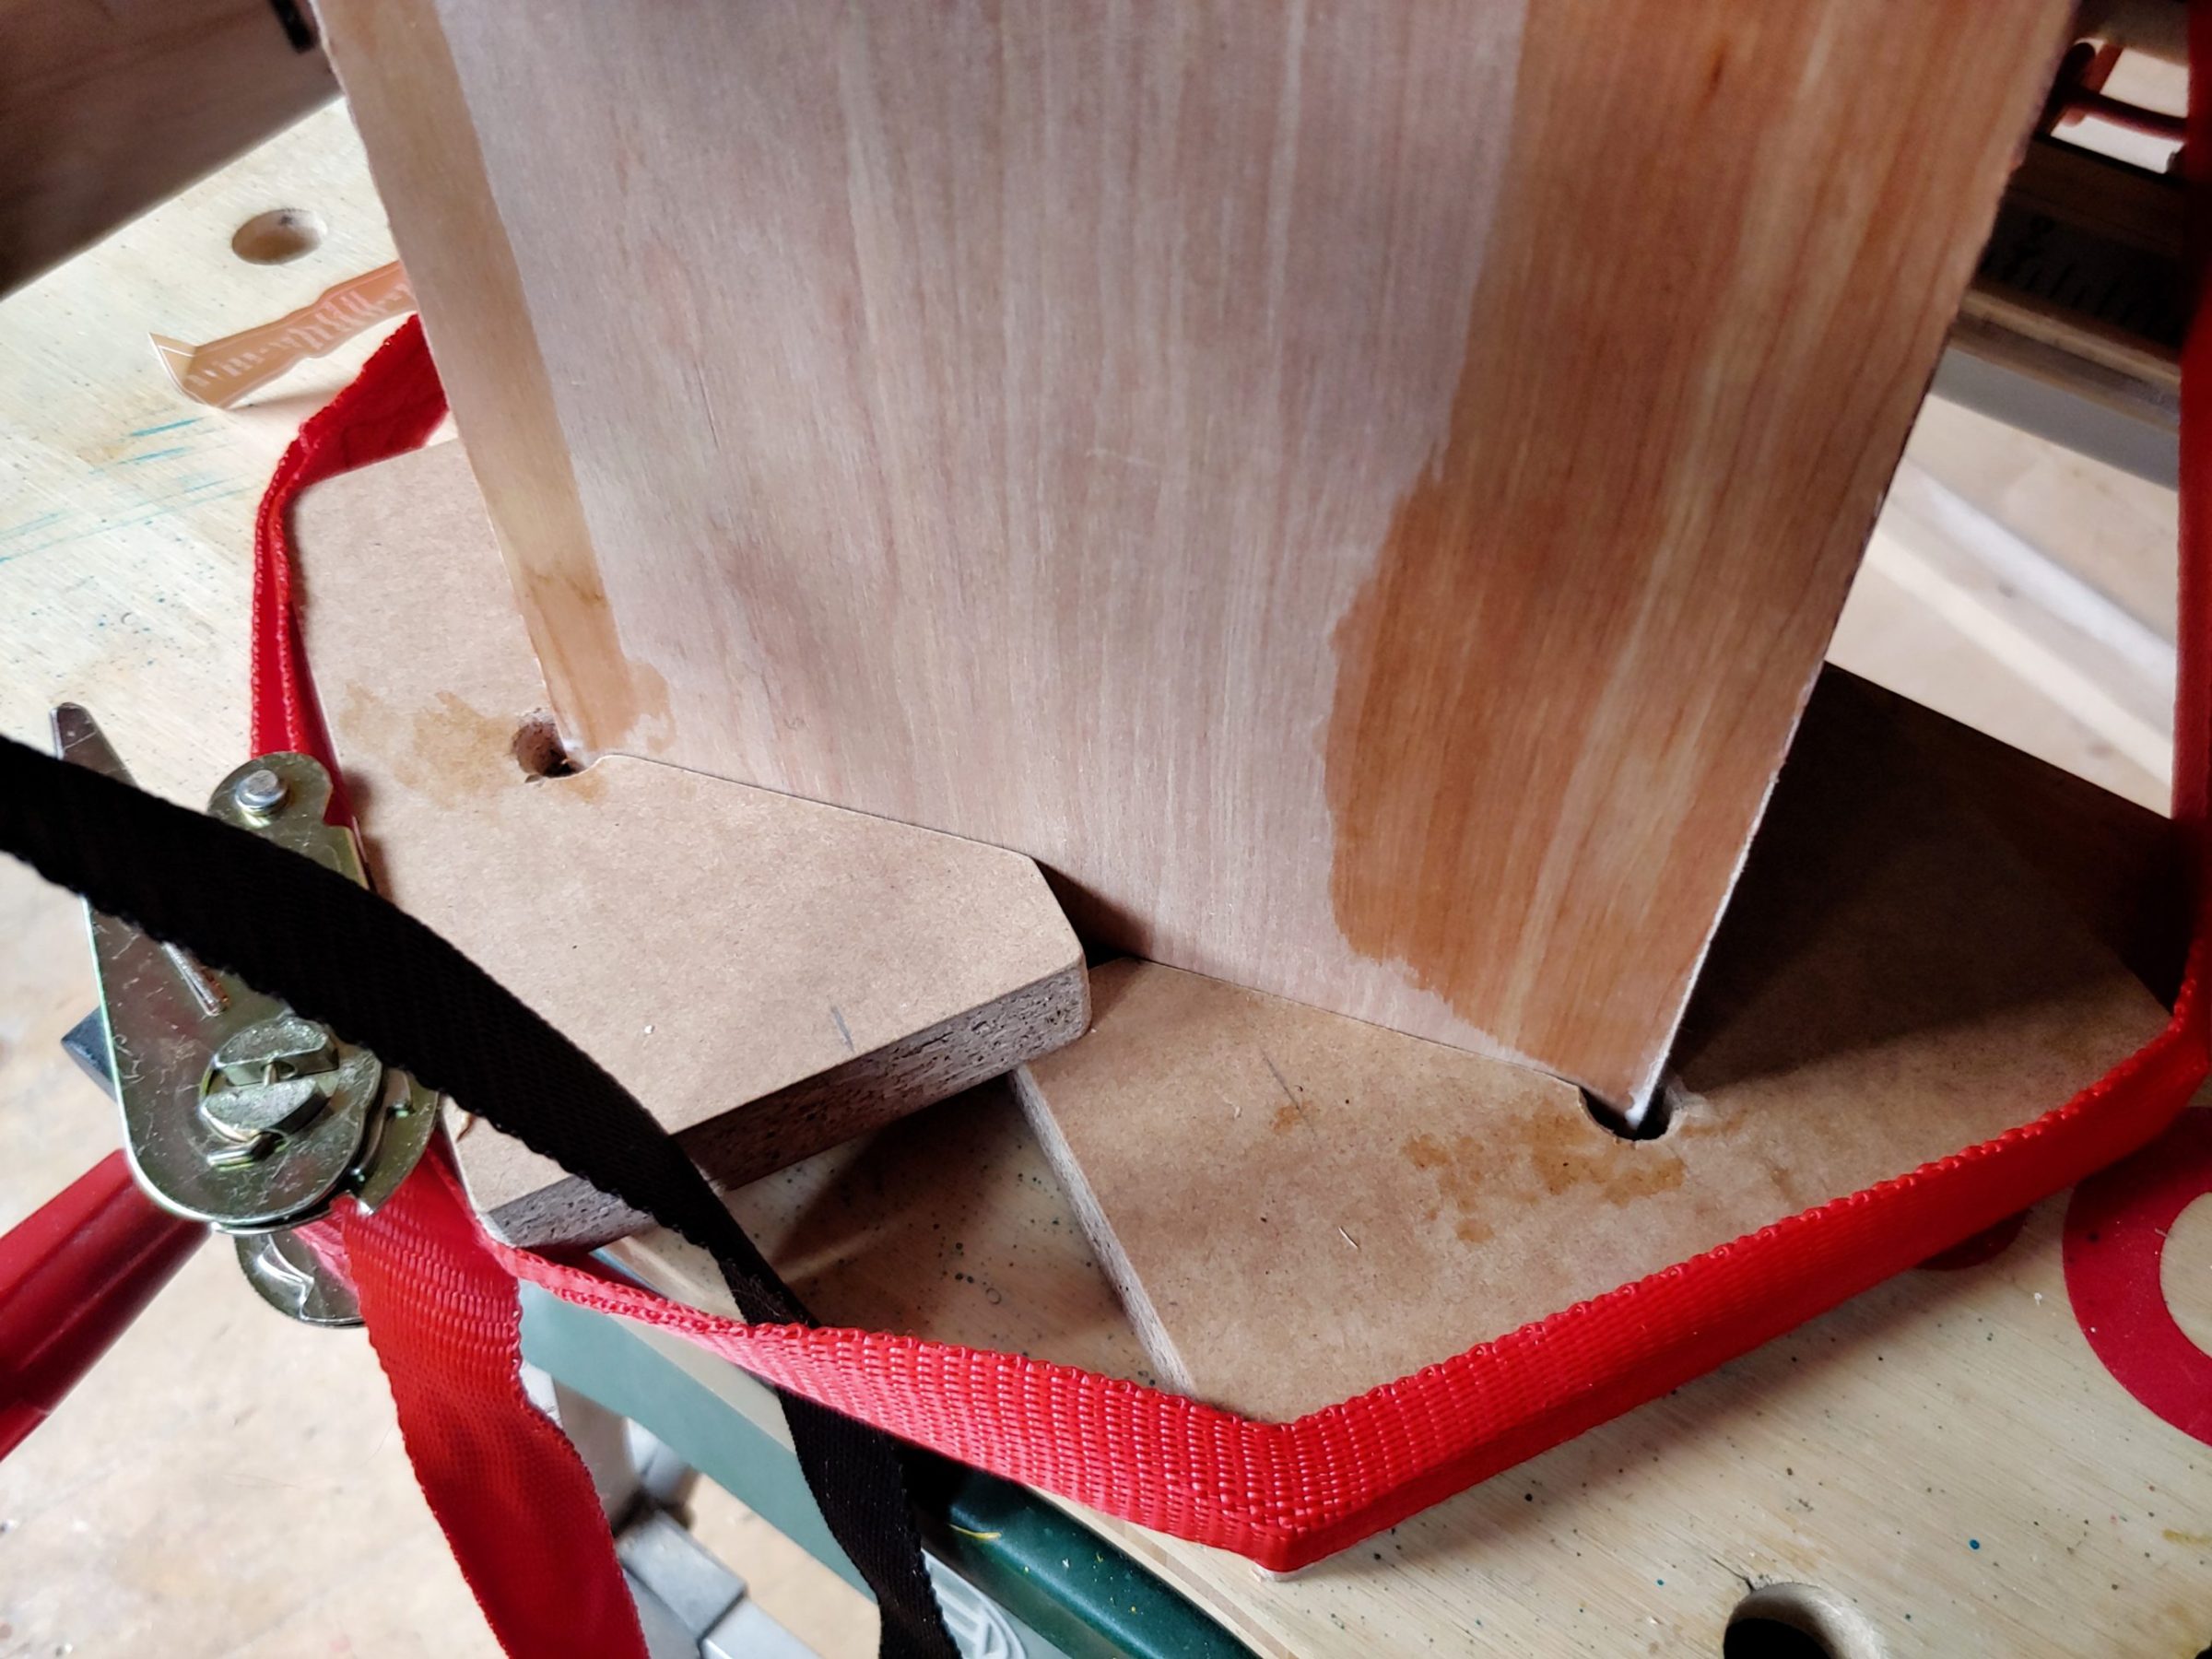
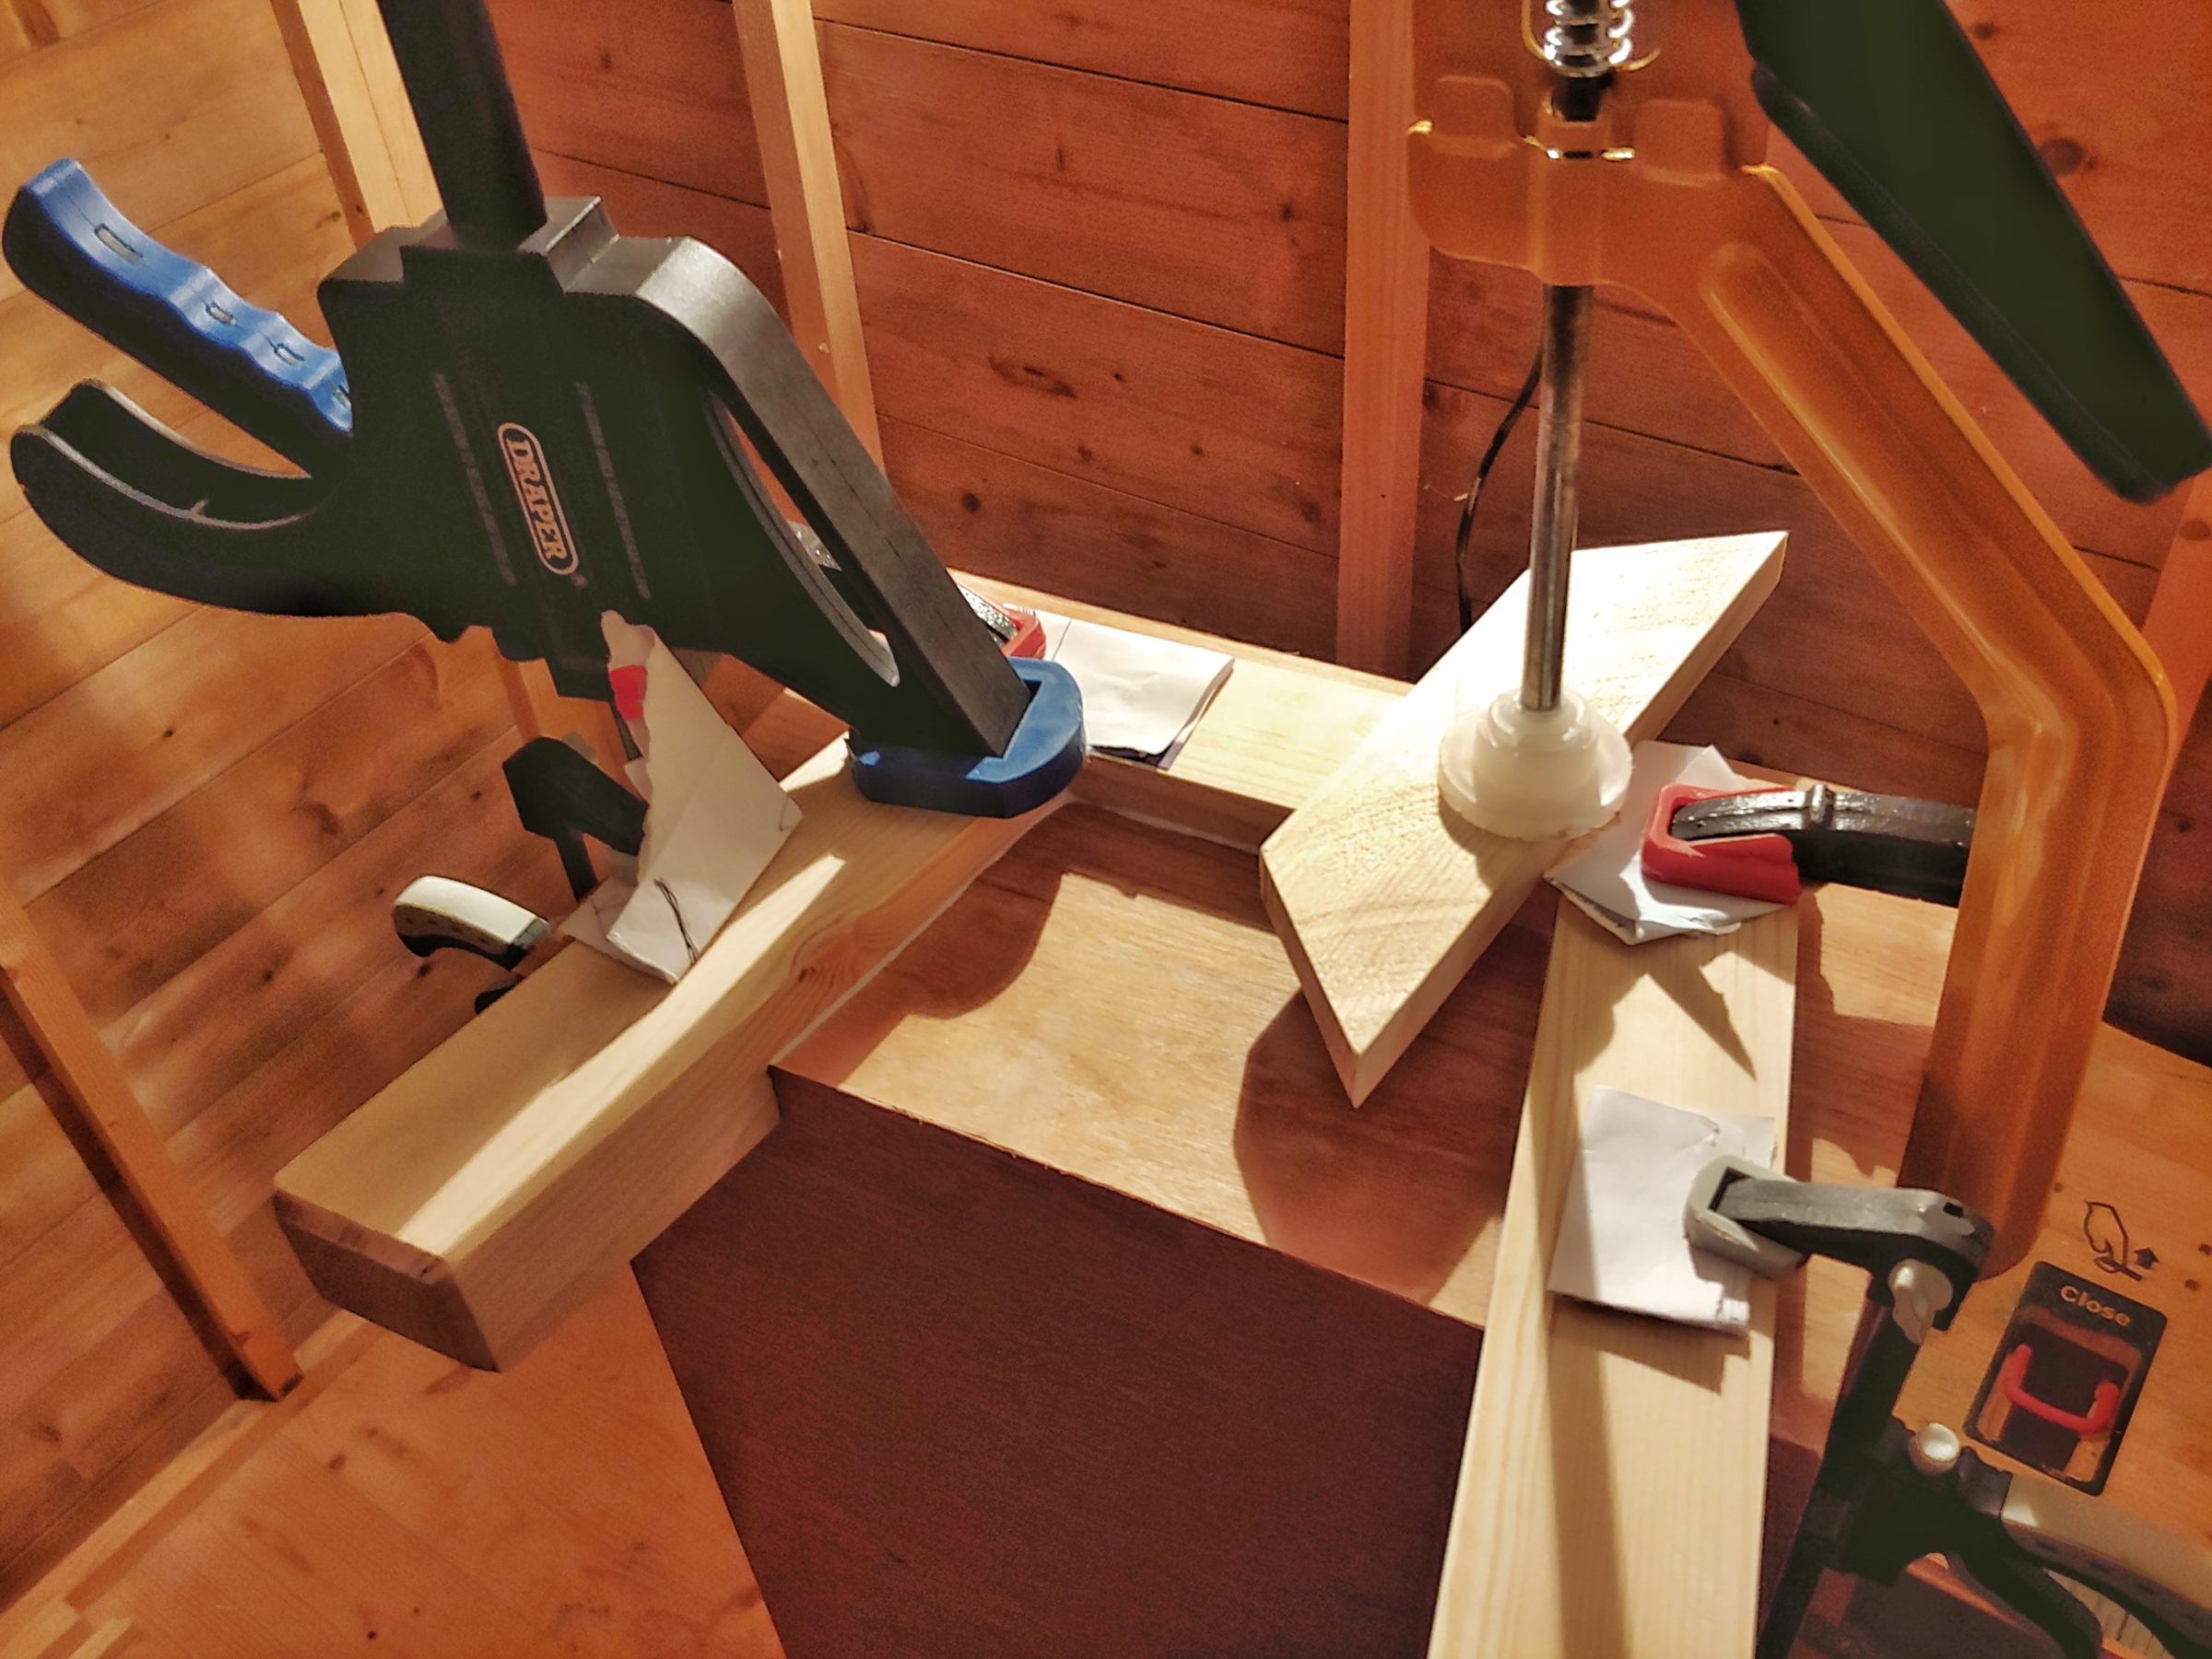
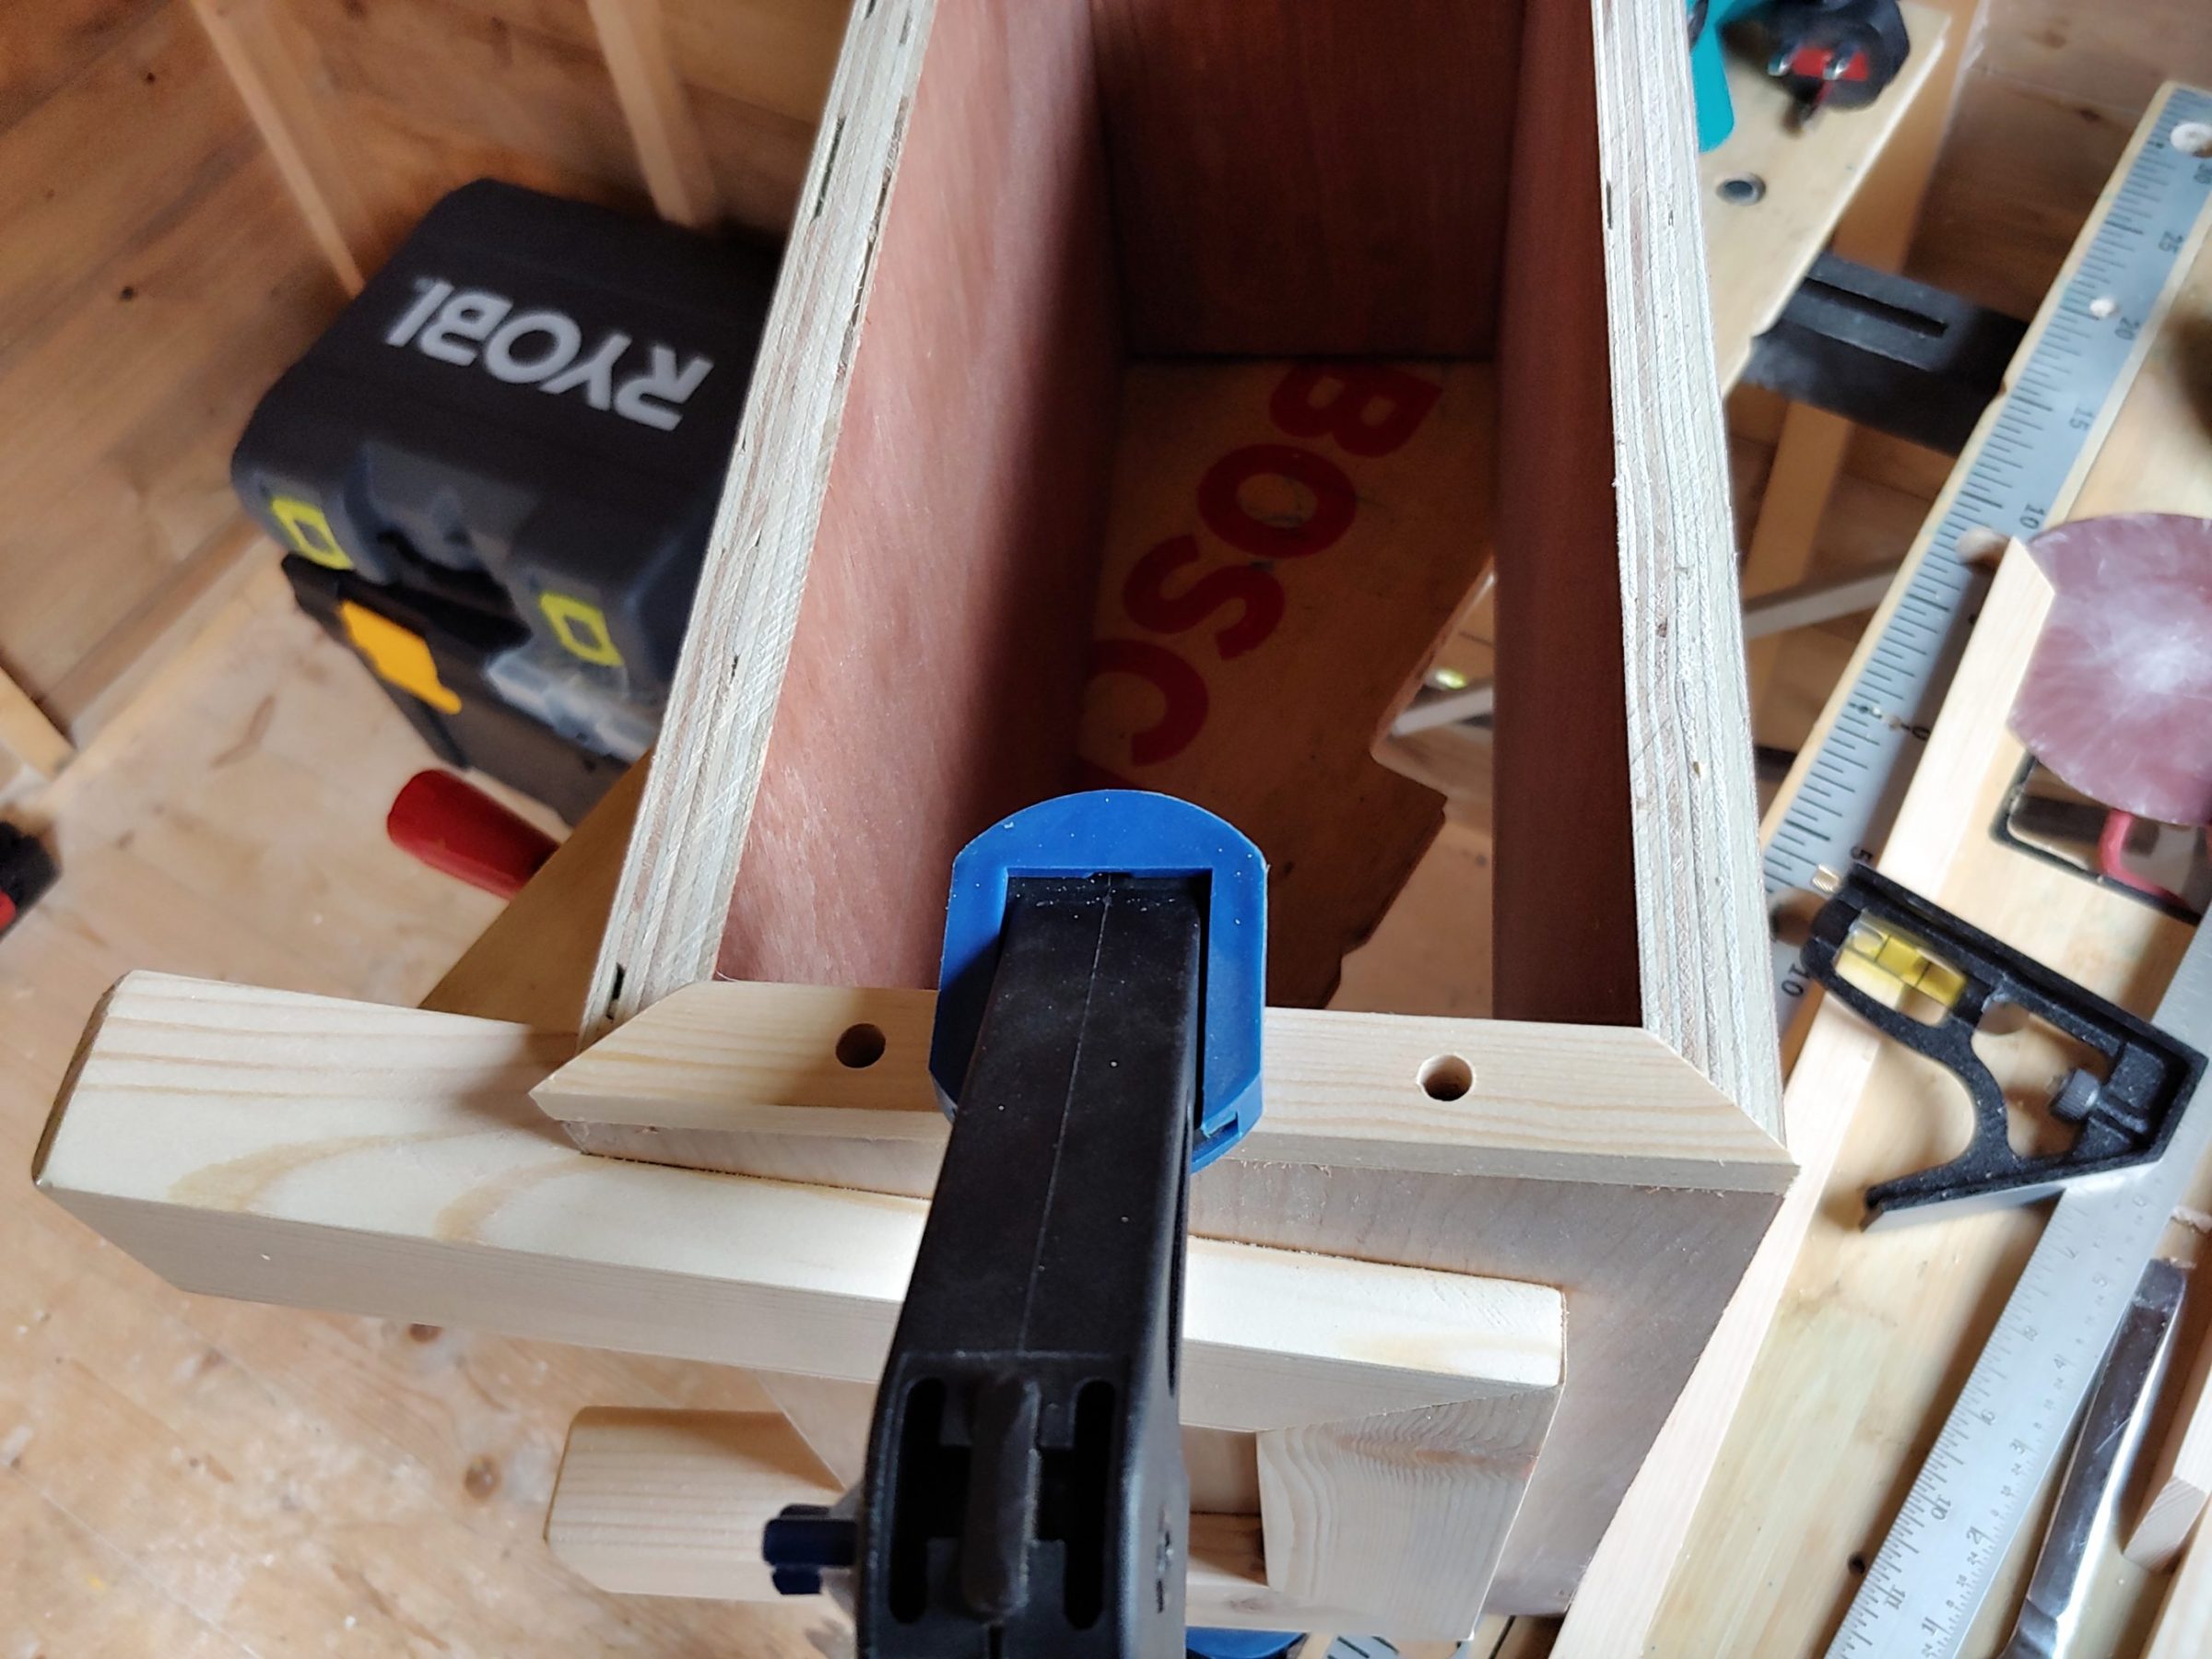
The glue-up wasn’t as easy as I expected. My corner clamps were too big for this project and I had to do some overlapping. This seems to be every woodworker’s problem – we all need more clamps!
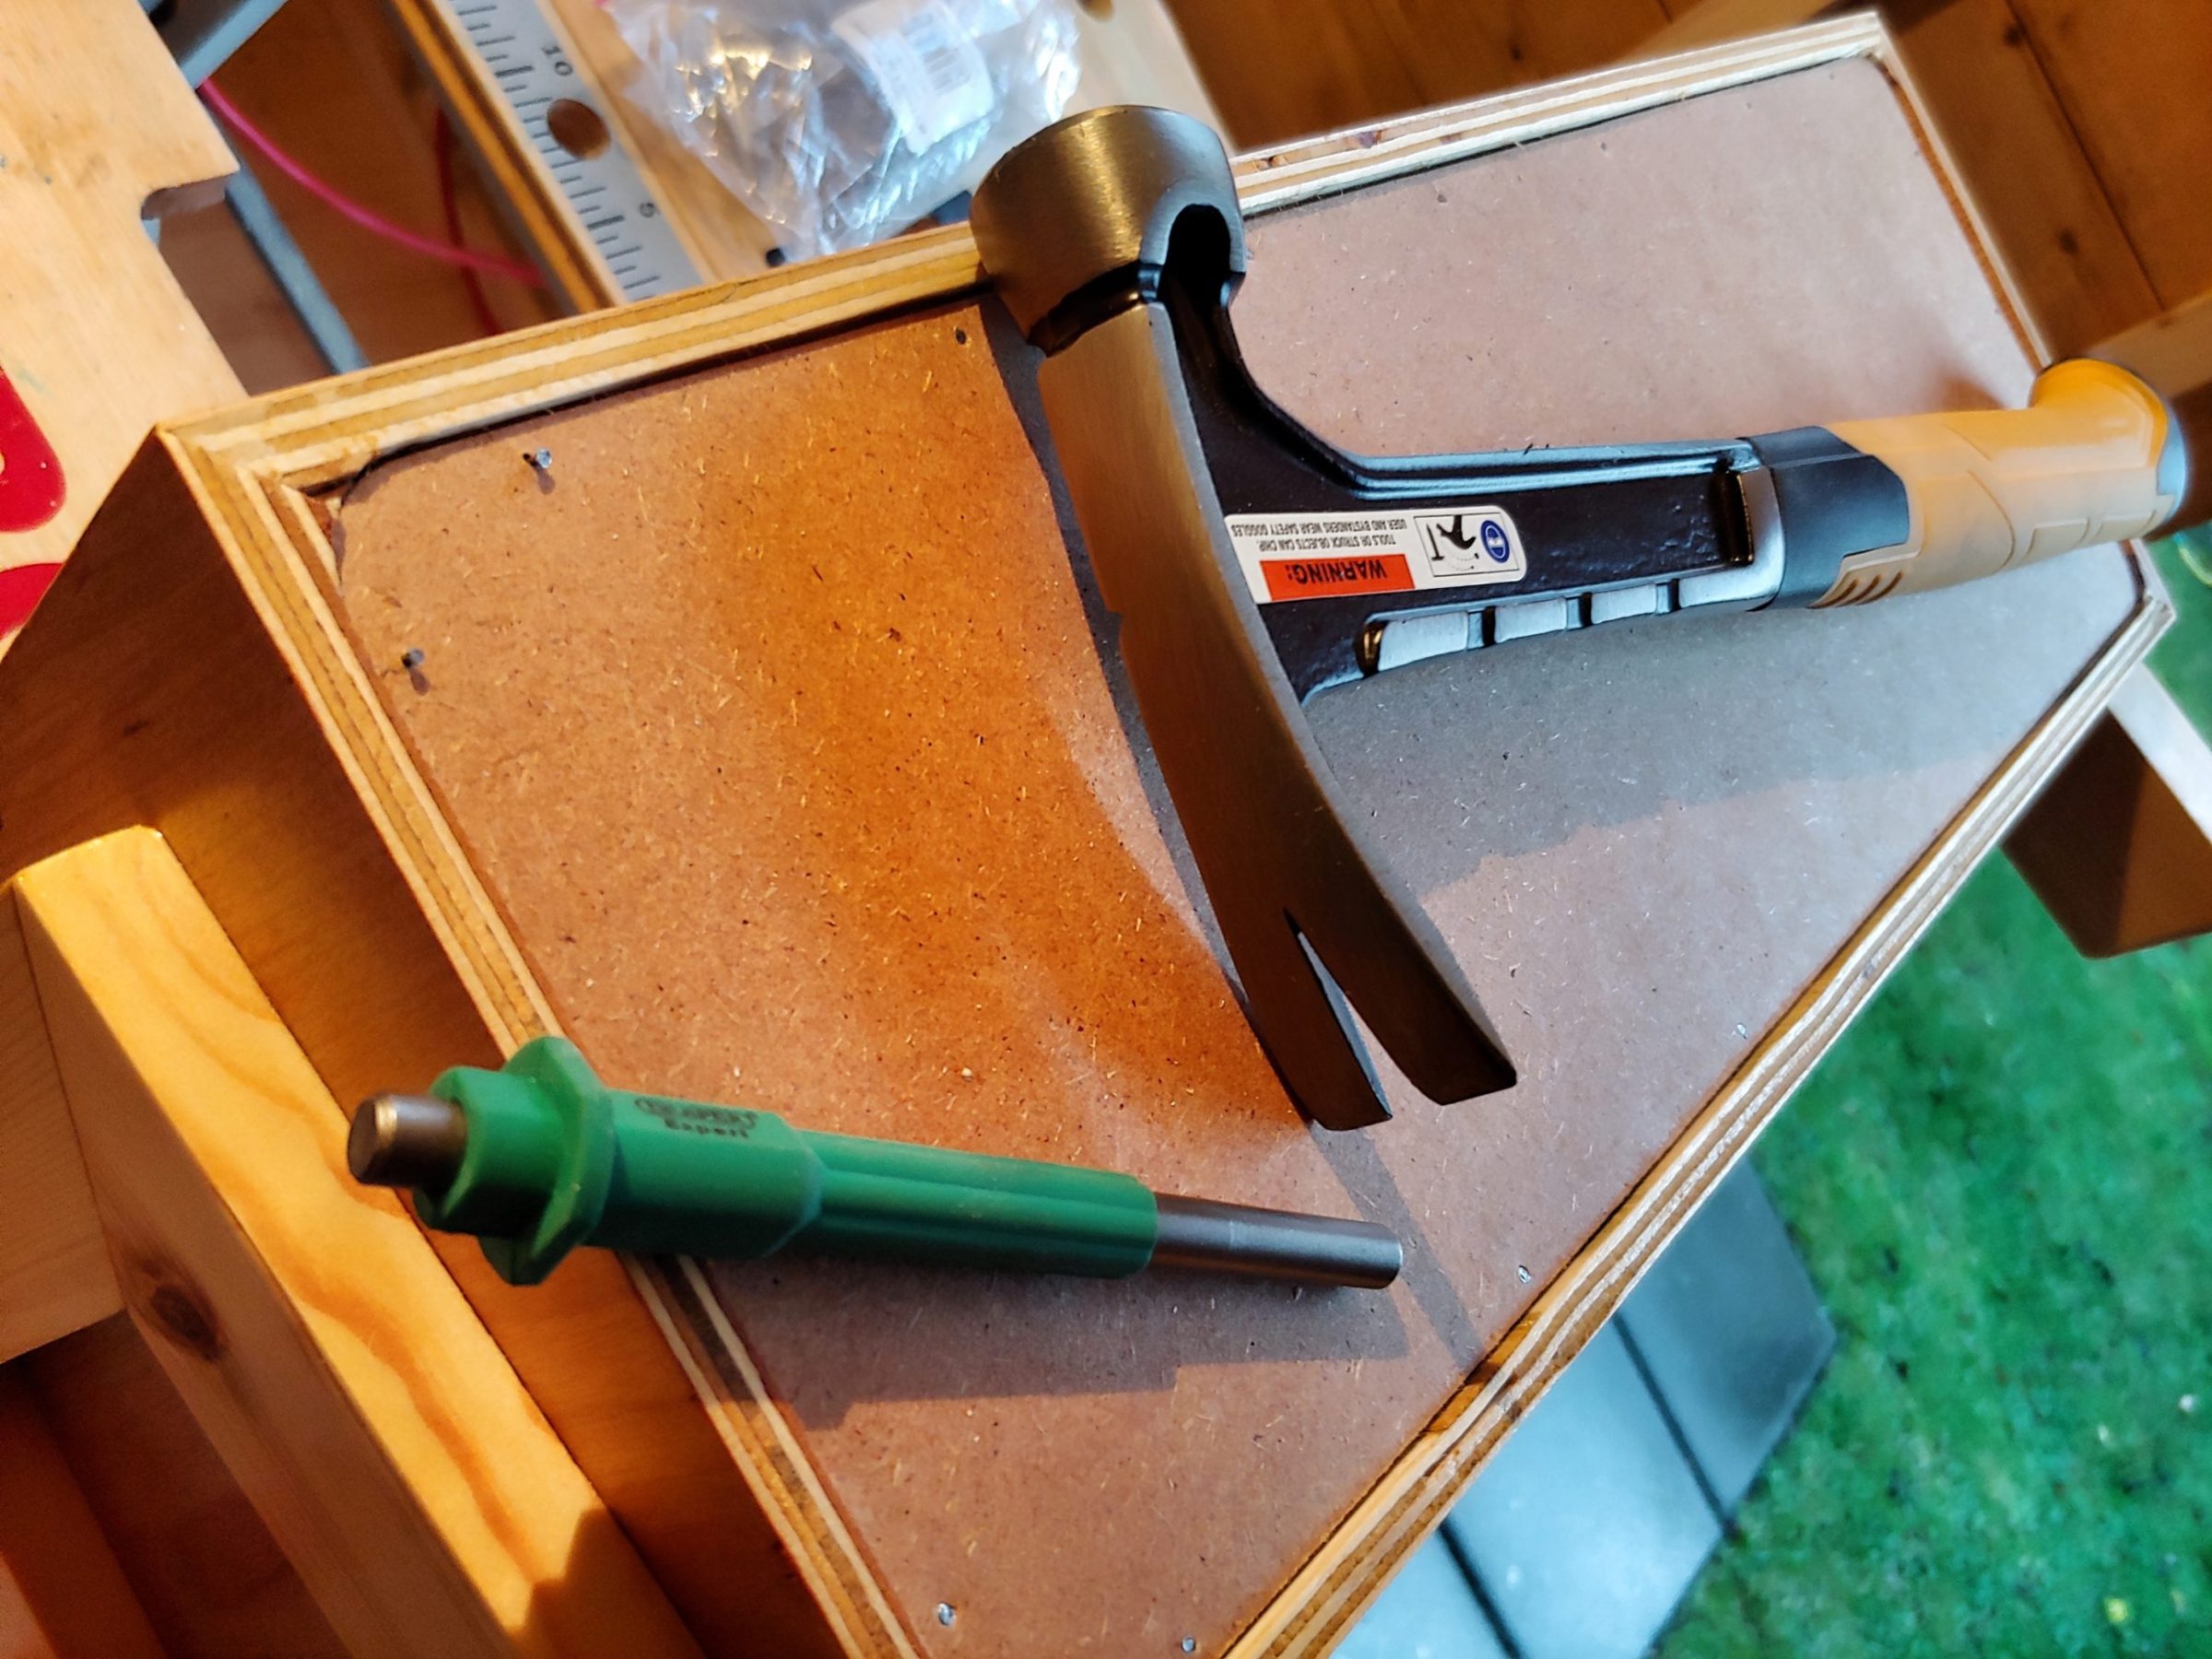
The glue squeeze-out was cleaned with a damp cloth but some hardened glue had to be removed with a chisel.
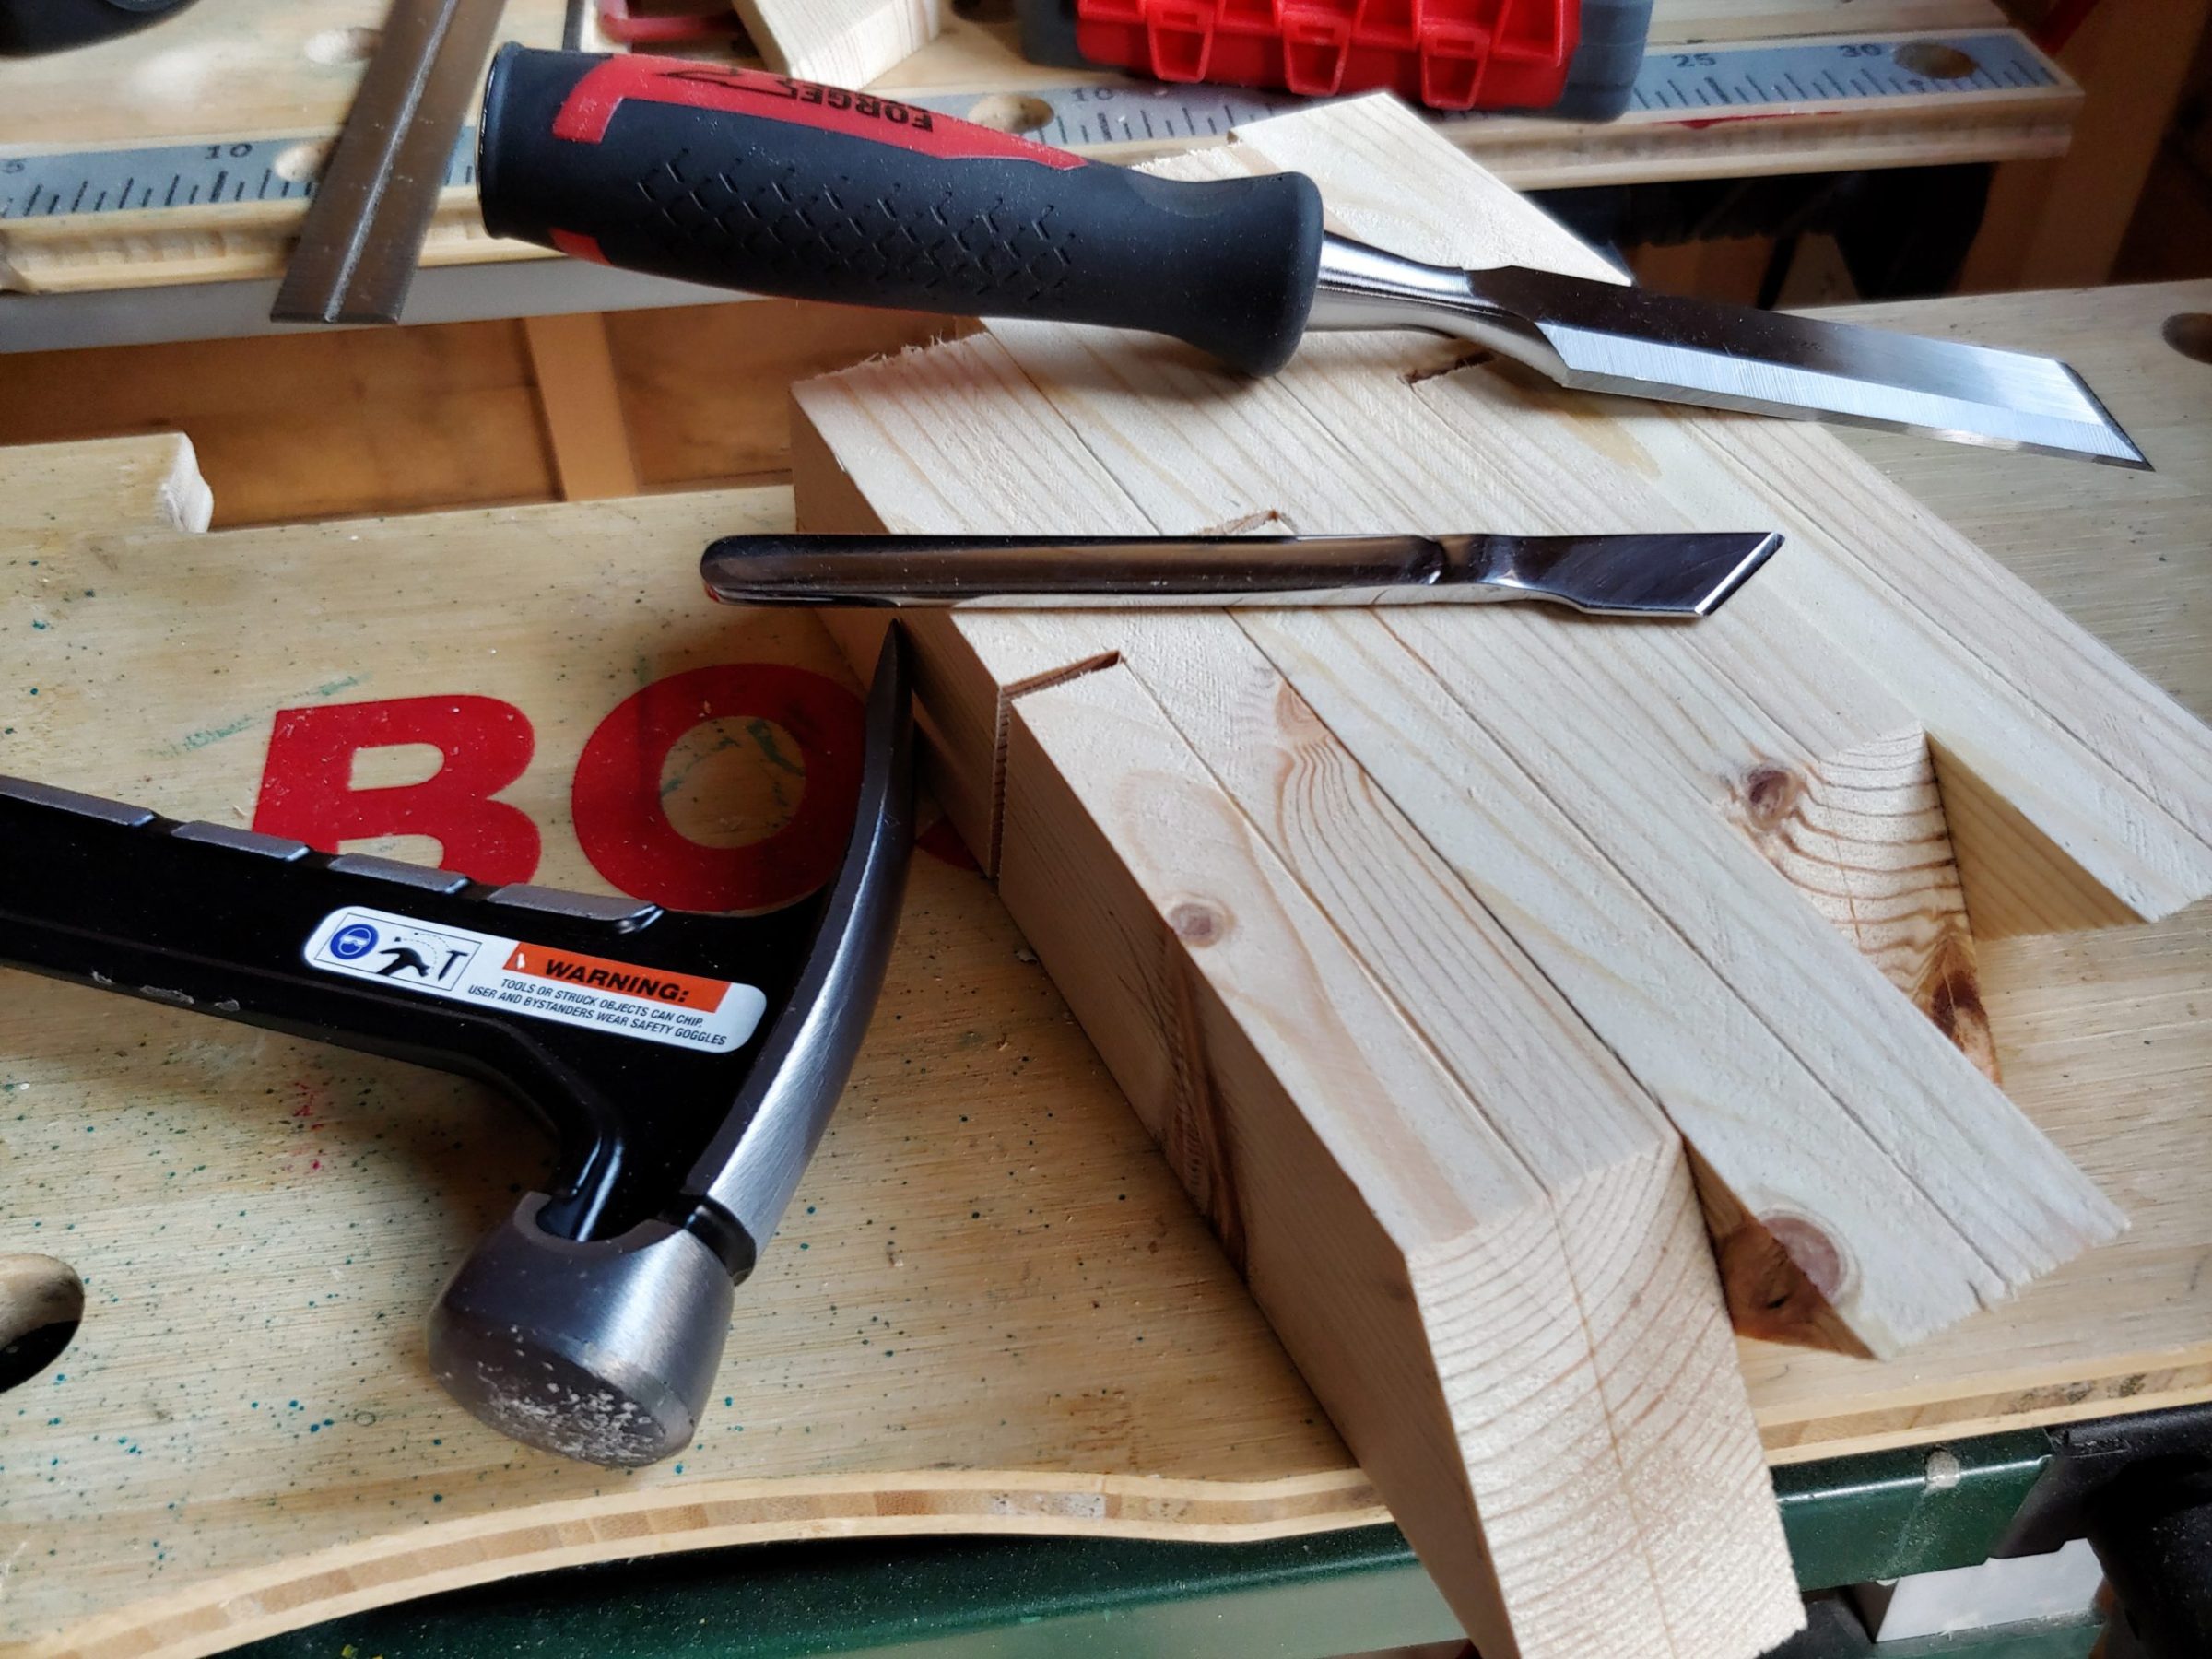
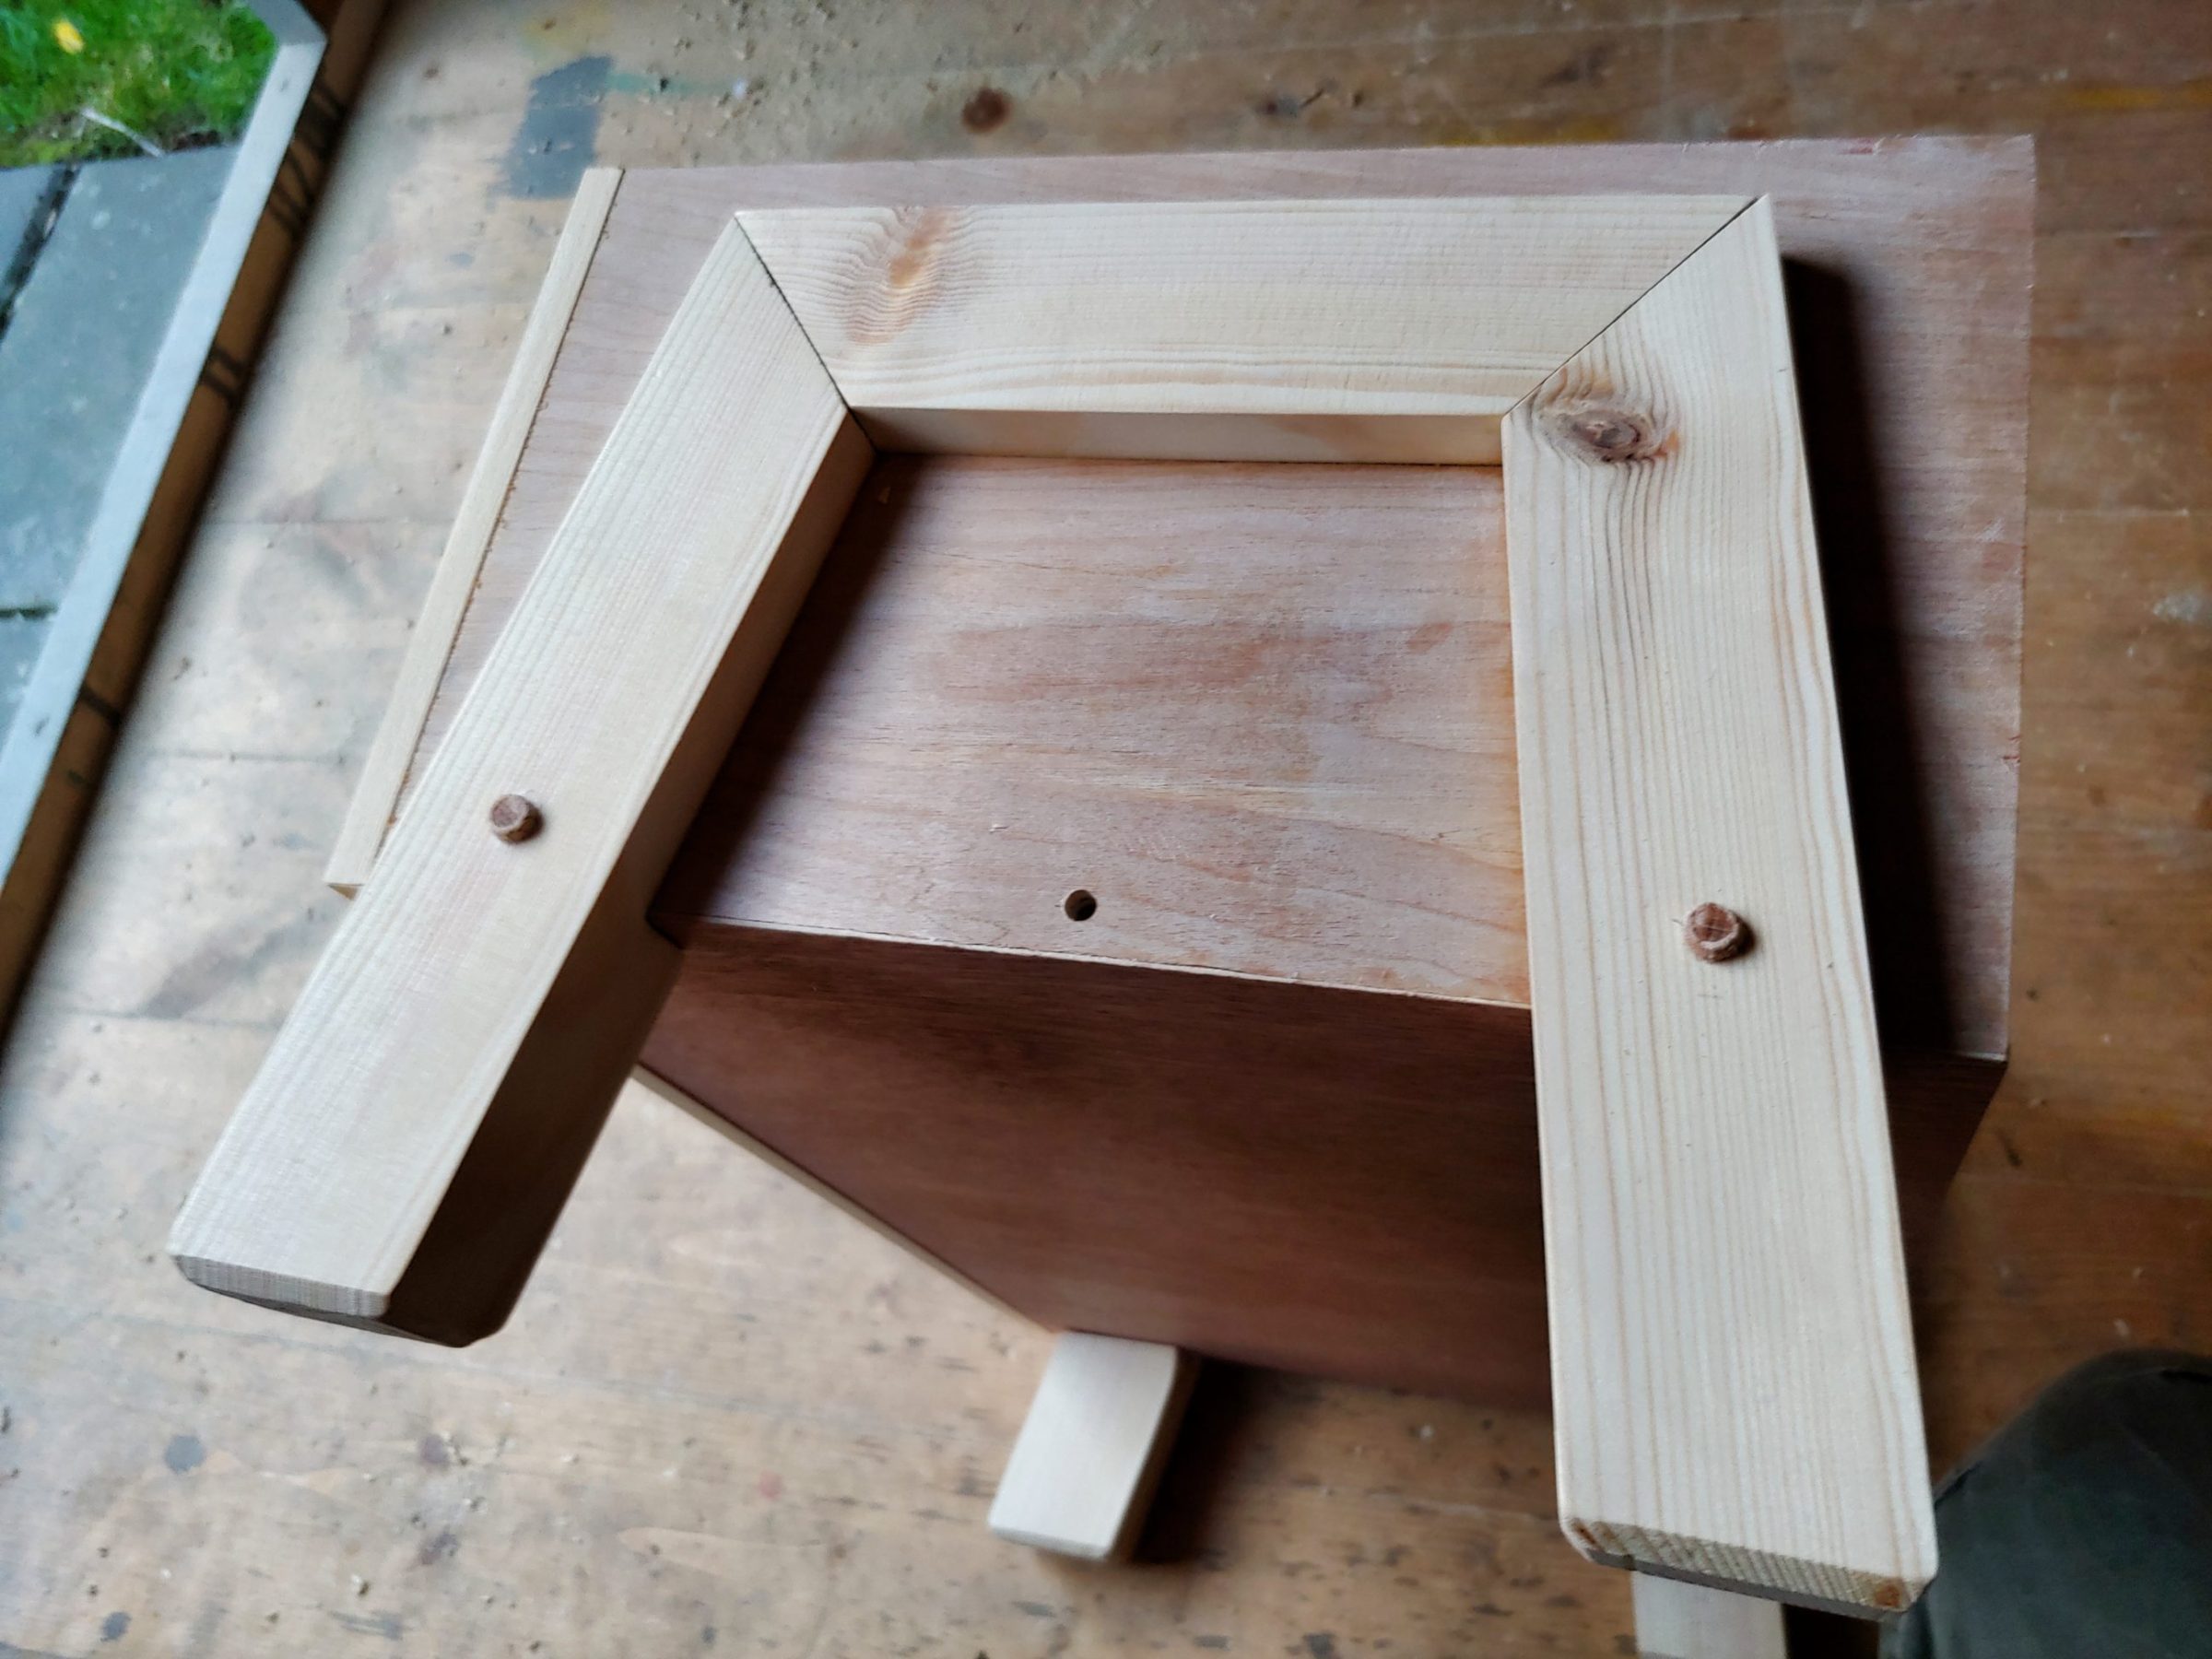
I built a provisional thin strip ripping jig and cut some timber in half. I then prepared the remaining 4 pieces for chiselling and routing.
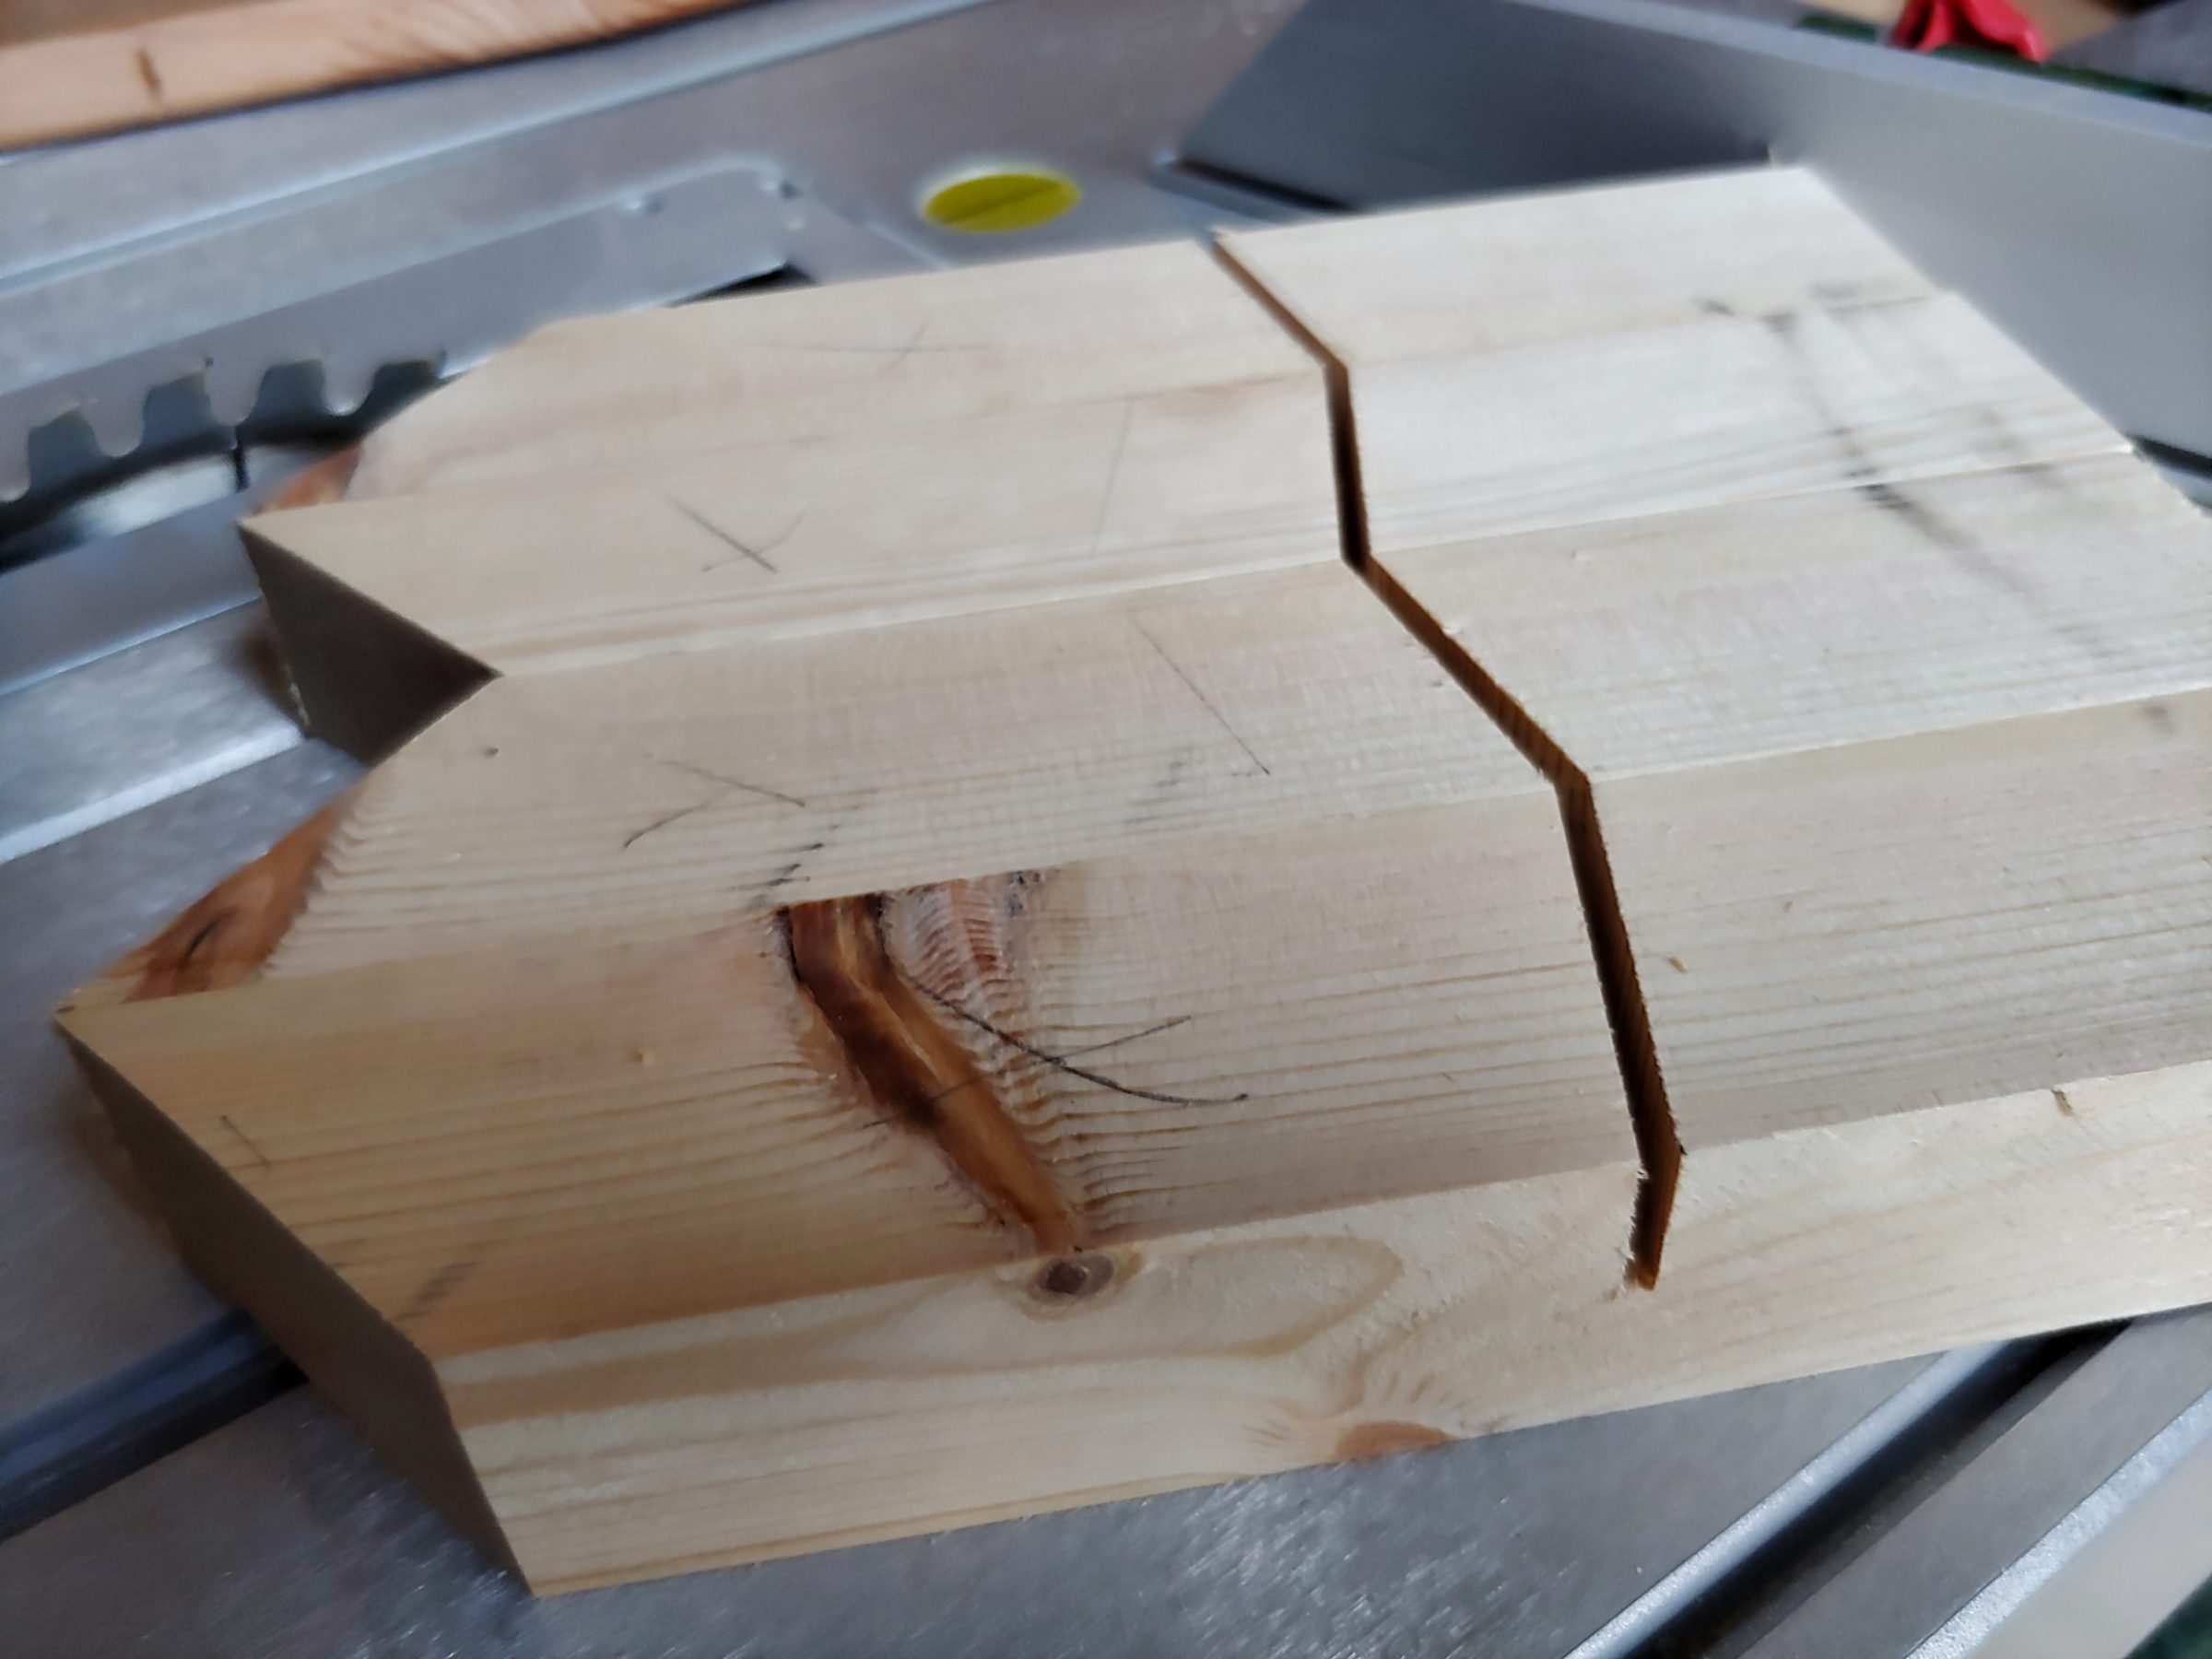
The idea was to minimize tear-out. I used my marking knife, router and chisel to remove the material quickly and effectively.
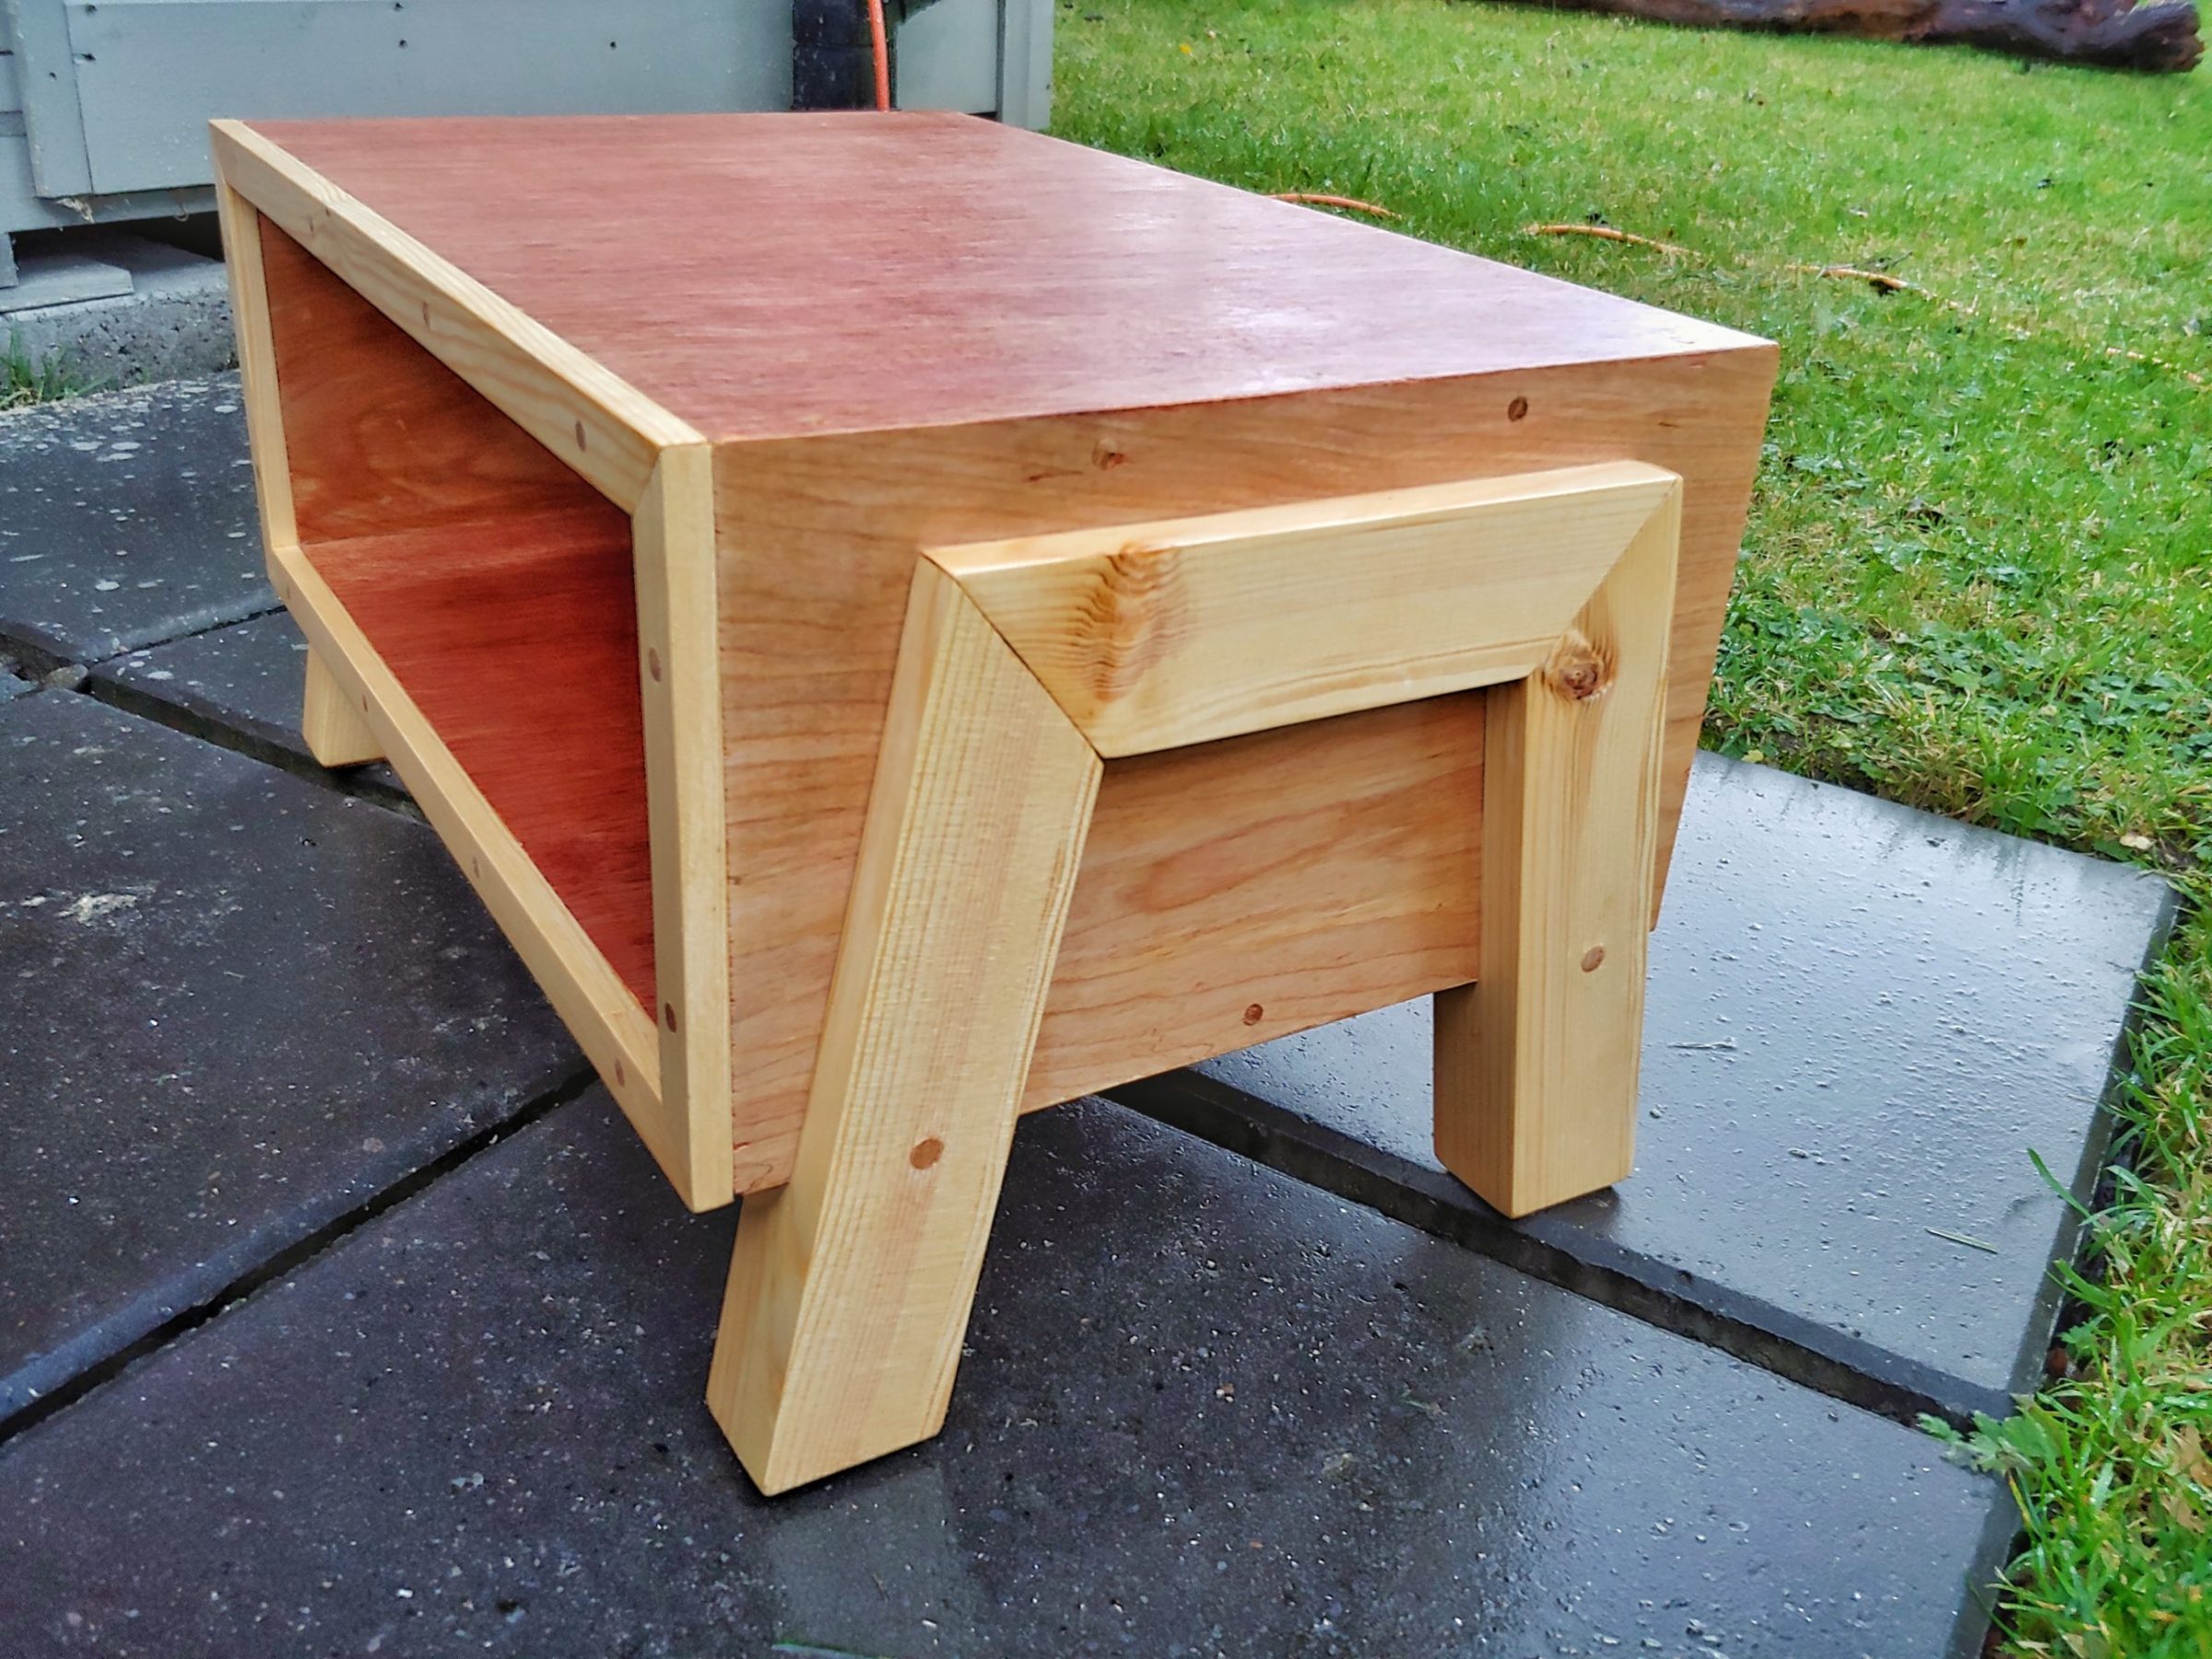
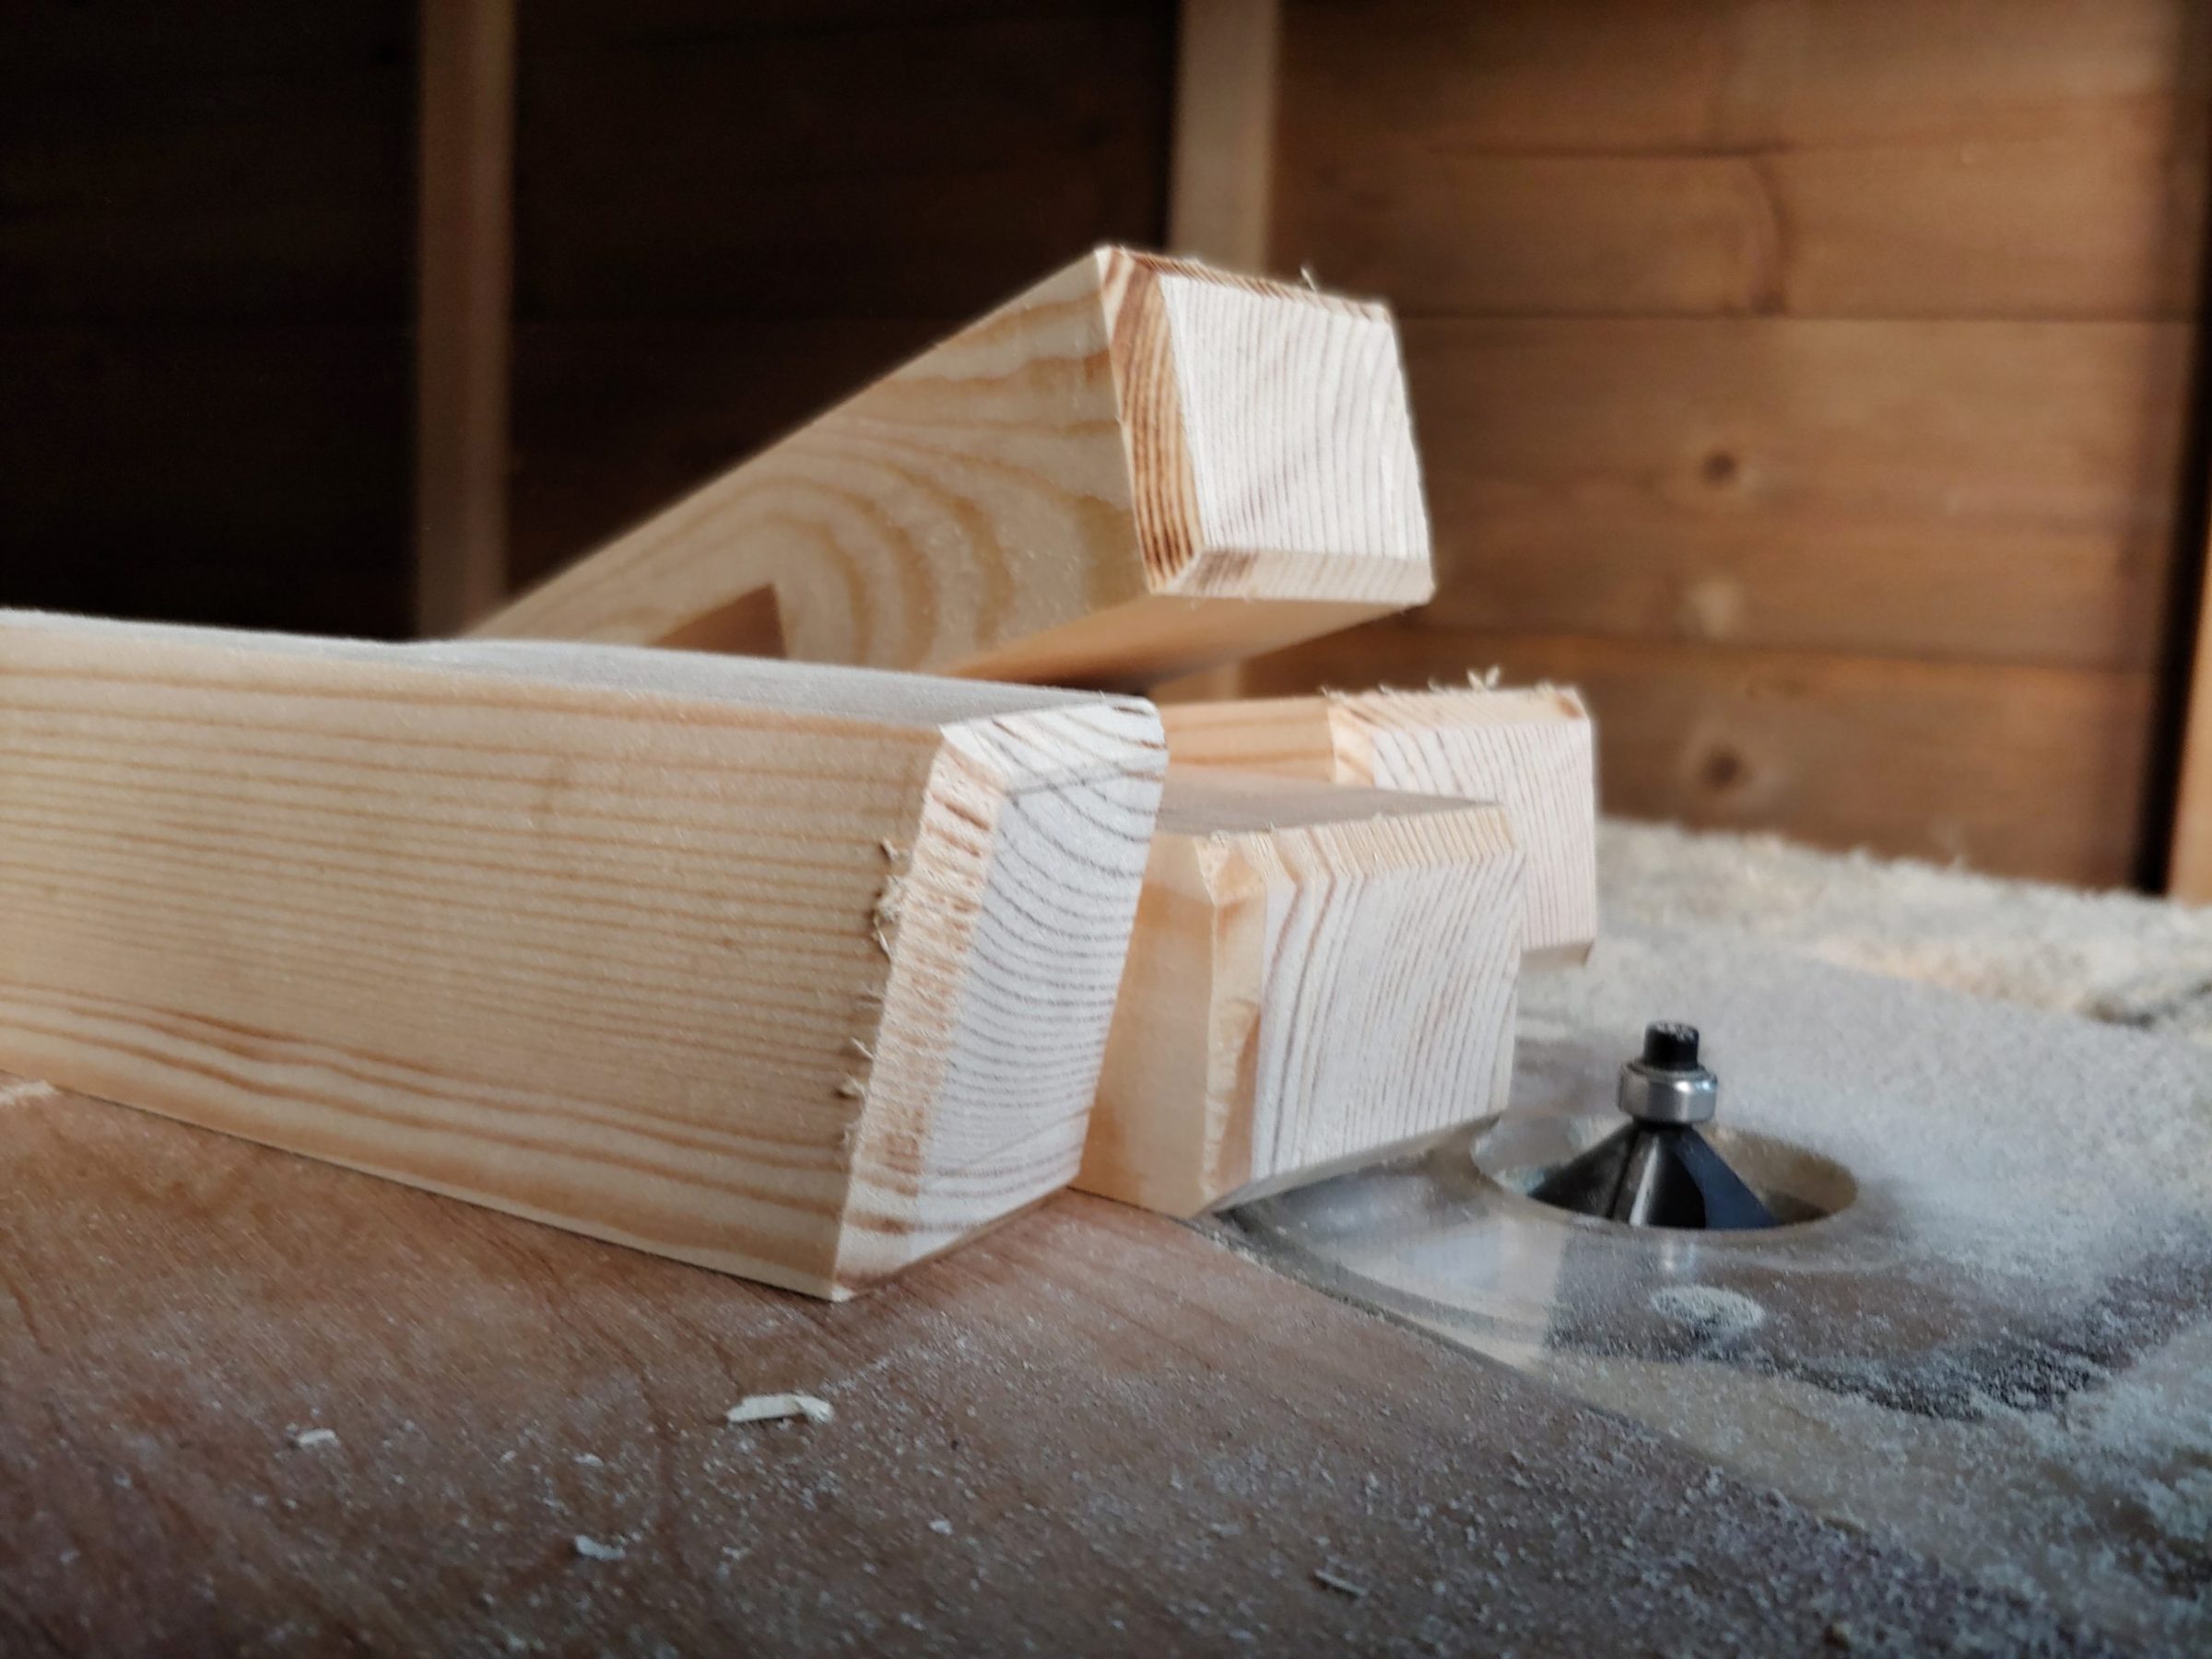
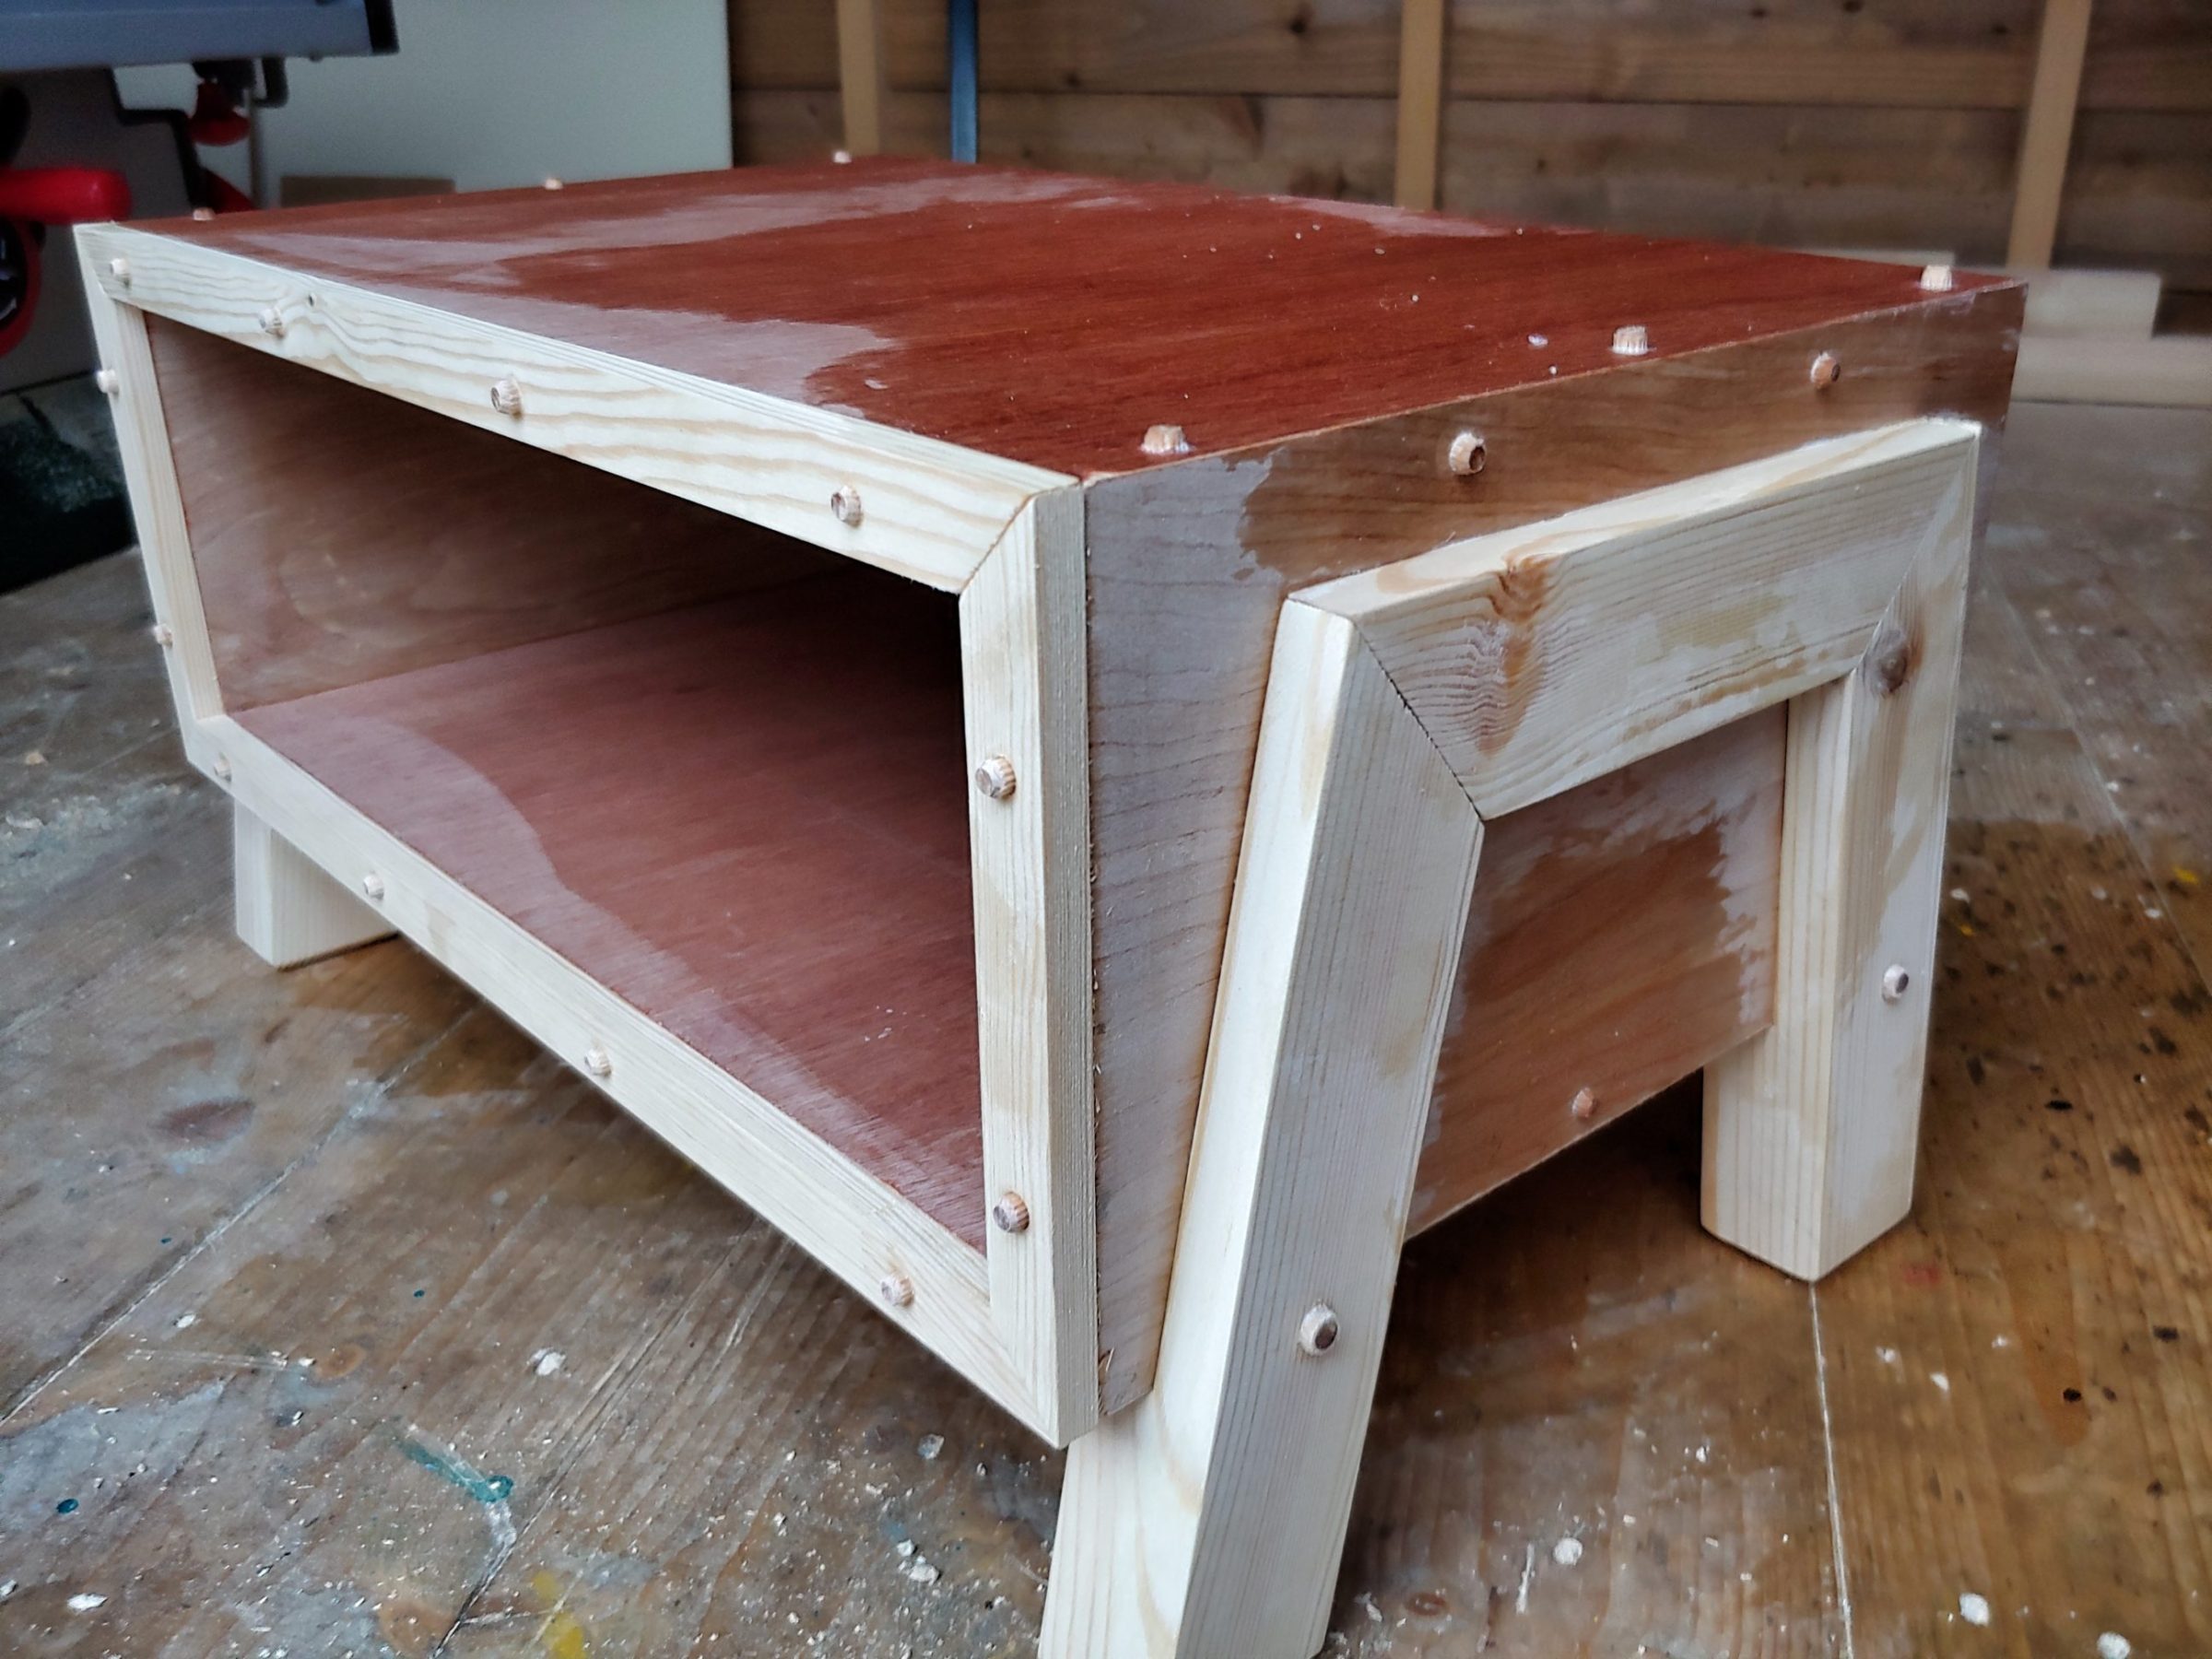
I put a chamfer on the bottom part of the legs and it was ready for glueing.
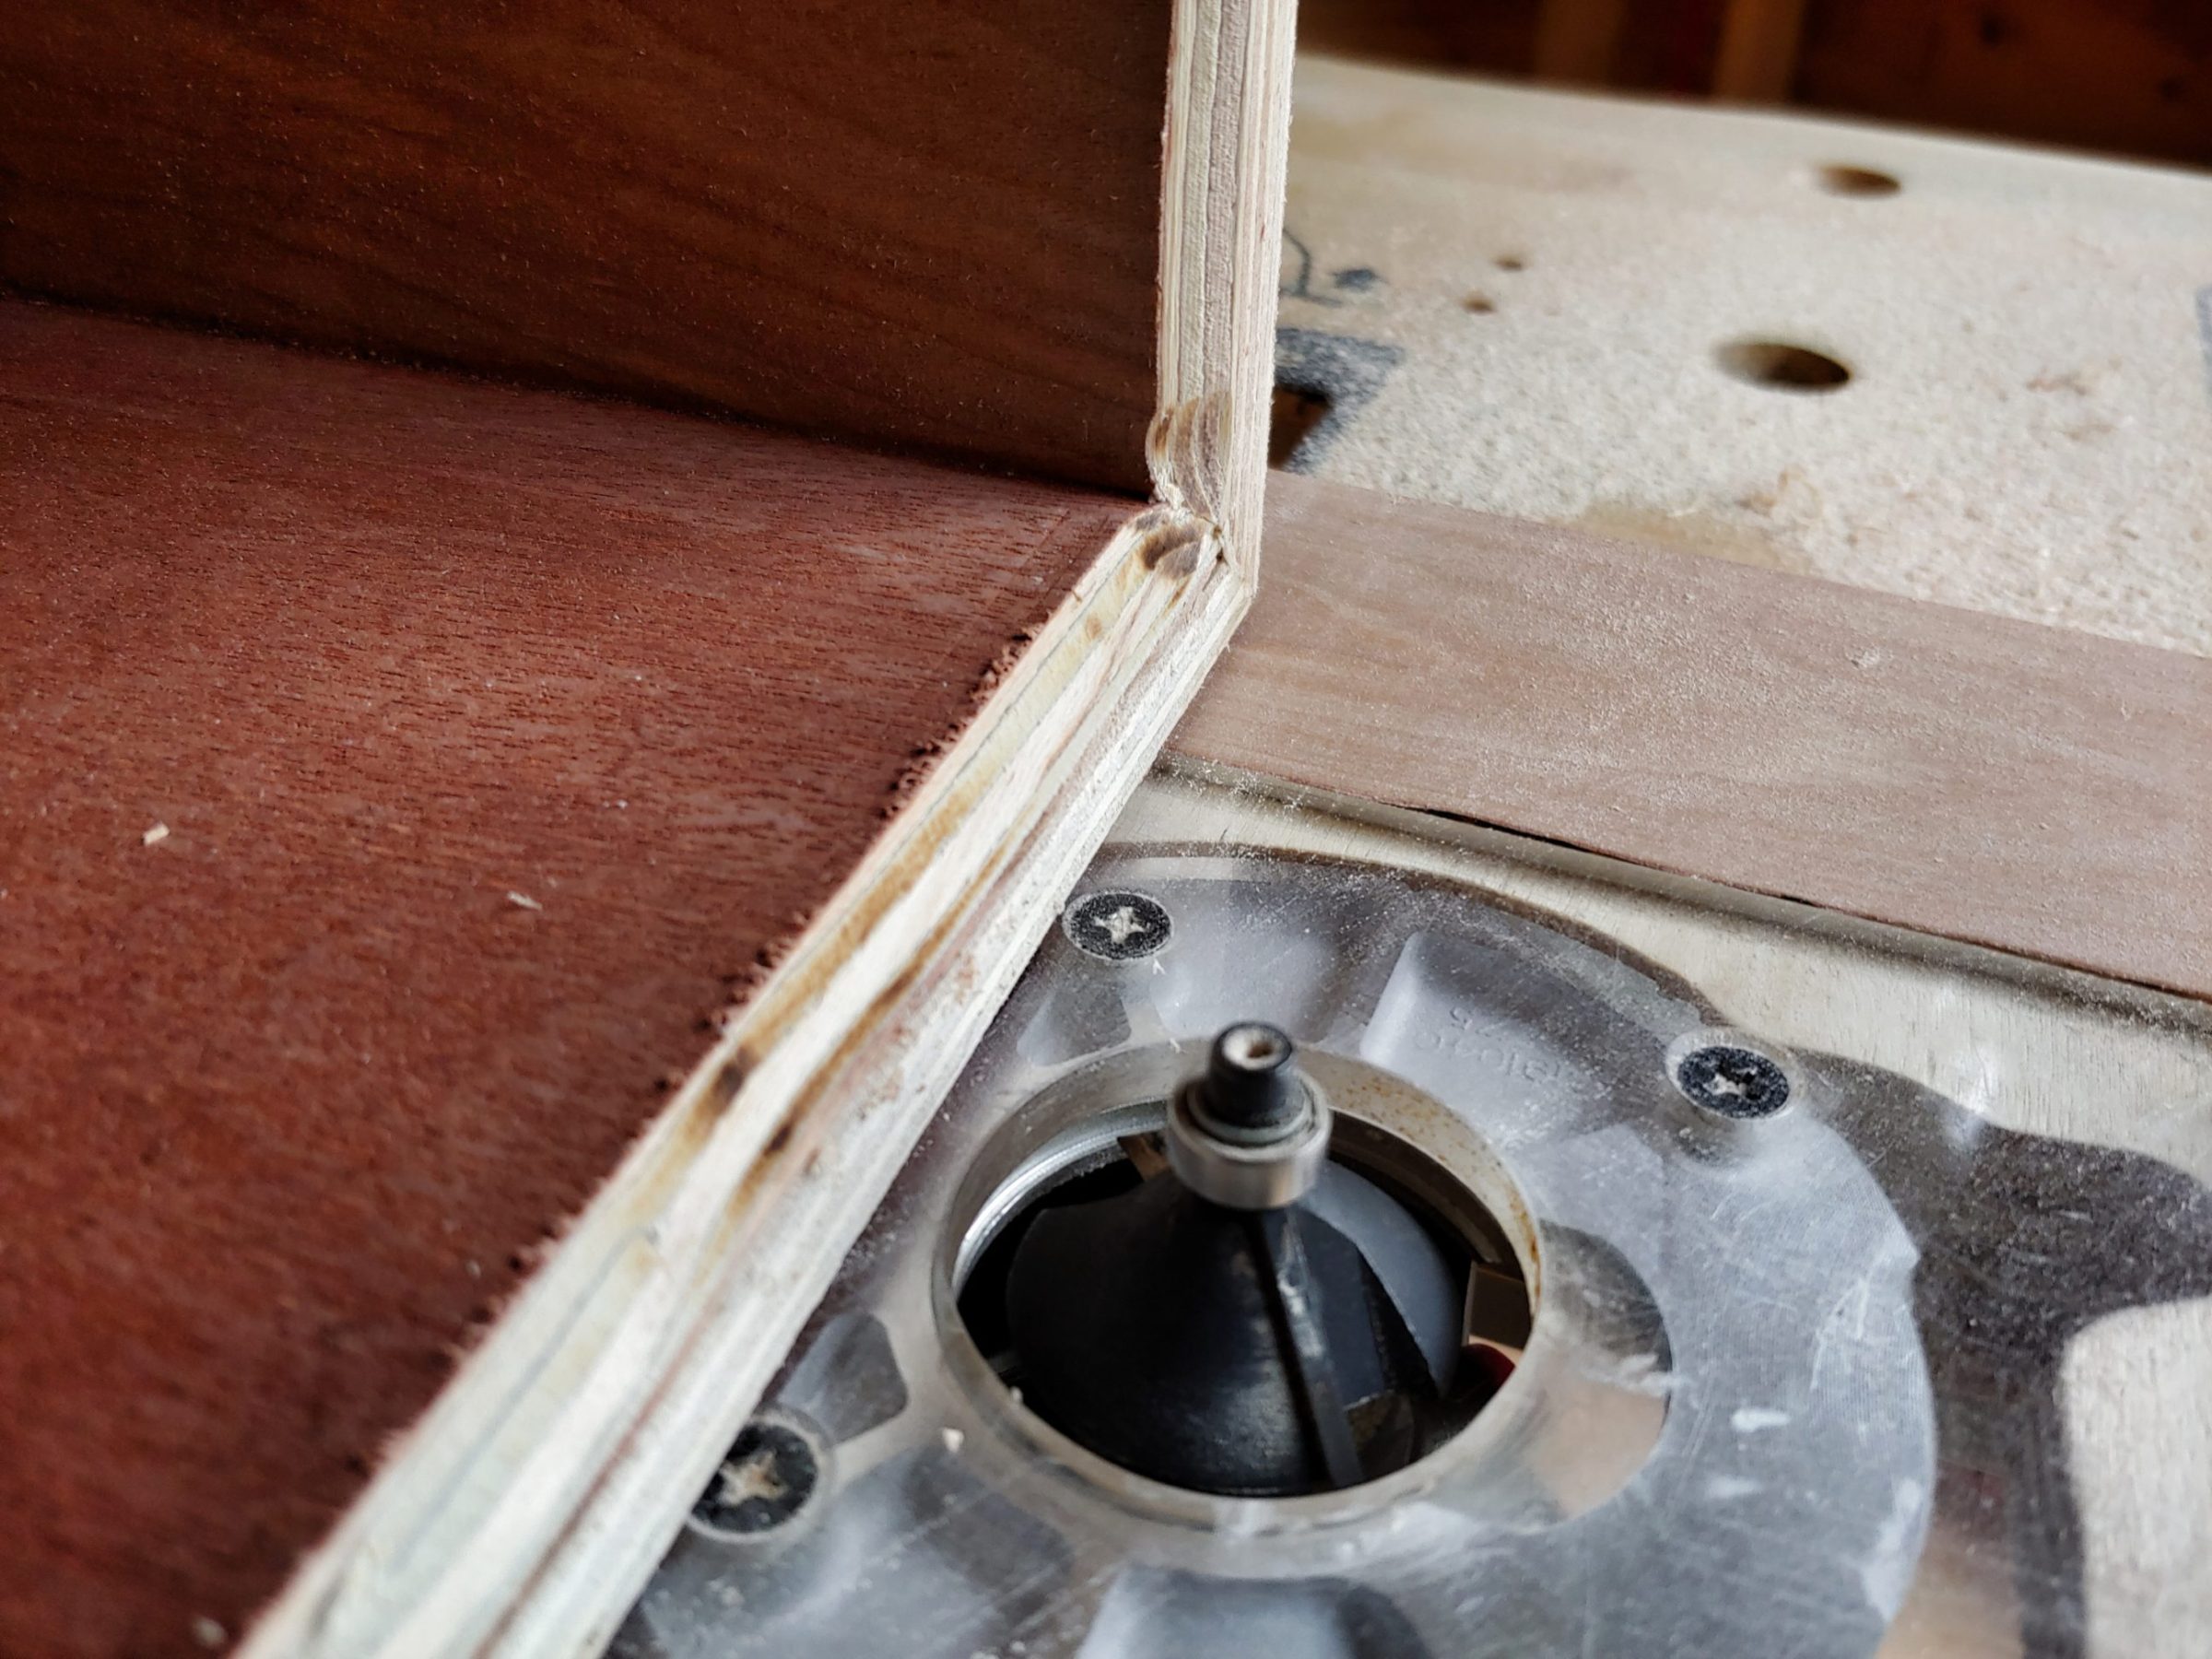
I was very stressed about the potential tear-out that could be caused by the cutting of a rebate in the back of the box. That’s why I used my chamfer bit first, a couple of passes, and then I finished the rabbet with the rabbet bit.
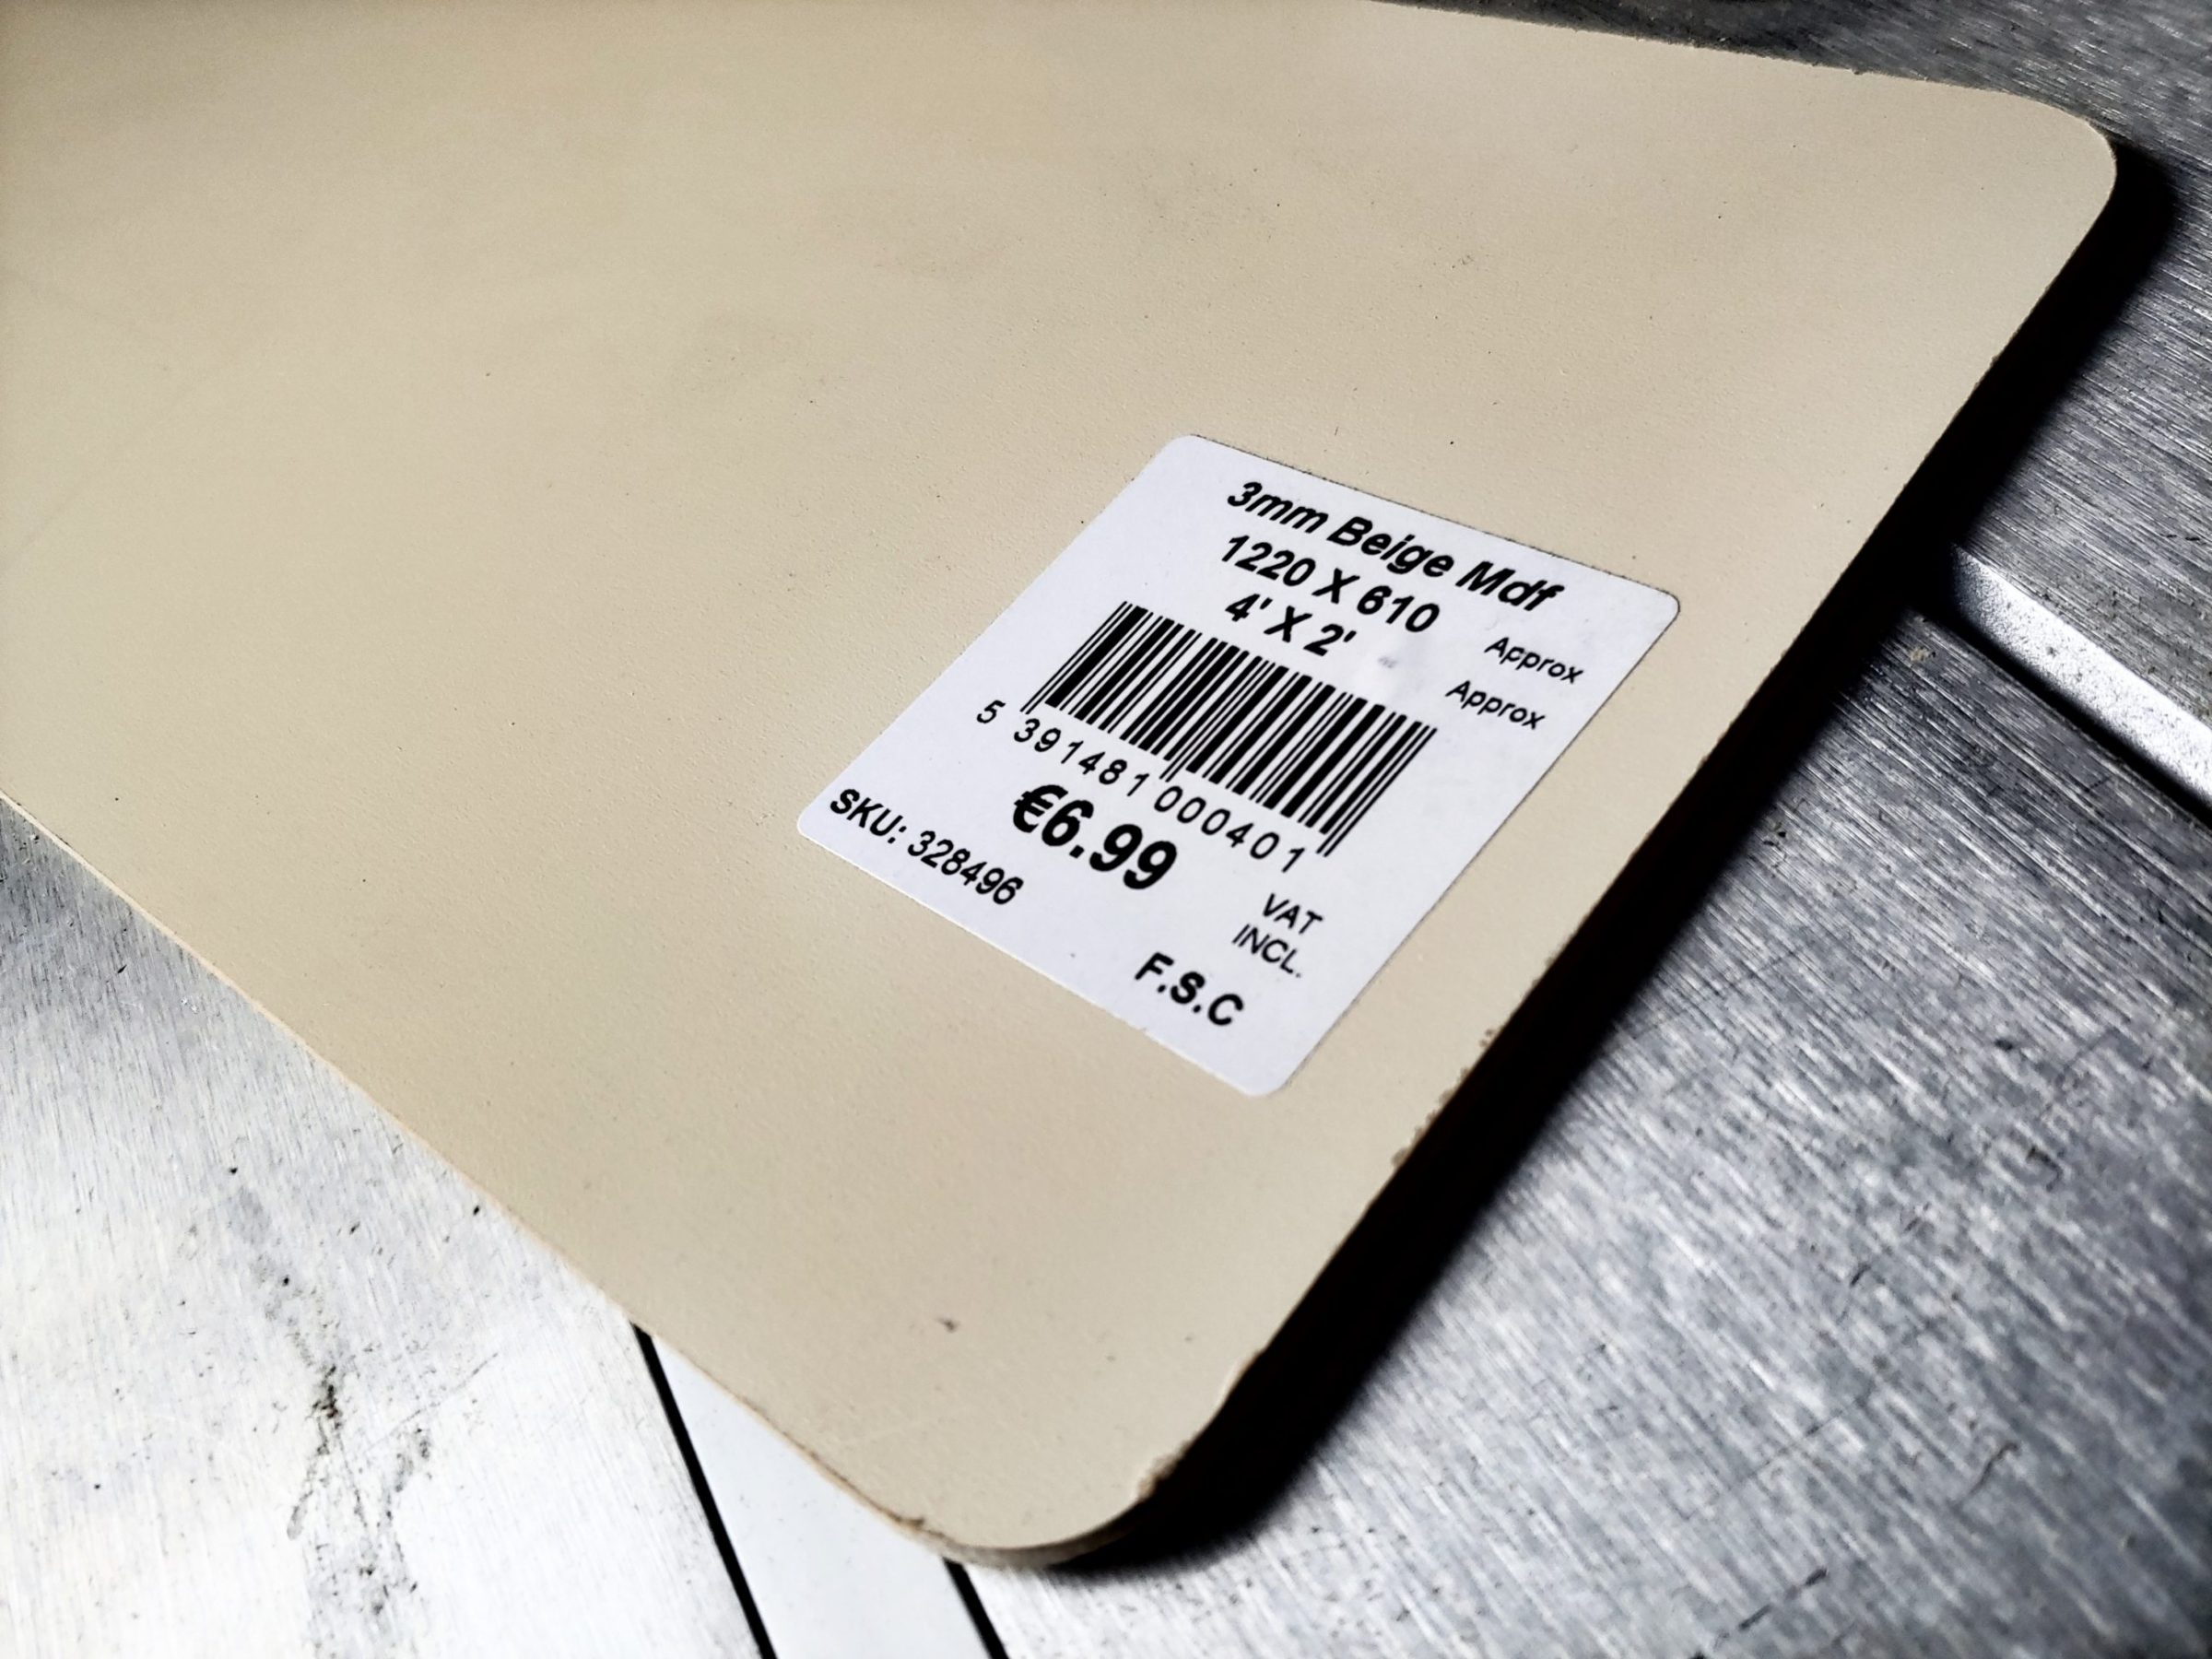
Once it was done I cut an MDF board for the back. Stickers everywhere – I had to remove them with white spirit.
The front of the box was cut shorter to compensate for the thickness of the mouldings. They were fixed with glue and dowels. I used a 5.5 mm drill bit for 6 mm dowels.
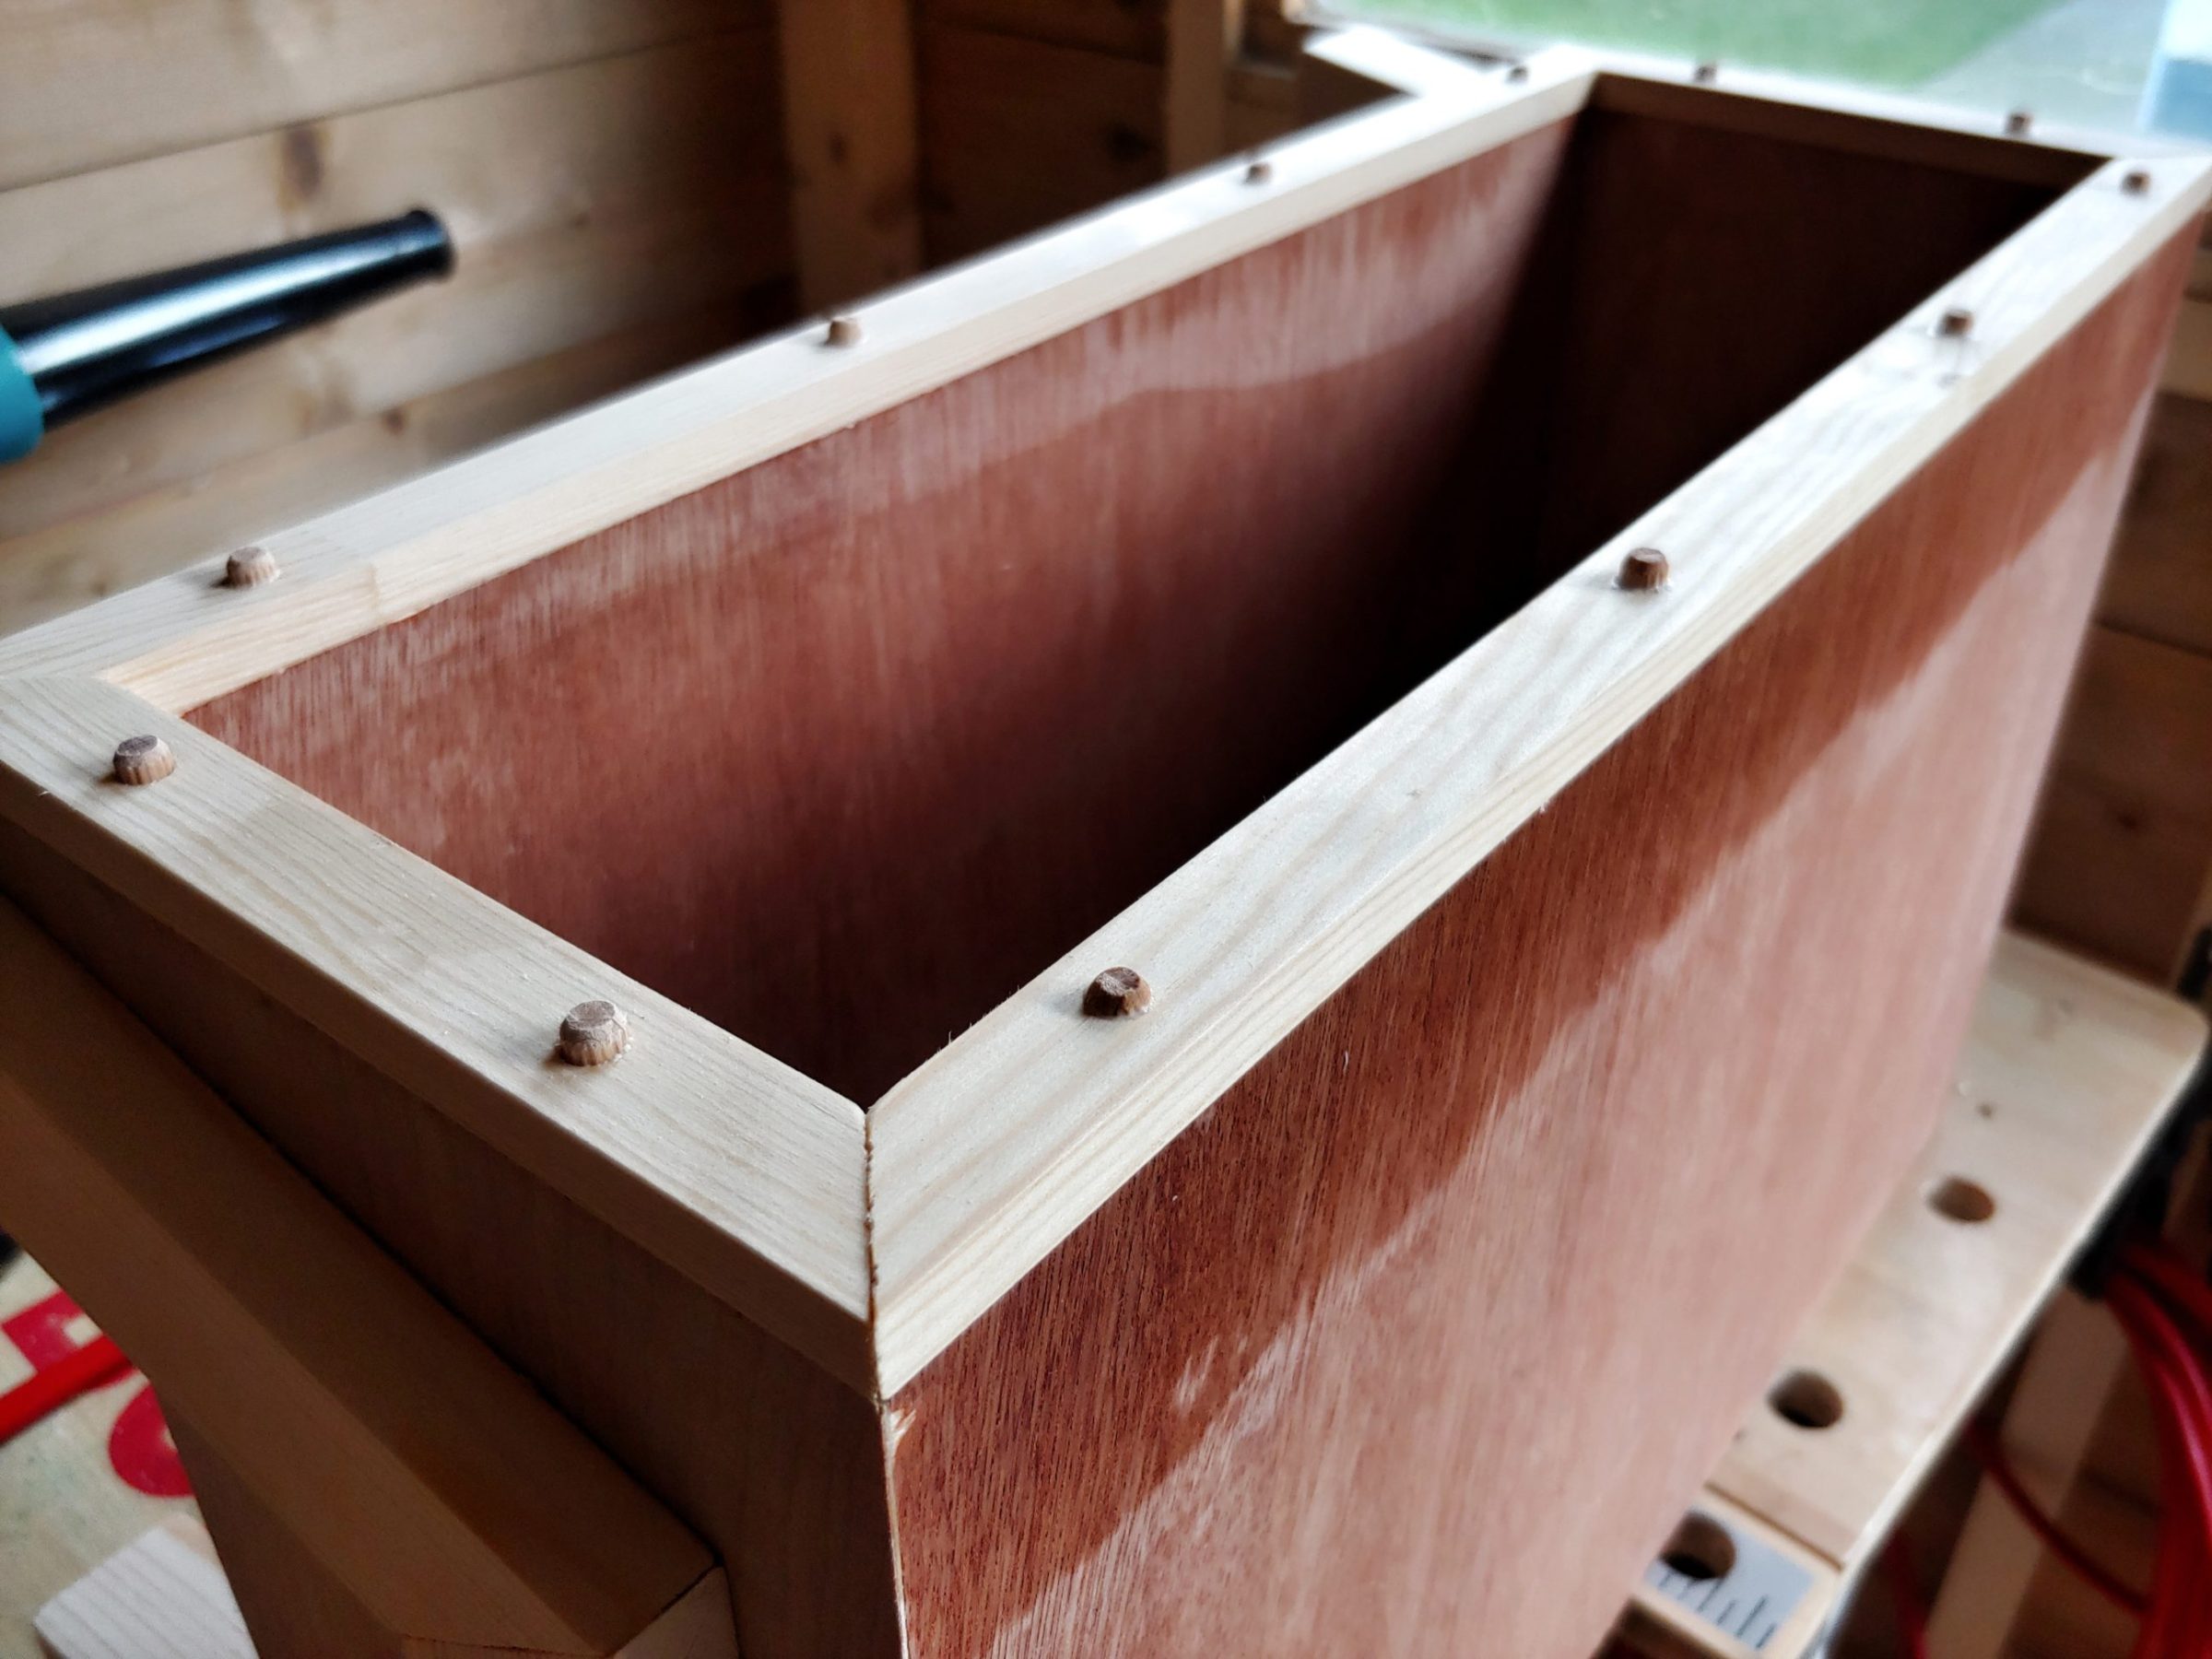
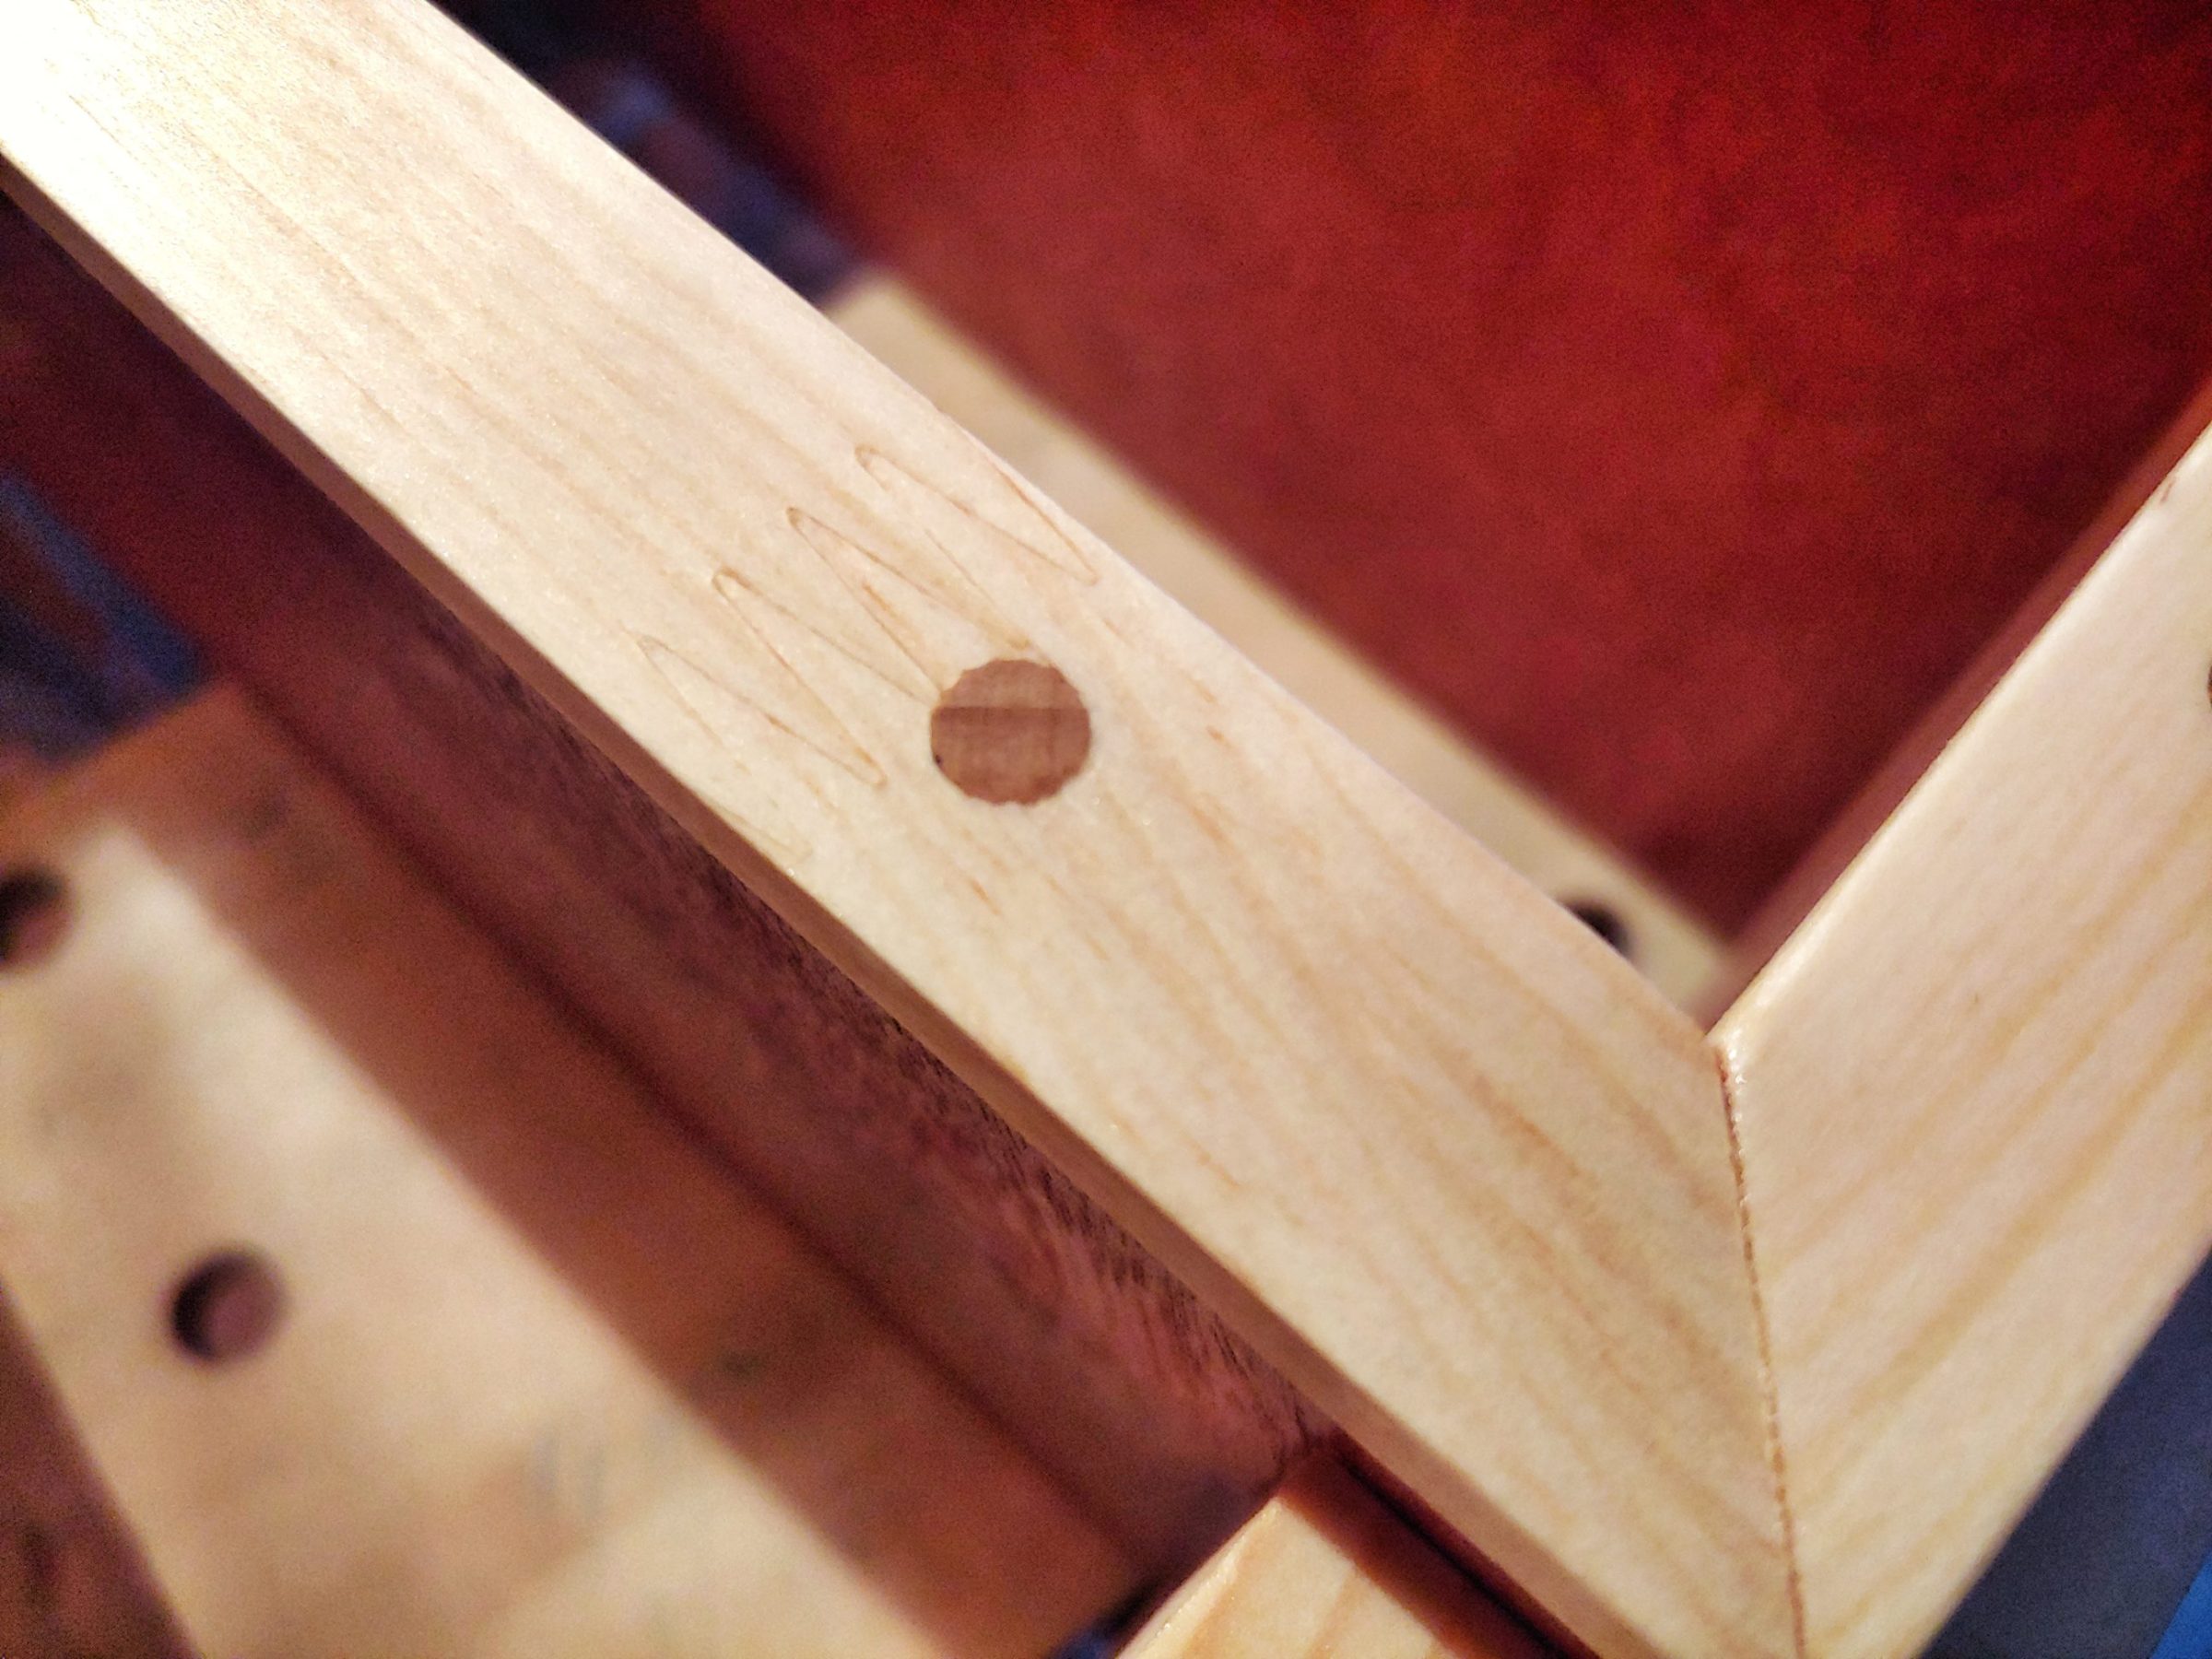
The construction was still very fragile that’s why I had to reinforce it with even more dowels. I used 2 sizes – 6 and 8 mm. Again, a smaller (7 mm) drill bit was used for 8 mm dowels.
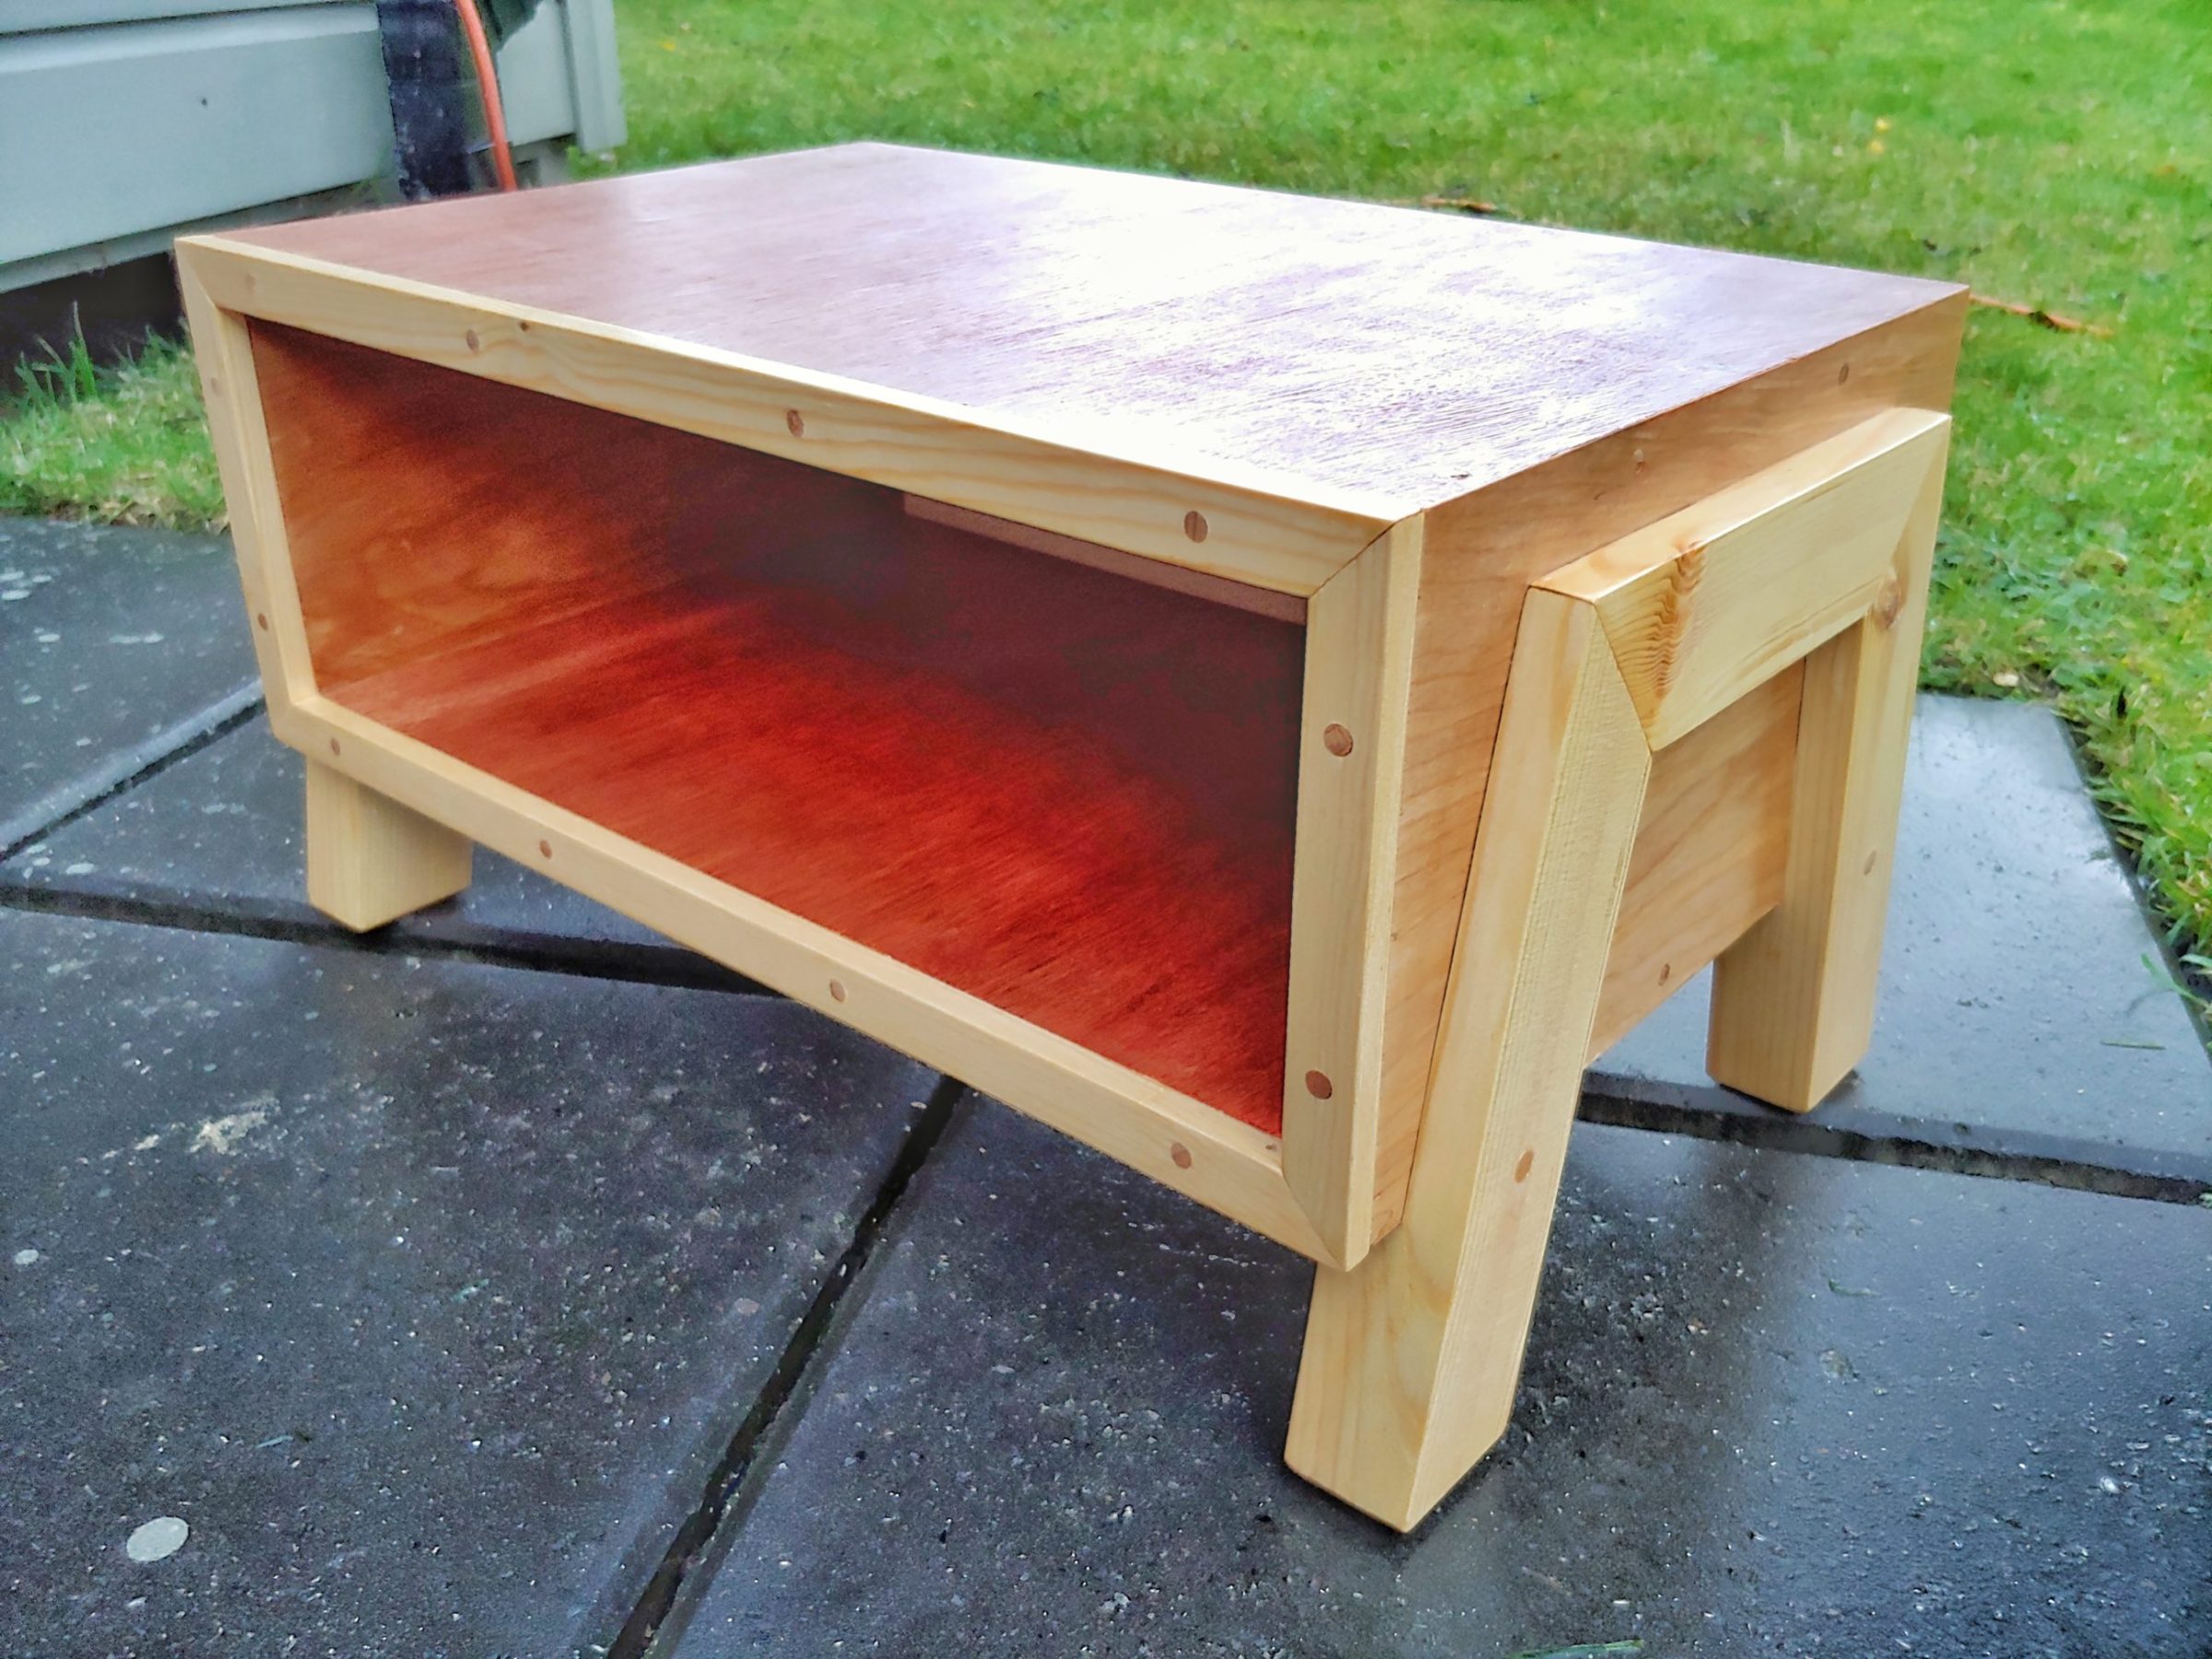
Dowels were cut flush. That was followed by sanding and then I applied a few coats of wipe-on poly.
The last thing to do was to attach the back with nails …
… and take pictures.