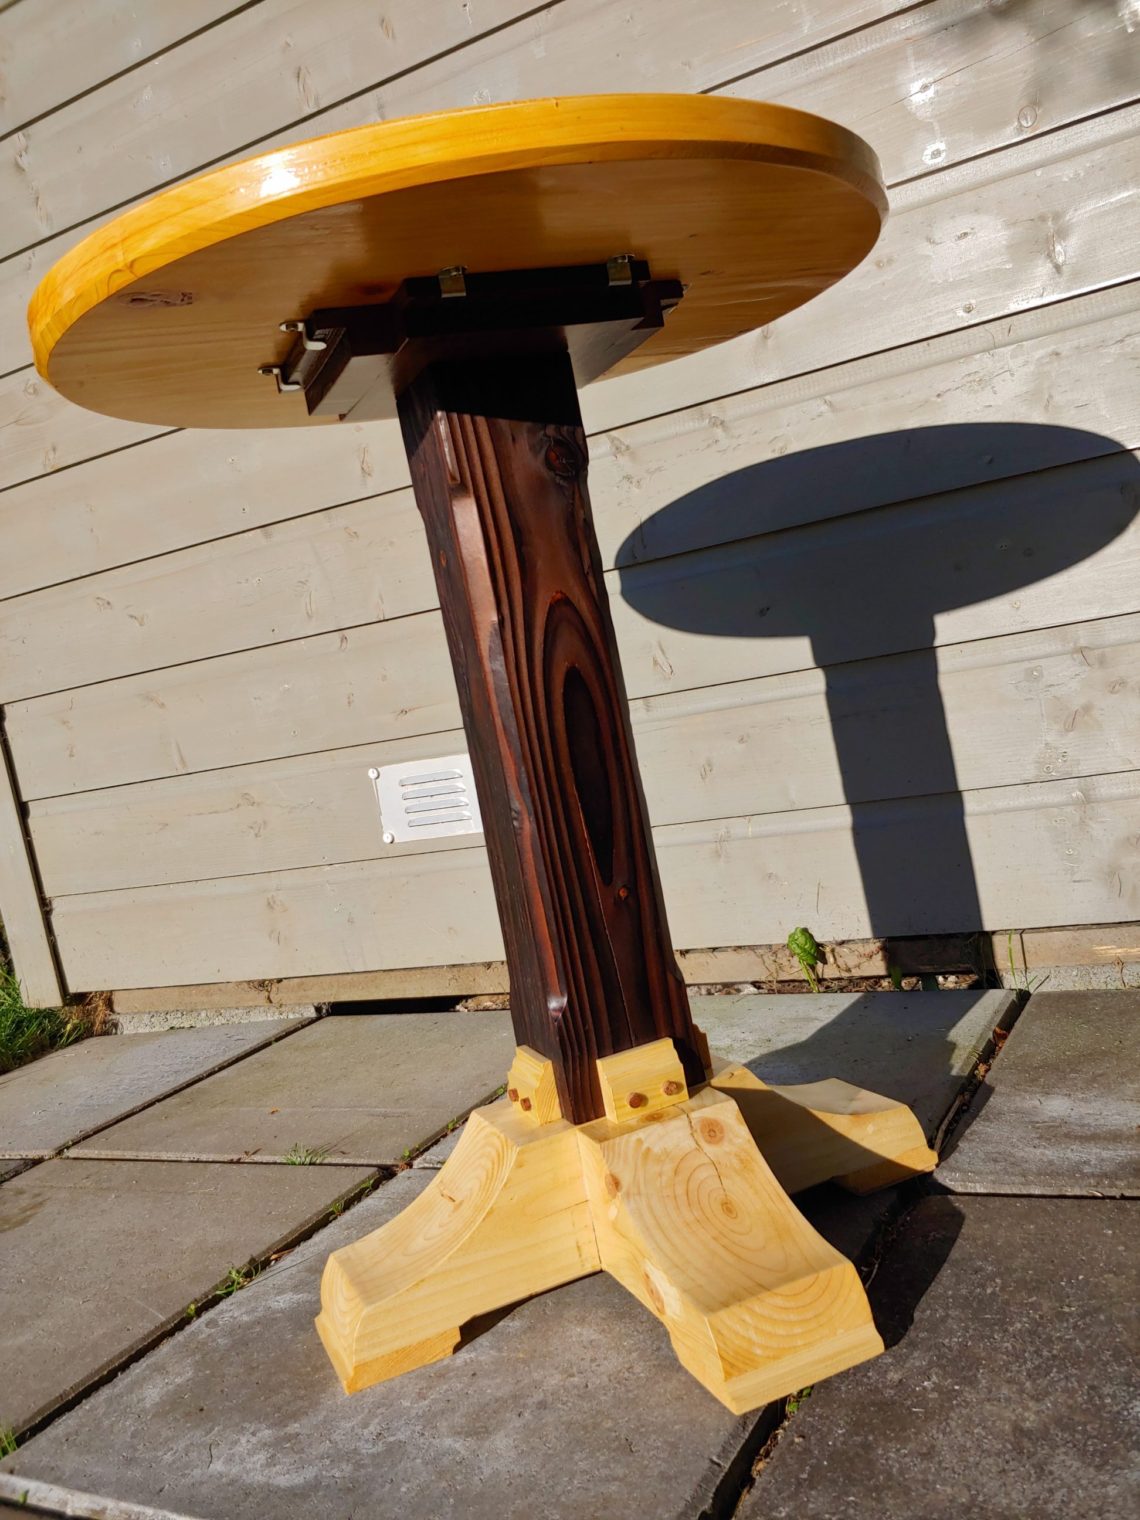
Pedestal table top
This is part 2 of the build, making the leg is shown in this post. This part will show the process of making the capital plate, the top, 4 transition blocks and the final assembly.
For the capital plate, I cut the timber to length, flattened it with my router flattening jig and then cut the rabbets on both ends using my table saw. For non-through cuts like rabbets, it is OK to use the fence as a stop block.


Next, I rip-cut the parts to width and sanded them by hand. I cut the half-lap joints and glued everything together.


I scraped off any dried glue using a chisel, sanded the plate with my orbital sander and applied some homemade stain (steel wool and vinegar). The 1st picture shows the front part just after the dye was applied, the 2nd picture was taken about 2 hours later and it shows the back, but most importantly it shows the difference between untreated and treated wood.


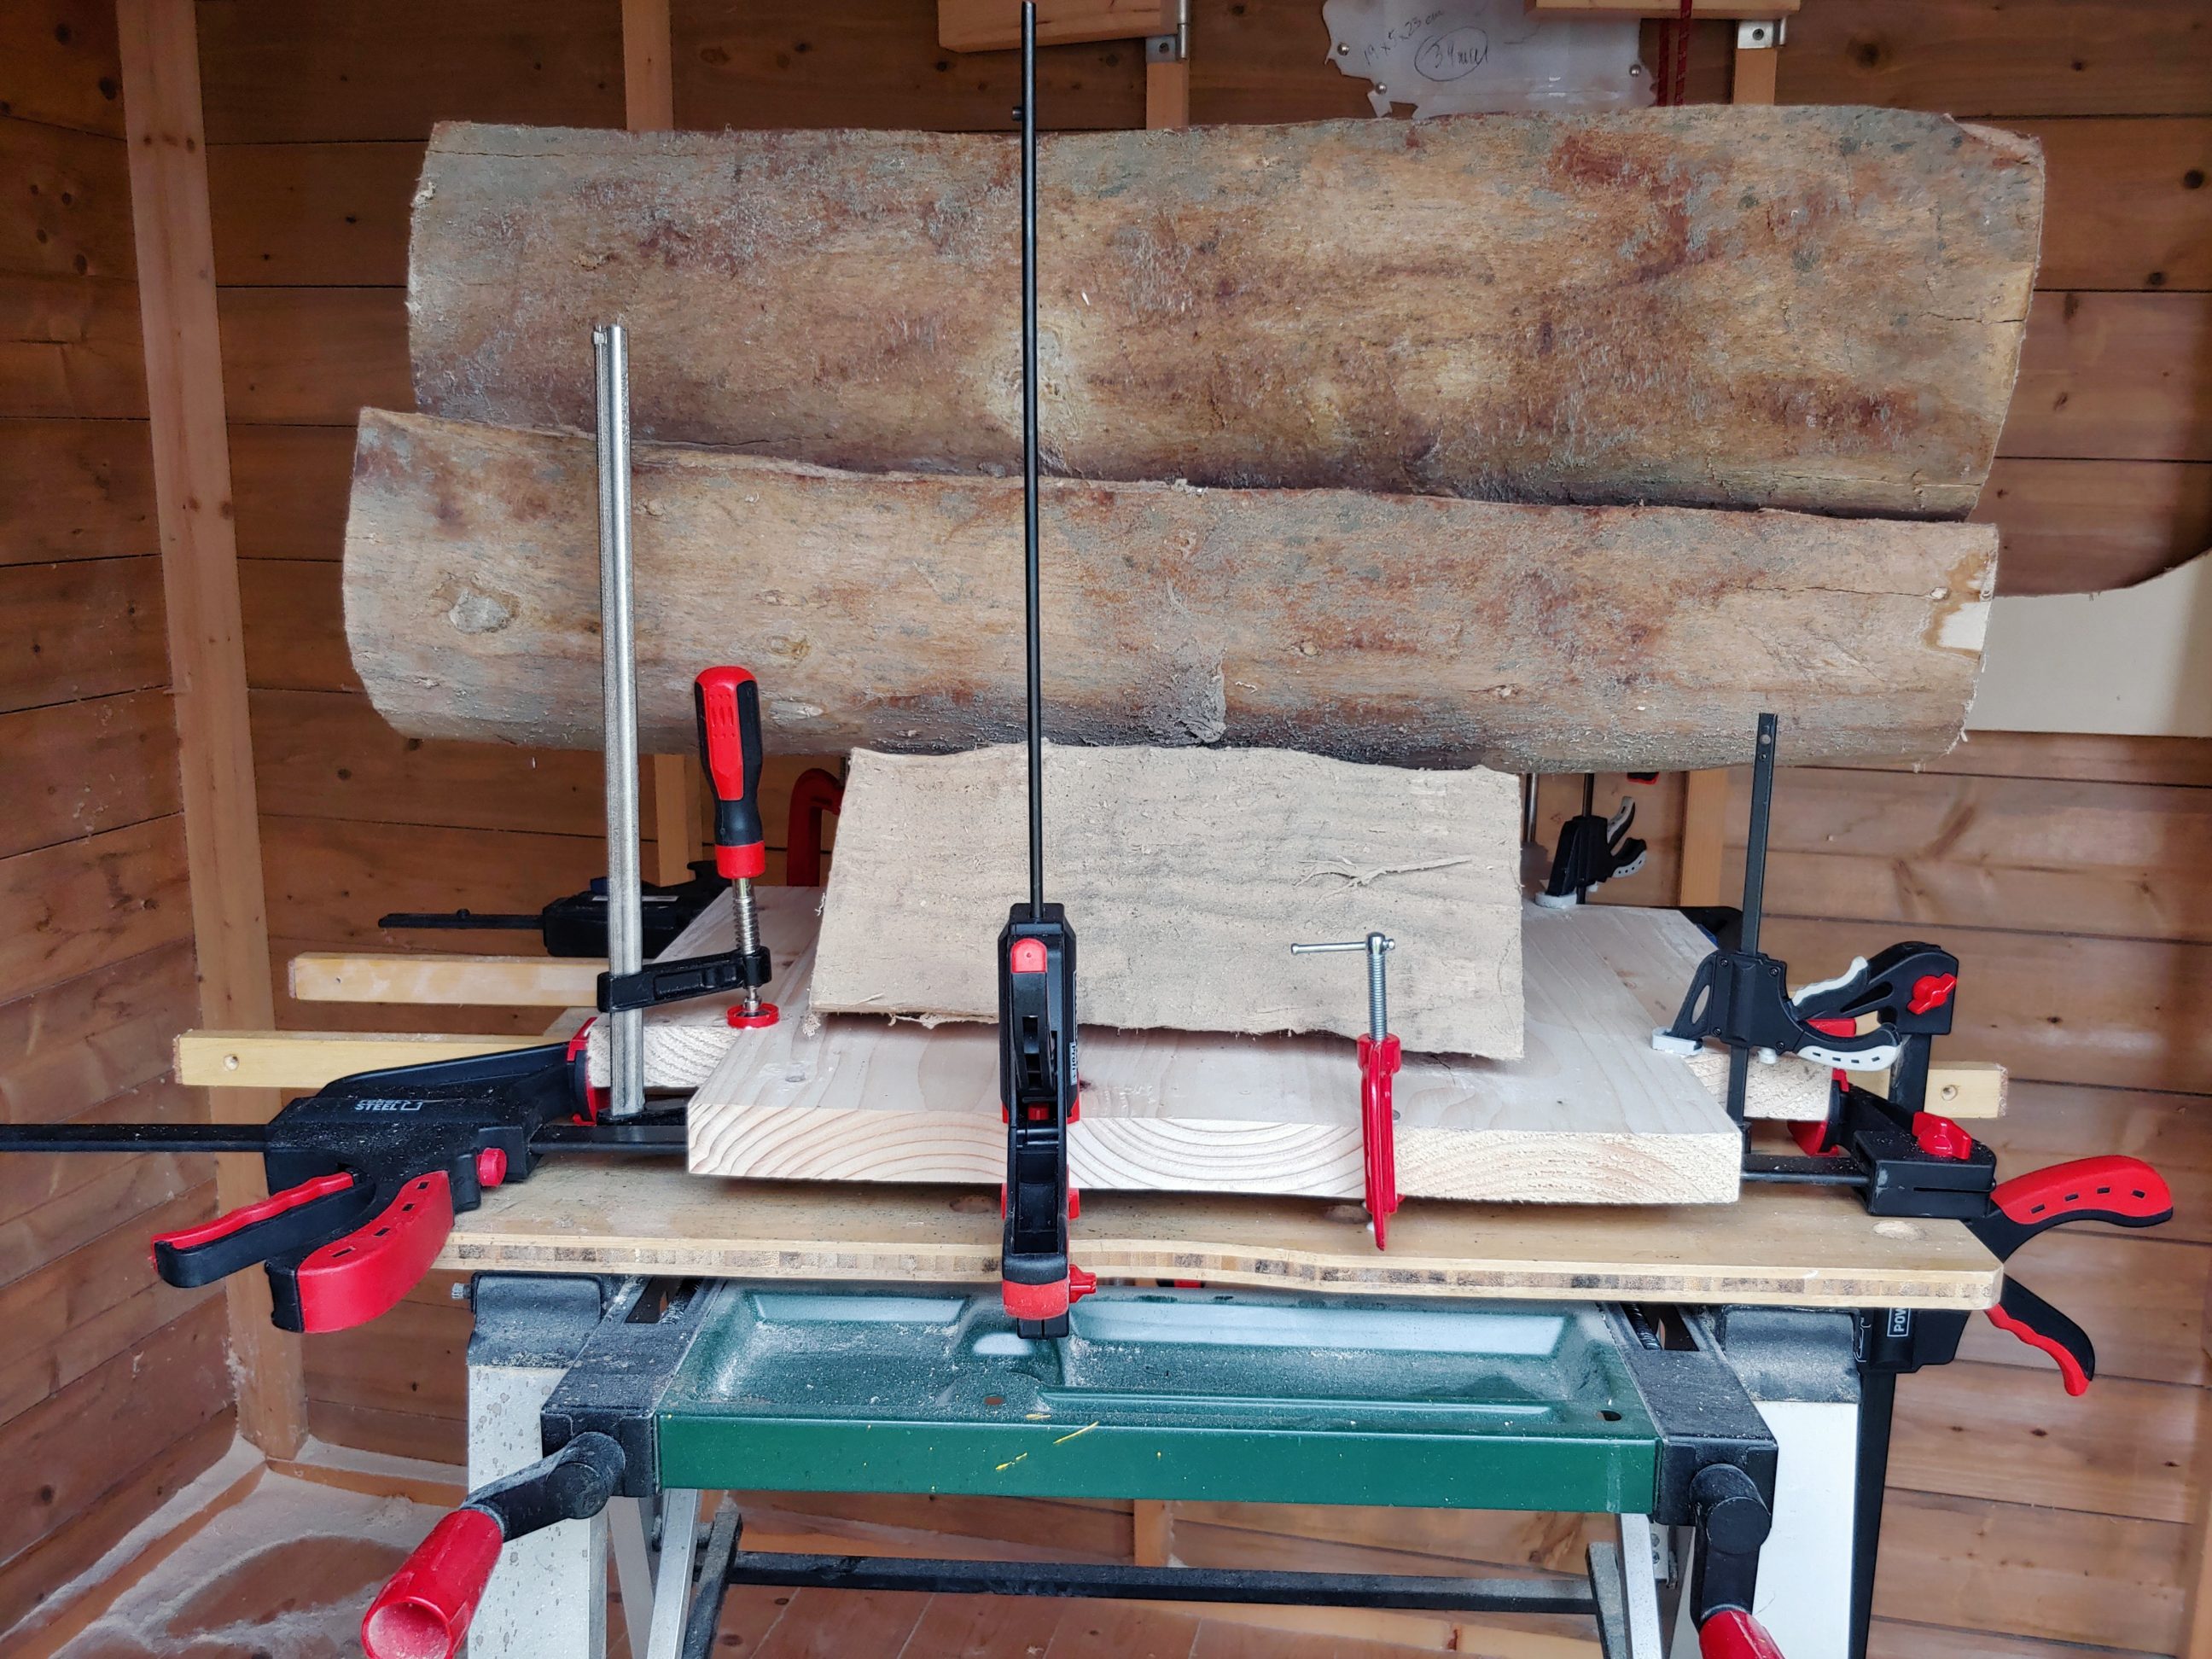
To make the top I cut timber to size and then put nice straight edges to the boards. I used my table saw because I don’t have a jointer. The glue-up was quick and easy.

And moving back to the capital; I drilled countersunk holes in it, drove screws into them and applied a couple of coats of varnish. While the varnish was drying, I worked on the tabletop.


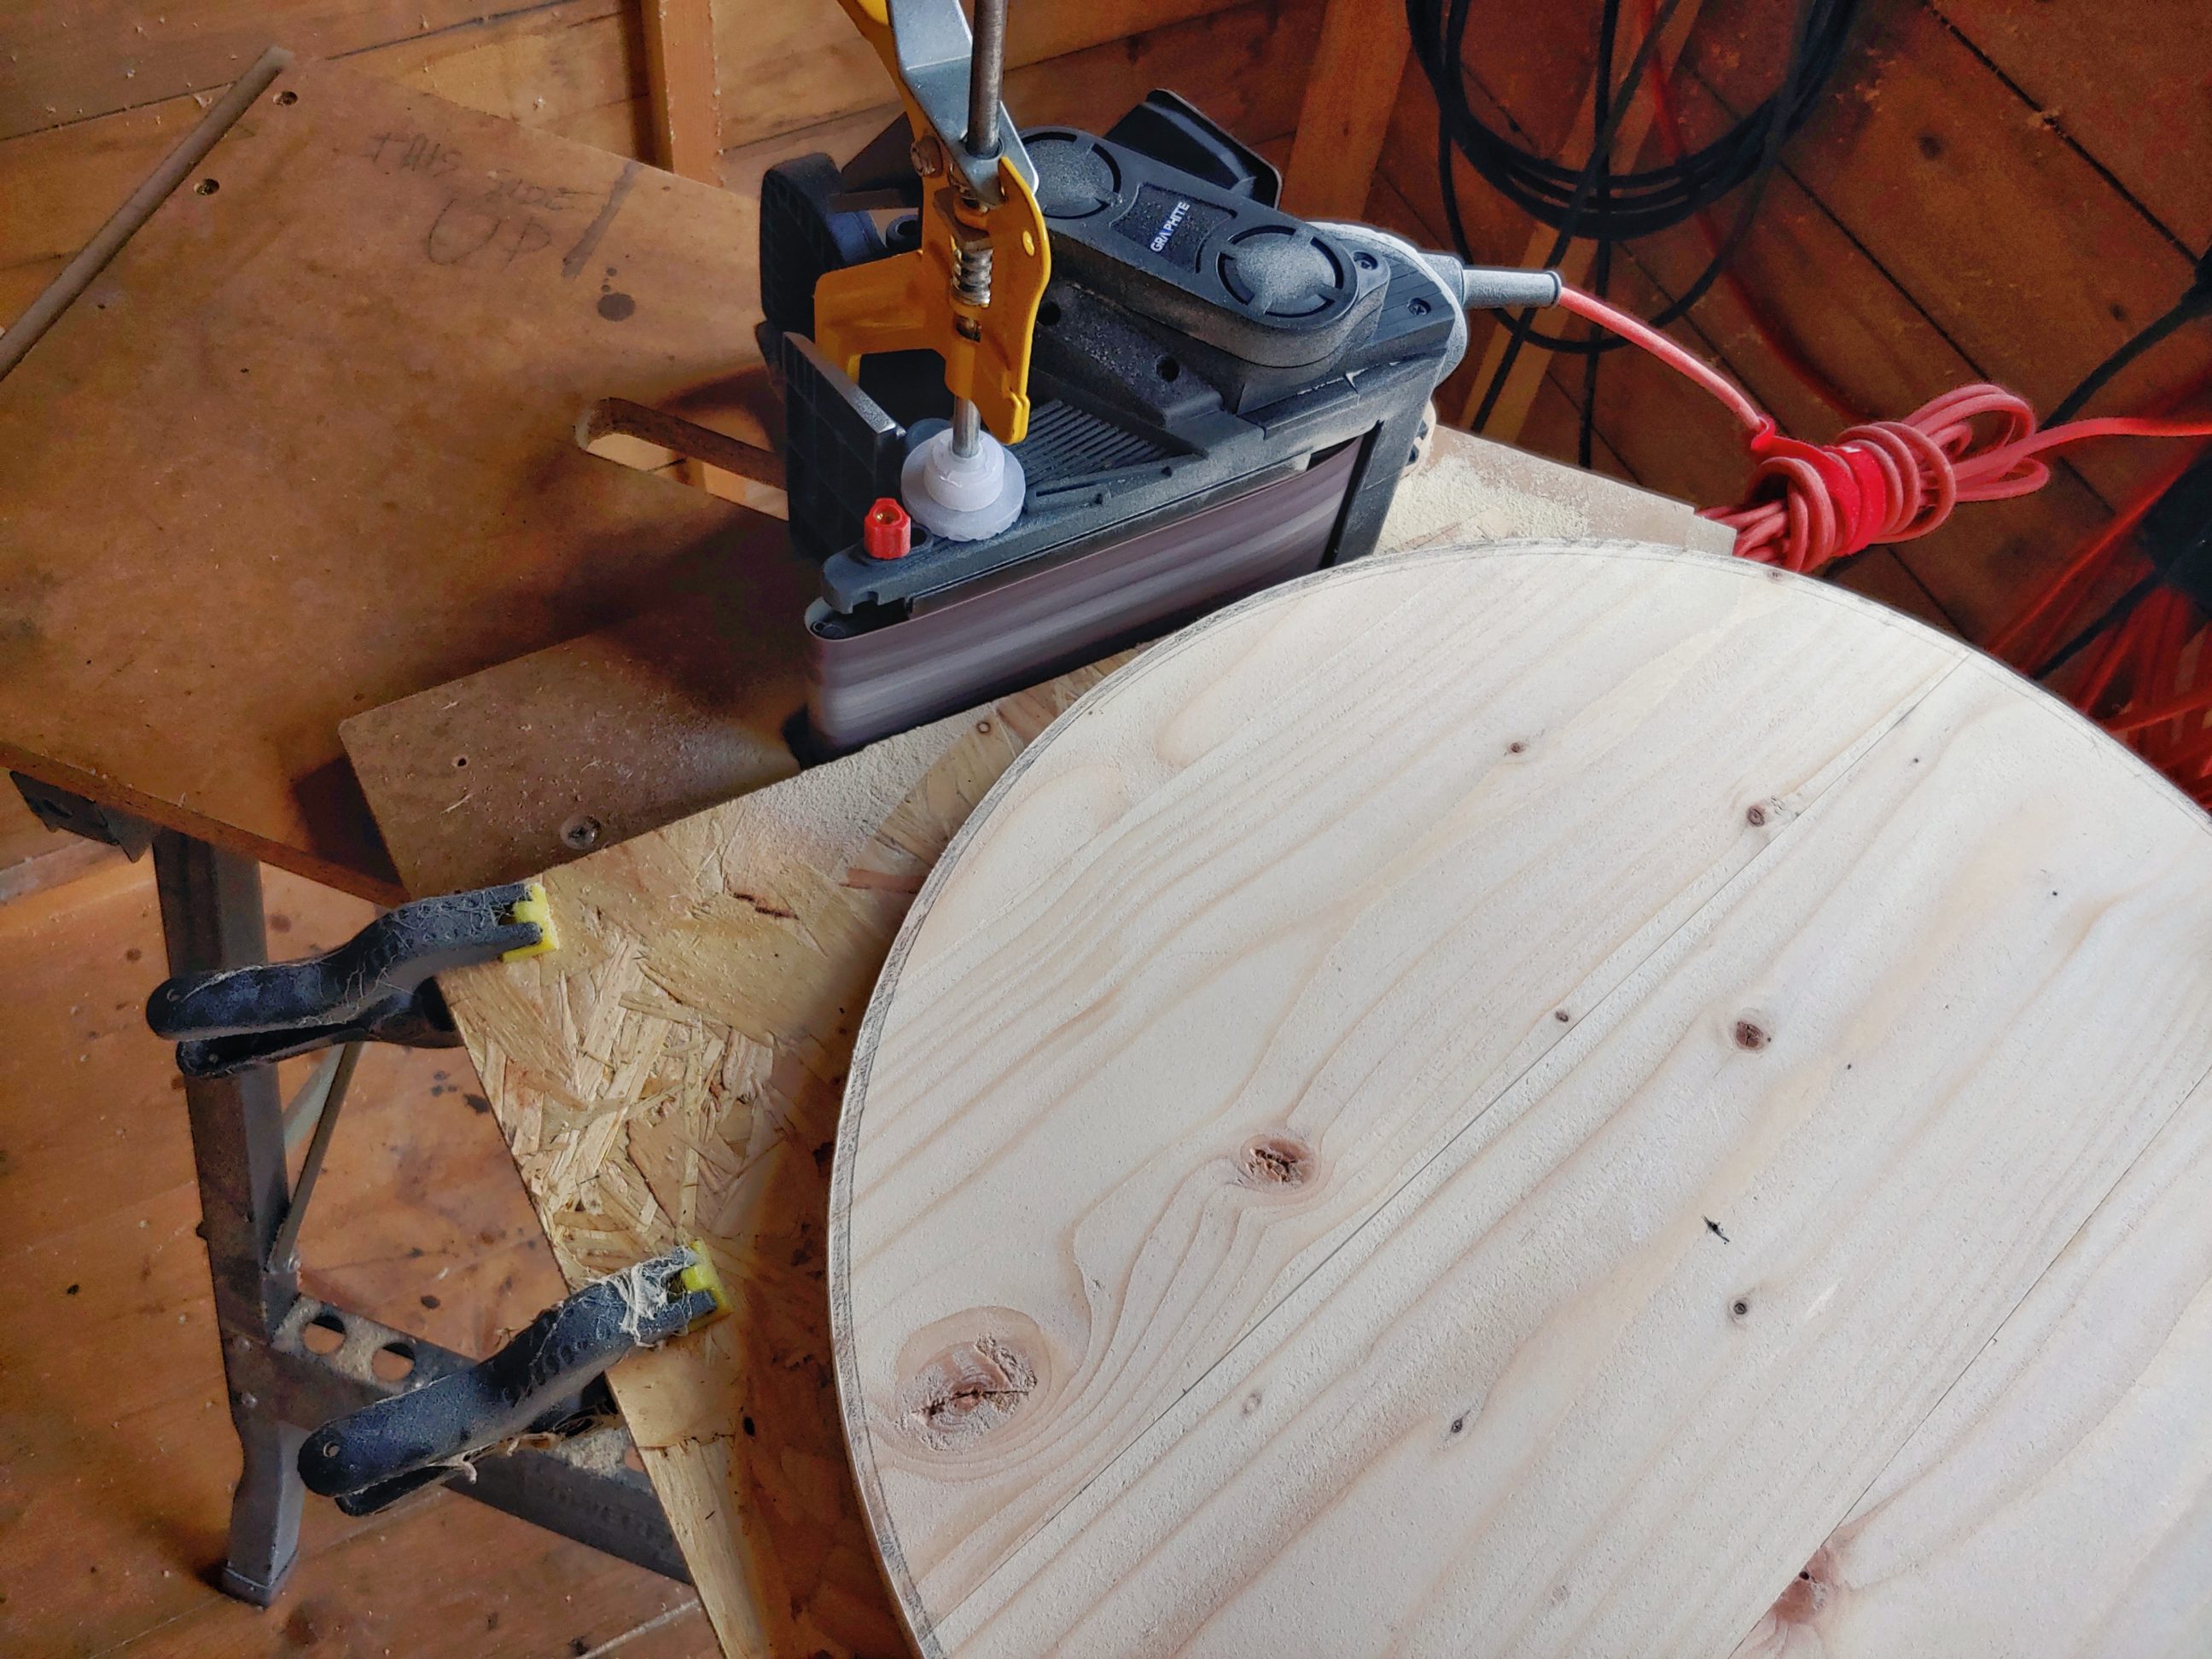
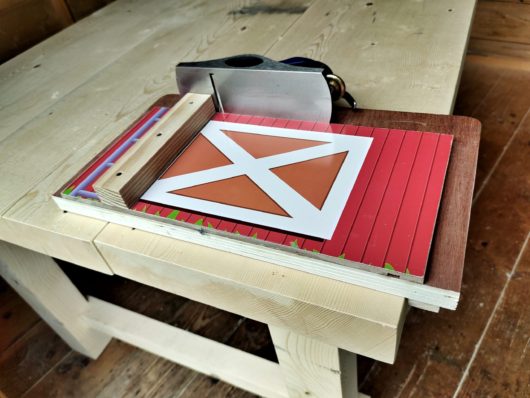
I cut out the circle with my jigsaw, staying off the line a bit as the blade tends to bend sometimes. Next with my router flattening jig, I flattened the top from both sides. That was followed by sanding with 40 grit discs.


After an hour or so it was completely flat and decently smooth. I fixed my belt sander to the bench and finished off the edges. First with coarse, then with fine sanding belts. Before putting away all these sanders I had to use my random orbital sander one more time, with fine and super-fine discs, to smooth out the front and the back.
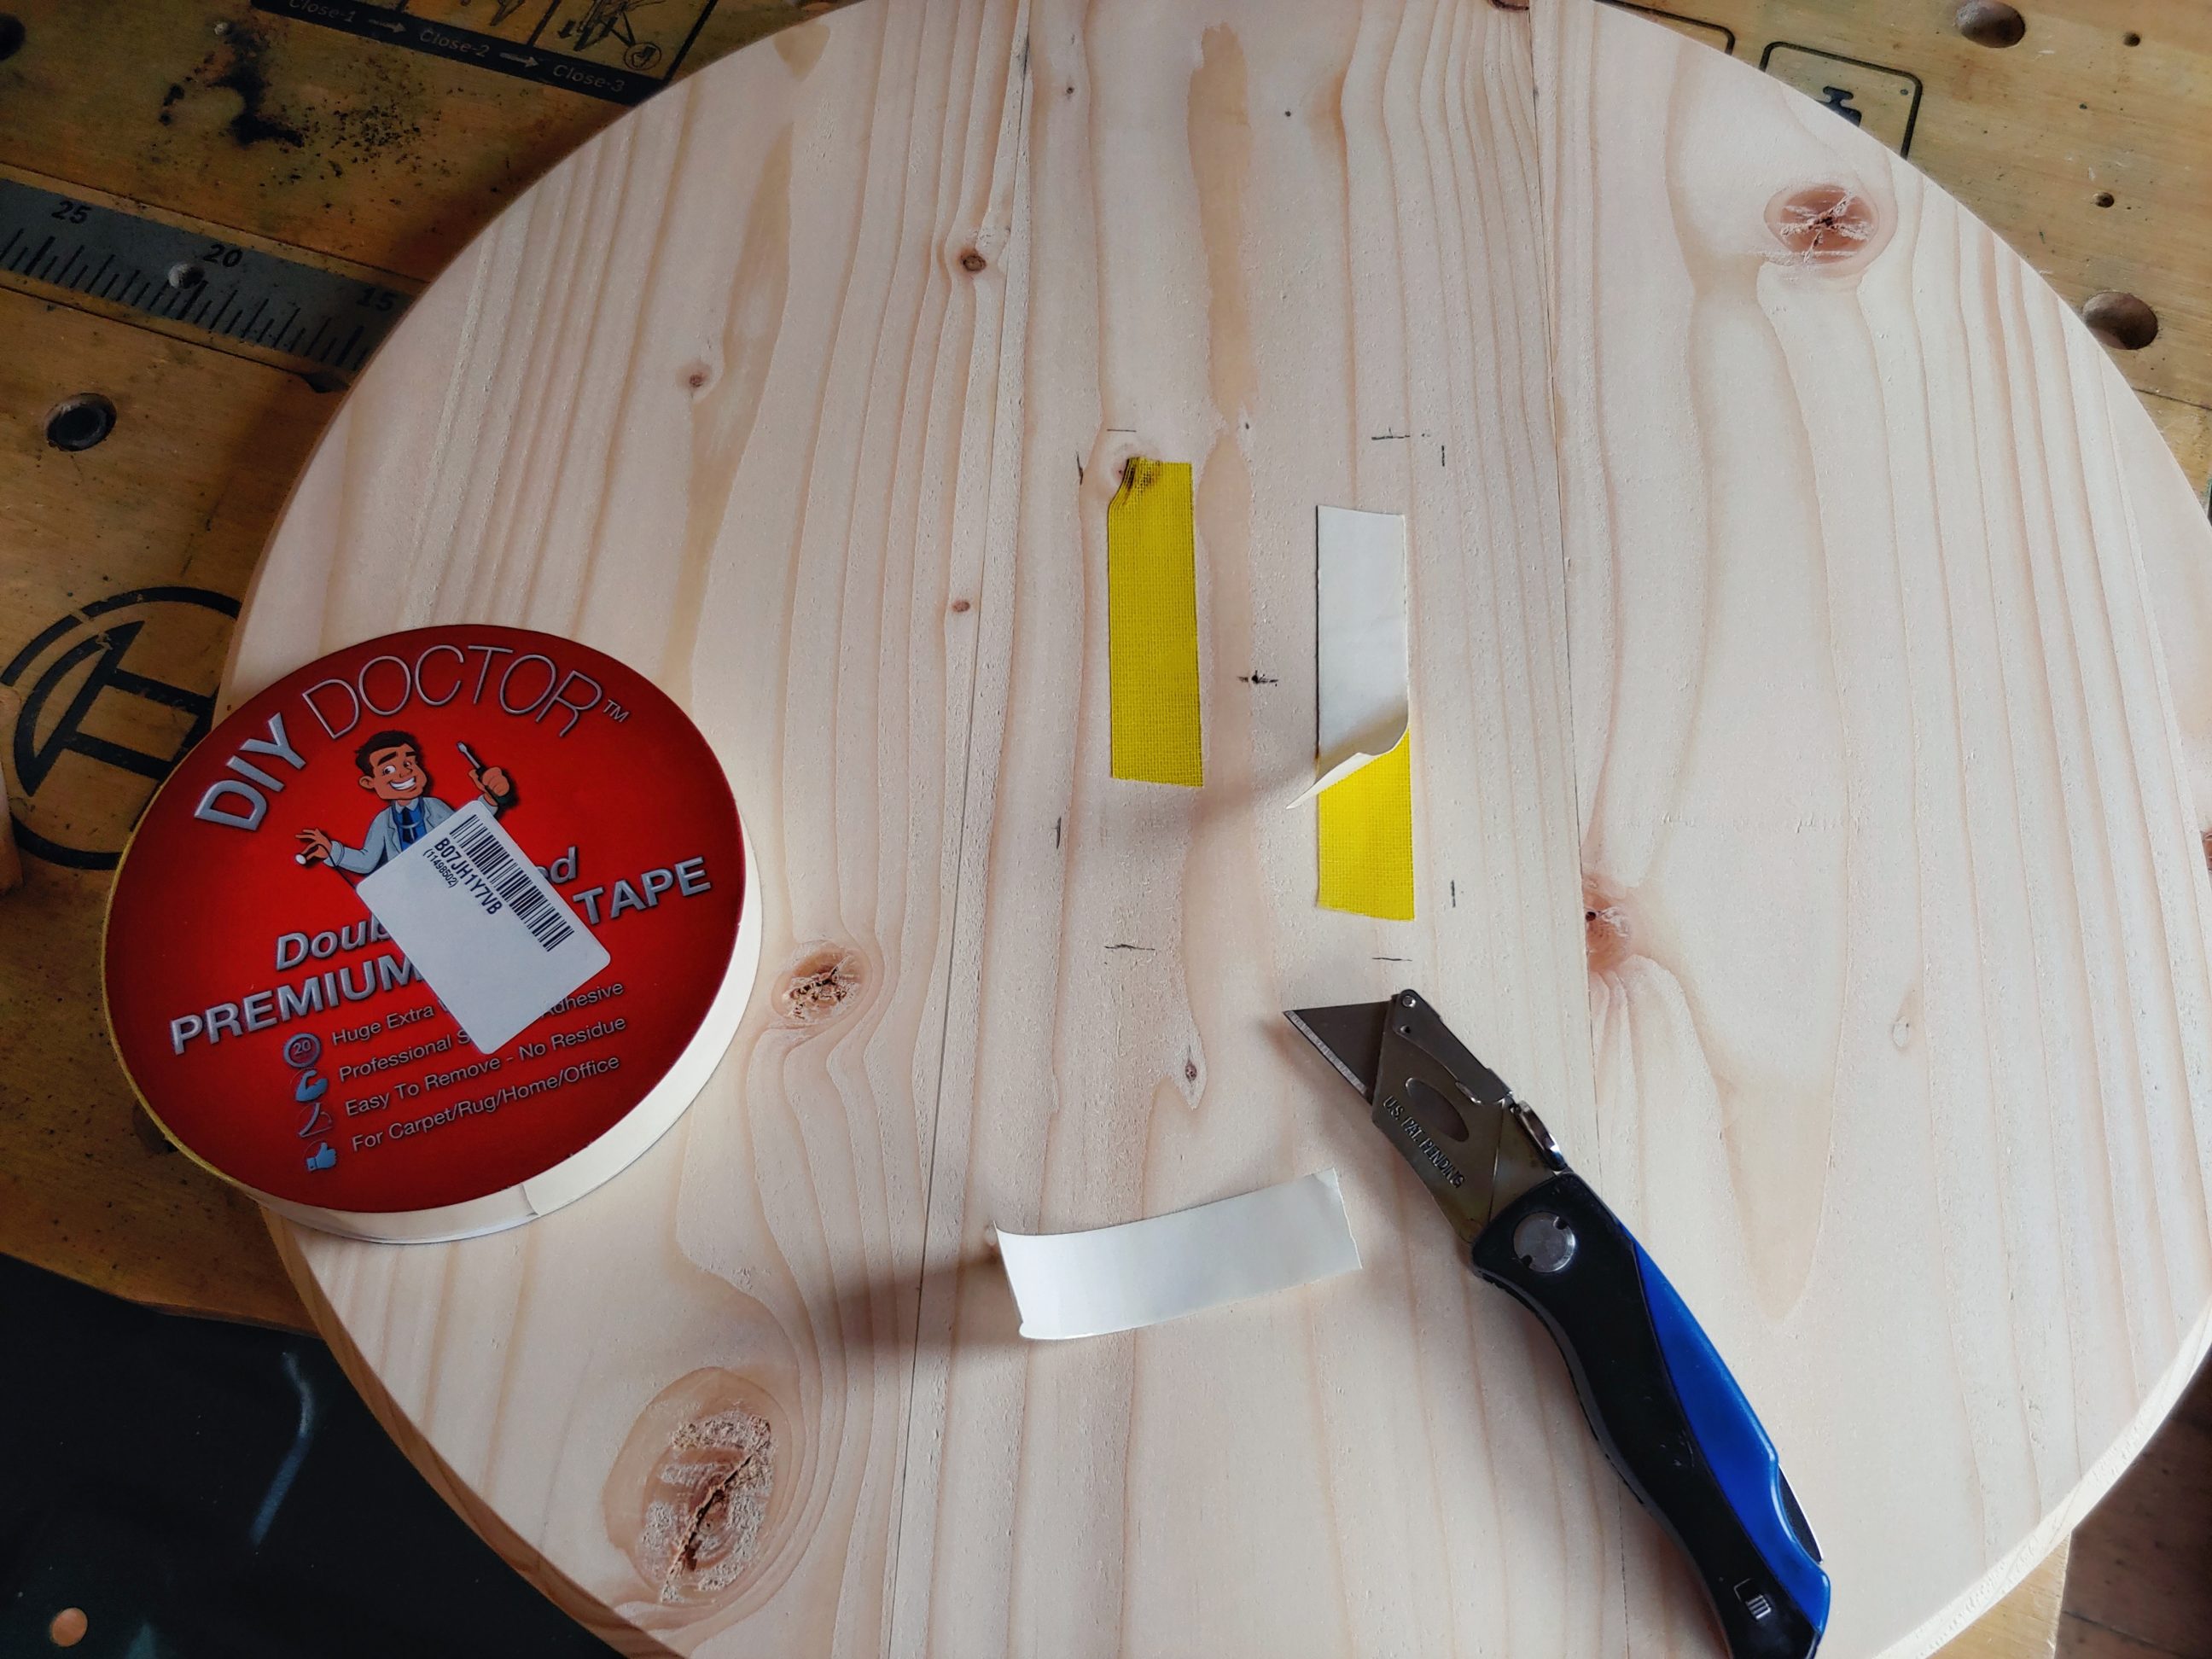
I also added a little chamfer to the front and a bigger one to the back. To make the last step easier, which was applying the finish, I stuck a wooden block to the back using double-sided tape. That allowed me to cover both sides with varnish in one go.


After a couple of coats, and a few days later I was able to buff the capital with a fine steel wool and wax. Next, I fixed it to the leg using my impact driver, and I have to mention that there was no need to pre-drill any holes.


I attached some timber to my router edge guide using only double-sided tape. I also used some support rail to help with levelling the router during the first cut.


To cut these blocks to size I used my circular saw jig. That was an easy task as I used a stop-block and all 4 pieces were the same. Once cut I filed the edges down with my mini files (flat and rounded), just a little bit to prepare them for the next step, which was applying spray lacquer. It dried very quickly so it wasn’t a problem to have them finished within an hour.

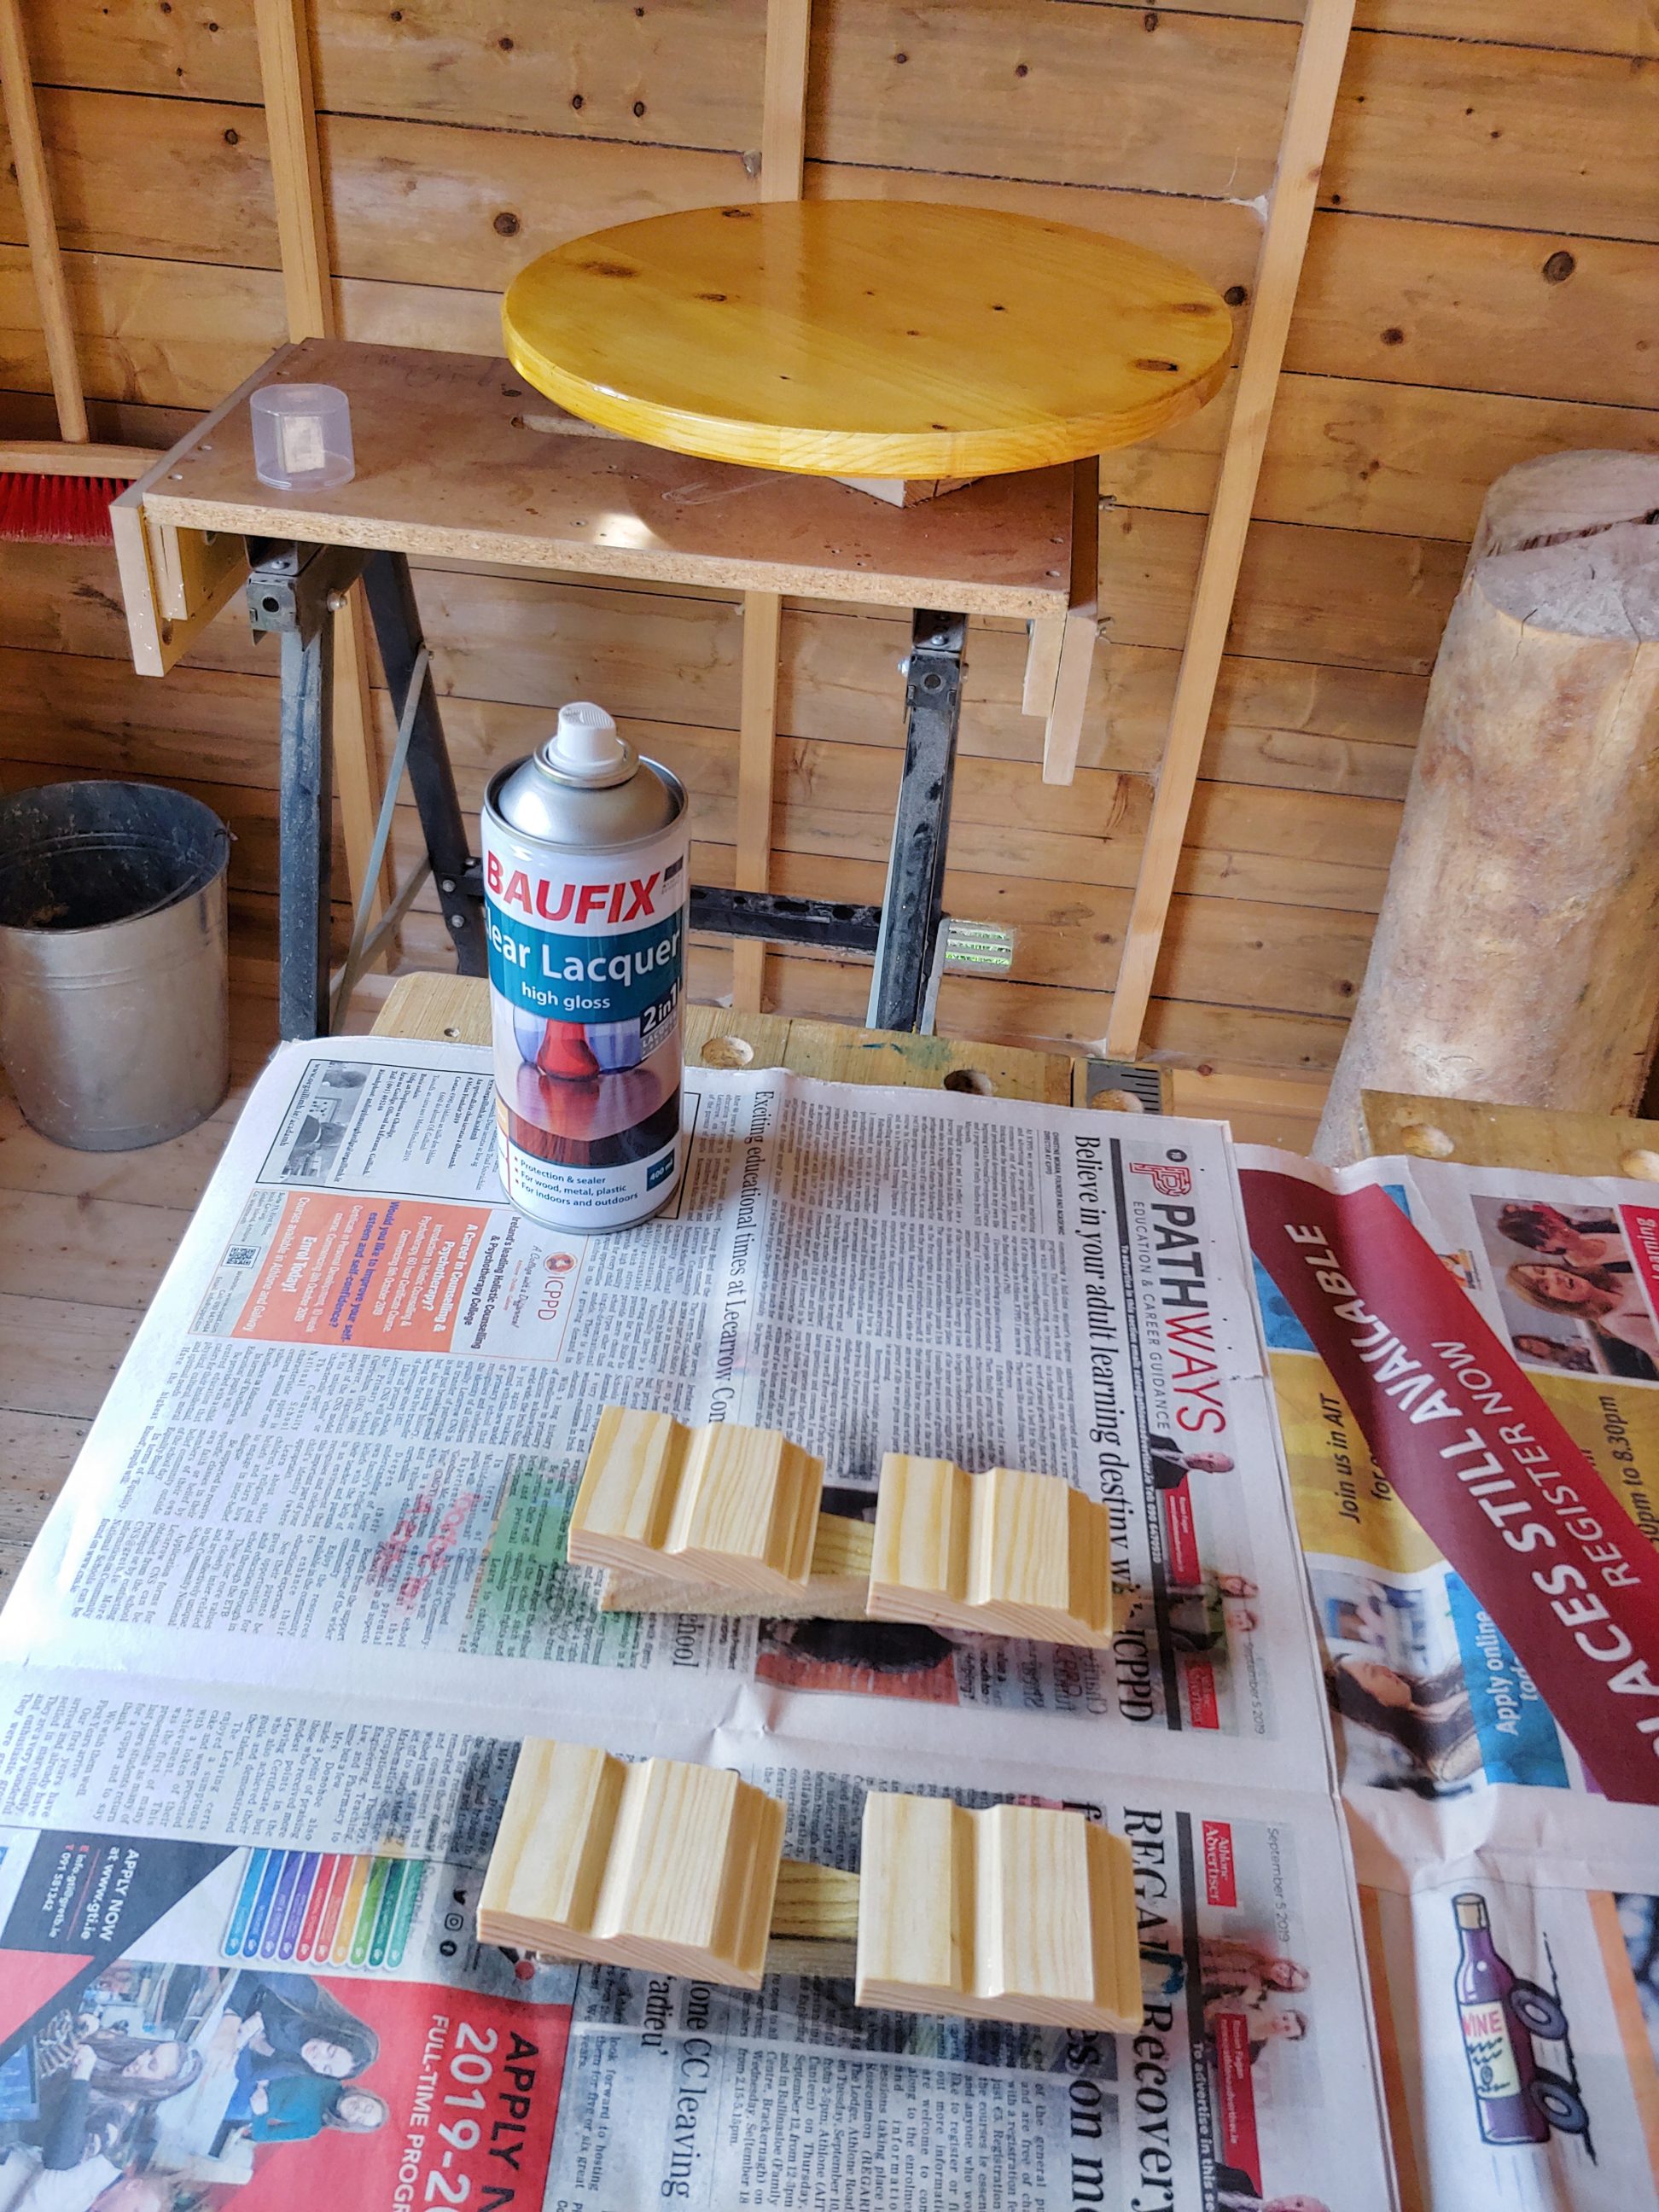
I made a couple of mistakes at that stage. I attached the blocks to the leg with contact adhesive, because I didn’t want to use any other glue, or method, that would involve clamps. These joints were very weak because the leg was waxed. I also noticed that the blocks looked like cut skirting boards, they were simply too big. The only thing I liked about them was the colour they got after applying lacquer, a perfect match!


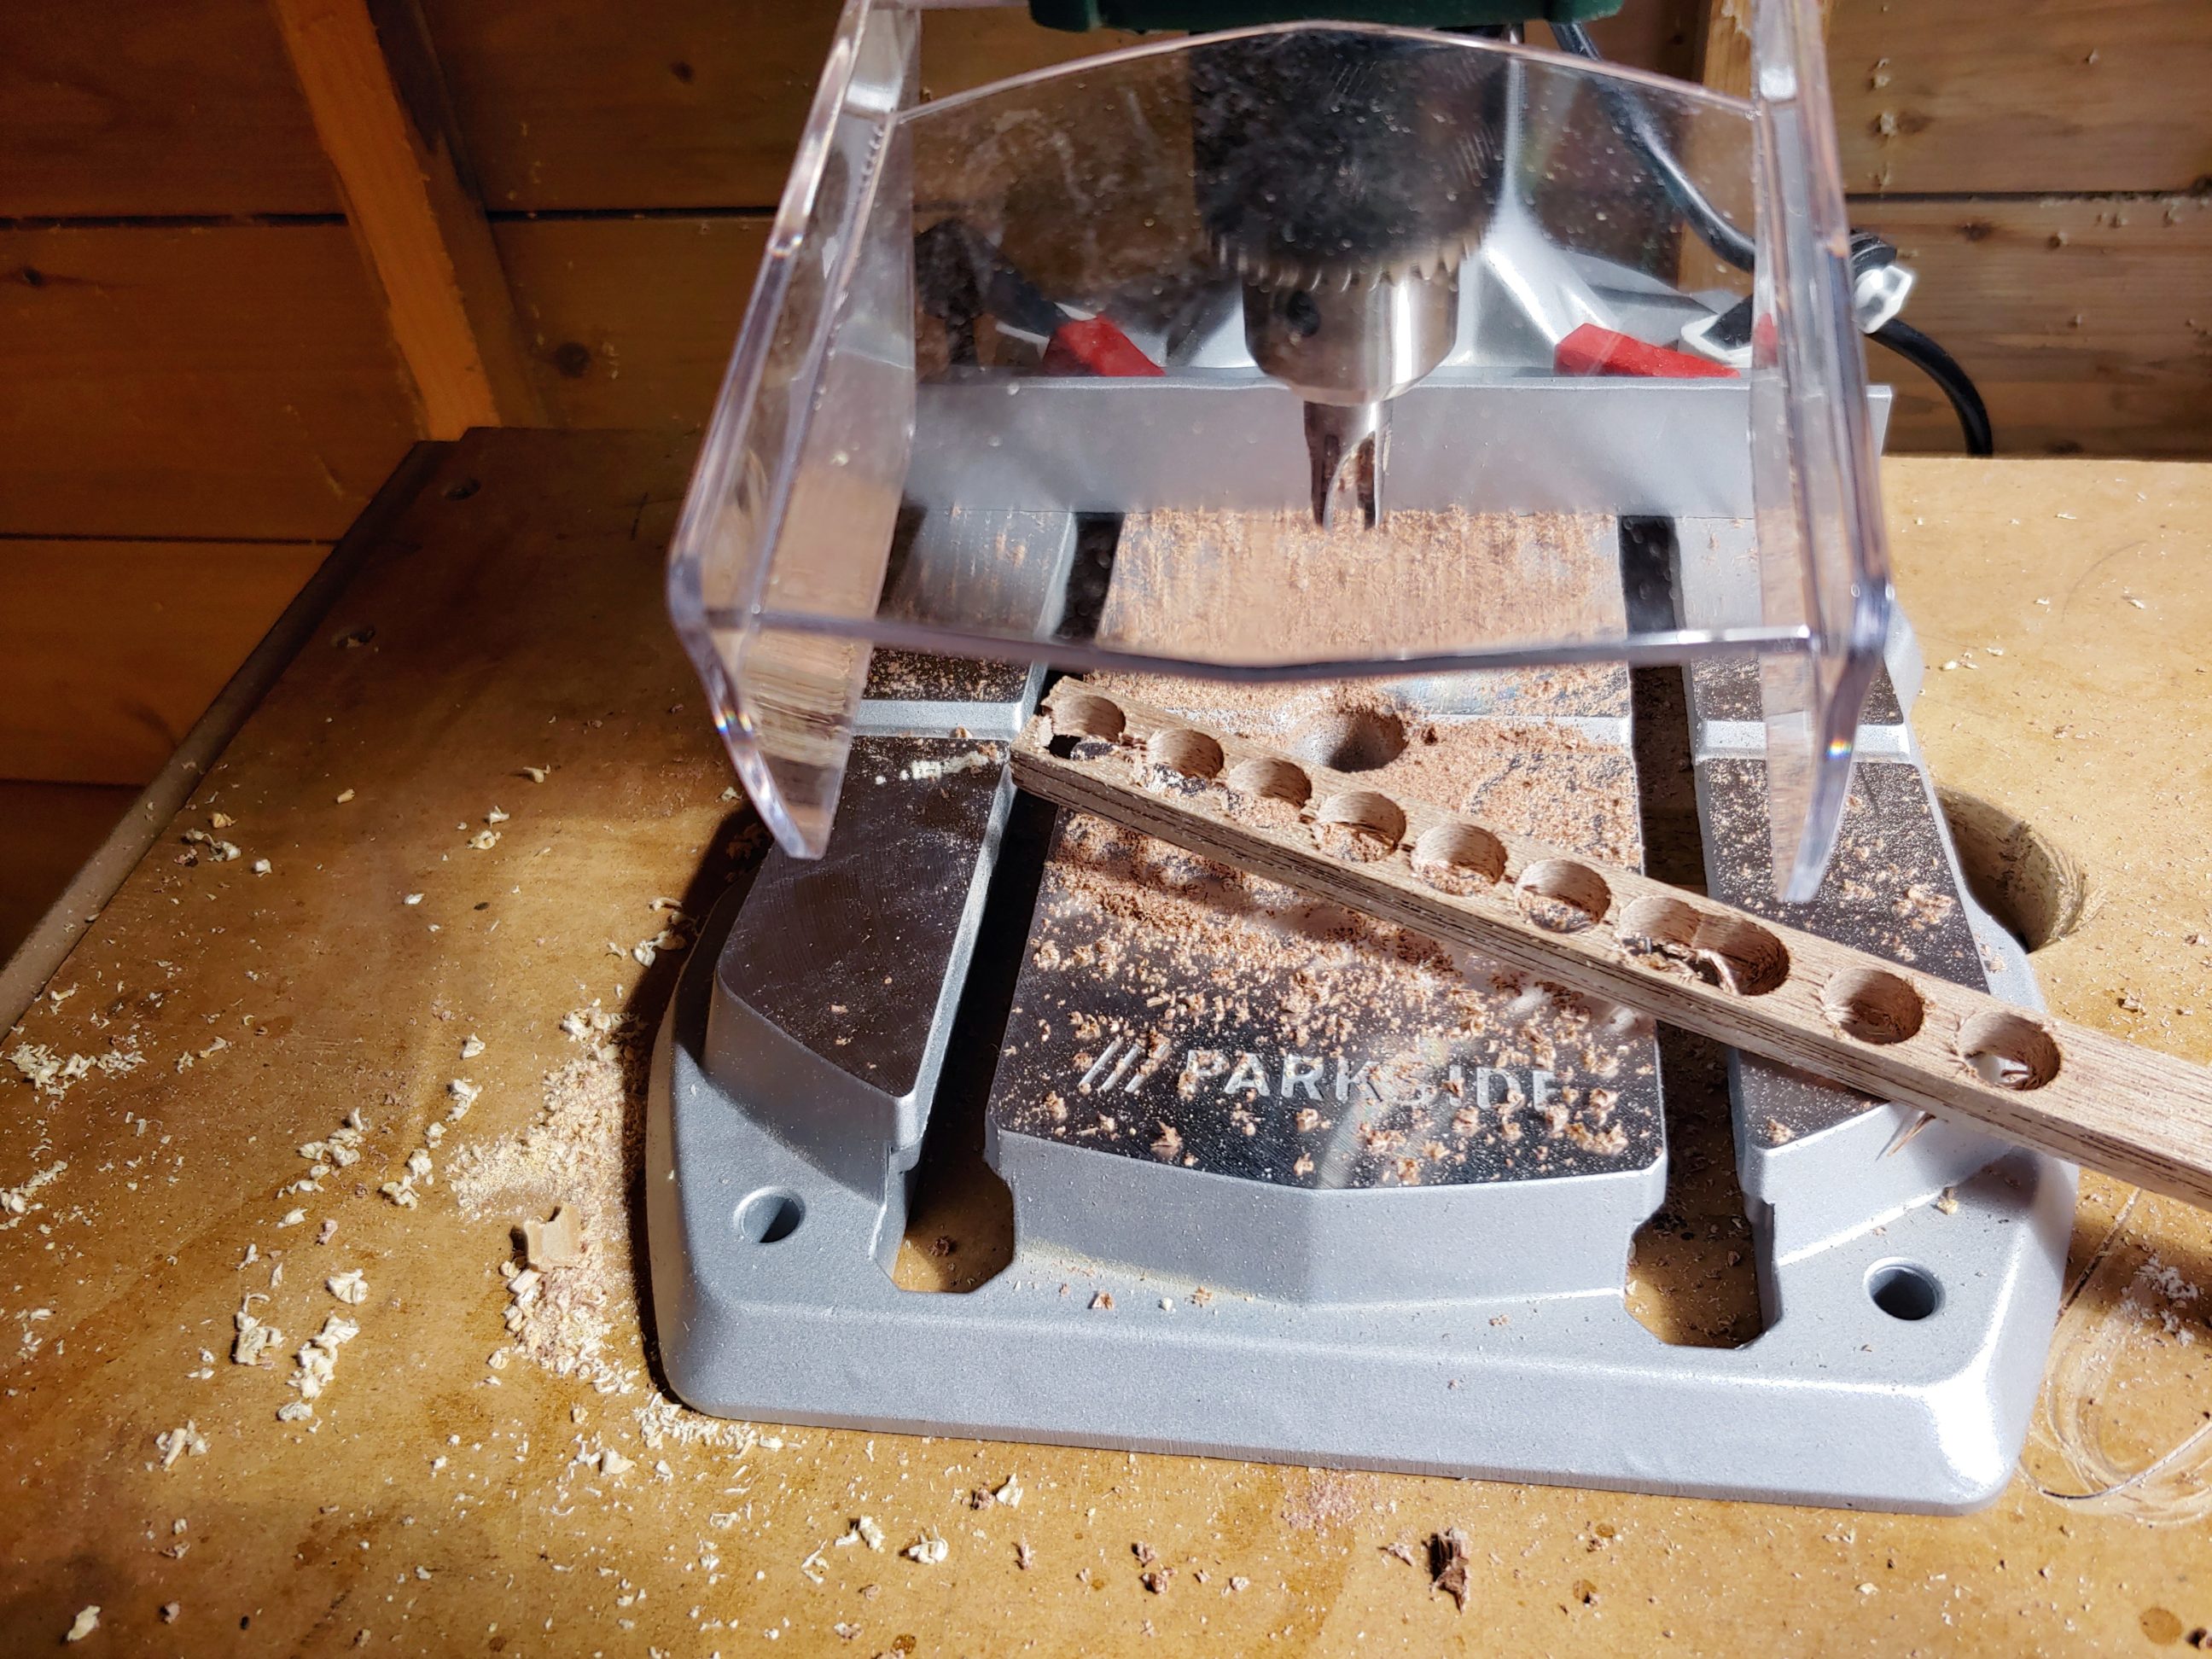
Luckily for me, it was easy to take them off and trim them down to the new size. I drilled 2 holes in each block, using 8 mm and 3 mm bits and that allowed me to hide the screws and make sockets for the plugs.


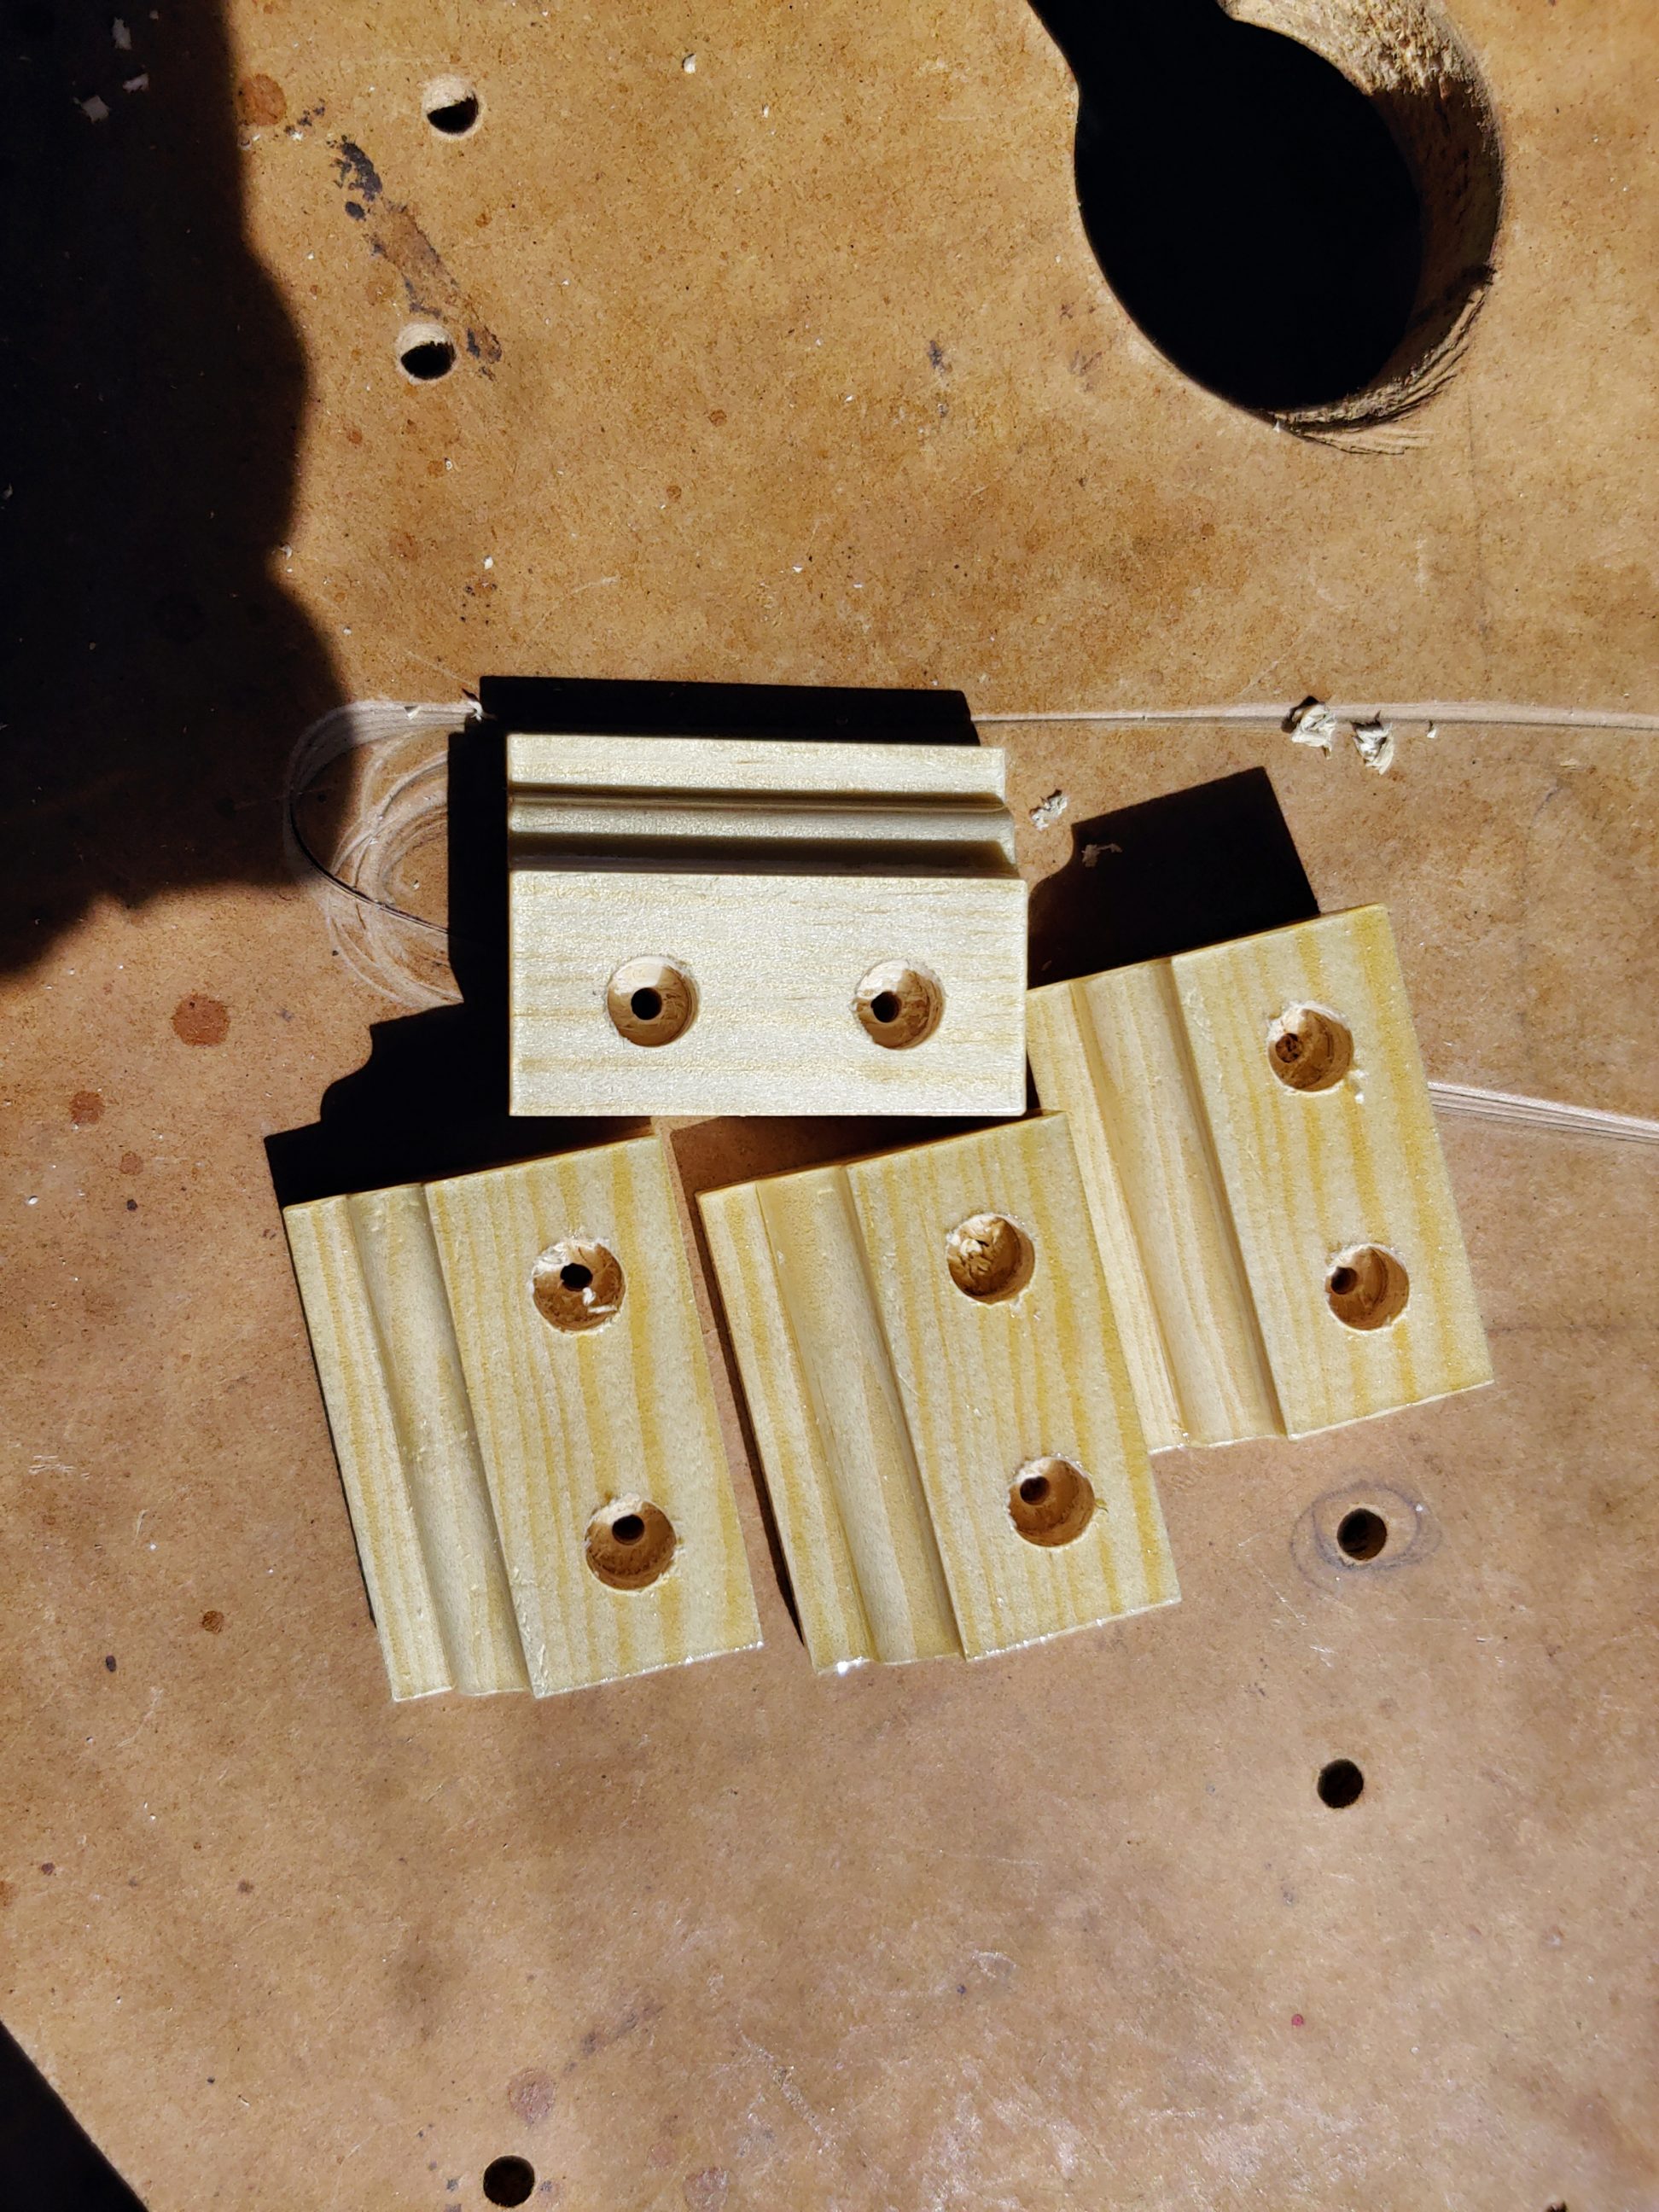
I cut out some plugs and fixed them firmly in place with hot glue.


Before applying spray lacquer I covered everything with masking tape. 2 quick coats were sprayed on, mainly to cover the plugs and darken their colour.


I was finally happy with the new look and the strength of the joints. I was getting there, slowly but surely. I lightly sanded the top and buffed it with wax and steel wool. I fixed braces to the top leaving a gap between them and the capital to allow any seasonal movements of wood.


This project was built with cheap material, that cracked and bowed in some places. It was a challenge and I learned a lot during this build, tried new tools, techniques, finishes, and made a couple of mistakes, but I’m still very happy with the results!


2 Comments
Pingback:
Pingback: