
Floating shelf
It had to be done, sooner or later. I stared at the empty and unused space just above the radiator and realised I had some scrap material that would be perfect for a shelf. So I checked if there were any pipes or cables using my wall detector and moved to the shed to cut the timber.
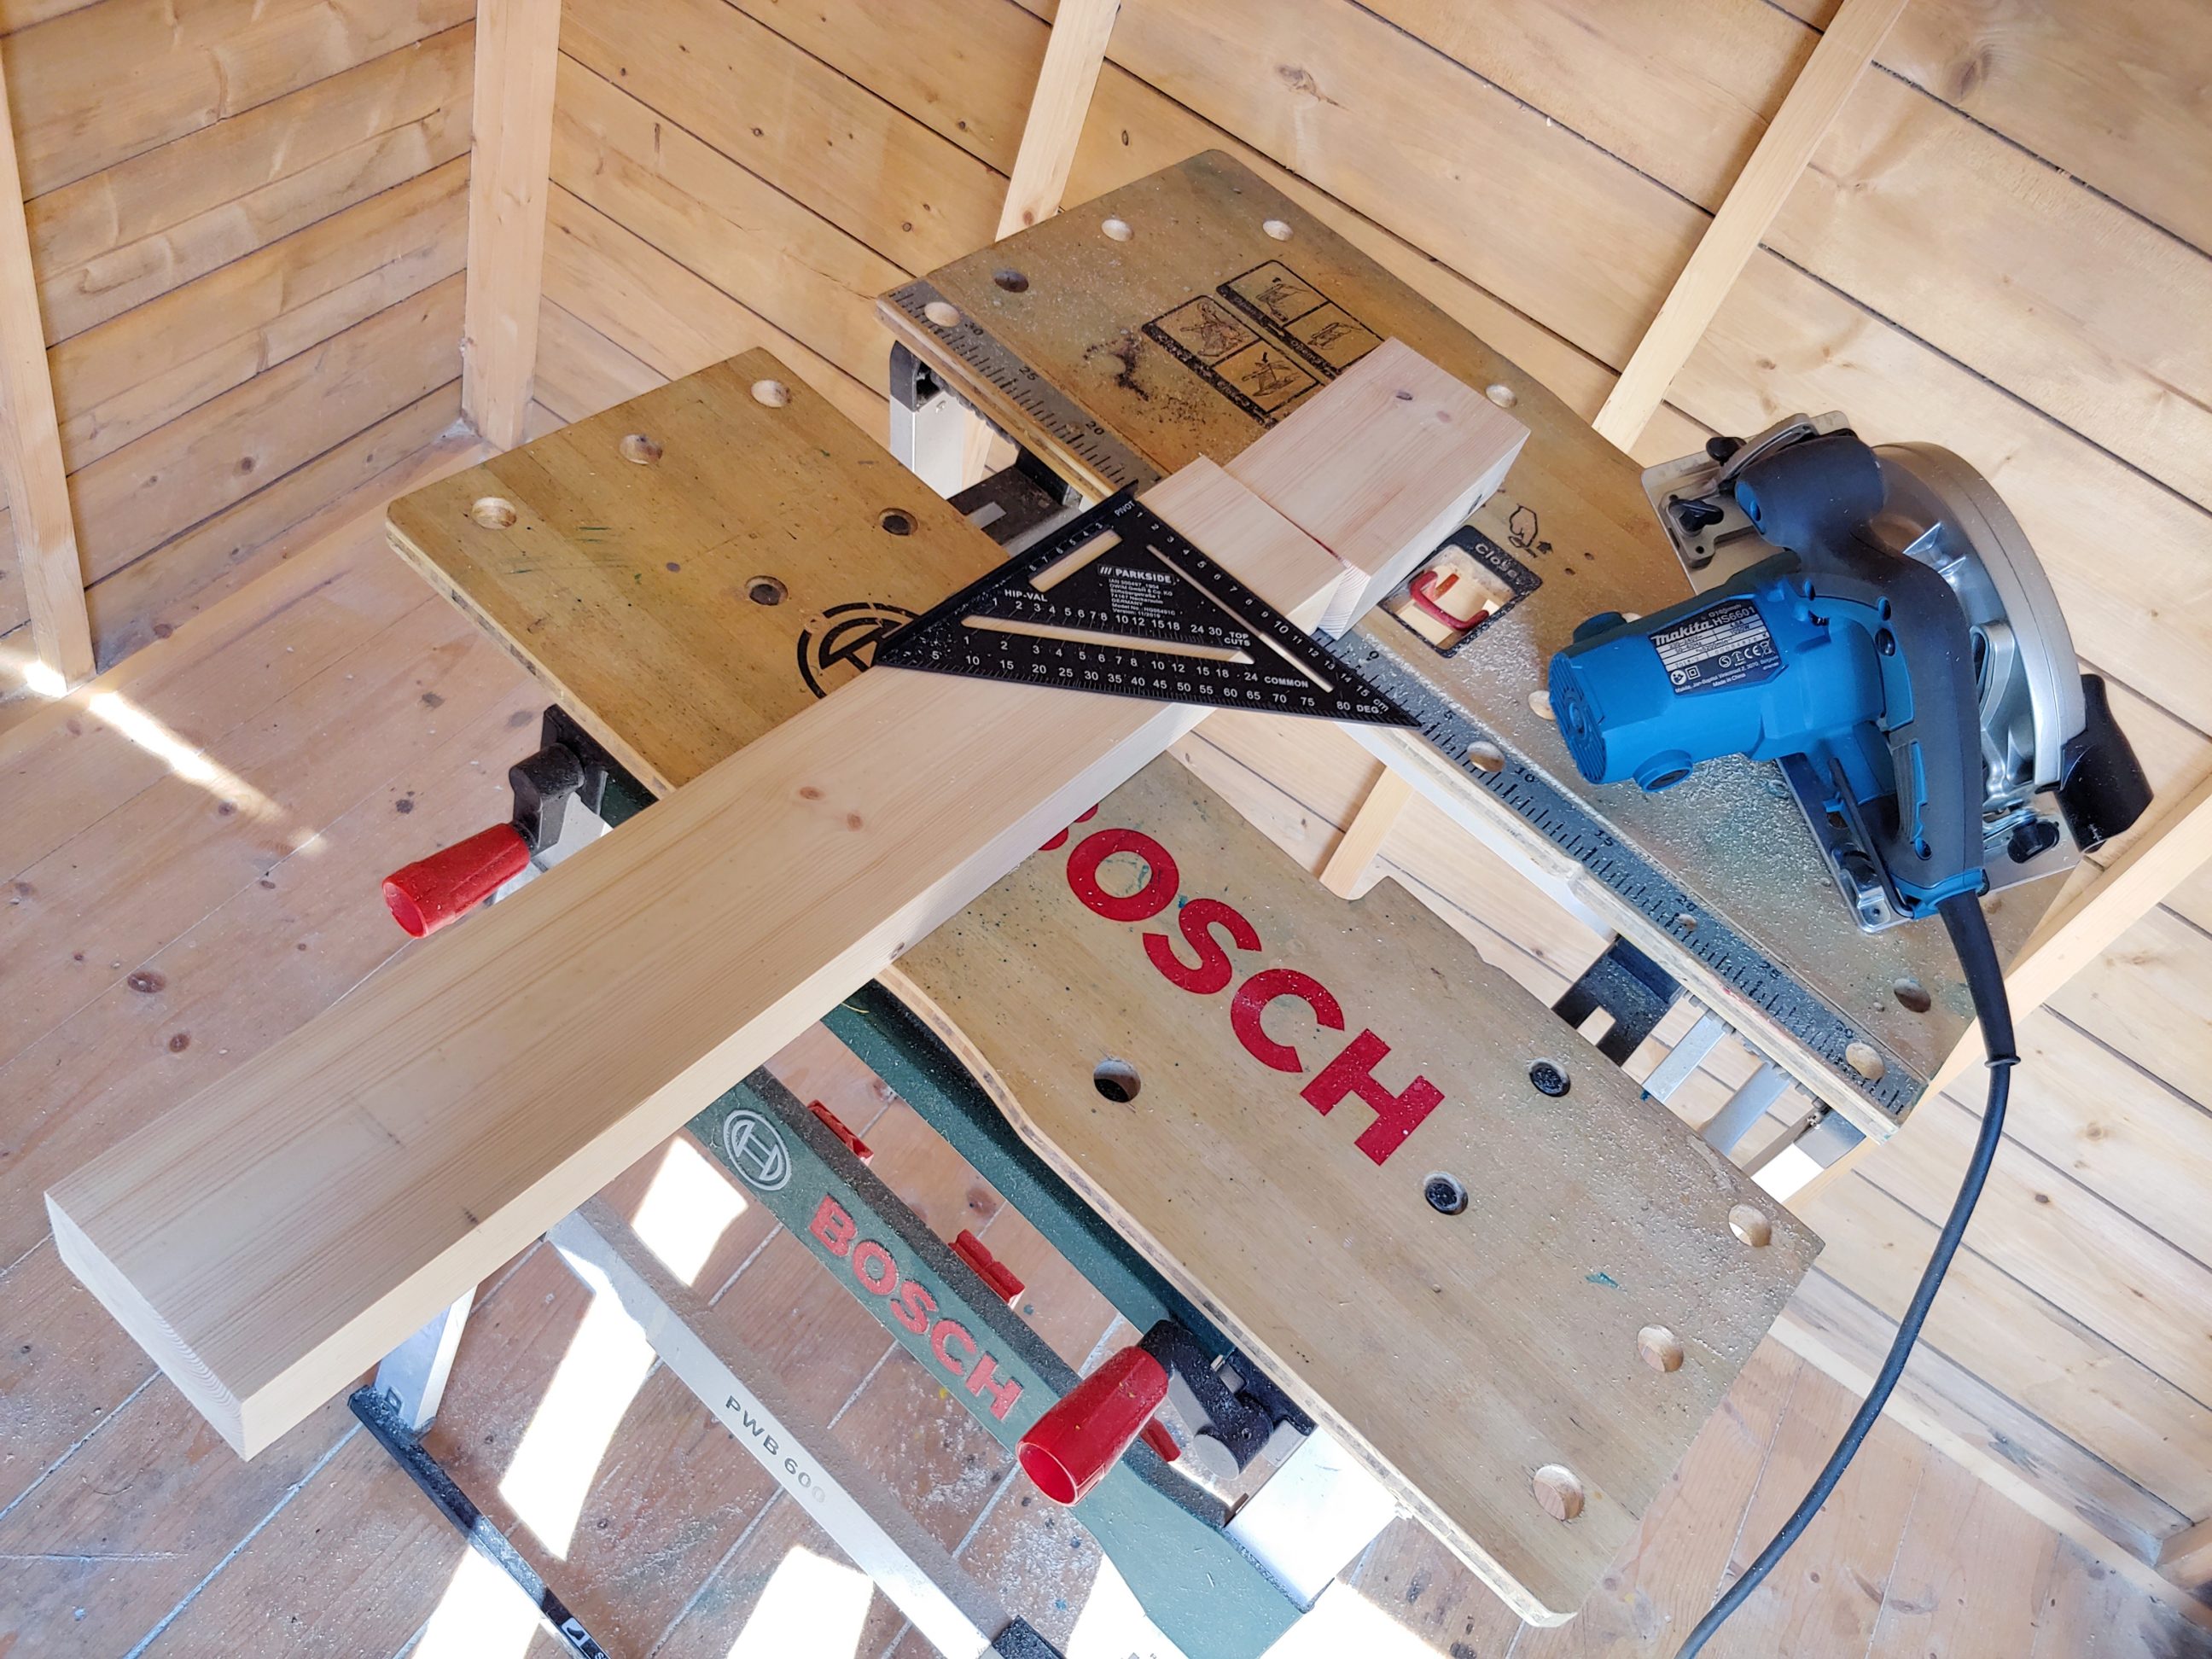

Using a 12 mm bit I drilled 2 holes for the bracket pins. I installed a fence to my router and cut grooves, perfectly parallel to each other and of course to the board edges. With the fence removed I routed out the rest of the material, very slowly and free-hand. I was very happy with the results!


I charred the wood and brushed it with a soft, nylon brush.


I applied a couple of coats of wax. It was quite a challenge to remove the white spots when it dried, even with a brush. I used a heat gun to melt it down and that worked just fine for me.


The hinges needed to be ground down as the pins were not flush with the plate. Next I prepared the screws and the wall plugs. I used the smallest, yellow ones, but they should be strong enough for this little shelf.


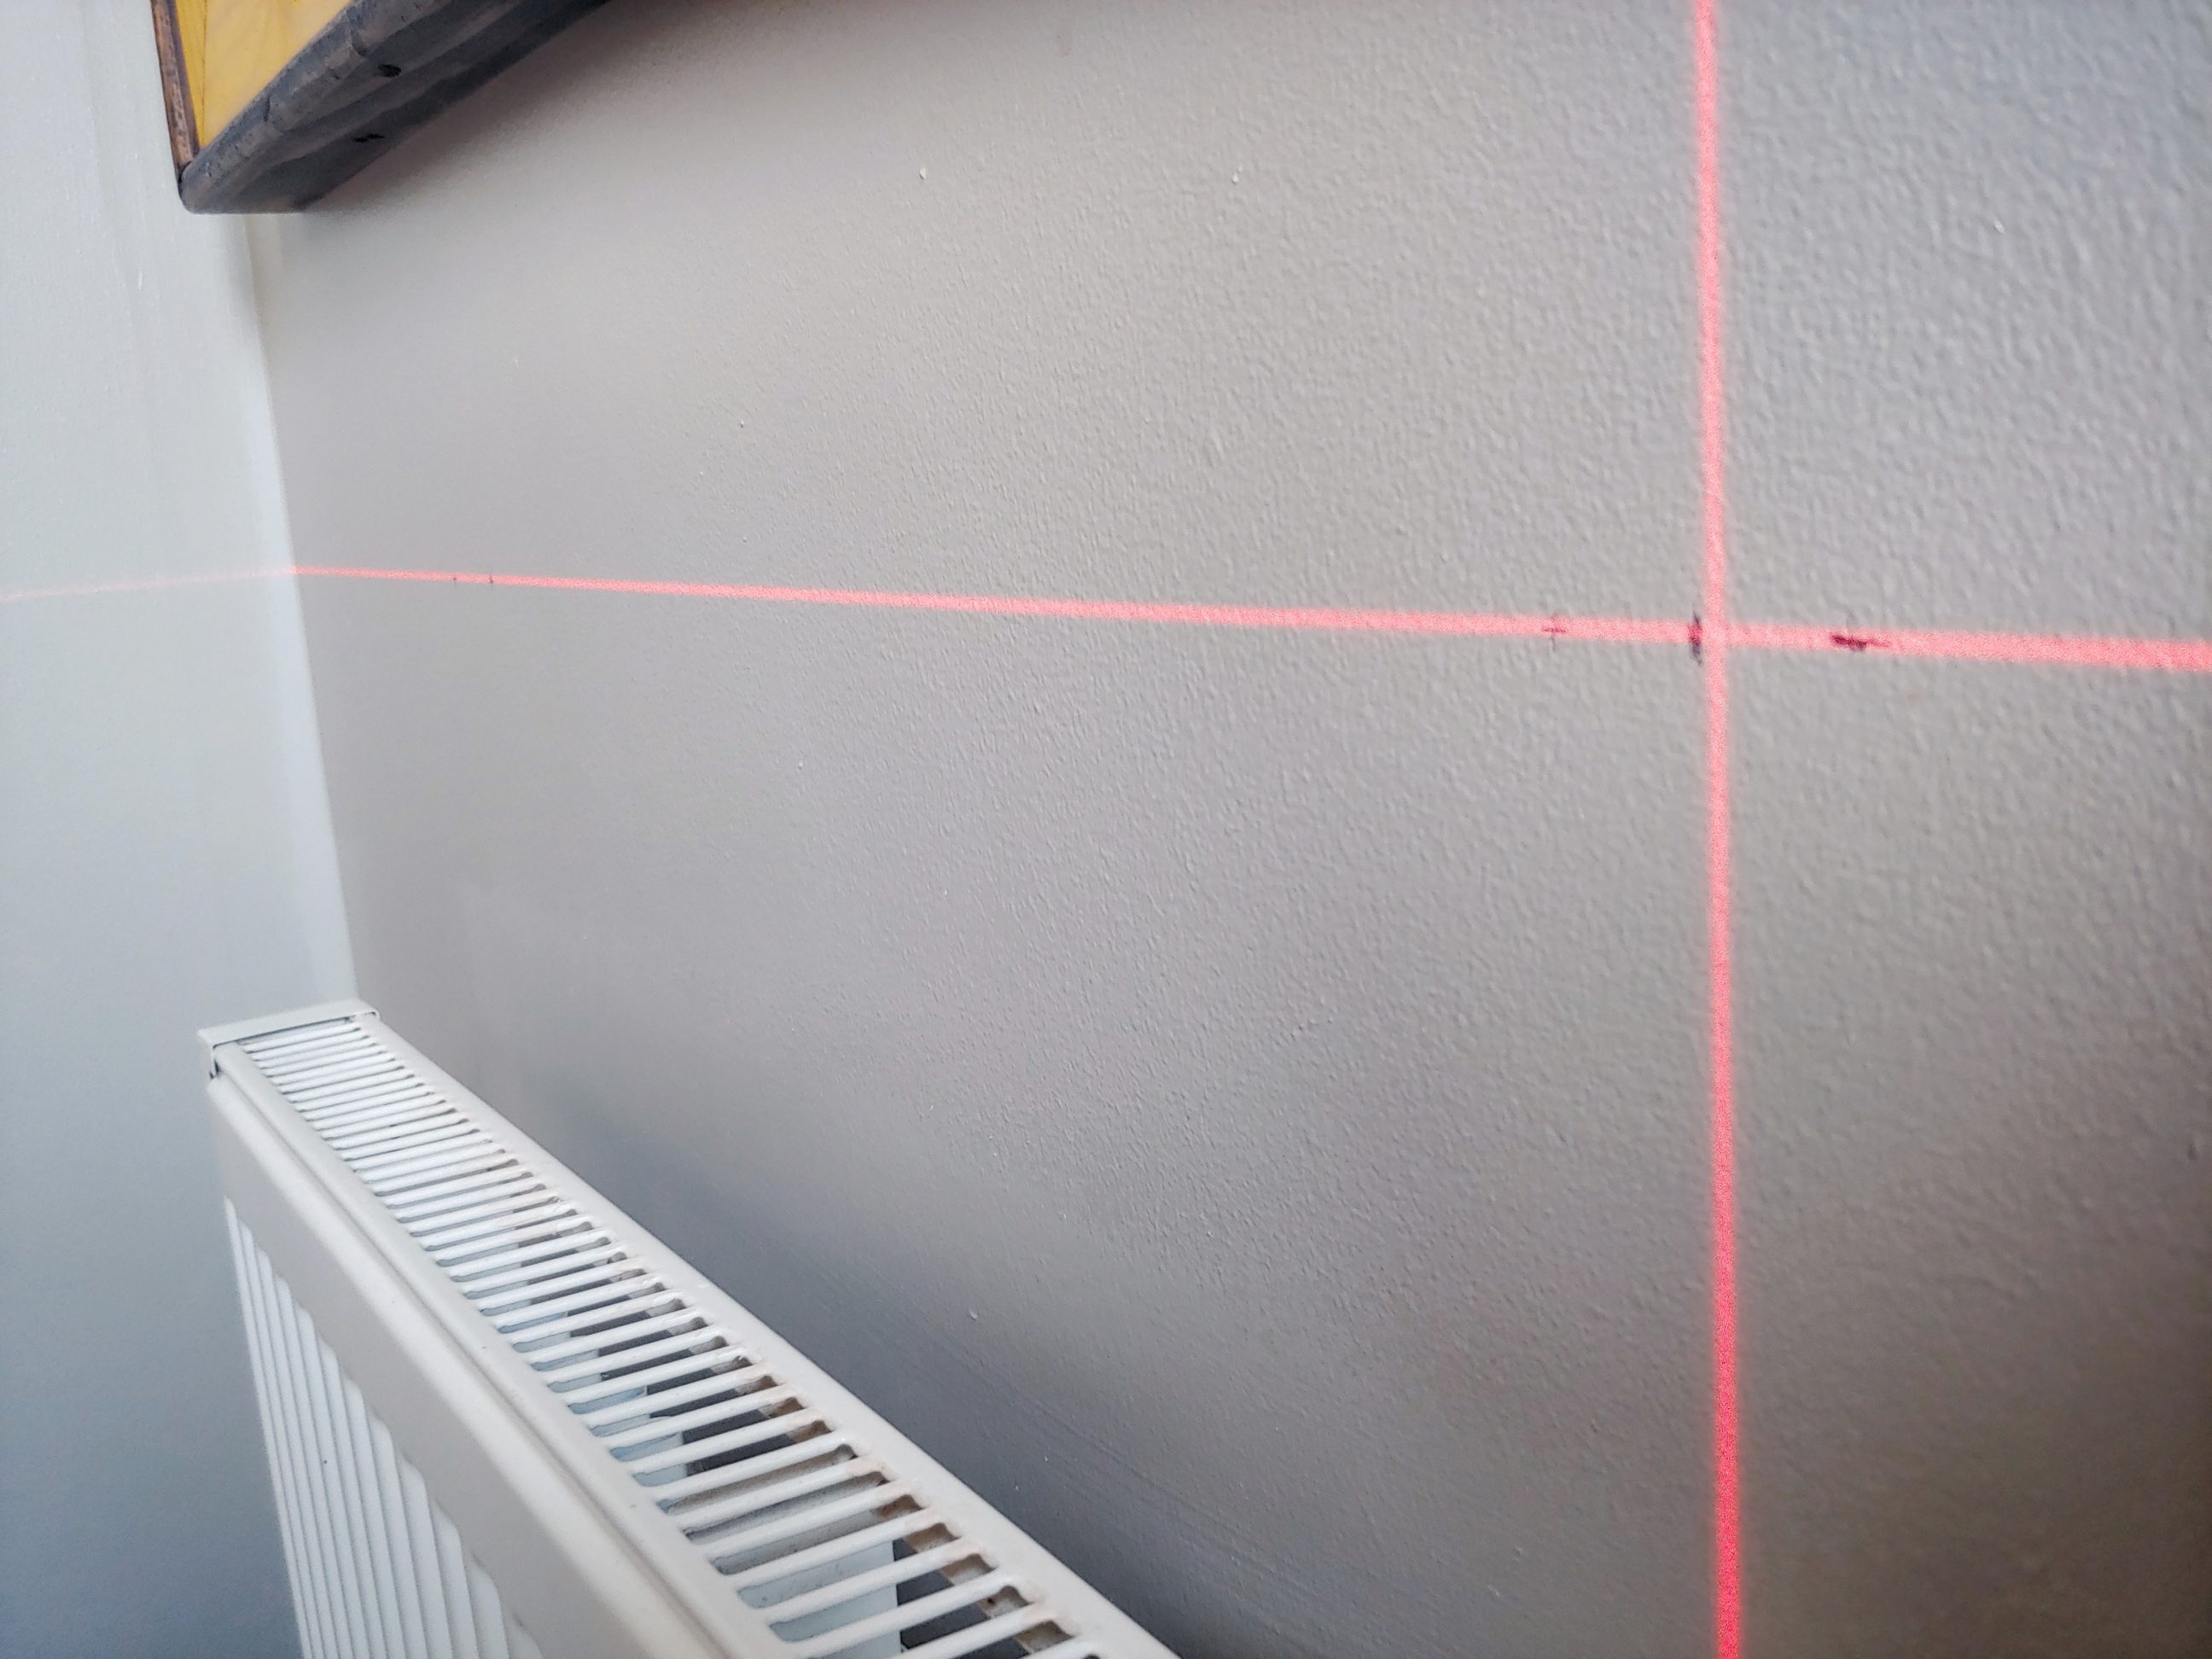

I used my laser level to quickly and precisely find the spots for drilling holes. I mounted the brackets on the wall and set the distance between them just a hair bigger that the corresponding distance on the shelf. That way the pins generated some tension to hold the shelf in place.


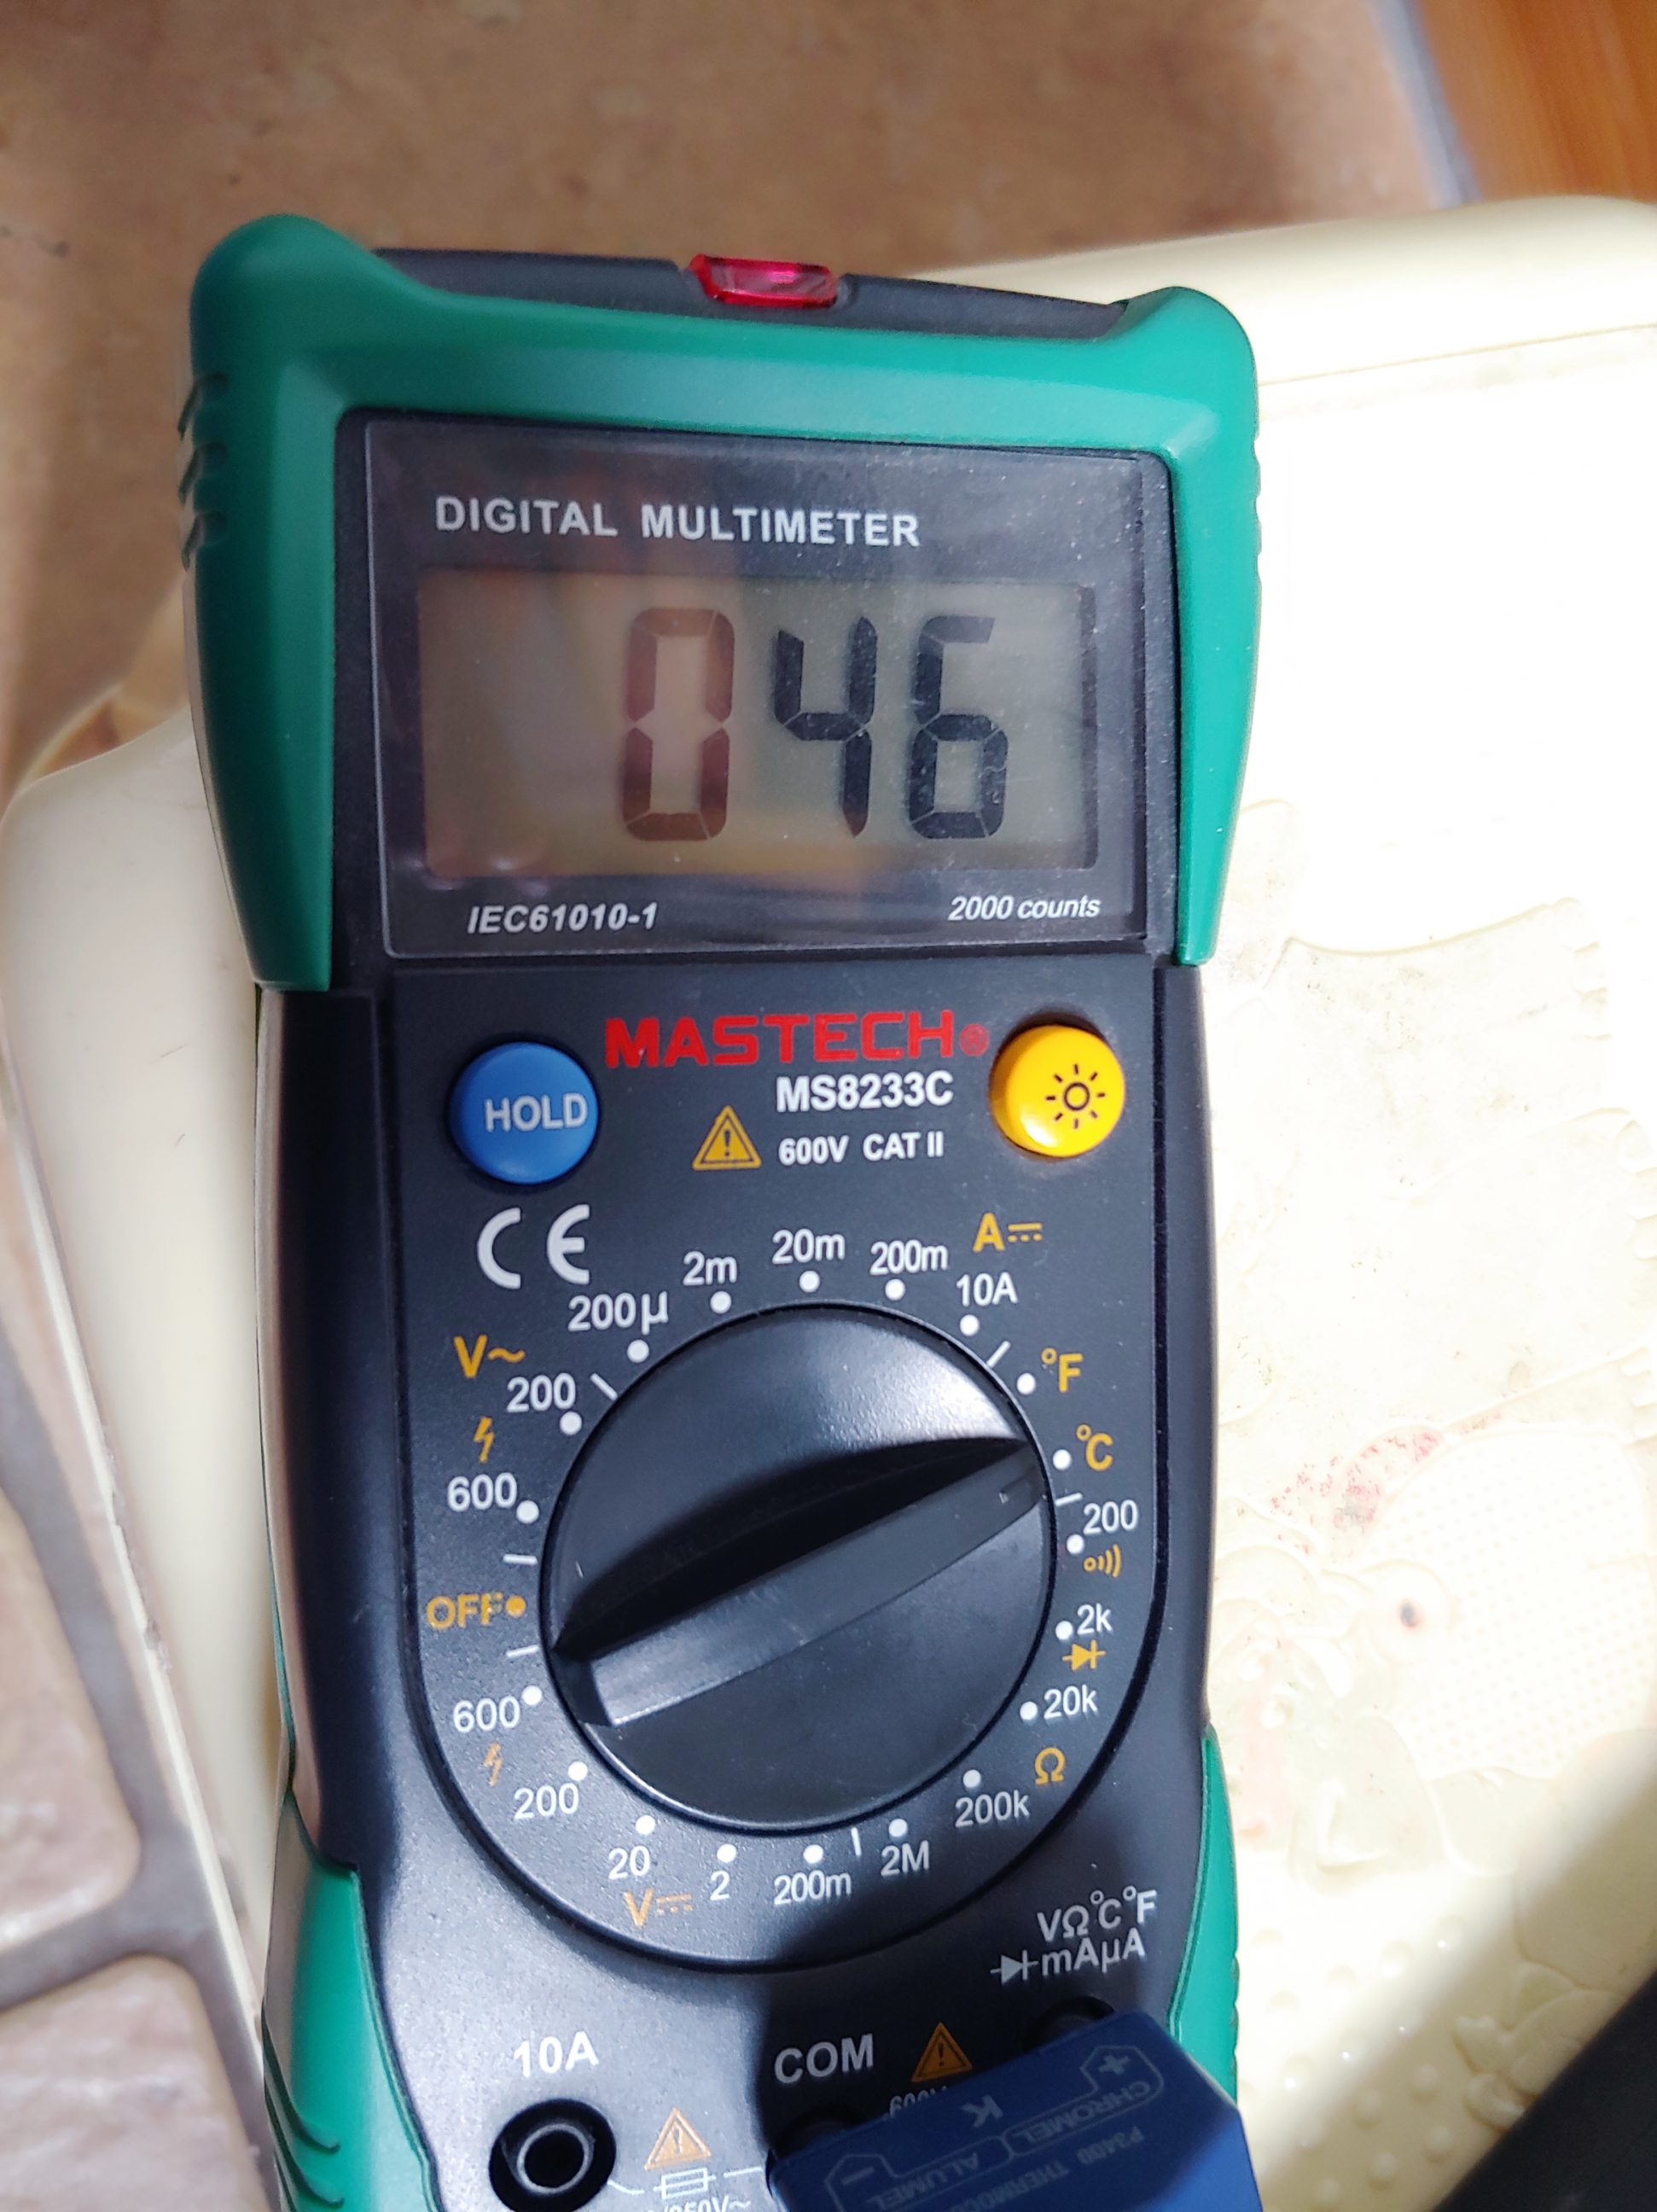
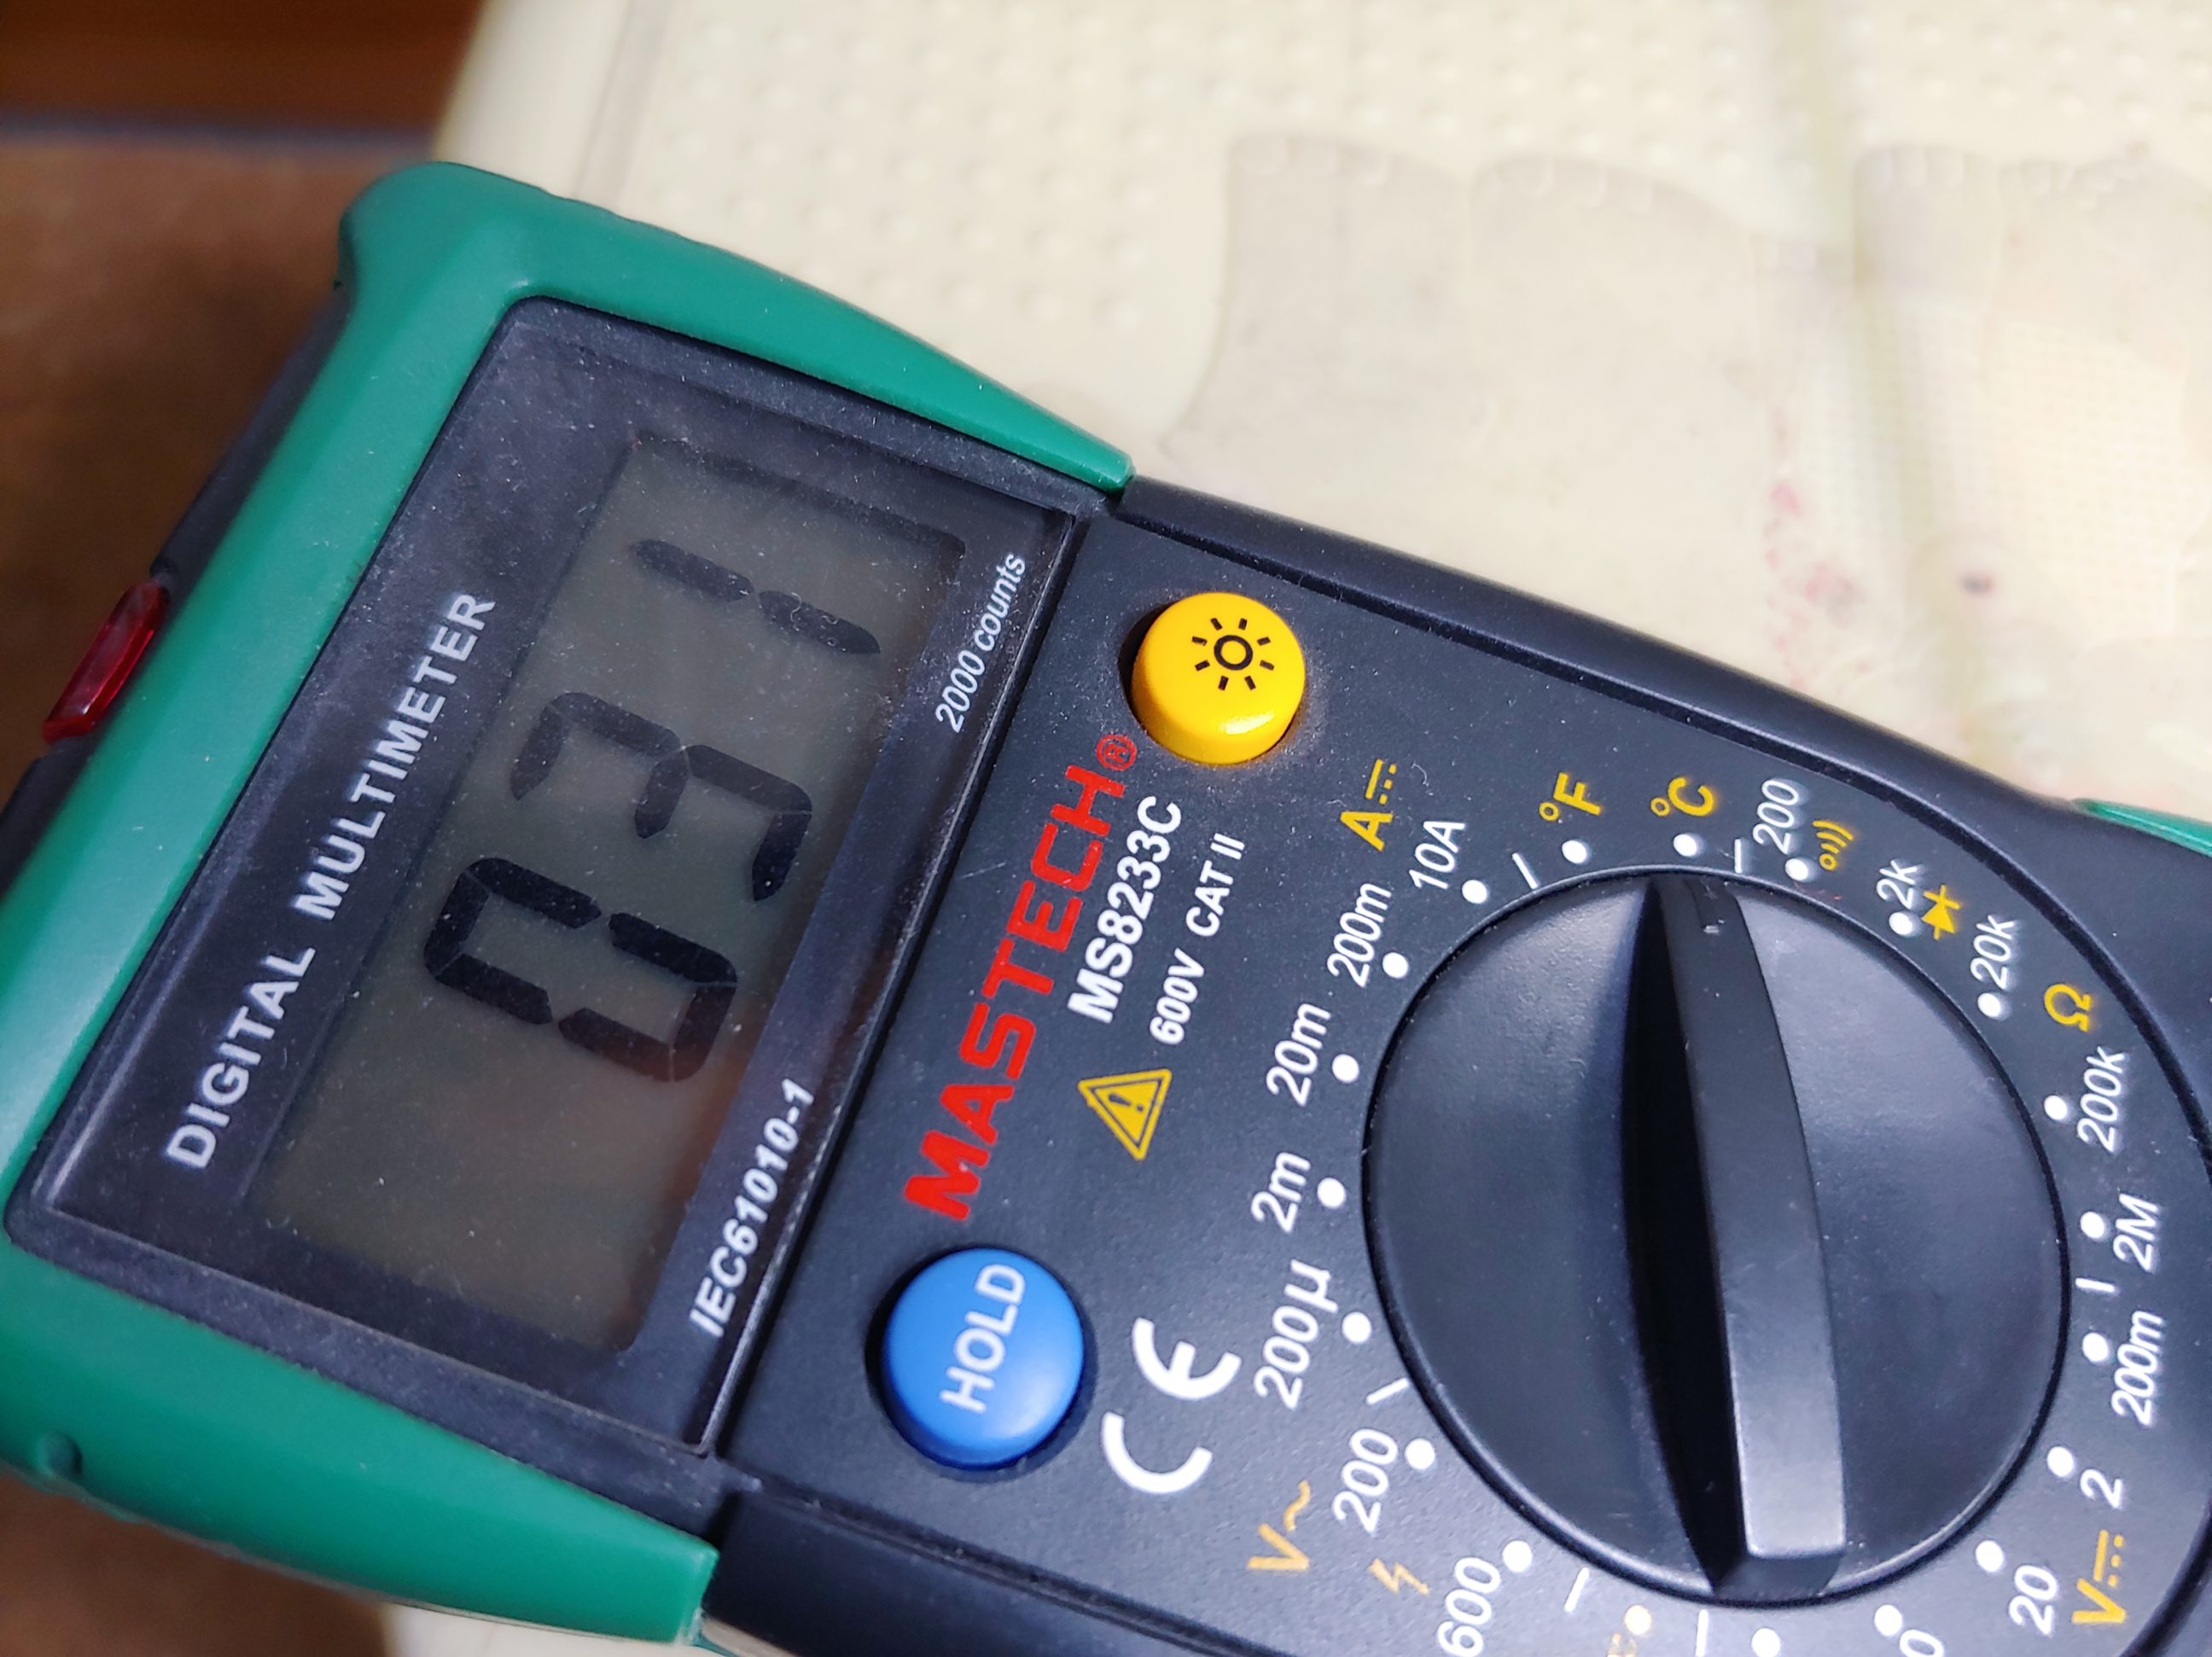
I believed that the distance between the shelf and the radiator was right, but I had to switch the central heating on and check the temperature in a few places. My boiler was set to 55 ºC (131 ºF), the radiator’s surface temp. was 46 ºC (115 ºF), inside the radiator 43 ºC (110 ºF) and the shelf 31 ºC (88 ºF). Everything seemed to be fine and safe, no smell, no smoke, no fire 🙂


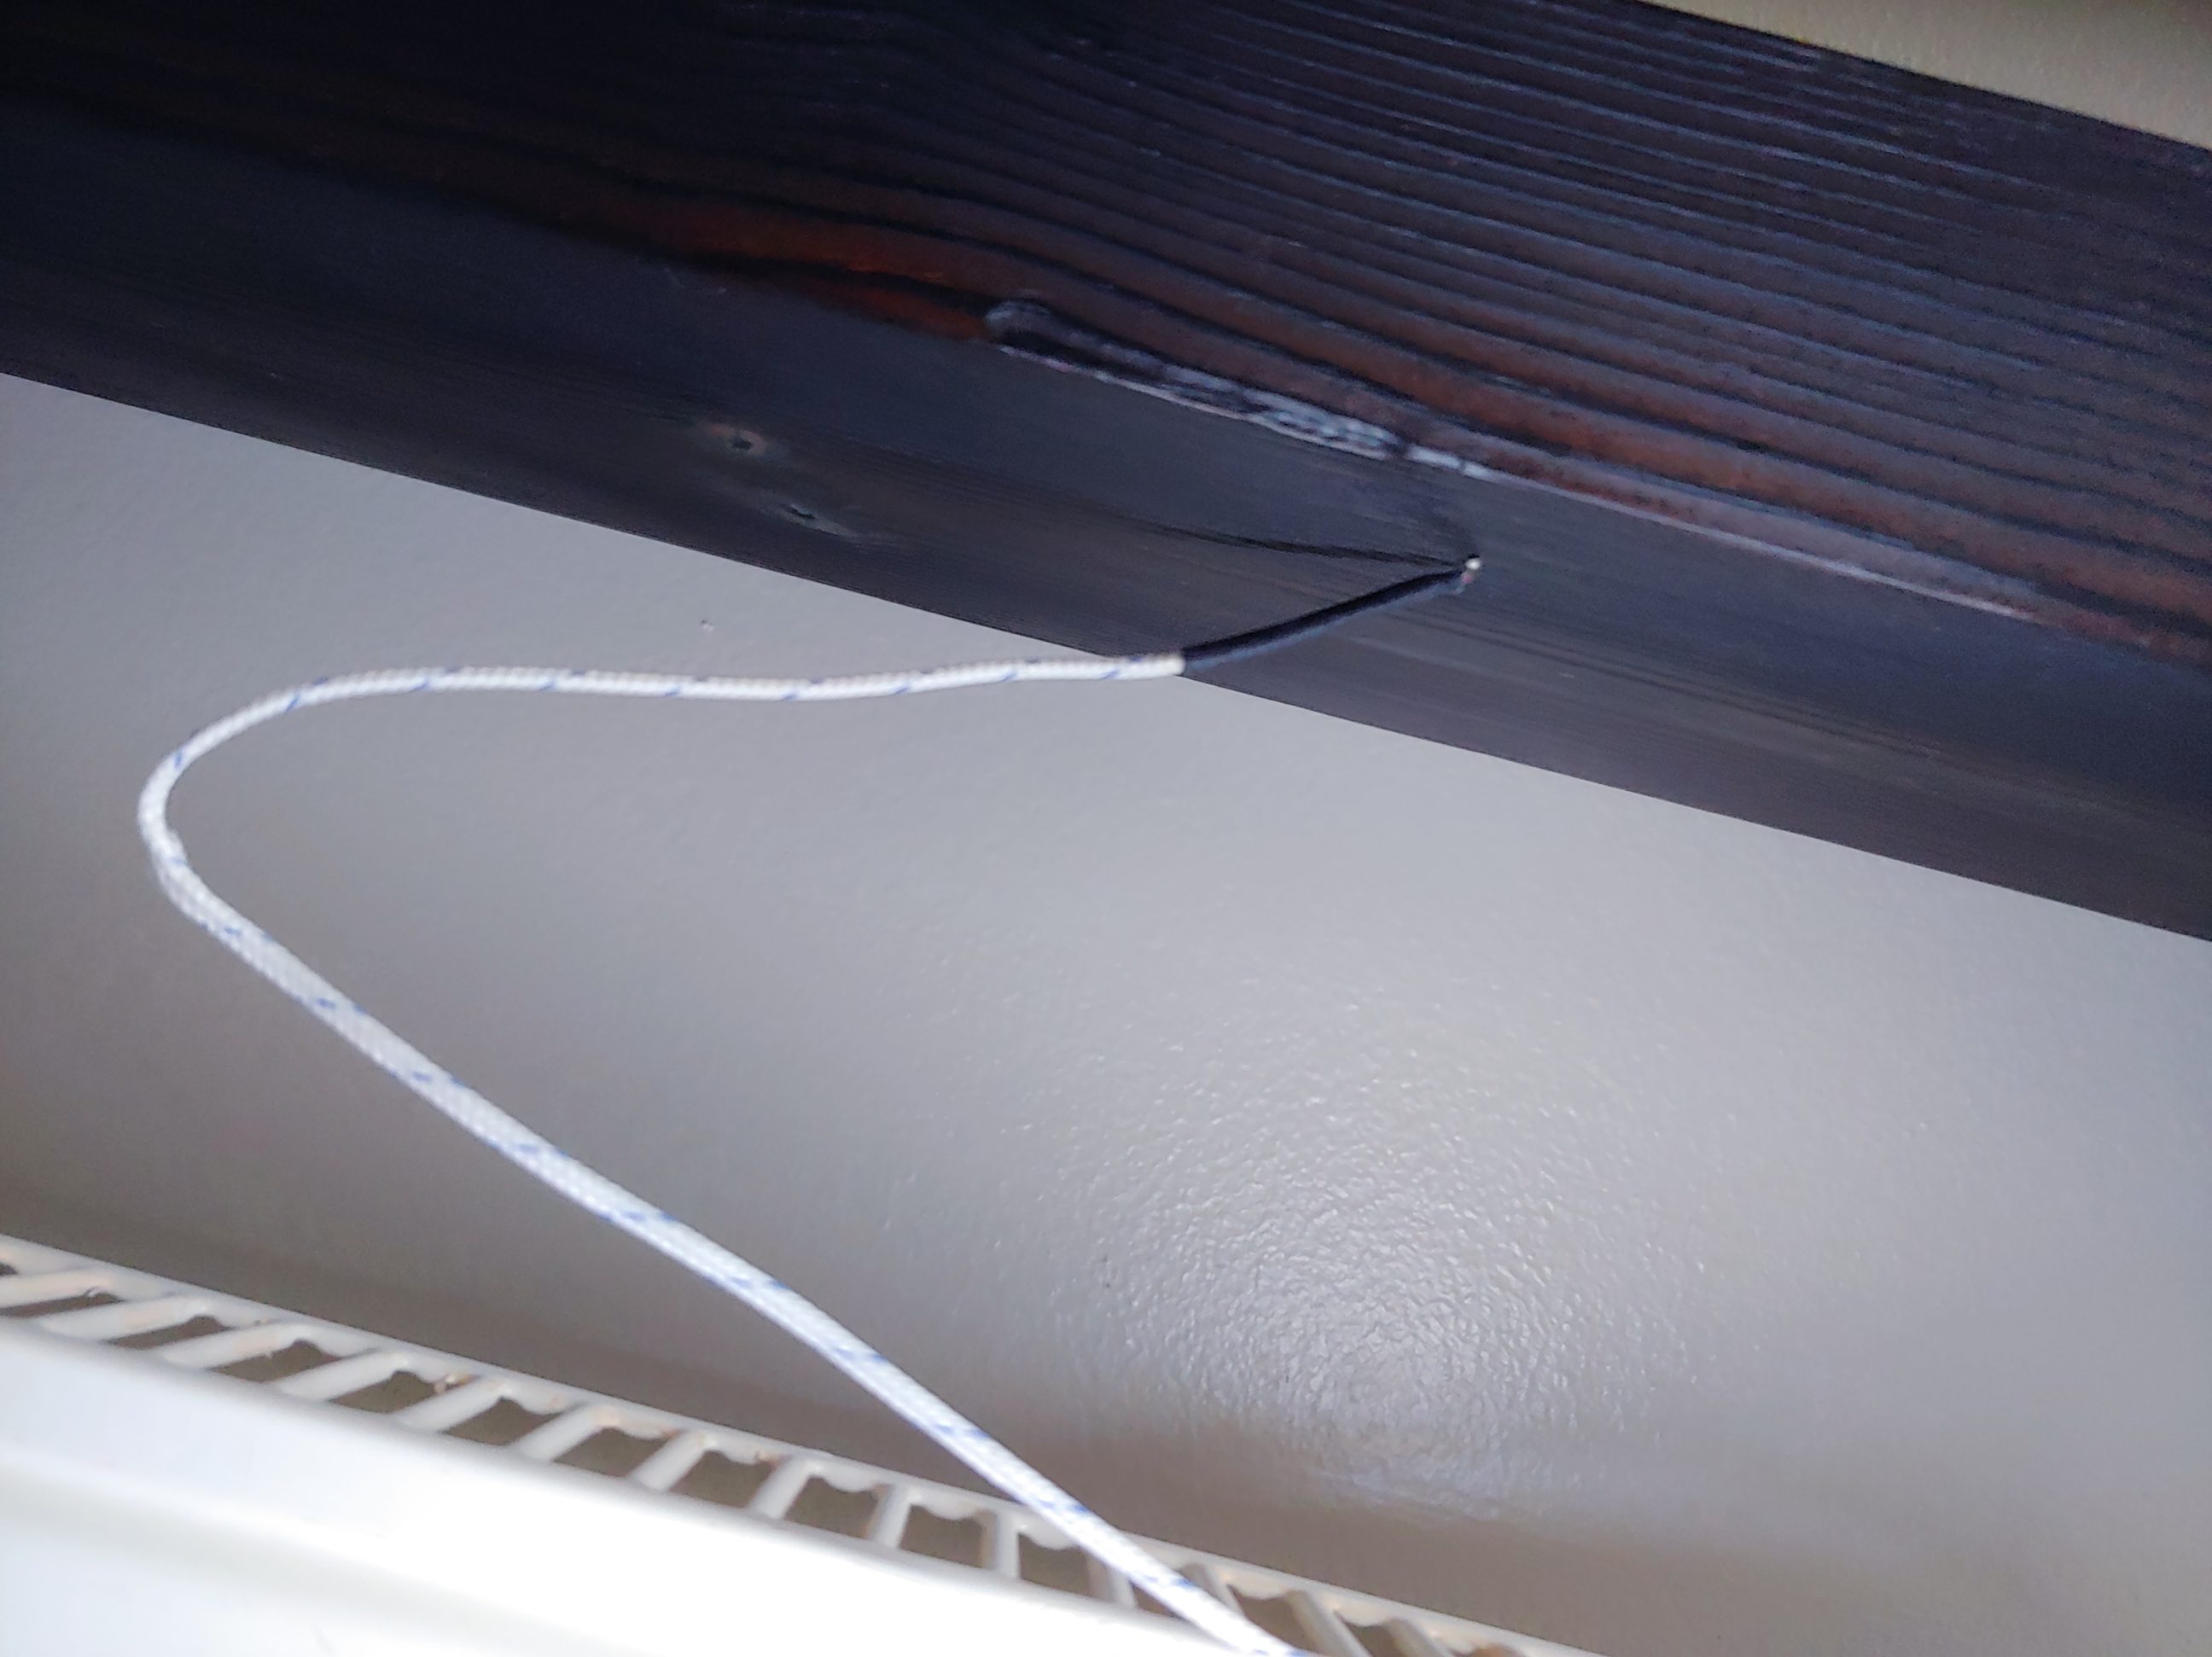
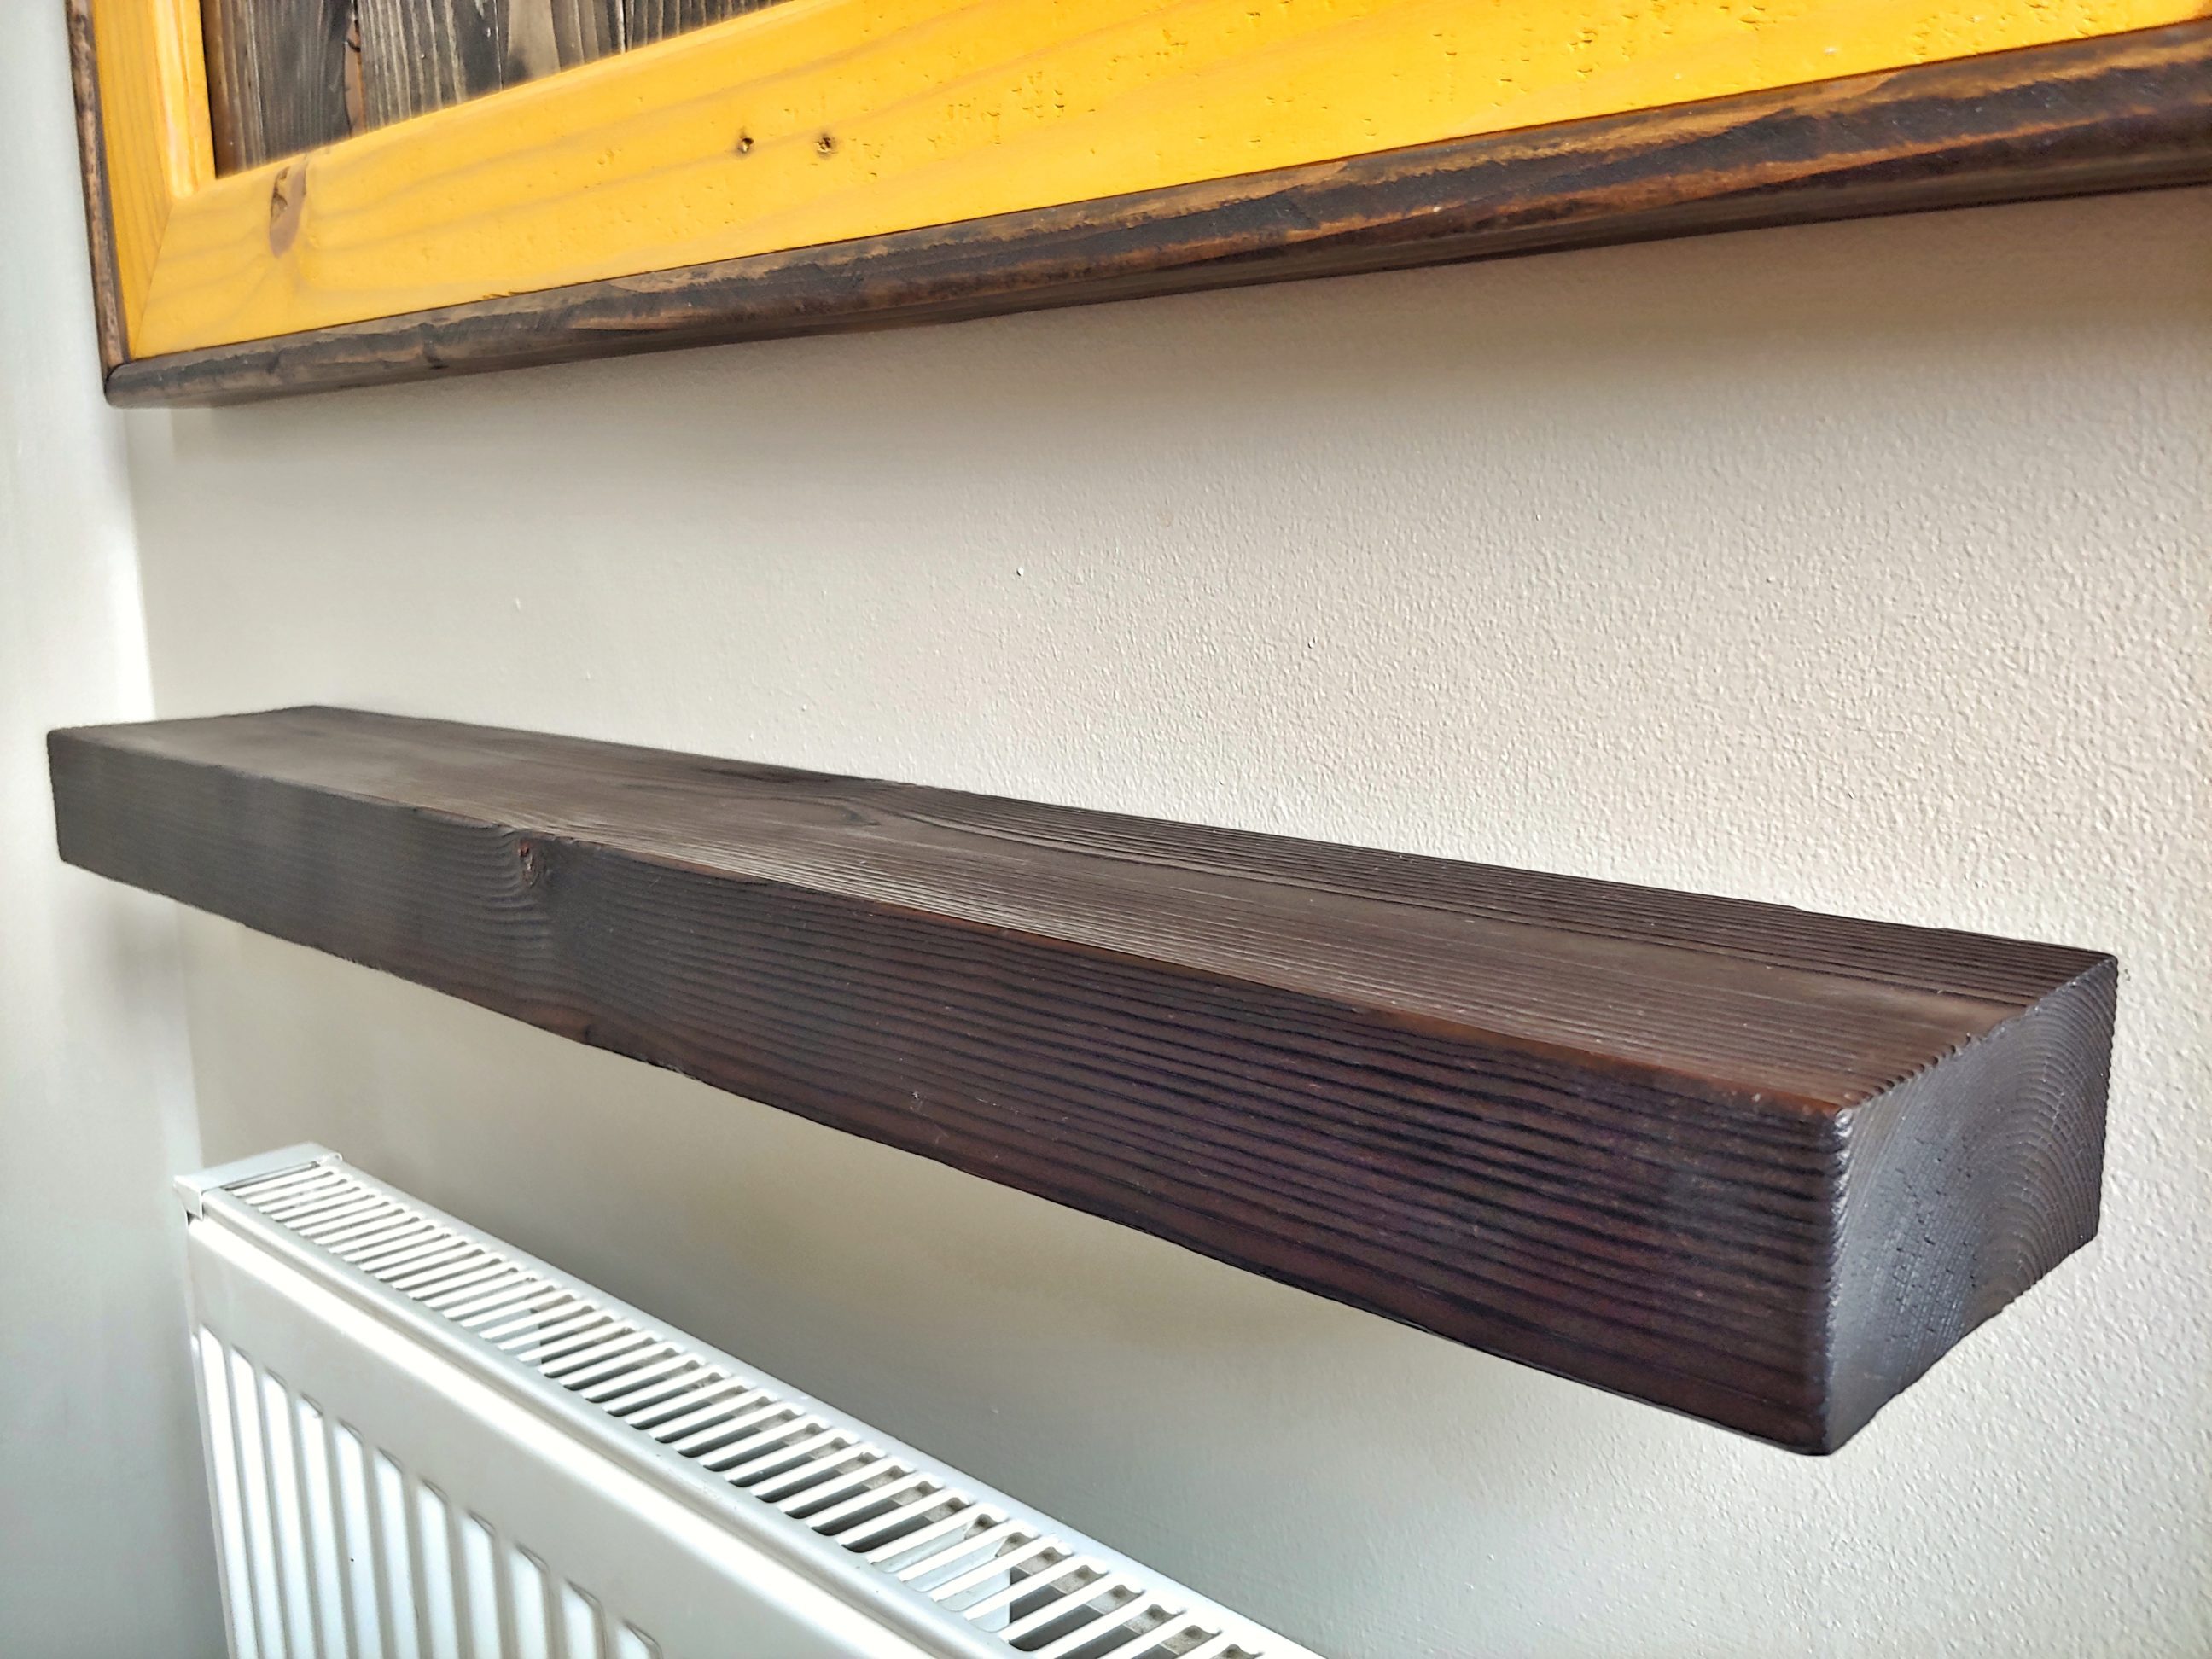
The shelf perfectly matched the frame hung above. When the light is right it really looks like it’s floating!


One Comment
Pingback: