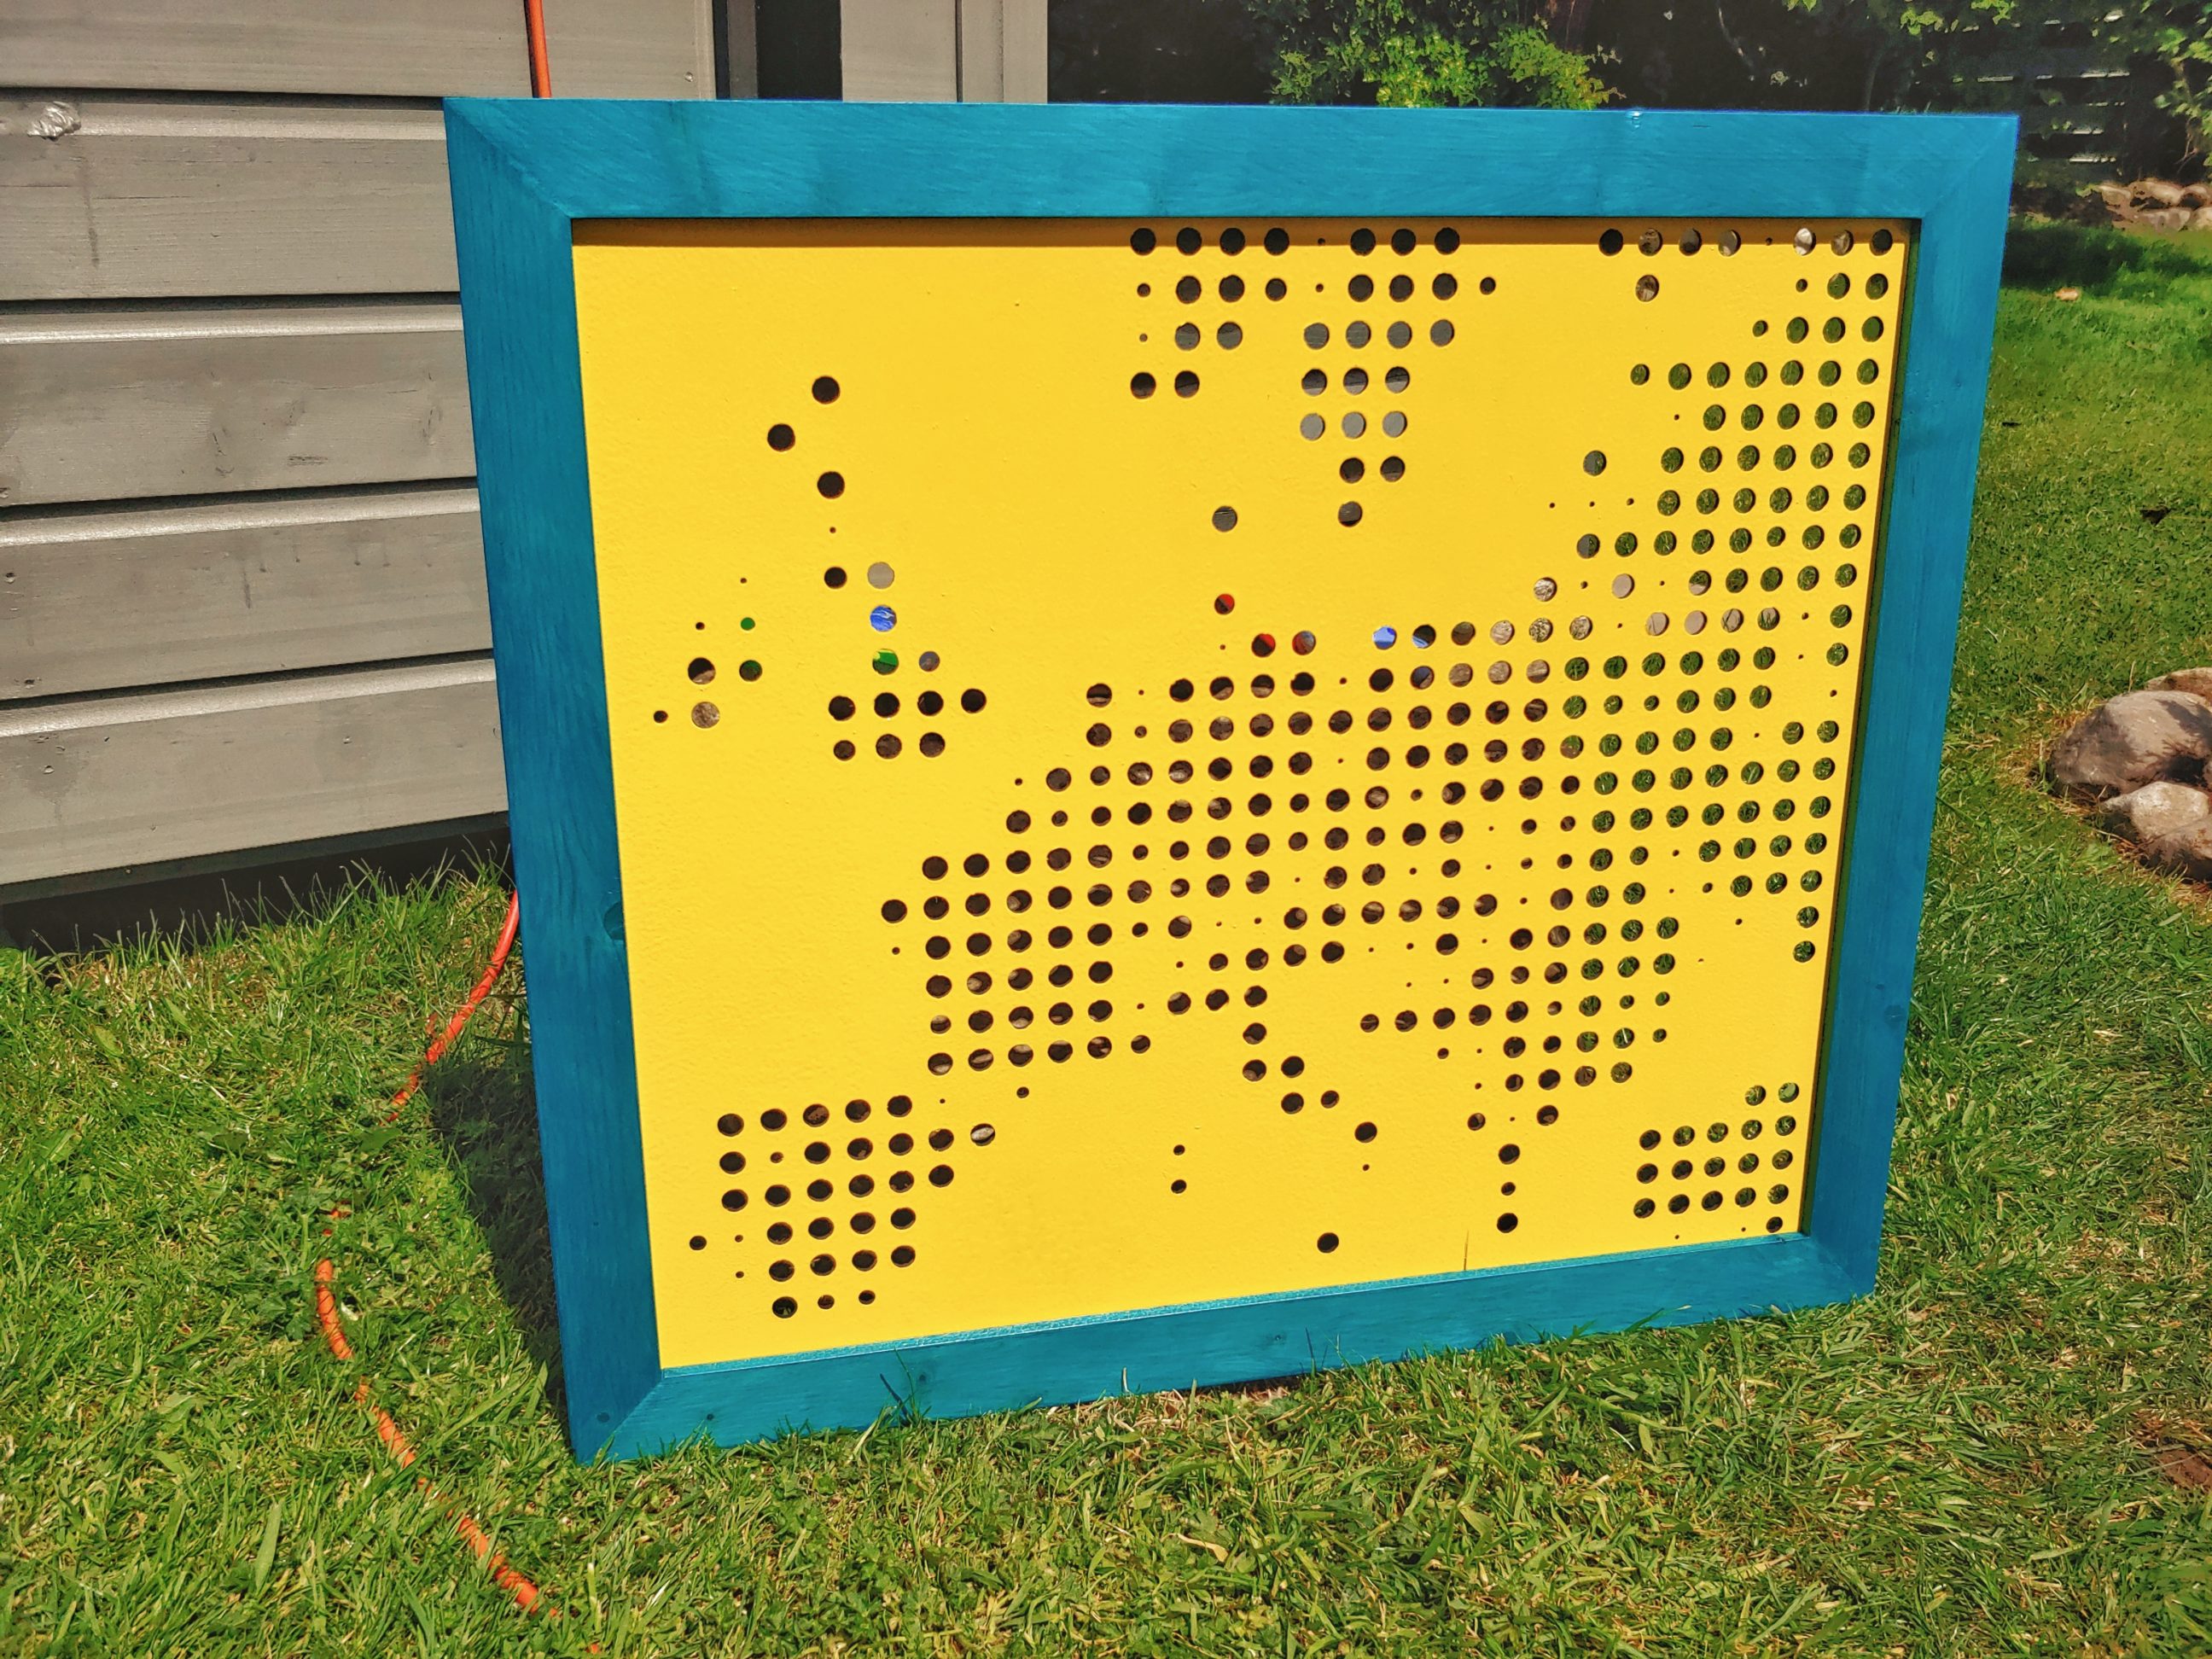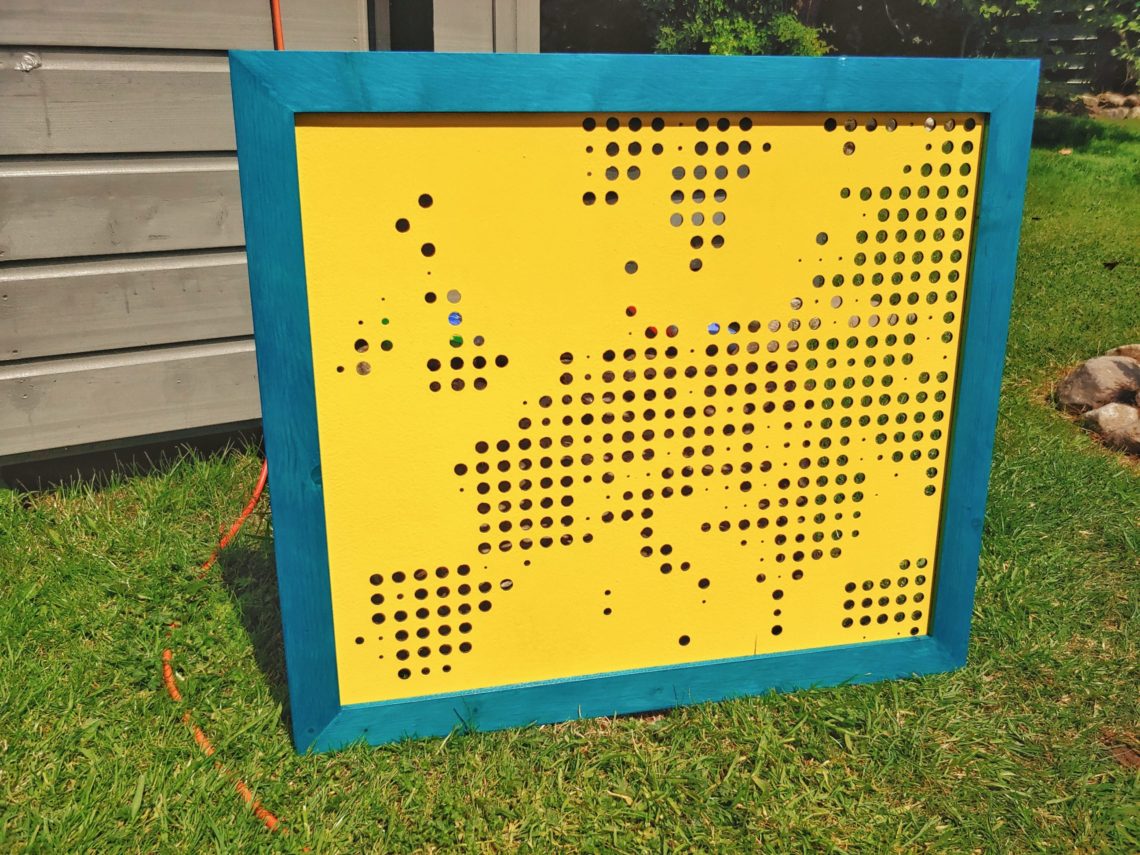
Map of Europe
I’ve always been charmed by the simplicity of halftone images and loved the optical illusion they make. There are many free online tools that you can use to convert any image to a halftone one. I got the best results by converting a low-resolution political map which gave me an inconsistent and irregular sequence of dots. The project was very challenging and drilling holes took 3 days! But I was happy that I finally upcycled that old piece of plastic and had an excuse to make a picture frame featuring very special reinforcements.
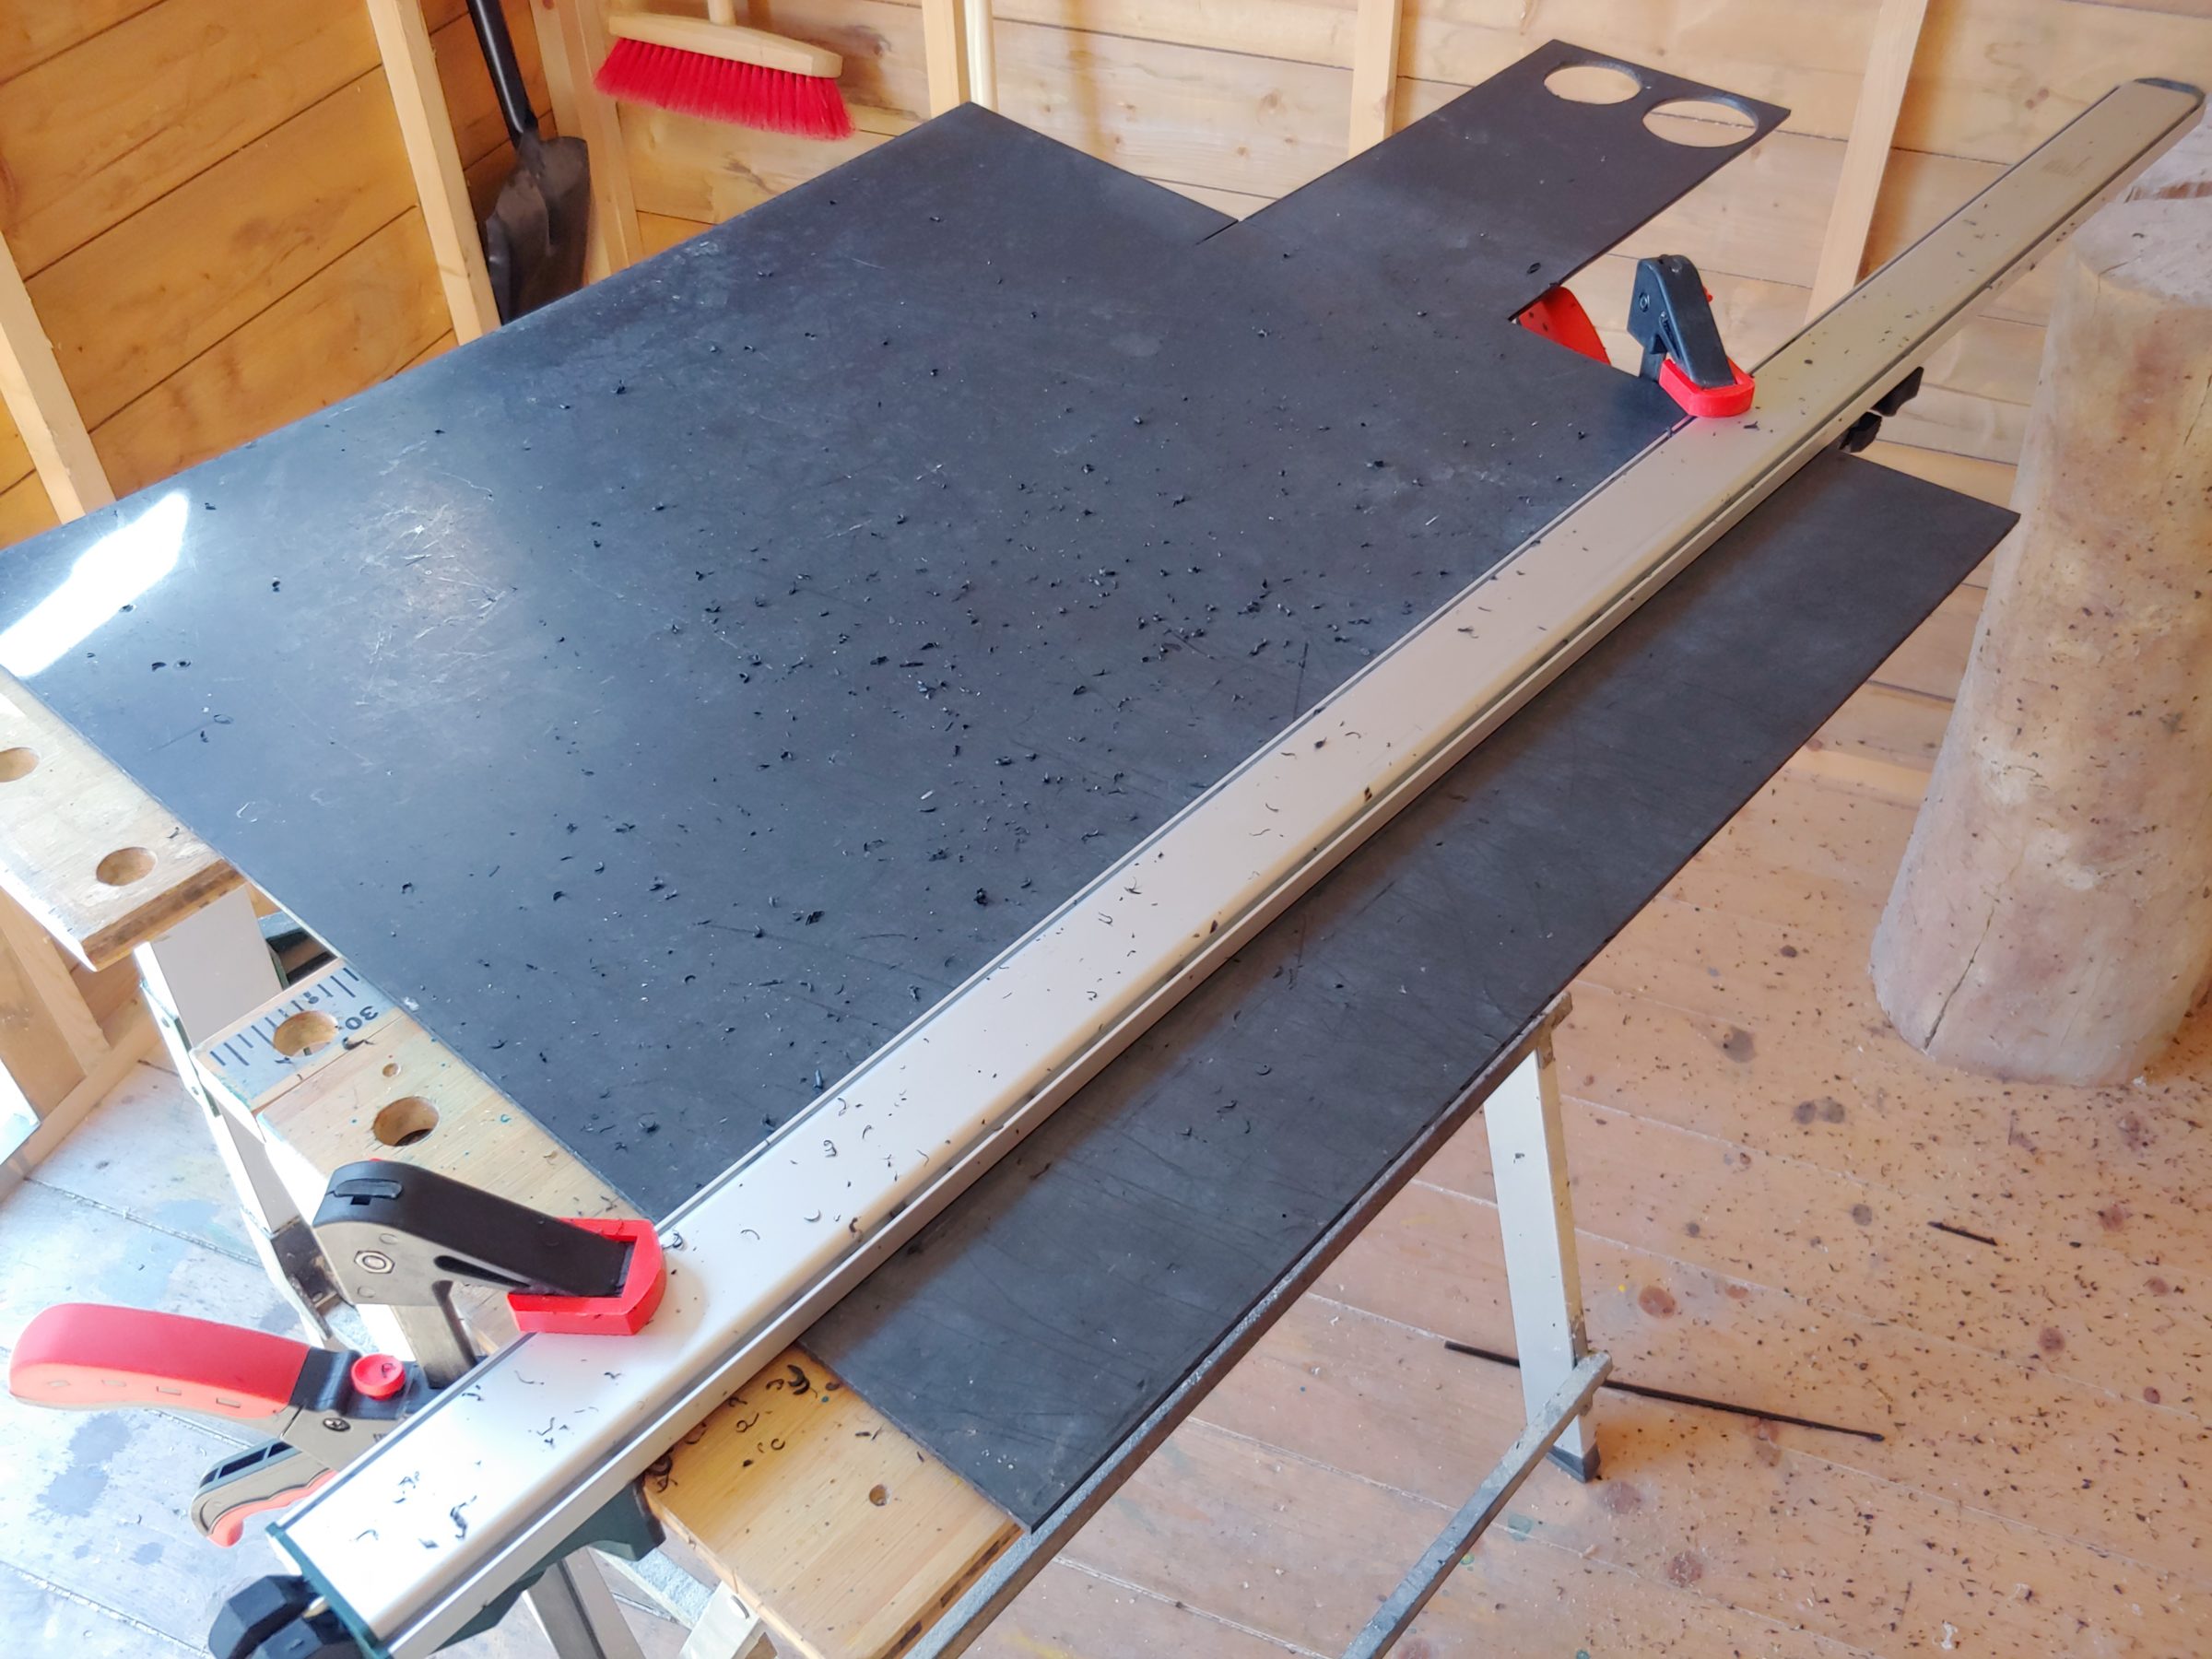


First I squared the plastic sheet off and drew grid lines with a pencil. I double-checked if they were resistant to erasing and luckily they seemed to be quite permanent. They were spaced every 20 mm (~ 3/4″).


I prepared the drill bits – 3, 4, 6, 8, 10 and 12 mm. Unfortunately, the 12 mm bit was a spade type …
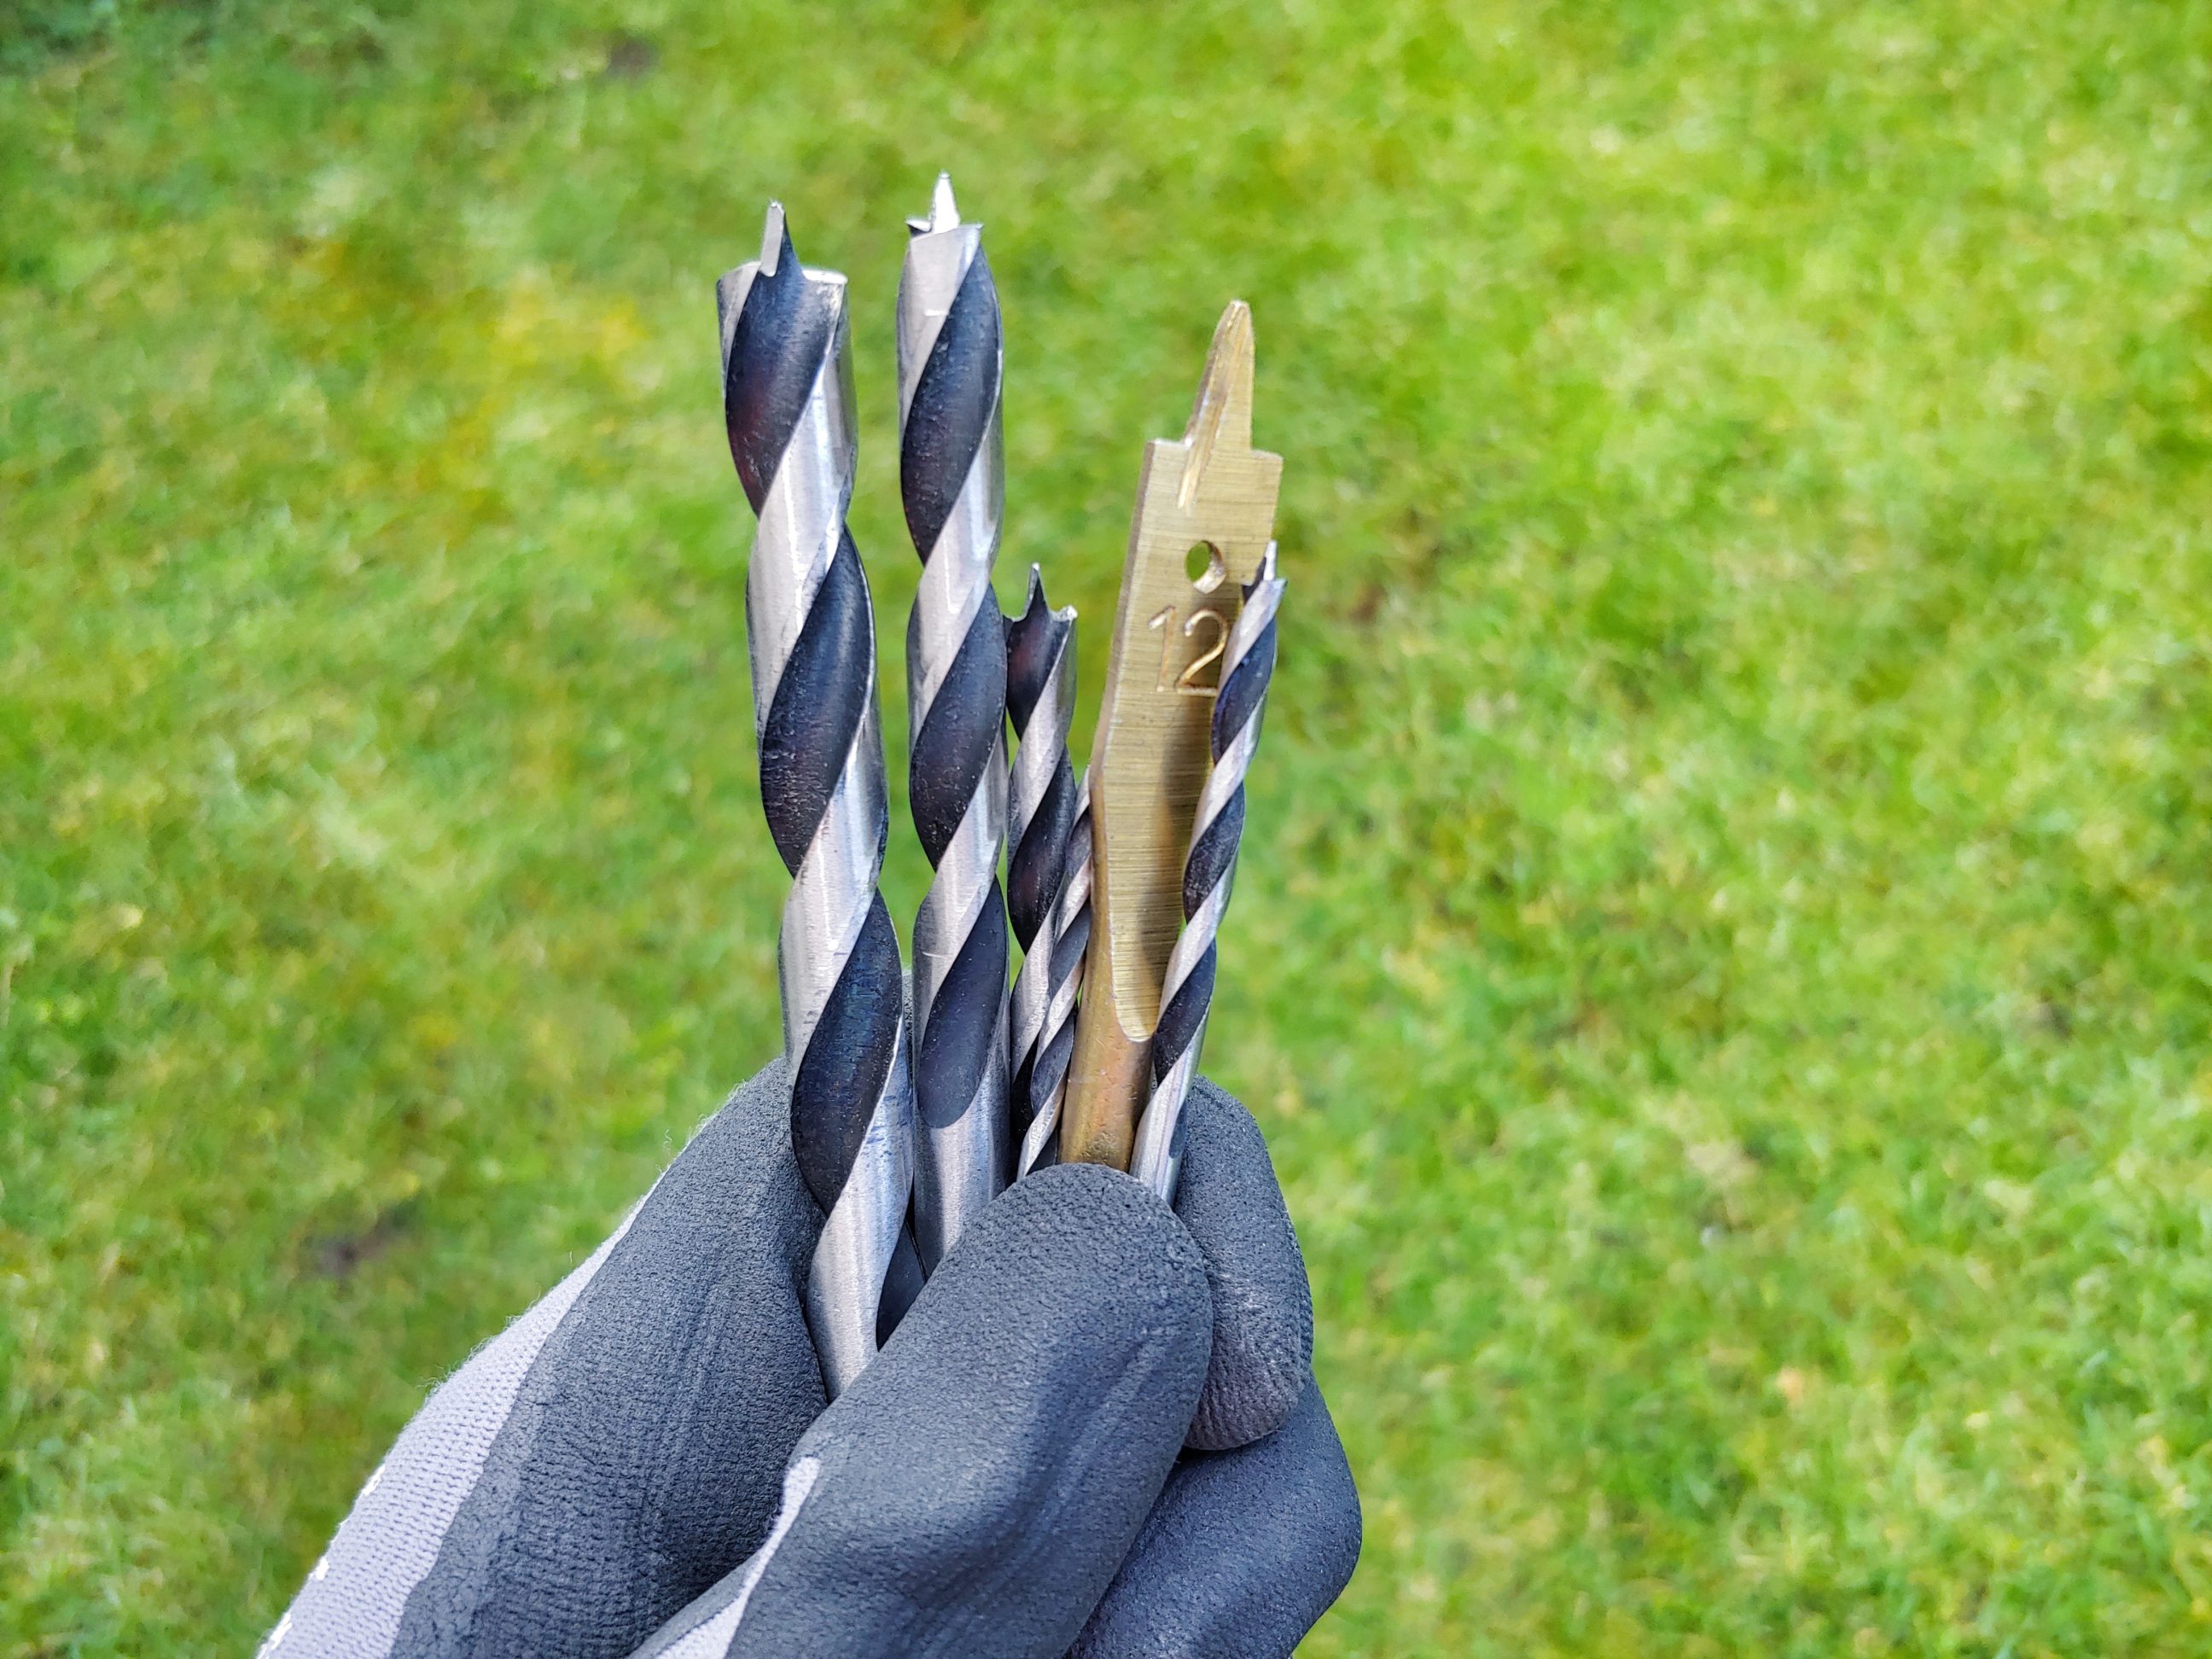

… that’s why all 12 mm holes had to be pre-drilled with a 3 mm bit. That significantly slowed the project down, but the results were good.


Slowly but surely I was getting there. It was crucial to copy the template without any unwanted holes, drilled by mistake.


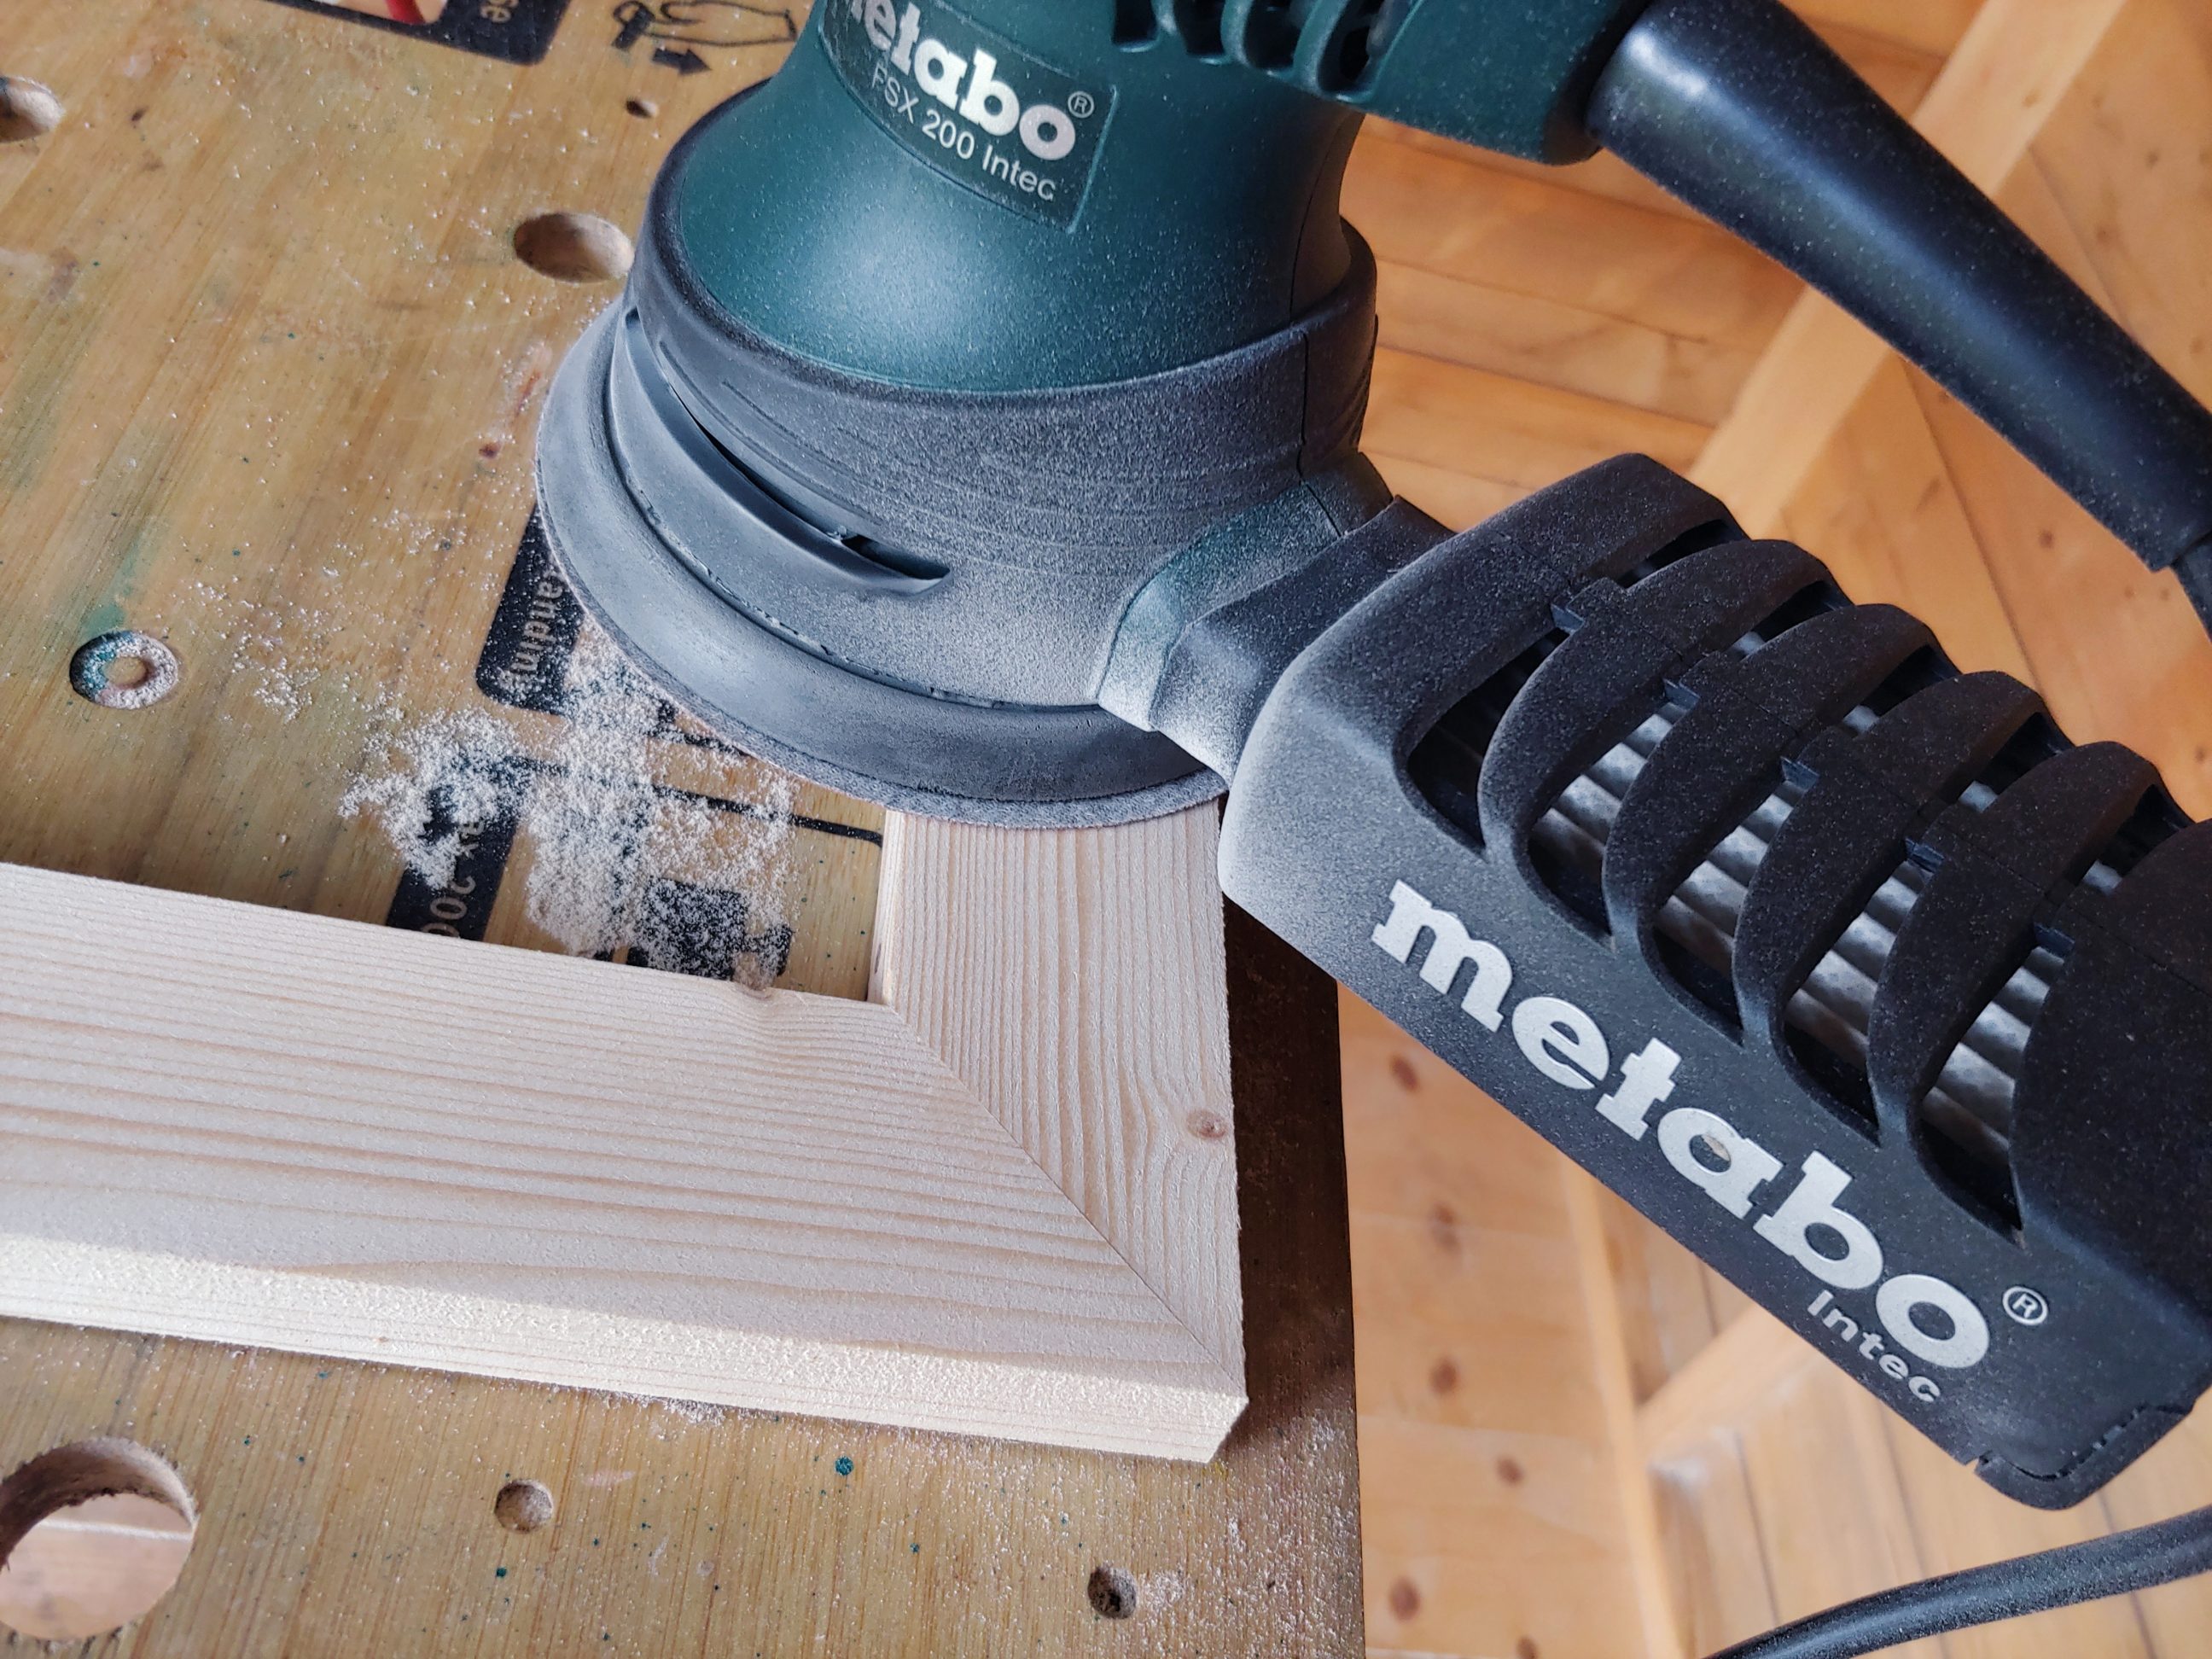
Once I finished drilling I cut the map to its final size with my jigsaw and started the sanding process.


That removed all the pencil lines and prepared the surface for painting. I was very happy I could move to woodworking from that point on because processing plastic is very messy and smells awful.


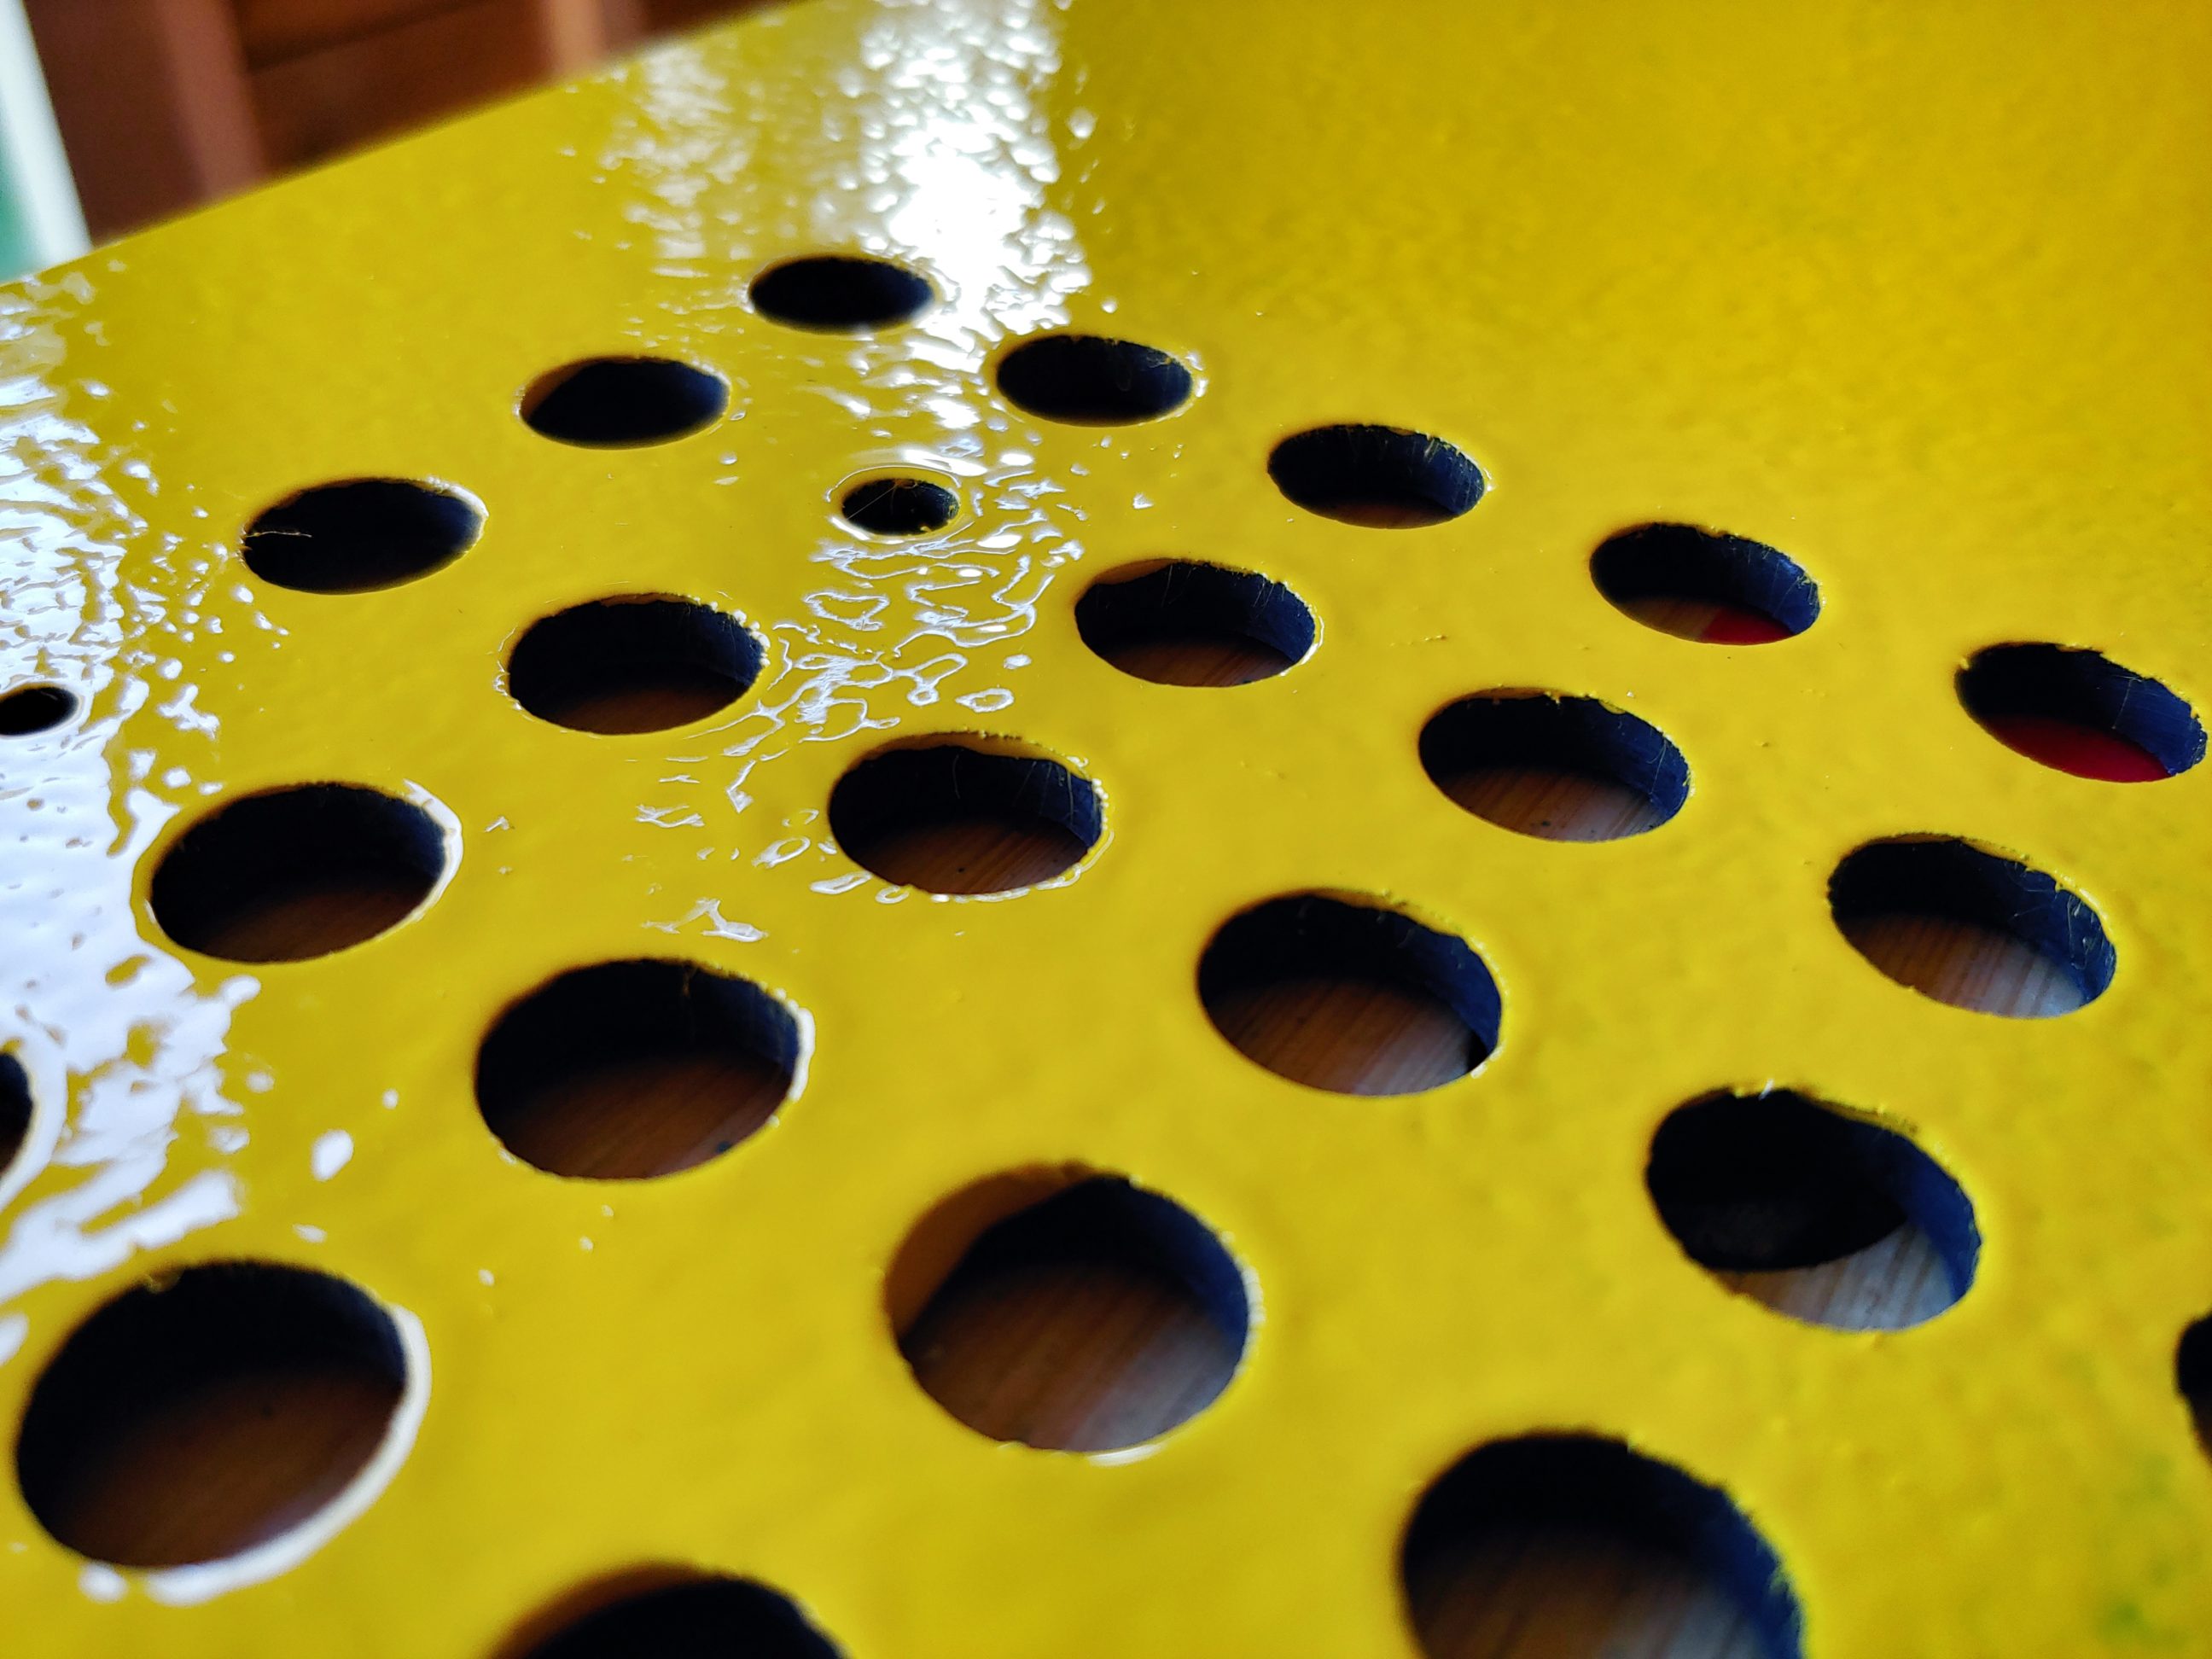


I applied 2 coats of paint using a roller. Any other method would also cover the inside of the holes and I didn’t want that. I was looking for a contrasting colour combination and canary yellow and black turned out beautifully.


I cut all the pieces using my circular saw and the jig I built some time ago, then made final cuts over my table saw. I minimised the waste by cutting the rabbets after that step. I was able to get 2 pieces of the frame with 1 cut. Well, technically … I just didn’t get any triangle off-cuts.


While the glue was drying I installed the right bushing on the rabbeting bit and also lightly sanded the frame.


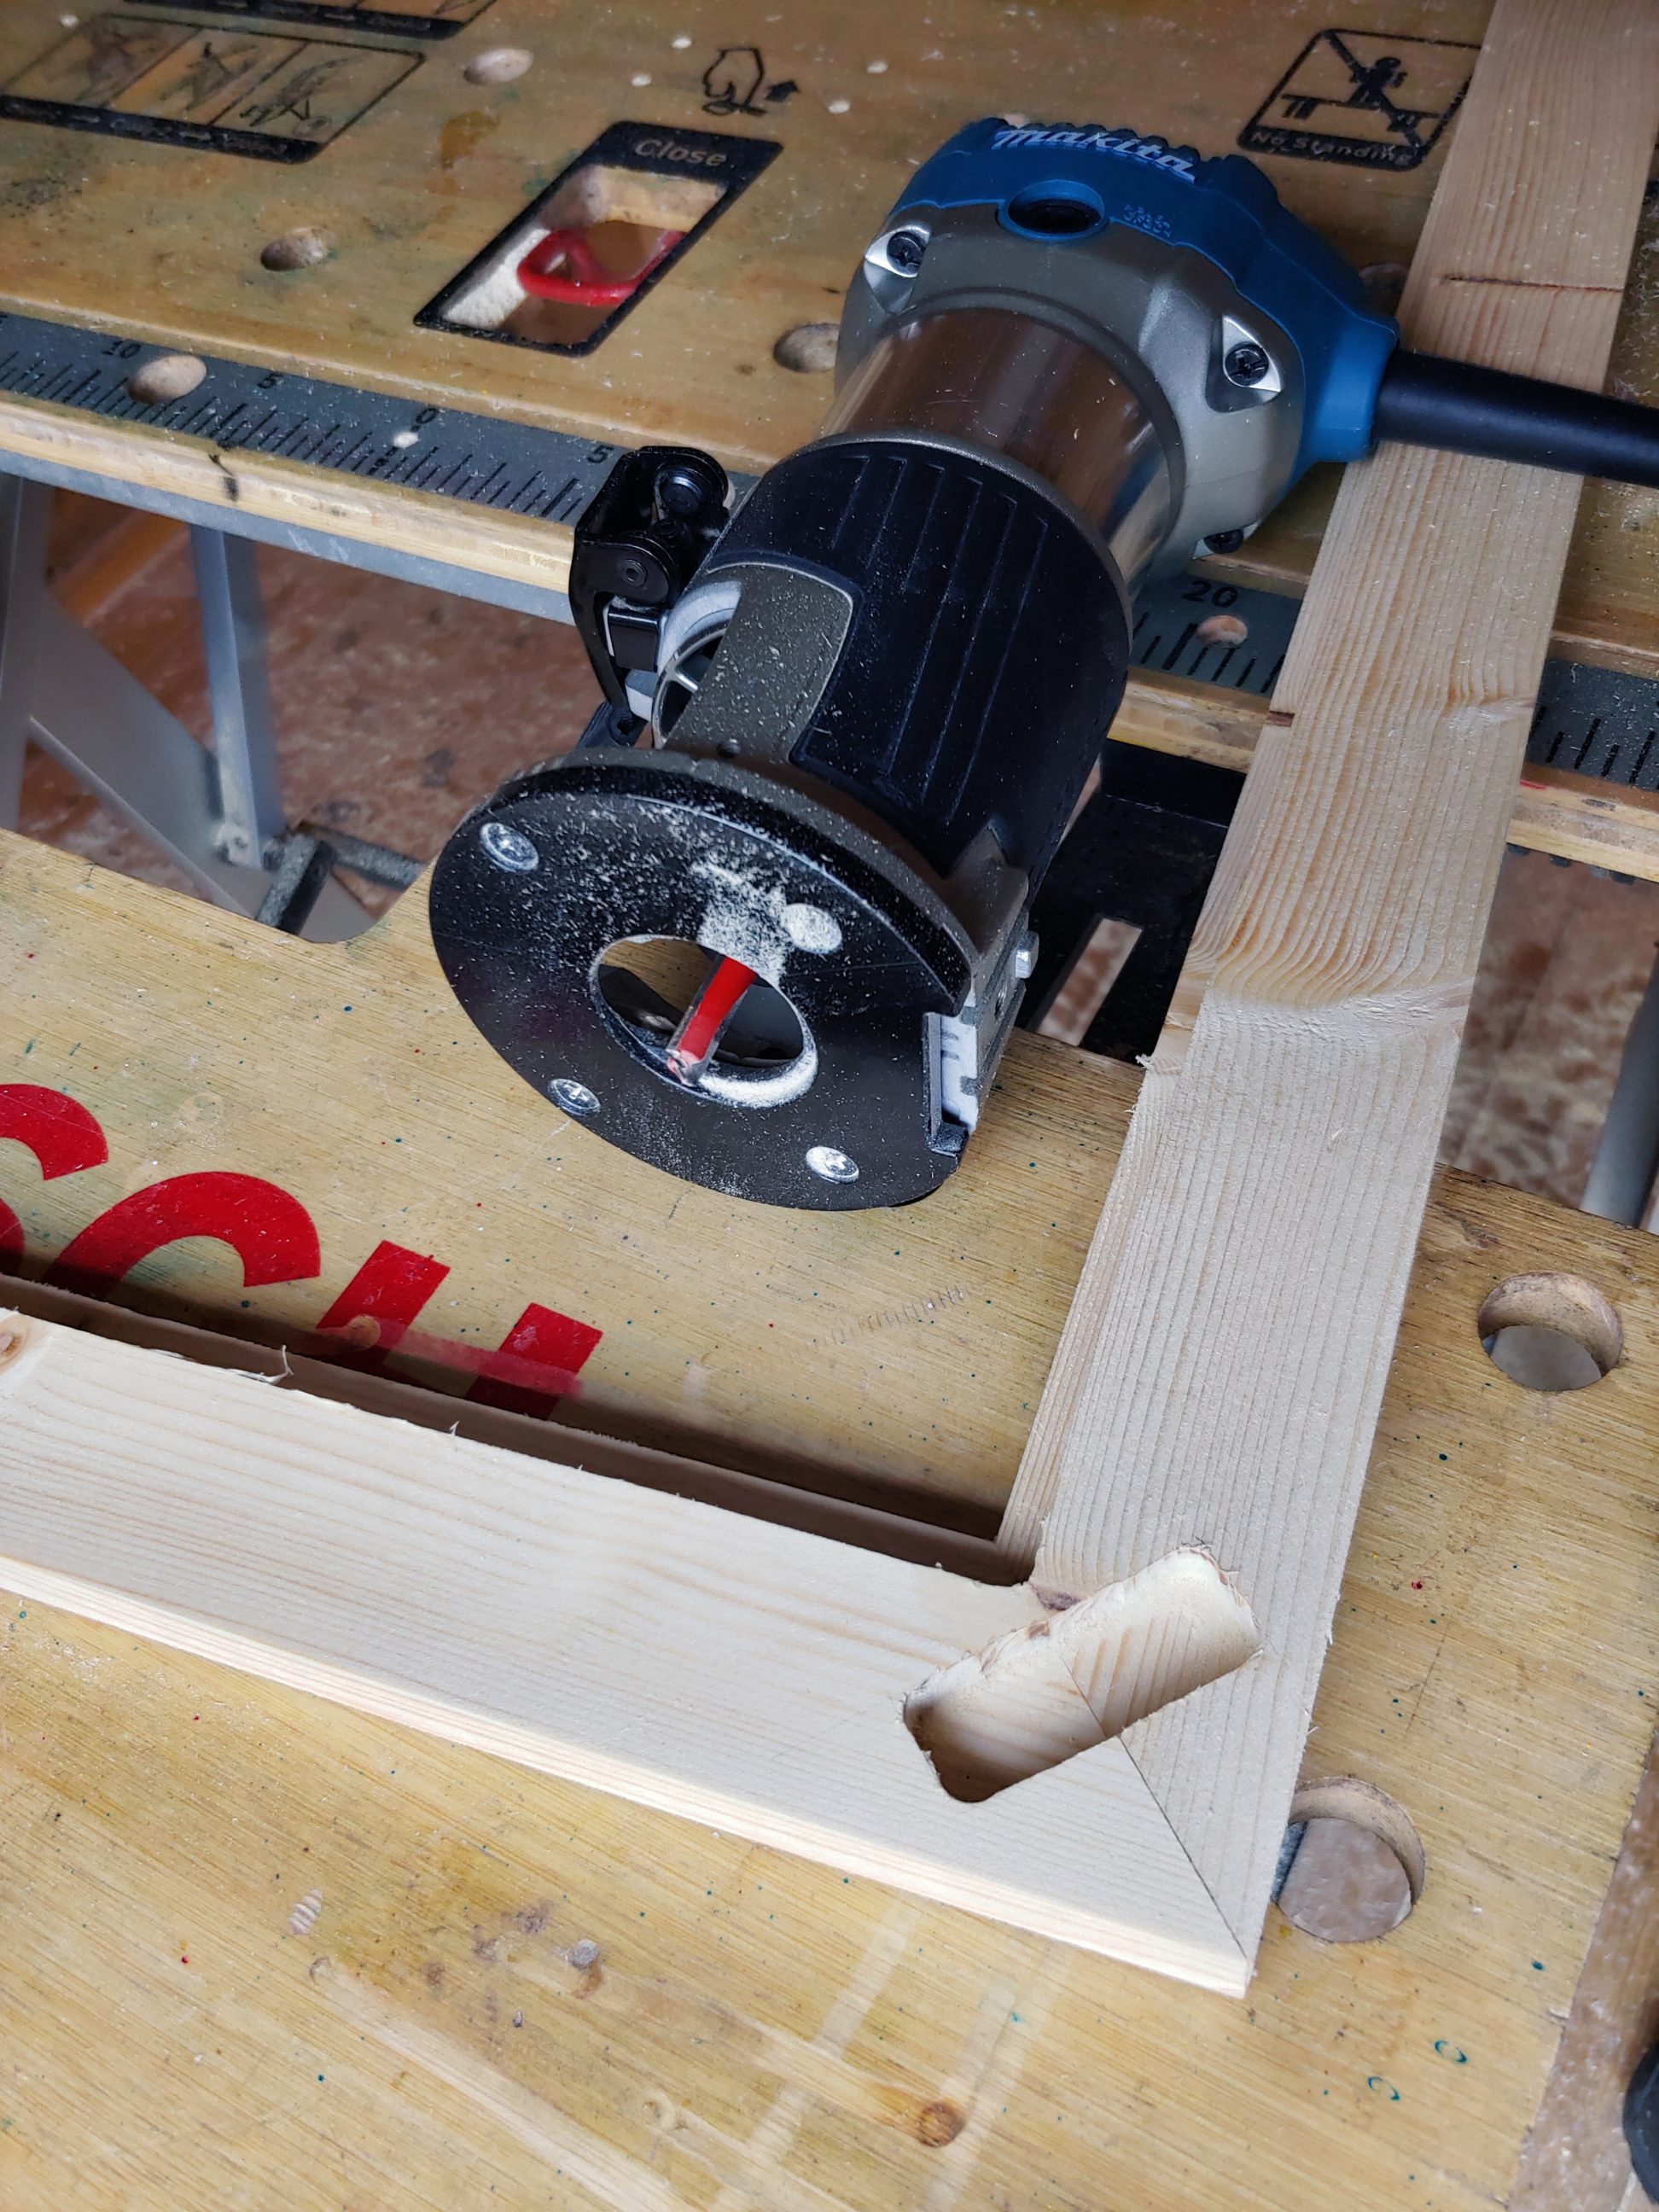
To clean out the corners I first marked the lines with my marking knife and then removed the material with a very small straight router bit. No chiselling involved.


I used scrap timber to reinforce the mitres. I cut 4 pieces with a junior hacksaw and rounded their corners with sandpaper. Next, I cut grooves using my router and a slightly bigger straight bit. All free-hand, without any templates or guides, just following the pencil line.


There was nothing complicated in glueing, basic light-duty clamps with minimum clamping force. I really liked that method of reinforcing picture frames, it was quick and easy, it also required very limited tools.


On the next day, I removed the clamps and gave the frame a quick sanding, just to break all sharp edges and corners. The reason for doing that is paint flow, rounded edges permit better flow and give a slightly thicker paint film, which looks better and is more durable. To be precise, both the timber and the paint film are more durable. Also, leaving the corners sharp is more likely to produce a drip.


Once the paint was dry I installed a sawtooth hanger, cut off nail heads and fixed the artwork to the frame in 8 places, using a hammer and a special nail punch. I noticed that the centre of the frame wasn’t in the centre of mass, probably due to the drilled holes and removed material.


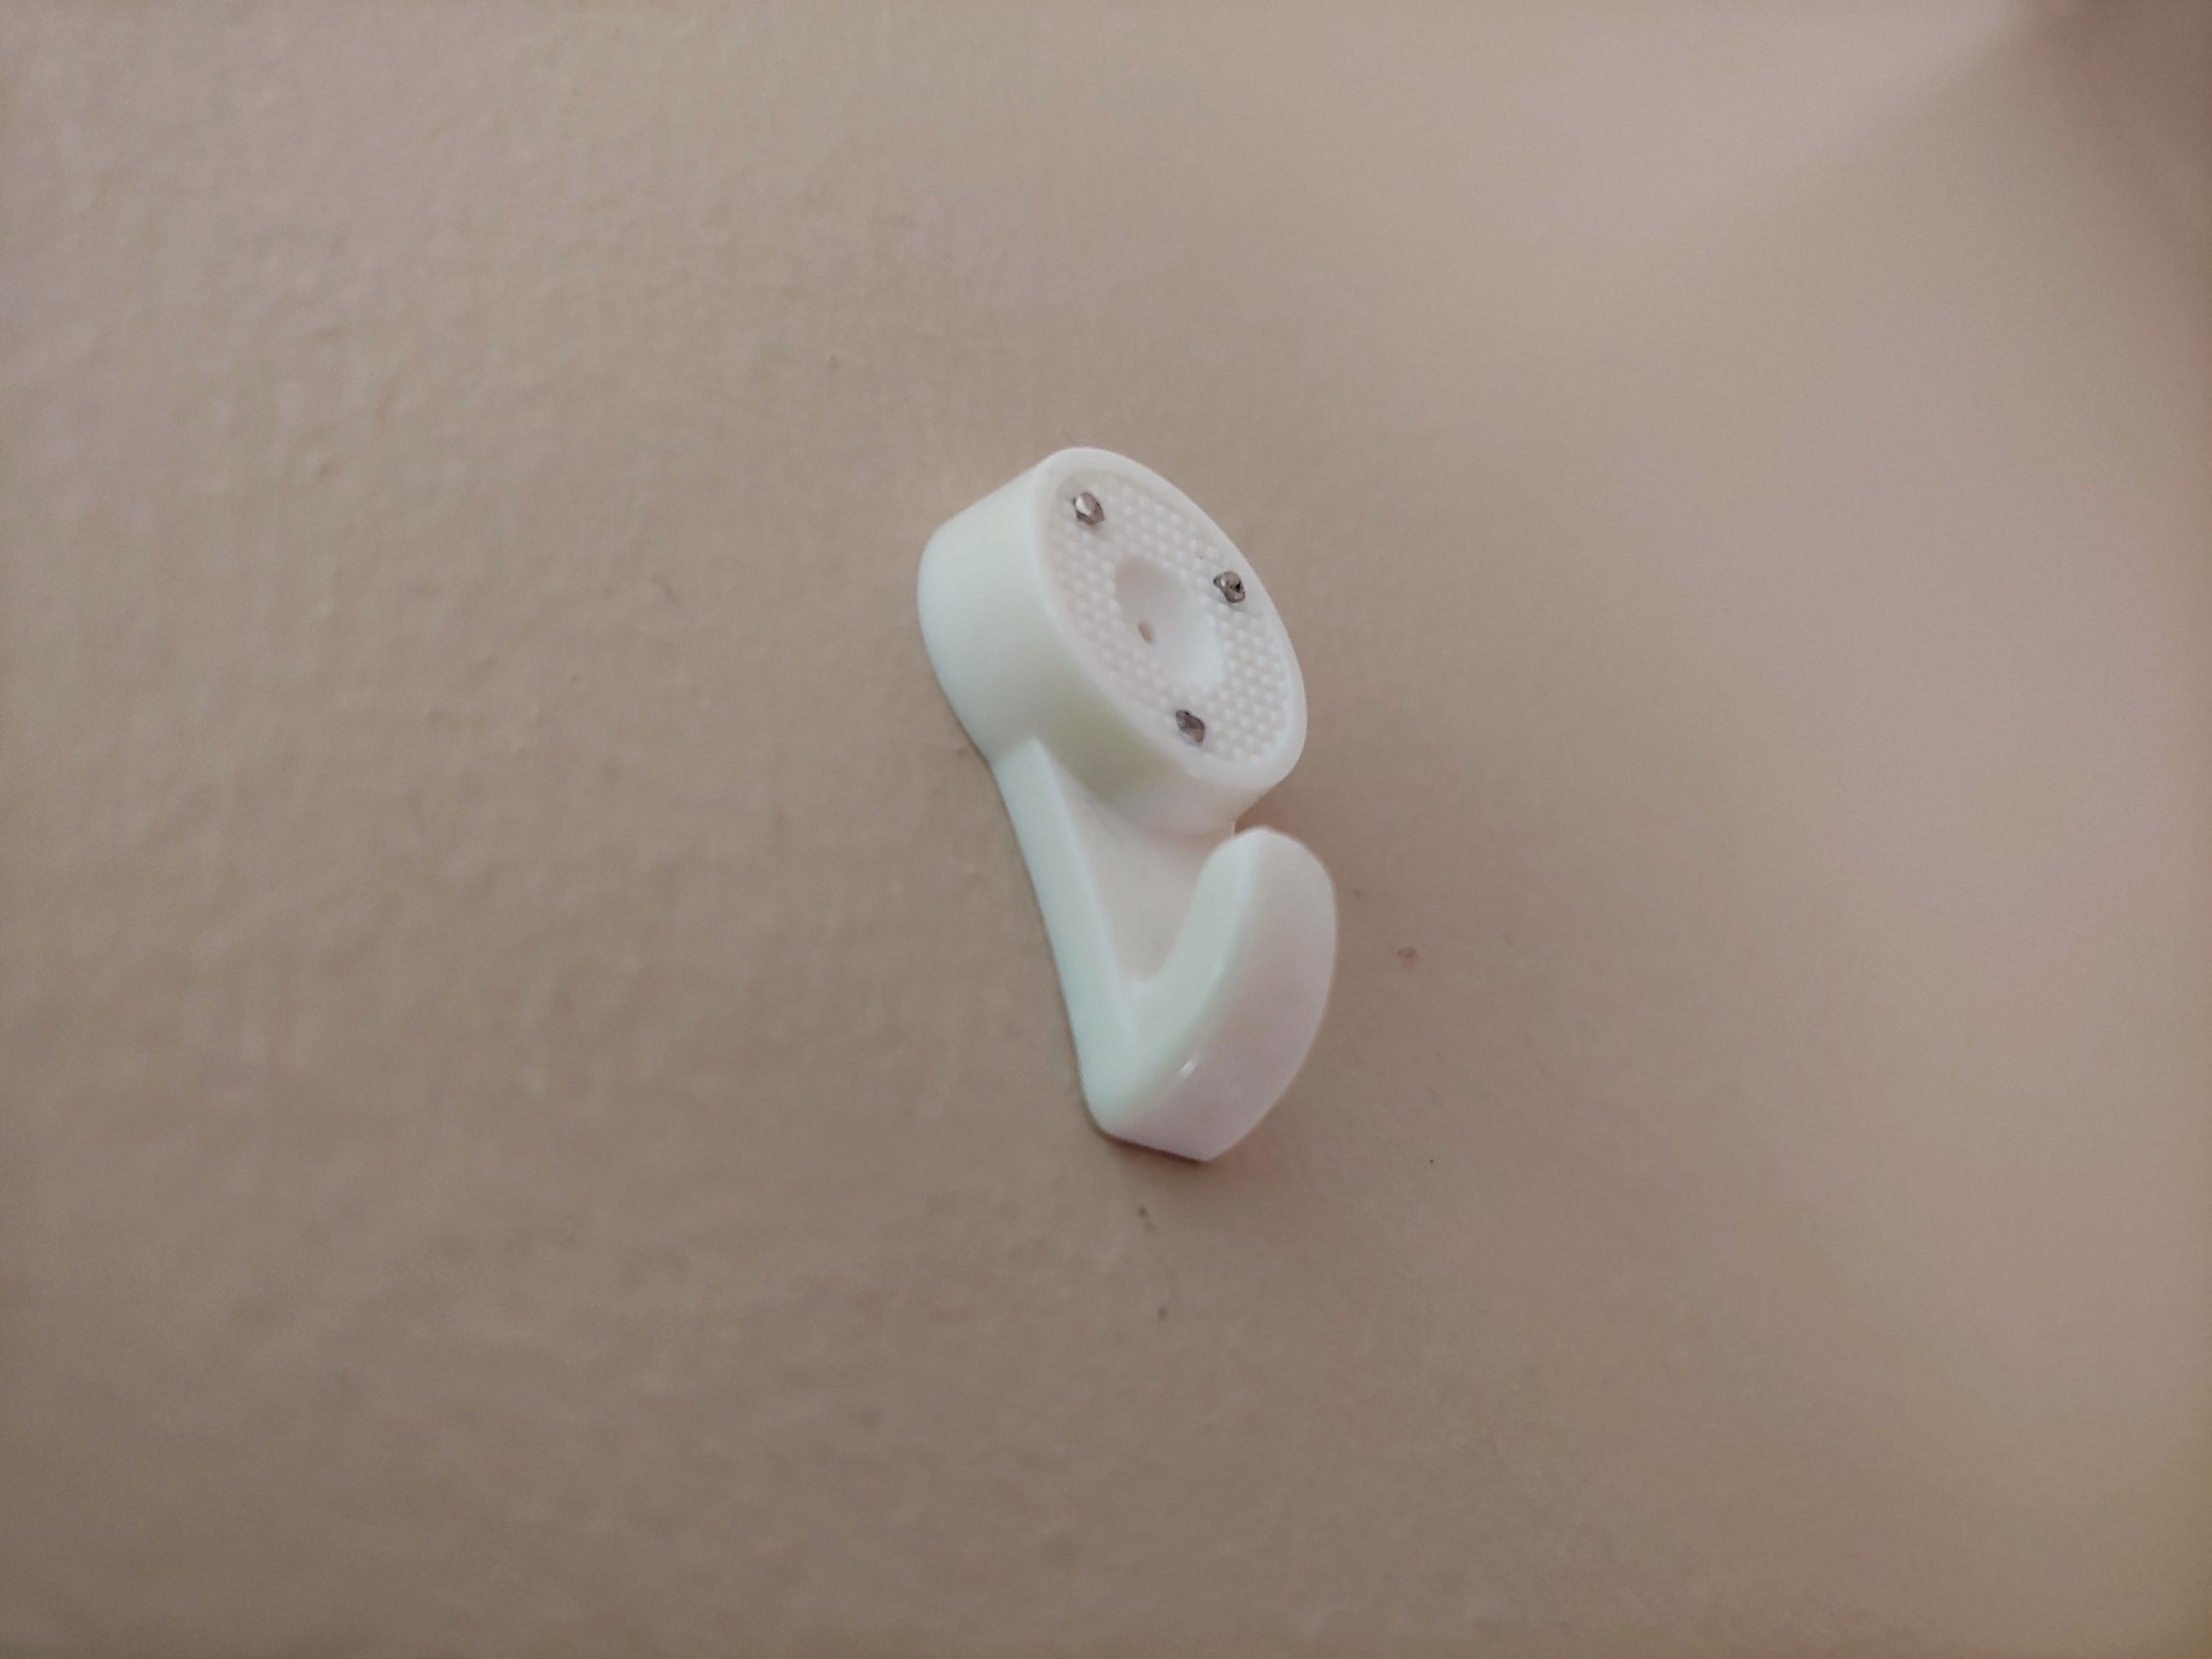
As always I stuck some rubber bumpers to the back in 4 corners. Next, I nailed a hard wall picture hook that is supposed to handle a 30 kg frame, in theory. I’m a big fan of these hooks as they never fail and are very easy to install.

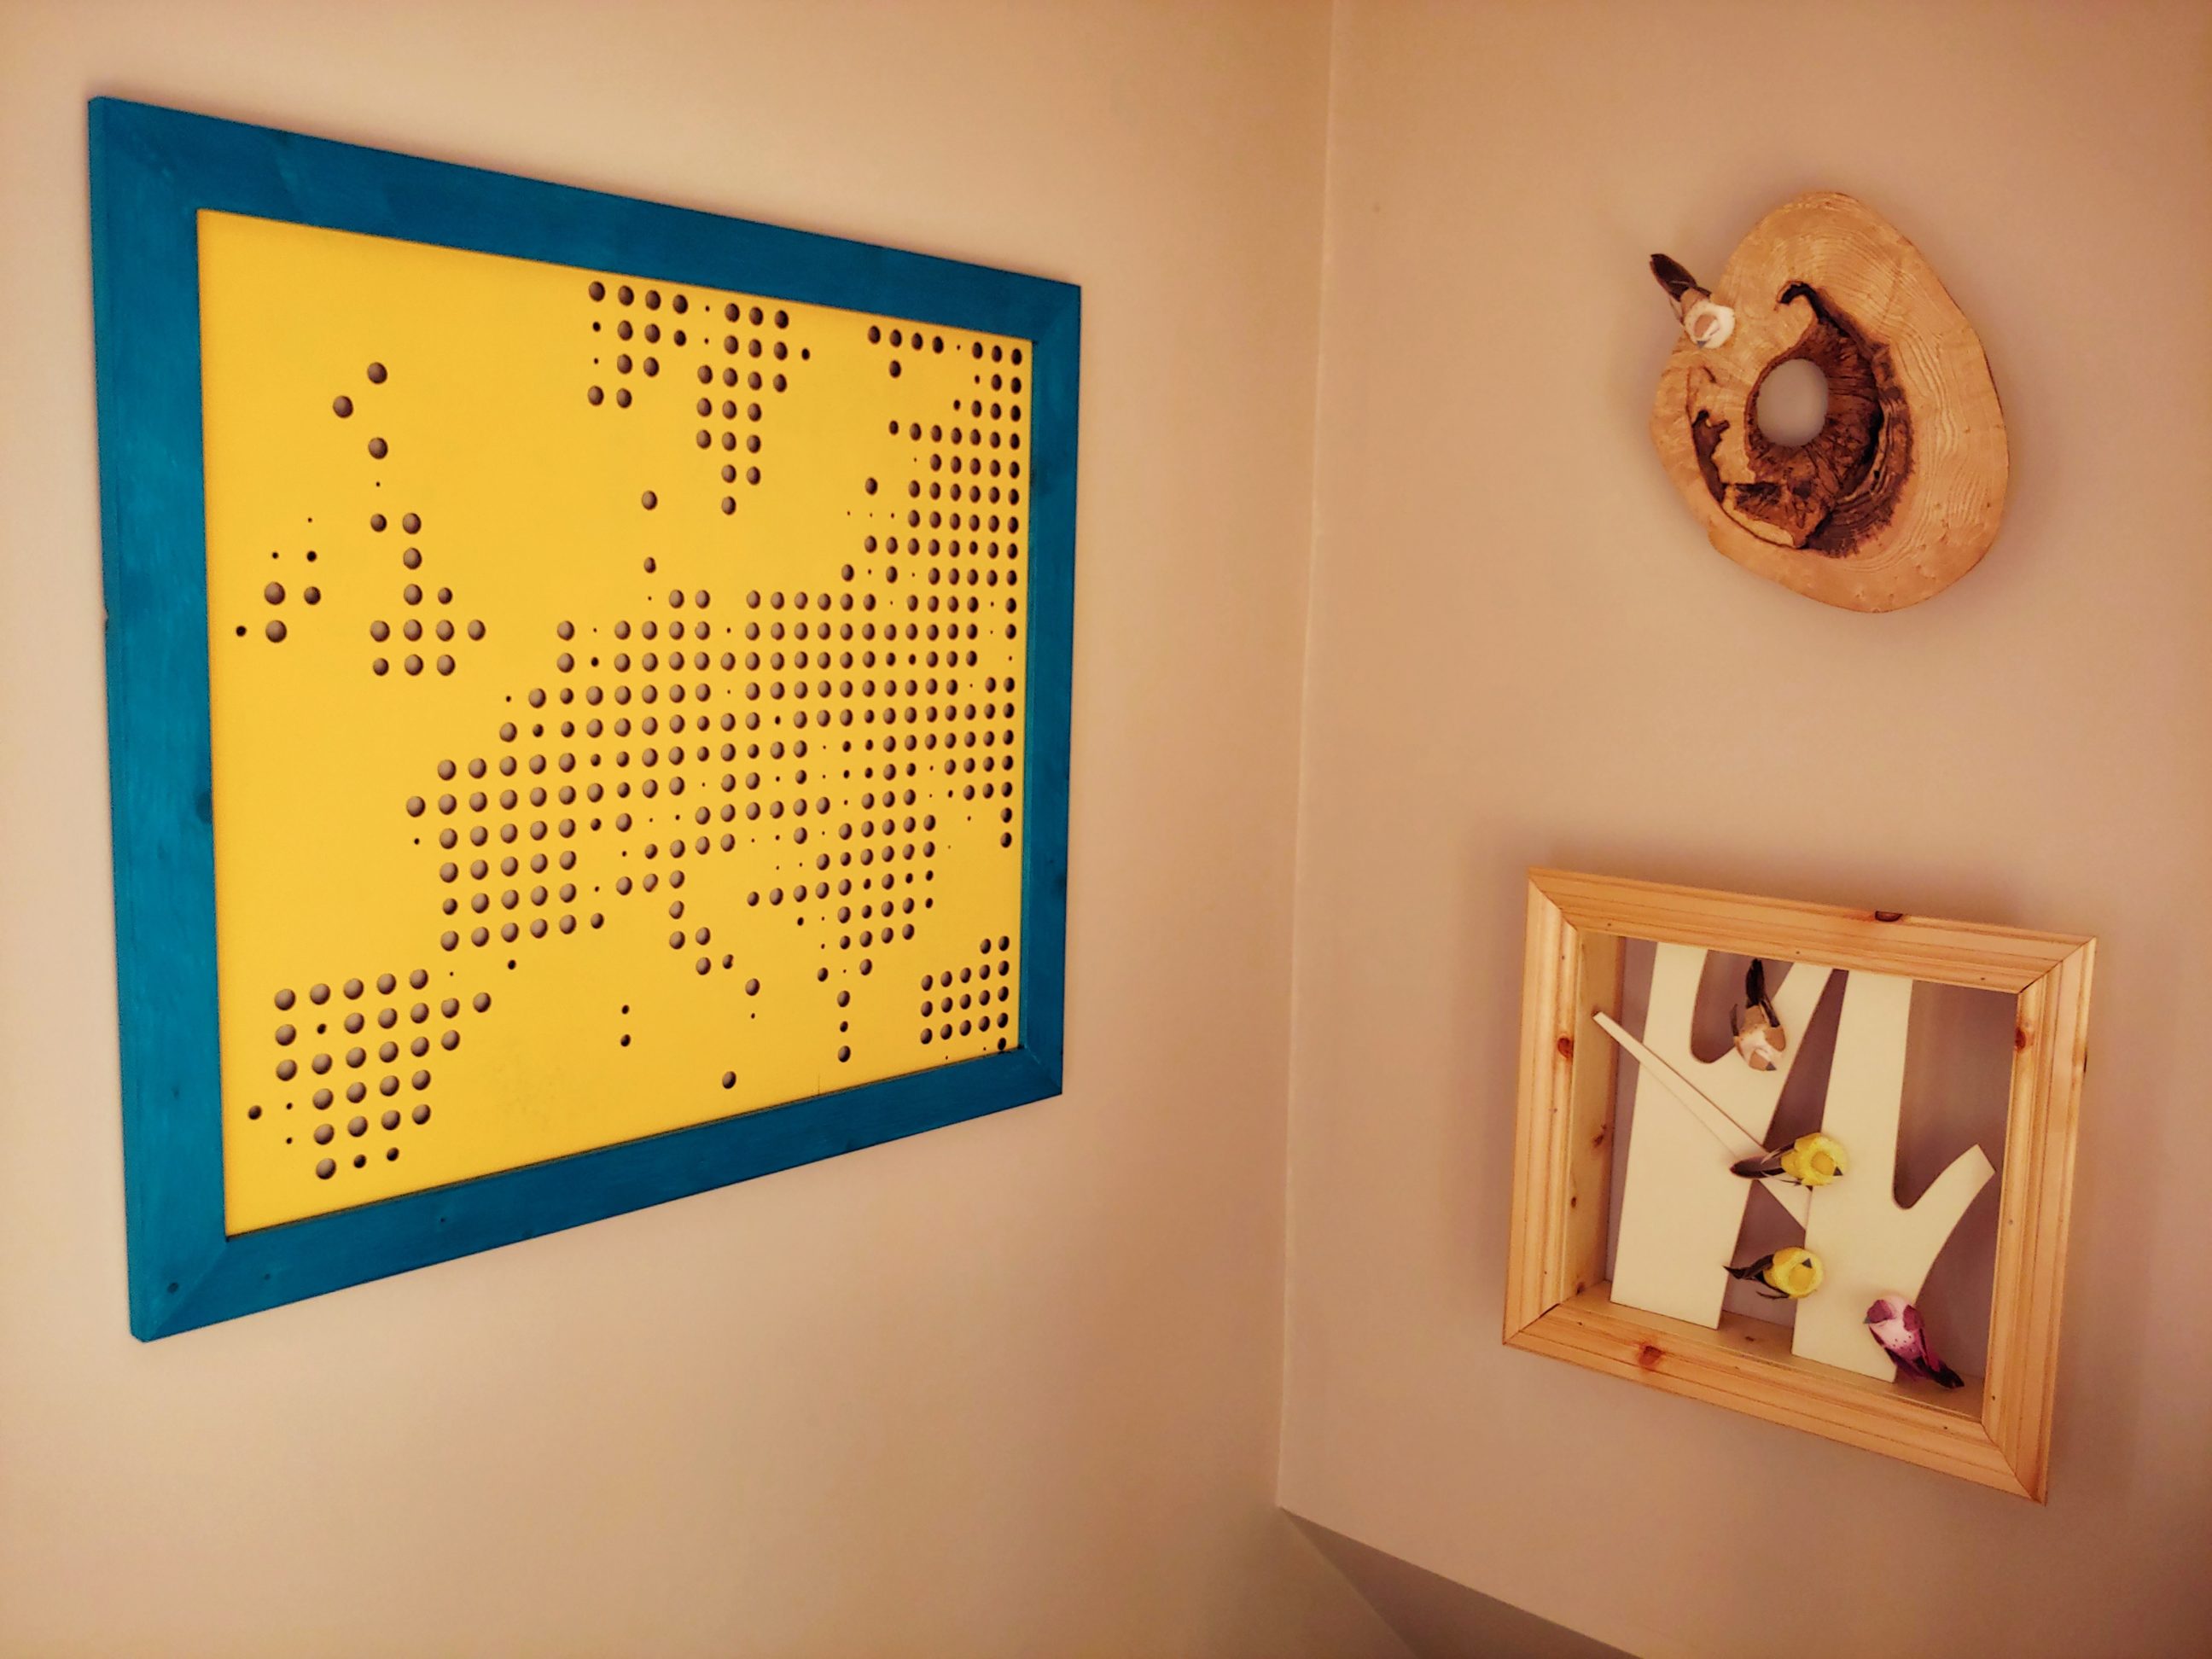
Very bright colours perfectly matched the other two pieces of art I built earlier: tree hollow art and three-D tree decoration.