
Simple picture frame
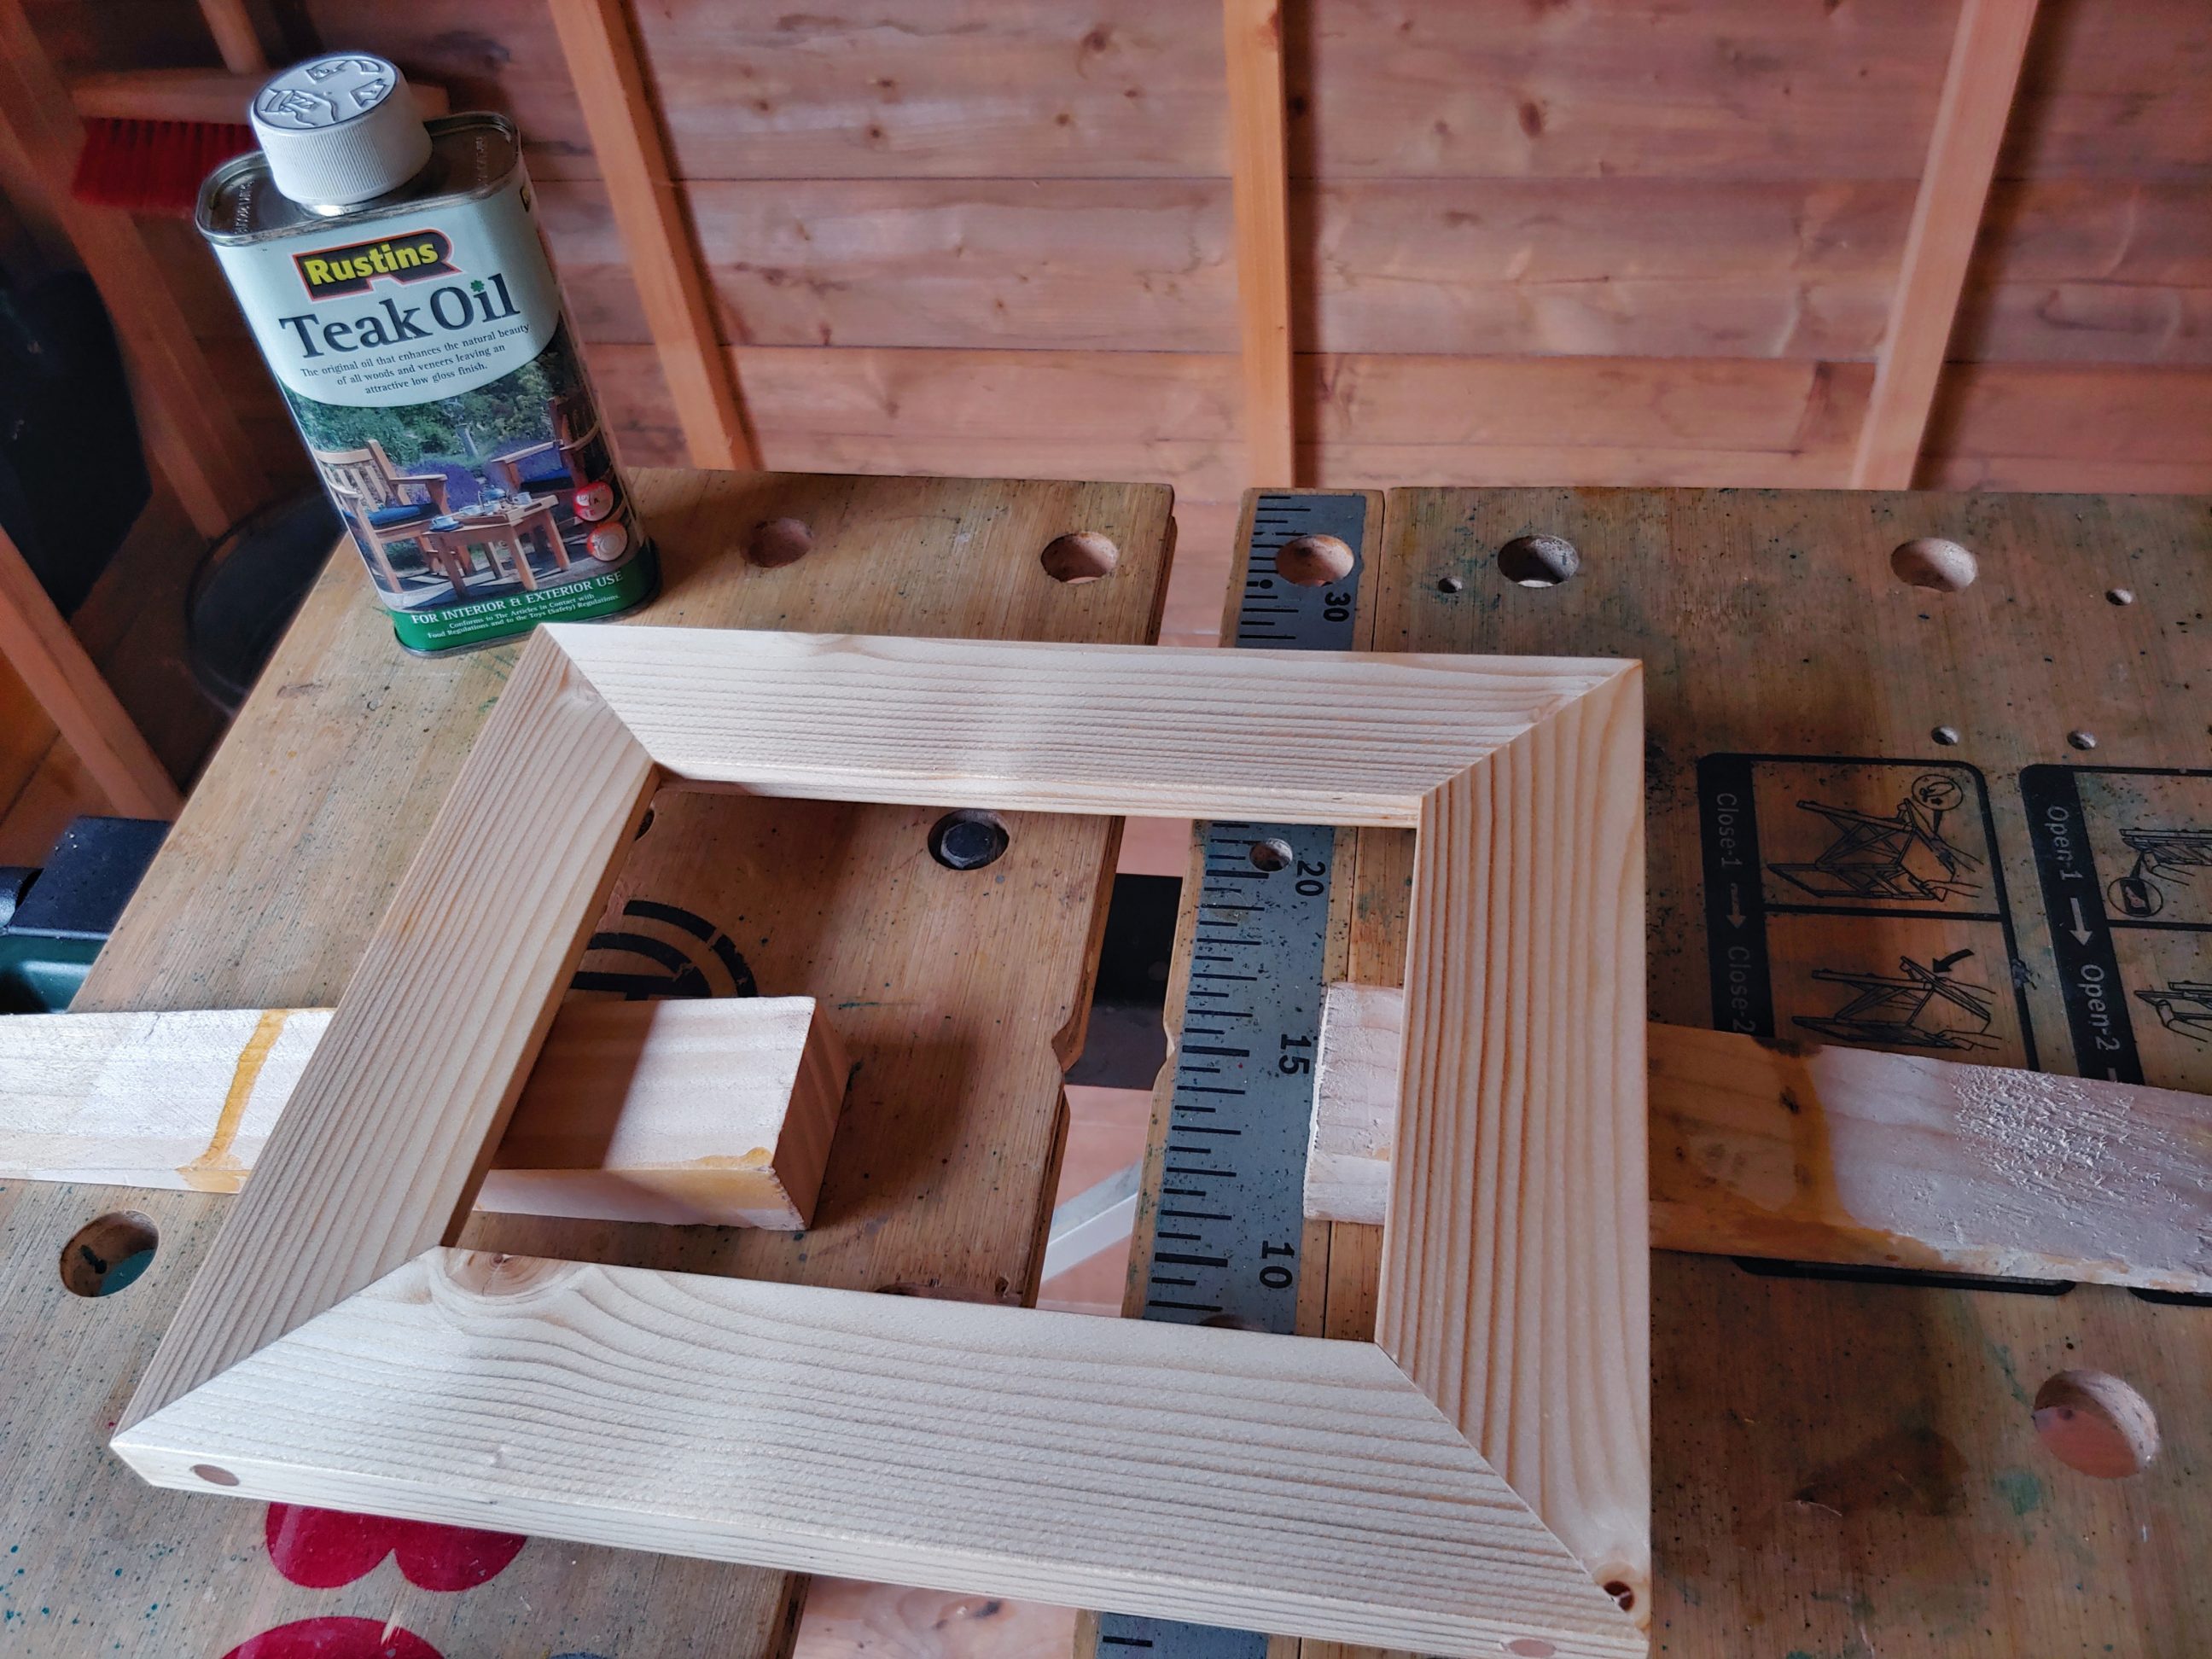
In general, that was a very simple project. Setting the blade to 90º and the mitre gauge to 45º took some time as that had to be done precisely. Once the setup was done, the cutting and glueing were quite straightforward. I lightly clamped the frame with a strap clamp, using very little force and then aligned all 4 corners with small c- and quick-release clamps. I didn’t want any dents in the timber so again I didn’t apply much pressure. Slowly and precisely, there was absolutely no rush and no pressure.


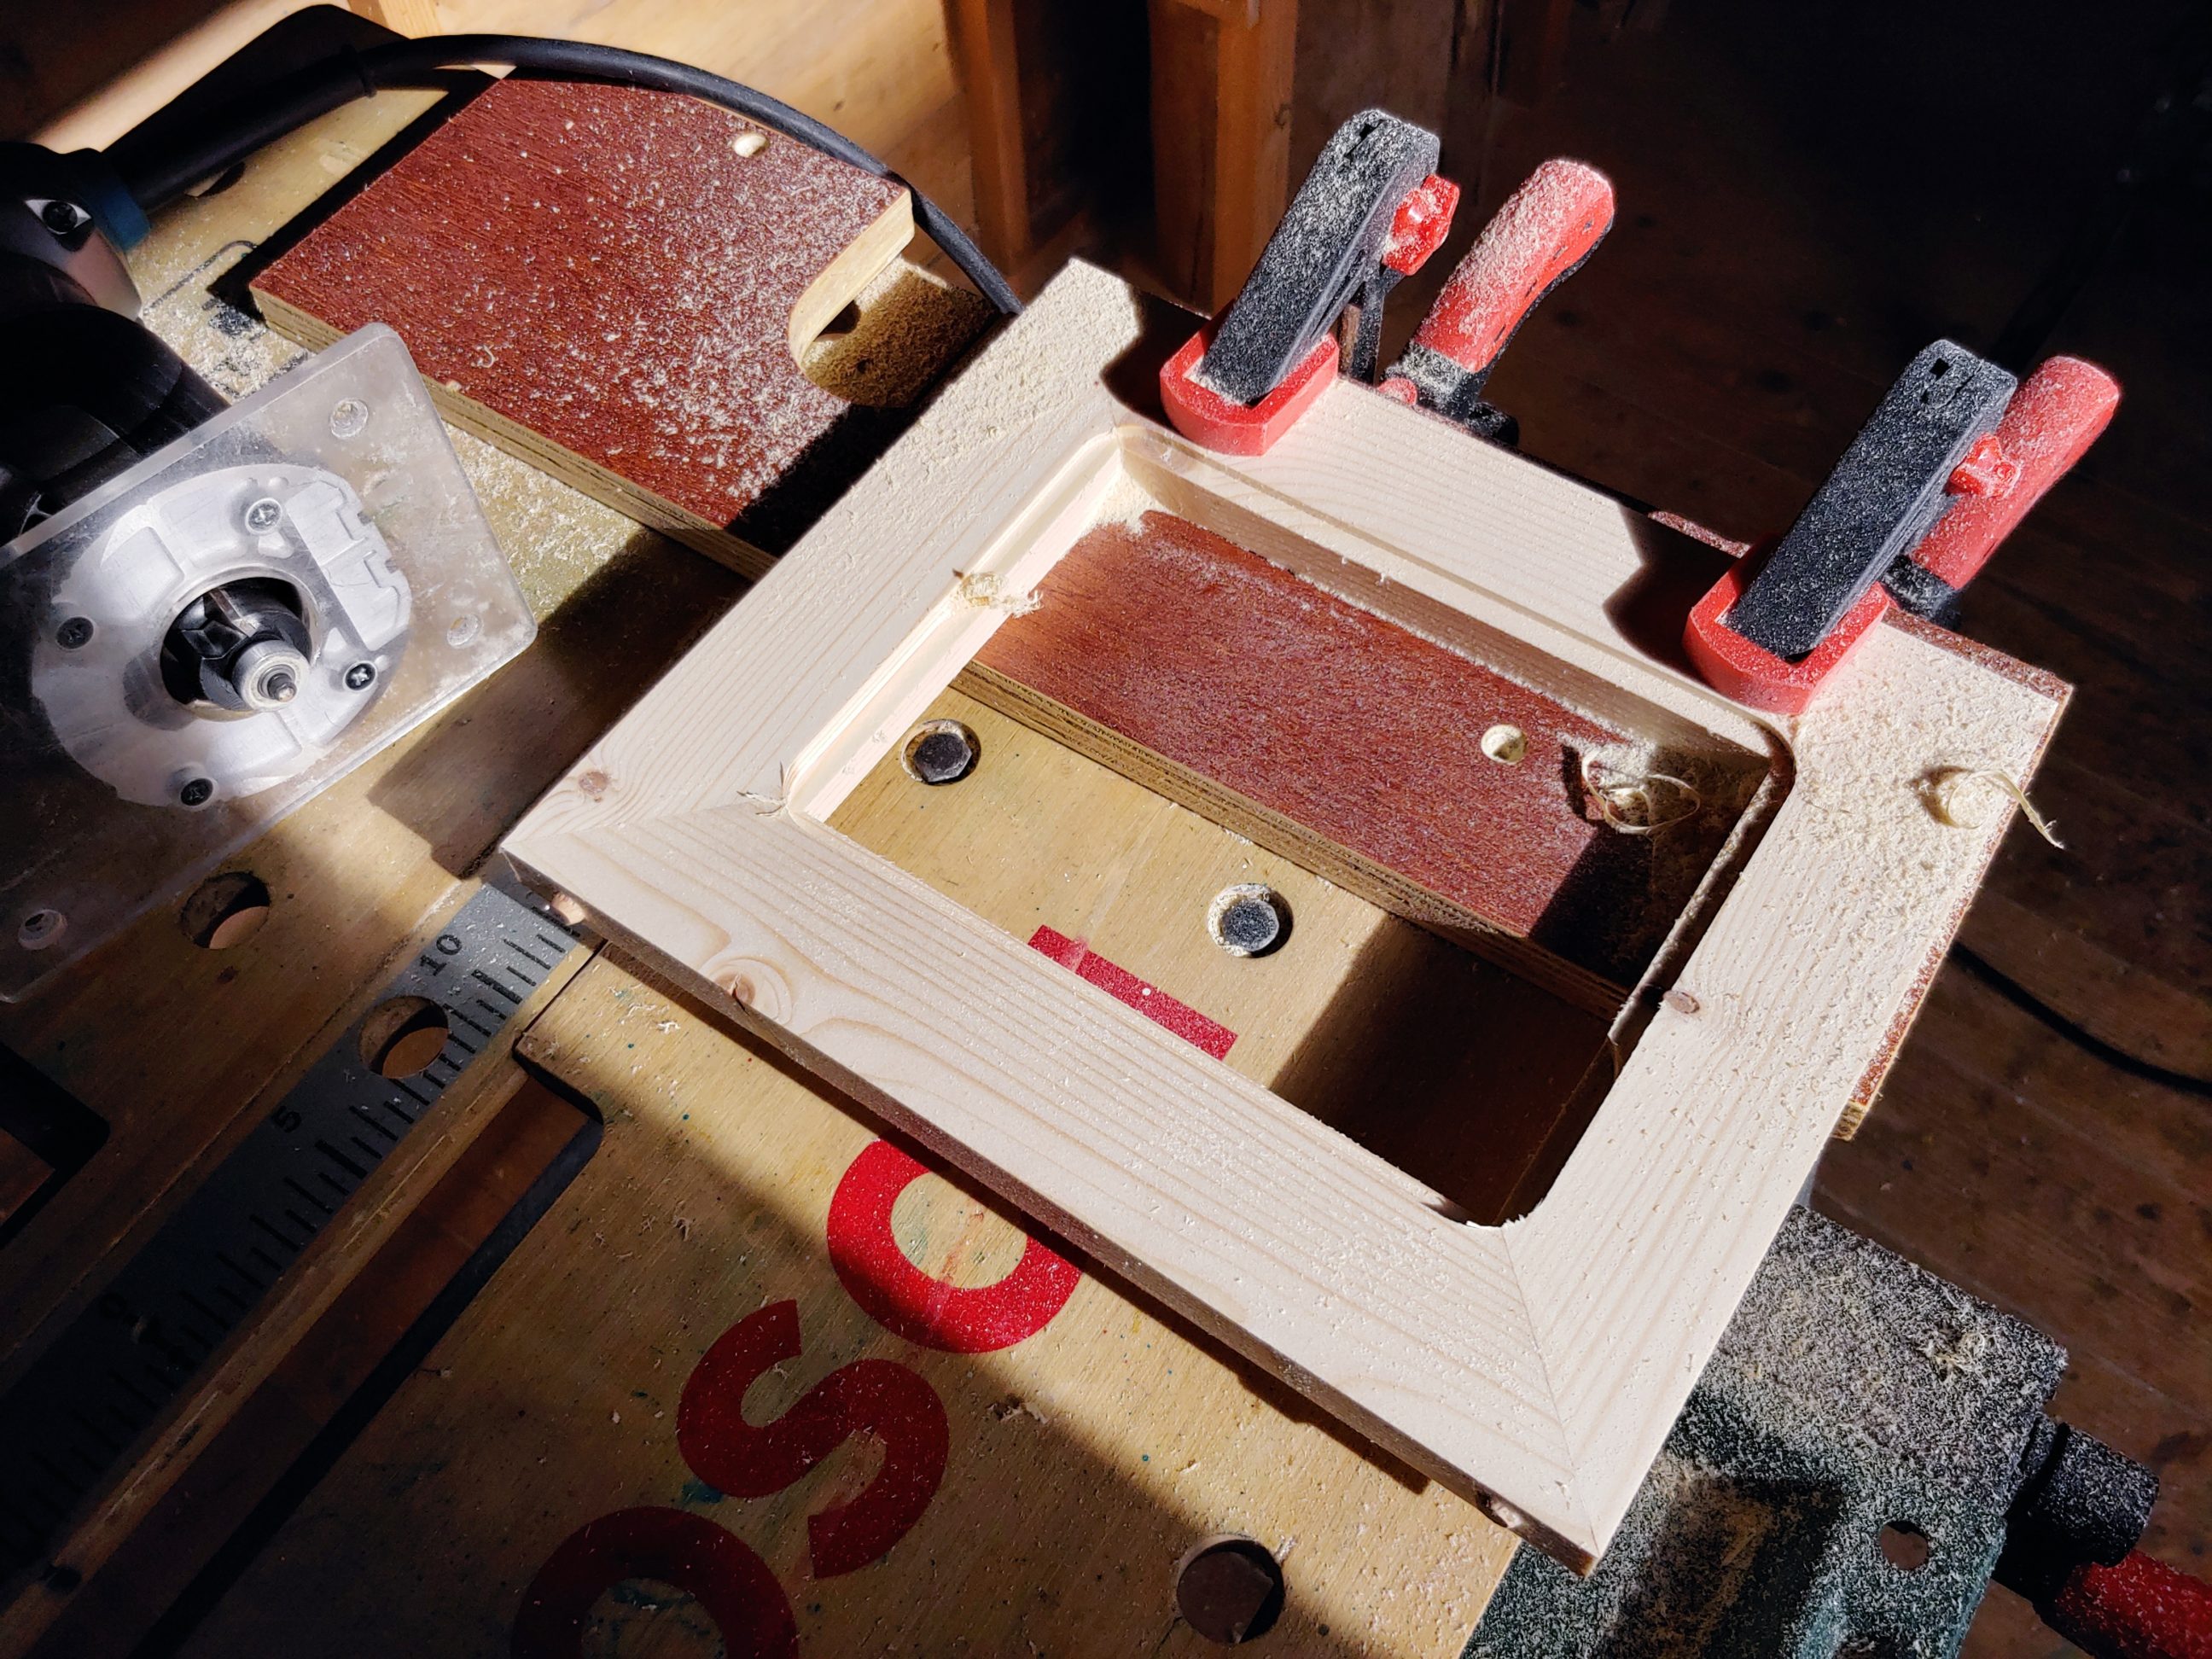
Once the glue dried I removed the clamps and cleaned the corners using my utility knife. I reinforced the mitres with 8 mm dowels, sanded the back of the frame and cut rebates. I carefully selected the right bearing for the job to get a ¼-inch wide rebate and I increased the cutting depth 3 times, to prevent the bit from getting too hot. I needed to raise the workpiece up, using some scrap plywood, as the router bit with its bearing could damage my workbench.


I removed material from the corners using my sharpest chisel and next, I cut an MDF board and plexiglass to size. There was no need to apply wood filler as the mitres were pretty good but just in case I used some, knowing it would be all sanded out later on.
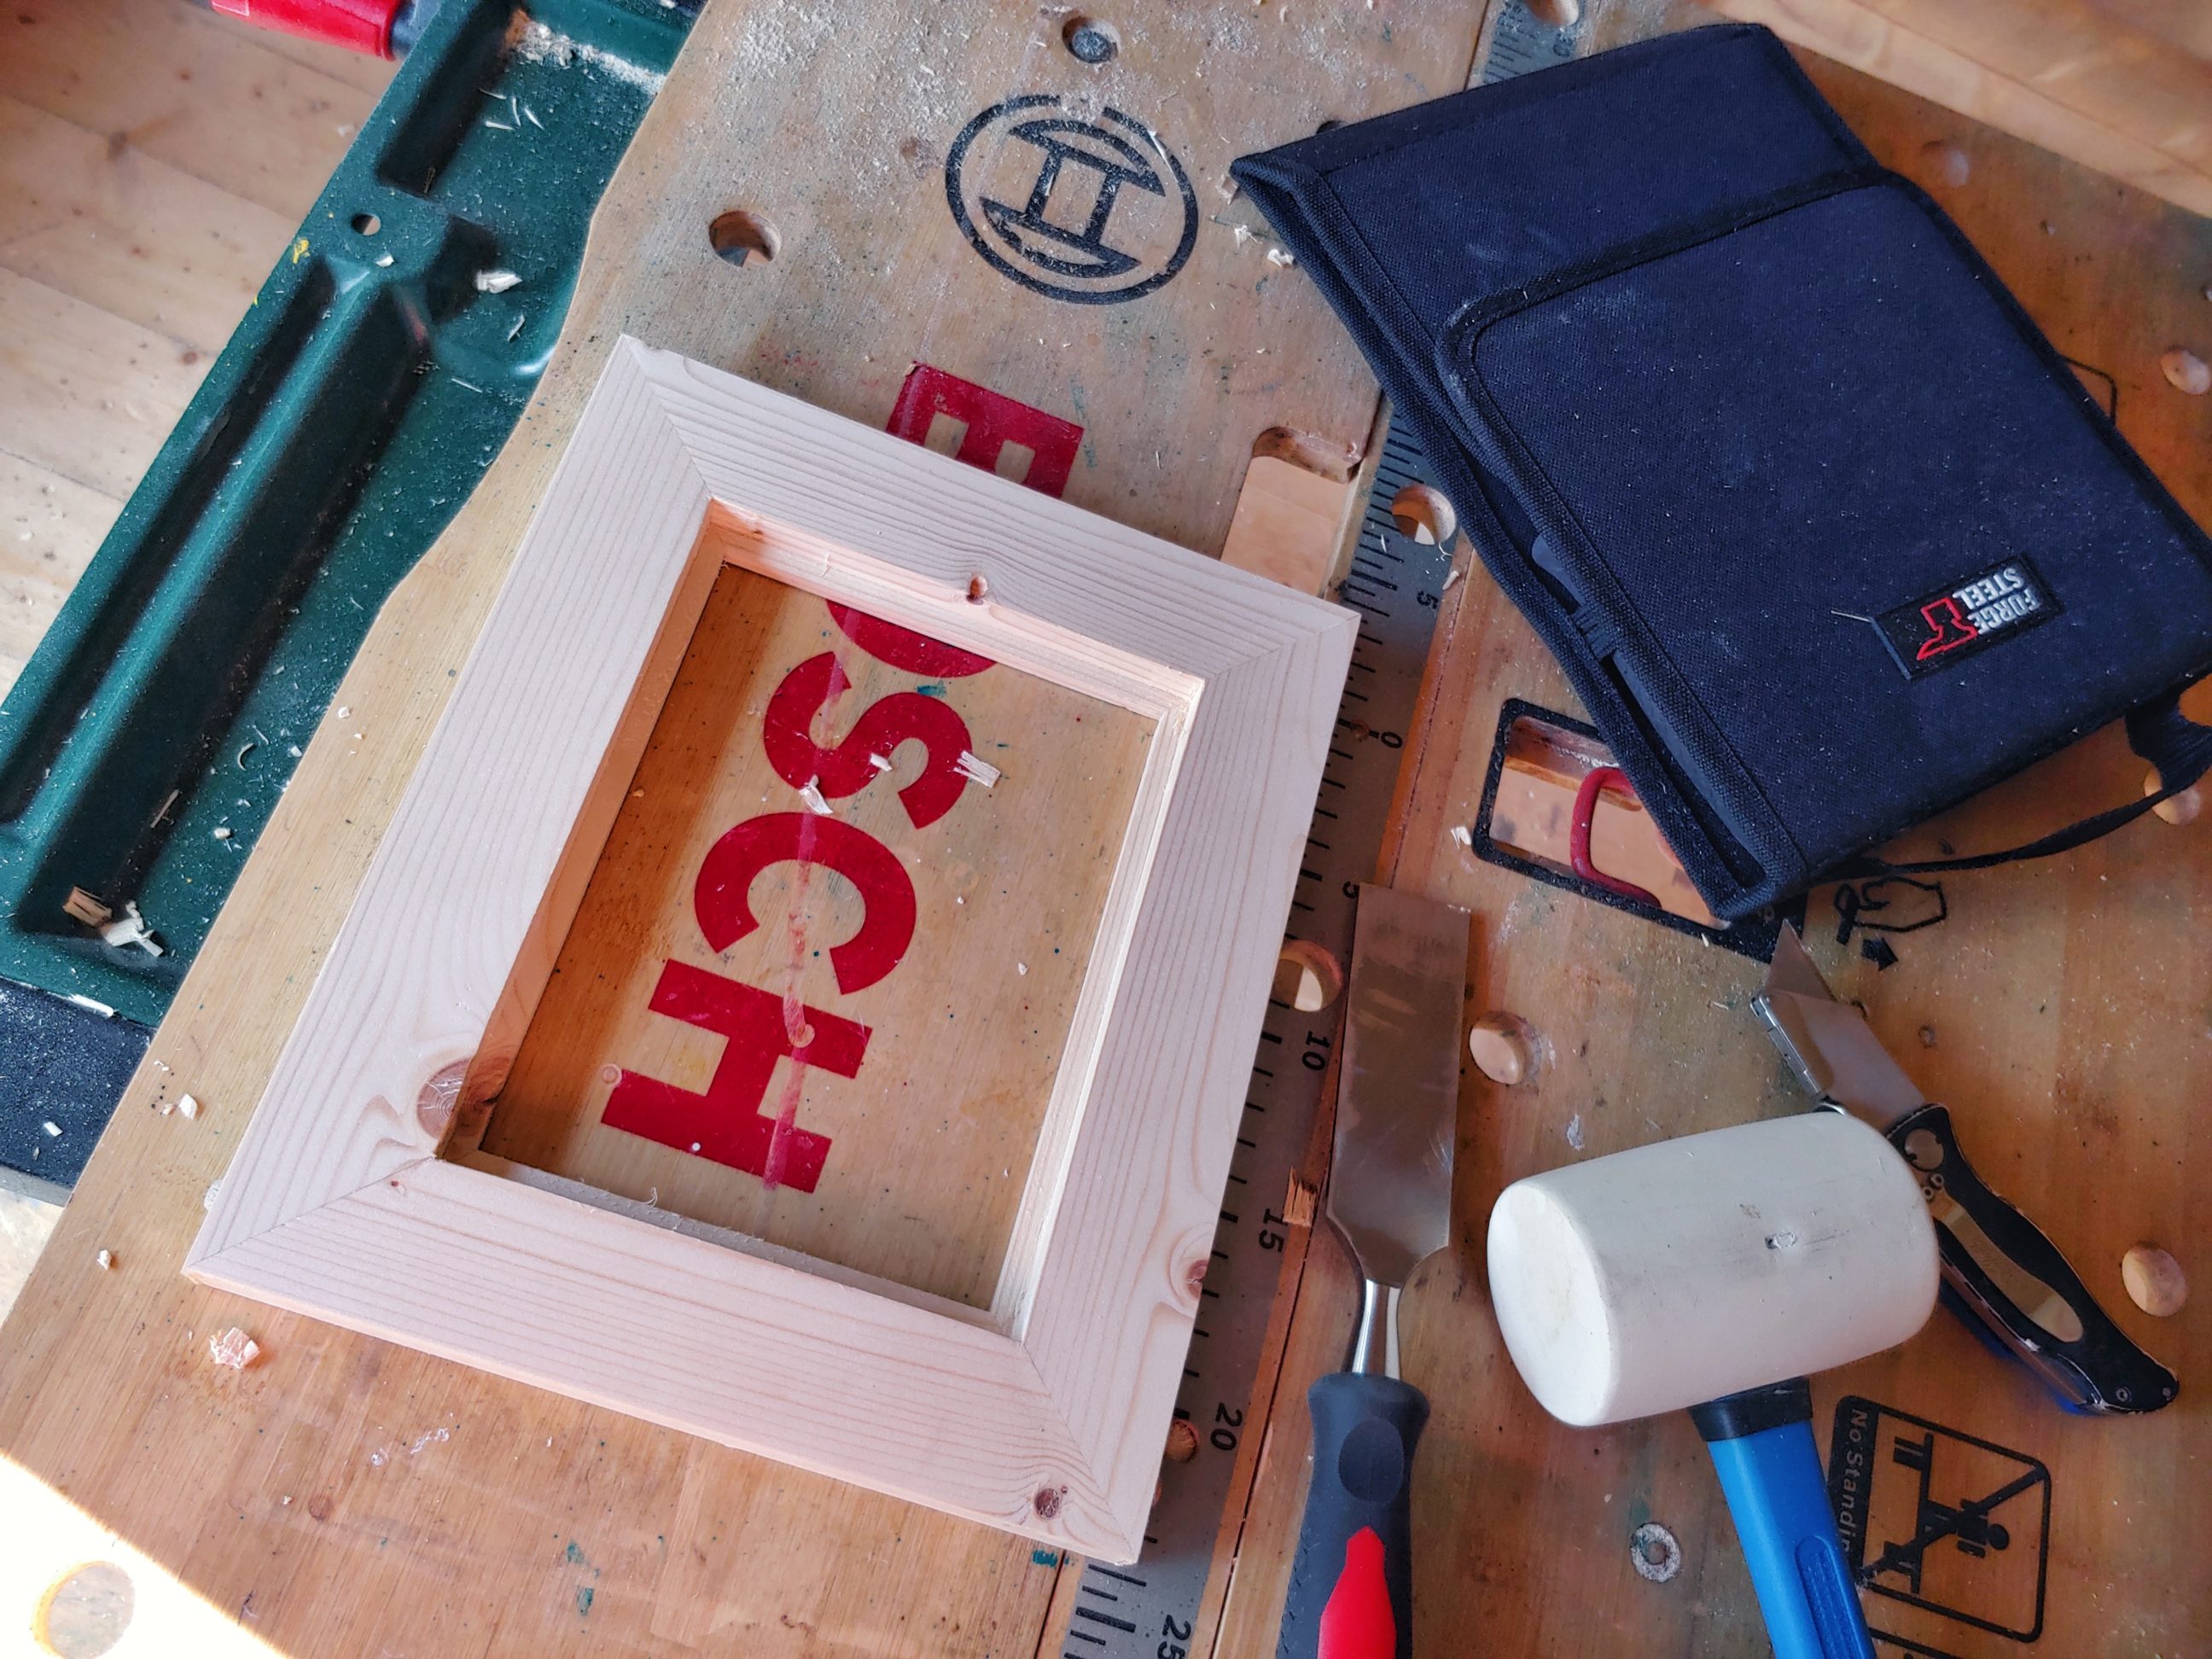


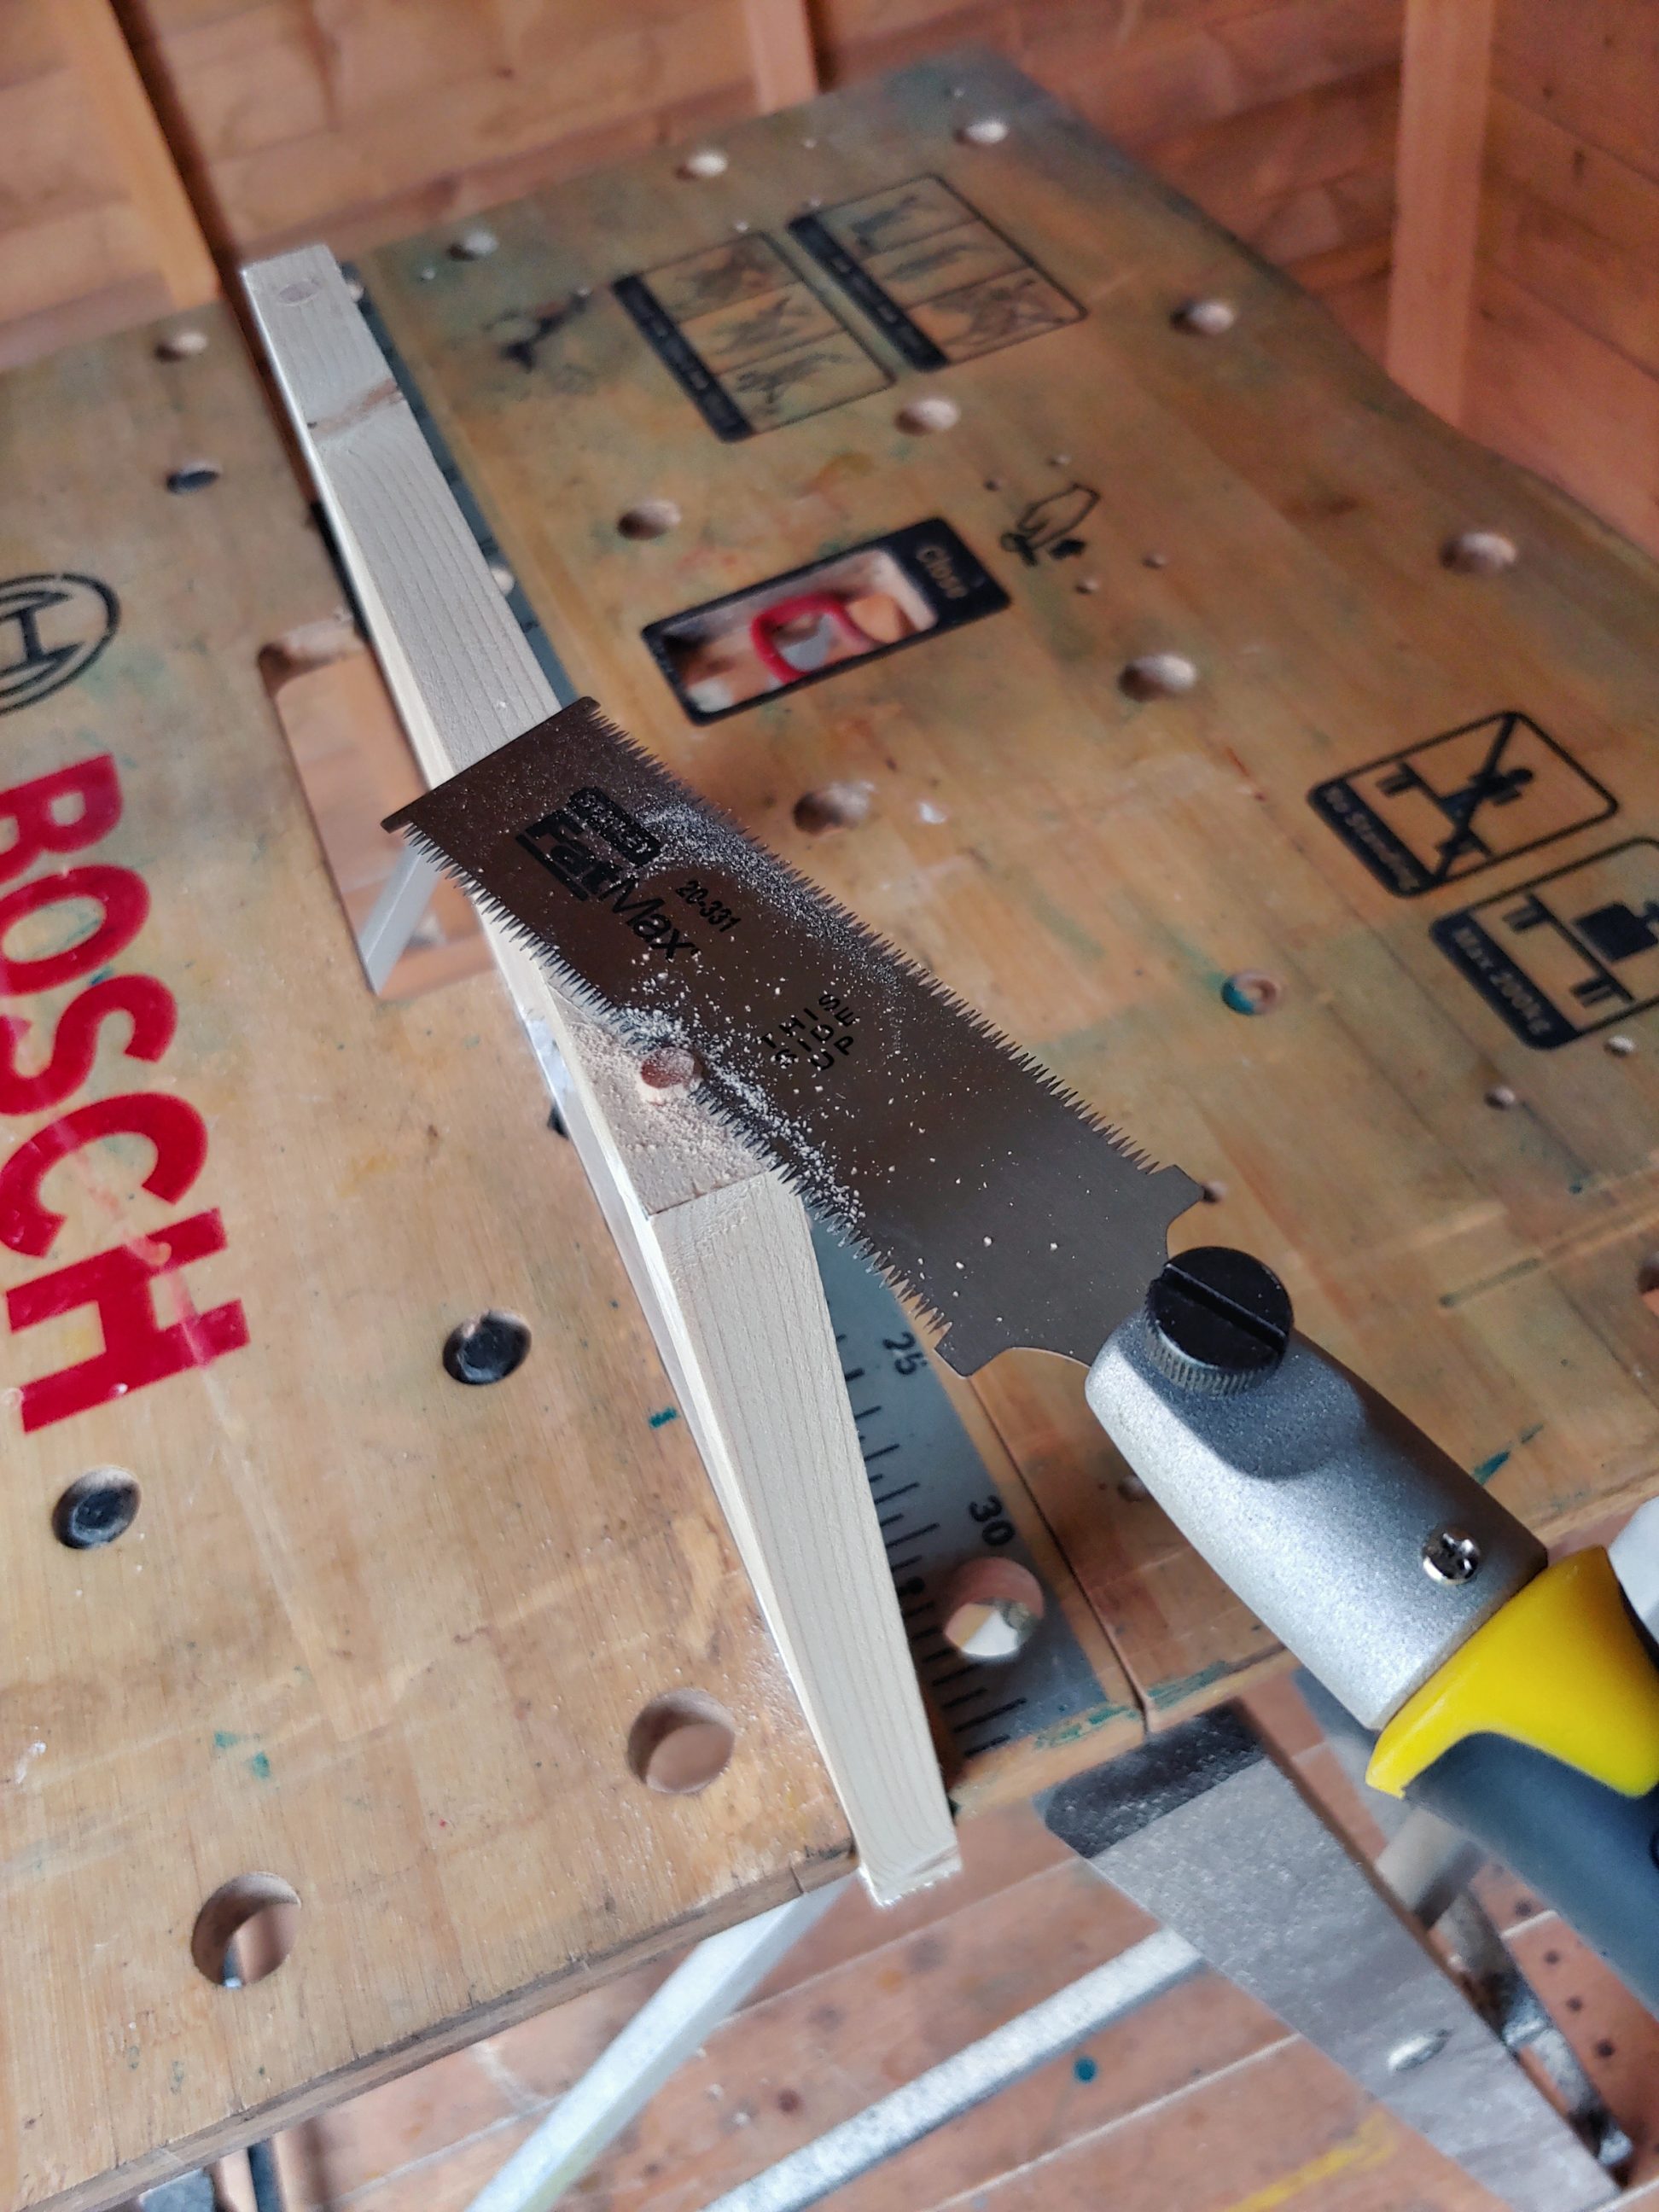
Using a flush trim saw I cut the dowels and did some sanding. I also eased the edges on the backing board and the plexiglass. To finish the frame I used a couple of coats of teak oil.


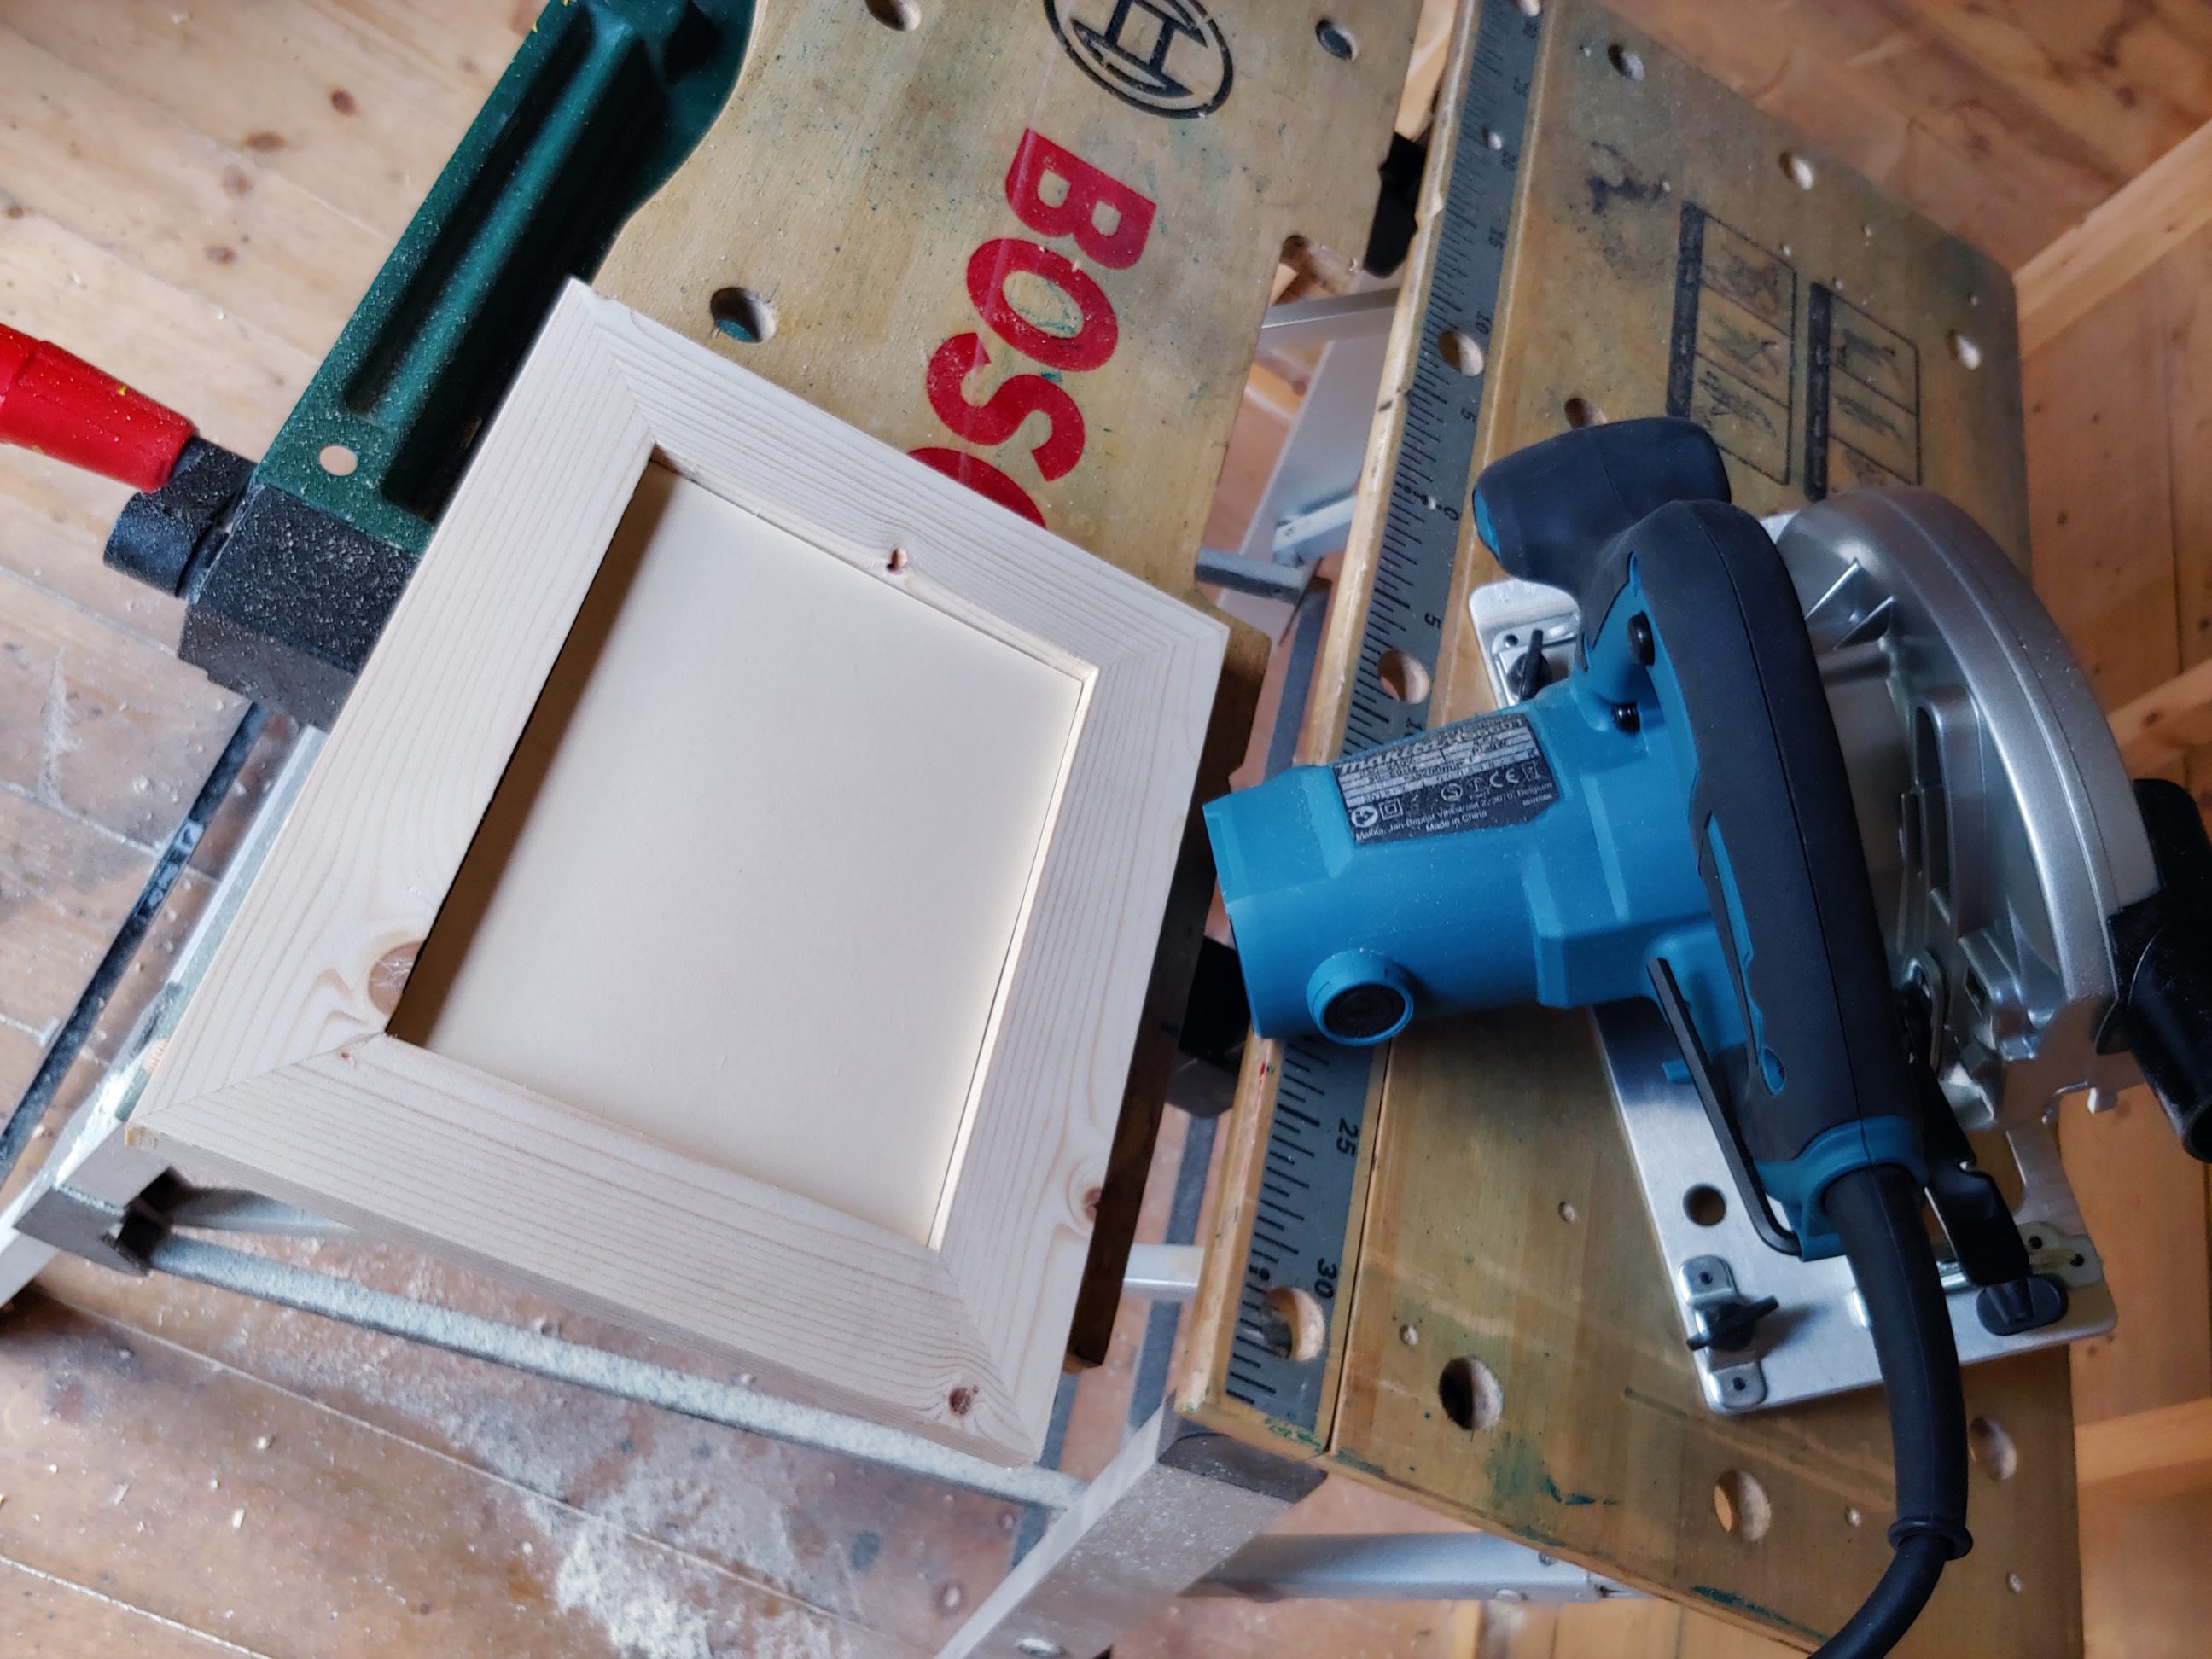
Once dried I buffed it using steel wool and wax – as always – and then I installed the hanger and prepared the nails for holding the MDF board – I simply cut their heads off.


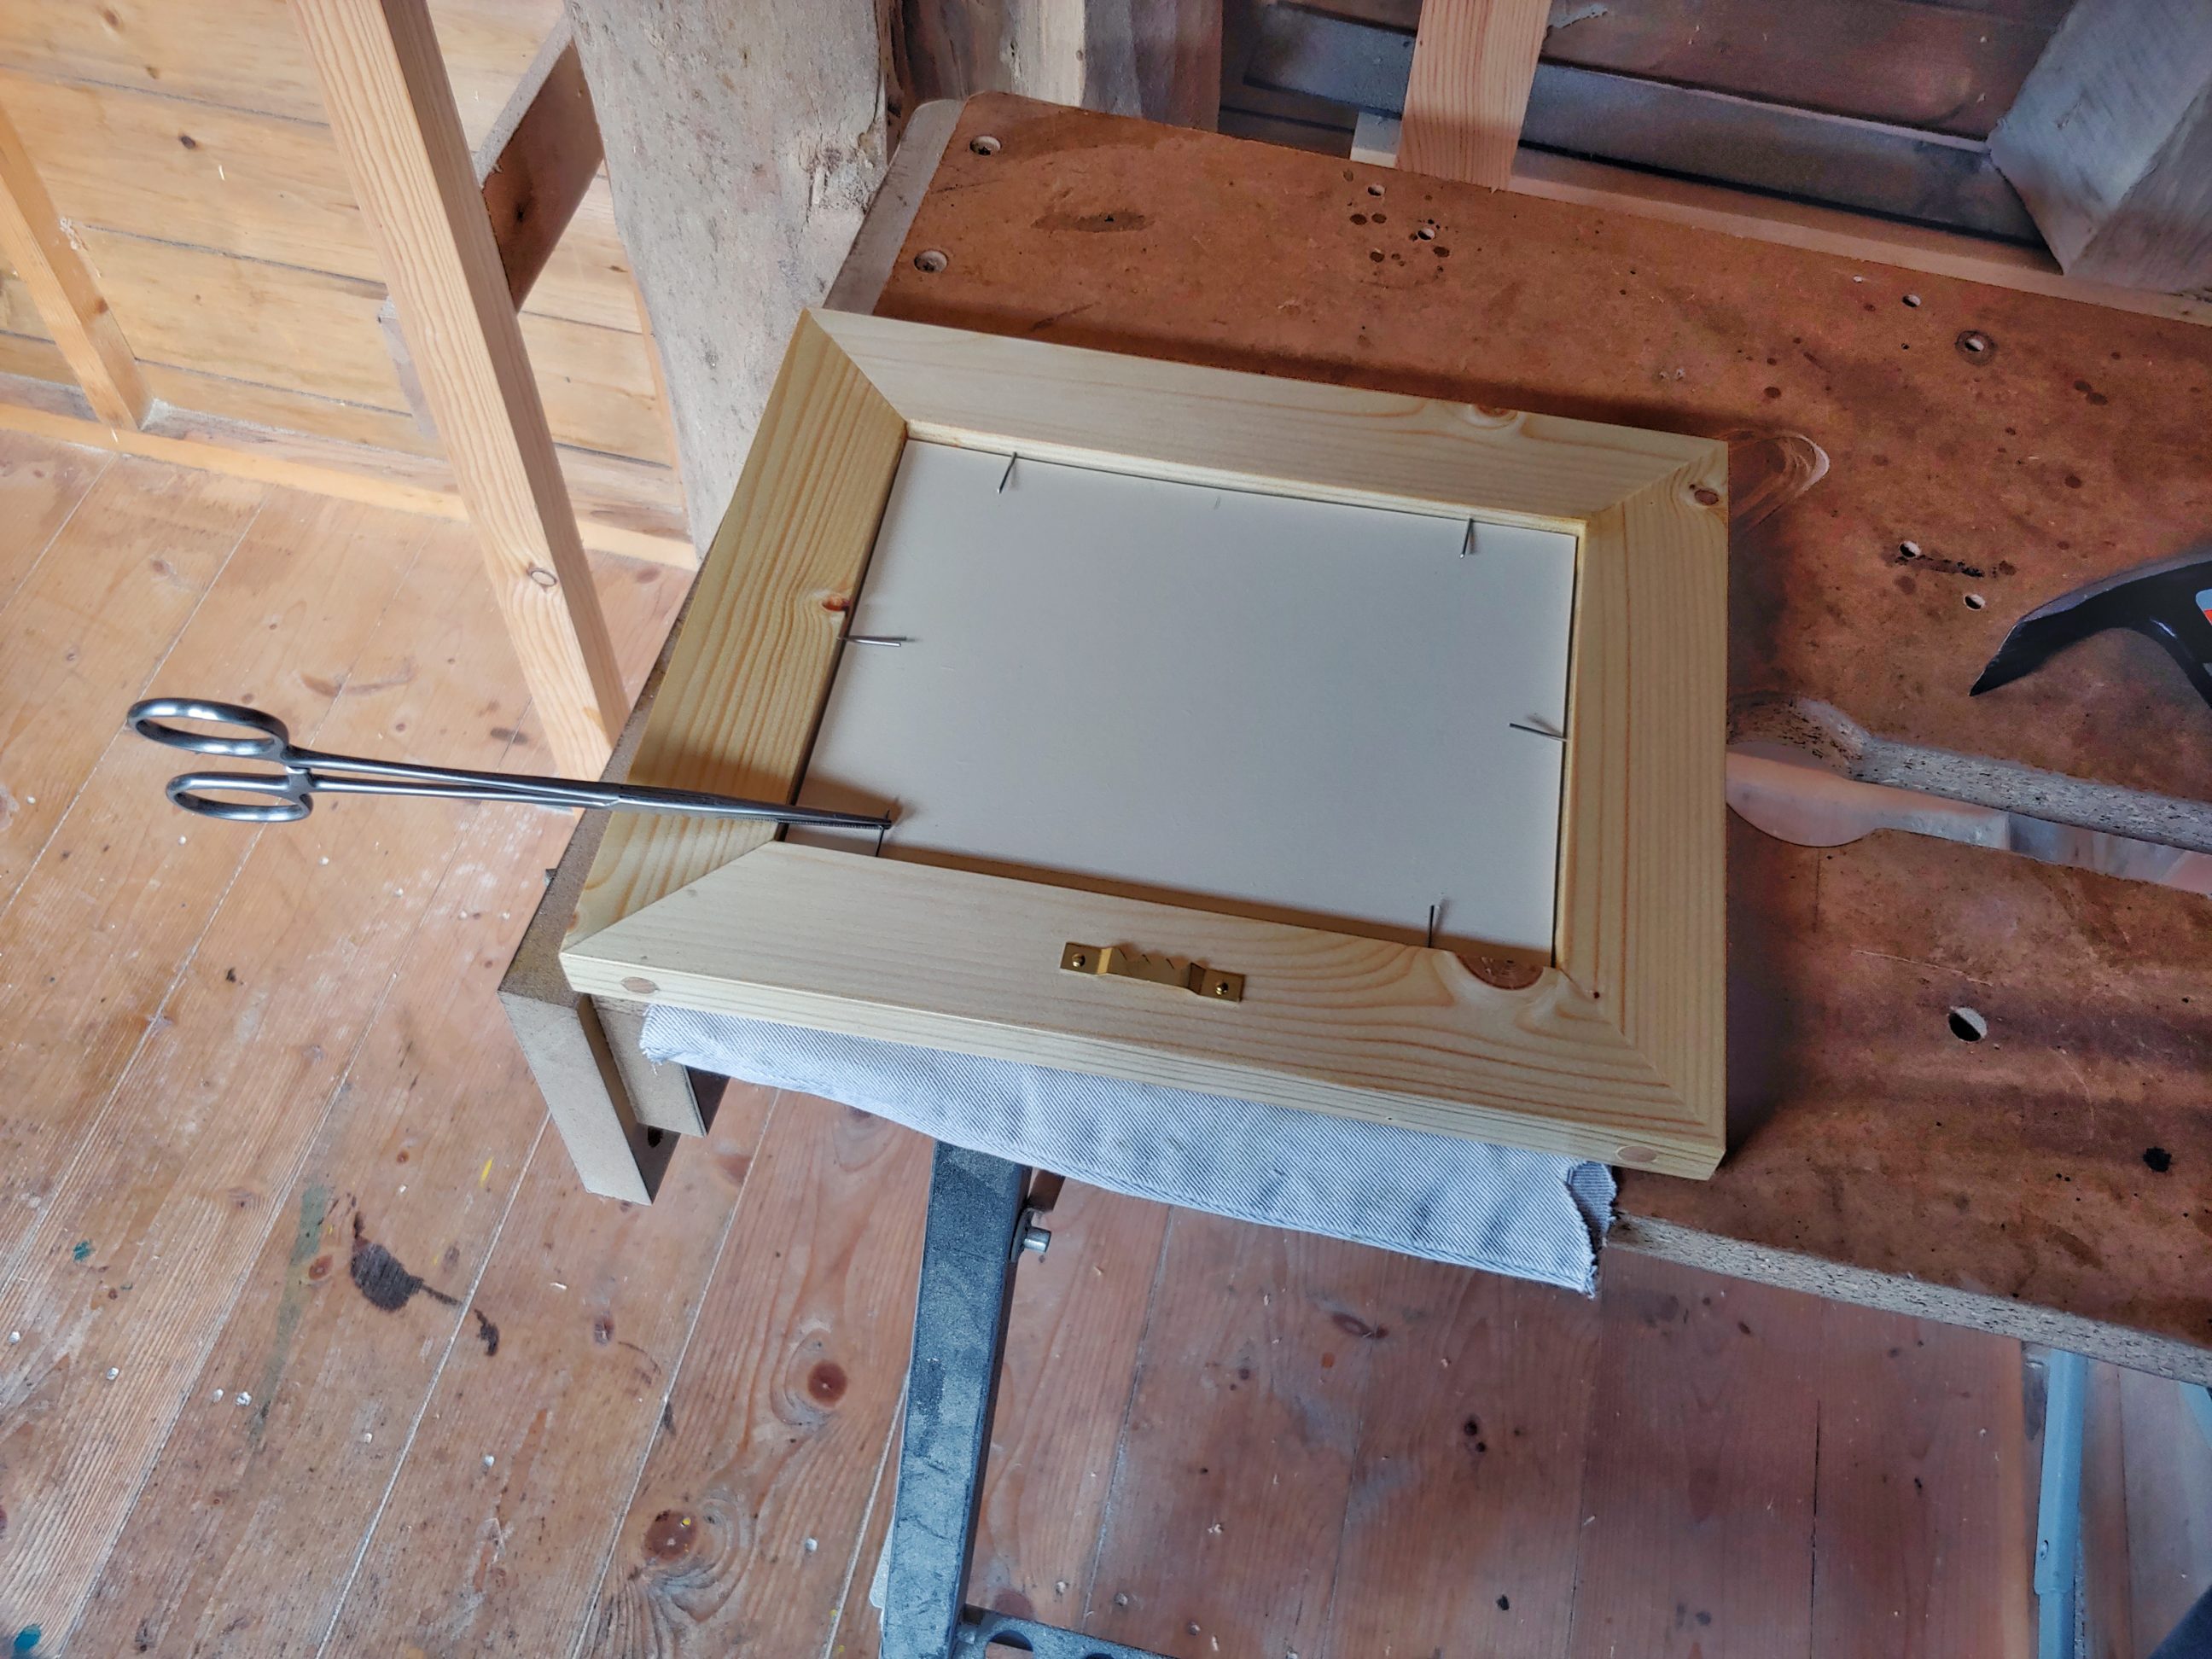
To hang it on the wall I used a very basic and simple approach – a plastic hook – I like using them because of 2 reasons; the installation is fast and relatively quiet and it allows a picture frame to tilt forward.


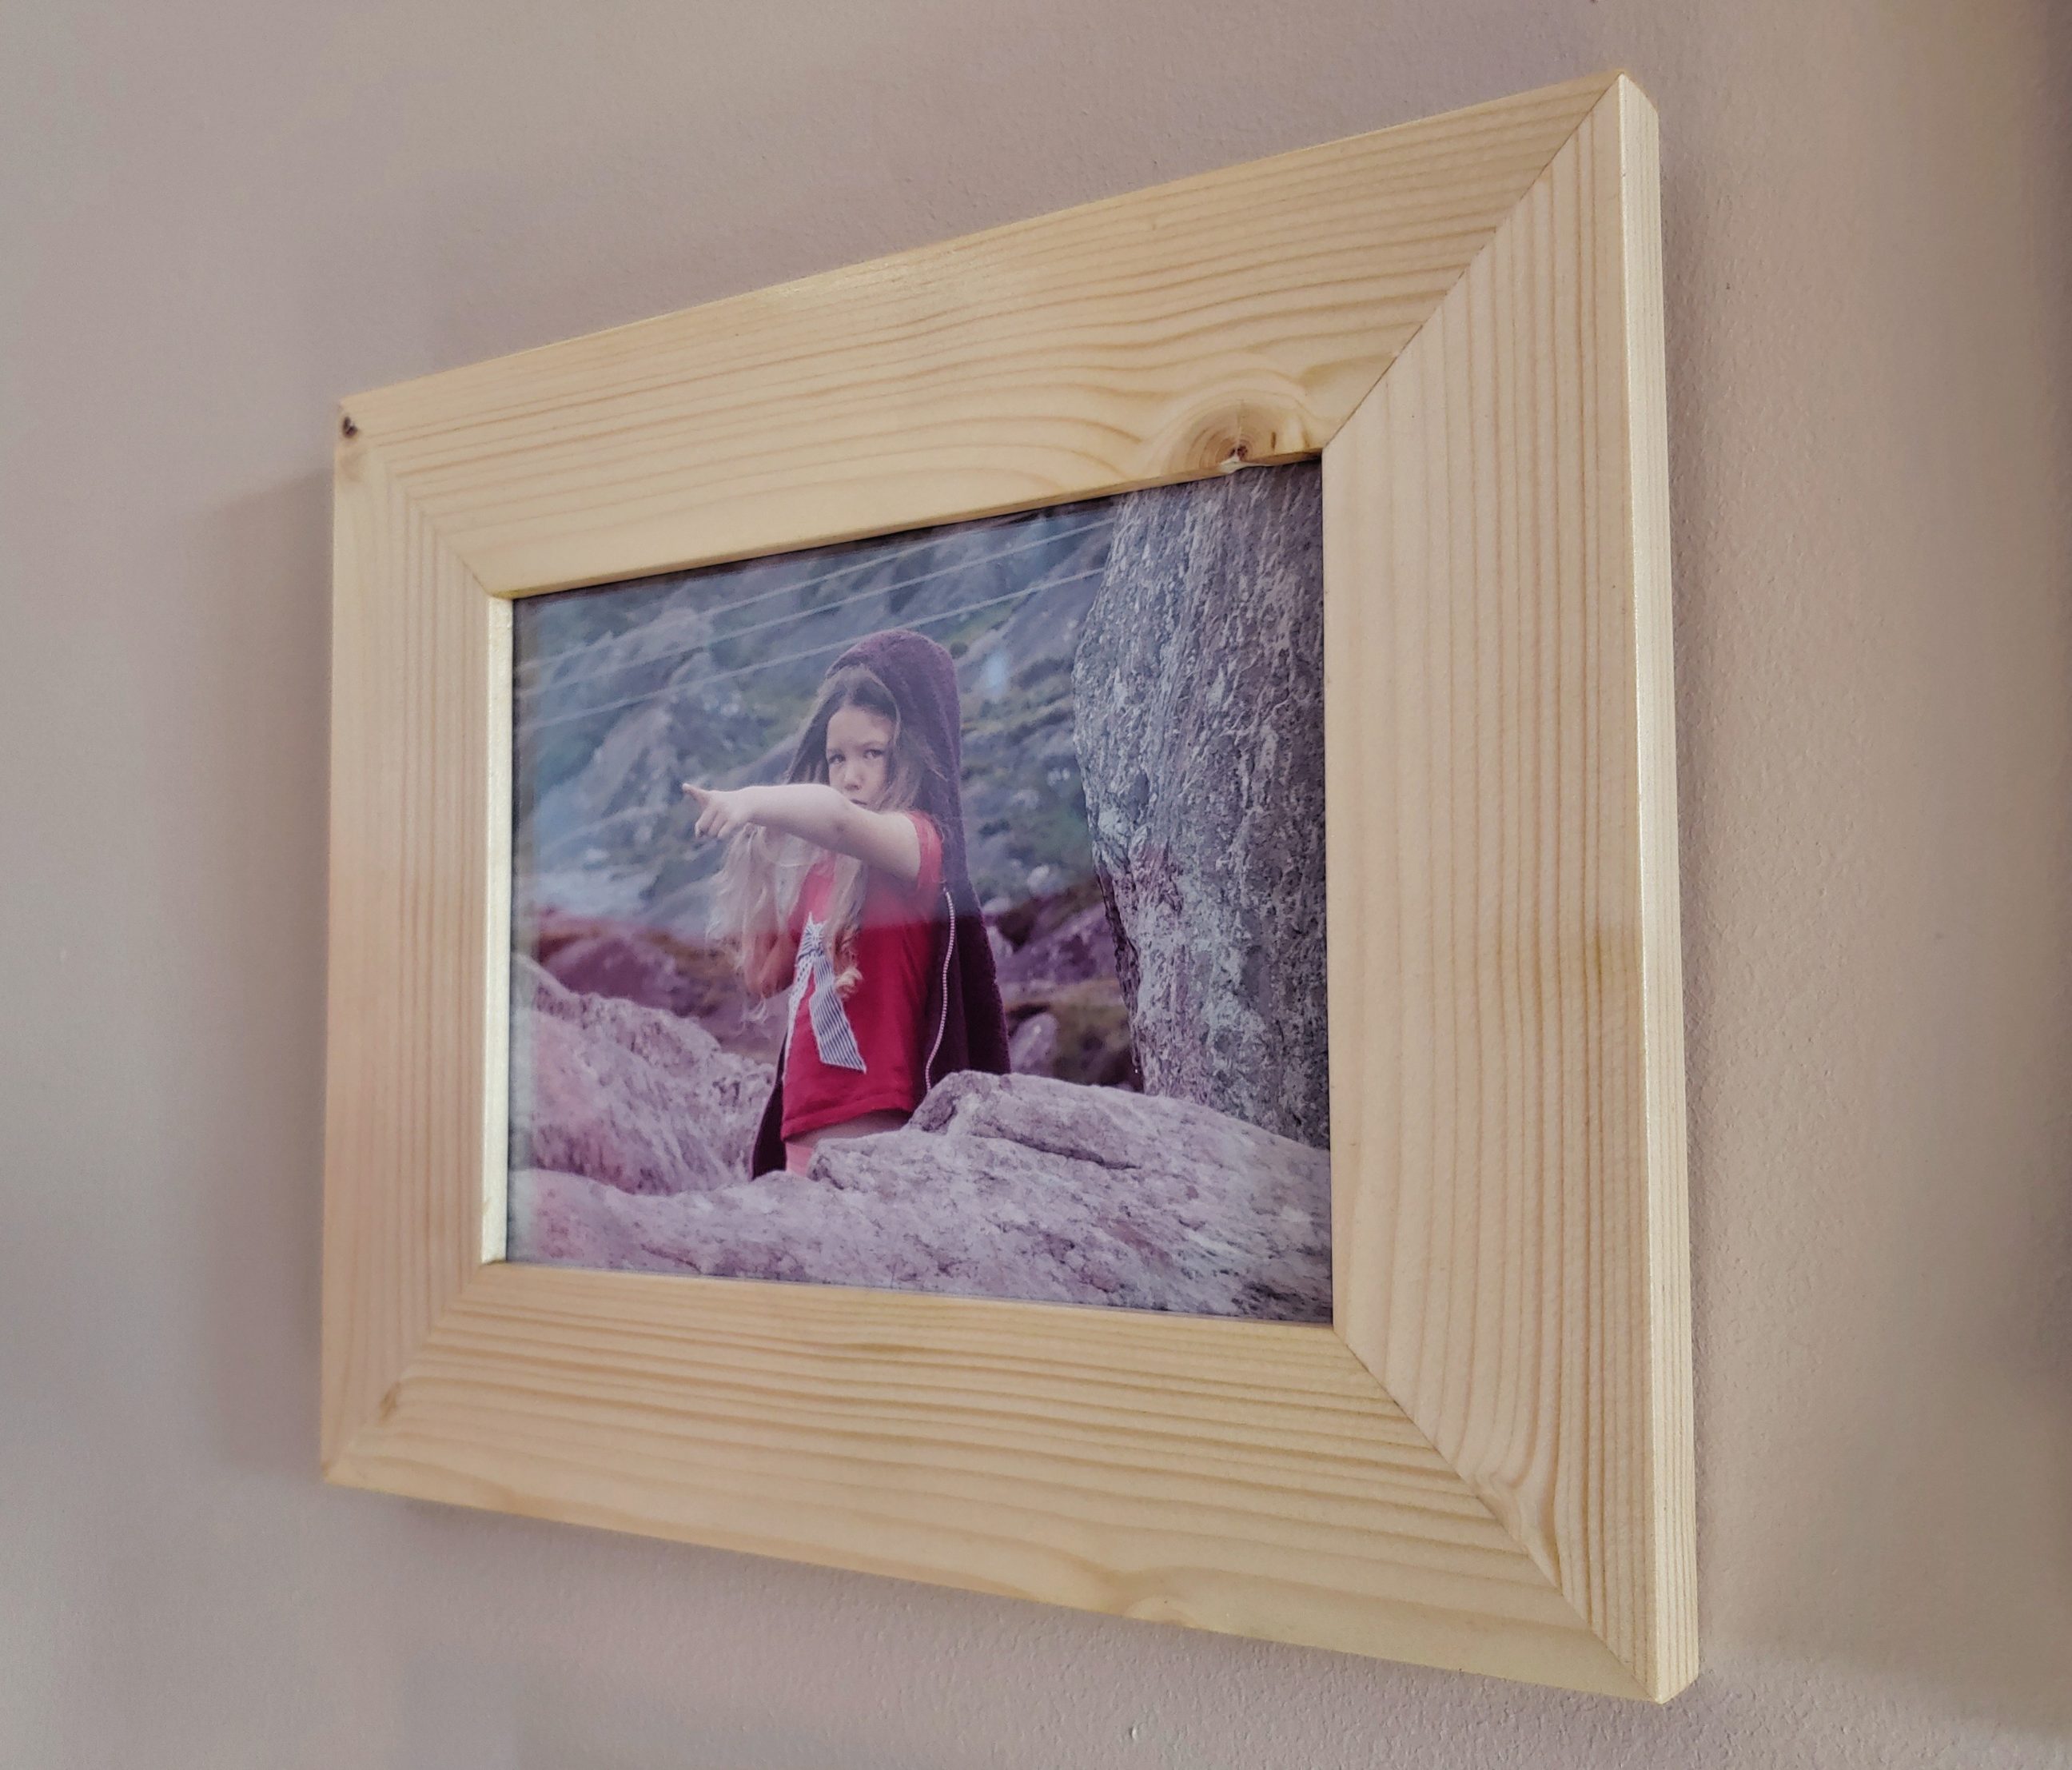
I’m very happy with how it turned out, the corners closed without any gaps, it was an easy build and I could practice some skills, especially setting a table saw blade to 90º and the mitre gauge to 45º. I also had a chance to refrain from squeezing the strap clamp all way down and I must say it wasn’t as easy as it sounds!


