No-nonsense shelf
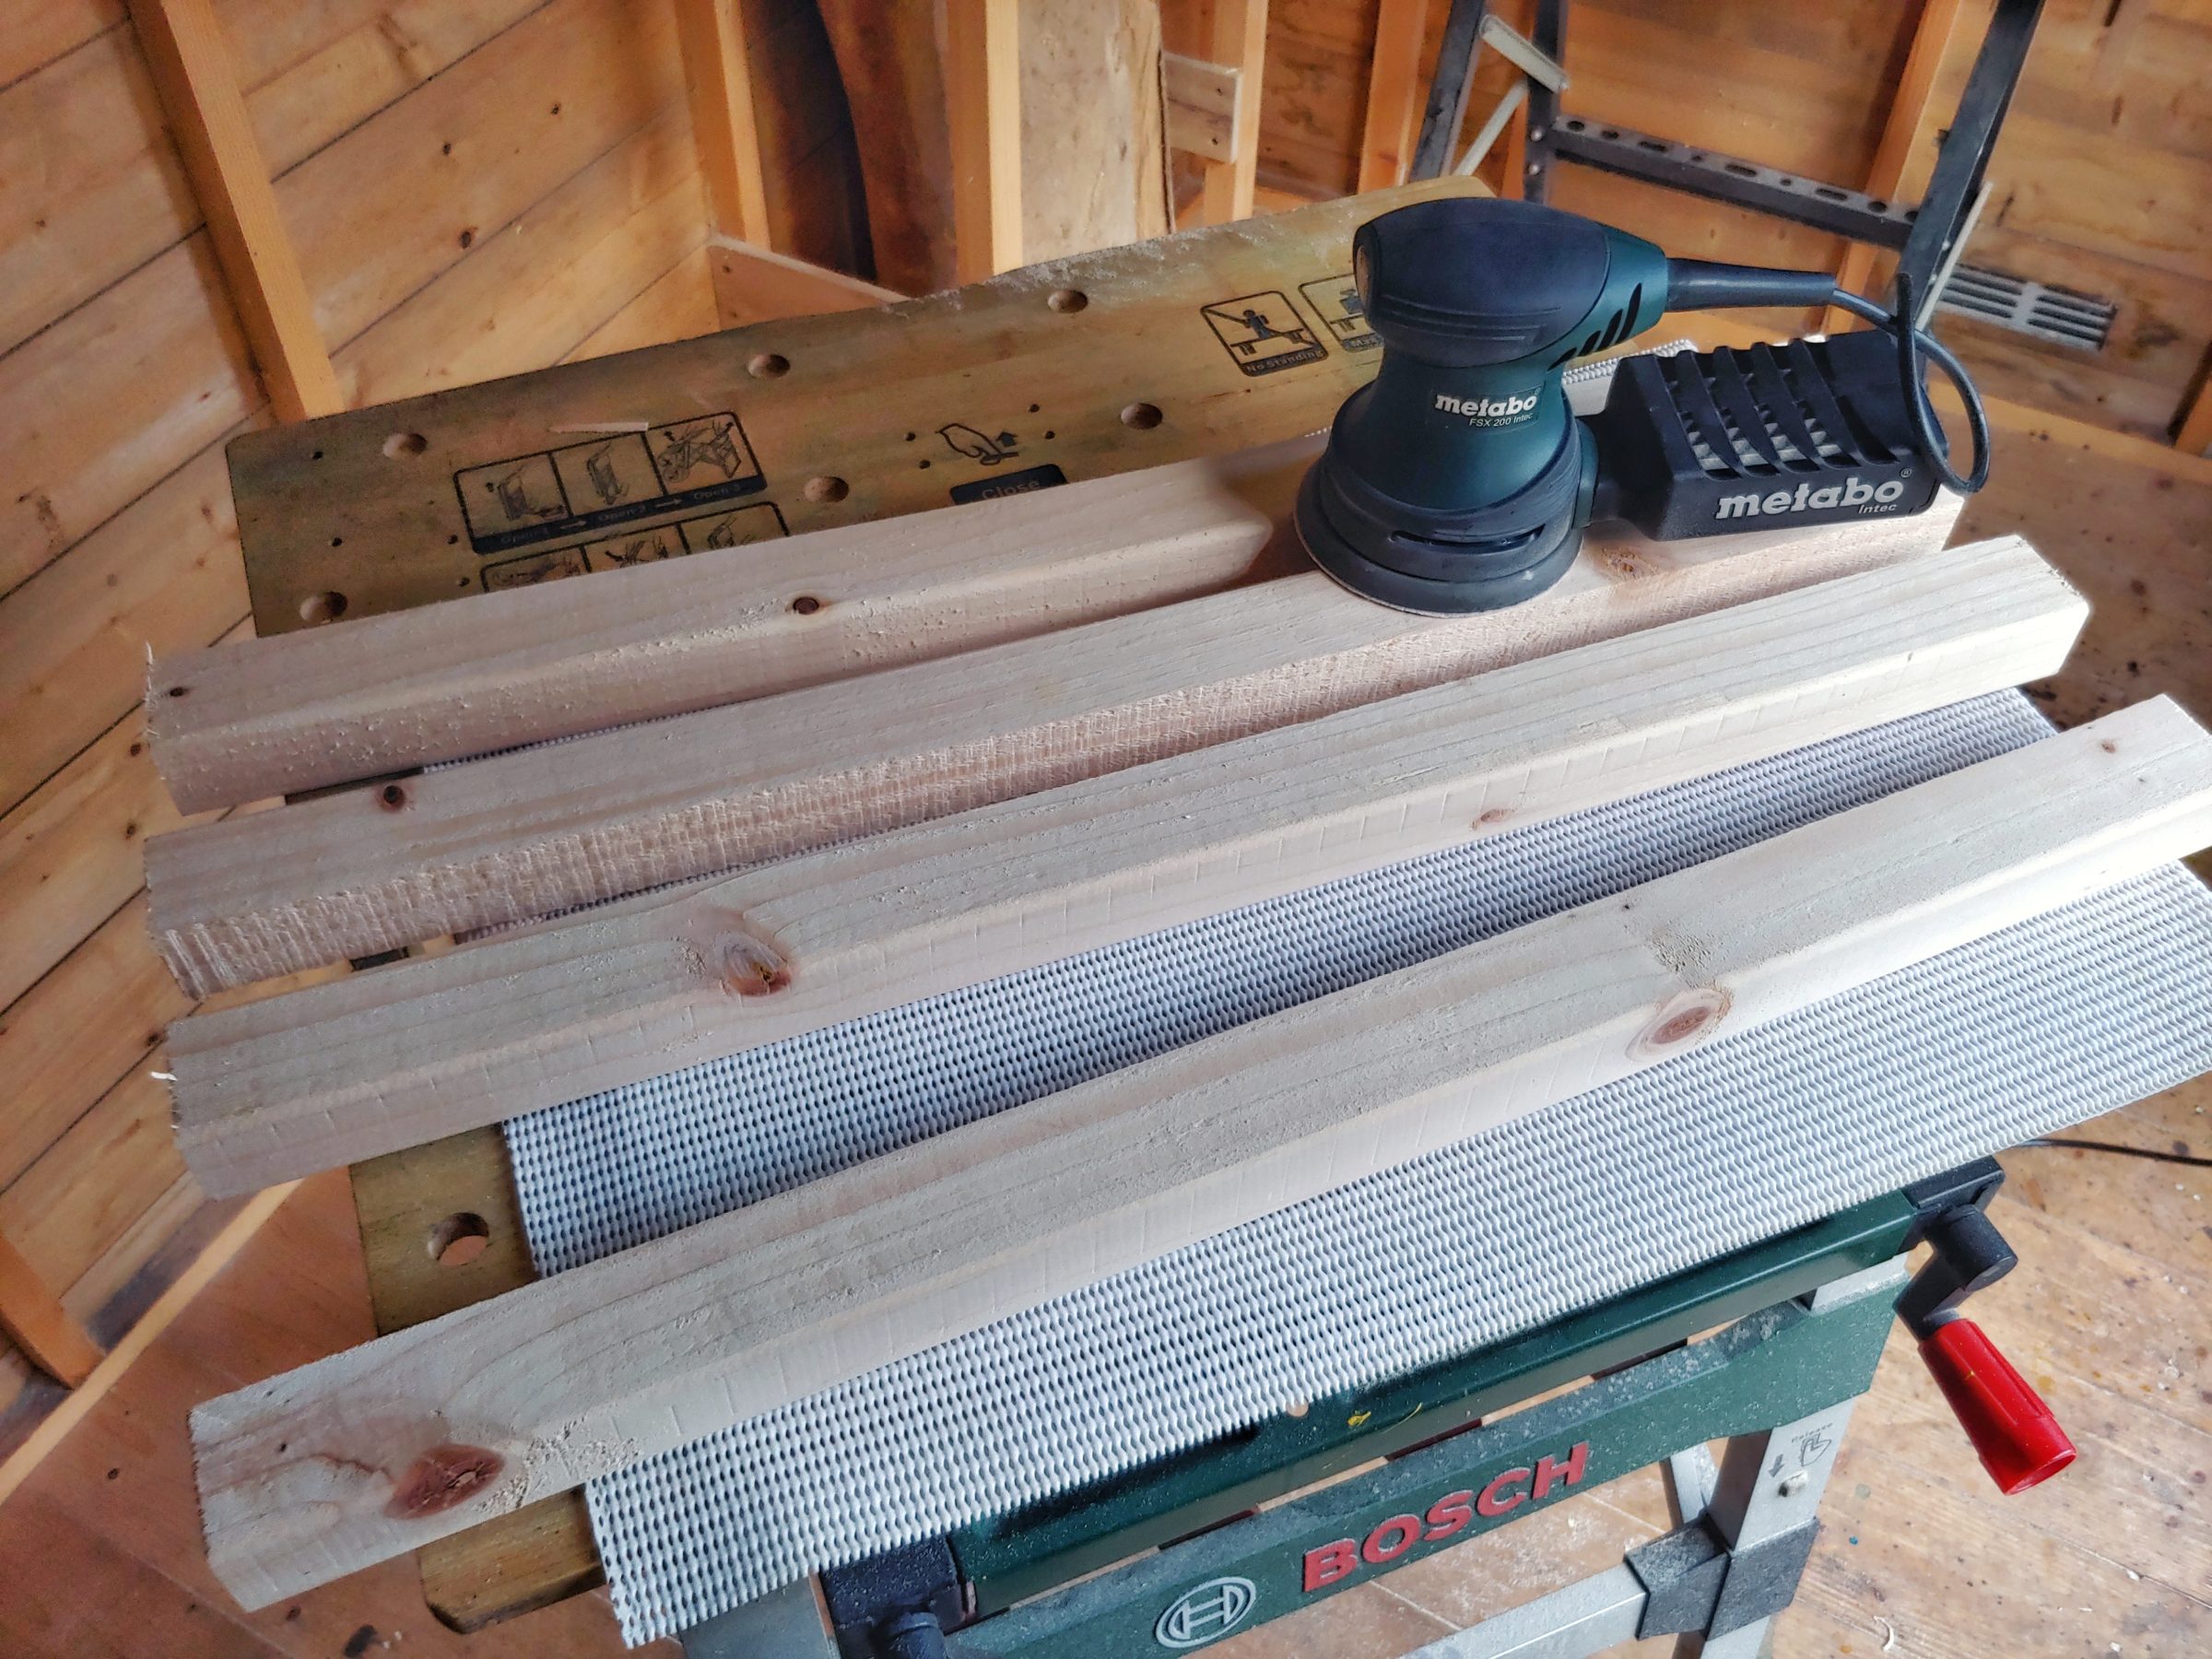
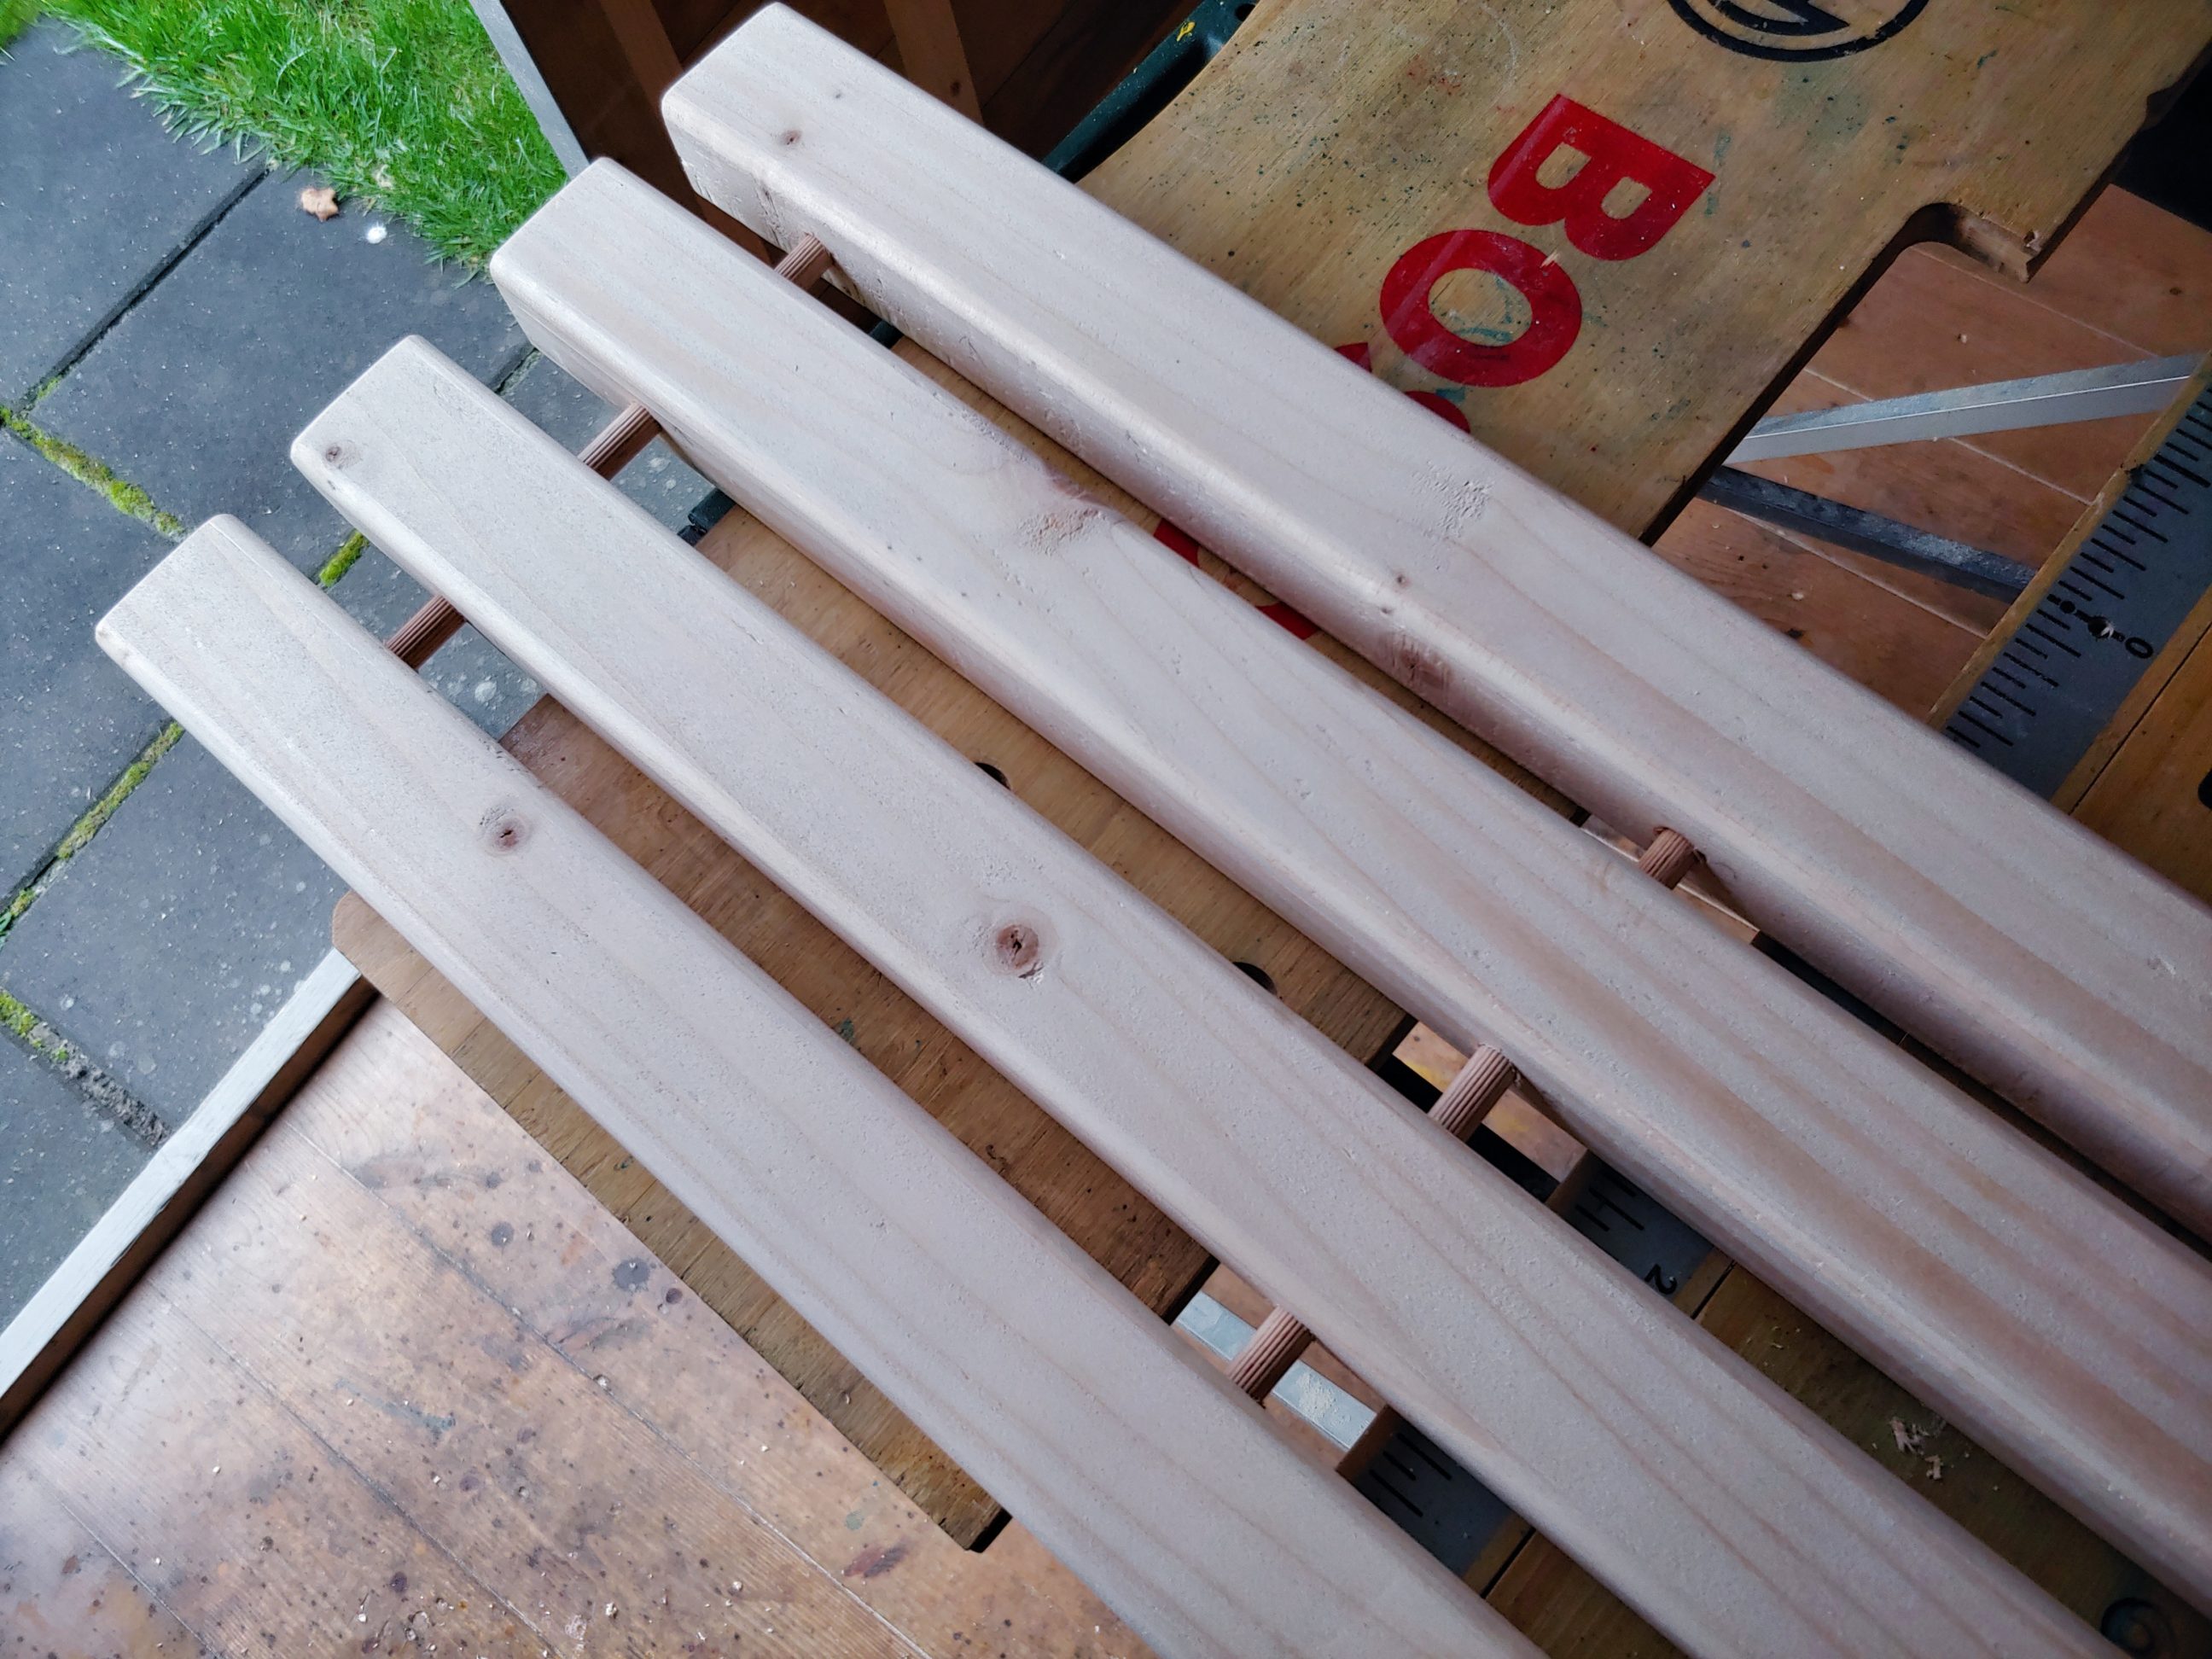
Made of scrap material, the same batch was used for a couple of other projects, like the bath mat or the plant stand. The timber was the right length and that way I just had to sand it. I only used 40 and 80-grit discs as it was supposed to be a shelf for tools and not a piece of art. Some of the edges had deep saw marks, but still – quick sanding just to make it flat. Once it was good enough, I recreated the round-over edges with a router.

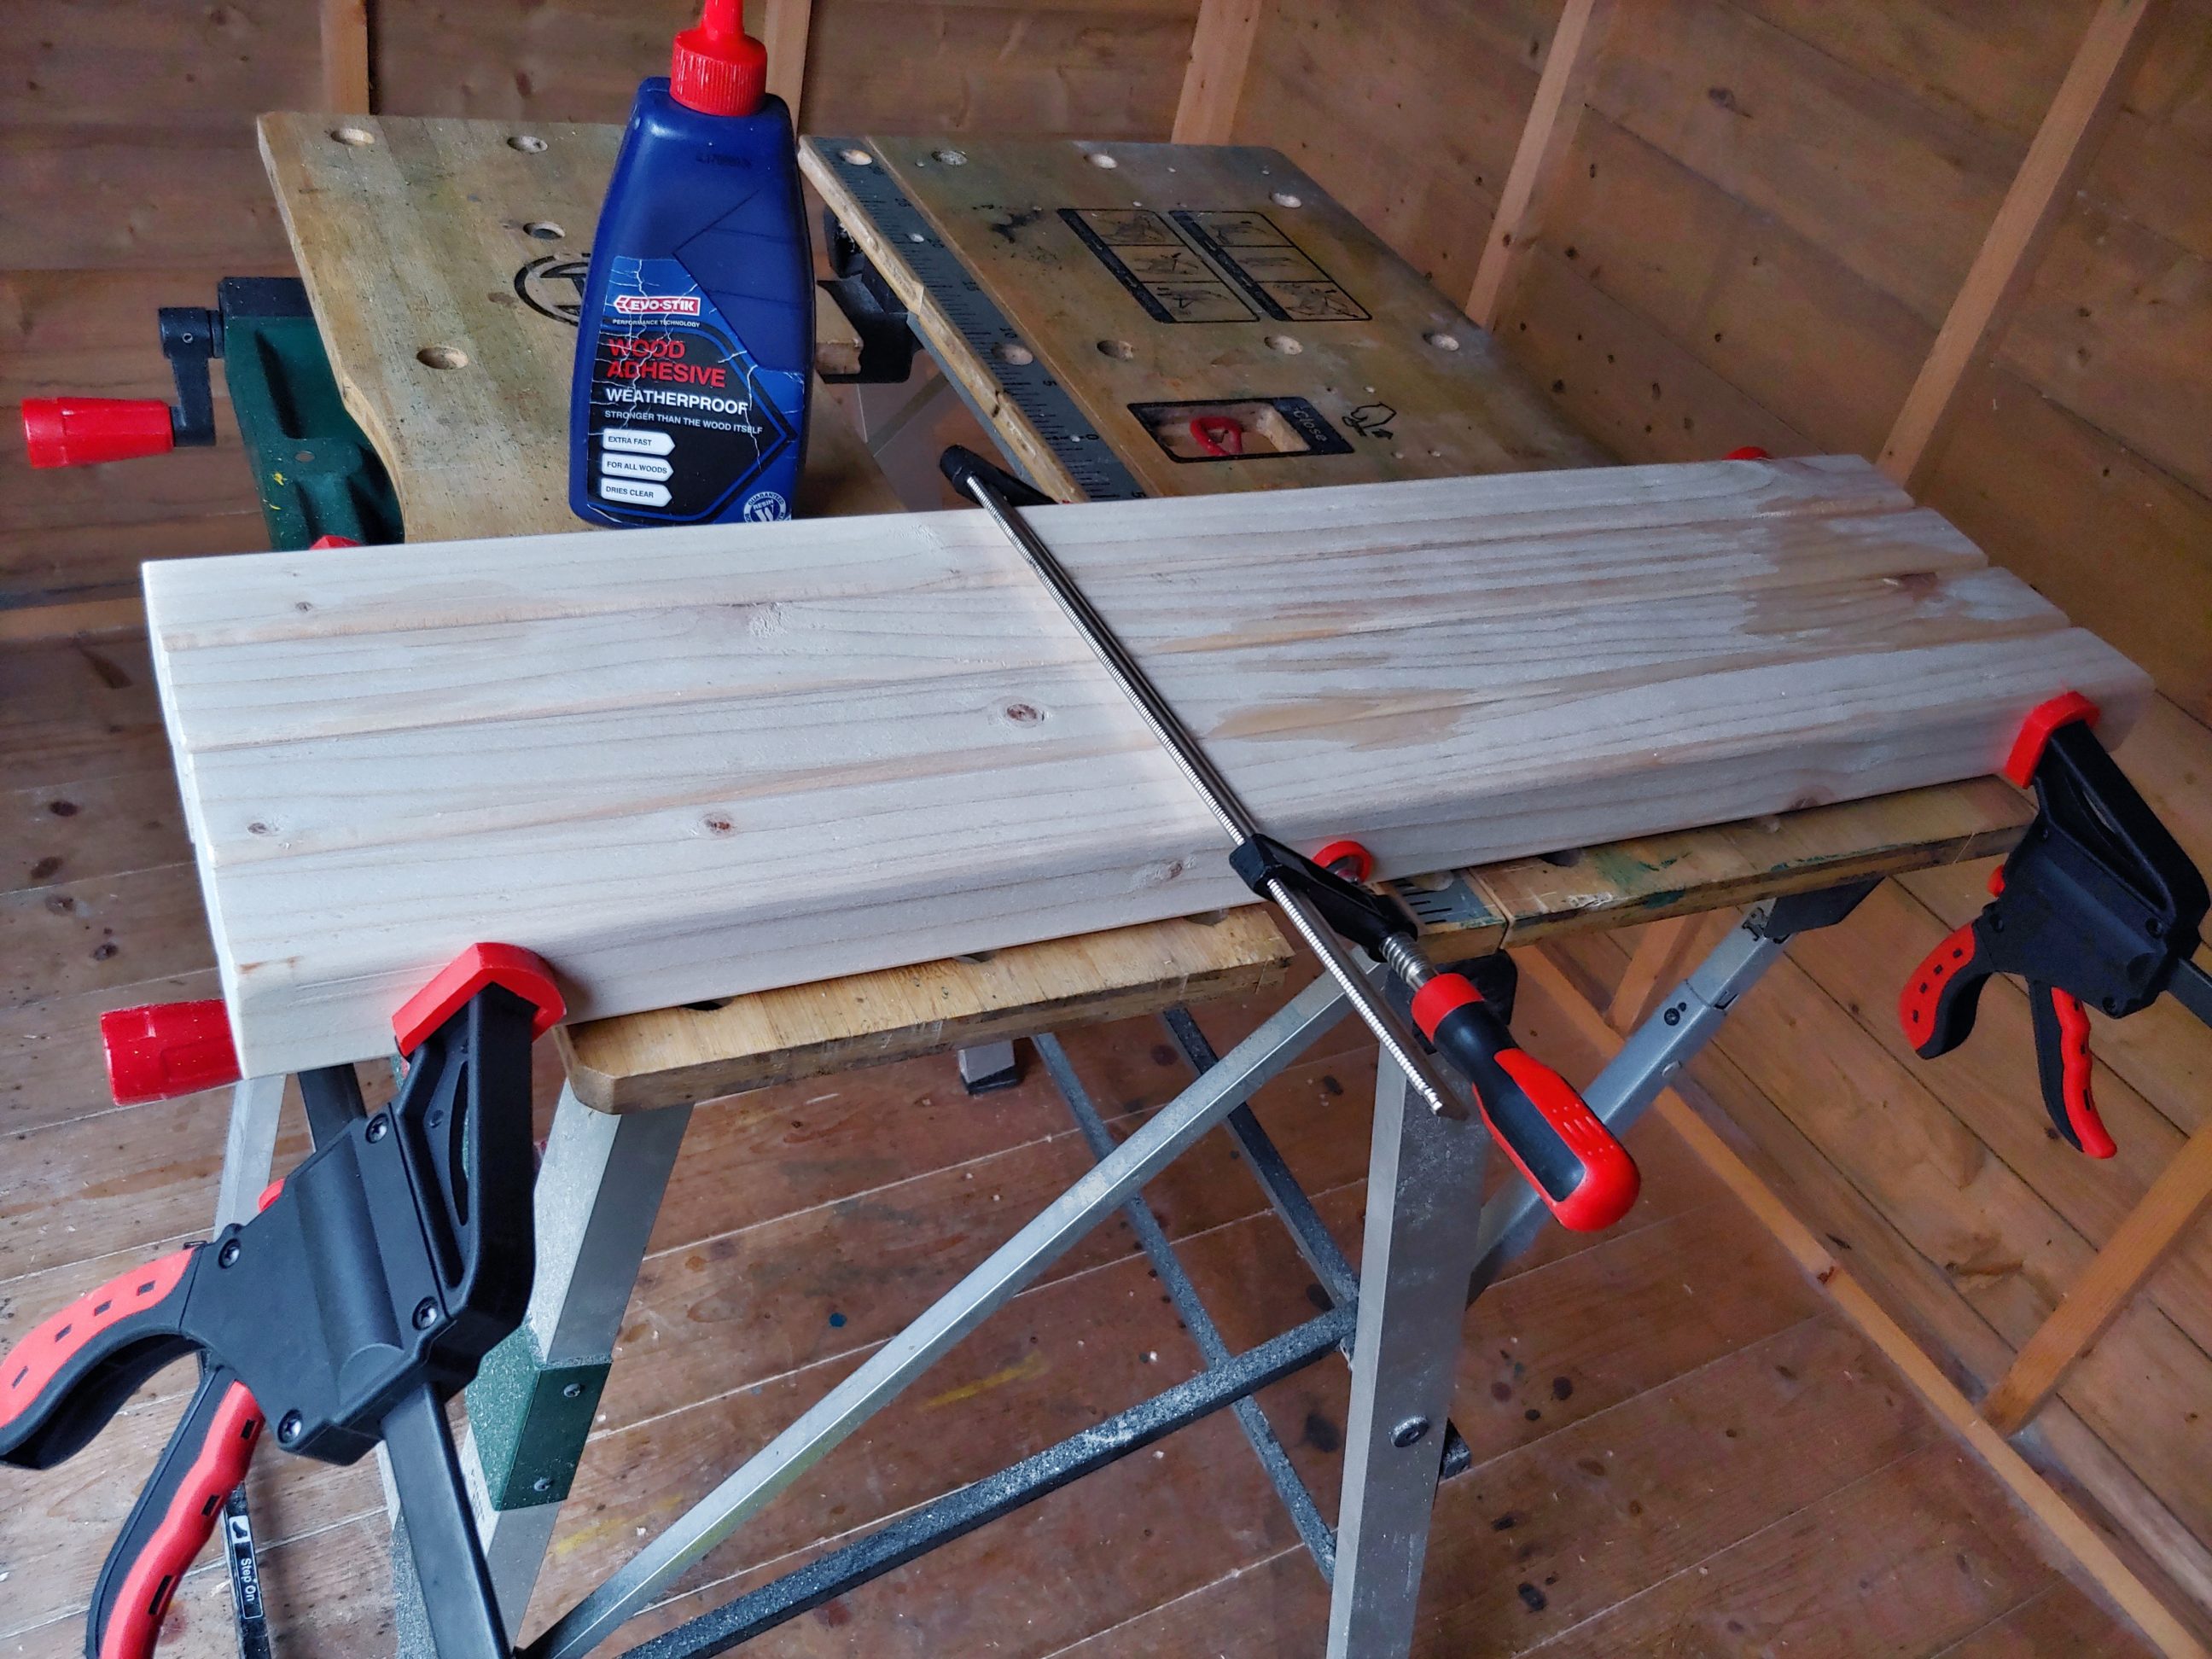
That was followed by hand sanding and drilling holes for the dowels. I used 10 mm dowels in 3 places for each part. I carefully marked which part was going against which part and also drew little arrows showing which side was supposed to be used against the fence.


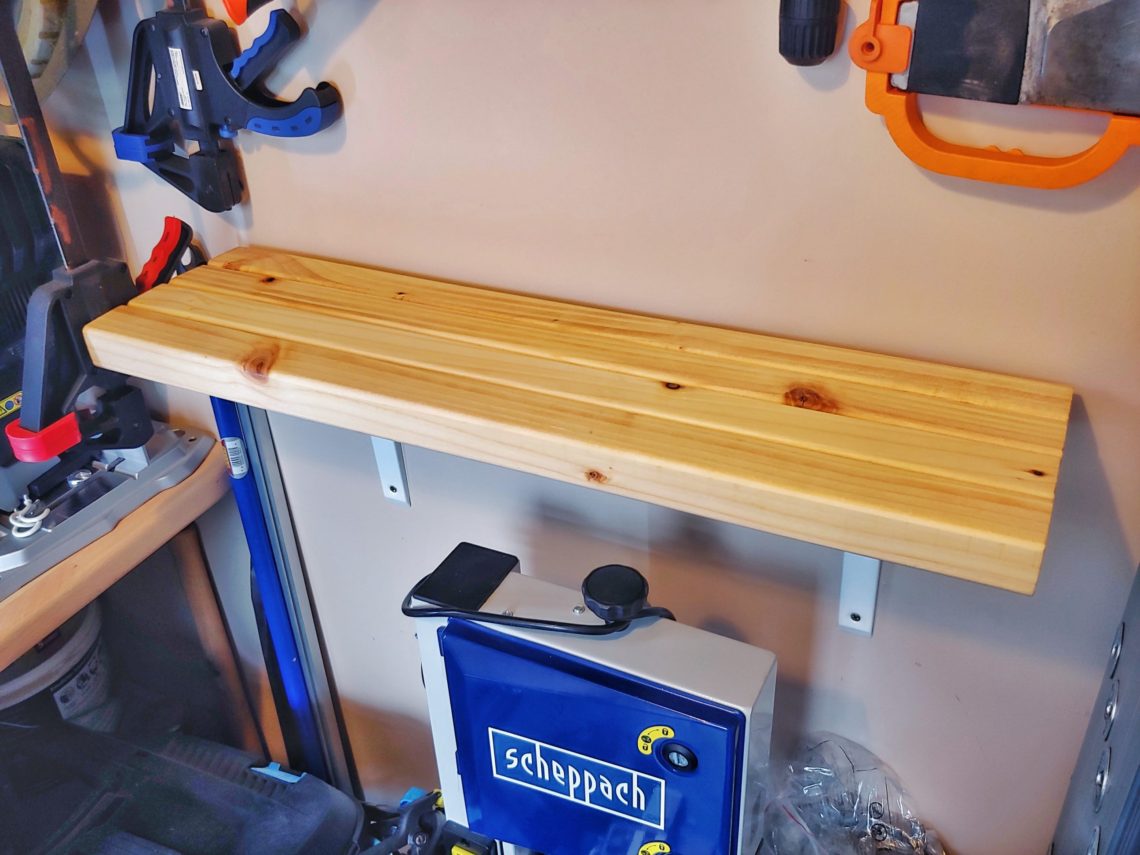
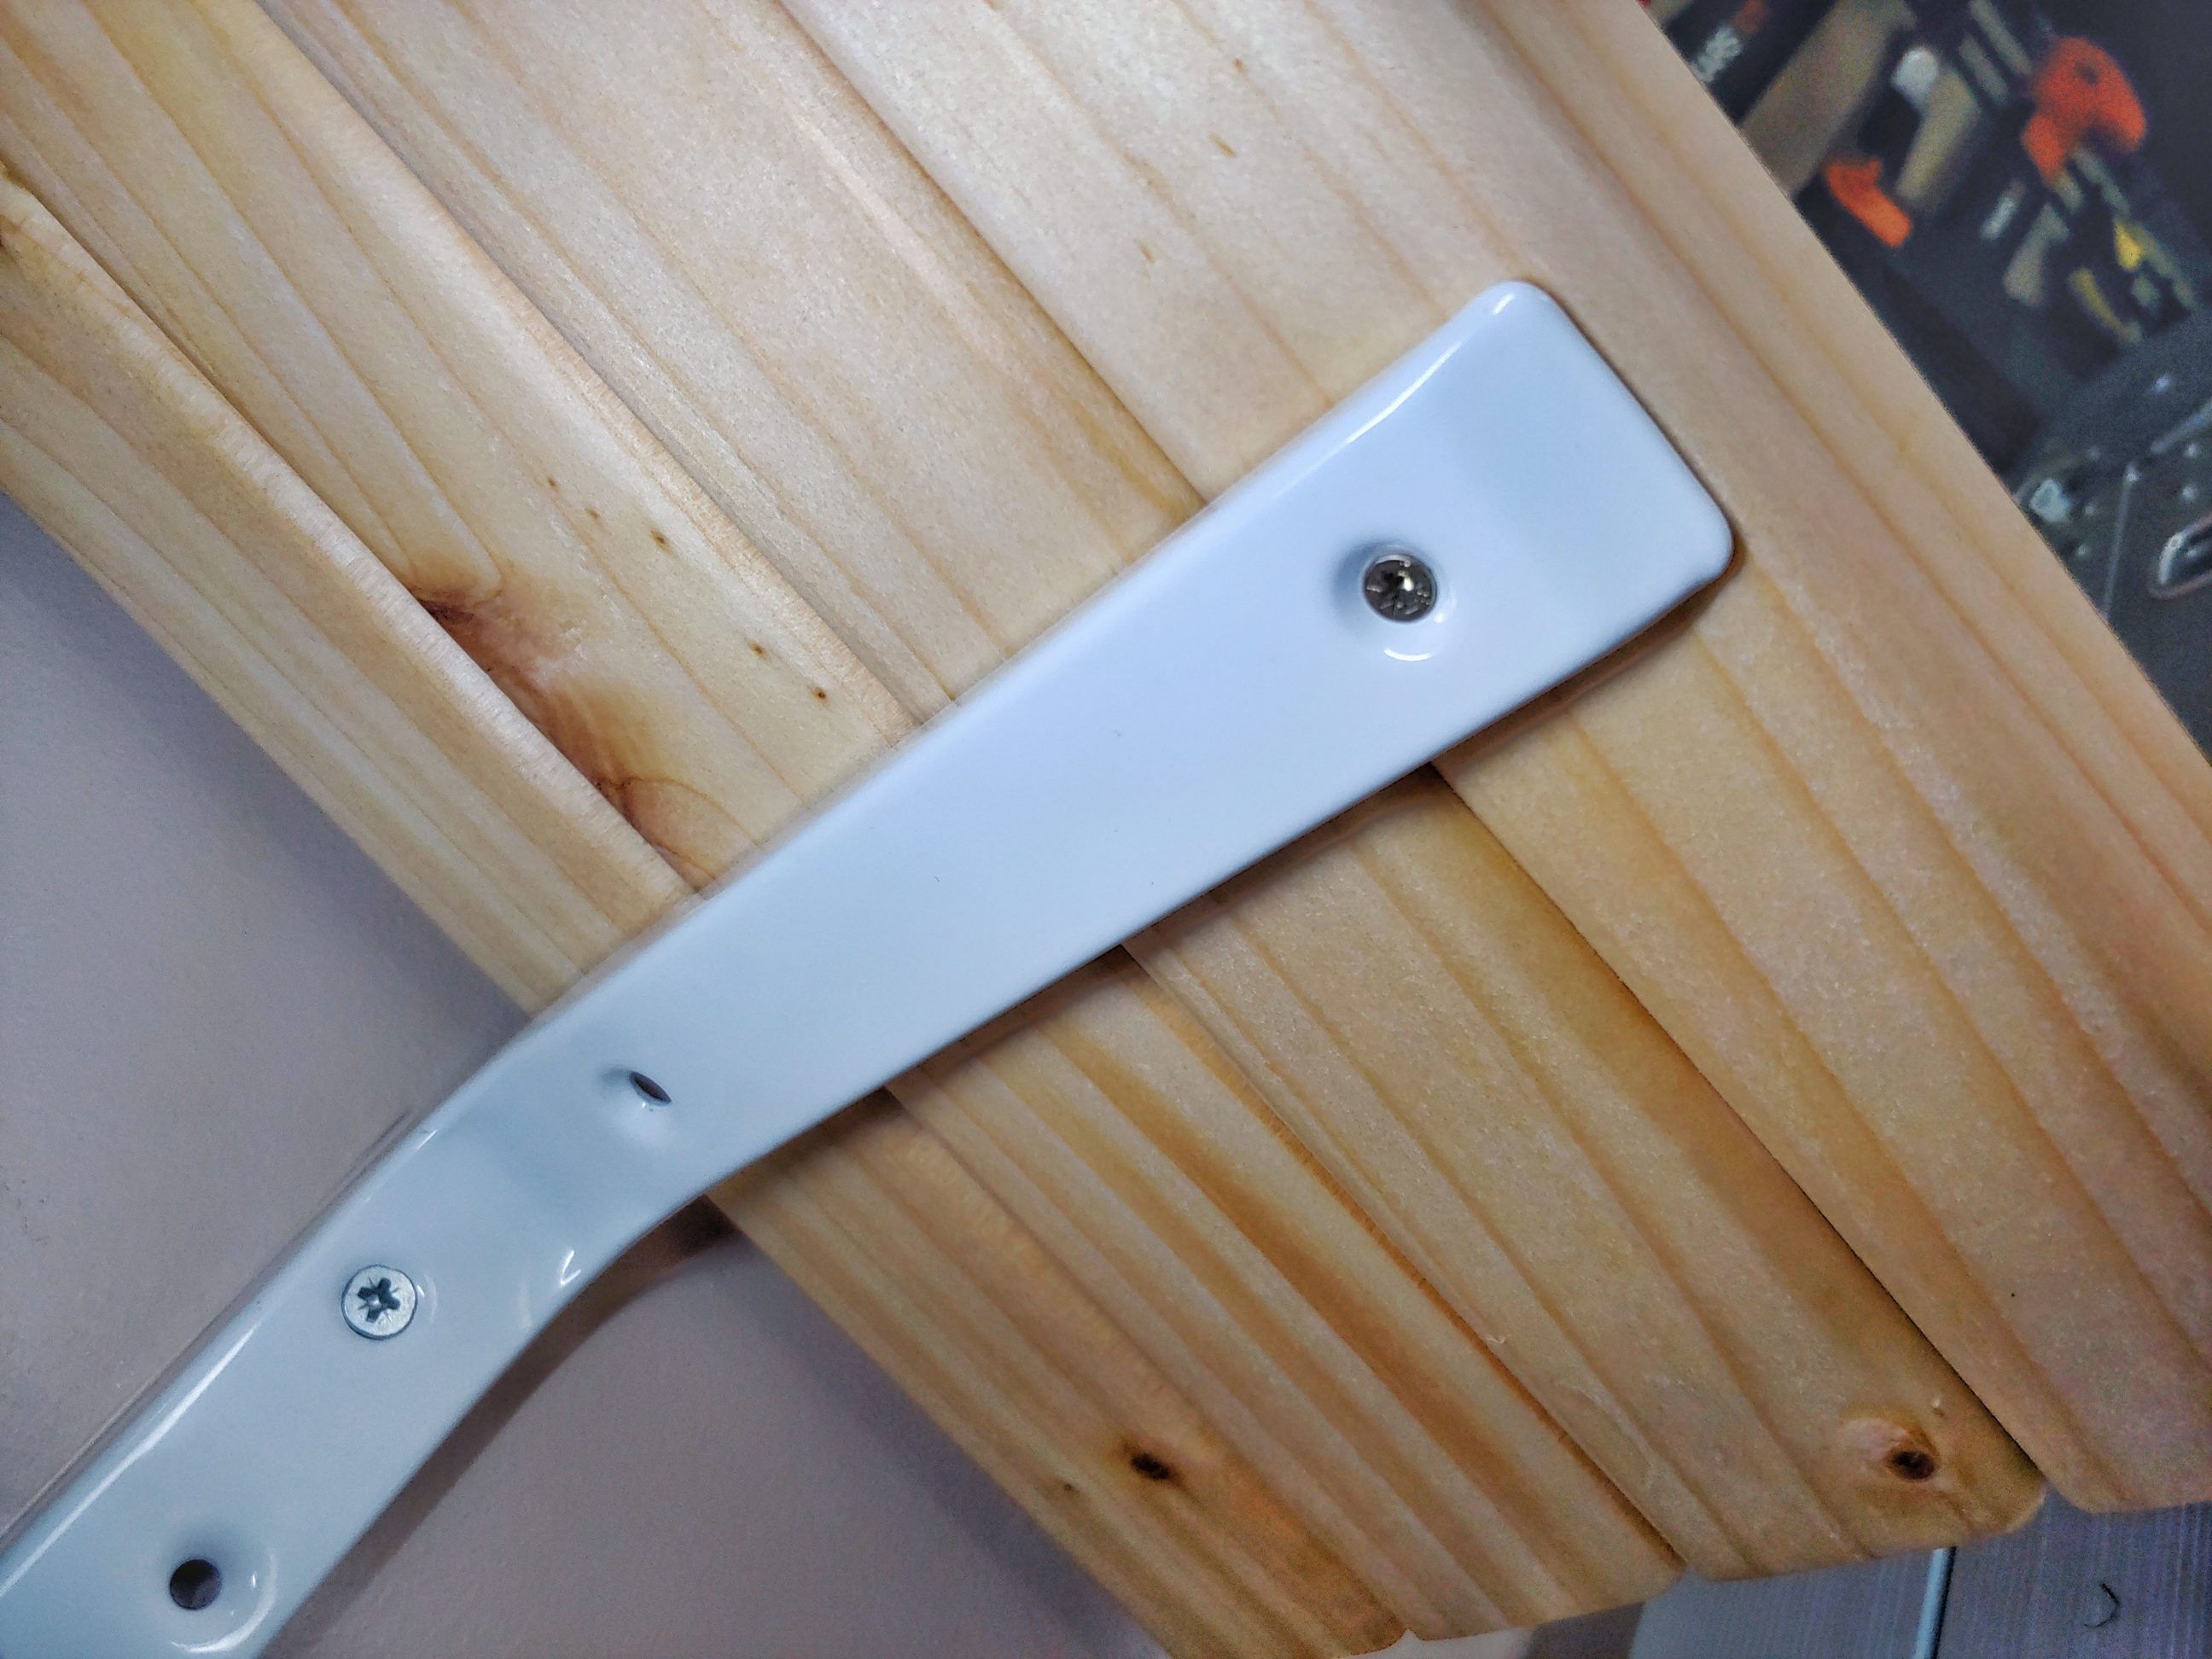
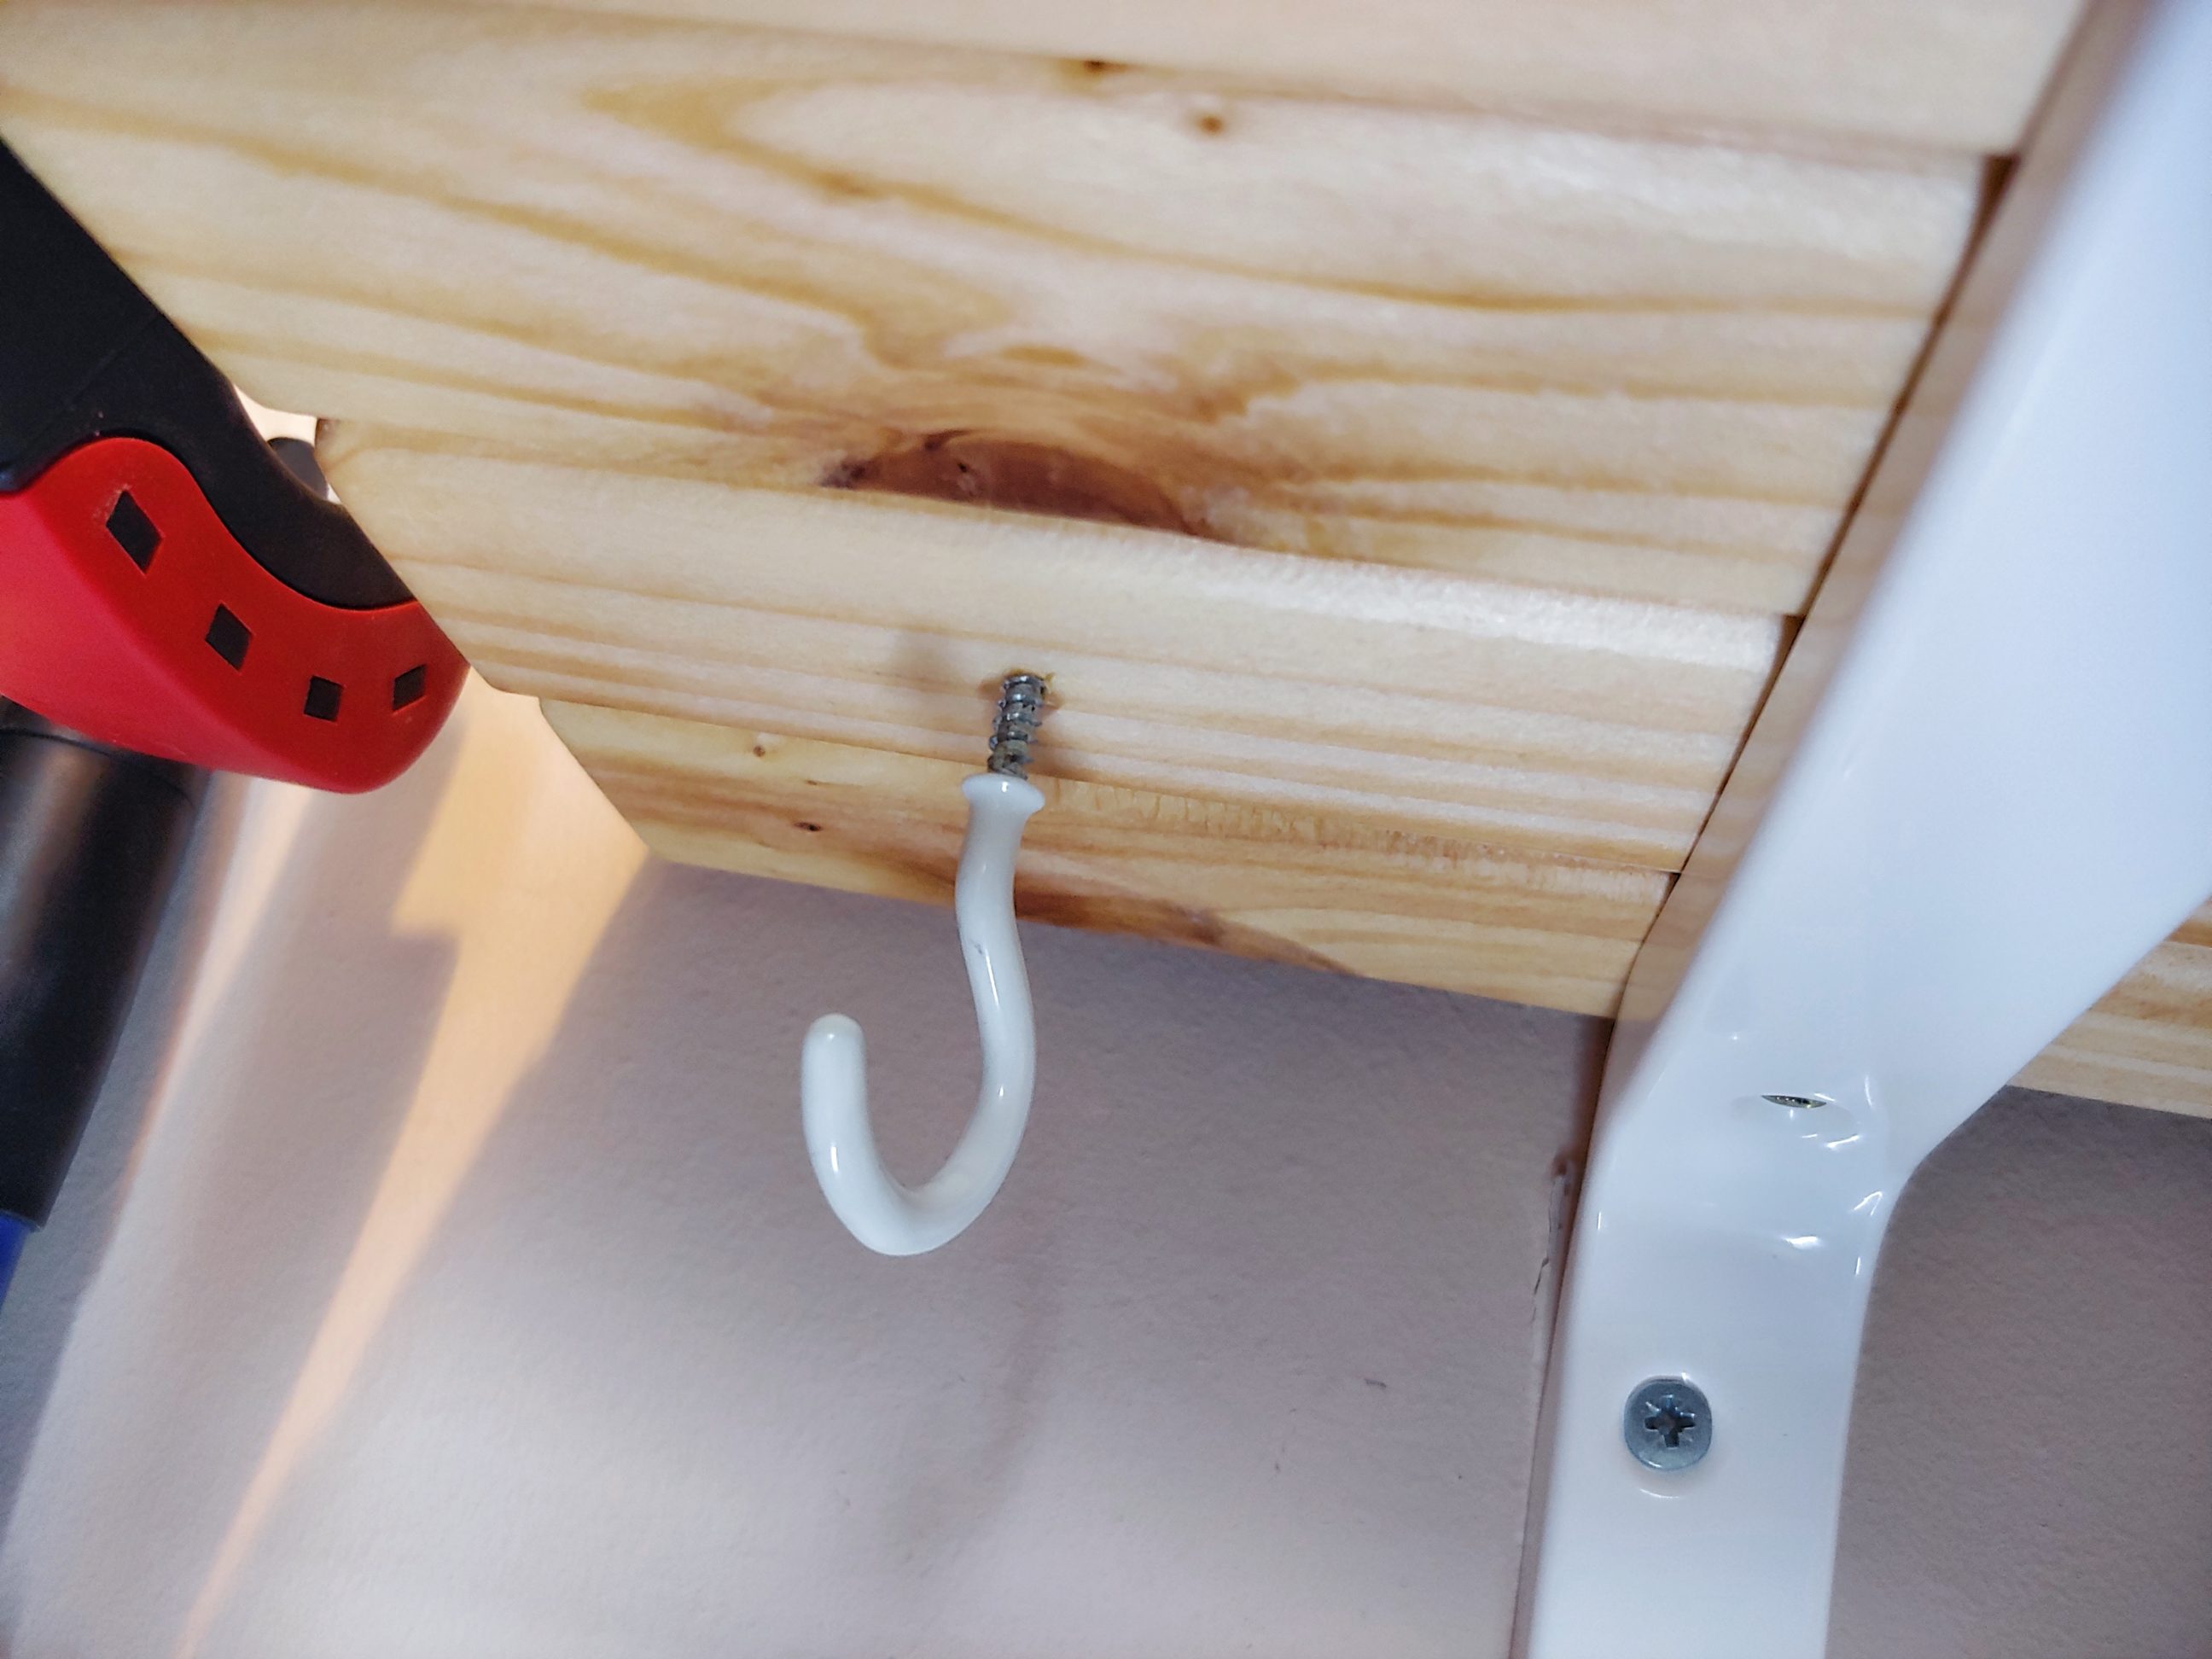
When the glue dried I removed the clamps, which left some dents, just to make the process more frustrating, I believe. I removed those dents with sandpaper. Next, I applied 2 coats of boiled linseed oil and had to wait a couple of days before it was dry to the touch. I screwed the shelf to the brackets, leaving a small gap between the wall and the shelf. To make it more functional I also installed a couple of hooks underneath.

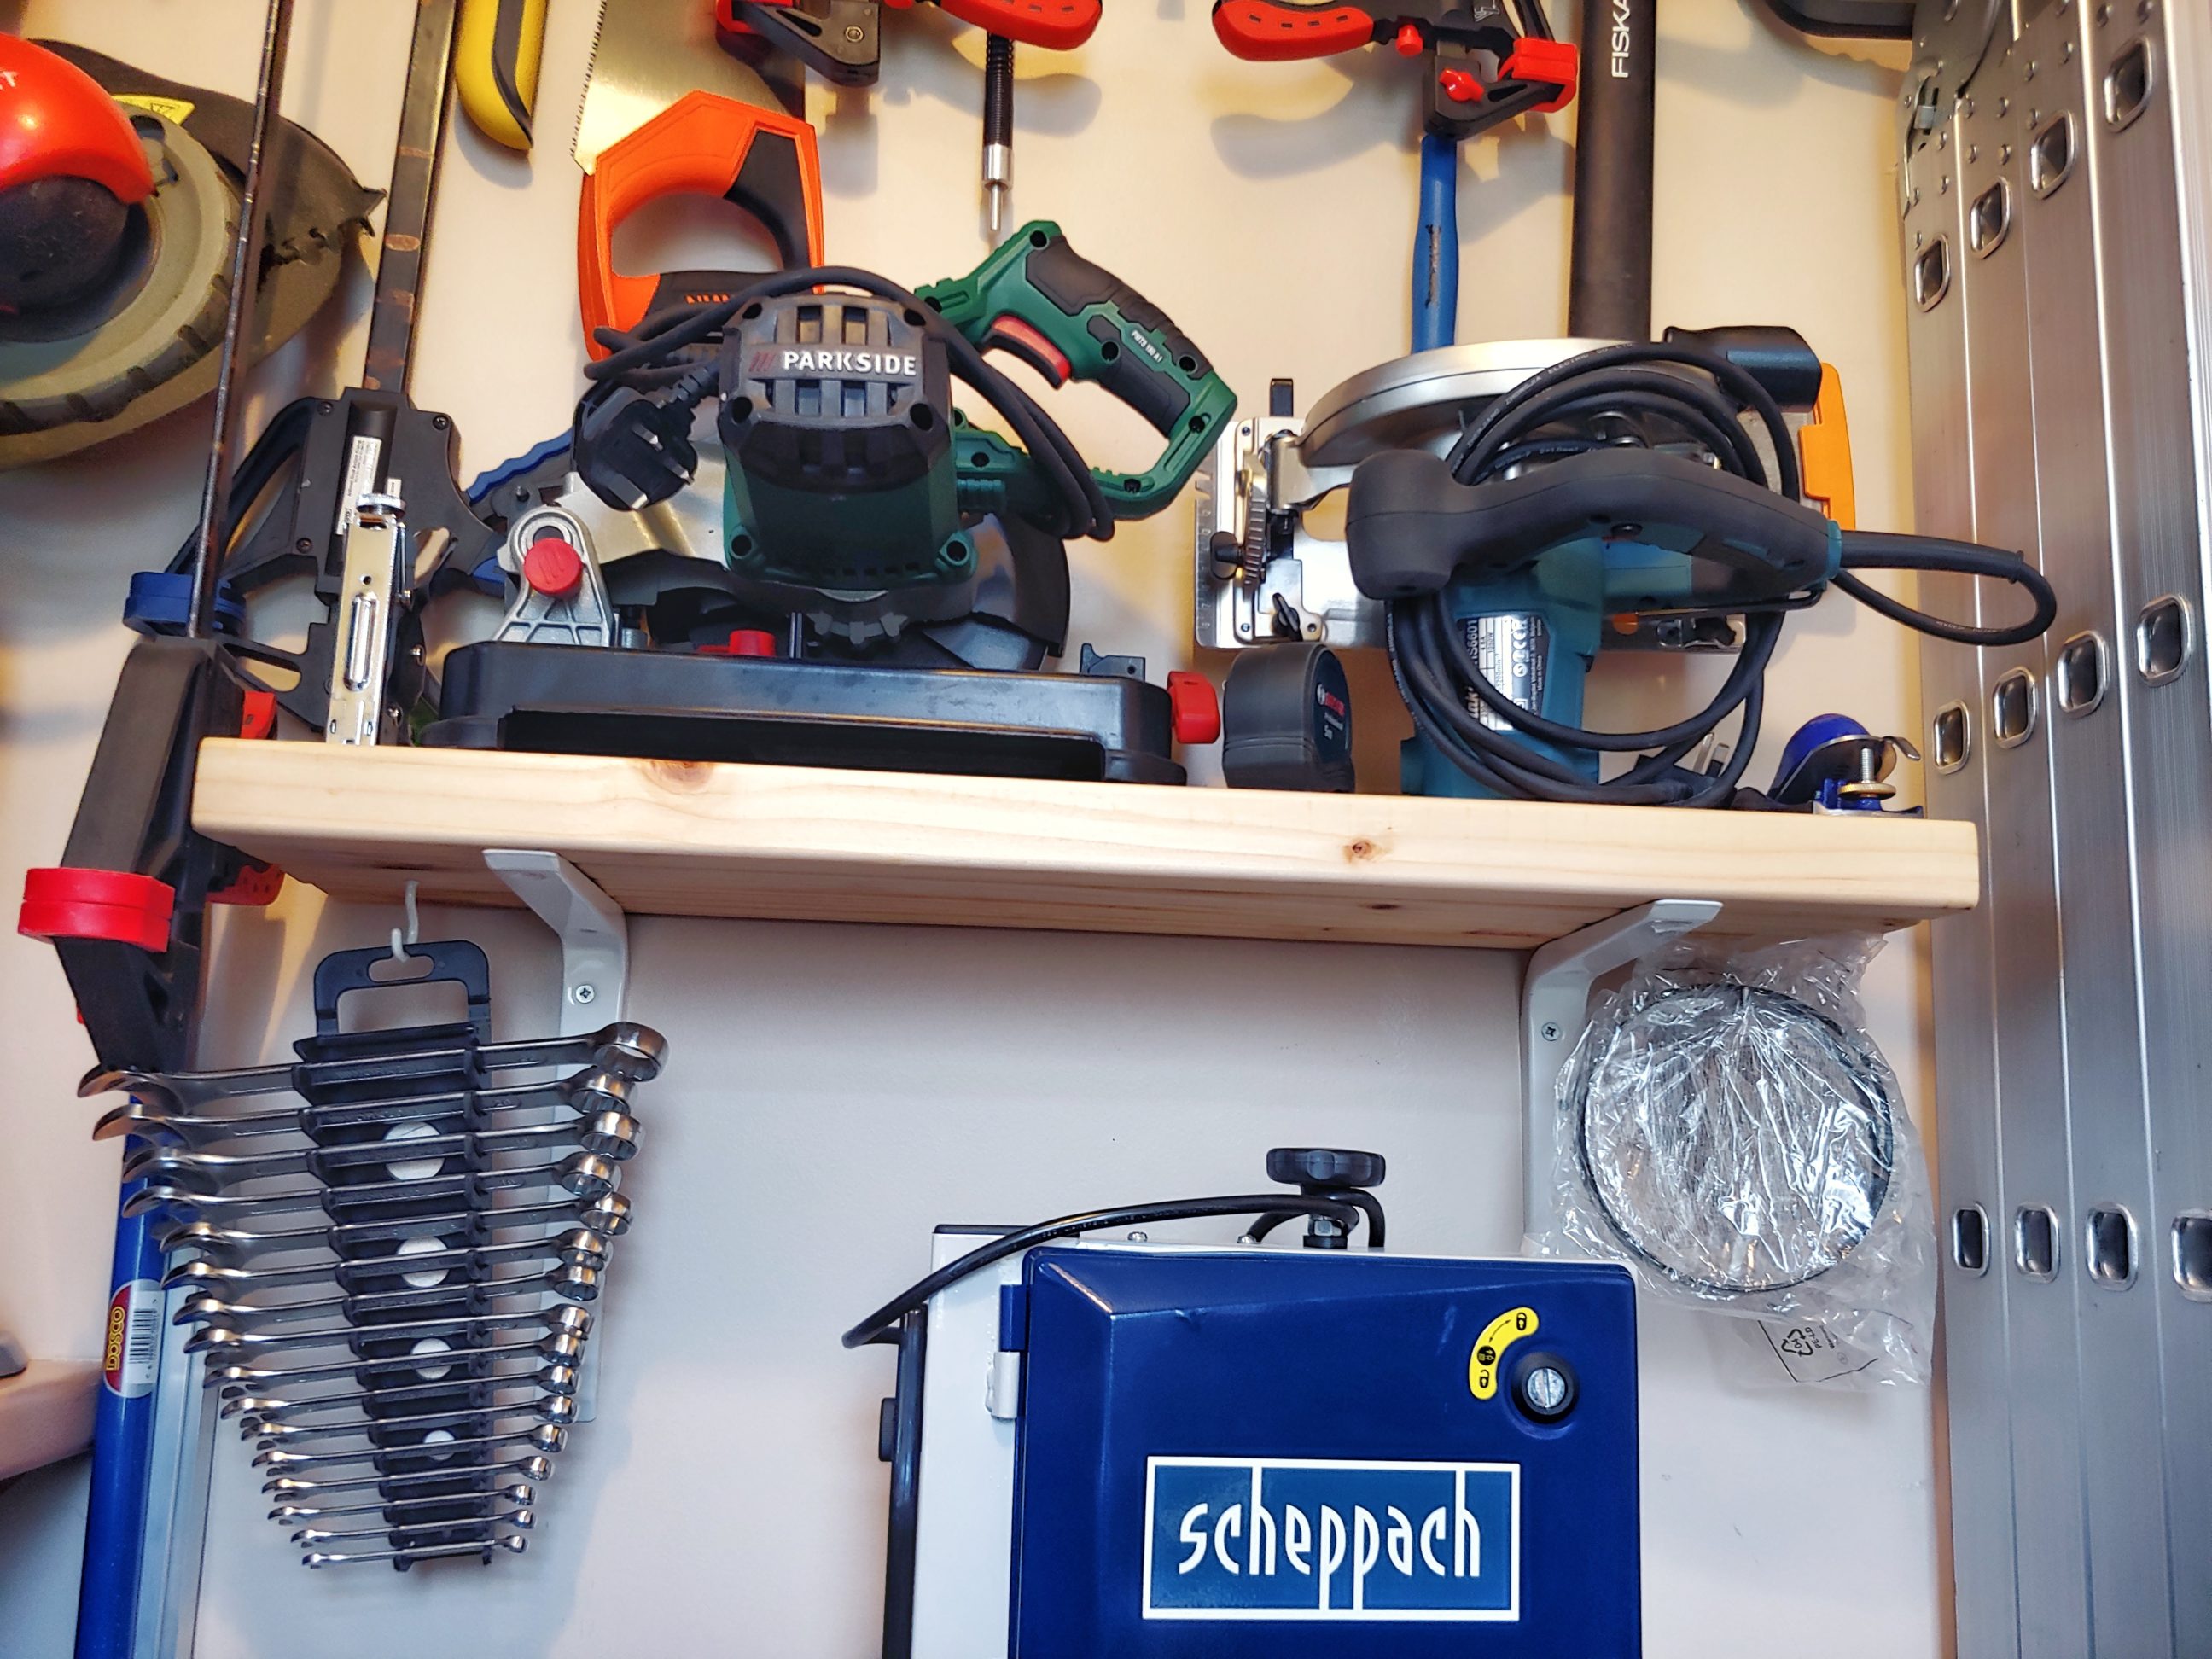
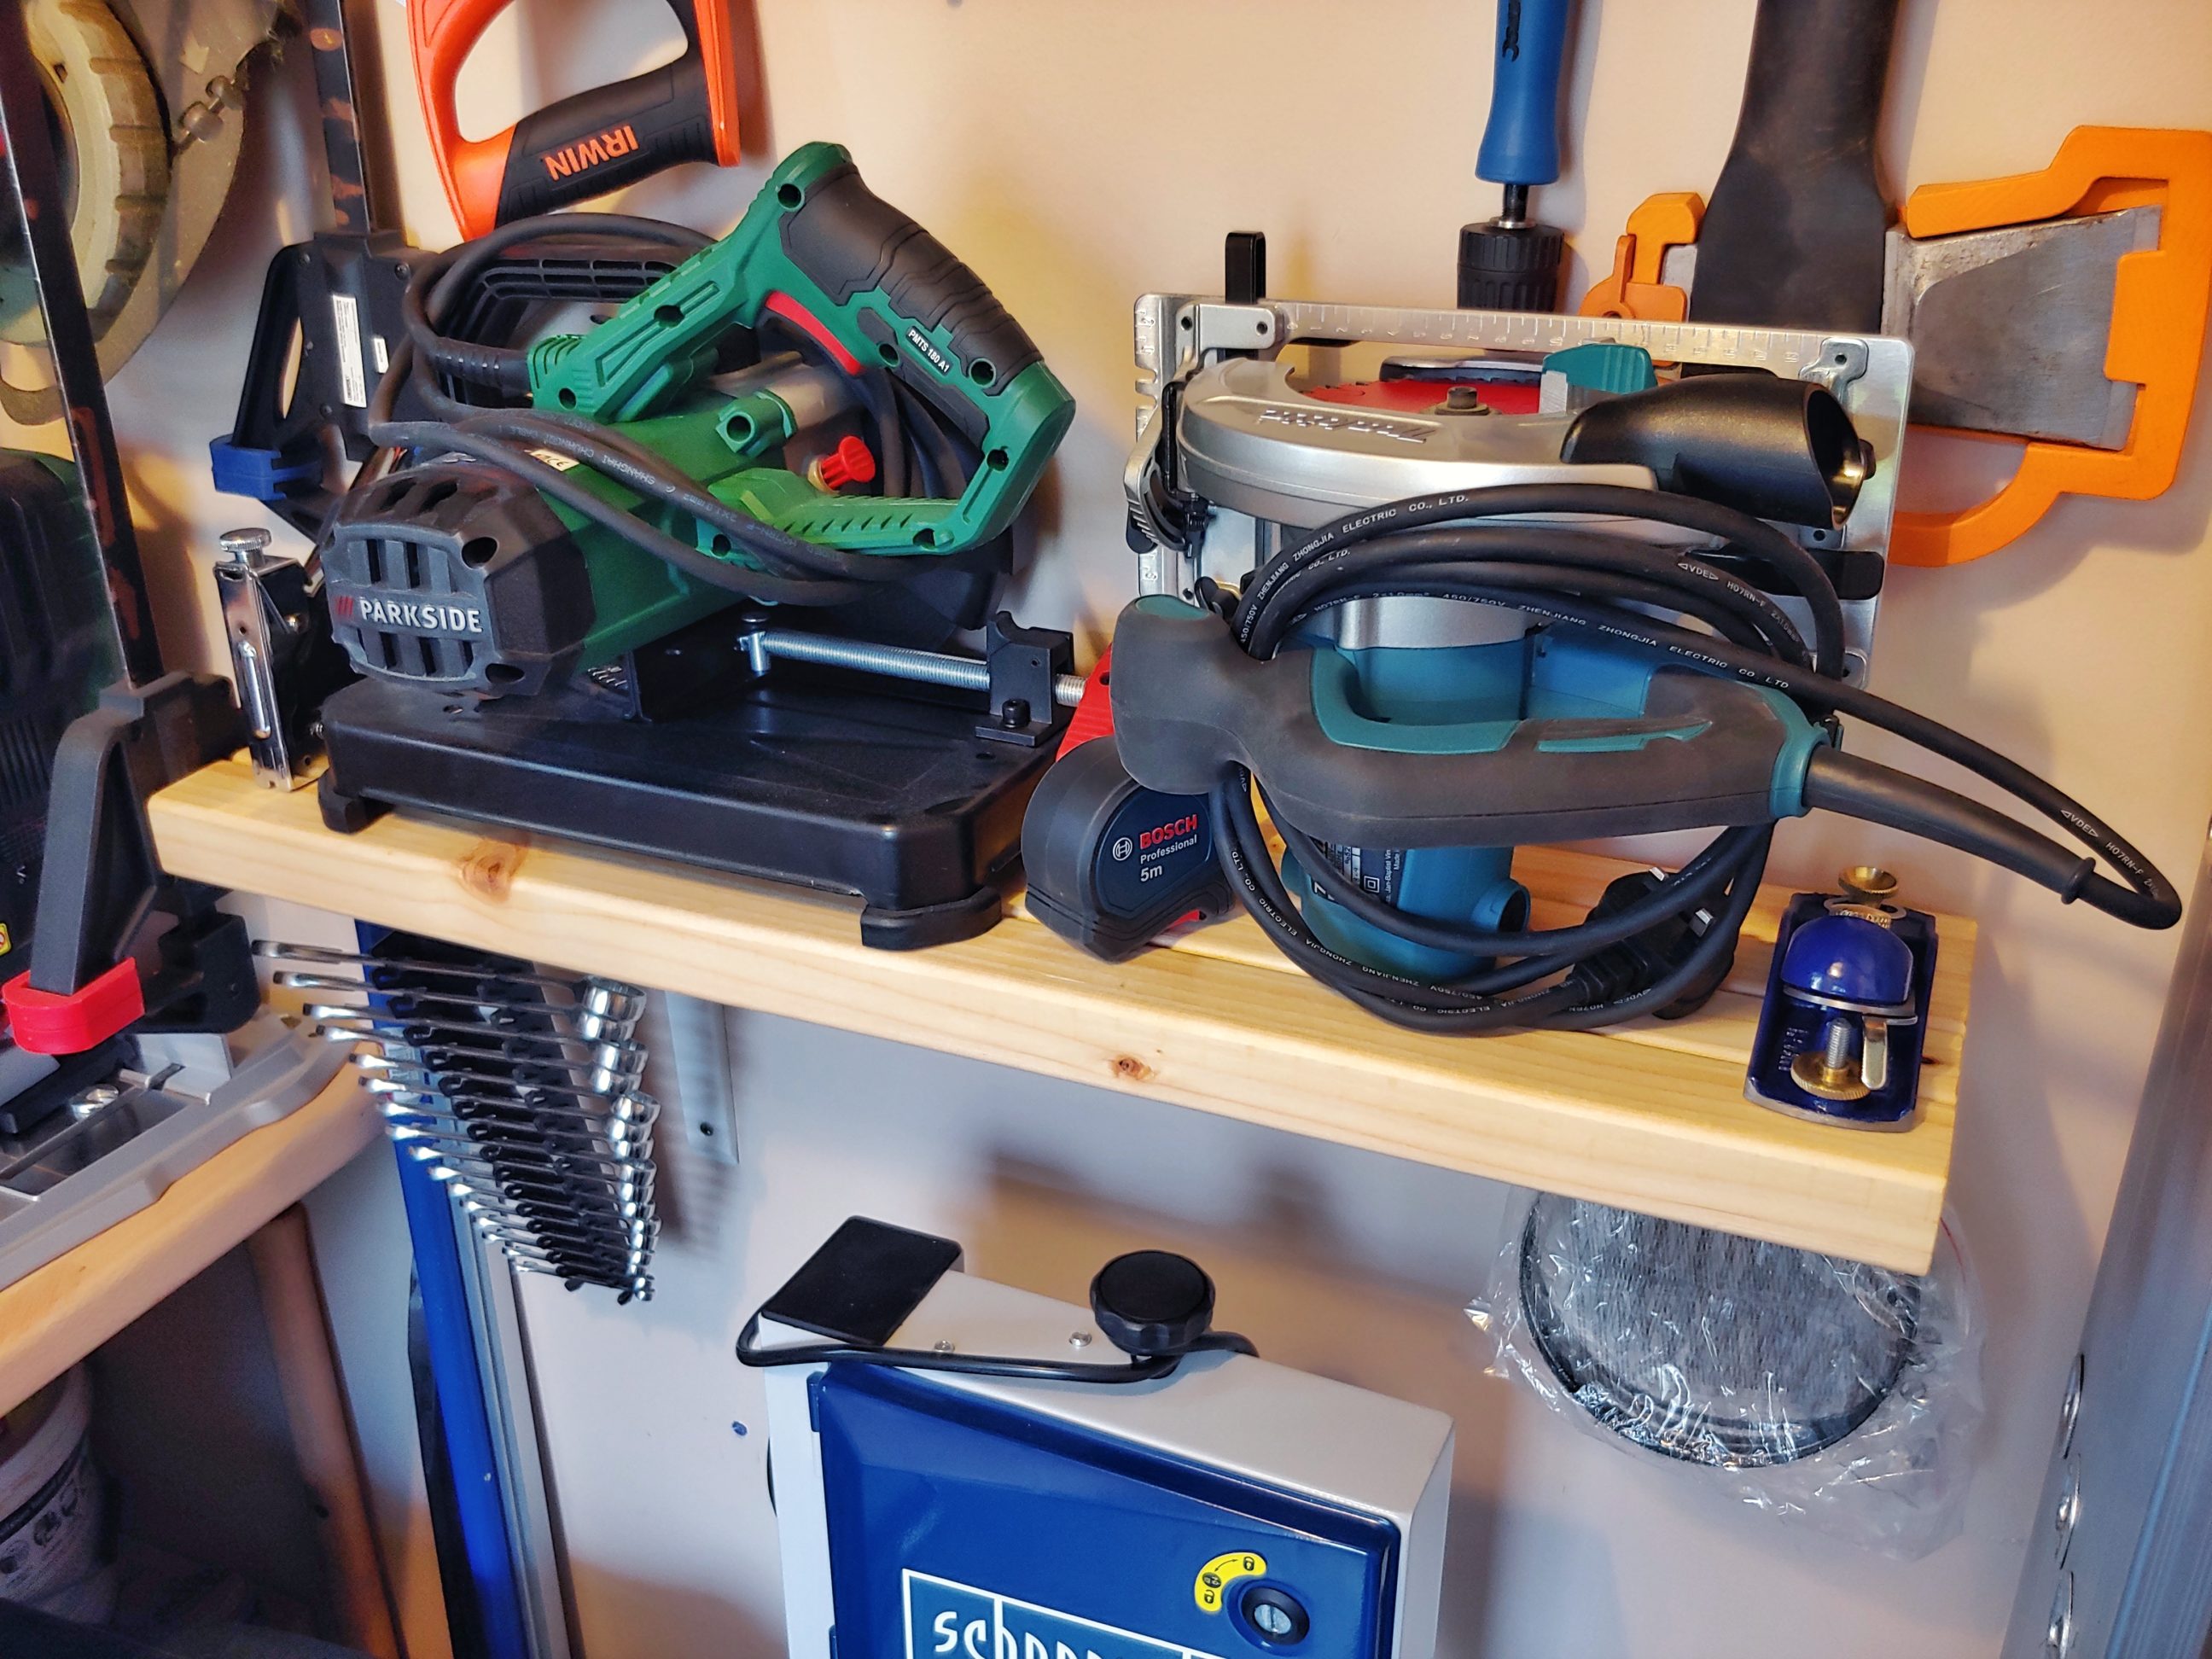
The shelf is big enough to hold: a spanner set, bandsaw blades, metal chop saw, circular saw, tape measure, block plane and a stapler. When all the tools are in place and the bicycle is hung on the wall, the shelf is almost completely covered and it’s hard to see through the stuff.


It was a quite easy and straightforward project, it took some time to dry due to the finish used, but overall, I am very happy with how it turned out and also I learned a bit more about woodworking and DIY-ing.