Finger joint tray
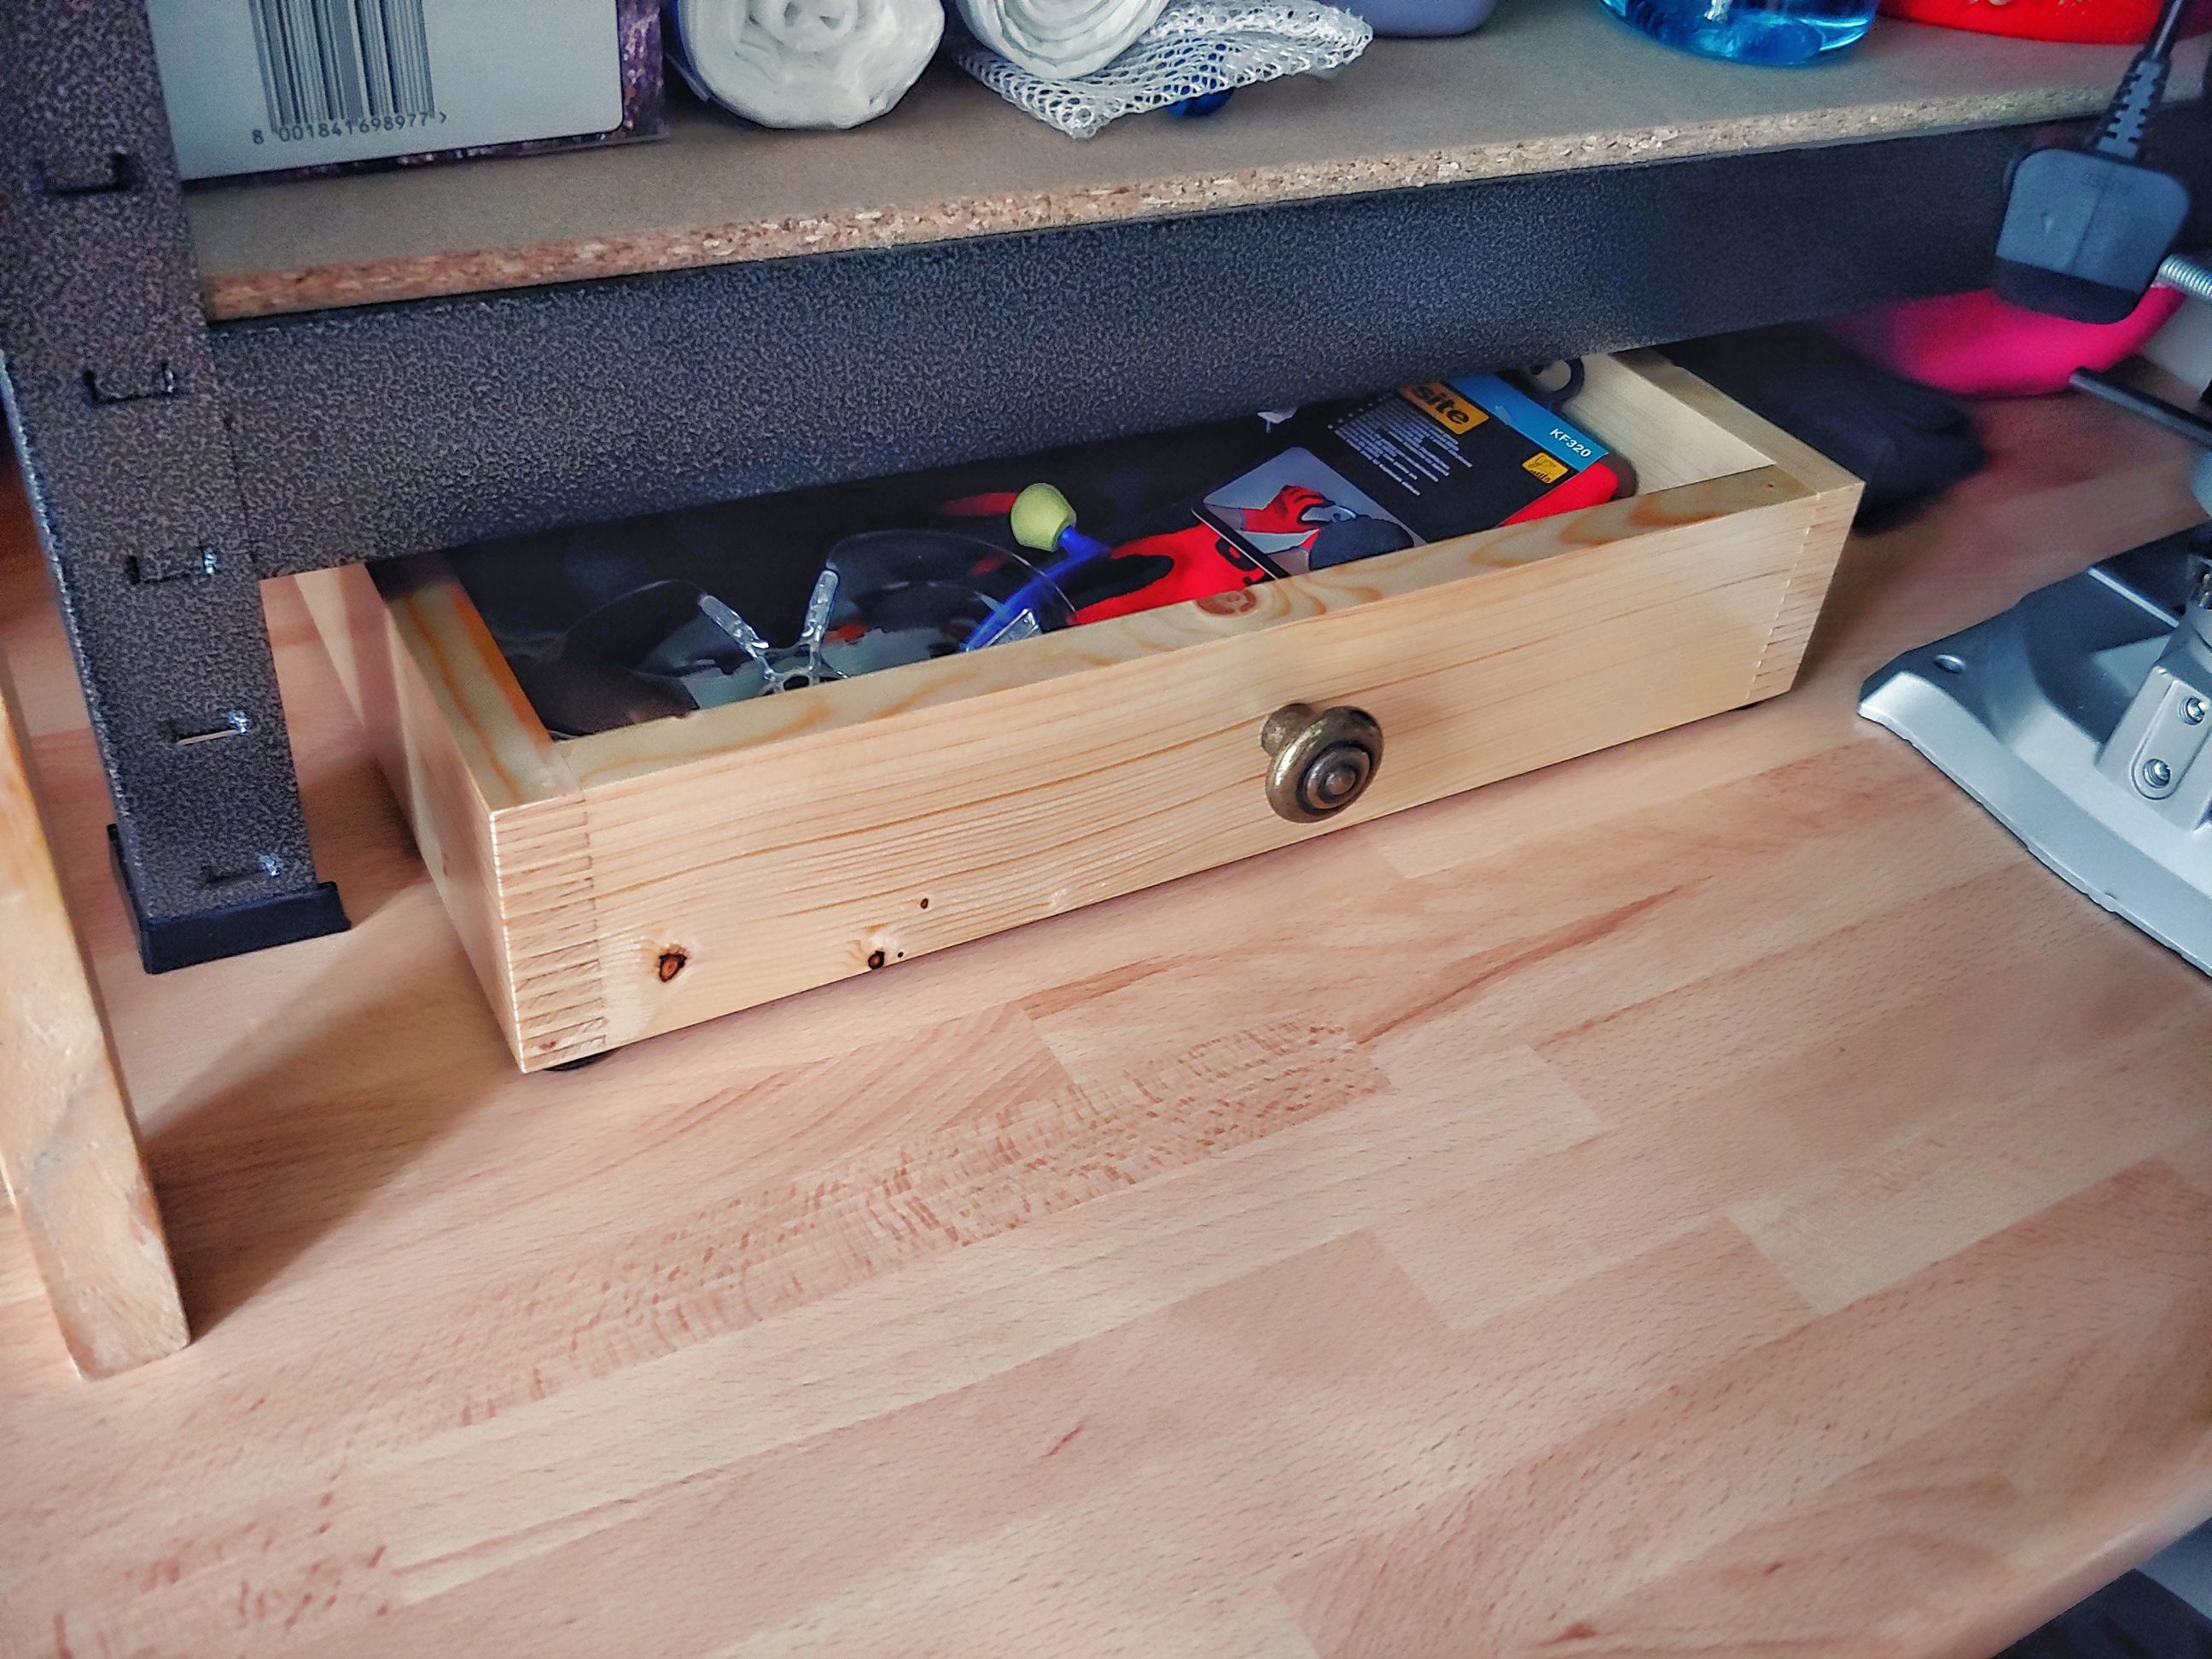
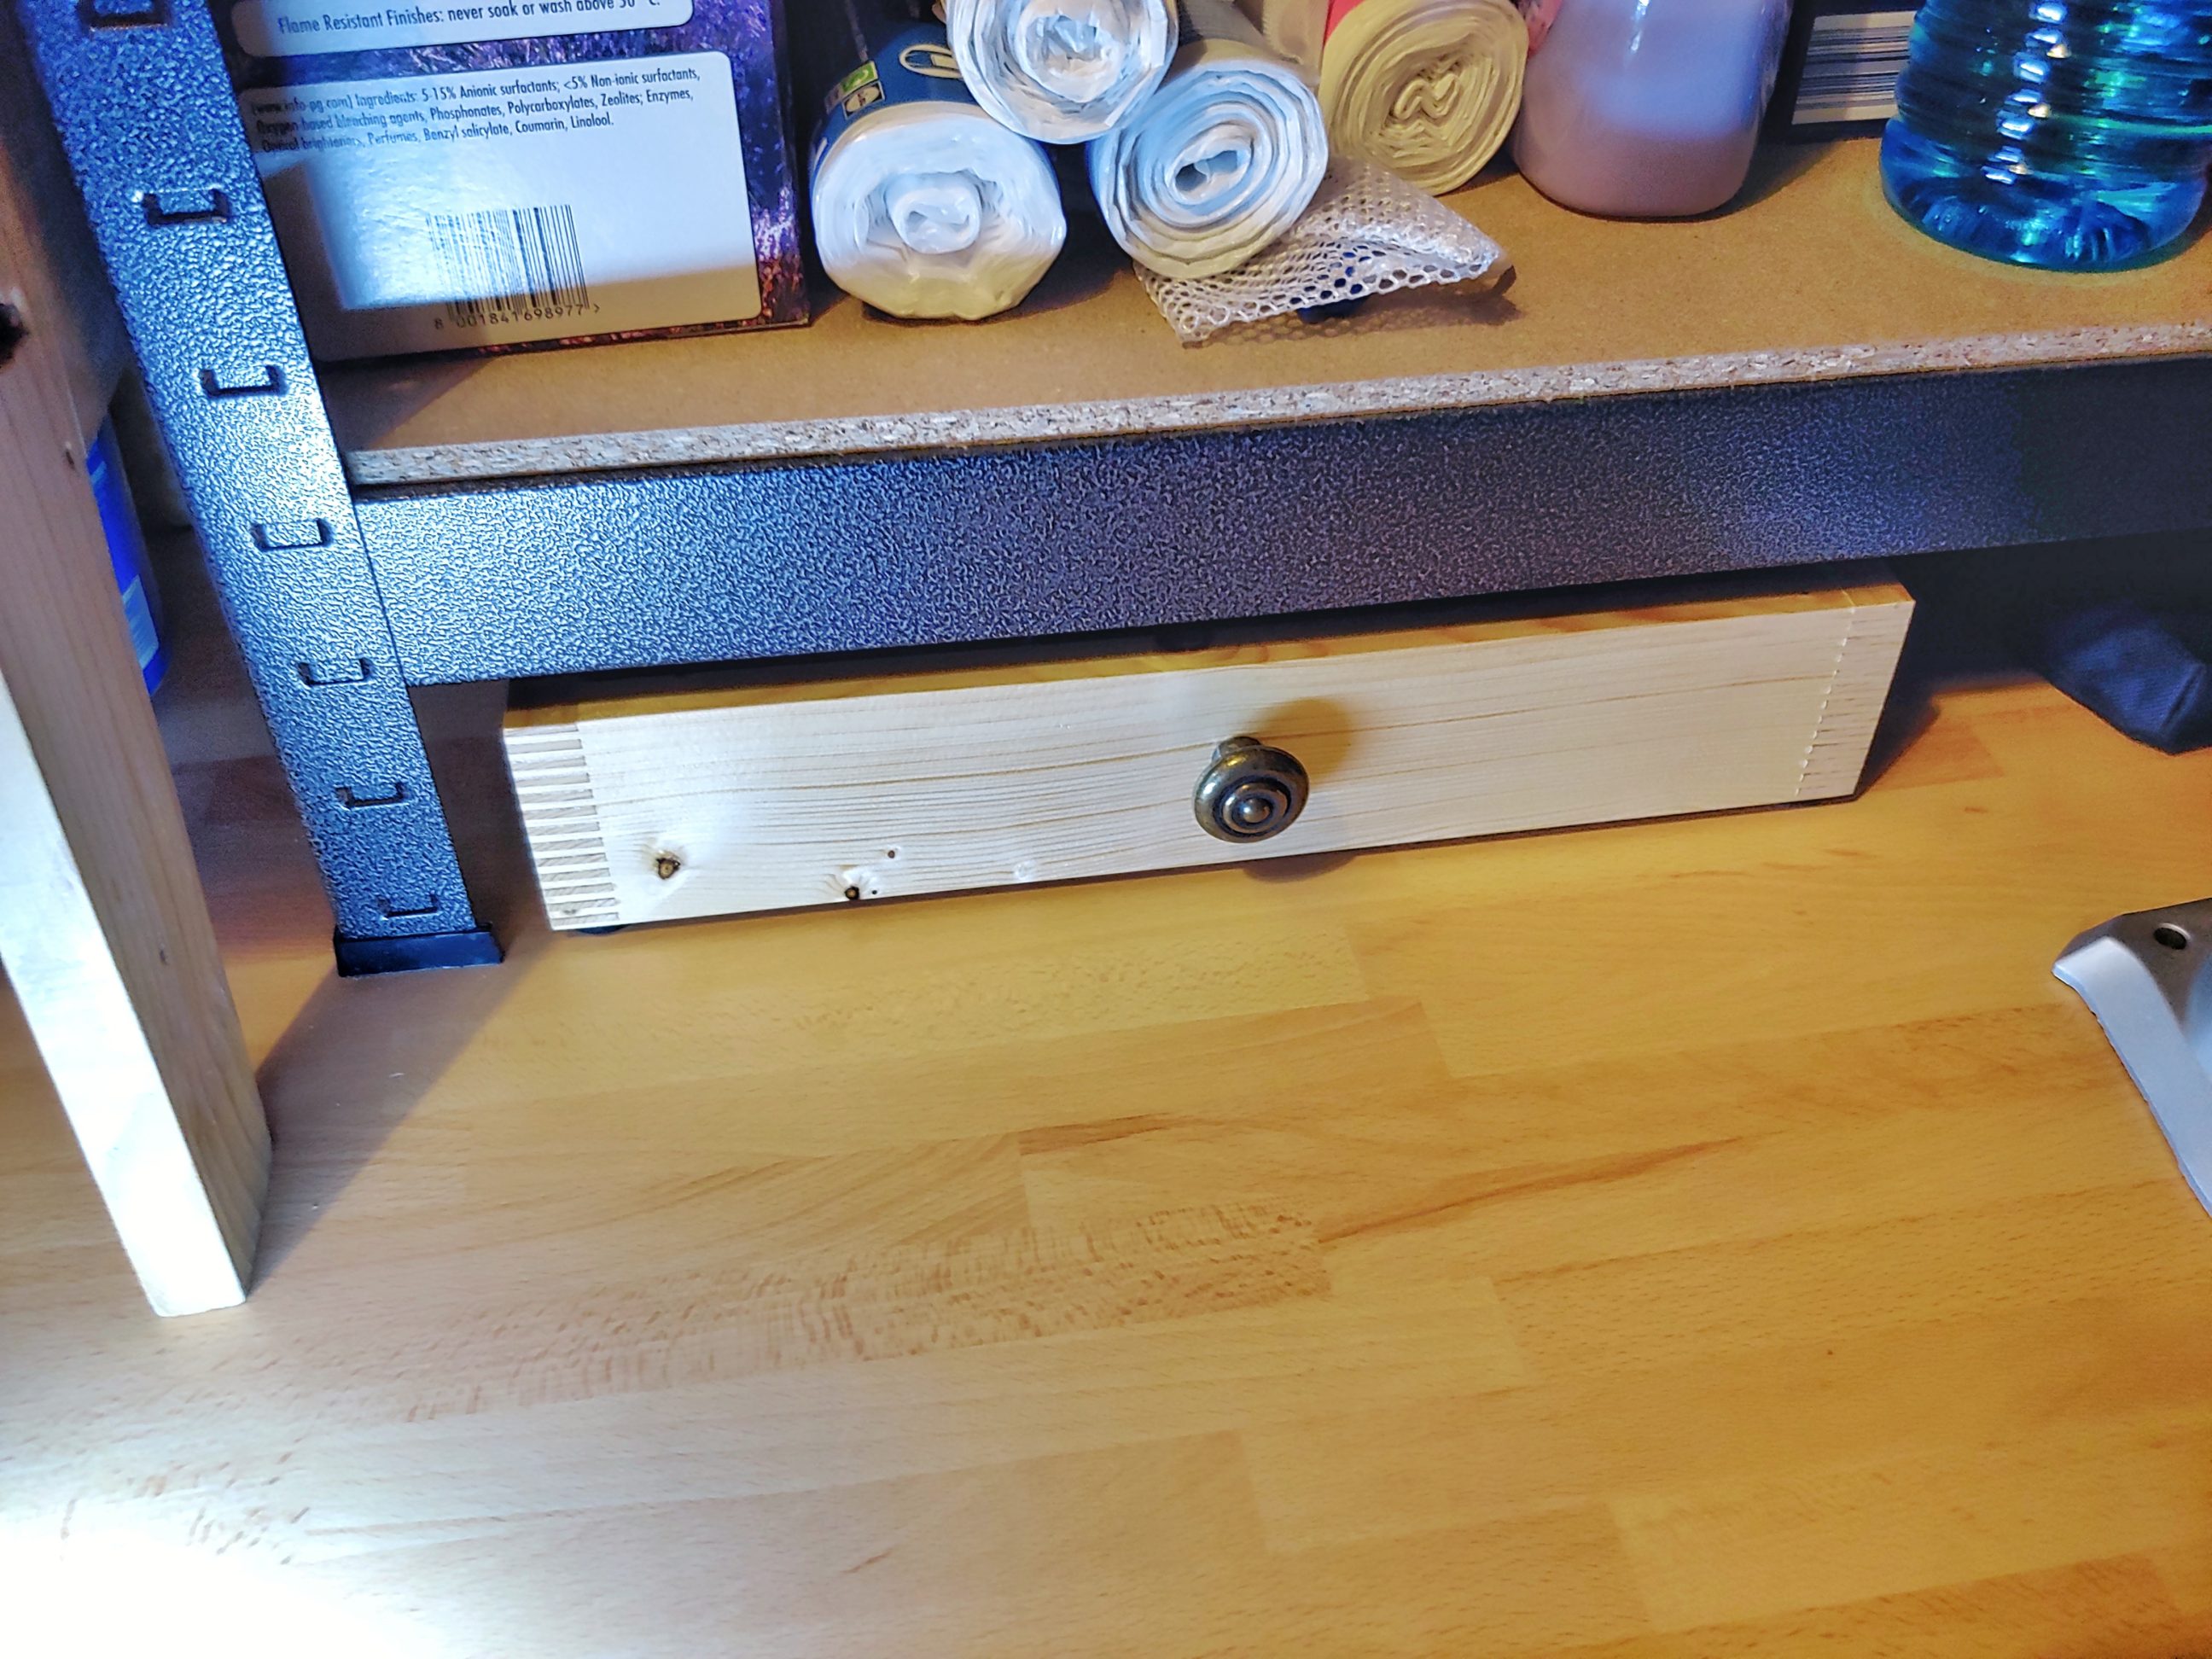
A simple organizer, used mostly for storing personal protective equipment like work gloves, safety glasses and hearing protection. That determined its size, but also or maybe most importantly it had to fit under the shelving unit. I was very excited to try out the jig and the glue with a longer clamping time.

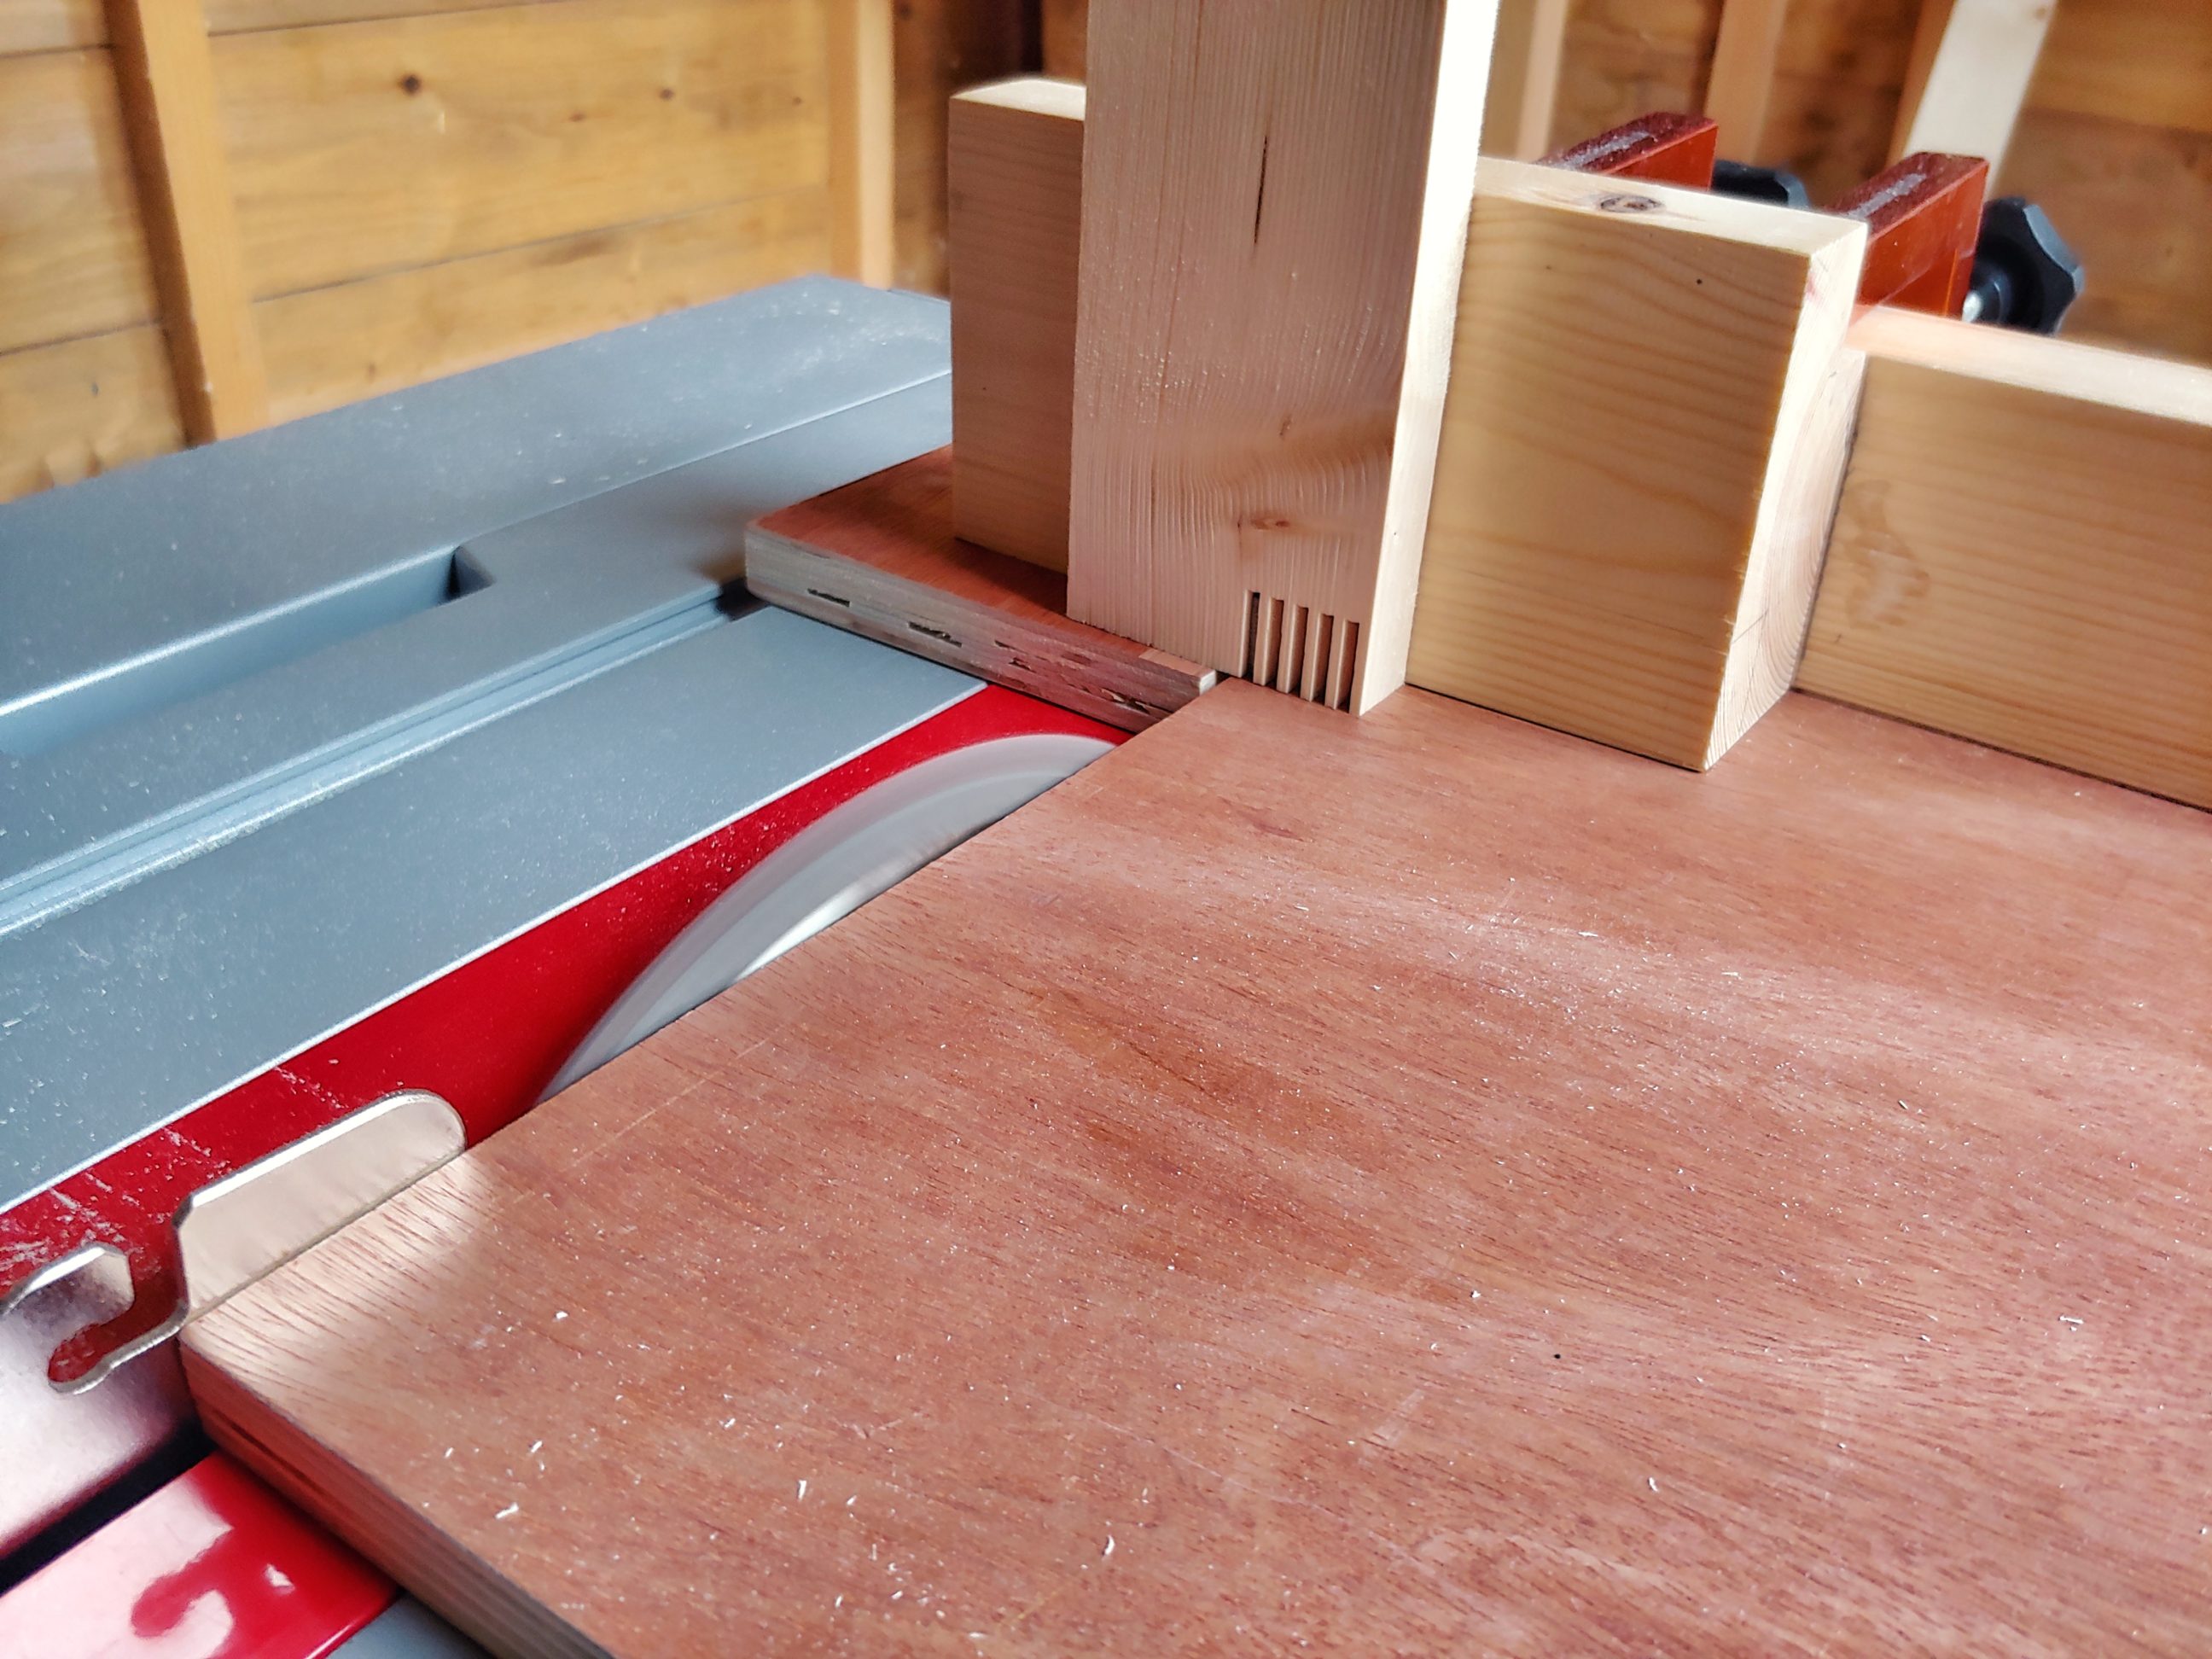

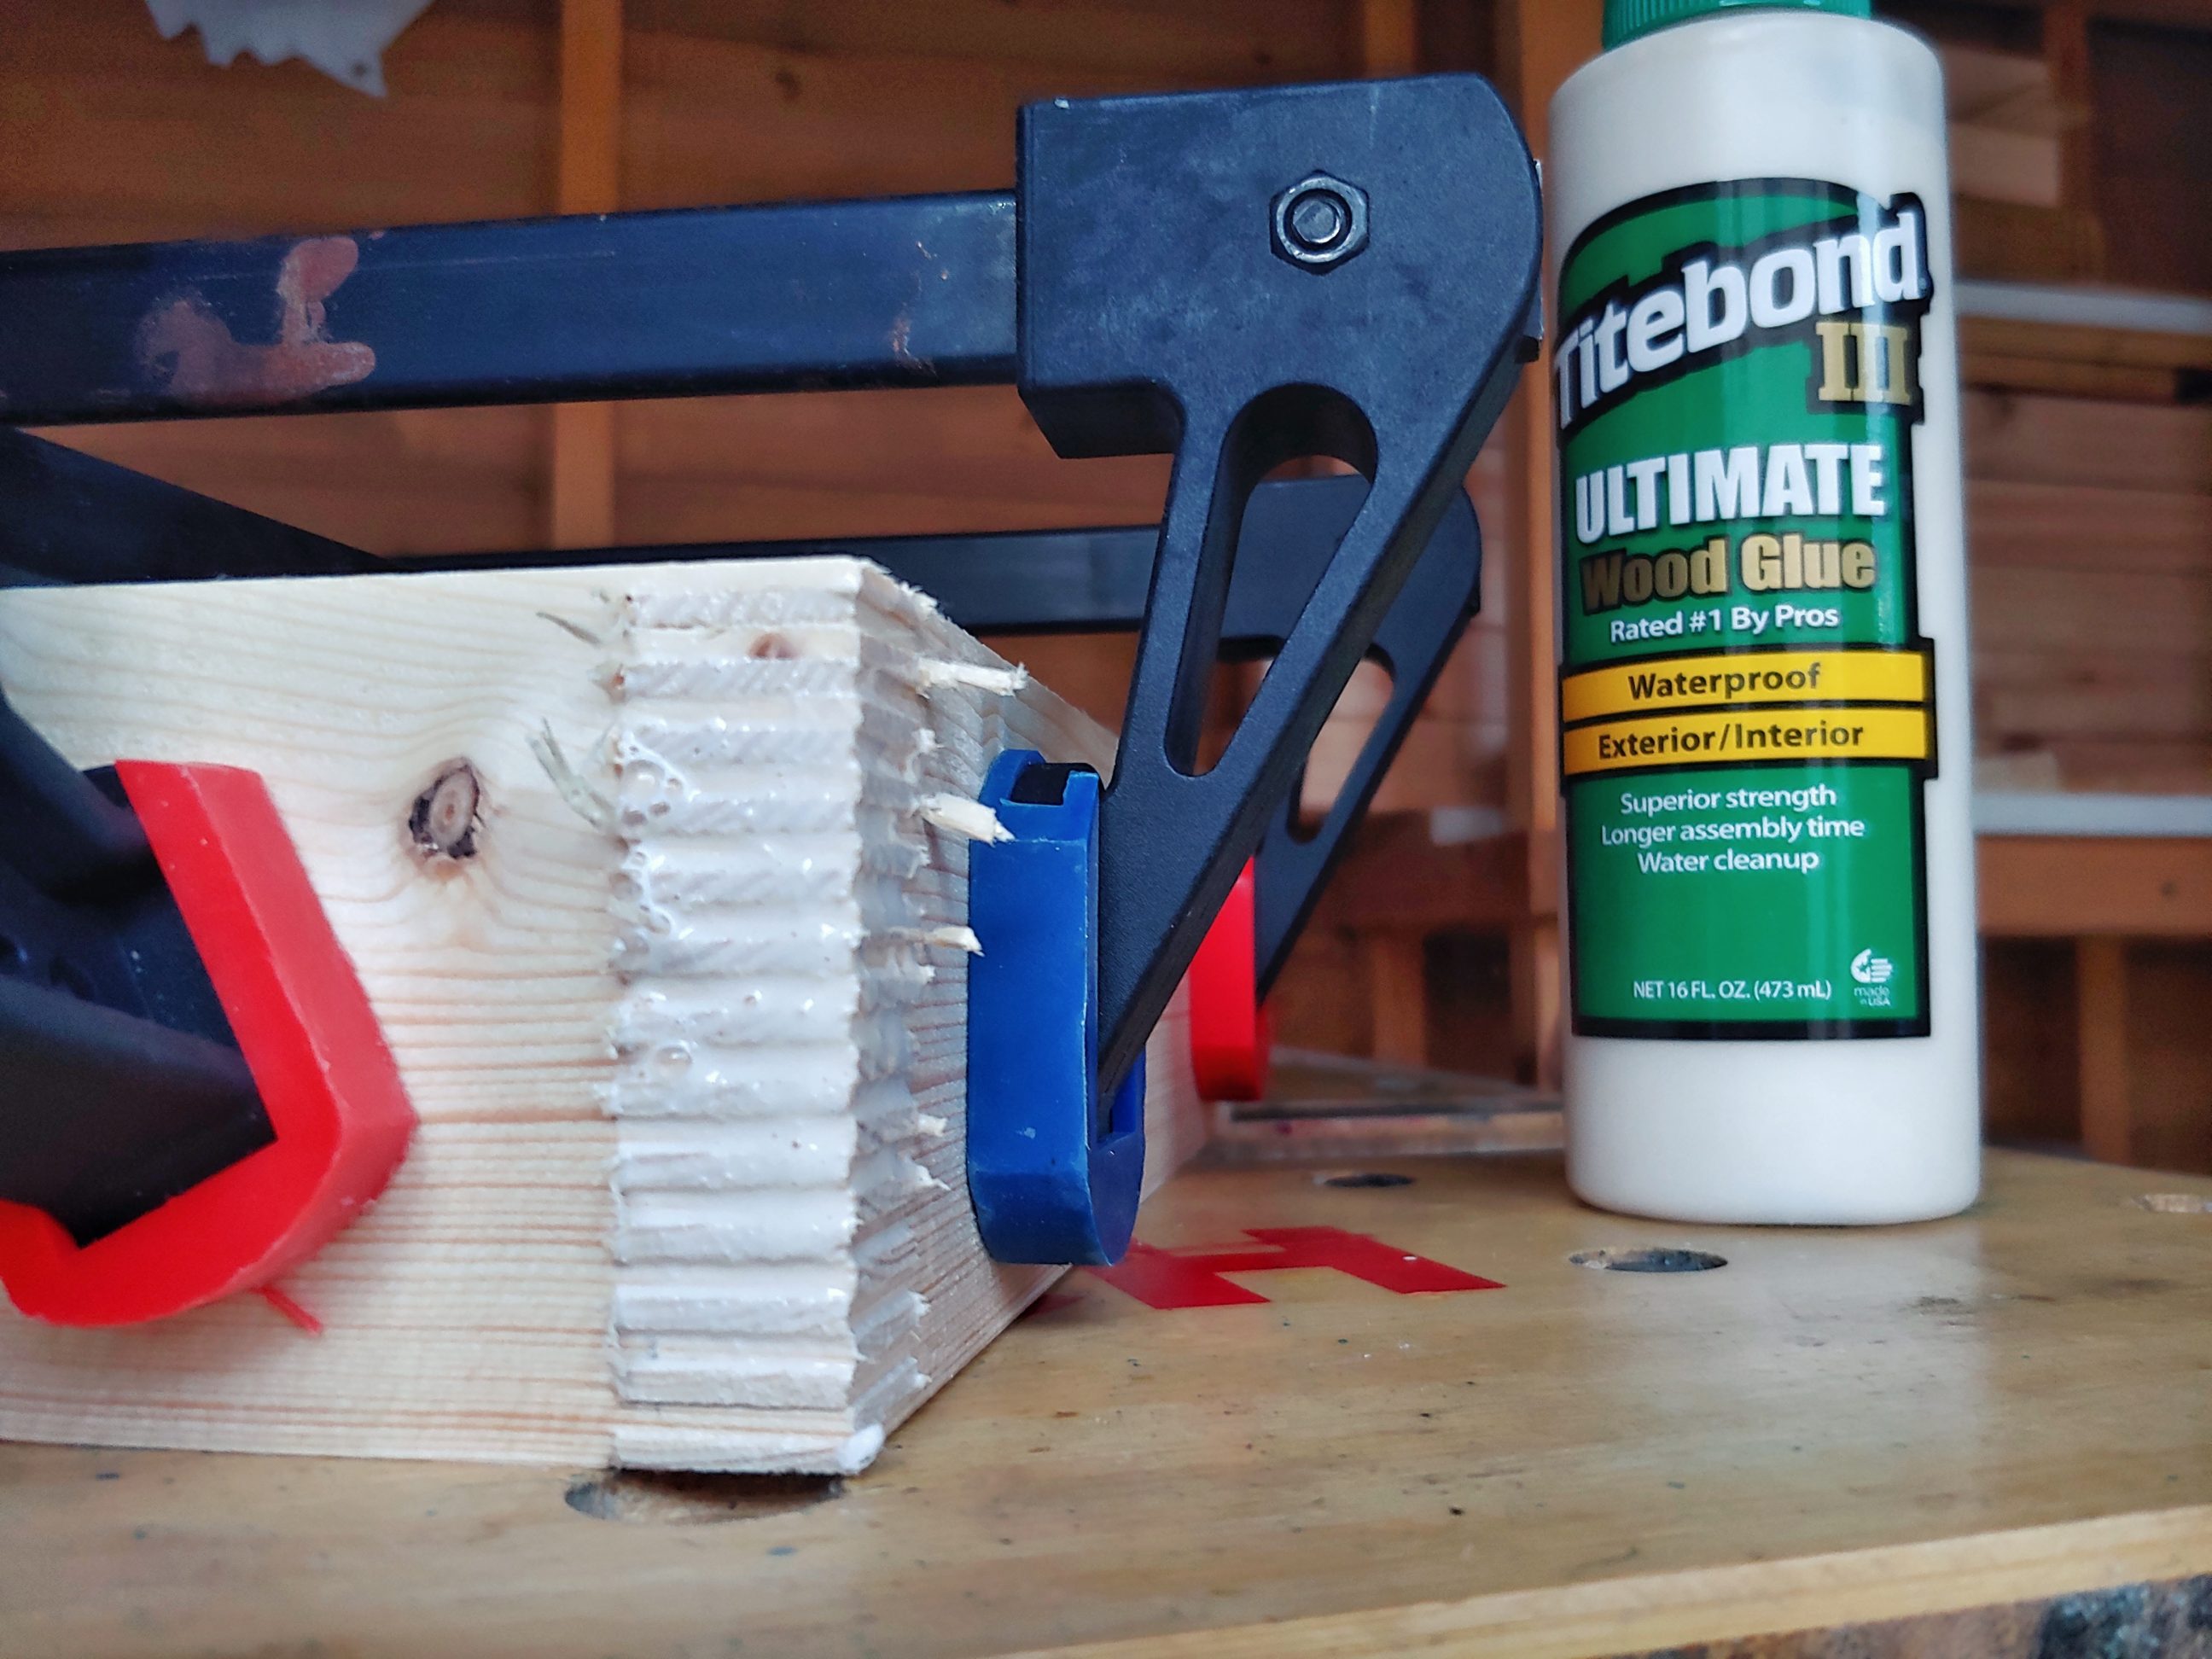
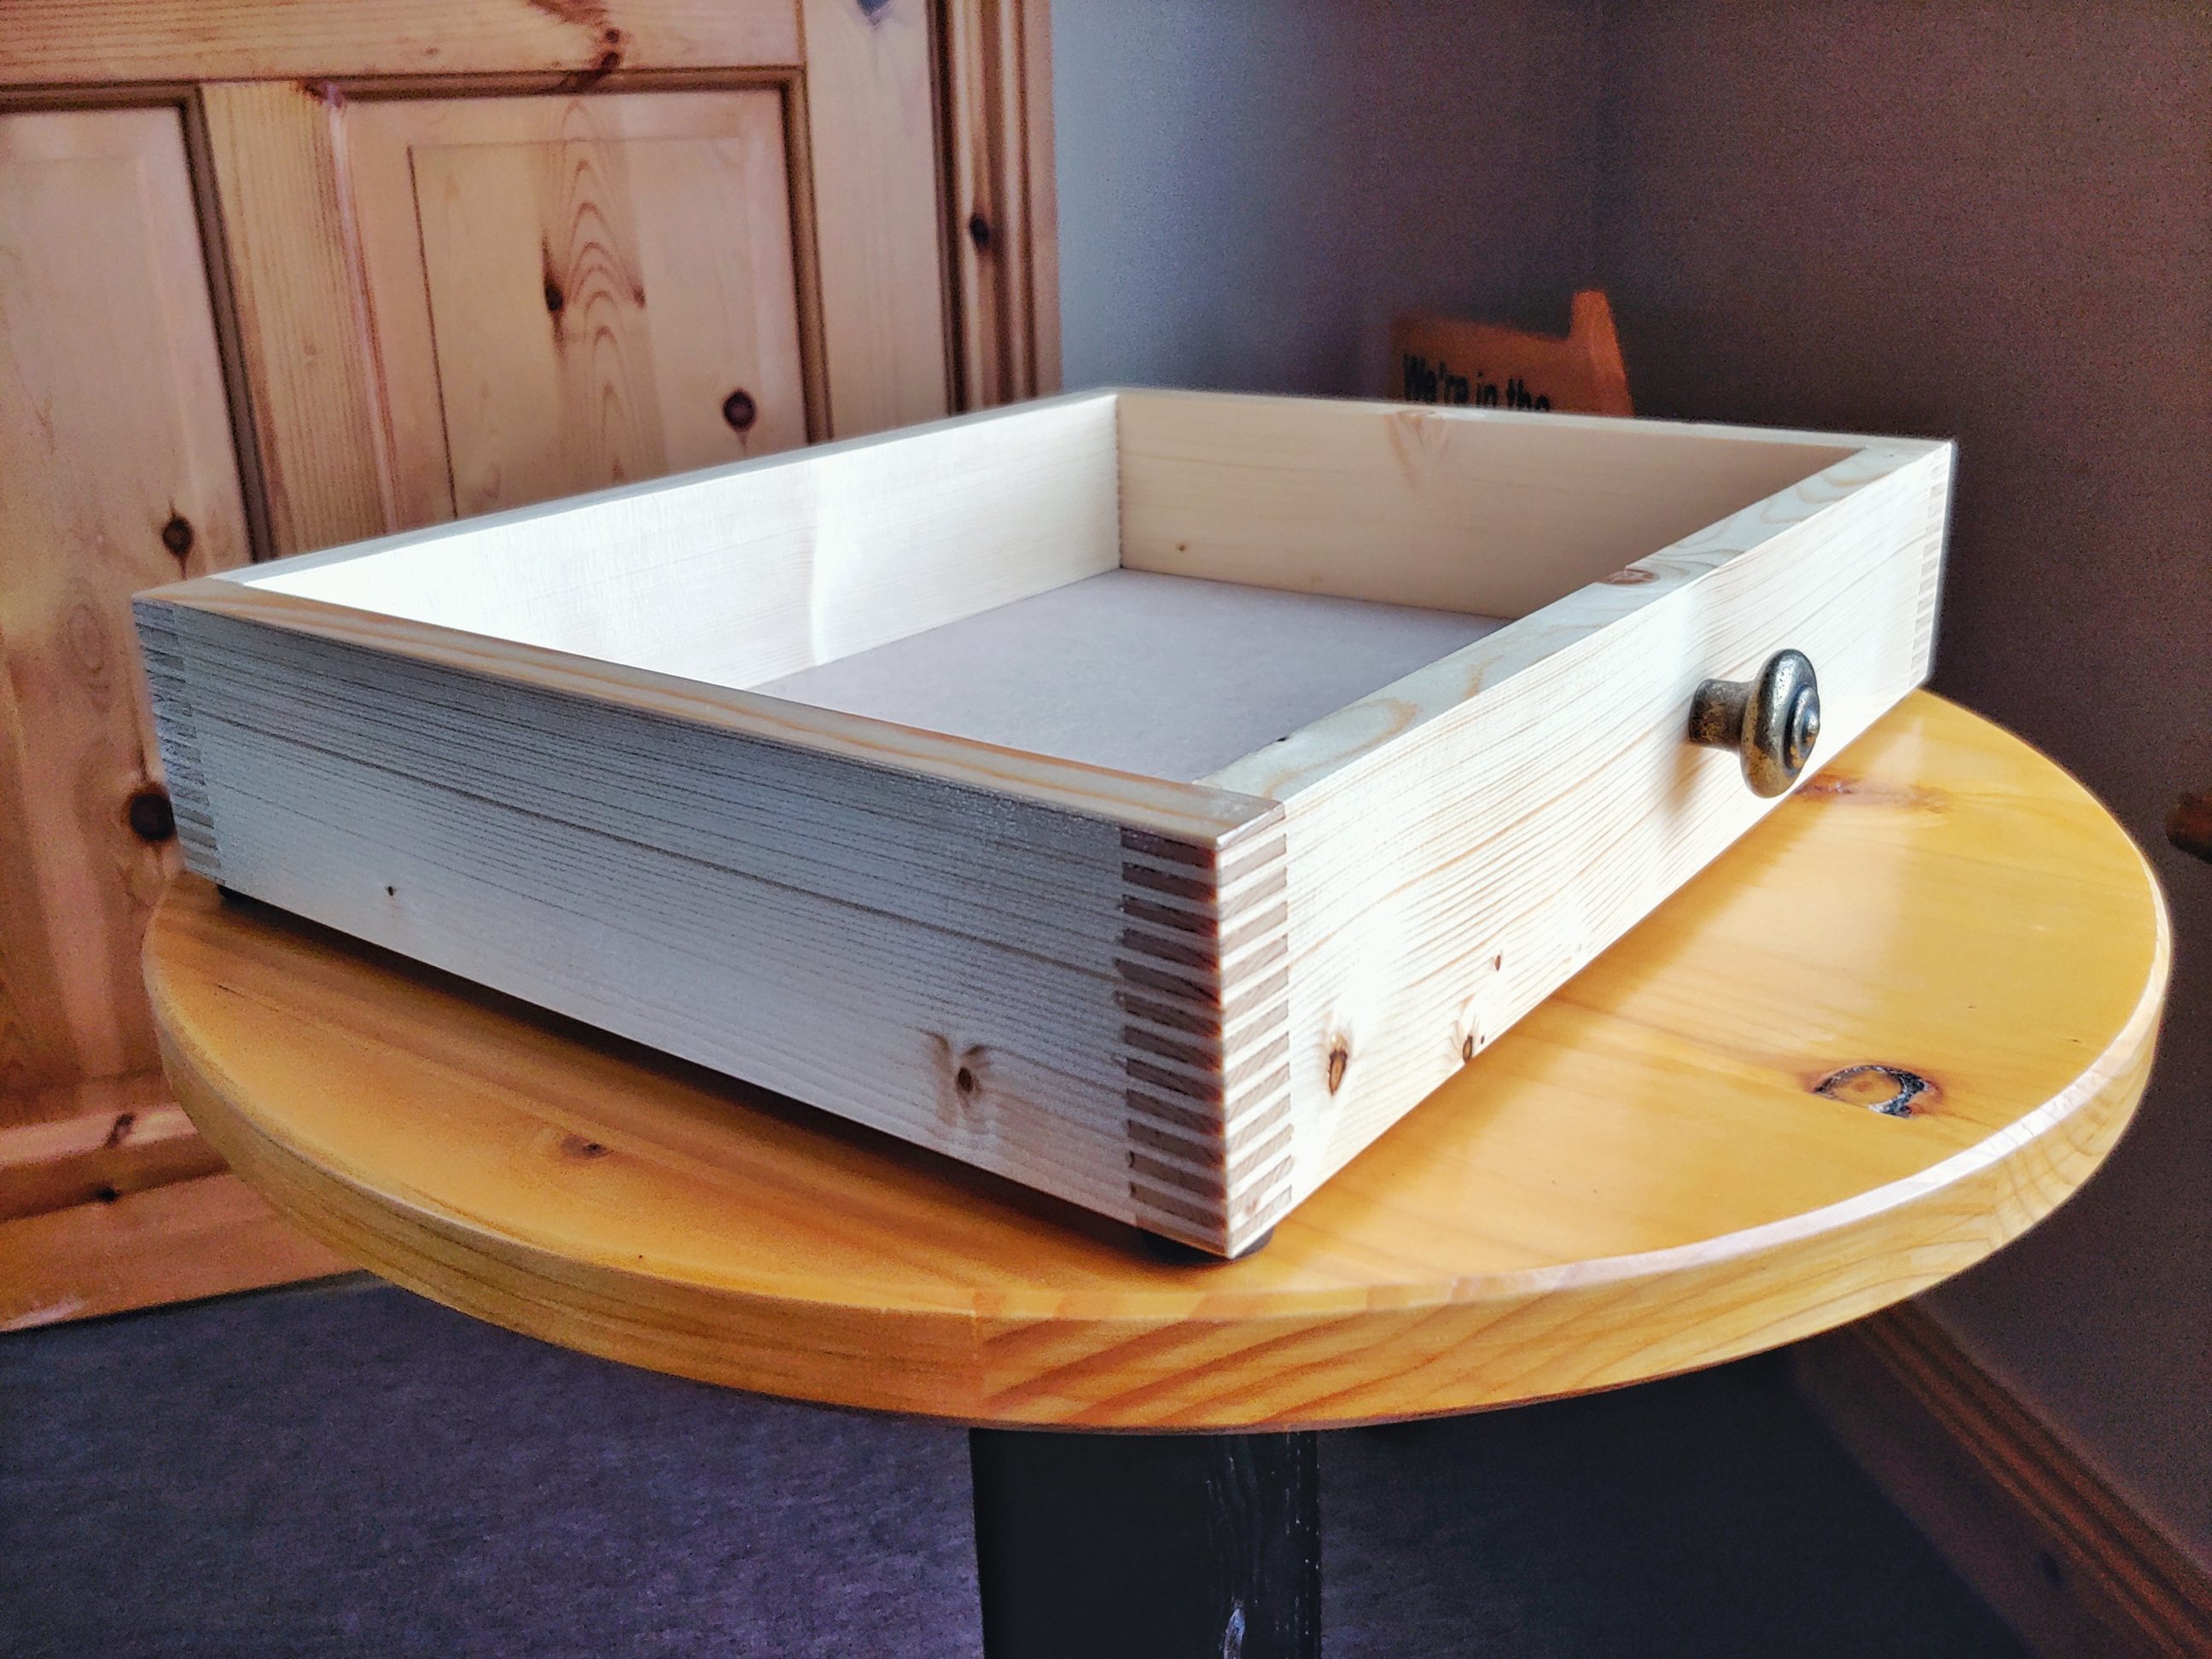
First I cut the timber to length using my table saw. Then I attached the jig and started cutting the joints. They were on the loose side, but I was happy to be able to experiment with them. Last time they were too tight and the glue I used was super fast – that made the assembly really stressful for me and I promised myself not to make the same mistake again. I dry-assembled them to try different orientations of the backsides, the ones with a little tear-out at the back. They looked good with the smooth sides exposed to the front, but eventually, I flipped all 4 parts over and used the nice-looking sides on the inside. That made the sanding a lot easier.
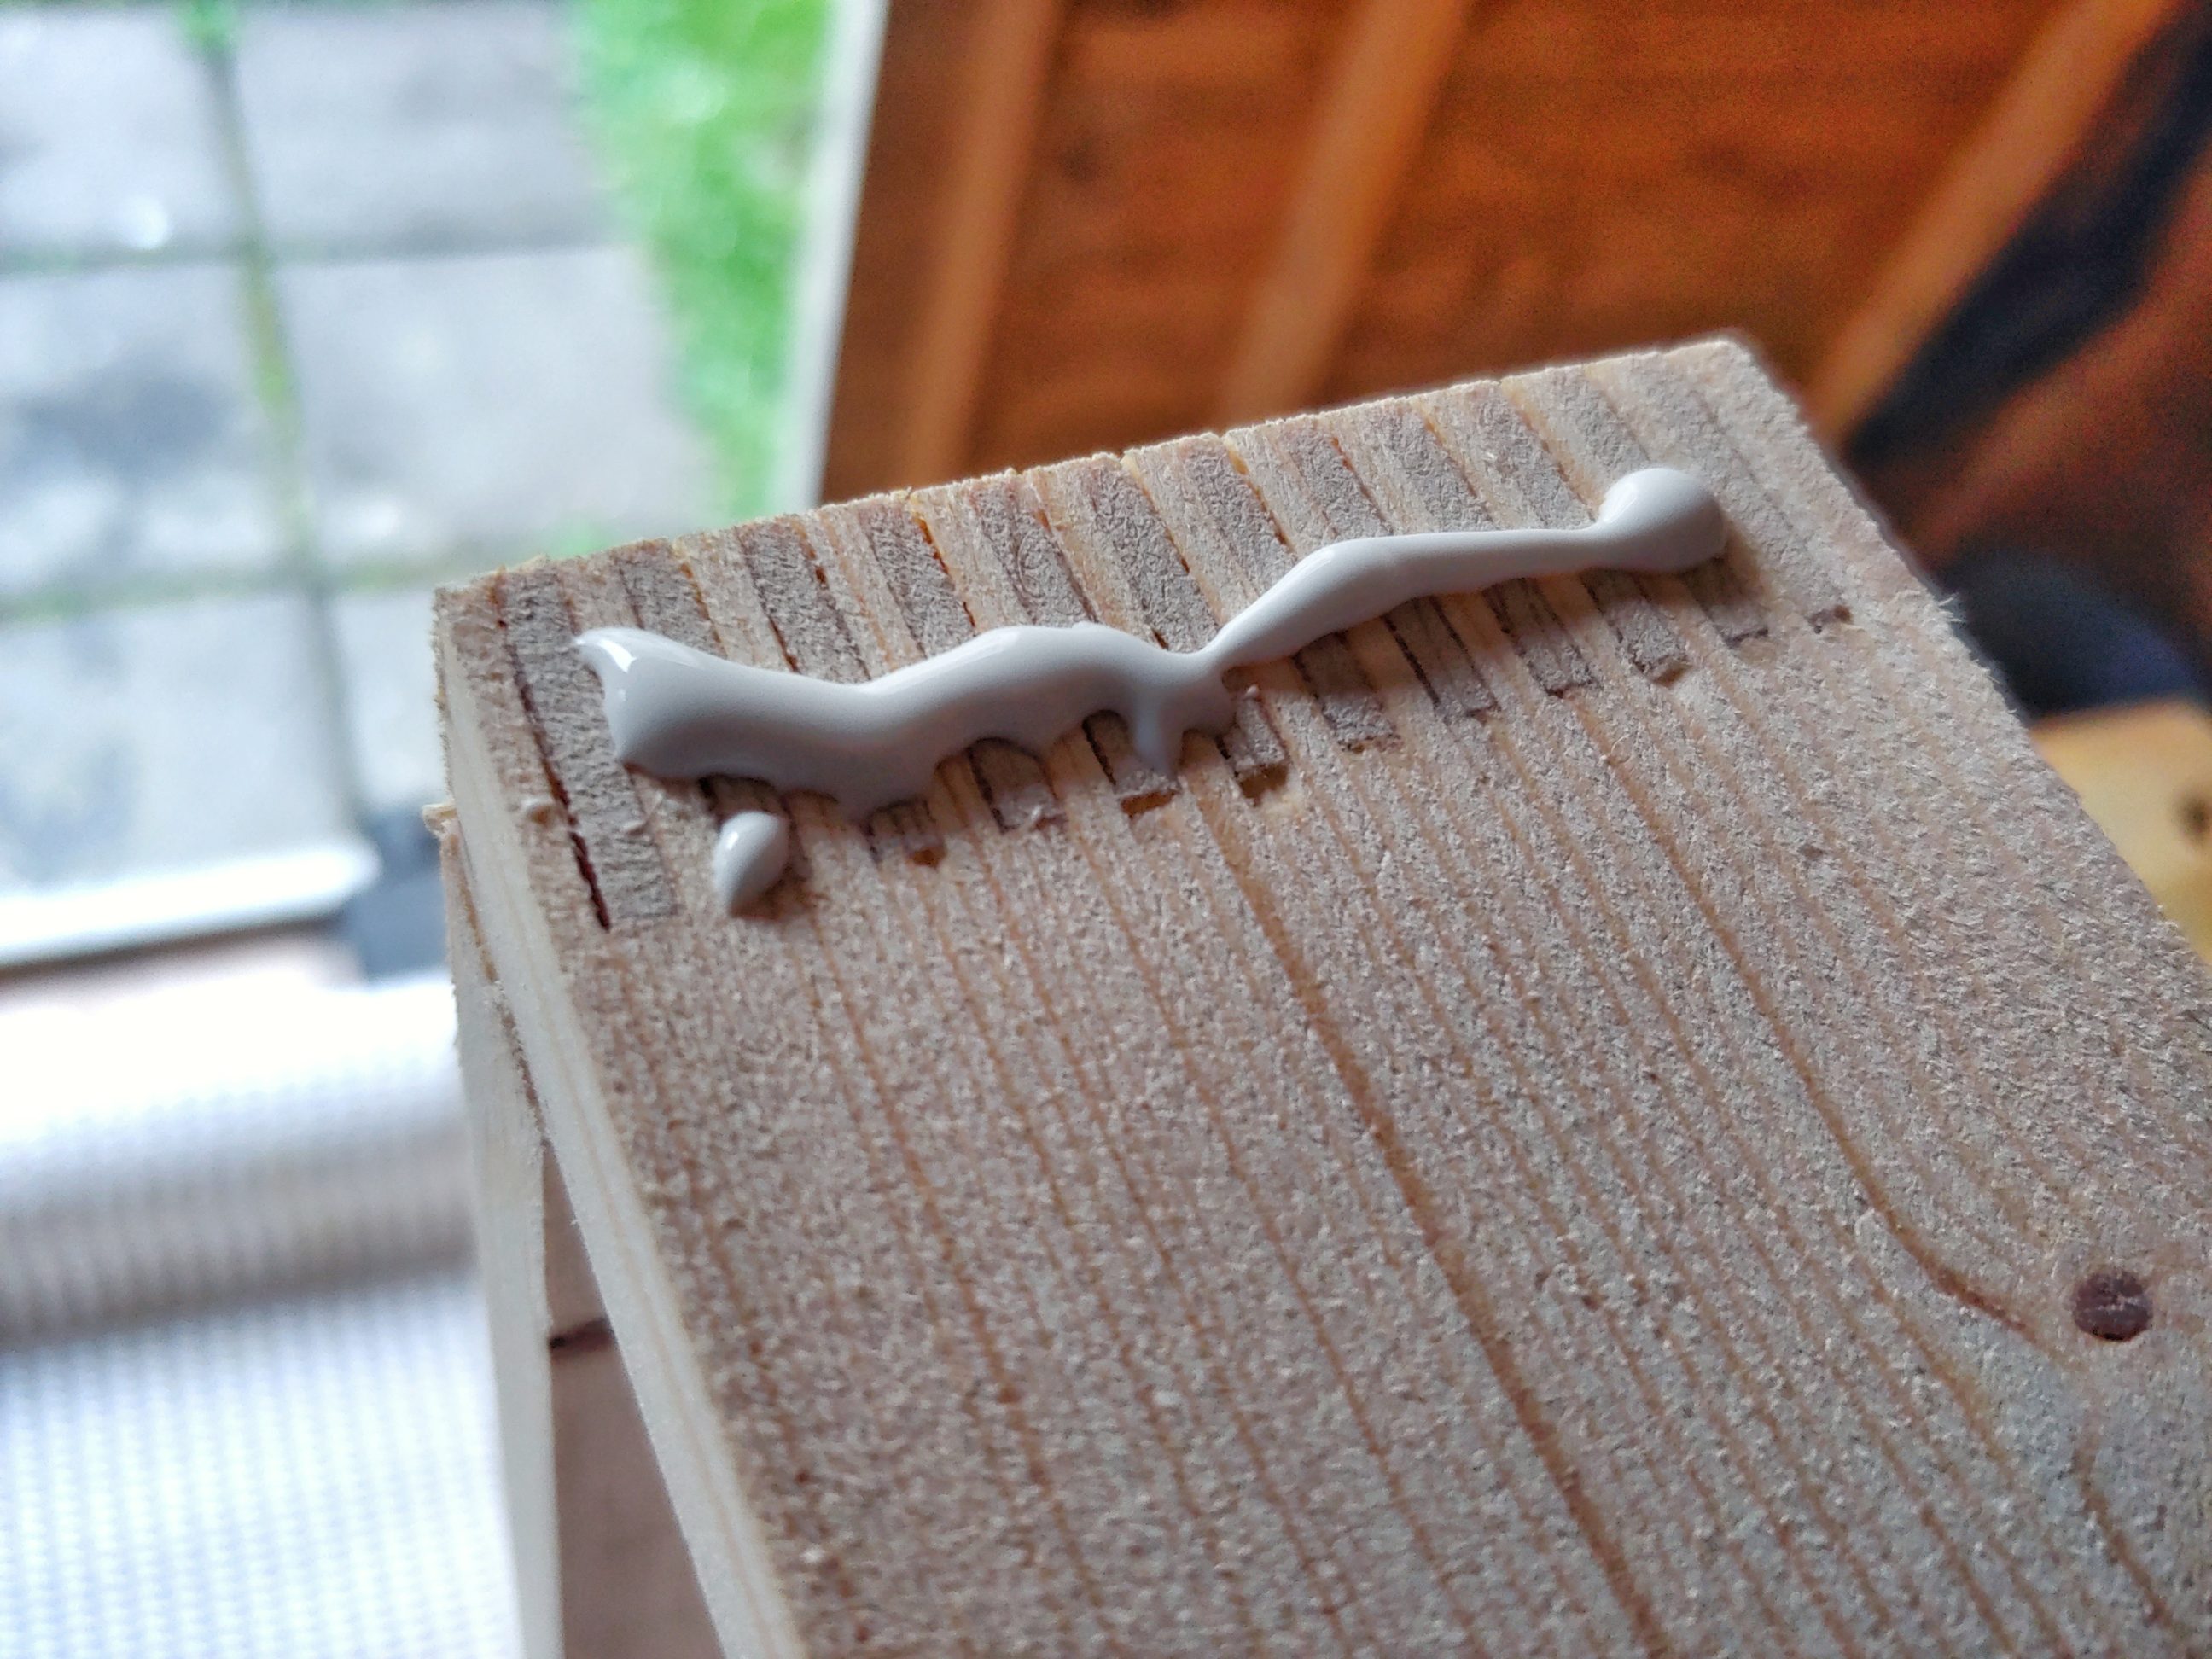
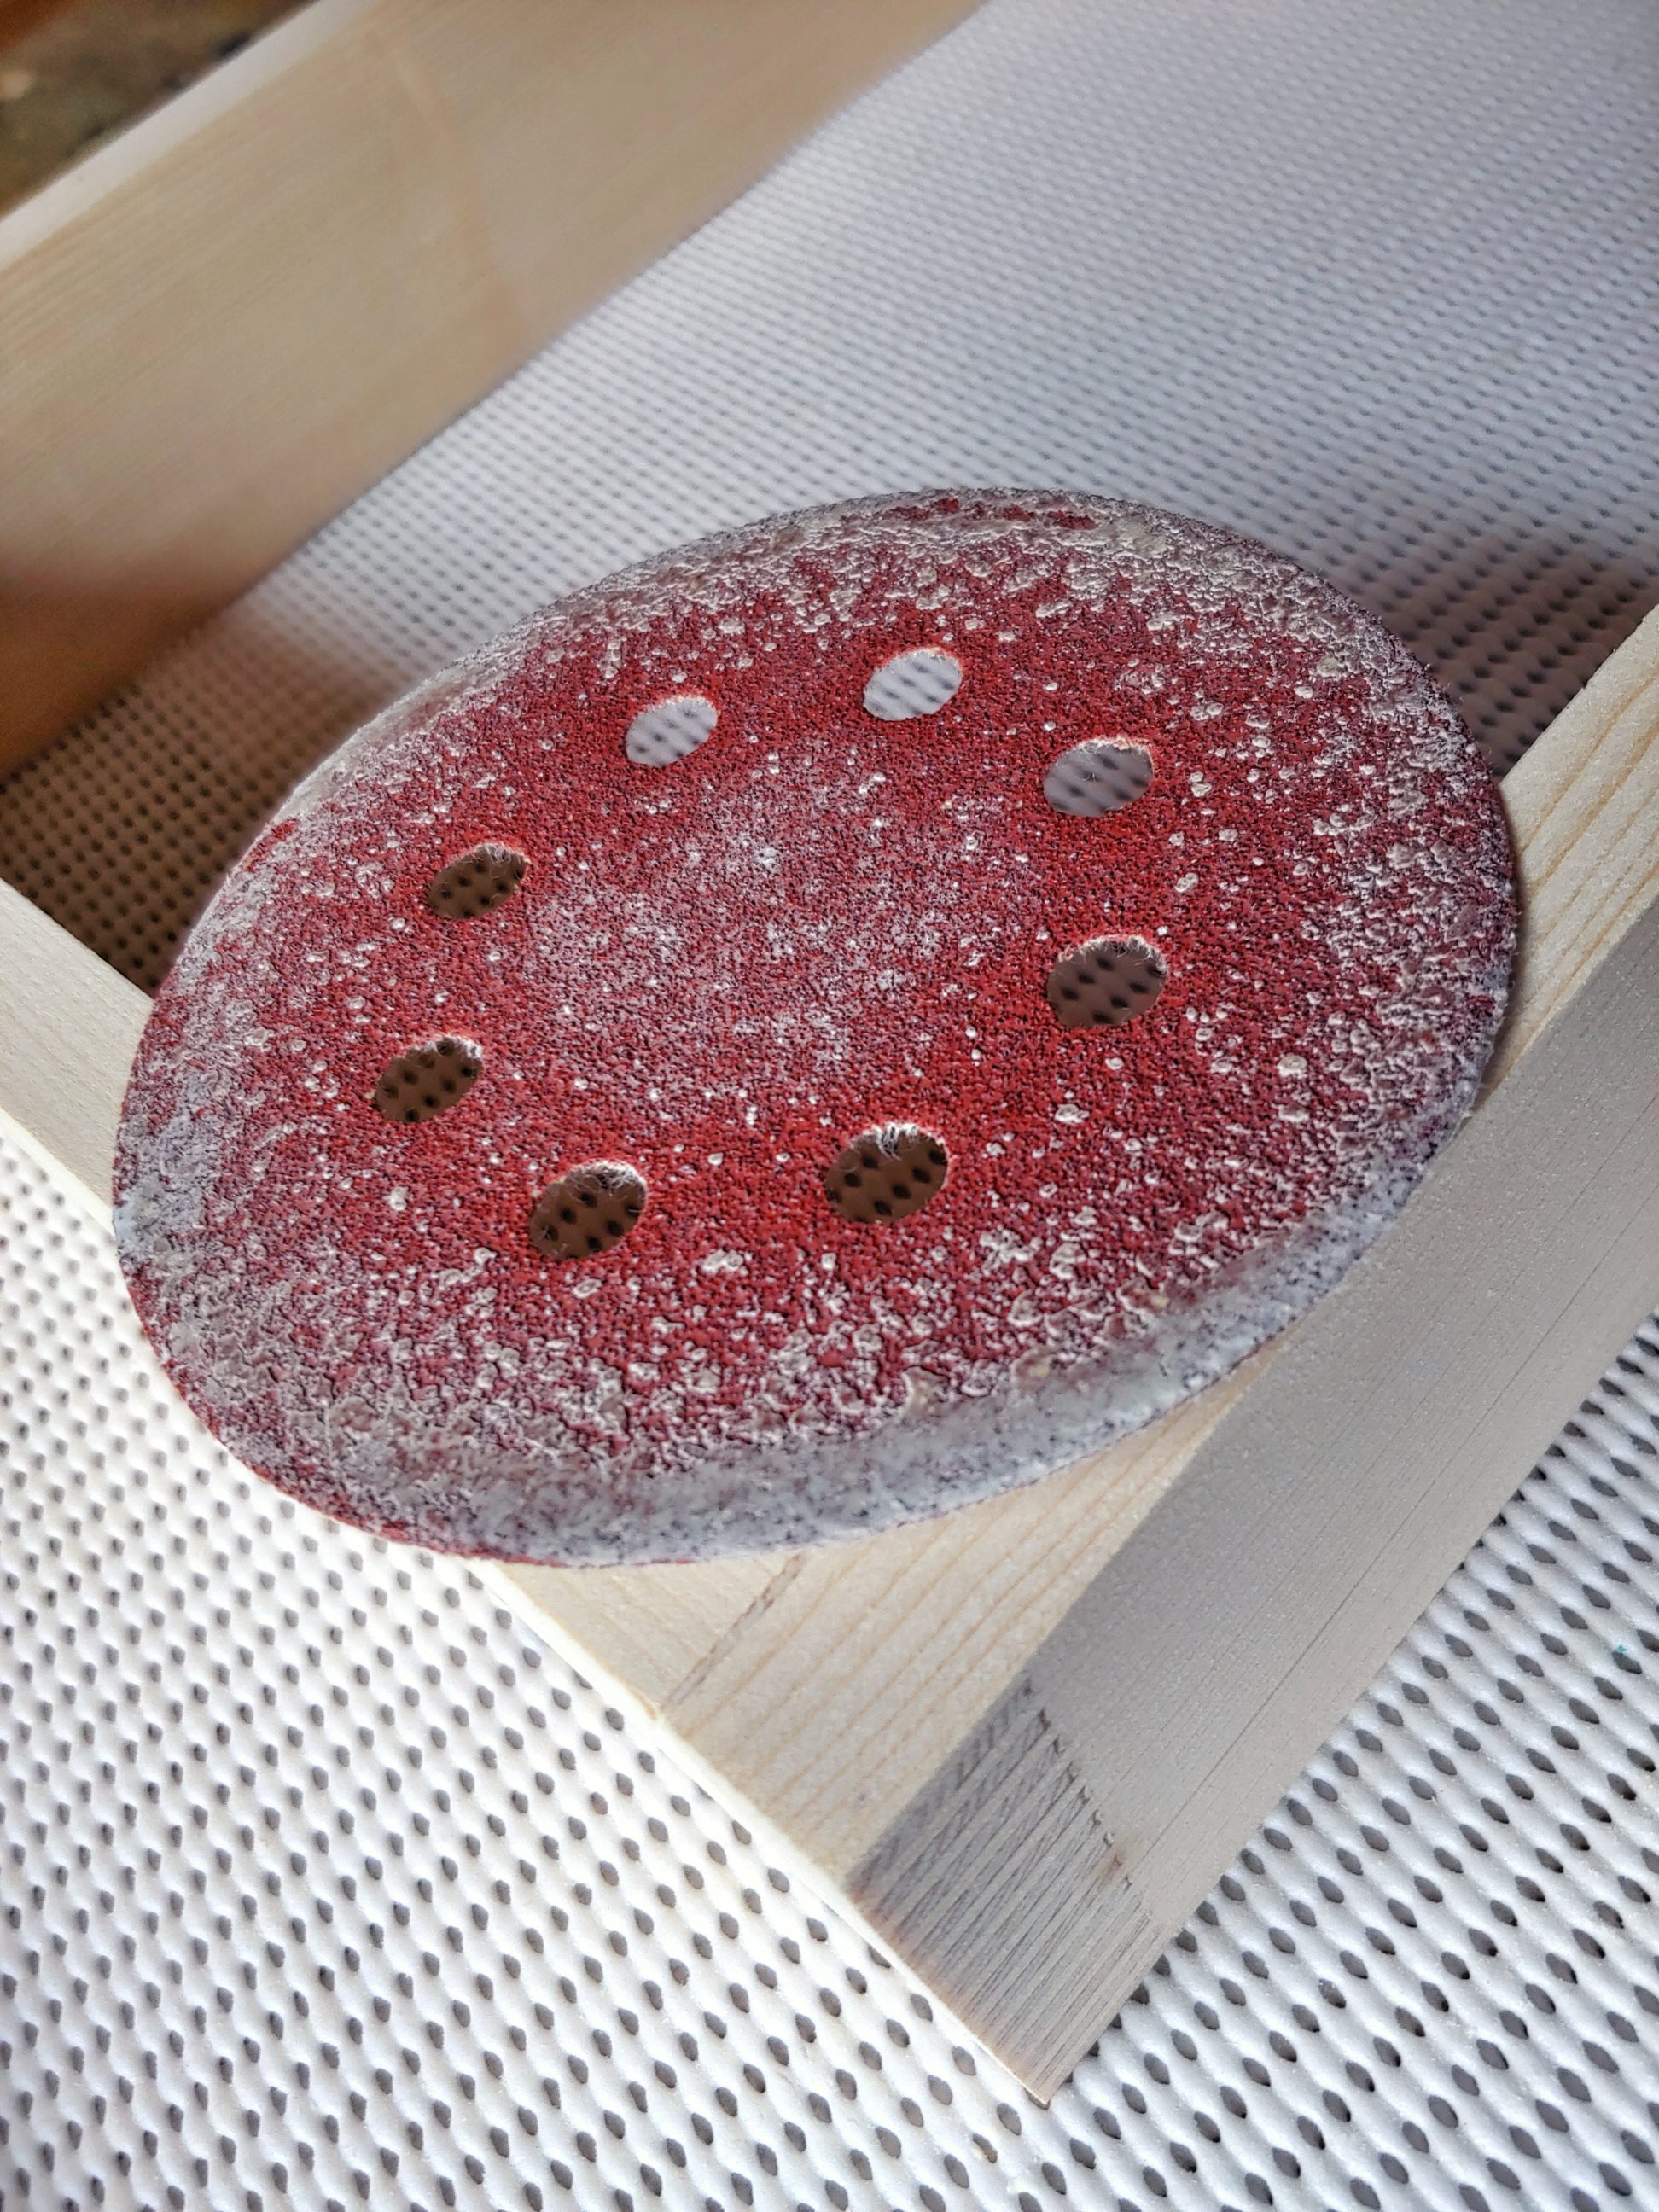

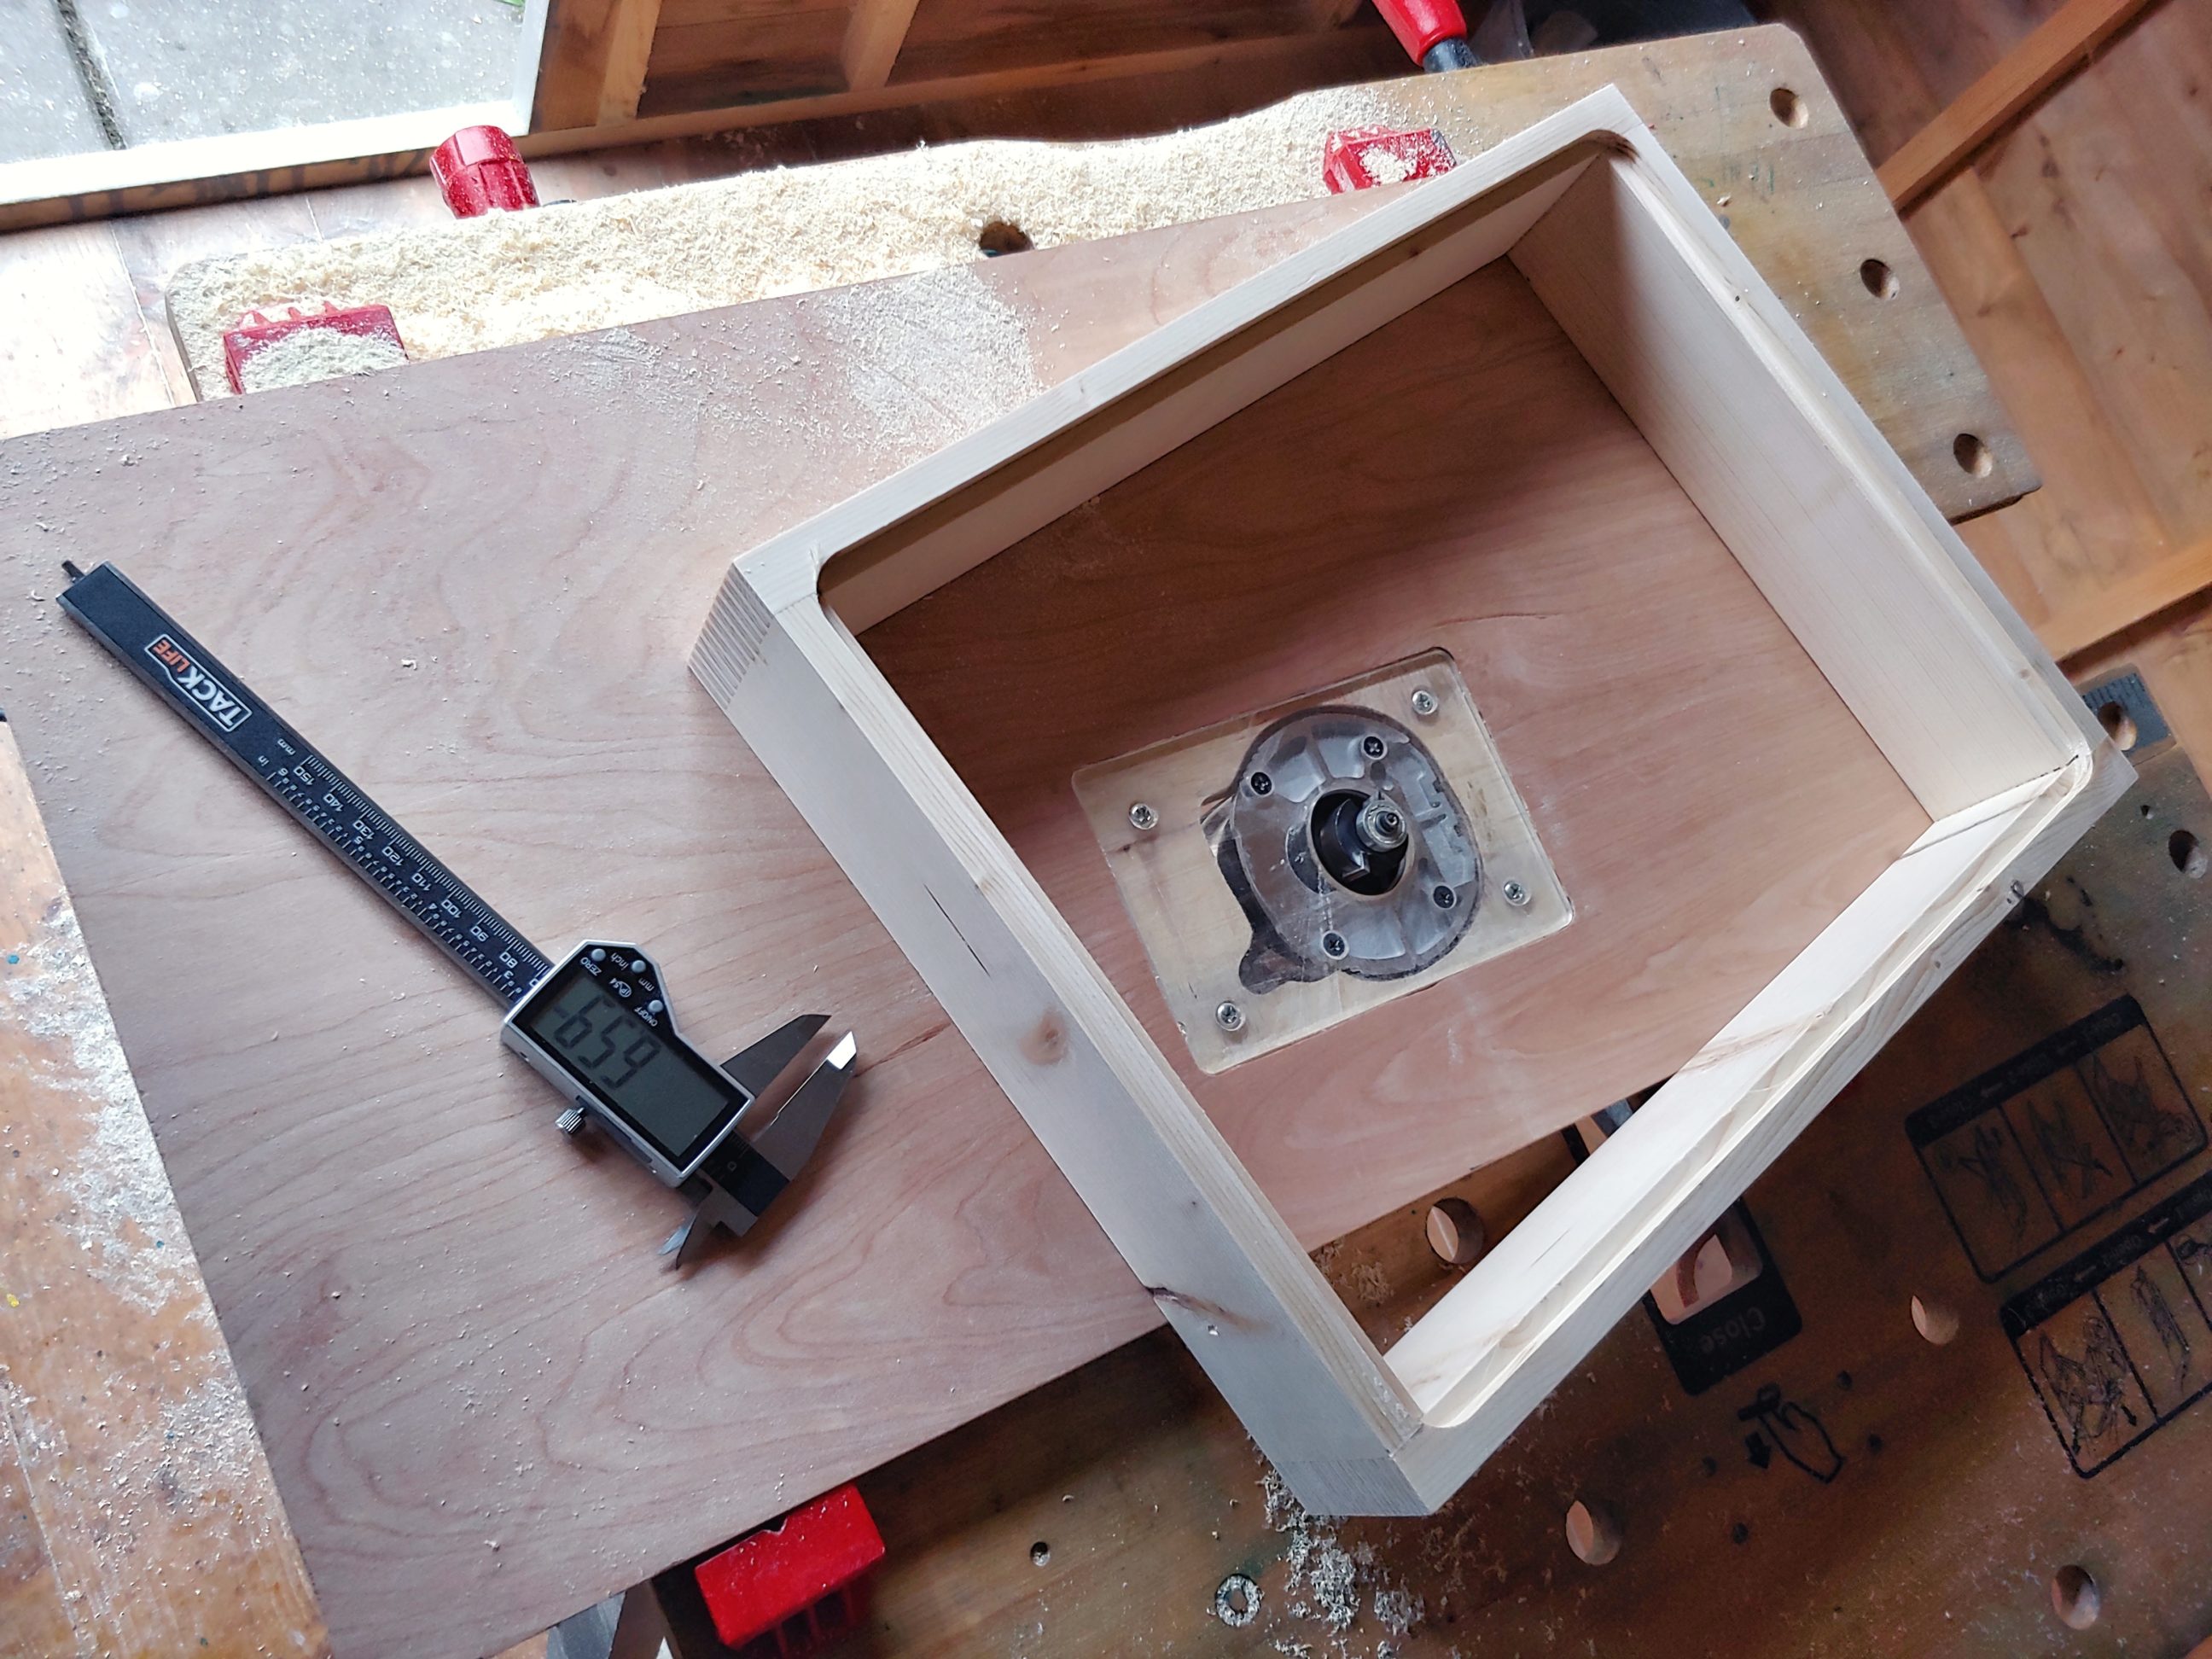
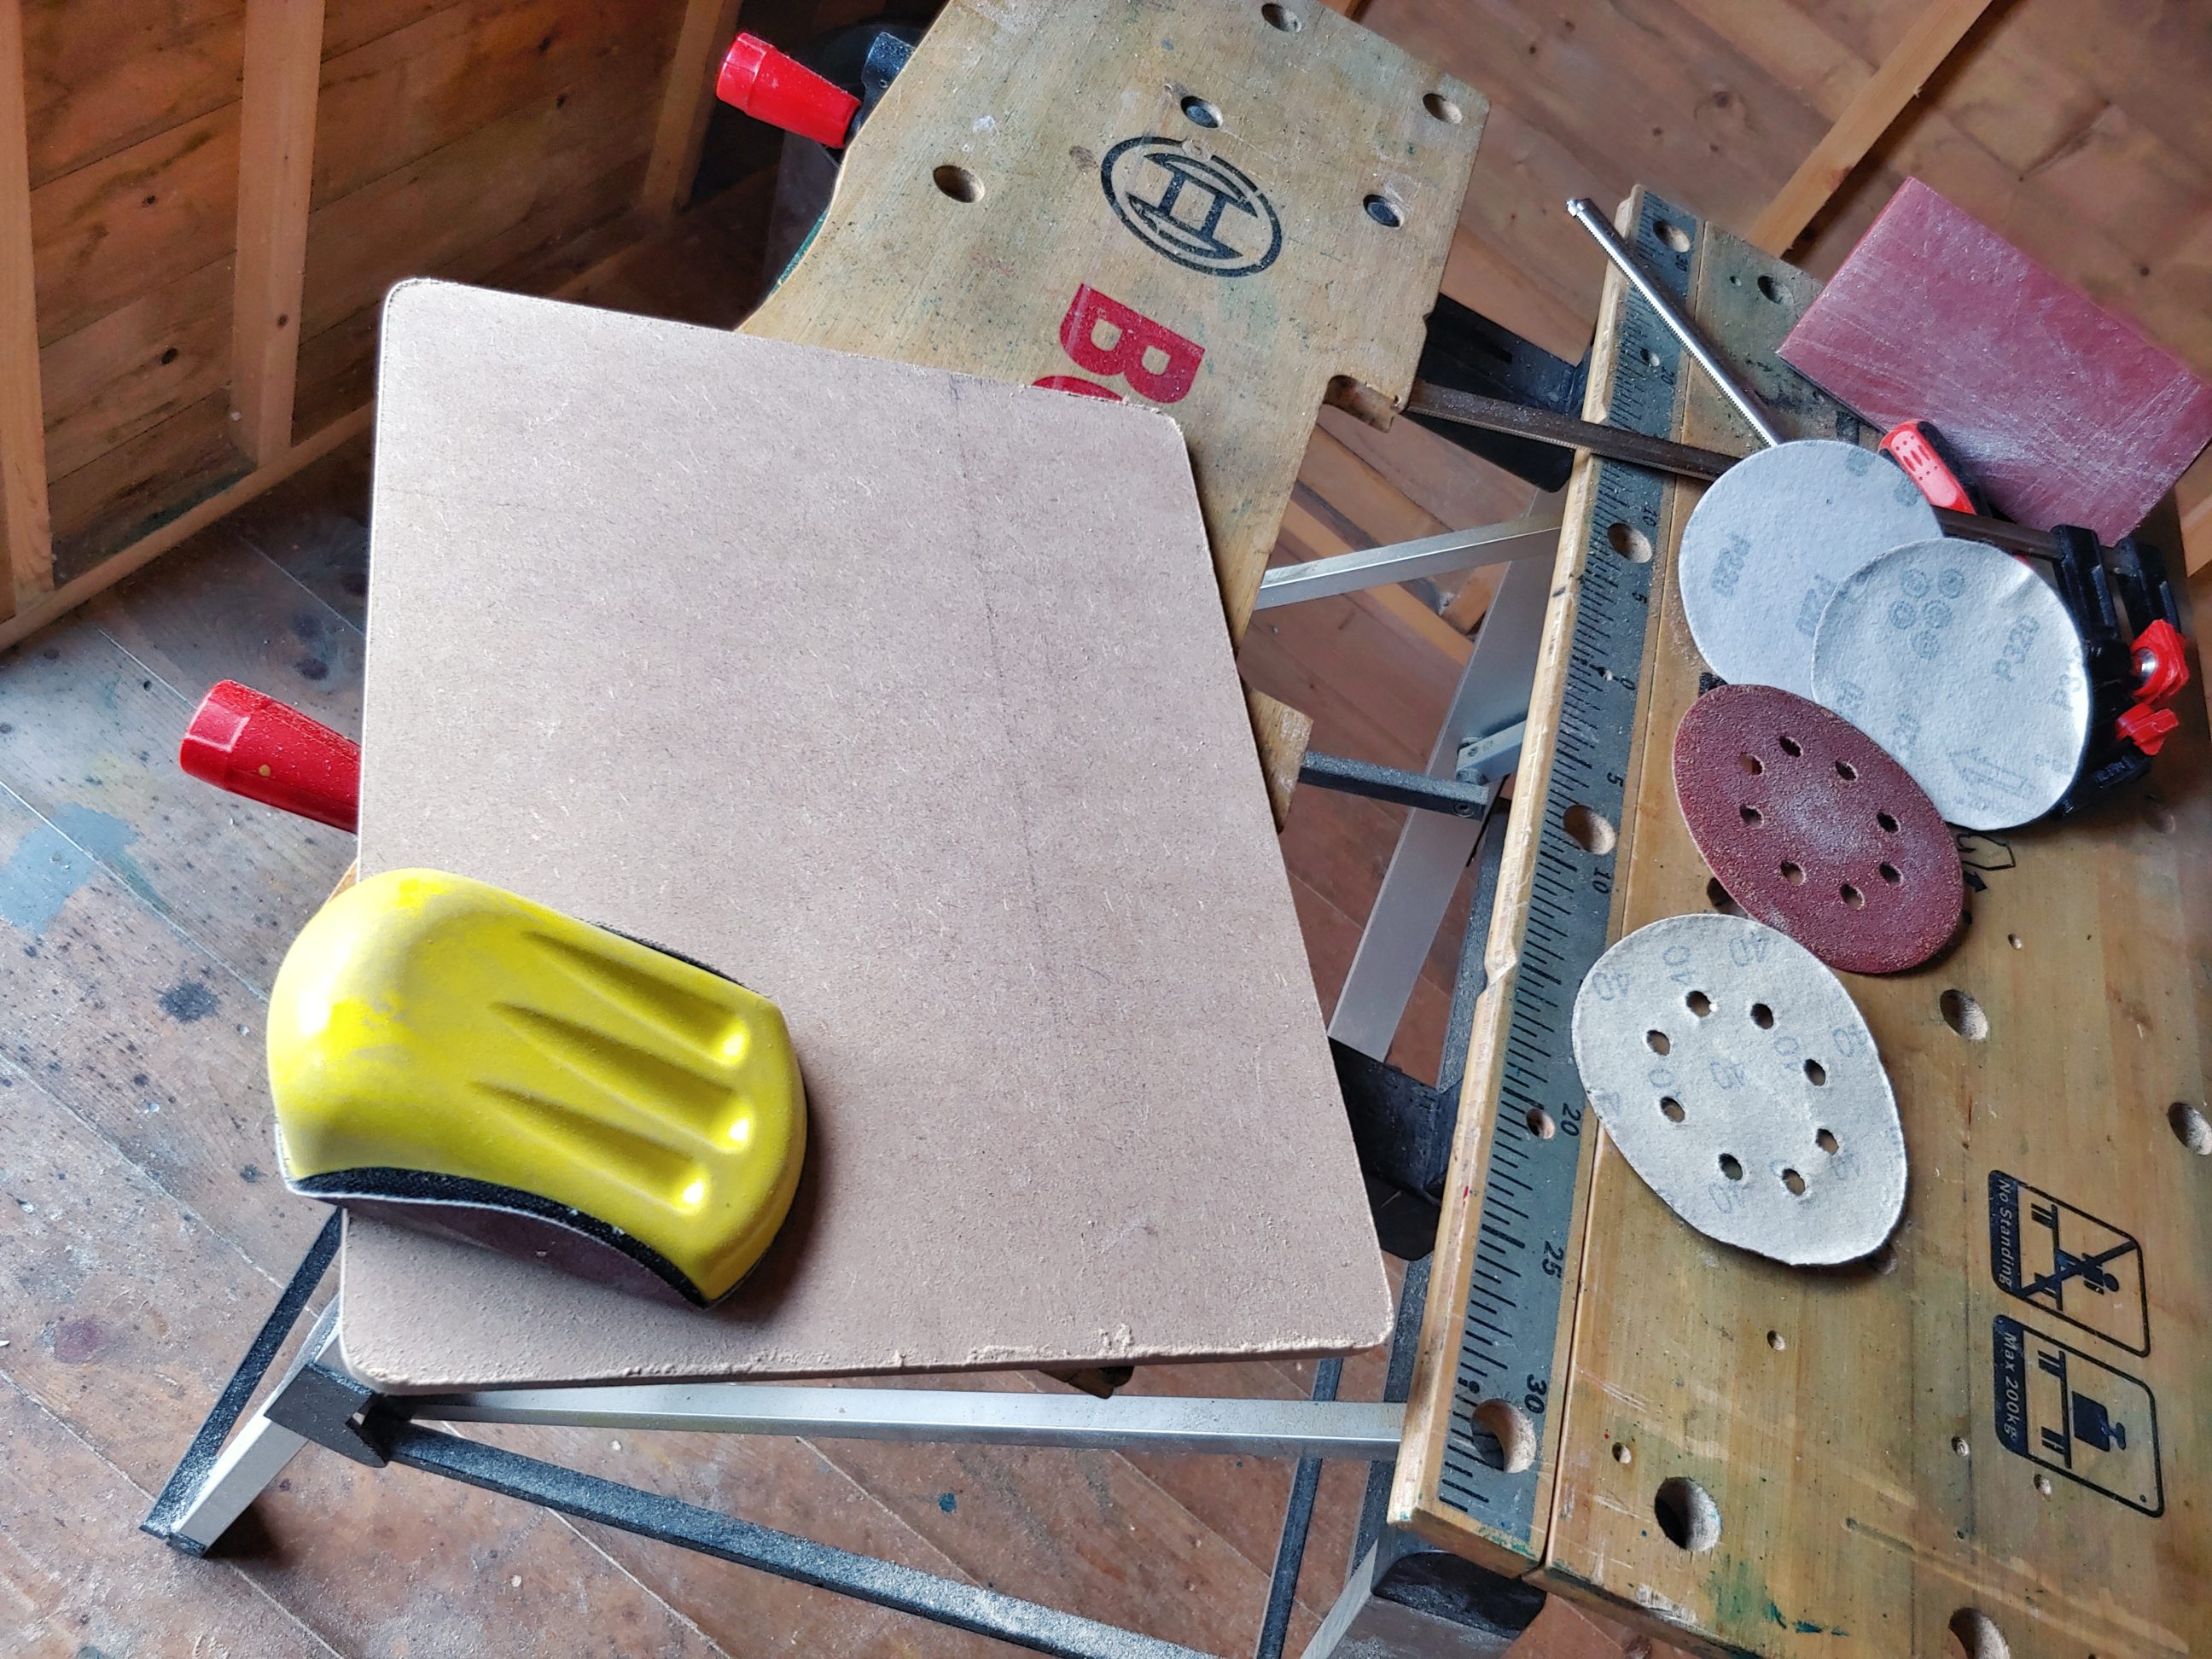
When the glue dried I sanded the drawer using a trick – first I used 40-grit sandpaper to even out the surface and sand down the finger joints, then I filled gaps with glue and then wet sanded everything using 80-grit sandpaper. All imperfections disappeared, however, the sanding disc was completely wasted. That was ready for further sanding straight away. I finished it with 120 and 240-grit sanding, inside out and from bottom to top. Once I was happy with the look I measured the MDF using my calliper and cut a rebate with the same thickness on the tray bottom. I must say that I replaced callipers recently and the new one is all metal, has a locking knob and can measure the depth. With all these features it’s easy to transfer thickness into depth and do it precisely. Moving on, I drilled a hole for the handle and again did some sanding. It’s worth mentioning that the hole always has to be drilled slightly off the horizontal centre, if not it’d look unprofessional and off the centre – weird, isn’t it? My drawer was now ready for the finish. The MDF was cut to size and the corners were rounded to match the rebate, nothing fancy there – just a few cuts using a circular saw (also for cutting off the corners) and hand sanding. It worked very well, no over-engineering there, simple techniques, and an easy way of doing things.


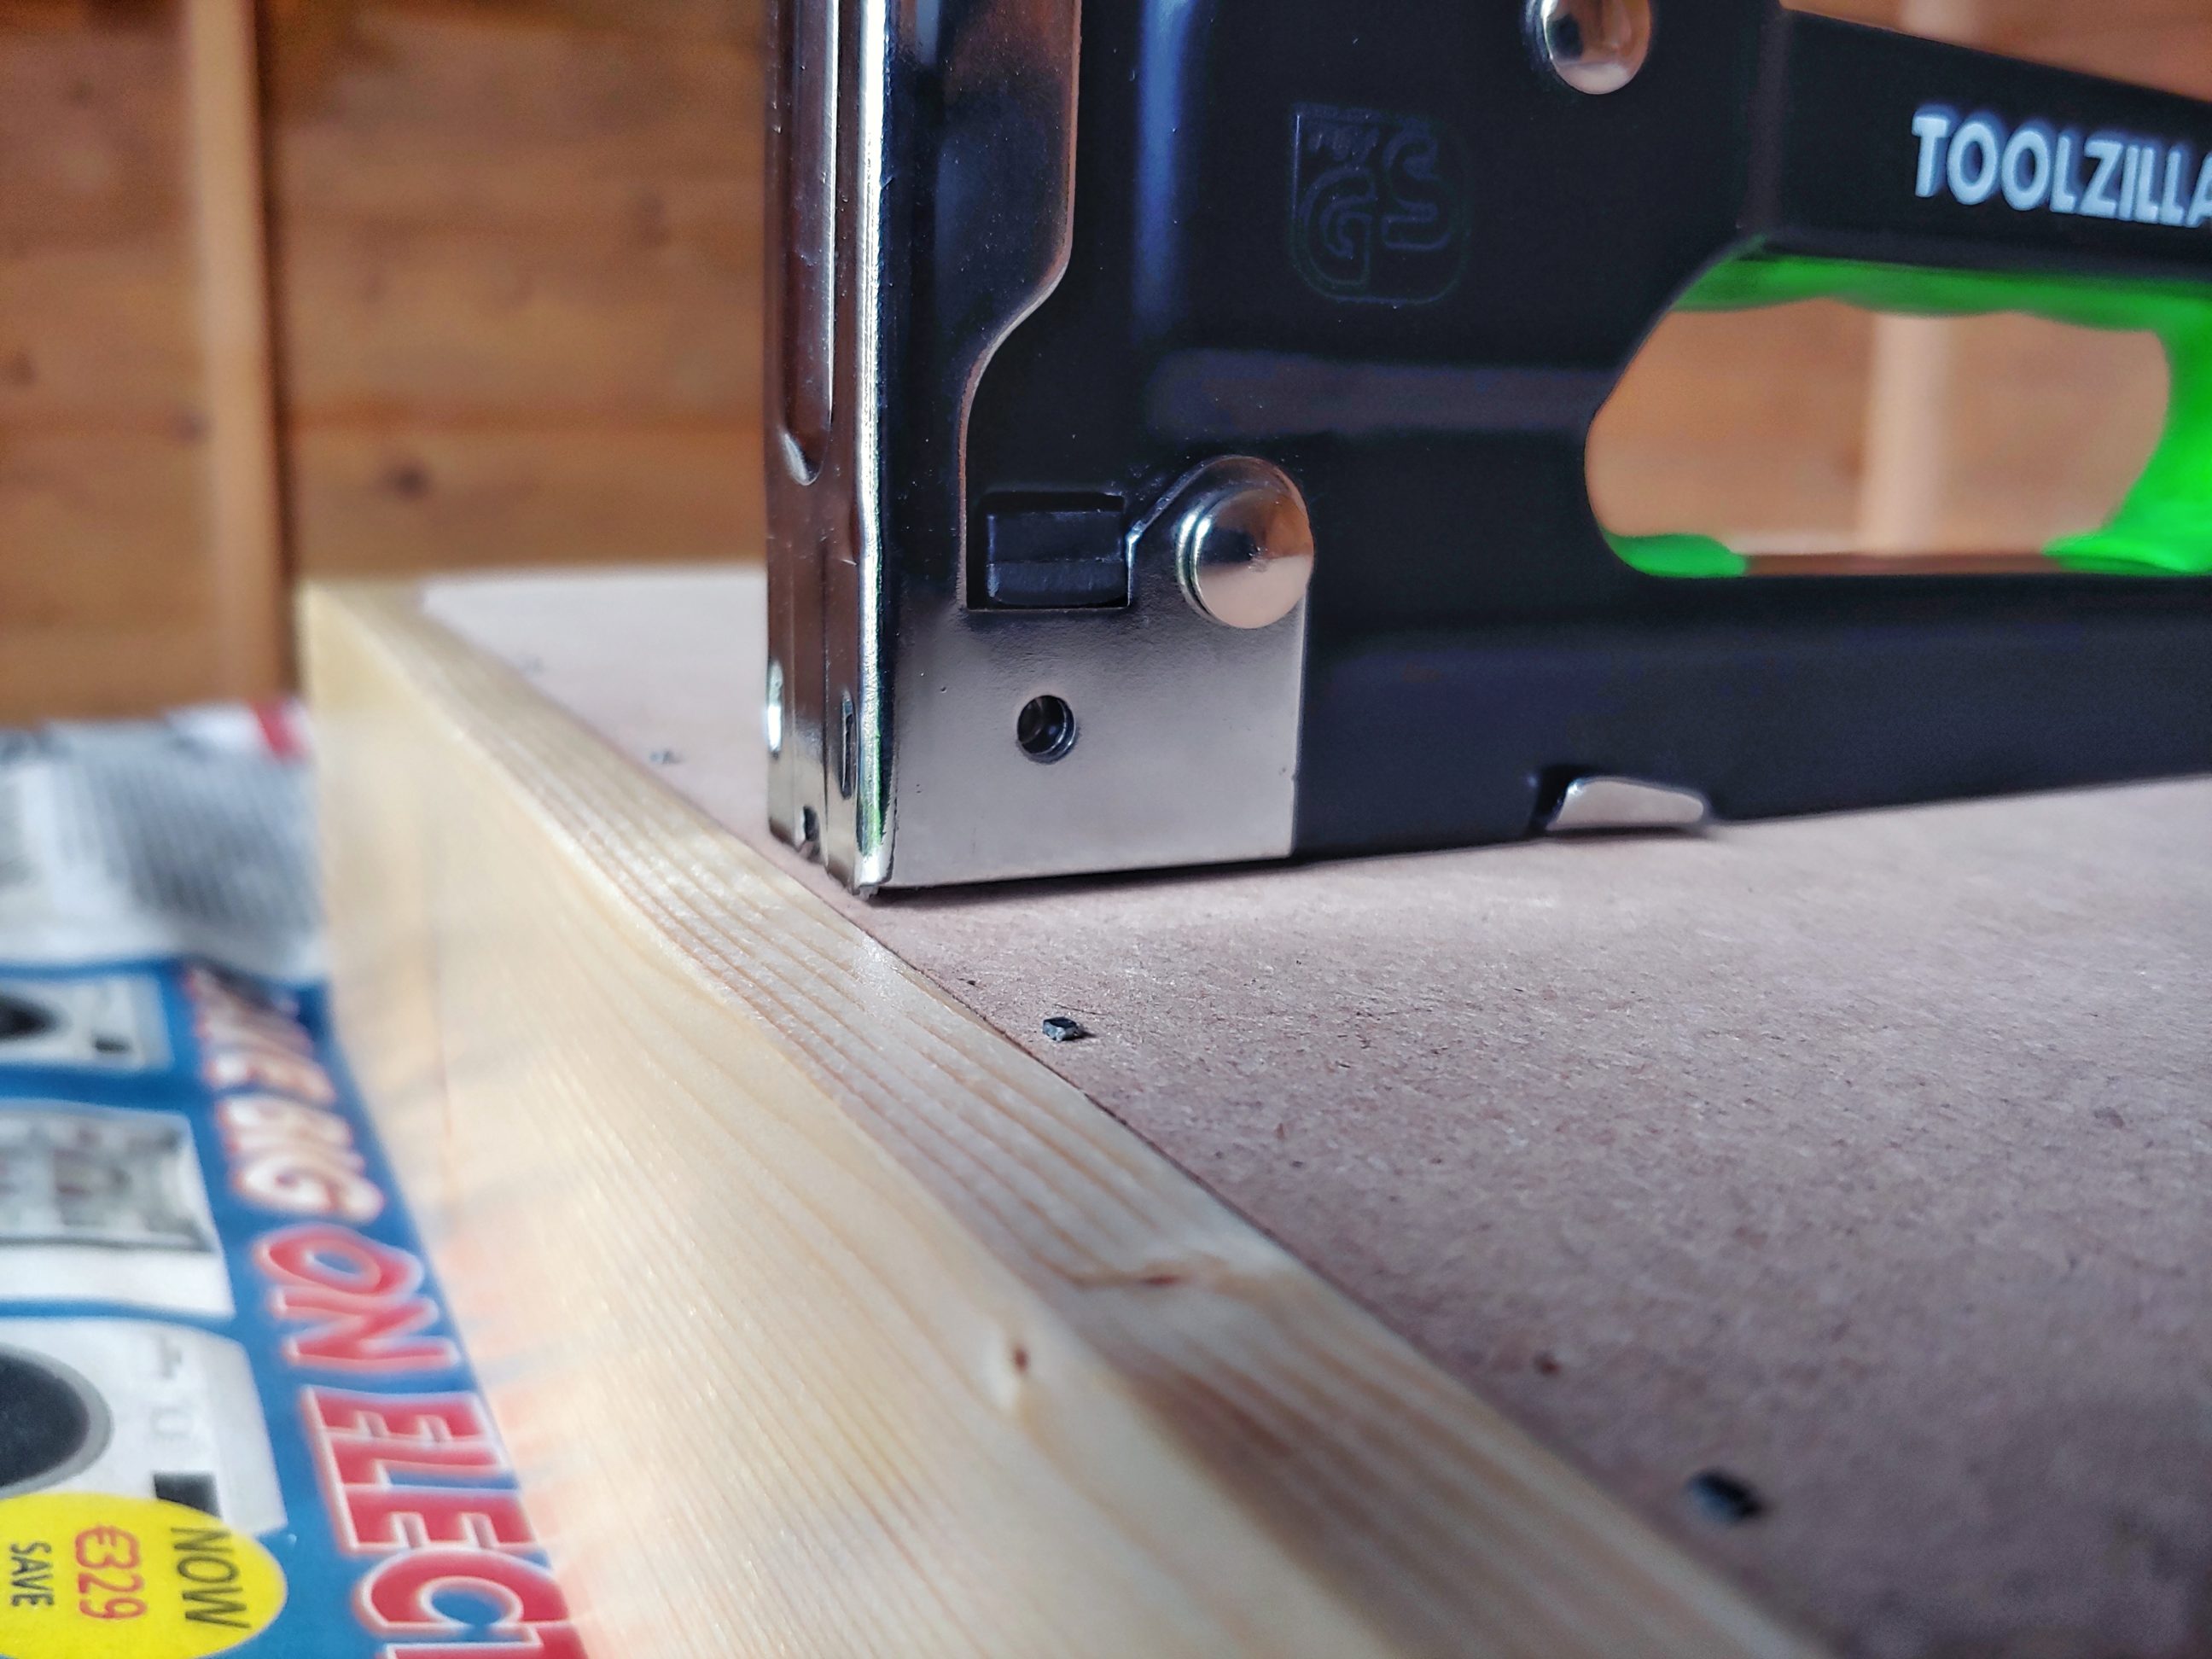
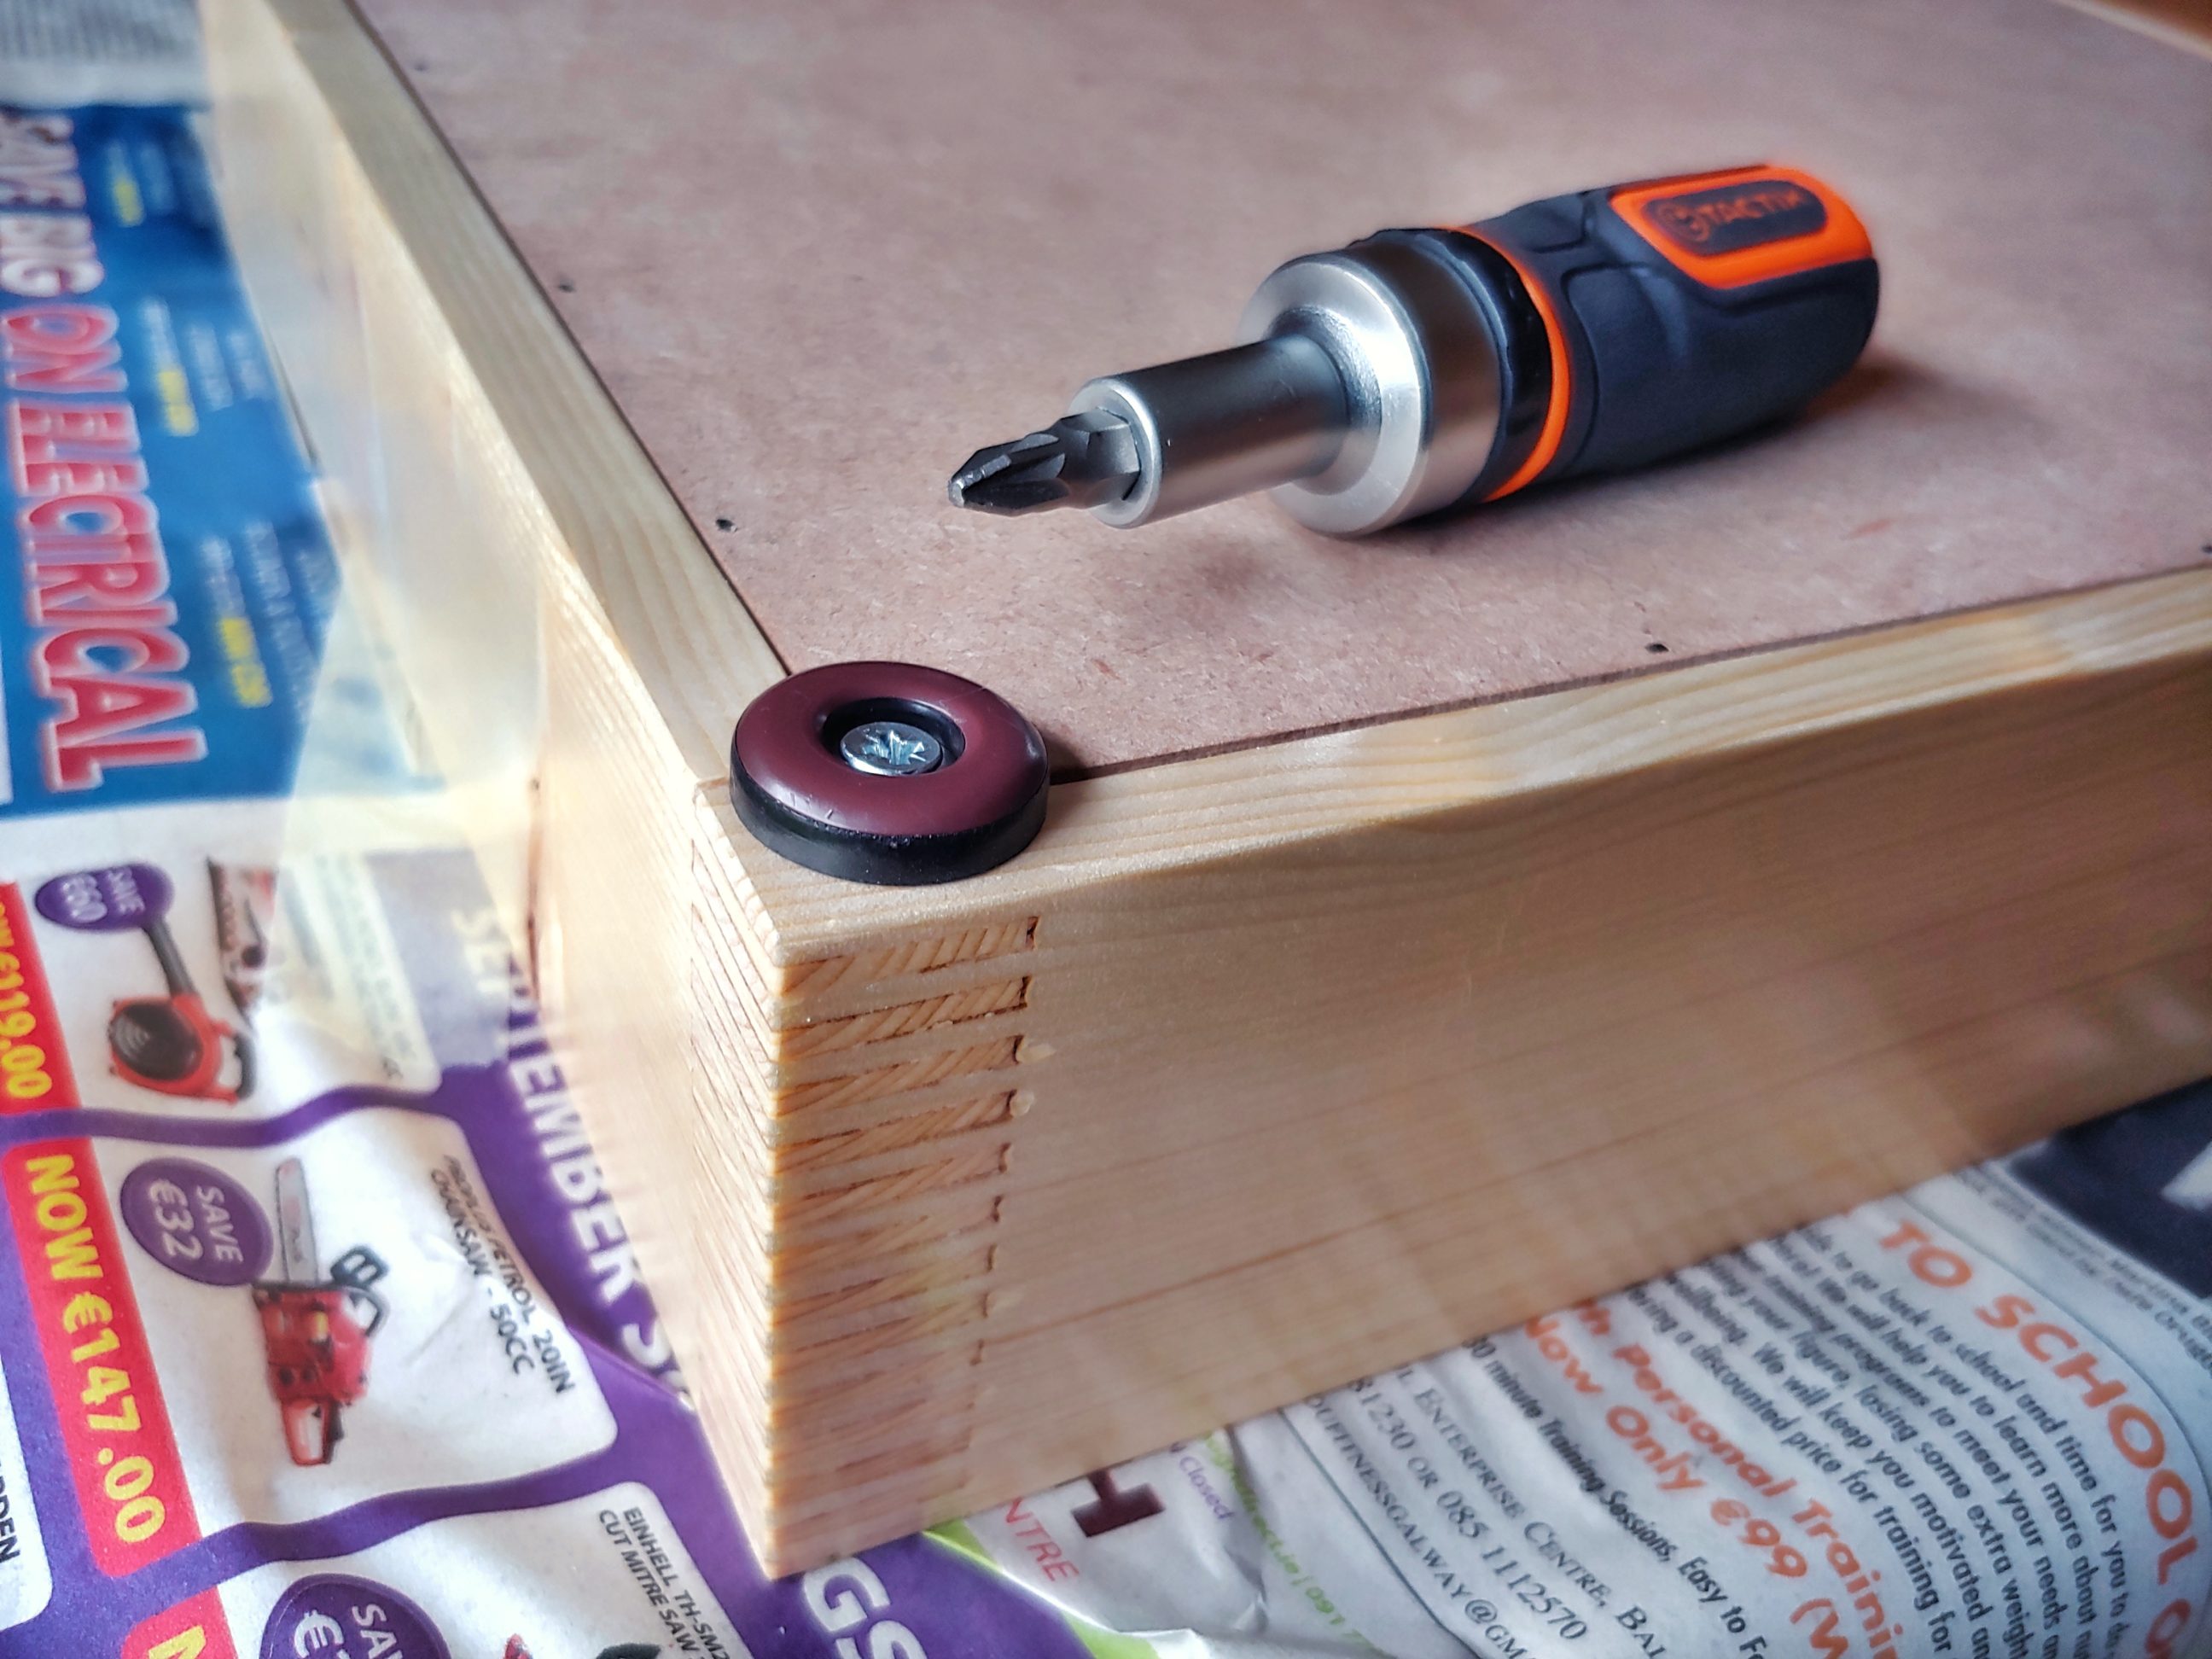
I applied a couple of coats of spray lacquer, leaving the MDF board as it was, raw and unfinished. Once it dried I fixed the back with brad nails. Even though the staple gun was set to a maximum, it wasn’t enough to penetrate the MDF board and drive the nails flush. I had to use a hammer to finish the job. Next, I installed the sliding pads, a.k.a. gliders, and fitted the handle.


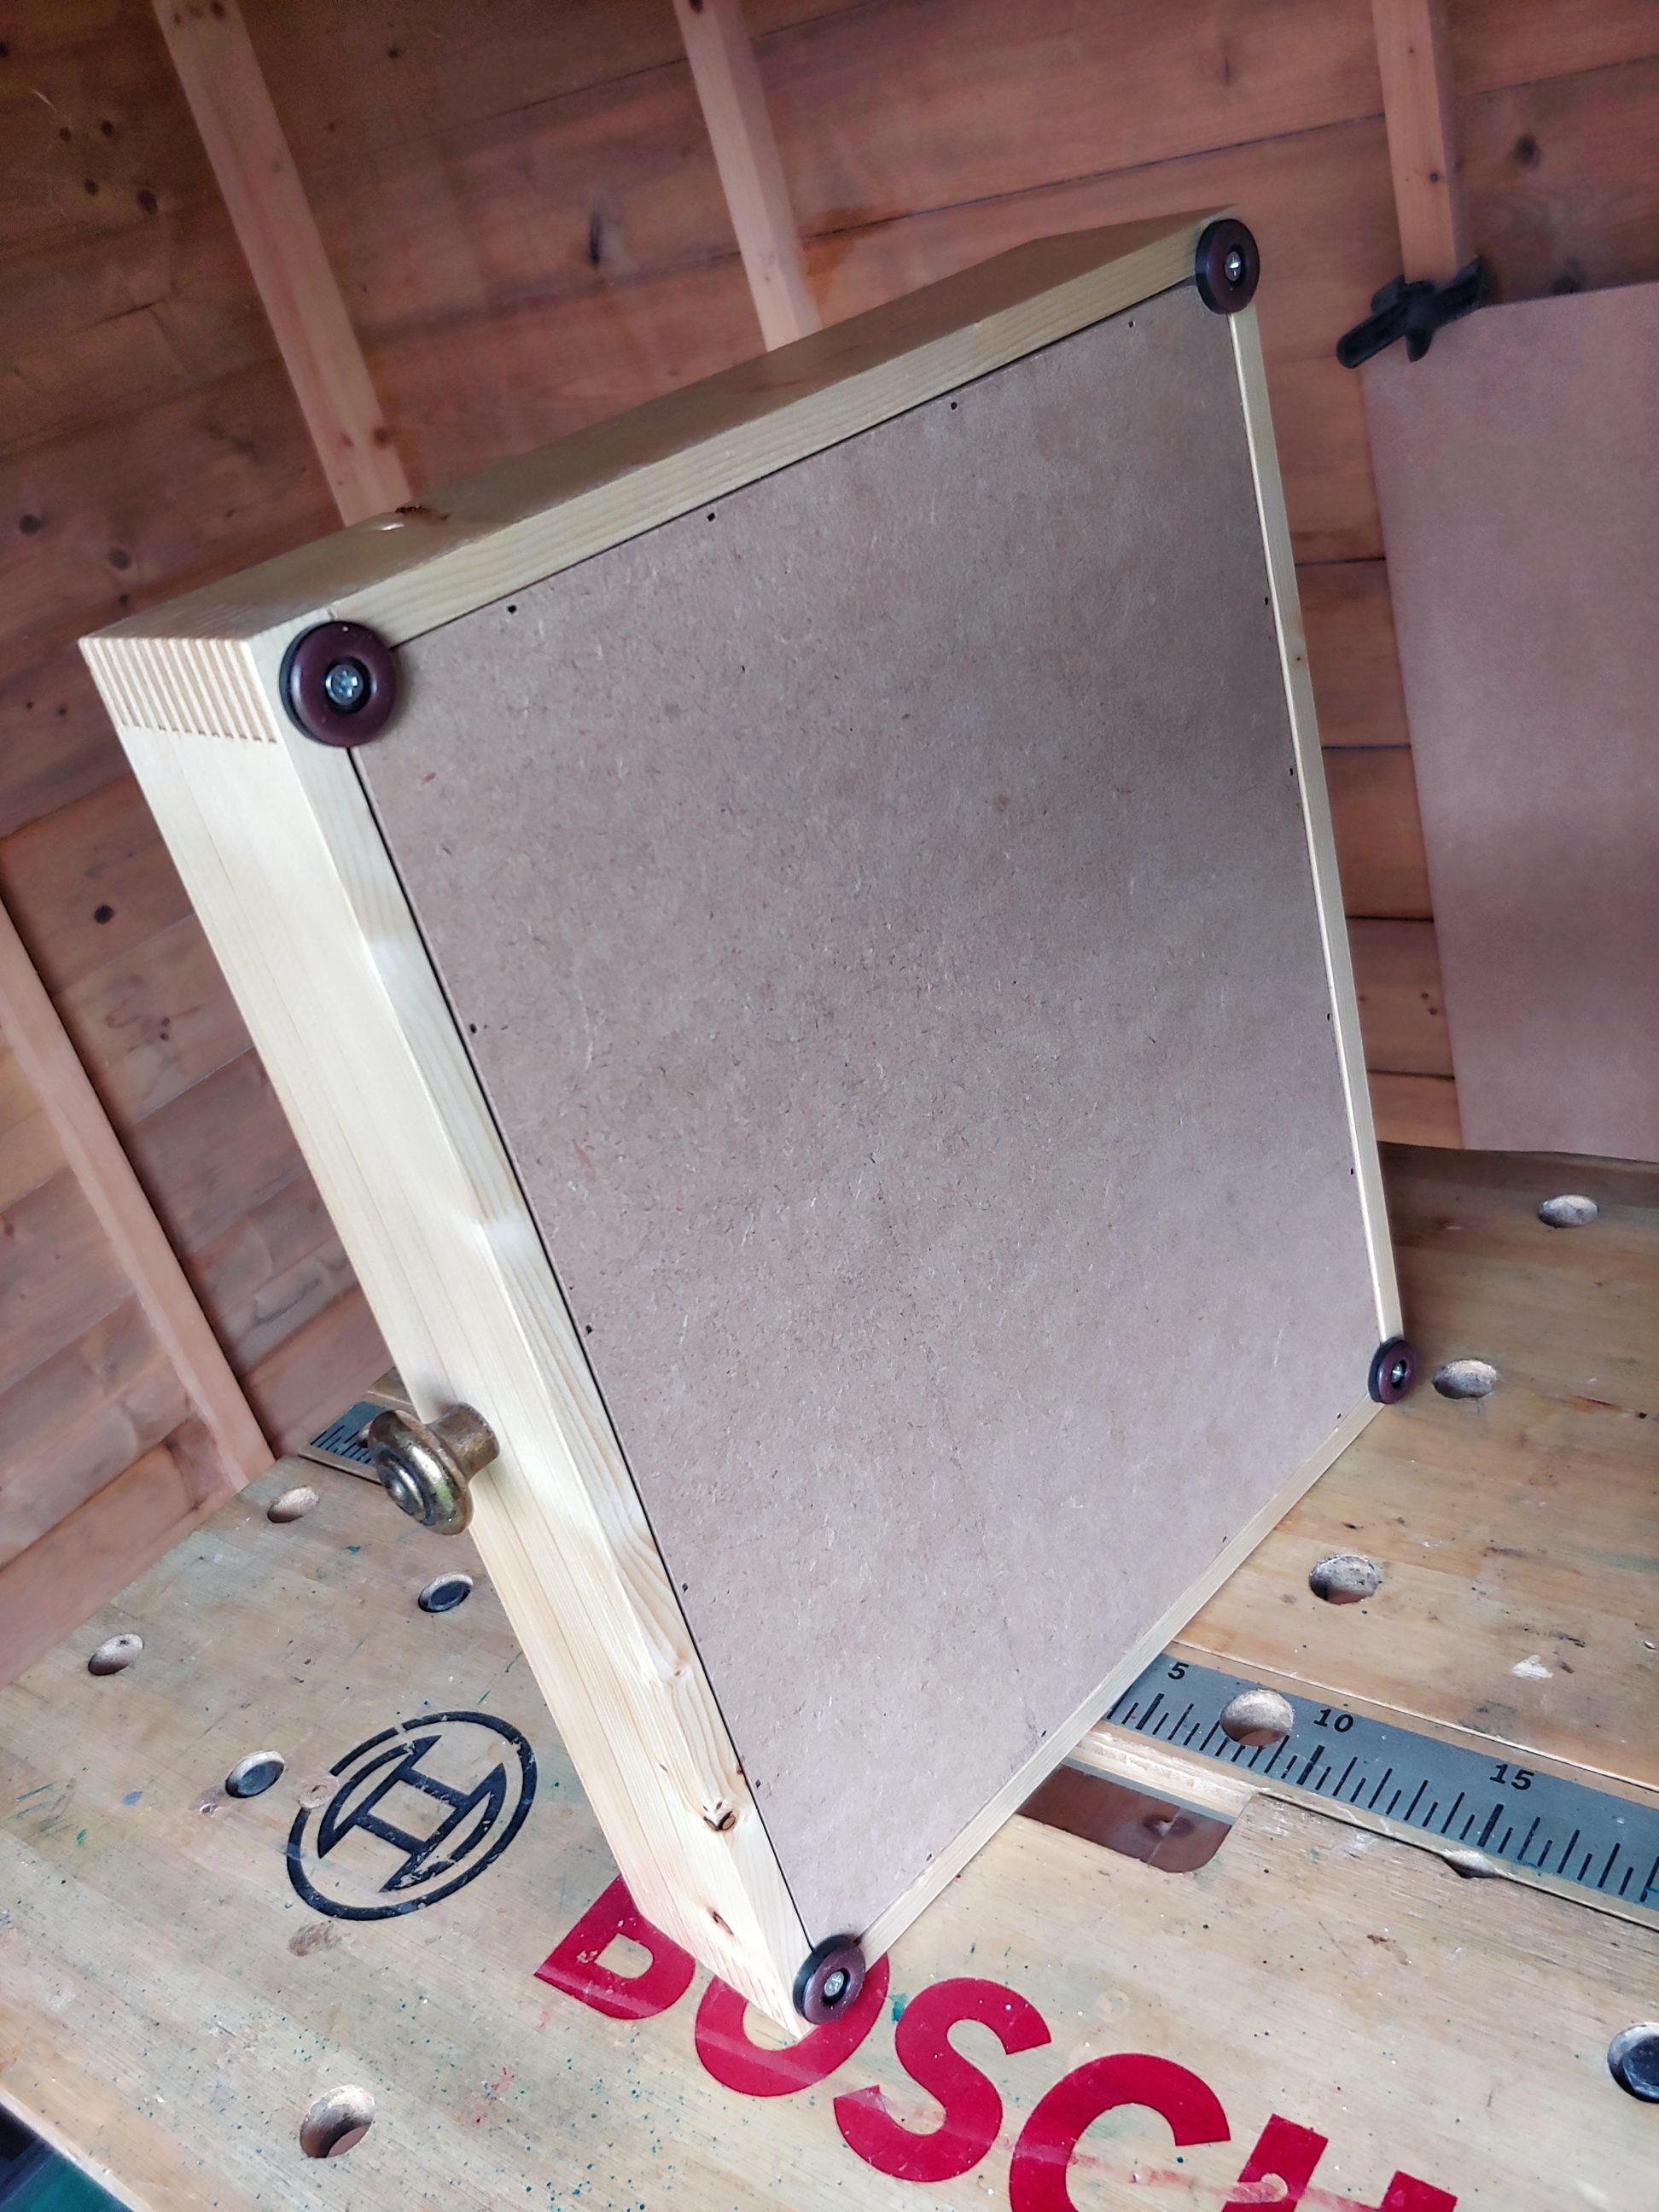

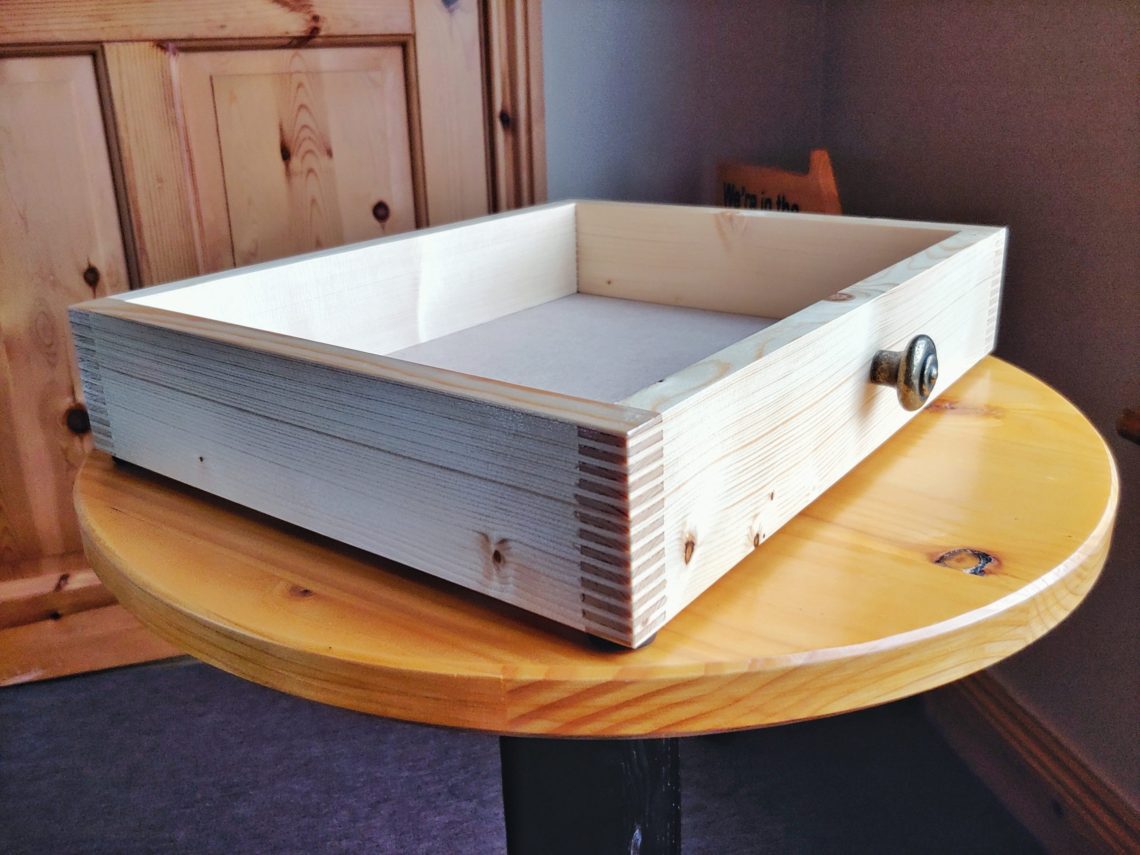
I put all the safety equipment in the tray and placed it underneath the shelves. They are all placed on a countertop over my washing machine. I gave it a couple of days to dry and harden before I buffed it with wax and steel wool. Finally, I could call it done. The tray looks really nice, sturdy and professional. Also, its colour contrasts with the surroundings so well!