Towel shelf
Designed for use with hand towels, each rolled up and suspended onto 2 dowels. A light-duty construction made with good quality materials and simple enough to not overwhelm the beauty of fresh towels. It’s built to stay in the background, not showing its structure and playing the supporting and not the leading role.


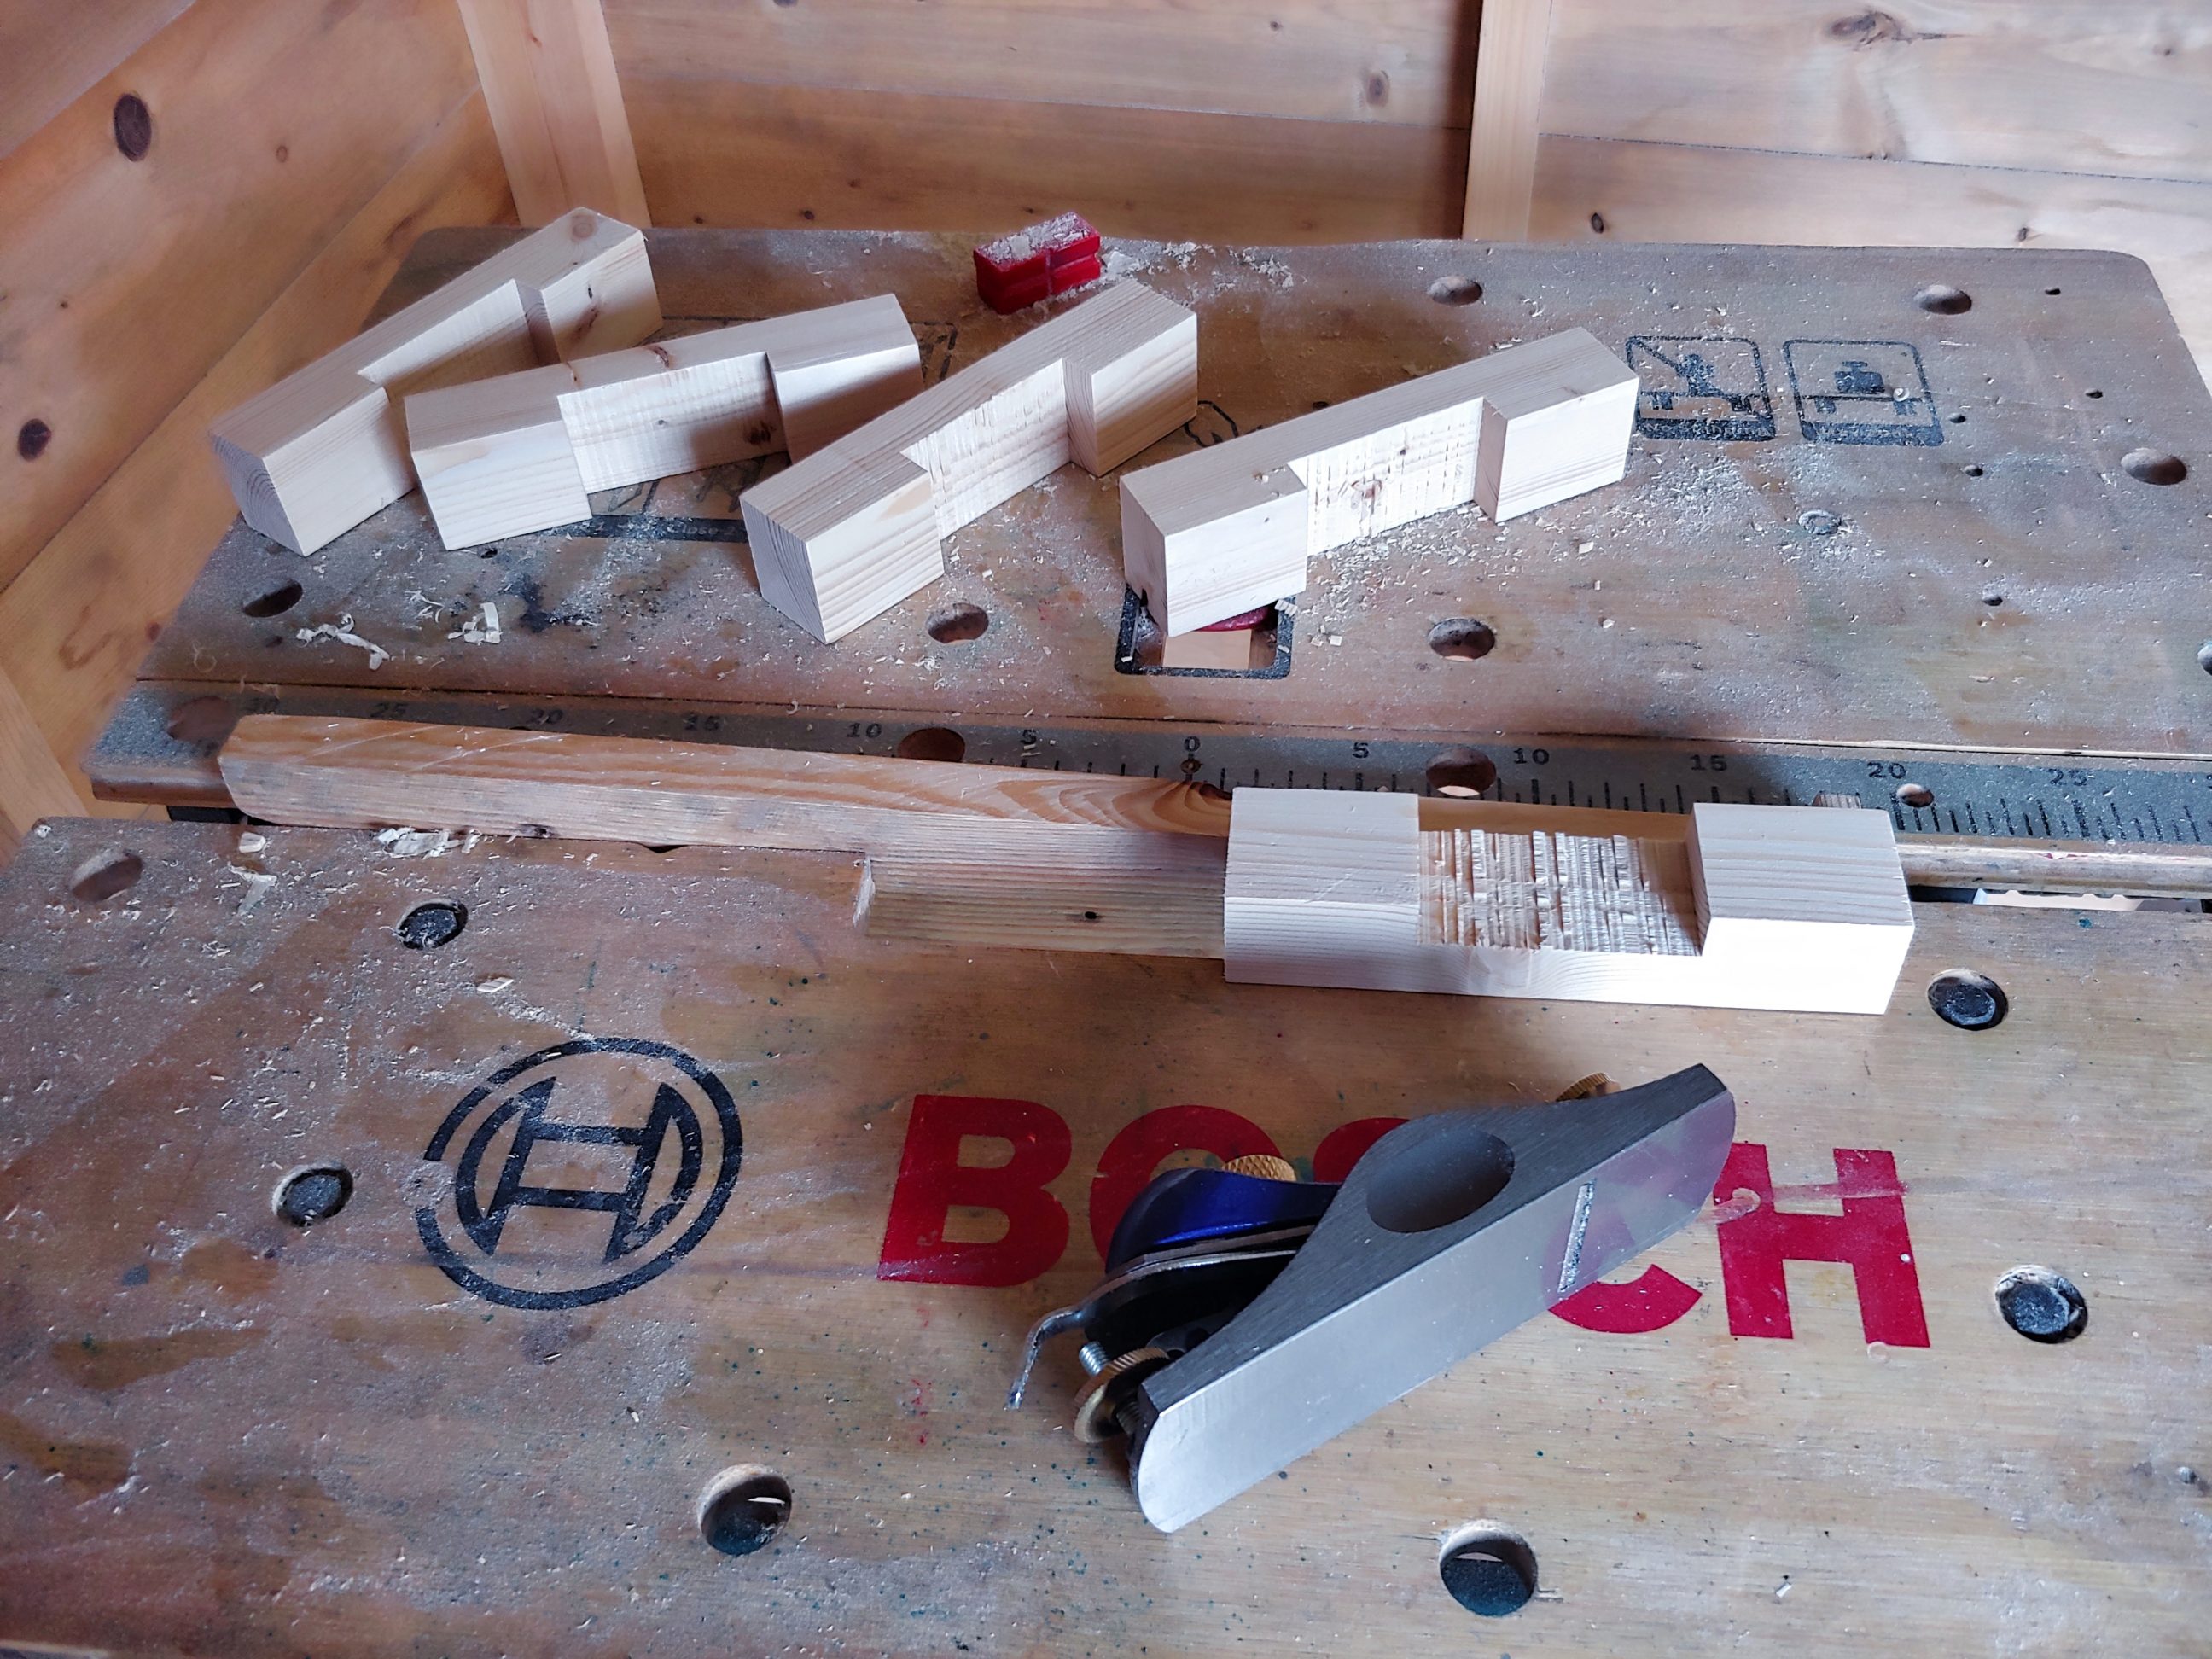
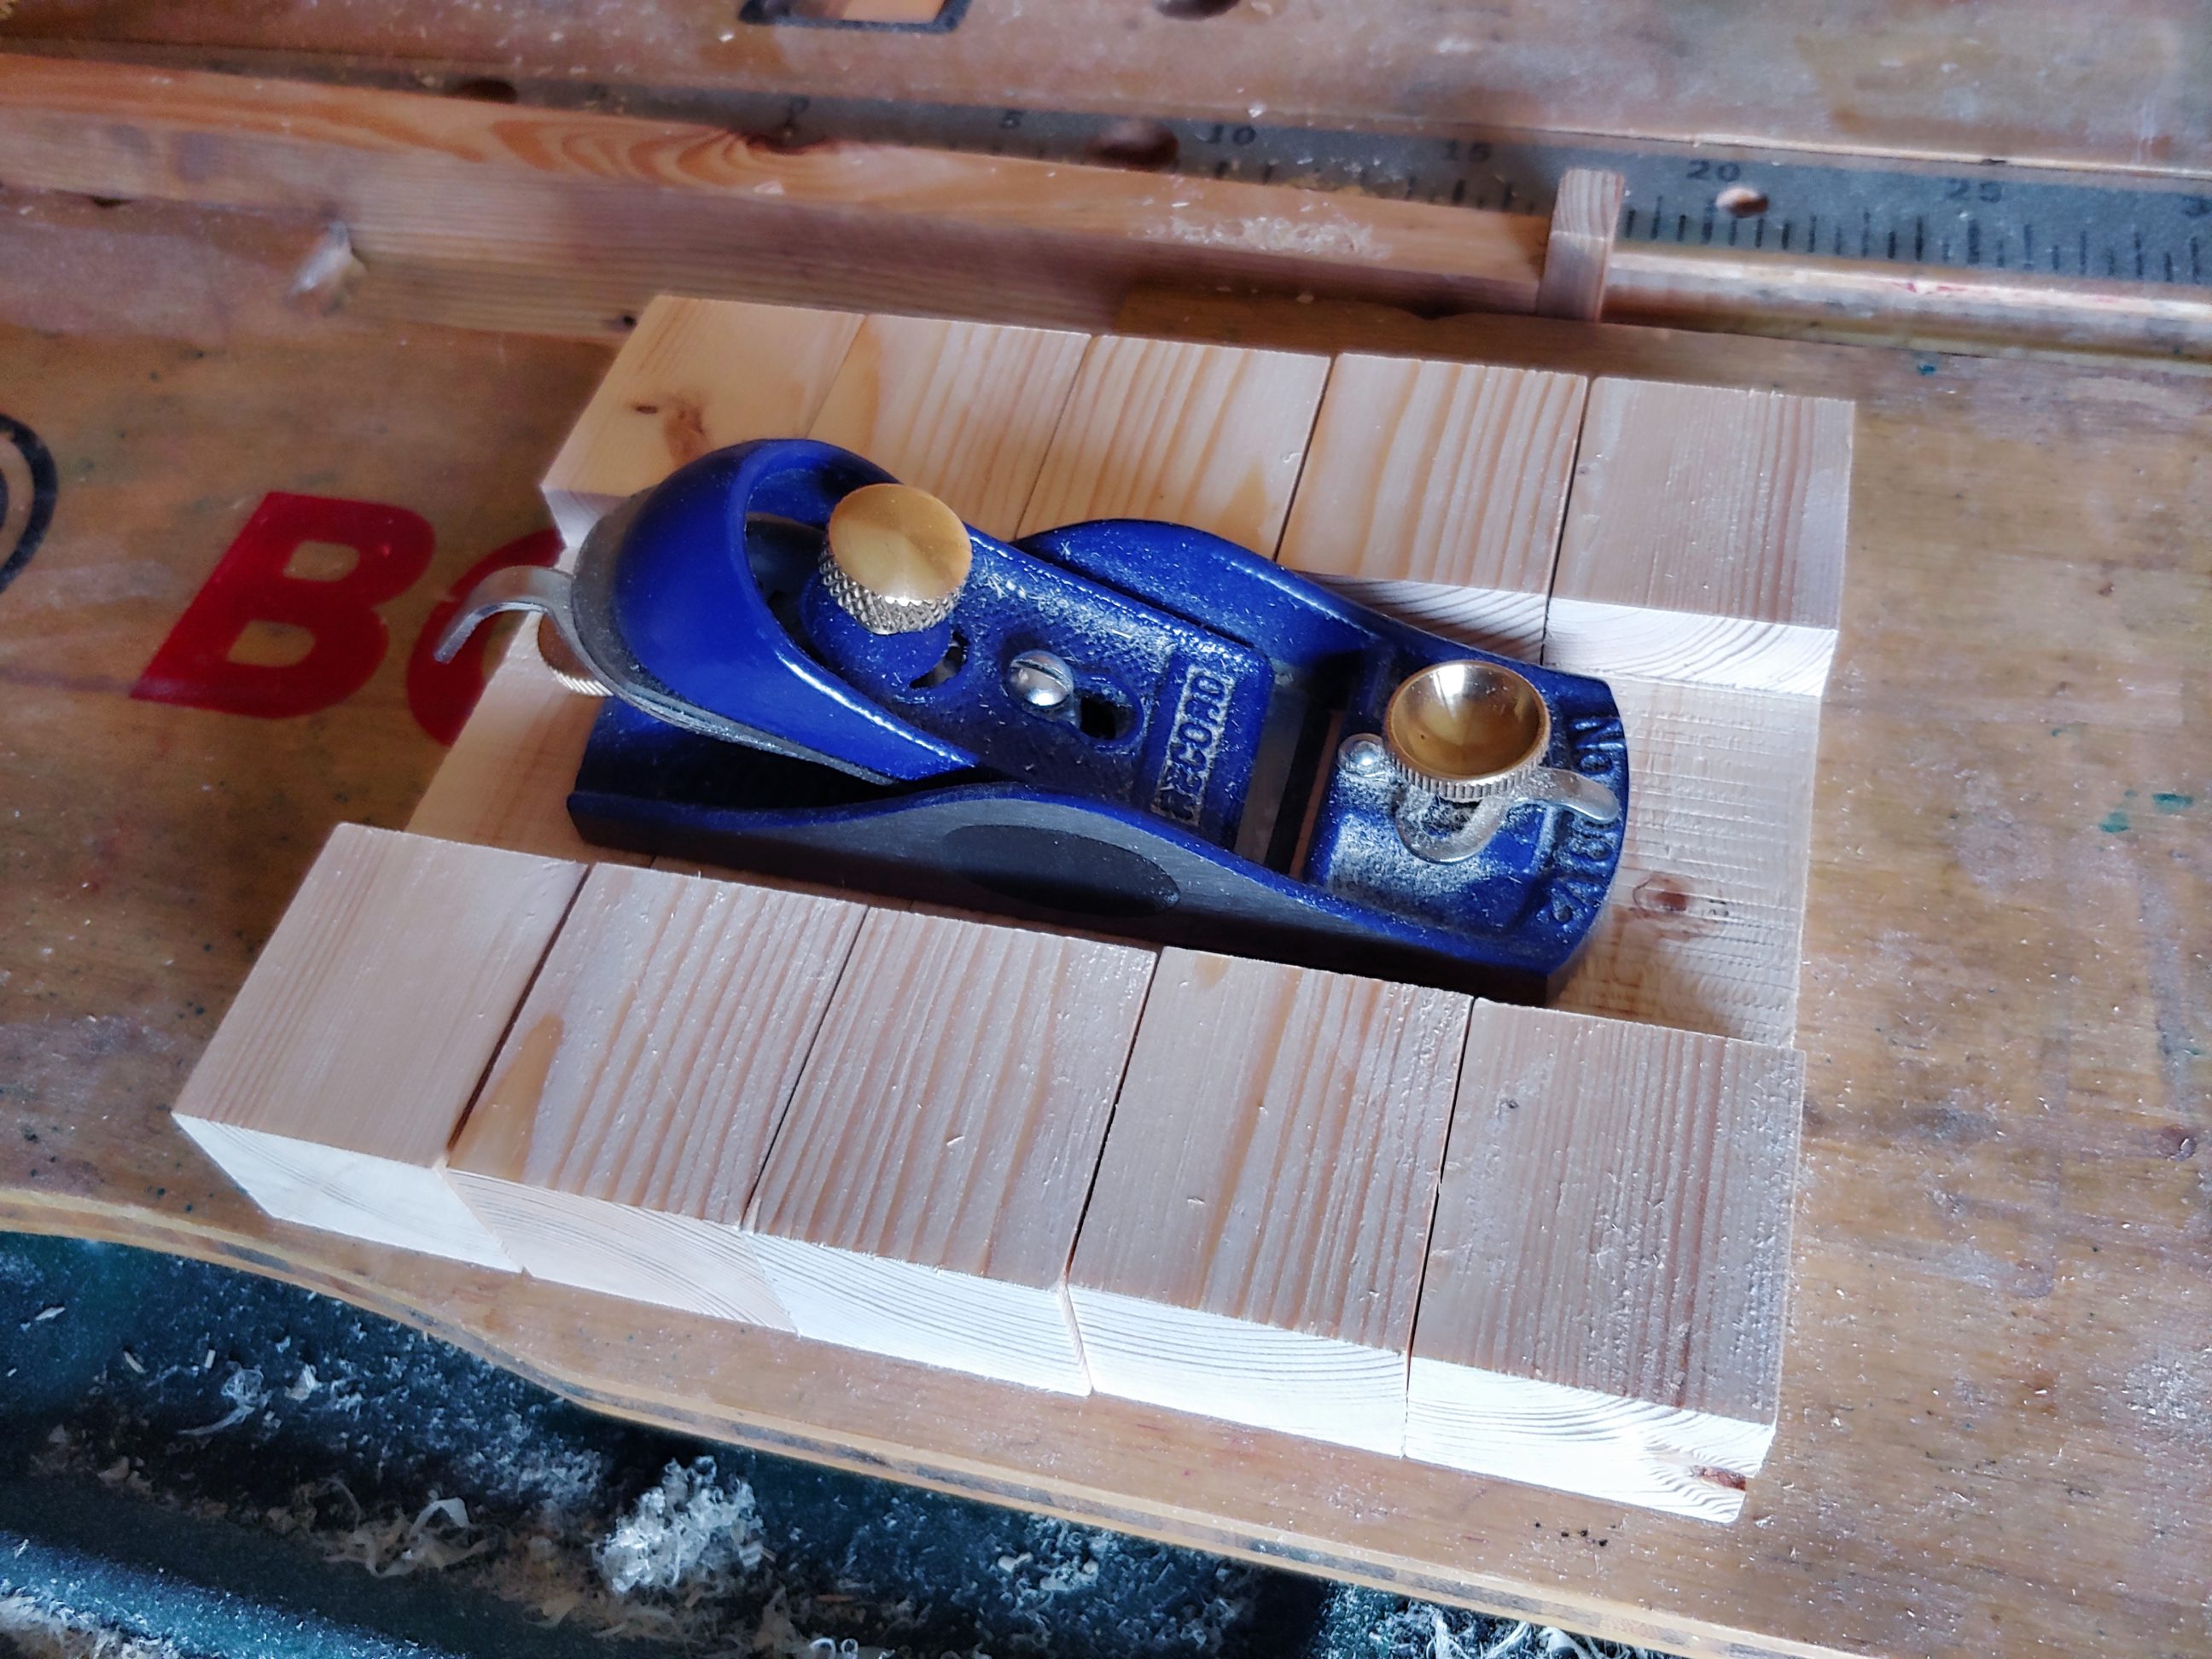
I started by ripping the thickest one exactly in half and roughly cleaned the surface with a block plane. Then I attached a fence extension which worked as a stop block and cut 5 rails that were further processed in the next step. I wanted a partial overlap and only the upright to come into contact with the wall. I set the blade height and did multiple passes to remove most of the material. Then I simply snapped out the remaining pieces with a finger. I cleaned up the dadoes with a block plane.


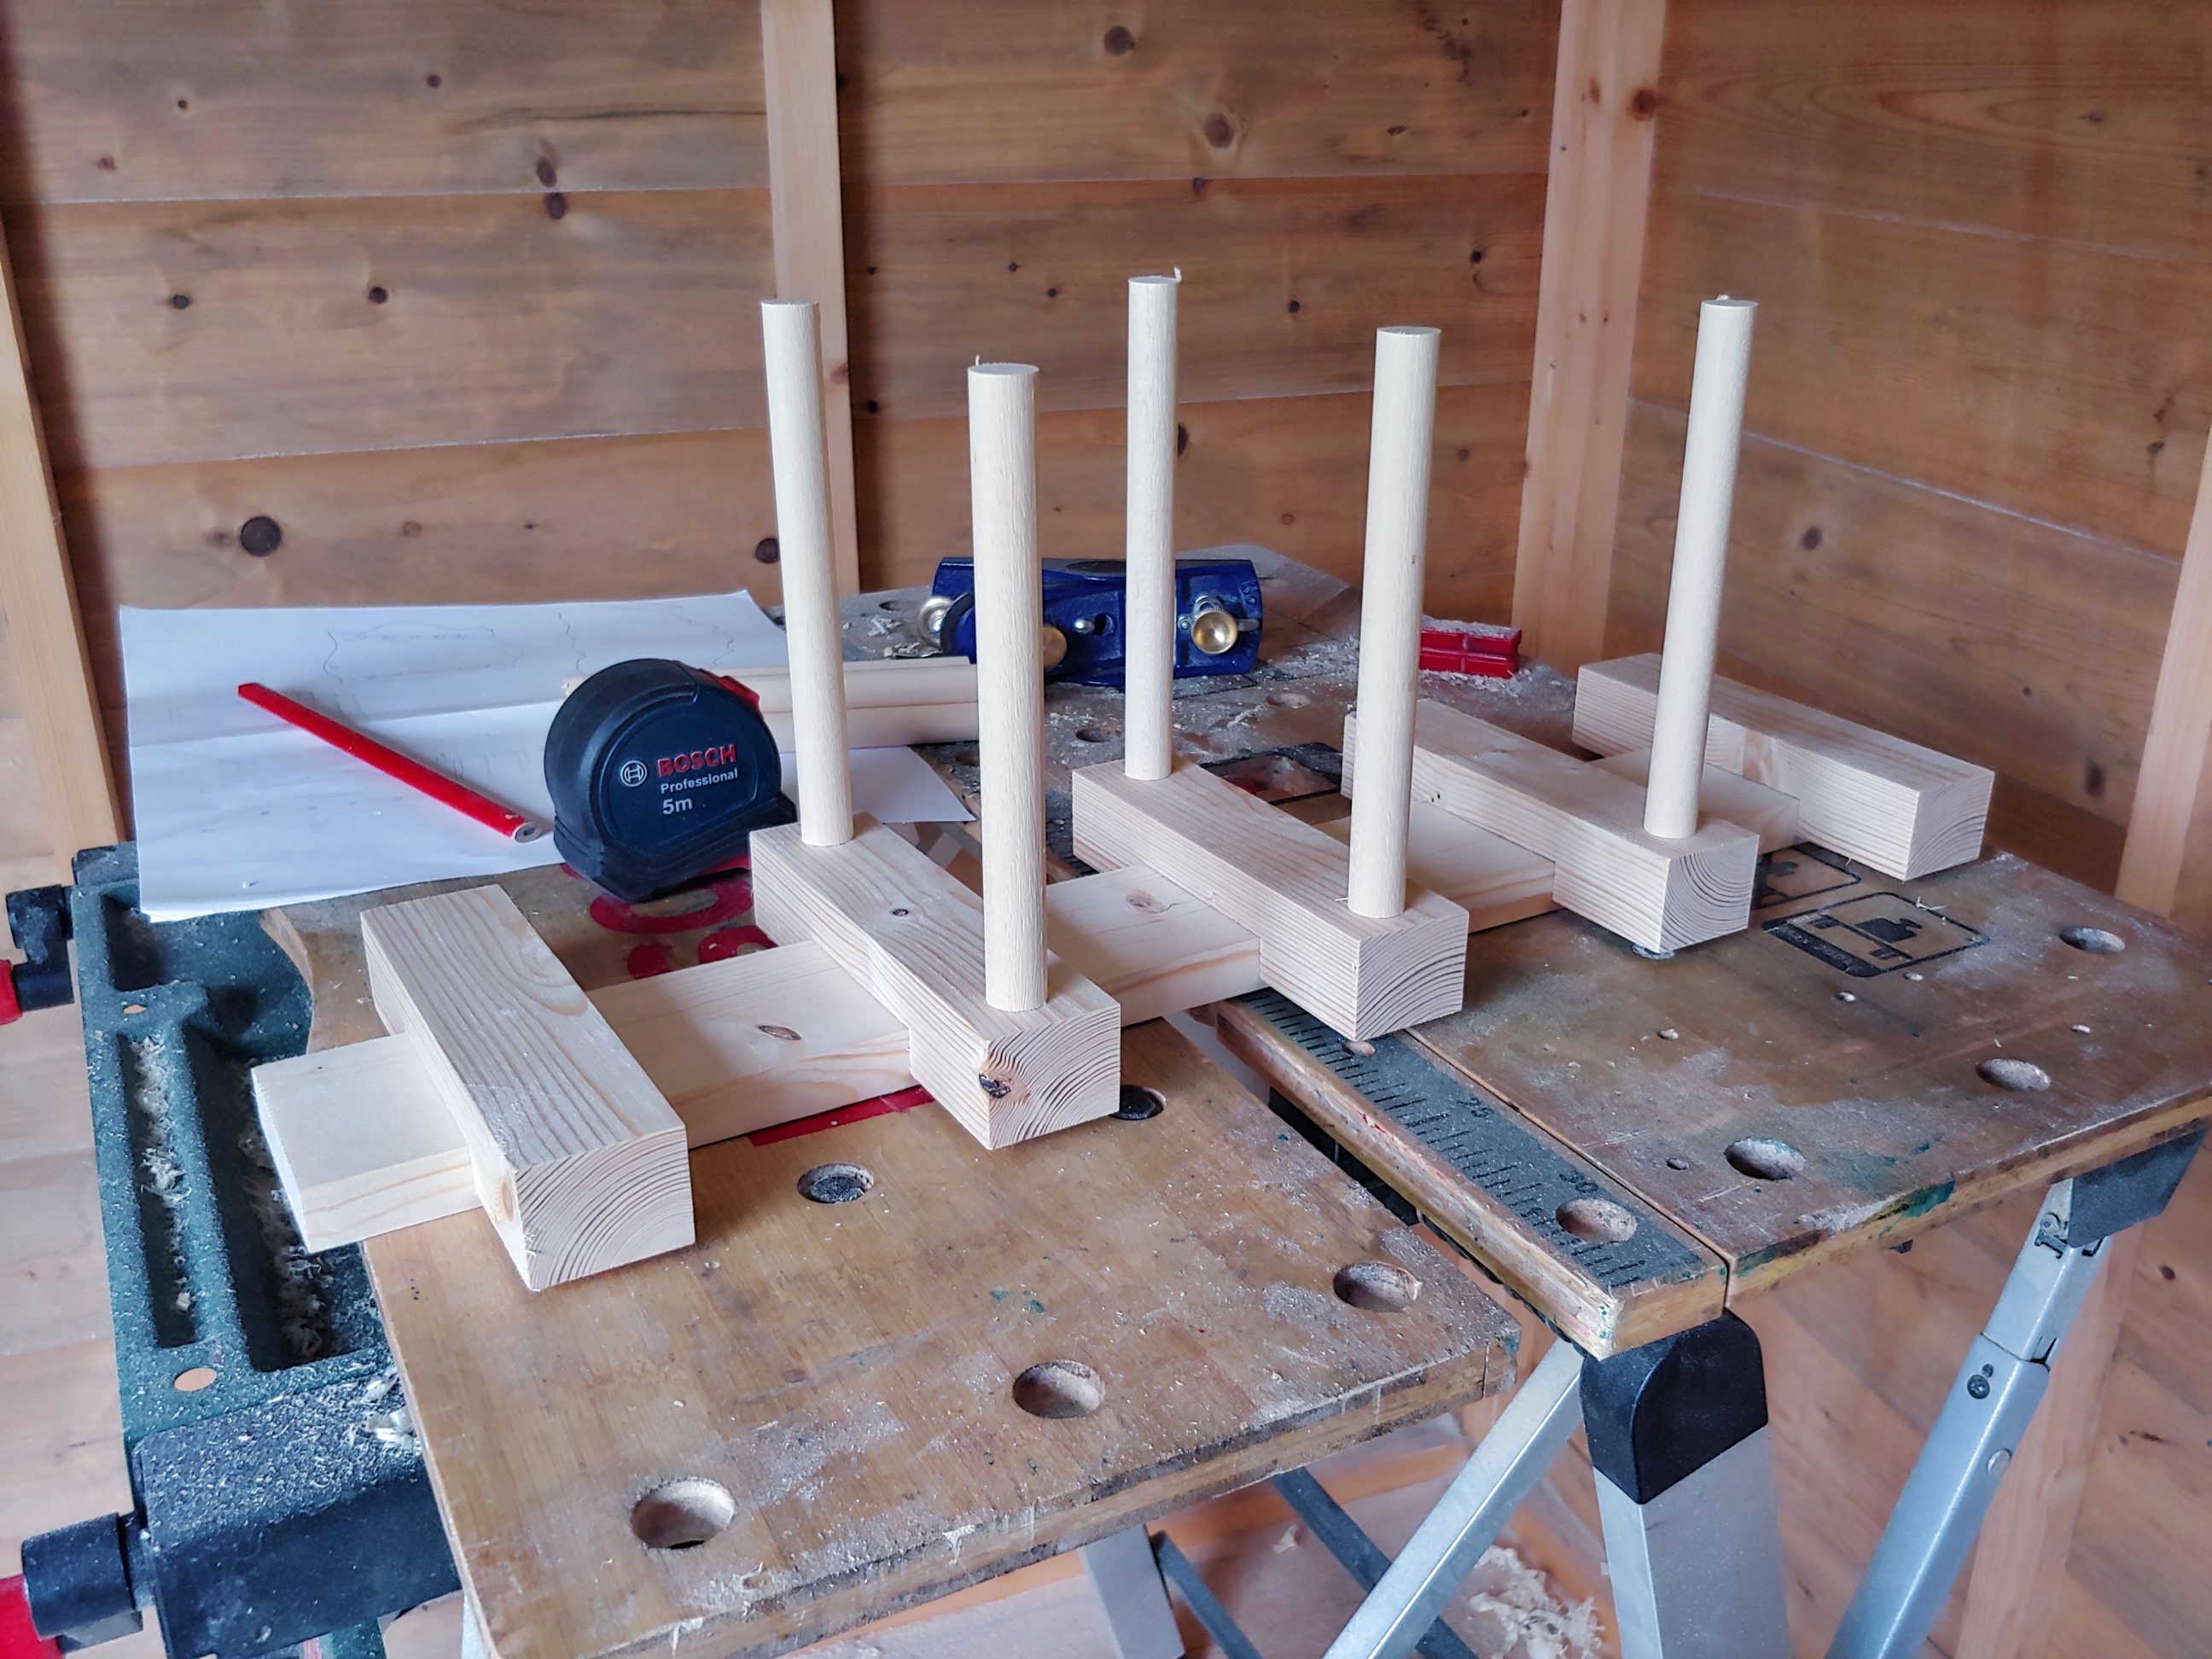
I cut the upright piece to length and did a dry fit. It was looking good and the joints were tight. Before I put my table saw away I still had to cut the dowels and 2 plugs. I installed the stop block again and cut 10 dowels to length. That way I finished with the cut list and moved on to drilling holes.

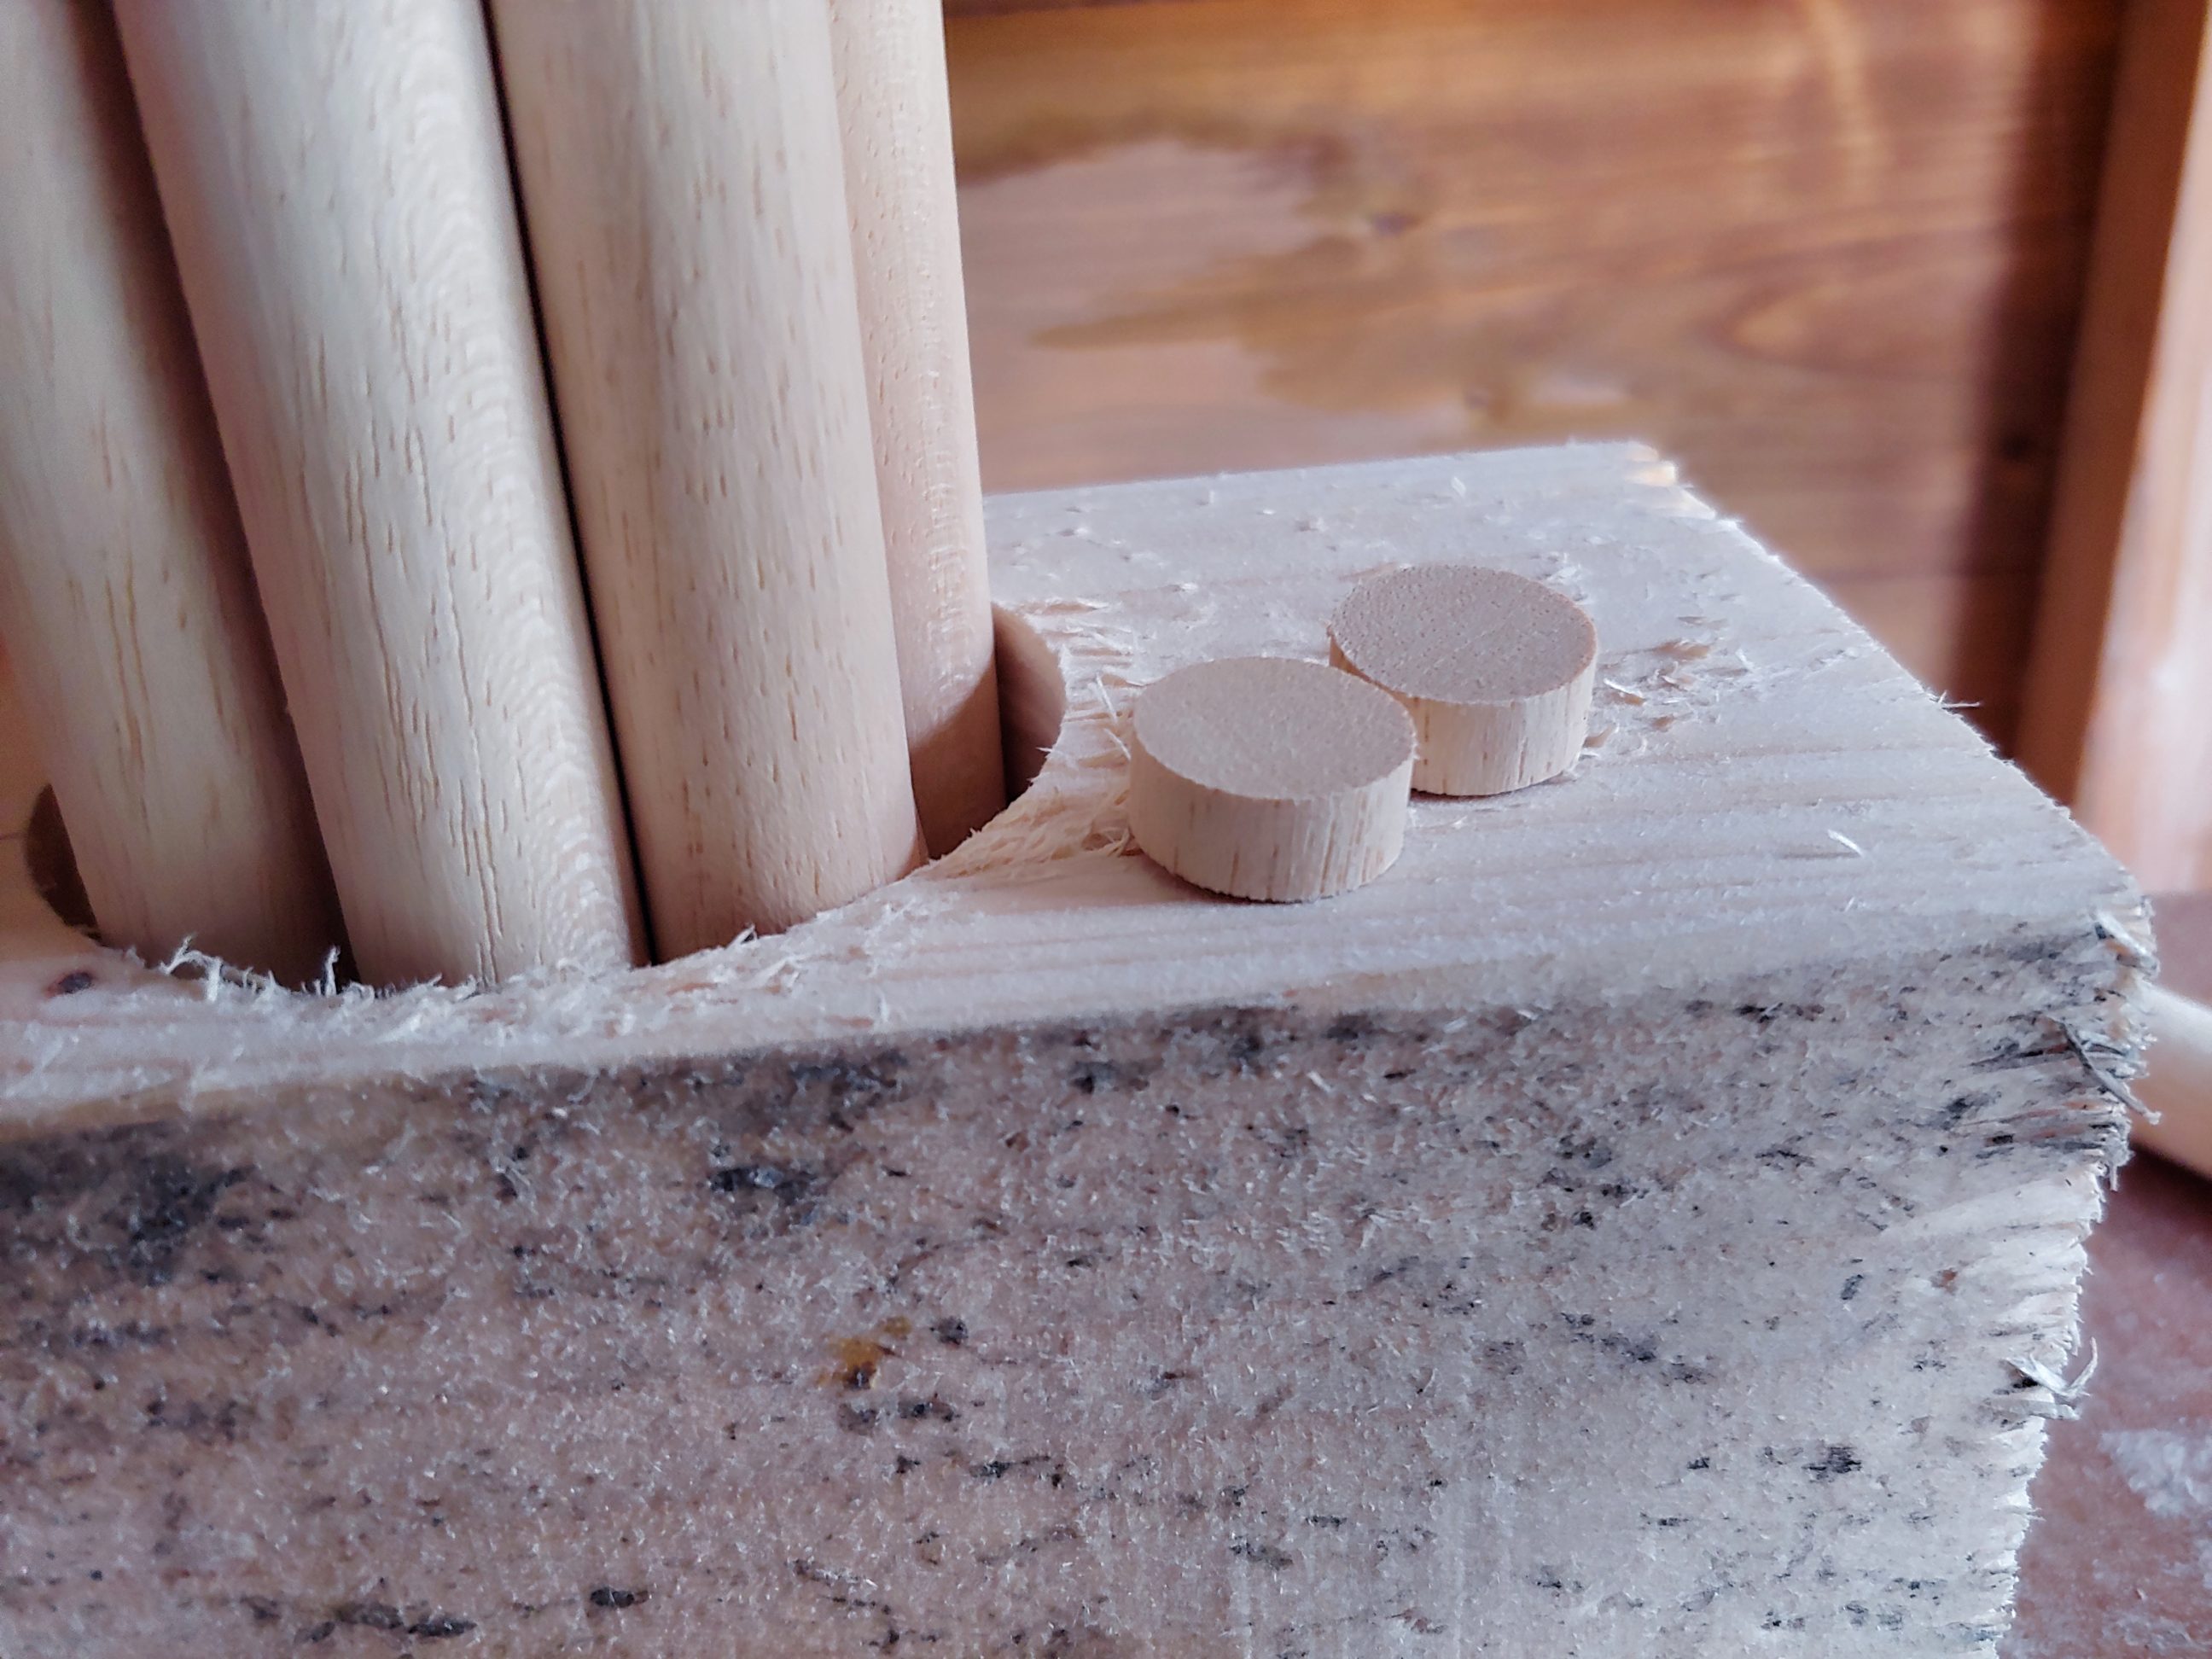
I marked all the points and set the depth stop on my bench drill. Using a 16 mm Forstner bit (5/8″) I drilled all 10 holes for the dowels, also 2 shallow plug holes. Next, I pre-drilled the upright in 2 spots for each rail. A couple of those spots came up just in the middle of big knots, so I also had to countersink them, as the screws wouldn’t set flush and could split the wood.


Just a quick sanding had to be done before the glue-up and the final assembly. I tried not to remove too much material from the sides of the upright board. Sanding of these edges should be done prior to cutting dadoes, but fortunately, I cut them super tight and the joints were still looking good.


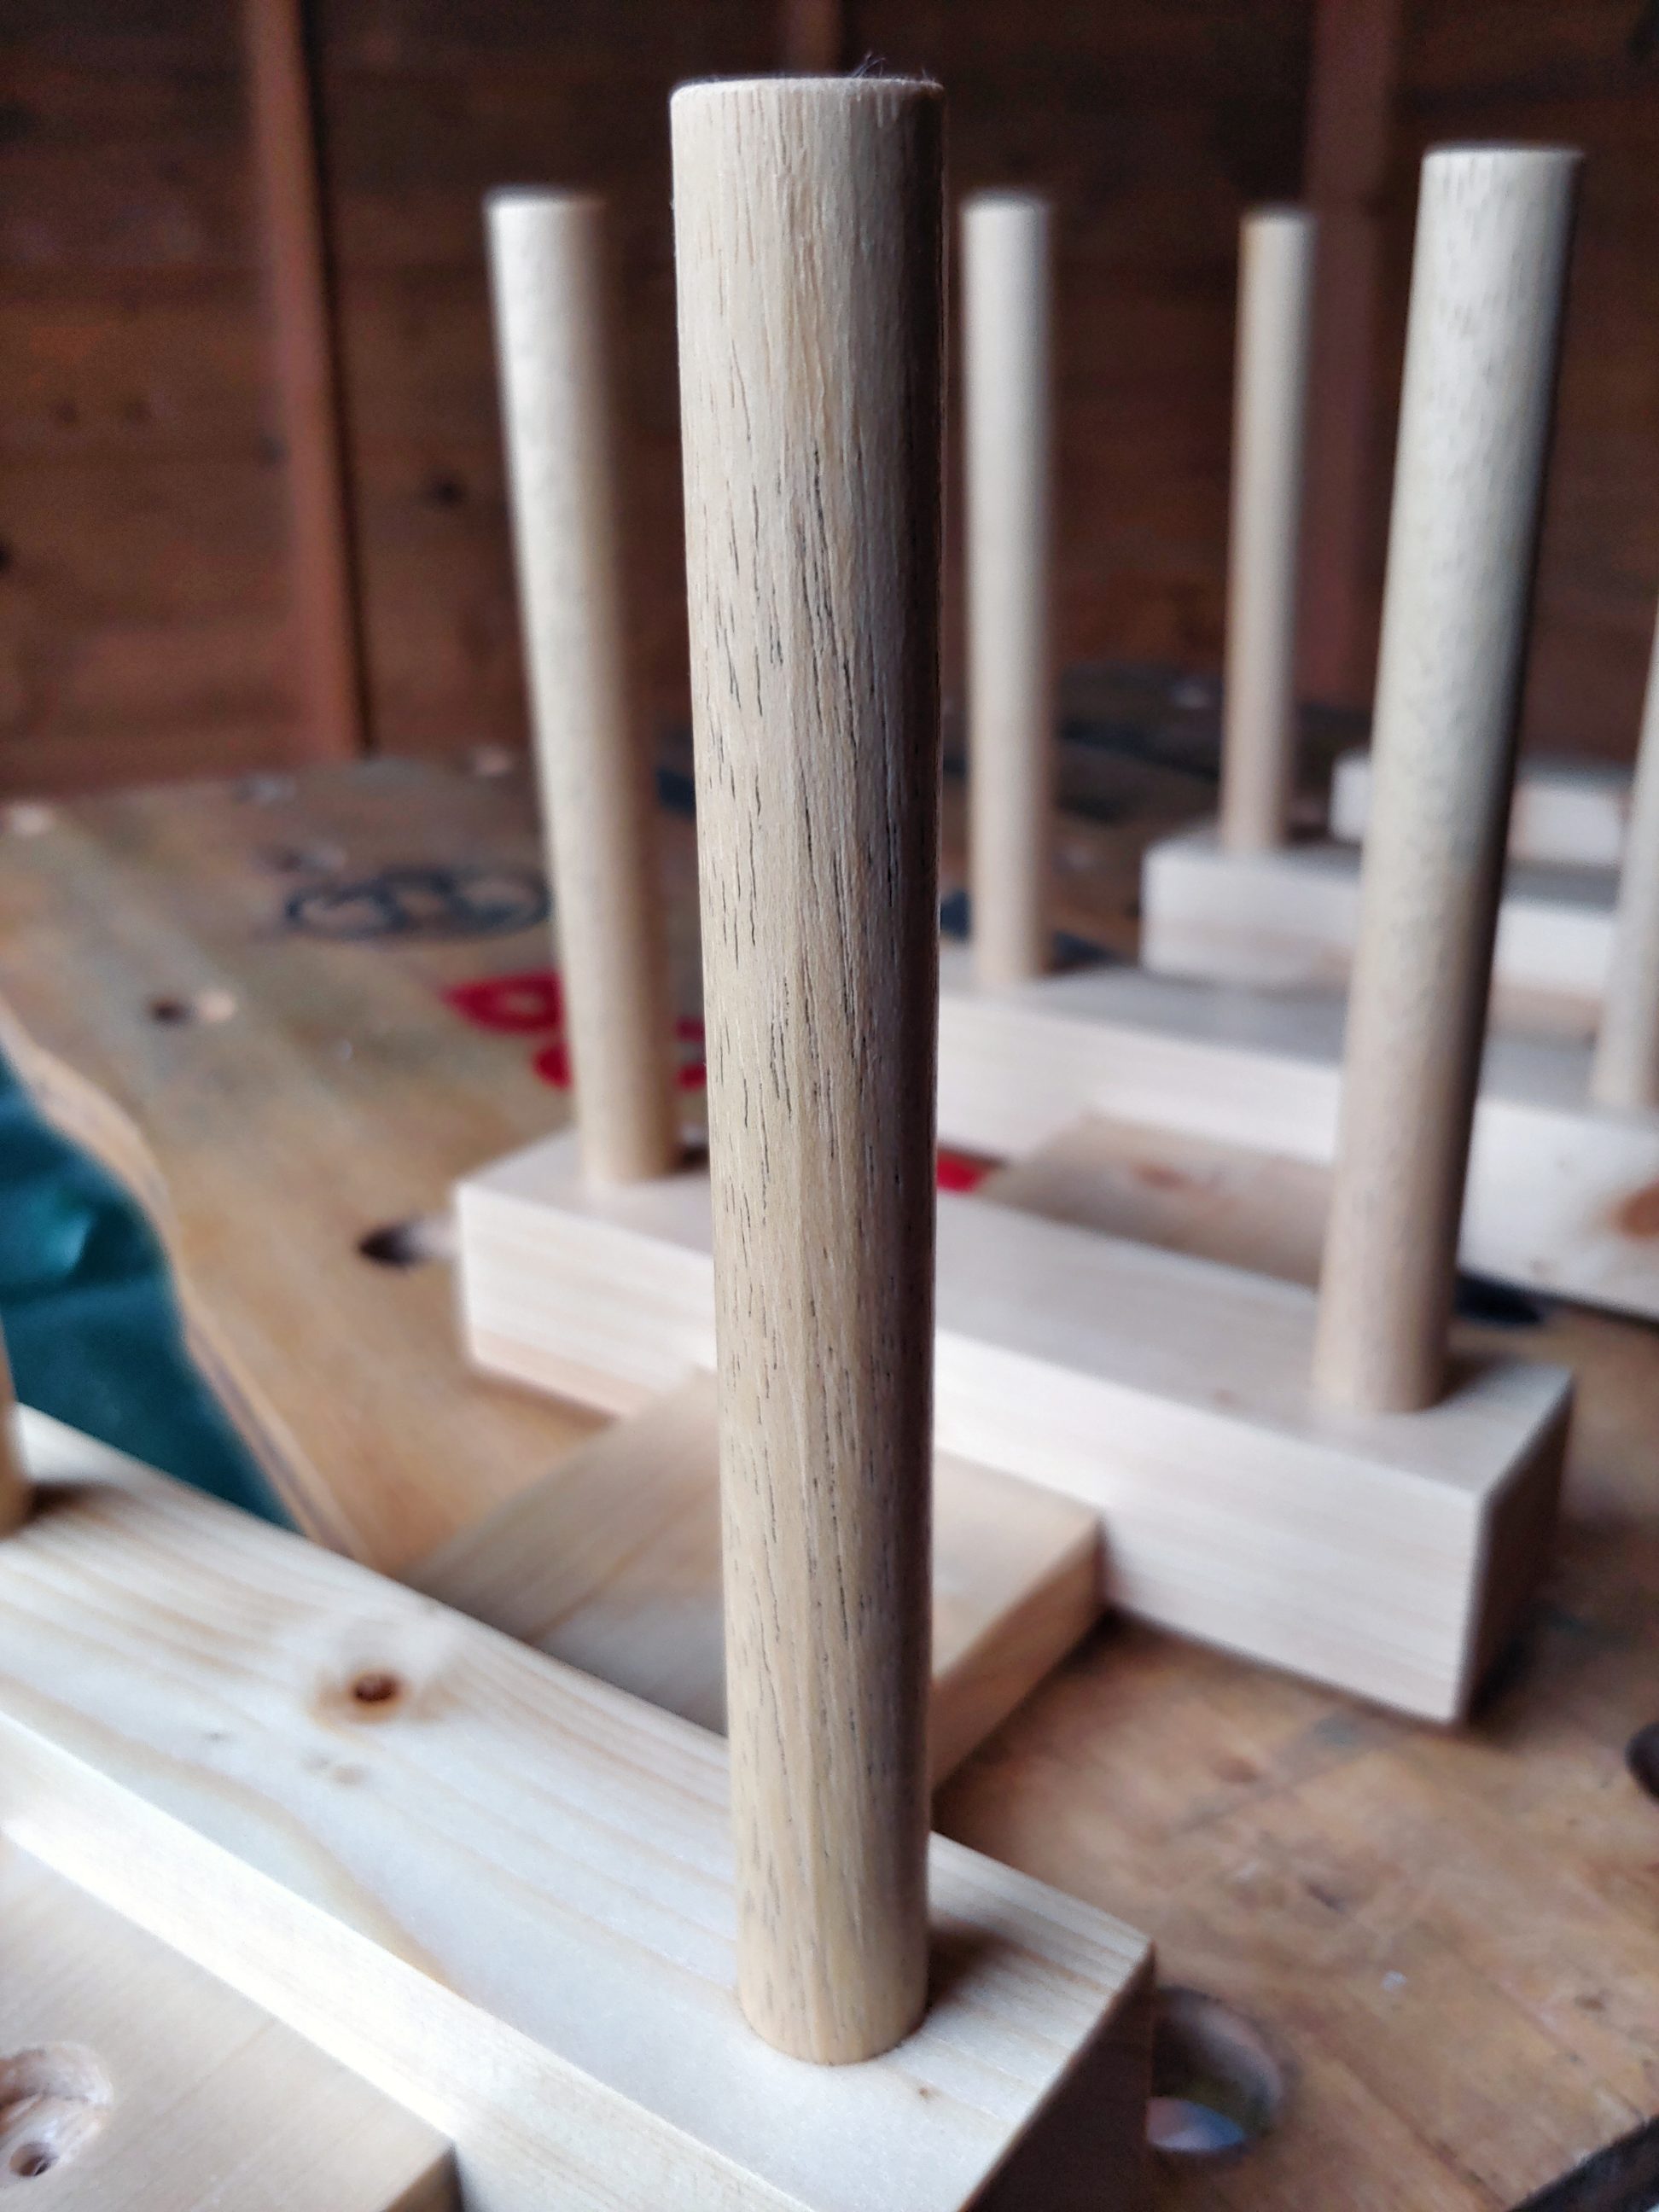
I prepared for spraying, covered the workbench and raised up the shelf. I applied many coats of clear, glossy lacquer and let it dry for 2 days. As always, when the finish was completely hardened, I buffed it with steel wool and wax. Some of the dark colour transferred from steel wool to the dowels, enhancing their grain. I tried to remove it with white spirit, but eventually, I gave up. It stuck there forever and I kind of liked that look, so I just left it as it was.
The holes in the wall were drilled and fitted with yellow, light-duty rawlplugs earlier that morning, so the installation didn’t take long. Only the upright seats directly on the wall, while the rails are spaced out a bit – I really like that. You never know if the walls are flat and straight.


It’s placed in the dark corner, just beside the mirror. Taking pictures was really challenging, I did my best, but the possibilities were limited. It turns out, that sometimes the hardest part of the project is taking pictures. Anyway, the shelf came out quite good, it’s smooth and looks light. That was the plan. I like to fill it up with 4 towels, leaving the top tier unused. It can be just decorative, balancing the shelf visually, but in case of emergency it can be used for storing an extra towel or whatever may be needed. The shelf is also easy to clean, as there is very little horizontal, flat surface that can be covered by dust.