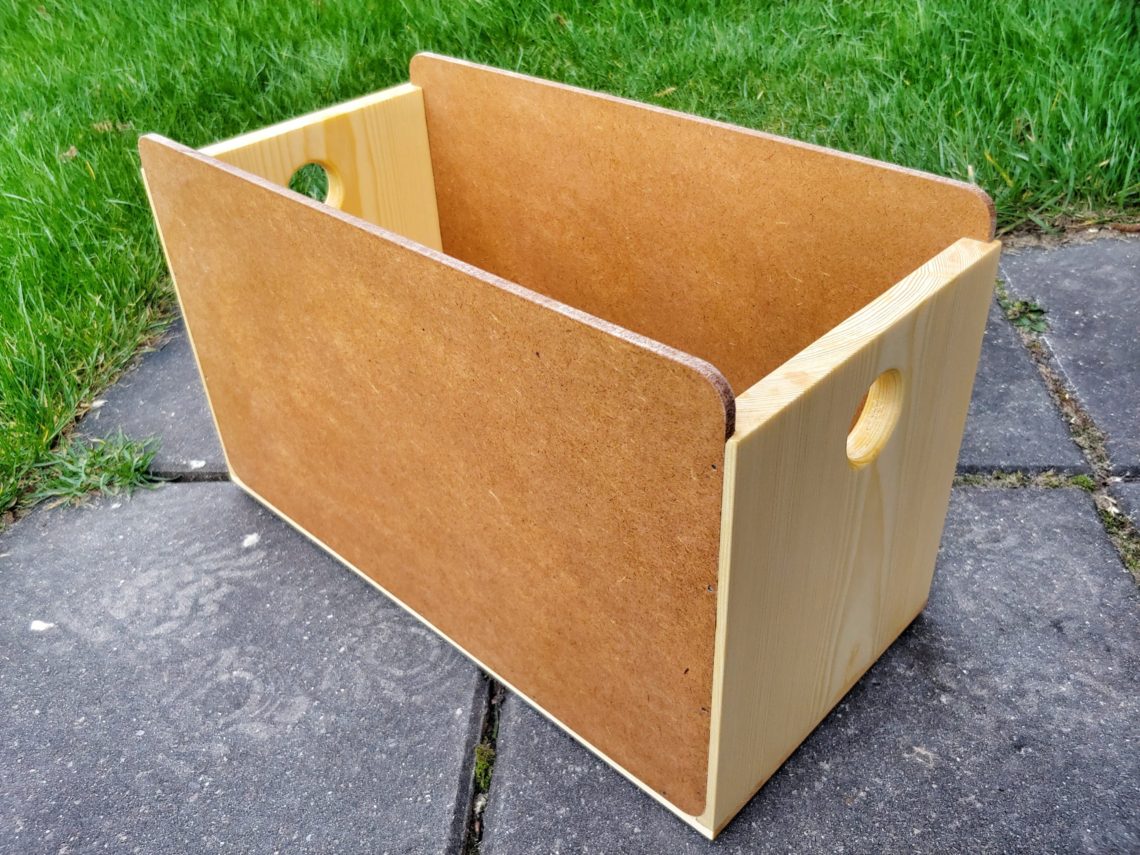
Handy-dandy box
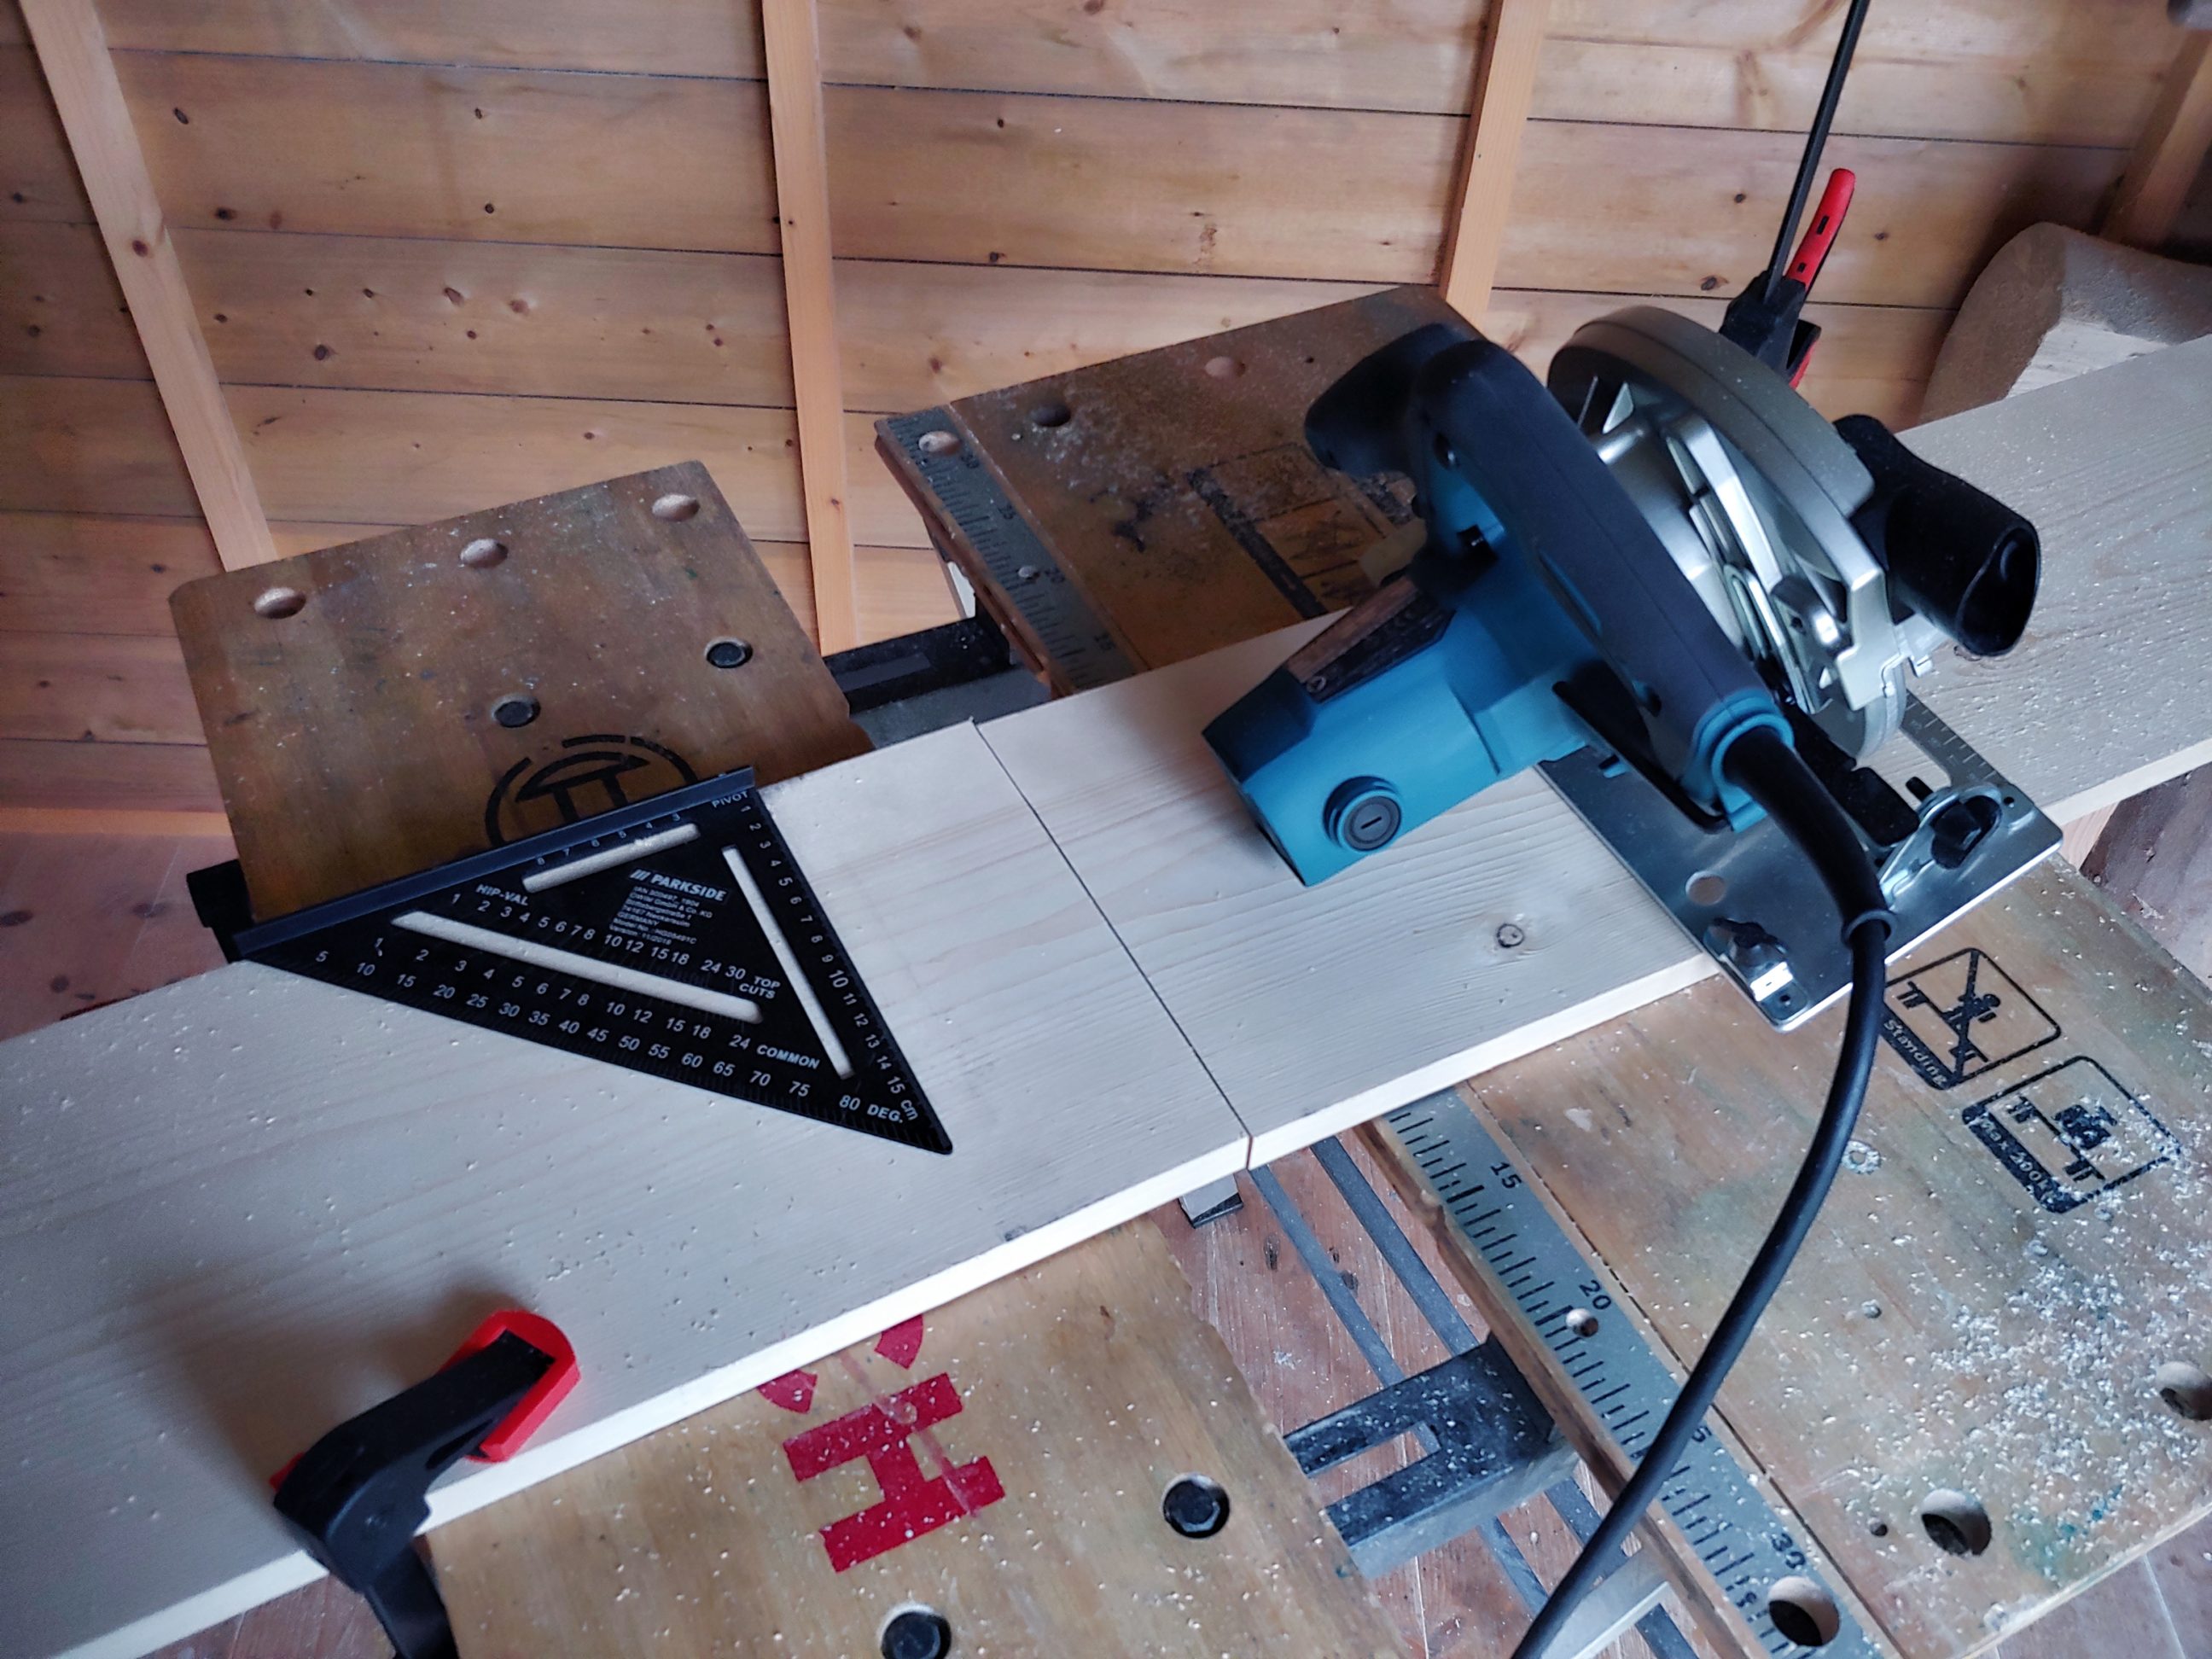
The box is made from a 1 x 9 pine board and a 6 mm MDF. Large and sturdy, good for storing anything and everything. I wanted to try out 2 router bits to cut self-locking corners, I had used them in the past with rather bad results and this time I just double made sure that they were not going to work for me. Before throwing them away I had to give them a last chance, or at least one of them as the other one works using the same principle. I started by cutting the 1 x 9 board roughly into more manageable lengths using my circular saw. I also cut a couple of small test pieces. The corners could be cut using a drawer locking bit or a mitre locking bit – I chose the first option. It wasn’t hard to set the bit height and the fence position, it only took me 3 attempts and I got it perfectly aligned. The problem I had always encountered was tear-out on pieces running vertically against the fence. This could be caused by the grain direction, setting the spinning speed too high or not using a zero clearance fence (which I made in the next step). Keeping that in mind I used a marking knife to score a deep line; once the setup was done I knew exactly where to score. That way I separated the fibres and which was supposed to help cut a clean edge. That was only a theory and it sadly didn’t work. I didn’t give up and clamped another board behind the fence, then moved the fence forward and cut a zero clearance, perfectly fitted slot. That didn’t work either. Each time I got terrible tear-out. Maybe that was just me, other people use these bits and get good results, but not me. I liked the look of these joints, though, so I decided to recreate them using a table saw – that was a very good decision.


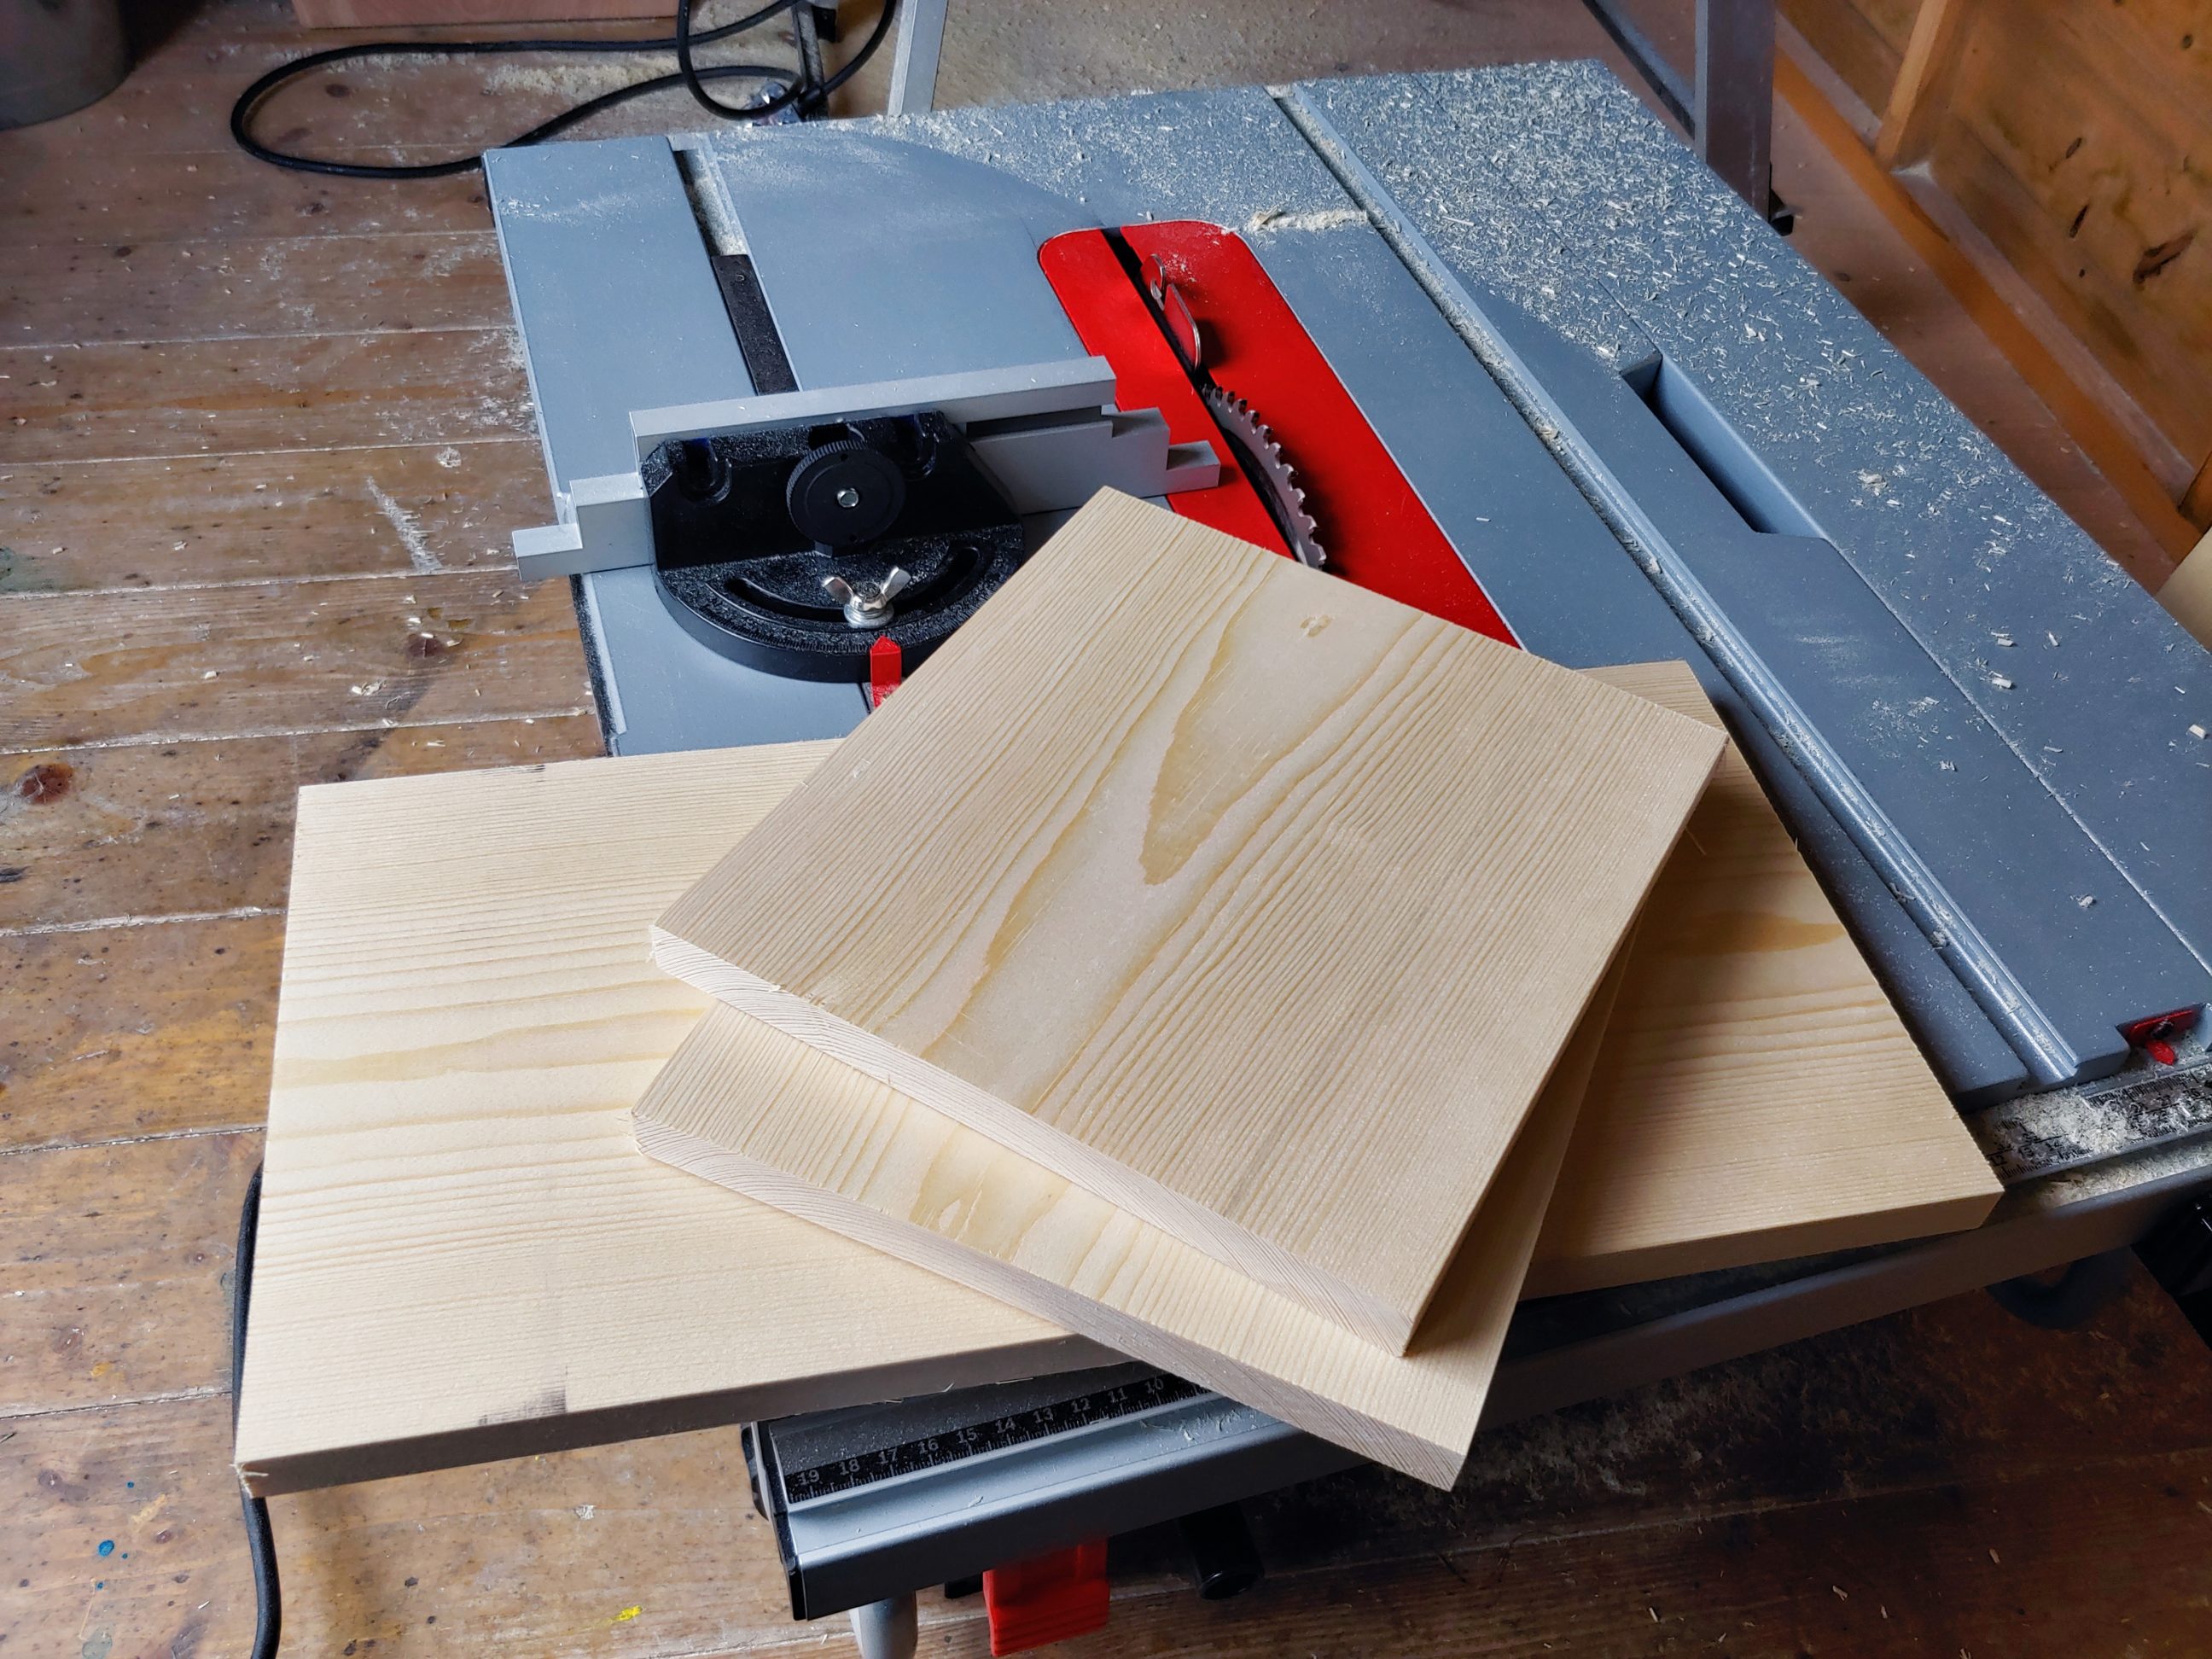
I cut all 3 pieces to size on my table saw and prepared for cutting a series of slots. I set the blade height and the fence position using router test pieces as templates. It worked very well and helped me visualise the joints. I only had to move the fence a couple of times from left to right and I got the joints cut, with a perfect fit and absolutely no tear-out at all.


I did a quick sanding of the inside, tried a dry fit and since it was looking good, I glued it up and let it dry overnight.


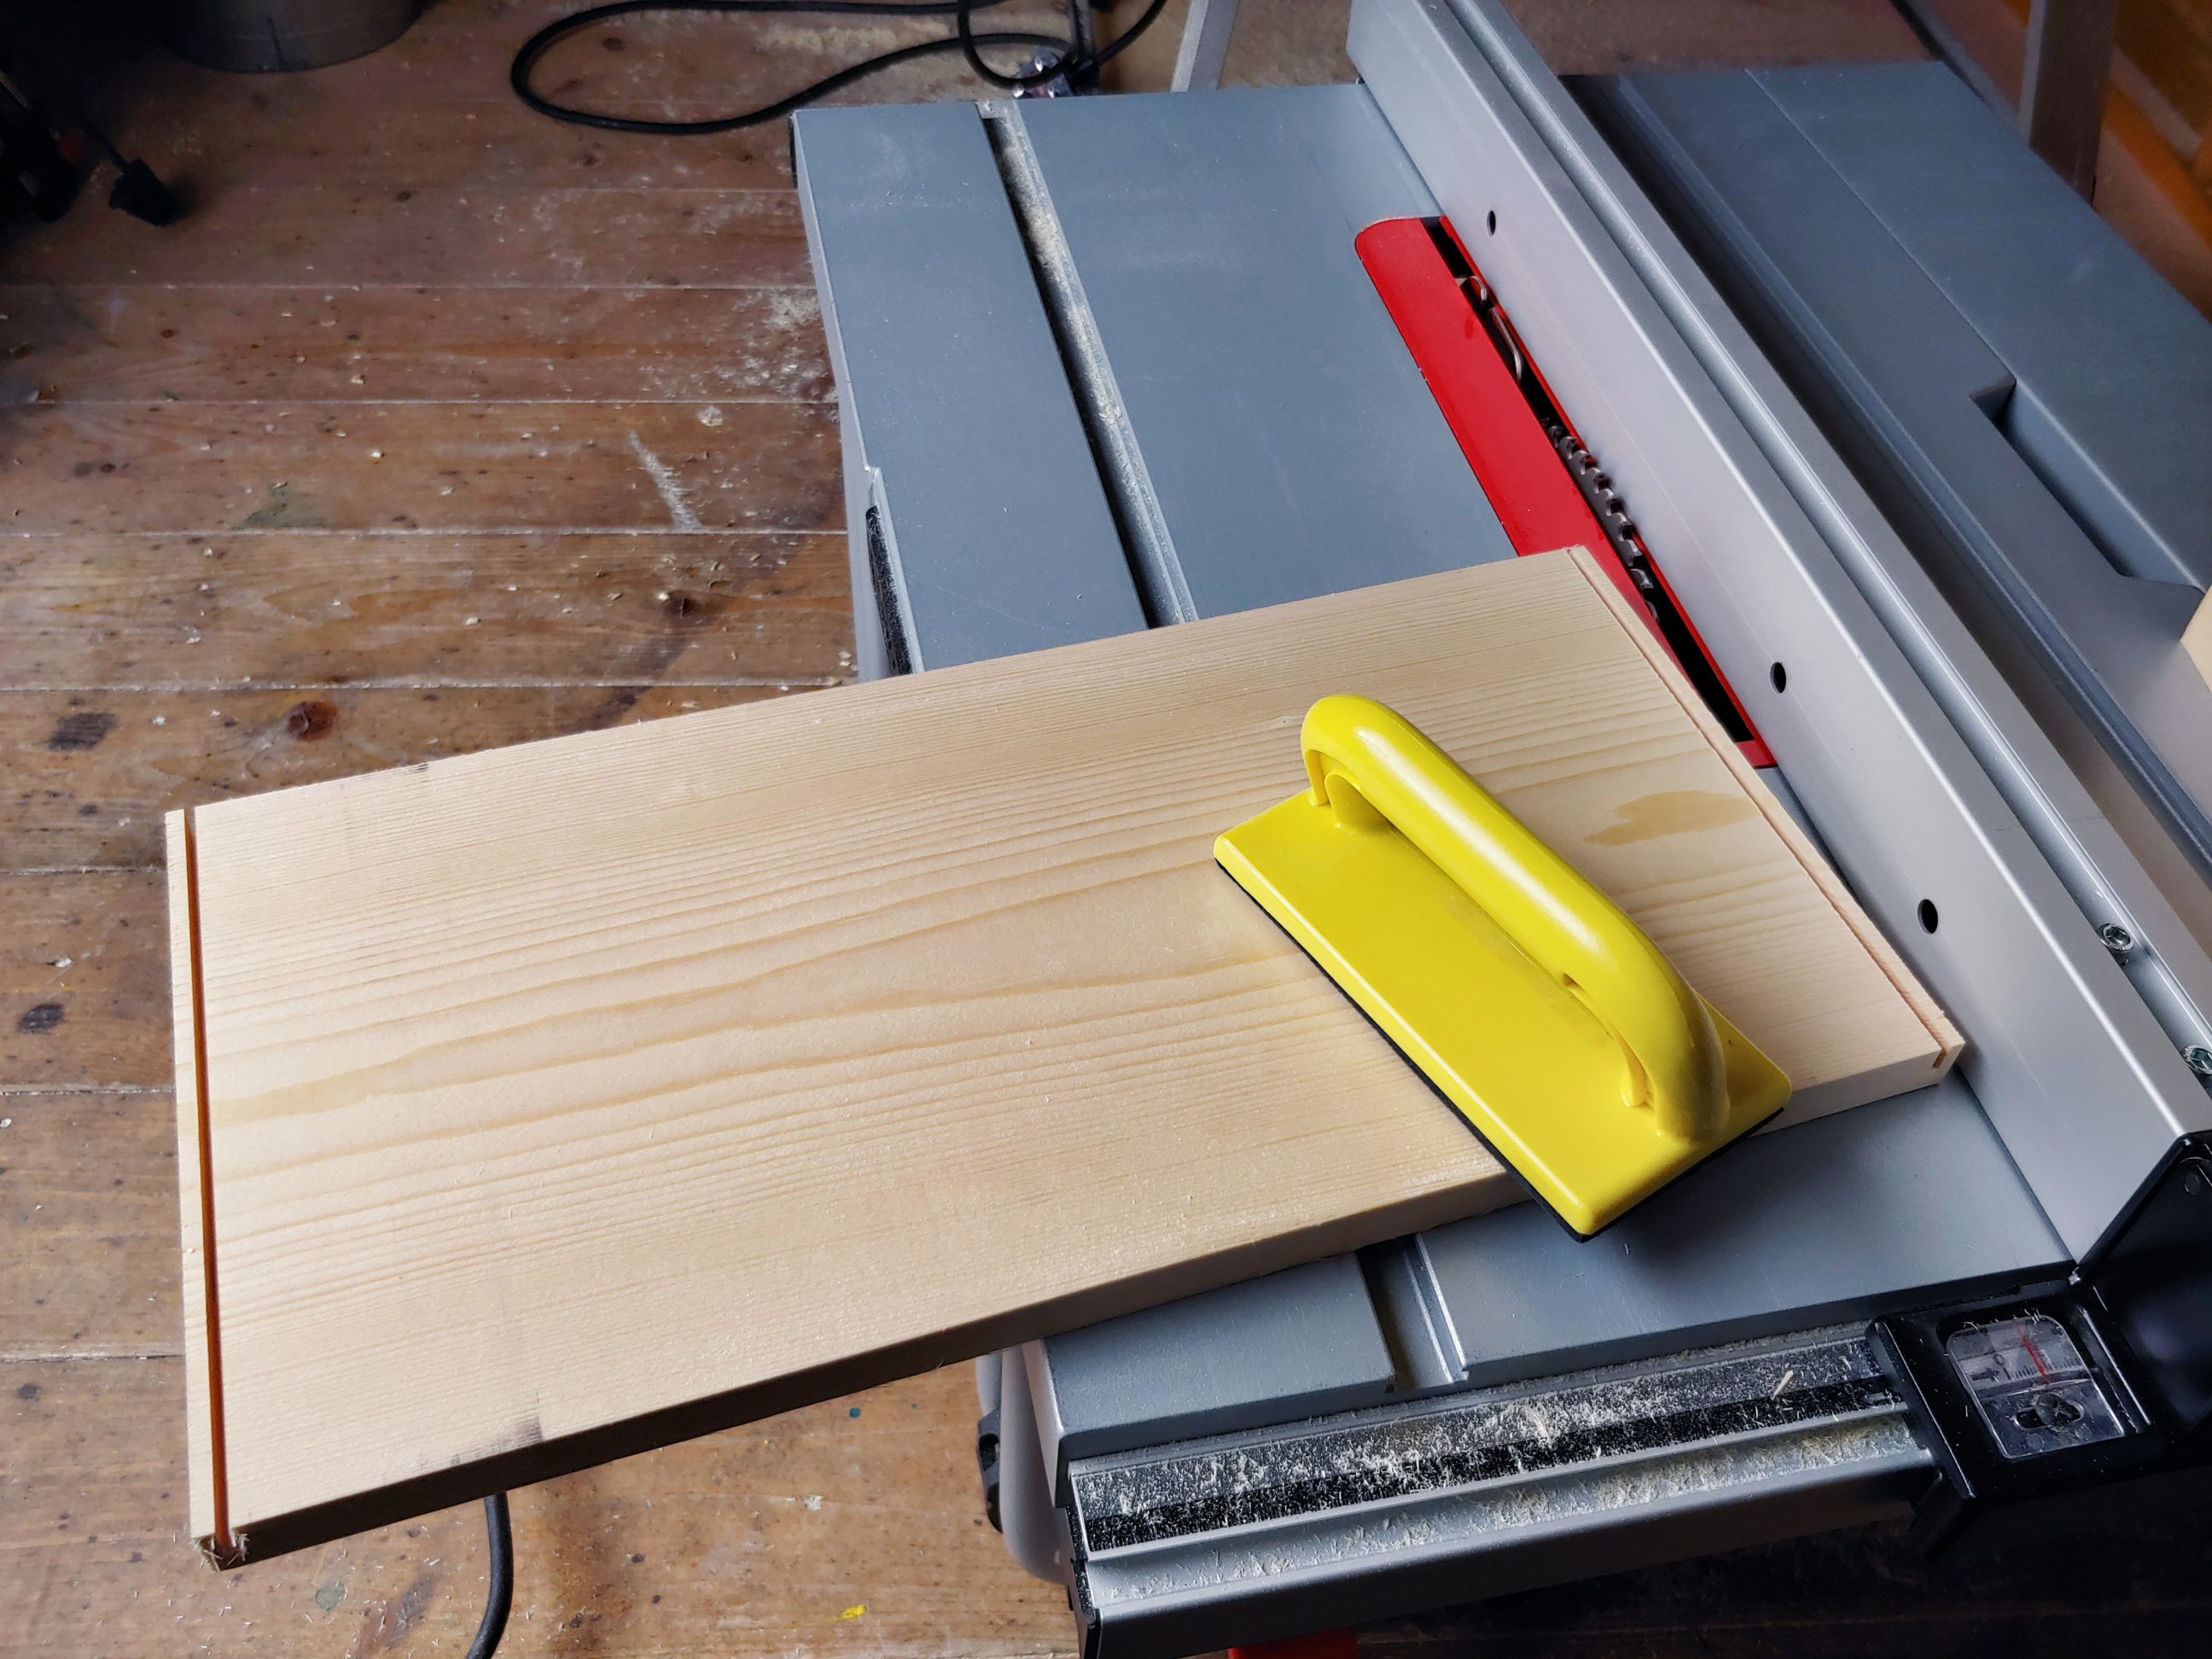
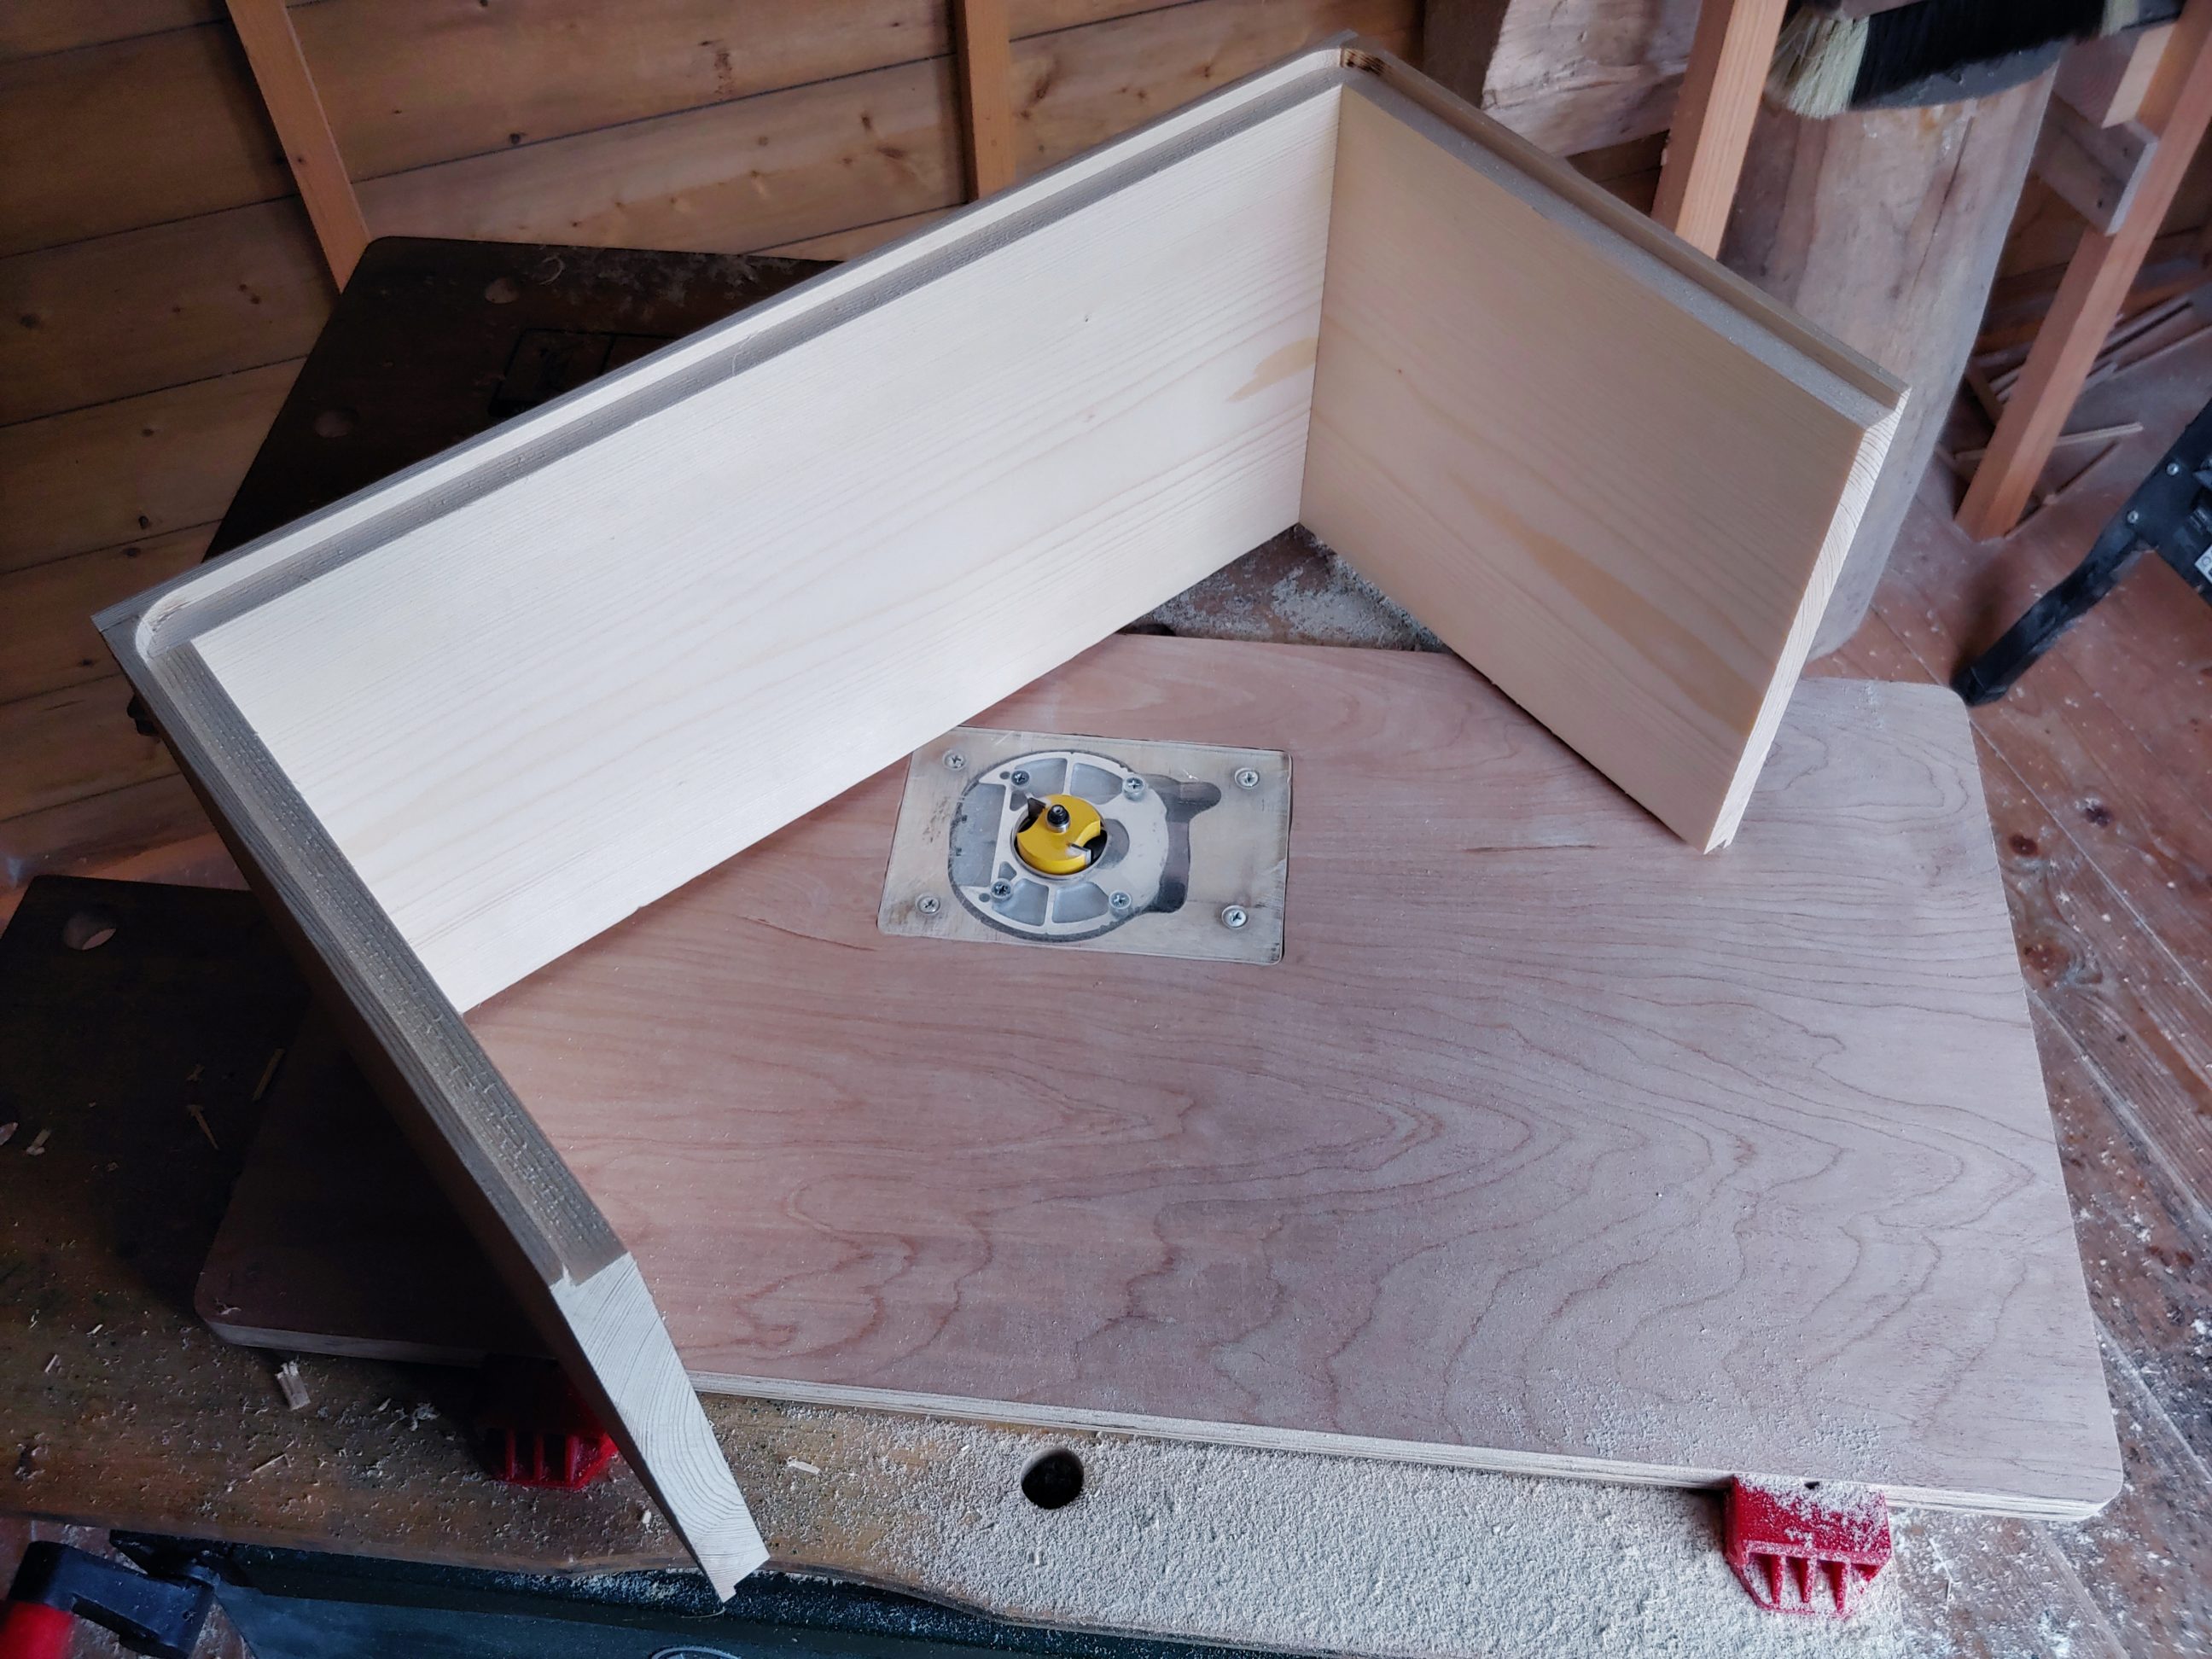
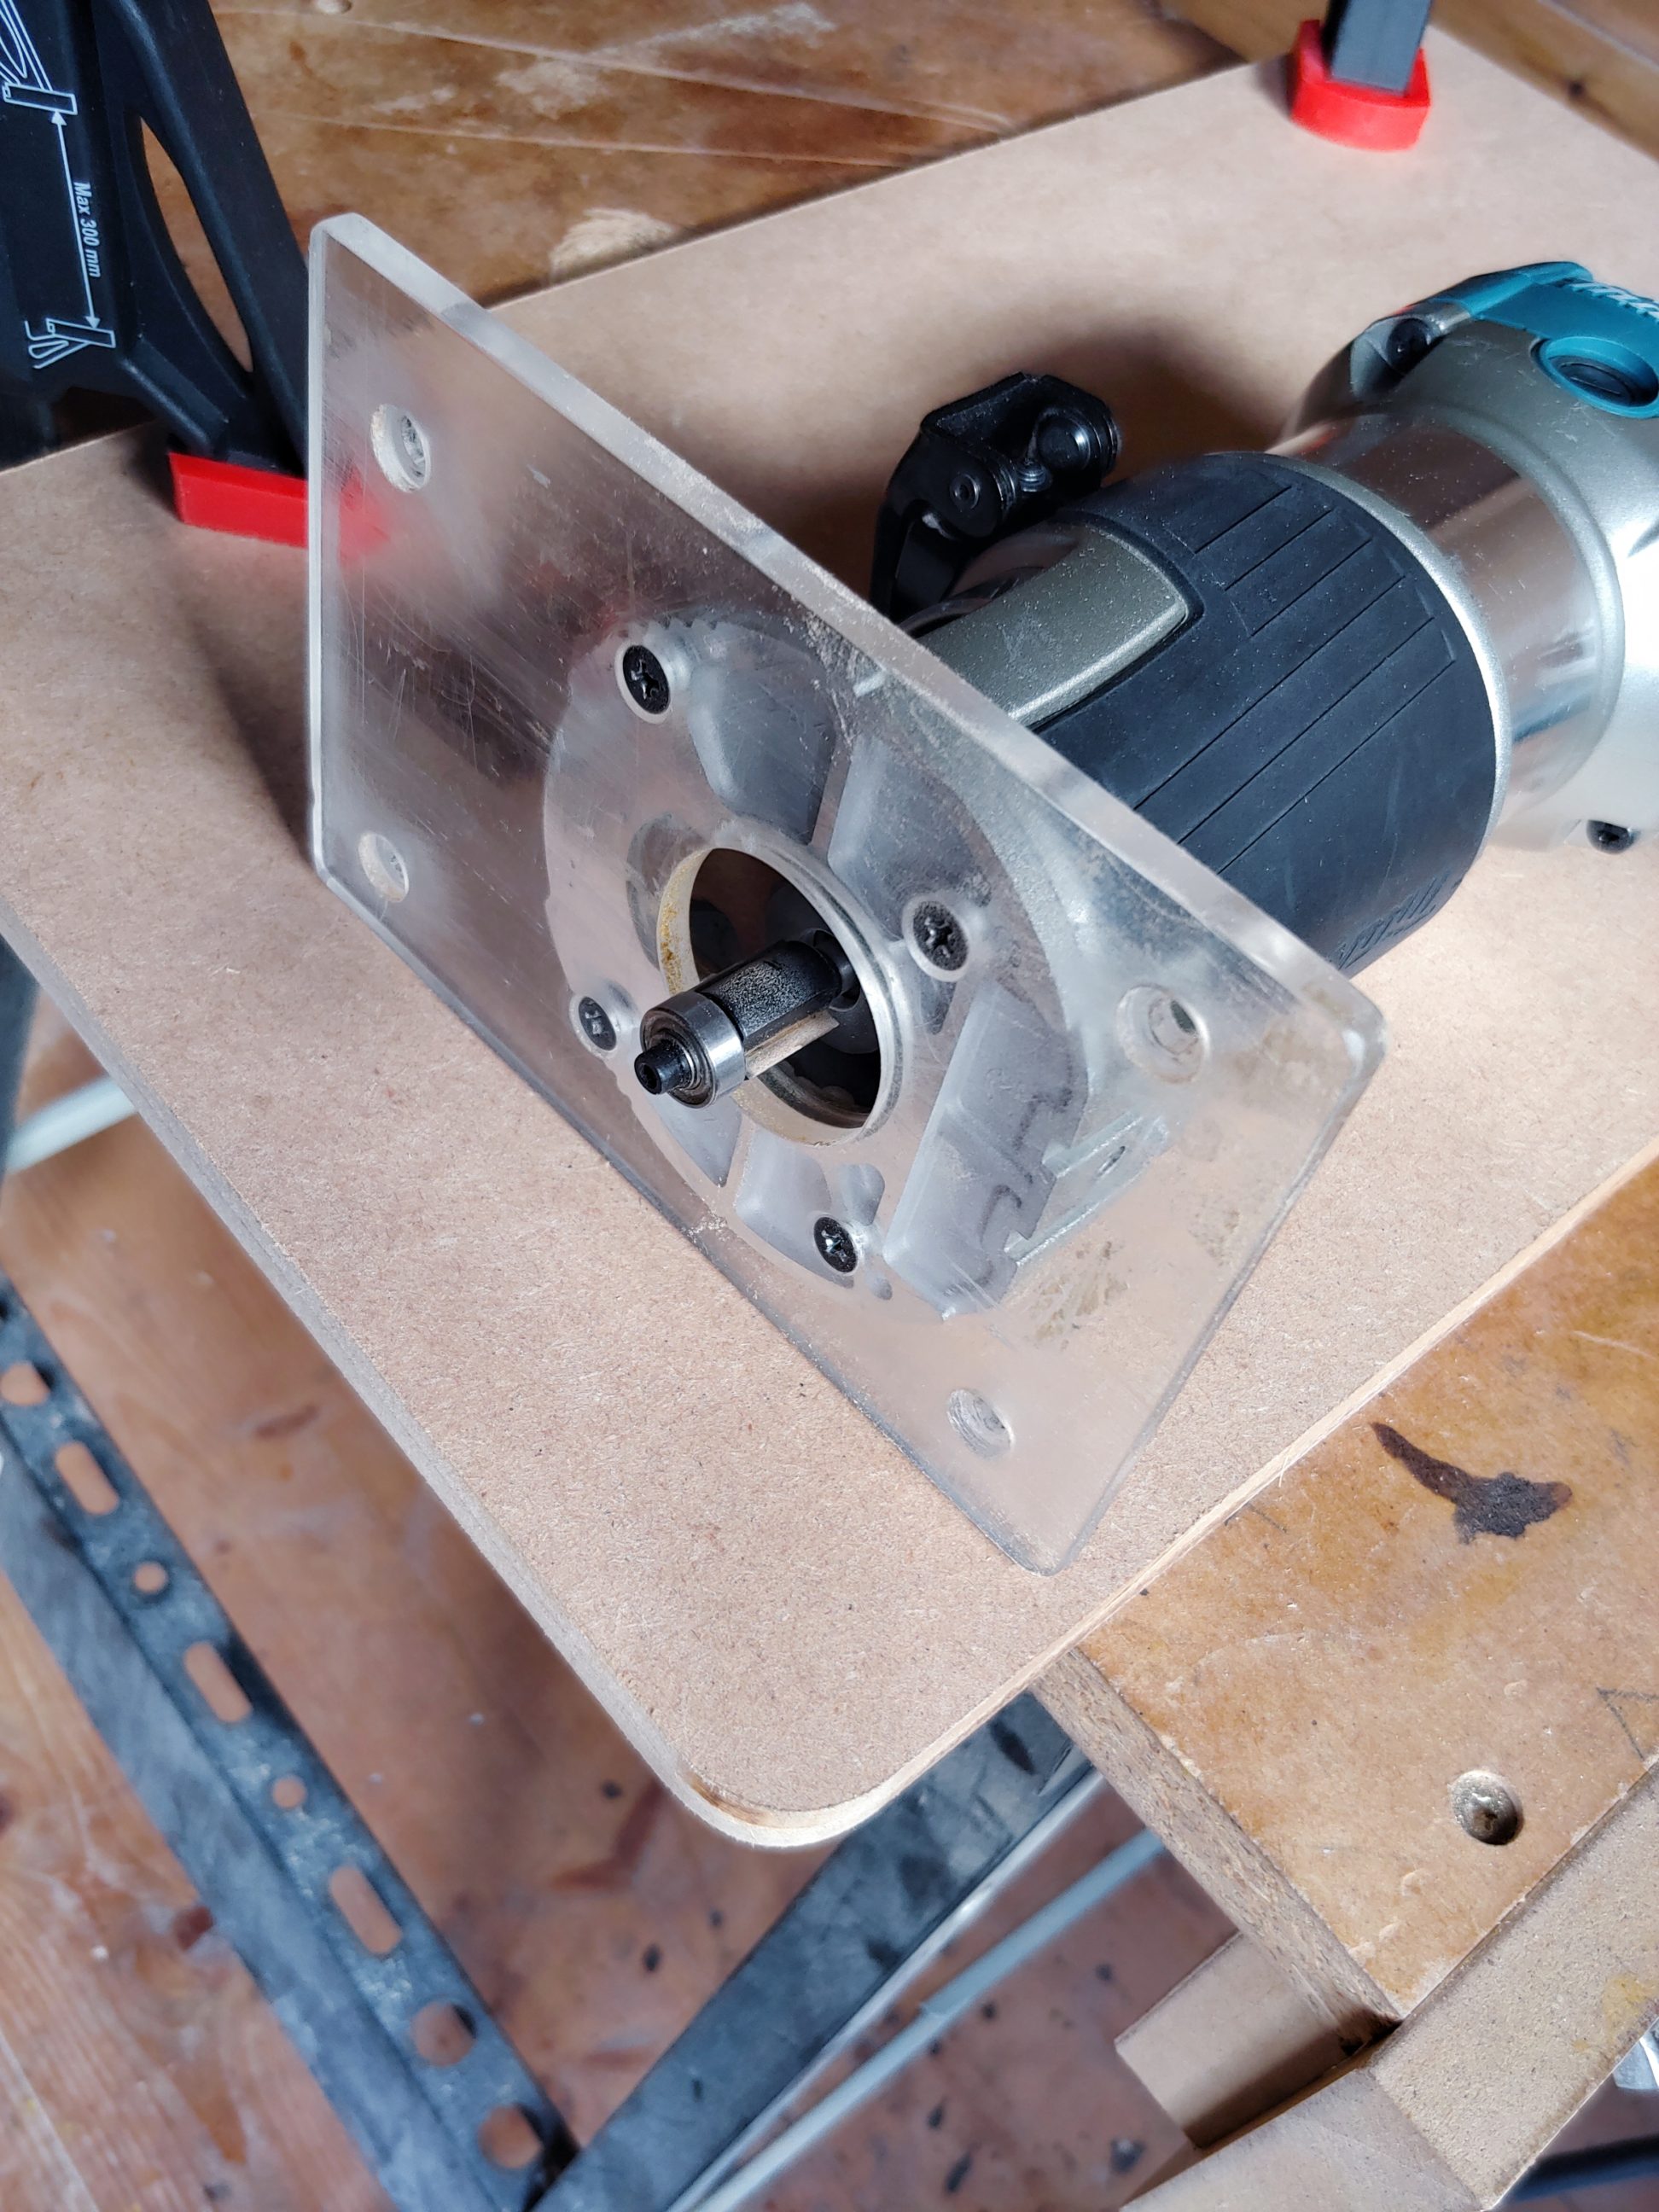
The next day I cut a rebate using my router table. The bit was very big and almost completely filled out the base, leaving just a 1 mm gap! But it had to be that actual bit – a radius of 35 mm (1 3/8″). Once the rebates were done I drilled 40 mm holes for the handles (just over 1.5″) and rounded them over with my router. Then I did another sanding and applied a single coat of boiled linseed oil. That way the base was done and I moved onto the sides. I cut 2 pieces of MDF on my table saw and then shaped the corners. I only sanded 1 of them and the remaining 7 were cut with a router and a flush-trim bit. I did some experiments with applying an oil finish to MDF in the past, and it’s all looking good so far. MDF needs only a small amount of oil, applied quickly and evenly. I normally use a lightly wet cloth for this purpose and work fast with circular motions. No problems whatsoever. I used the same technique to finish these 2 MDF sides as well.


Once all the parts dried a little, I simply put them together using small nails and to protect the bottom I installed 4 gliders. The box got another, light coat of oil and was set aside to dry.


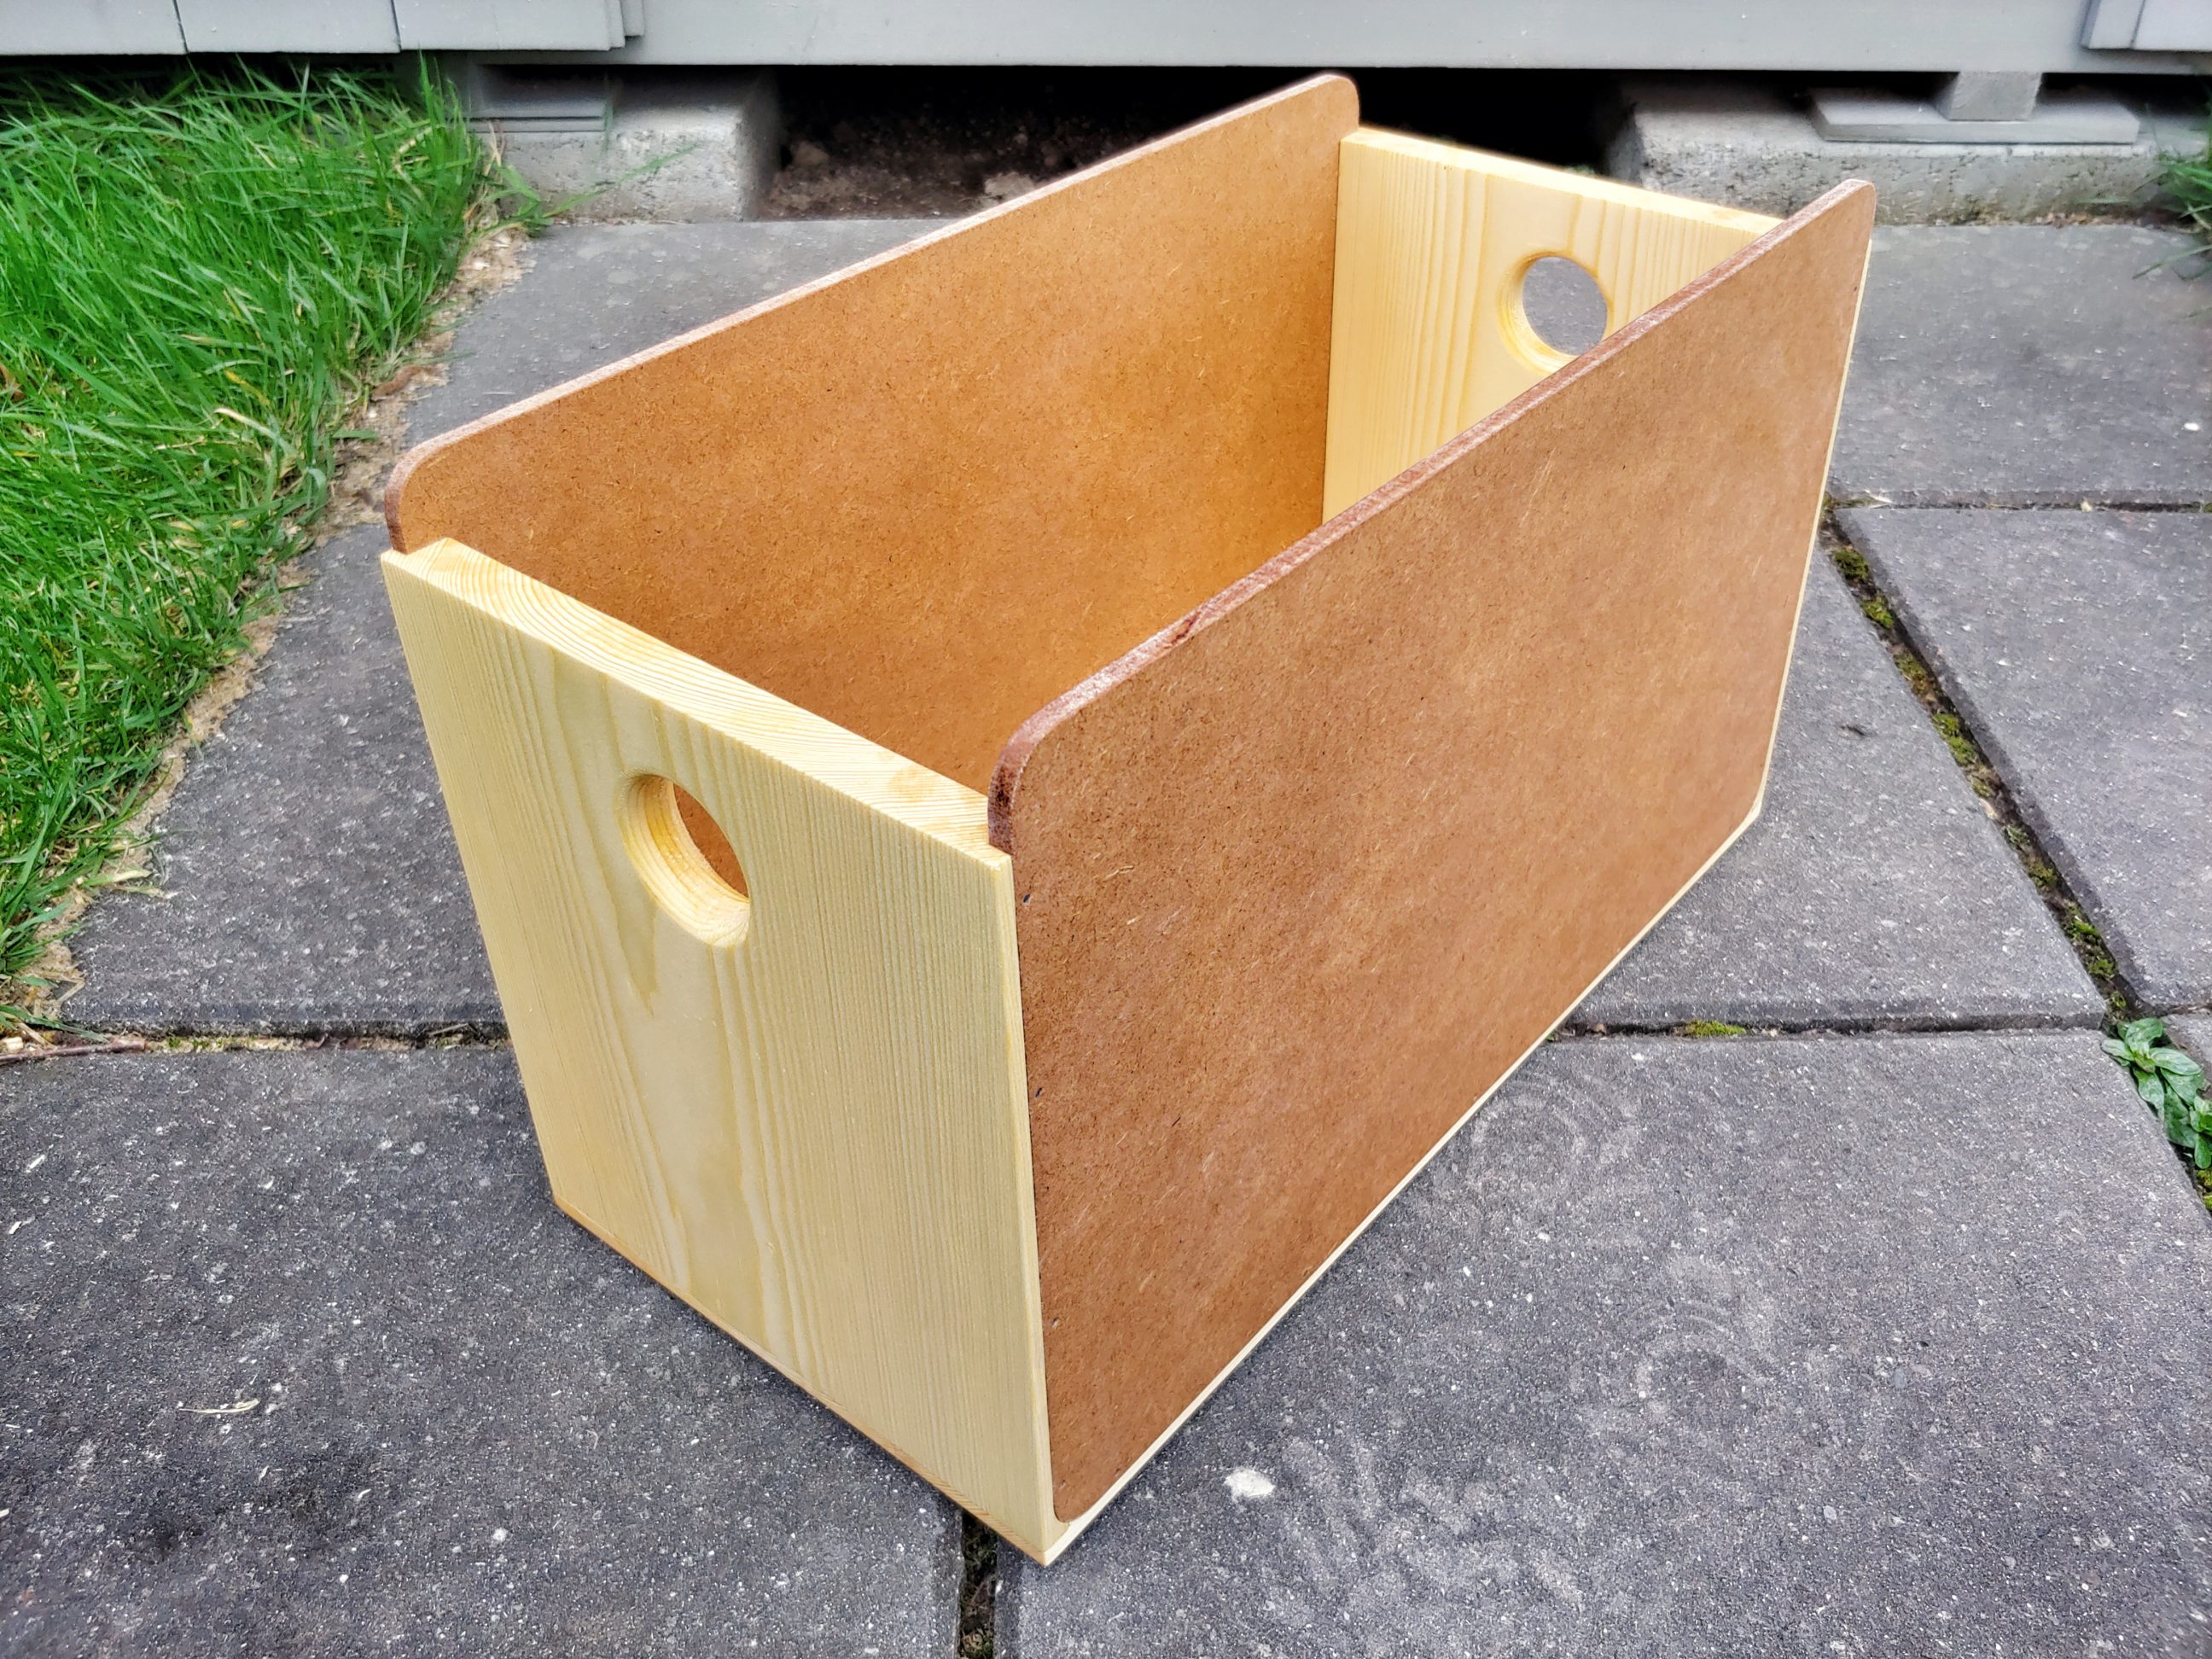
As everyone knows, box building is very good for honing woodworking skills and this build was obviously beneficial for me. From designing to making, from choosing the appropriate tools to applying an experimental finish. This practical box was ready for use in the next few days, once the oil dried completely. The joint I used made the bottom very strong, easy to assemble and tear-out-free. The dimensions of the box are as follows – length 447, depth 216 and height 275 mm (17 19/32, 8 1/2 and 10 53/64 inches).


One Comment
Pingback: