Garden sink
A plastic bucket, a short piece of garden hose and a wooden base create a garden sink, a thing that I urgently needed to stop wasting water. Plumbing and woodworking skills were used to make this project. Preparing the bucket was more challenging than the woodworking part, as plumbing isn’t my favourite thing, and usually, I don’t know exactly what I’m doing. On the other hand, all the wood joints I was going to cut were previously used and tested in the other project (a plant stand), so I had a clear idea of what to do. This sink was built to catch water used for washing hands, always detergent free and ideal for watering plants. Water in Ireland is free, but I couldn’t watch how it was sinking into the ground around the house and its foundations.


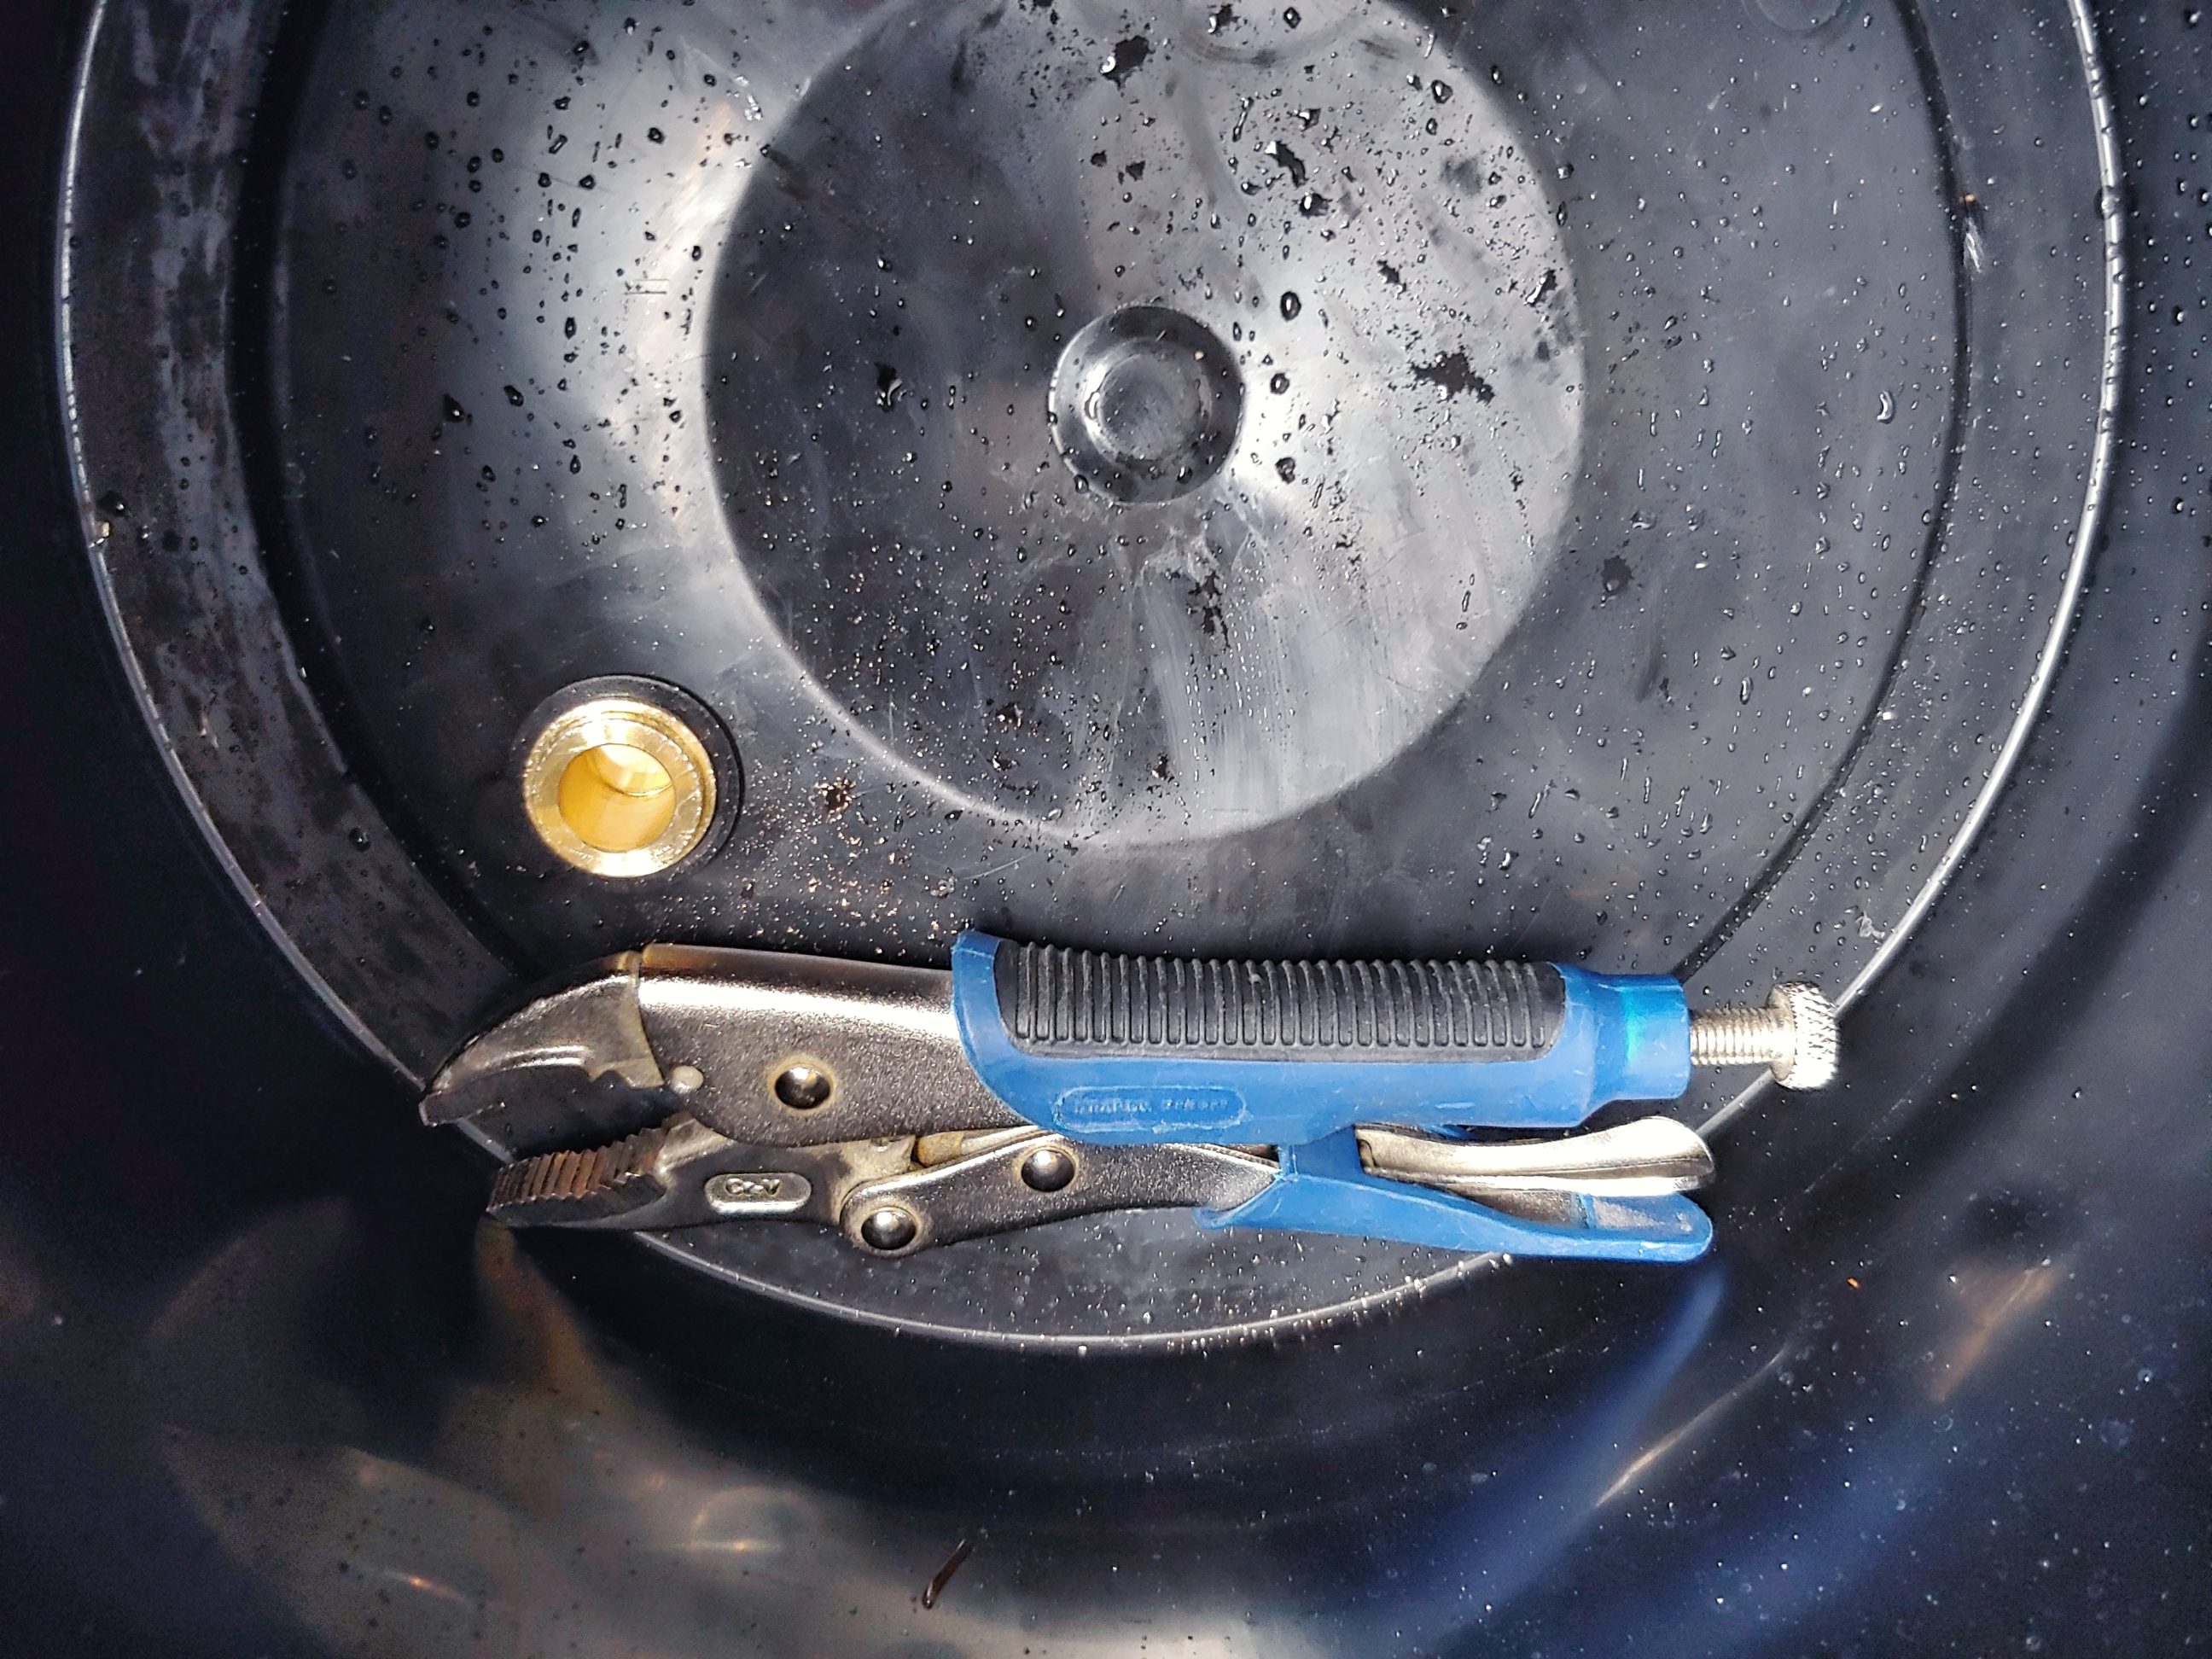
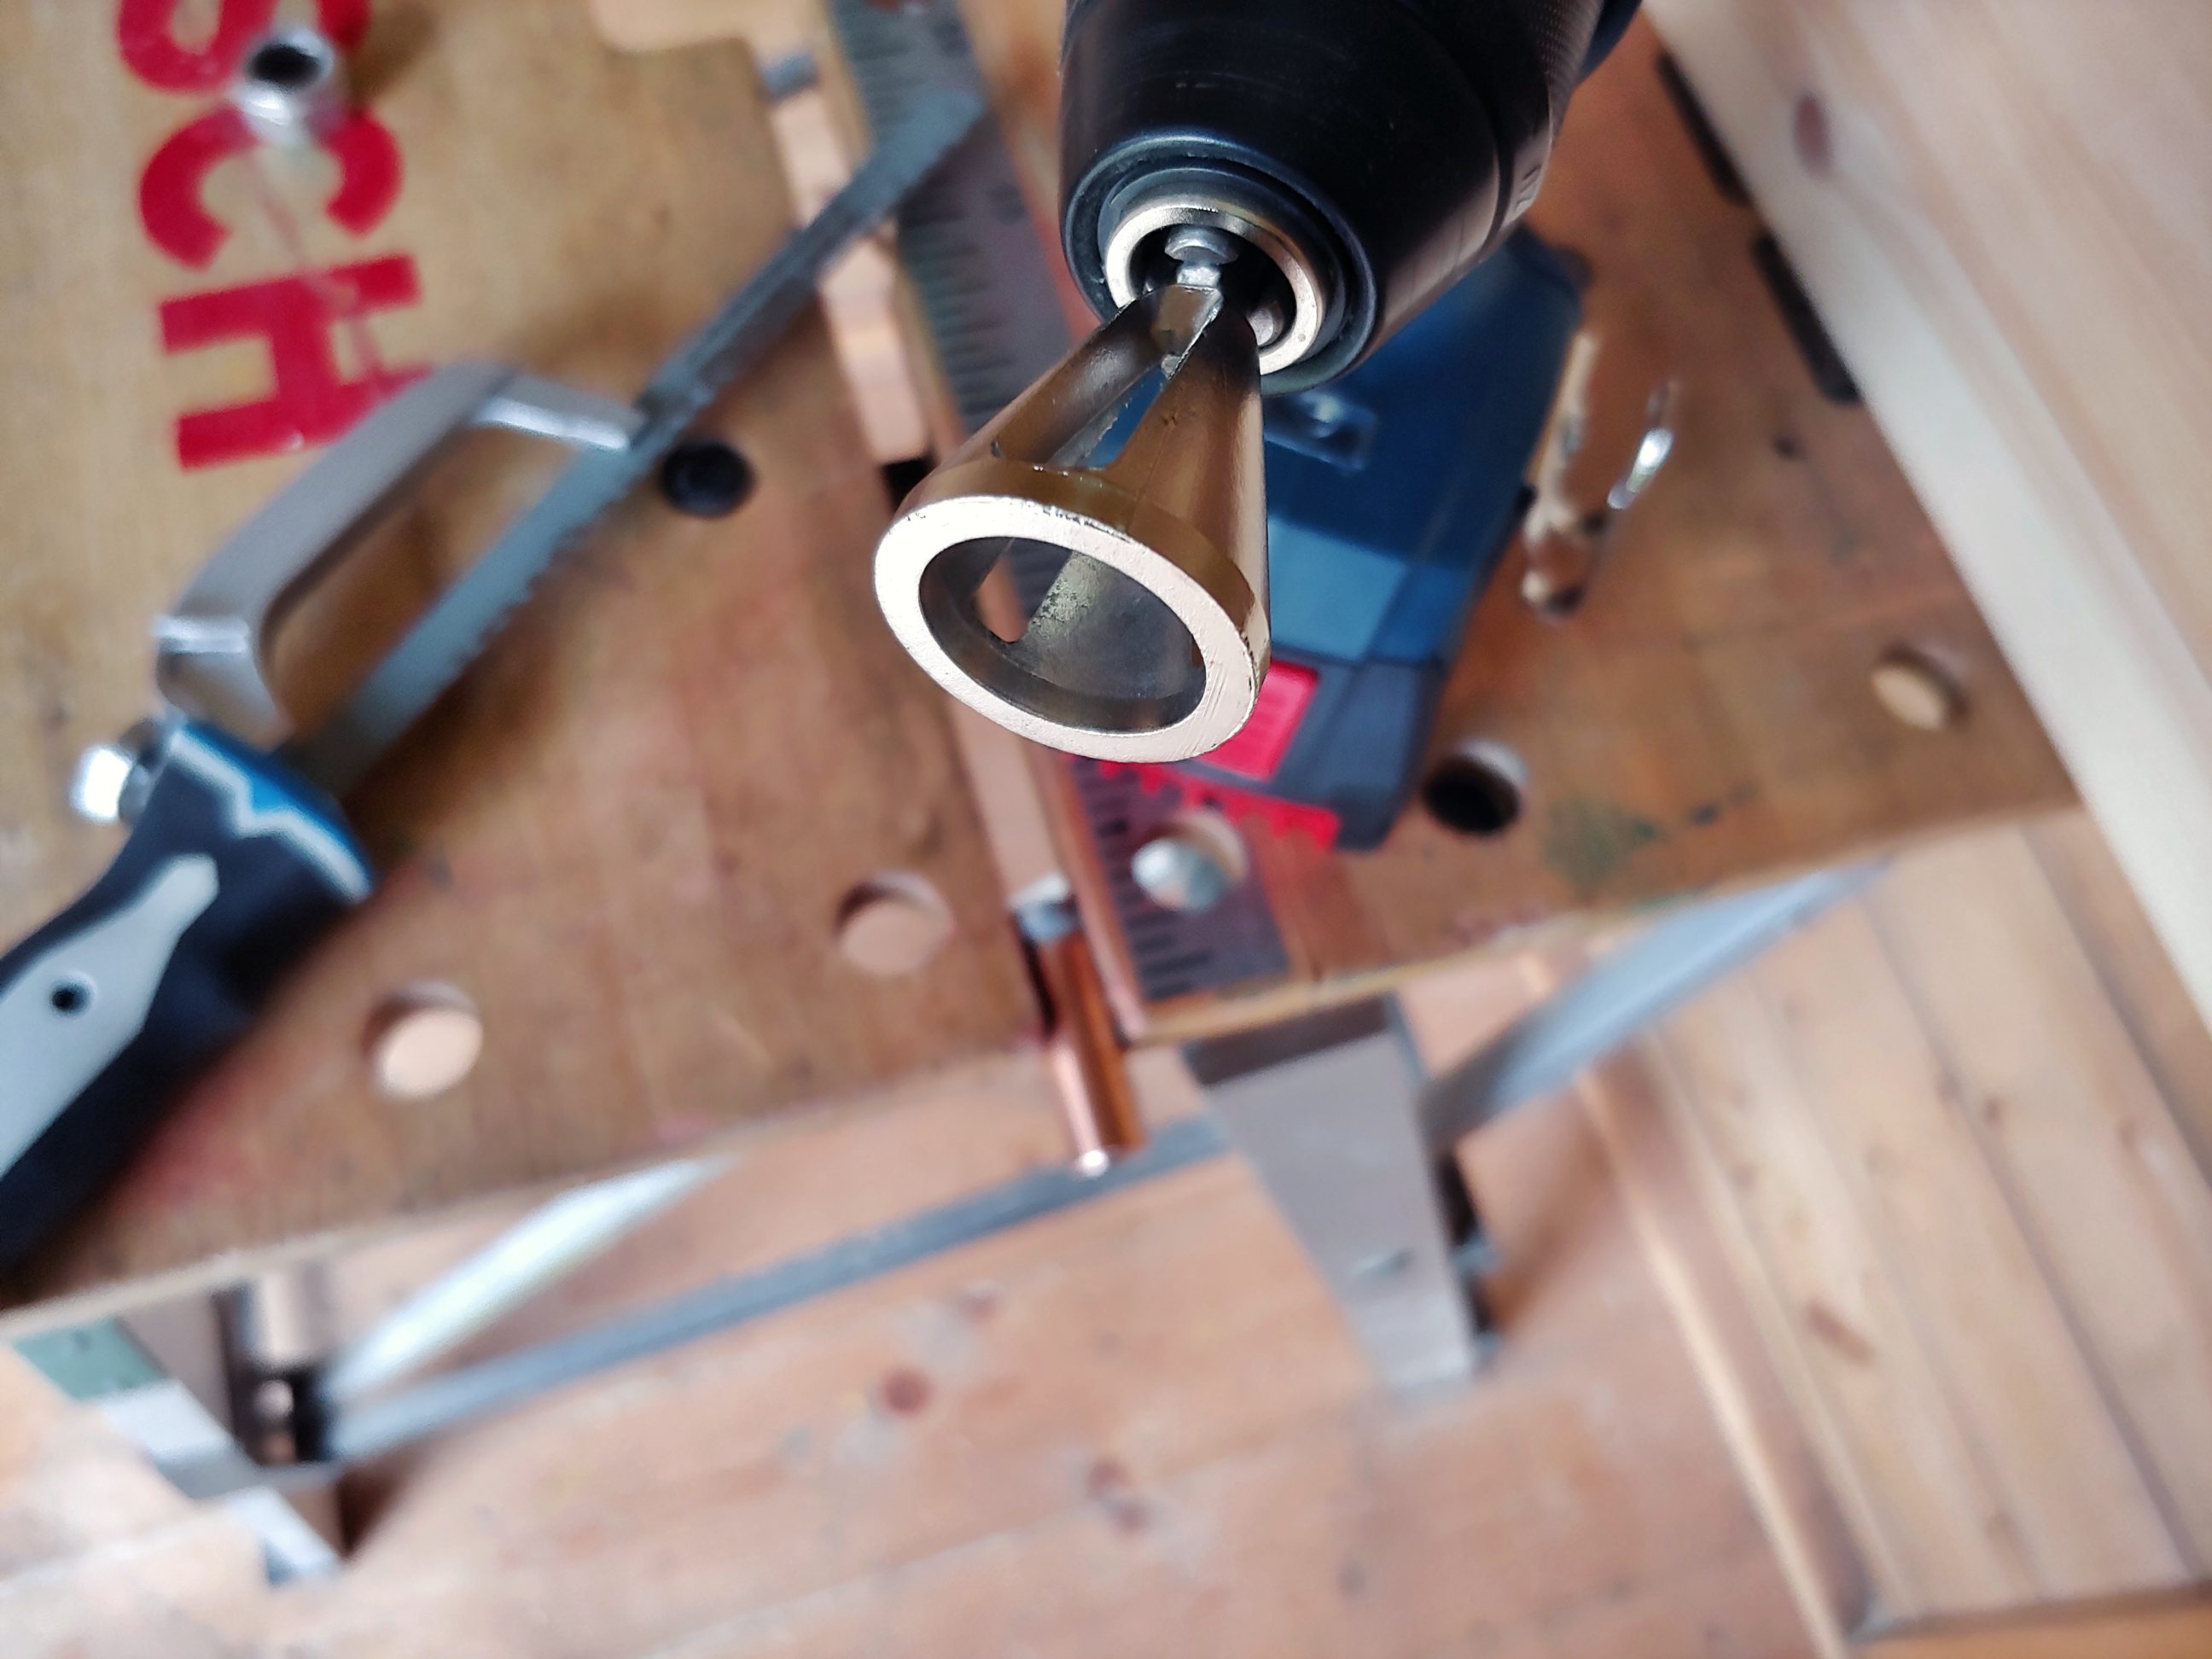


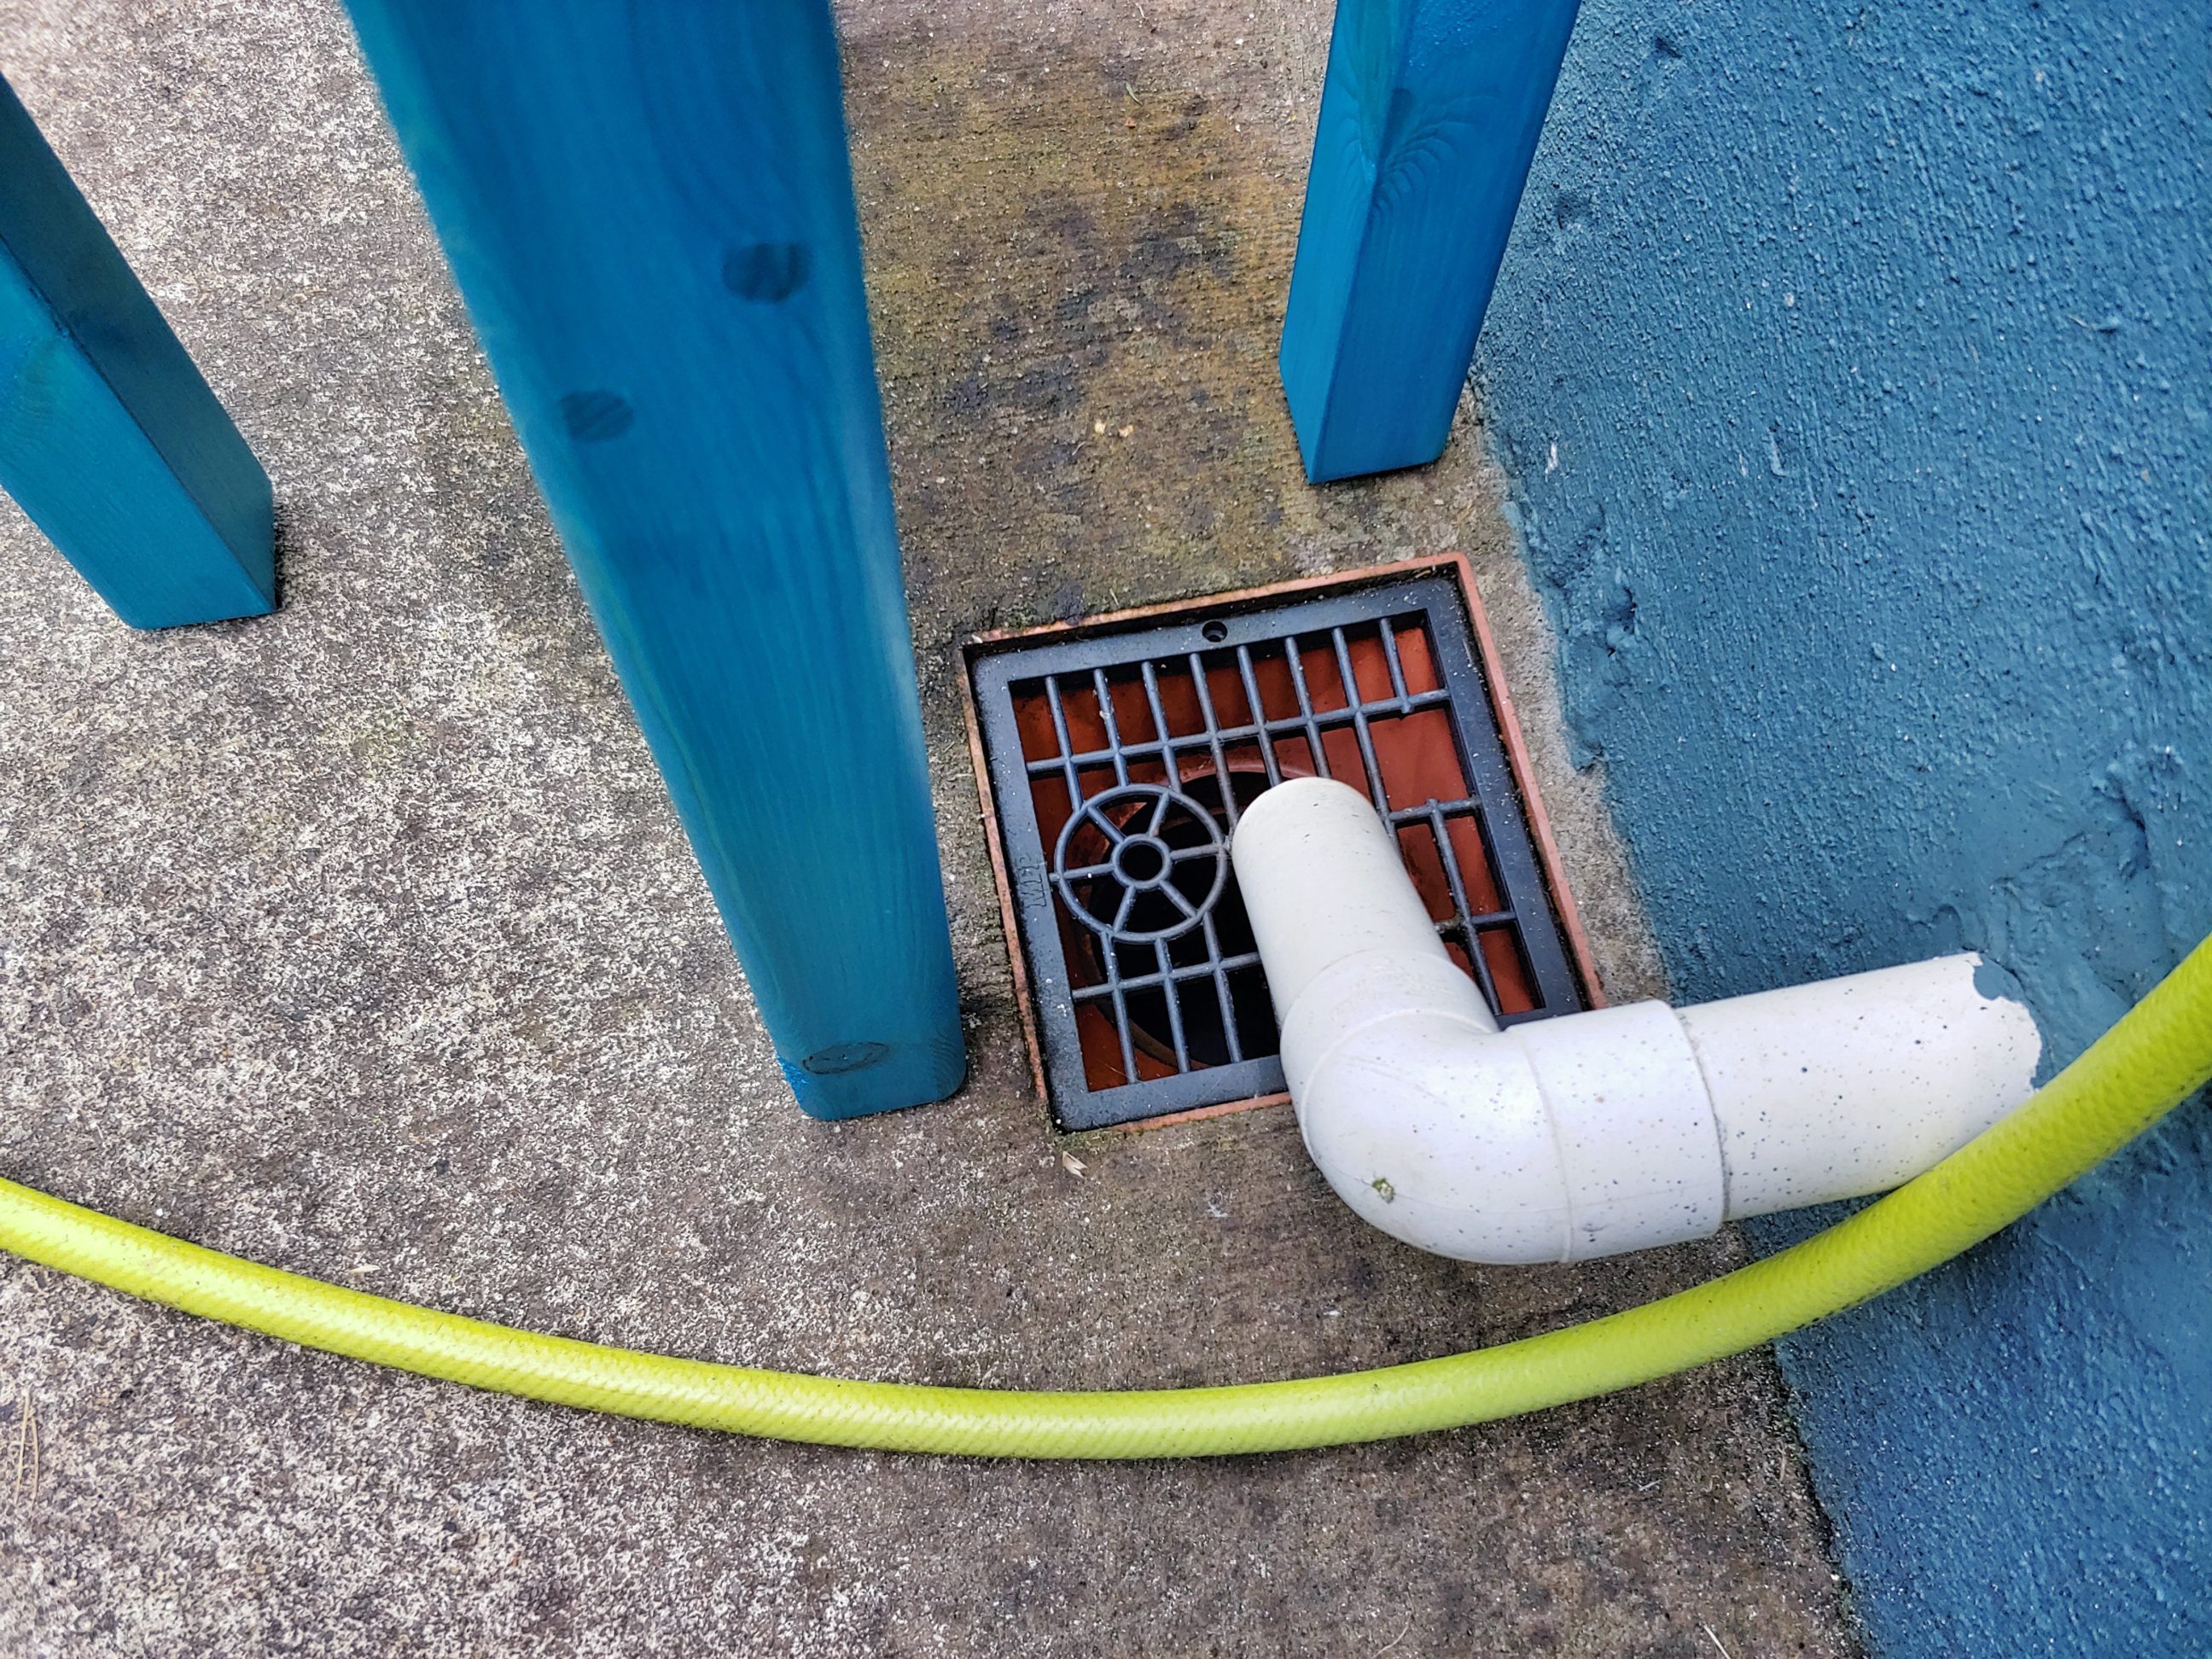
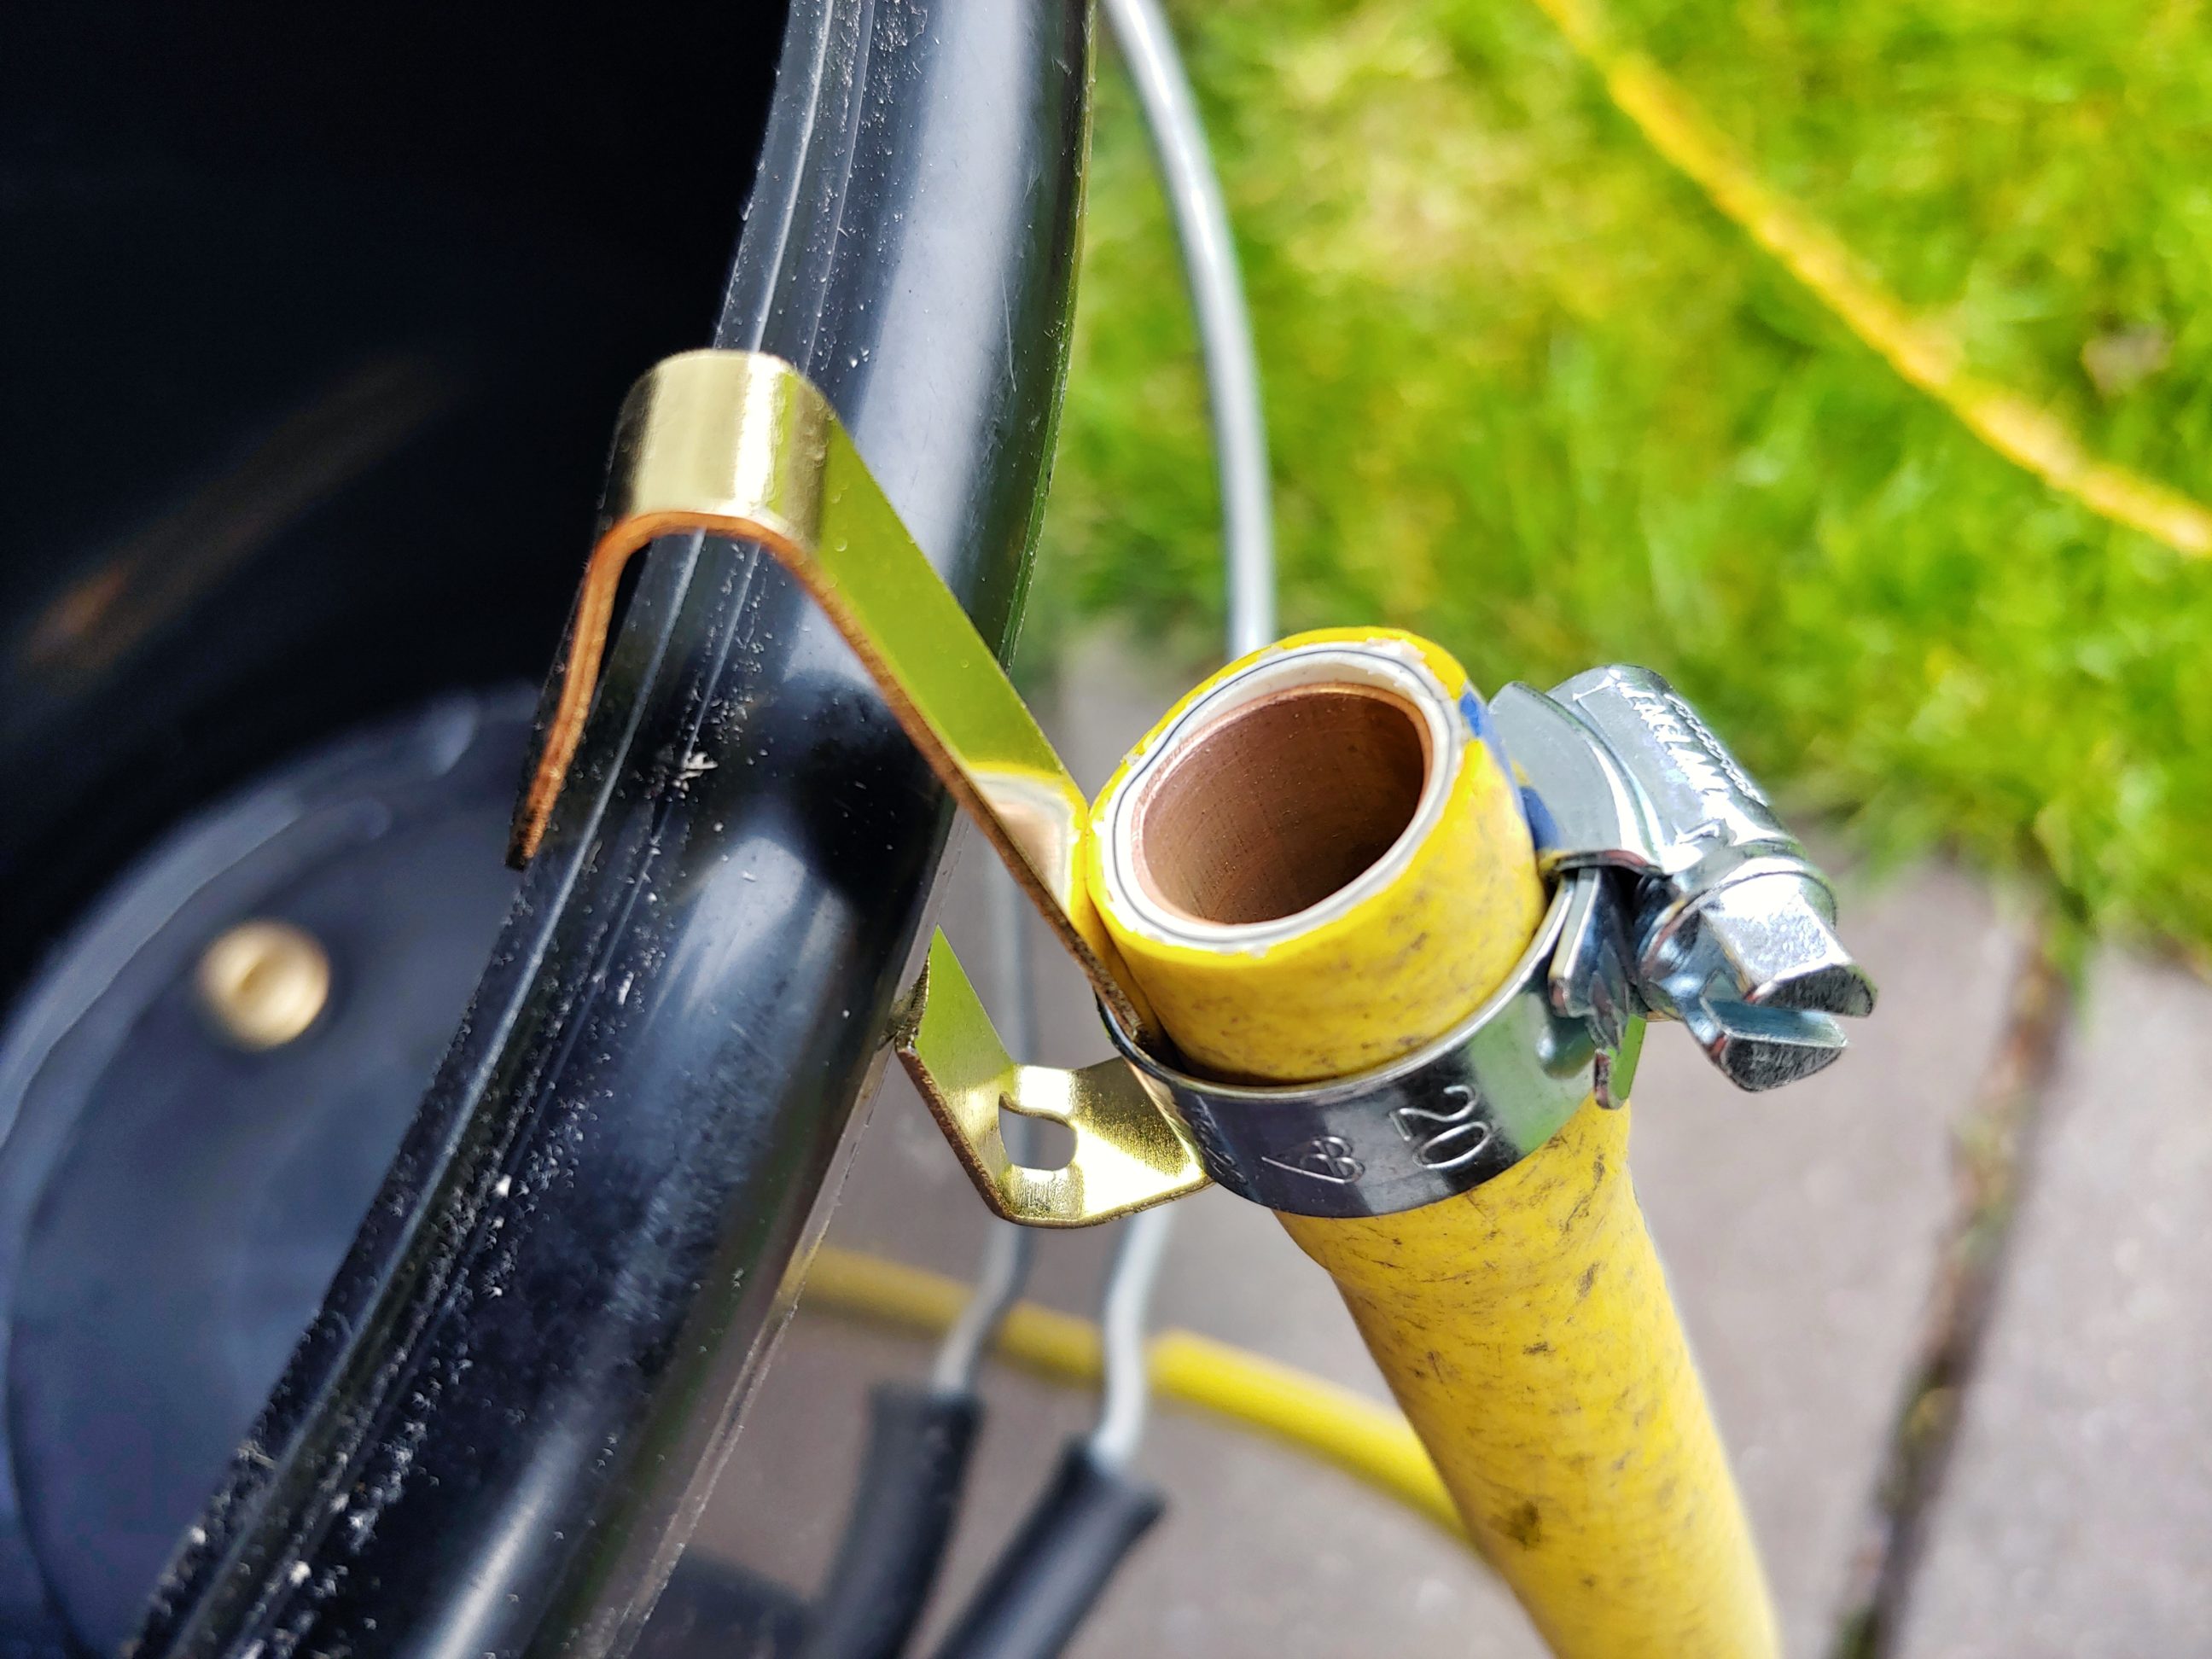
I started with drilling the drainage hole. First I used a 10 mm brad point drill bit, which I know won’t crack the plastic. Next, I resized the hole with a step drill bit to 20 mm. I installed a brass connector with a rubber washer fitted only from the inside. I cut and chamfered a short piece of pipe, connected all the bits together and fitted a piece of garden hose using a heat gun. The solution I used was mainly caused by reducing the total cost of the project. I used what I had without buying anything new. I remember from my childhood that a similar drainage system was used in washing machines – a piece of pipe hung to the hook placed on the side, close to the top.


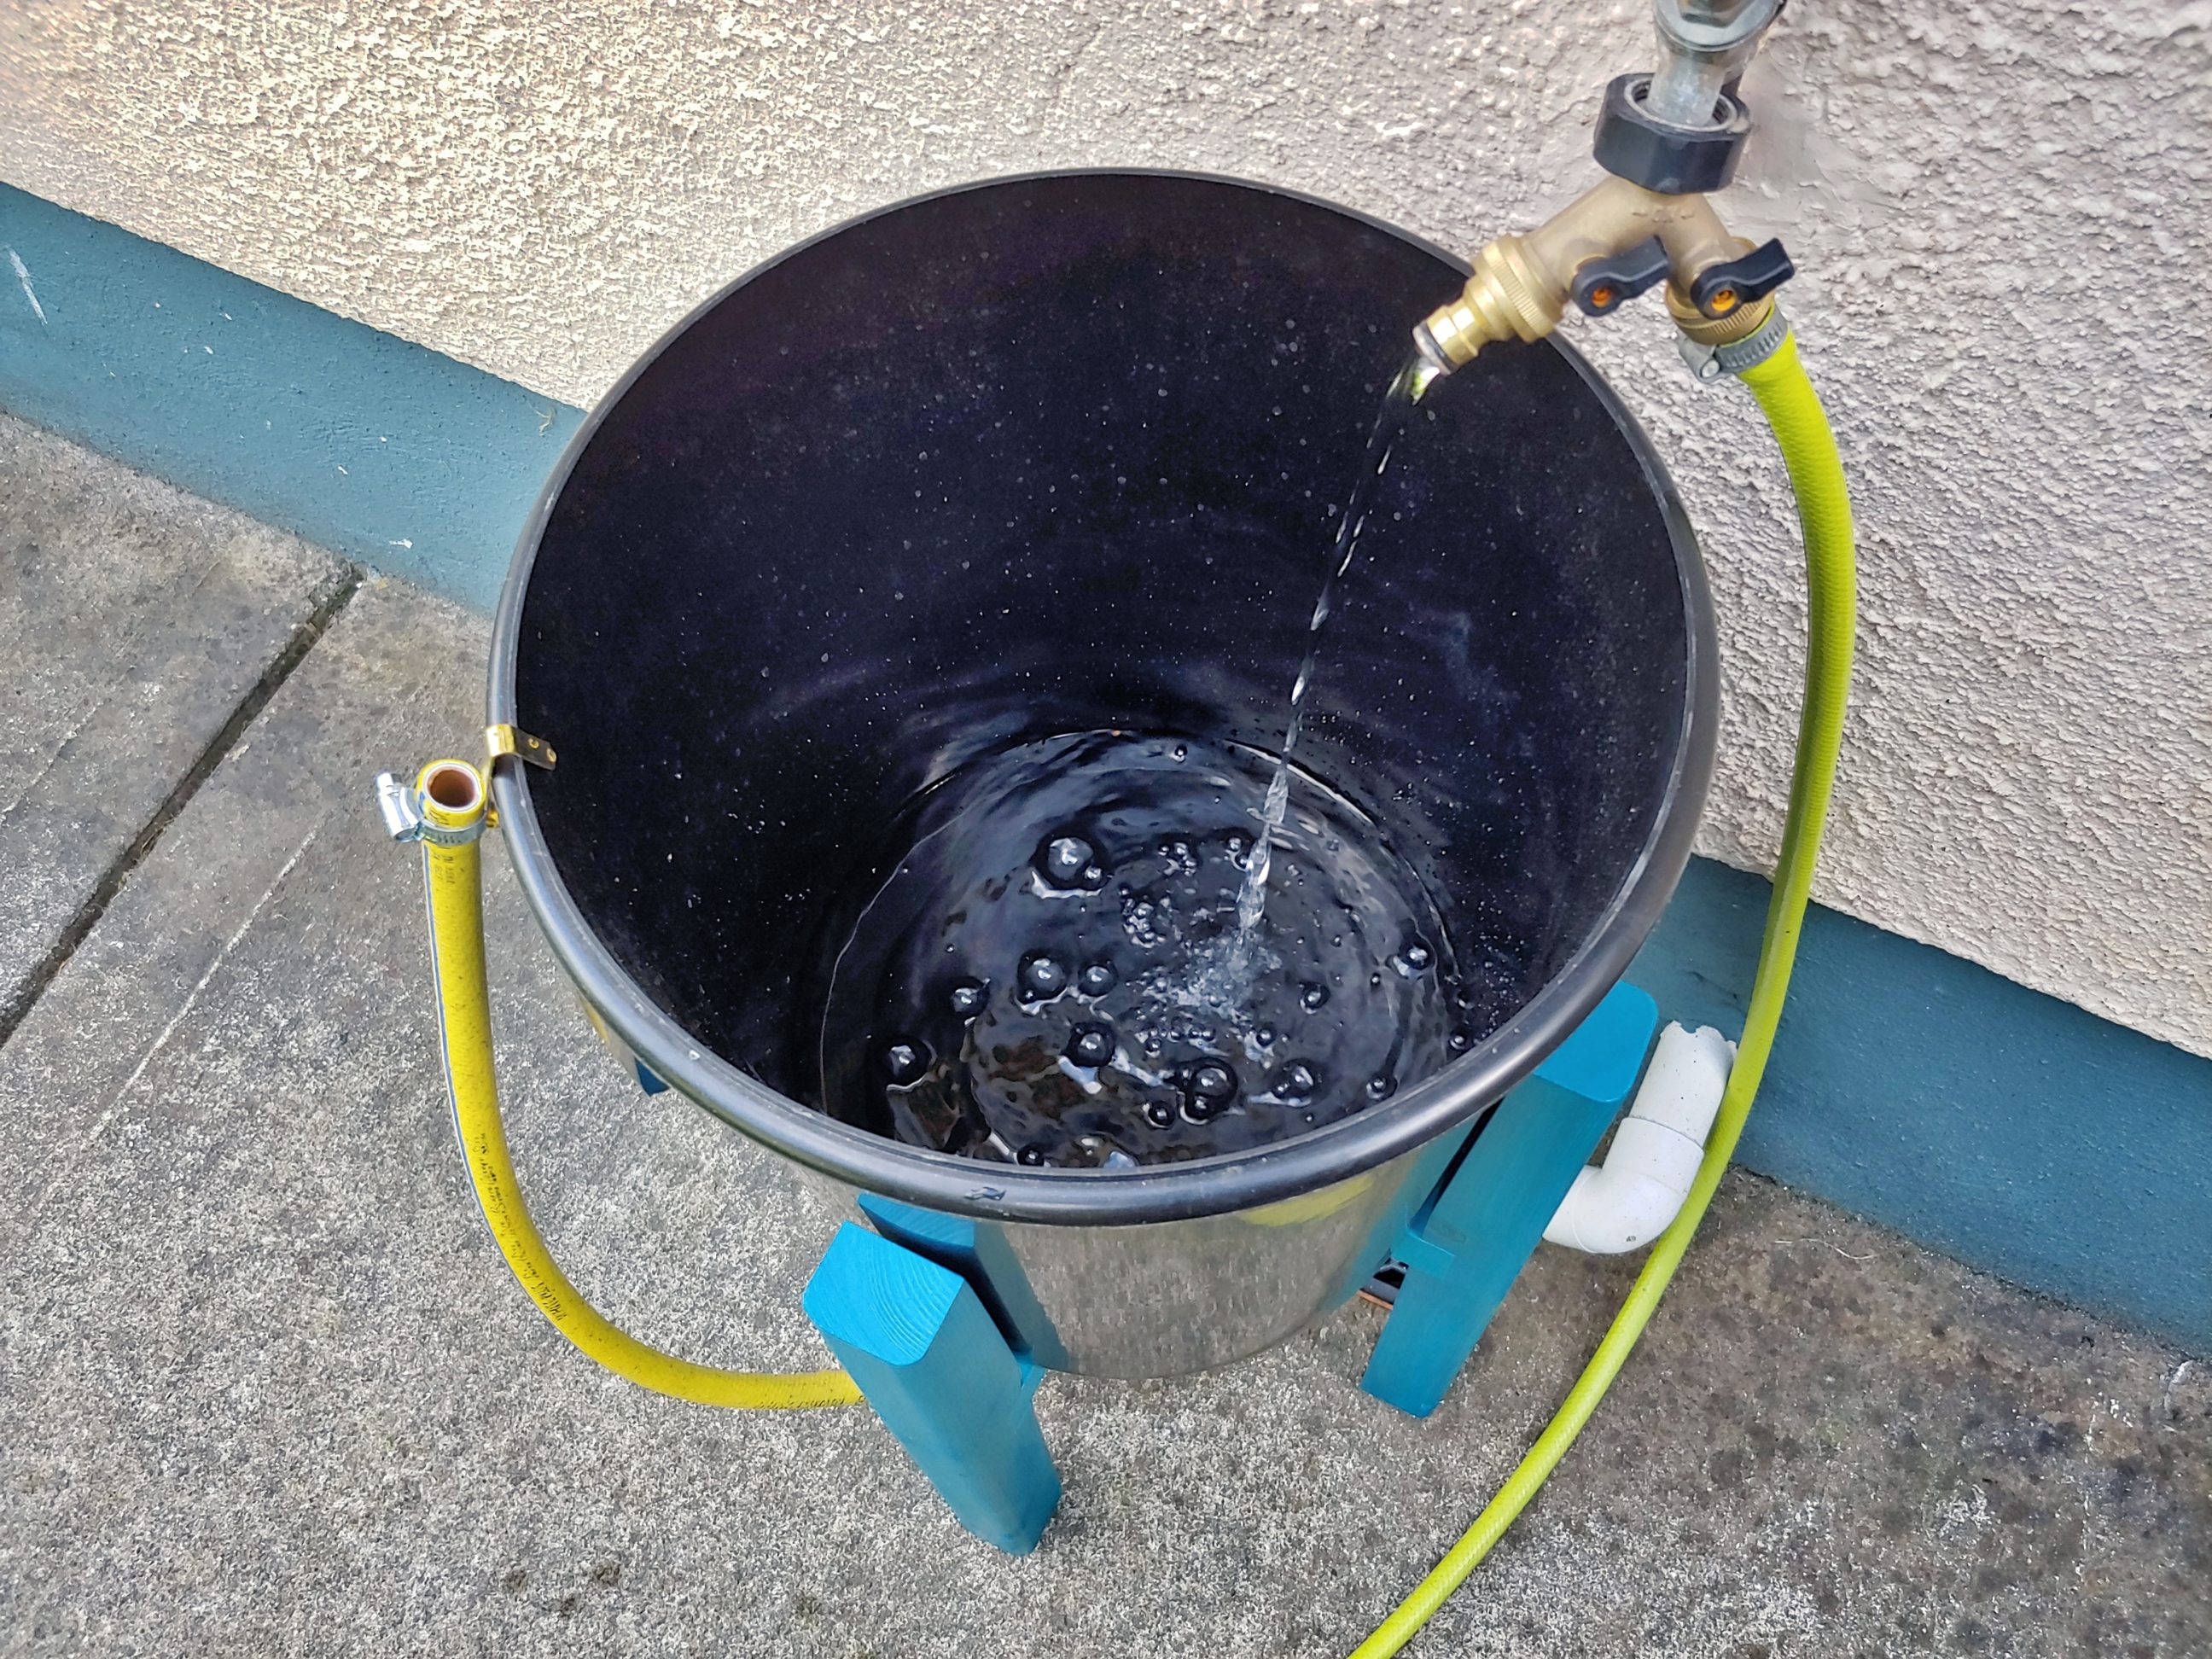
I checked for leaks using a temporary stand, which was a pallet. Once I was happy with the results, I moved on to the next step, which was a hook fixed on the other end of the hose. I cut a short insert, using the same piece of brass pipe. That insert prevents the hose from squeezing when the hose clip is fully tightened. I used a picture hook with one end slightly angled back to 90º. Any accidental removal of the hook was limited to a minimum, but I changed that later on as it was too difficult to unclip the hose from the rim.
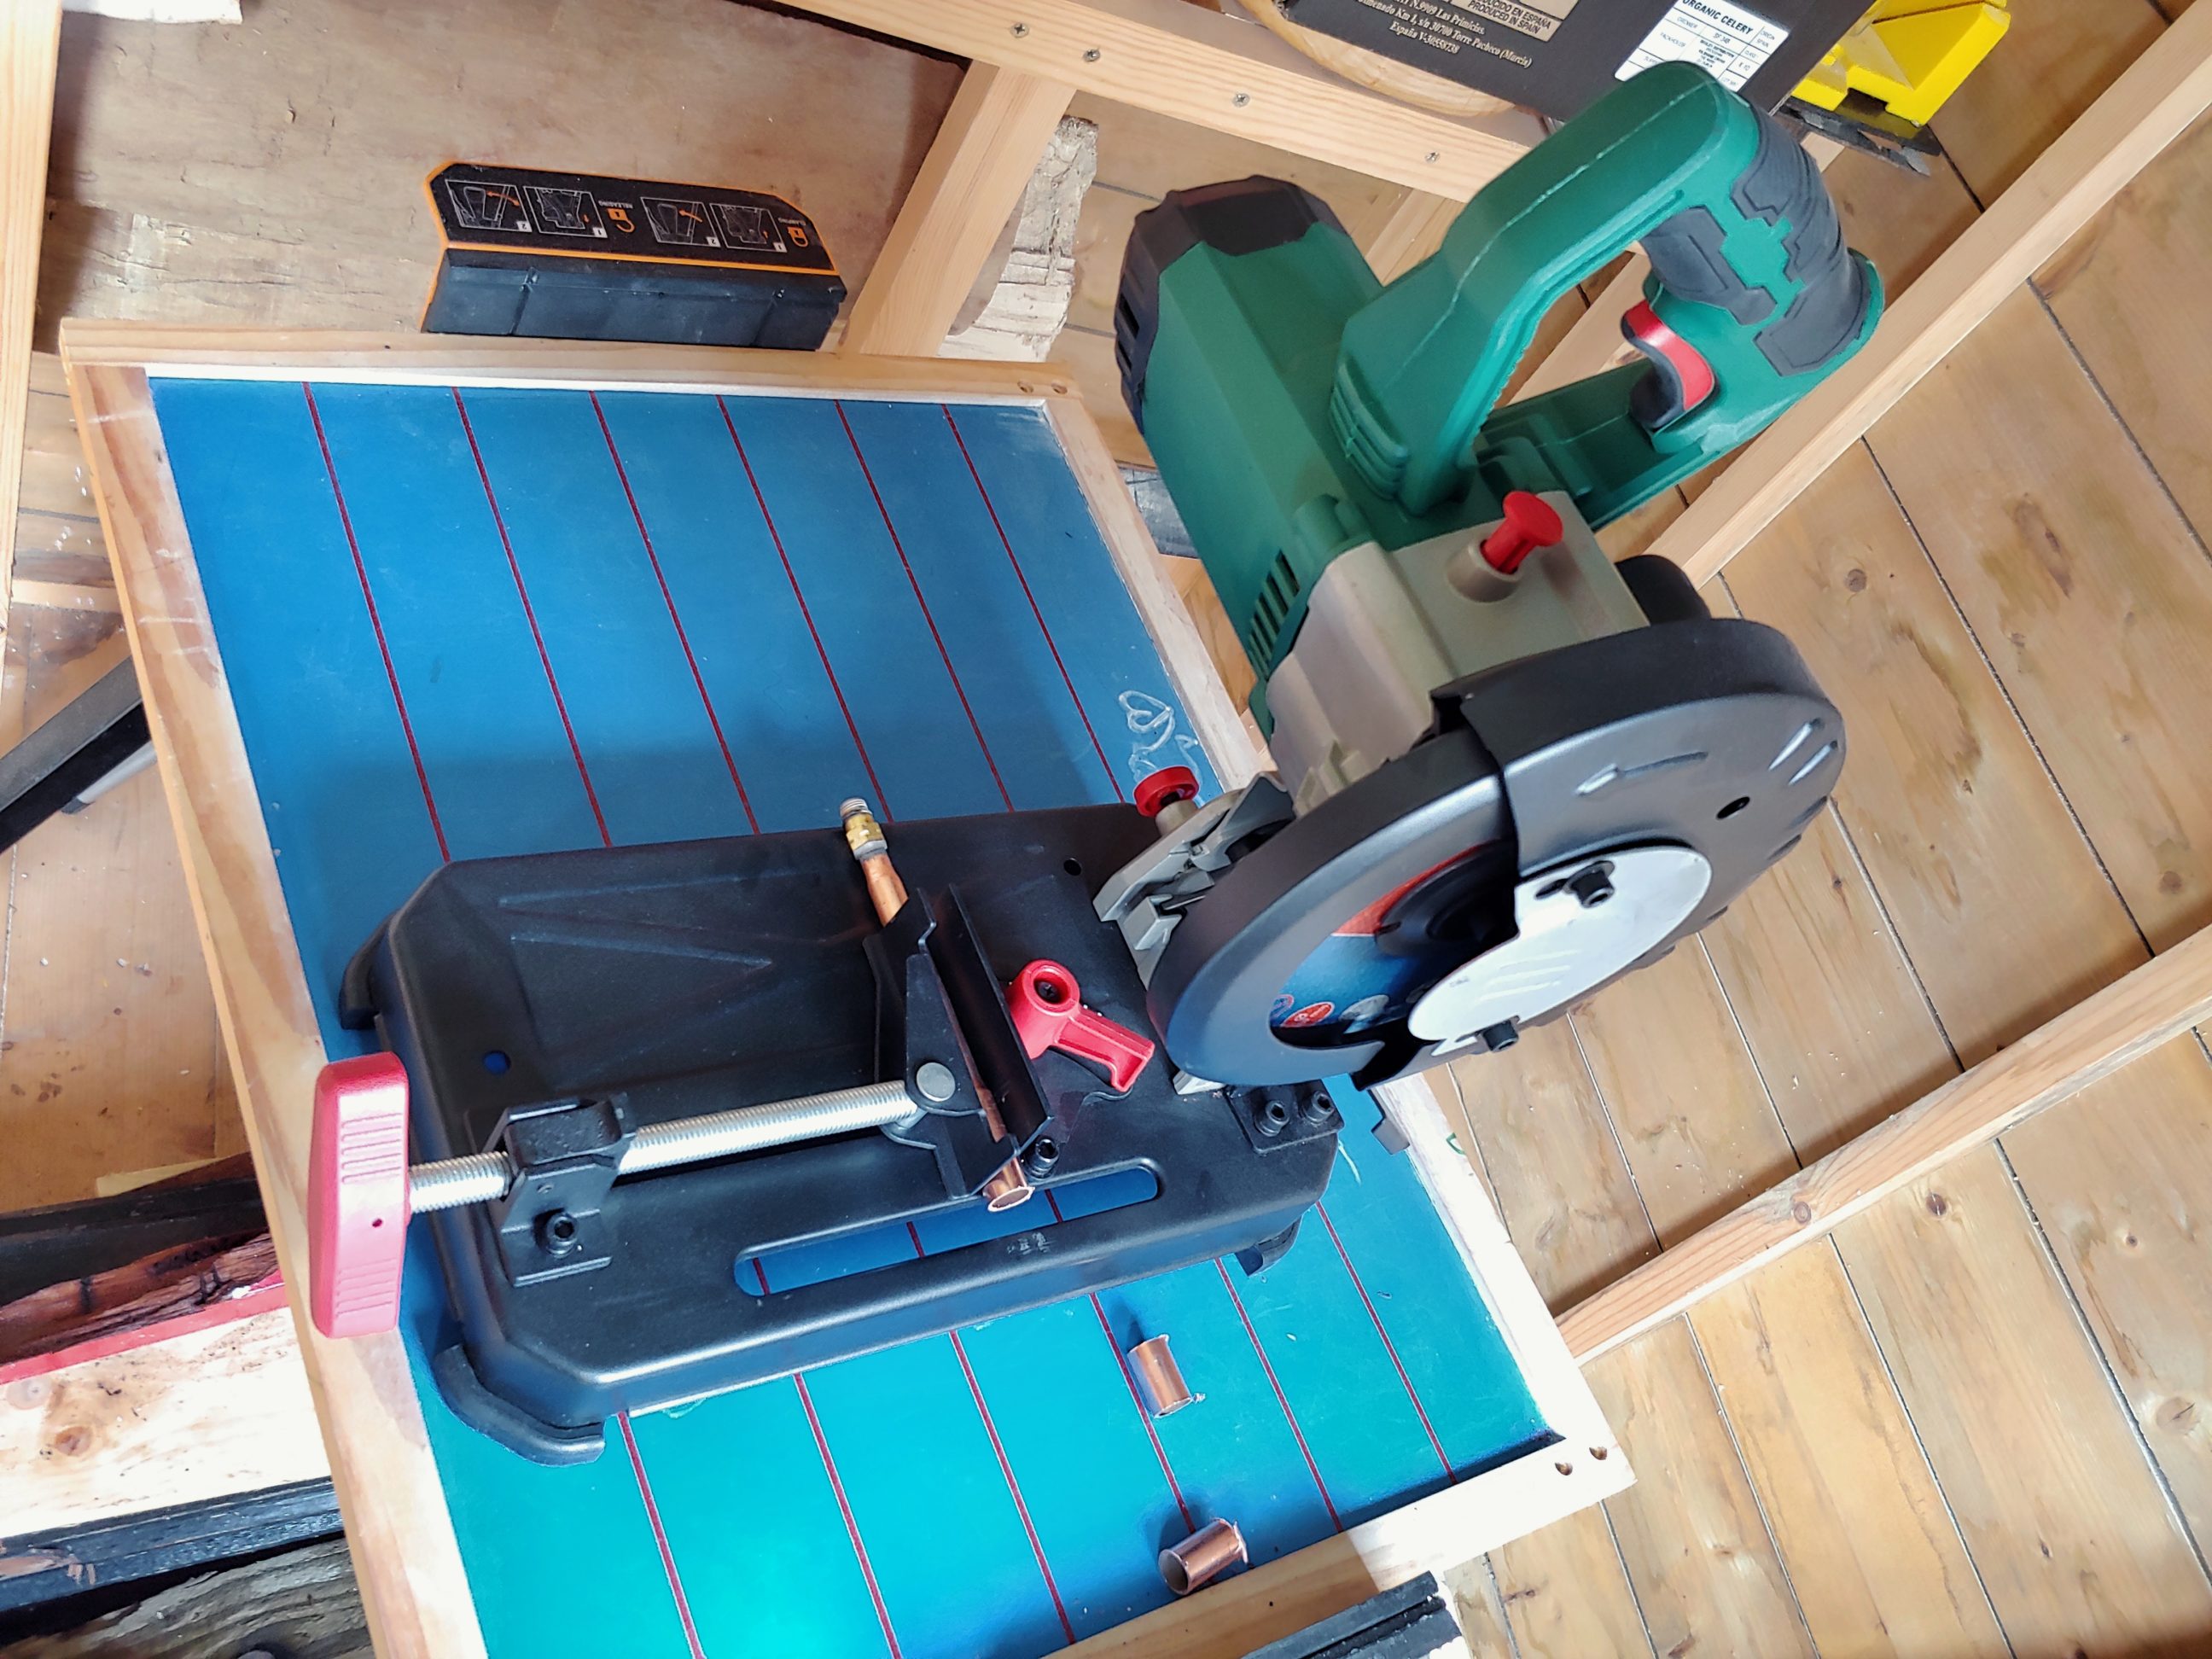
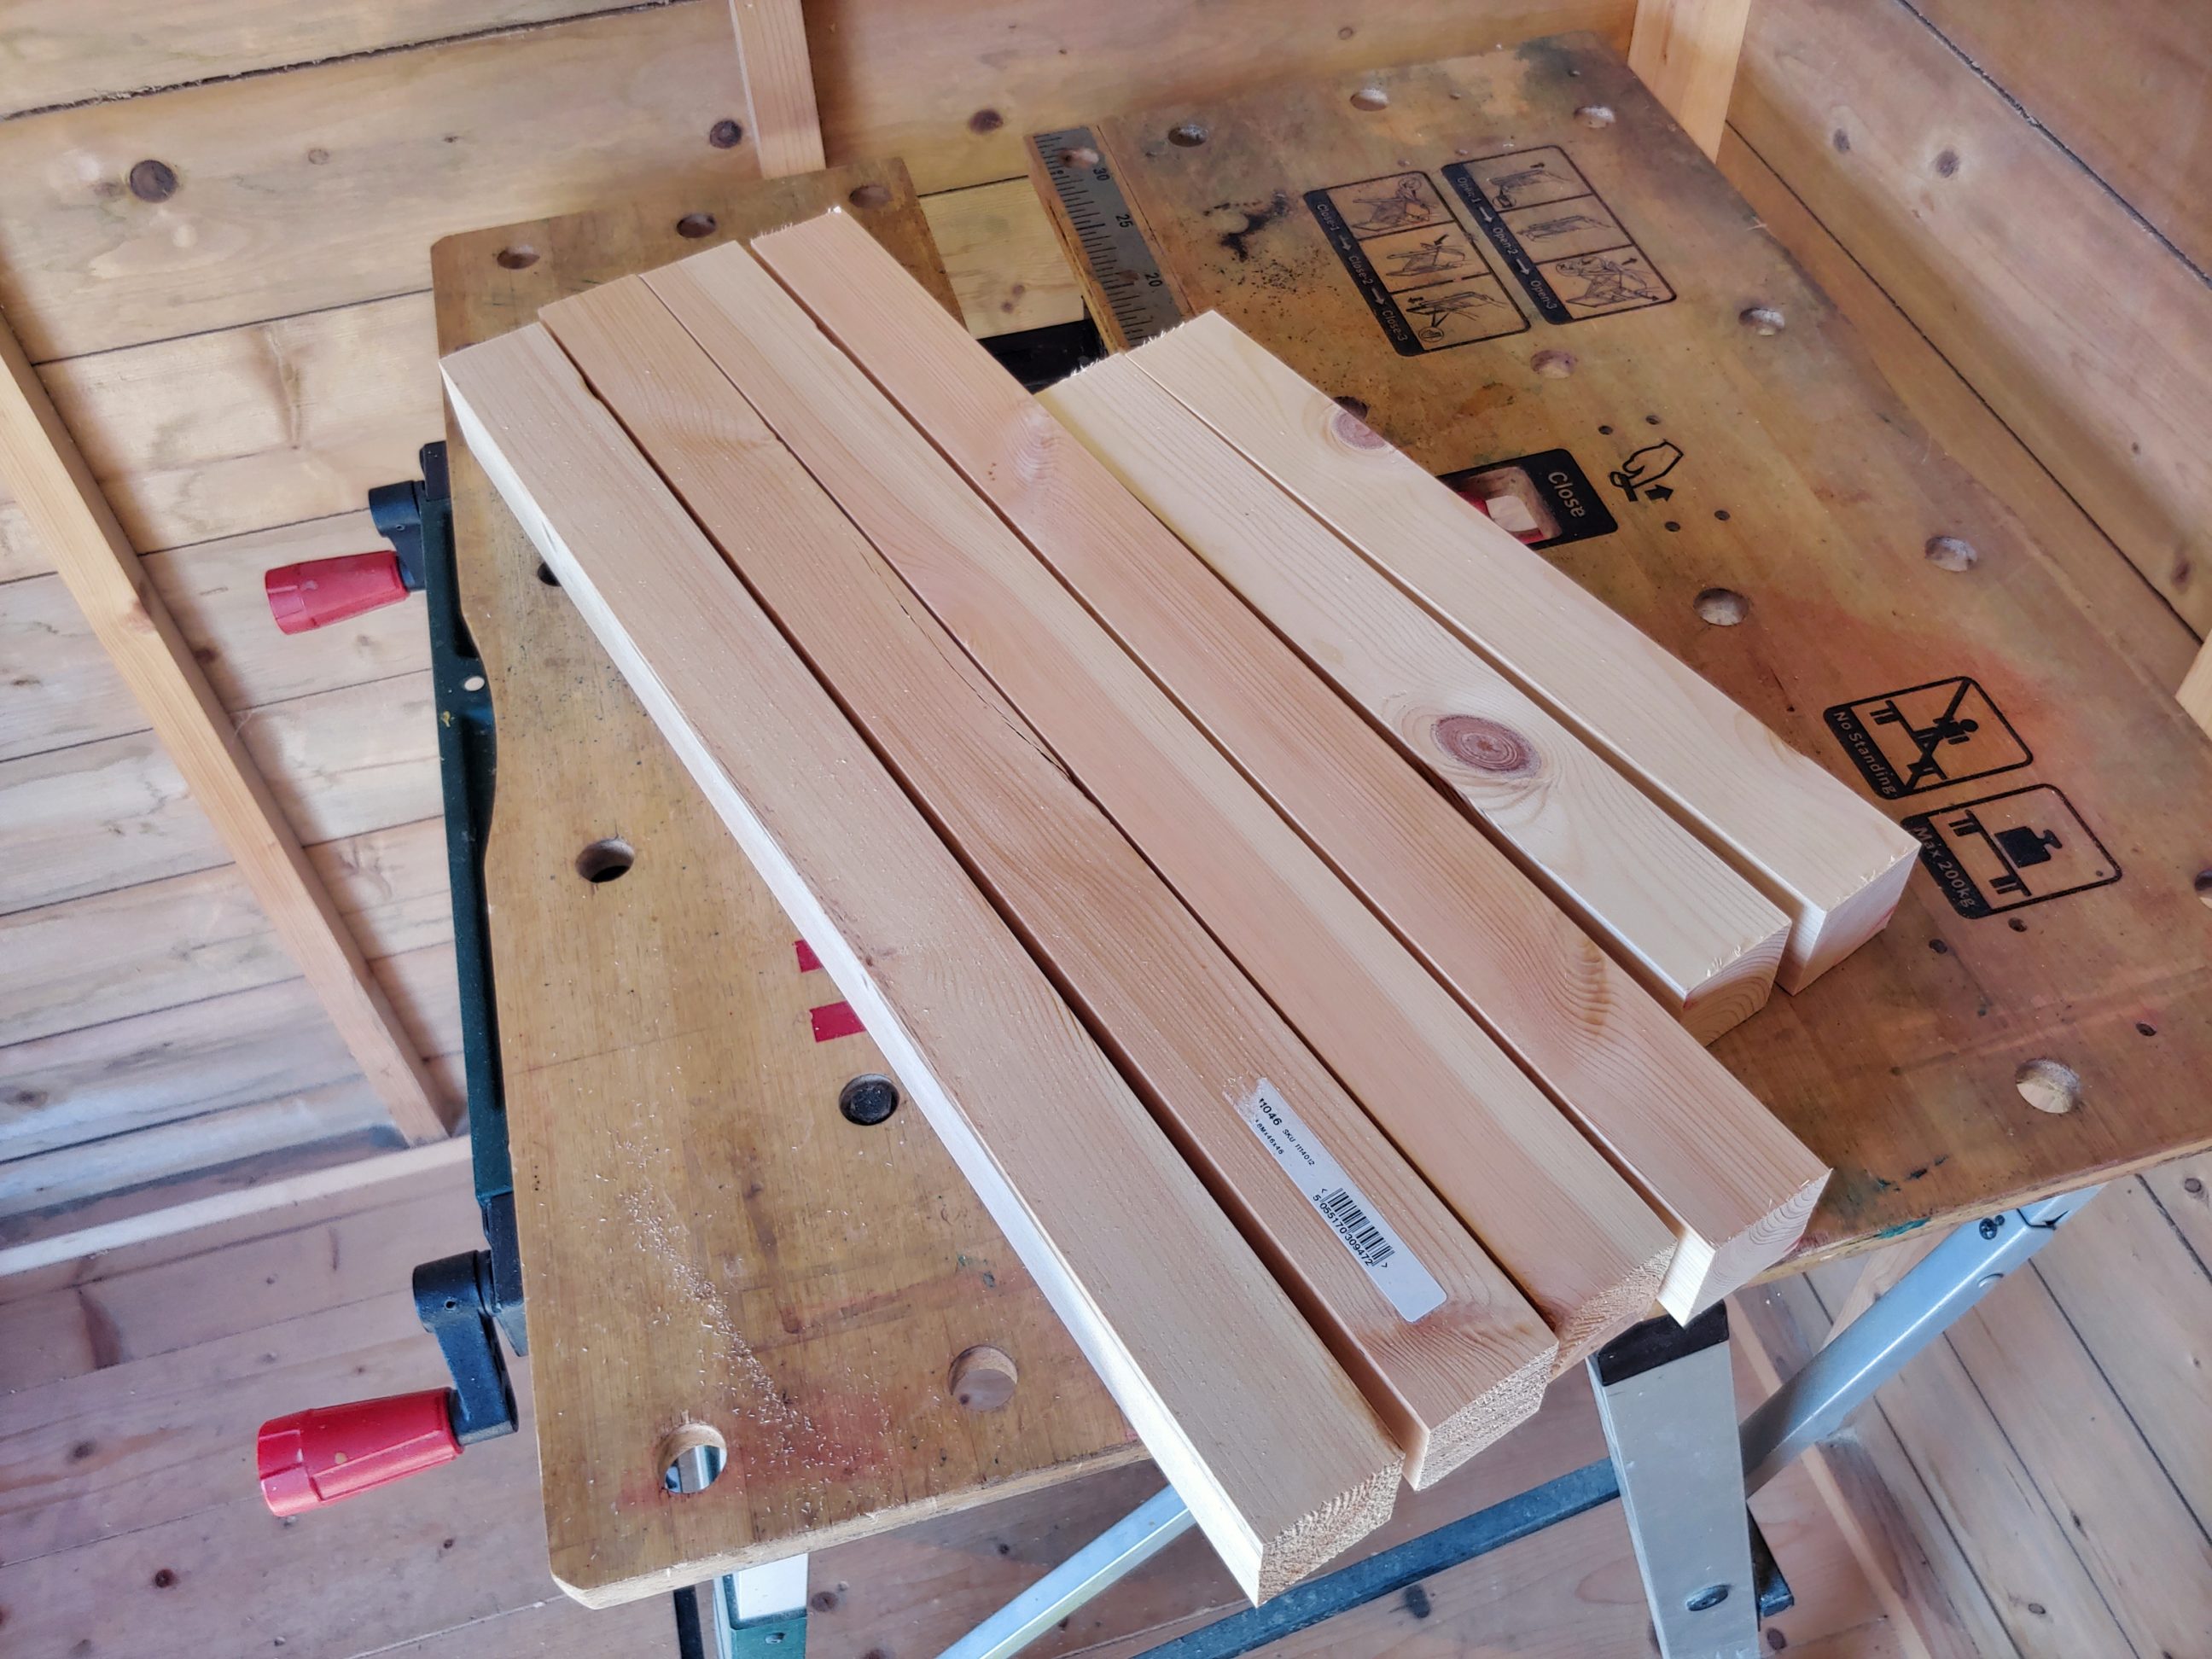
Next, I cut some timber. First with my circular saw and then over my table saw, to the length I needed.


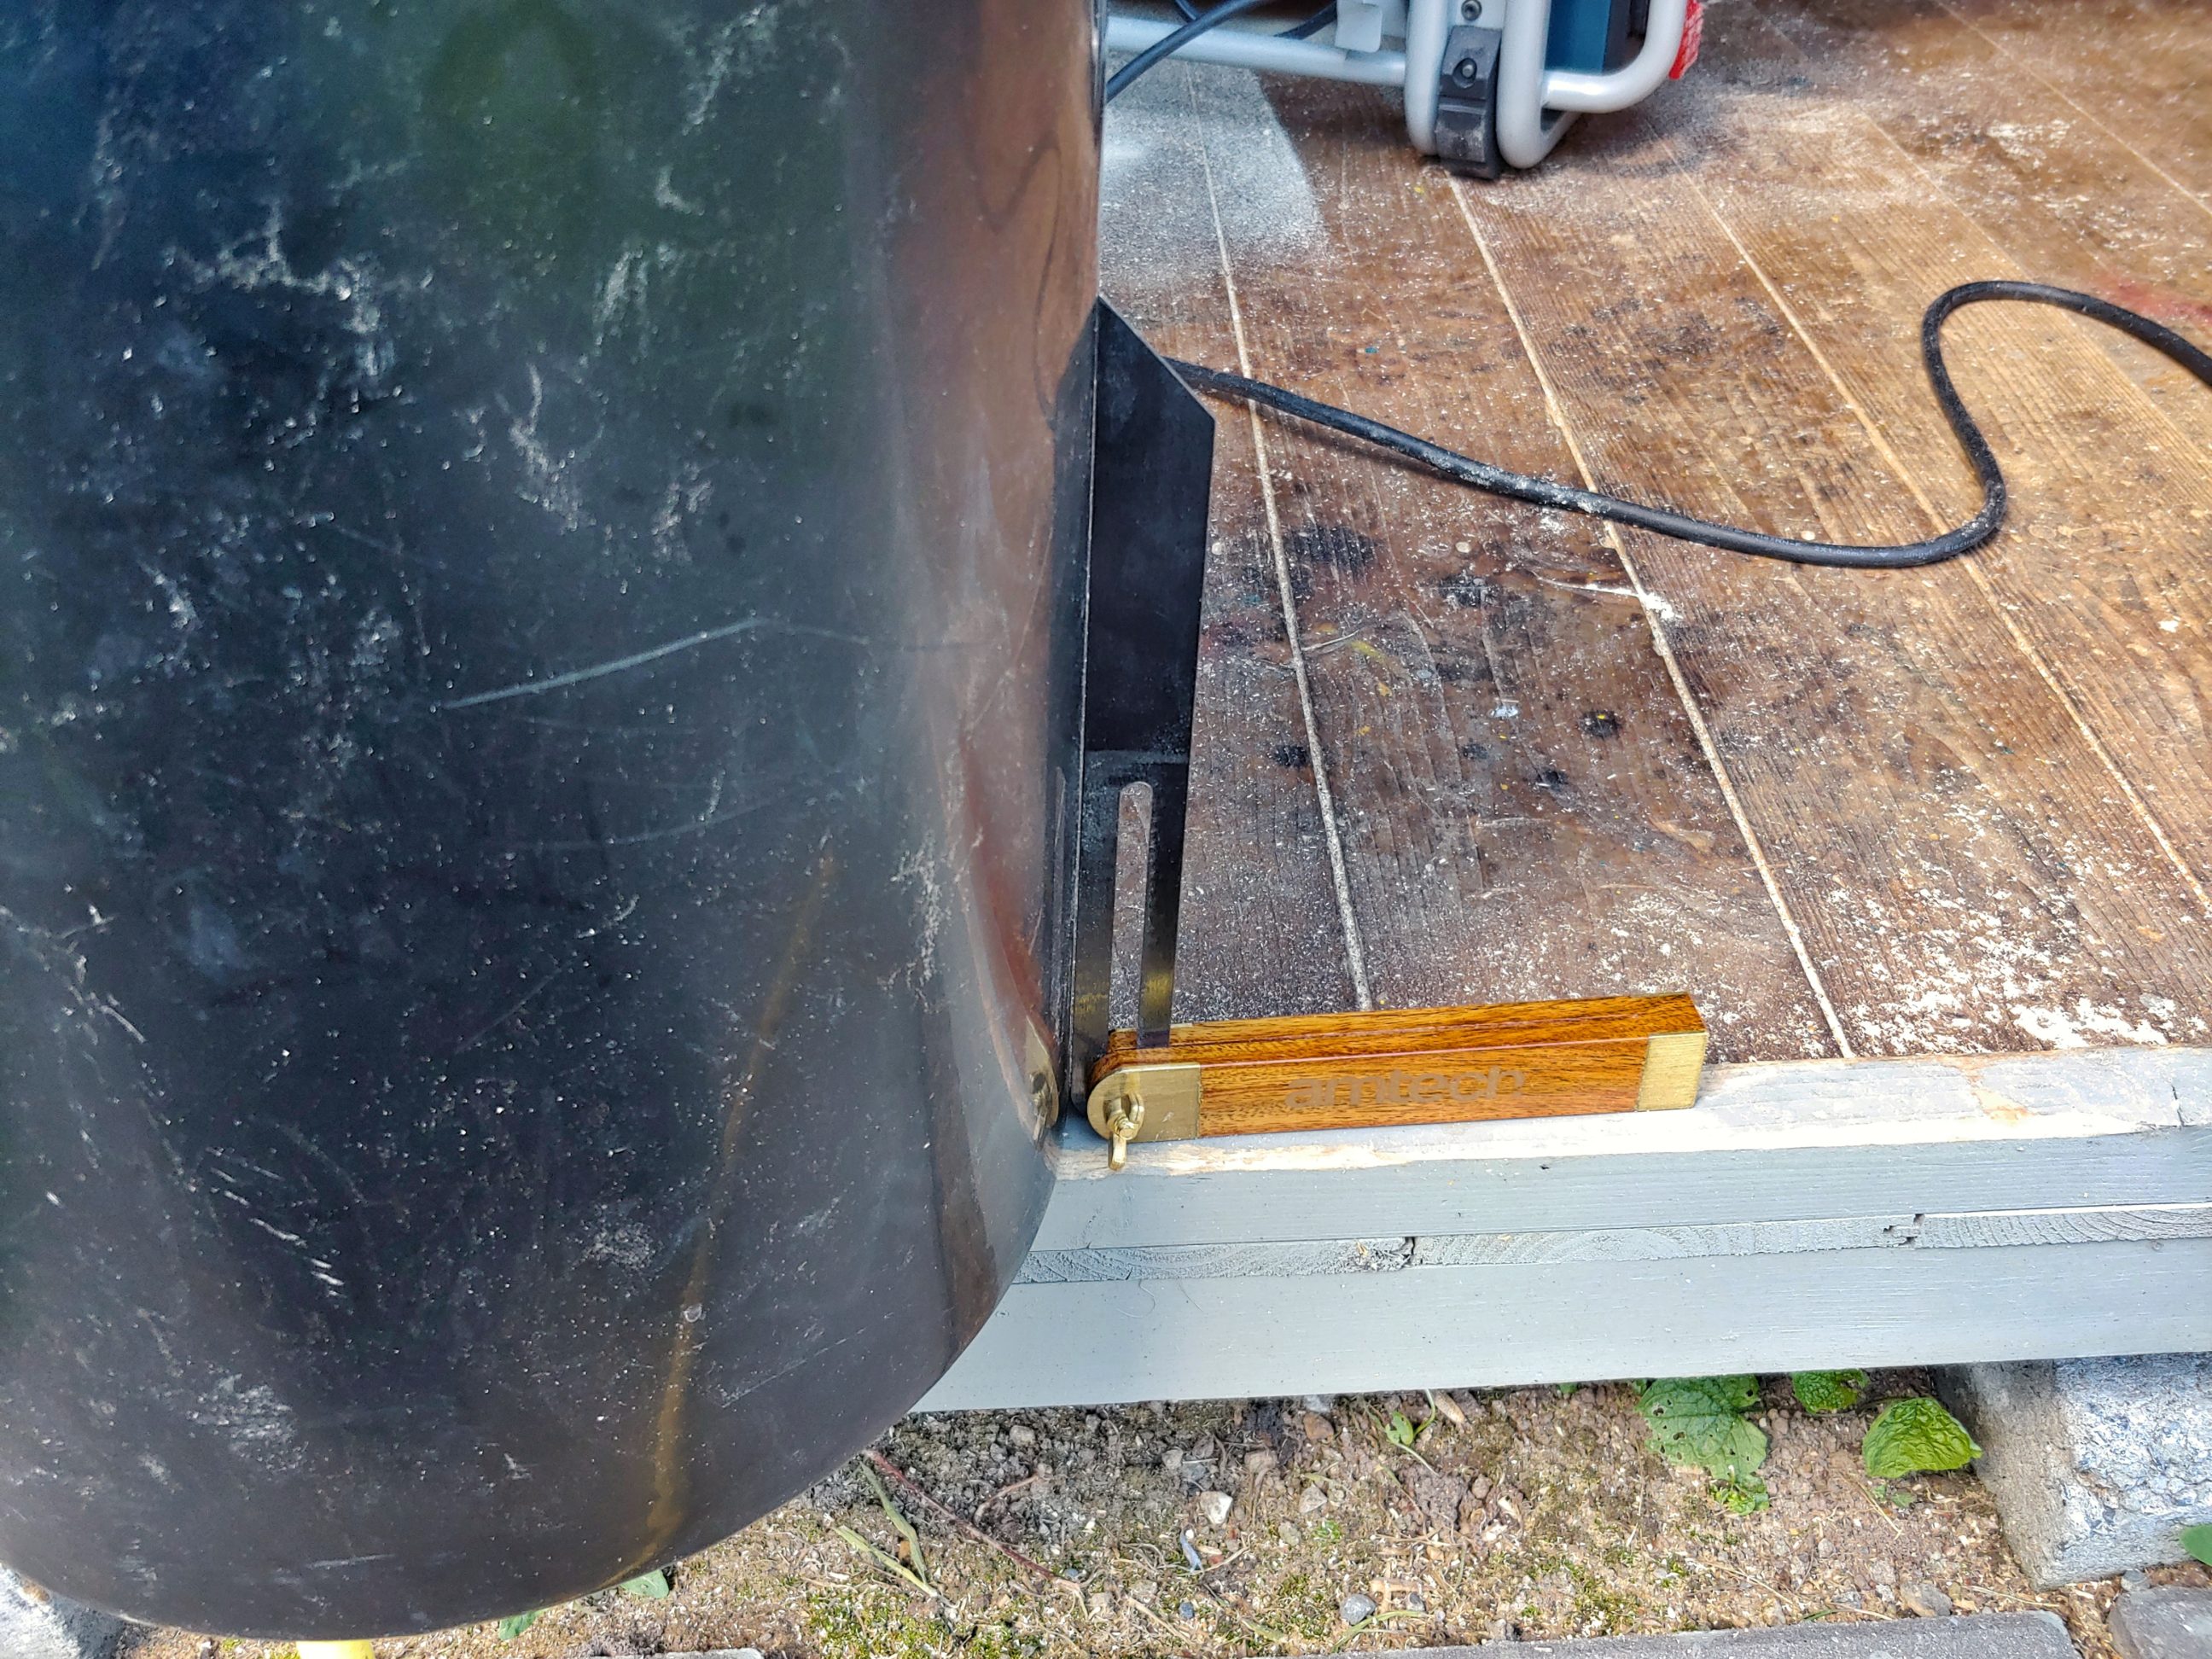
Next, I pulled out my tapering jig, and cut tapers. I transferred the angle with a sliding bevel. Once the tapers were cut, I finished their surface and removed all the saw marks with a hand plane.


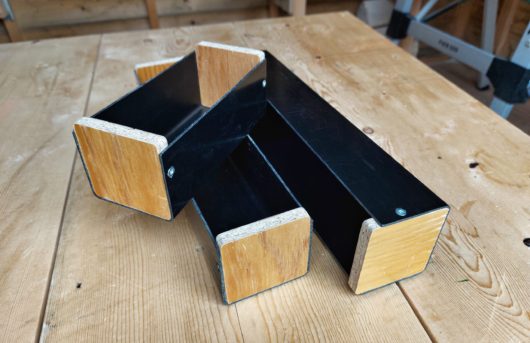
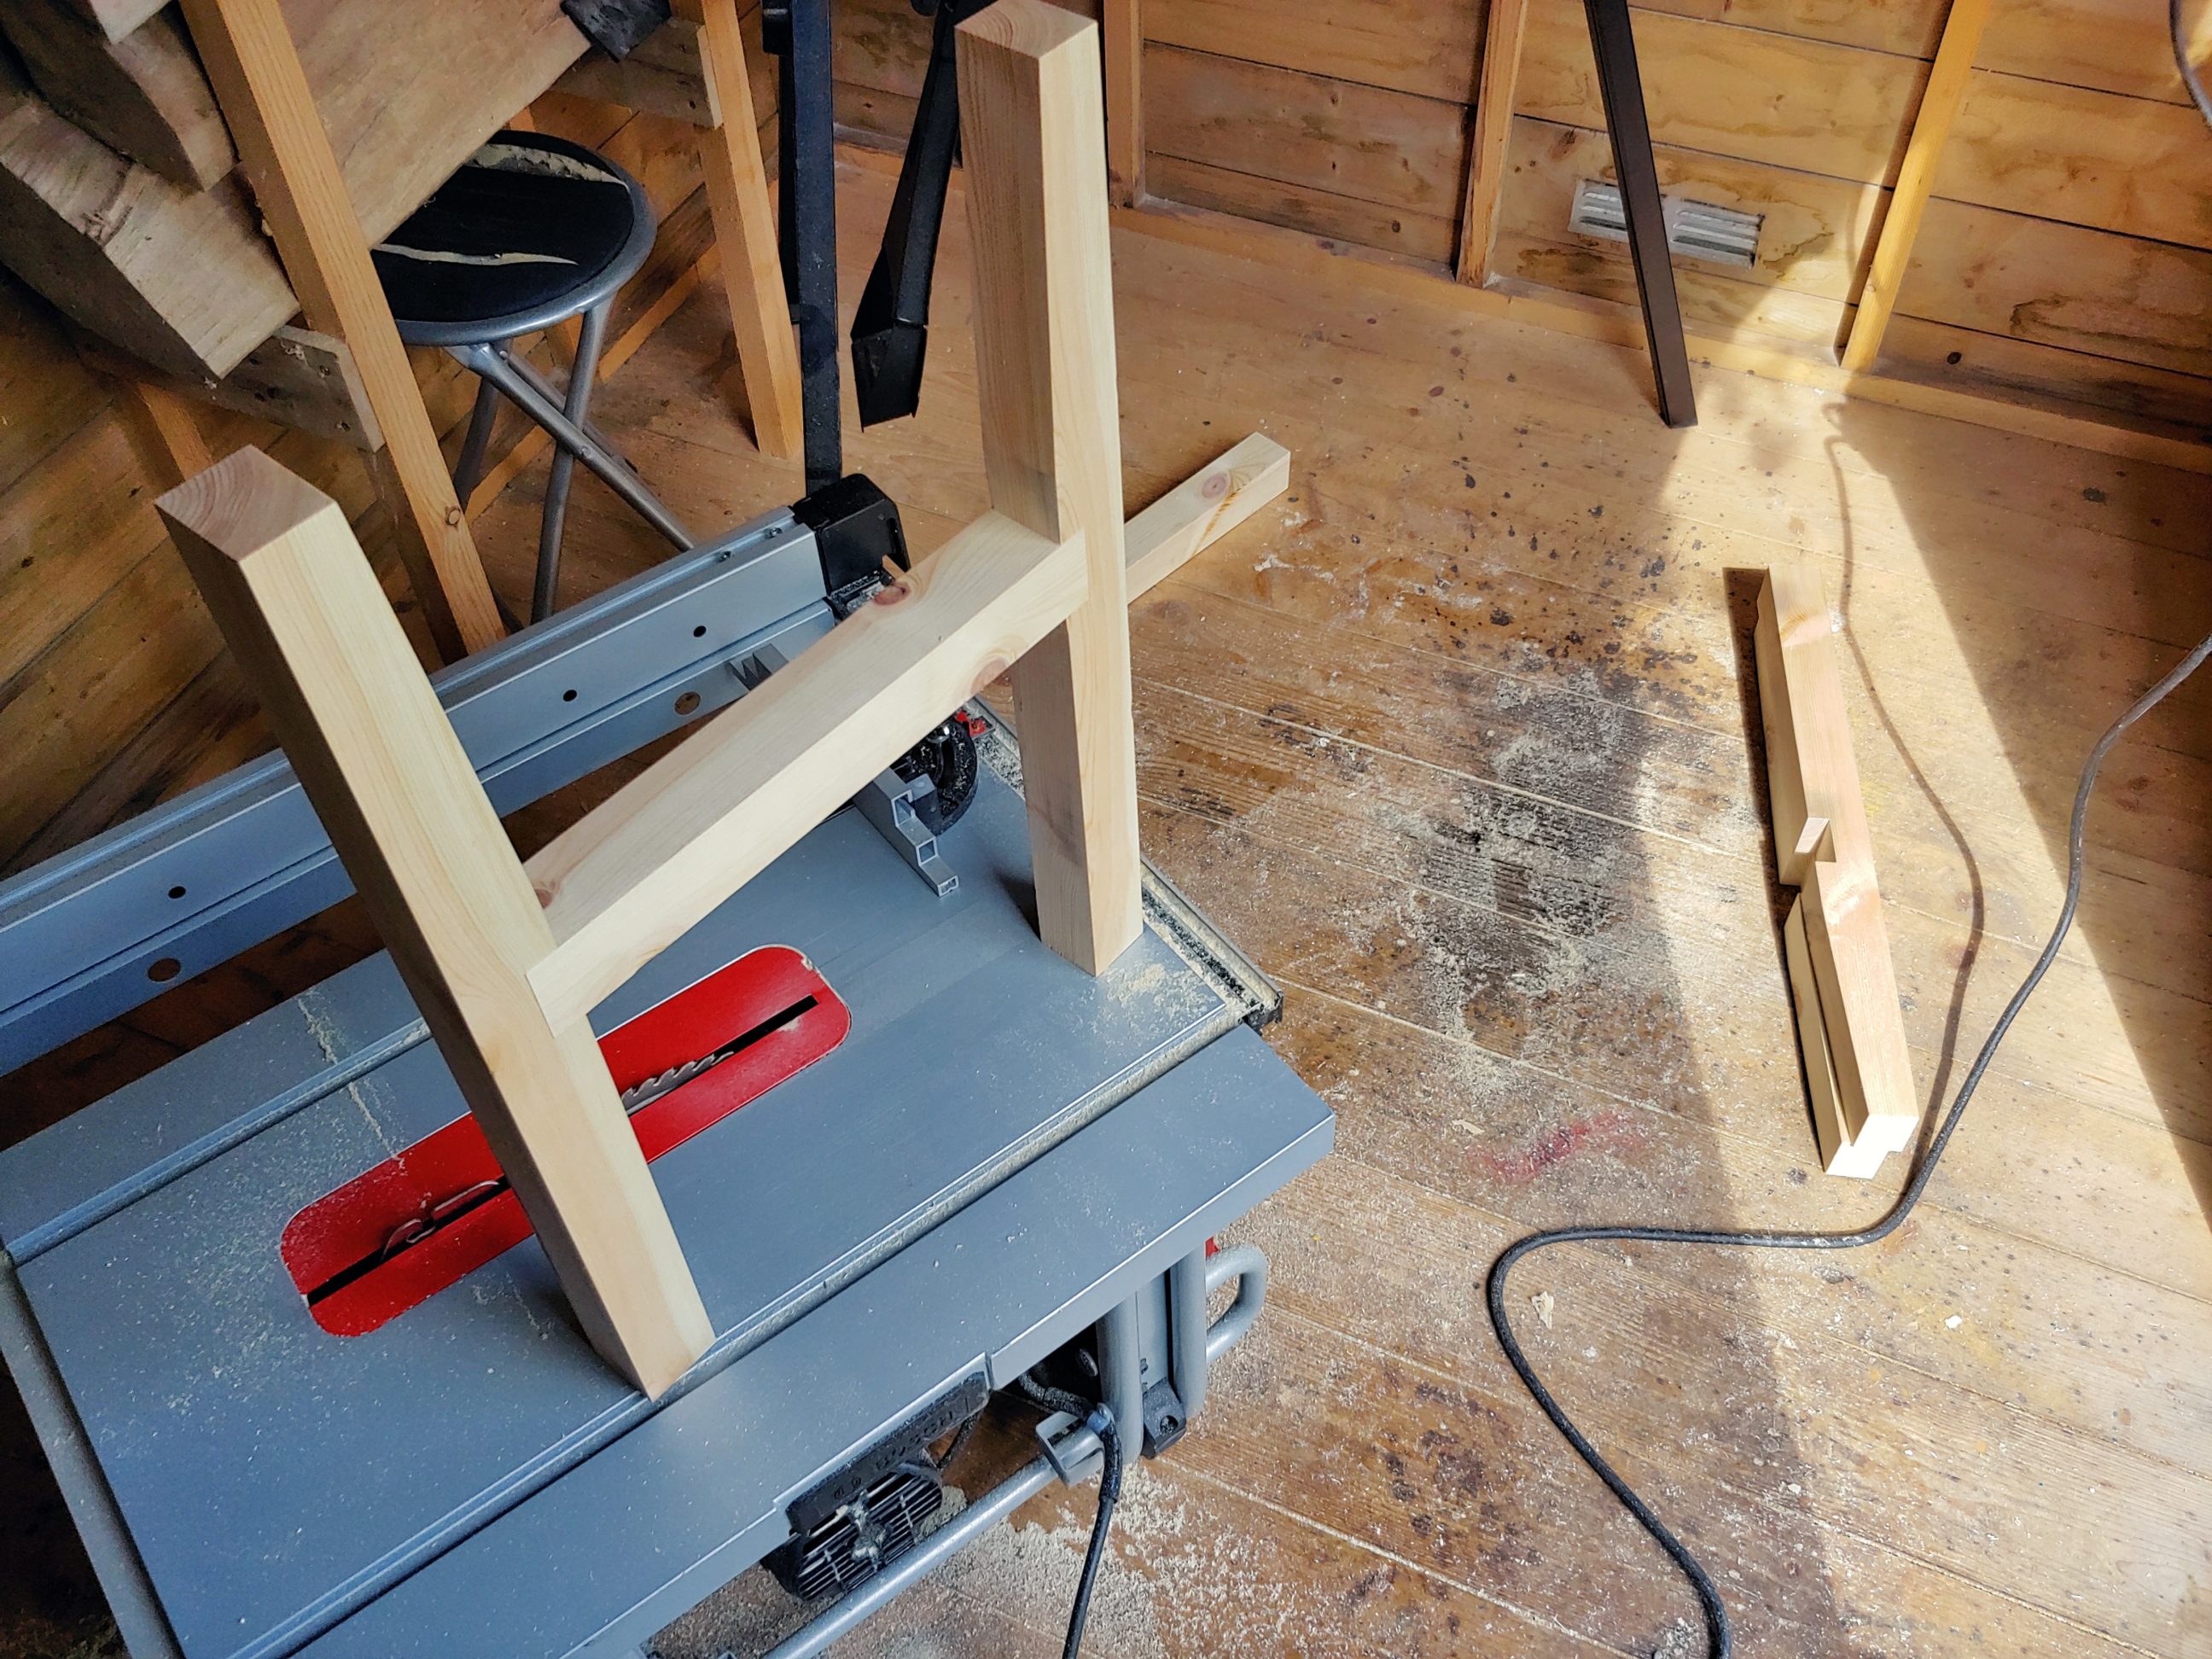
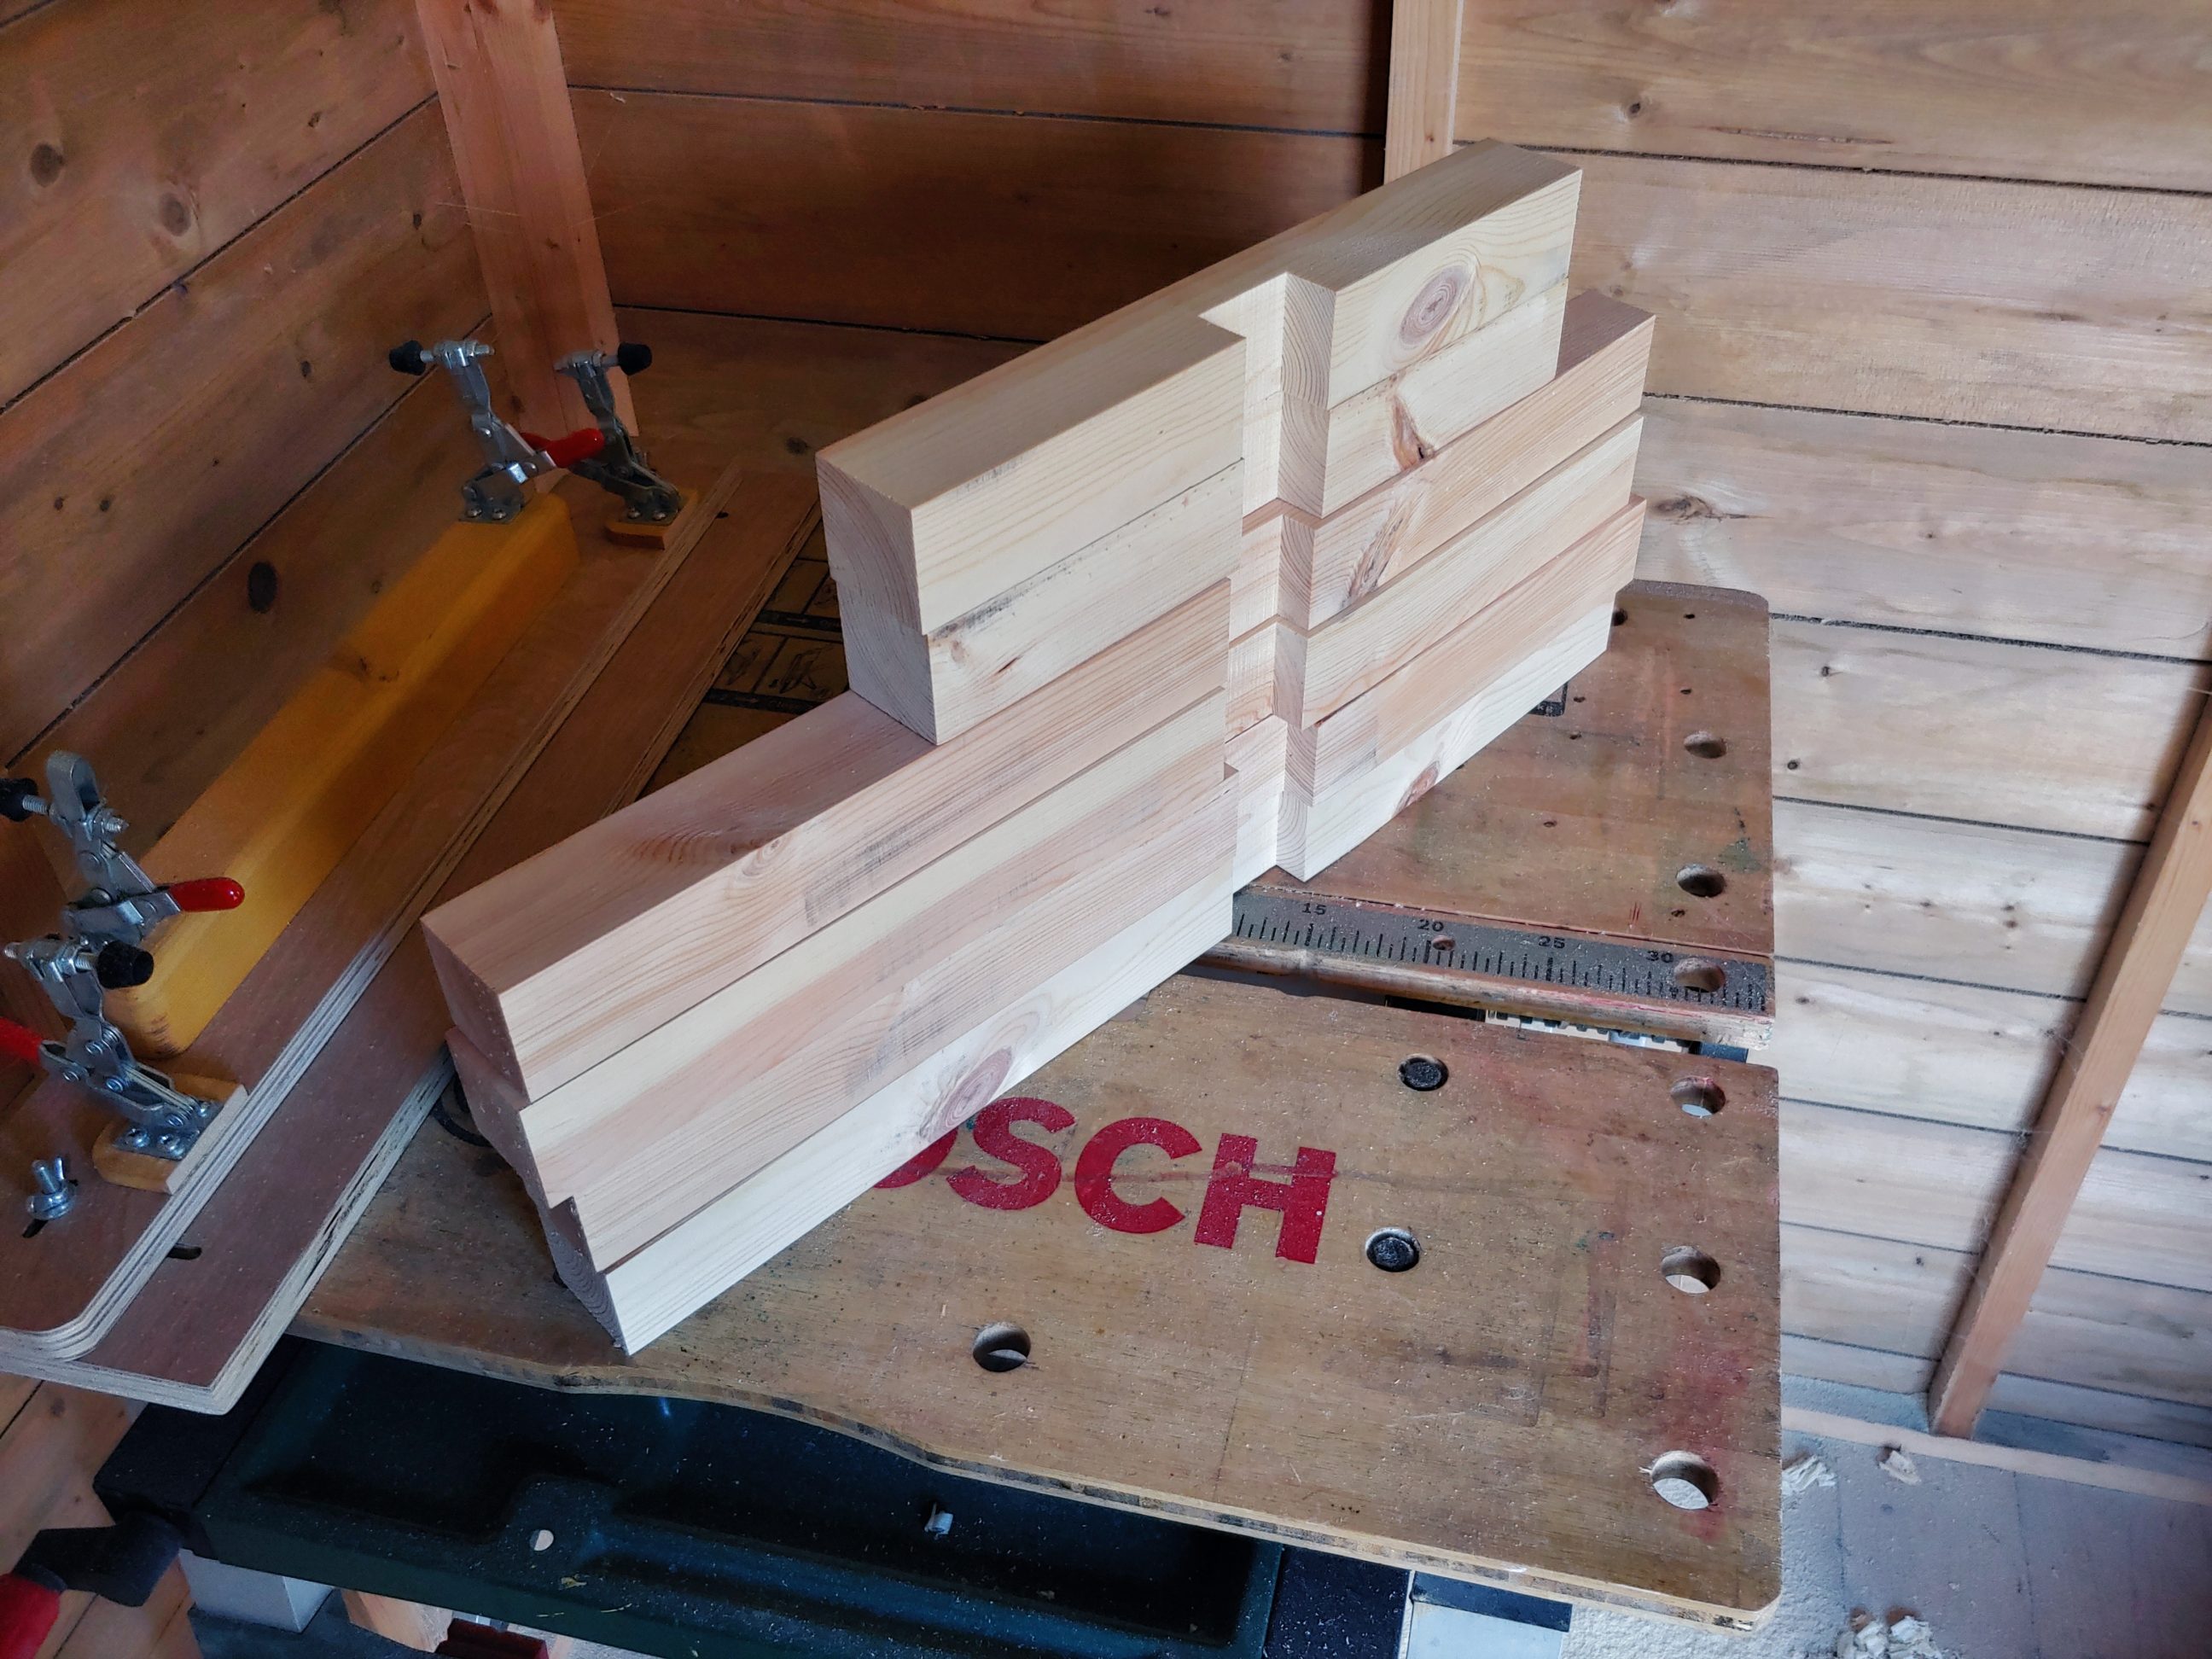
It was time to cut the joints. For the sides, I decided to use the joint that worked last time for the plant stand I built last year. It’s called a housing joint, but for these builds, it’s reinforced with screws. I simply cut multiple passes, over my table saw, for 4 legs and the same method I use for a cross-halving joint, for the bottom support parts. It works every time, and it’s easy to make.


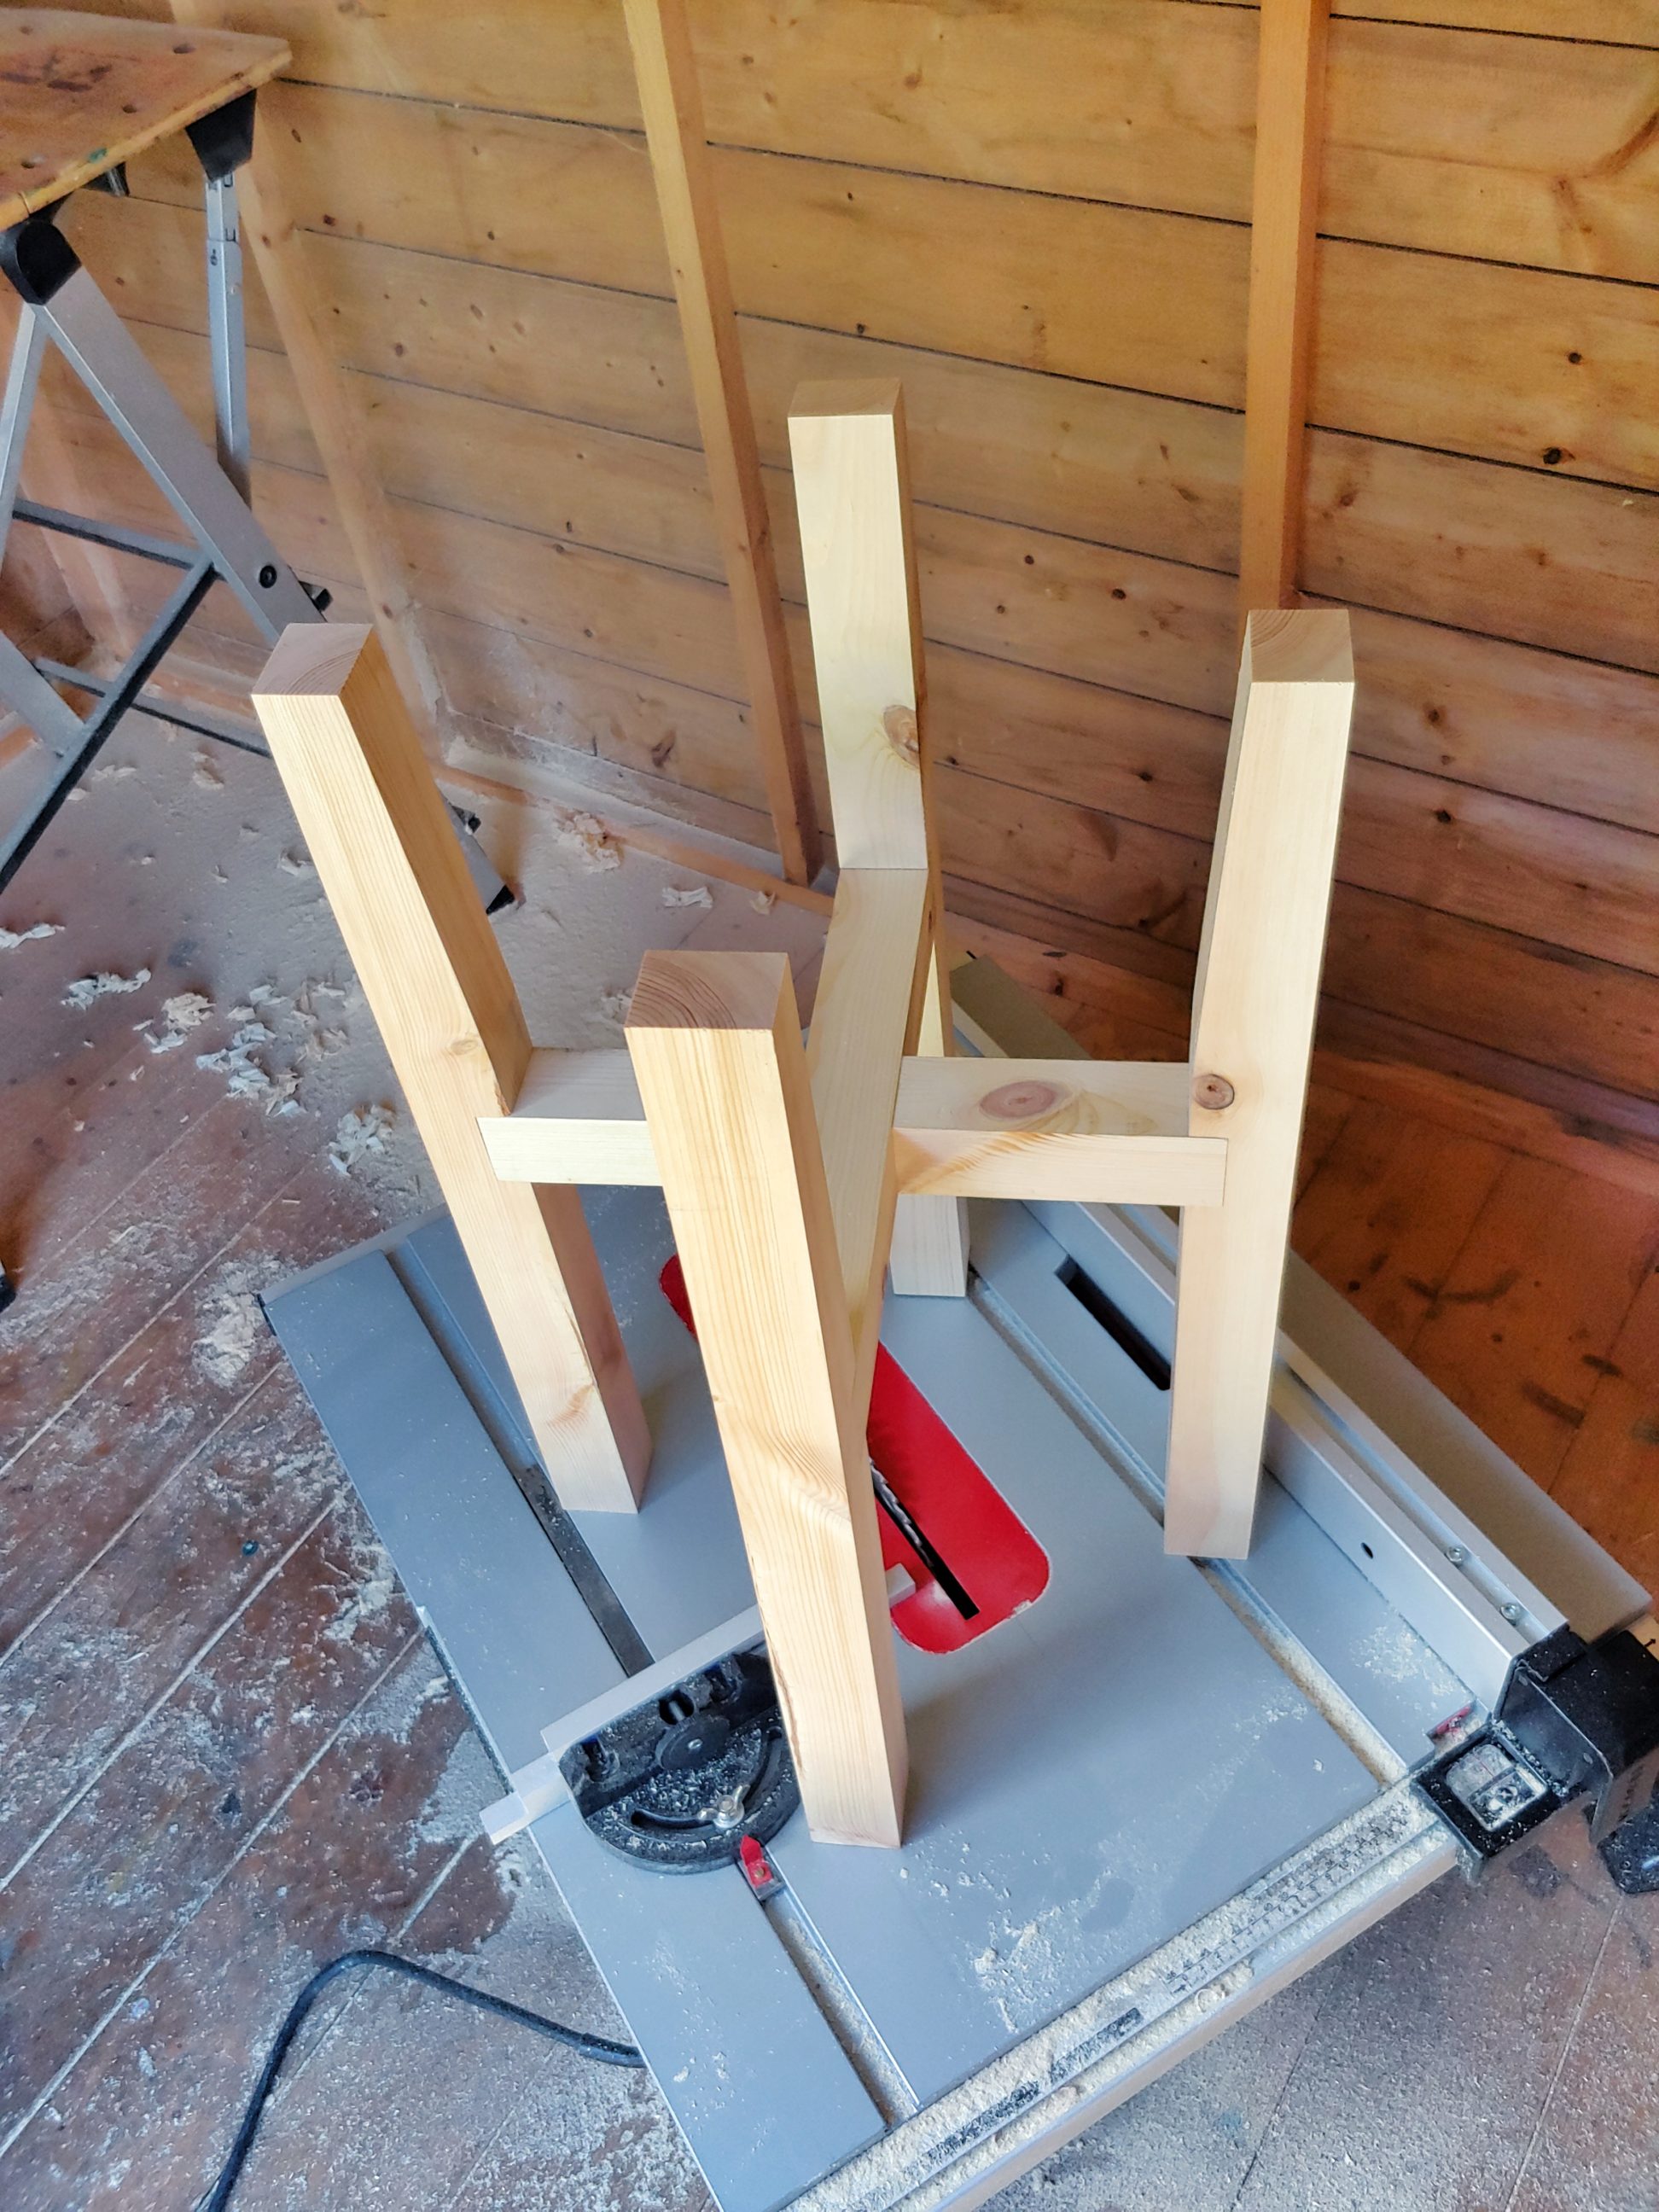
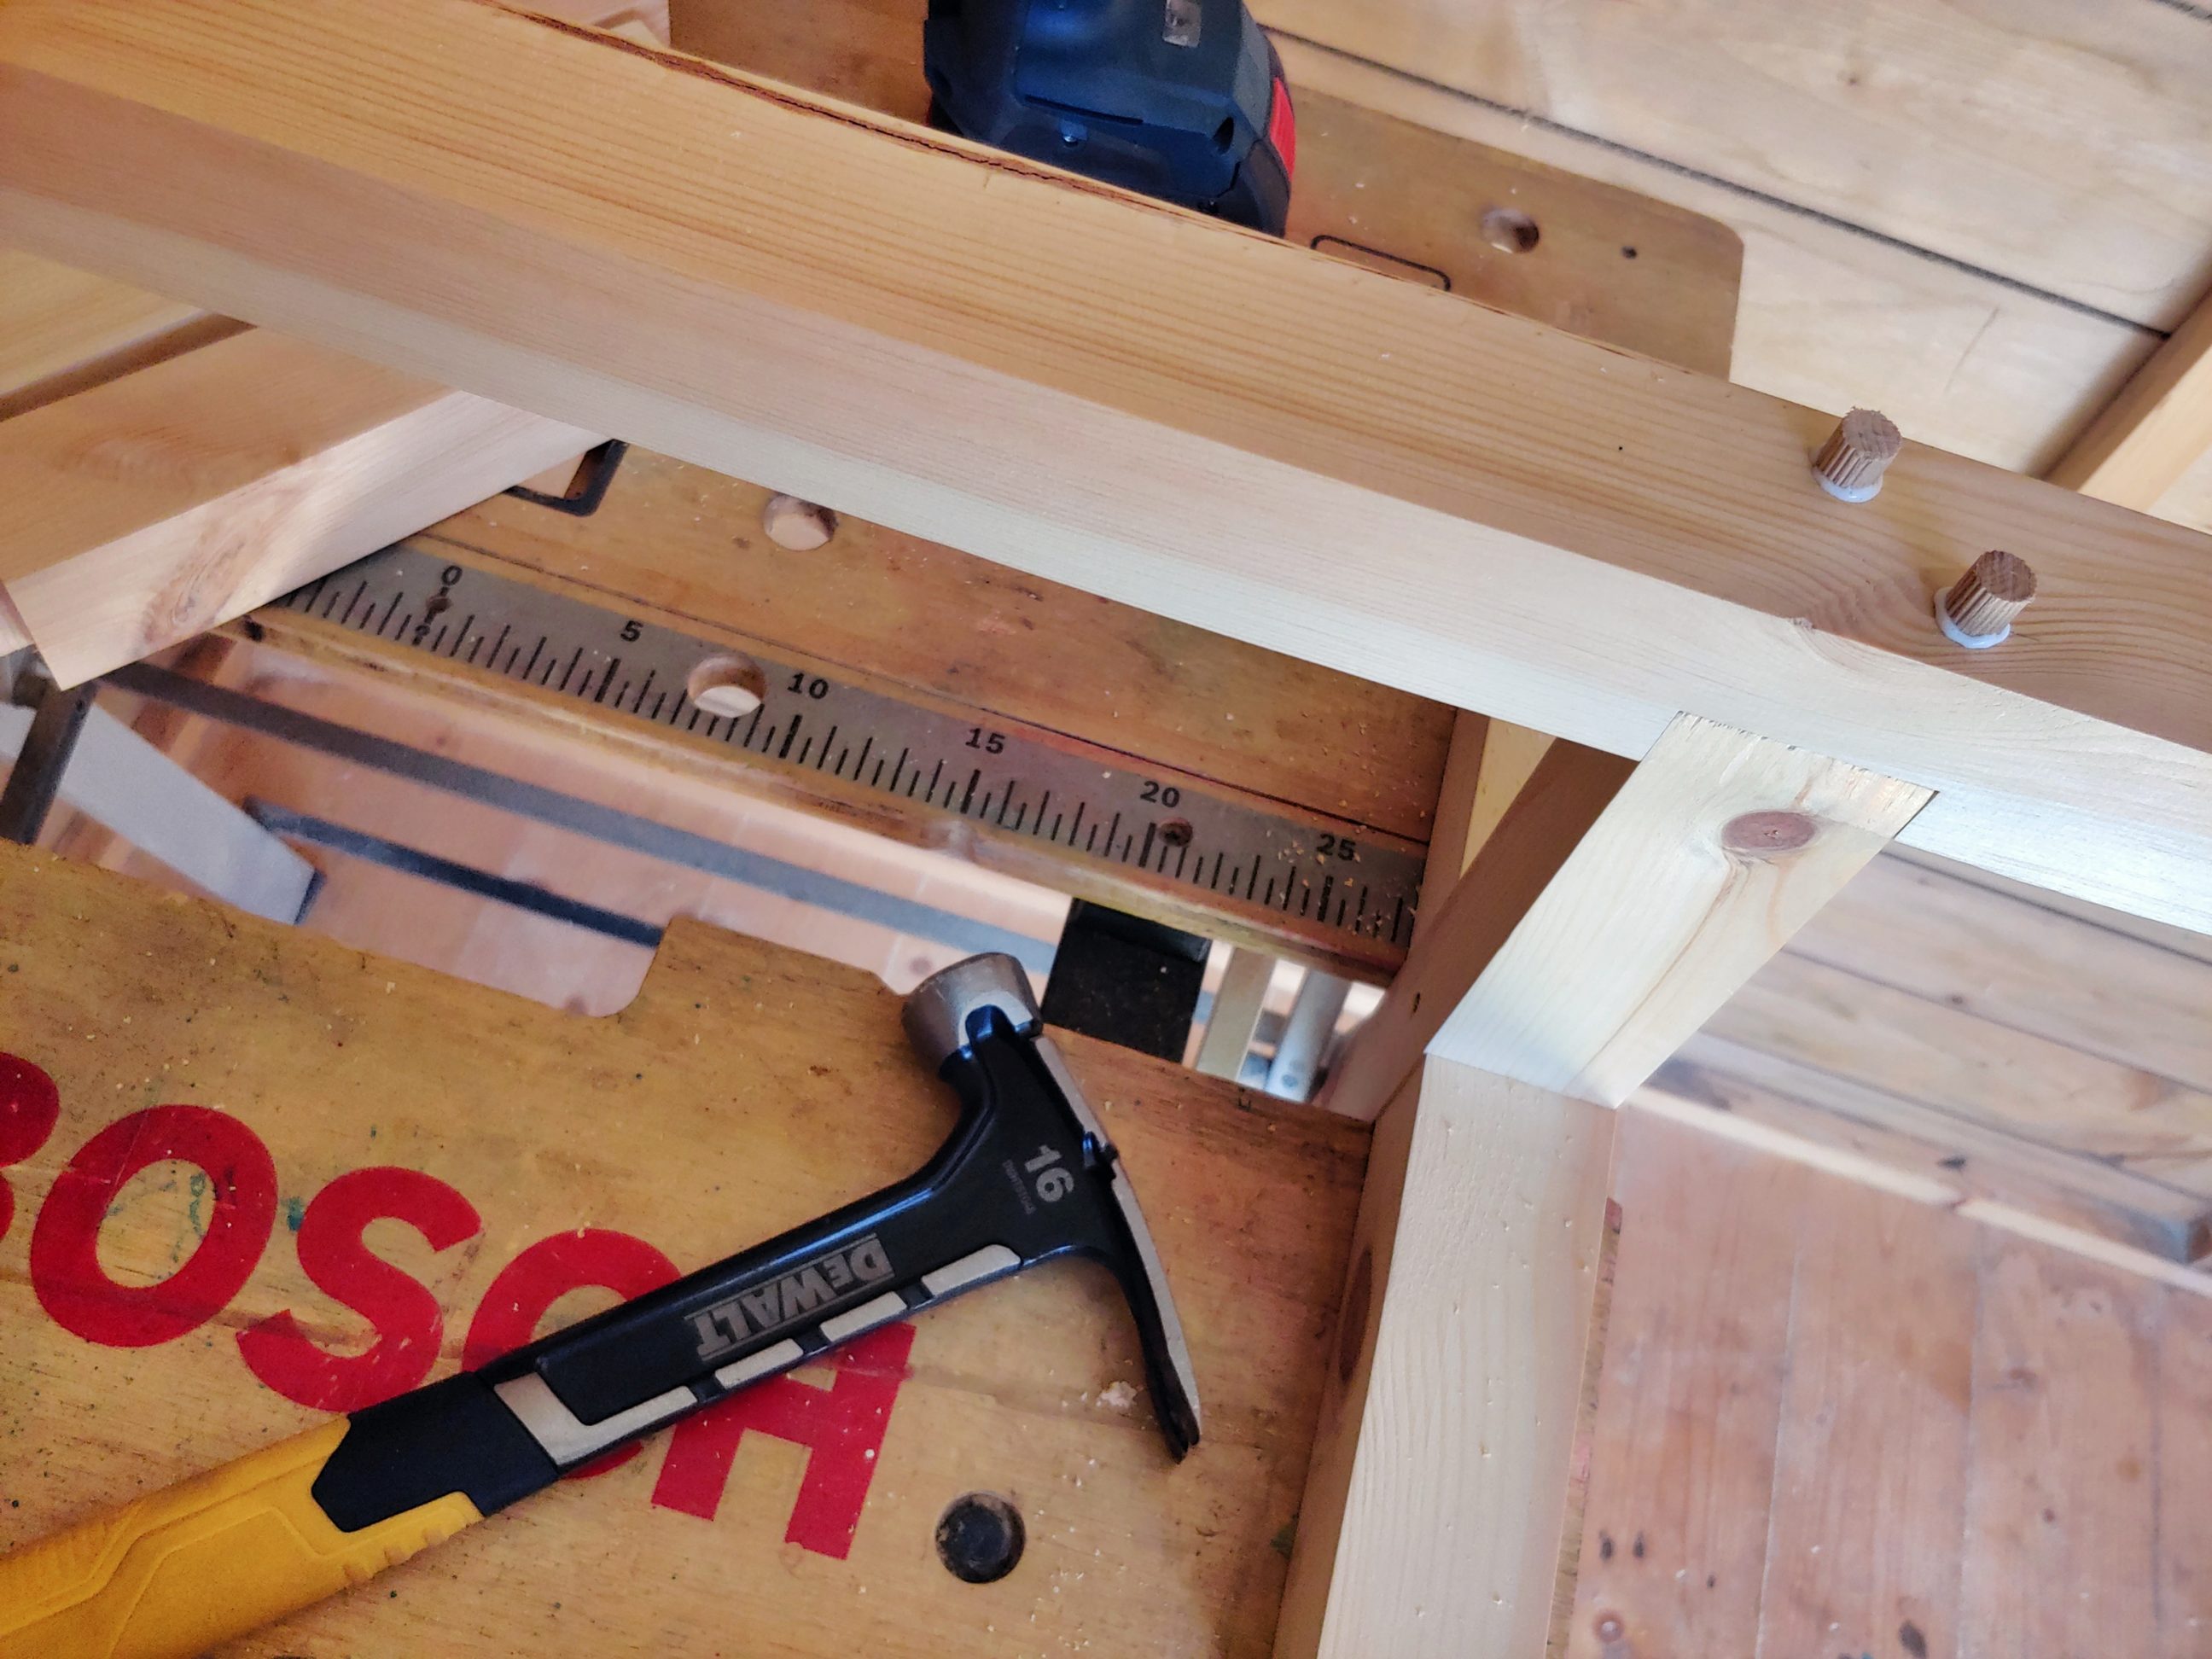
The joints were very tight, so I could dry-assemble everything and check if it was OK. I was happy with the results, I got out my drill and the impact driver and put everything together, using some glue as additional reinforcement. For the legs, I drilled slightly deeper holes to plug them later on with dowels. When the glue dried, I cut off the dowels with a flush-cut saw and sanded them down.


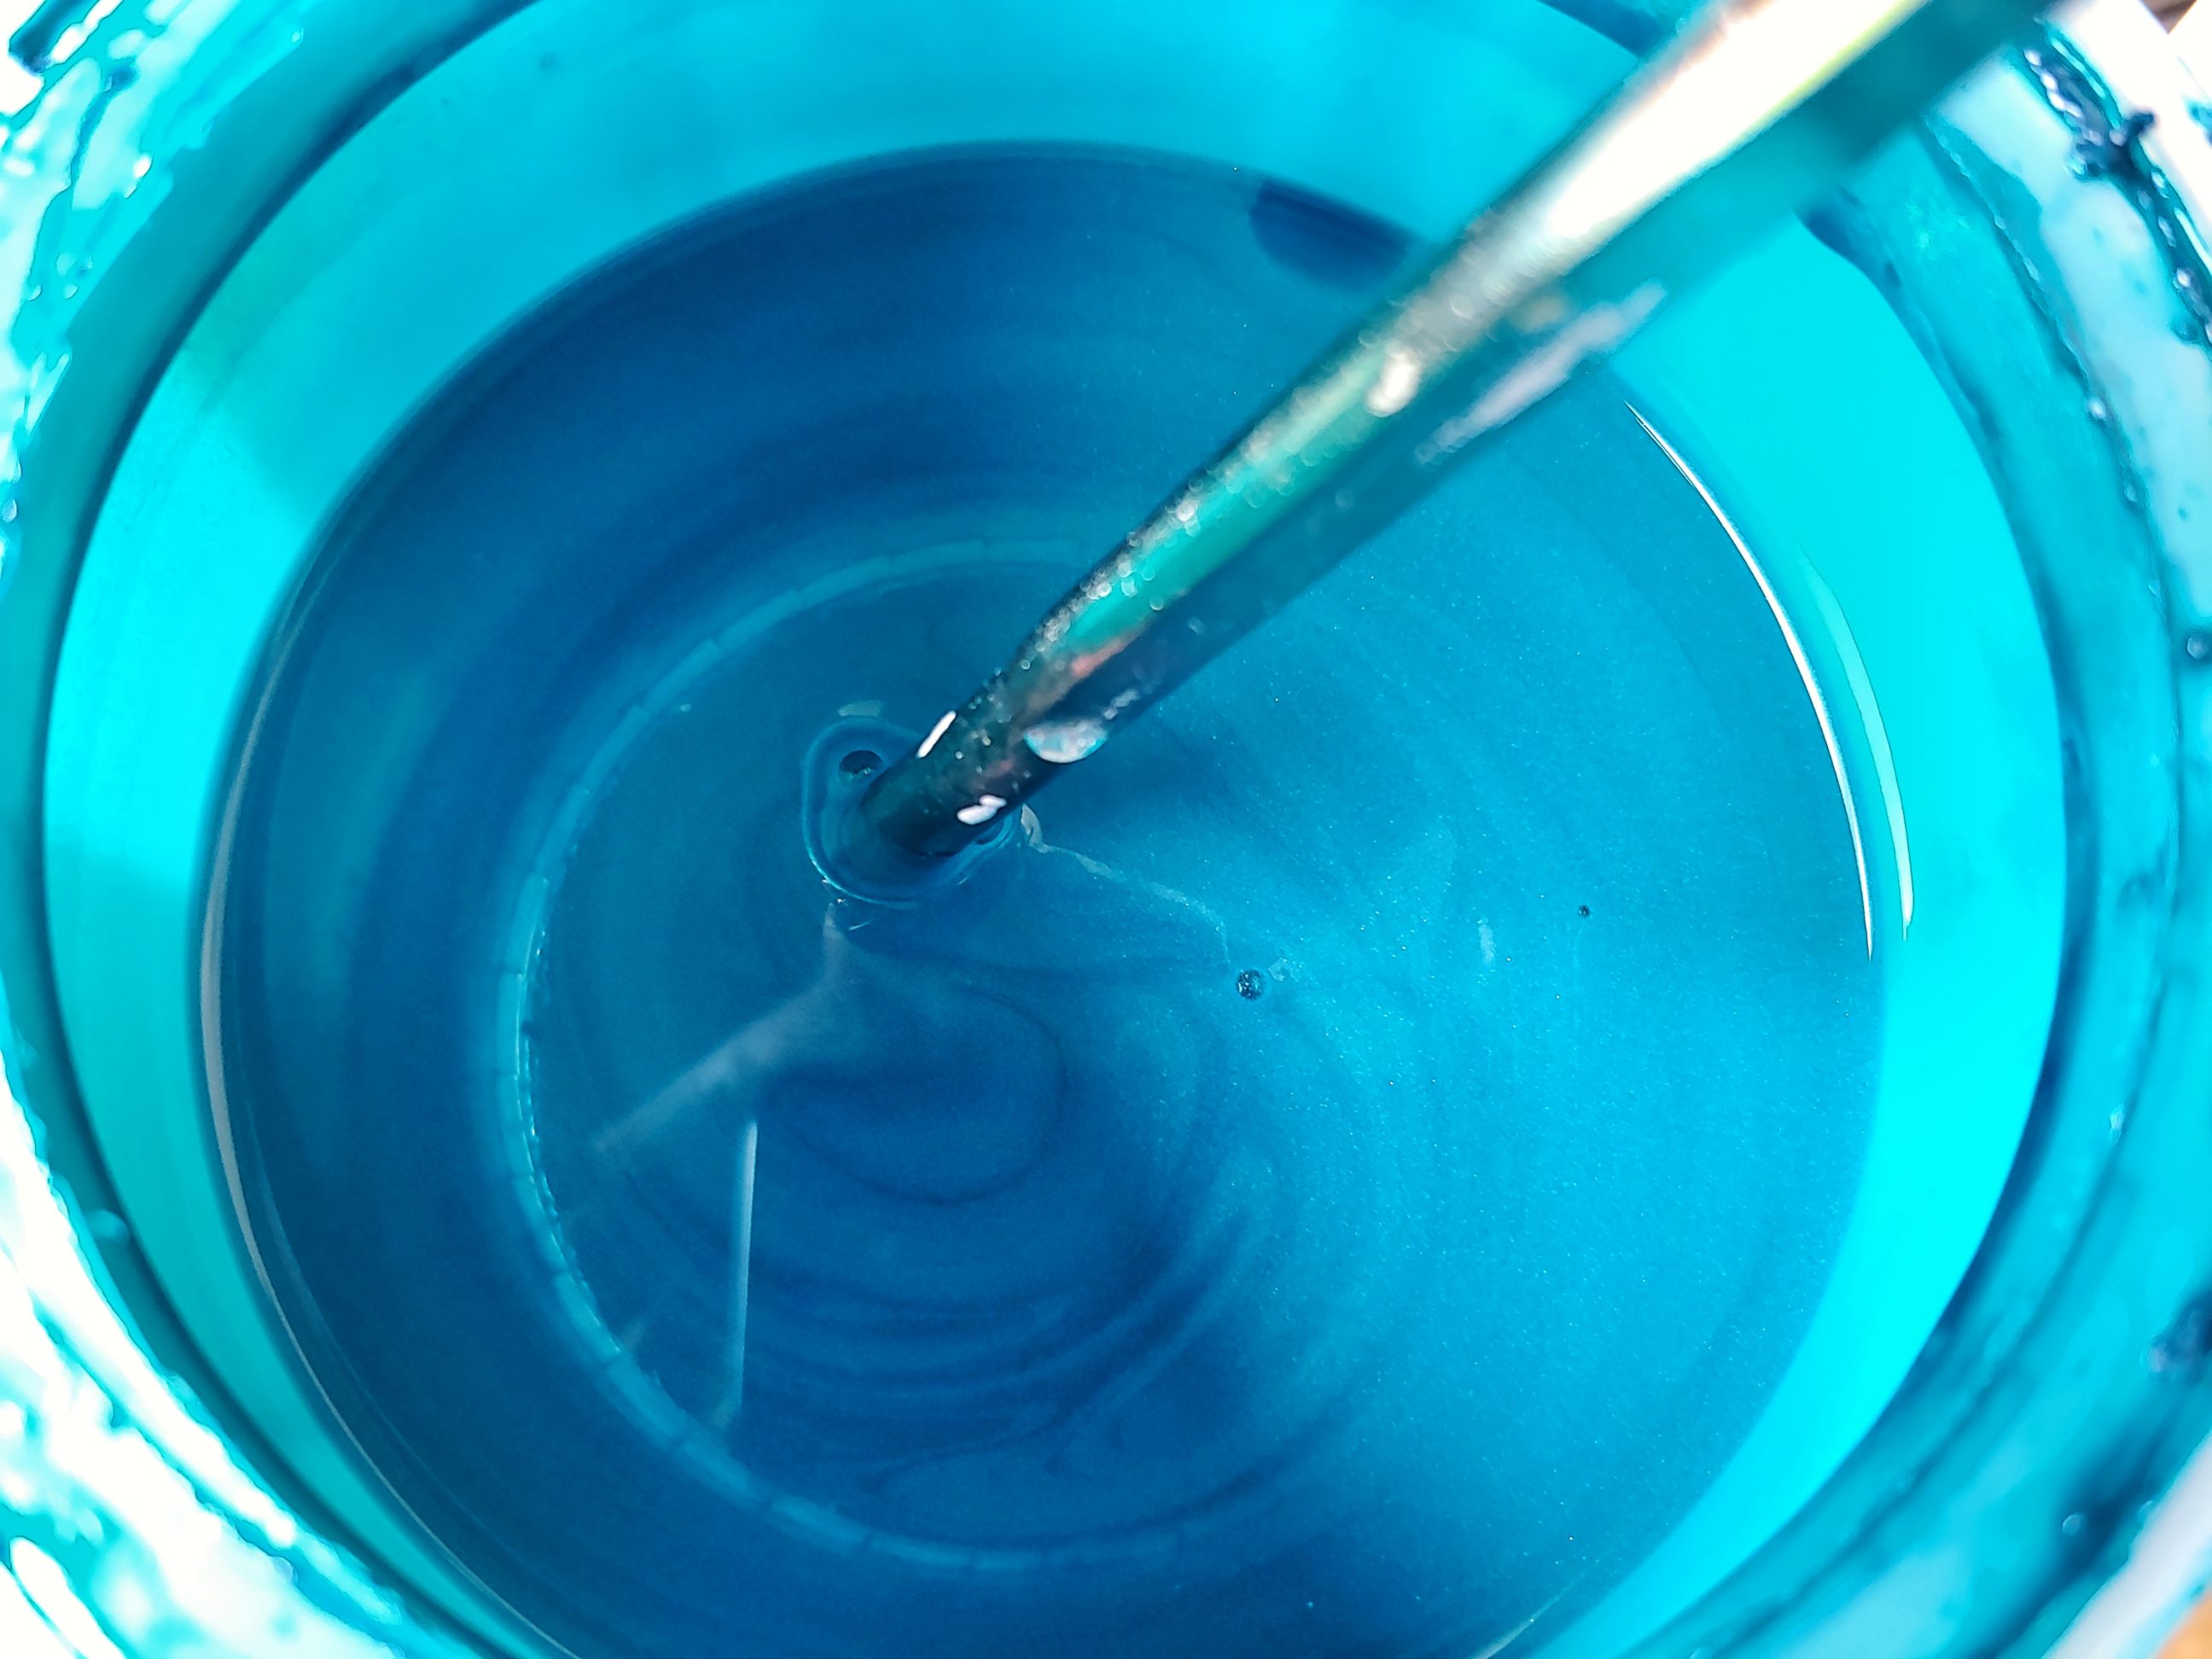
Next, I rounded over the edges, did a quick sanding and the stand was ready for the paint. This paint is actually very good – the other projects I made in the past, were finished with this paint, exposed to heavy rain, frost, sun and everything else and they still look like new. I have much faith in this finish, so it was my choice for this project as well.


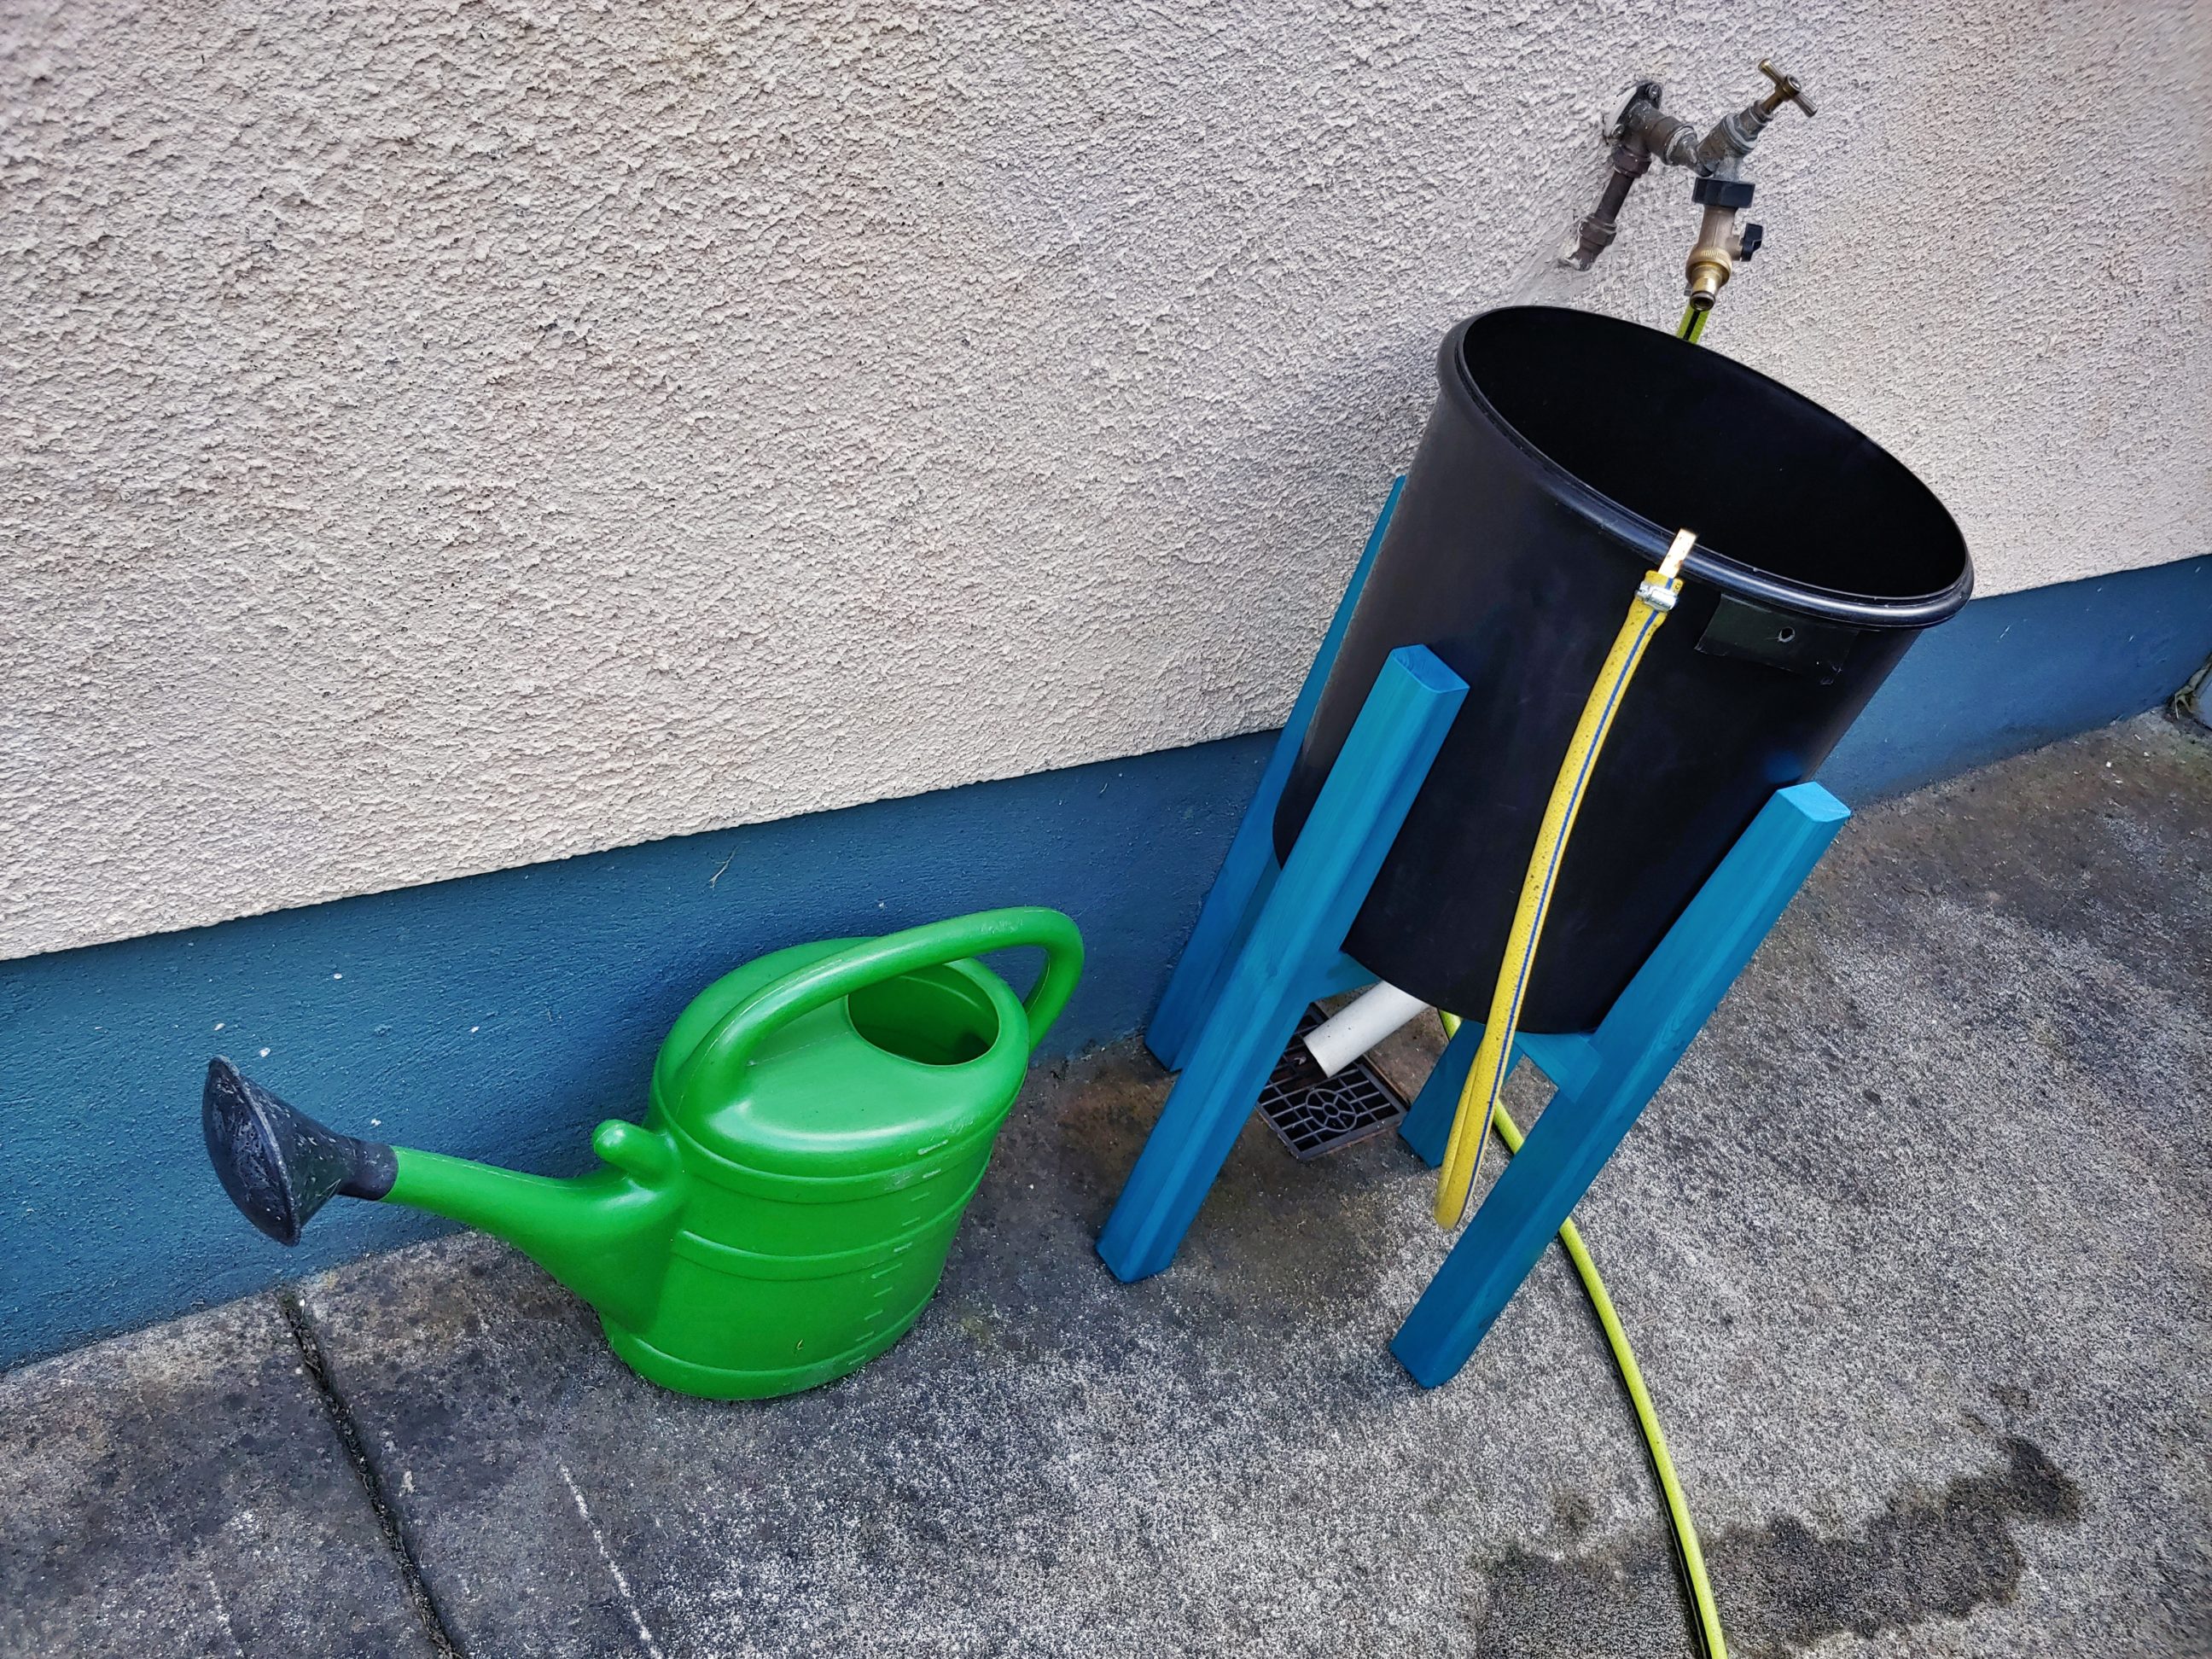
I applied 2 coats of paint, which dried quickly. To protect the legs from moisture, I installed rubber feet which originally came with adhesive but I reinforced the connection with nails. That was a quick fix, but it should do the job.


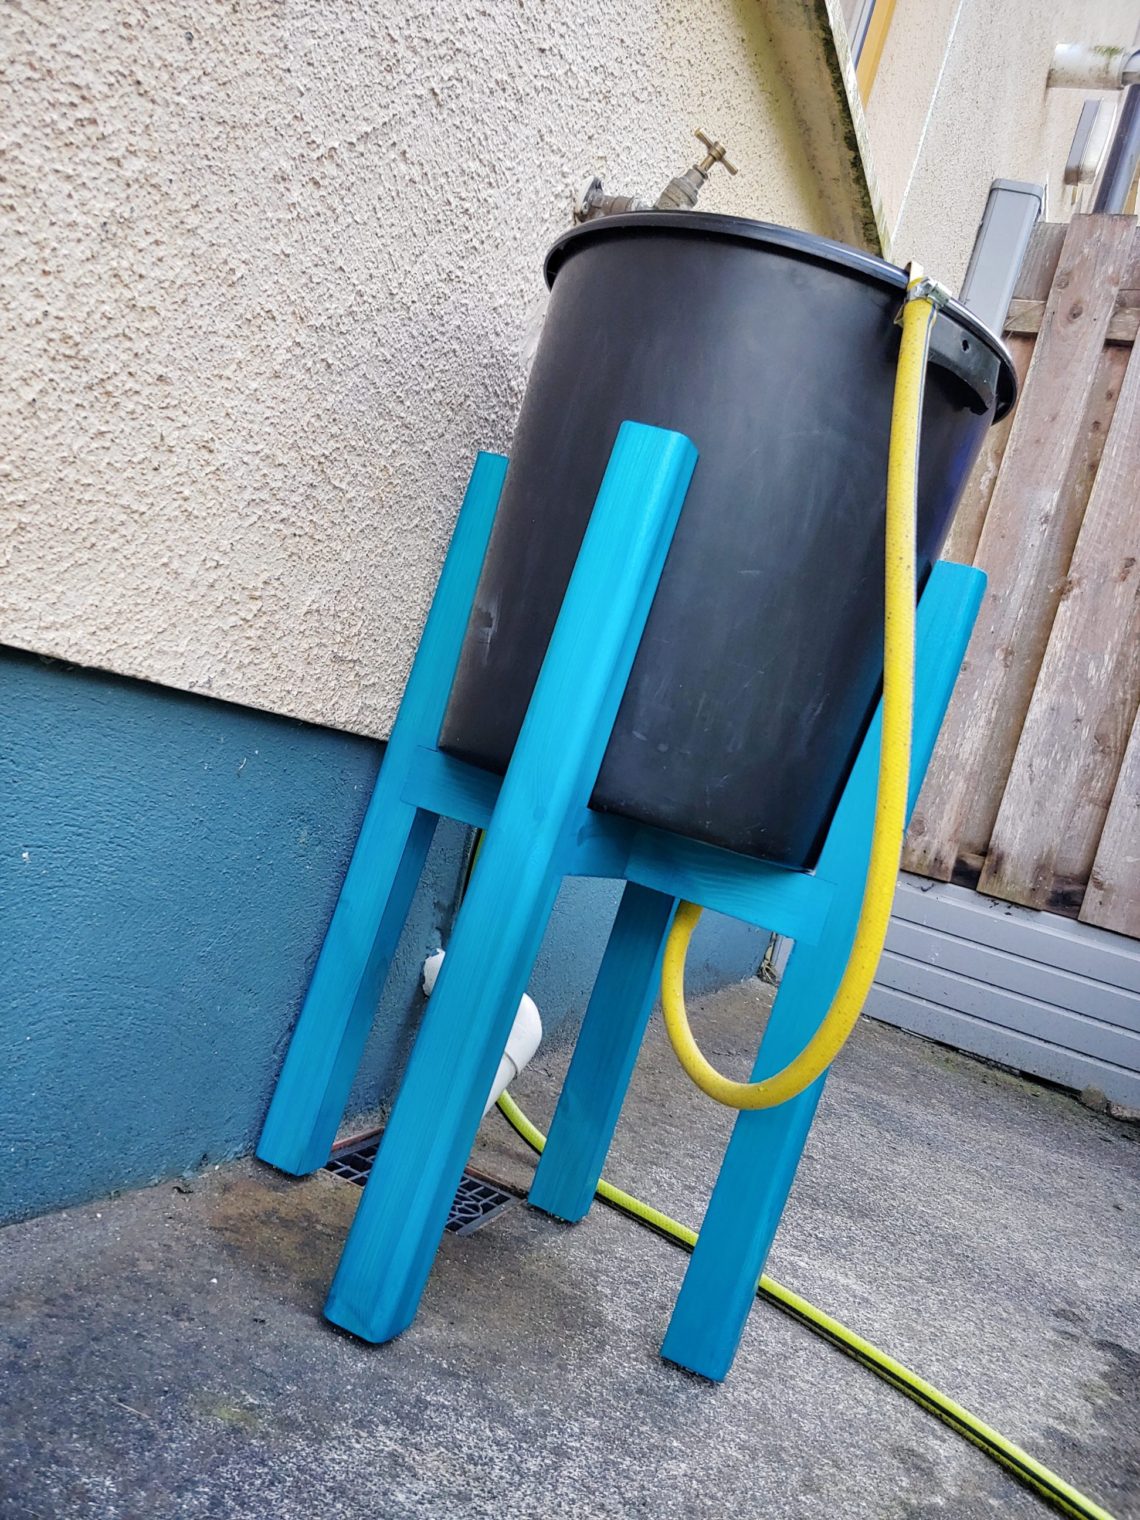
Ok, so that was it. I placed the stand in the right place, put in the bucket, partially filled it with water, and tried to empty it into a watering can. Of course, some water will always stay in the bucket, just above the plug level, but this is exactly how I designed the drainage. The drainage hose and its connection to the bucket are 100% leak-free and probably will last years. Luckily, I could purchase good quality timber, the smell of resin was intense, even during the sanding it clogged sandpaper, which is good. Proper timber and first-rate paint will prolong the life of the base. I’m delighted with the results, this is exactly what I like – upcycling, woodworking, some sawdust, the smell of wood and being eco-friendly. The garden hose stand and the sink make a perfect duet!