
Fruit crate
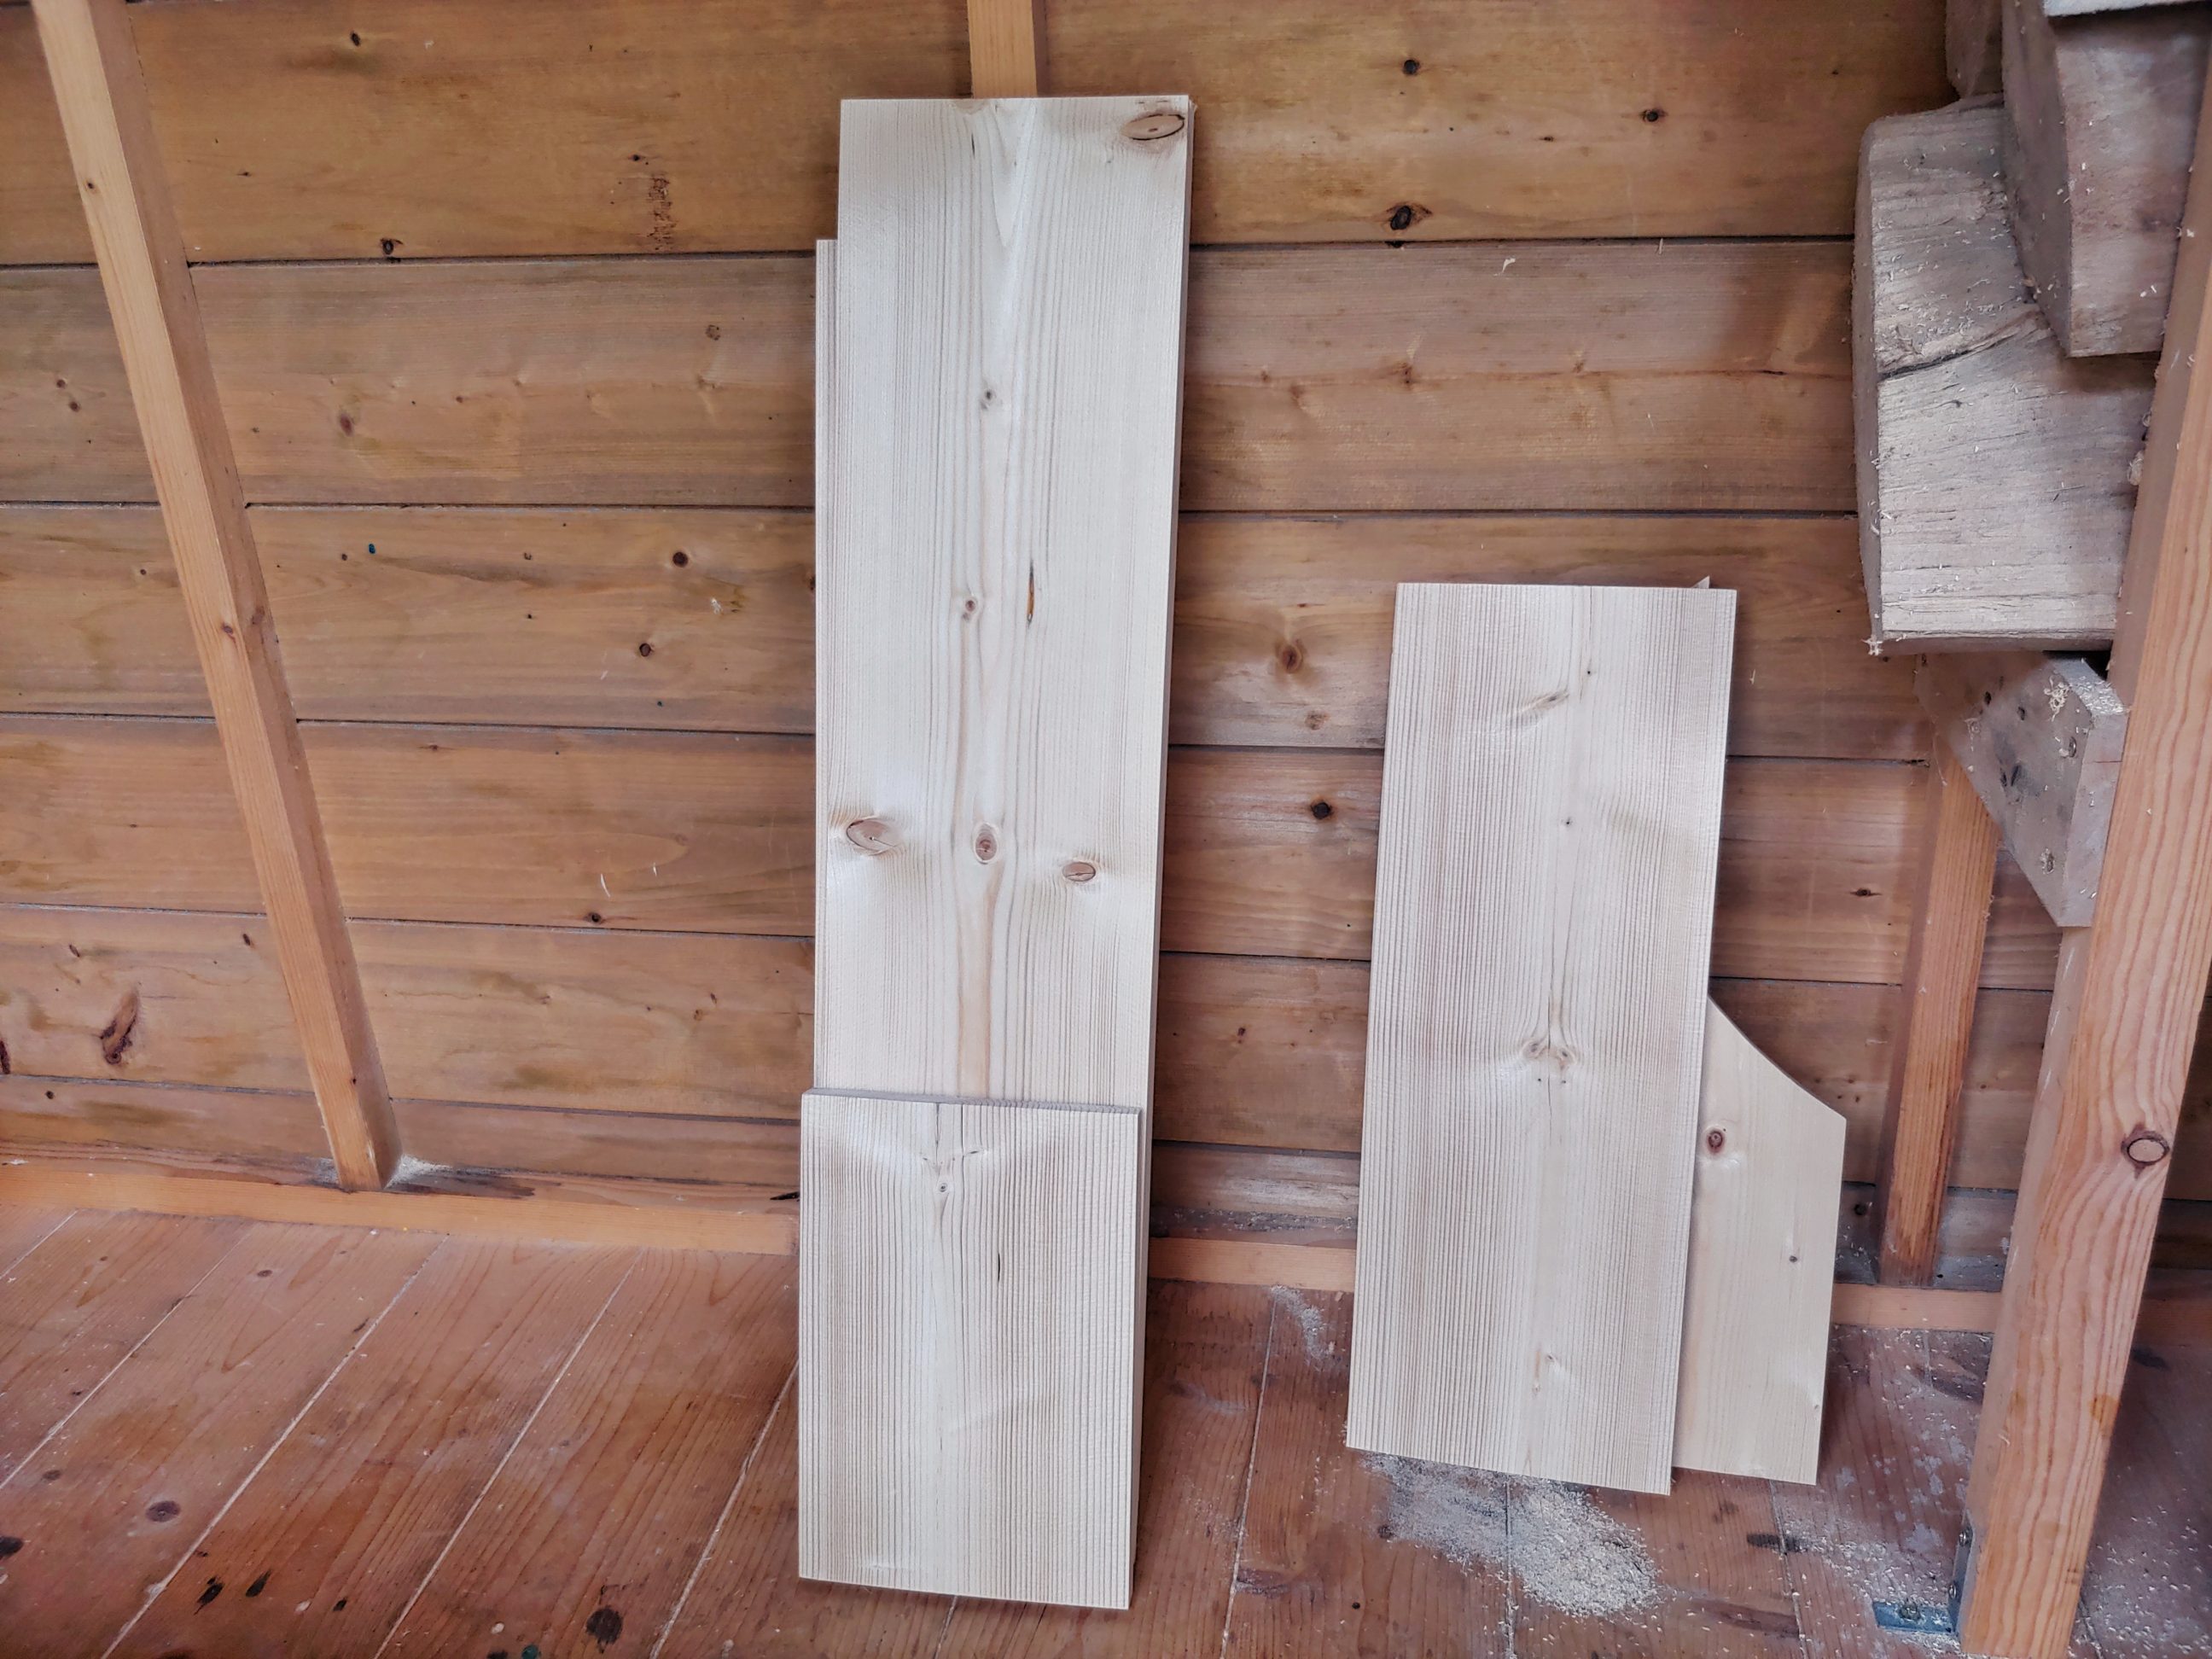
This project is a classic approach to making crates, just a couple of boards, simple joinery and a quick finish. These crates are widely used for storing fruits, but not only. A traditional look was something I needed for this project, nothing over-engineered and easy to make. I made a couple of mistakes during this build, but I fixed them all. That makes me even more satisfied because making and fixing things needs more skills than just making alone. I had a couple of cupped boards lying around, and they seemed to be perfect for this project. I had to rip-cut them to the width and plane them down a bit, as the original thickness of 19 mm (3/4″) was too big, and visually the crate would look too massive. That’s why I removed about 6 mm of material and ended up with 13 mm (1/2″) boards.

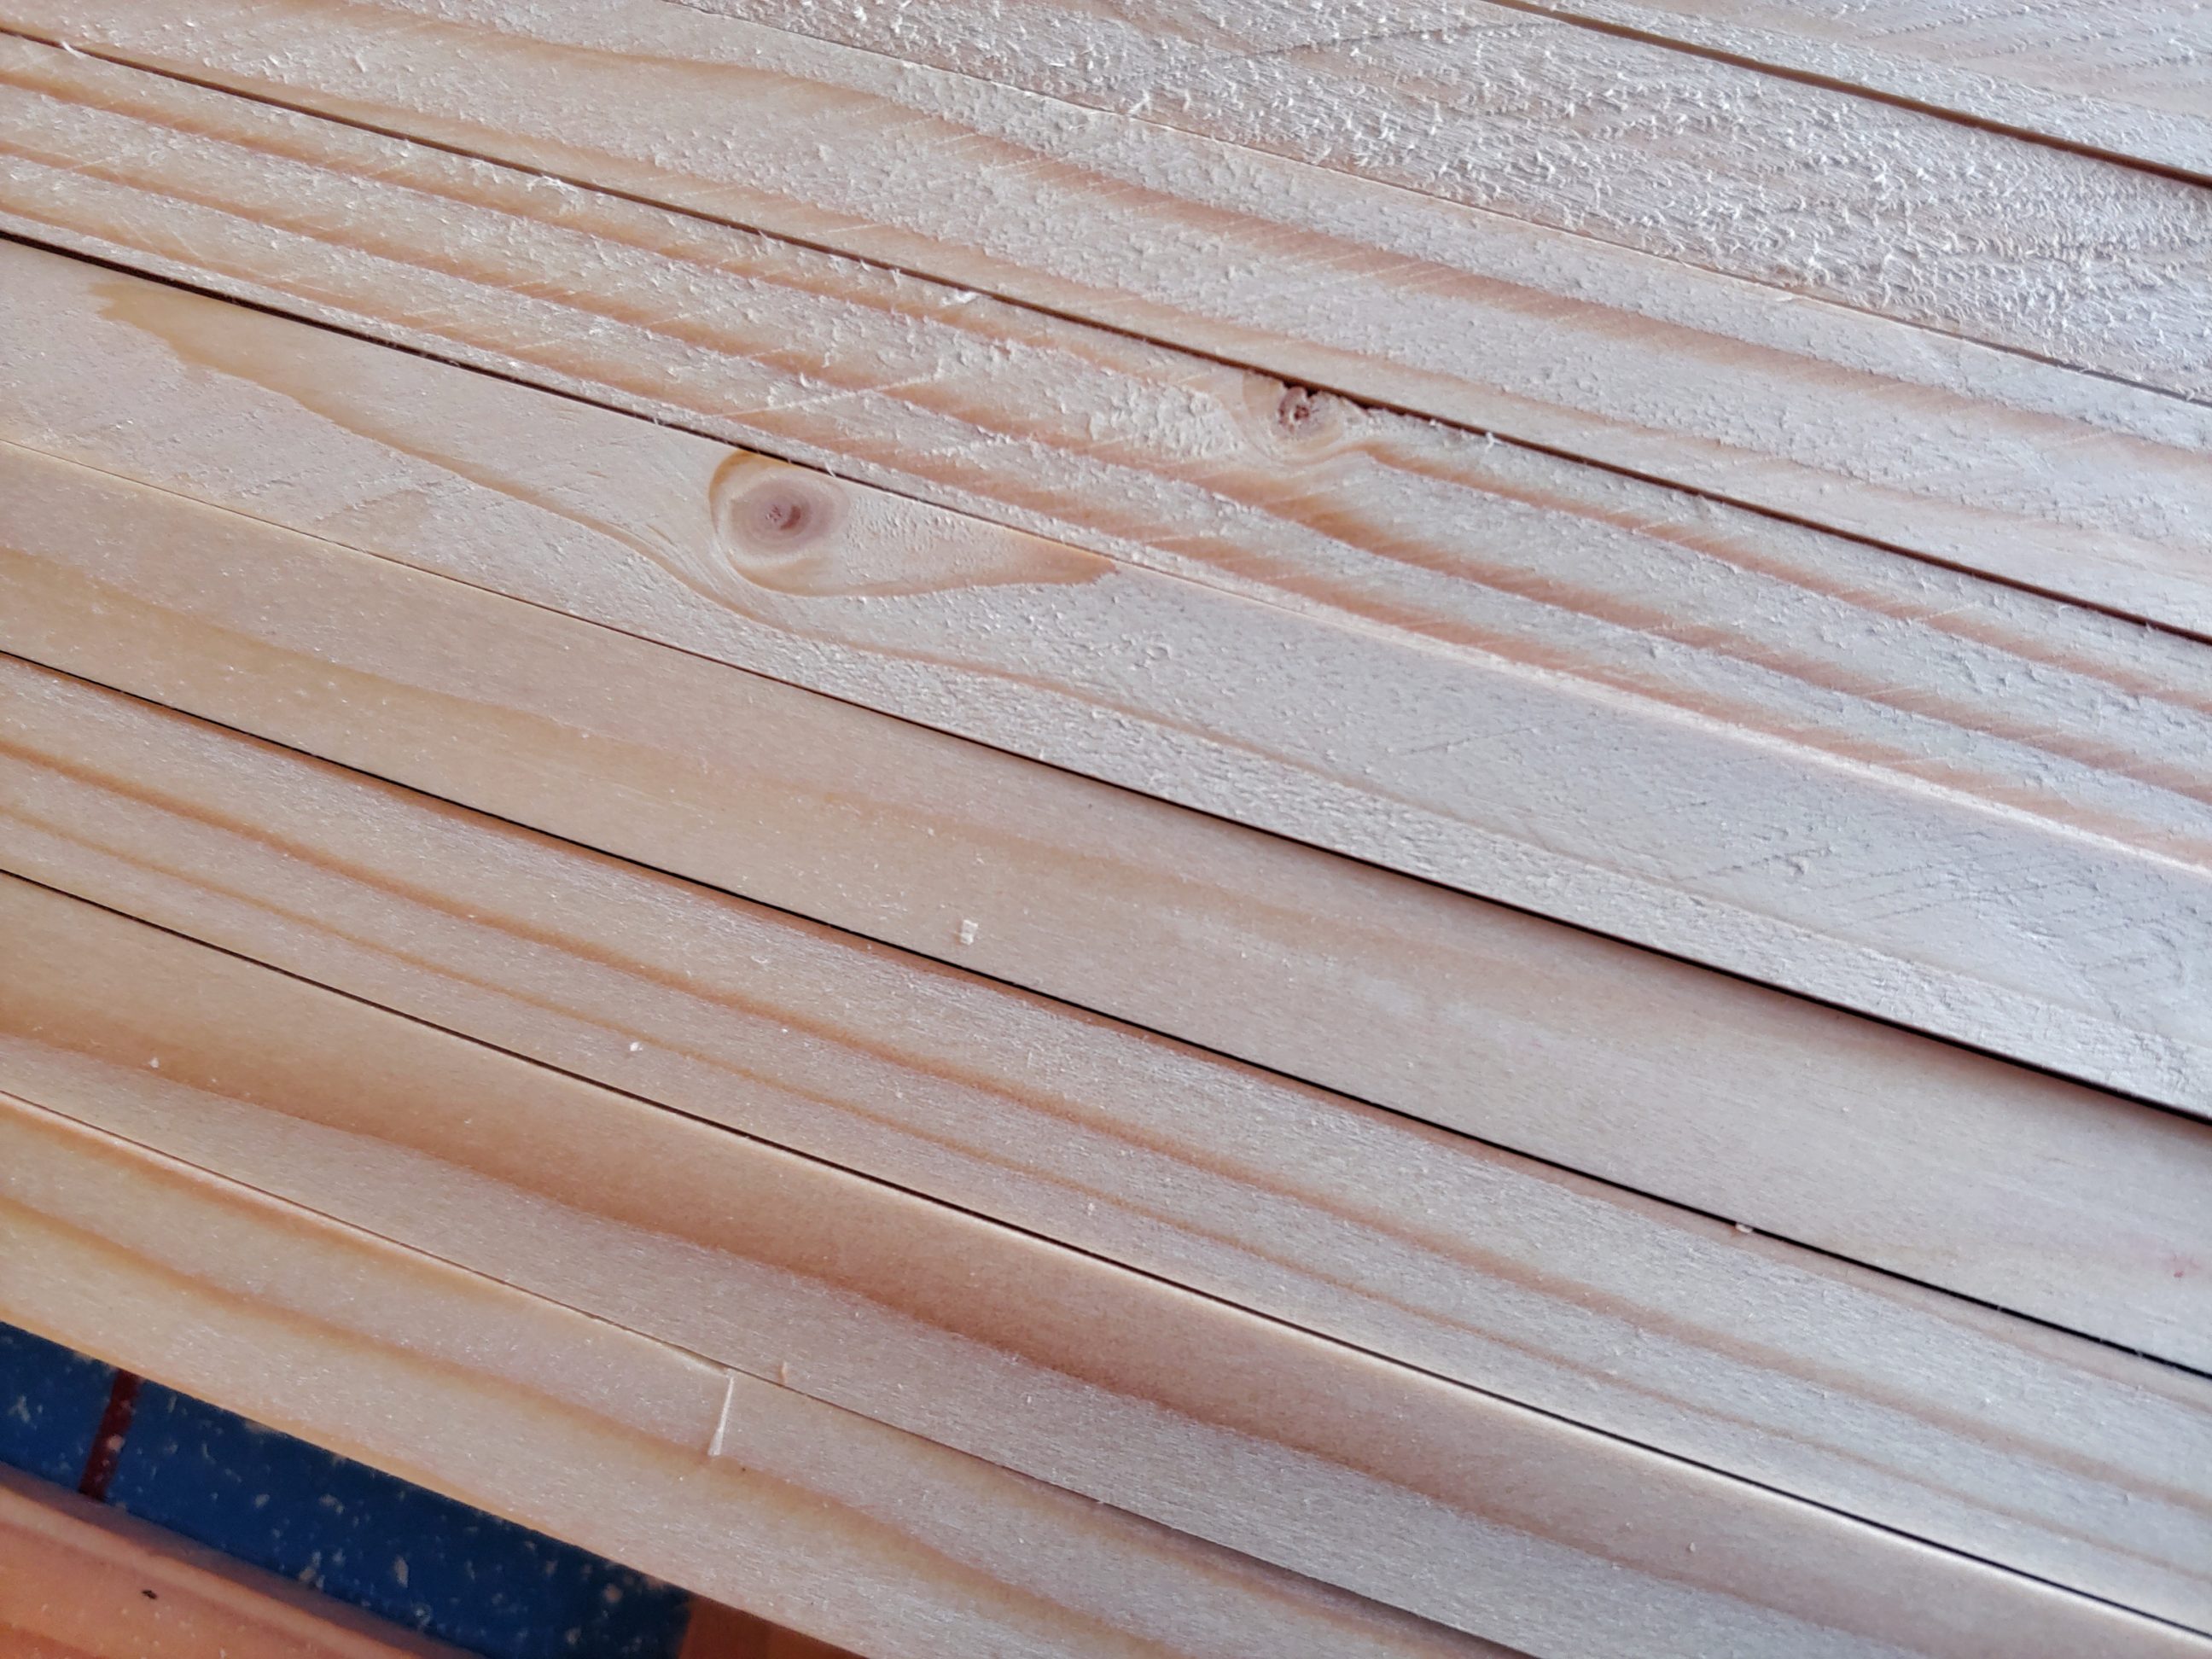
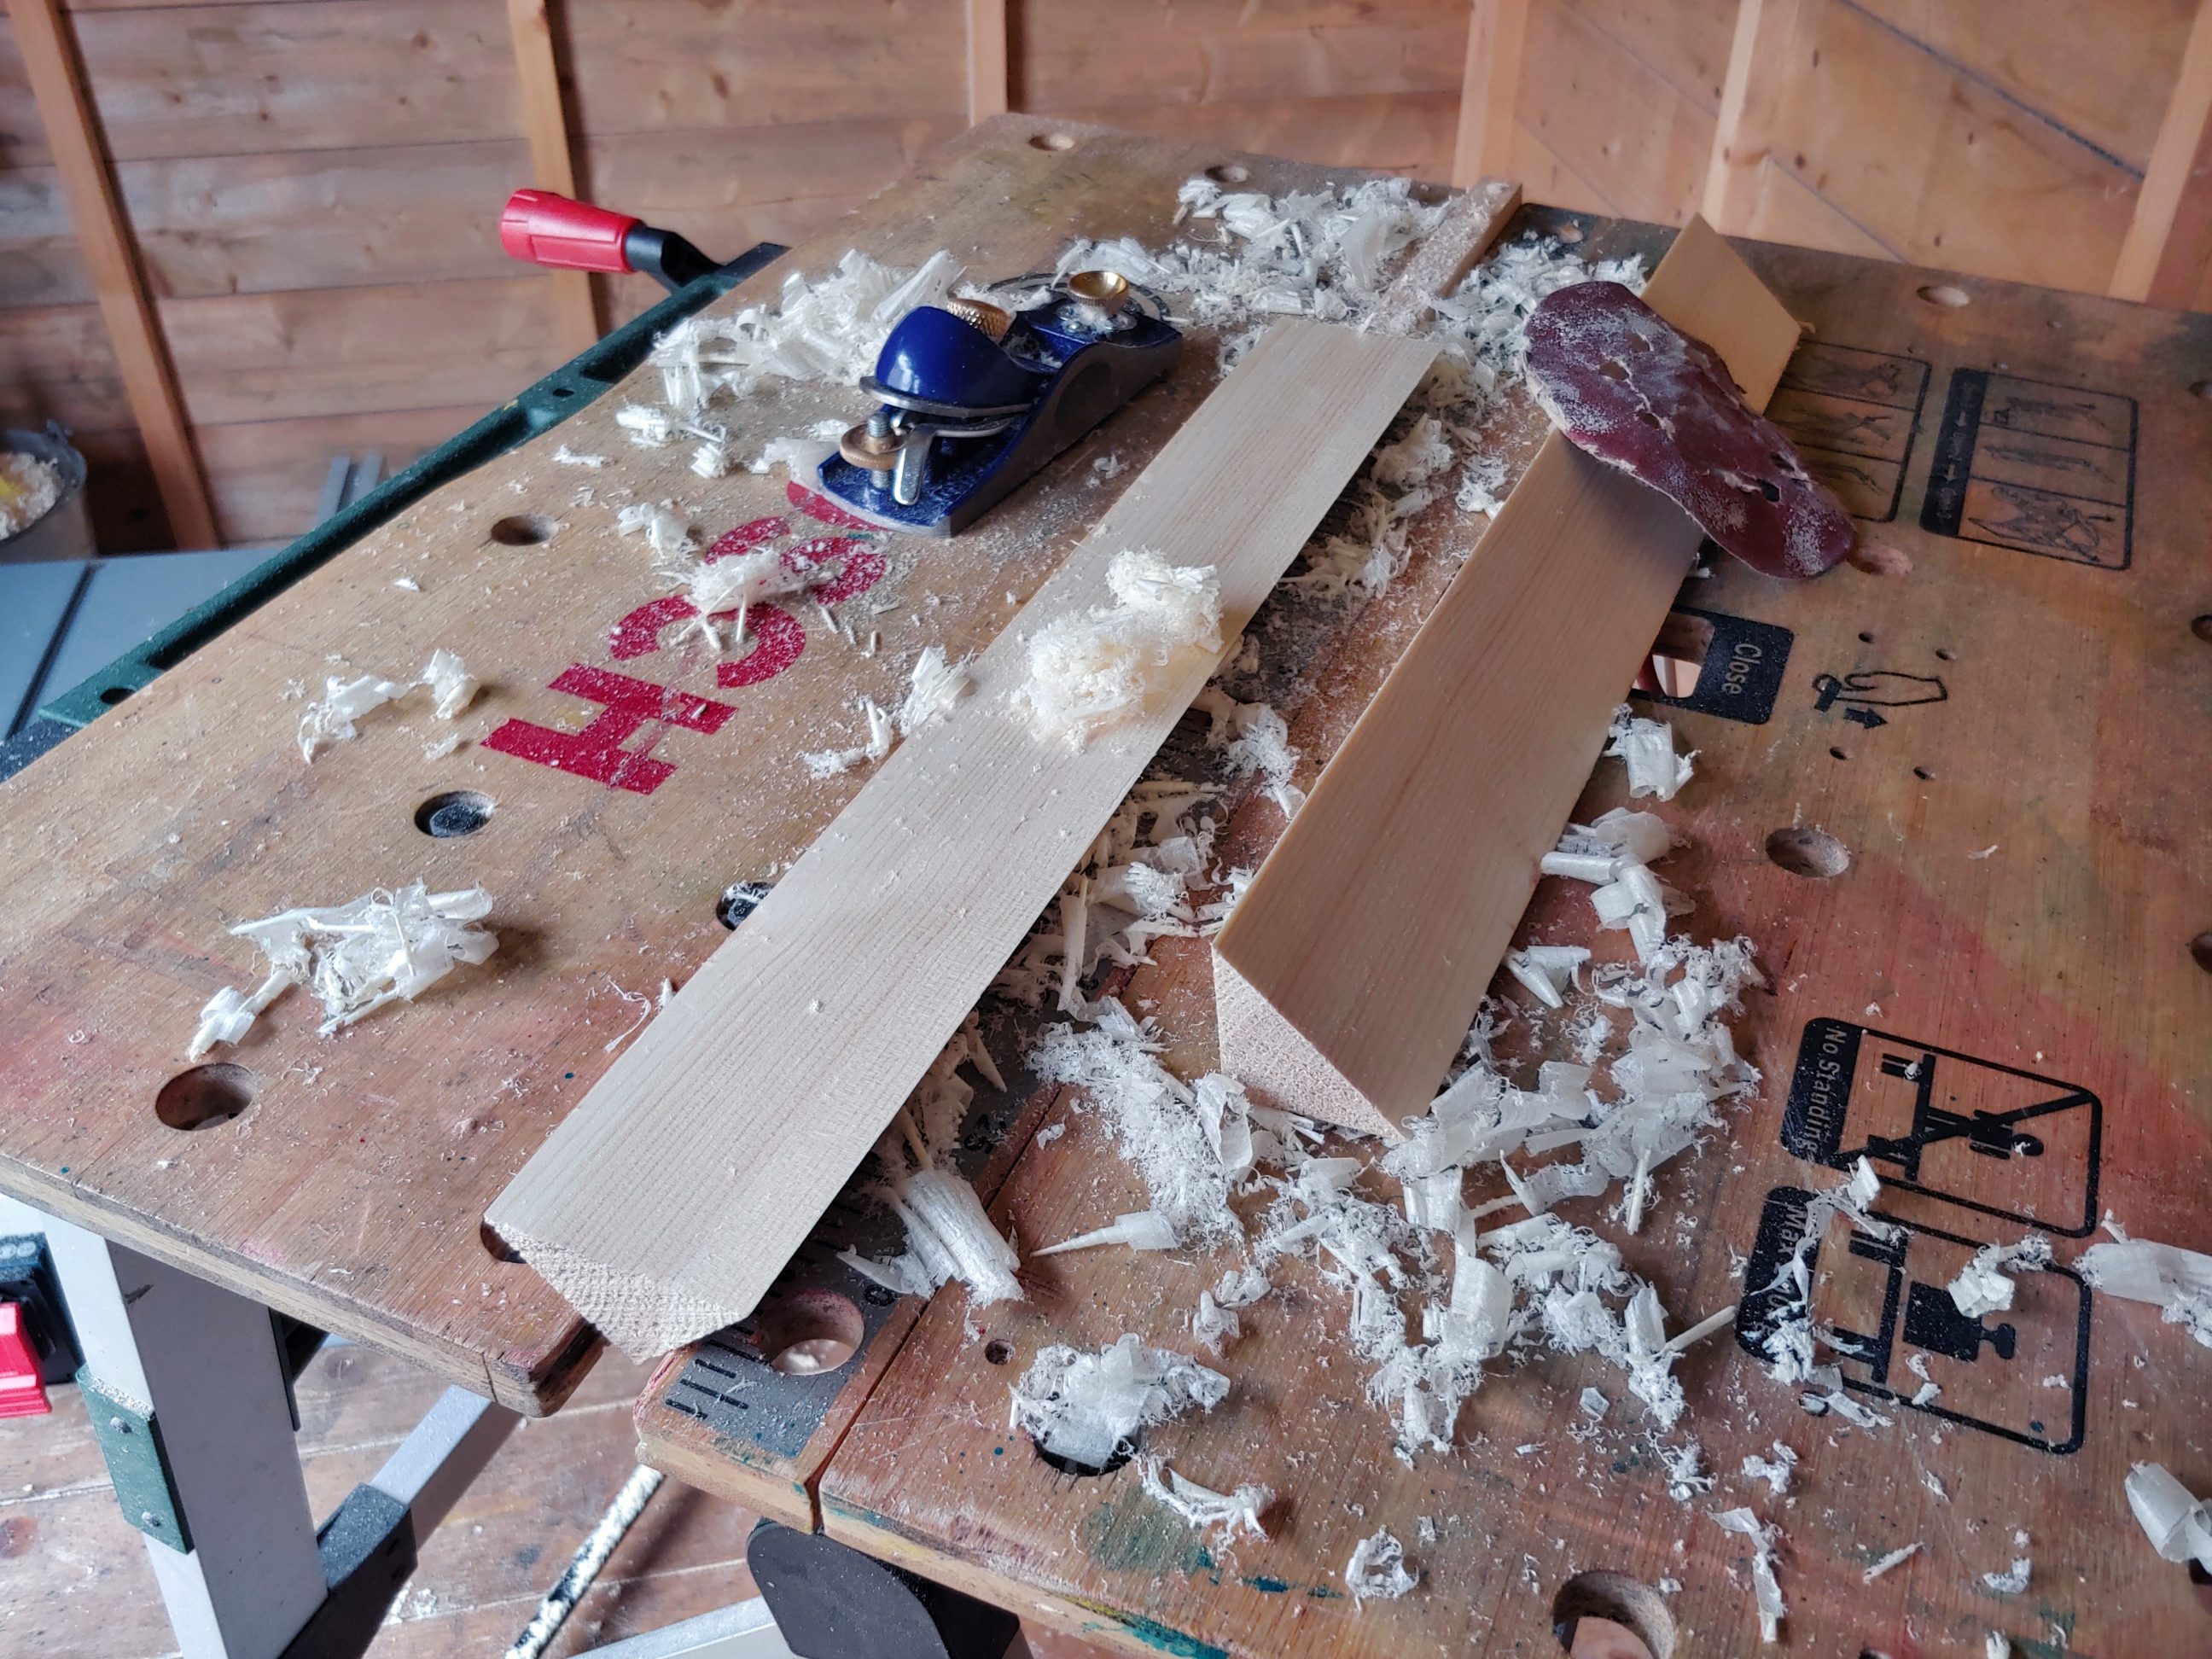
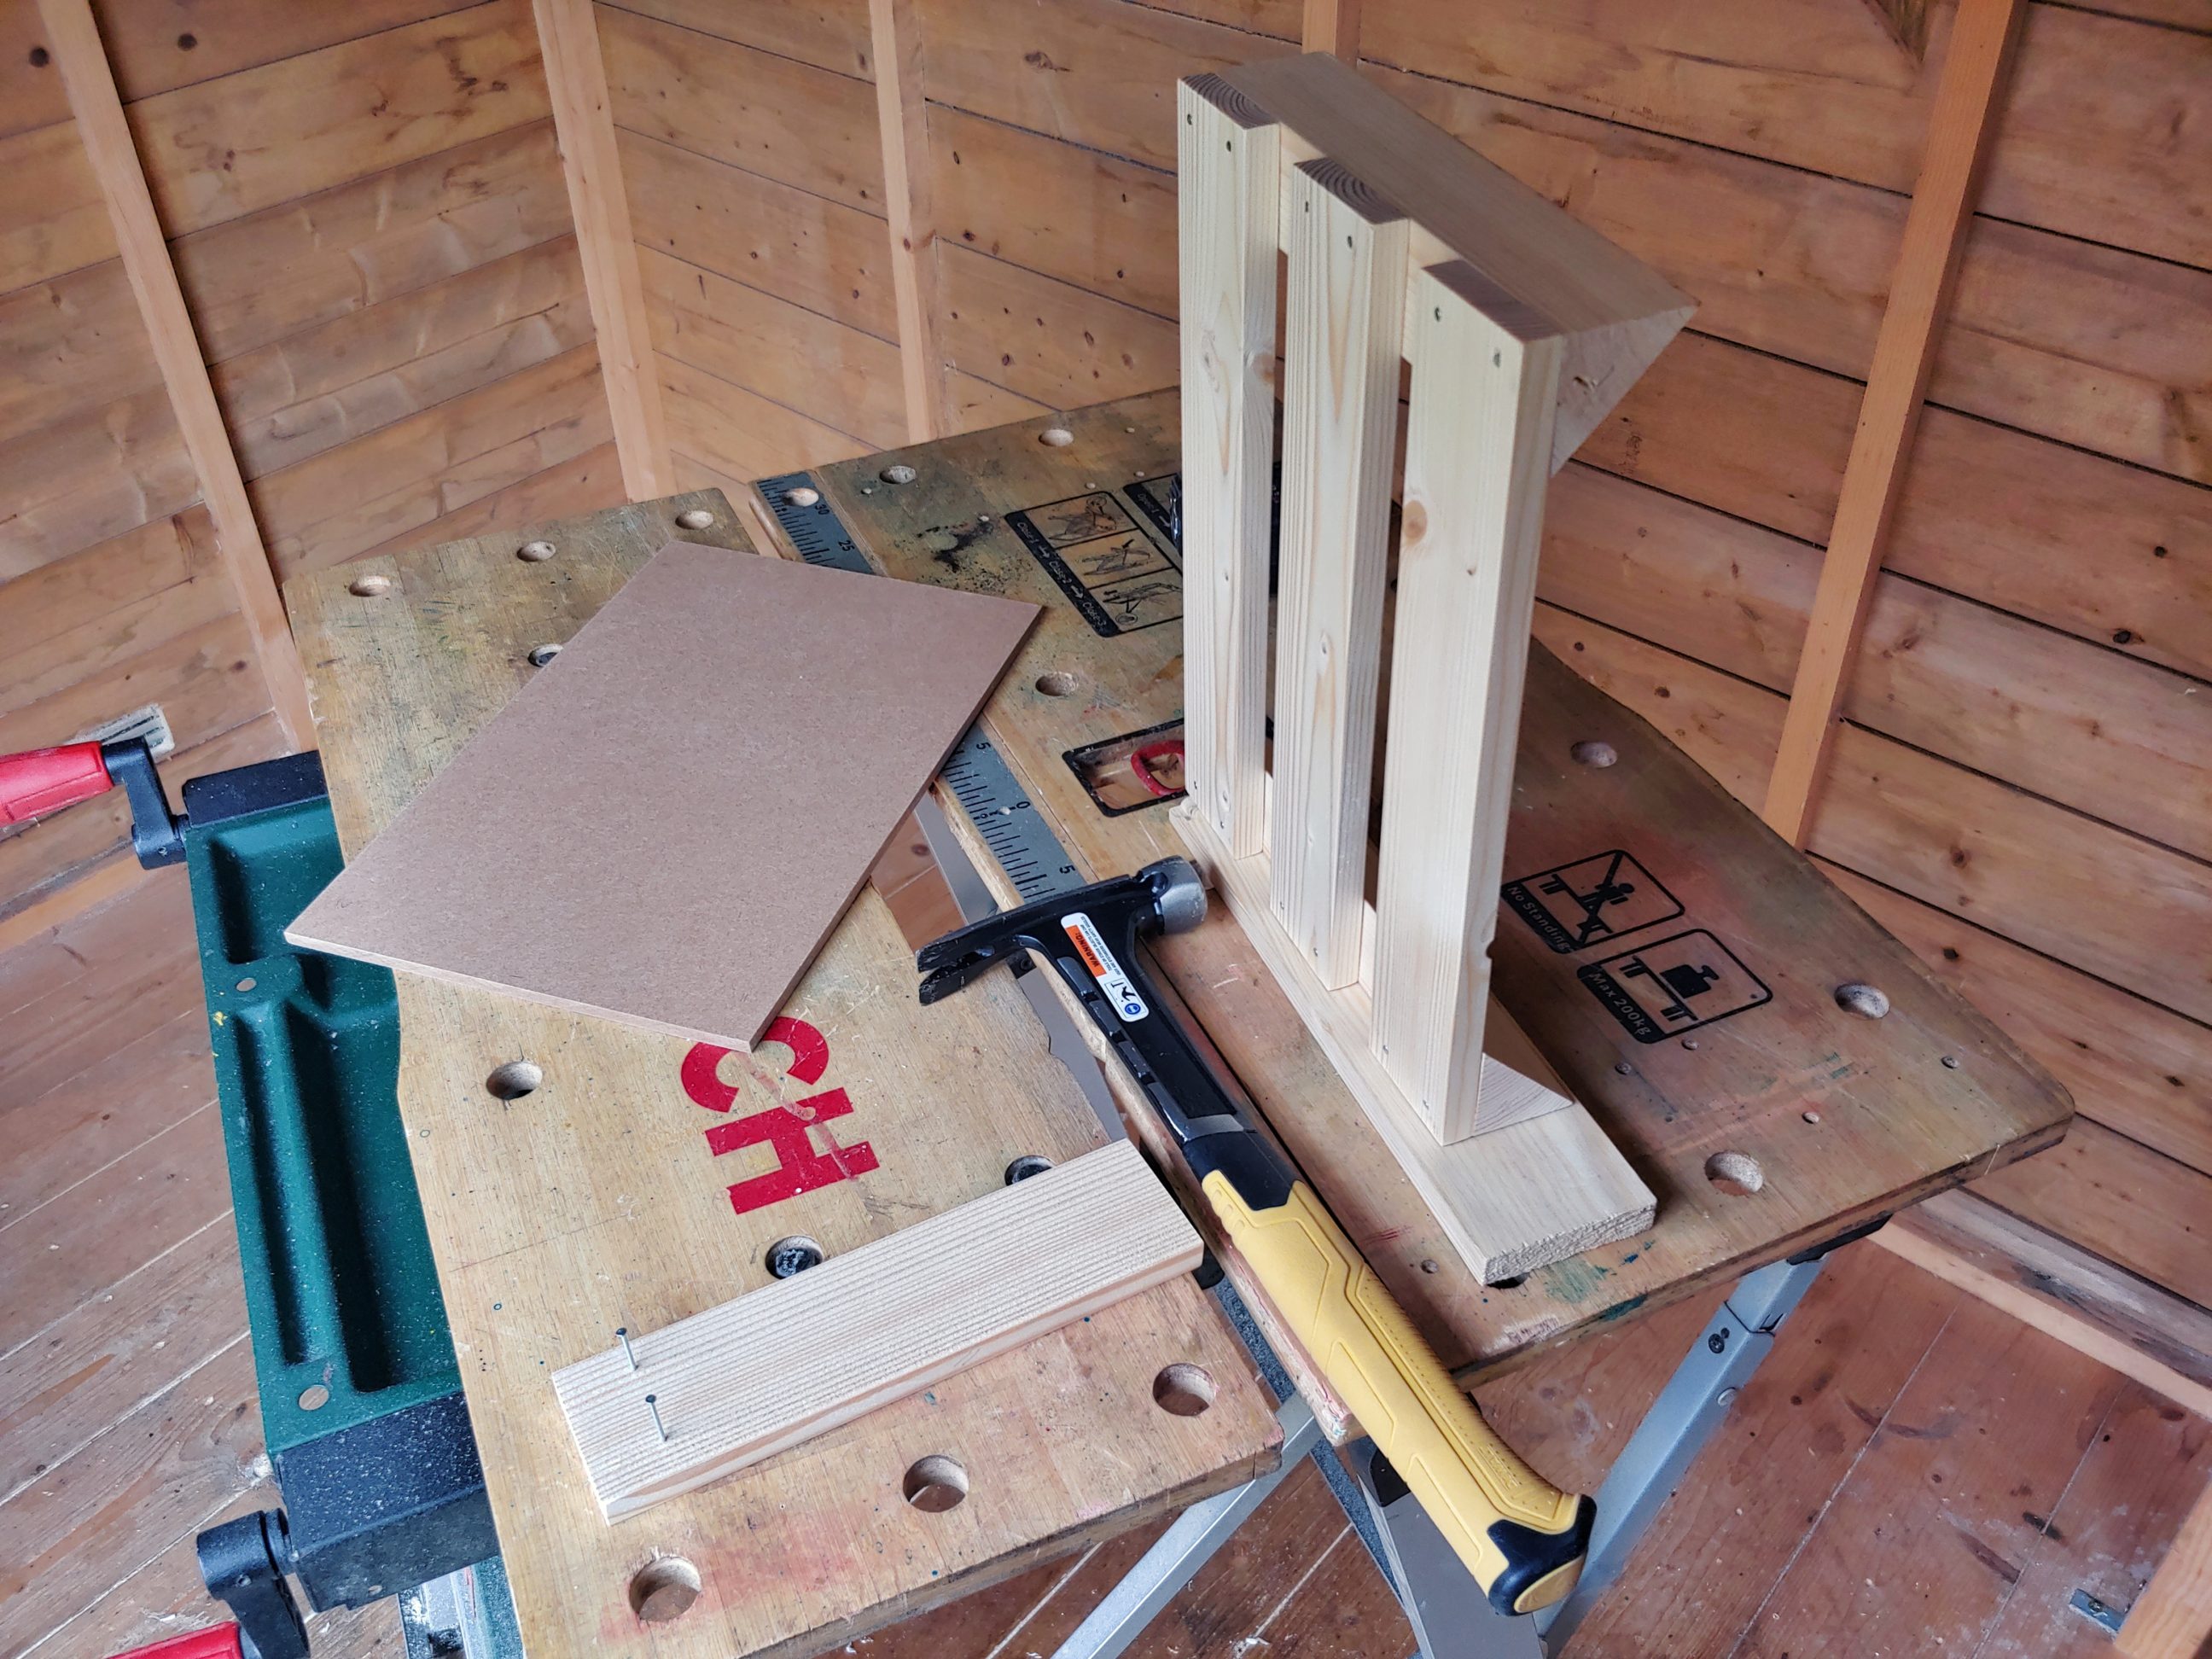
When I was happy with the new thickness, I planed the sides as well, to get a perfect look and consistent width too. For that task, however, I used my hand plane.


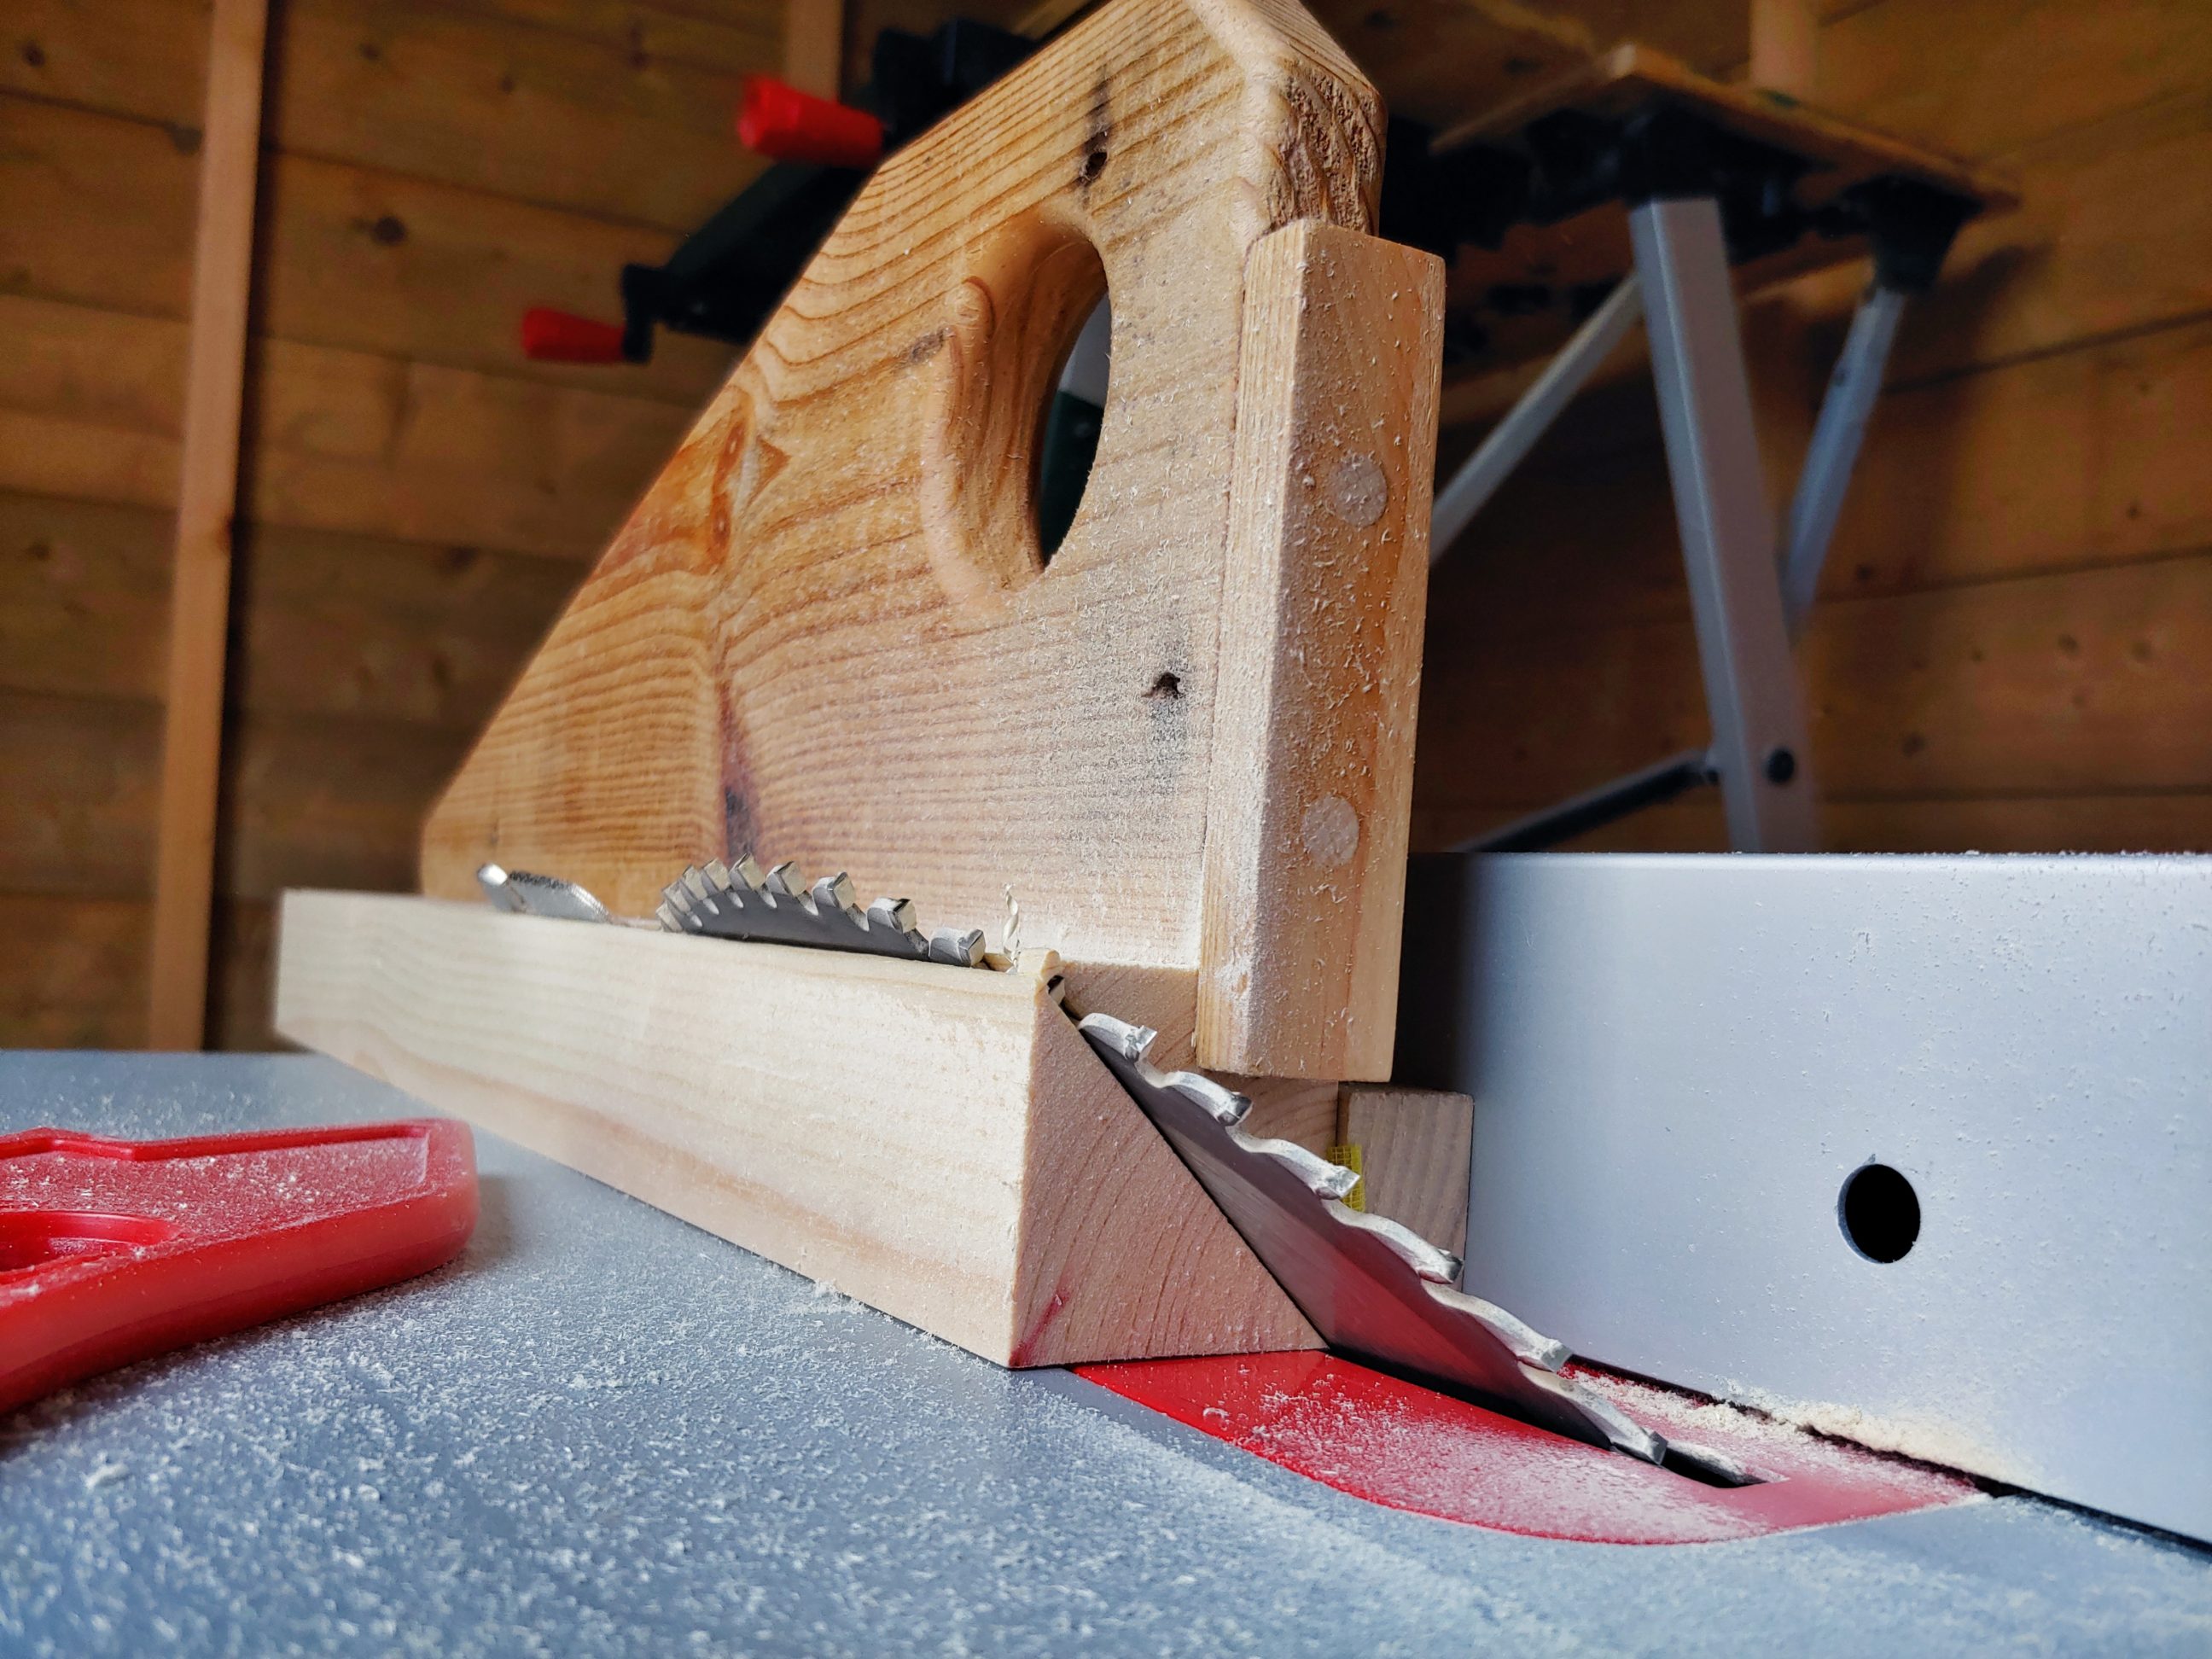
To cut corners, I had to tilt the saw blade to 45º and attach a piece of timber to the workpiece. That trick helped me to keep the blade away from the fence. Once I had them cut, I planed the surface straight away, using a small block plane.

I had everything prepared, planed and sanded, and I could move to the next step which was cutting timber to length. That included the MDF board, a piece of disassembled children toy.


And that was the moment I chose the nails instead of screws. To prevent the wood from splitting, I drove nails at angles different from the grain direction. I also blunted the nail points with a hammer, so they could shear through the wood instead of wedging. It looked good when put together, but the joints were weak, especially the top boards that were used as handles. They had to be reinforced with an extra nail. But there was one more thing I couldn’t stand – one of the corners was cut shorter and the box wasn’t square. I noticed that after the assembly, and I was very surprised that it happened. Anyway, I had to fix the problem.


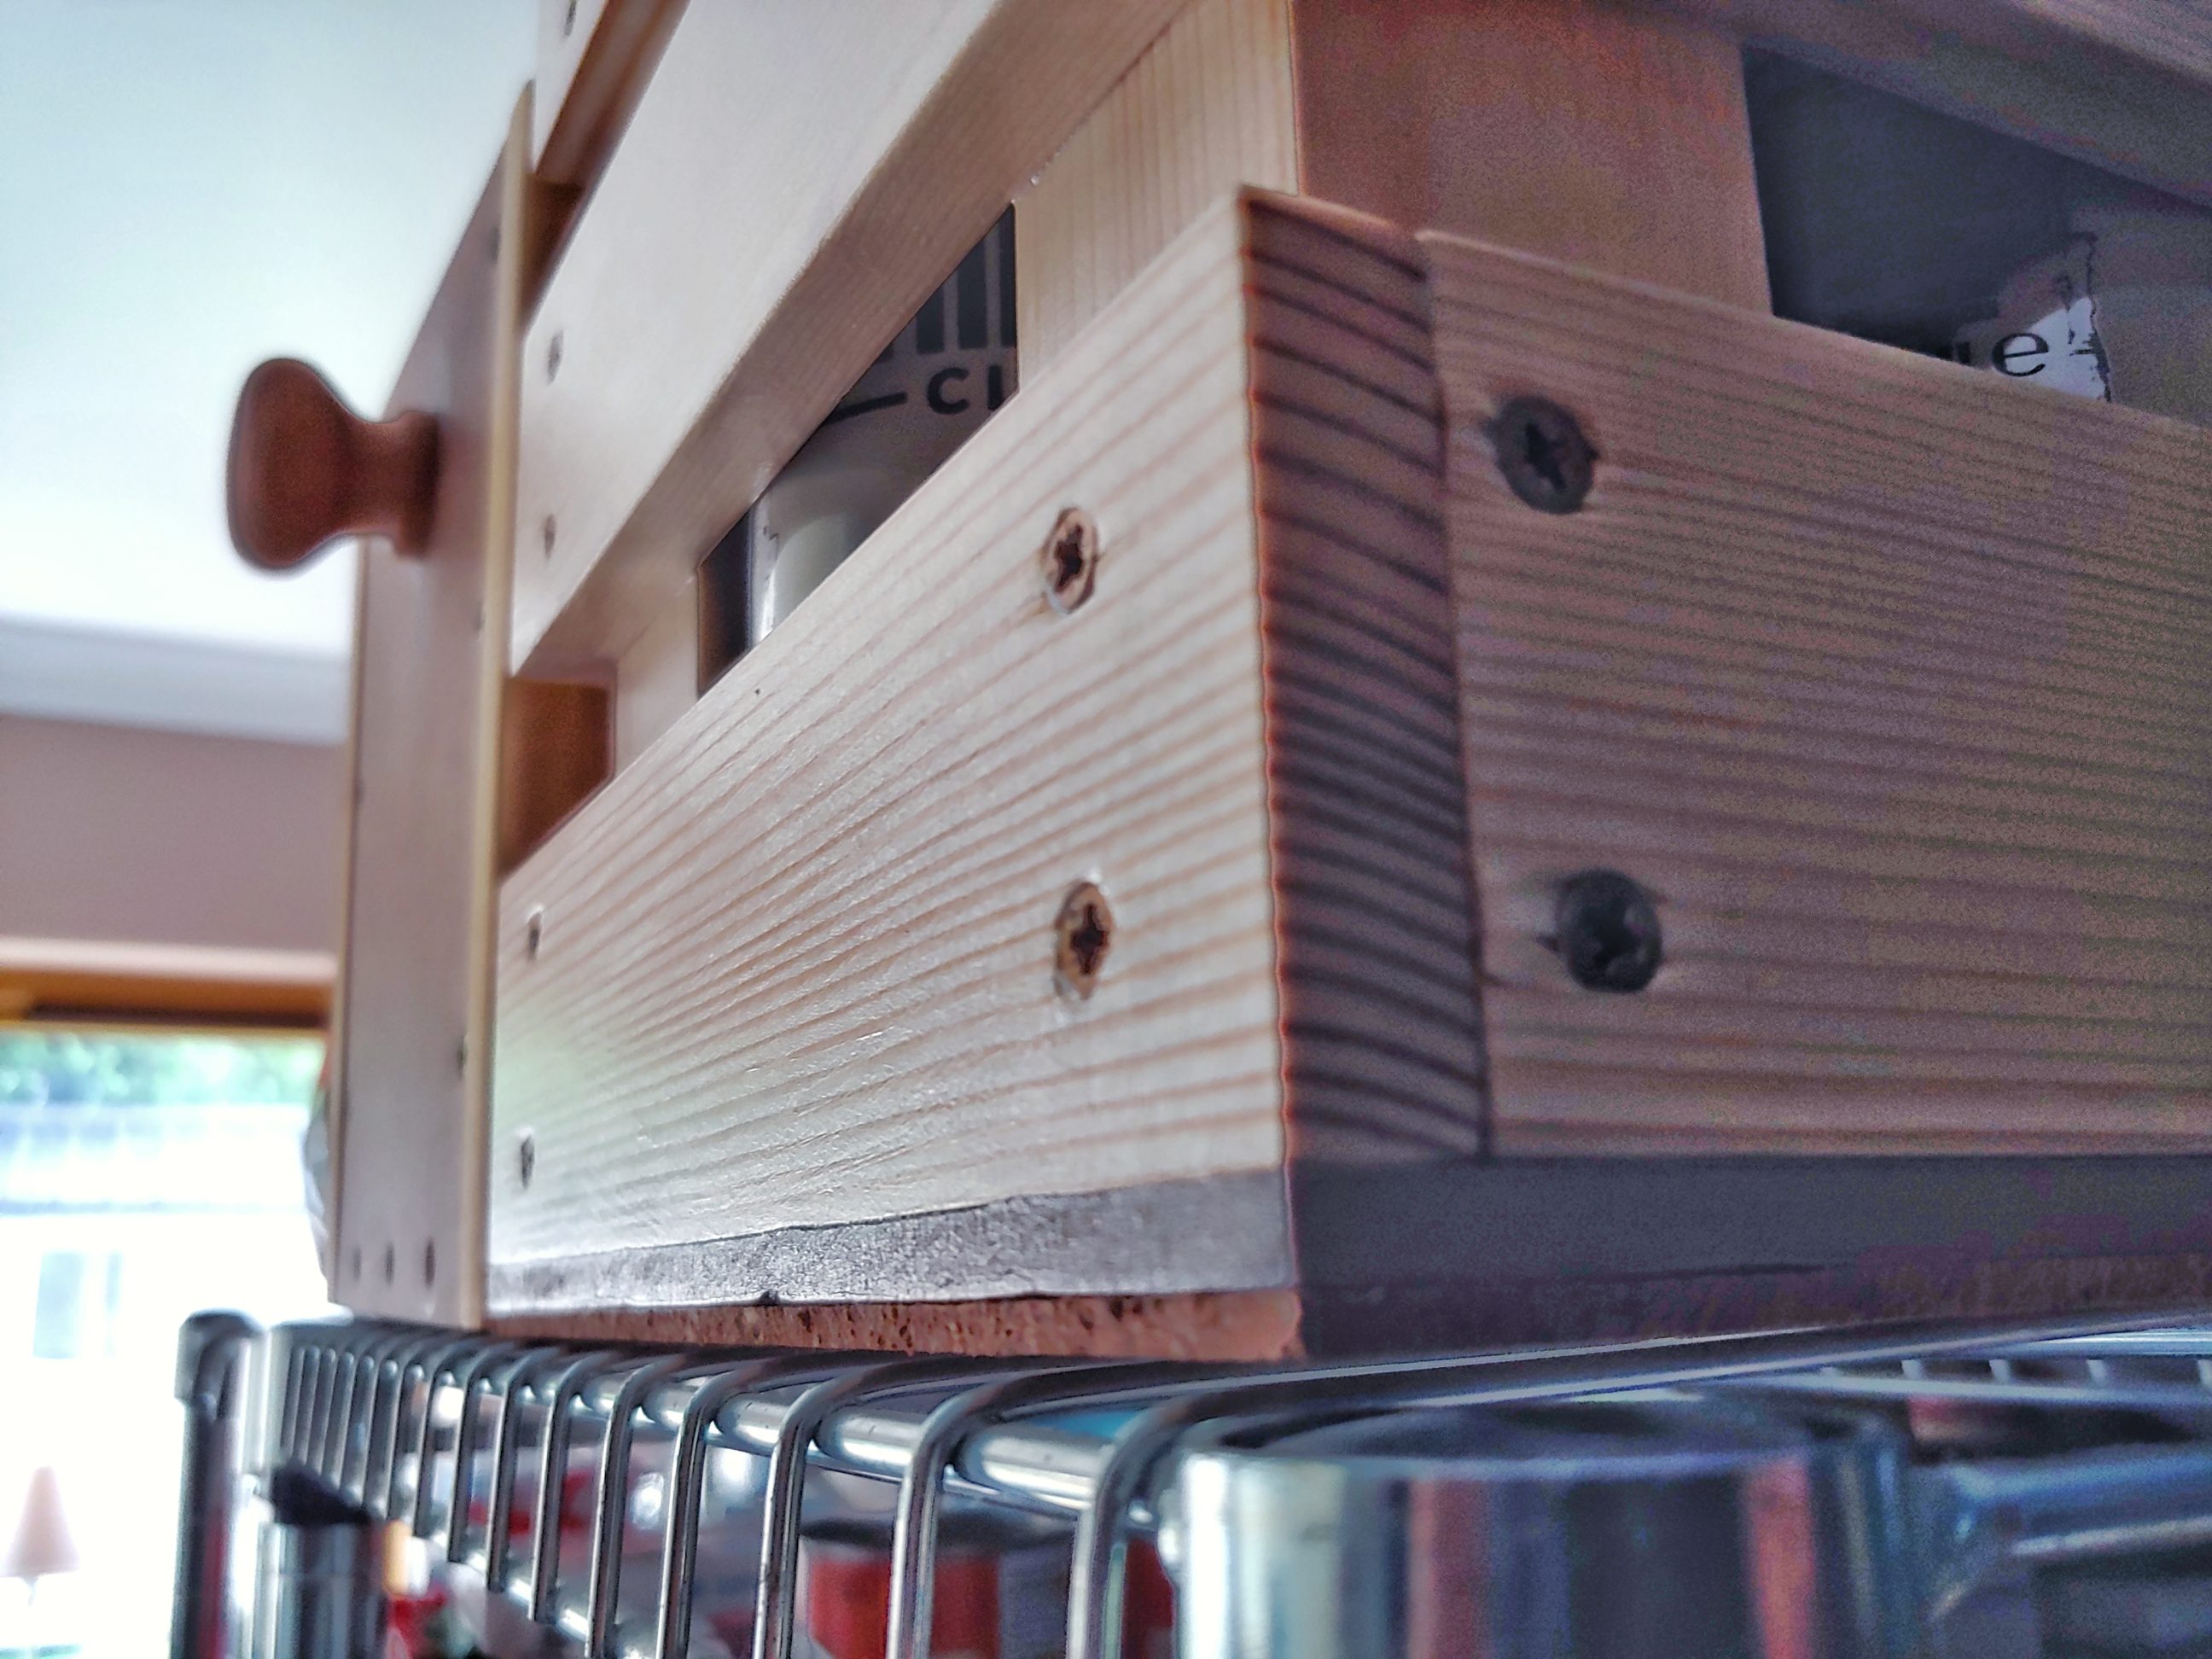
I disassembled everything and cut the corners to the same size. Next, I pre-drilled most of the holes using 2 different bits (2 and 3 mm) and made sure the screws would go perpendicular to the wood and not at an angle like nails. I only used the smaller drill bit for the bottom slats, any remaining holes were drilled with the larger bit.


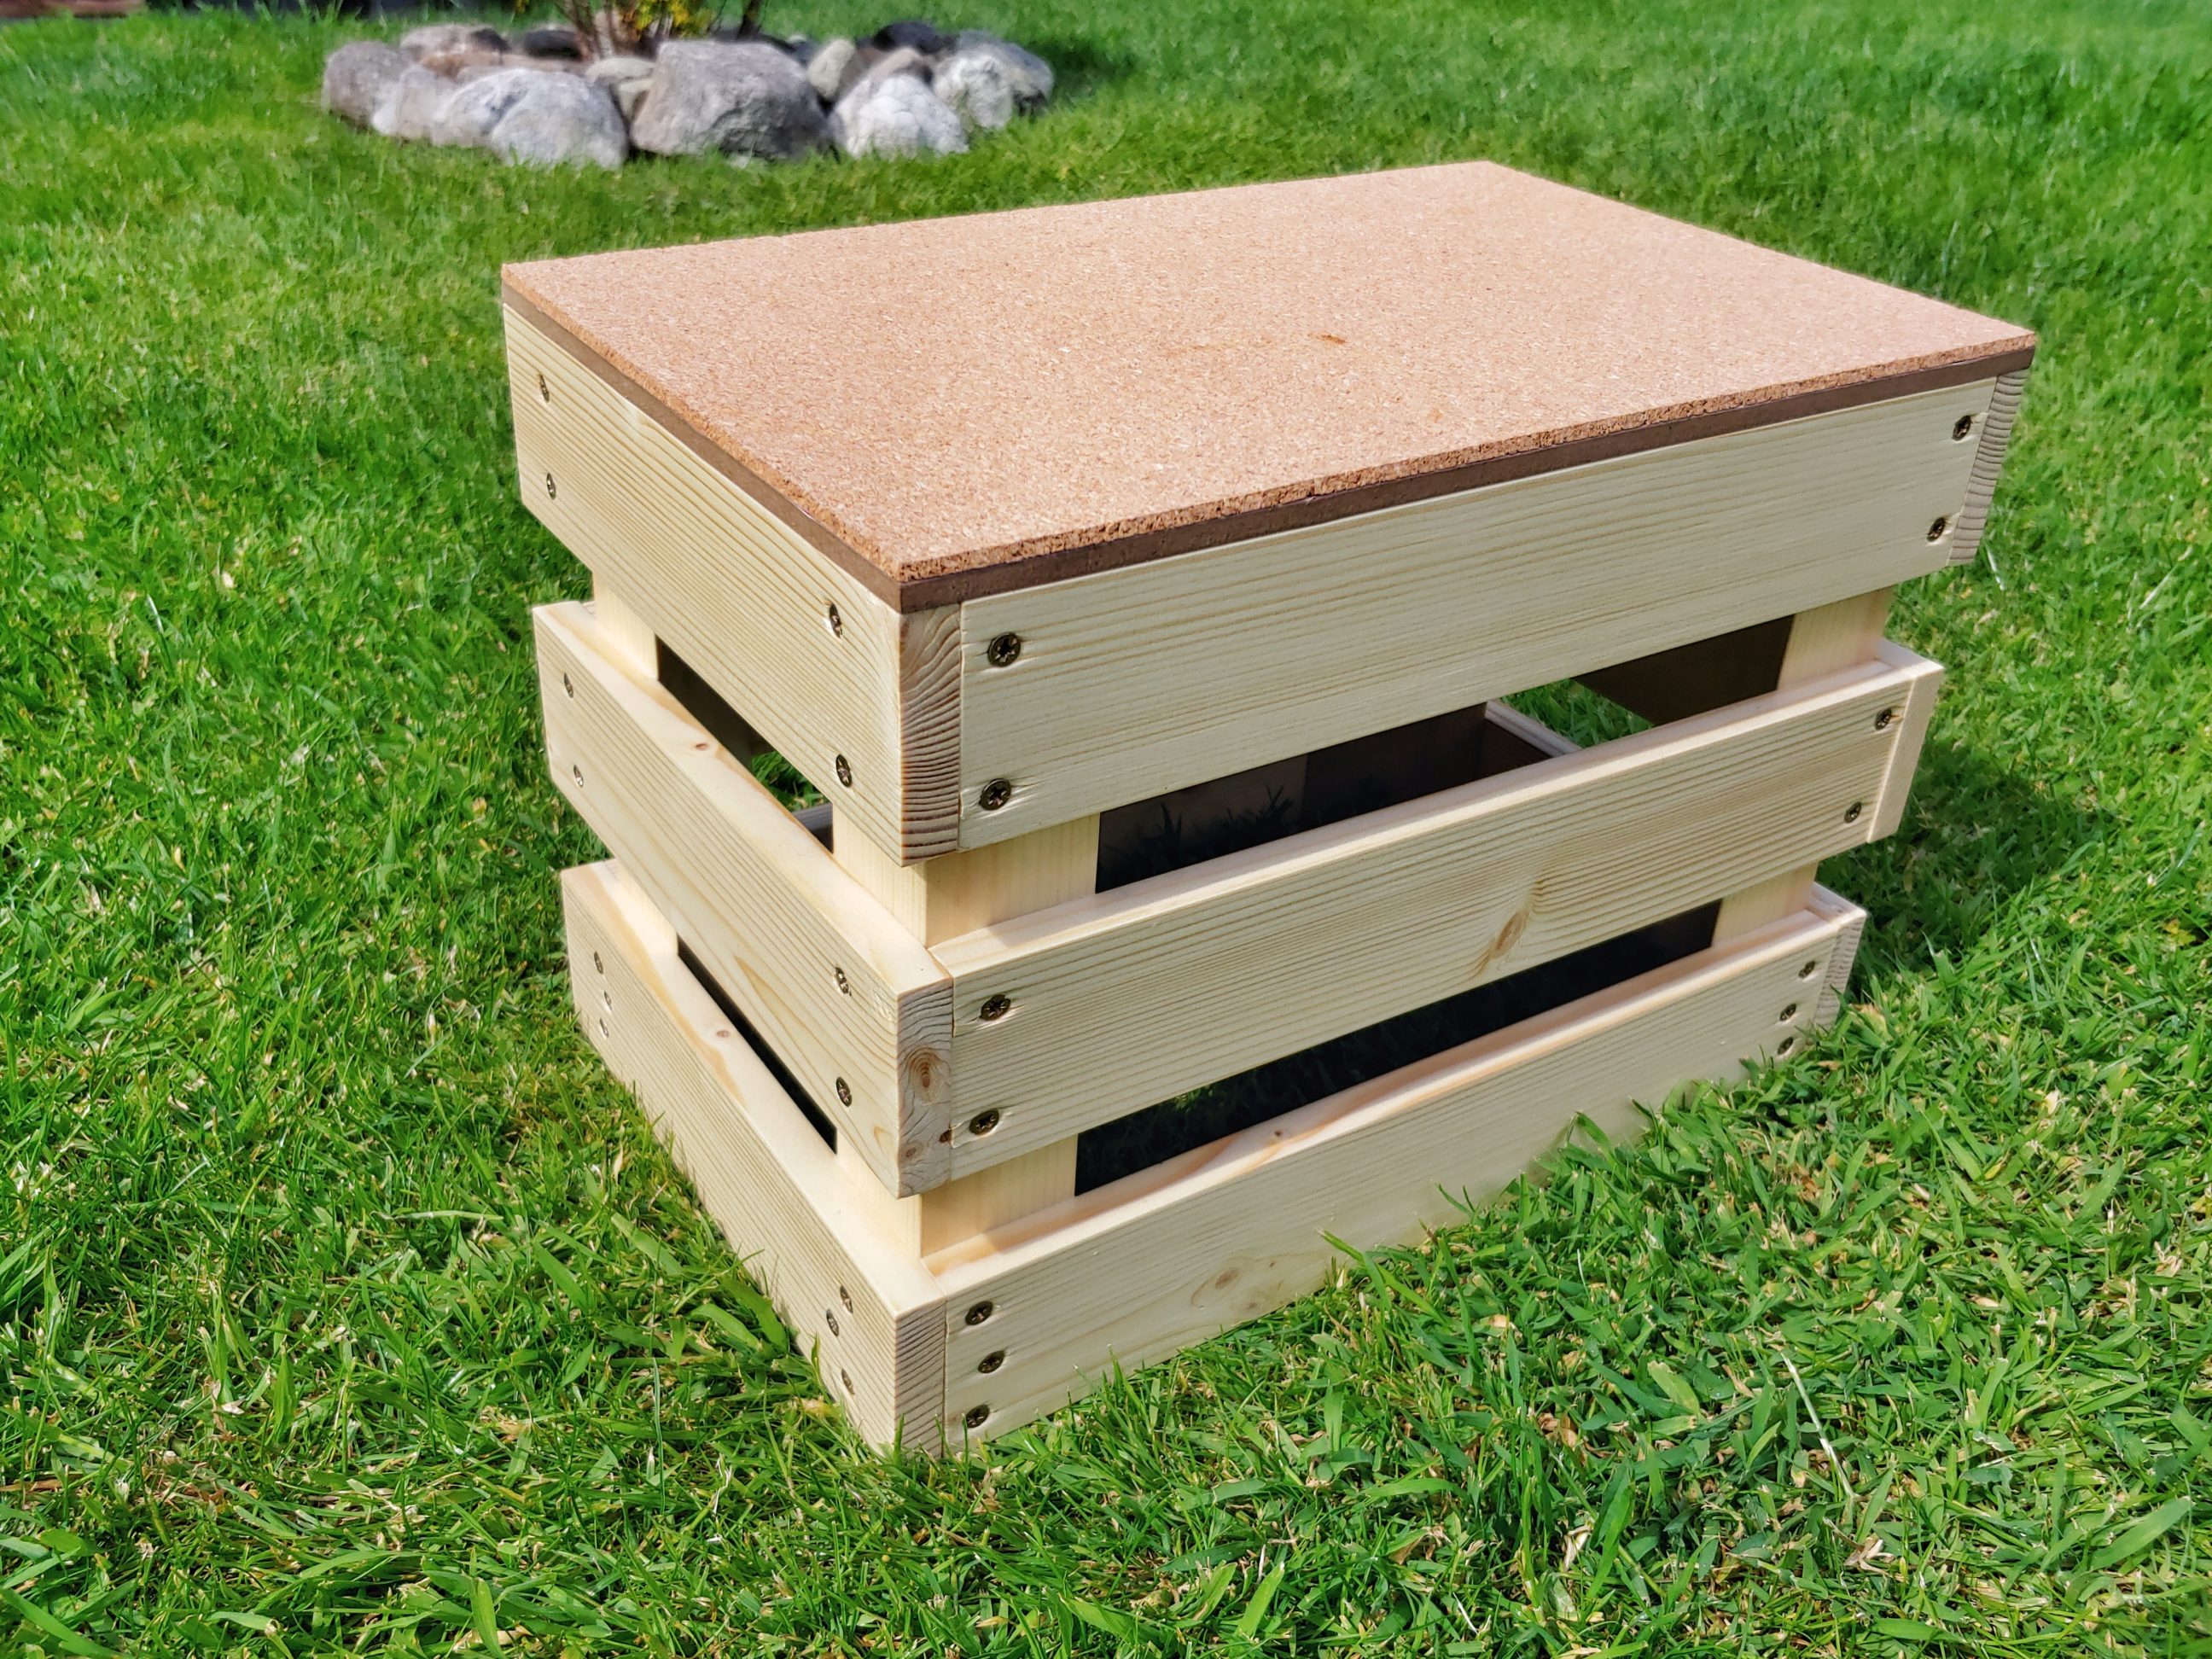
I used 3.5 x 25 mm screws (no. 6 x 1″) and tried to fix slats in different places than they were before. I marked locations after the disassembly to make it easy for me. Next, I applied 2 coats of a water-based varnish and let it dry for a while. When the crate was flipped over, I noticed that the finish damaged the red, paper layer on the MDF, so I used wood glue and fixed a sheet of cork table mat.

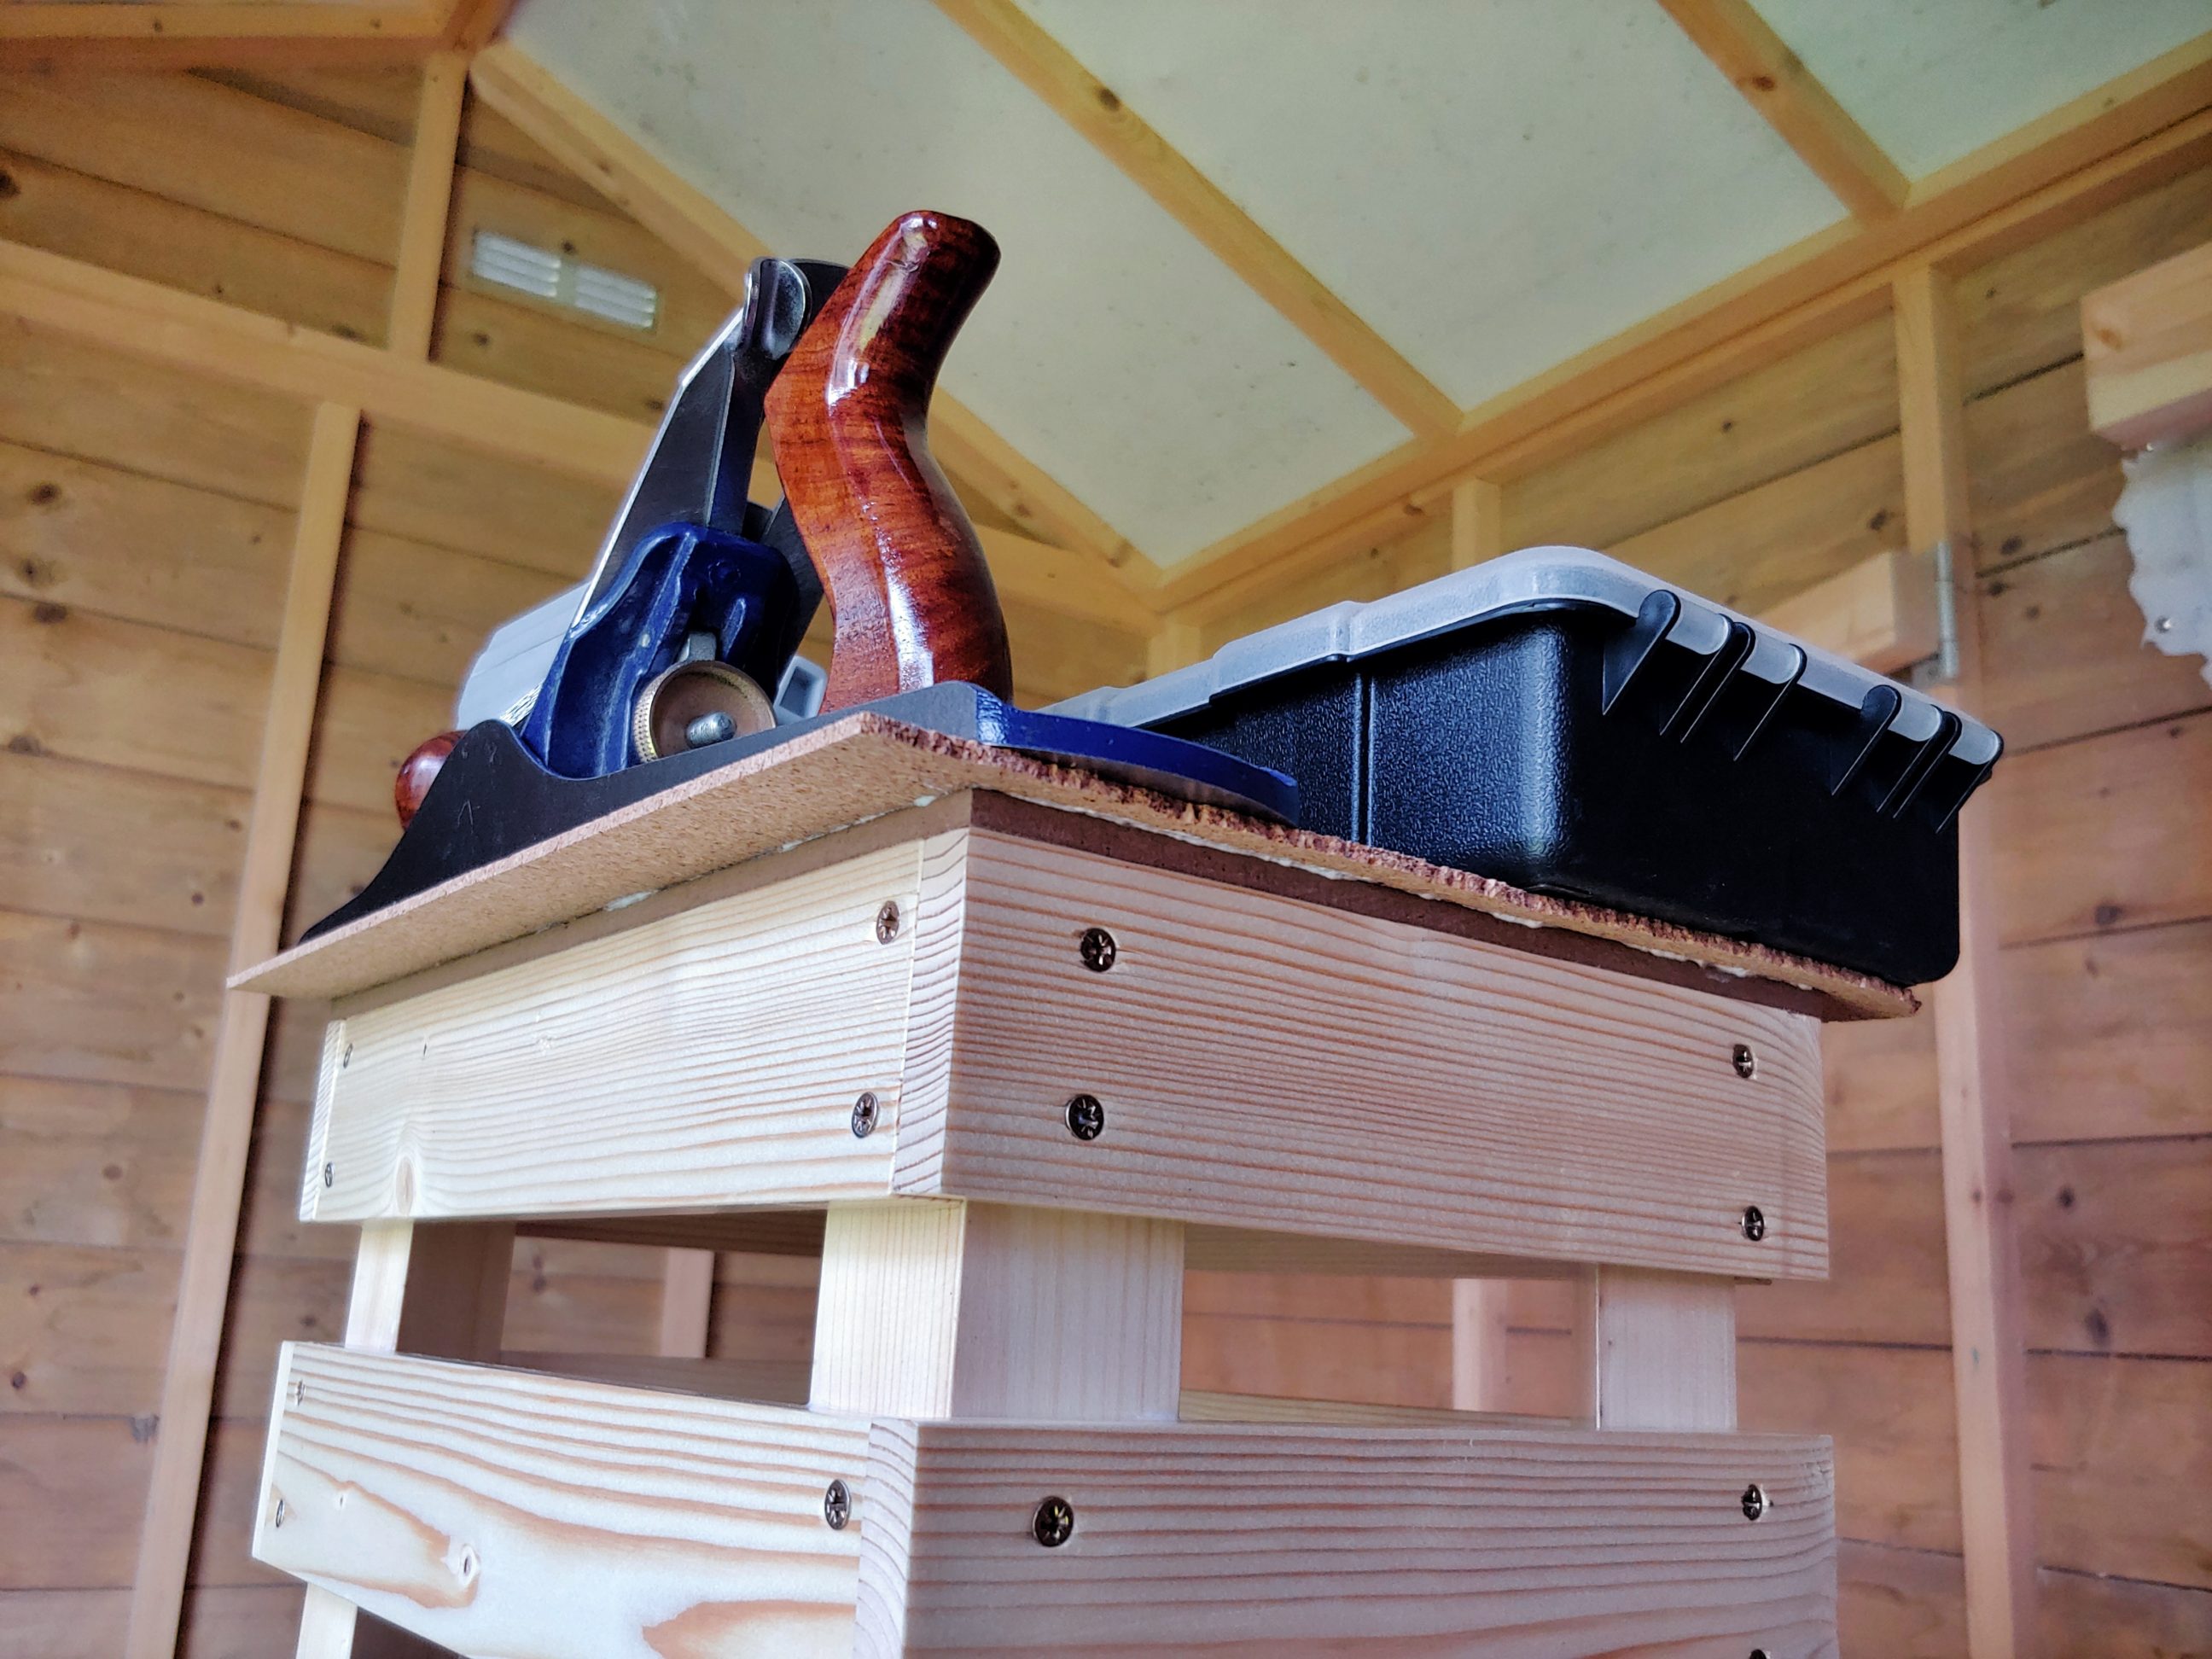
With a sharp pocket knife, I cut off the excess and inadvertently created a nice chamfered edge. The crate was officially finished. I really liked the protection of a water-based product on the MDF, it gave it a delicate sheen and didn’t change the original colour at all. The bottom is water repellent and this finish may become my favourite one for MDF.


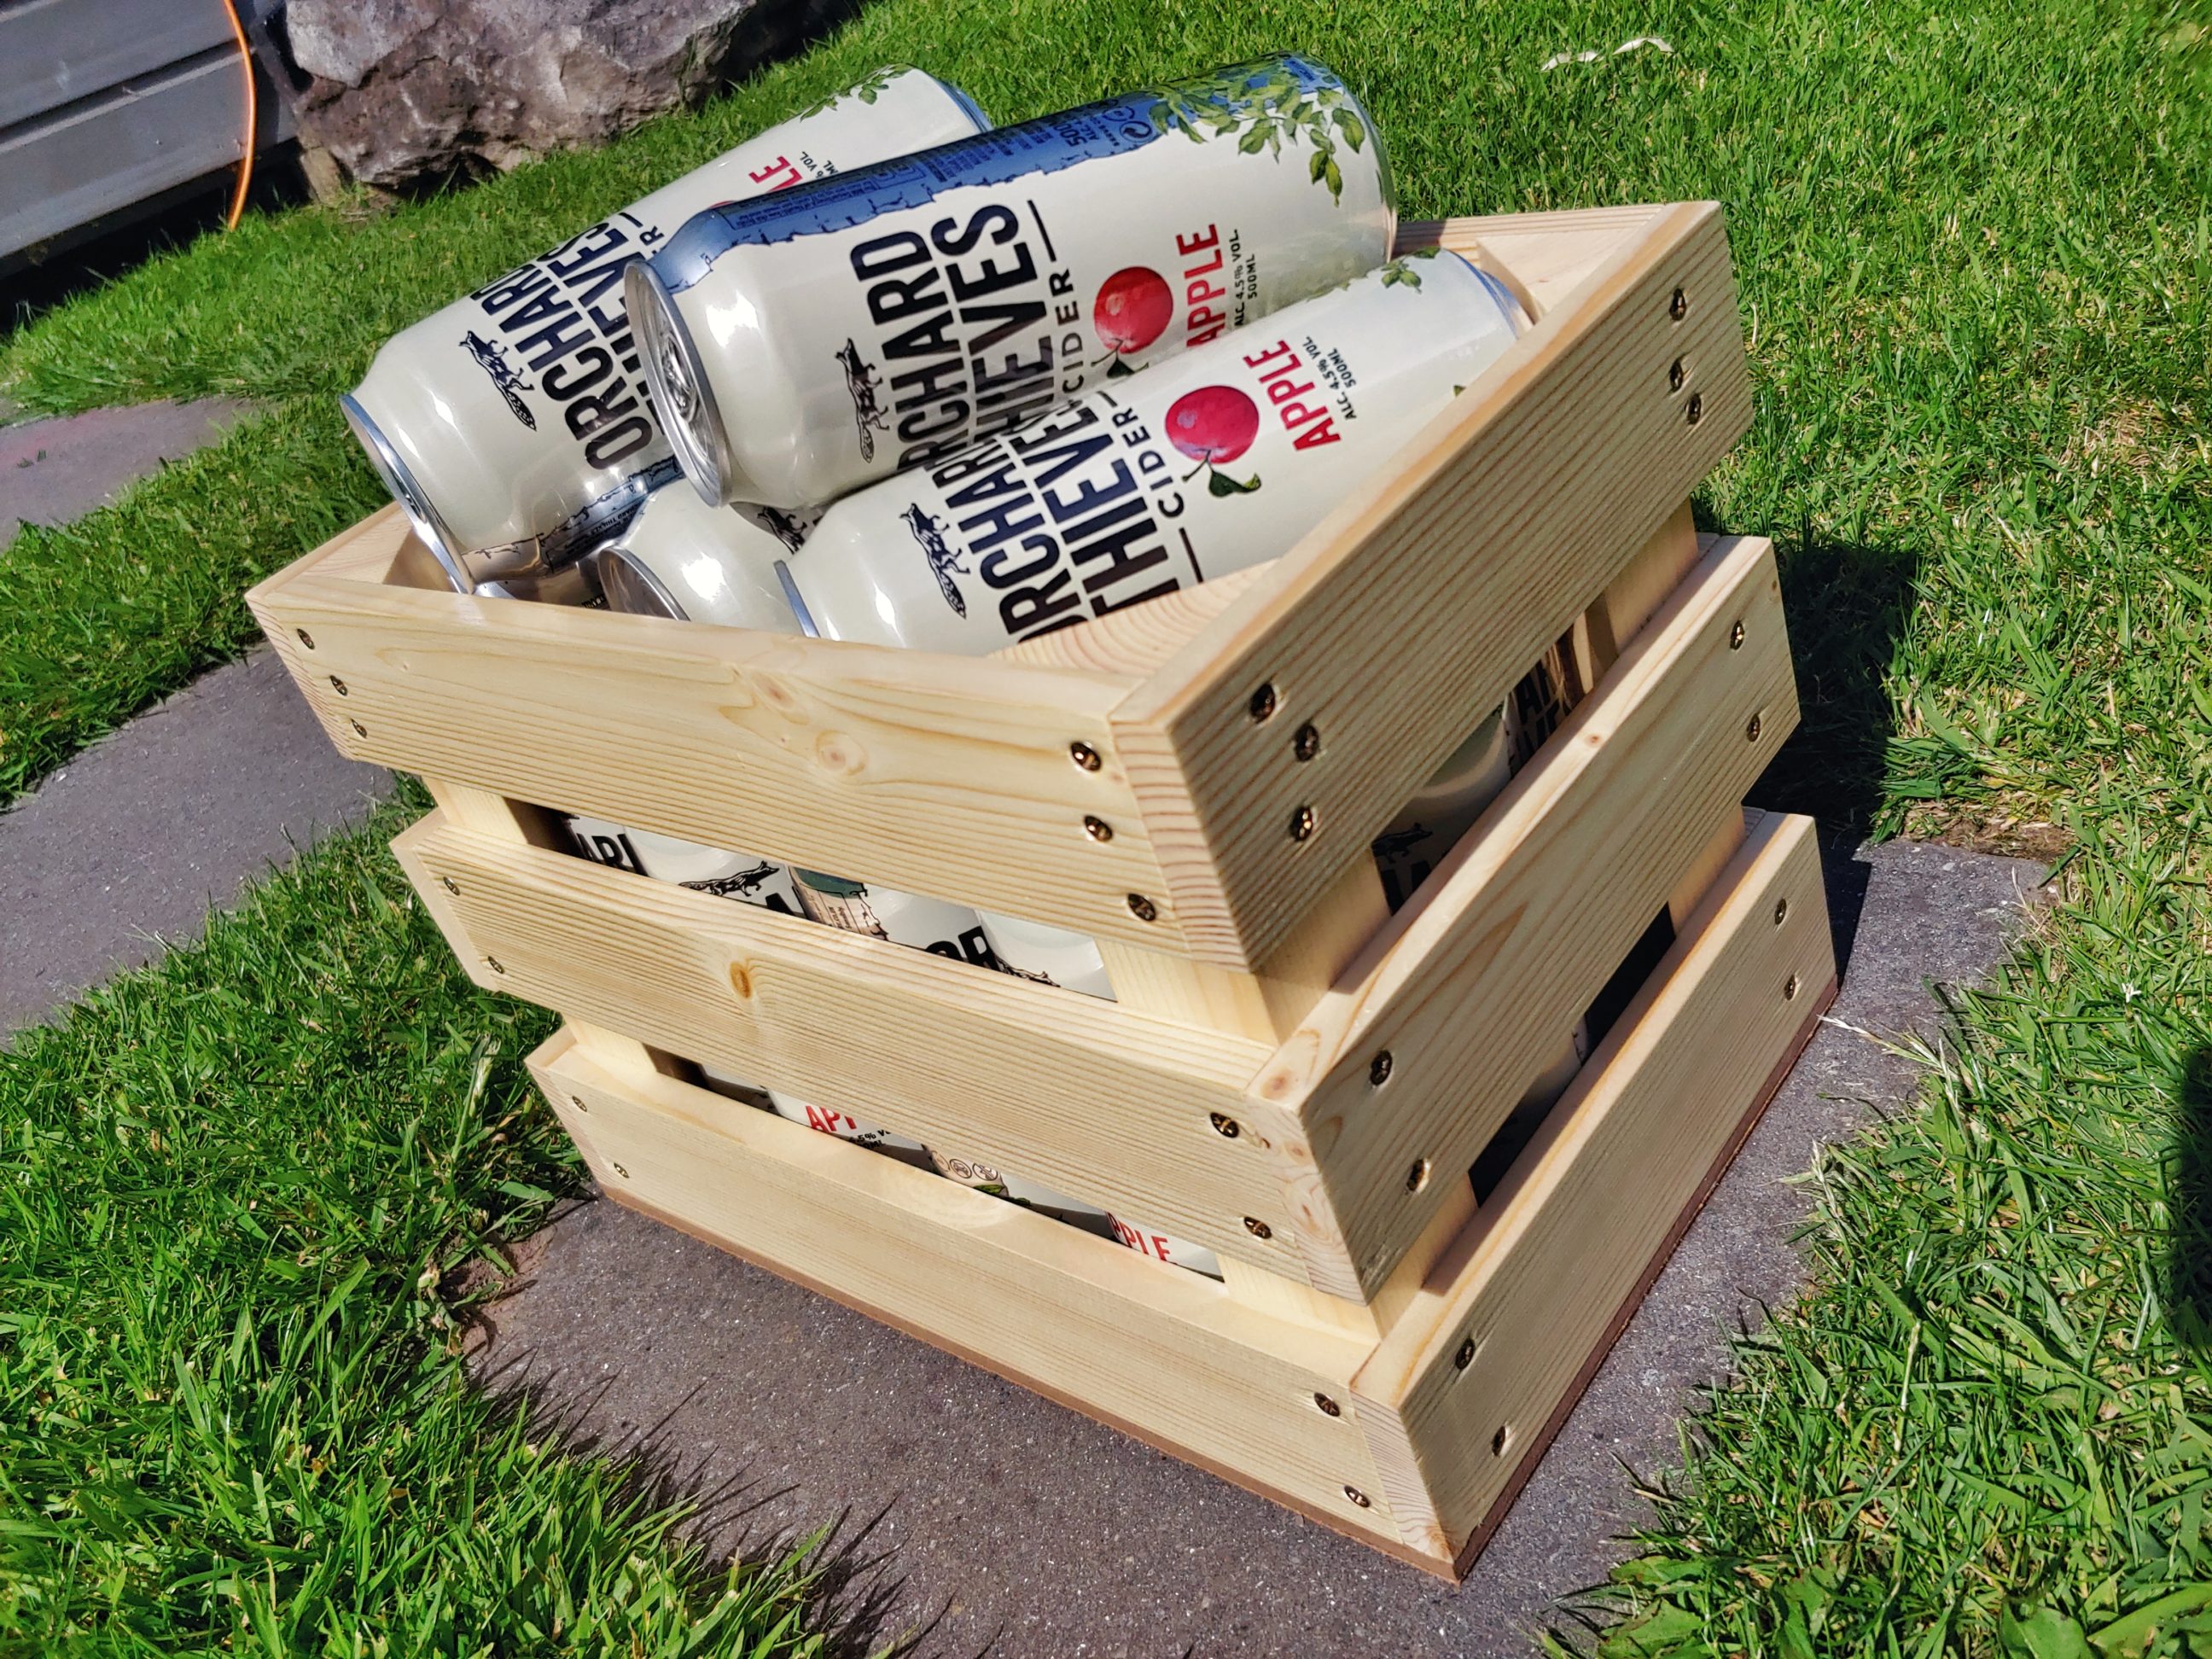
It was time to fill the crate up with canned apples and place it next to the MDF box in my cellar. I got another sturdy box with a classic look and a quite impressive capacity of up to 16 cans of beverage! Made to size and using all the storage space left on that particular shelf. Another successful project helped me to become a better woodworker, who is able to fix problems as they appear. The crate can be used for anything: cans, tins, cartons, bottles, snack packs and so on. I’ll use it for storing cider cans, for now.


One Comment
Pingback: