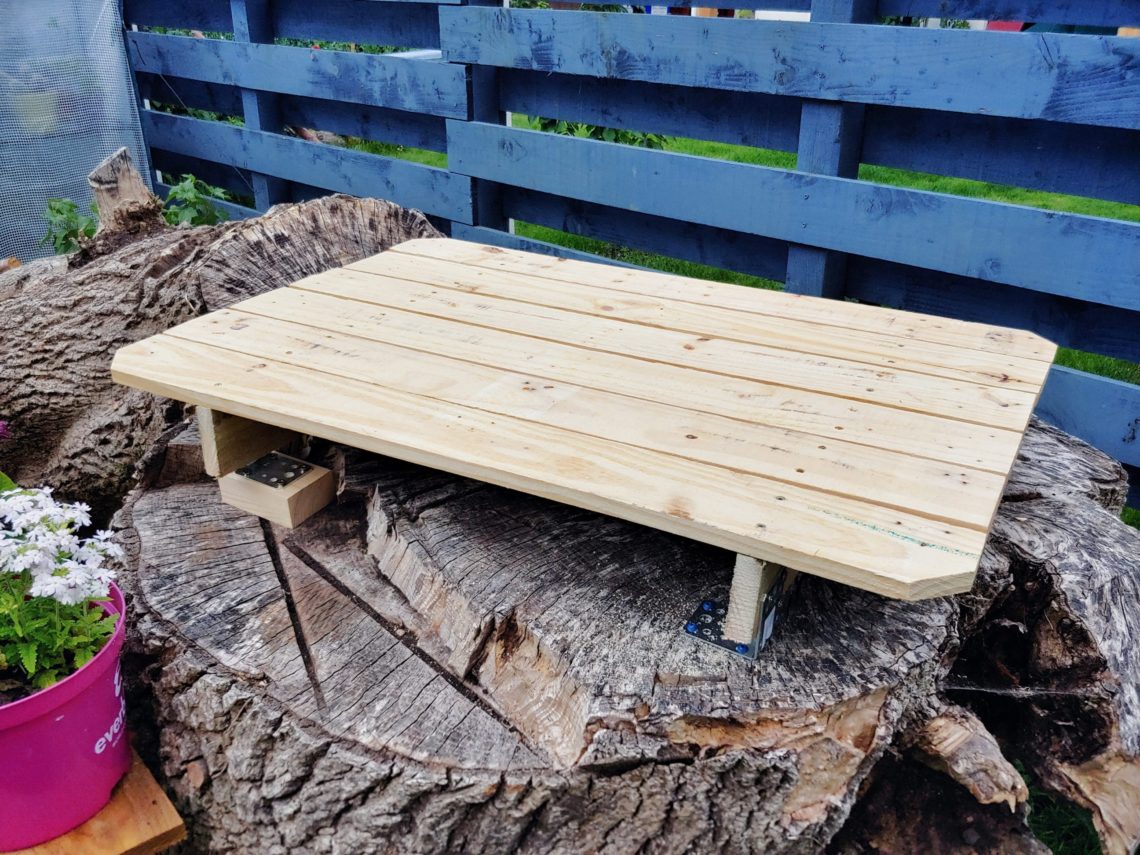
Tree stump platform
A quick project that took just over an hour to complete, and was rather spontaneous than planned. The materials I used were pallet wood for the top, scrap pressure-treated wood for the beams and a single piece of scrap, kiln-dried timber for the levelling block. I cut everything with a hand saw, and most of the alignment and spacing were simply eye-balled. The 4 corner brackets, I used, were galvanised, heavy-duty and long-lasting products. I’ve used them in my other outdoor projects, and they last years, absolutely rust-free. This construction is something between a tree platform, decking, a shelf and a stand, I don’t know what to call it, but I like to see it as my first attempt to build decking.
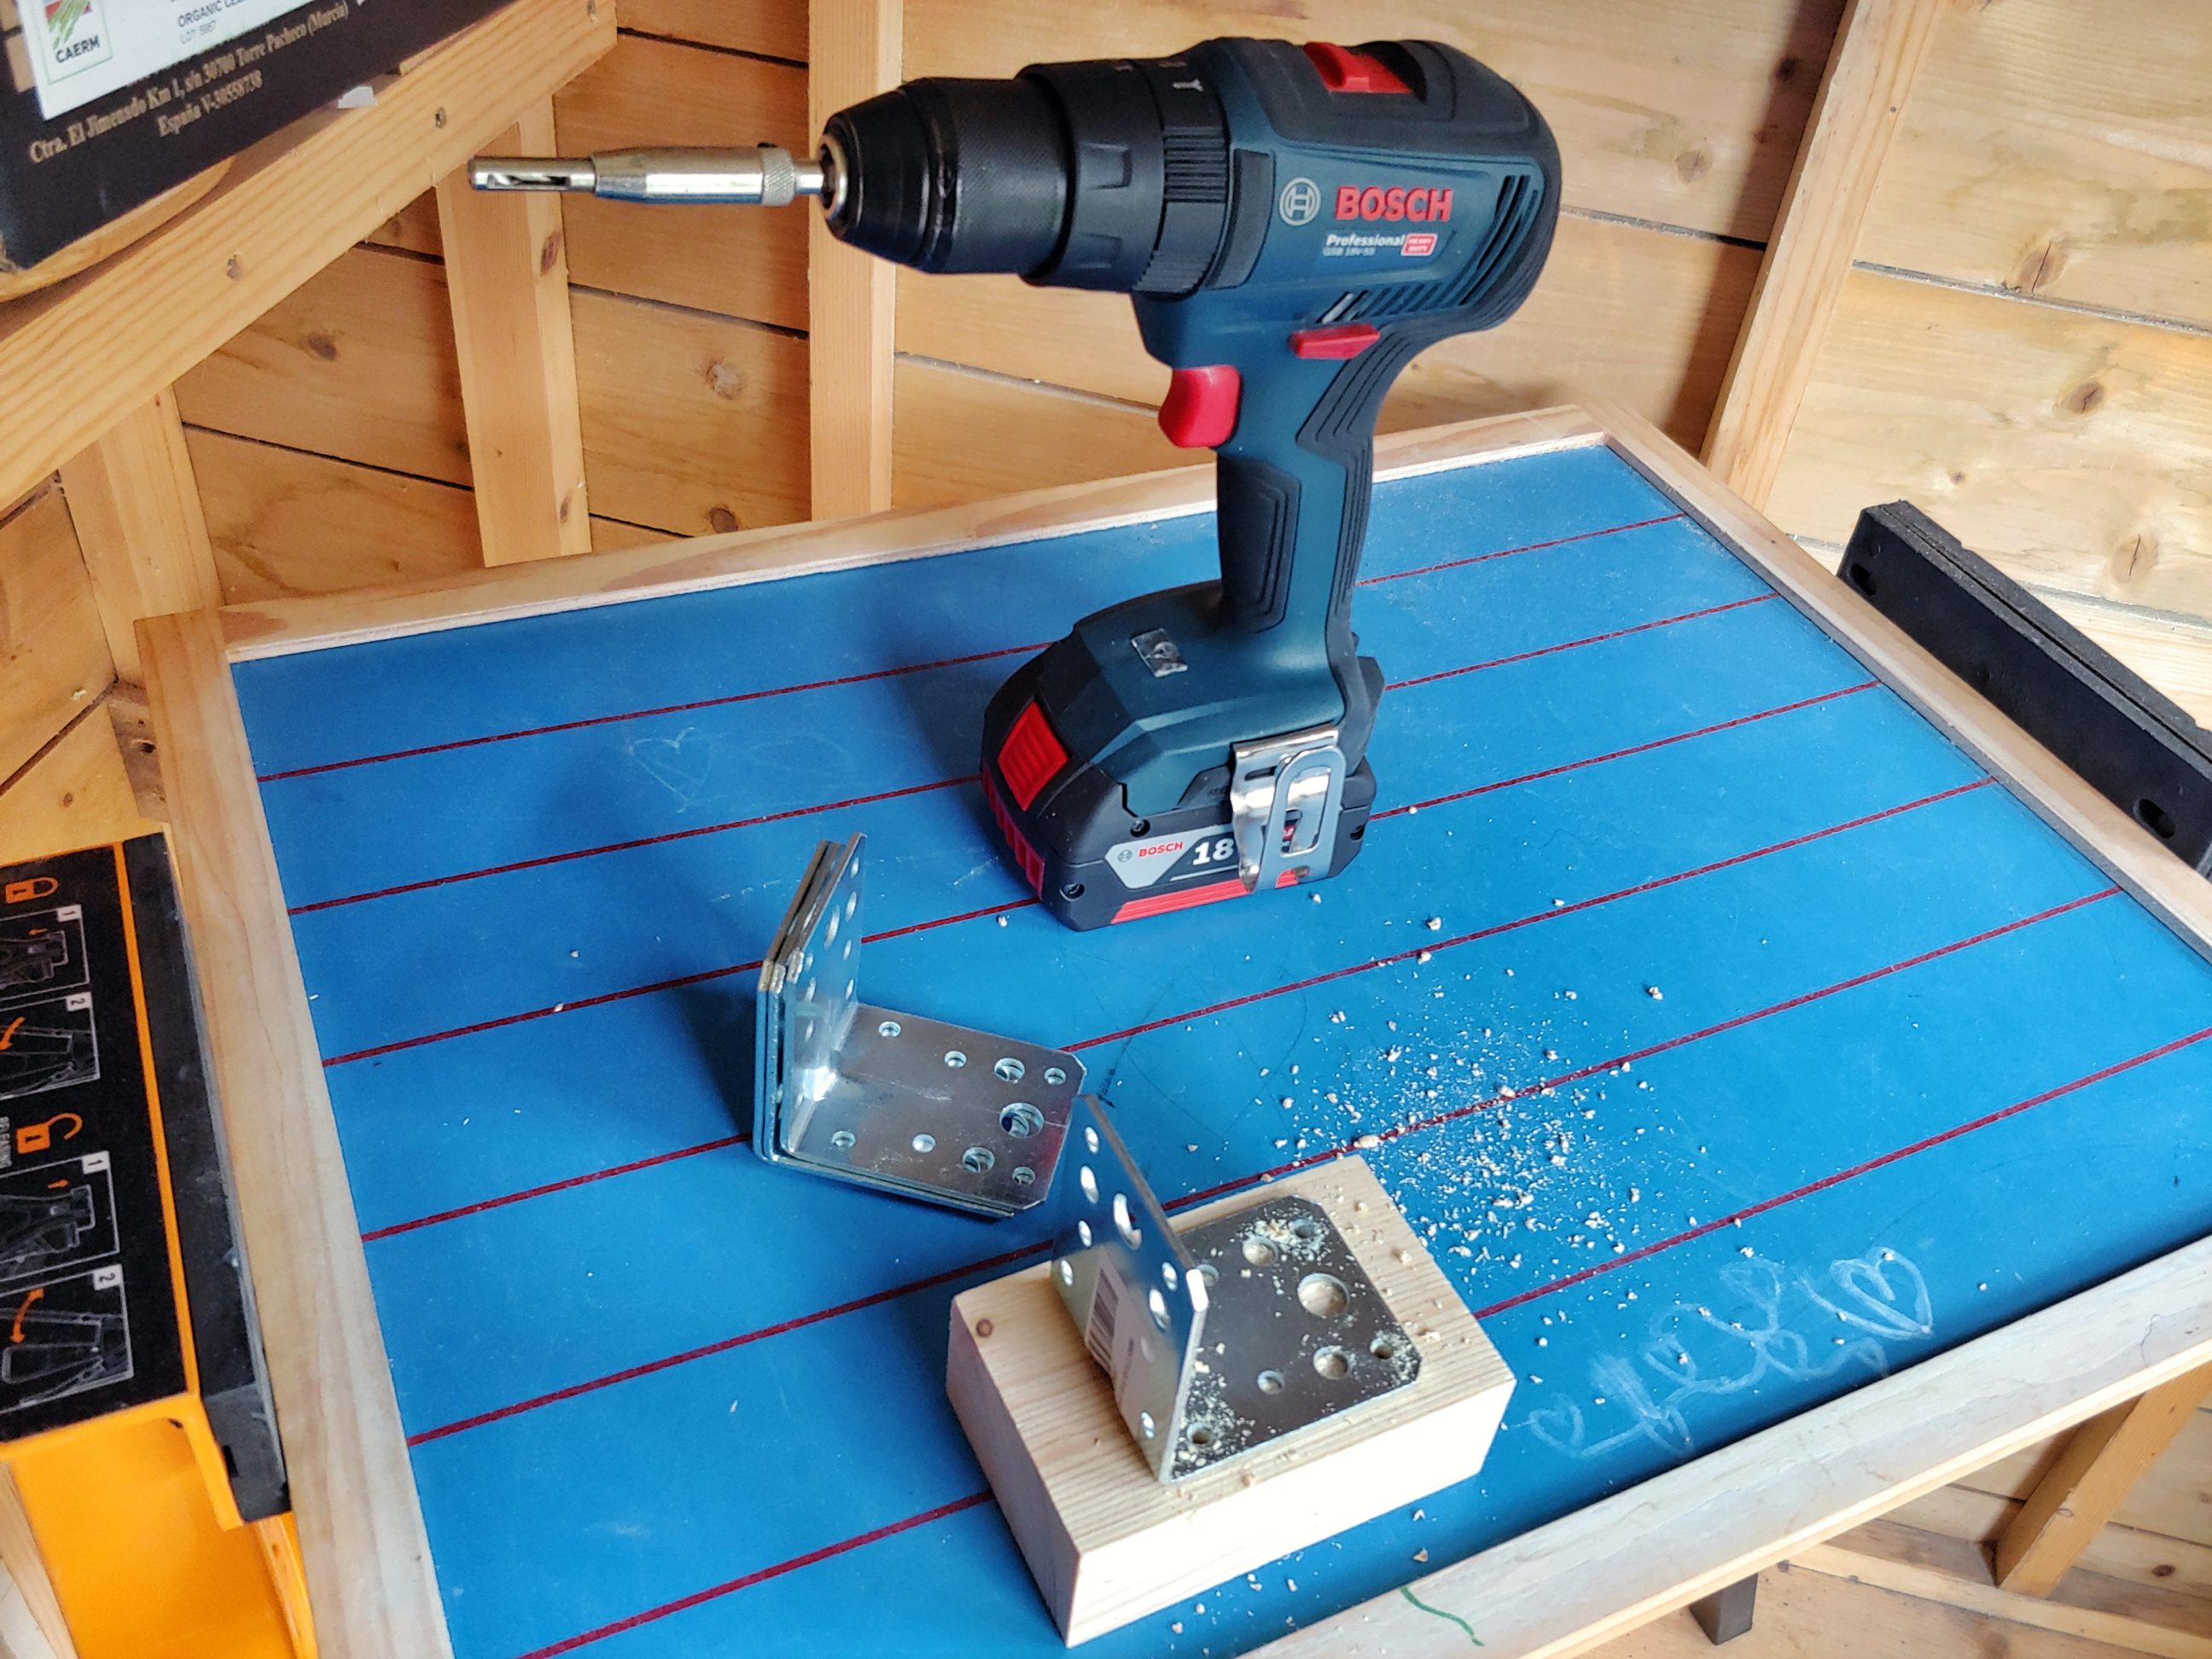
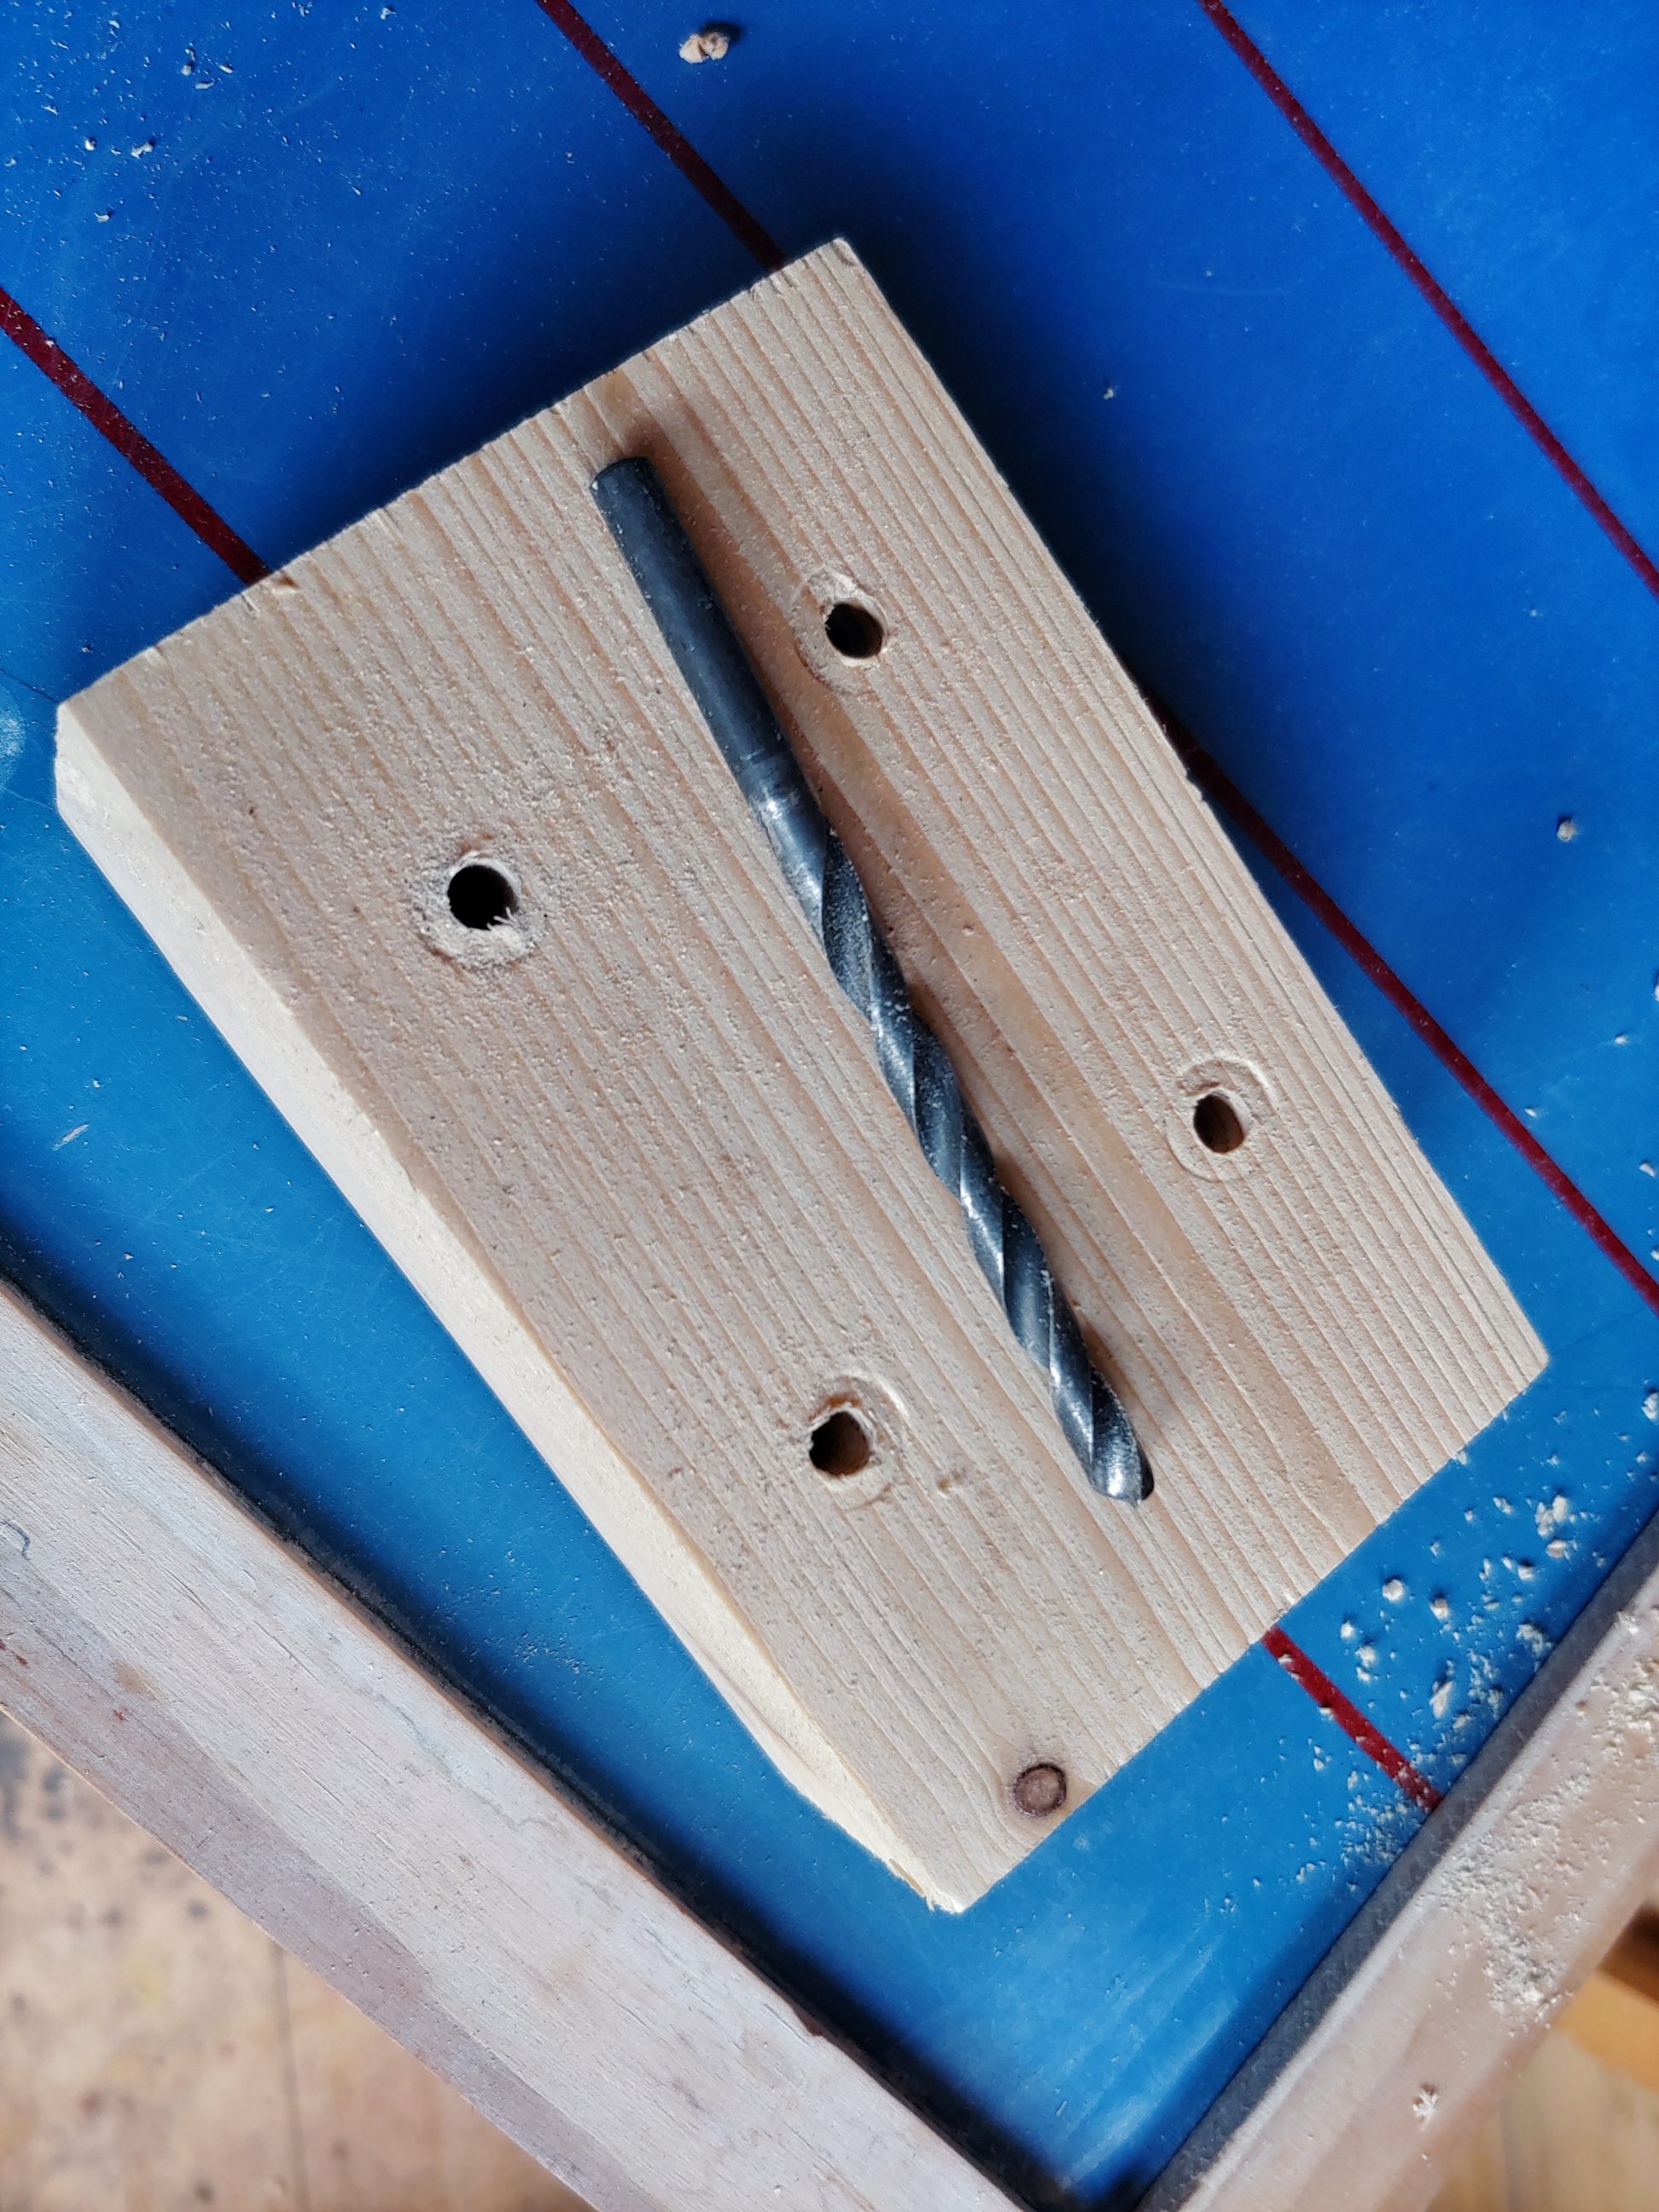
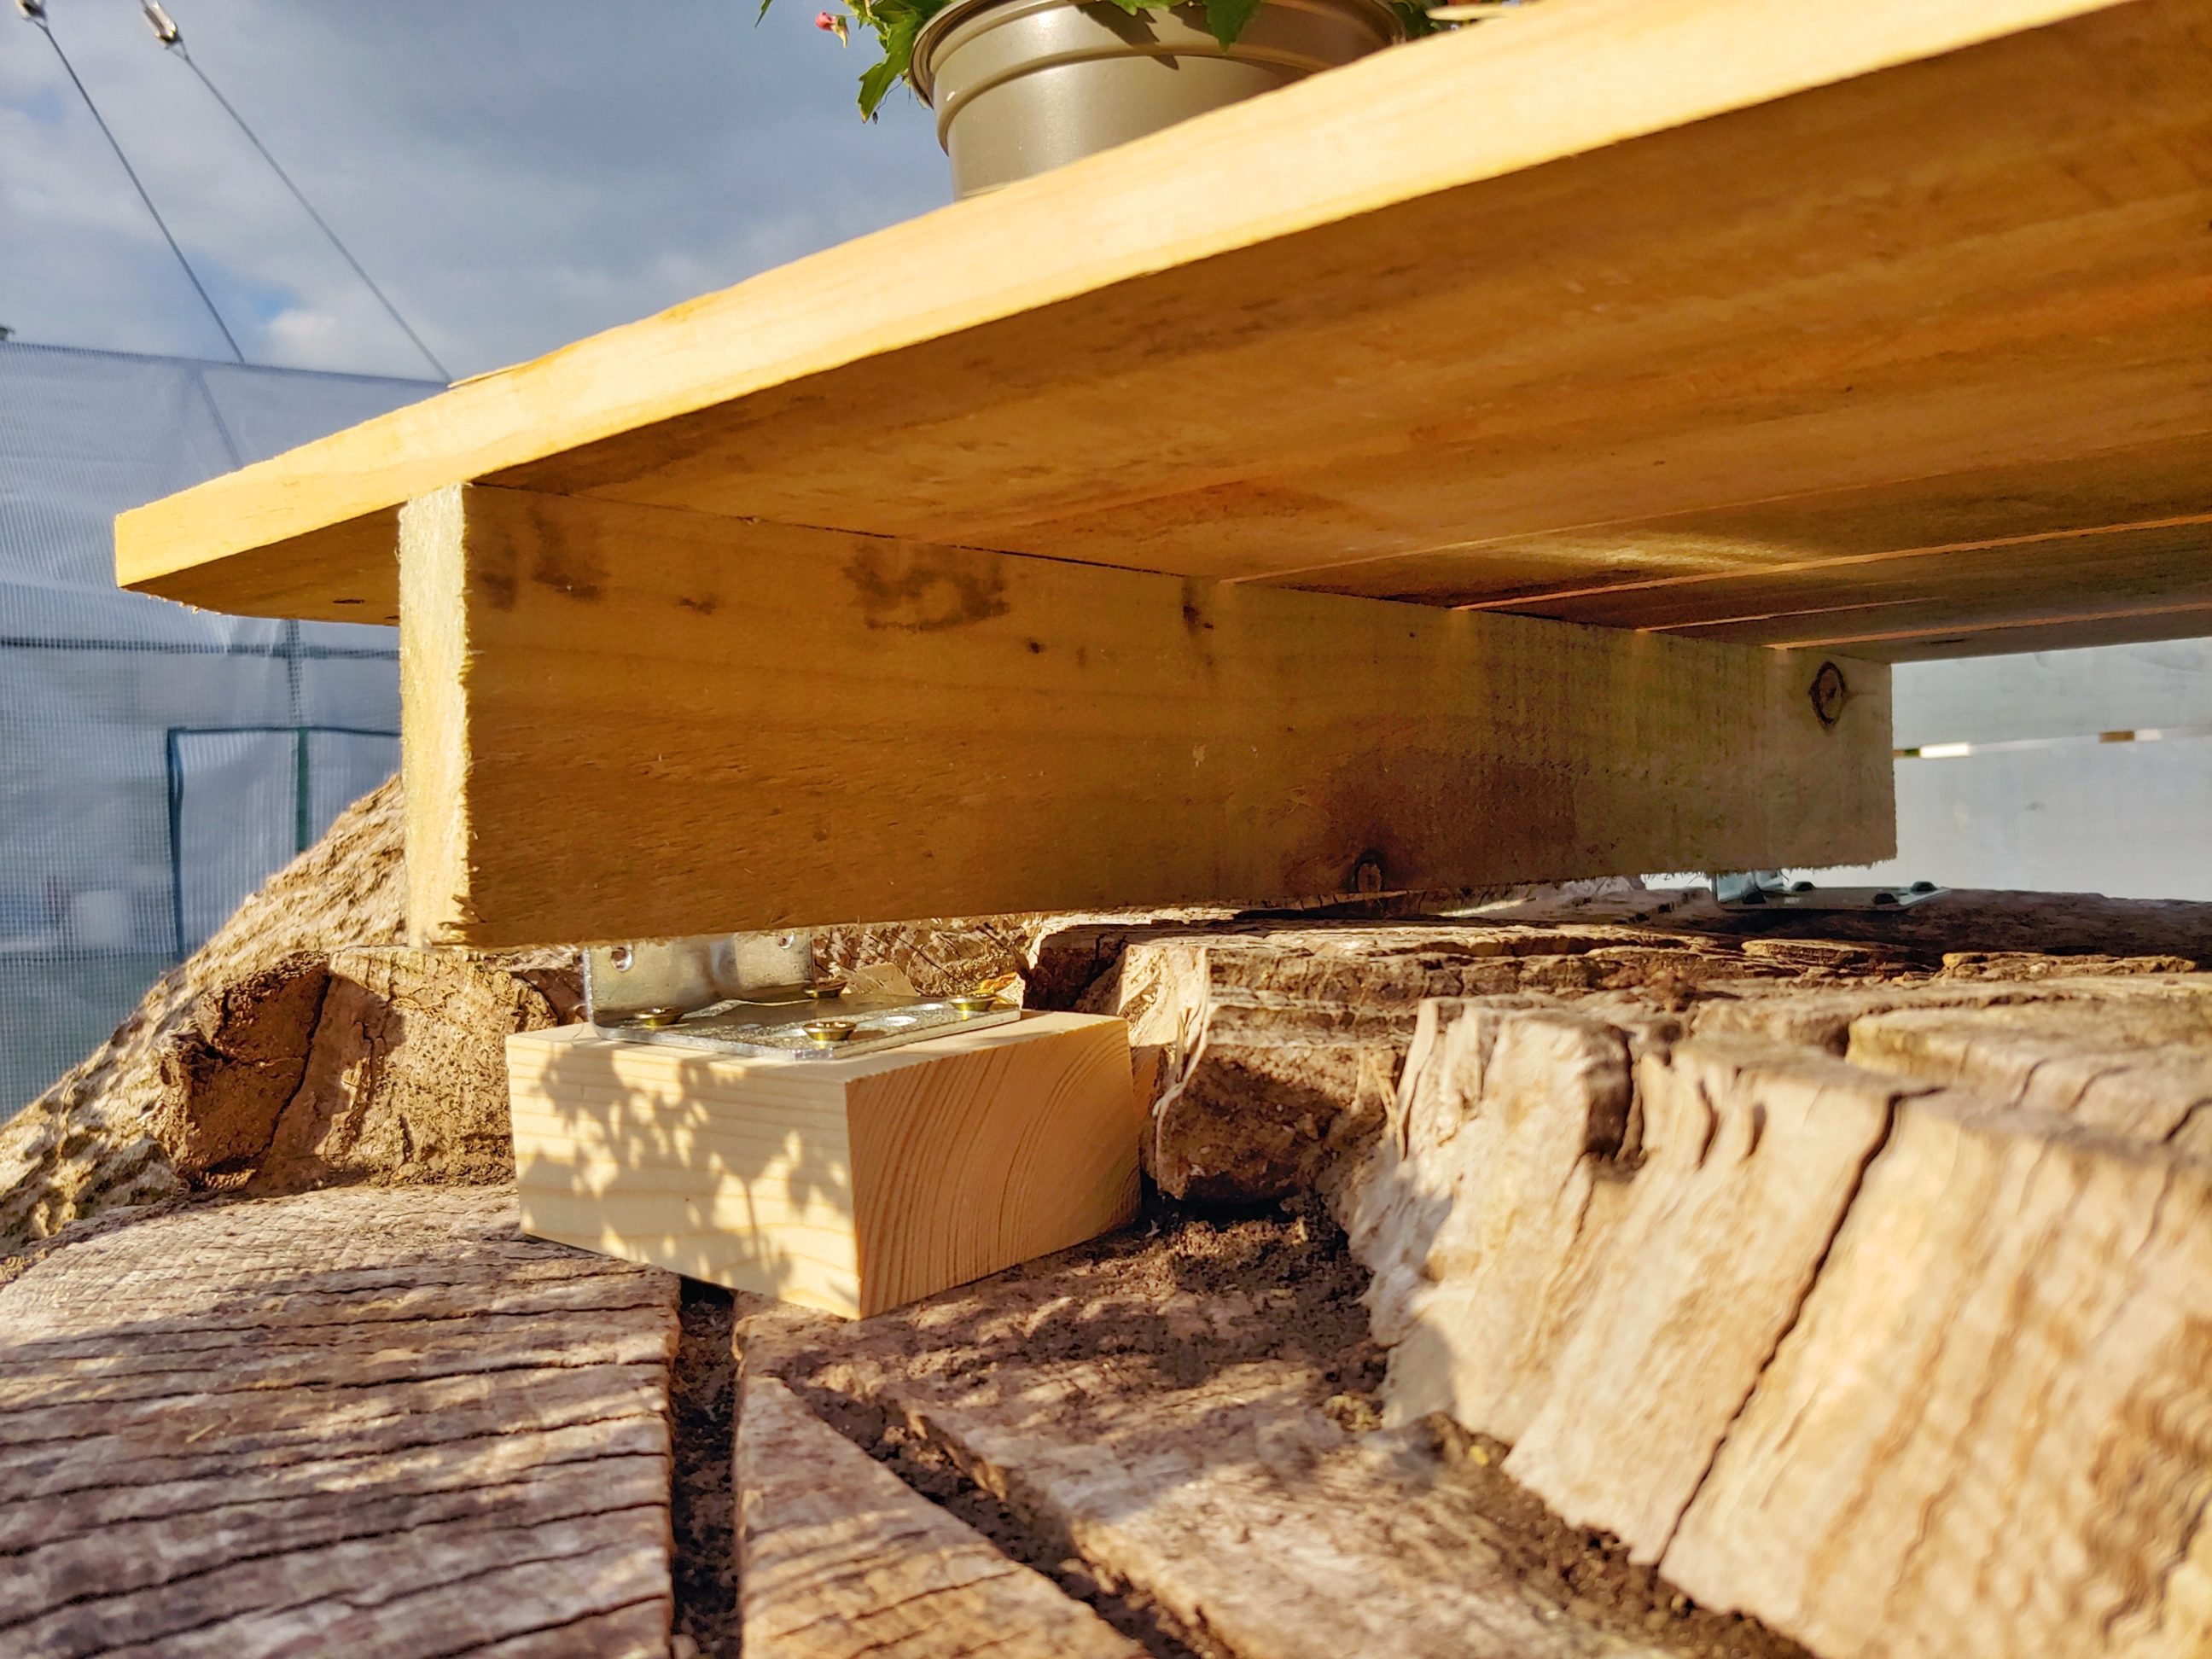
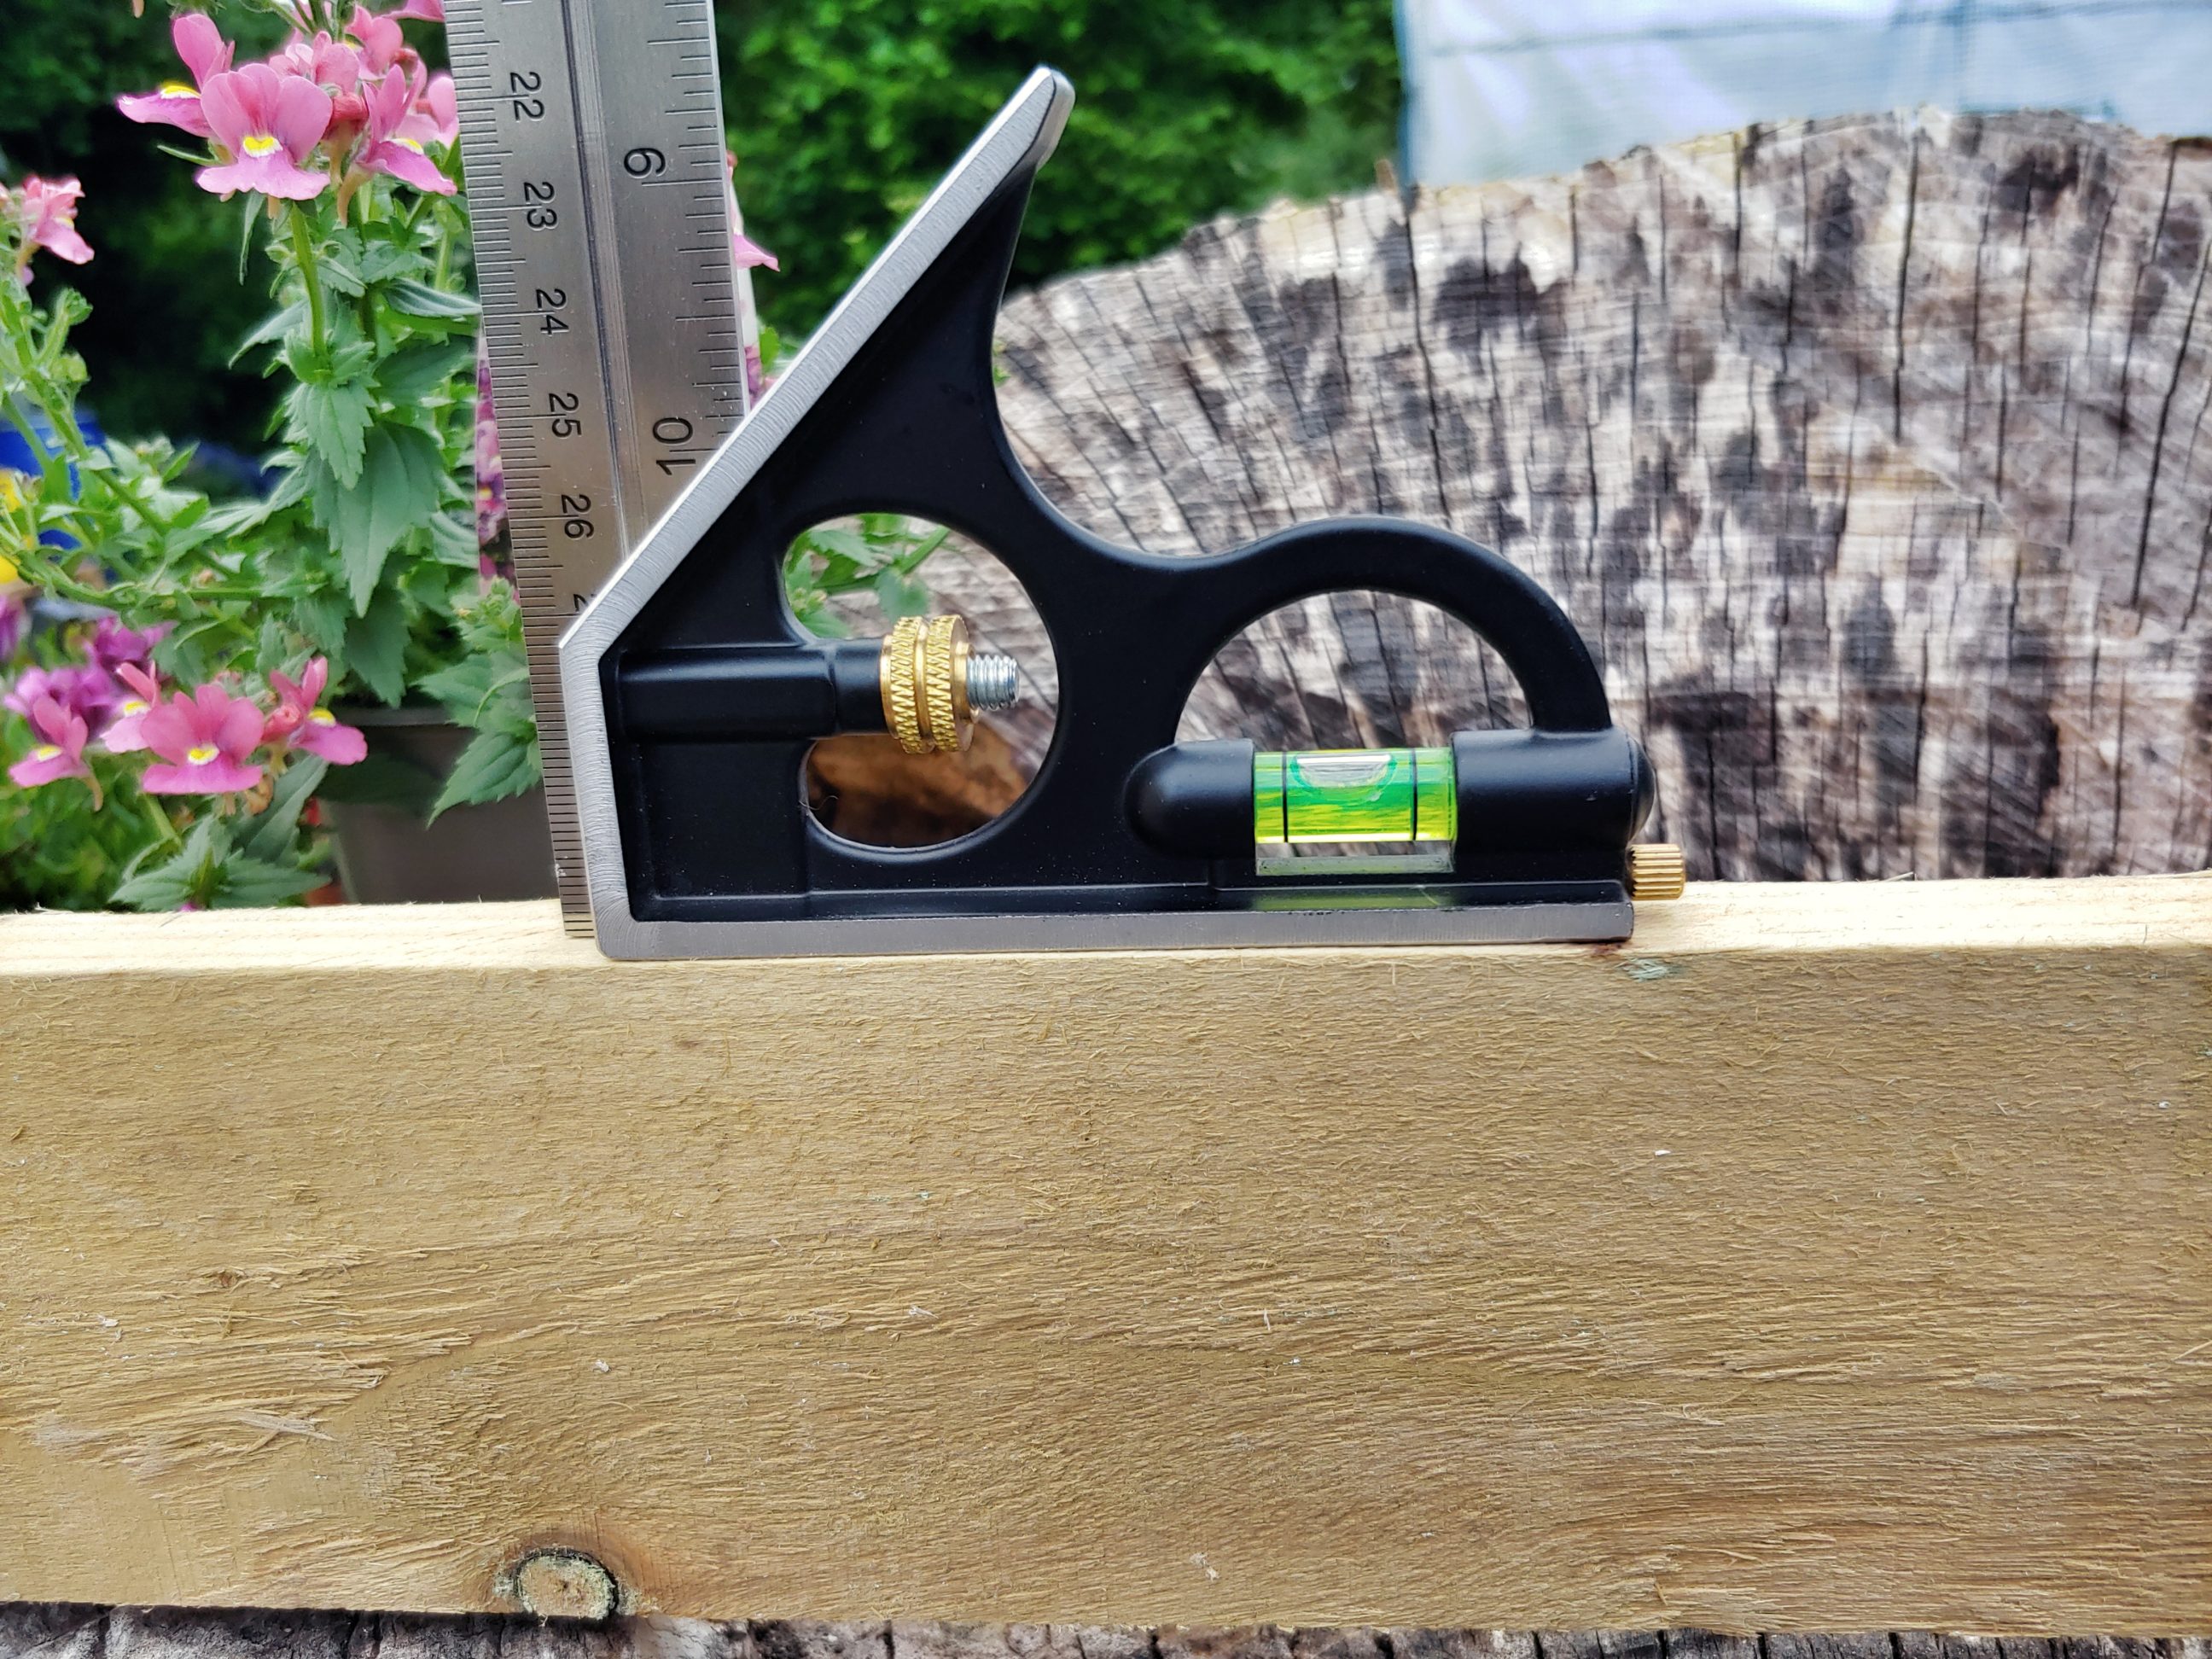
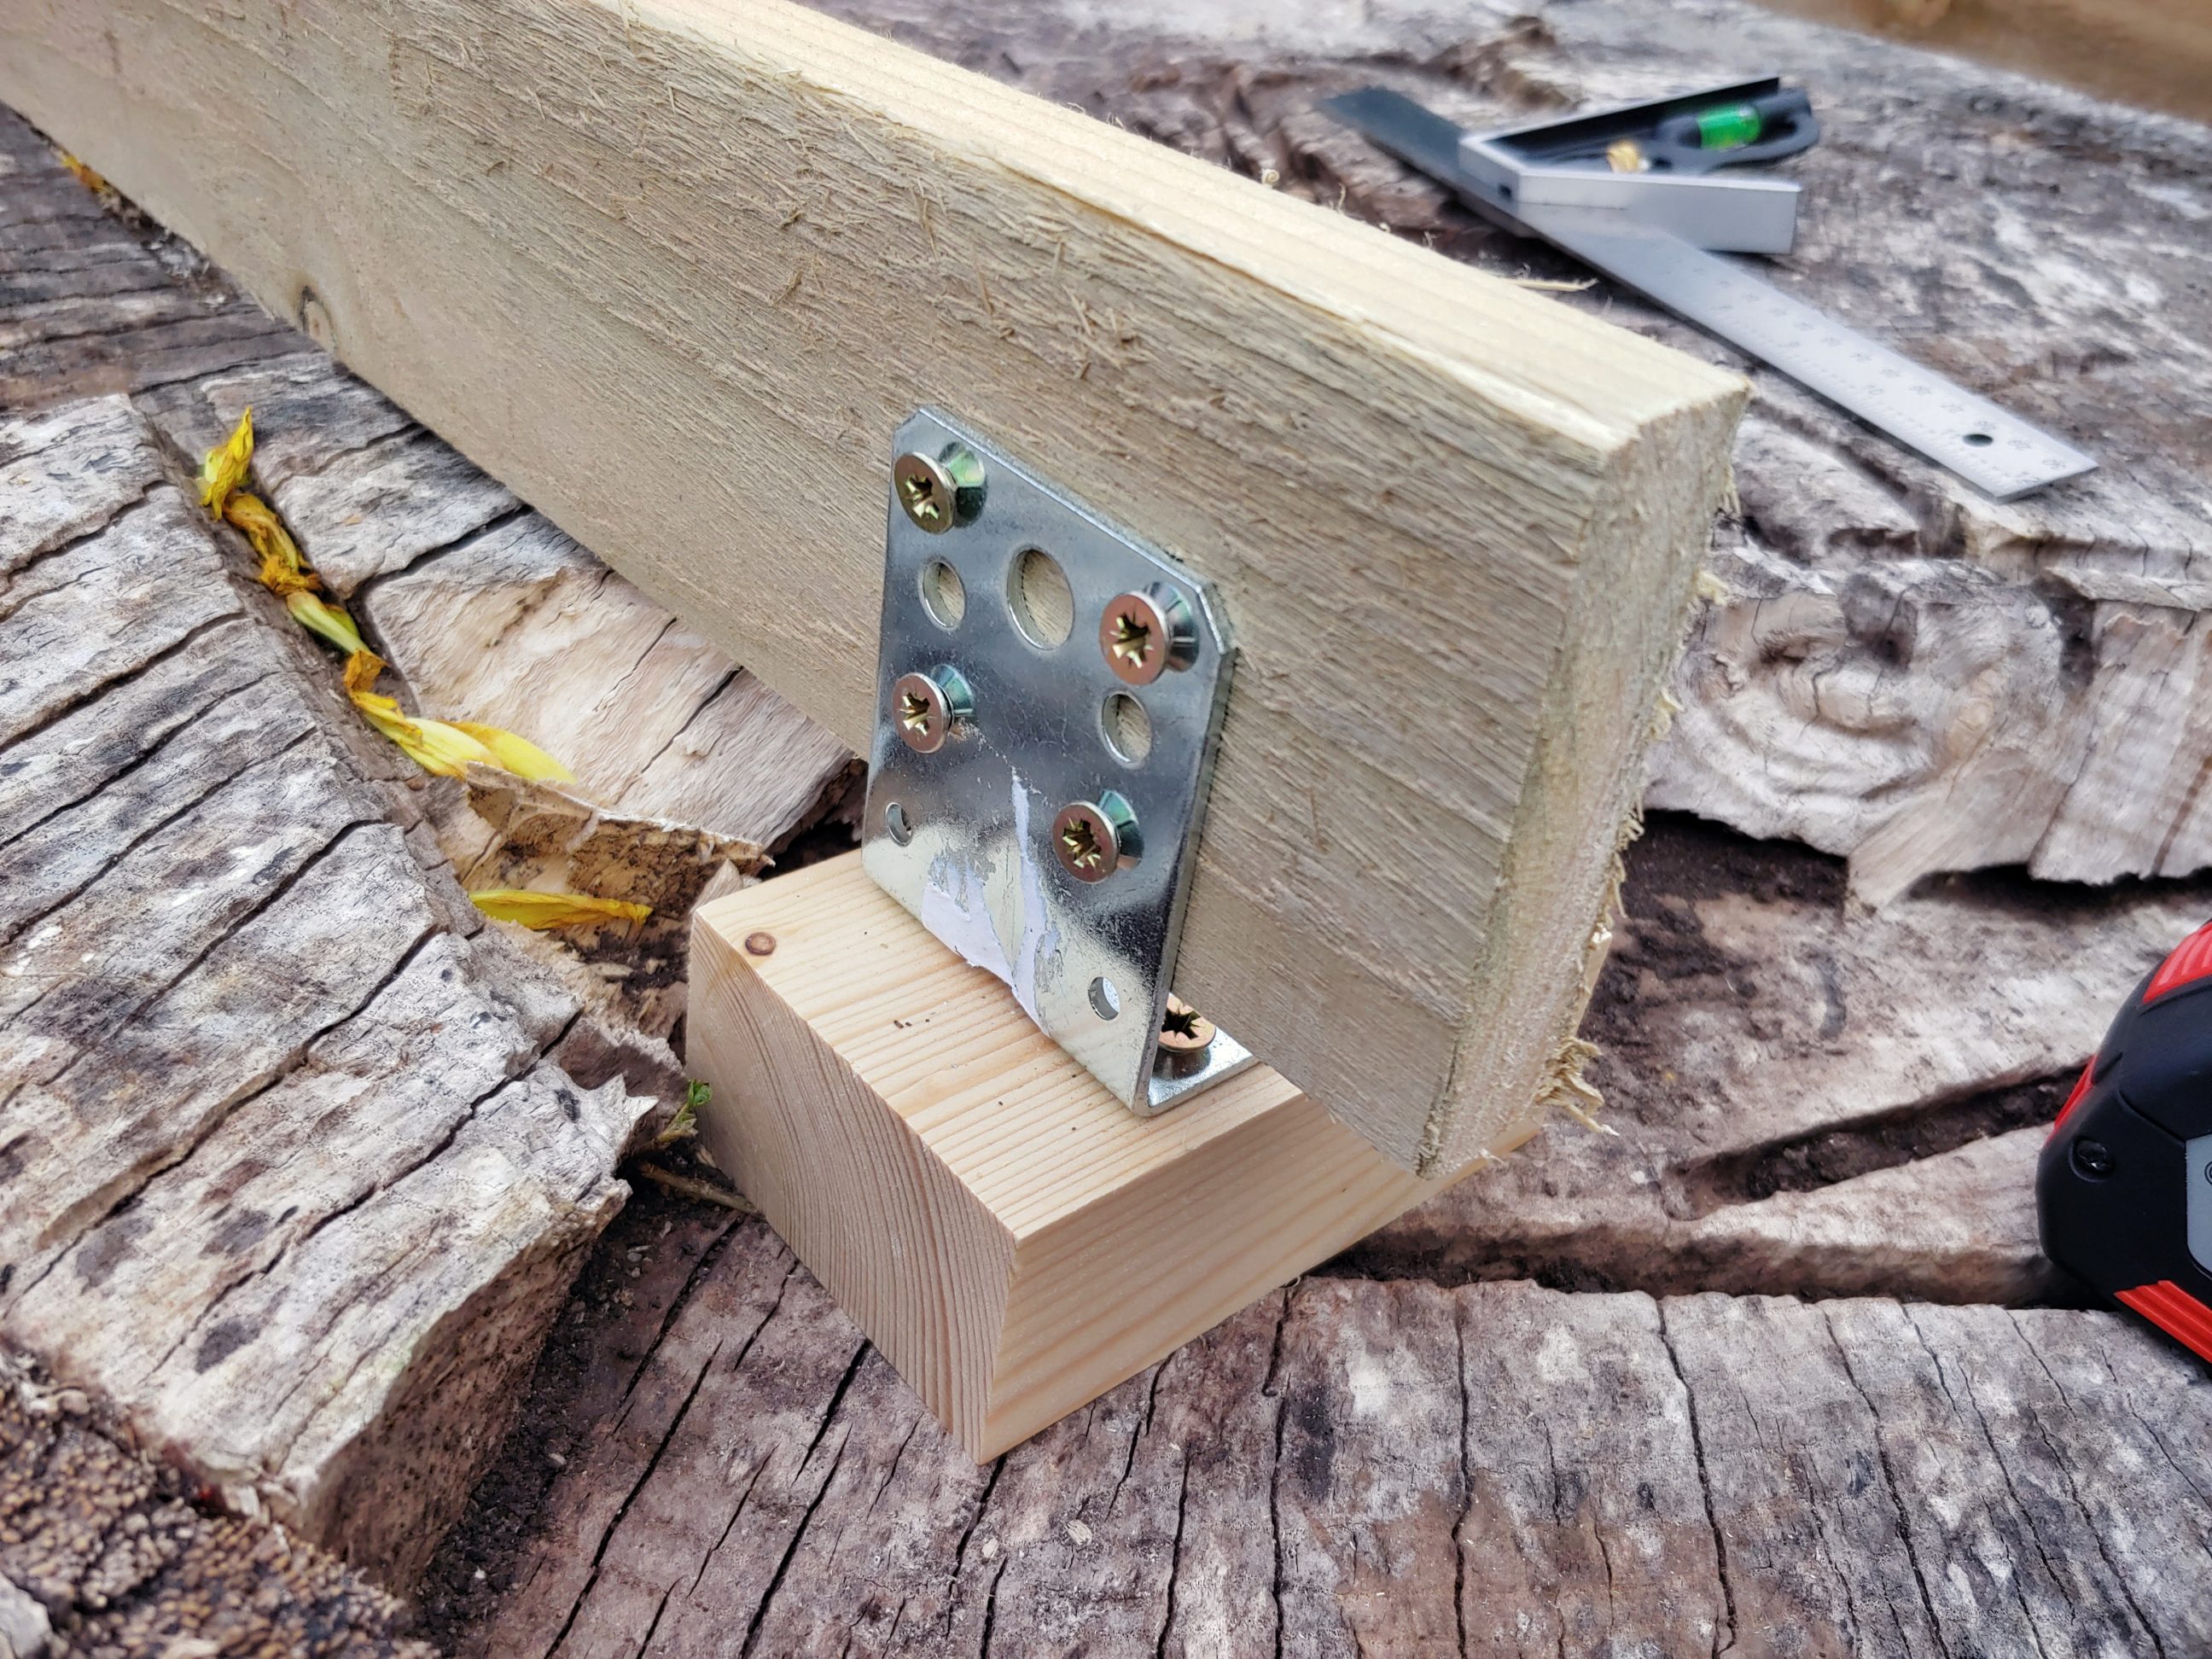
I pre-drilled a wooden block for one of the braces. First with a self-centering hinge drill bit, then with a slightly bigger HSS bit. I screwed each pair of braces in one line and with just a single screw on each end I secured the runners. I checked for level and did adjustments. A combination square with a built-in spirit level was accurate enough for that job.

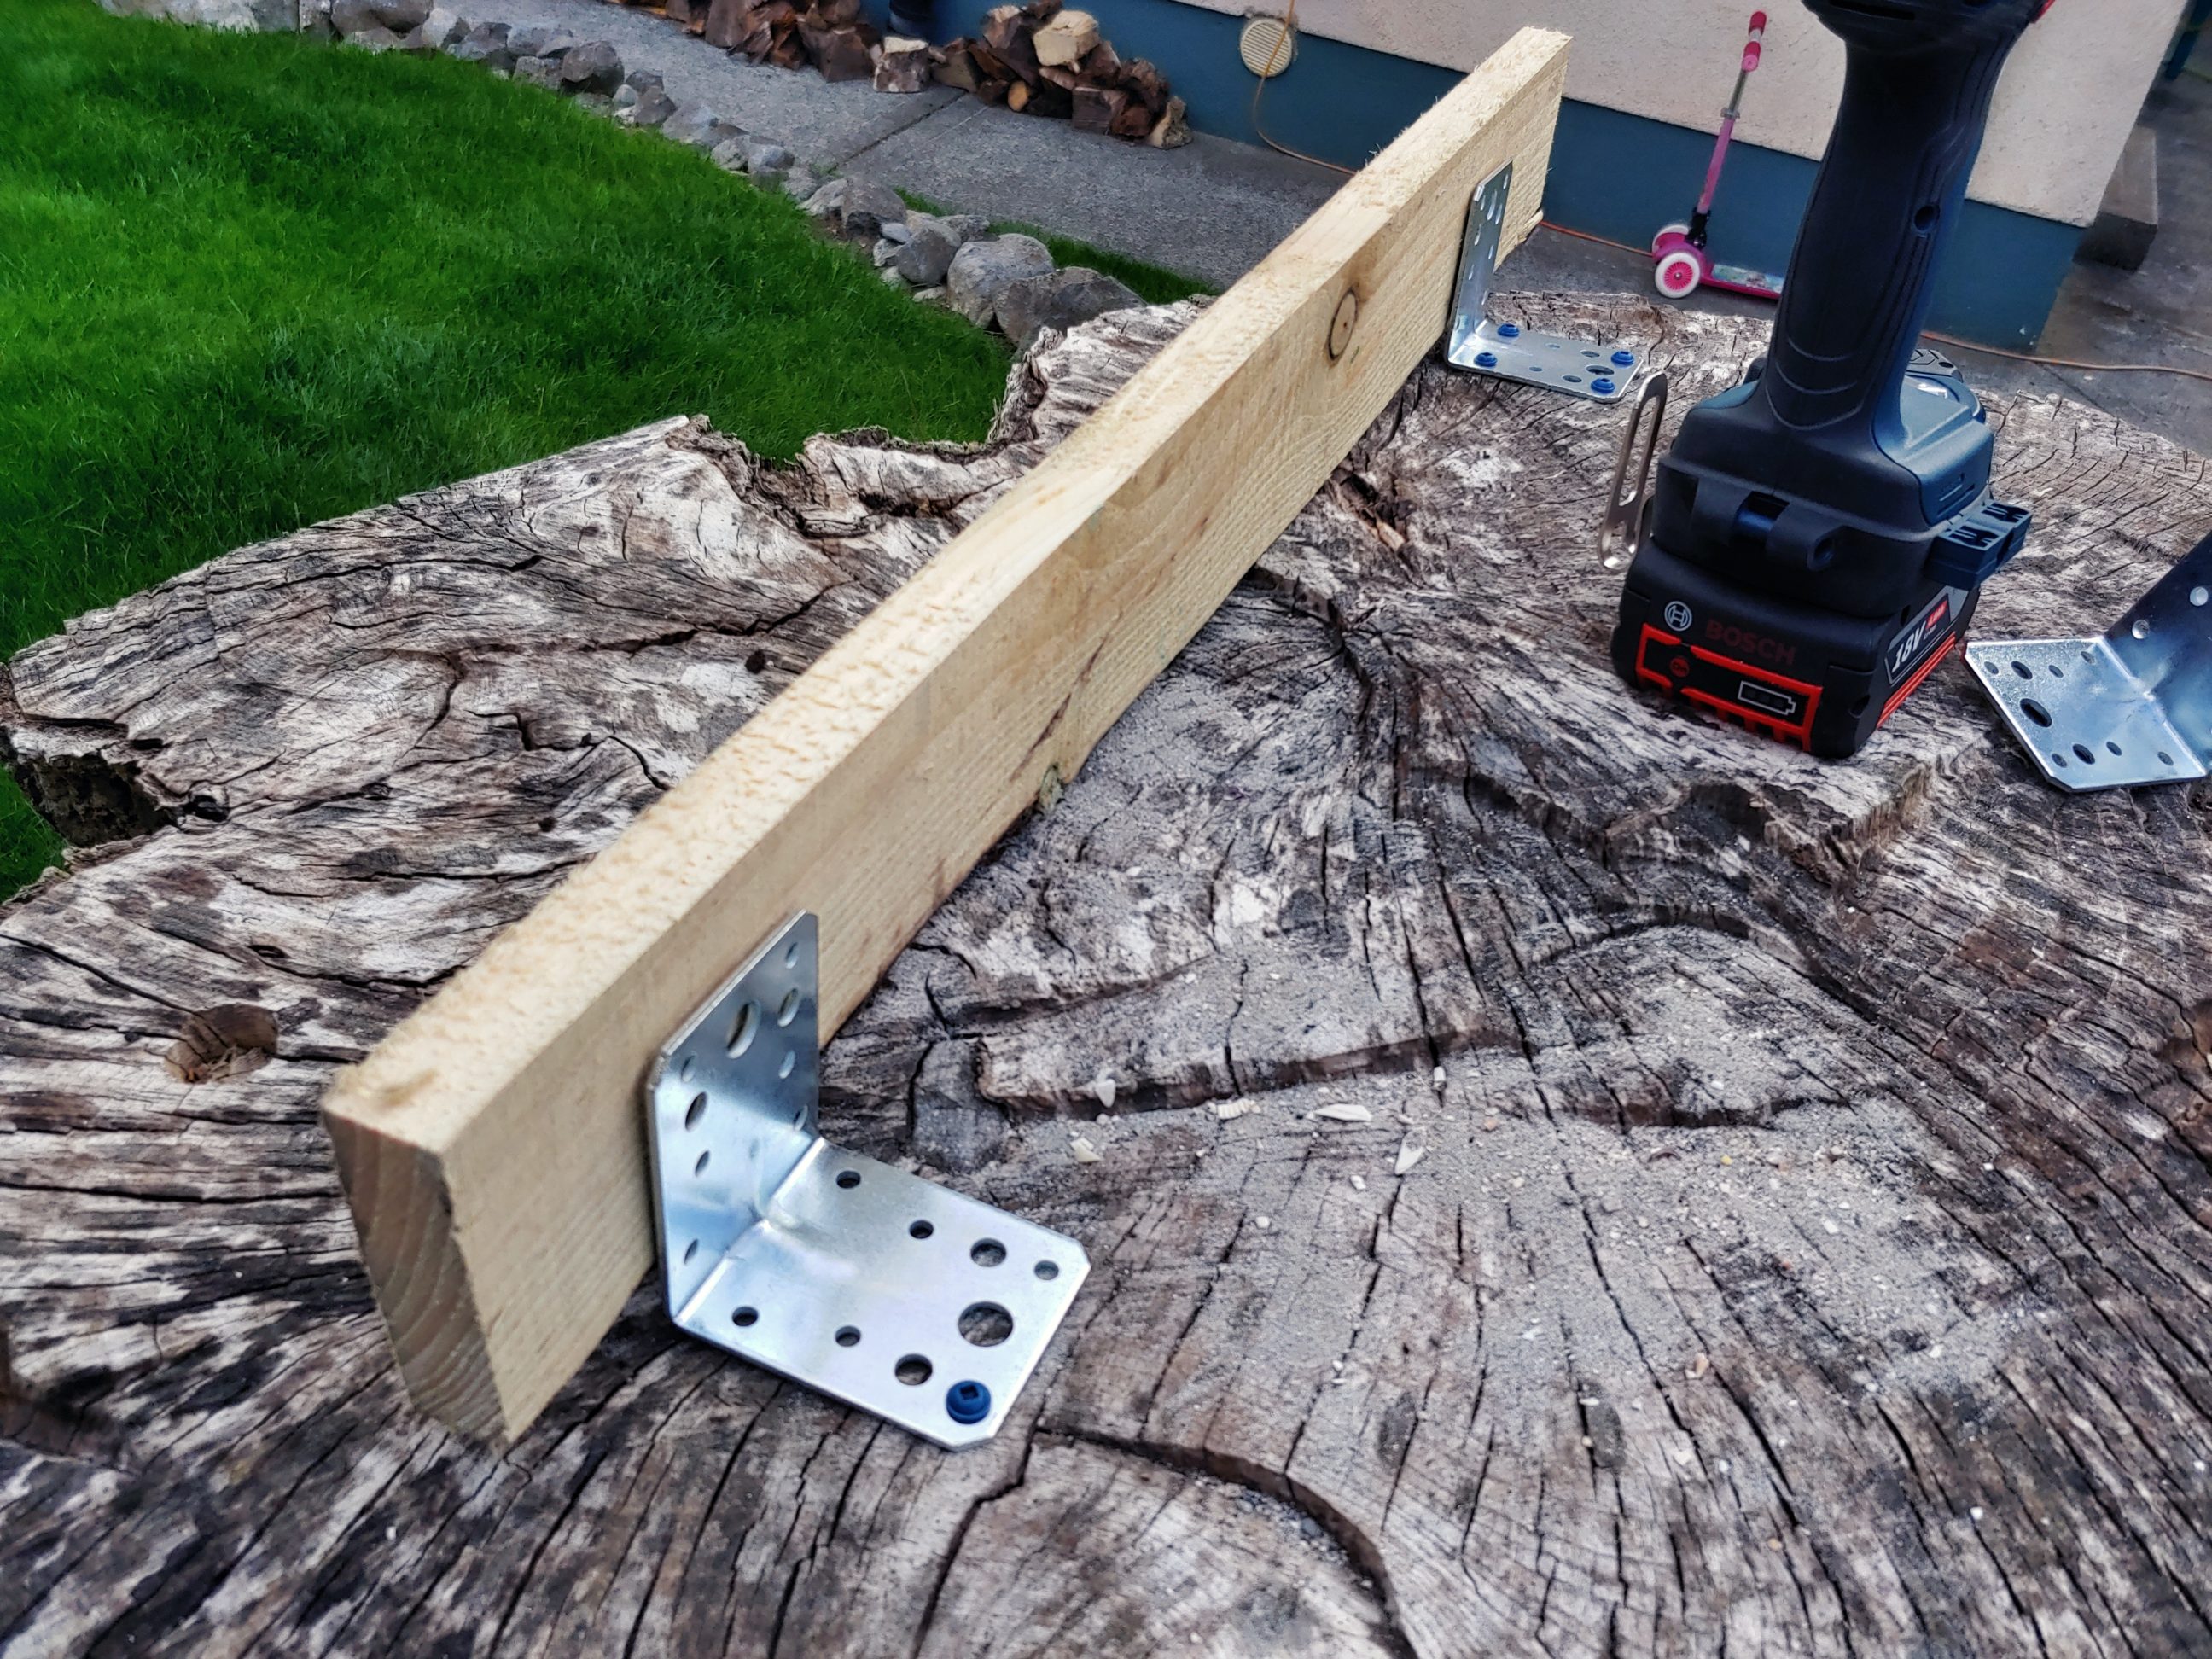
I cut off the ends and secured the runners with more screws. Next, I cut away the corners of the top. Only a hand saw was used for the cutting which speeded up the works, minimalised dust and noise and the accuracy was completely fine for a quick, outdoor project.


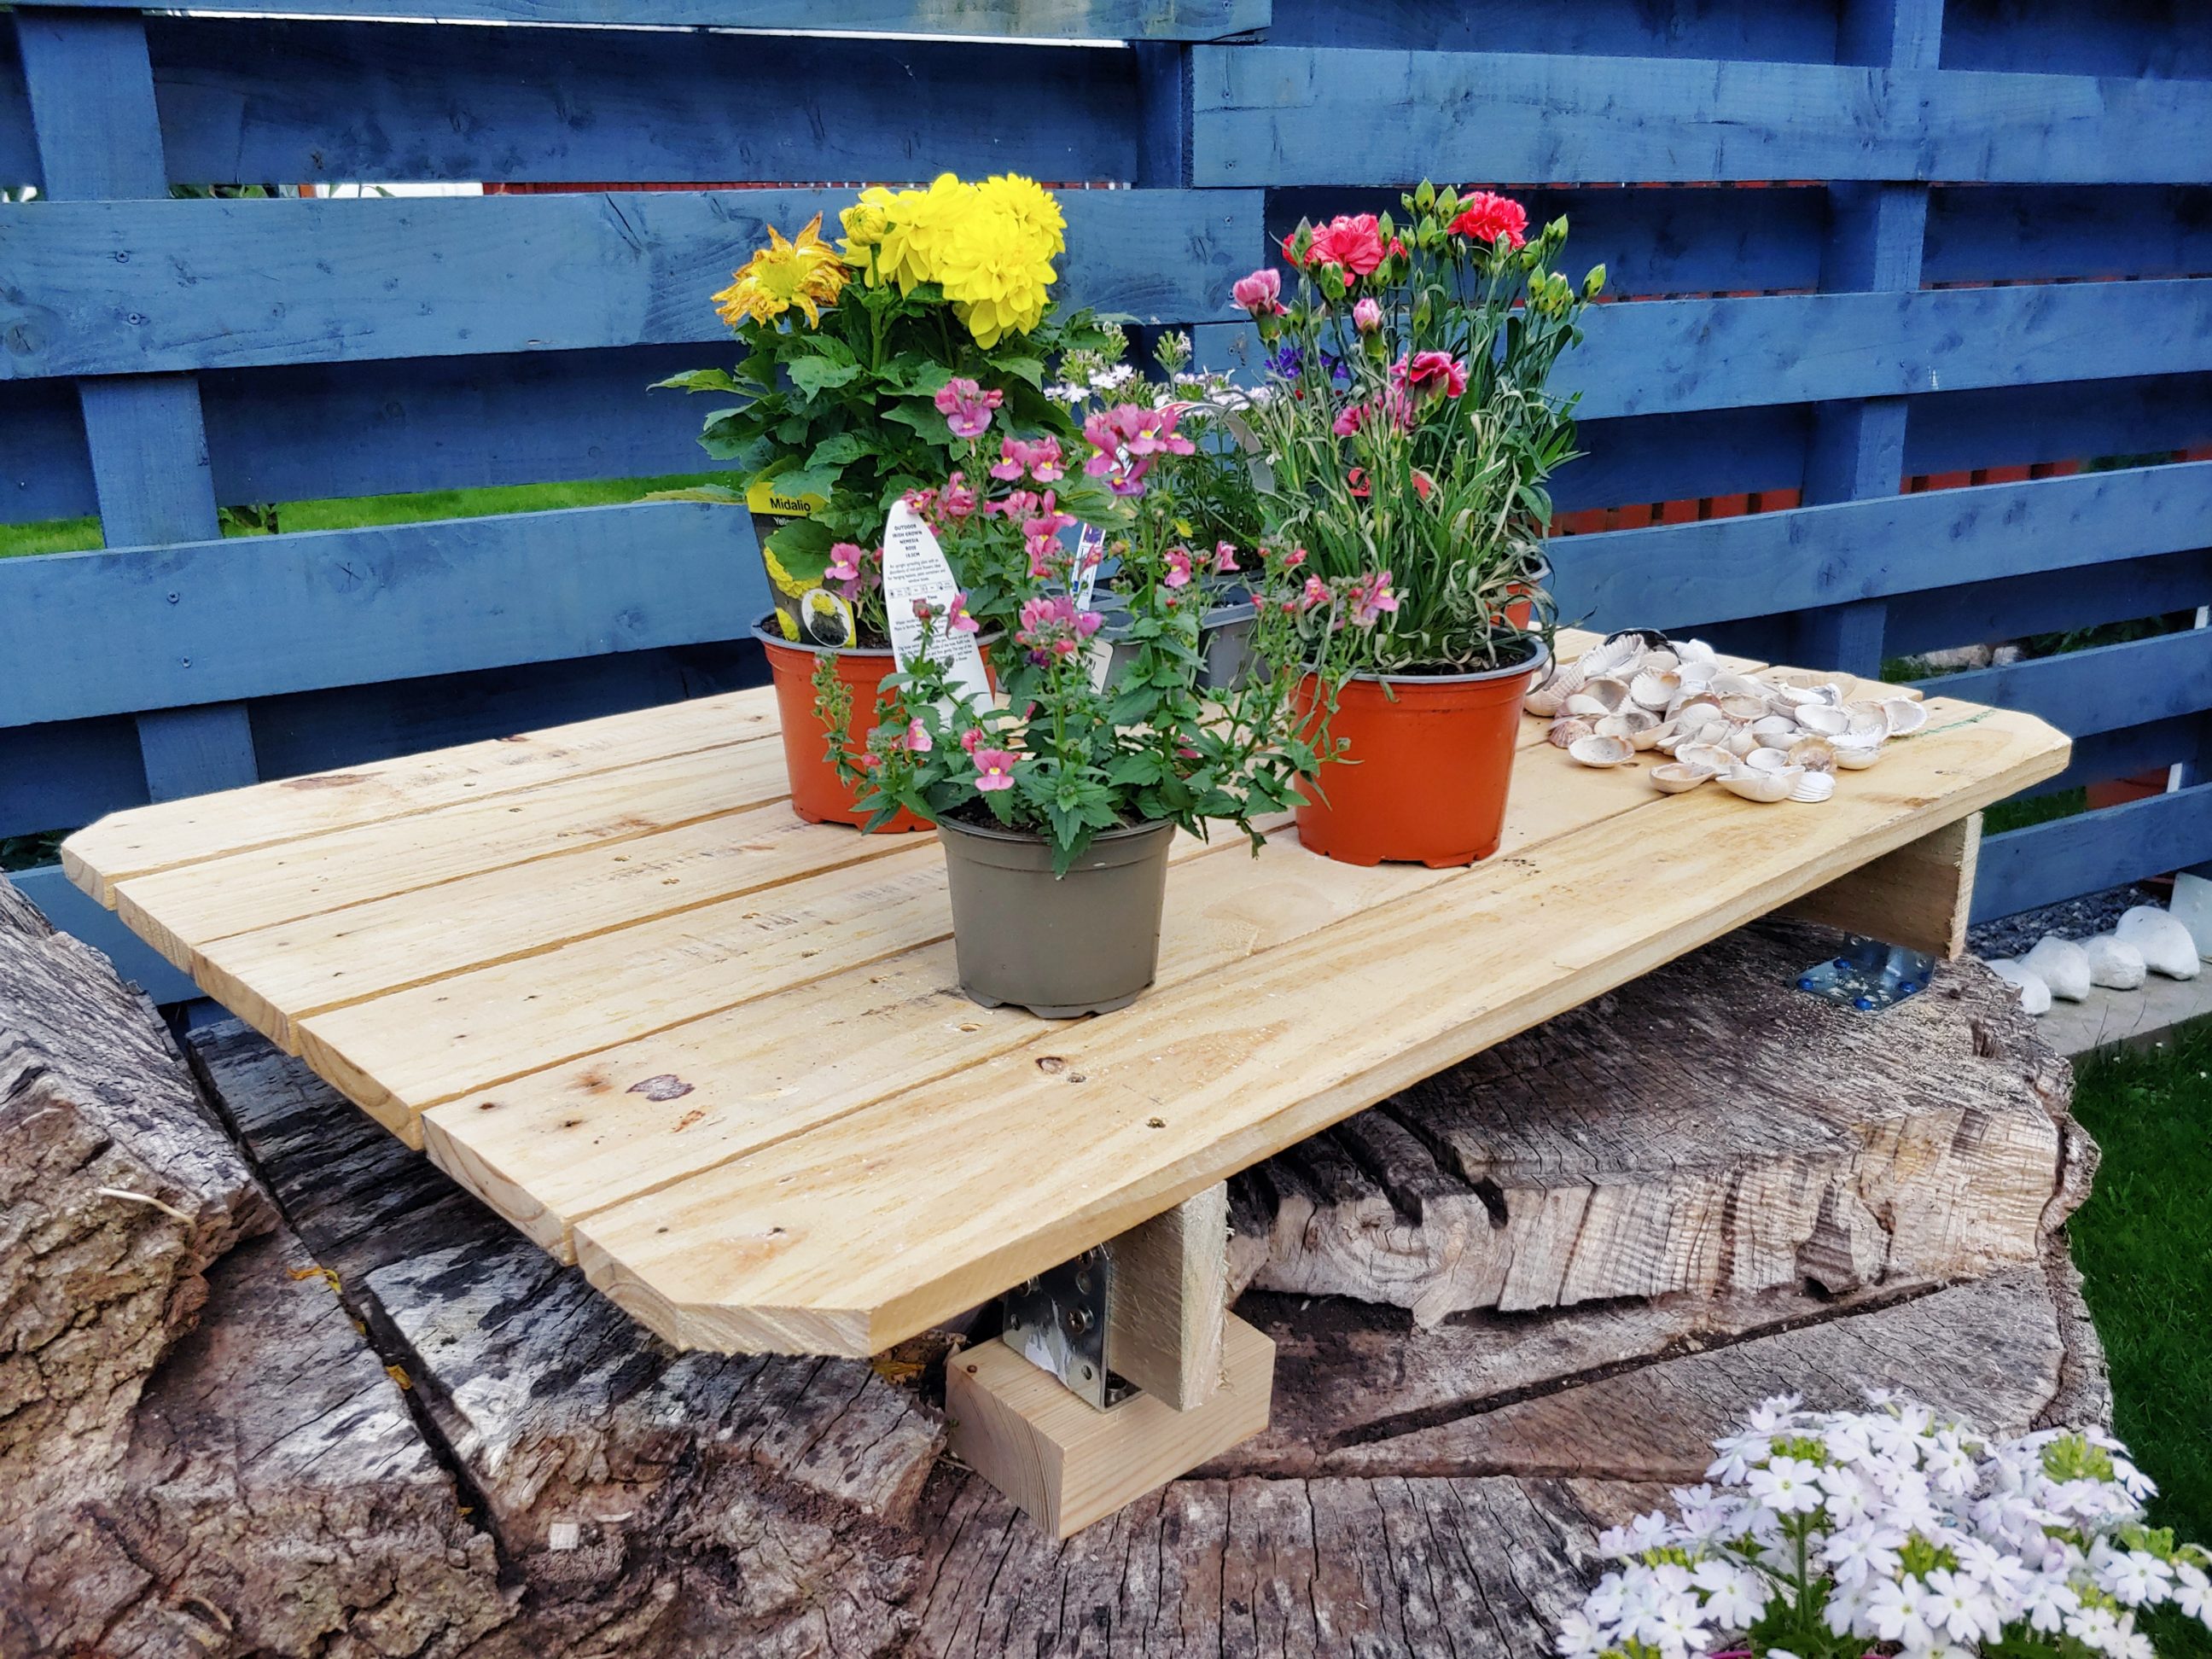
There wasn’t much left to do – I screwed down all the boards, each with 2 screws at each end, and that was it. I left the platform without any finish, just the raw wood. Even so, I believe it will last a long time, and if it needs repair, that will be easily done.


Once the platform was ready to go, I placed some flowers on its top and let them get some sun rays. I’m happy with this project and the stump looks good covered with all these shelves and platforms. Instead of grinding it down, which would be a messy and costly job, I use it as a support for my garden decorations. Its location gets sunlight all day, from dawn till dusk. That’s why that spot can’t be left unused.