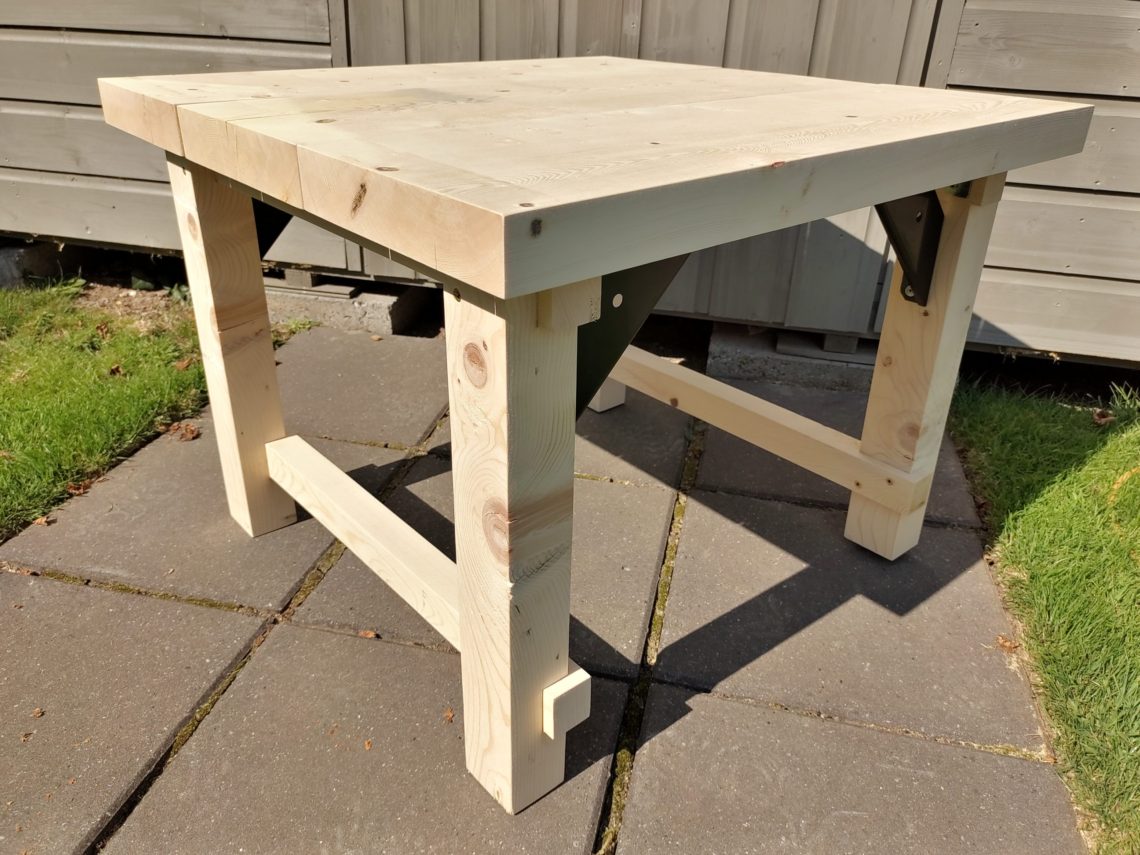
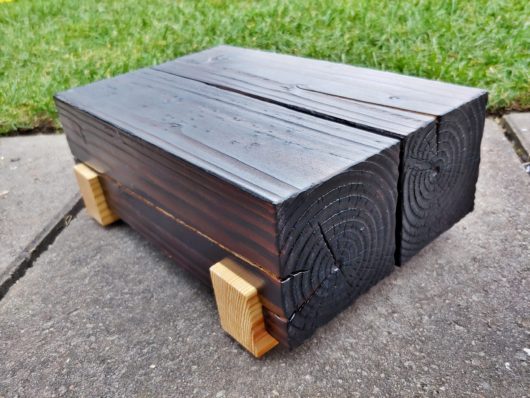
Table saw stand
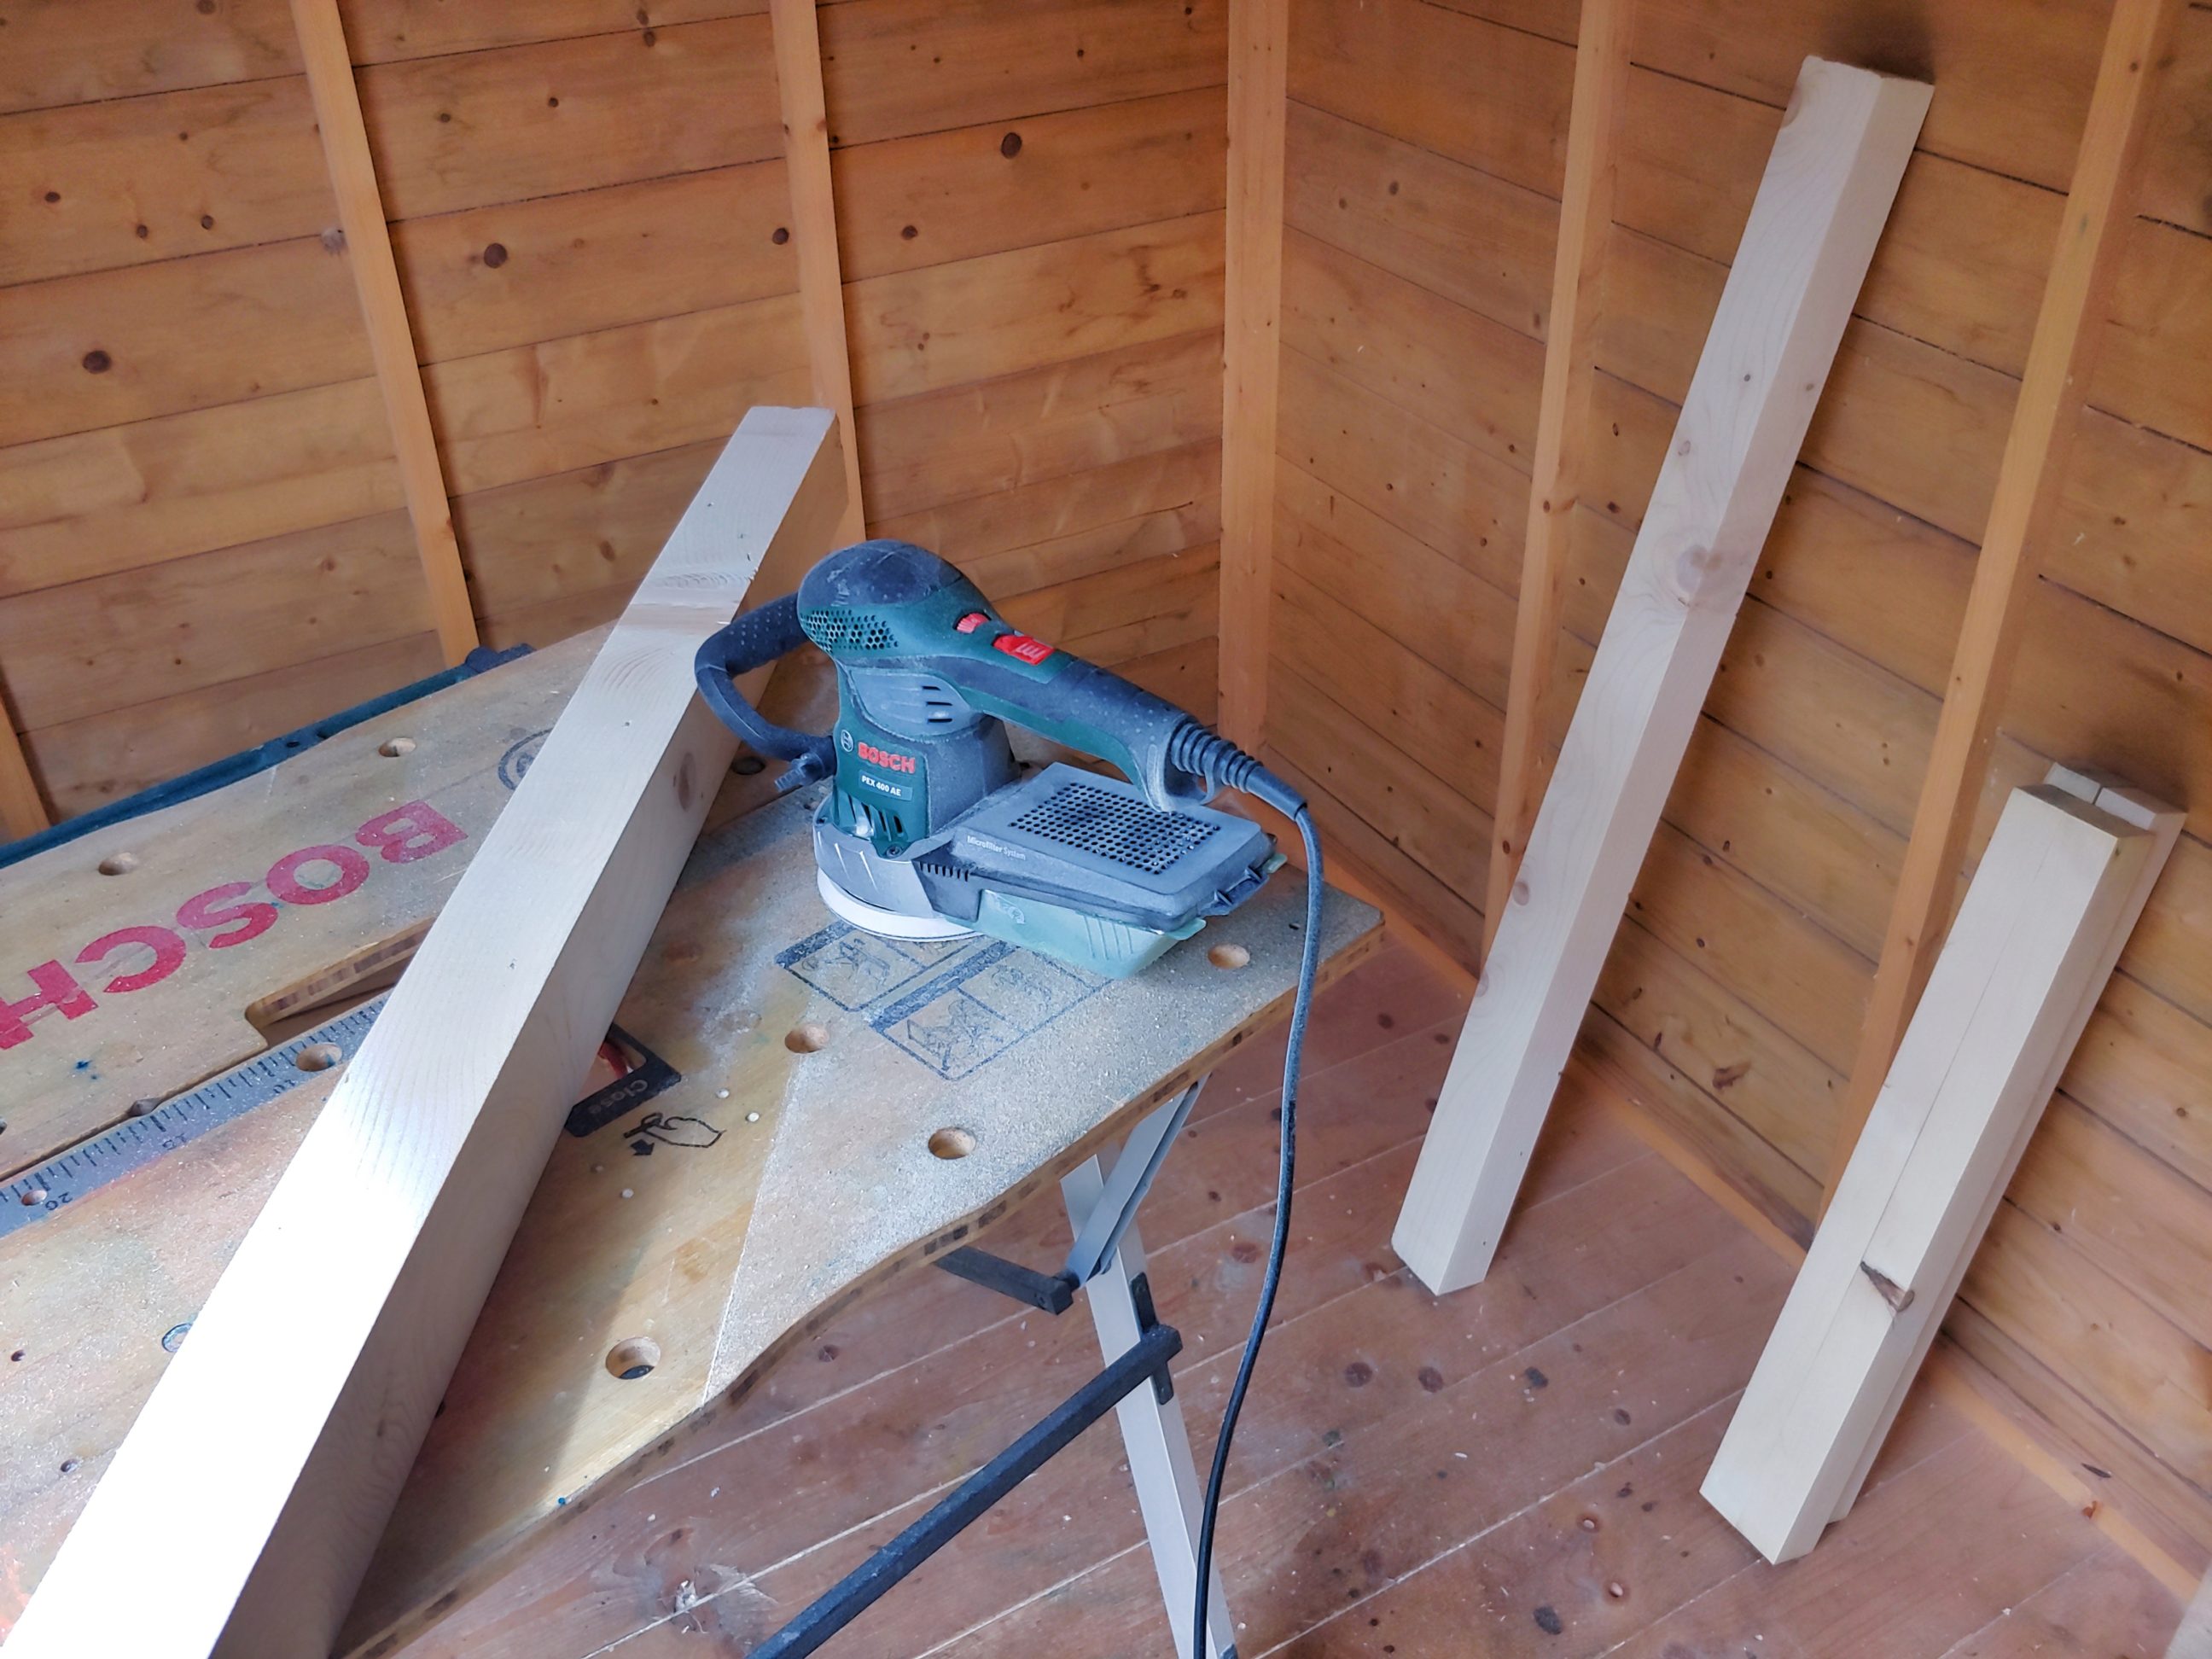
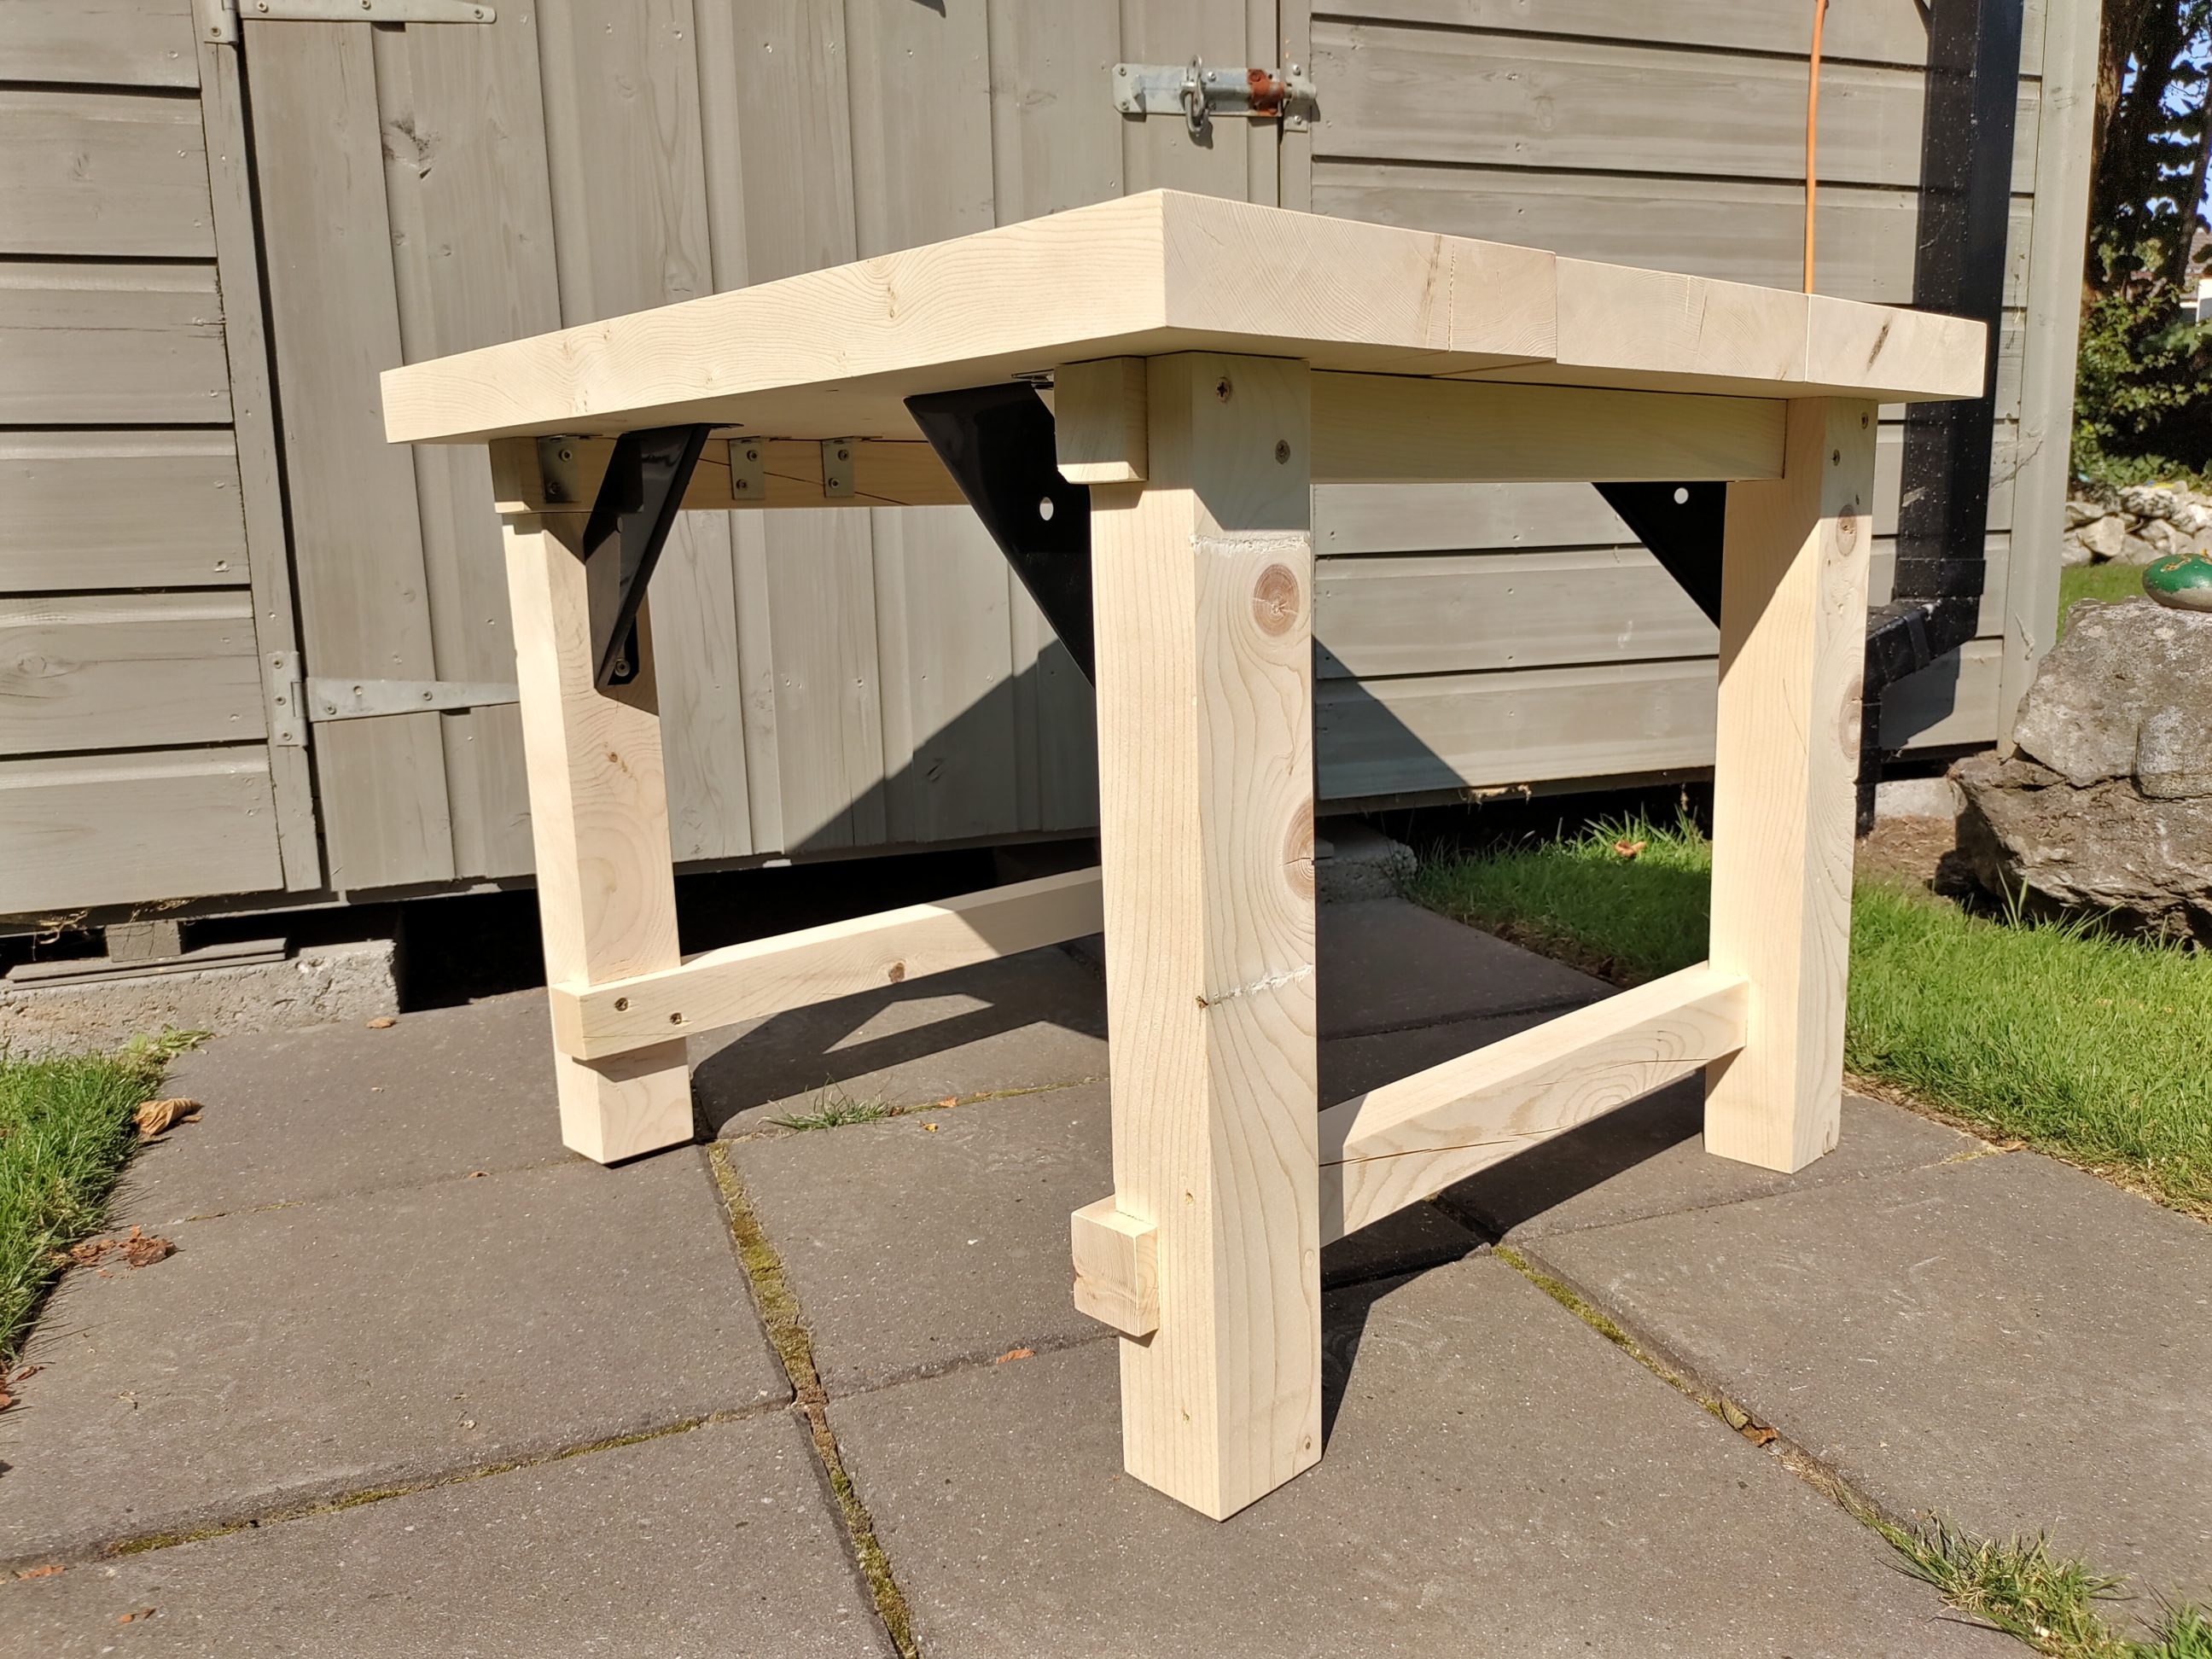
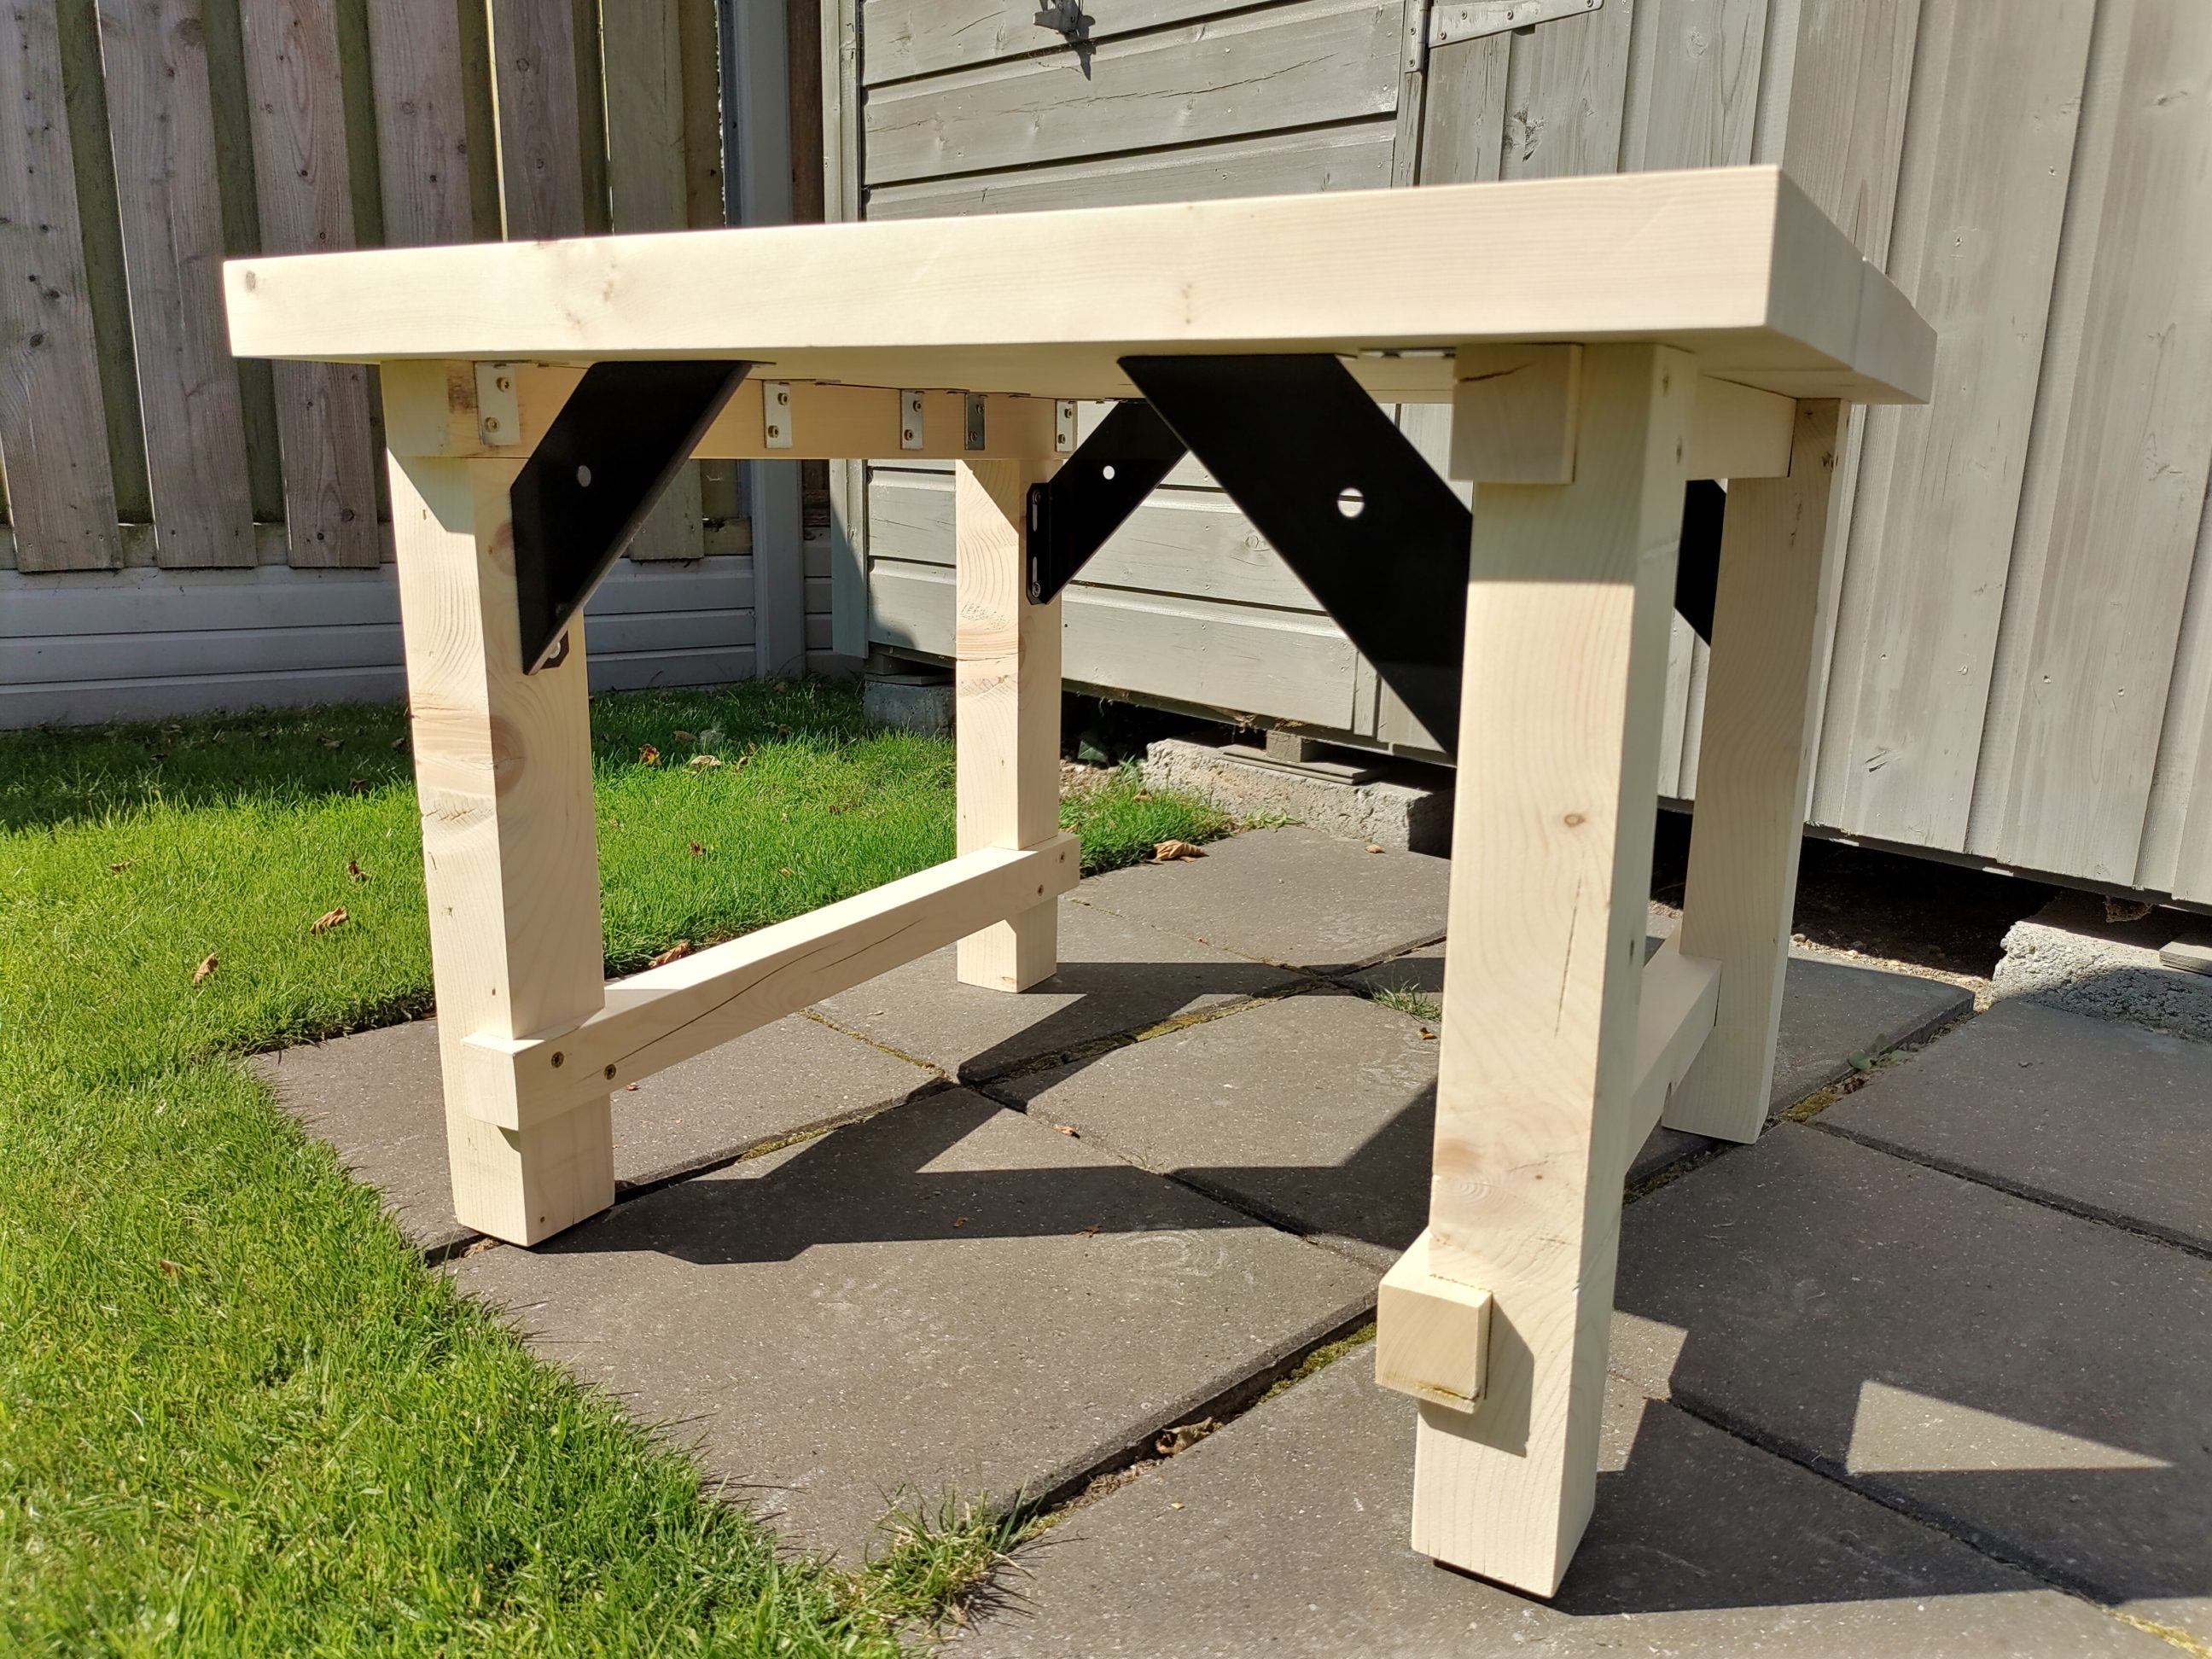
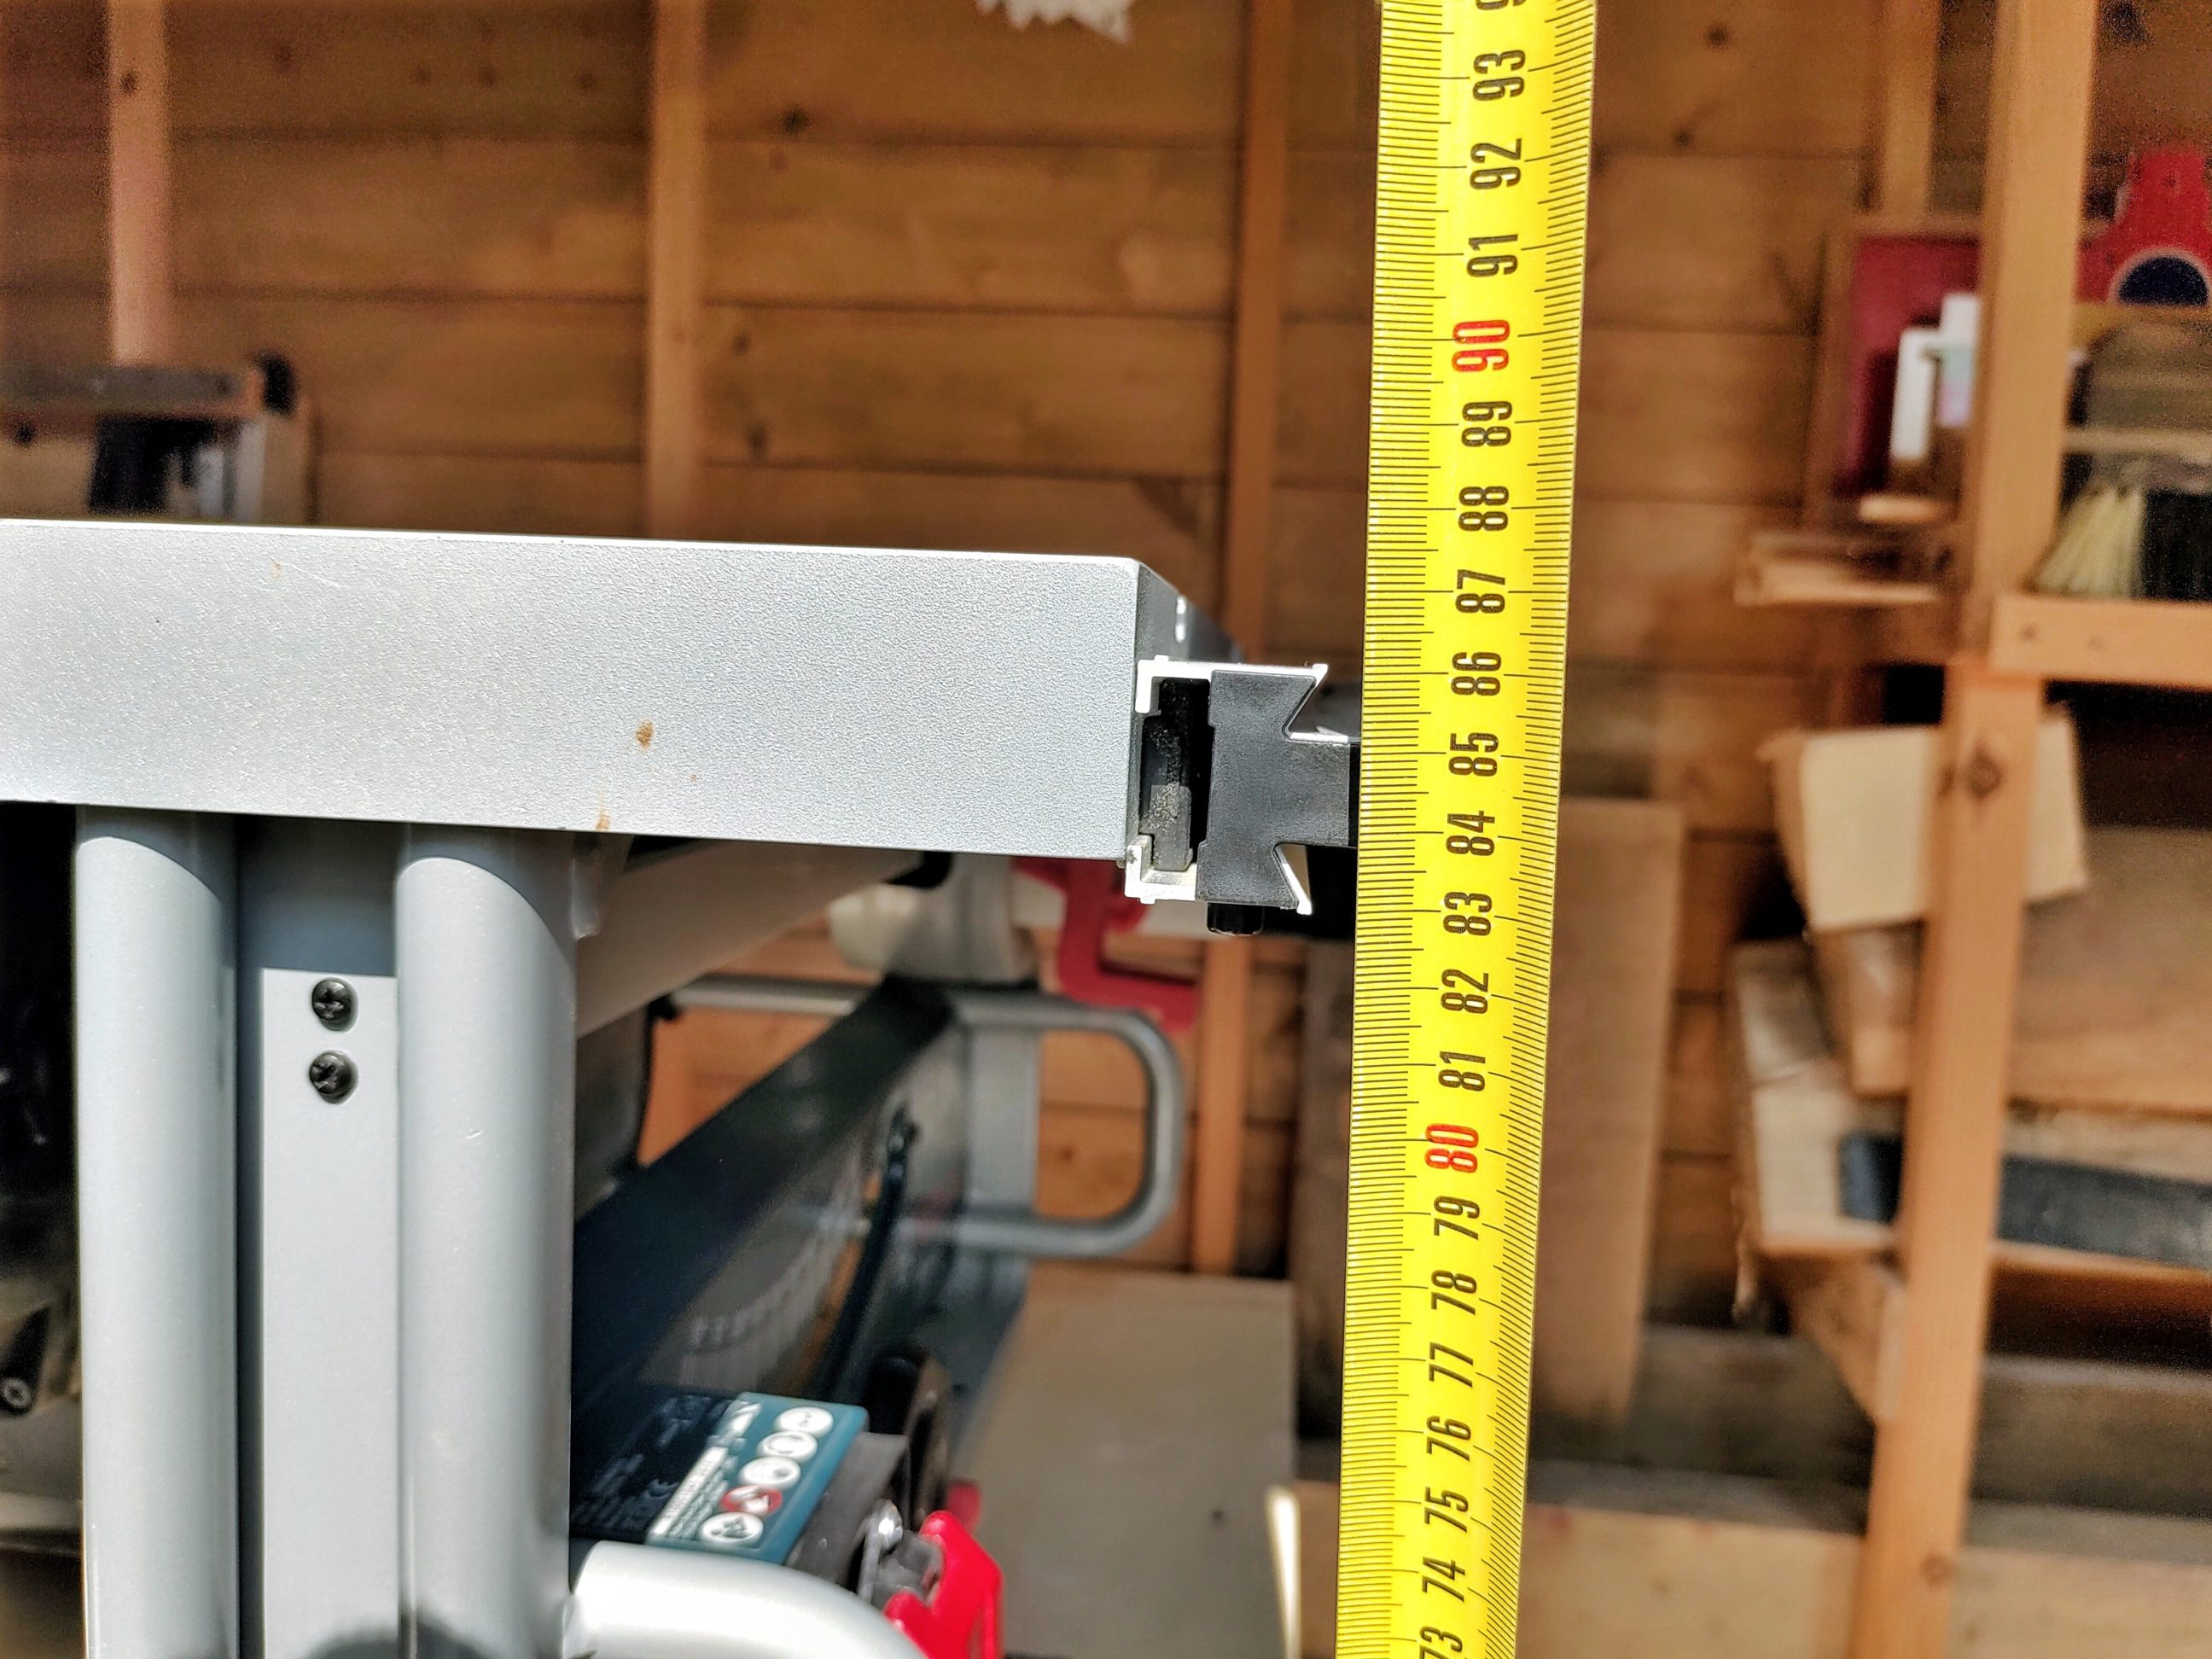
It has the proper height for my table saw, which gives me 874 mm (34 13/32 inches) from the floor to the top of the saw. It’s a heavy-duty and heavyweight construction, made from upcycled material and put together using glue, screws and braces. I had to prepare the timber before cutting, remove nails, embedded stones and dried concrete from its surface. The legs were built first, and the process started with rip-cutting and planing the timber. I simply cut one board in half and the other in 4 equal pieces. During the planing, I only removed what had to be removed to get rid of saw marks. I finished with a pretty nice set of legs and stretchers.


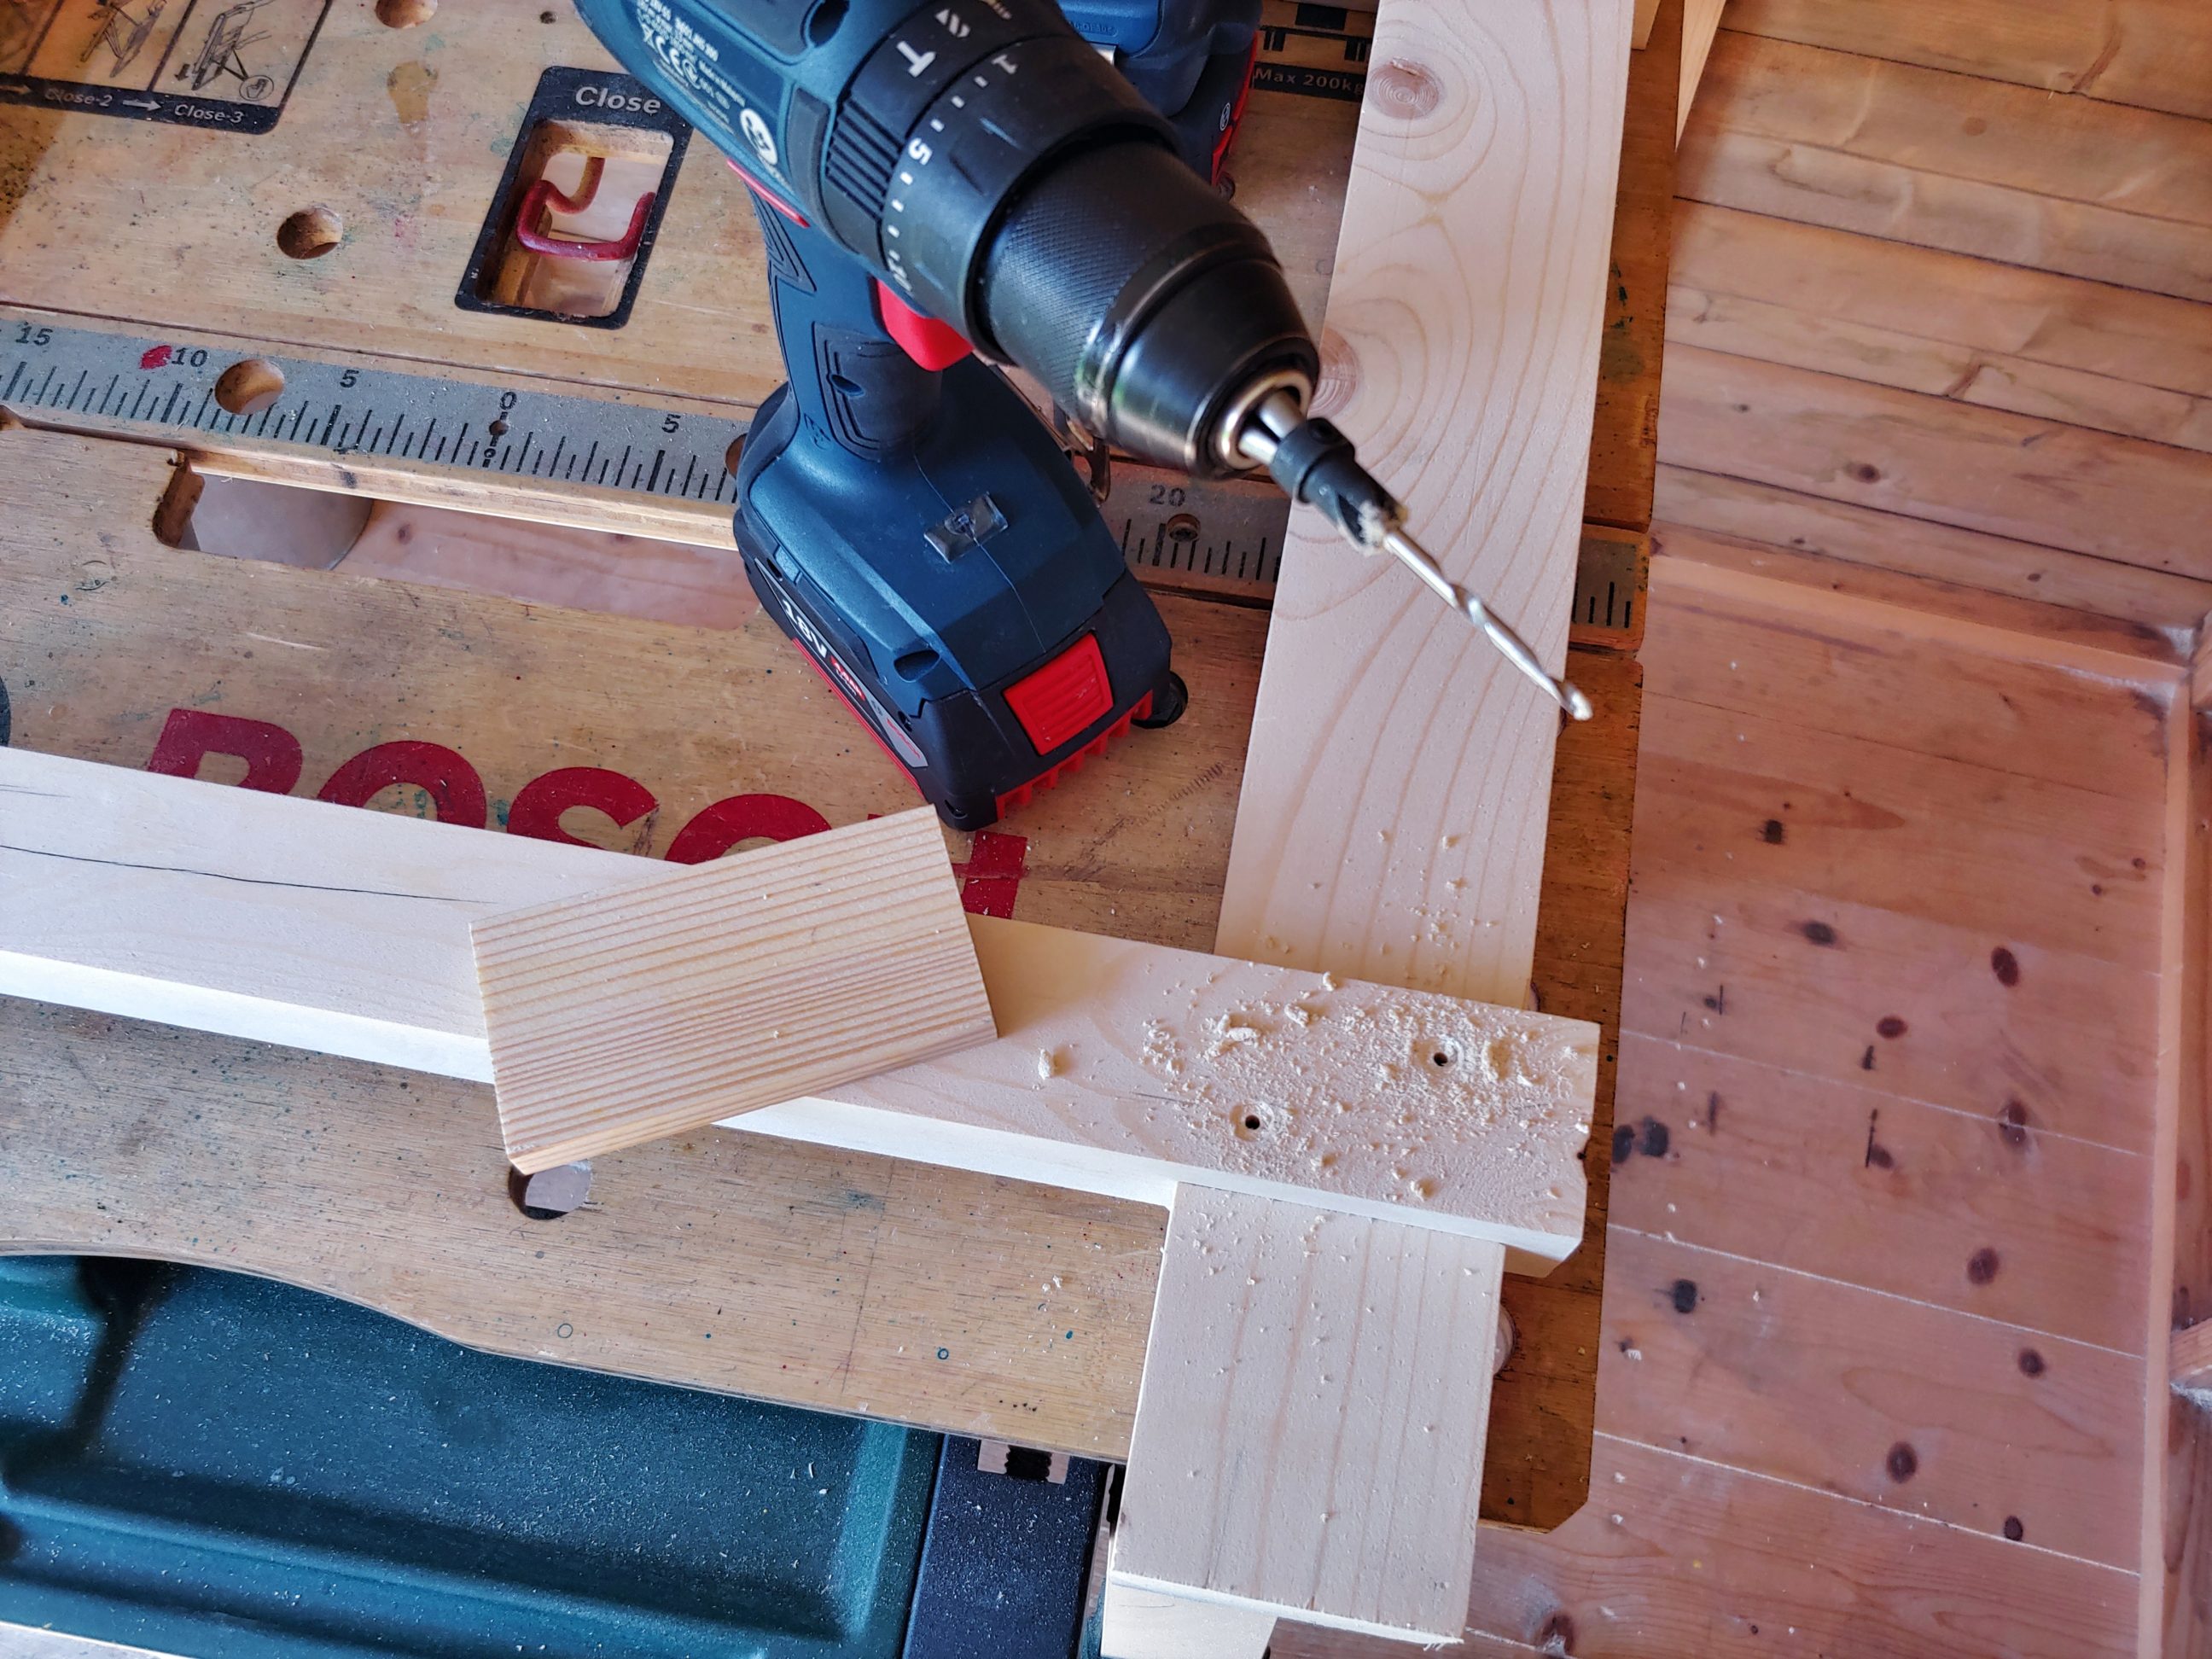
It was time to cut all the pieces to length and to cut some joints. I chose housing joints (dados) for the lower stretchers and rebates (rabbets) for the upper ones. Their depth wasn’t the same – upper ones were deeper than the bottom ones, just my design, but that feature determined the way I used screws to put the joints together.


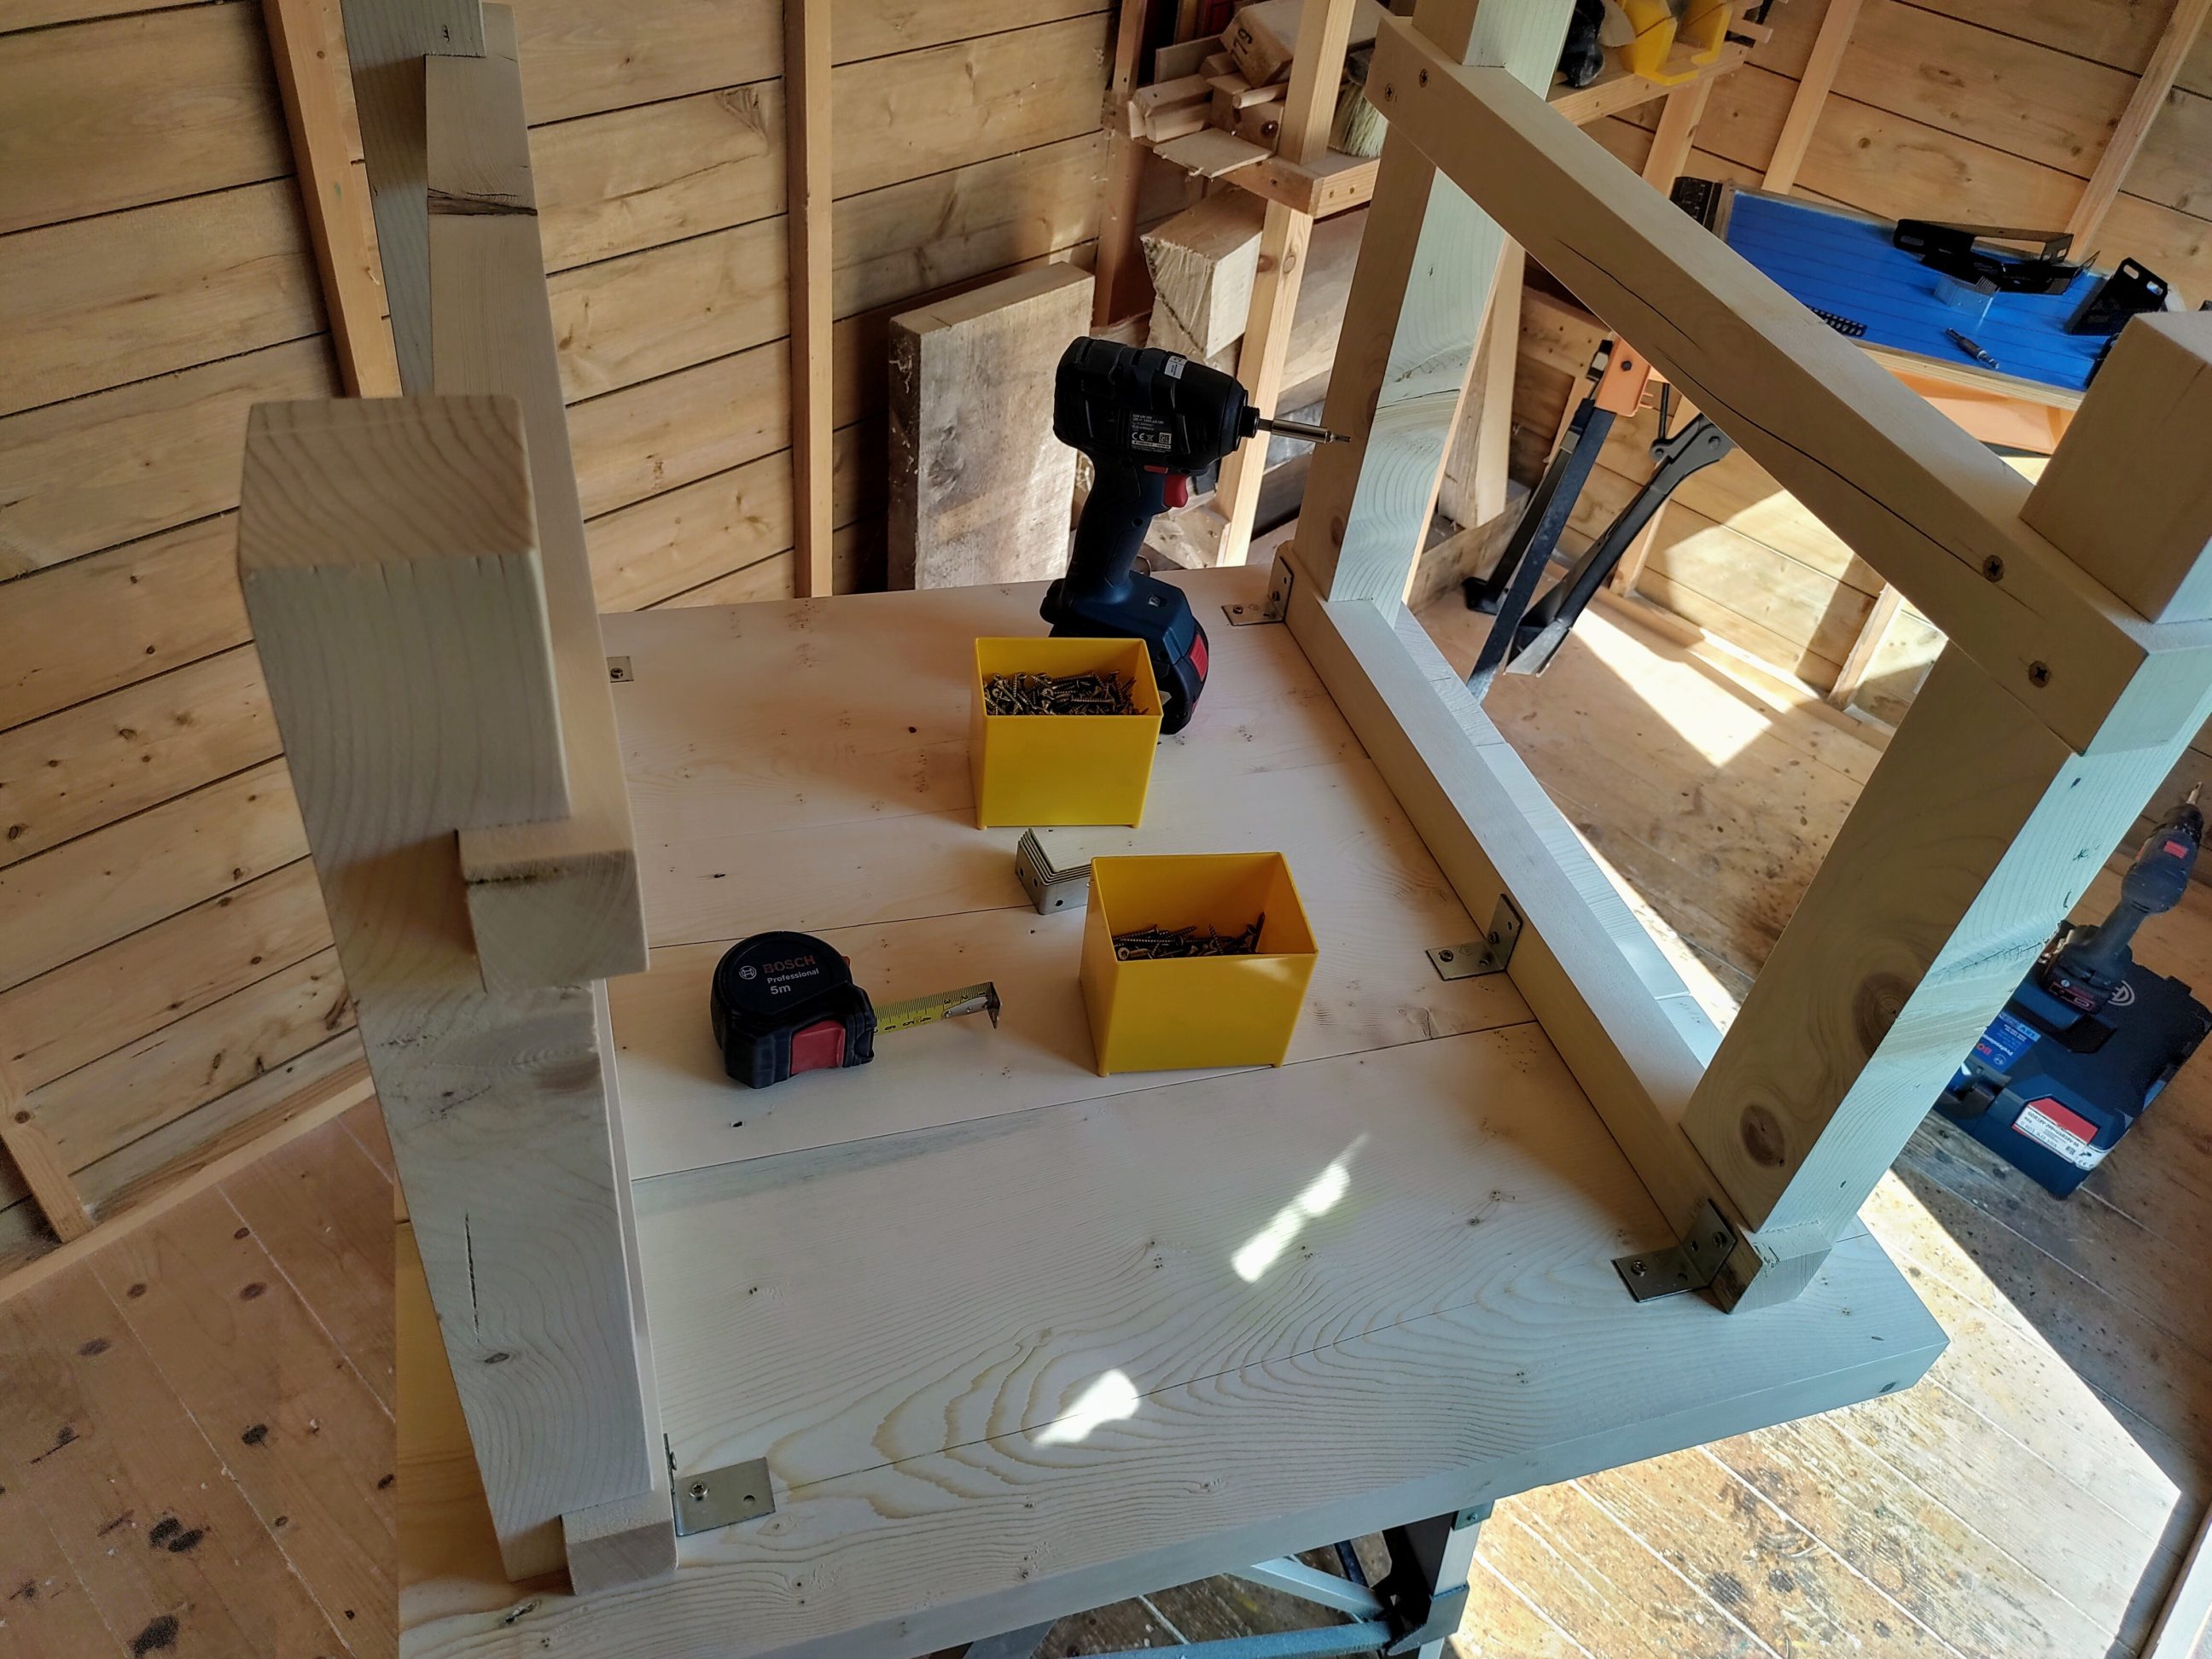
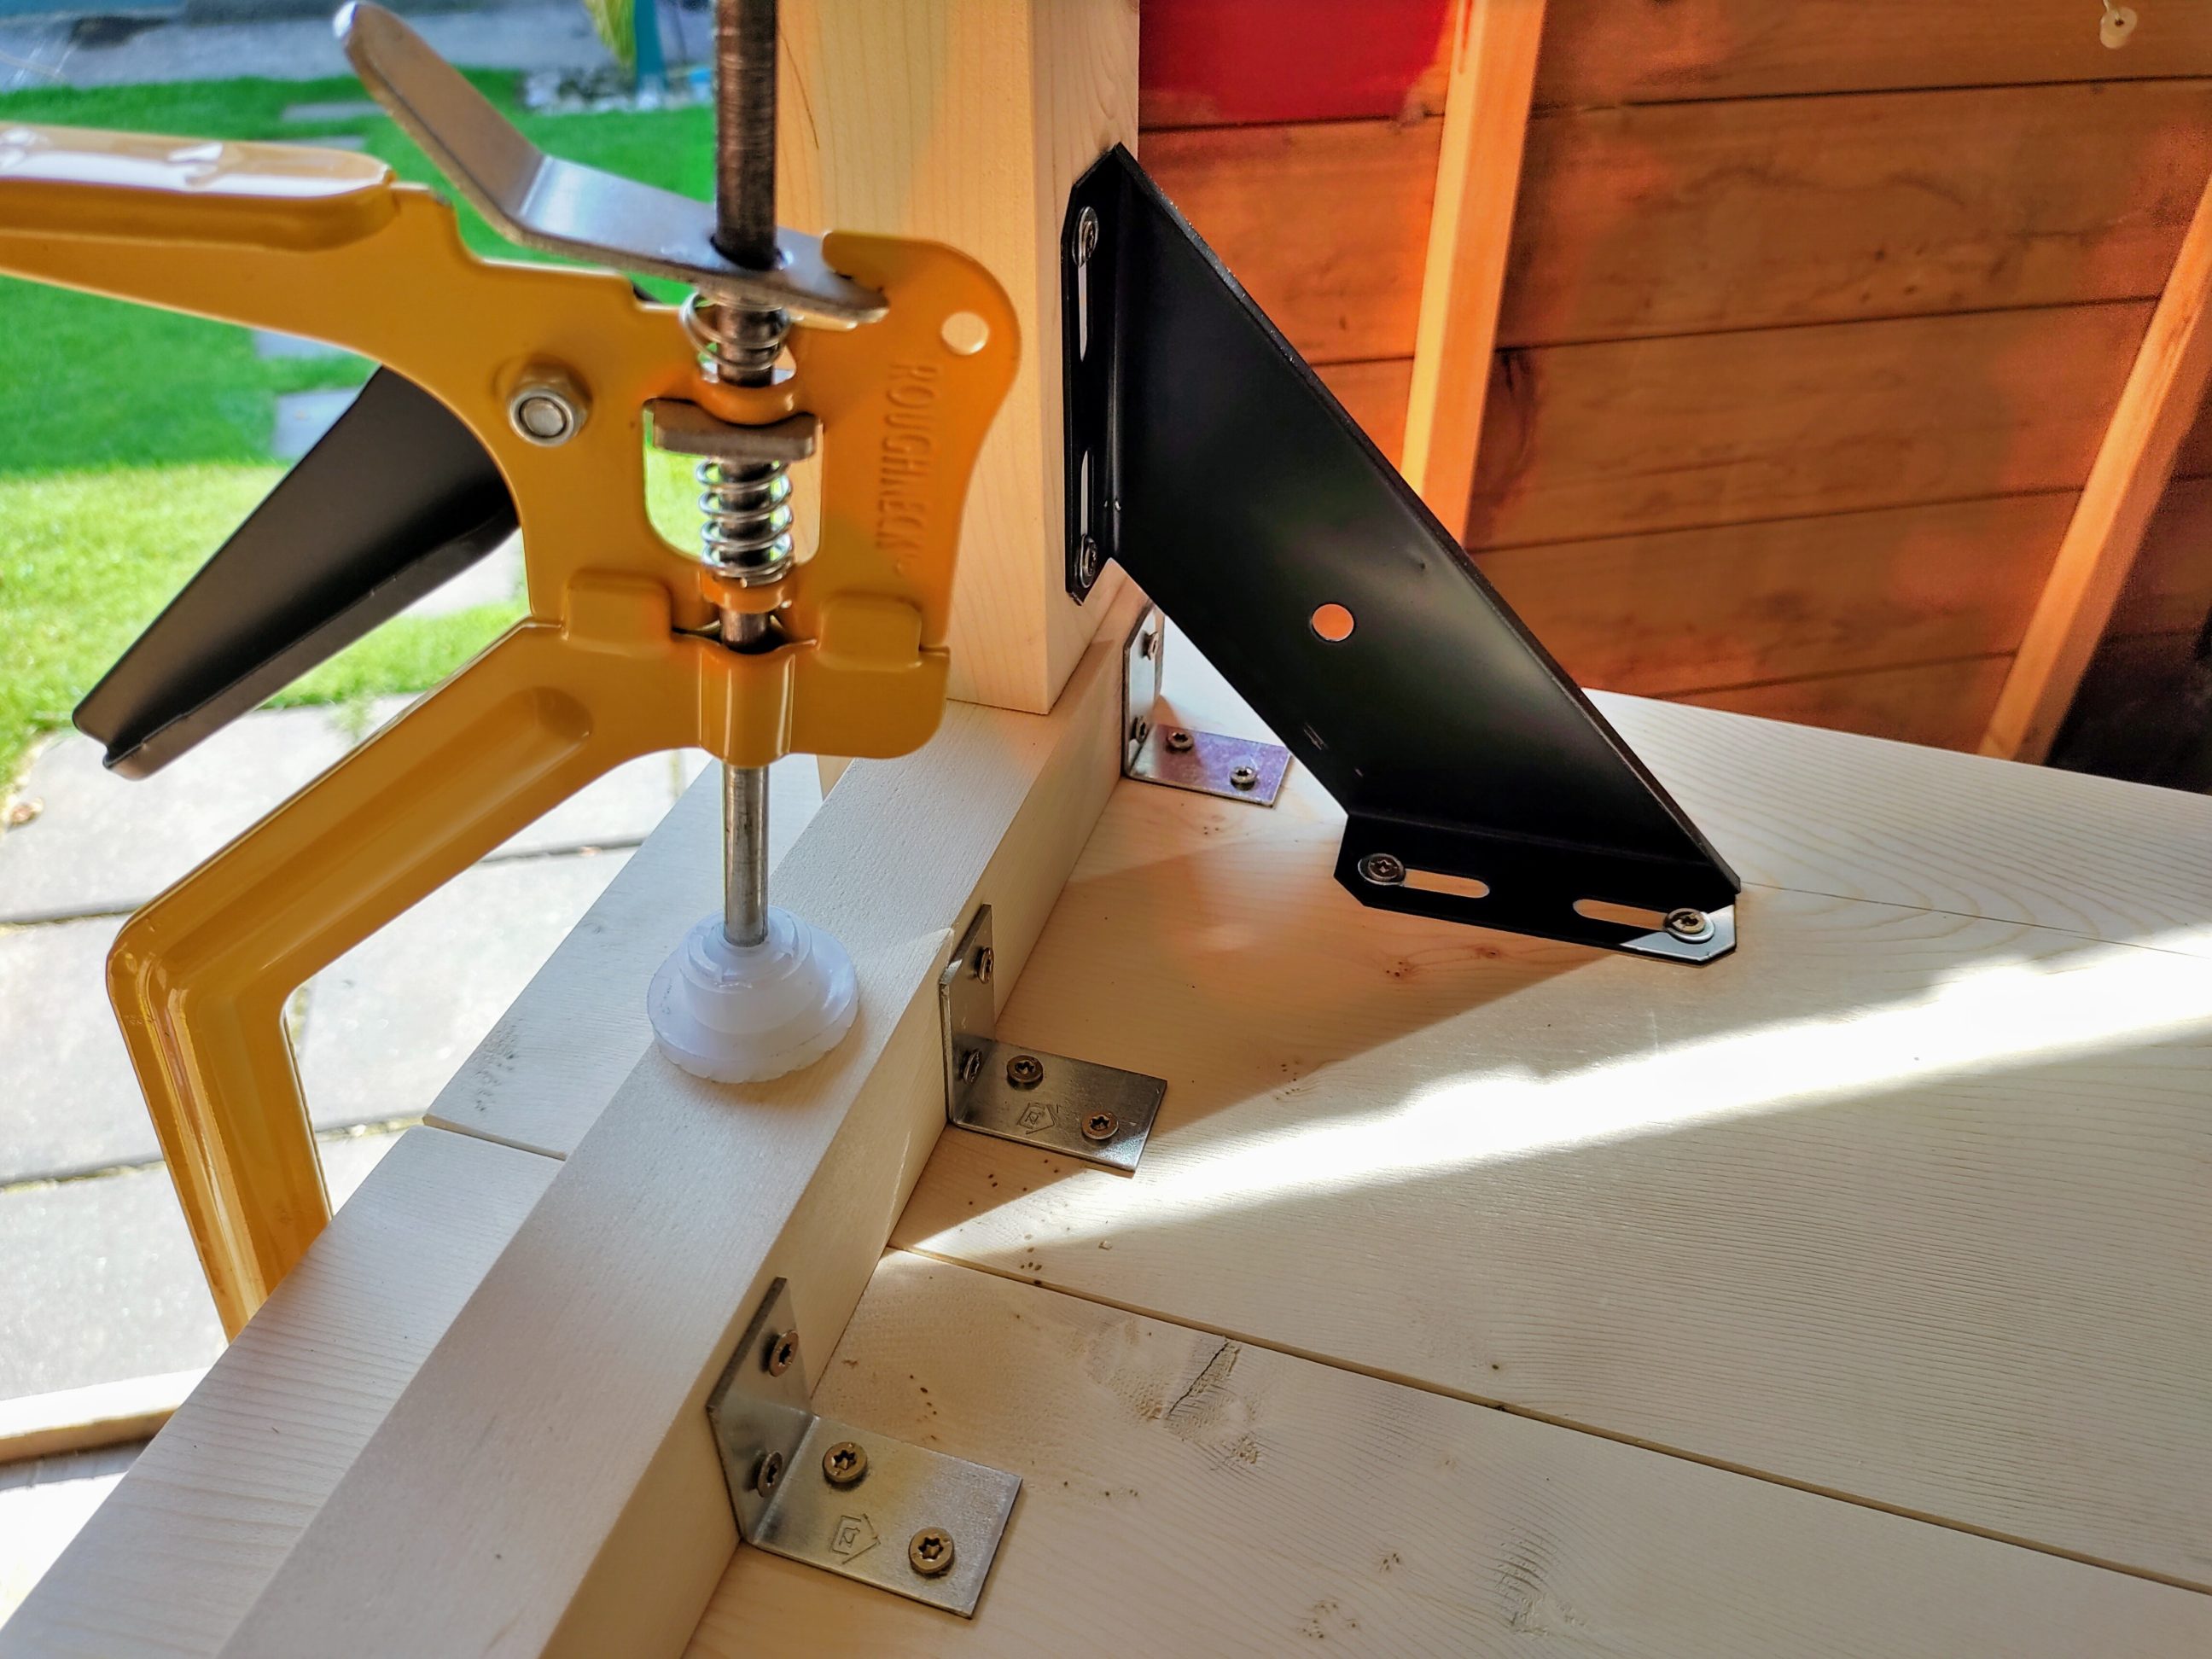
Using glue and screws, I attached the top stretchers from the outside, whereas the bottom ones were screwed from the inside. That simply meant that screws went through the thinner boards into the thicker ones. The grain direction of upper stretchers determined the way of attaching the tabletop. I couldn’t just drive screws through the tabletop into the stretchers, because the joint would be weak. Screws would go into edge grain and wouldn’t hold. Using braces was the safest way, maybe not the only one, but quite fast and perfectly fine for shop furniture.

I prepared the tabletop boards using my thickness planer. Next, I rip-cut them to the width and cut them to the final length. My circular saw did a great job, the cut ends looked perfect and didn’t require sanding.


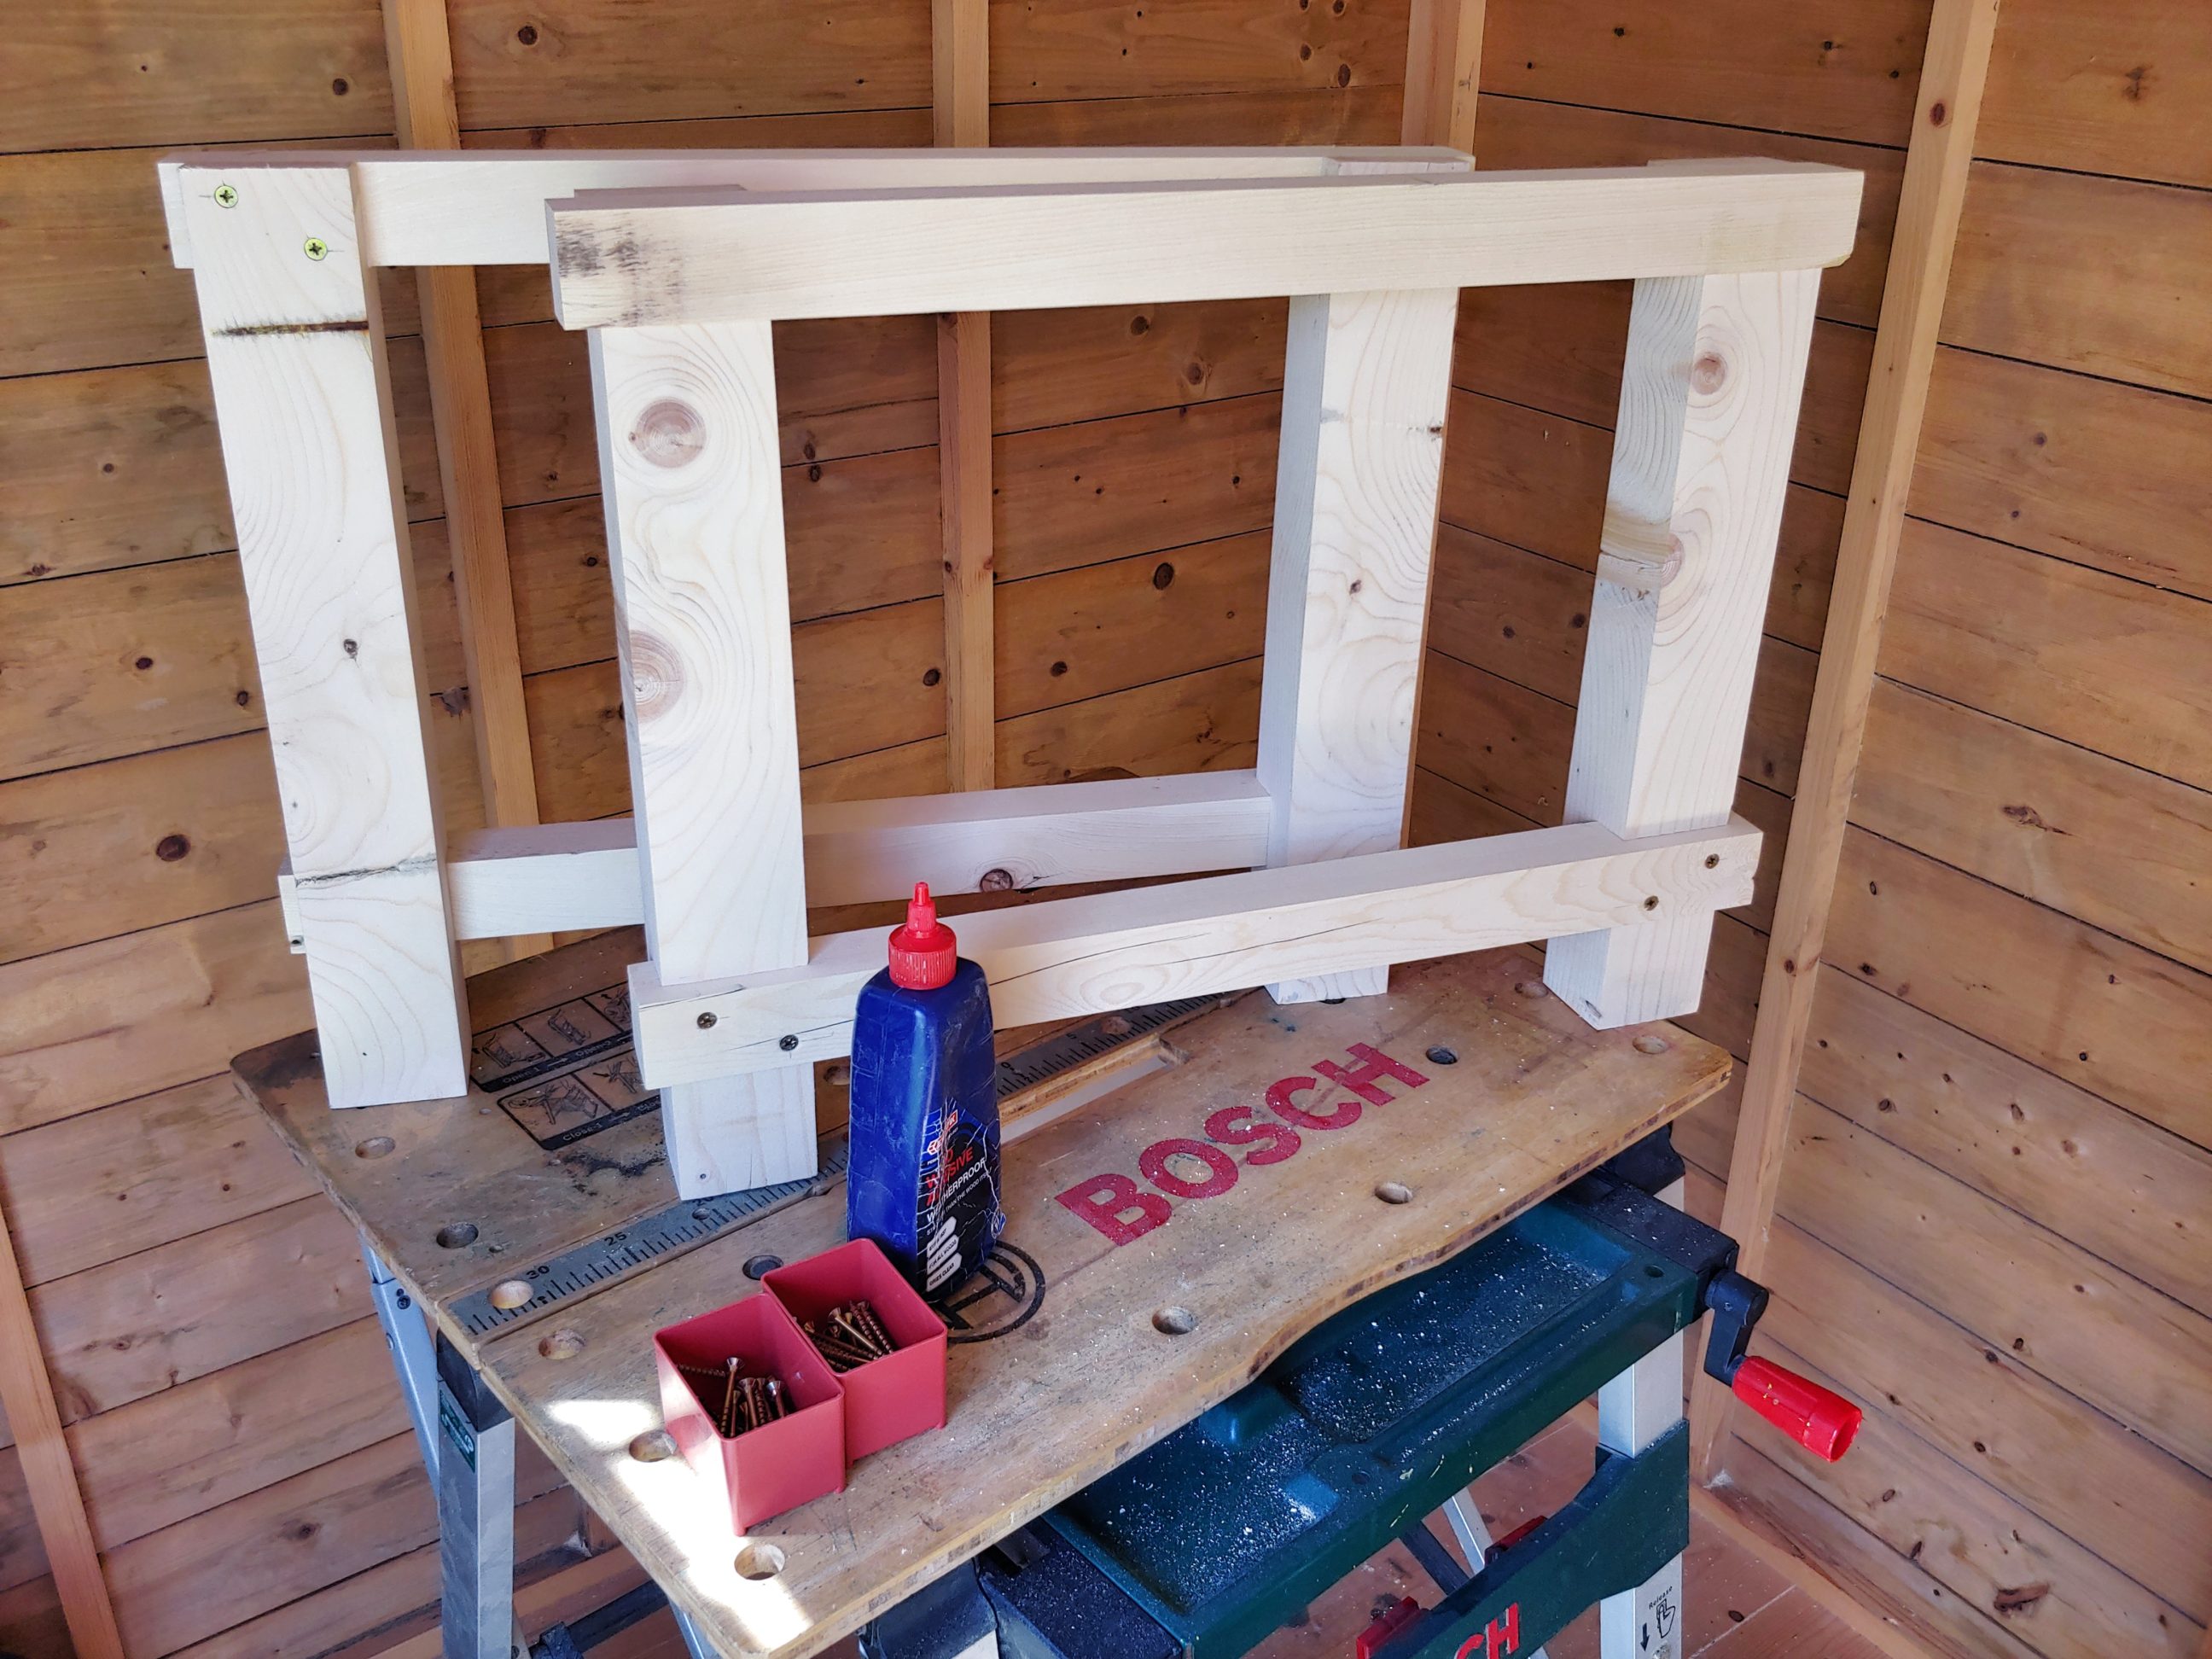
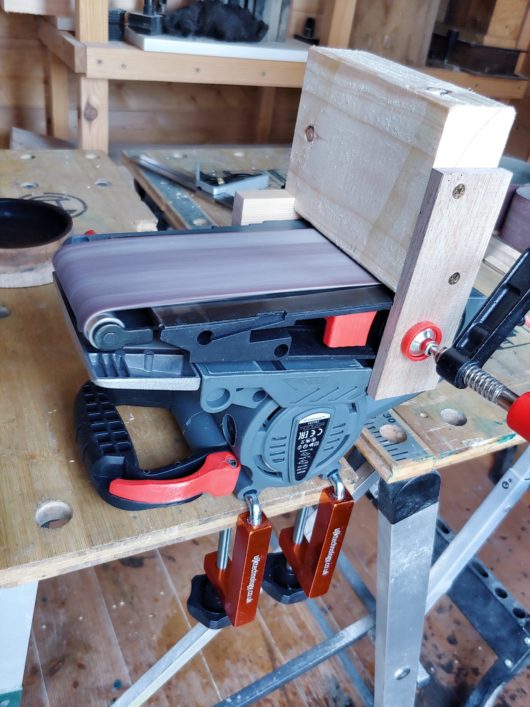
I couldn’t resist from taking an upside-down picture of my new table and seeing how it looks. Once my curiosity was satisfied, I filled all the gaps with wood filler, let it dry, and sanded everything with my orbital sander. I also eased the edges with a sanding block. It was all ready for the next step – installing the braces.


All braces I used were heavy-duty and simply big. To fix them in place, I chose 2 sizes of fully threaded screws. There was no need to pre-drill, so the task was completed quicker.


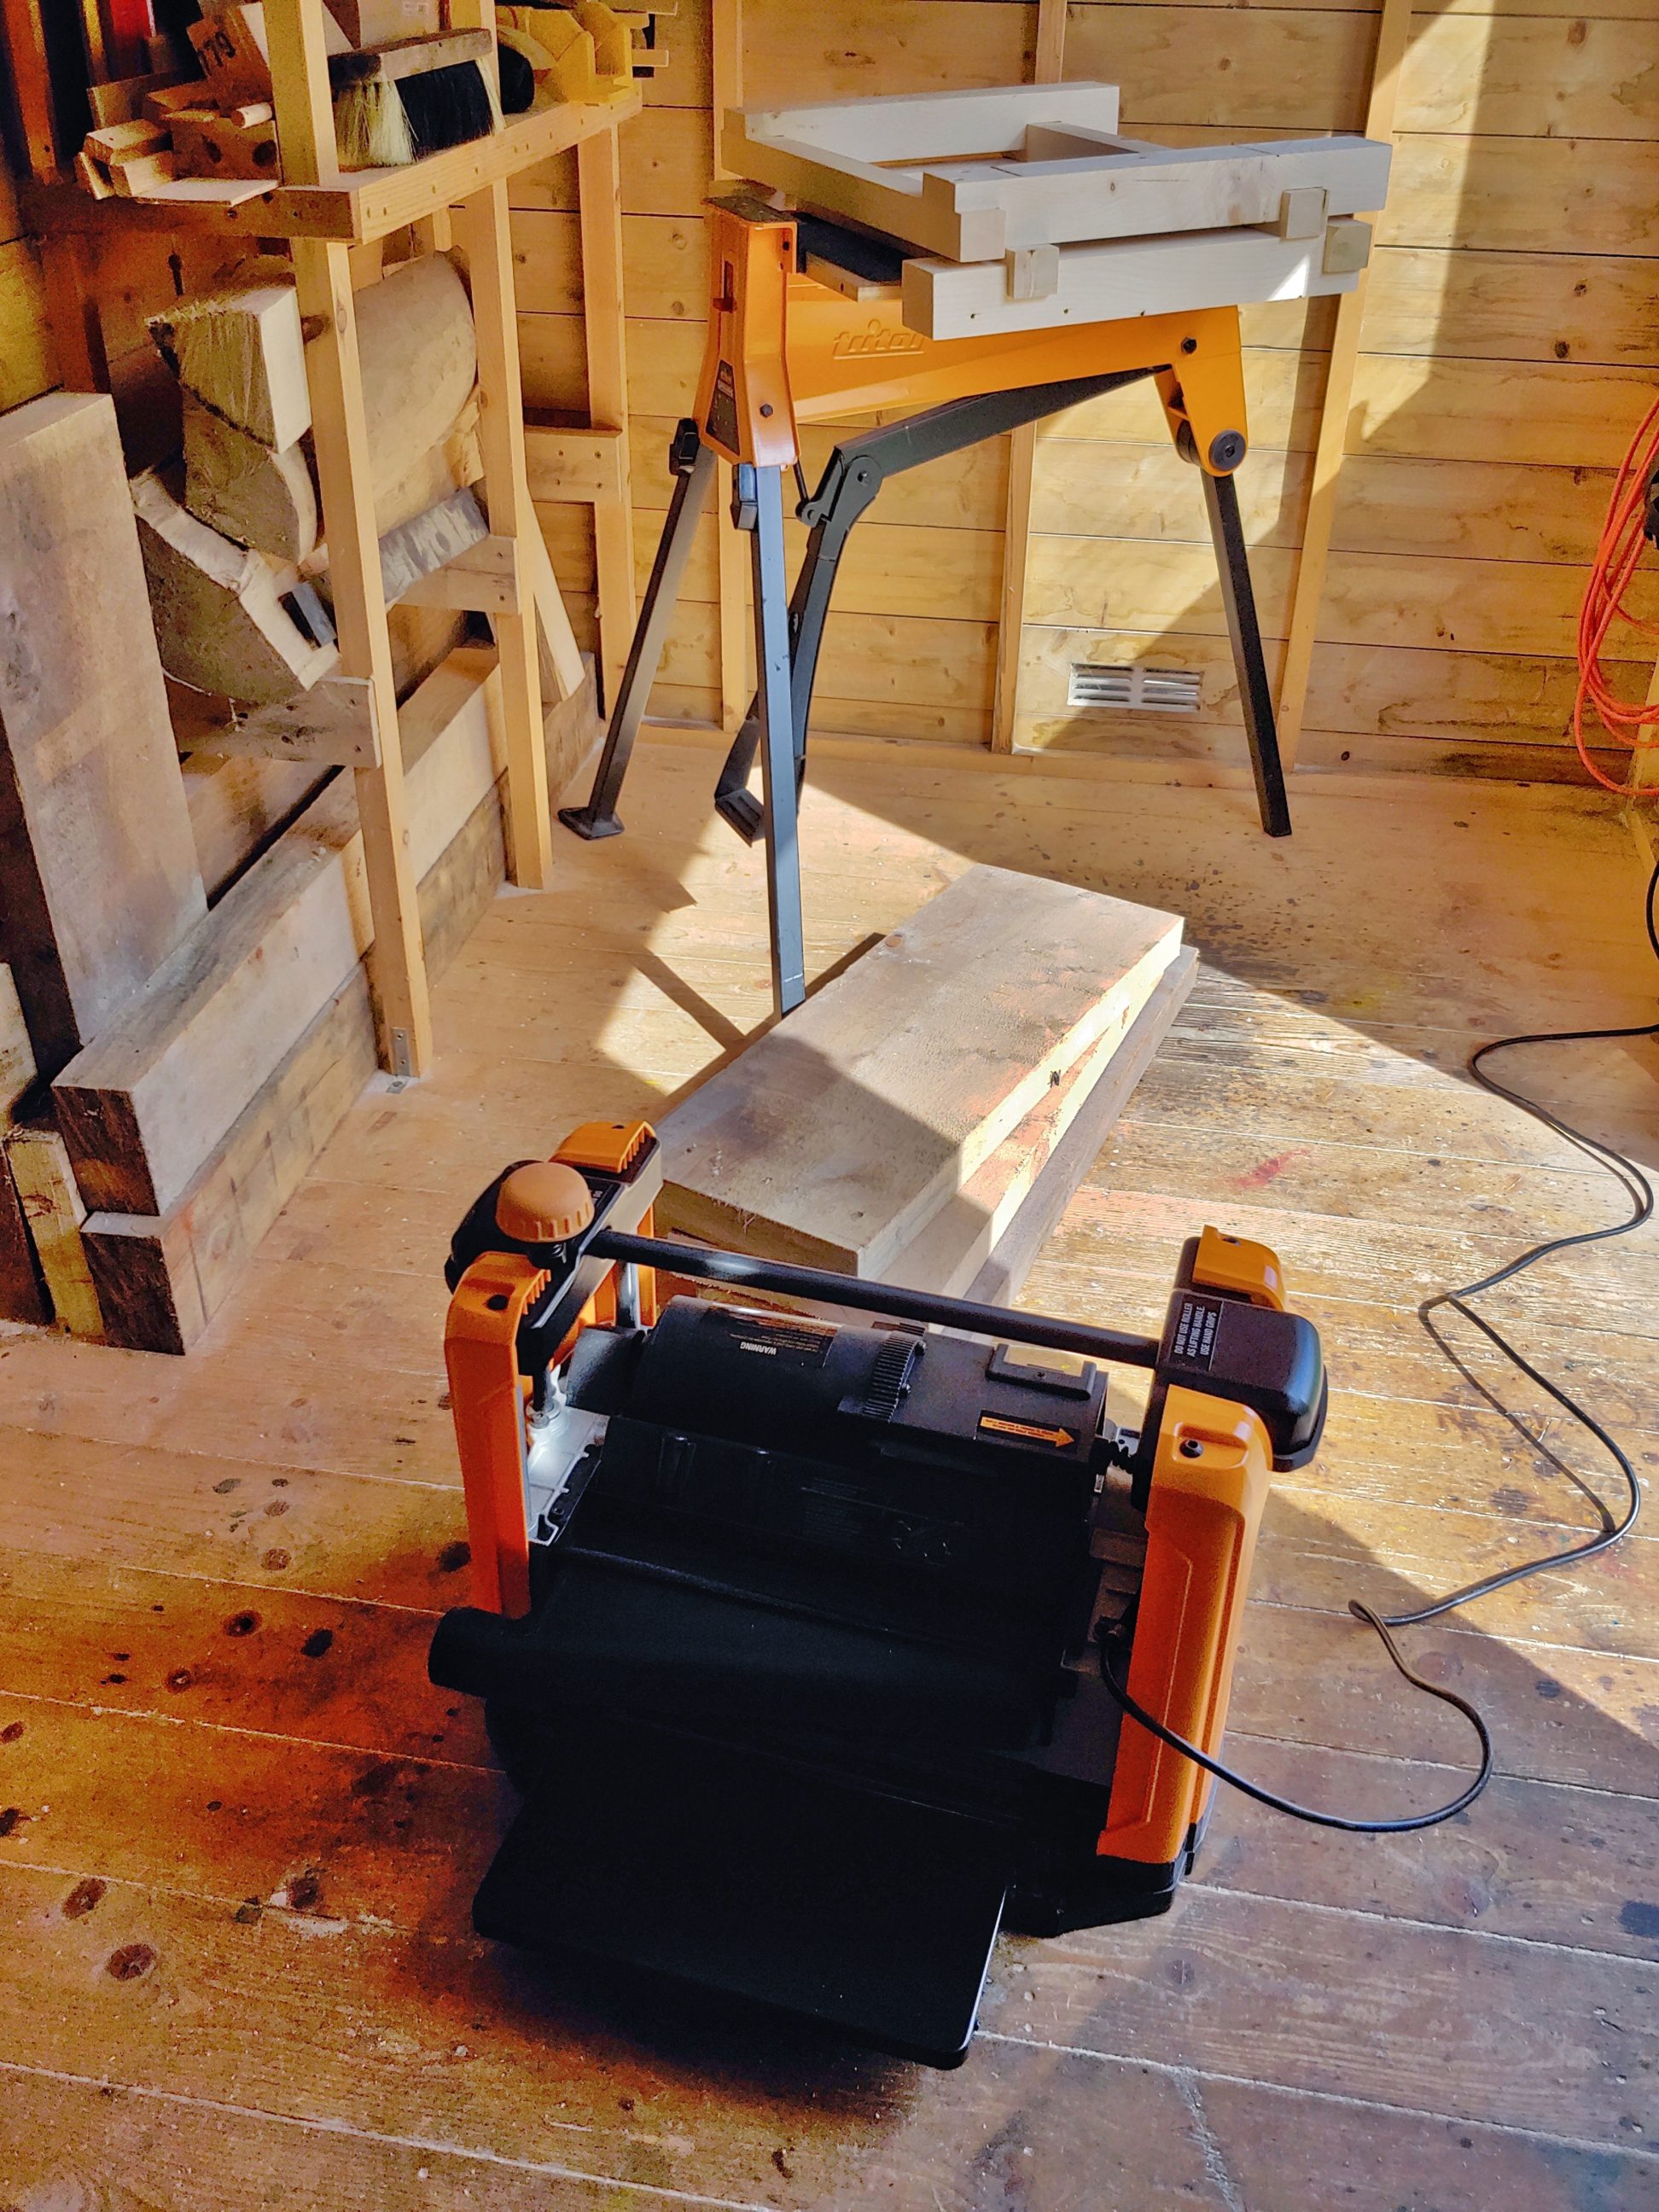
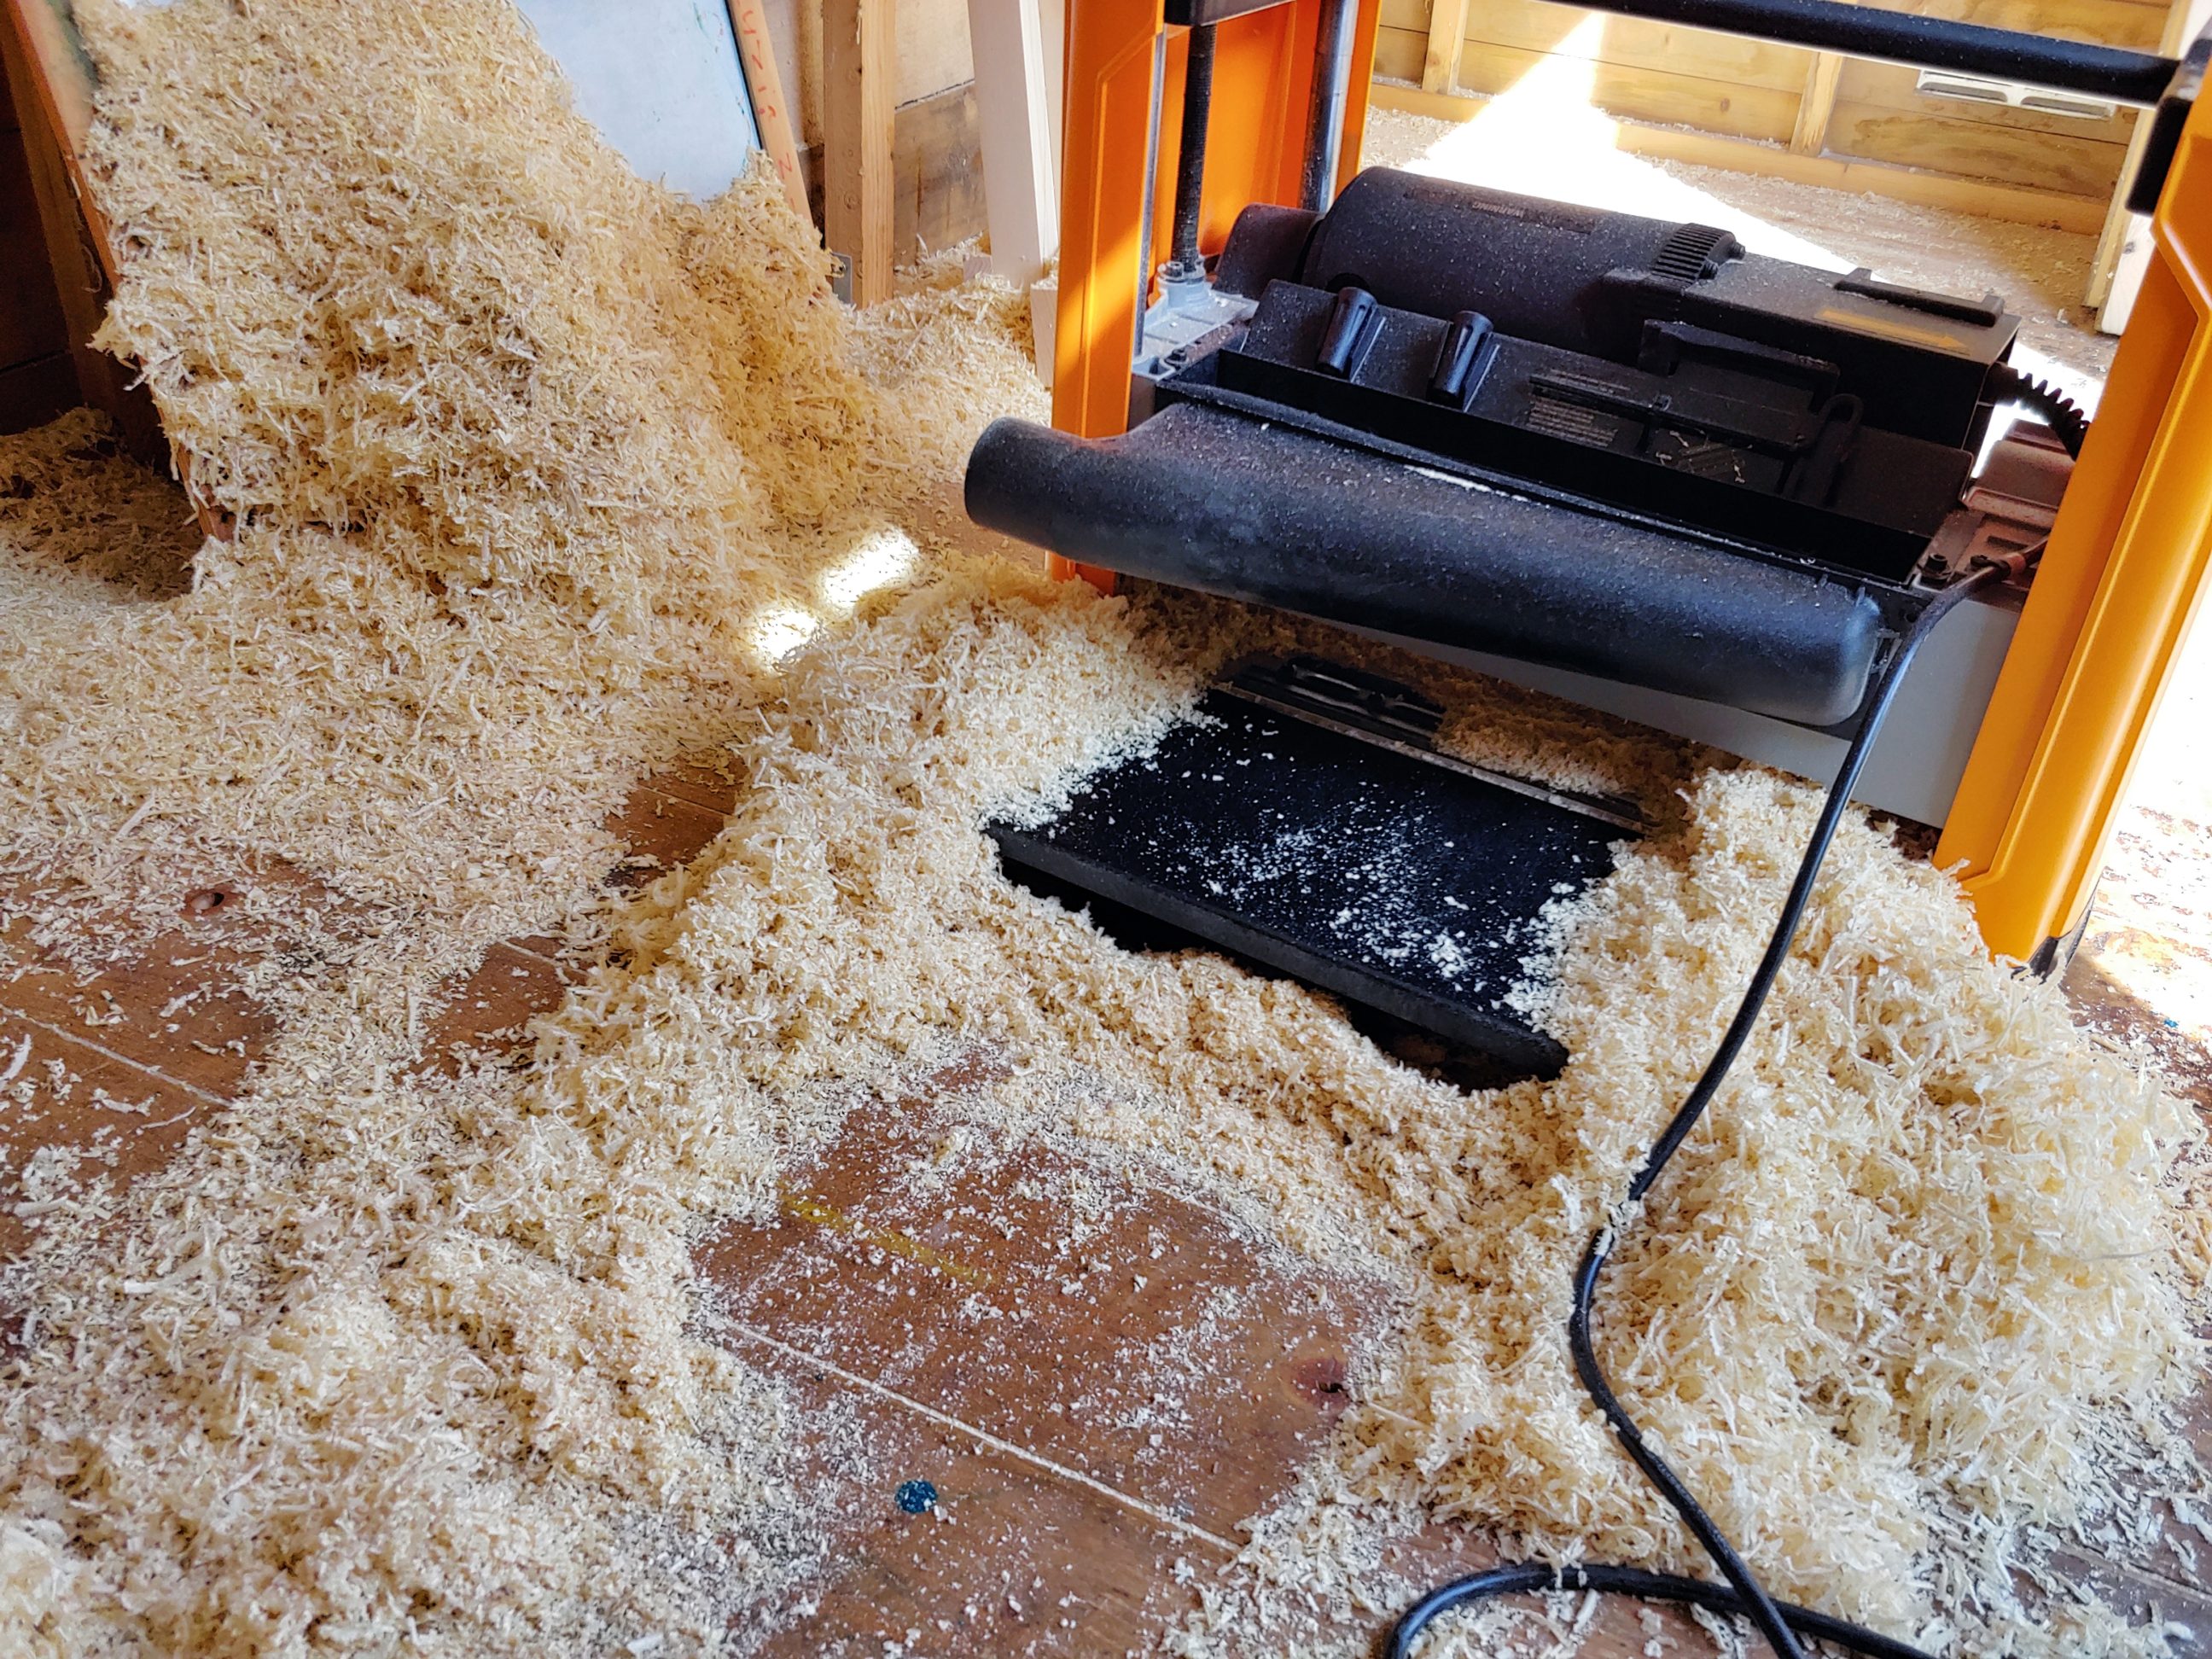
It turned out that the table also serves very good as a sitting bench, it has a perfect height for many tasks. Although its main purpose is to be a table saw stand, it can be used with my thickness planer as well.


The finish of my choice was … no finish. It’s a shed furniture and has to blend in with its natural look. It looks very bright yet, and stands out. This, however, will change with time.


One Comment
Pingback: