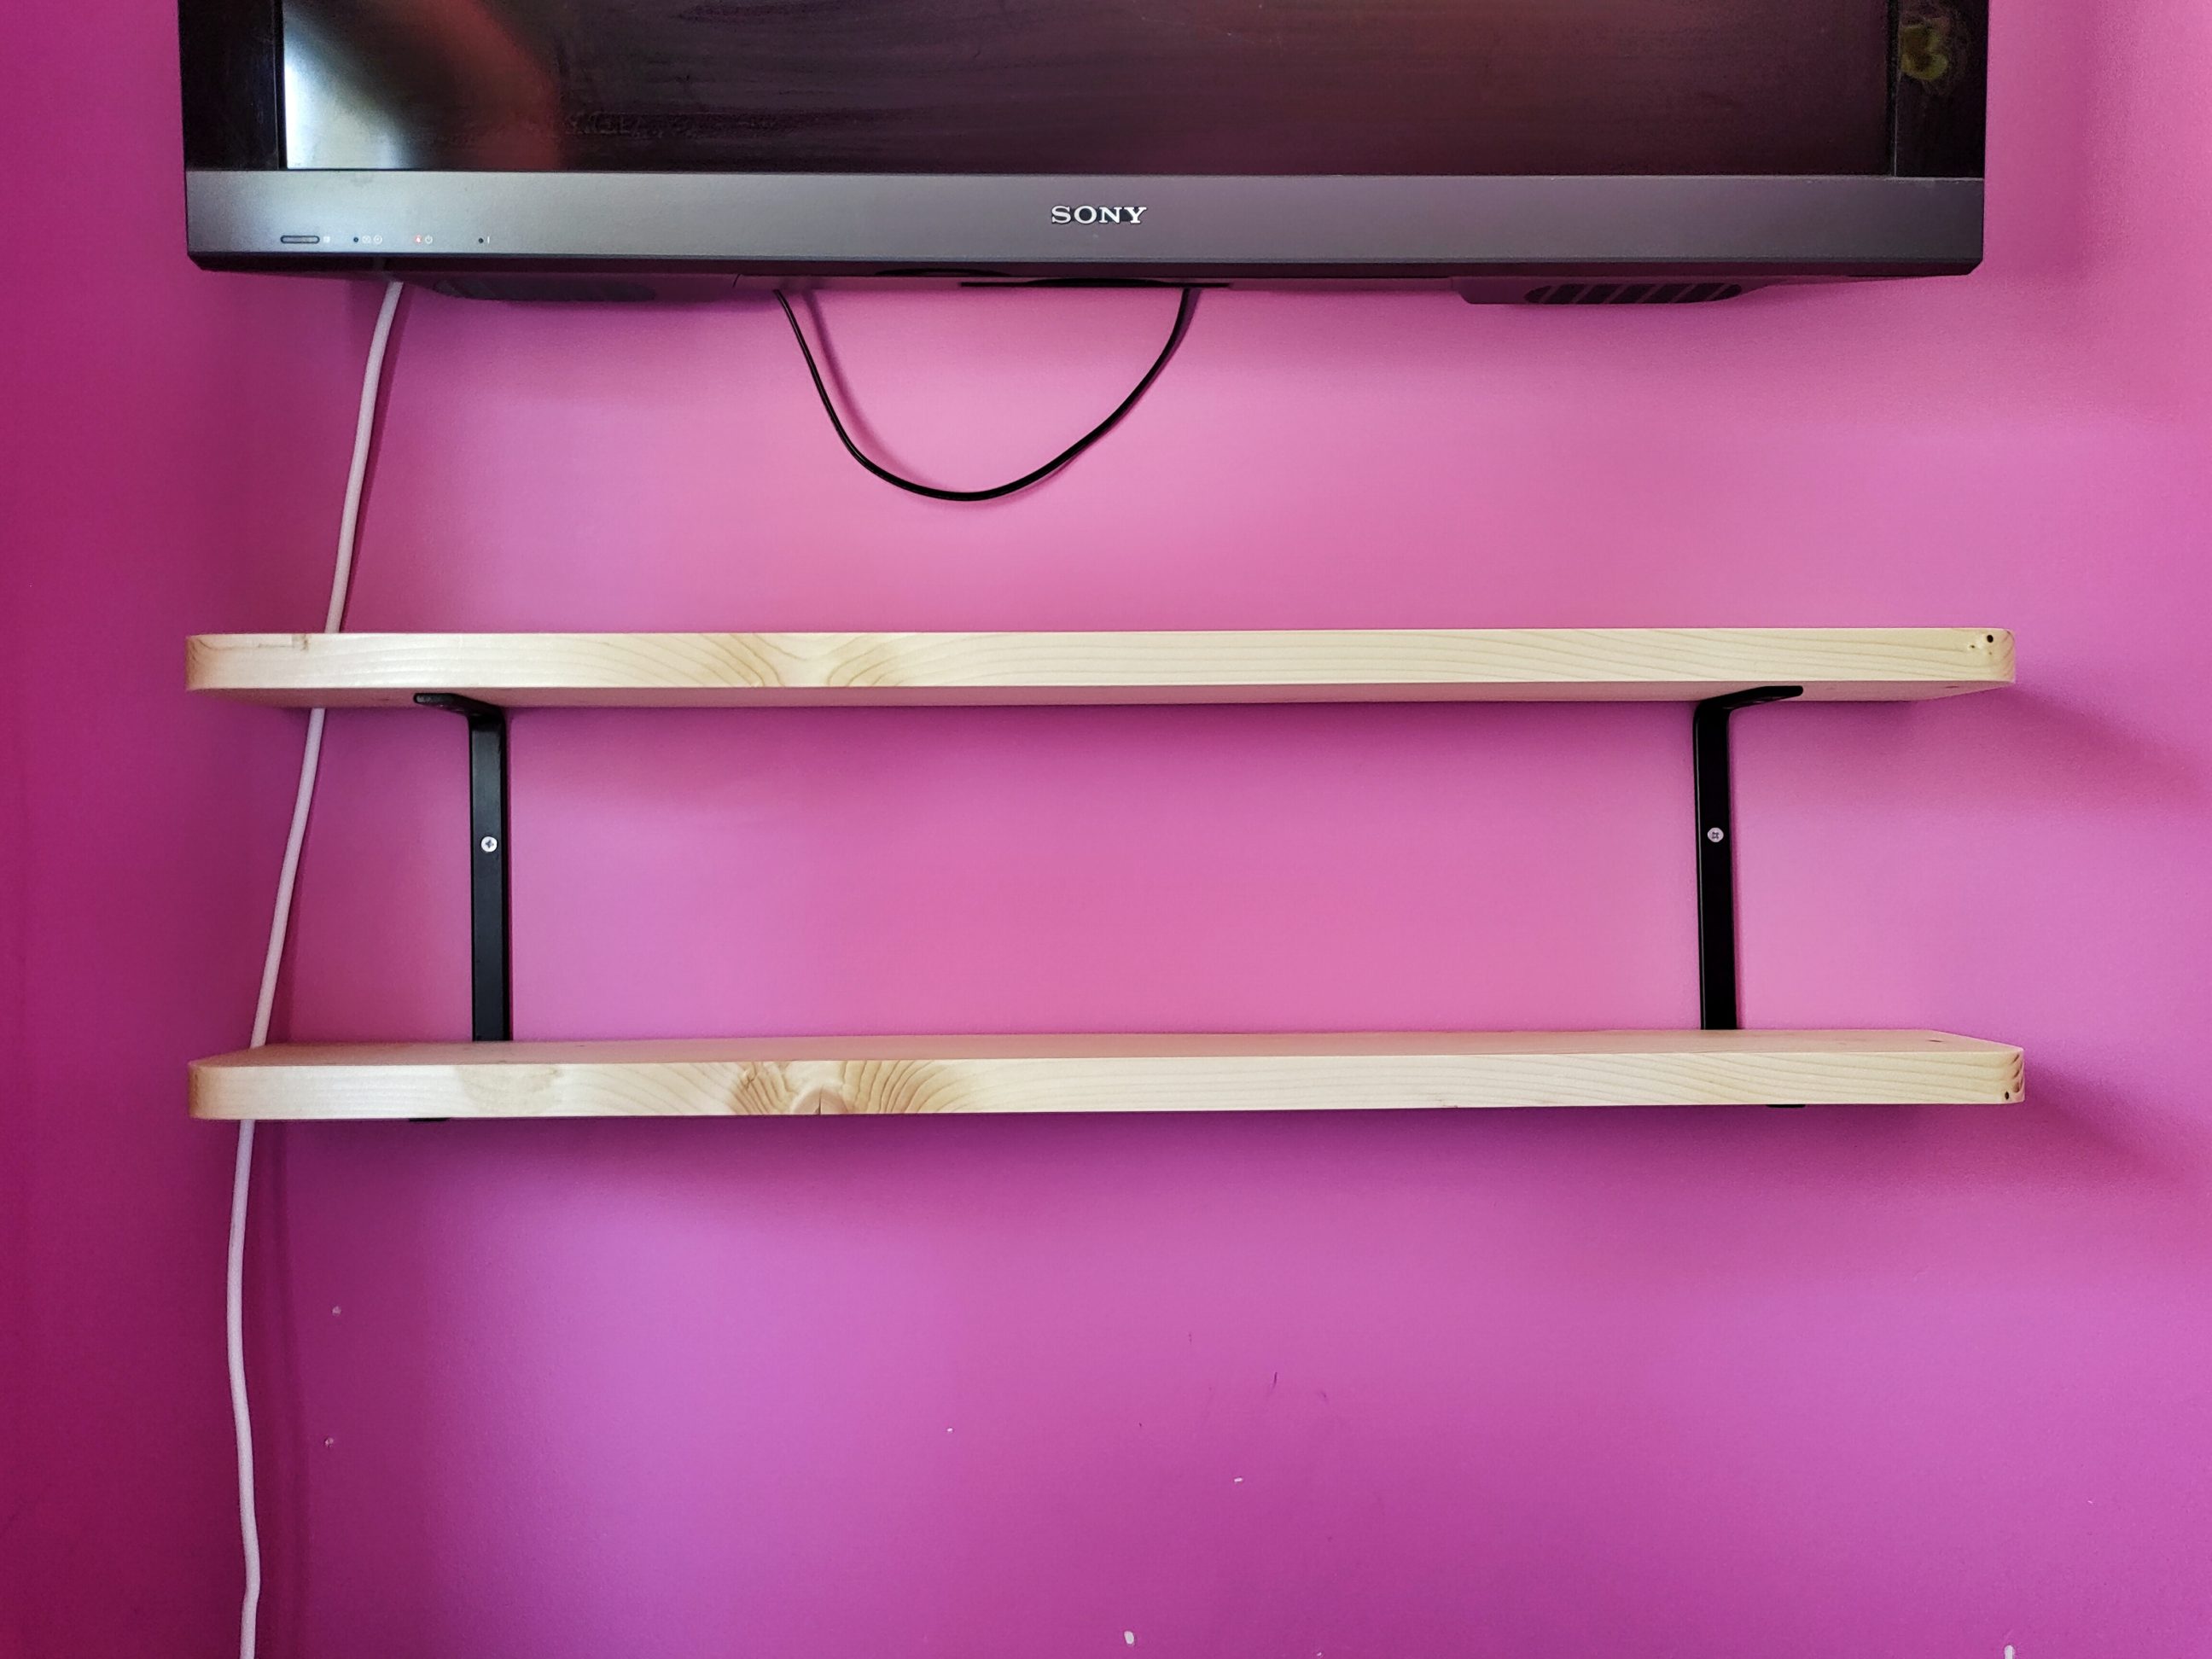
Double shelf
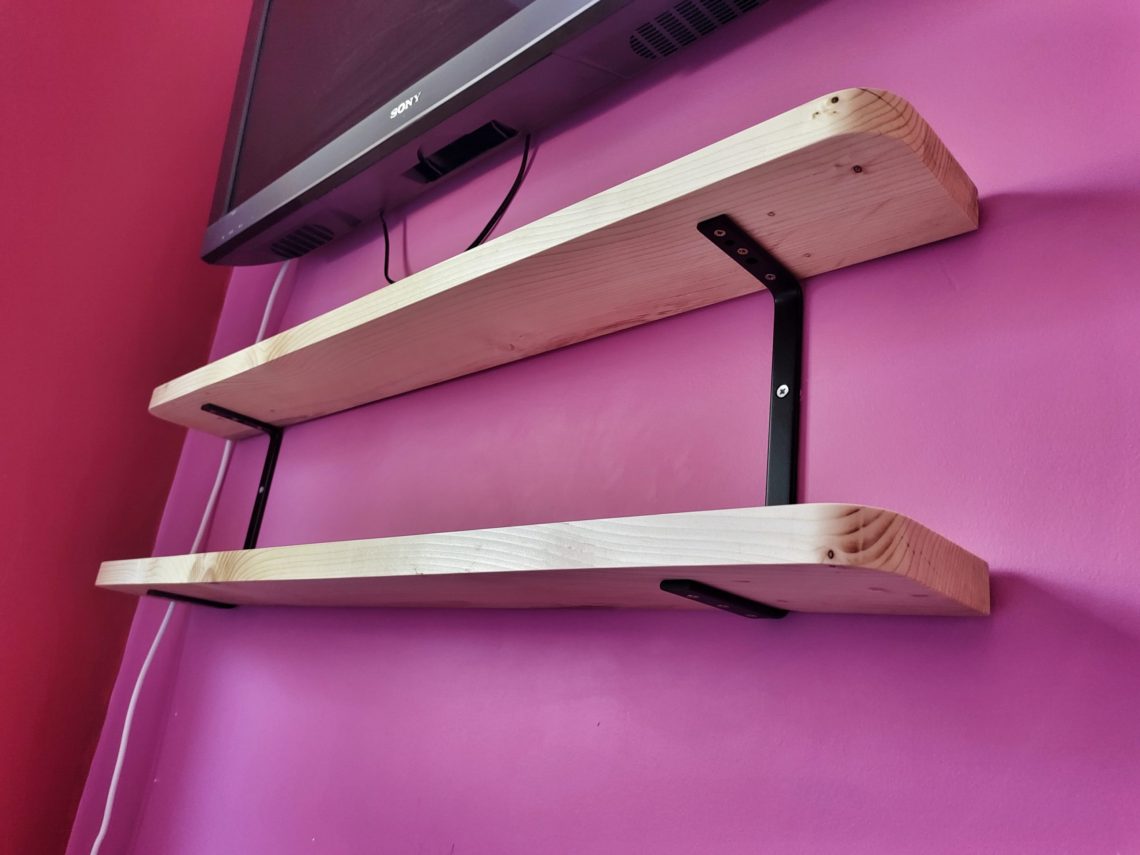
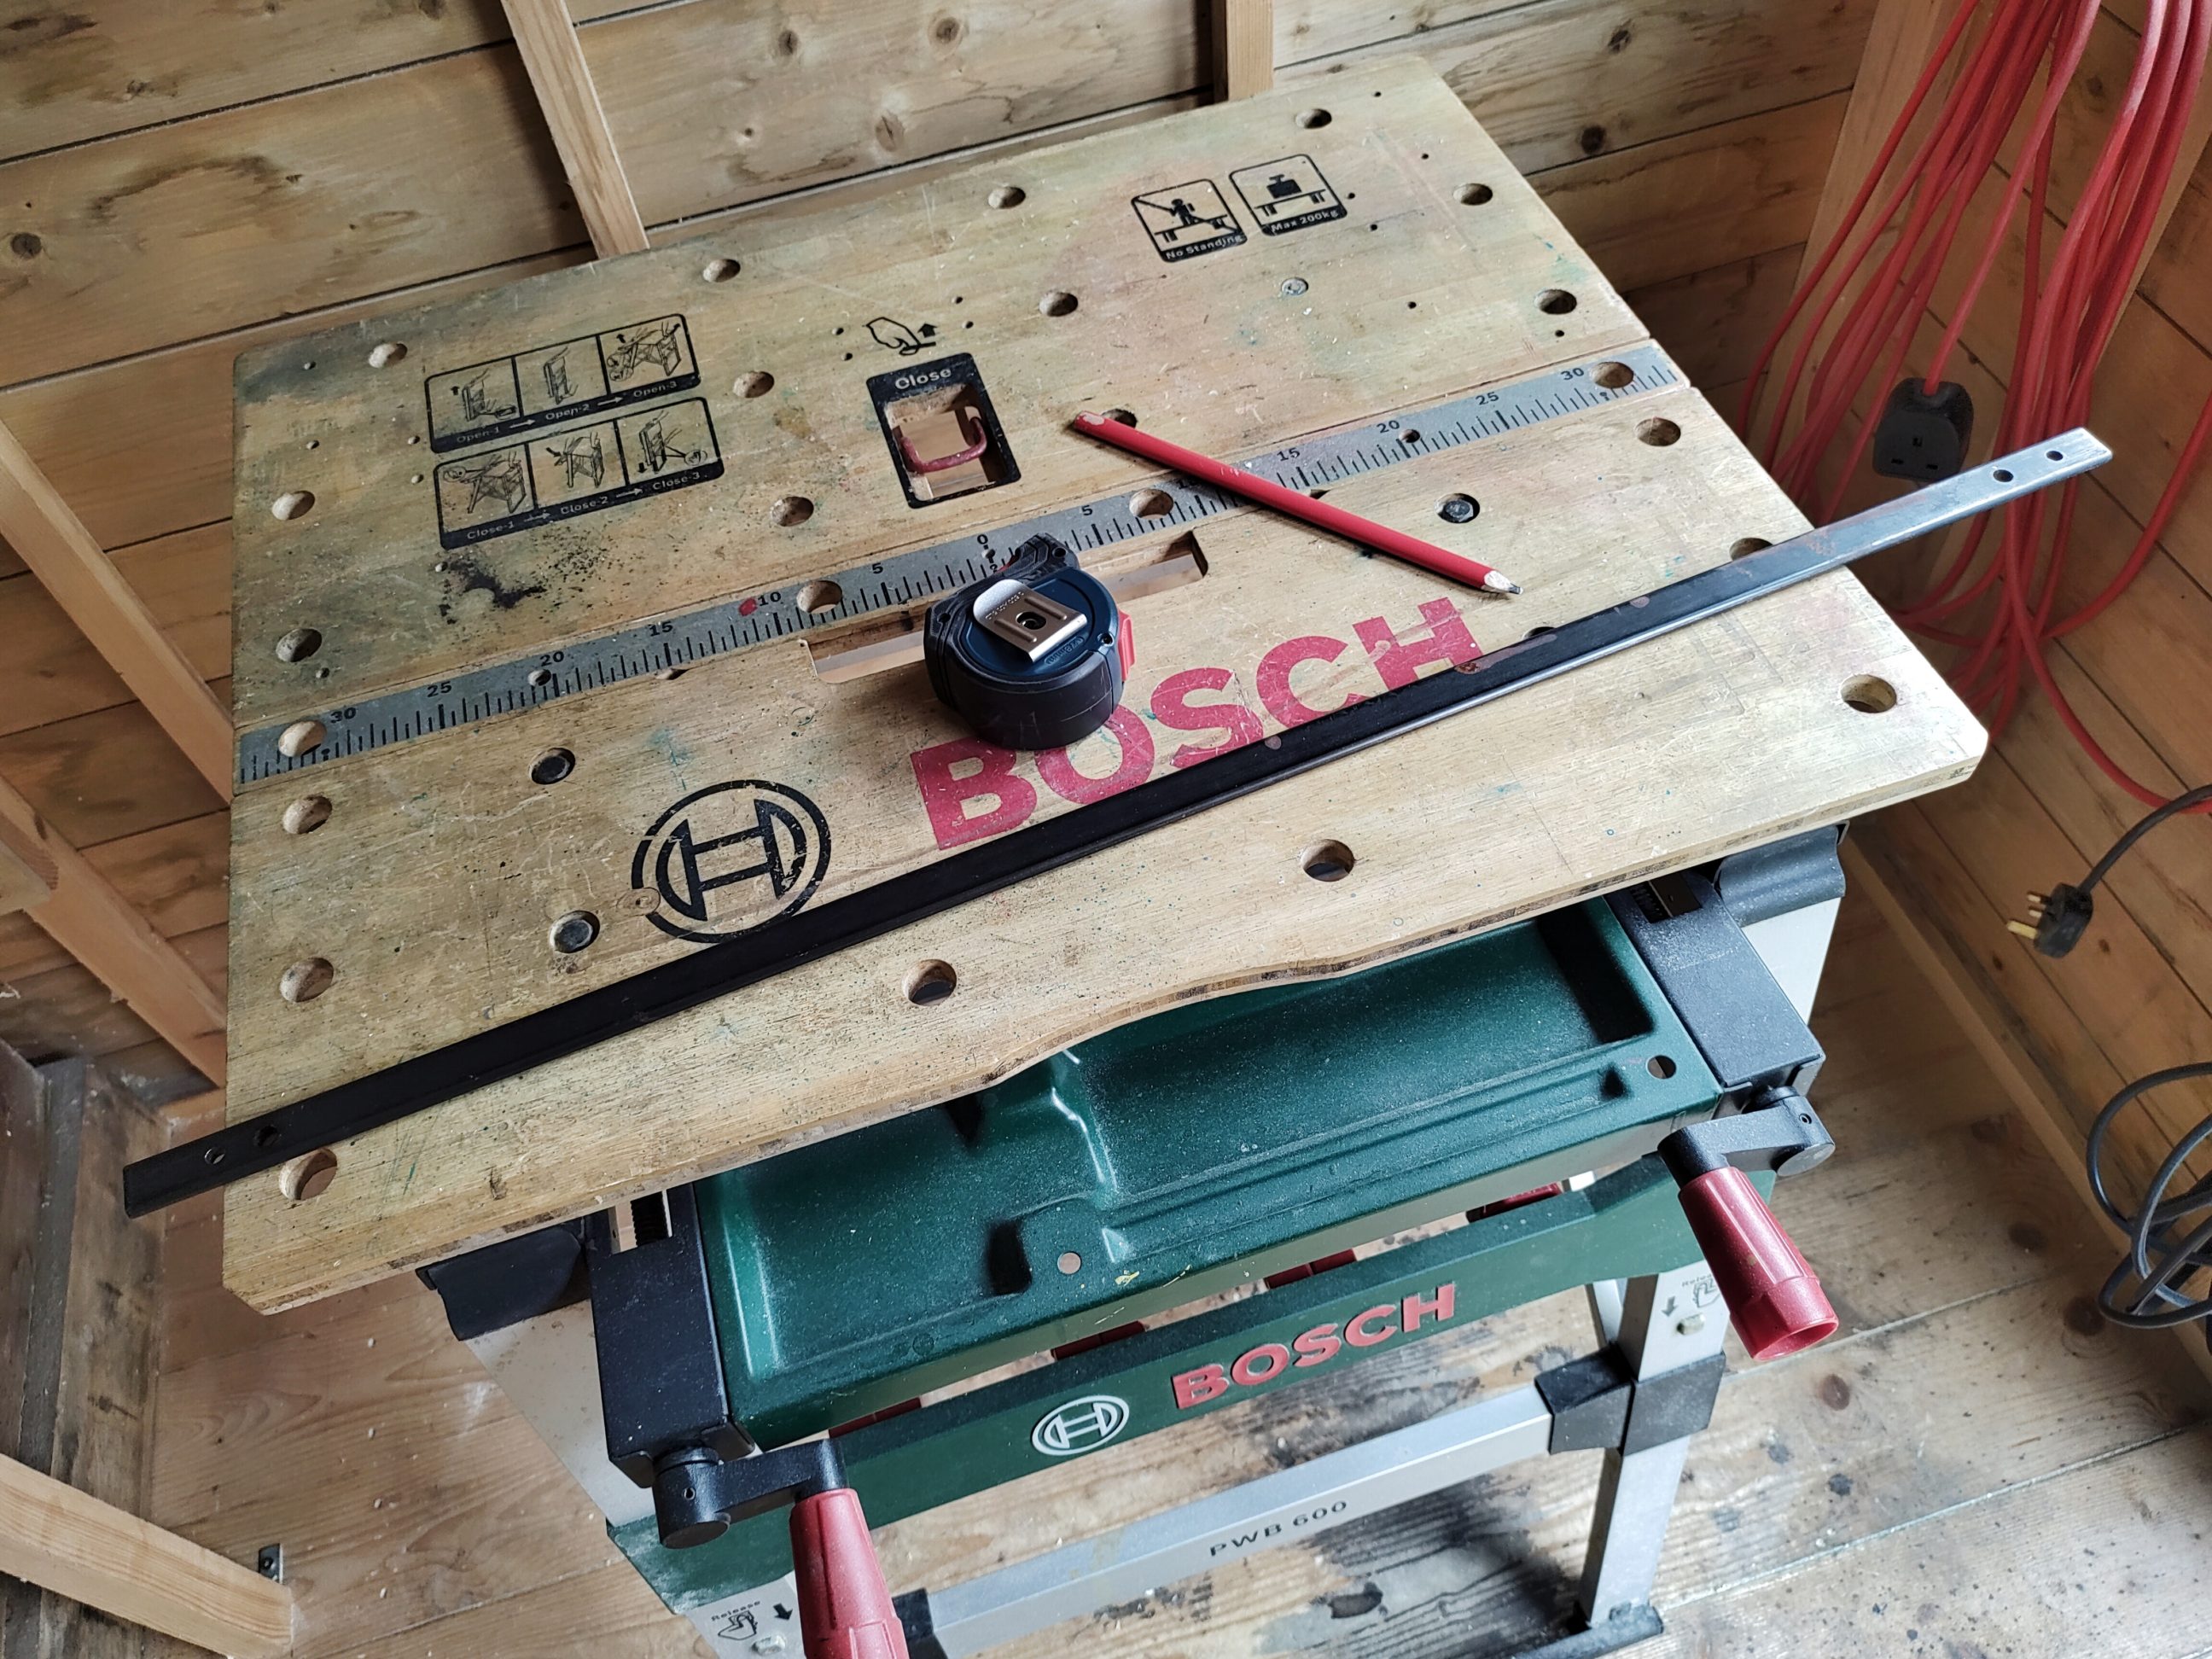
All the materials I used for this project were reclaimed. That includes the steel bar – a part of a broken quick-release clamp. A quite simple and minimalistic shelf, made of 2 boards and 2 brackets, yet unique and original. Rounded corners make the difference, a few extra moments spent on making can be clearly seen and appreciated later on. When I make a shelf, I always try to hang it on the wall with only 2 screws. If it’s heavy – I use 2 heavy-duty screws or concrete anchors, if it’s light – I usually drill two 8 mm holes and use blue wall plugs.


First, I cut the shelves. Resawing a thick board (~160 mm / 6.3″) required a fully raised blade, still, I had to cut from both sides. This cut makes sense if the blade is set to a true 90° angle. My thickness planer removed all the saw marks. I tried my new table and the 3D push block, they worked very well, with no issues whatsoever. As it wasn’t easy to find any brackets online, I had to make them myself. I used a part of a broken quick-release clamp – a strong, steel bar. Apparently, the rest of the clamp wasn’t so strong and snapped, whoopsy daisy. I cut it in half and eased sharp edges with a file. Next, I marked lines for clamping and bent each piece in 2 places.


A thick and strong board fixed to the bar with clamps, let me start the job quickly and quietly, but I only went halfway through and got an angle of ~45º. It had to be finished with a hammer, my 7 lbs (3.2 kg) sledgehammer made it square in a couple of hits.


Next, I worked on the shelves. They were a little crooked, so I couldn’t rip-cut them to width, just like that. Using double-sided tape, I stuck a straight aluminium bar to one side and used that edge as a reference to cut the opposite side perfectly straight. Next, I removed the bar and cut the remaining side. I used my 3D push block to safely and precisely cut the boards.


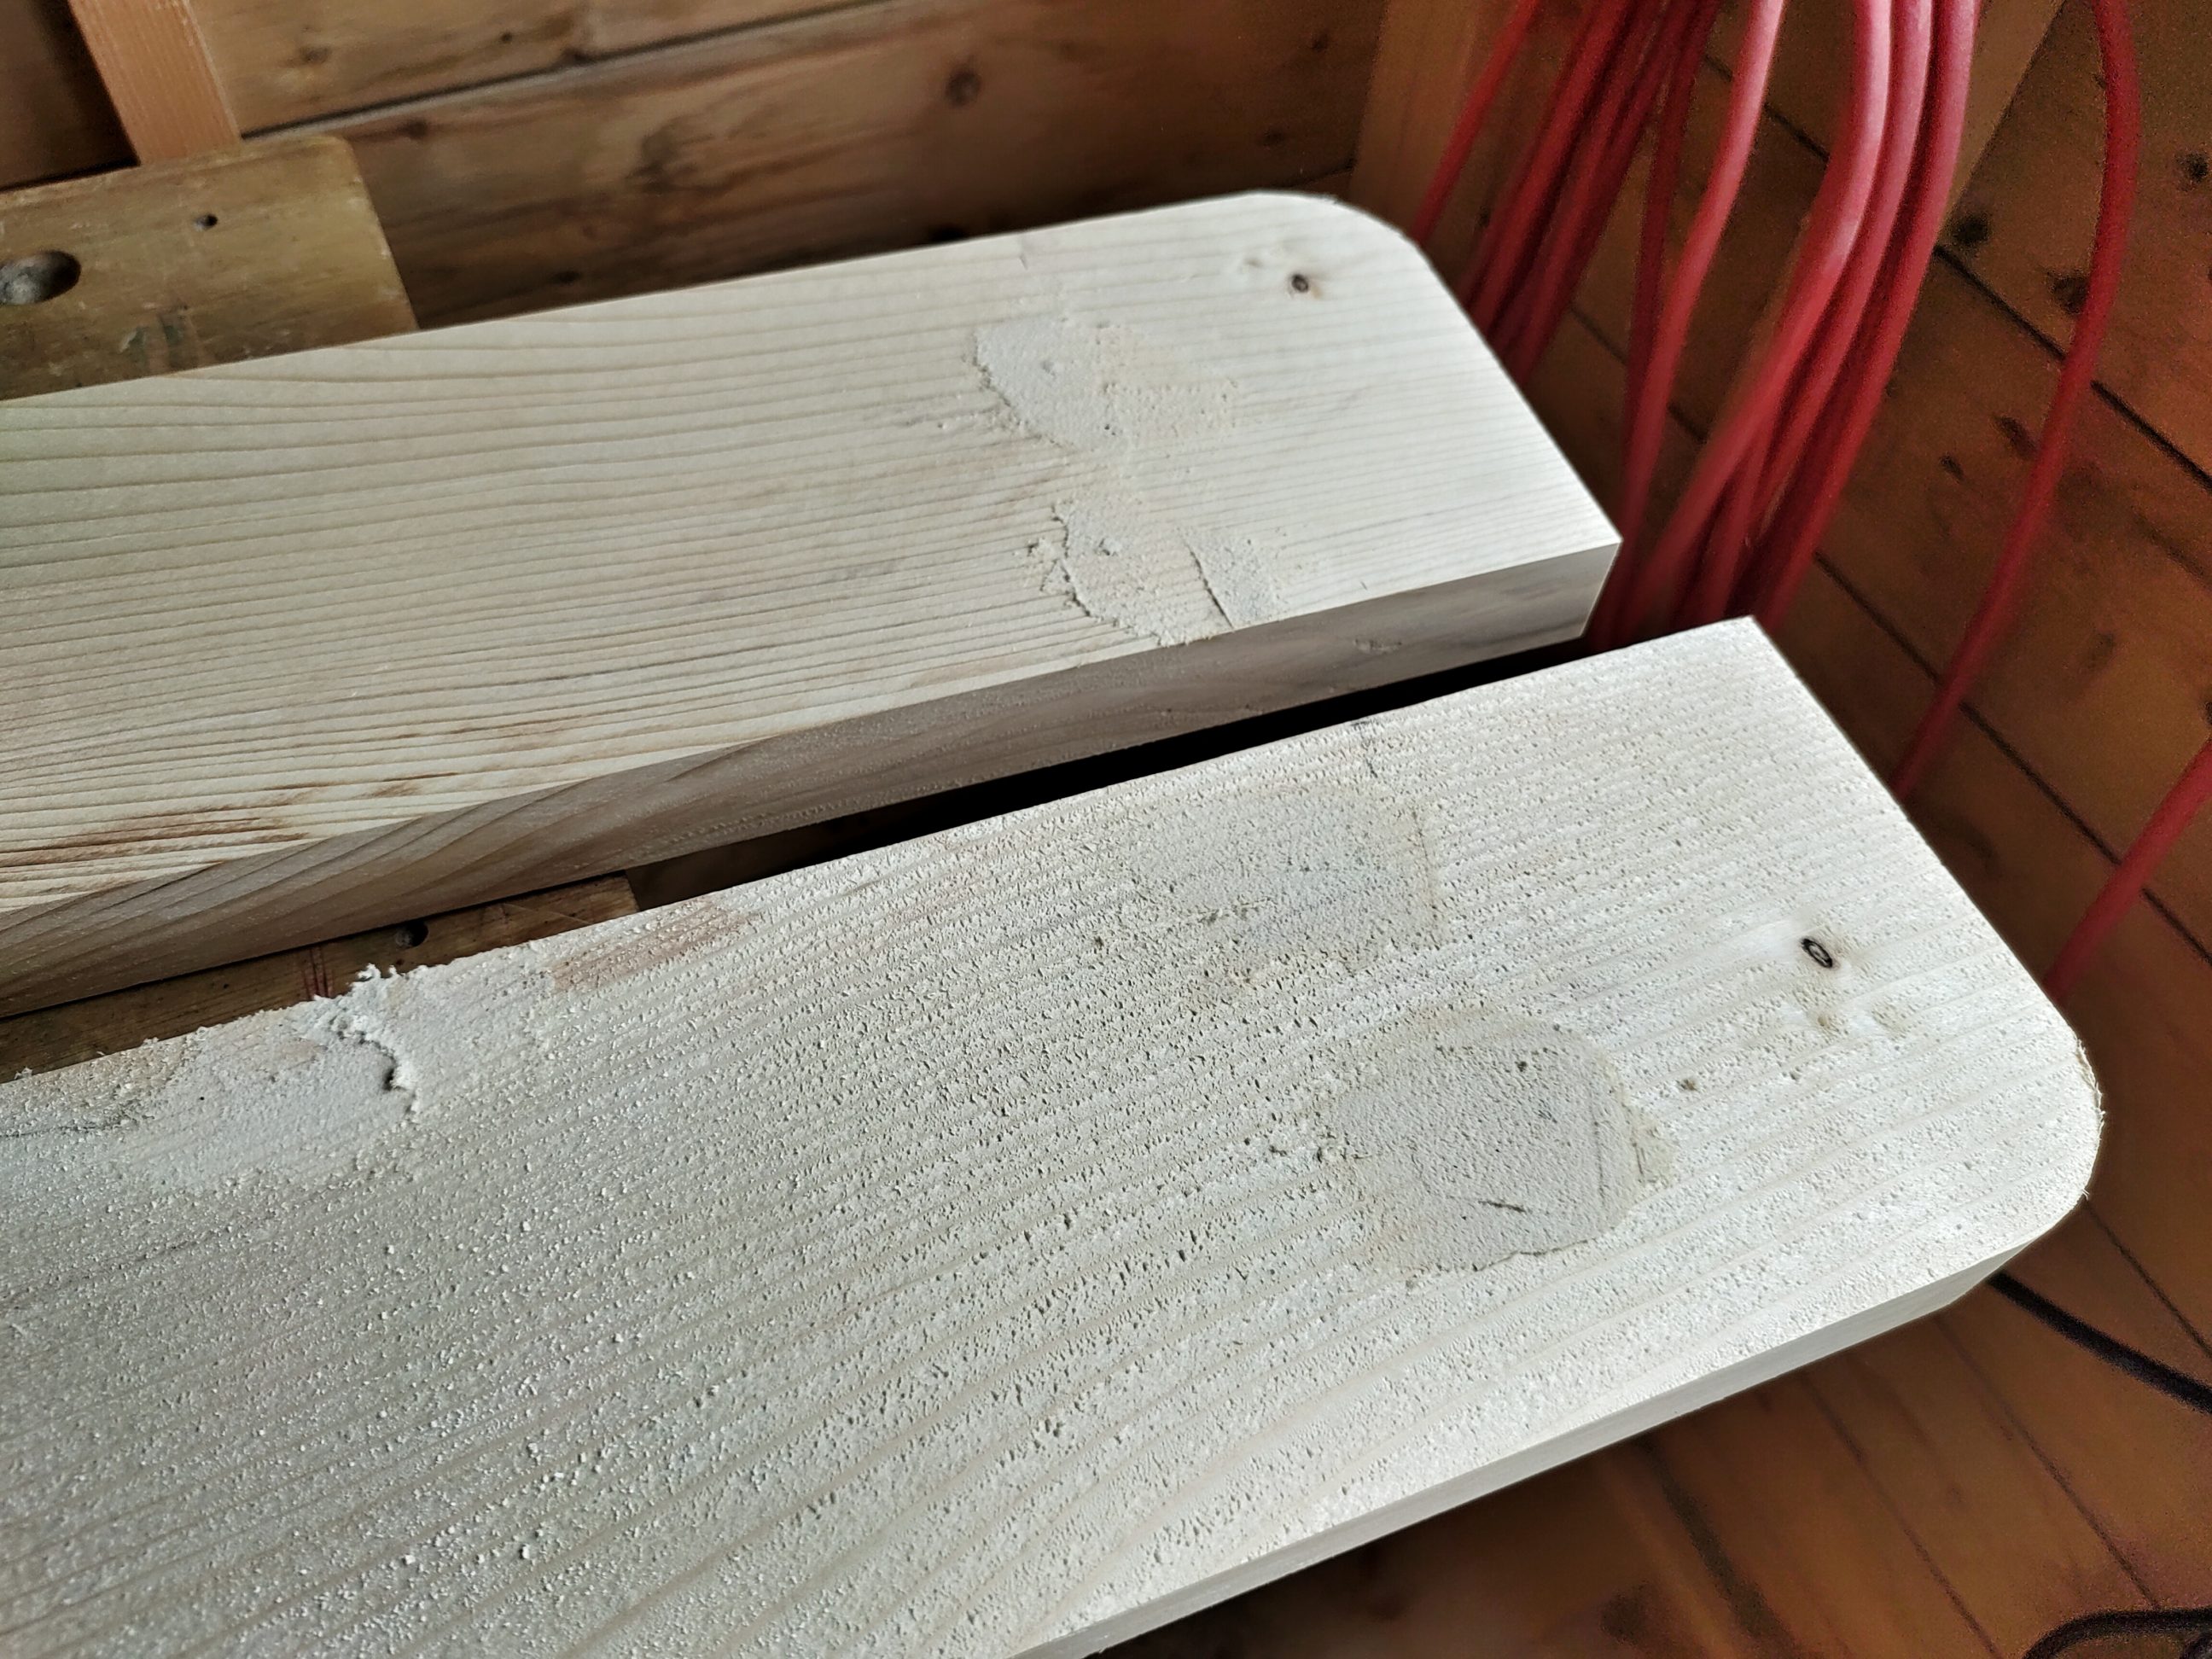
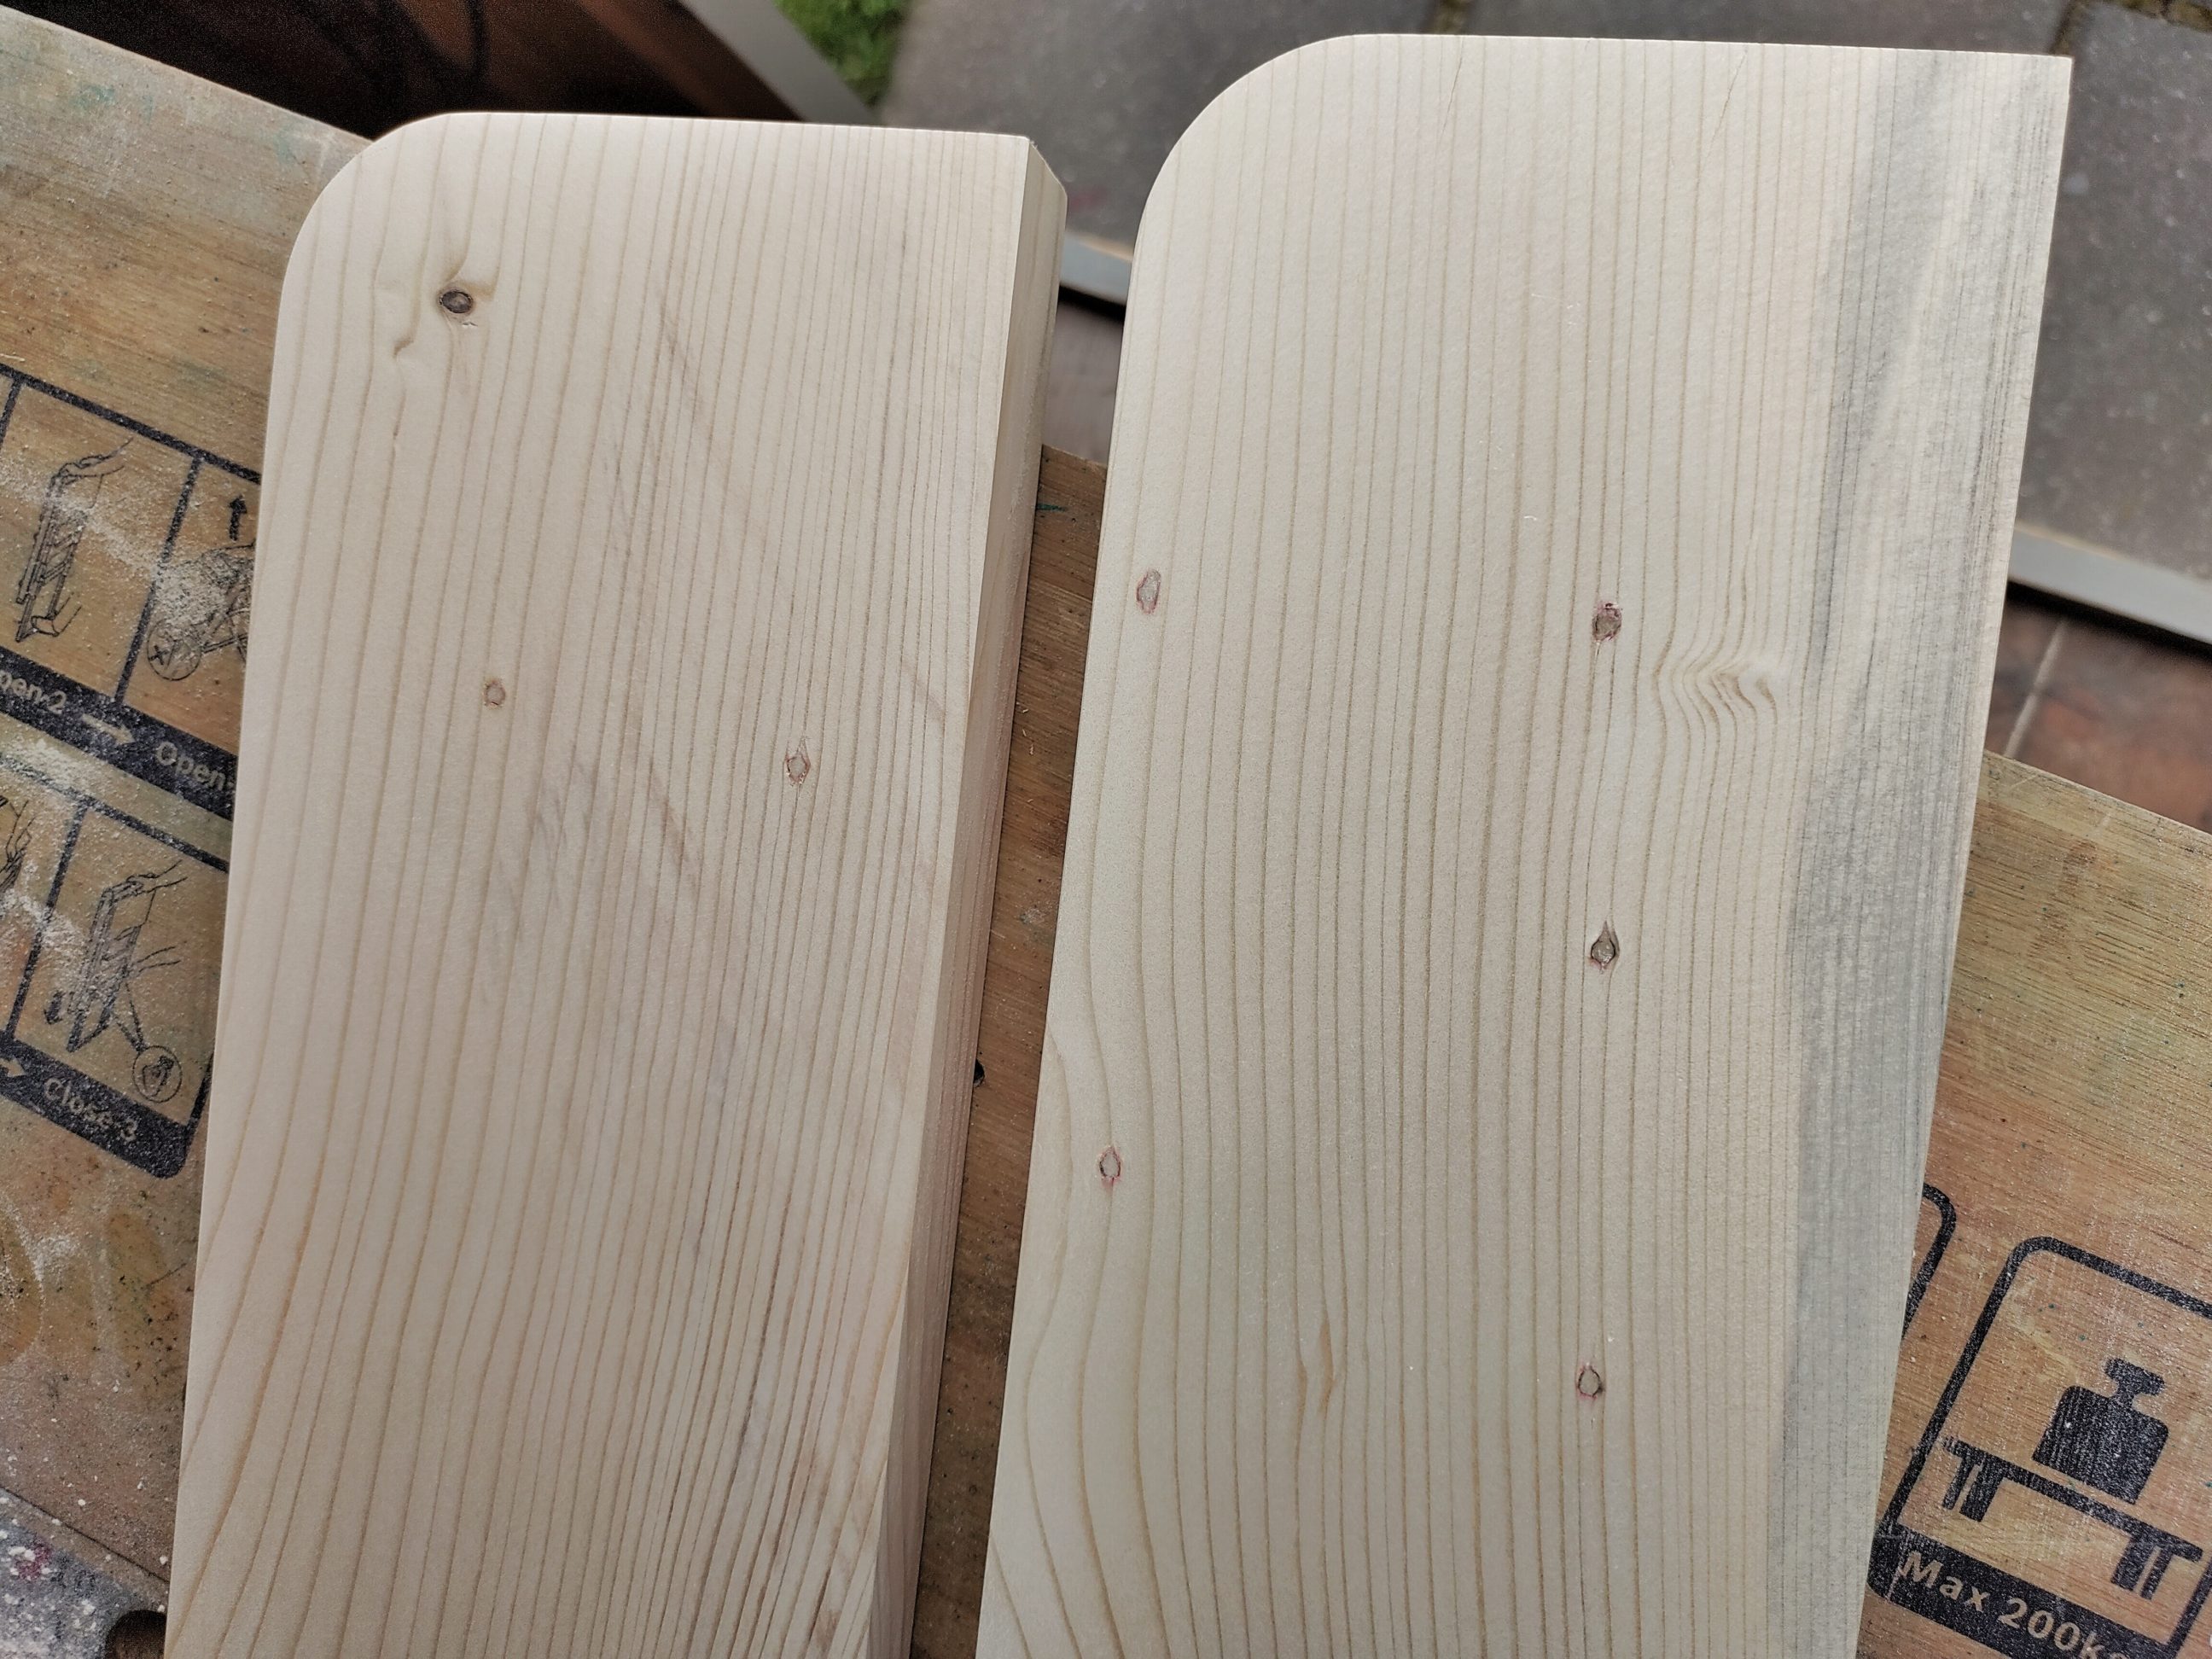
I cut the boards to length with my circular saw. Next, using a hand plane, I removed any remaining saw marks and then, using my router, flush trim bit and a template, I rounded the corners. I mixed up some sawdust and wood glue and masked all the imperfections in the wood.


The next day, when the putty dried, I sanded everything and started preparing the brackets. I drilled and countersunk the holes, using my cordless drill. Luckily, the drill was short enough to be operated inside the brackets. It was OK to drill from any side, but countersinking had to be done from the bottom. I also used the countersink from the opposite side of each hole, as a deburring tool.


Next, I sanded the brackets and buffed them with steel wool. They were now free from rust and any remaining glue residue.


Before applying the finish, I had to quickly remove some material from the bottom shelf to accommodate the curve of the bracket. To do so, I used a router with a round-over bit. Curves on both elements perfectly matched each other, and I could move on to the next step, which was pre-drilling holes with a hinge drill bit.

That bit only slides out a short distance, so I actually used it for drilling pilot holes. It’s still worth using it, as all the holes came out perfectly centred. They were finished with another bit later on. To drill into the top shelf, I had to use an angle drill adapter.


I applied 2 coats of Danish oil to the boards, and black, spray paint to the brackets. Everything dried for a couple of days before it was assembled and screwed to the wall.


As it was all pre-drilled, the assembly didn’t take long. I used my impact driver to do it fast, but also checked the tightness manually, with a screwdriver. It was perfect and very strong. I prepared the wall, marked points and drilled 2 pilot holes first, using a 4 mm bit, then finished drilling with an 8 mm bit. I pushed blue wall plugs into freshly drilled holes and hung my shelf.


The shelf is very sturdy and solid. As expected, 2 big screws are enough to hold it in place, which confirms my theory that hanging shelves requires only a pair of holes in the wall. This project seems to be cleverly planned from the beginning to the end, well-designed and properly executed. I’m happy, my daughter’s happy too – mission accomplished.