3-handled crate
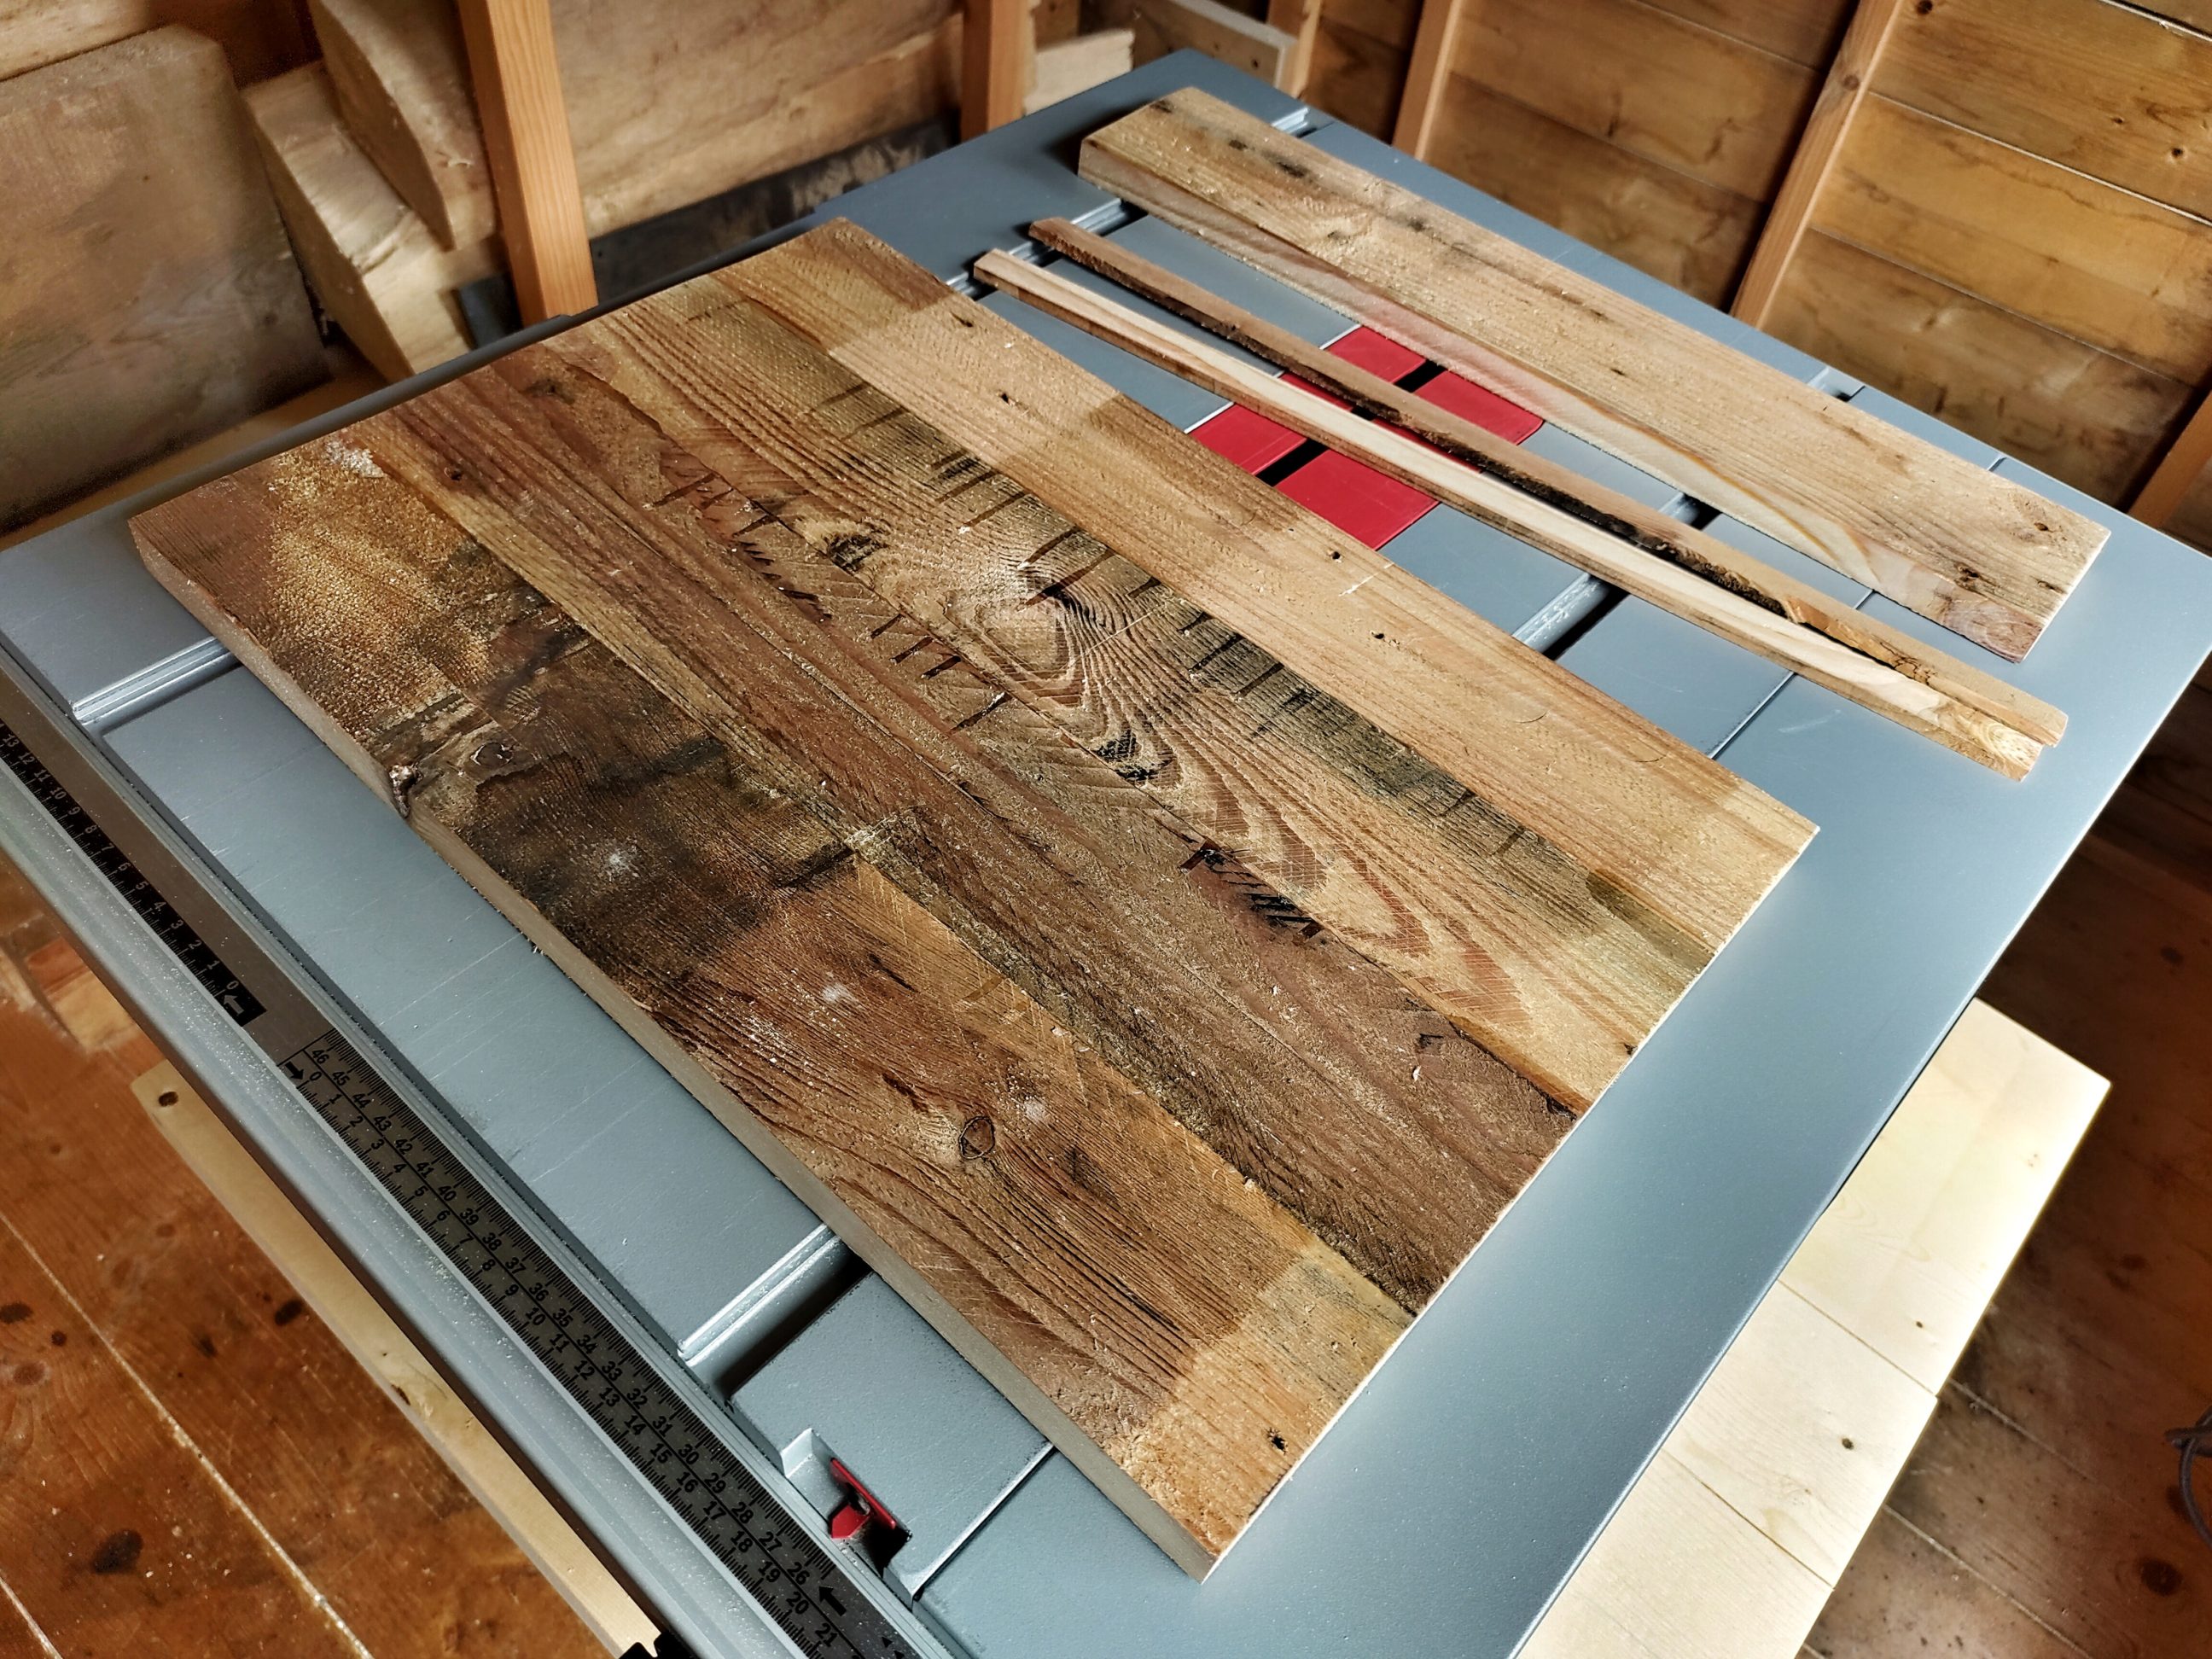
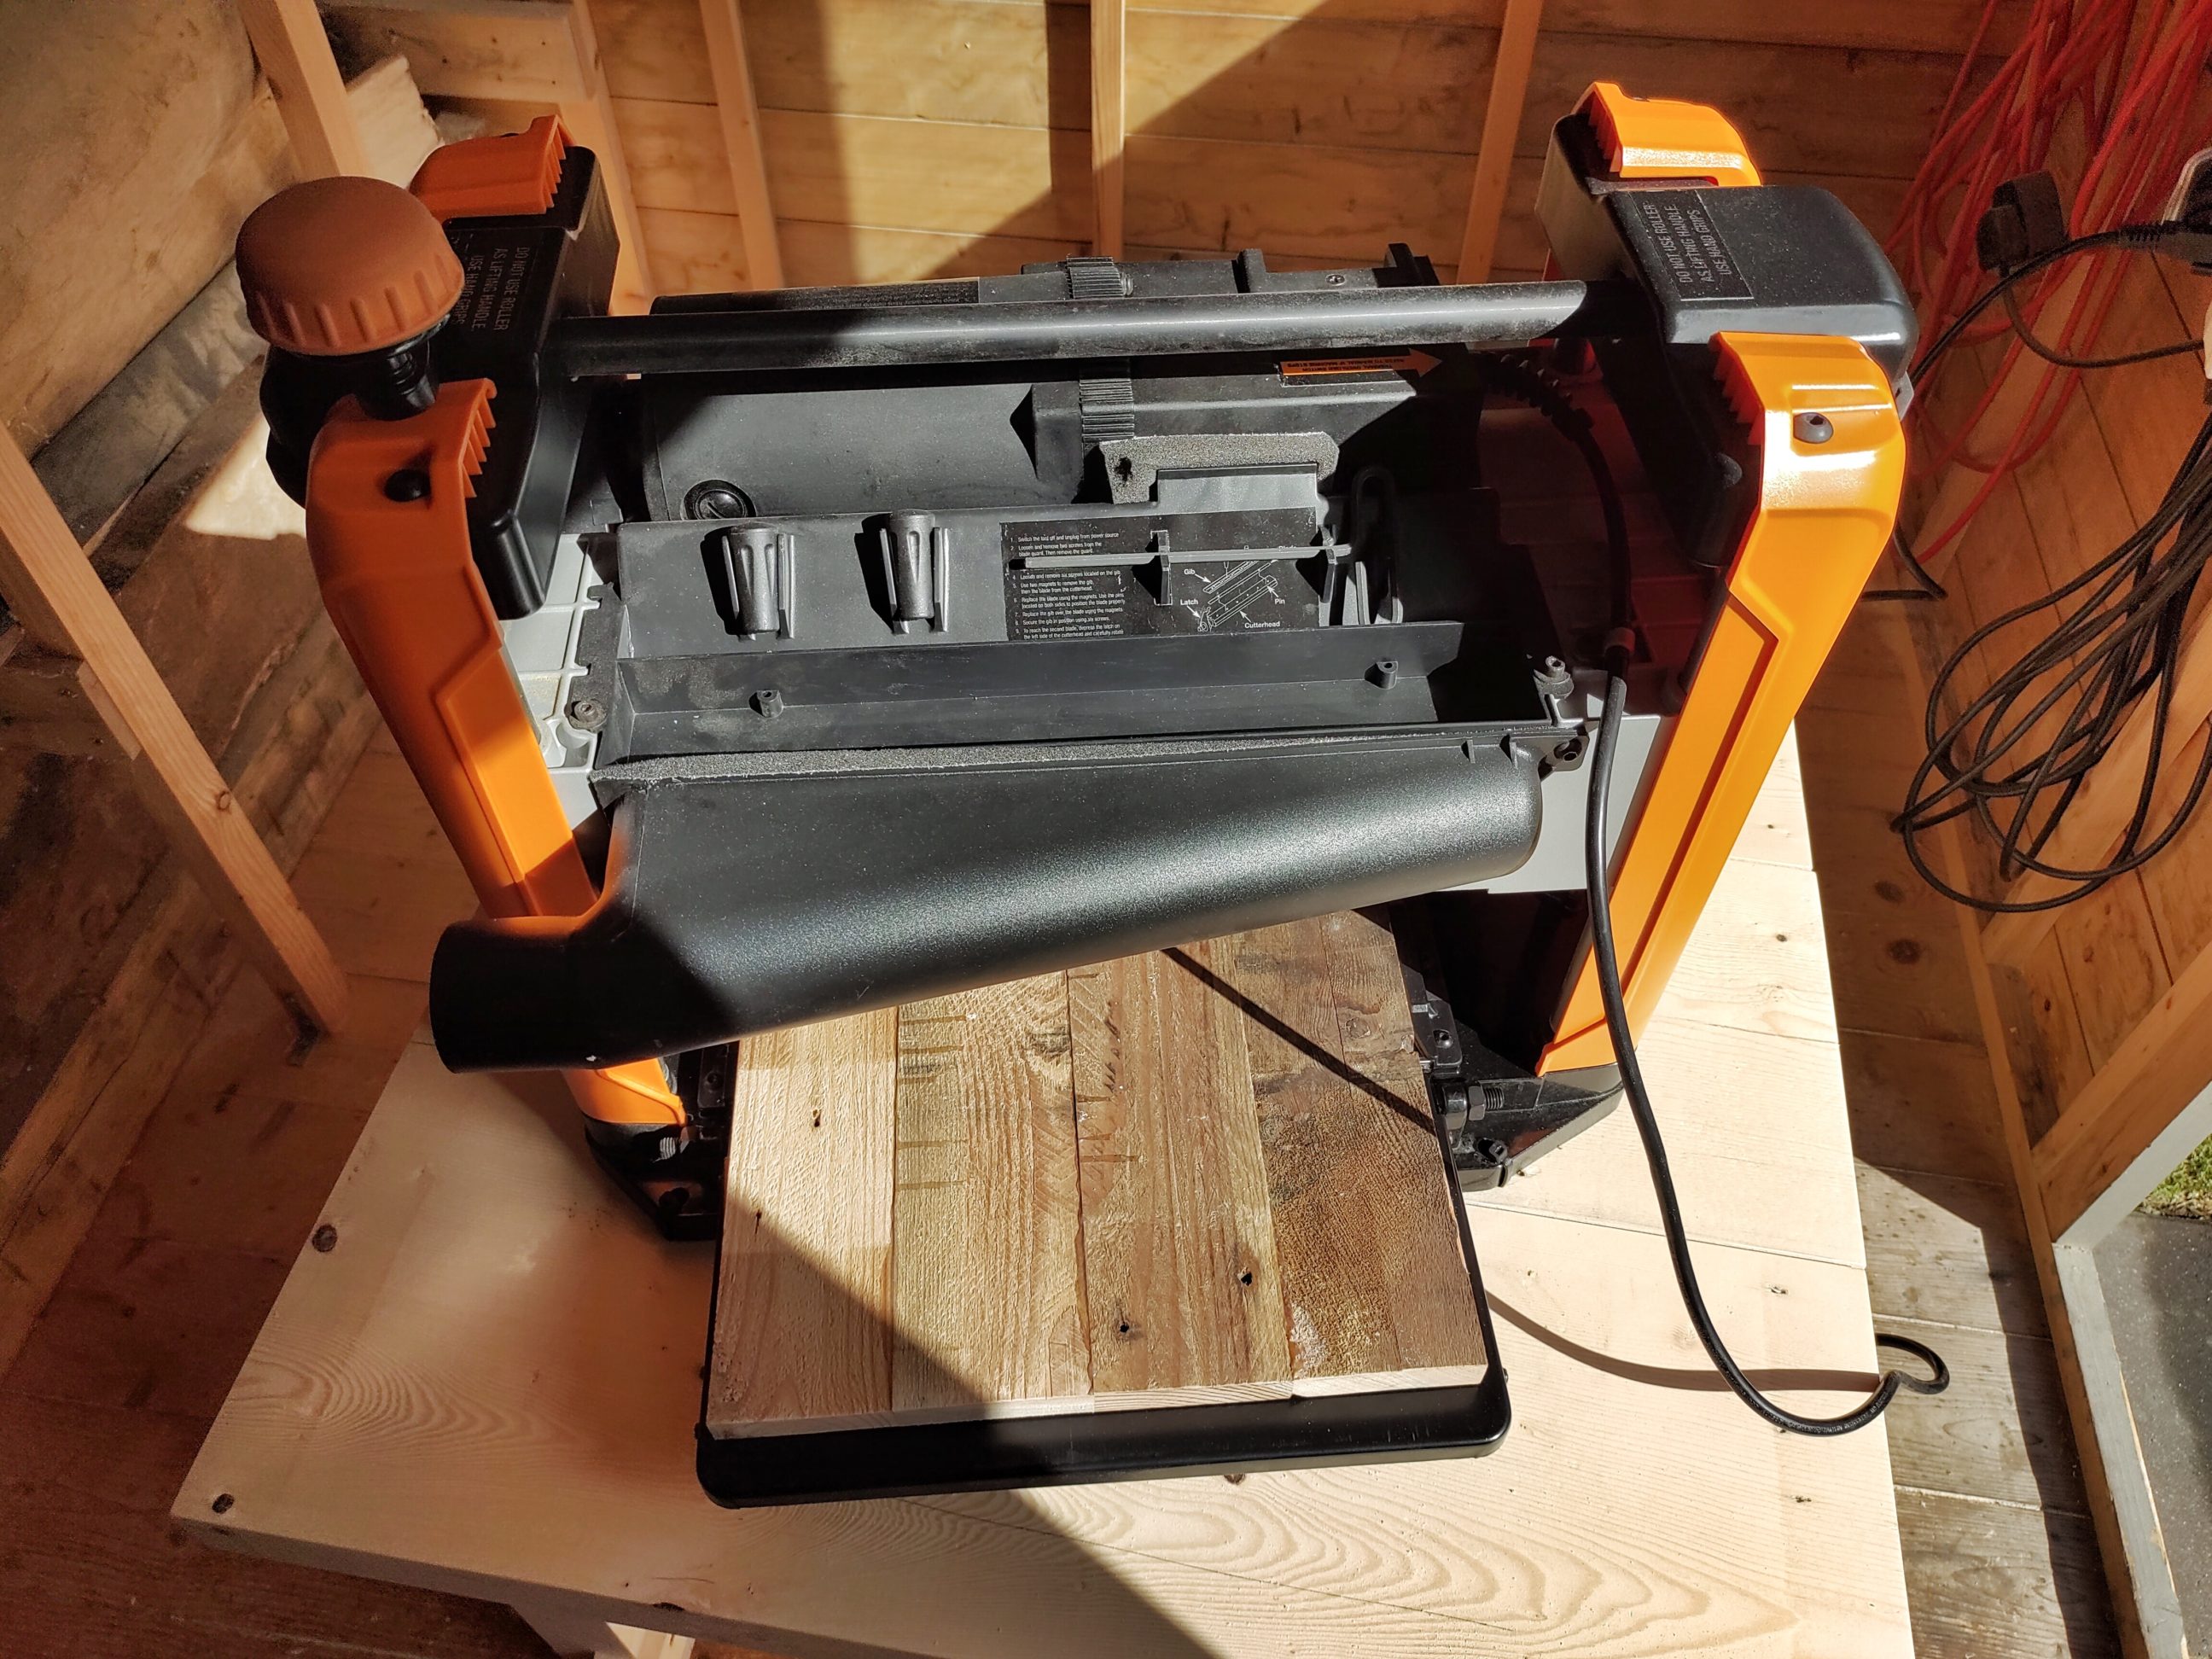
A couple of years ago I made a panel that served as a simple shelf hidden from human sight. It was made of pallet wood, that’s why I double-checked for embedded stones and metal again. I liked the texture of the wood, the visible glue squeeze-out and all stains, but for that project, it had to be altered. The panel was a little cupped at the edge, but when I cut off 1 of the 5 boards it was made of, it looked not too bad. It was still a bit too wide for the planer, so I had to cut off 2 strips – the same amount from both sides, to make it look centred and balanced.


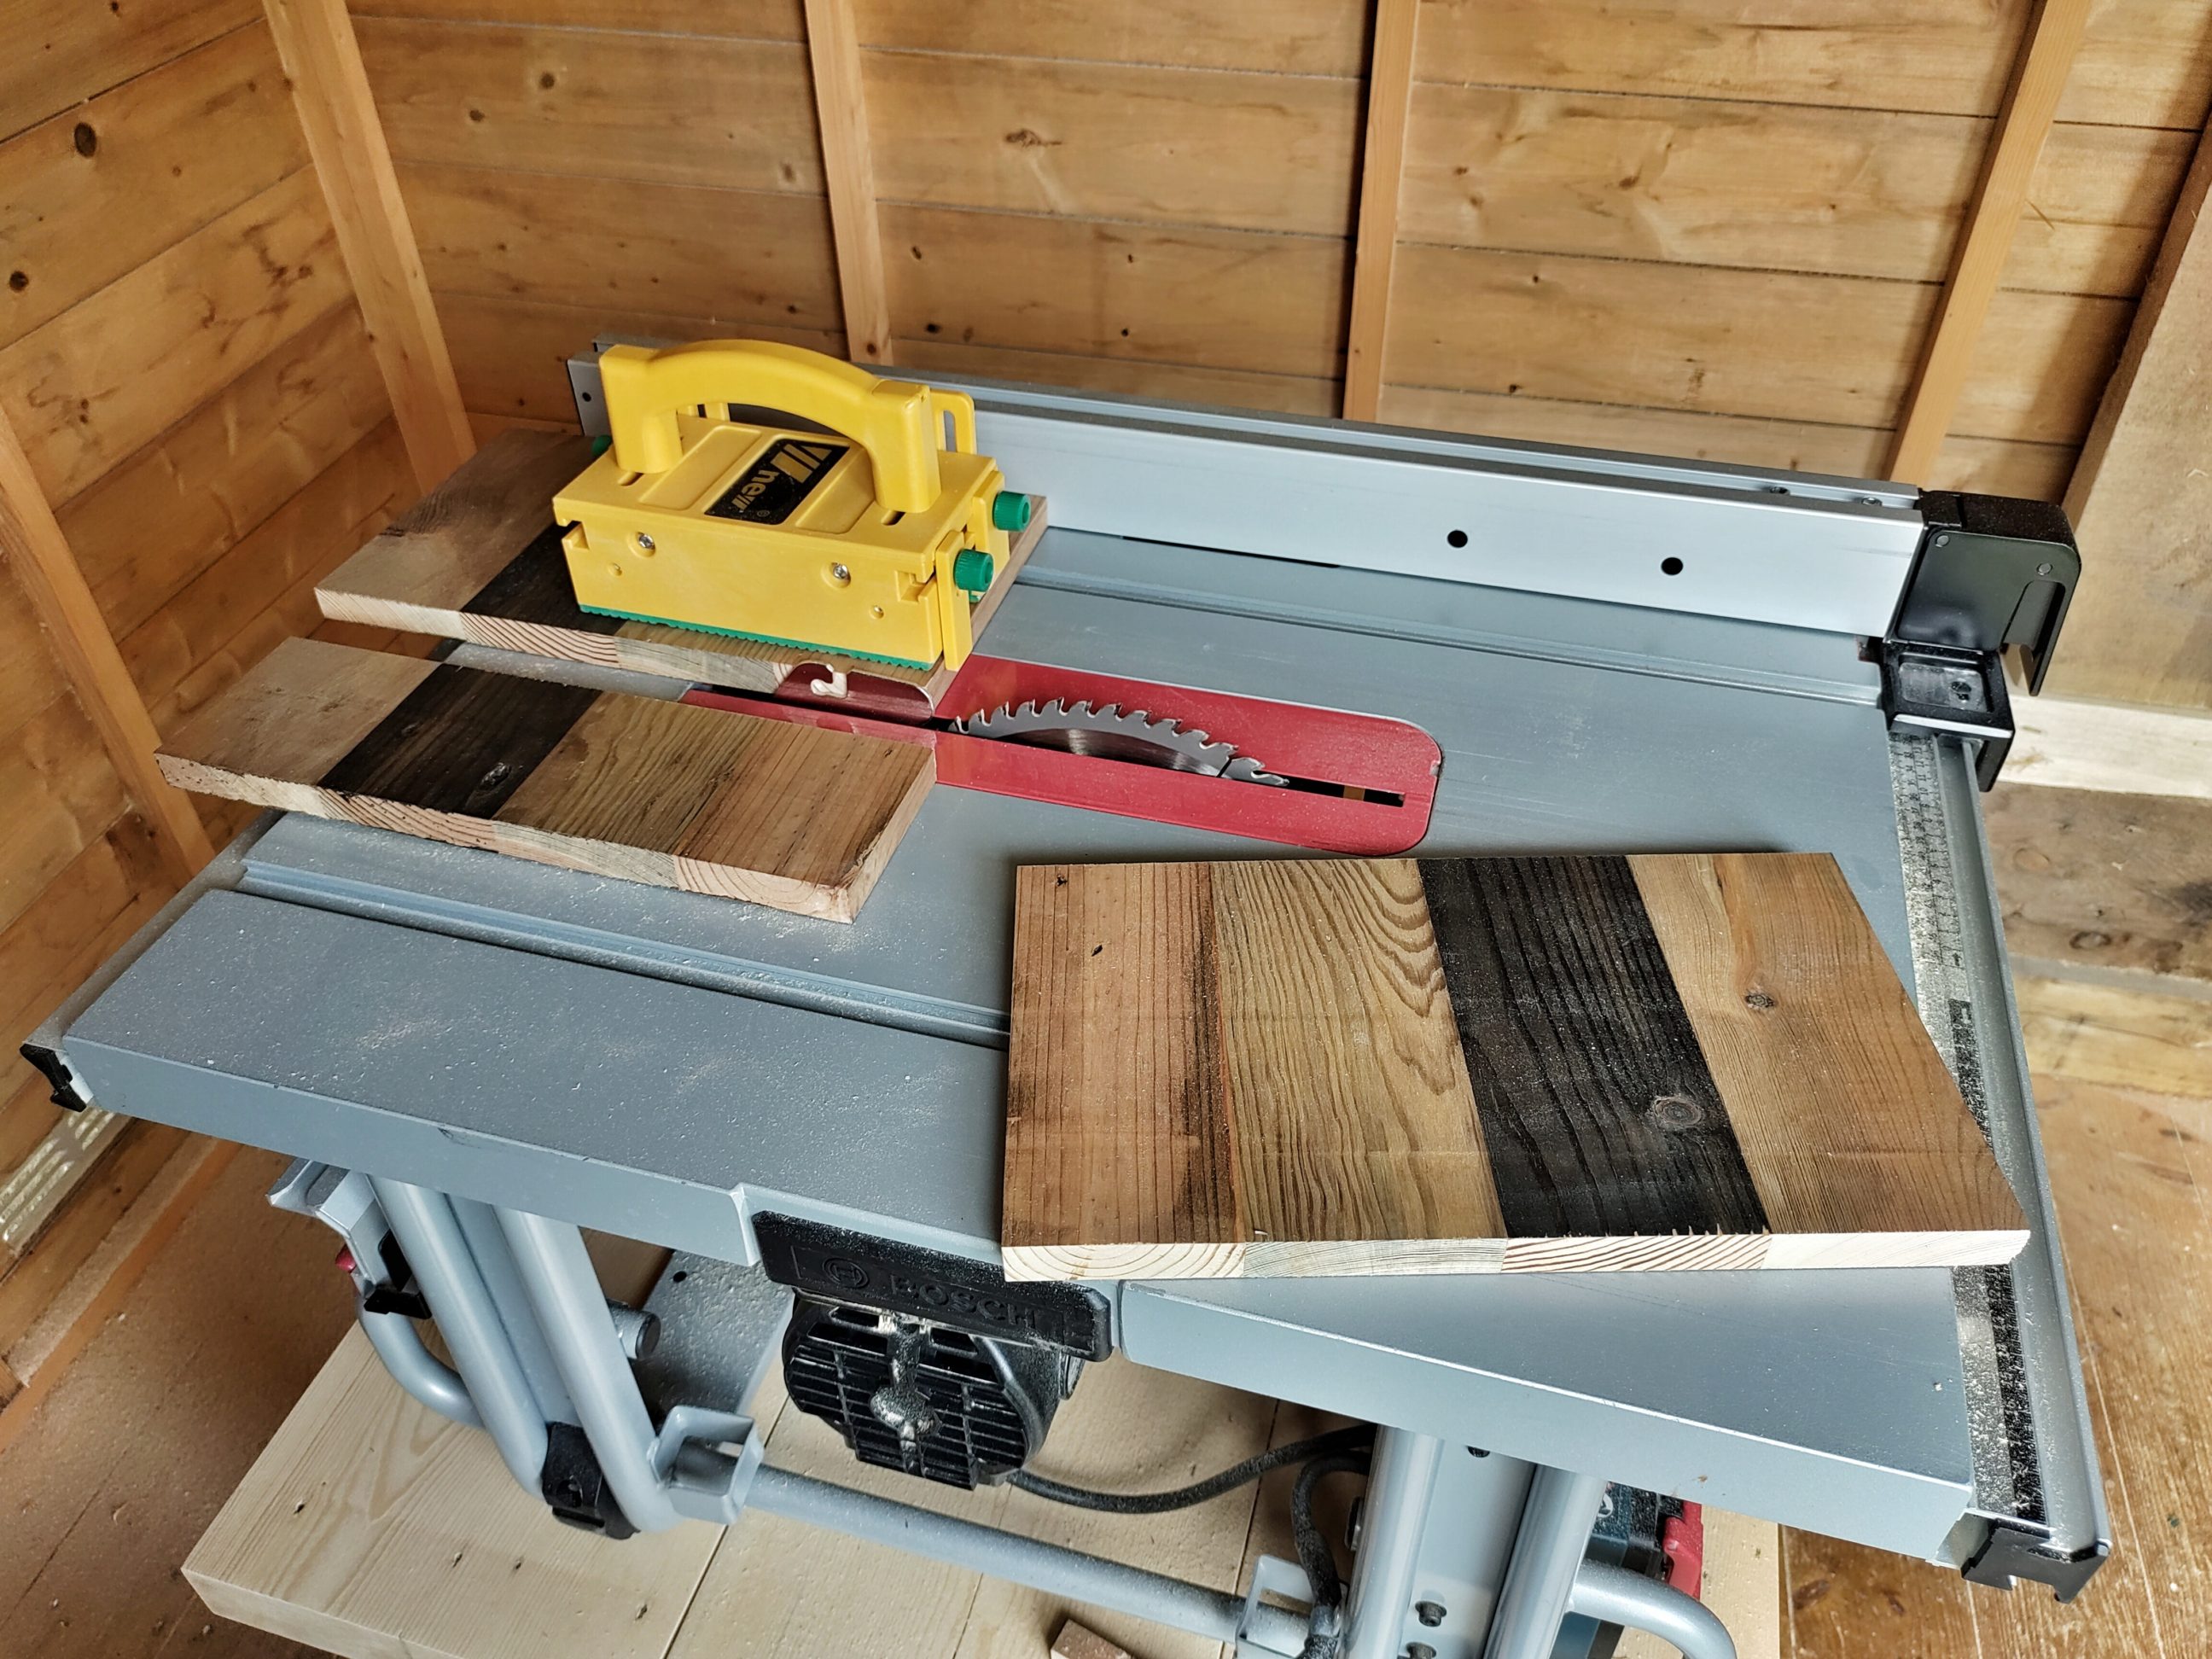
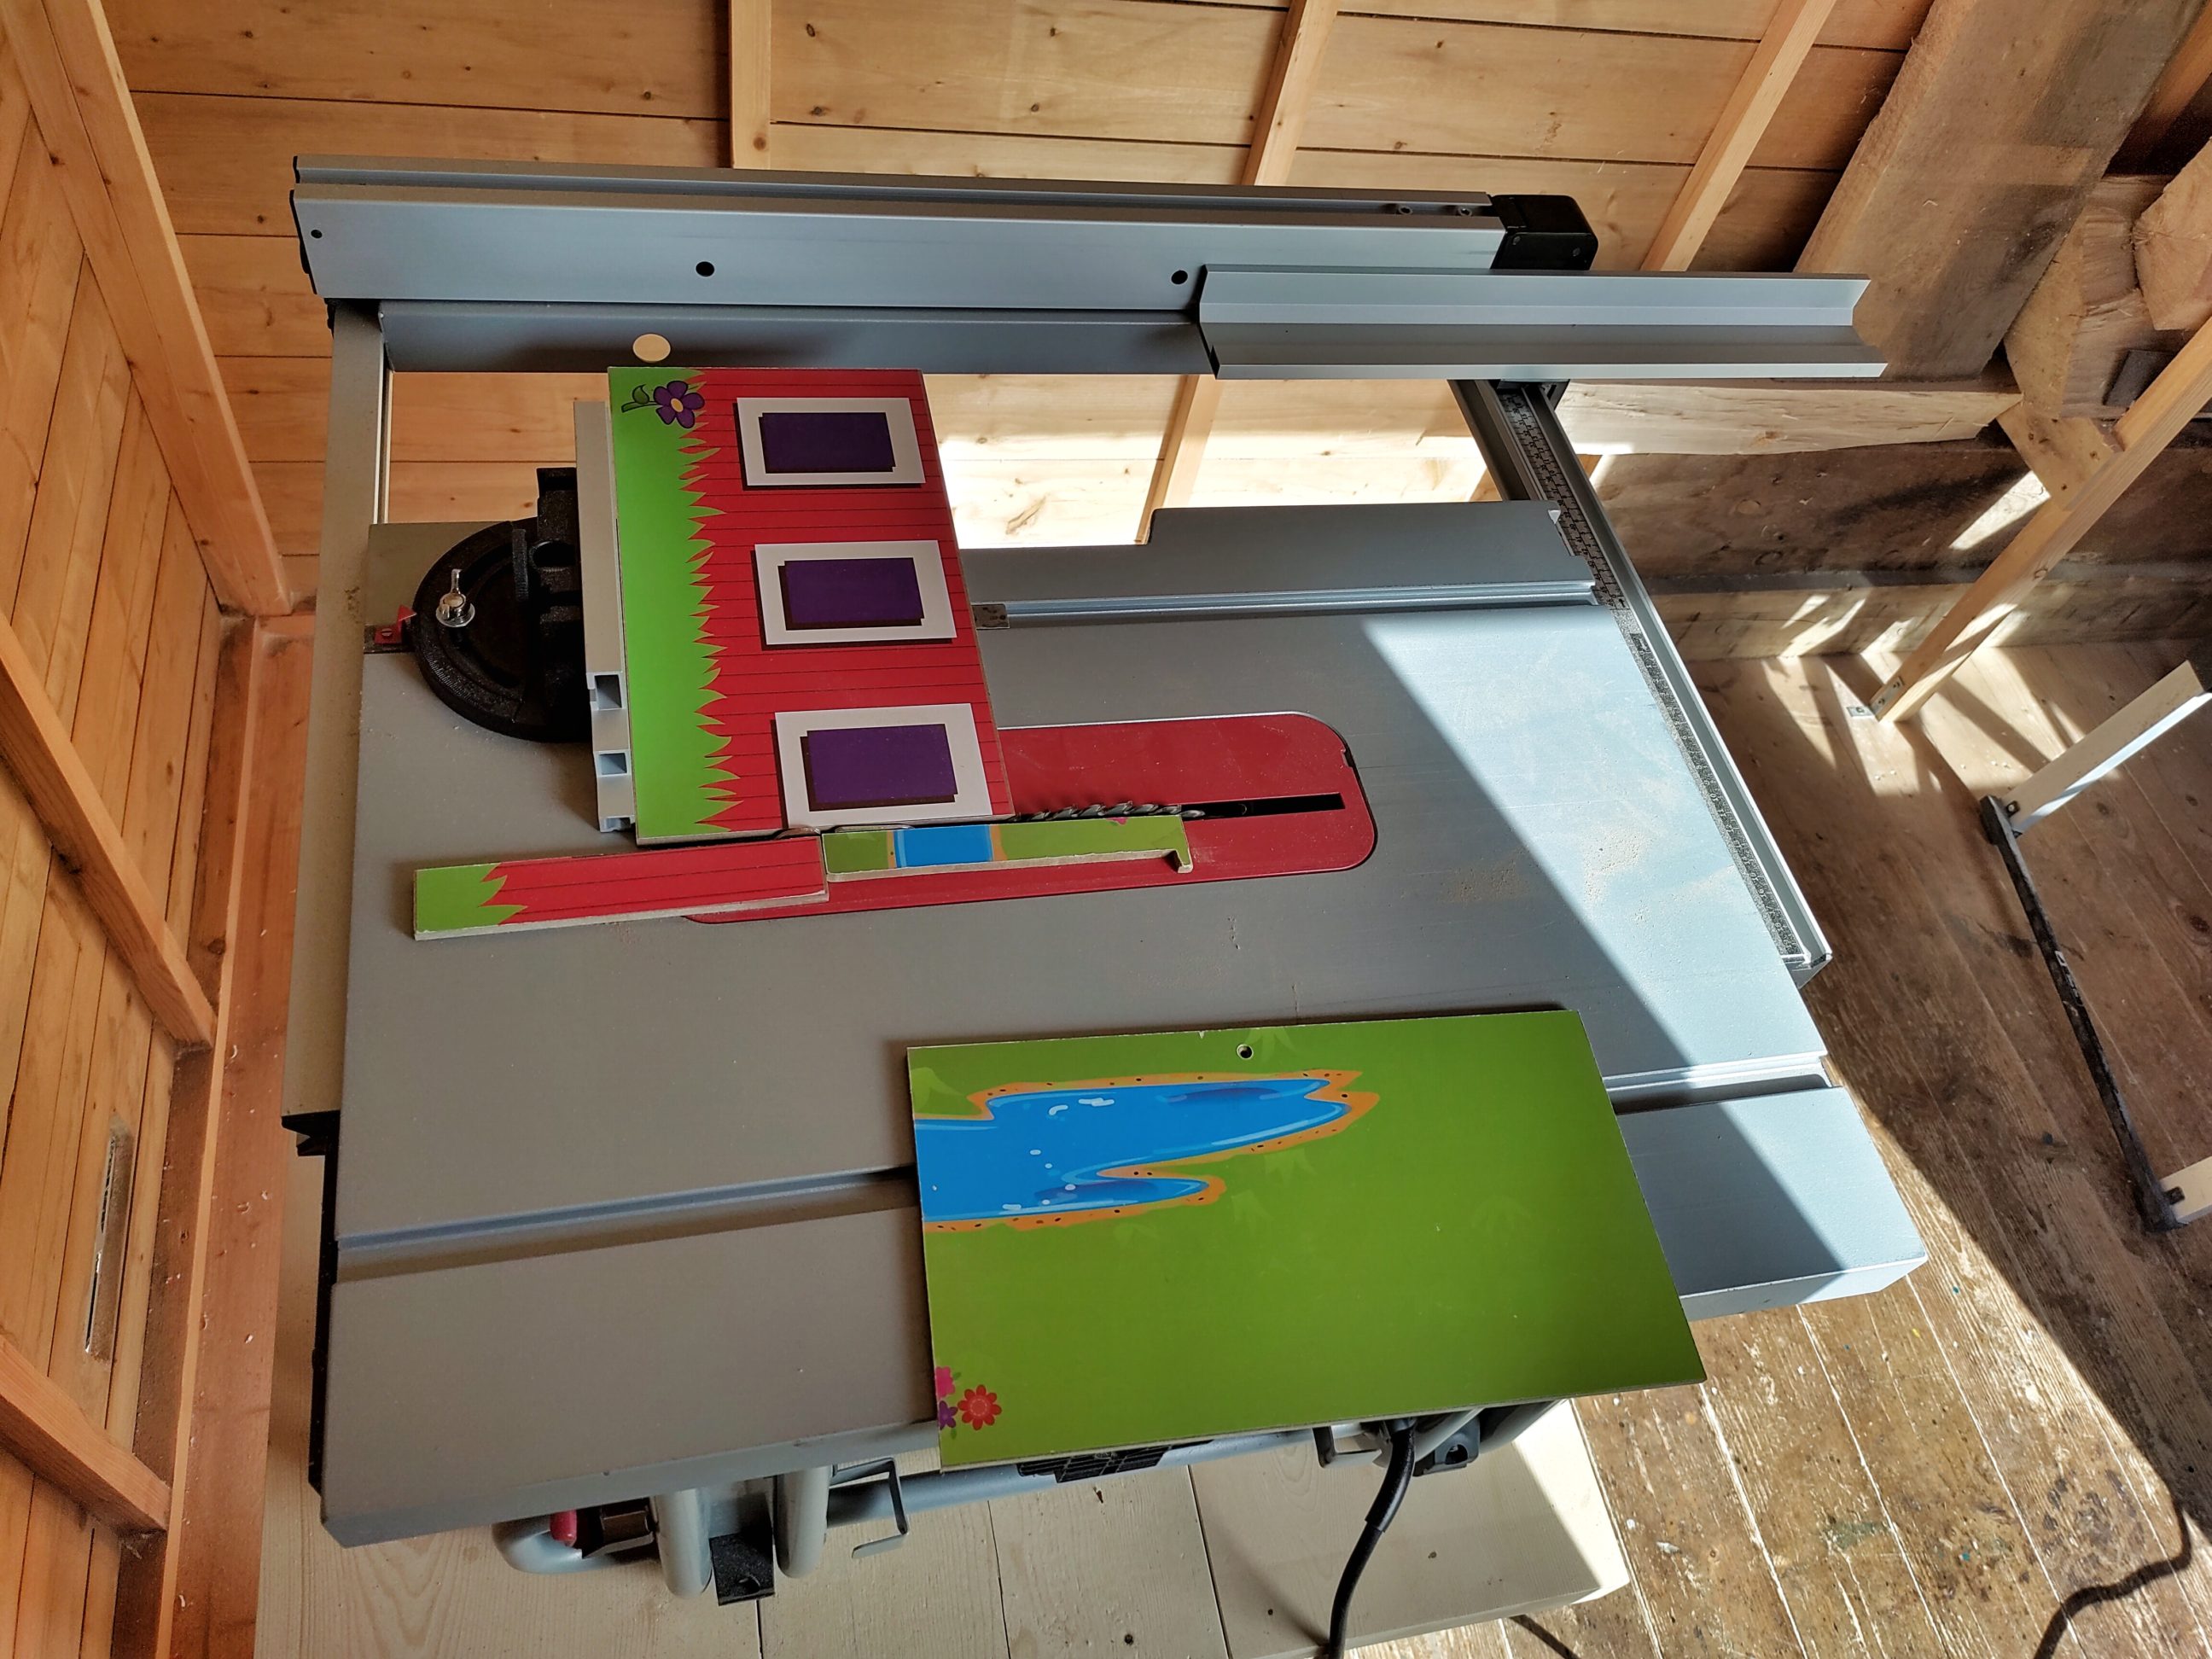
Planing removed all the beauty from the panel, which was naturally aged, but it had to be done. To make it dark again, I used homemade dye, made of vinegar and steel wool (rust). It dried for one day, and then I cut it into the front and back sides, I also cut the bottom MDF sheet and stringers to size. Used materials were reclaimed – old children toys.


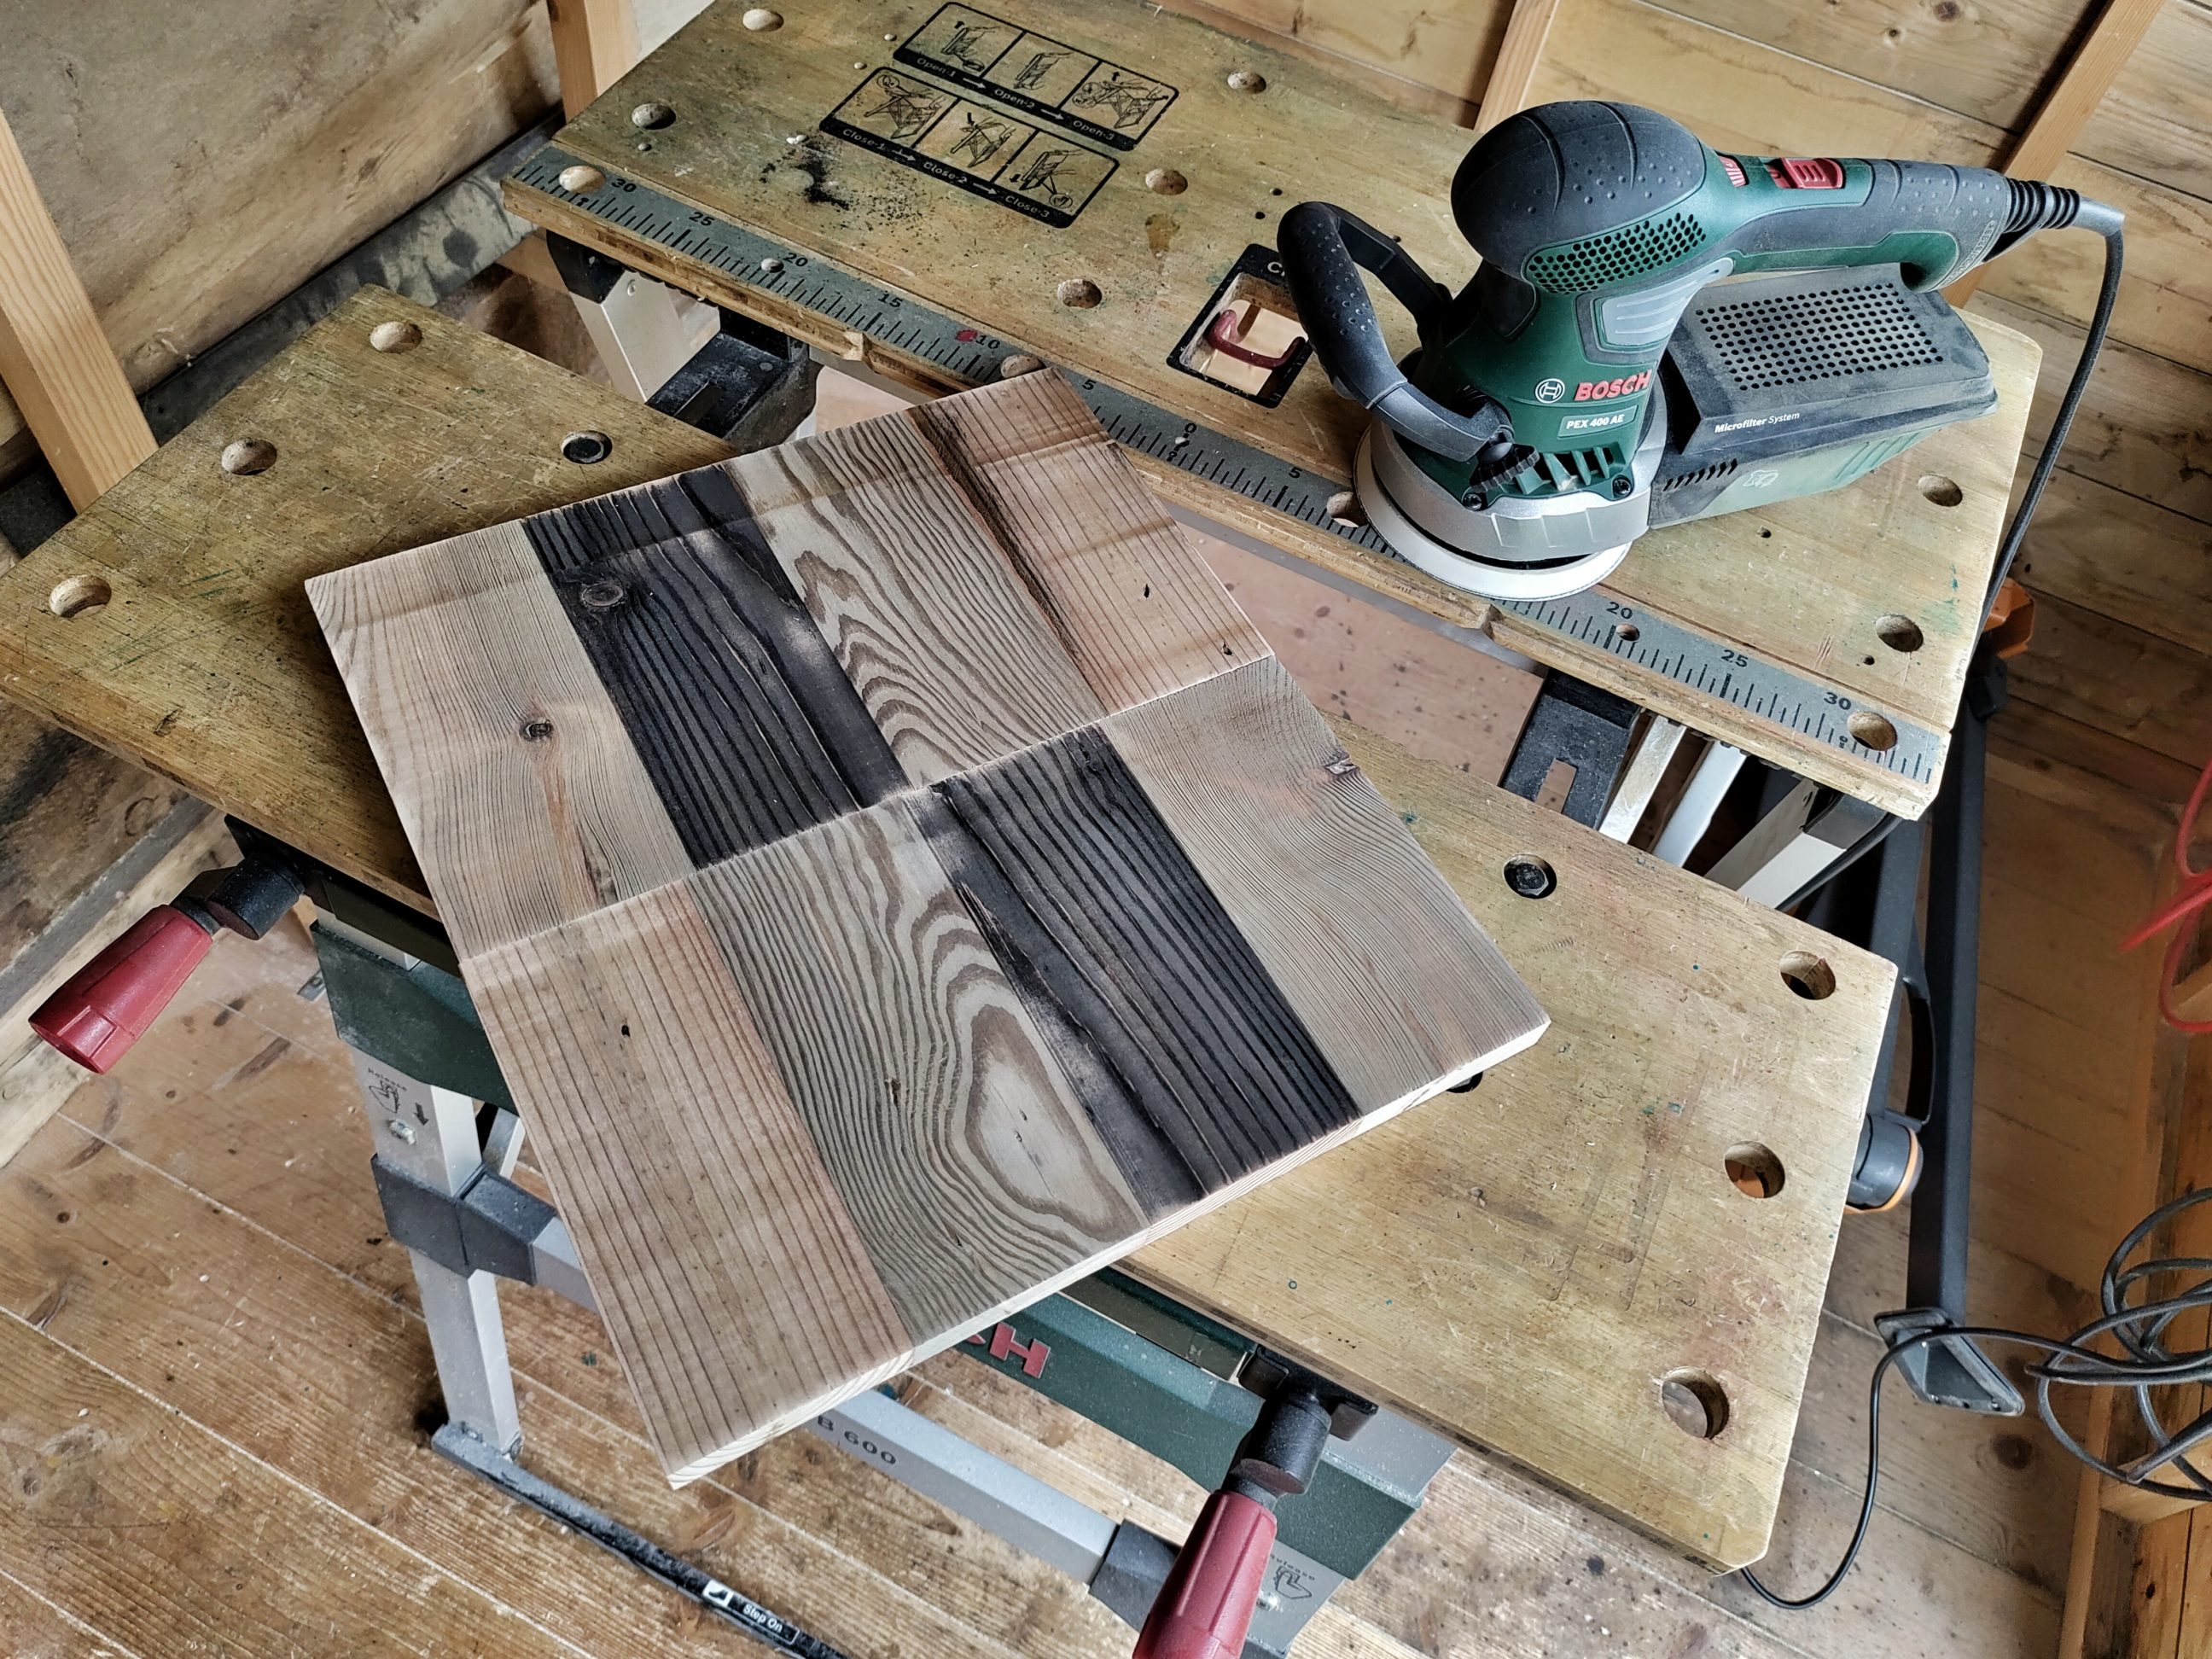
Sanding came next, starting with 120 grit and finishing with 240, also removing all sharp edges with a sanding block. The front and back panels looked old again. I used wood glue to put some parts together, checked for square and repeated the opposite side later on.


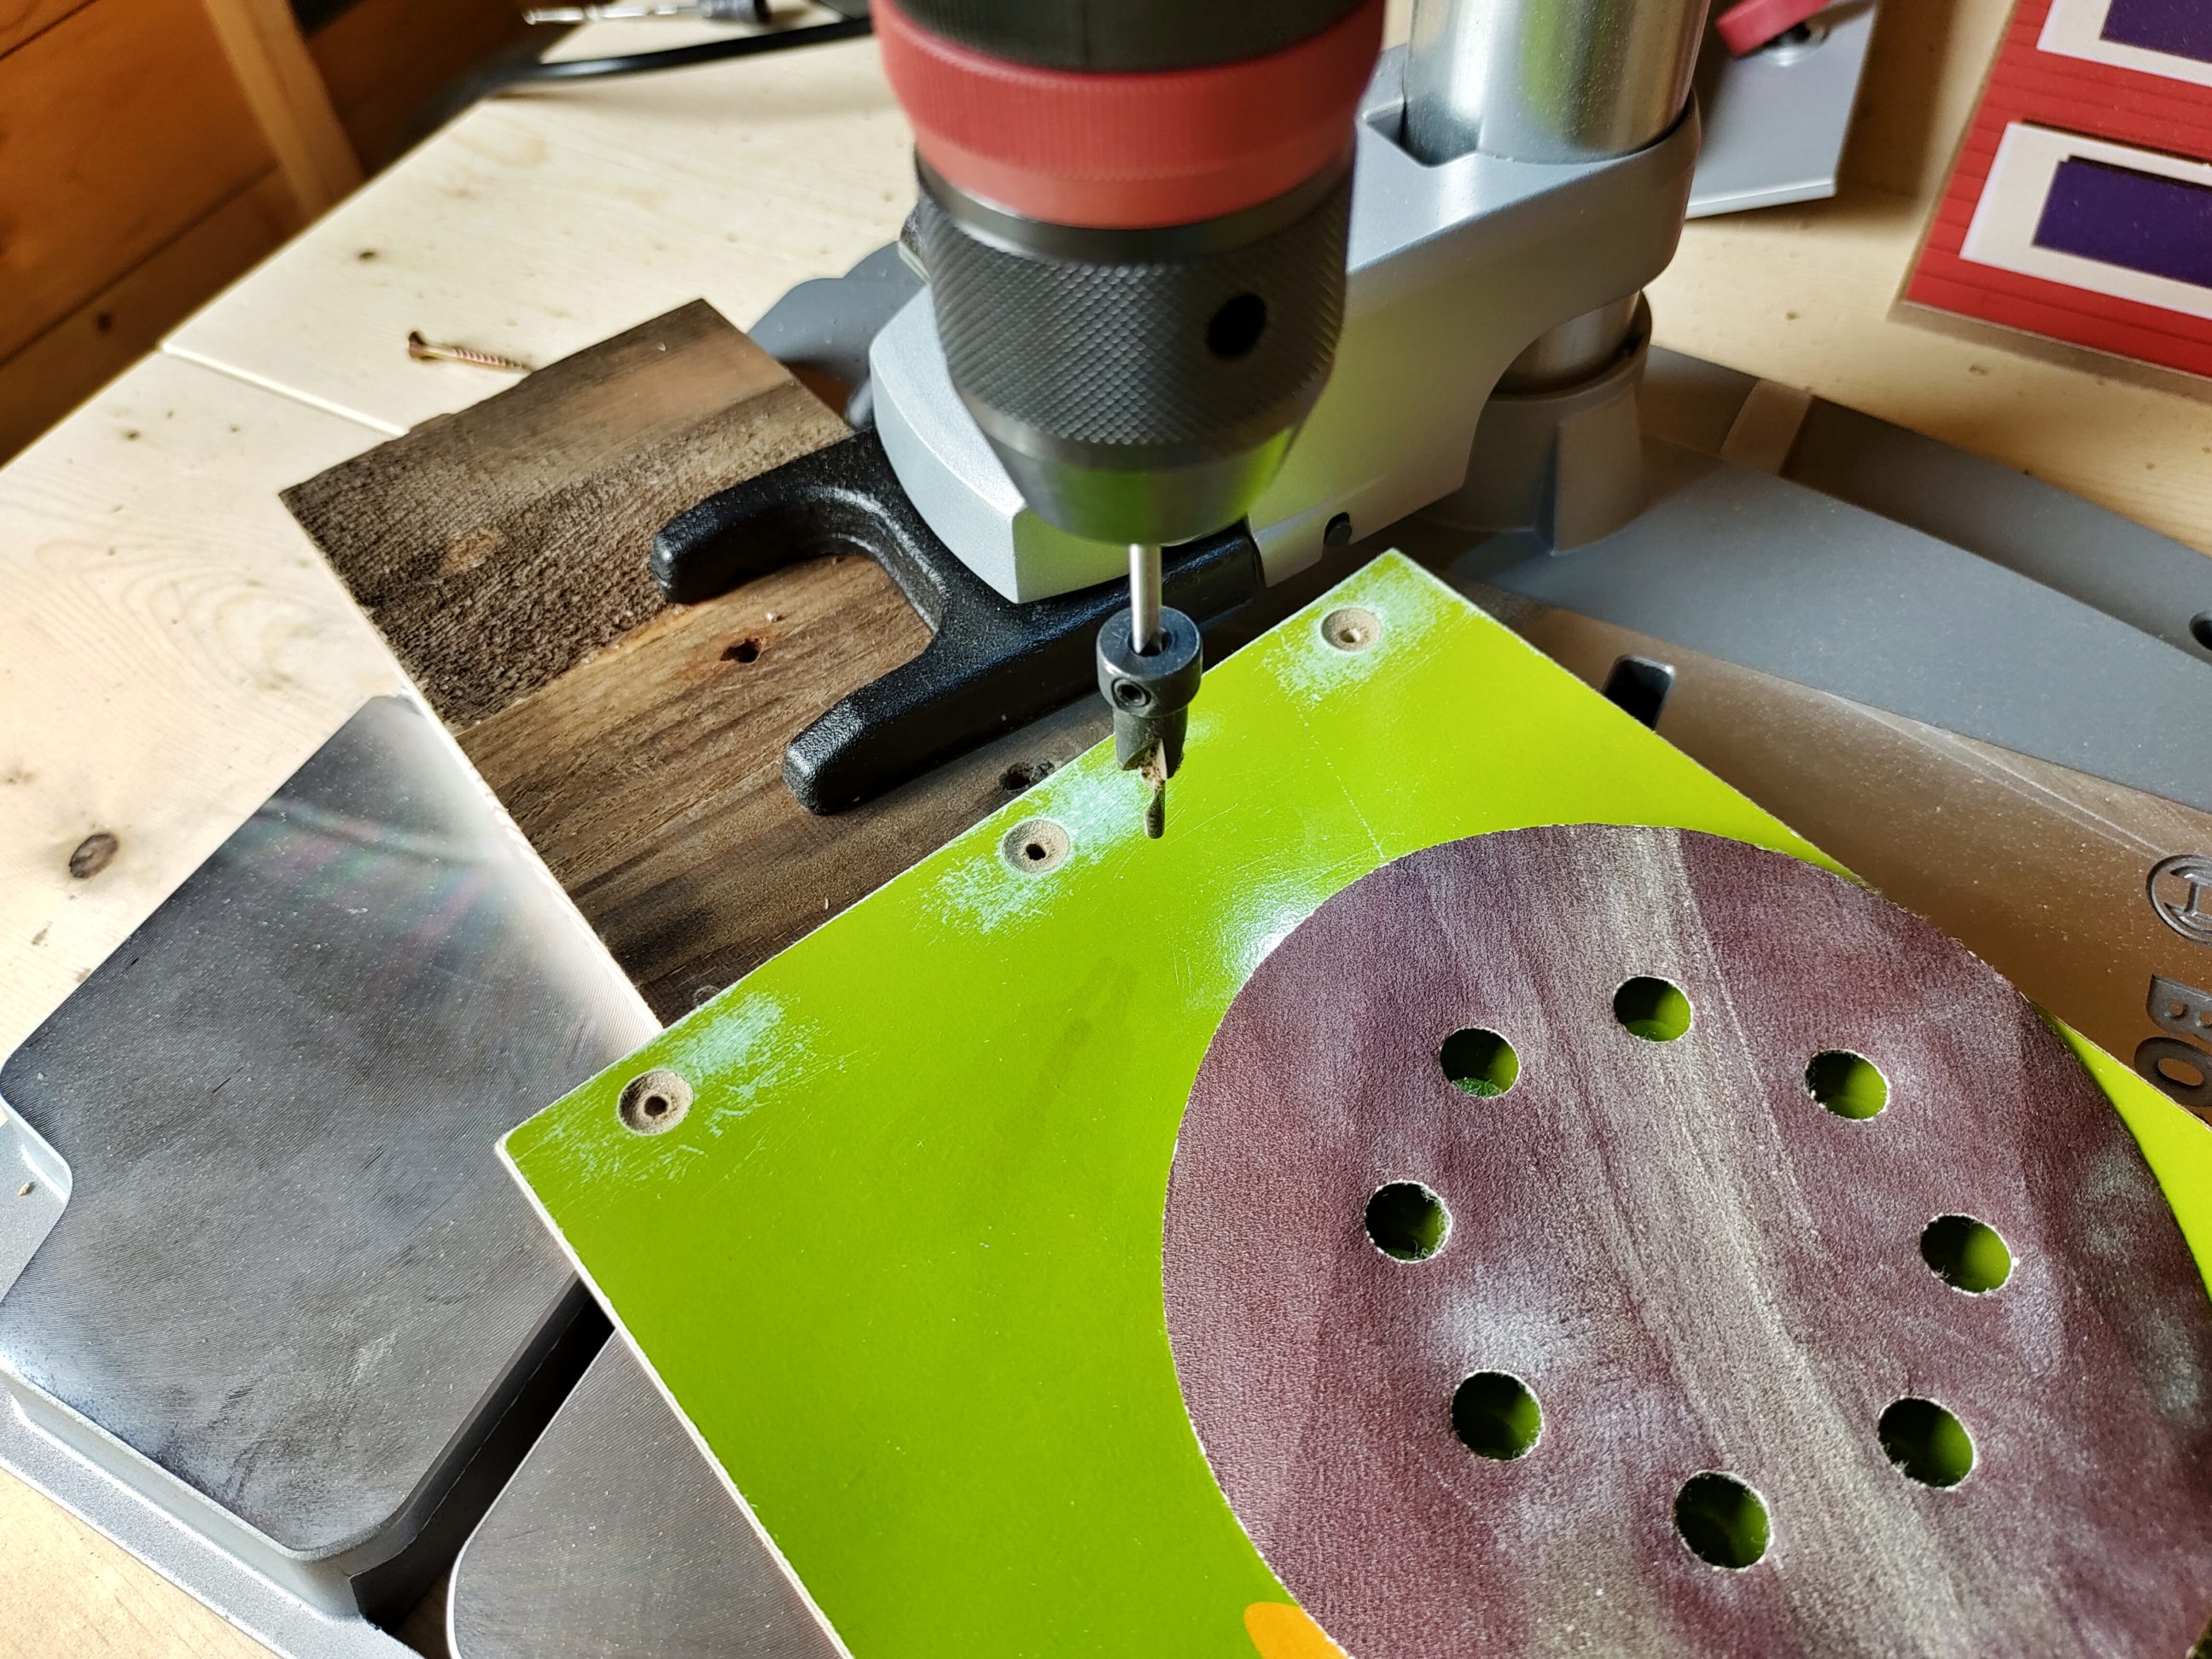
While the glue was drying, I cut the MDF to size and drilled holes. They had to be lightly sanded, just to flatten the paper layer. The top handles were drilled and countersunk as well.


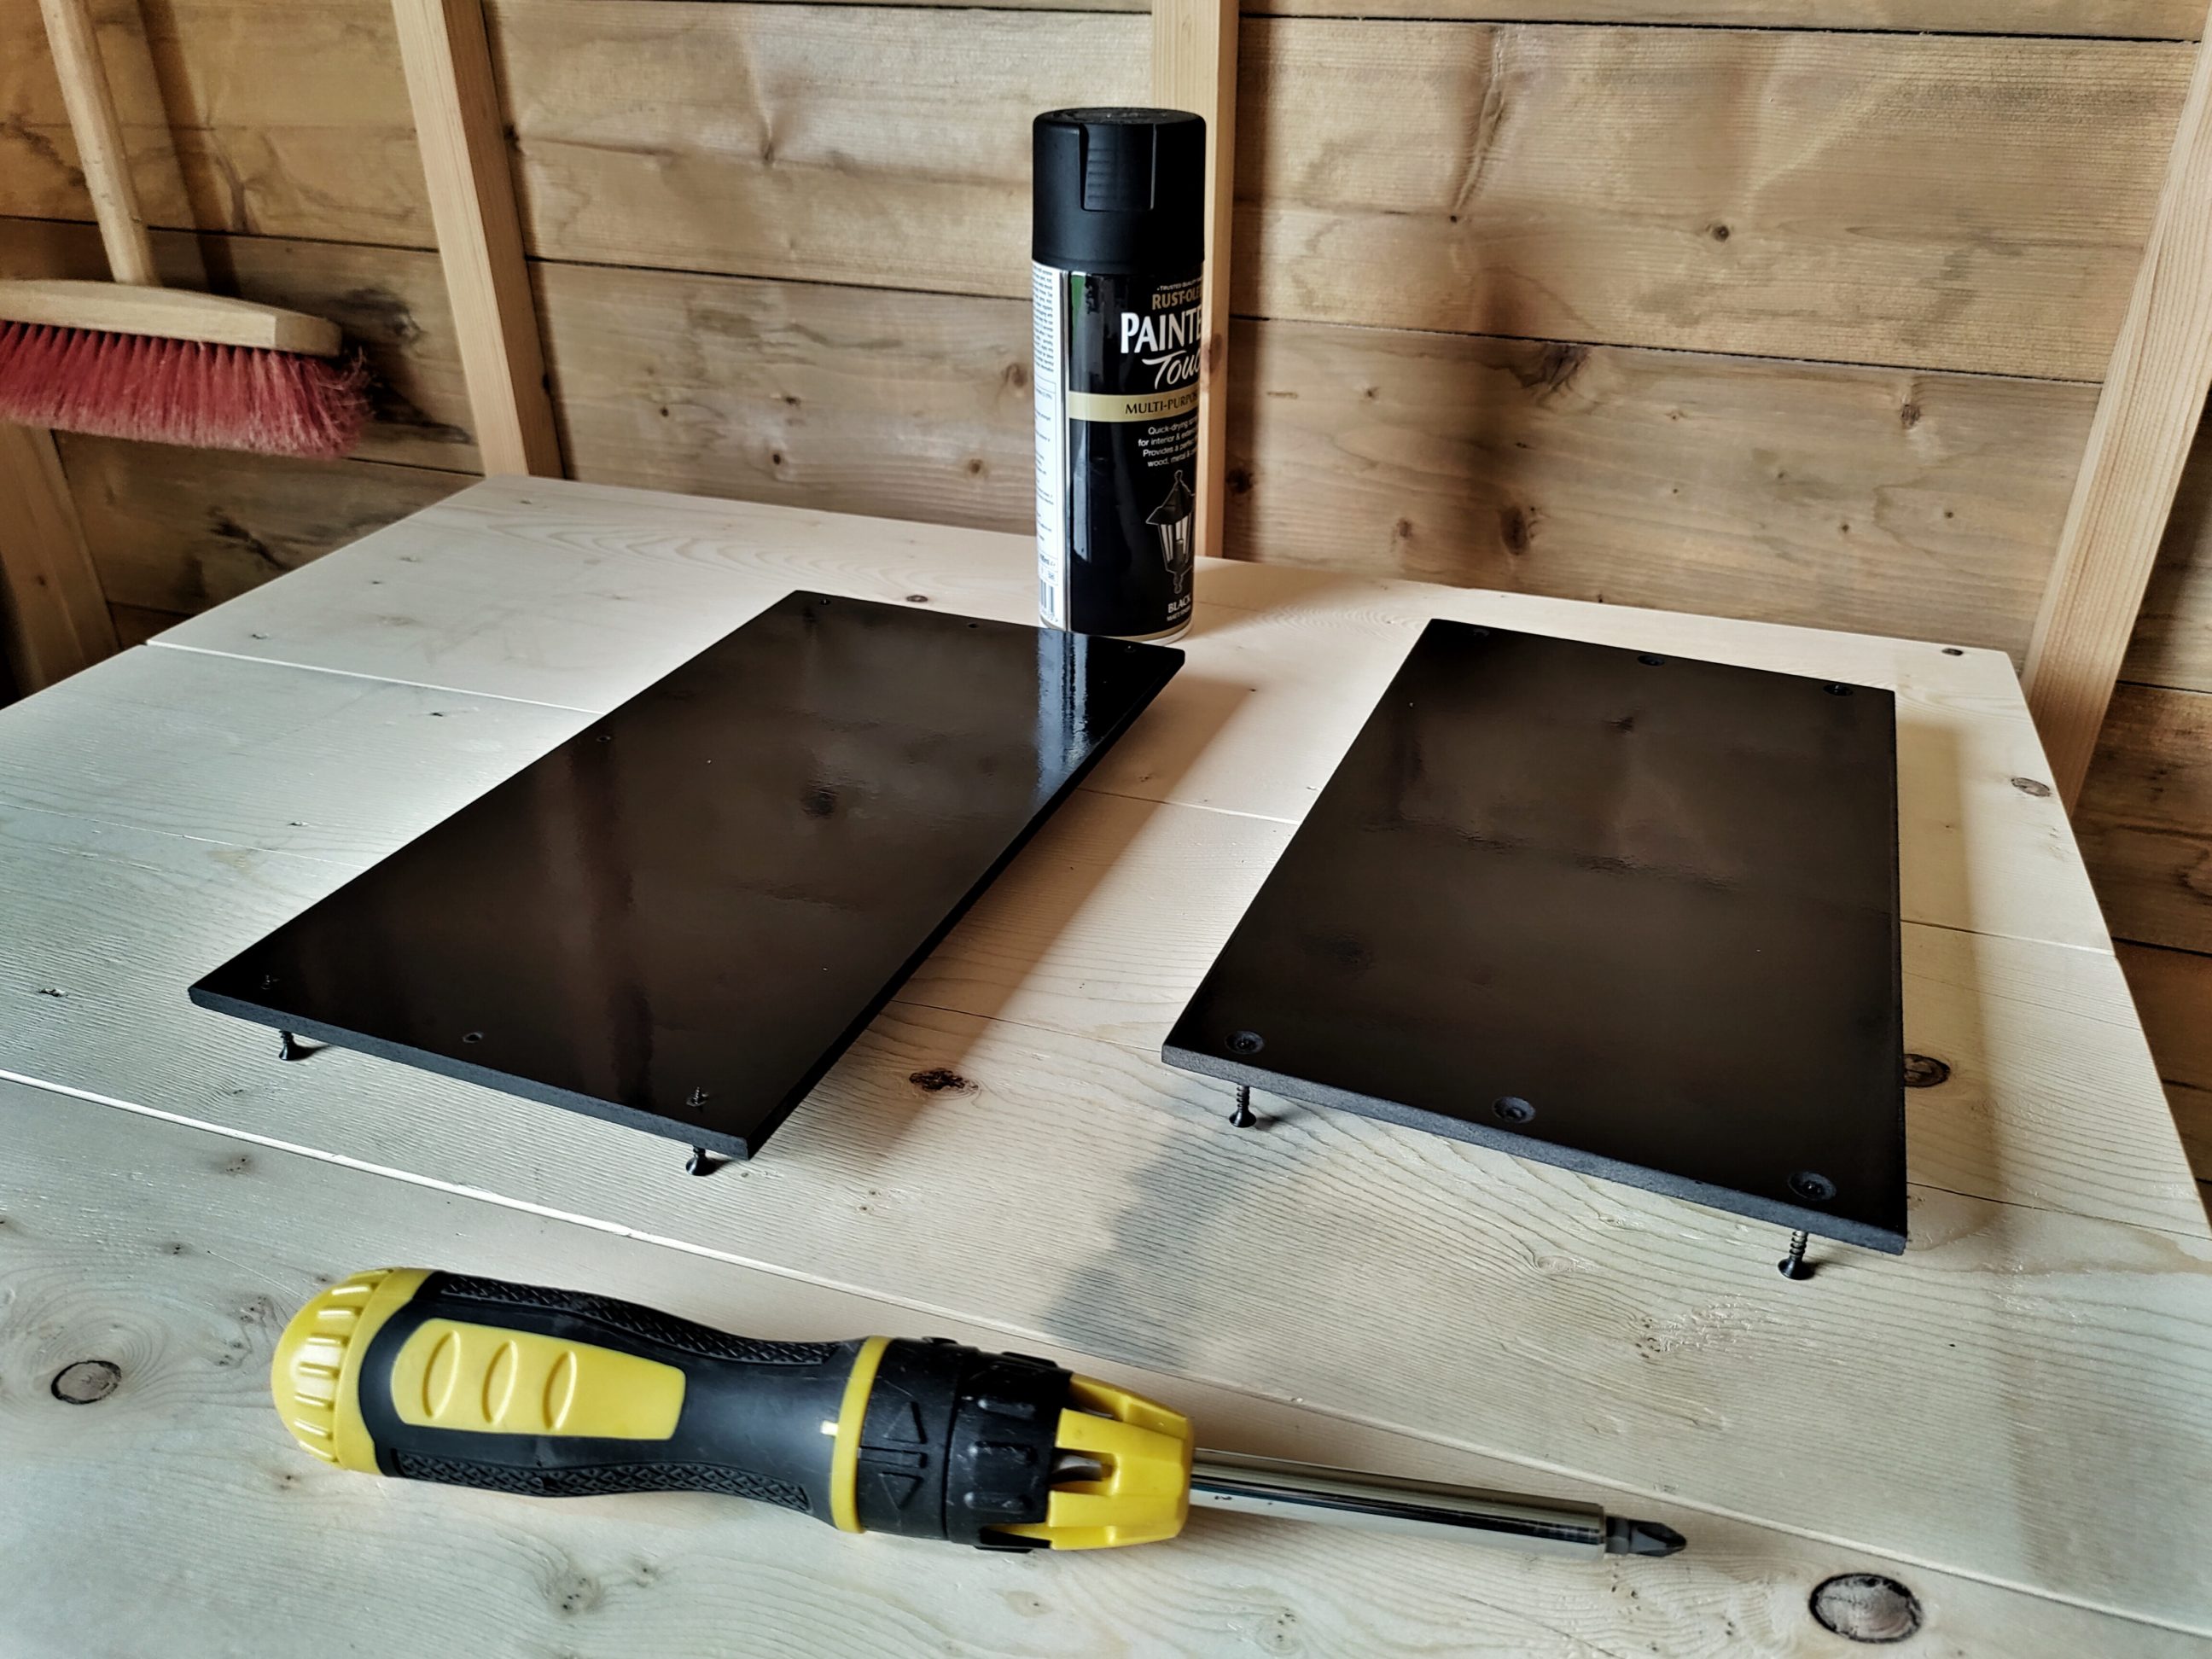
I sprayed on black paint from both sides and gave them some time to dry. Next, I assembled the handles and the MDF panels, just temporarily, to see how it looks.


I got my pencil to mark all the parts and disassembled the box. For the handles, I used a drop of glue and longer, partially threaded screws. The screws for MDF were shorter and fully threaded. That was textbook.


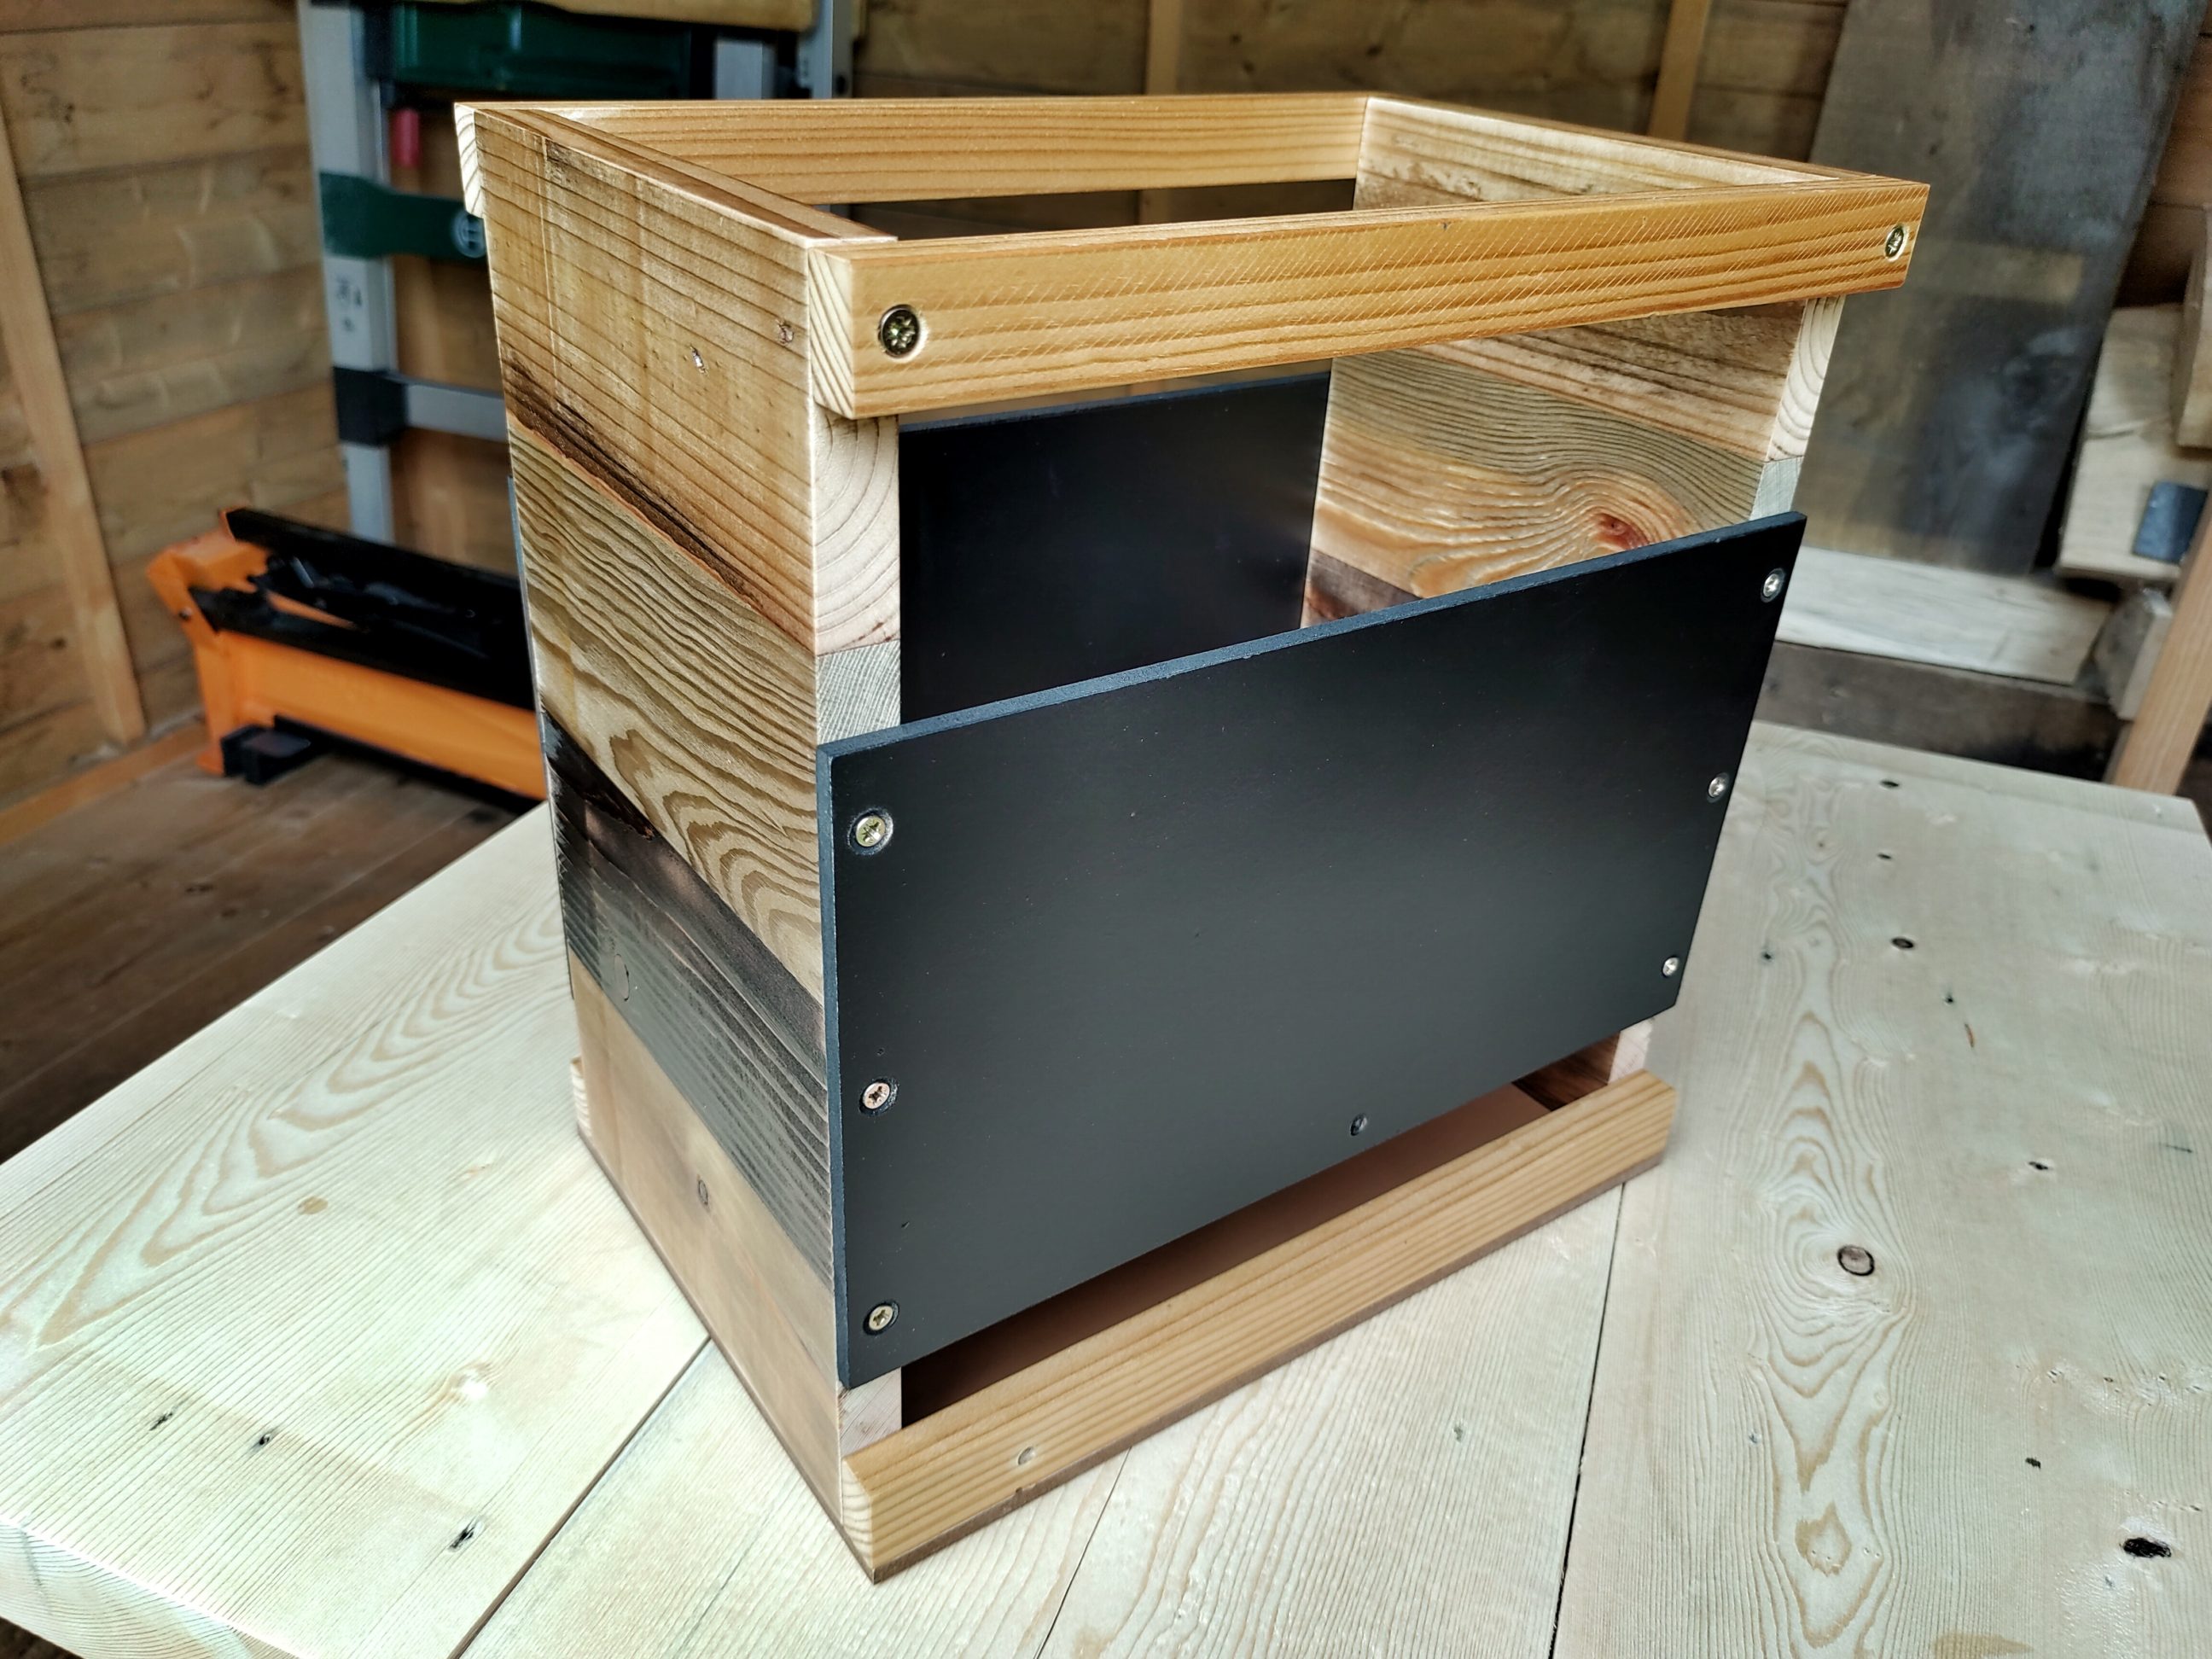
After the handles were put on, I applied a single coat of water-based varnish to the box. Even the bottom MDF was covered with varnish, inside and outside. It may look strange, to apply a water-based finish to MDF that has decorative layers of paper, but I think I’ve done that before and there were no issues with swelling or peeling off. That method seems to work very well.


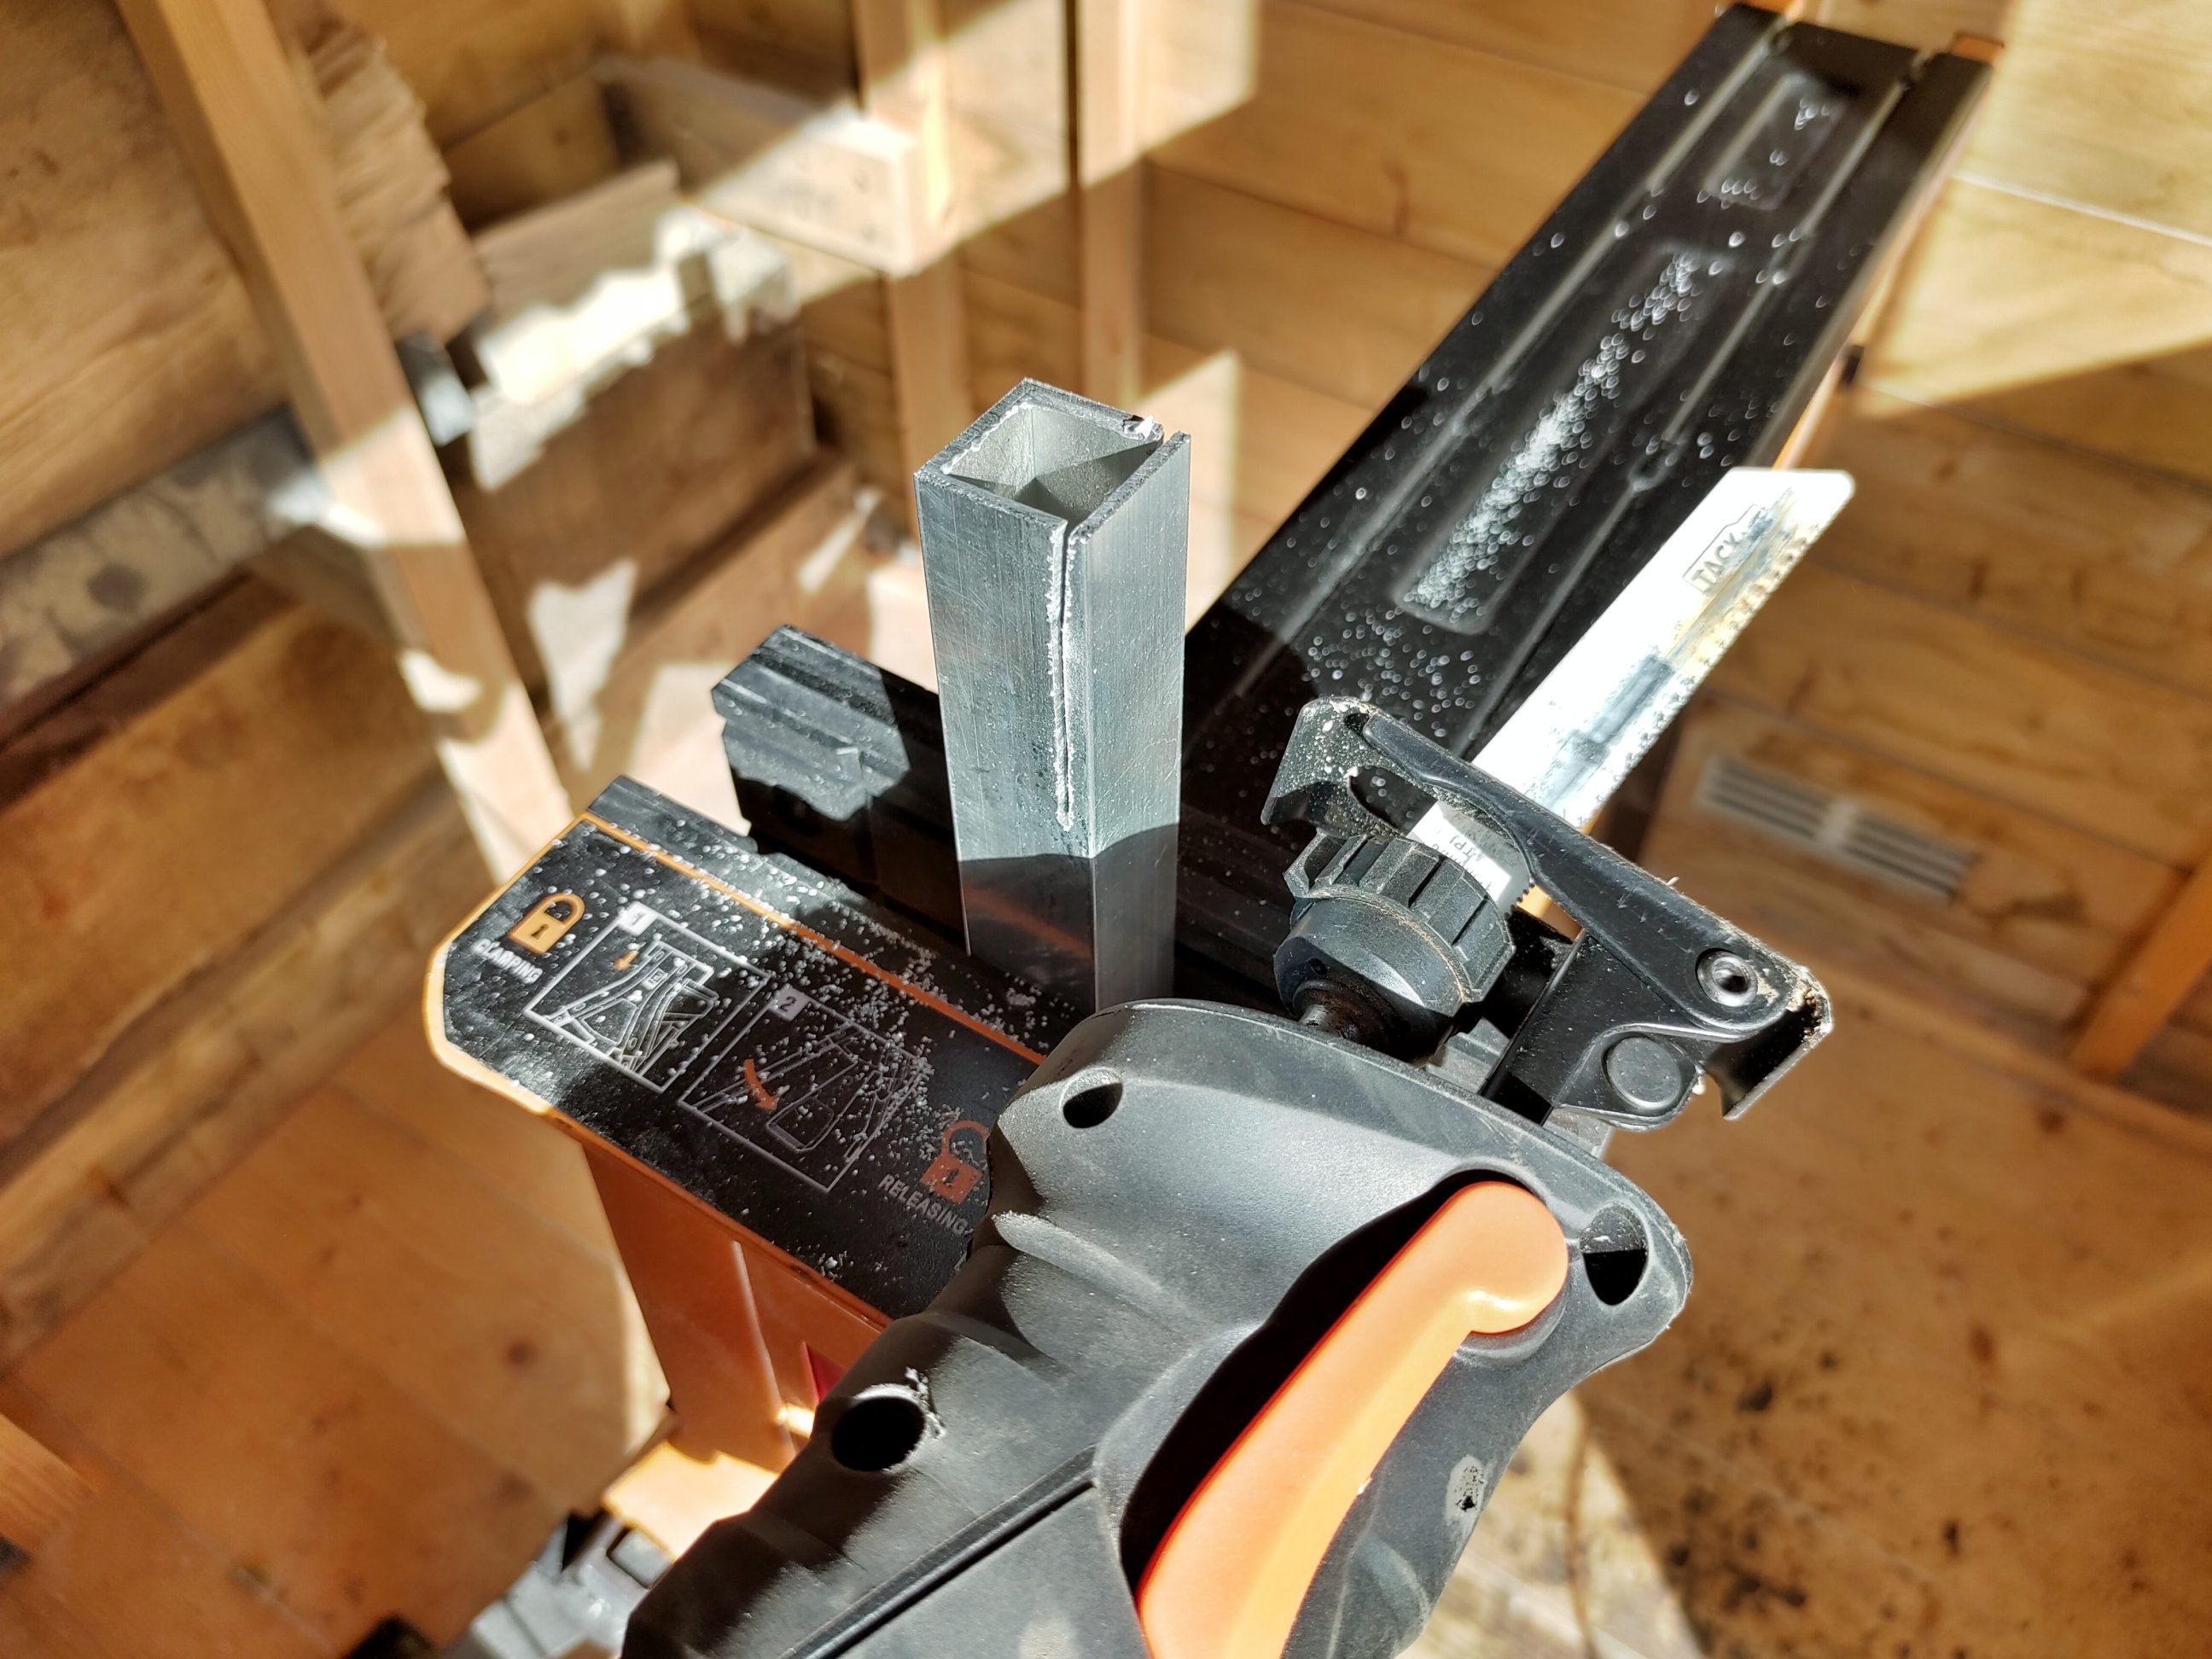
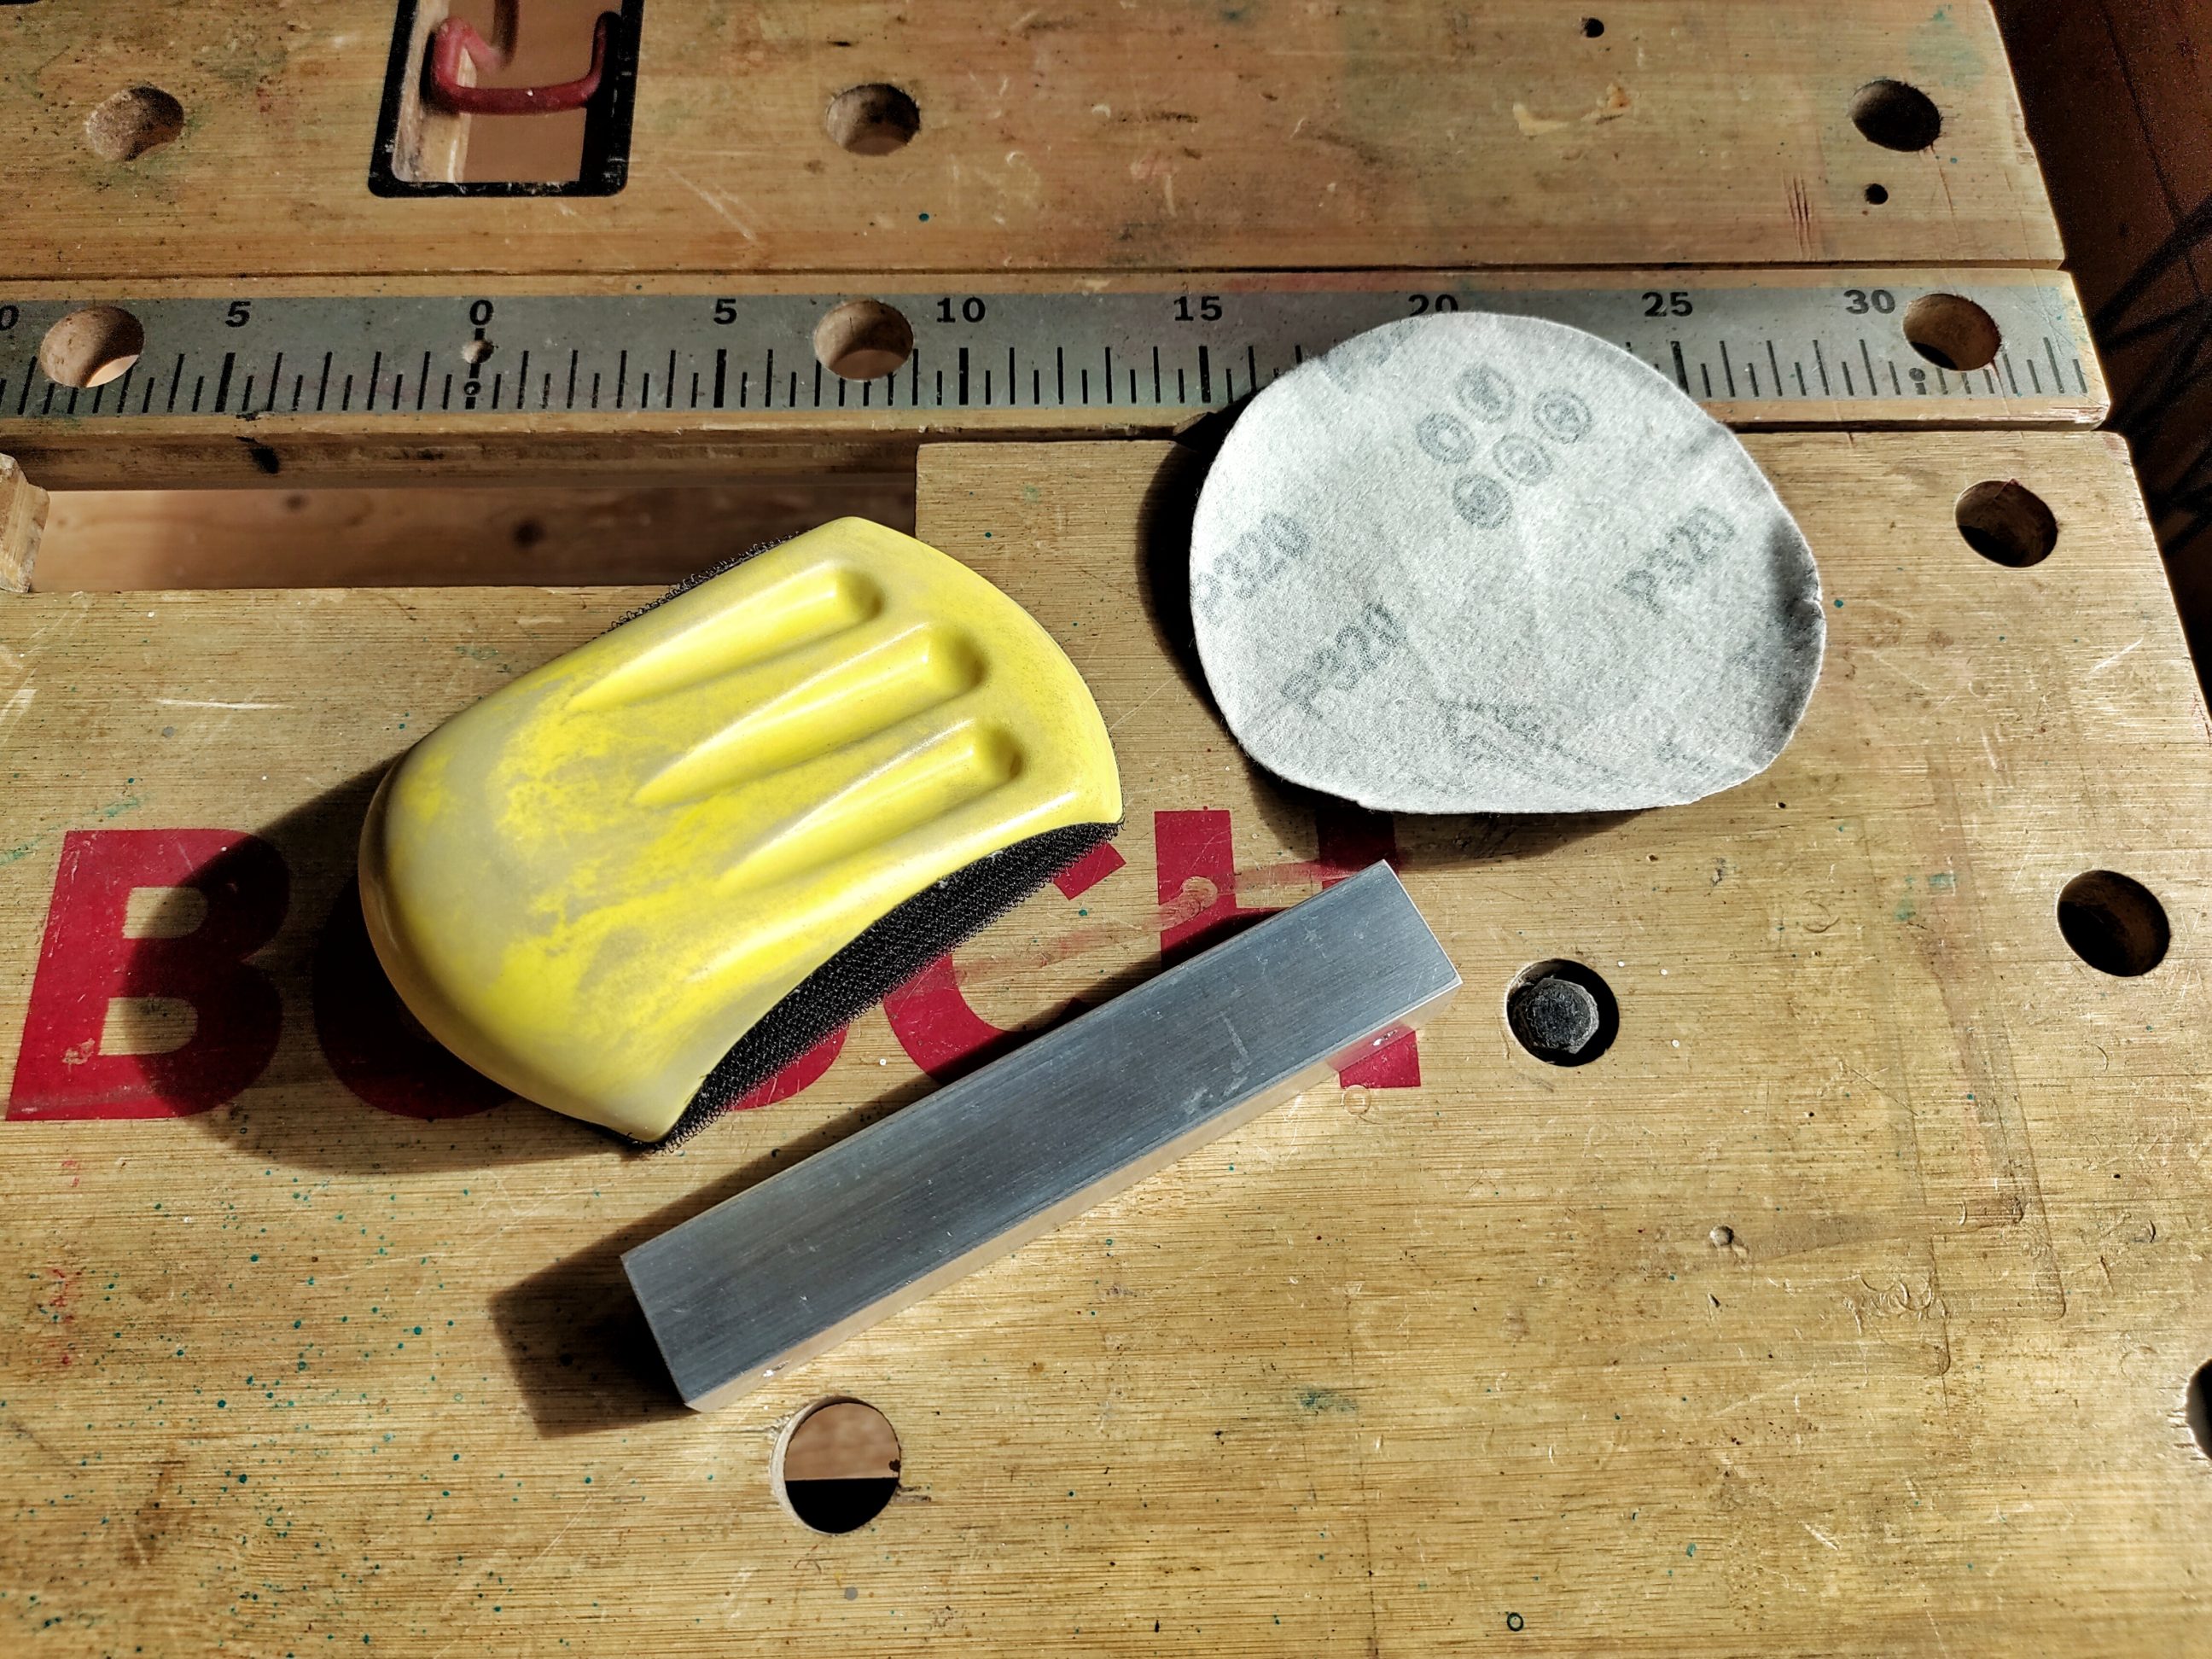
After a couple of hours, when it dried, I screwed on the panels and started working on a pull-out handle. A scrap of aluminium got the rough ends cut off, one of the sides was removed, and the corners were slightly rounded.


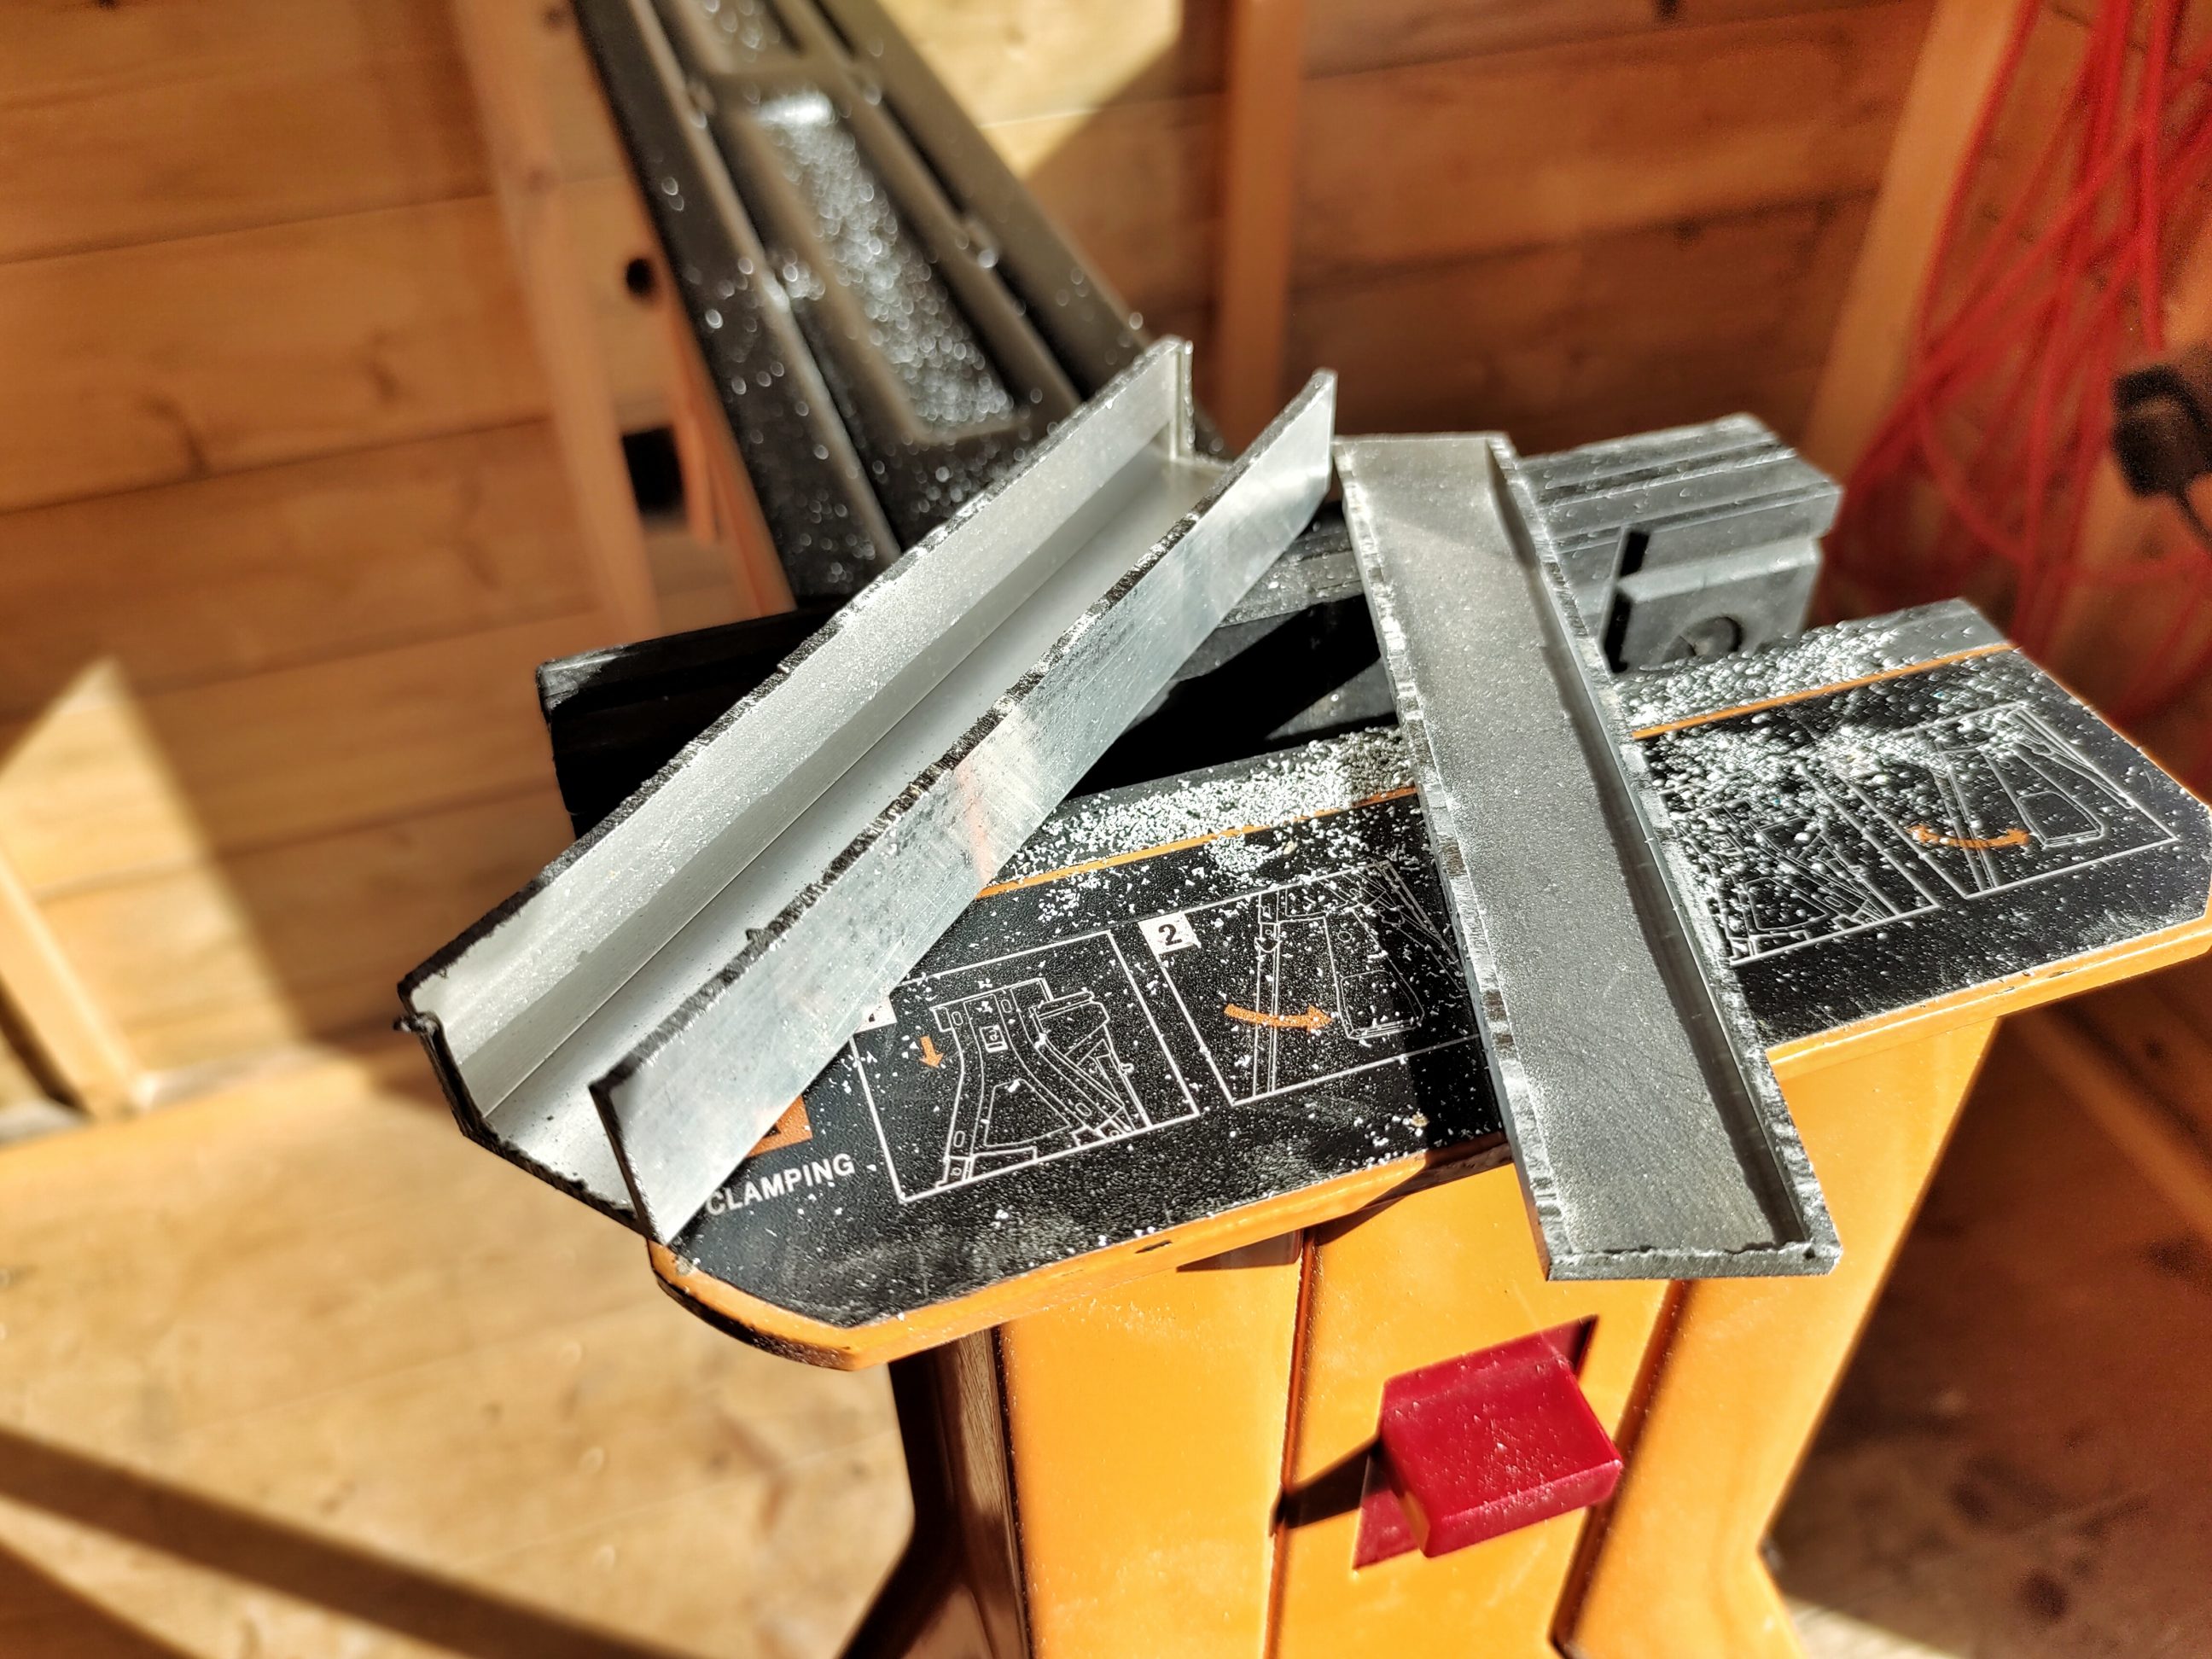


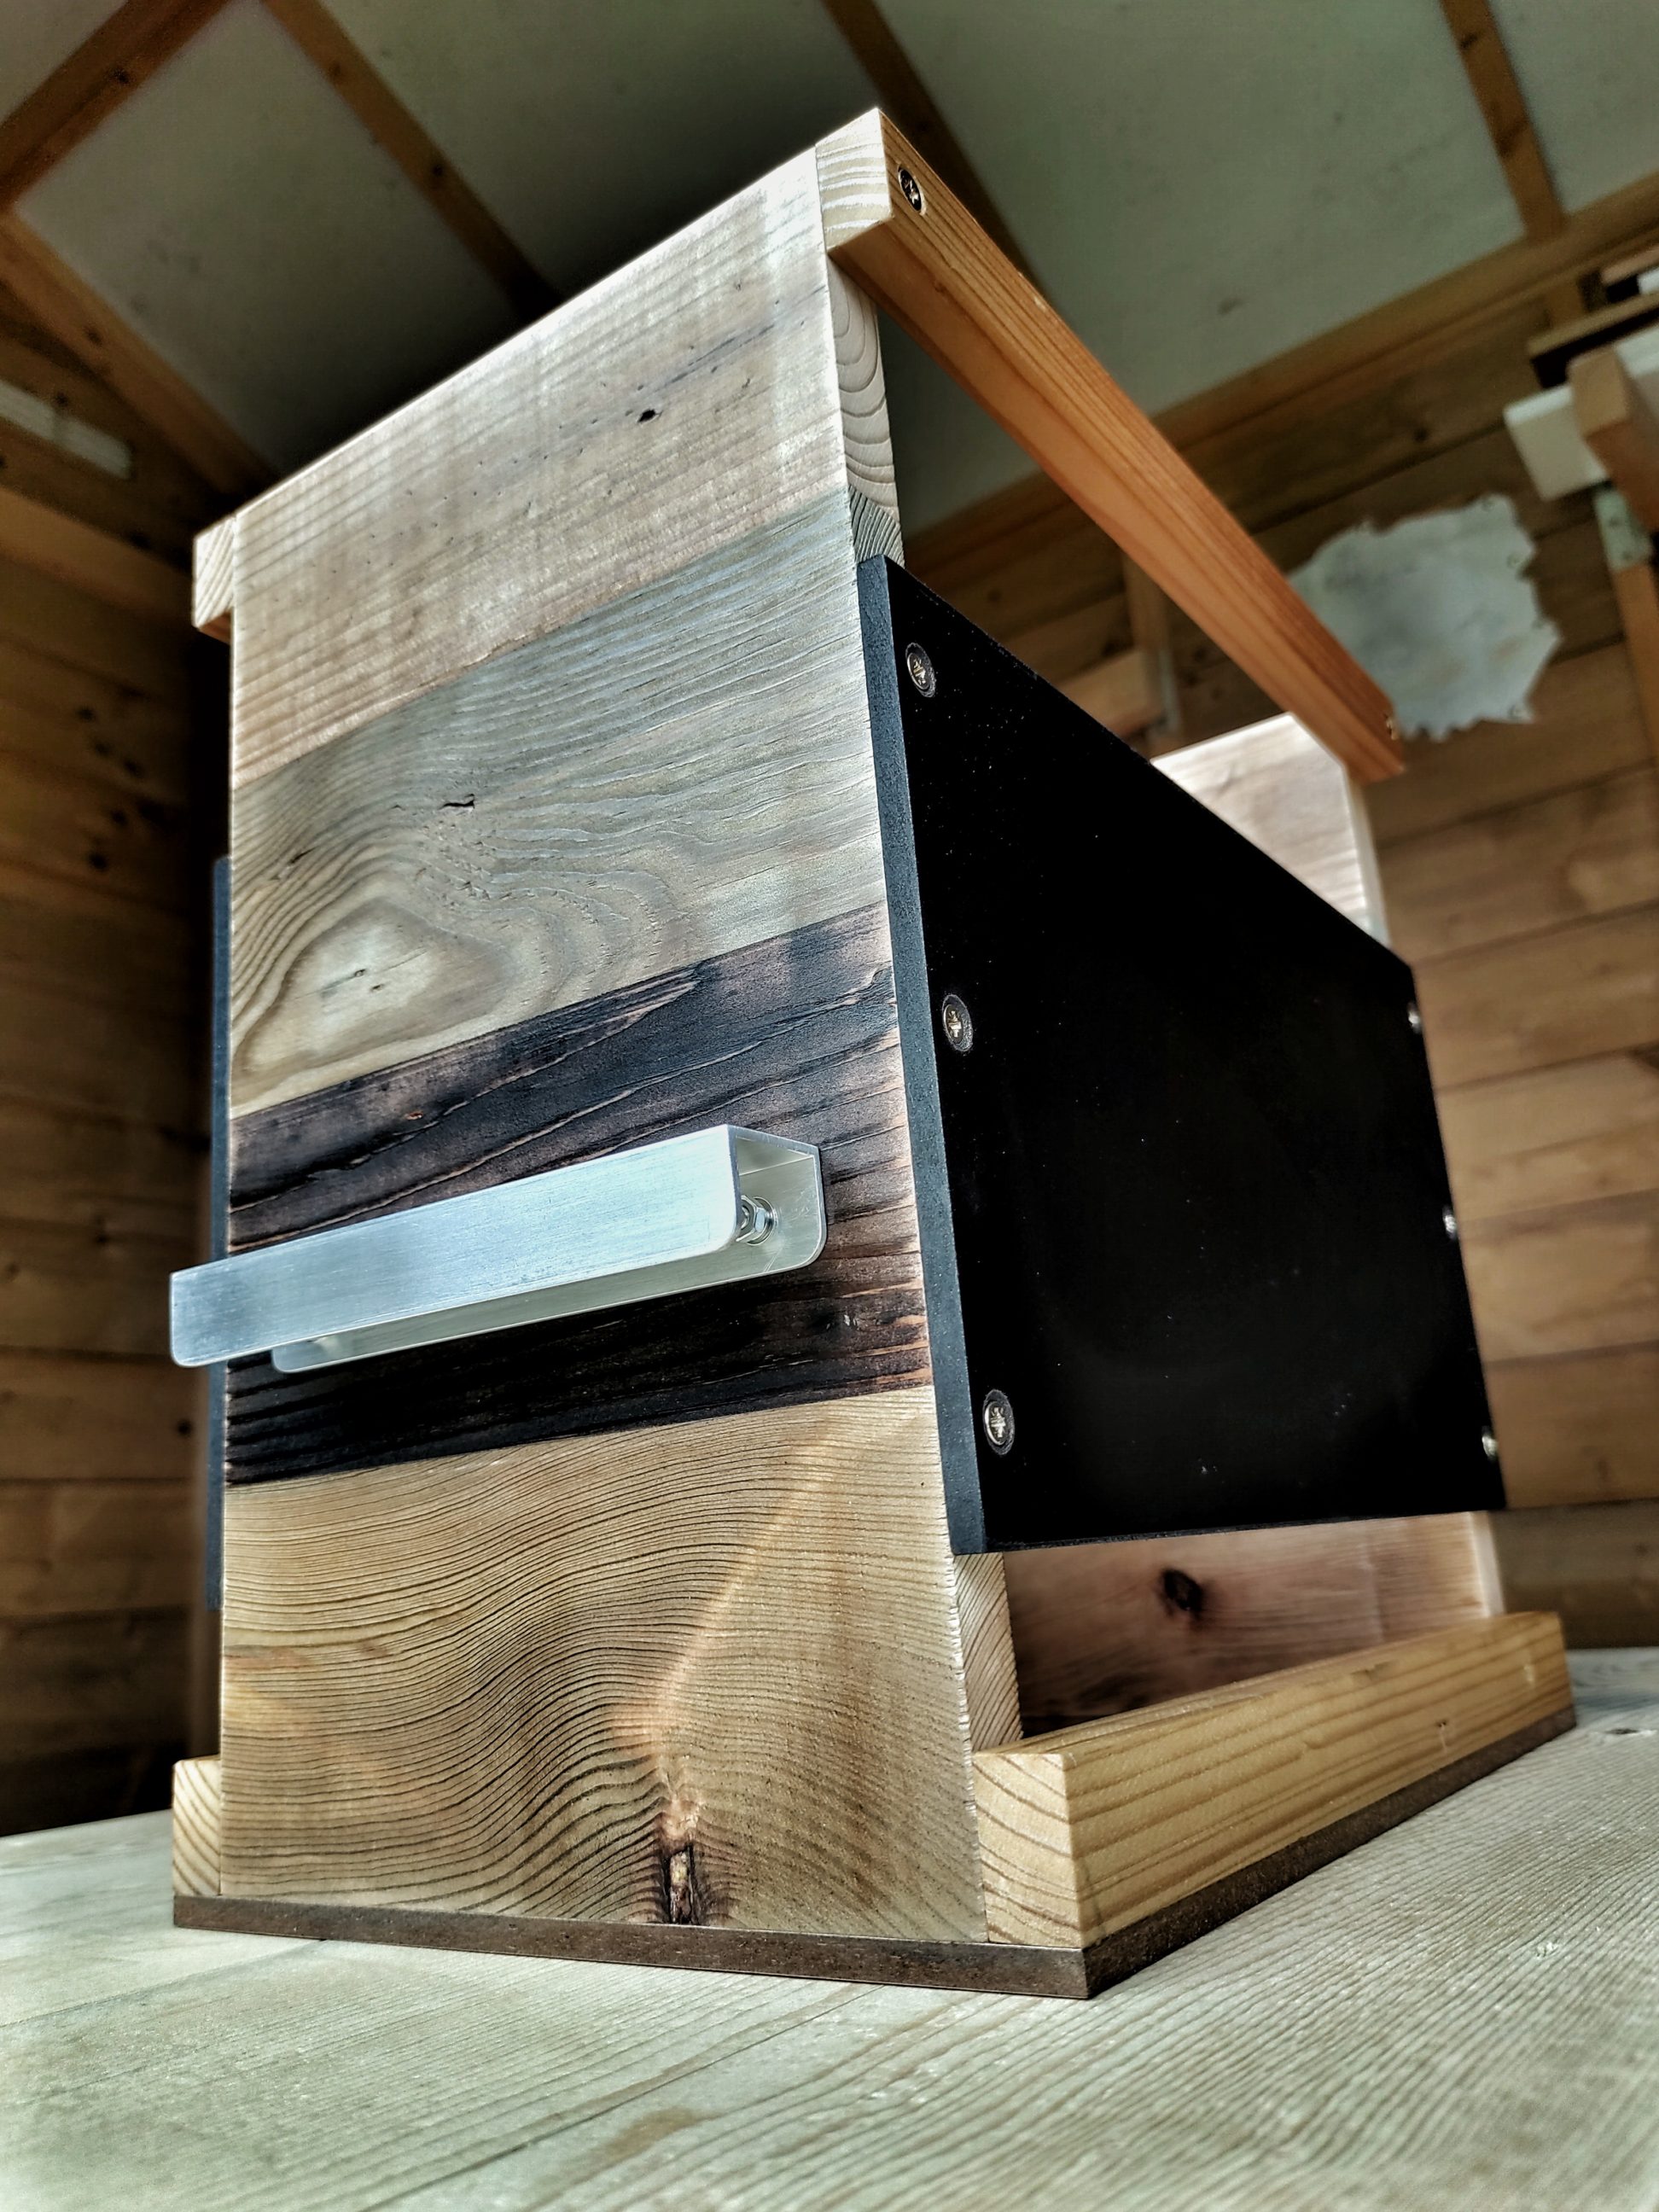
Next, I drilled a pair of mounting holes and sanded the handle with fine sandpaper. The finest grit I used was 320, and normally it’d be higher, but for this project, I decided to go with a matt look.

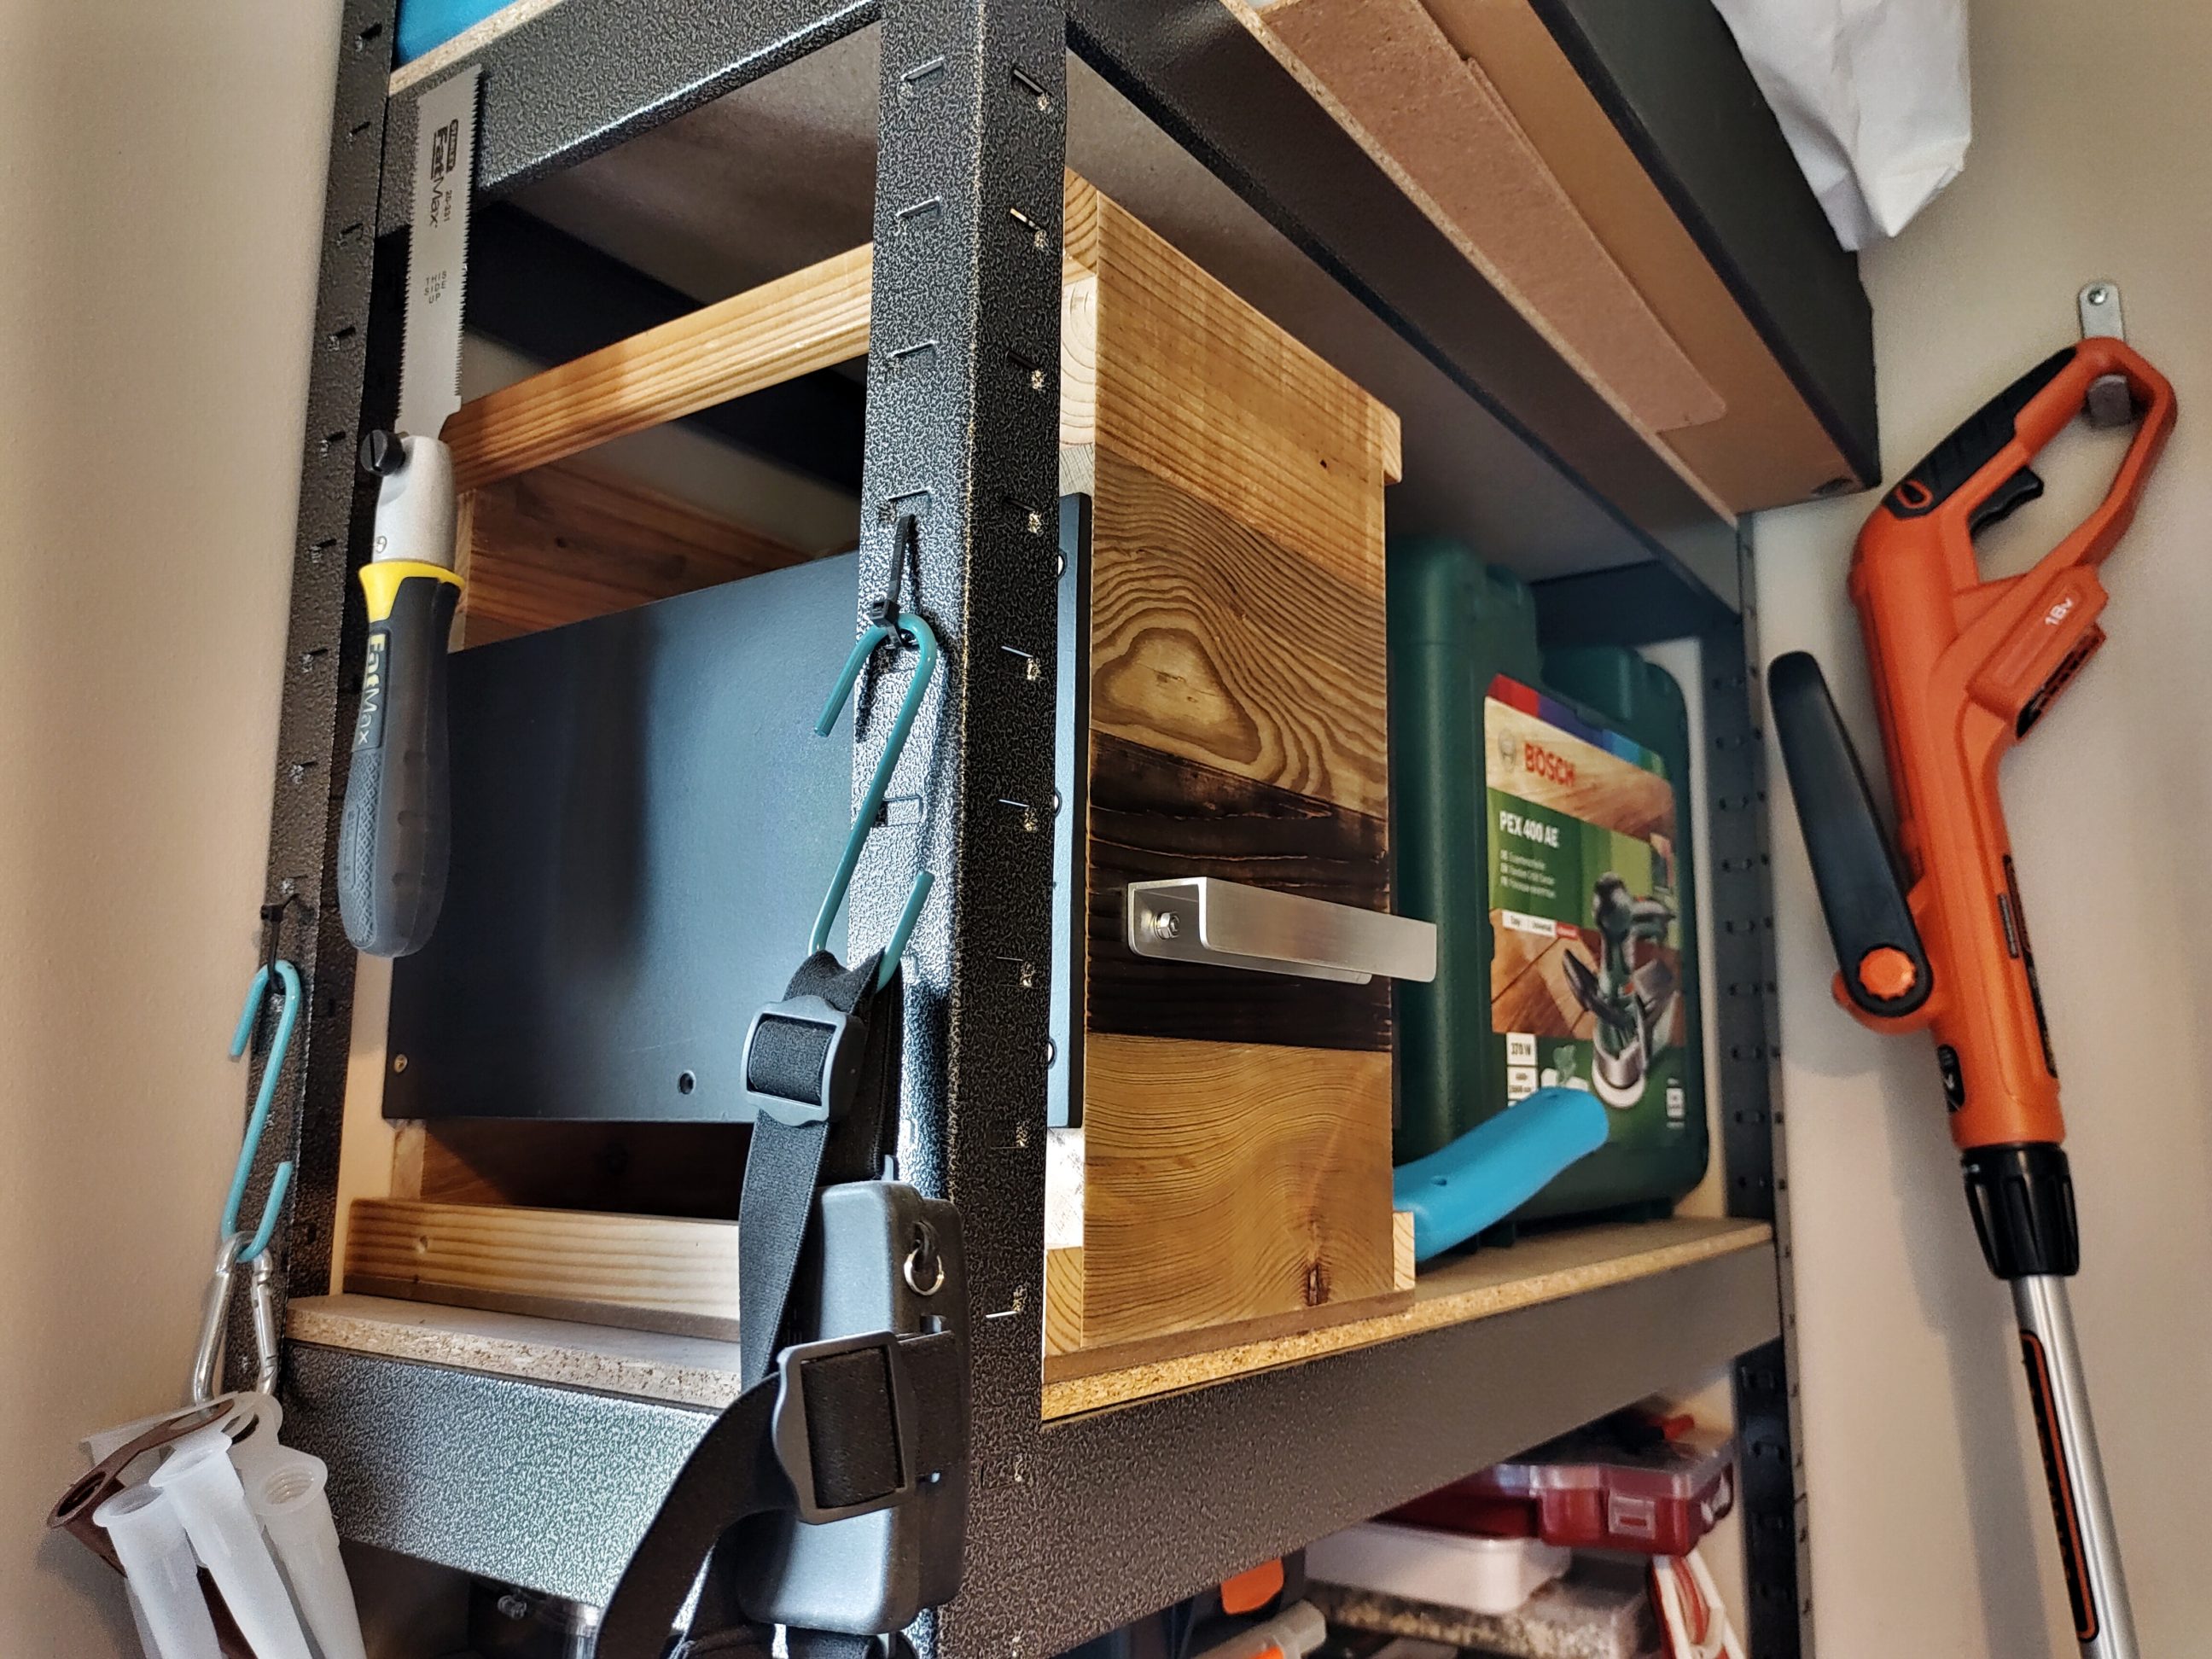
I drilled corresponding holes in the front panel. The best place for the handle was the middle of the darkest block, but I marked a visual centre and not a geometrical one. The same principle is used with drawer handles. This crate, which is shown in the pictures below, is stored above eye level, so the handle was placed closer to the bottom. To avoid any blow-out at the back, the box was firmly pushed against a piece of scrap wood during drilling. I used my SuperJaws as a sliding arm.


I must say that the crate looks very neat, inside and out. It has 3 handles altogether, 2 handles on the top – for carrying-over, and 1 pull-out handle in the front. There’s no handle at the back, as the crate sits flush against the wall. Its colours are beautifully matched, natural look of wood, matured, aged, yellow, brown and black – plus a metallic handle. It’s made of 100% scrap wood and aluminium, custom-sized and professionally built.