
Birch plywood bookcase
The jigsaw cabriole legs couldn’t wait forever for their second half. Sooner or later I had to have that bookcase finished, all I needed was the proper material to start the project. I couldn’t find any good plywood locally so I ordered it online. Cut to size and surprisingly at a good price too. There wasn’t much left to do with a product like this, however, some steps had to be finished to enjoy my new bookcase. Some of the sheets had to be cut to get a couple of strips for the mounting pads. They could be ordered like that, but I wanted to do it myself. Not a big job for a circular saw and my new guide clamp. Quick and easy task, as everything else in this project. Things were coming together nicely and effortlessly without over-engineering and over-complicating the process.


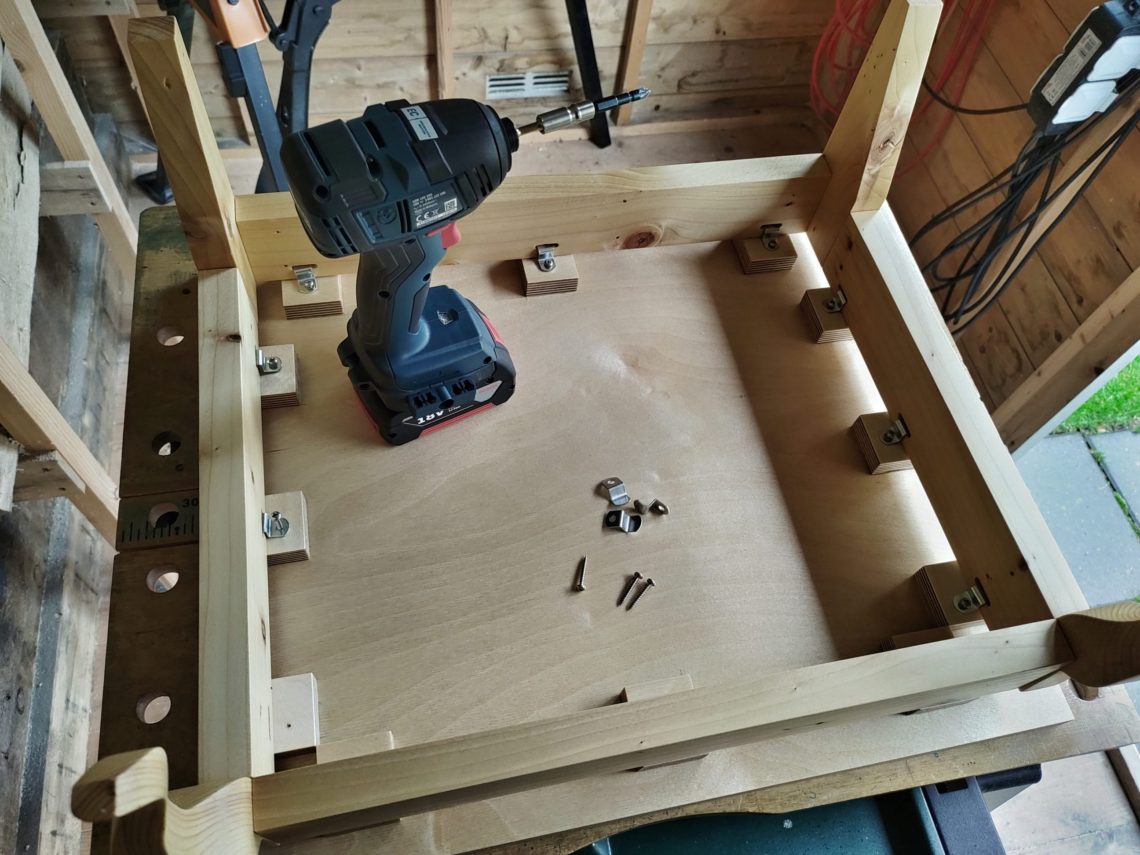
When I had the strips cut off, I switched the tool and cut them into 12 blocks (pads). The tabletop had to be raised up to make room for the corner brackets I was going to use in the build. It had to be done that way, as the connectors were quite big and if I mounted the tabletop straight to the legs, it would be wider by another couple of centimetres. Then the base would look too skinny and of course, I didn’t have that much space in the corner, in the first place. So that was the reason I had to make the pads.


After a short while, all the parts were ready for a quick sanding. I only used 240 grit sandpaper and didn’t spend more than 30 seconds sanding each side. Just enough to smooth it out. I sanded the edges and eased them with a sanding block. It was an easy job but had to be done. The next step was to mark all 12 spots for the mounting pads. All the pencil marks were done from the inside and stayed out of sight when the base sheet was screwed to the legs.

I glued the pads to the sheet without using any clamps – the gravity and the glue tackiness did the job. The pads were ready for drilling holes the next morning. That way all the hard work was done and I could start finishing the sheets with Danish oil. Just like the last time I applied 3 coats, 1 coat a day.


Once it dried, I assembled the base. It was all ready for the corner connectors, but that part of the job could be completed inside the house. The bookcase was going to be quite heavy and awkward to move from place to place.


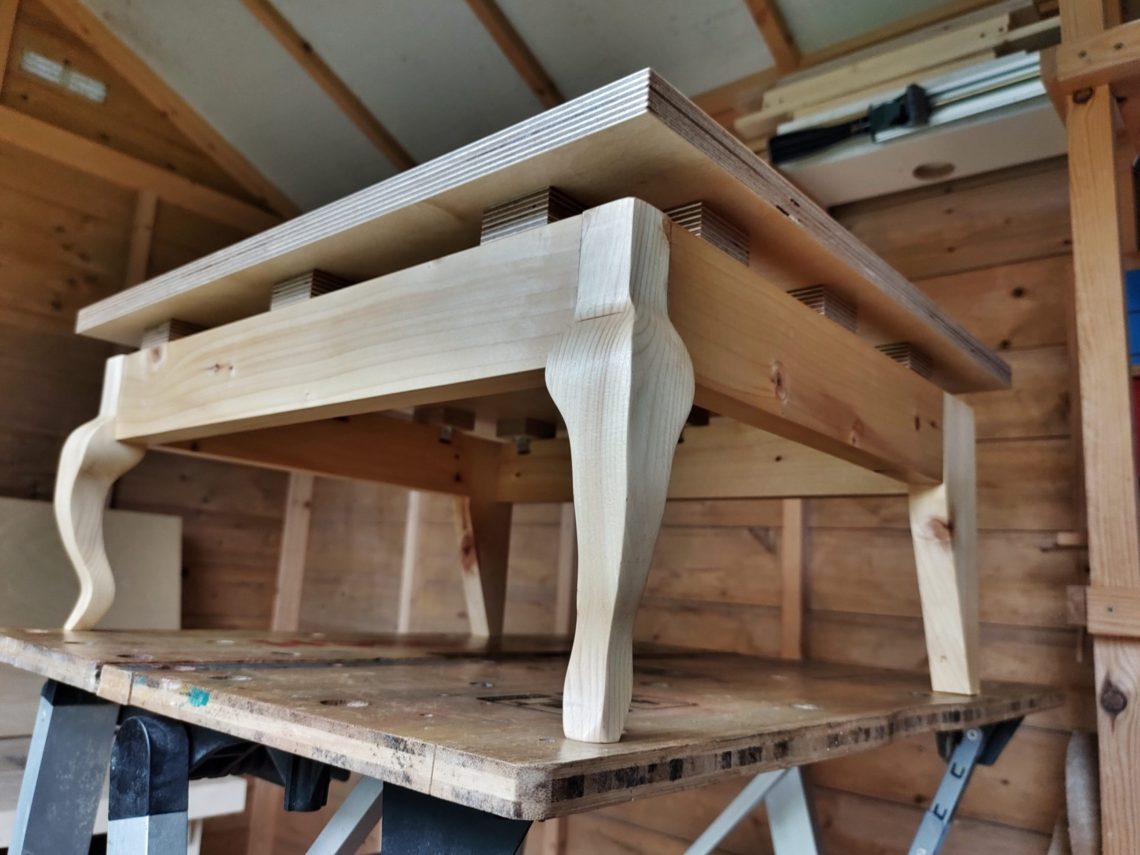
Everything I needed was supplied in the box – connectors and the Allen key. Building the shelves didn’t take long, however, an extra pair of hands would help.

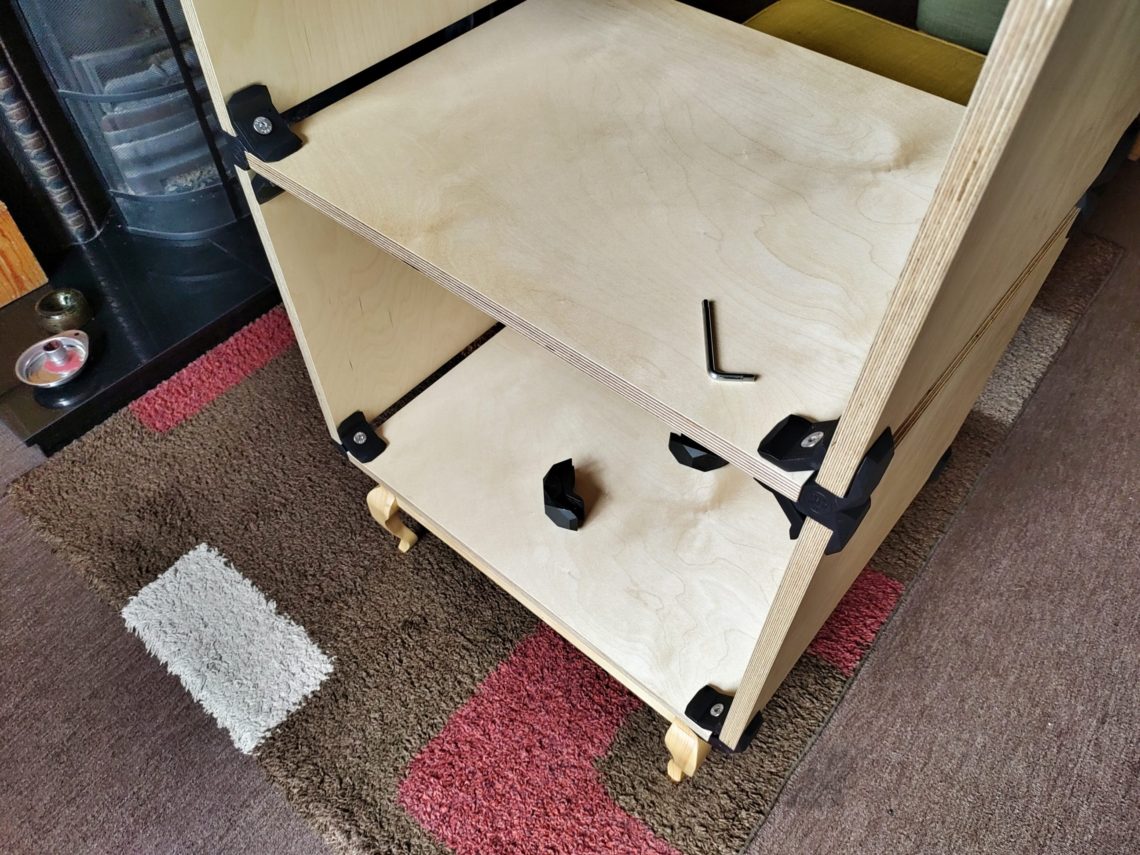
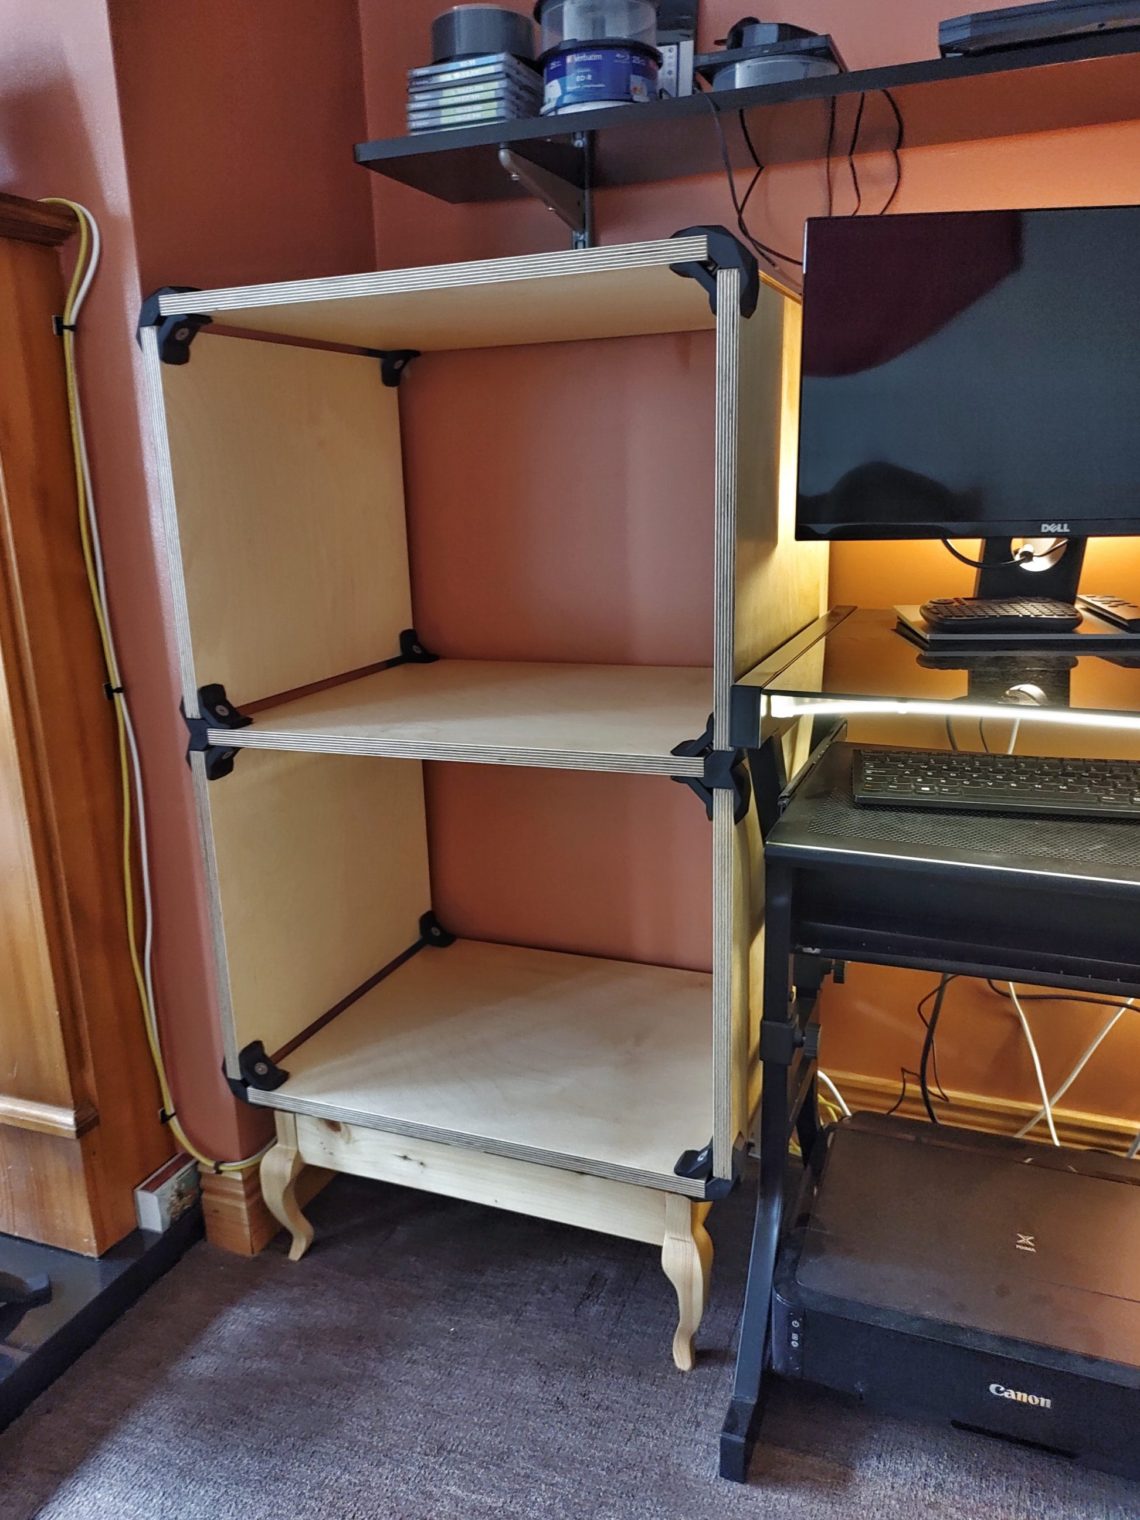
The bookcase could be used straight away. A strong unit, with a modern top and traditional legs. A mix of 2 styles, simply finished with oil that connects and blends these 2 different styles into one piece of furniture, giving them identical colour and sheen.


I placed it in the corner and filled it up with books and magazines. It took all the remaining space, leaving just a 1 cm gap from the wall and the same distance from the computer desk. Made to size, solid and heavy bookcase with 3 shelves that can store a lot of stuff. It looks much bigger than the leaning shelf it replaced, but I needed more storage and had to build that one. It can be easily modified in the future as all the parts can be simply disassembled, cut, replaced and put back together.




One Comment
Pingback: