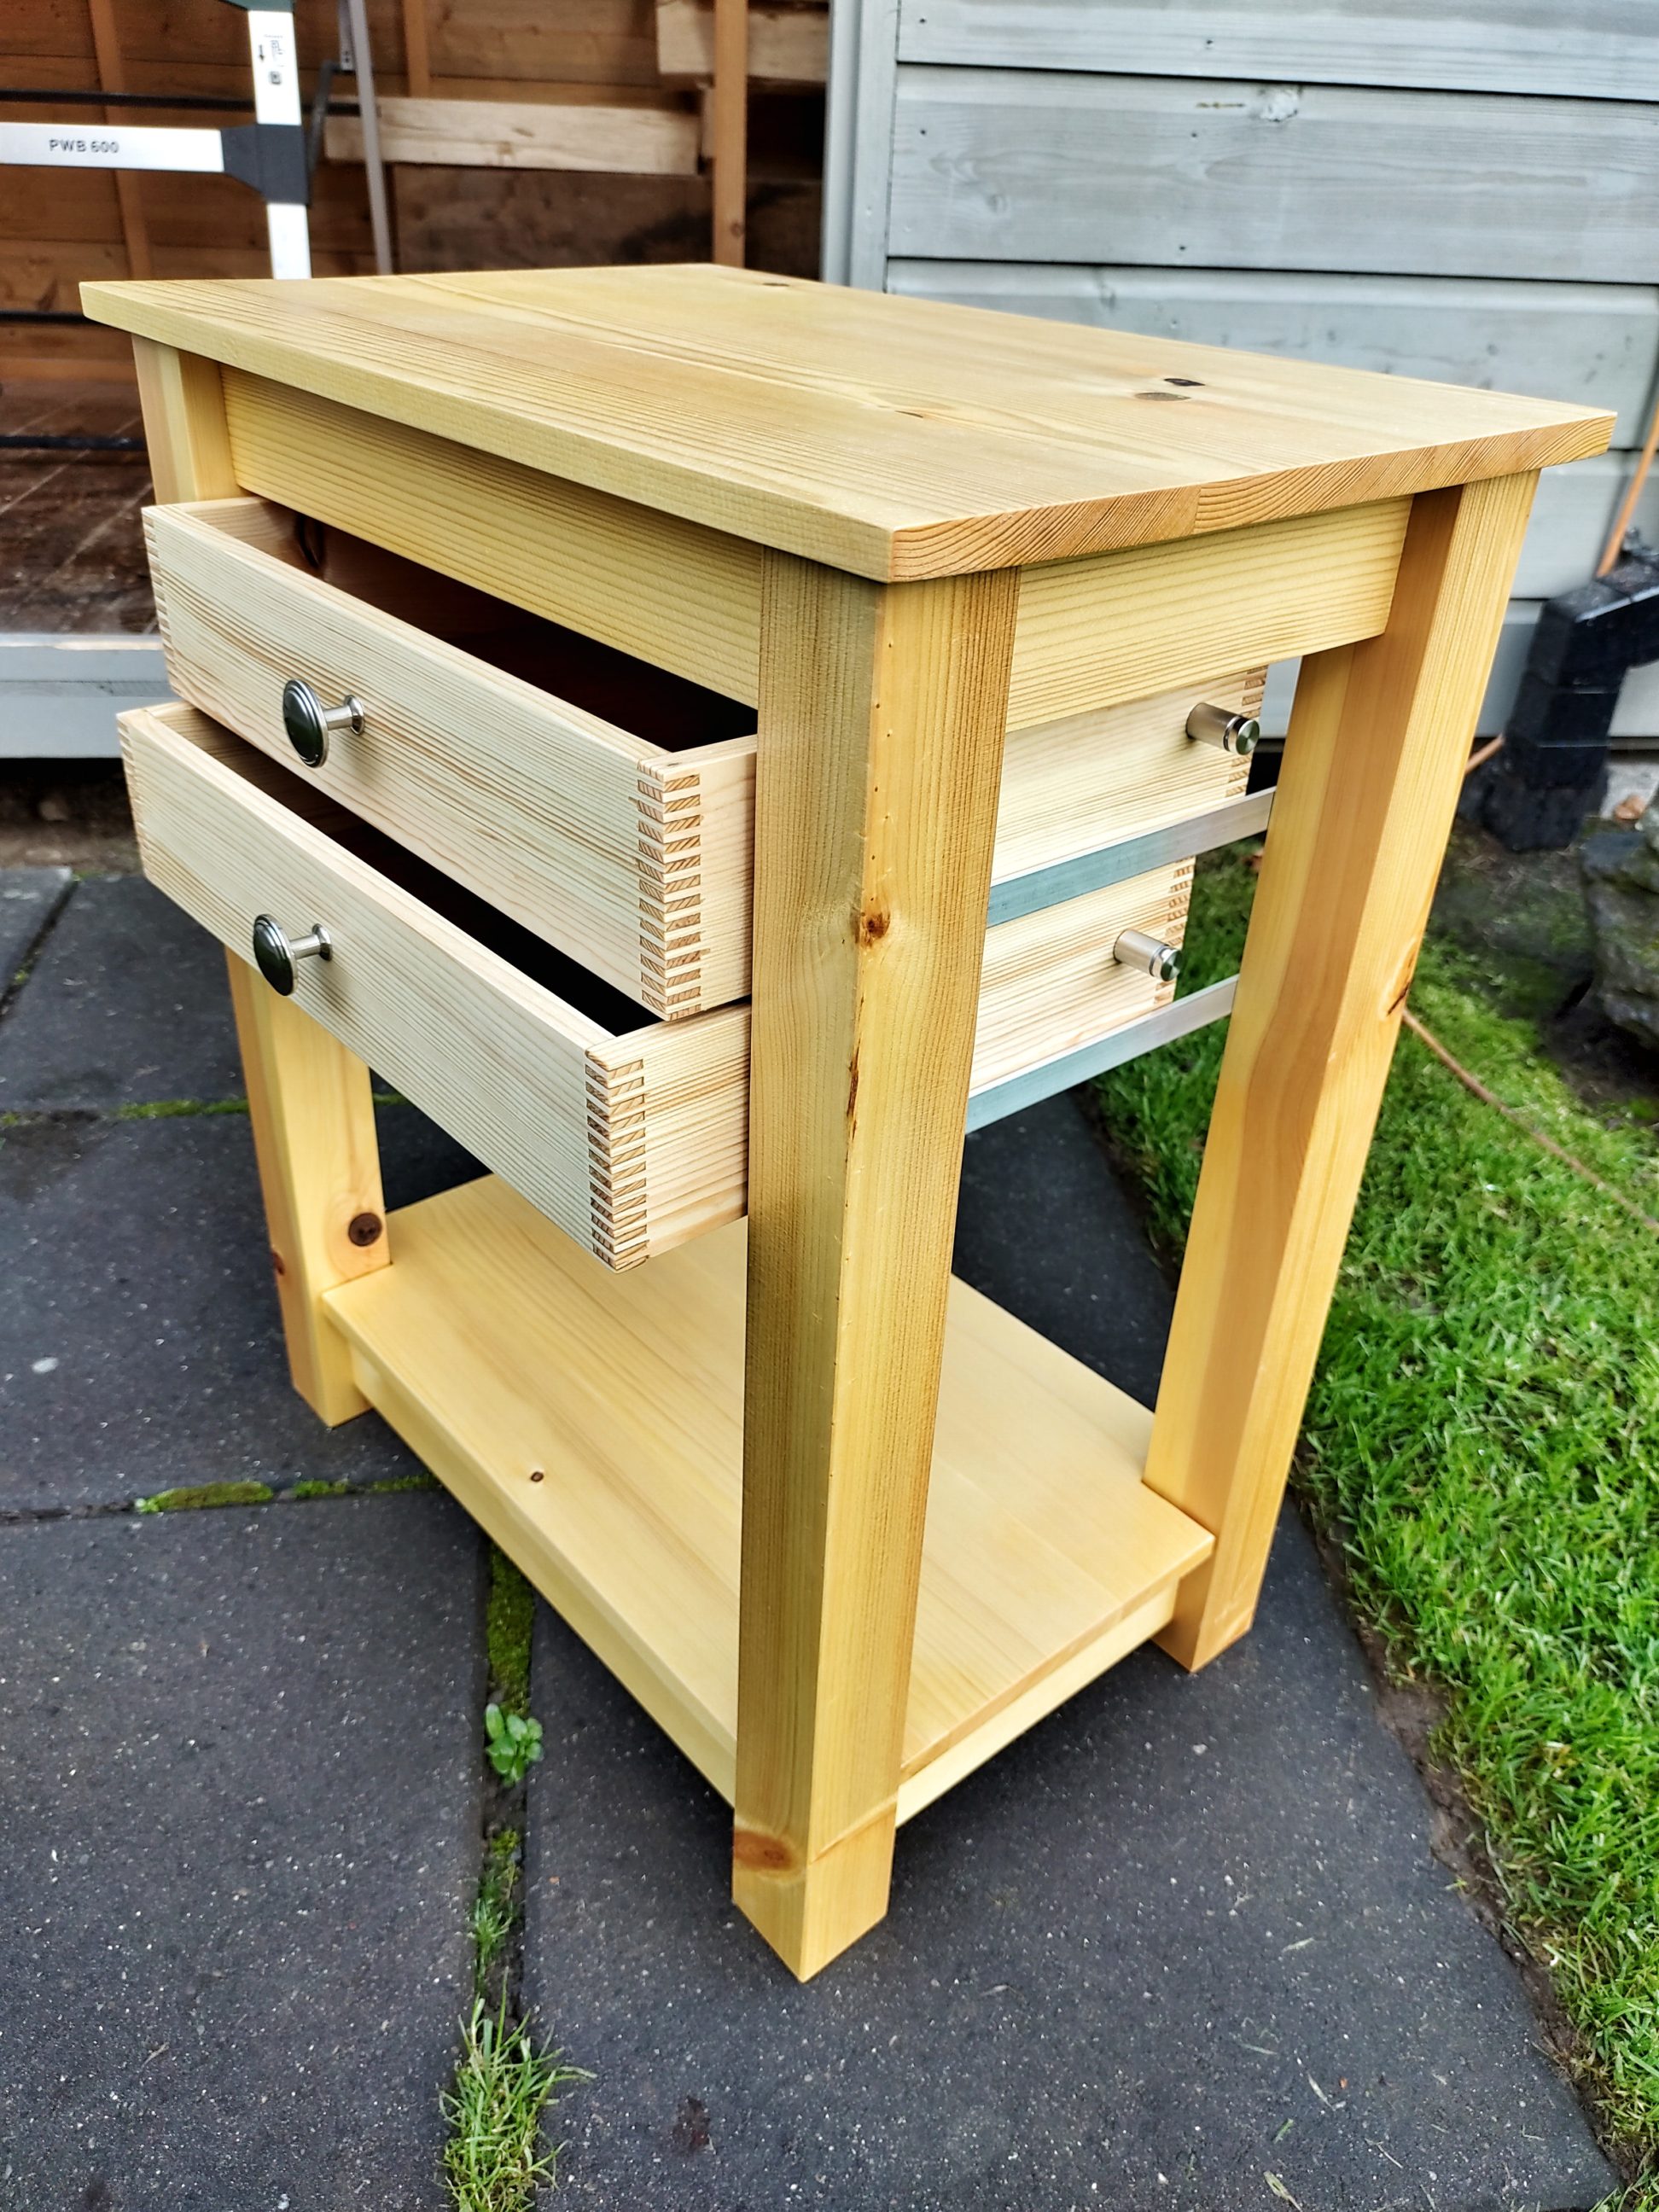
Set of 2 drawers
That set was an upgrade to the existing project – a nightstand that I made sometime in the past. There was some unused storage space left in between those 2 tiers and I had to change that. One of the solutions to the problem was a conversion to a cabinet by simply adding panels and a door, possibly with shelves inside. The other solution was to add 1 bigger or 2 smaller drawers and only use half of the space, leaving the bottom tier as it was. I made the decision in the shop when I found the perfect pine boards for the project. They were exactly as wide and as thick as I needed – 12 x 71 mm (~1/2″ x ~3″).


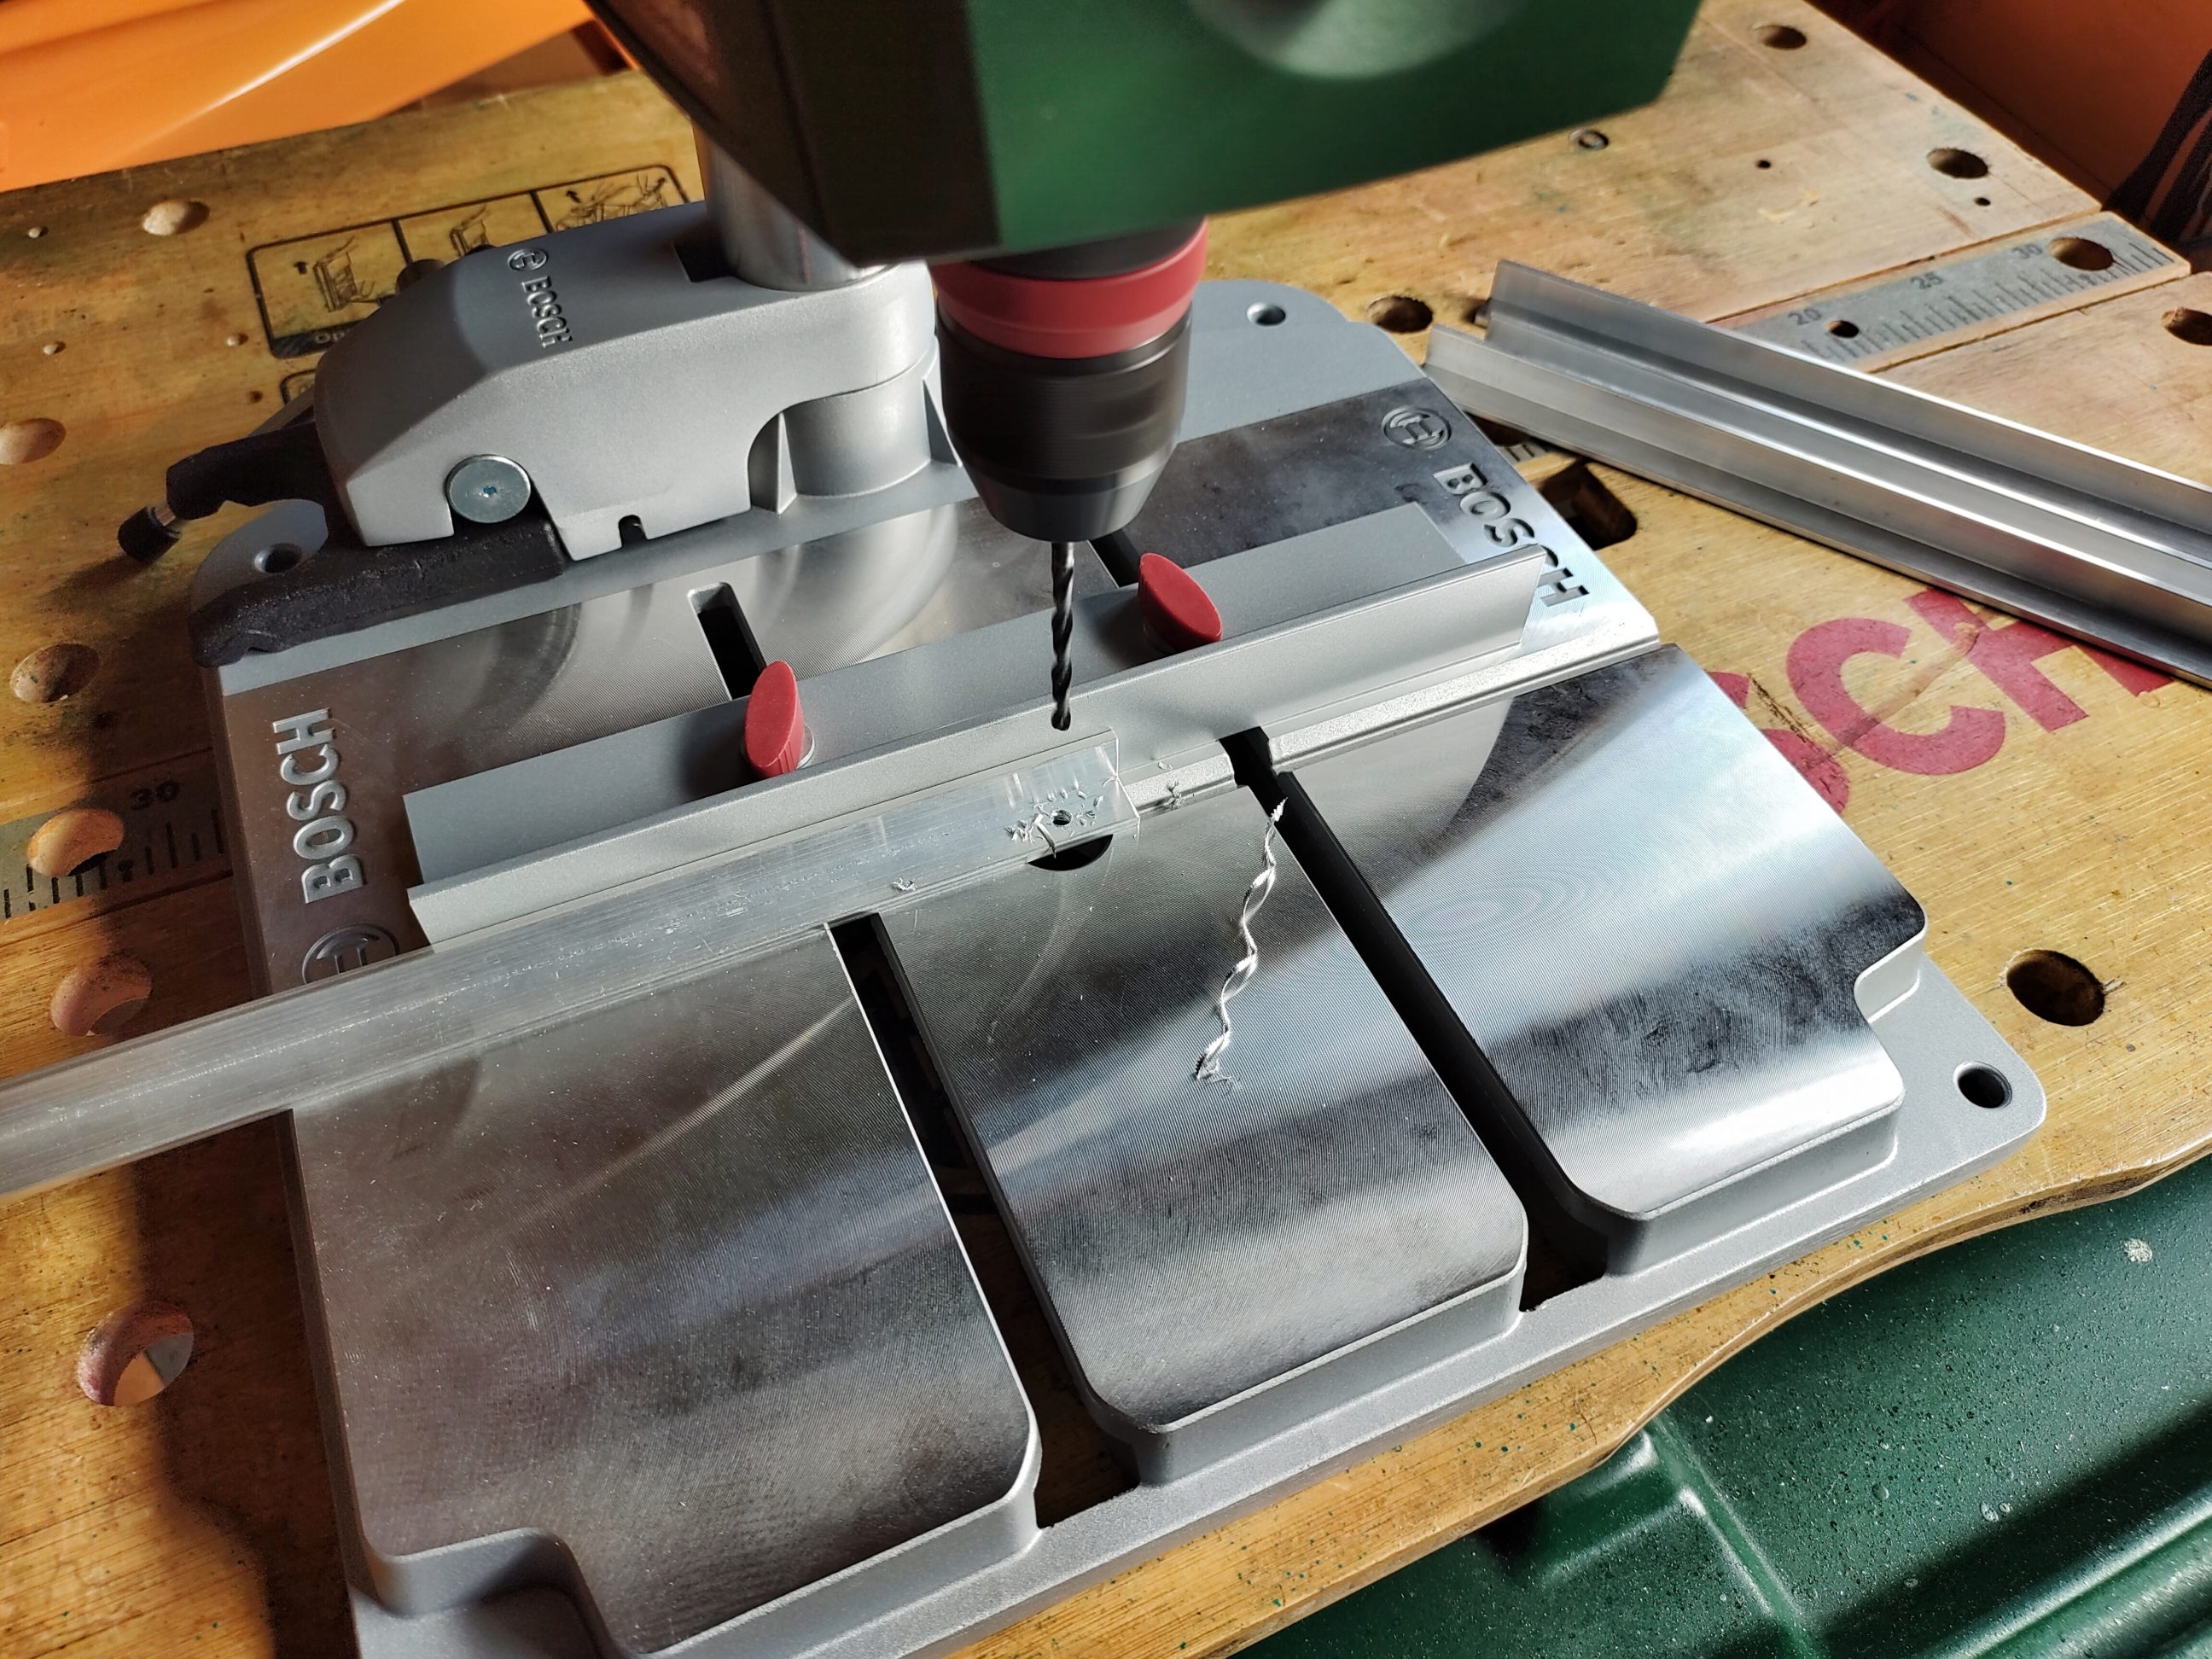


I started with metal works. My drawers required some runners and I wanted to make them myself. I had an aluminium profile on hand, that matched the length I needed. I cut it in 4, drilled and countersunk holes, and next, I did a proper sanding. Having the runners ready was necessary to take measurements of the drawers. They were 1 – 2 mm narrower than the available width but equally deep. I was going to cut them that way because there were no drawer faces and no back panel planned for that project.
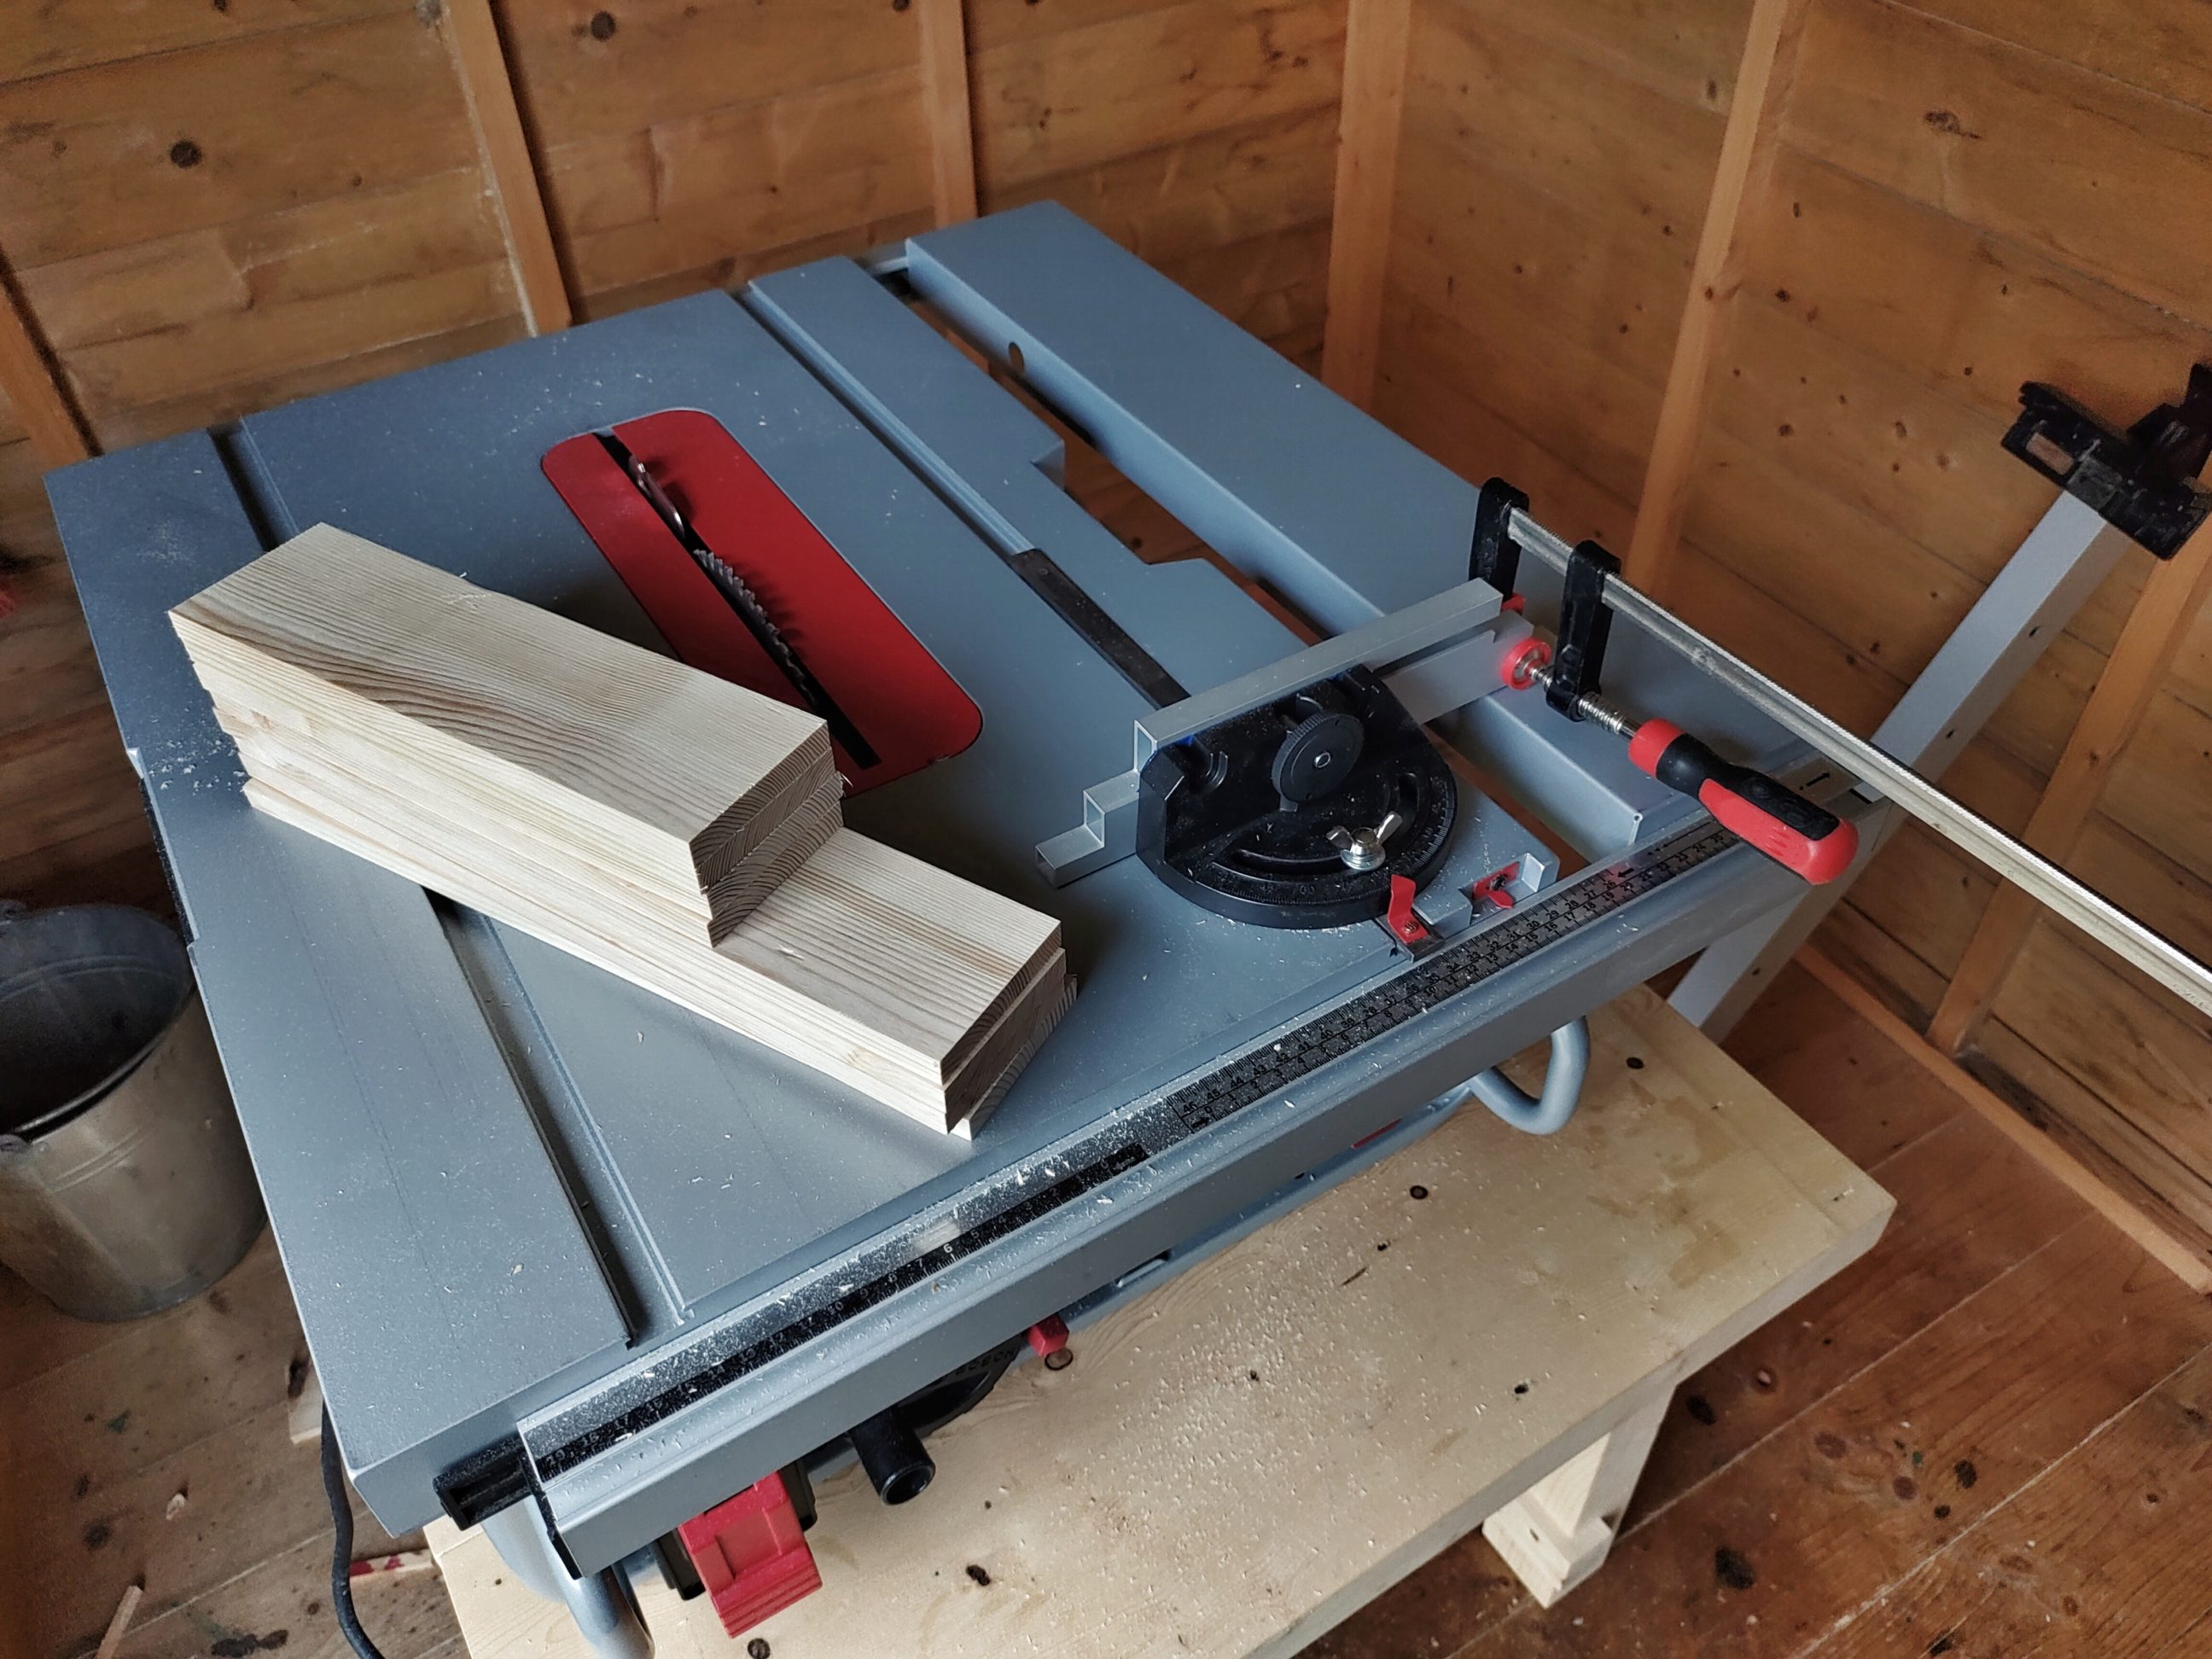
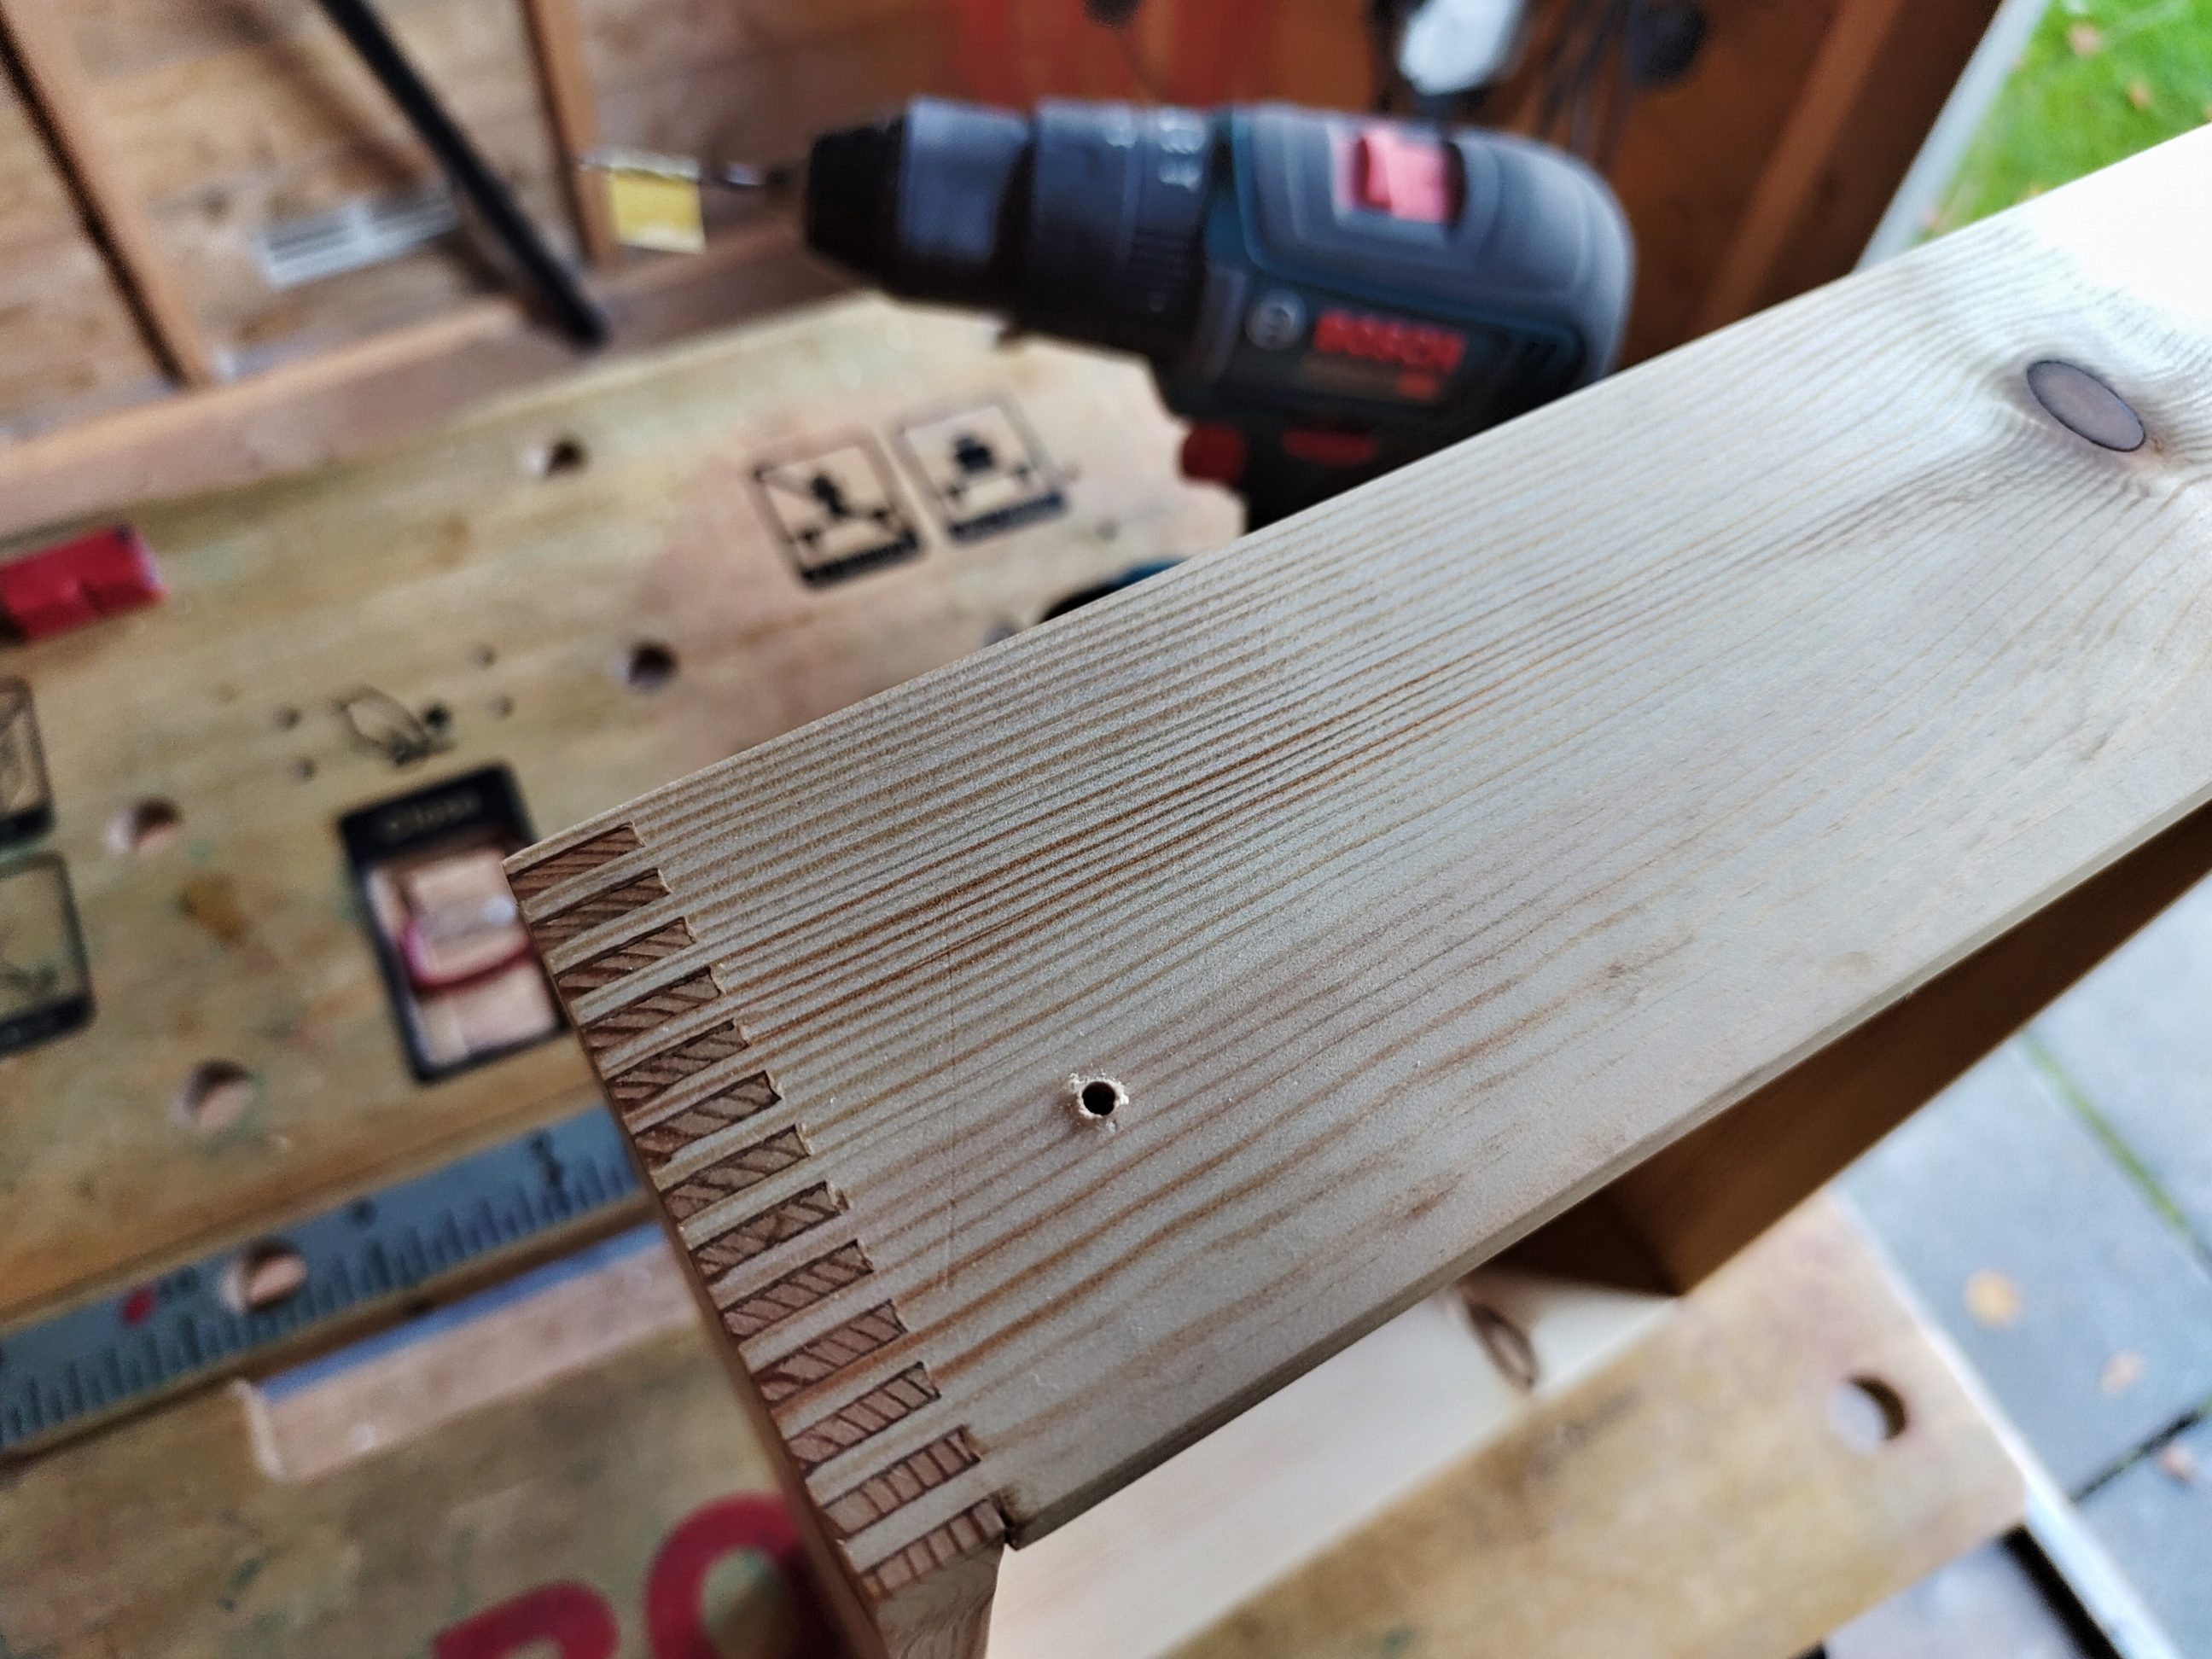
I cut timber to a rough length using my circular saw first and next when the pieces were more manageable, I used my table saw. I cut 2 lengths: 250 and 346 mm (9 27/32″ and 13 5/8″), 4 pieces of each length. Those were also the dimensions of the drawers, as the joints I was going to use were finger joints. I set up my jig and cut them in the next step. As always, I was getting some blow-out that didn’t help with aligning the workpieces against the jig’s fence, so it had to be cleaned out with a knife. Once it was removed, I processed the workpieces again, to make sure the joints were cut properly.


Each piece had one good face and one with some tear-out. I lightly sanded all the good ones, as they were going to face the inside of each drawer and that way there was no need to sand them afterwards. To protect them from glue squeeze-out some masking tape was applied just beside the joints. I applied glue with a brush, put all the pieces together, clamped them with tape and checked for square.


The next day they were ready for sanding and filling up all the imperfections with sawdust and glue. This process is basically sanding with a splash of glue on the surface. Created sawdust is automatically mixed with glue and all cracks are filled up with beautifully matched filler. This step is followed by the final sanding with 240 grit. This method works every time, it’s simple and effective, the only drawback is a wasted sanding disc or even a couple of discs that become clogged and can’t be used anymore.


So the inside and the outside were sanded smooth. The next thing to do was to cut rebates in the bottoms using a router. I couldn’t find any 5 mm (3/64″ less than 1/4″) MDF in the shop so I bought plywood. 5 mm material suited that project better than 6 mm (1/4″), but it wasn’t only about the thickness, but density too. My spring-powered staple gun did a much better job with the material I chose.
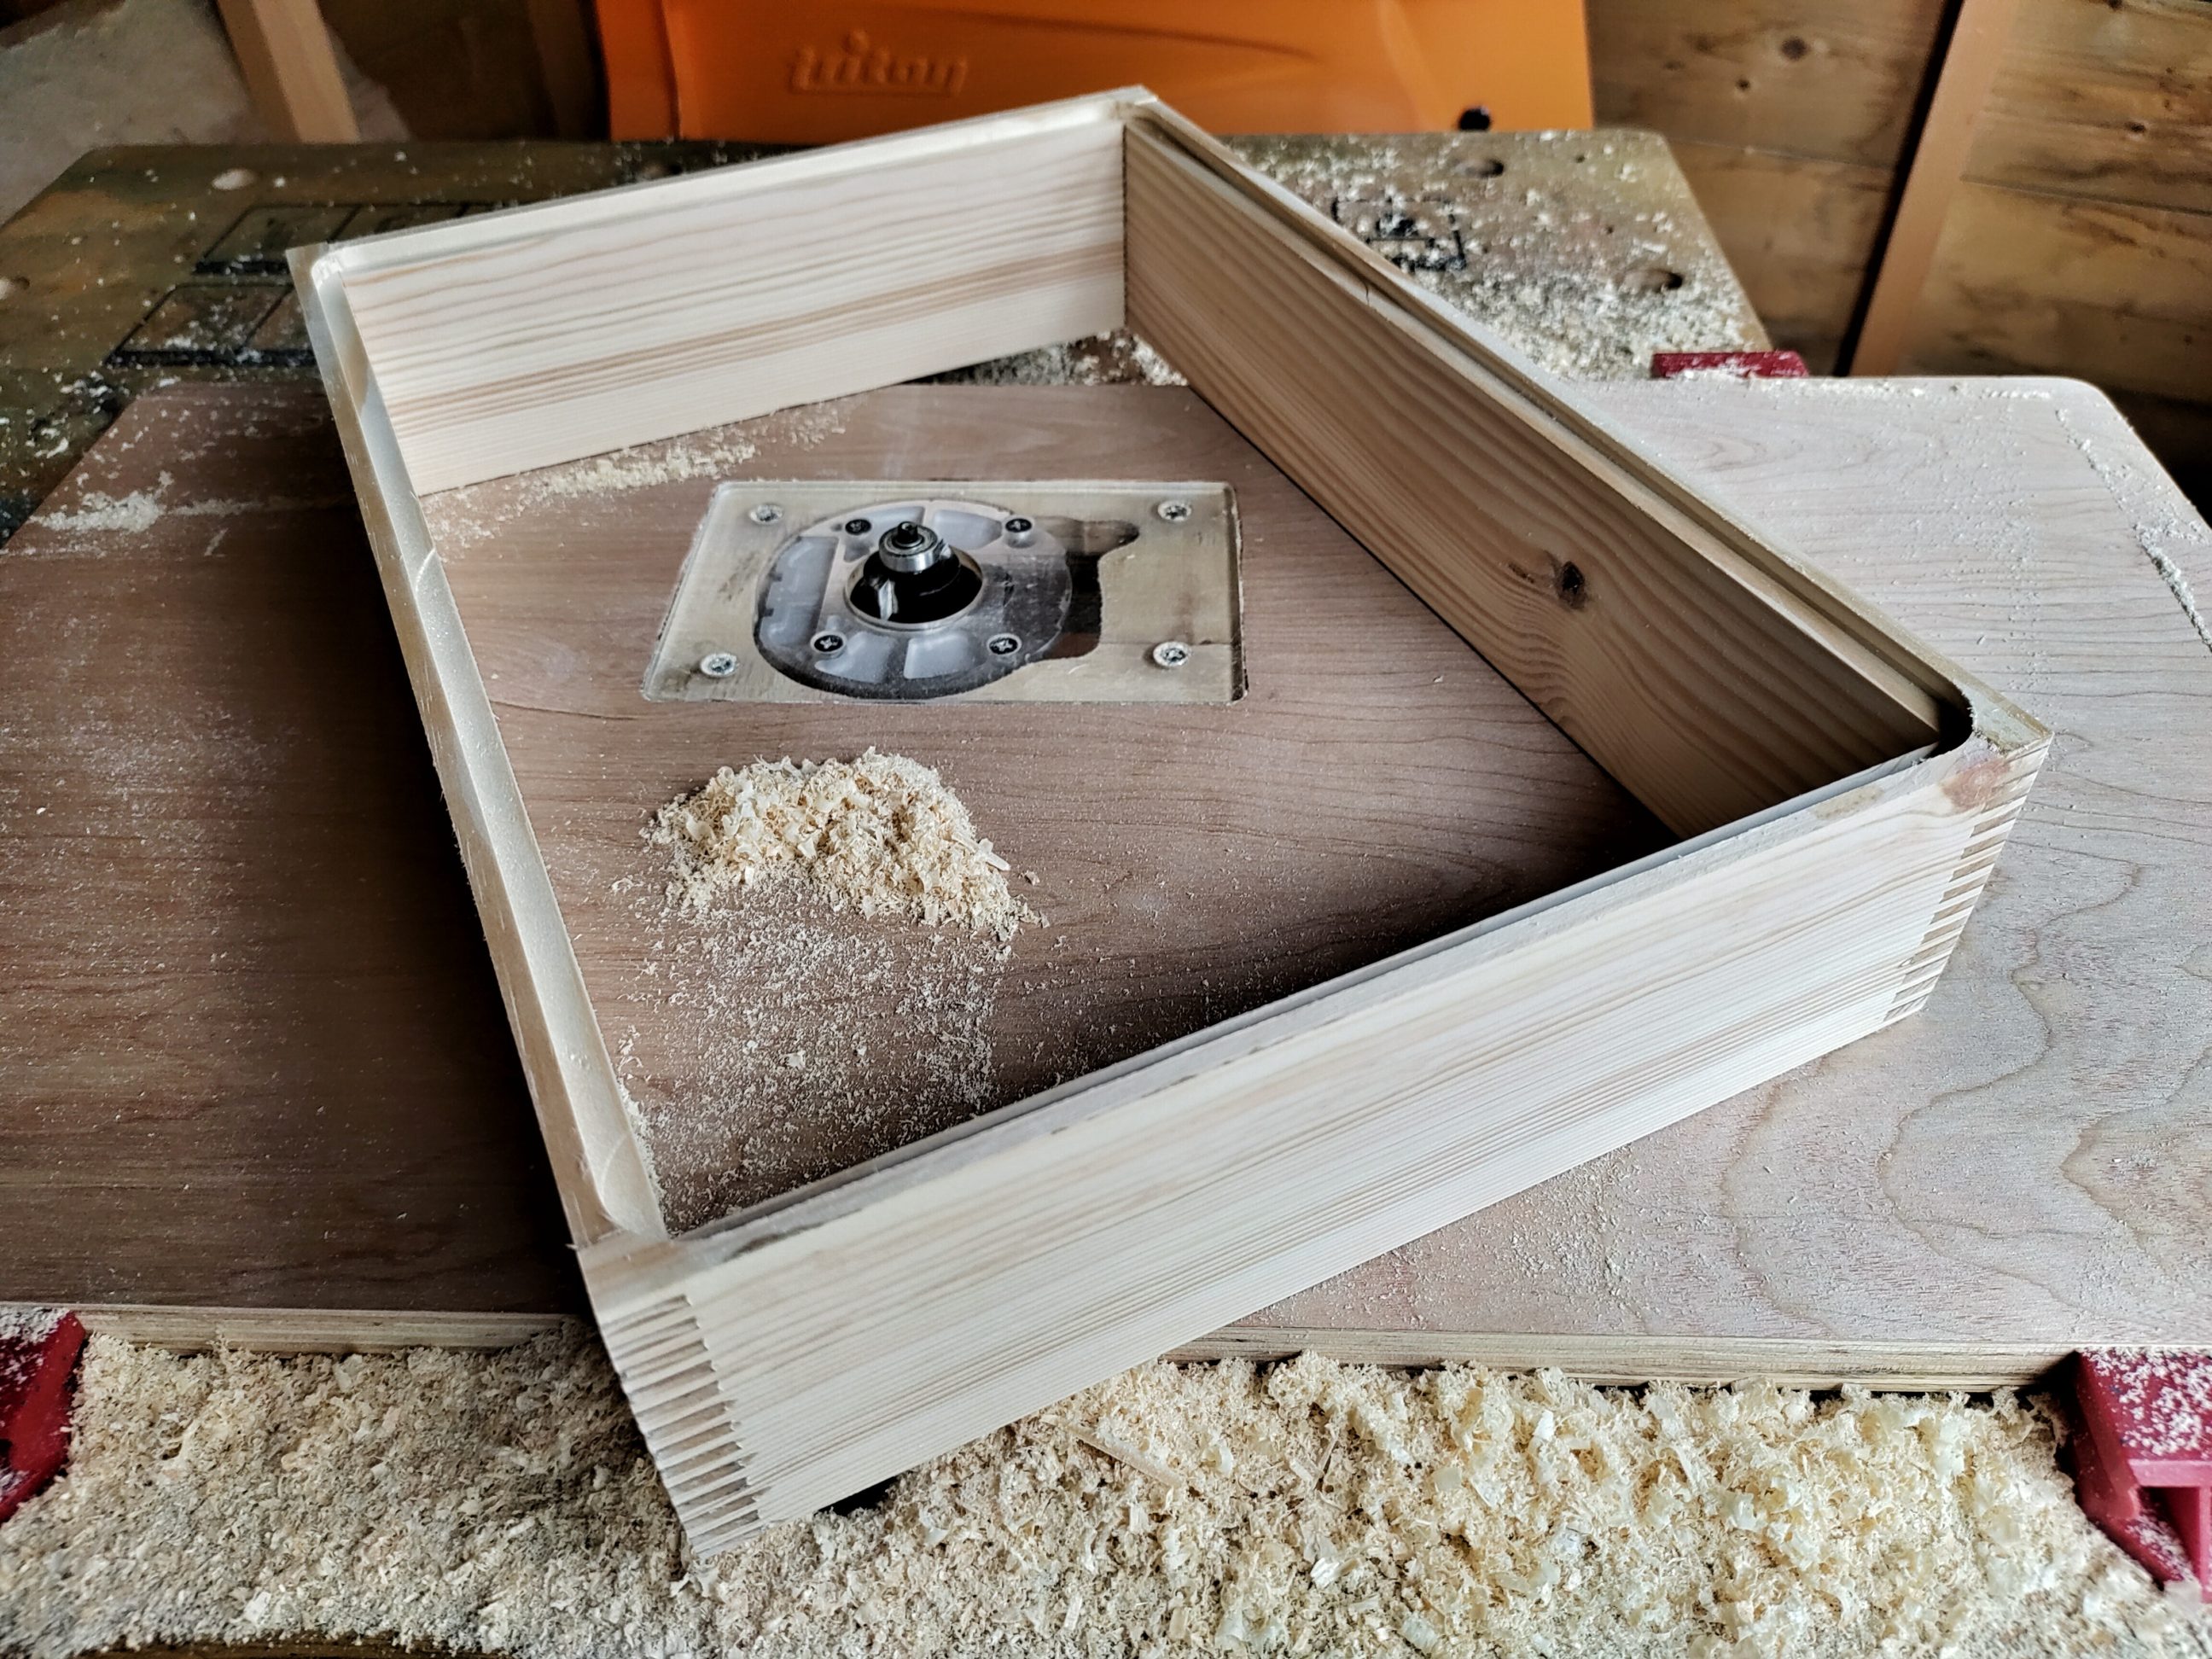


When the rebates were done, I measured the openings and cut plywood to size using a circular saw and a guide clamp. It looked like the radius of the inside corners was 15 mm (19/32″) so I used a corresponding template to round the bottom sheets. Next, I lightly sanded them, being careful not to remove too much of the veneer, which was unbelievably thin. I also sanded the drawer bottoms leaving the tops alone, as they were exposed to some pounding in the next step and that could damage their surface.


To tack the plywood to the frames, I used a staple gun and finish nails. Just one or two of them weren’t sitting flush and they needed to be finished with a hammer. But in general, that step was easy because the slightly thinner plywood wasn’t that challenging for the gun as the thicker MDF would be. Once the bottoms were fixed, I drilled mounting holes for the knobs (a few millimetres above the centre line) and hand sanded the tops.


It was time to fix the rails to the legs. I pre-drilled holes using a self-centring drill bit and fixed the rails with silver screws that matched the colour of the aluminium slides.


I realised that the top drawer still needed some kind of guide to eliminate tilting down when it was pulled out. I thought about consistency and of course simpleness and there was only one idea I came up with – another set of aluminium rails. The same process as the last time, but there was no need to countersink holes and I used silver pan head screws. Even if they wouldn’t be seen – the installation was done properly.


One problem still needed a solution – the stop blocks, something that could stop drawers flush with the apron and prevent them from falling out. The idea was simple – a pin placed at the far end of the drawer side, and I needed 4 of them. I ordered them online and they were called “advertising screws” plus many other names. Waiting for the delivery wasn’t too long, but in the meantime, I applied 3 coats of Danish oil to my drawers. I also pre-drilled holes for the stop pins and cut off screw tips with a bolt cutter.


The final assembly was a breeze, all I needed was a screwdriver to install the knobs and the stop pins.


The stop mechanism worked well – the drawers couldn’t be pushed too far, they stopped at the right spot, and they didn’t fall out either. I chose the smallest pins available, they couldn’t be smaller in diameter just because they wouldn’t accept screw heads and screwdrivers. Luckily, their proportions looked just right in the project. They filled out the empty space and added more metallic colour to the sides. All details of the sliding mechanism were exposed on purpose and matched the rest. The colour of the drawers came out a little lighter than the table, even though the wood oil that I used was the same, just a different manufacturer. Maybe that gave my drawers a lighter shade of amber, but I still liked them and I was happy with the project!