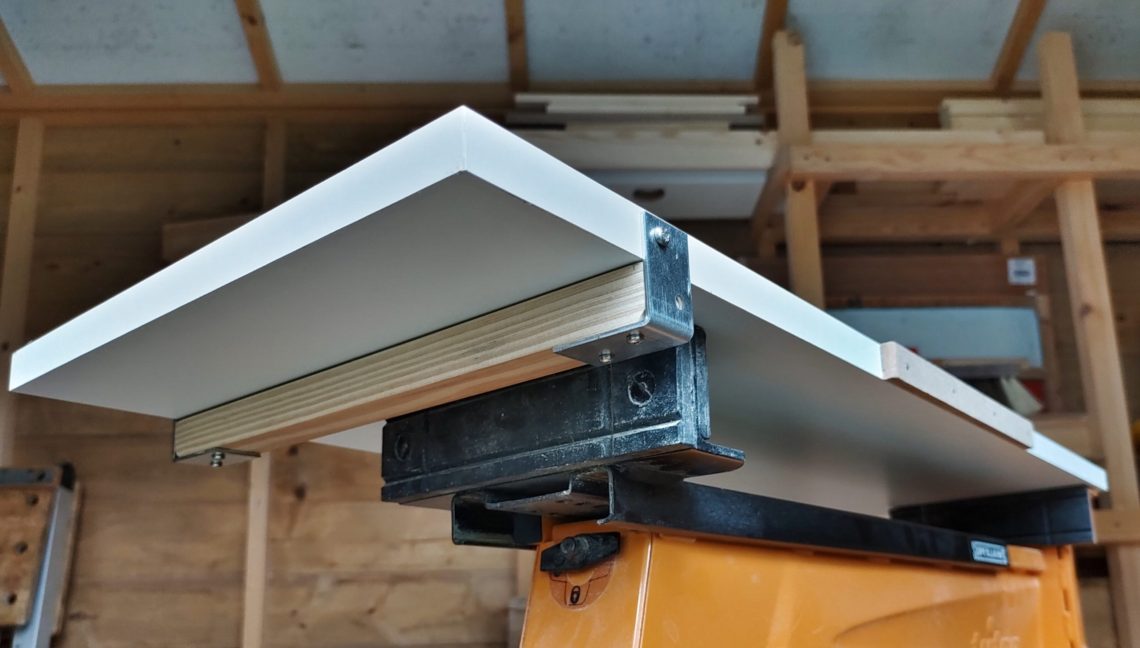
Snipe reducing and reversible thickness planer jig
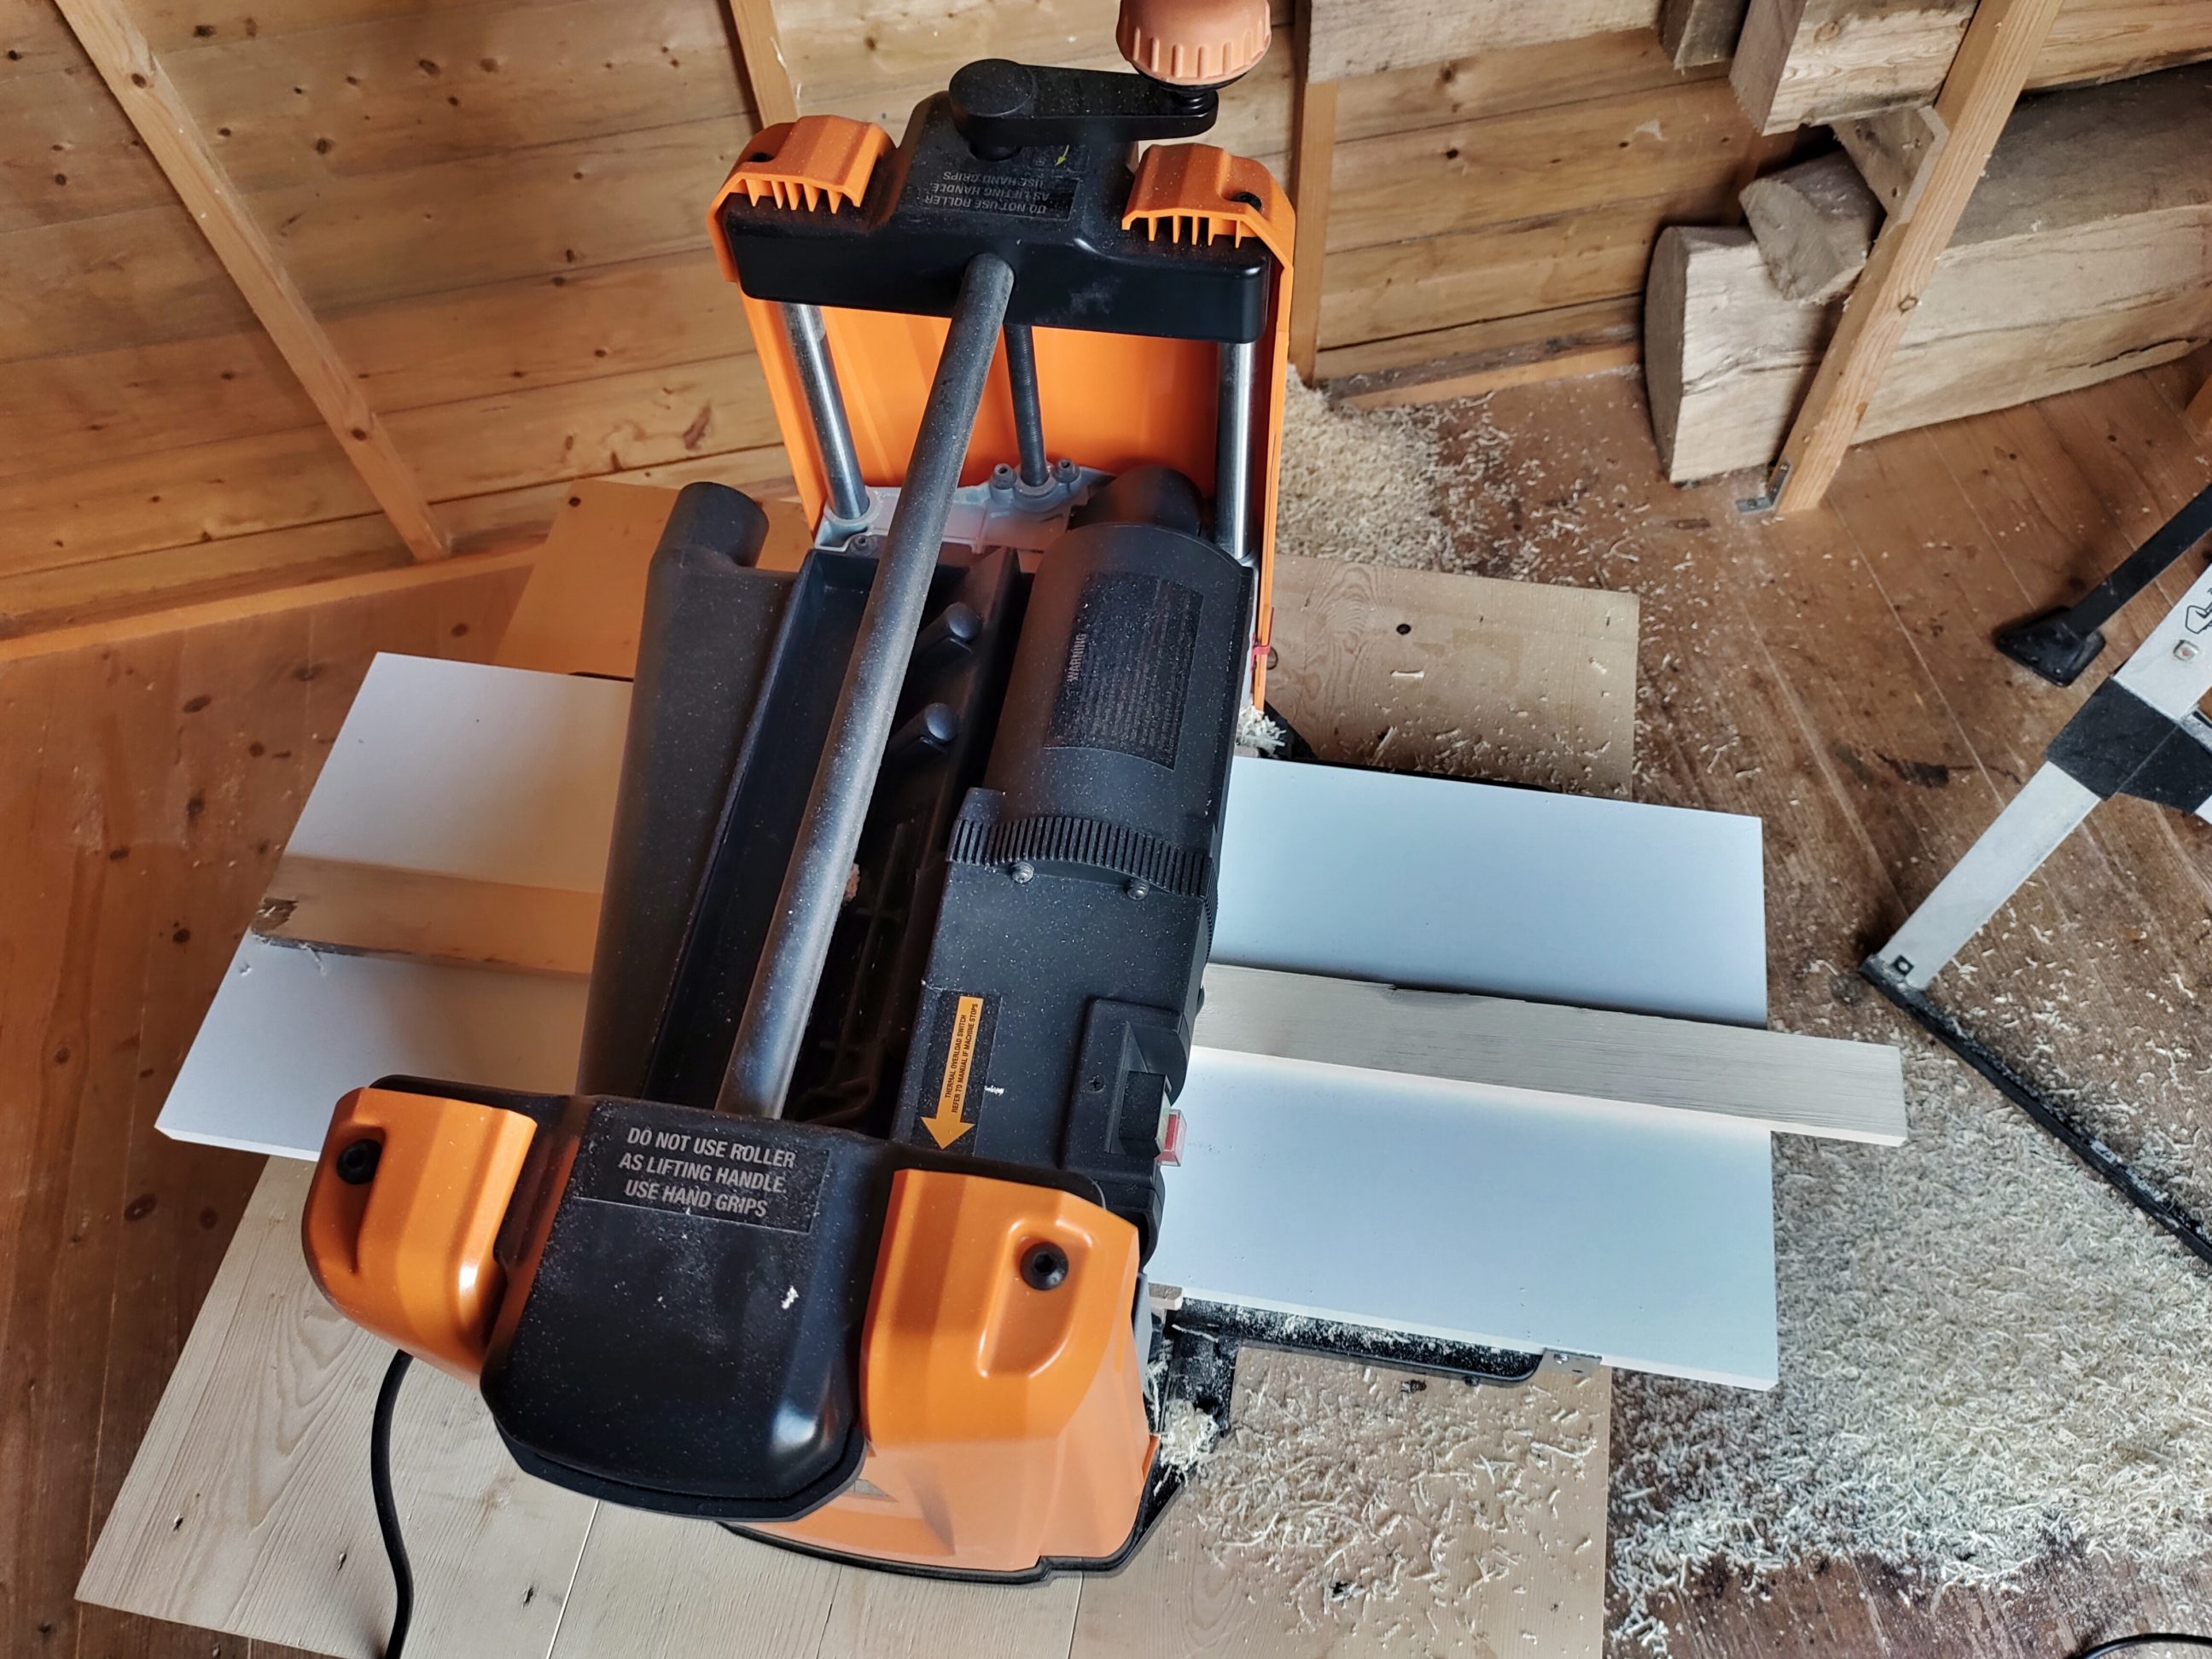
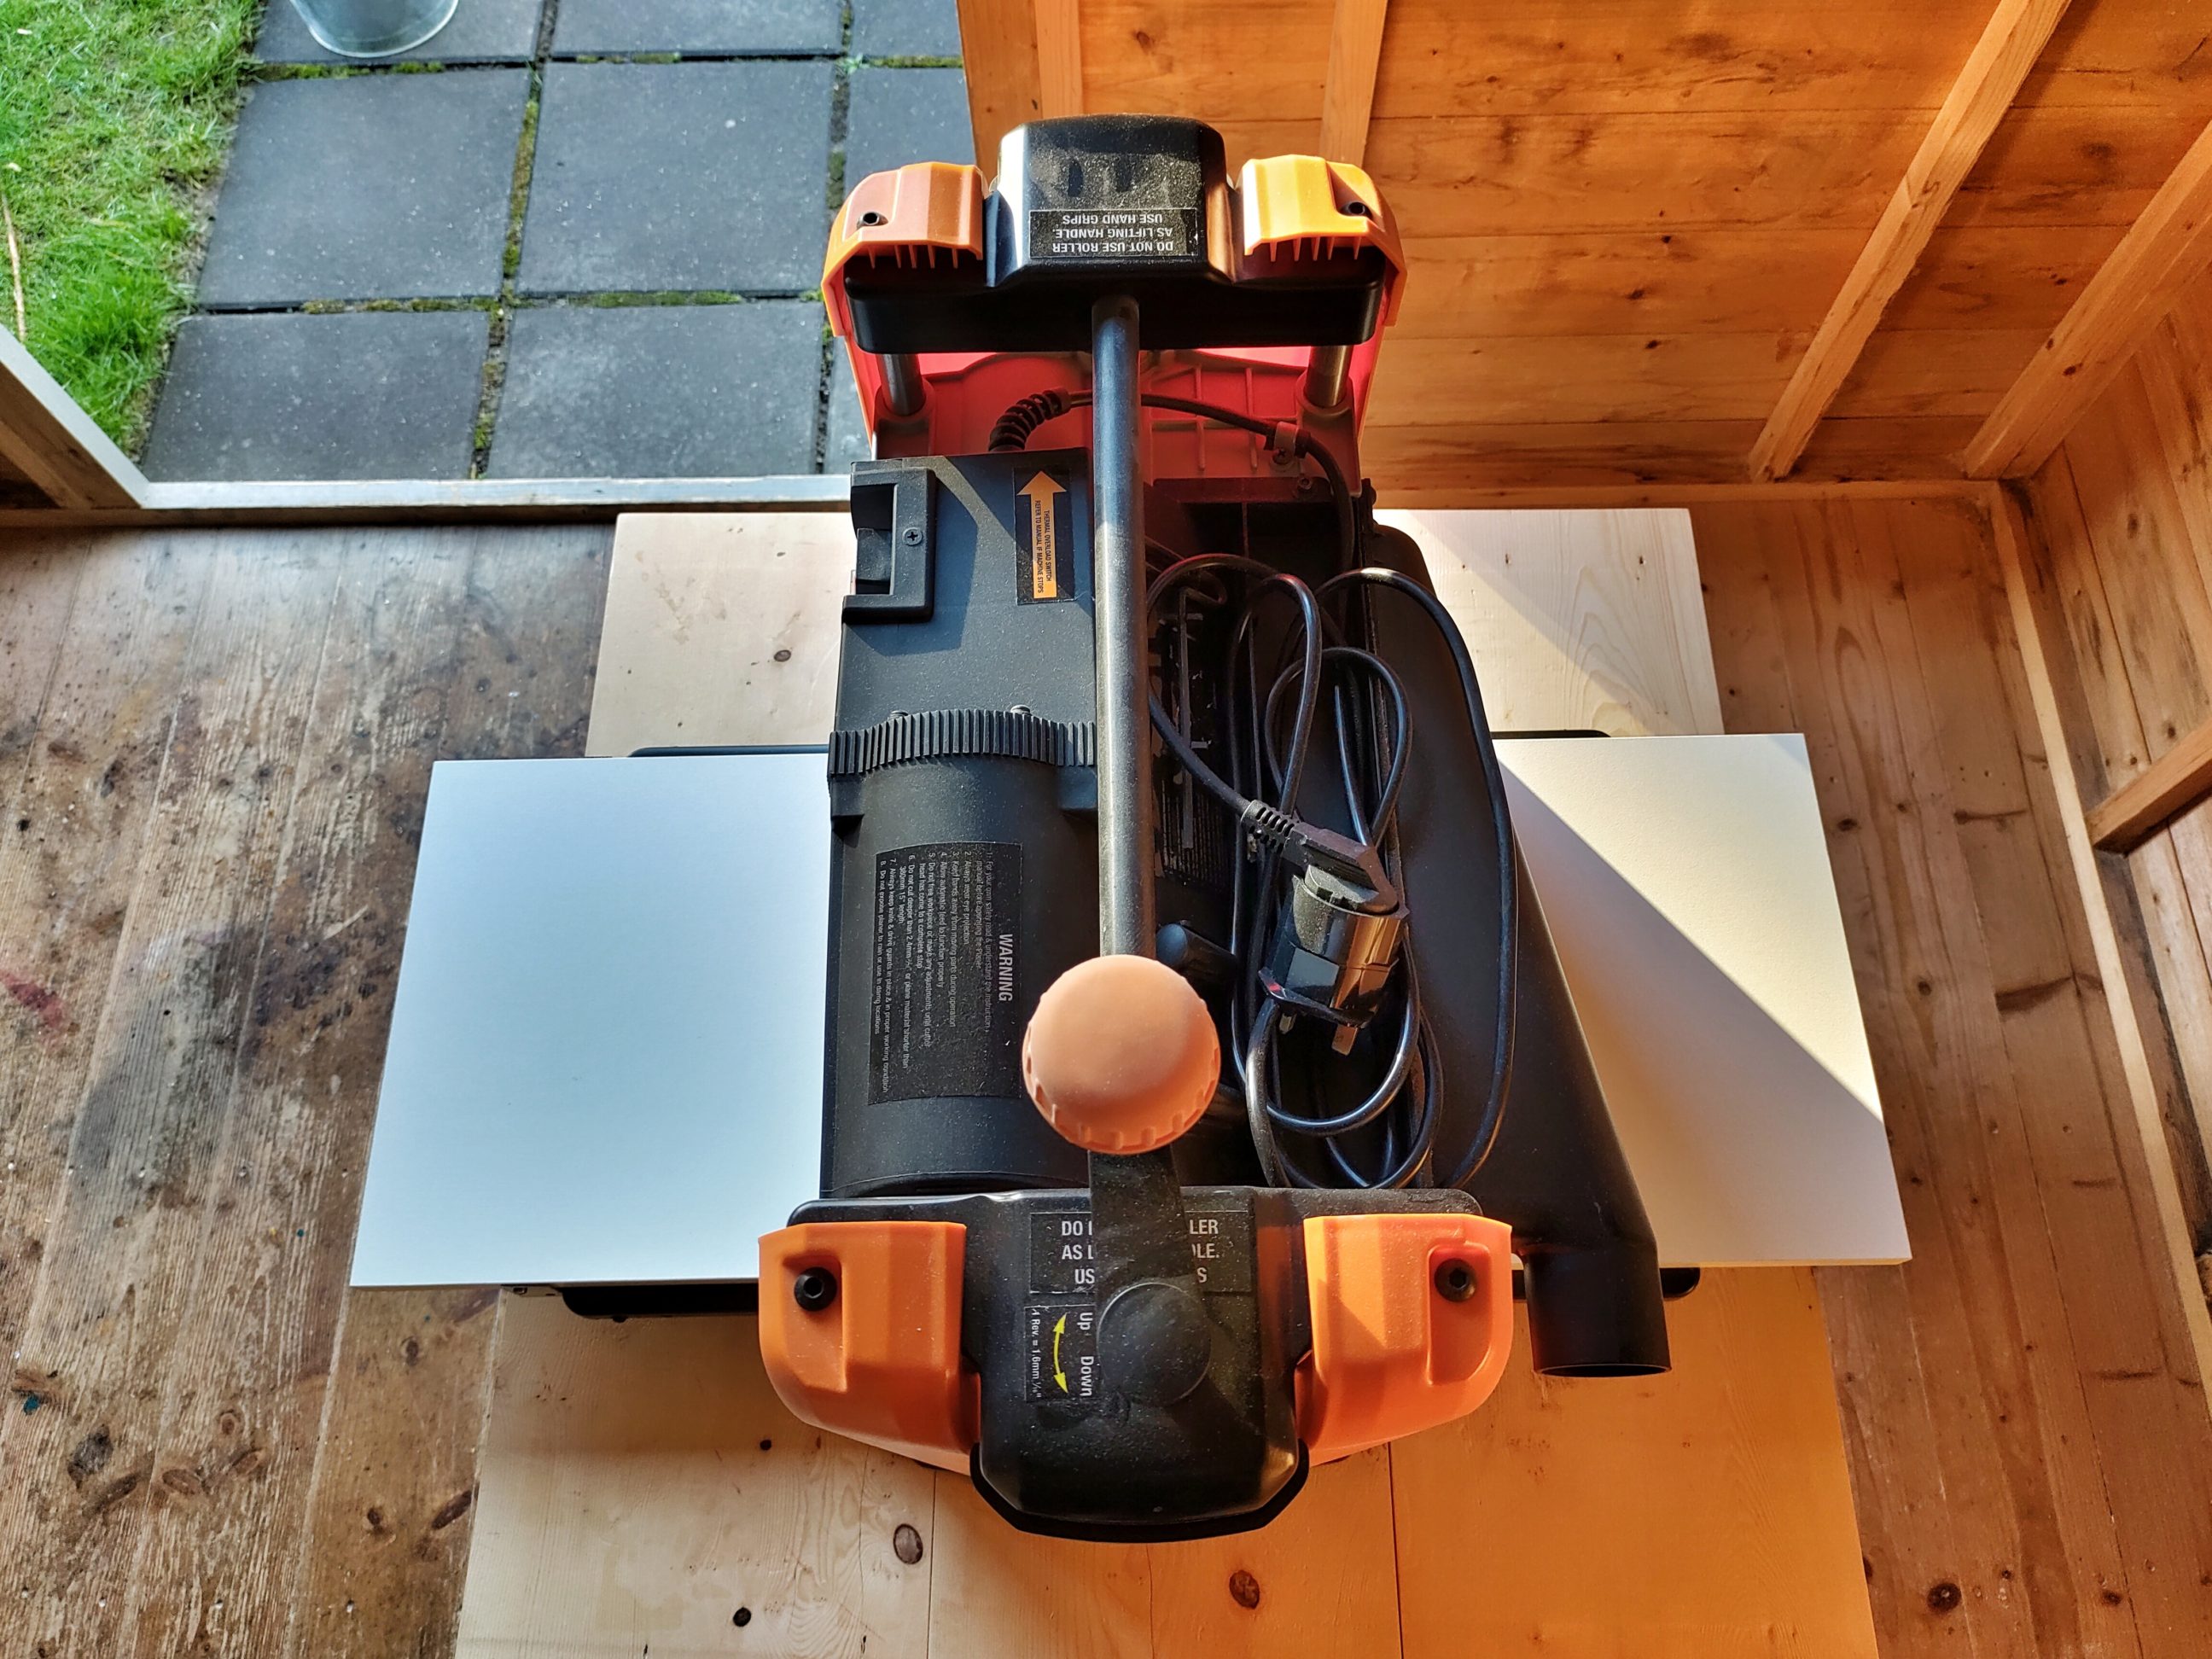
This jig helps to reduce the planer snipe significantly. Not completely – the real numbers are about 90% less snipe and I’m happy with that. Sniping occurs less frequently and if it does it’s very small. It’s not as deep as it used to be. To complete the test, I run 3 boards through the planer, one by one, planing both sides and not using any tricks. I’m very impressed with the results – if I used some tricks and did some sanding, the test pieces would look close to perfect. The melamine chipboard I used for the jig was slightly narrower than the planer width and to help with the alignment and to prevent any side-to-side movements I decided to attach something to its sides – since I had some MDF scraps I used them.


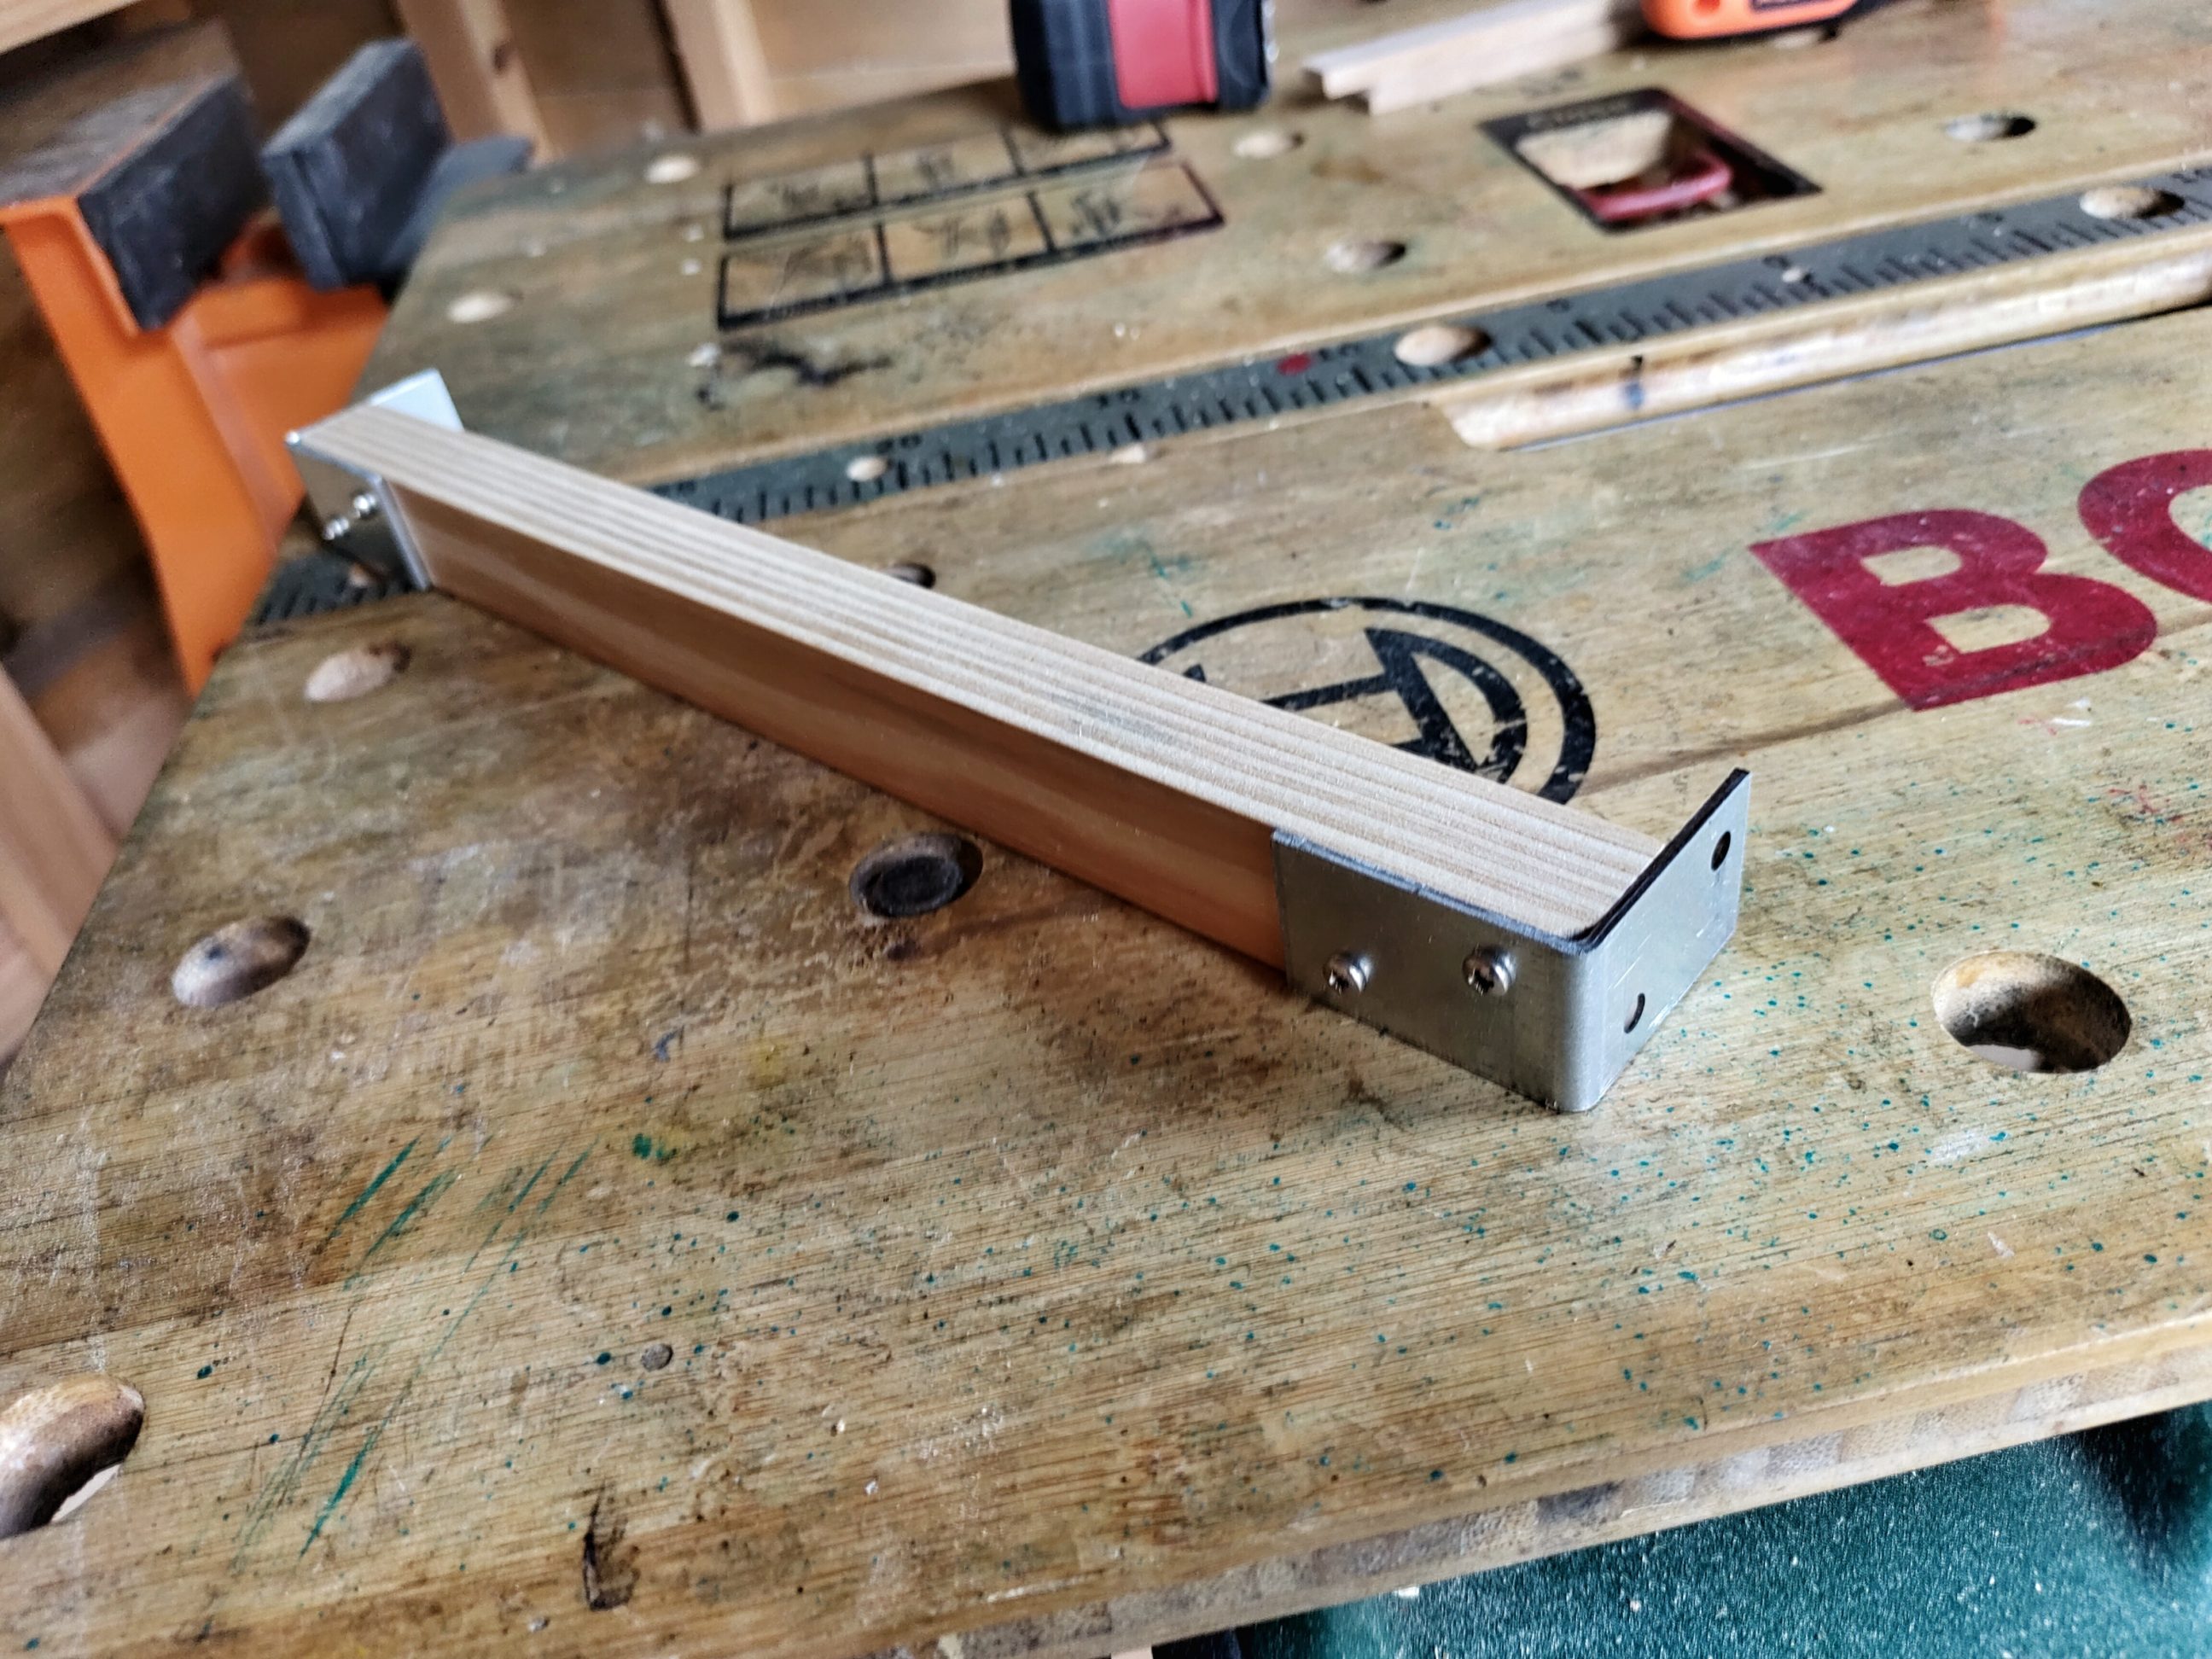
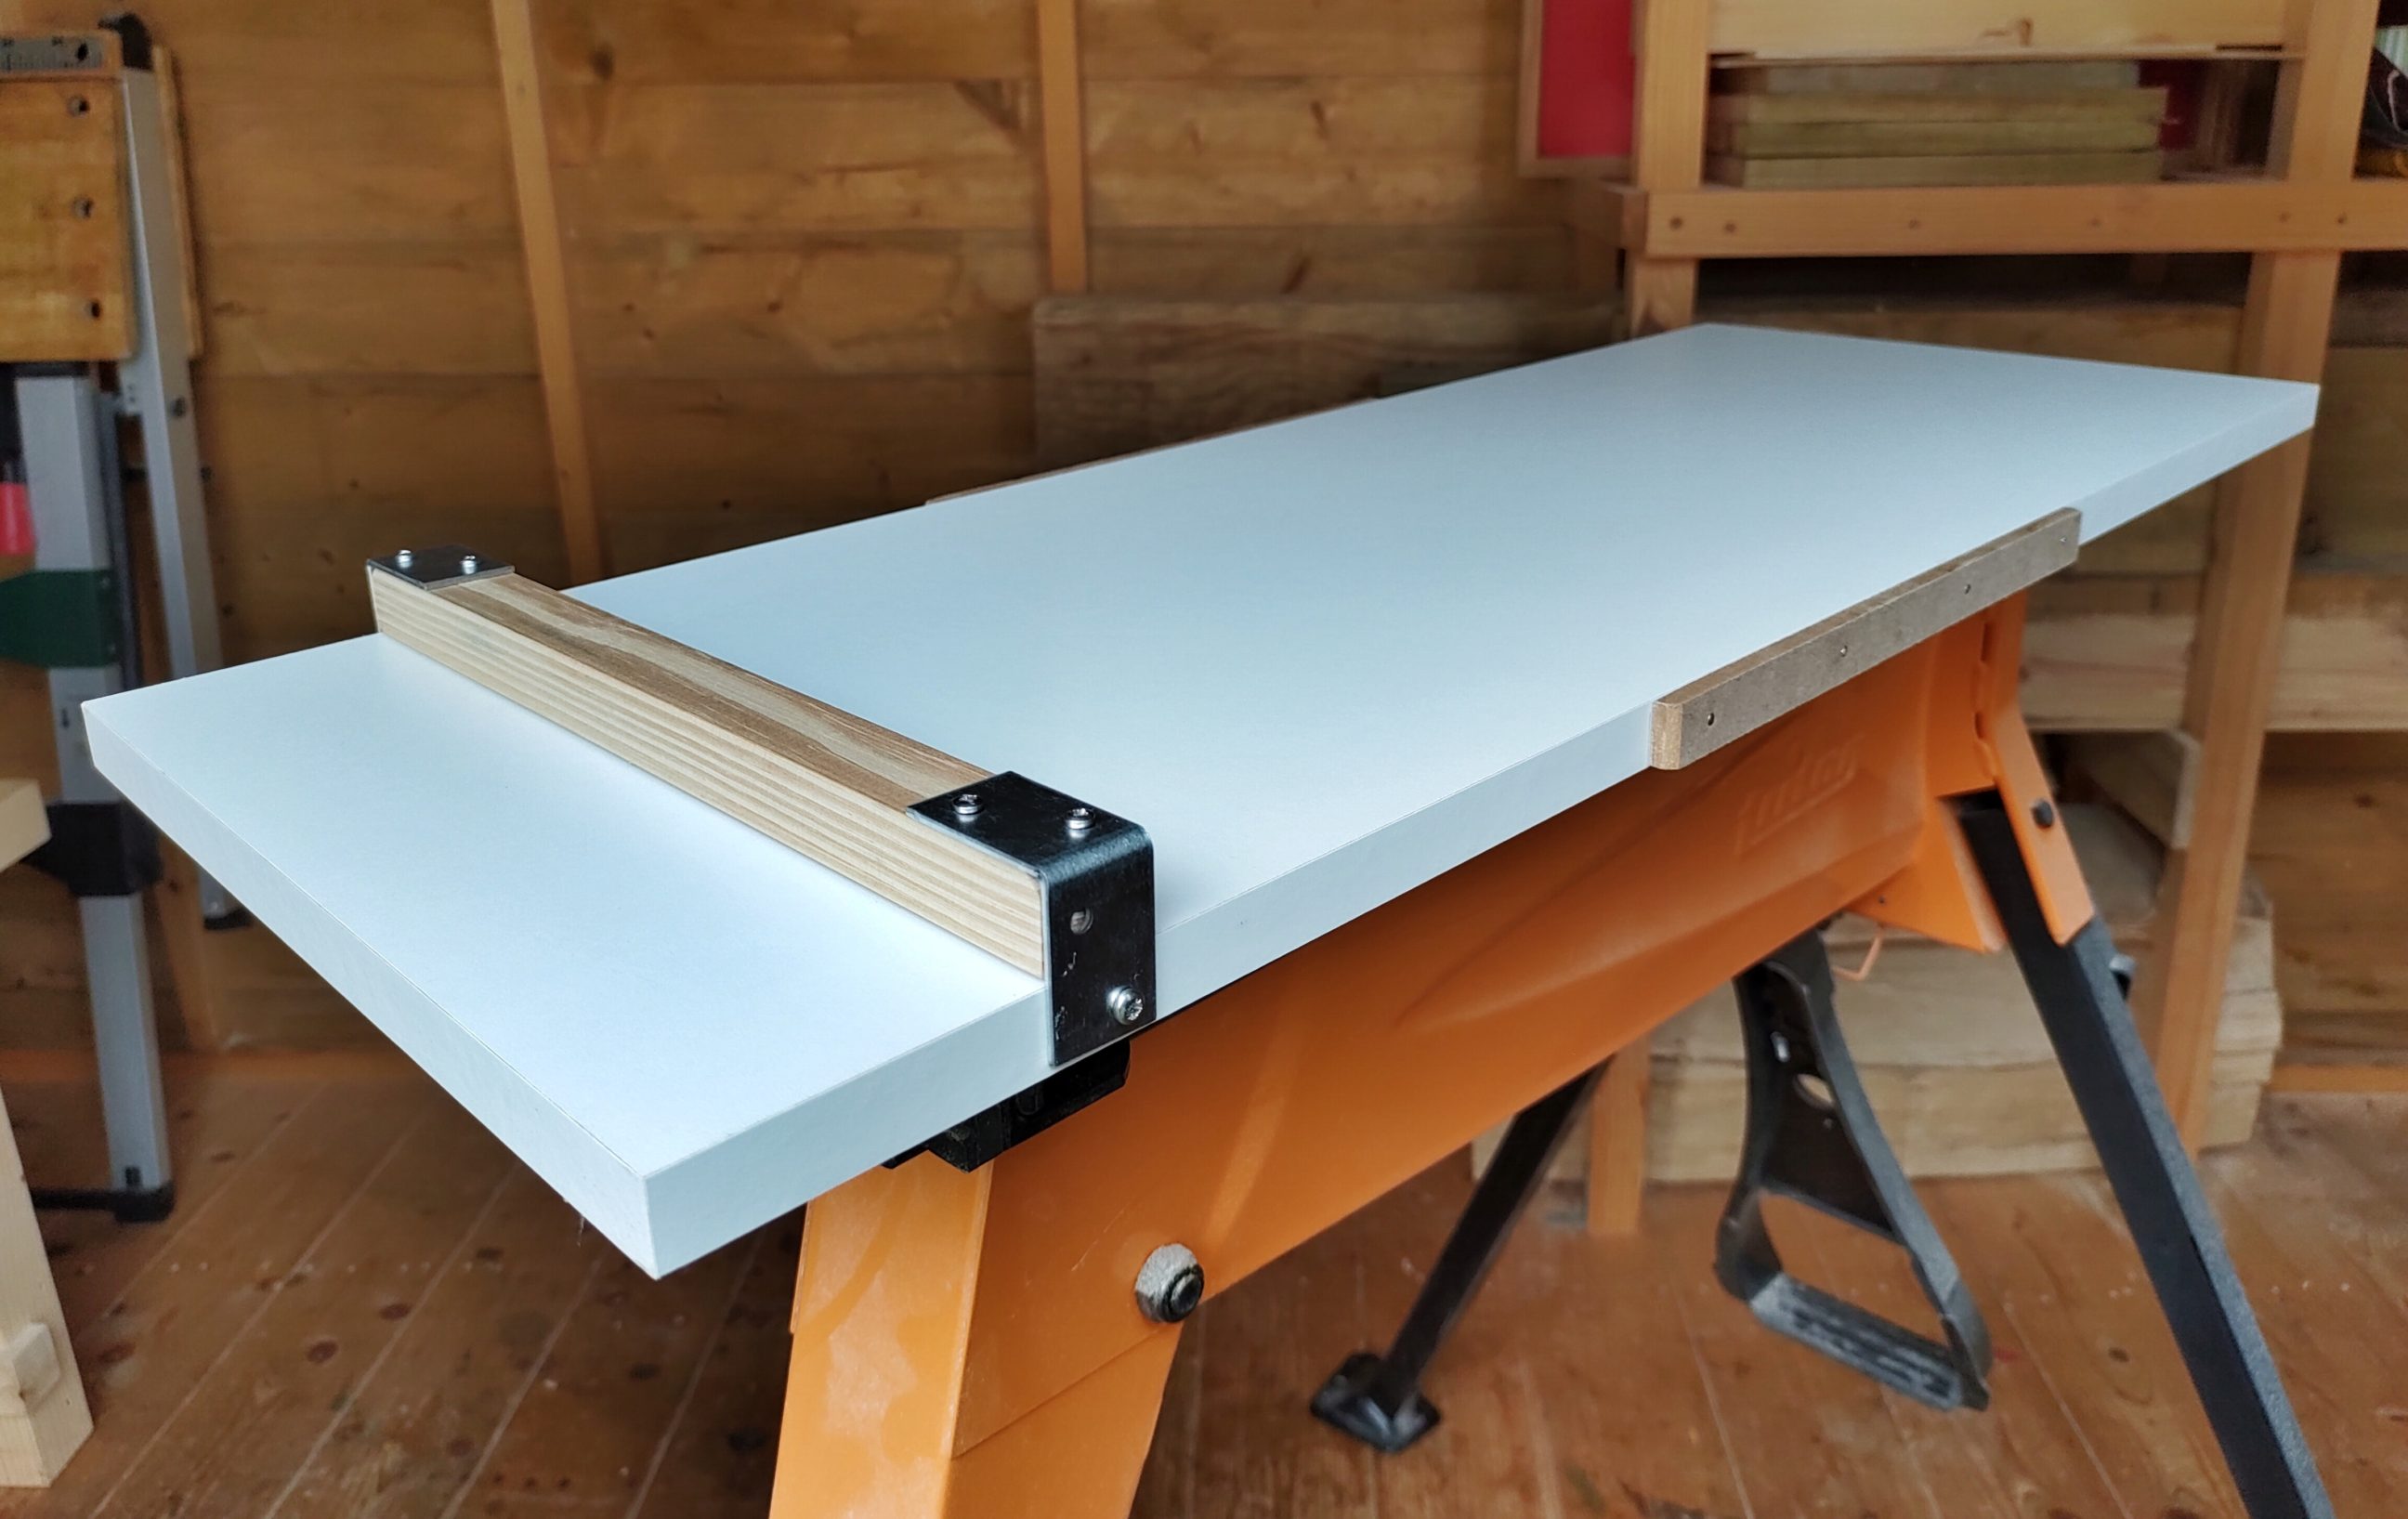
The MDF had to be cut to size on a table saw. The cleat piece was already perfectly sized so I didn’t have to do anything with it. Sanding came next – I sanded off the corners of MDF, the cleat and the steel corner braces as they were slightly too long.


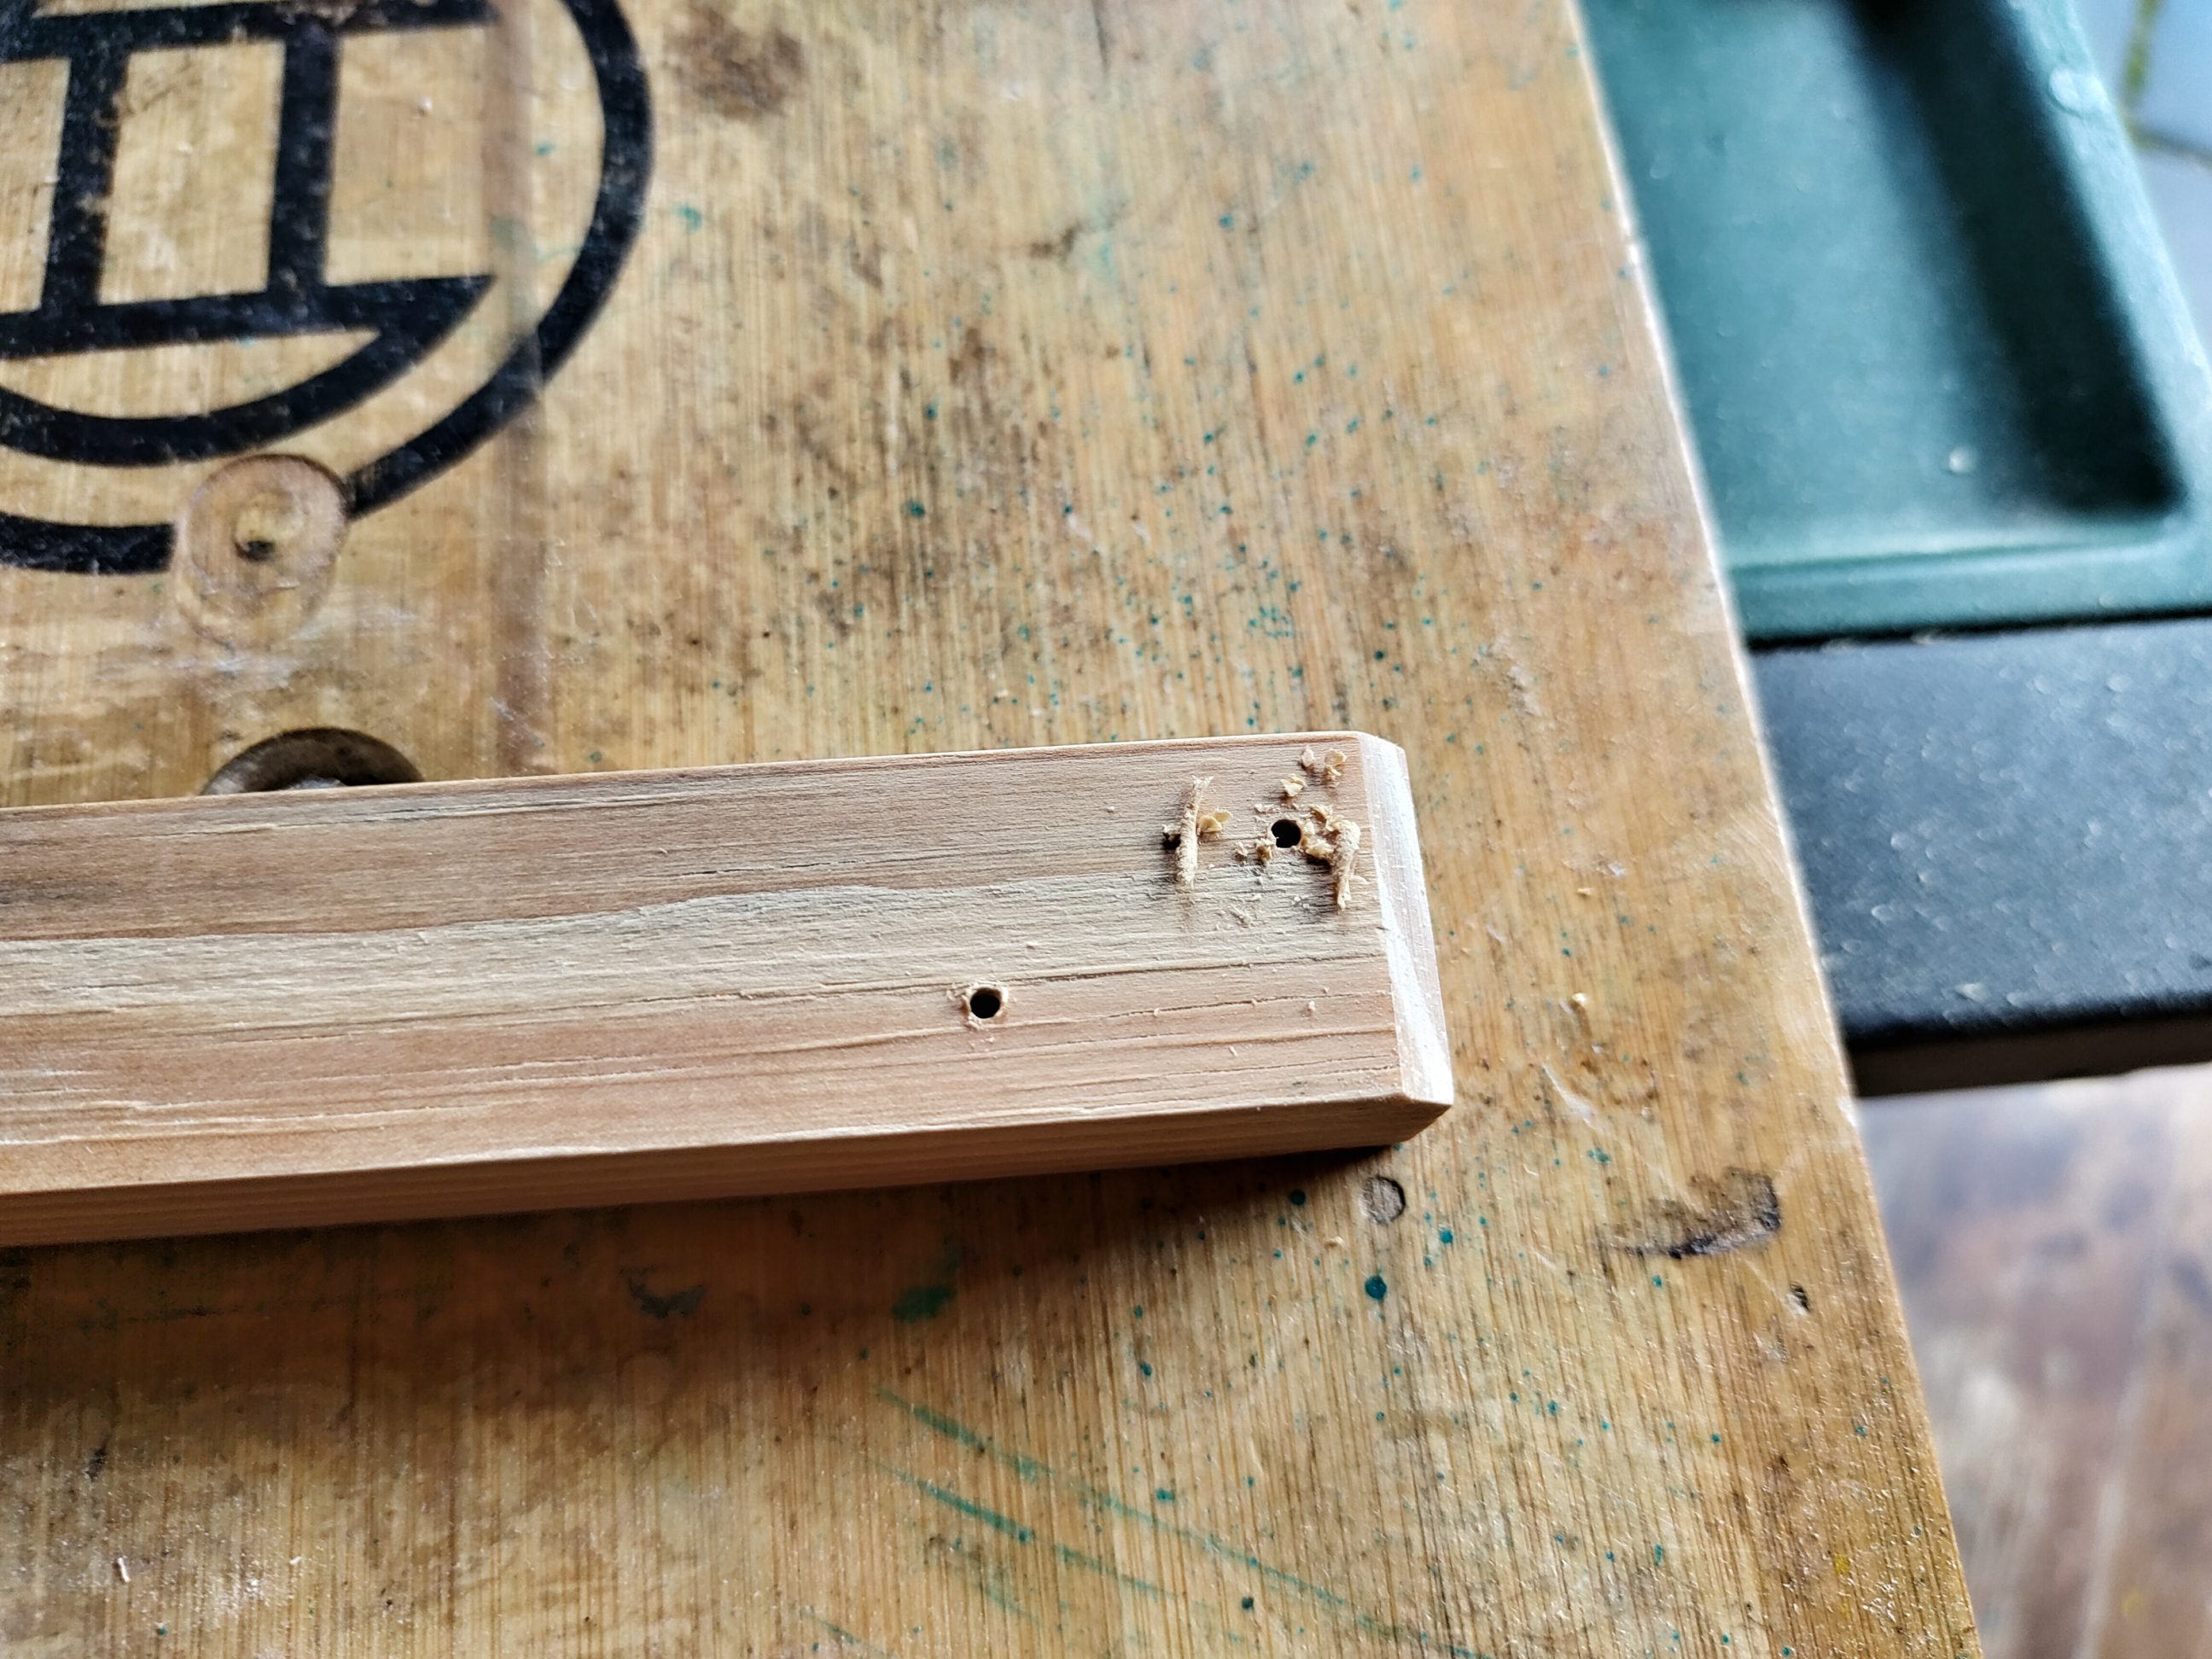
I selected 2 screw lengths and used an awl to mark the drilling points and then all the holes were pre-drilled to prevent splitting. I installed the cleat and nailed the MDF to the sides. The assembly was finished and I could put the jig to the test.


I chose 3 pieces of timber that were off-cuts from another project. I could tell that they were run through the planer in the past – their edge grain was planed down and snipe was clearly visible there – but this time I was going to plane the face grain. I processed them one by one and was pleased with the results. If we agree that there were 12 places where sniping could occur, we can see that it only happened in 2 of them and it was light. It wasn’t easy to take good pictures that would show it up, that’s why I pointed it out in the descriptions below:


I believe this jig will last a long while because it has 2 faces that can be used. It only takes a few moments to unscrew the cleat and mount it from the reverse side. Or, if the already drilled side holes are not corresponding with the holes in the braces, the cleat can be mounted on the opposite side as the jig is symmetrical. Either way, where there is a will there is a way.


There is something more – I realised that the cleat can be removed and thus the relatively thin melamine chipboard can be used as a sledge (US sled). Applied along with hot glue or double-sided tape and shims will allow to flatten almost everything that fits into the planer.


One Comment
Pingback: