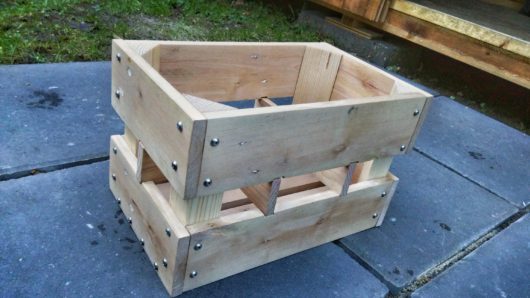
Half-lap picture frames
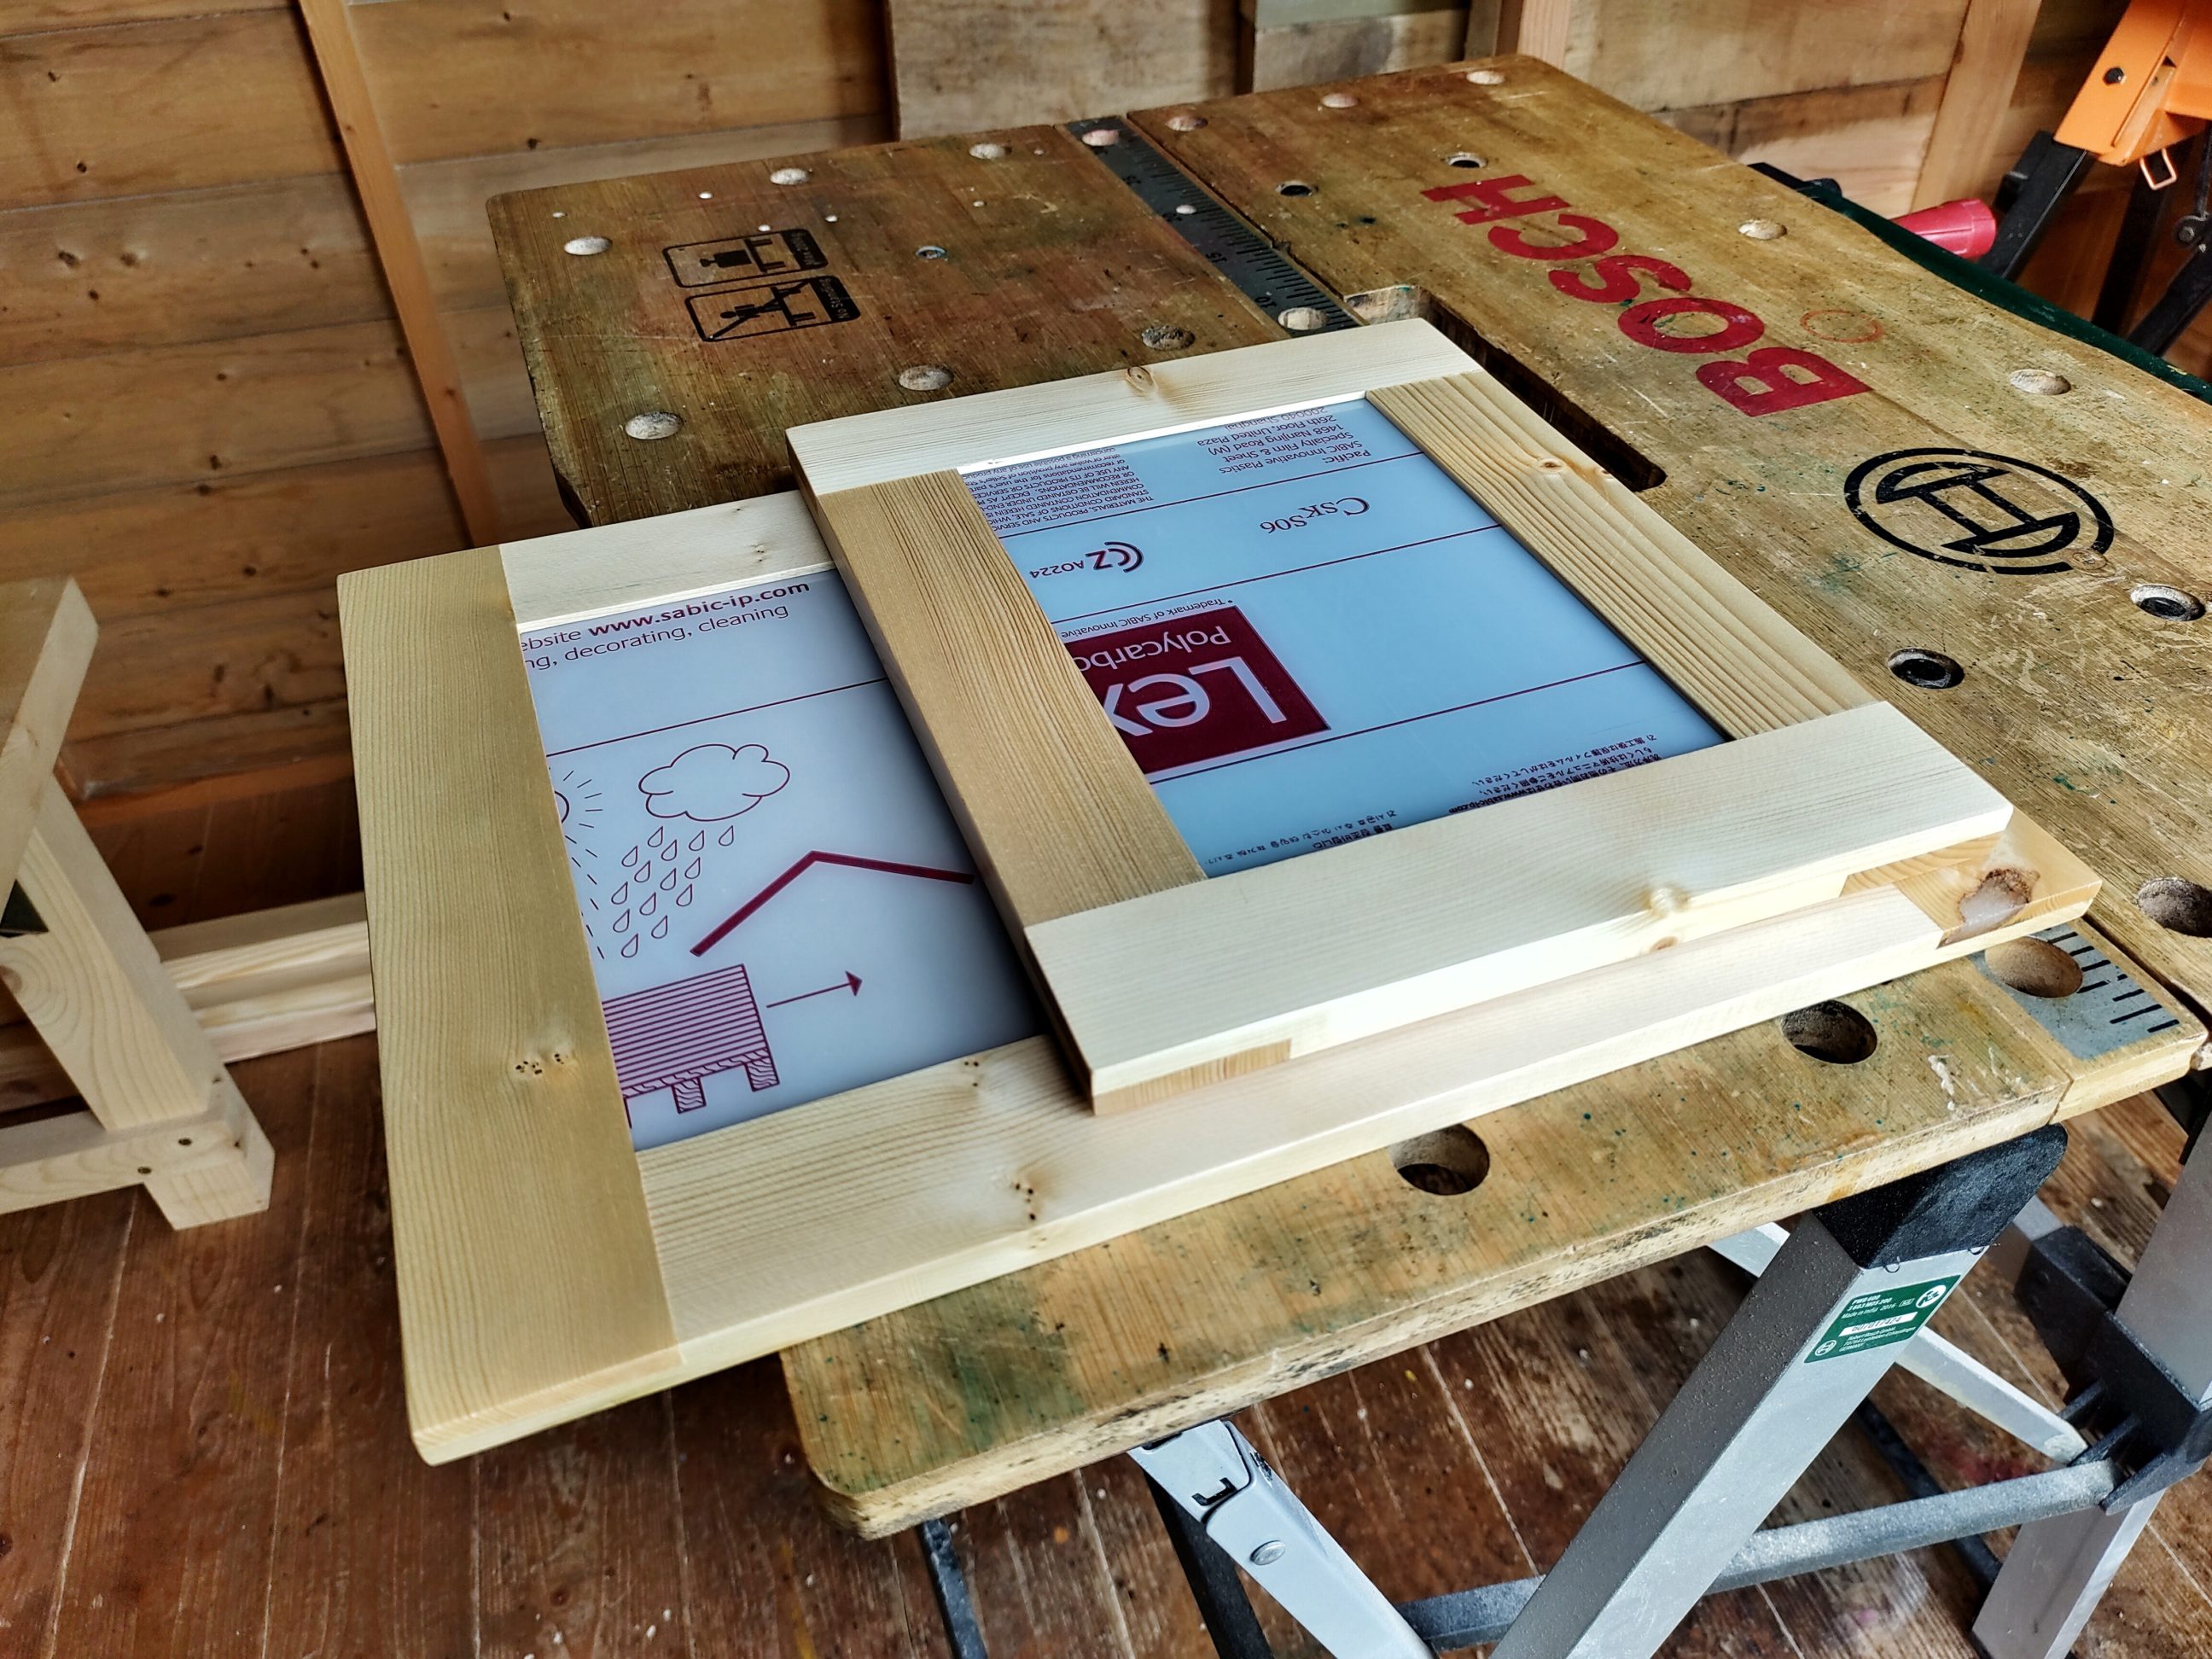
There are a few advantages of using half-lap joints instead of mitre joints in picture frames. They’re easy to make, they’re strong and don’t require any reinforcements, their appearance is attractive, there are no inconsistent and widening gaps in joints over time and they’re easy to clamp during the glue-up process. The timber used in the project was reclaimed, I cut it to size and planed it myself. Here’s how I made these 2 frames:


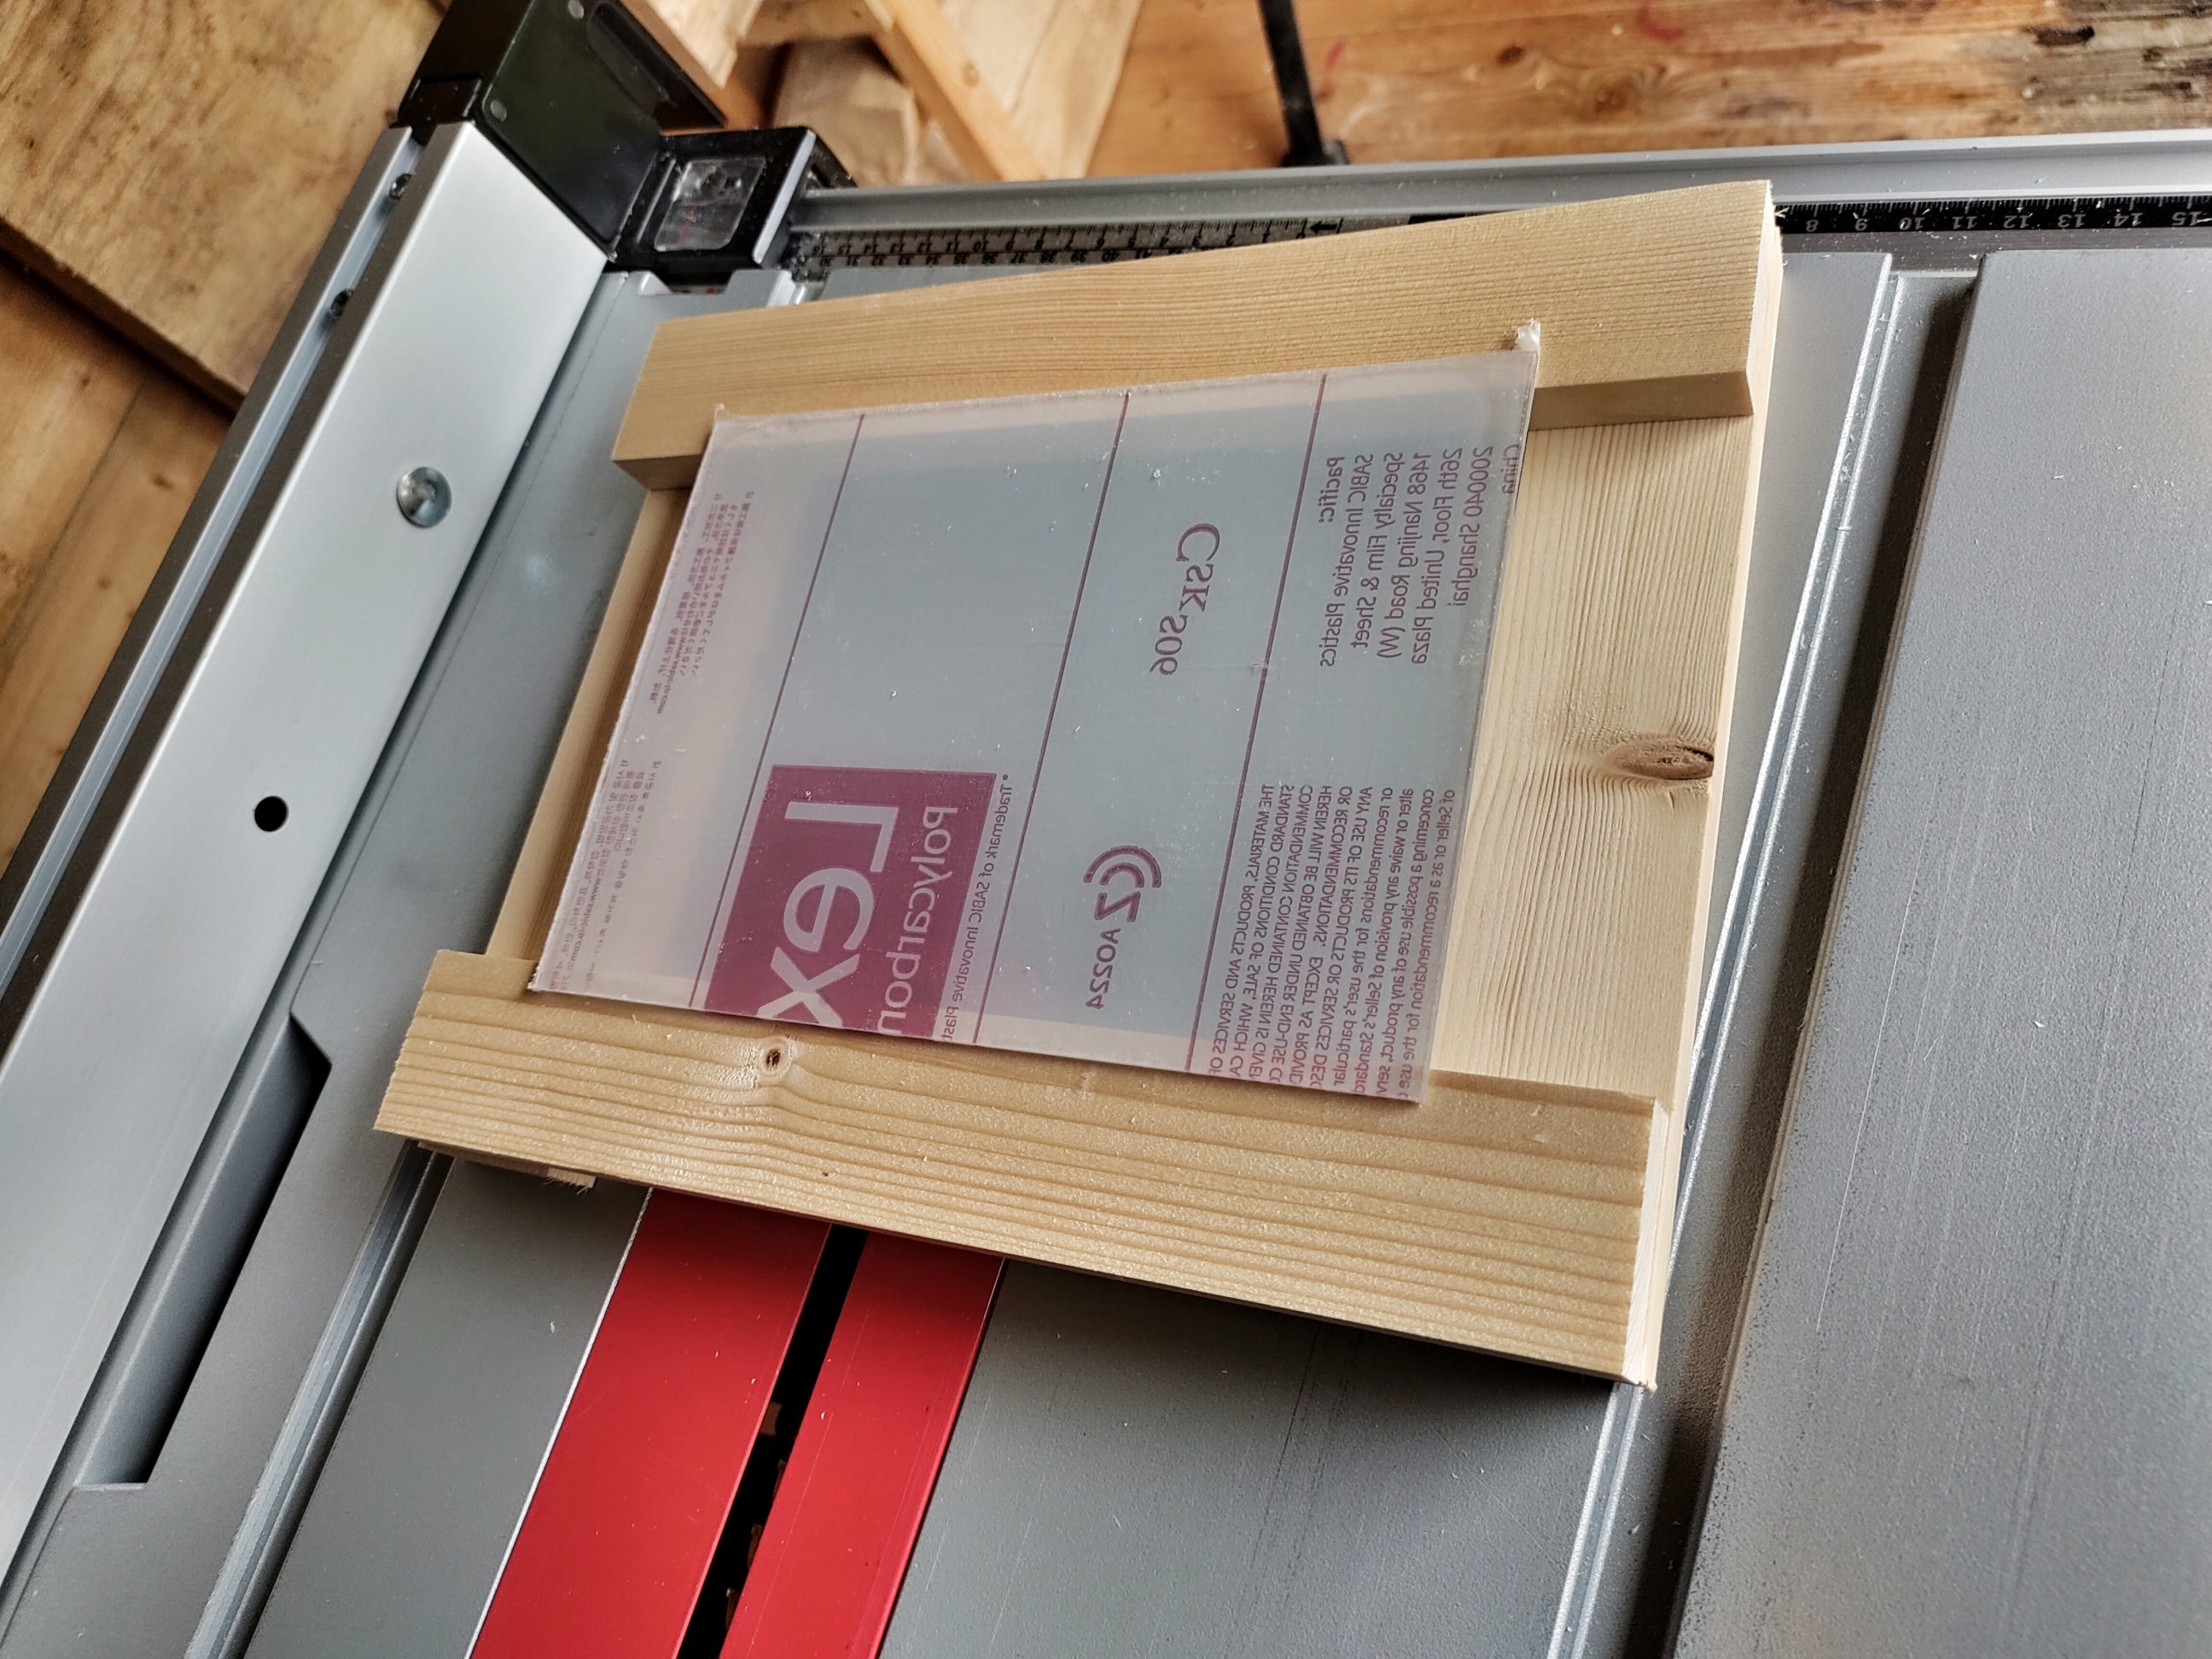
The preparation of the timber was as usual: rip-cutting, planing and cutting to a rough length. I had to adjust the size of the smaller plexiglass and I used my table saw for that task. The best results were achieved when the blade wasn’t raised above the plastic and the cut was done from 2 sides. When I finished cutting the plexiglass I cut all the slats to their final length.
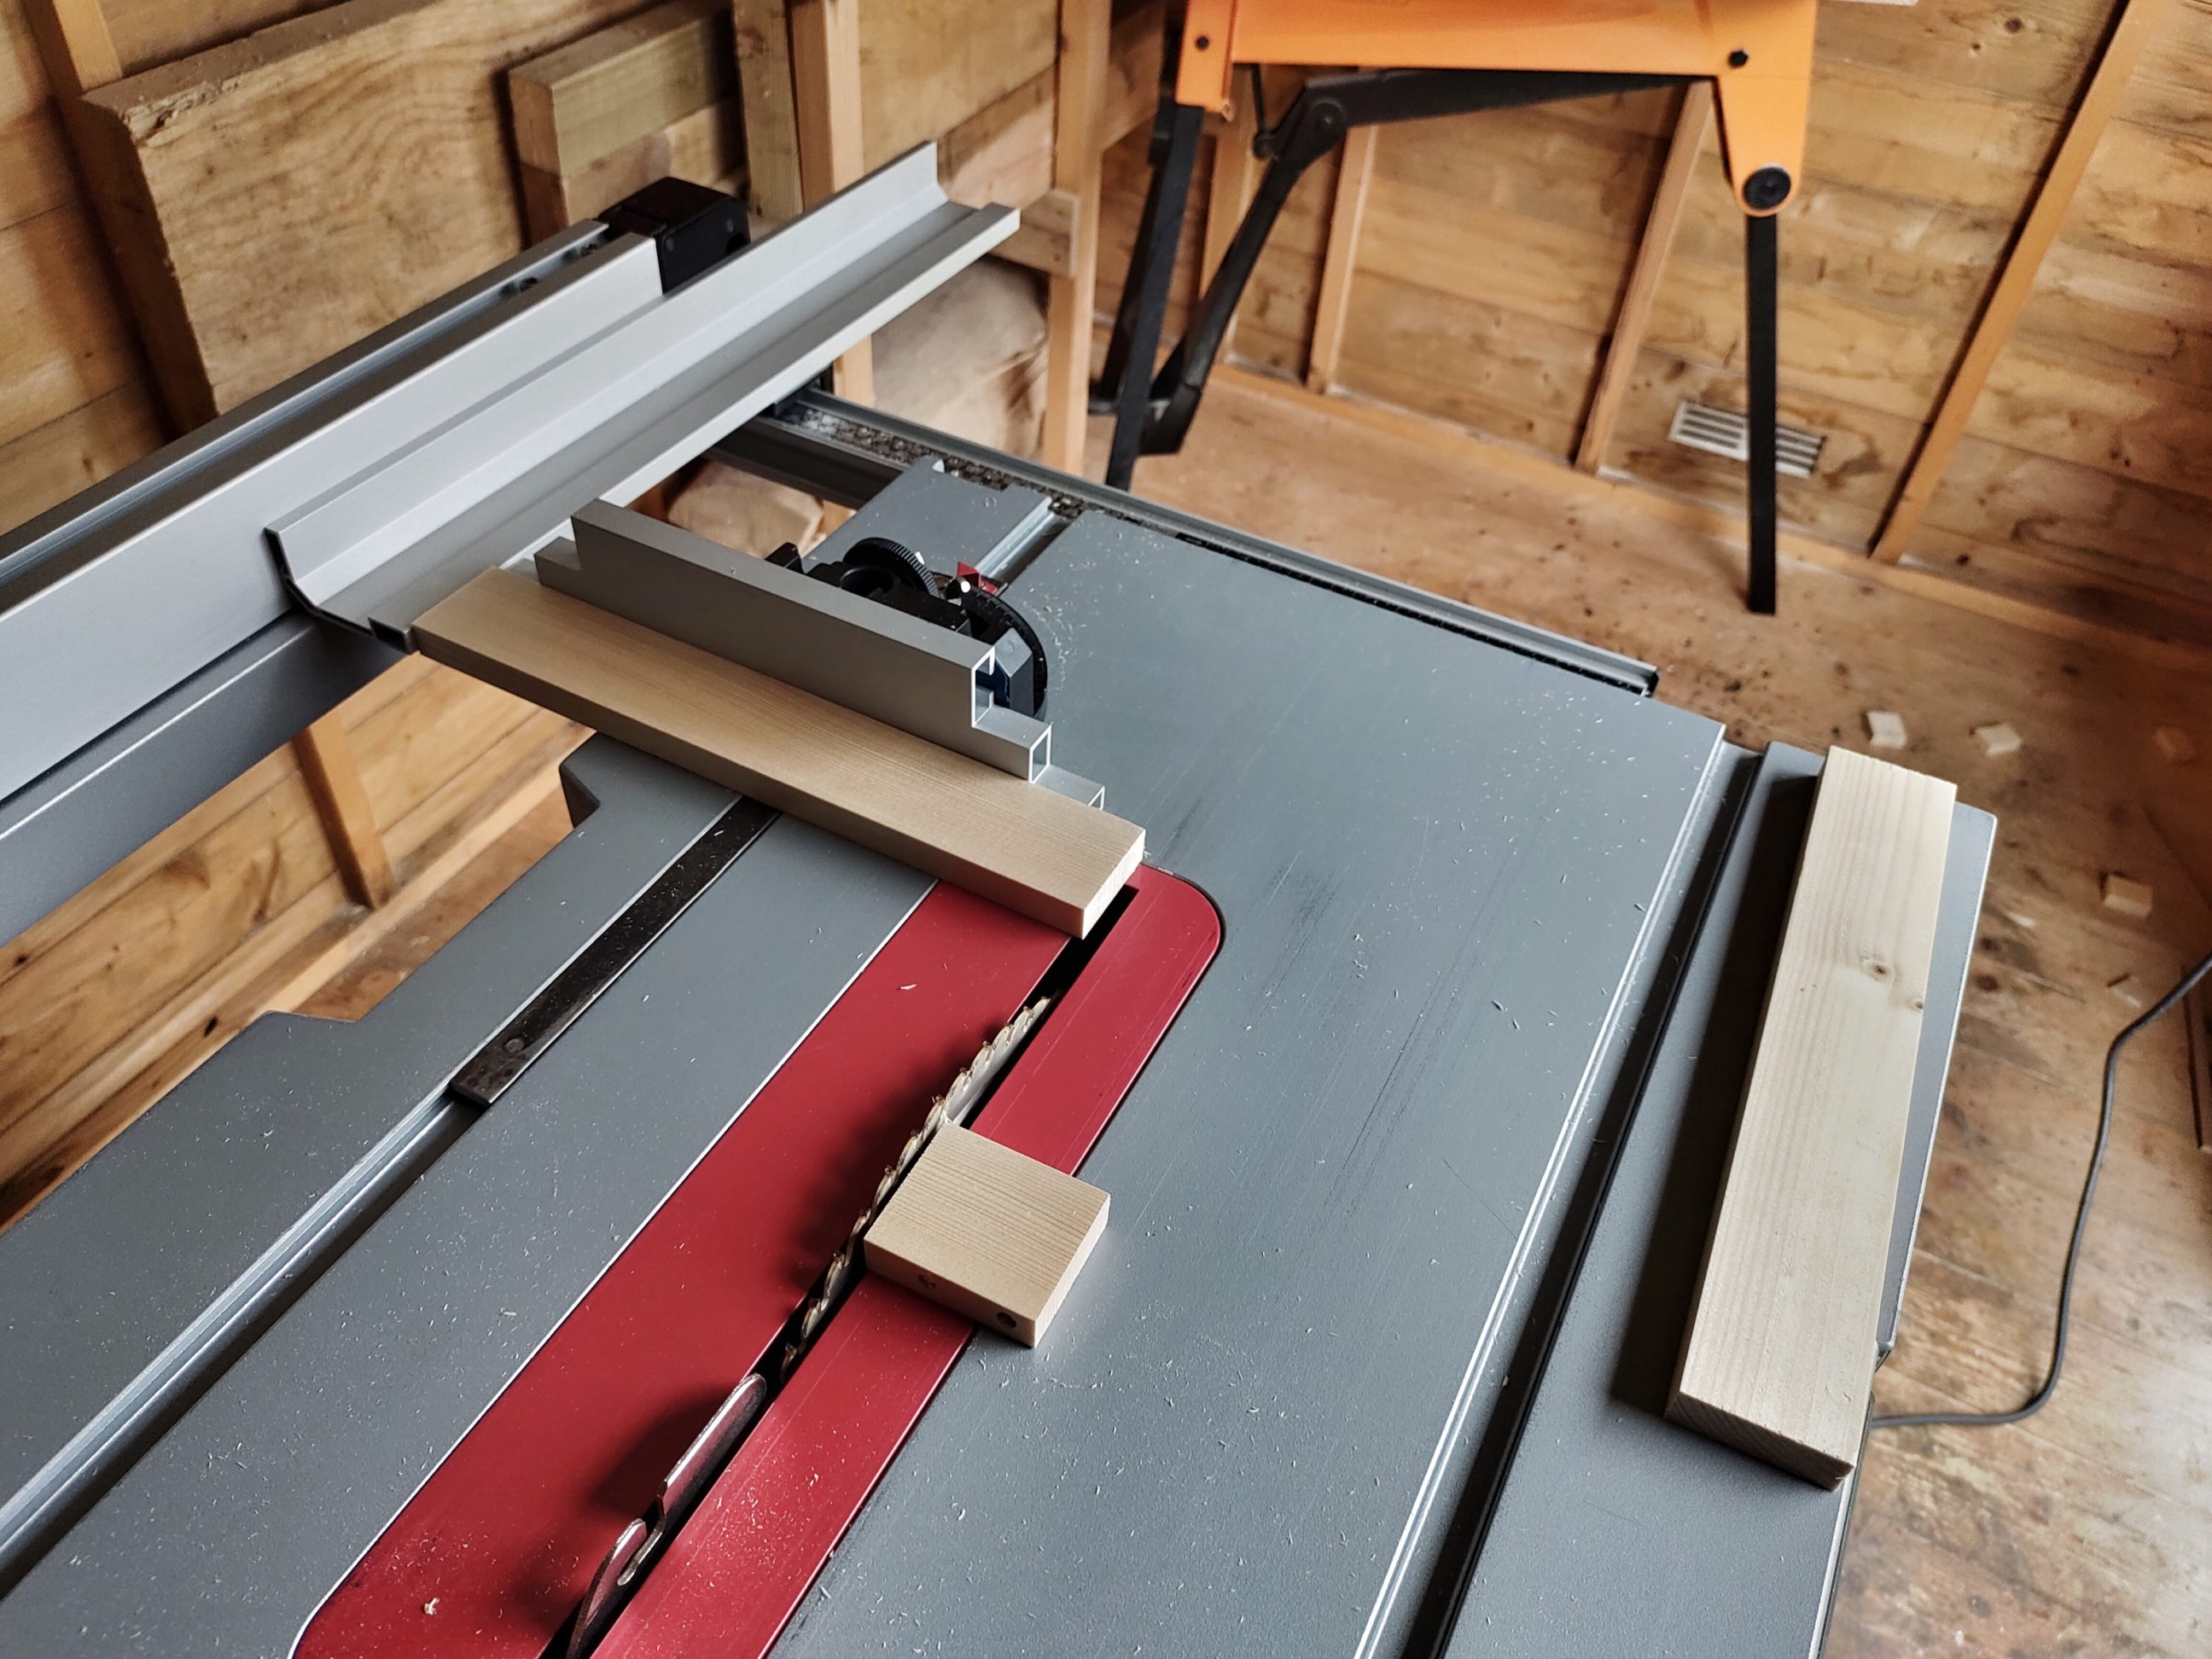
Next, I set the blade height and the fence and I cut the joints. Each frame needed different settings because each set of slats had a different thickness and width. But it didn’t take long – the process was straightforward and almost entirely foolproof.


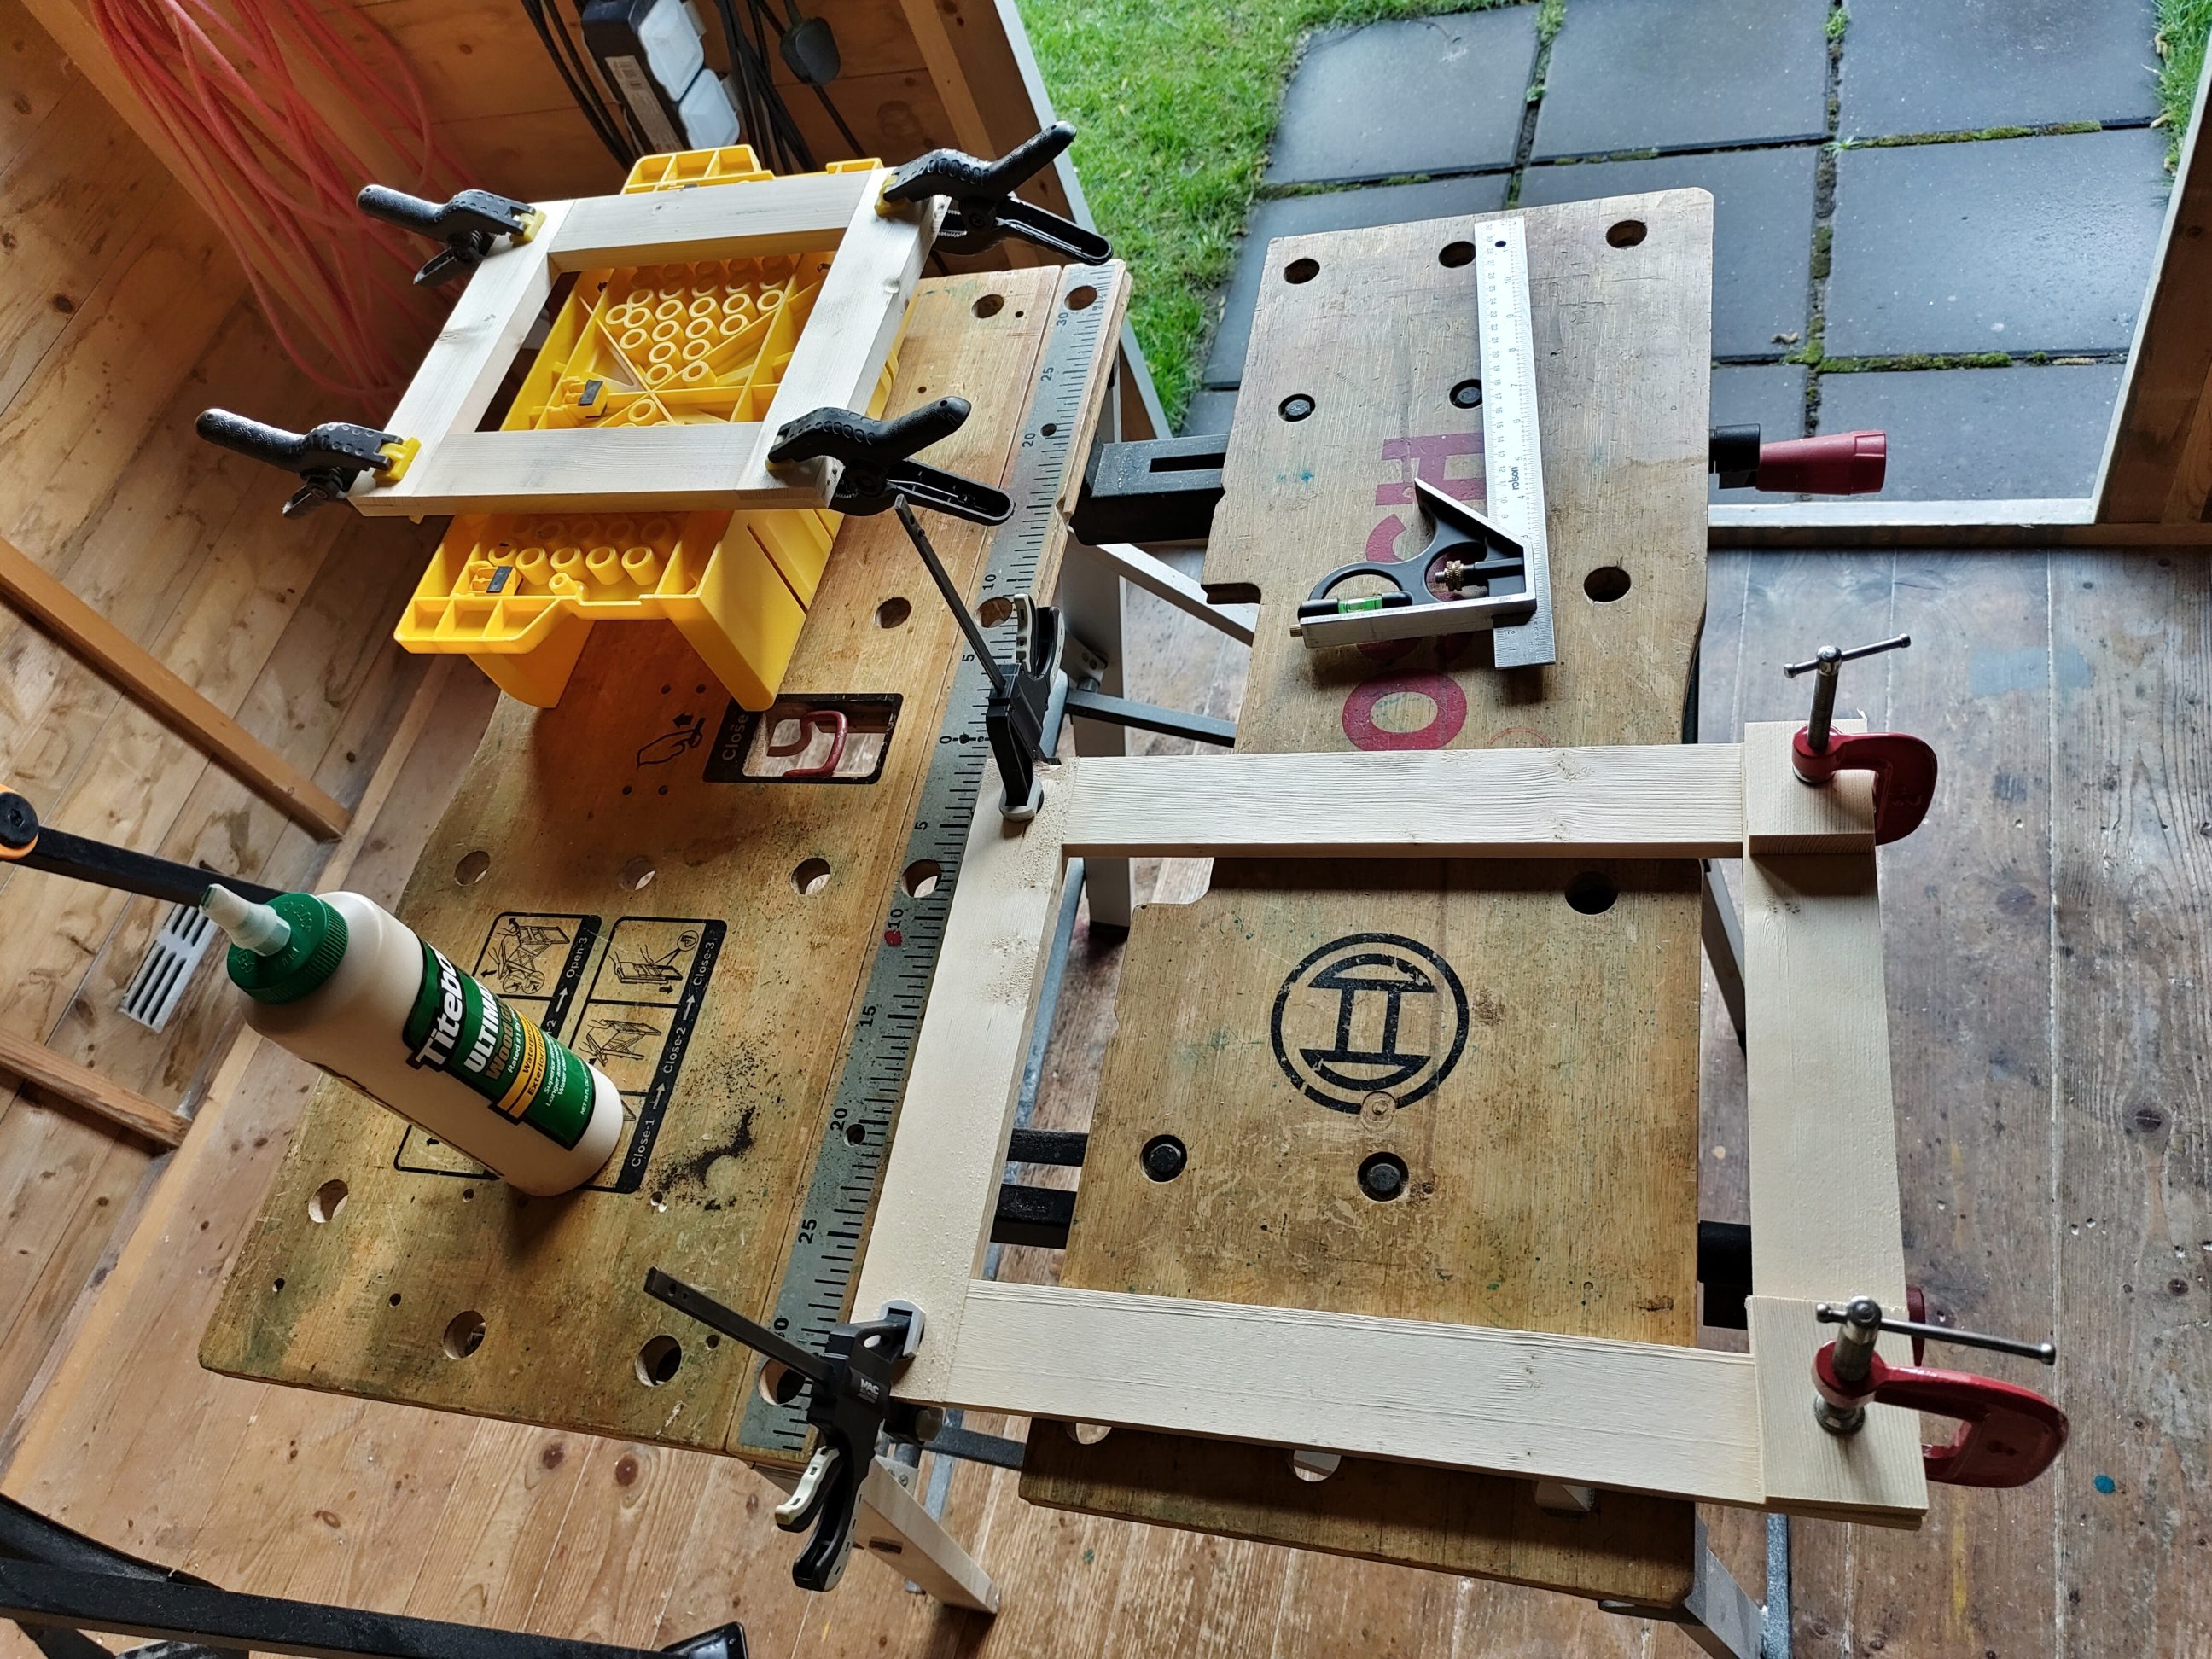
Glue-up was simple and didn’t require heavy-duty clamps, I even used spring clamps and that was a perfectly sufficient amount of force for the glue to squeeze out. As always I checked for square and let the glue dry overnight.


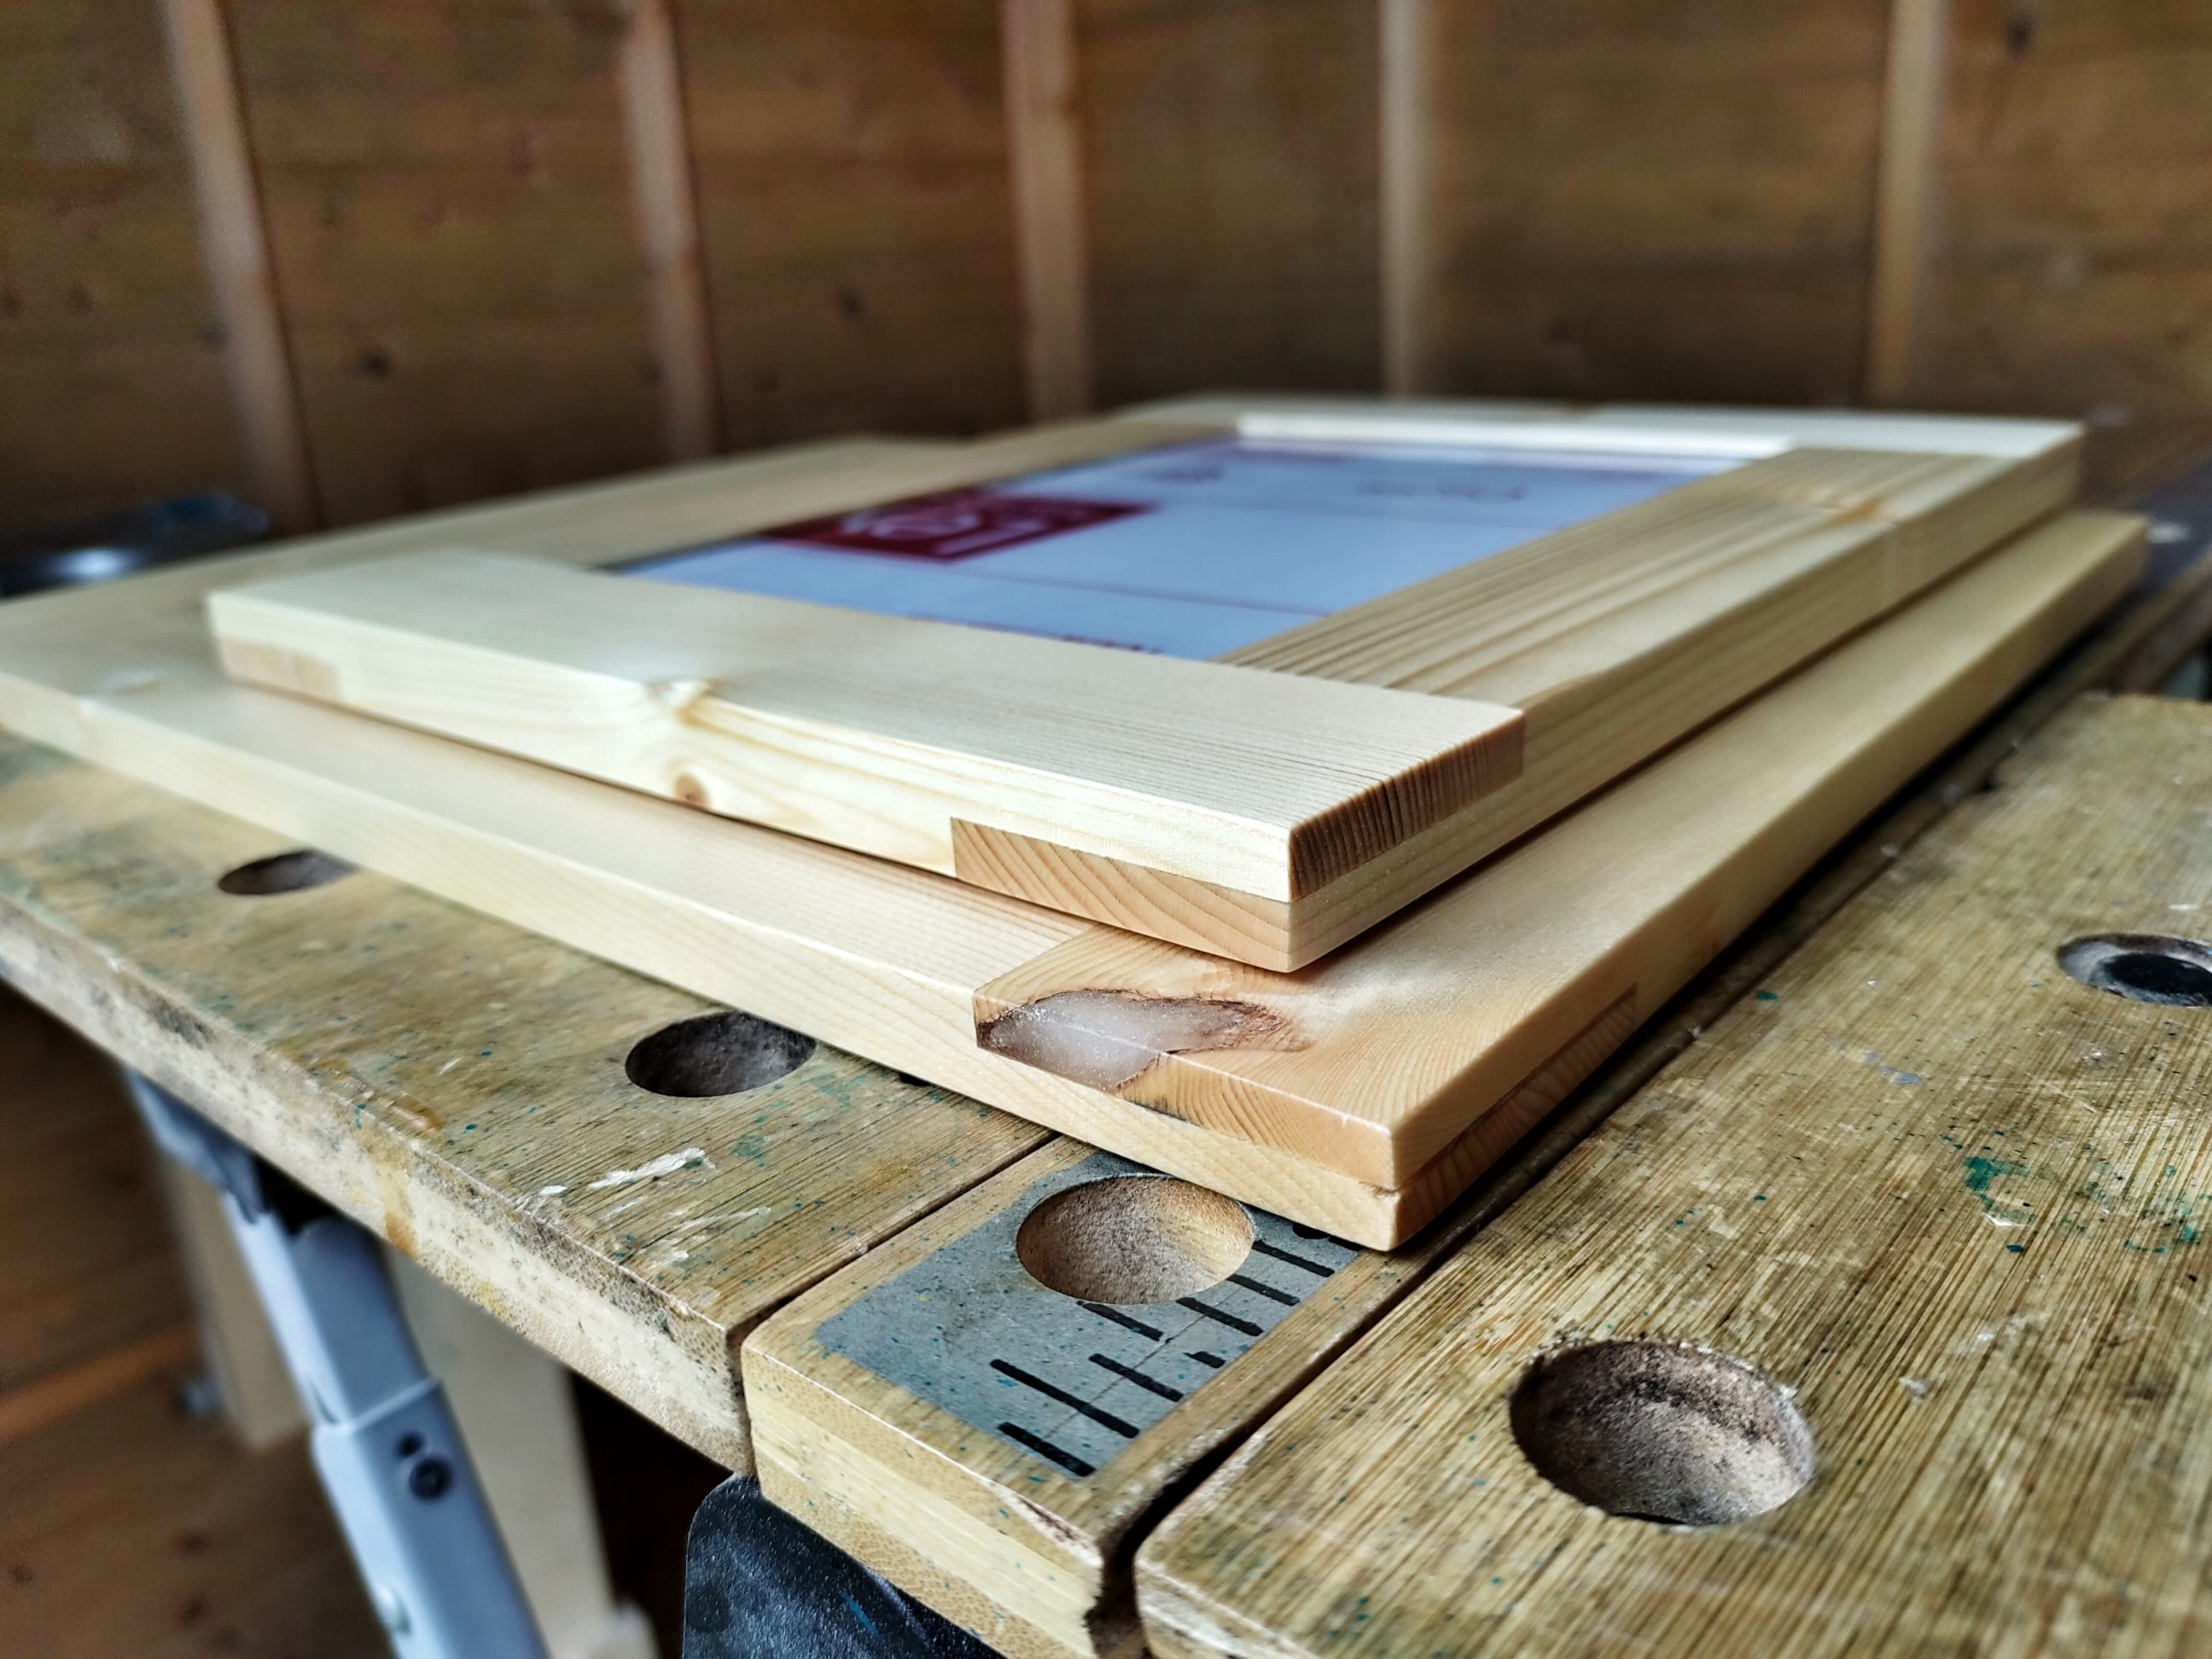
I wanted to create a very small lip for these frames, which forced me to set the router bit bushing just kissing the edge it was supported on. It looked unsafe and weird, but it worked fine and the lips were cut exactly as planned. These frames are rather thin and along with small lips, they look lightweight and not chunky.


Since I had the router in my hands, I used a straight bit to remove the corner material and made it easy for me during chiselling. Some imperfections were filled in with epoxy and the frames were ready for sanding the very next day.


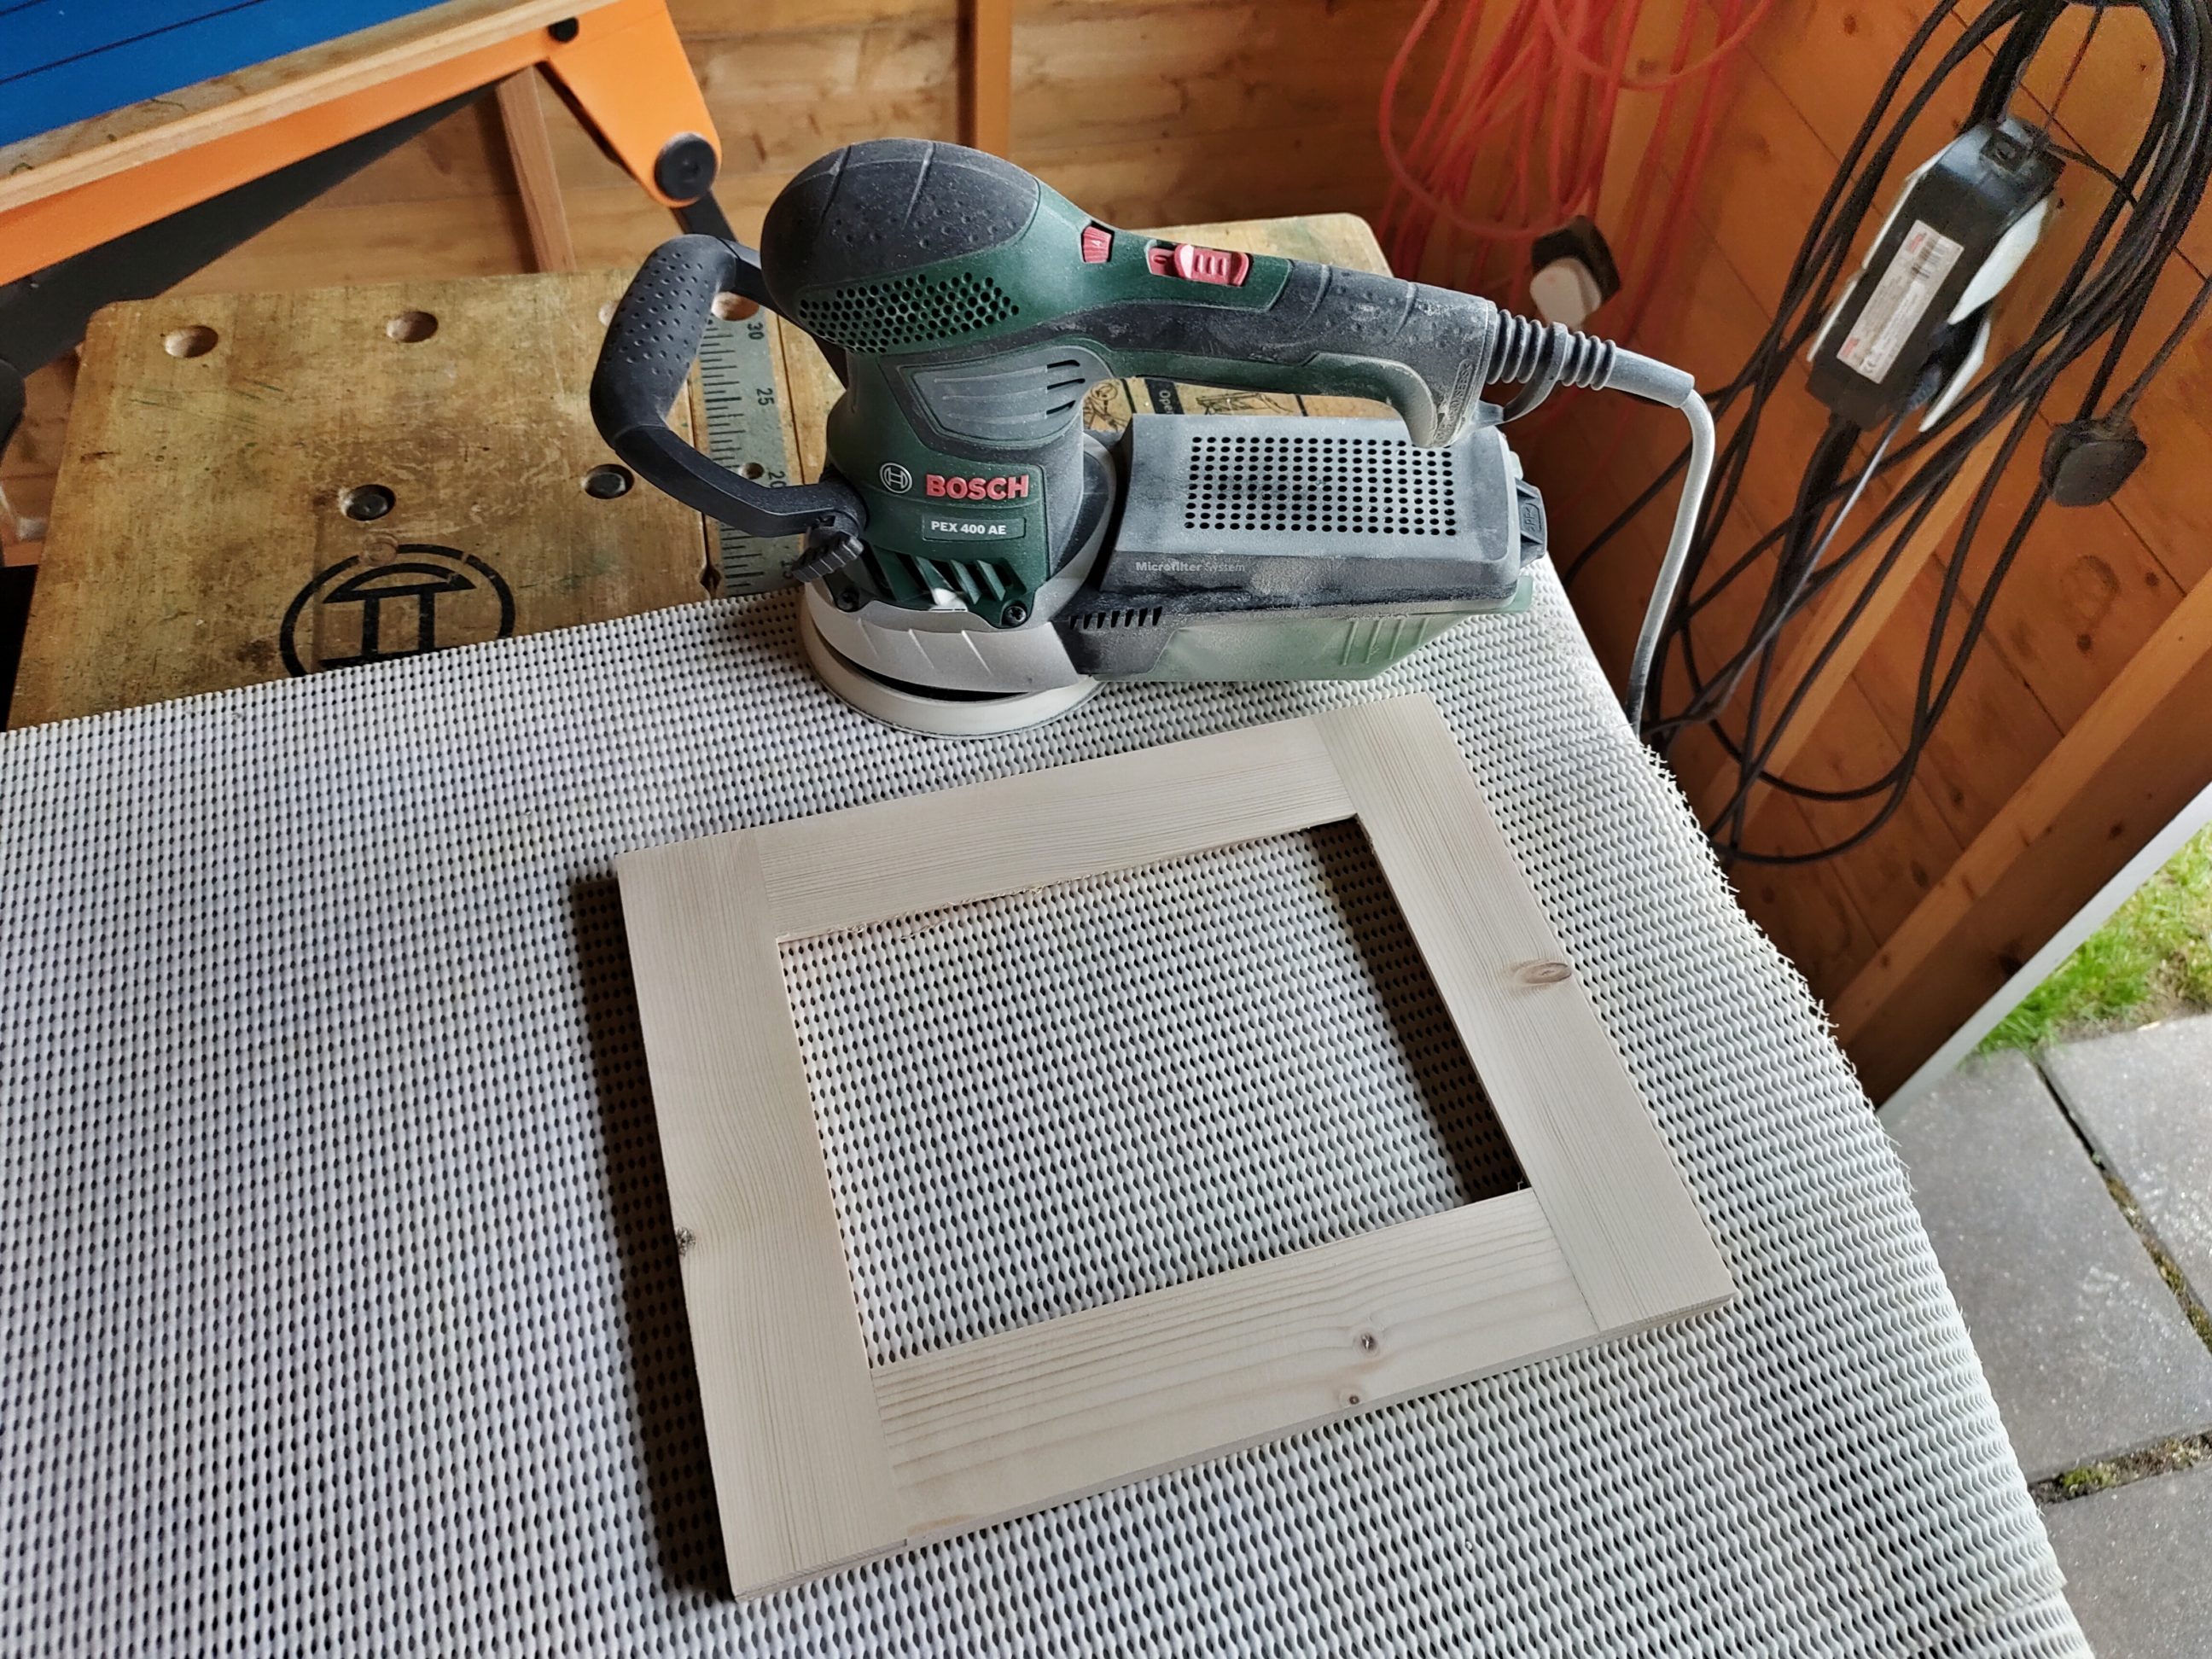
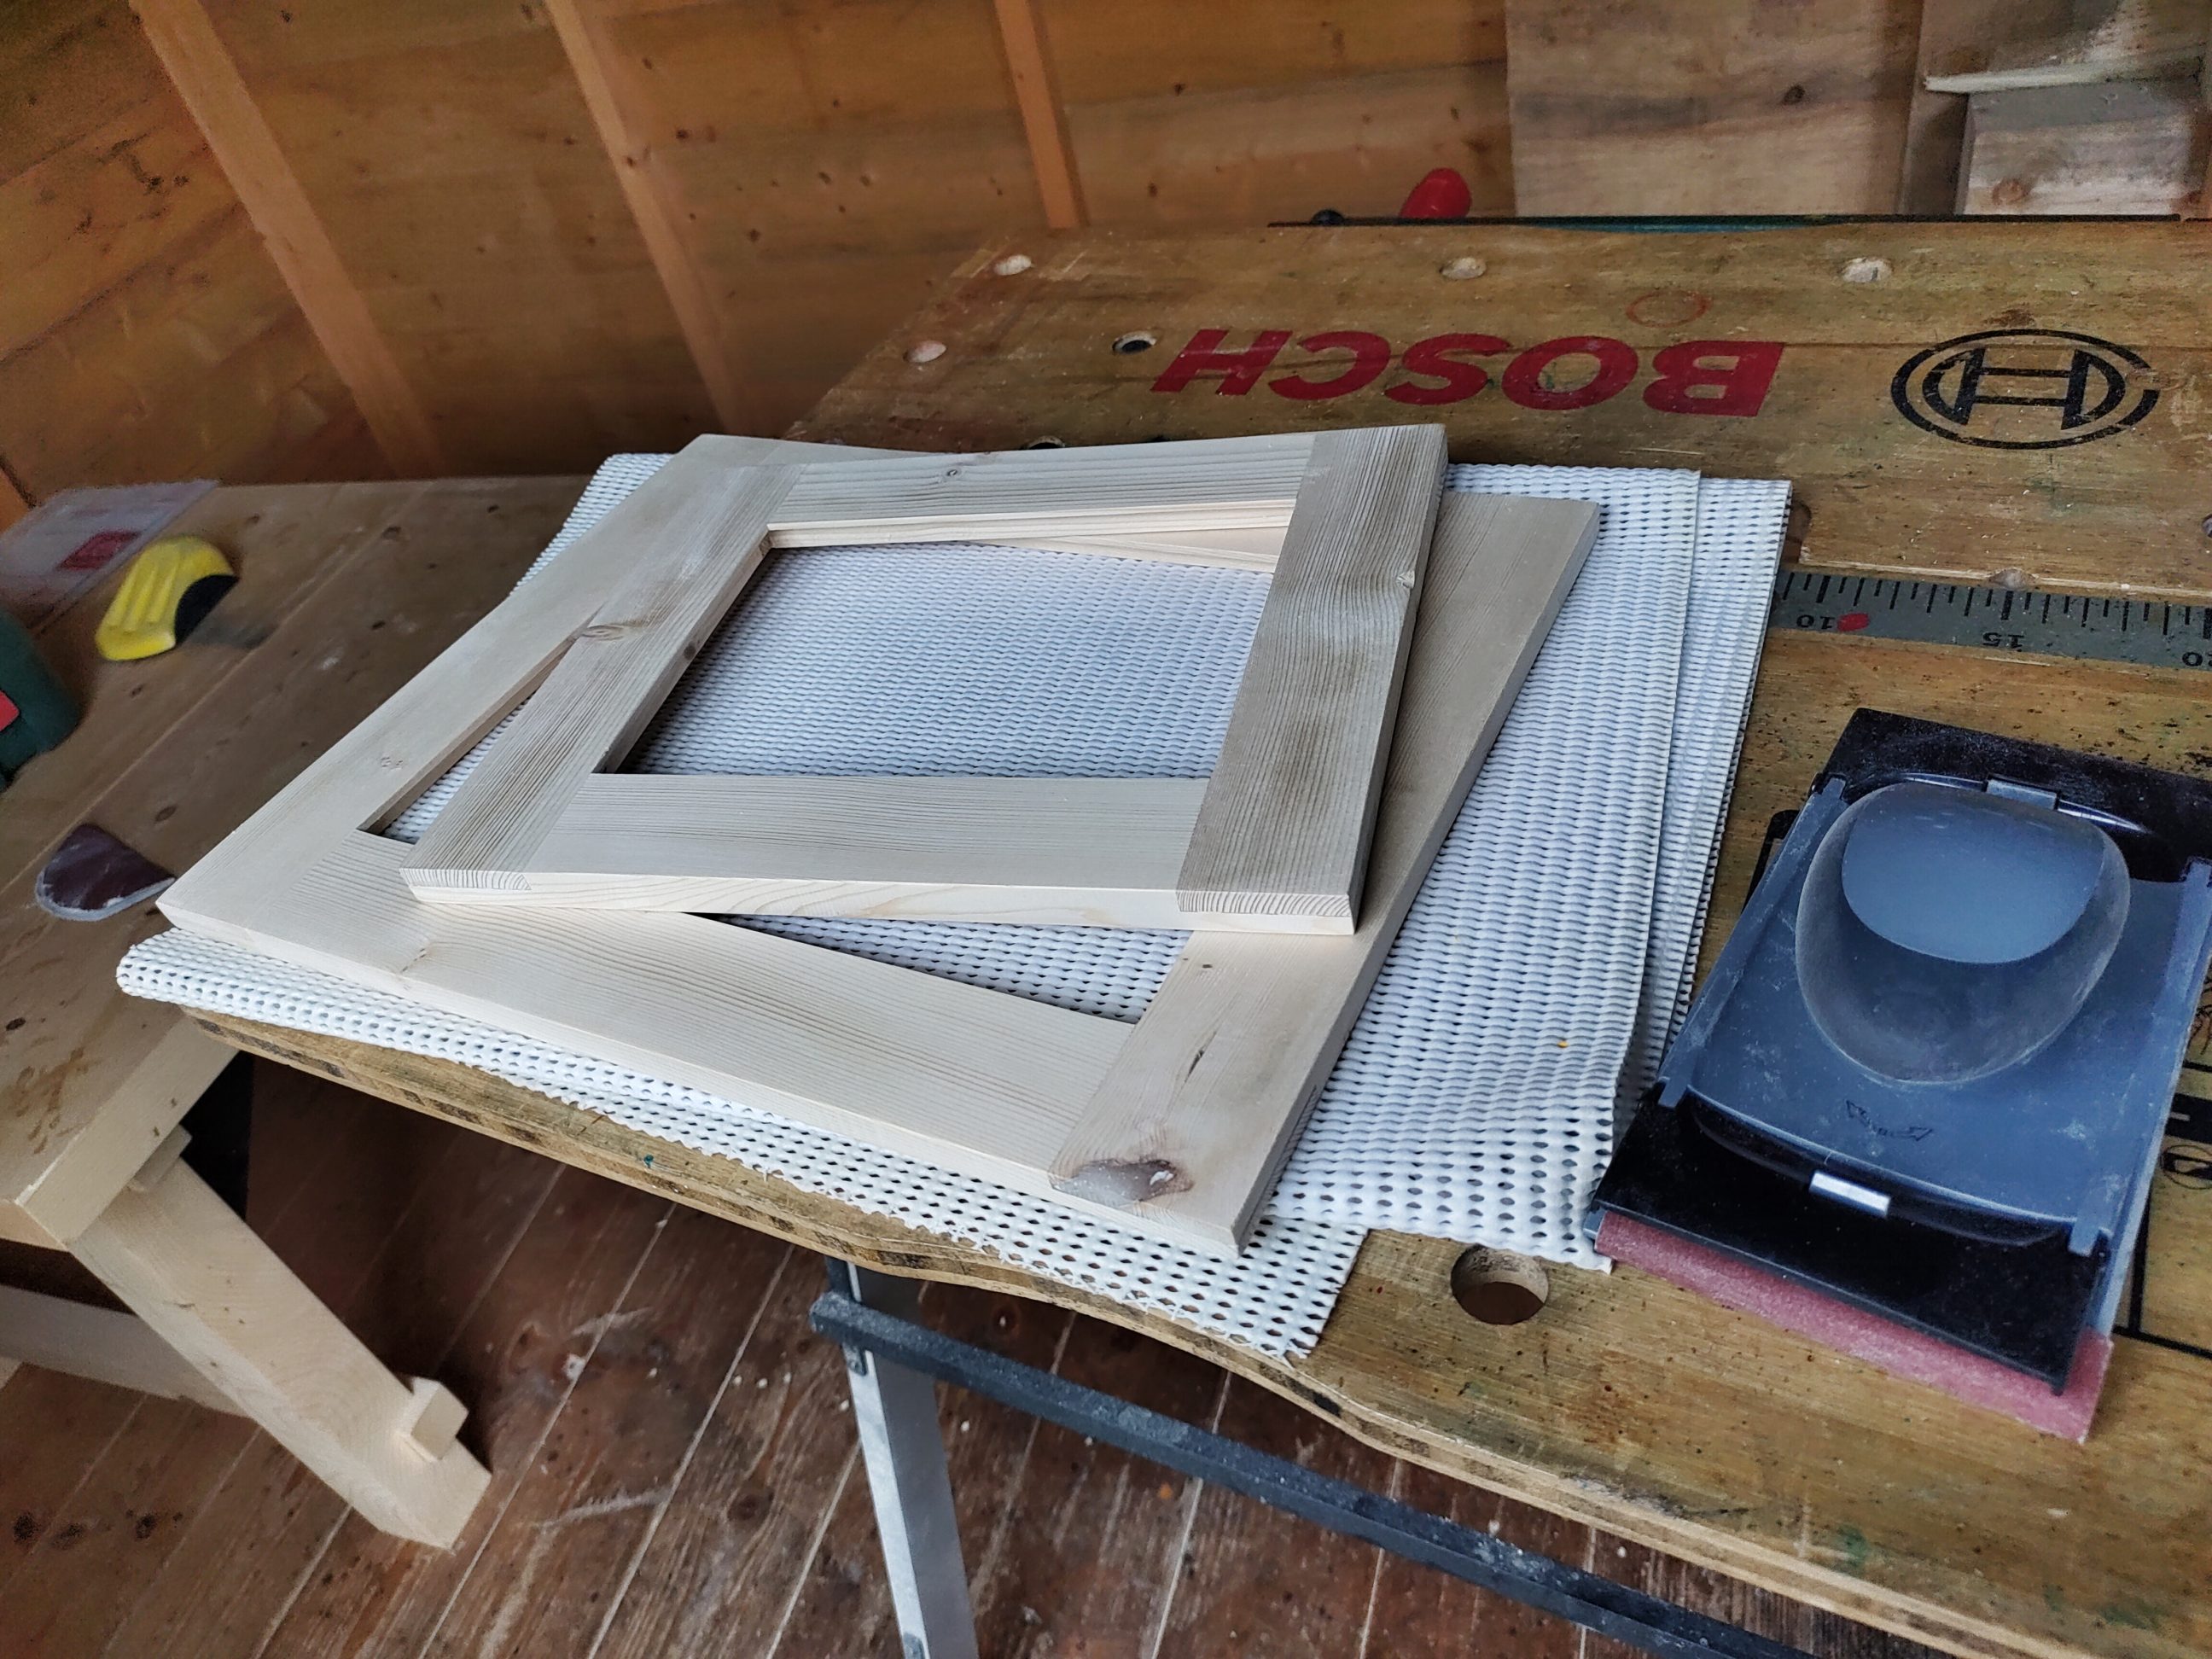
I used all the sanders and sanding techniques so I could get smooth faces and straight, square sides. After that step, my frames were ready for the finish.

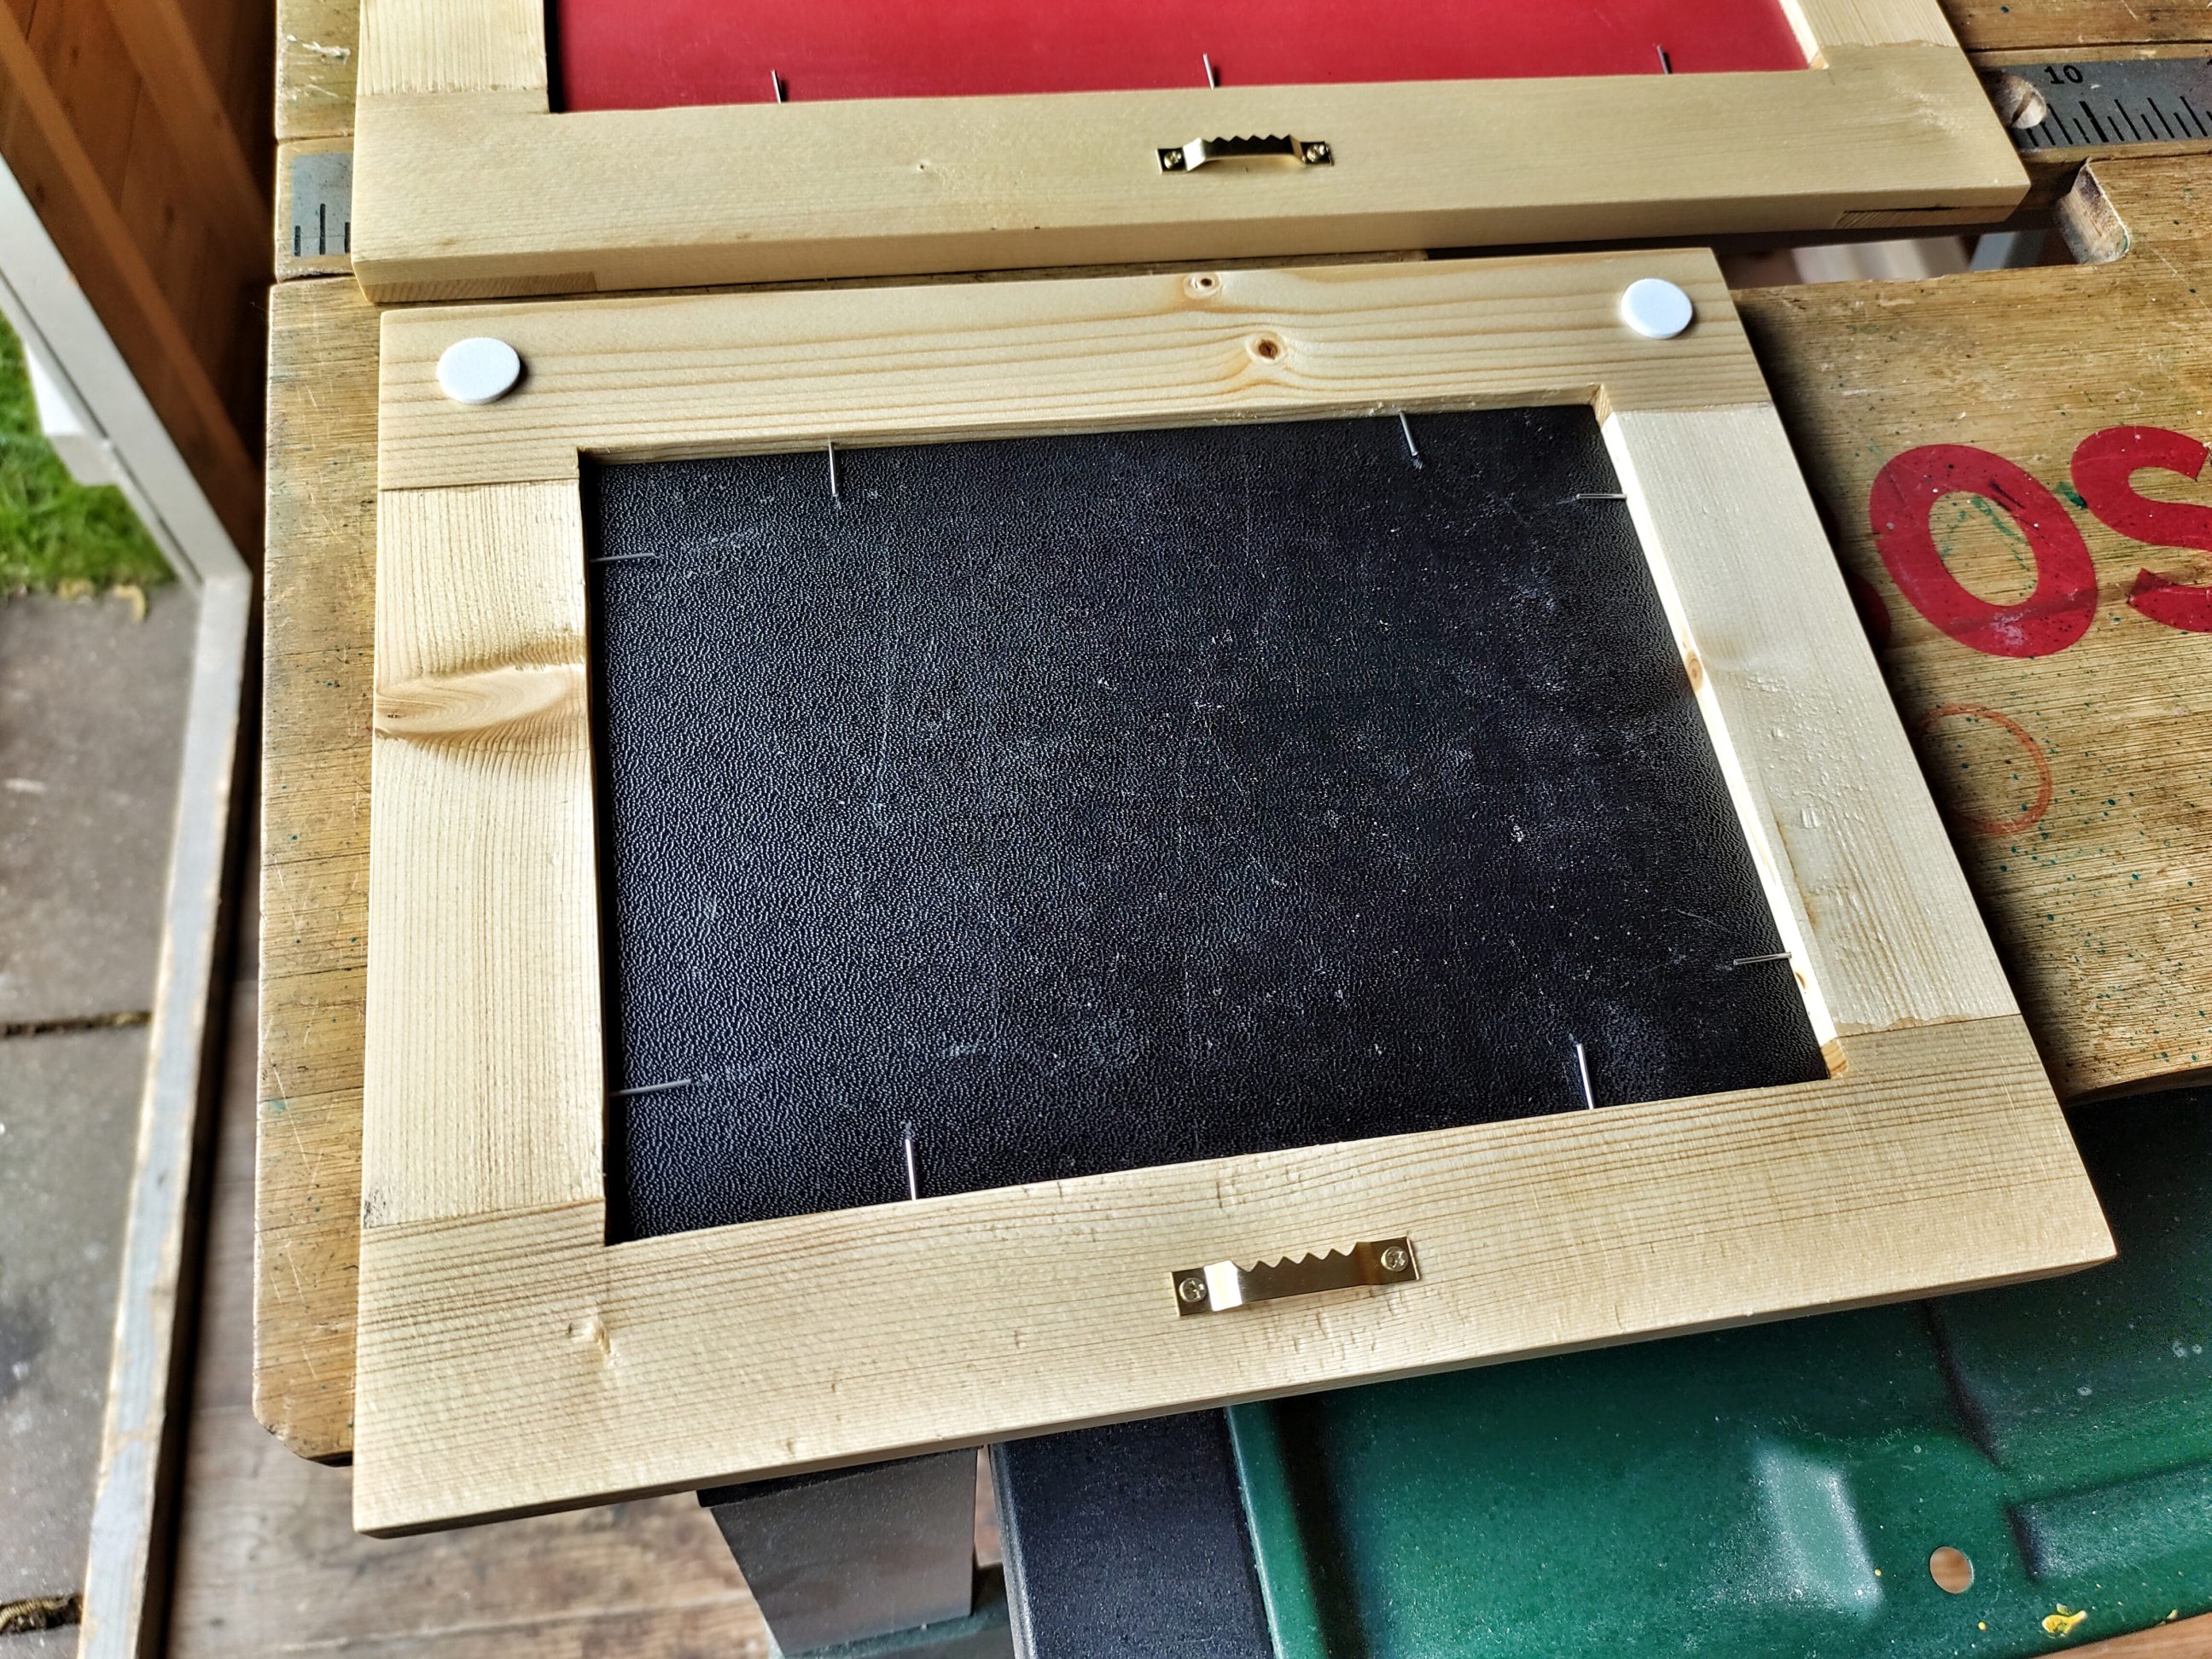
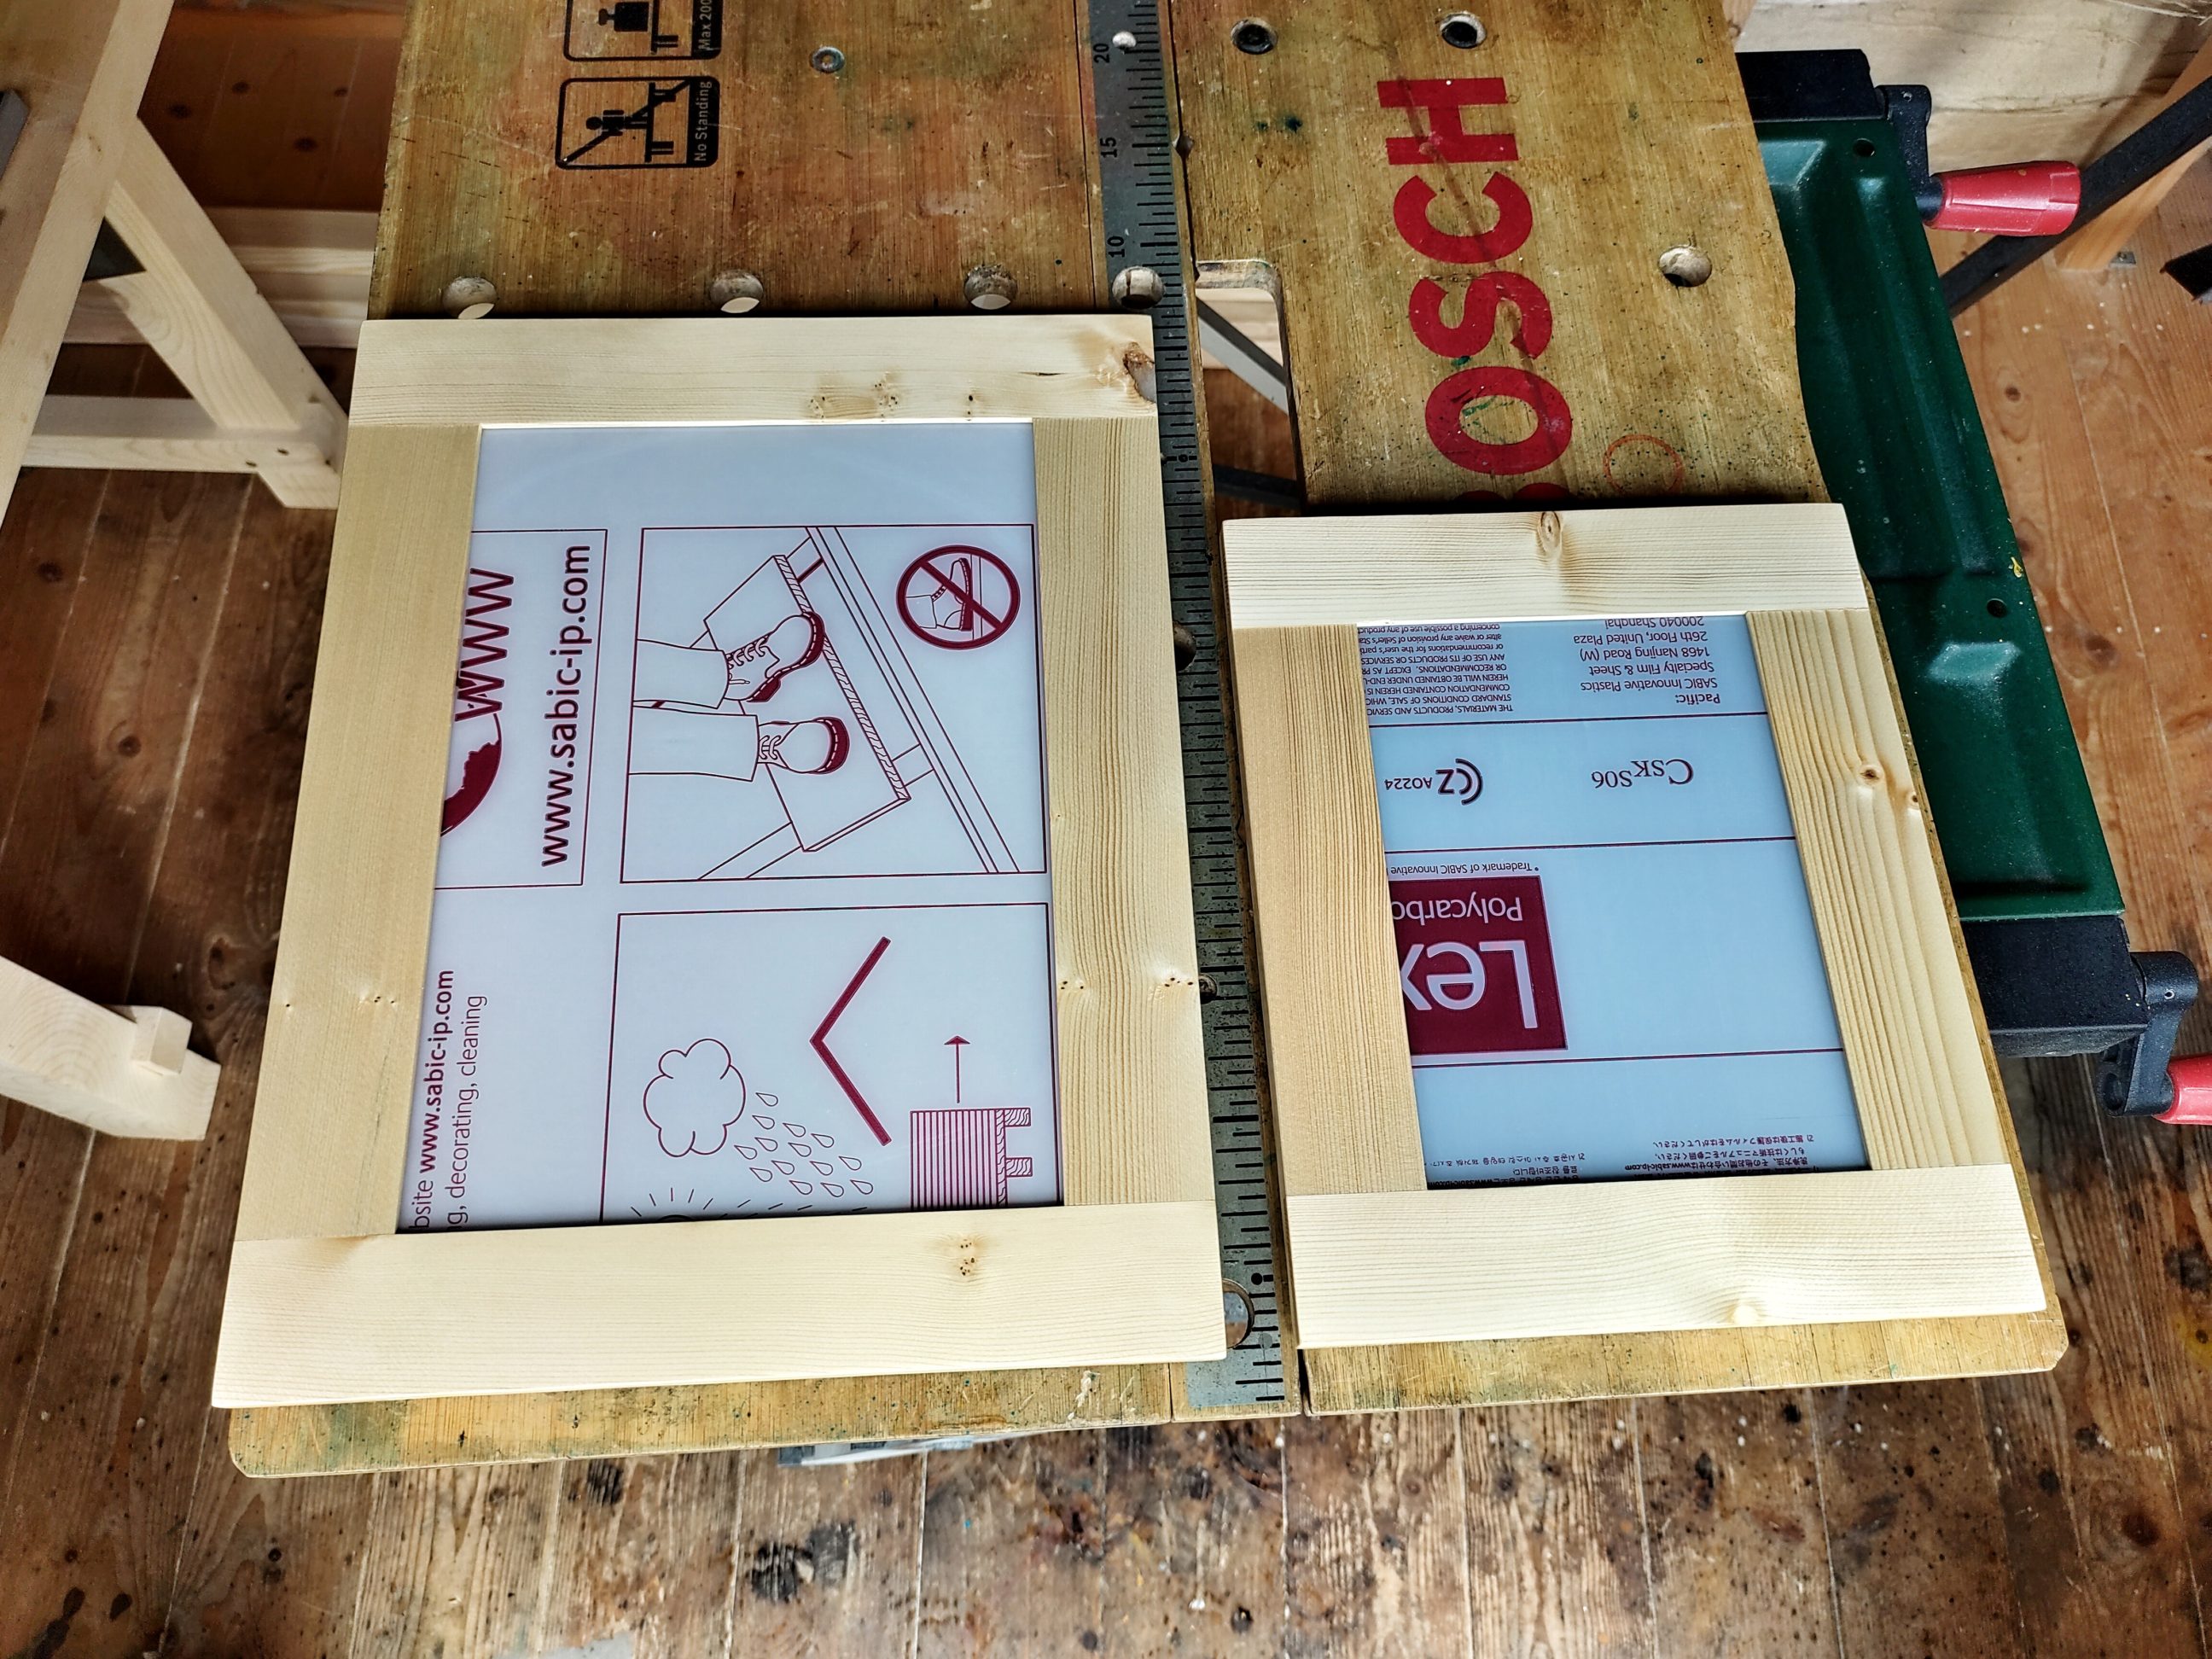
Danish oil was the finish of my choice. As always 3 coats were applied which took 3 days. During that time I took a moment and cut the backing boards to size. The red one was a thin sheet of MDF and the black one was a sheet of plastic. Perfect for that task and finally they turned from trash into something useful.


I had to cut nails in half in order to secure the backing boards to the frames. As always a combination of nail sets and mini pliers helped to get the job done safely and painless.


Next, I screwed in the sawtooth hangers and stuck some foam feet to the bottom of the frames. Using these bumpers is not common in picture frames, but I wanted to keep mine parallel to the wall and space out the bottoms as far as the tops.


It was time to drill some holes in the walls and to hang my little frames. Still no artwork, but that was planned and it was easier for me to take pictures of my work without sharing the real contents of the frames.
Within the next few days, I pulled out the nails, removed the protective films, placed my freshly printed photos in the frames and drove the nails back using the same holes. The corners are beautiful, I love them and they look better than I could imagine. The contrast of end and side grains does an amazing job, also the epoxy filled knots look good and add some character to the frames.