
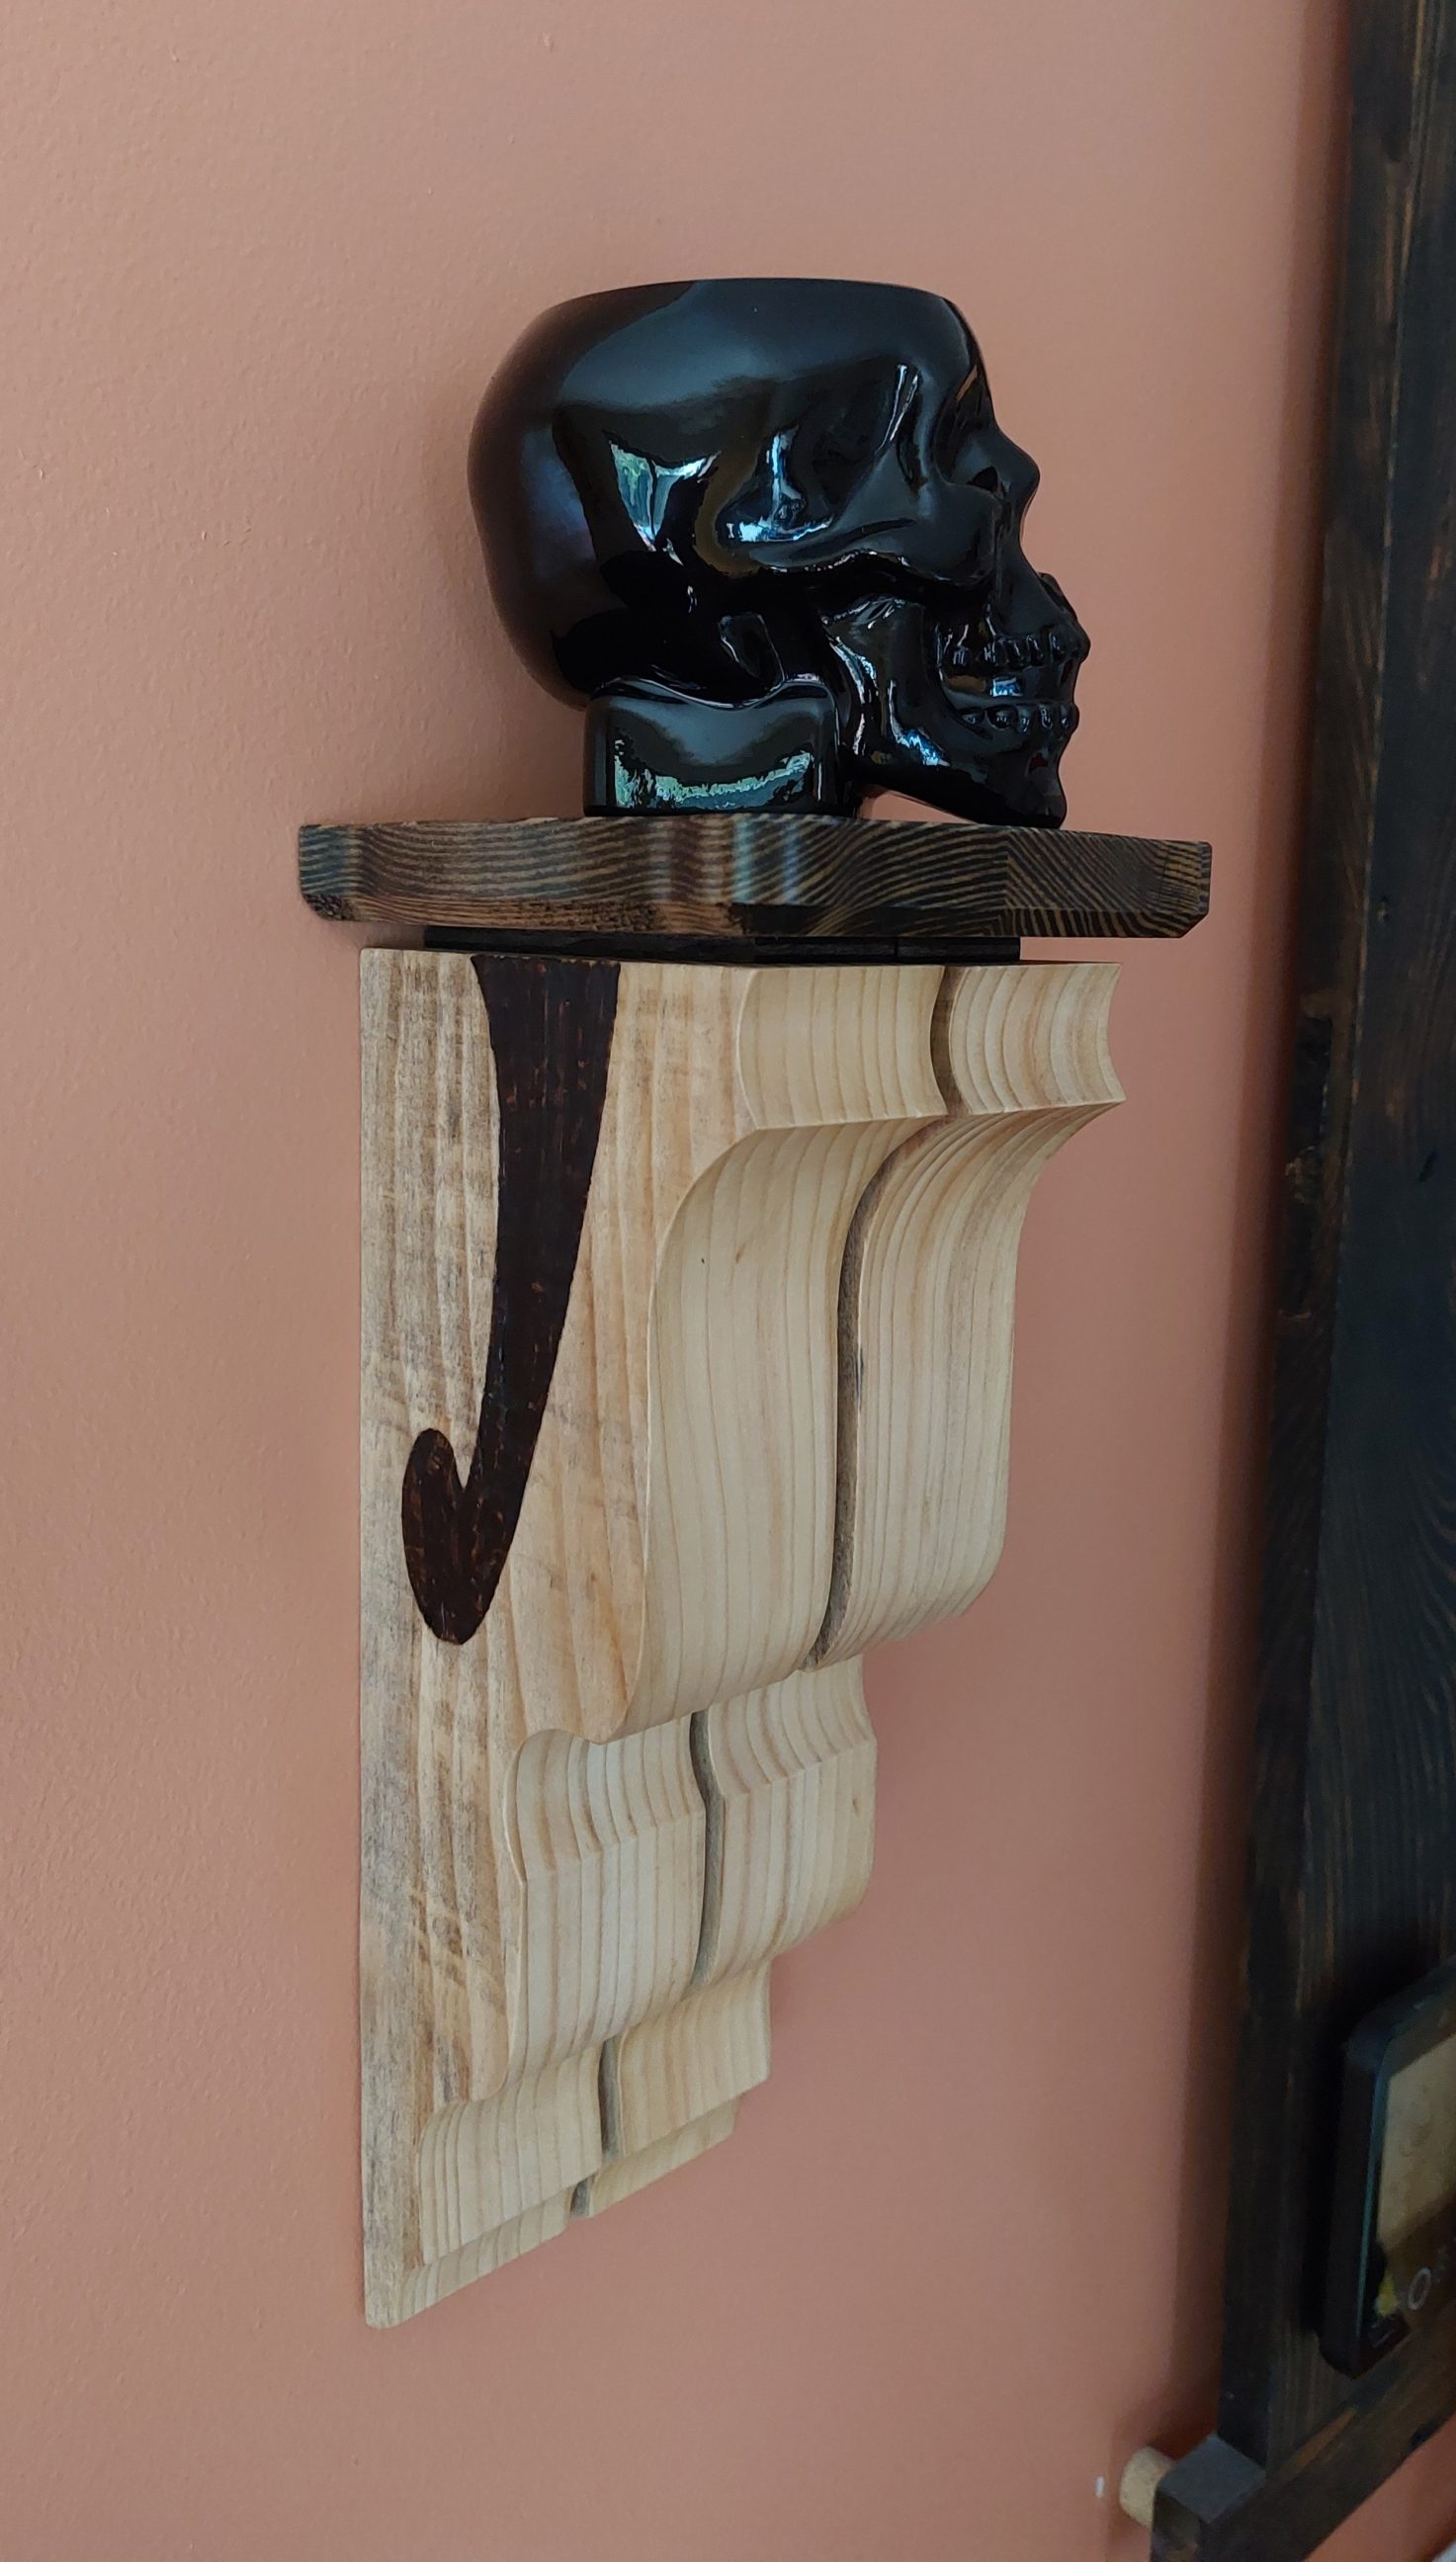
Frenchy corbel
It’s got its name because of the 2 accents traced with the use of a French curve and burnt on its sides. Also, its base and the top have some curves in their edges to complete the overall look. It’s made of 3 bigger pieces of softwood and a few plywood spacers. No fancy joinery, just glue and screws. A project designed on the go and made with what I had on hand.
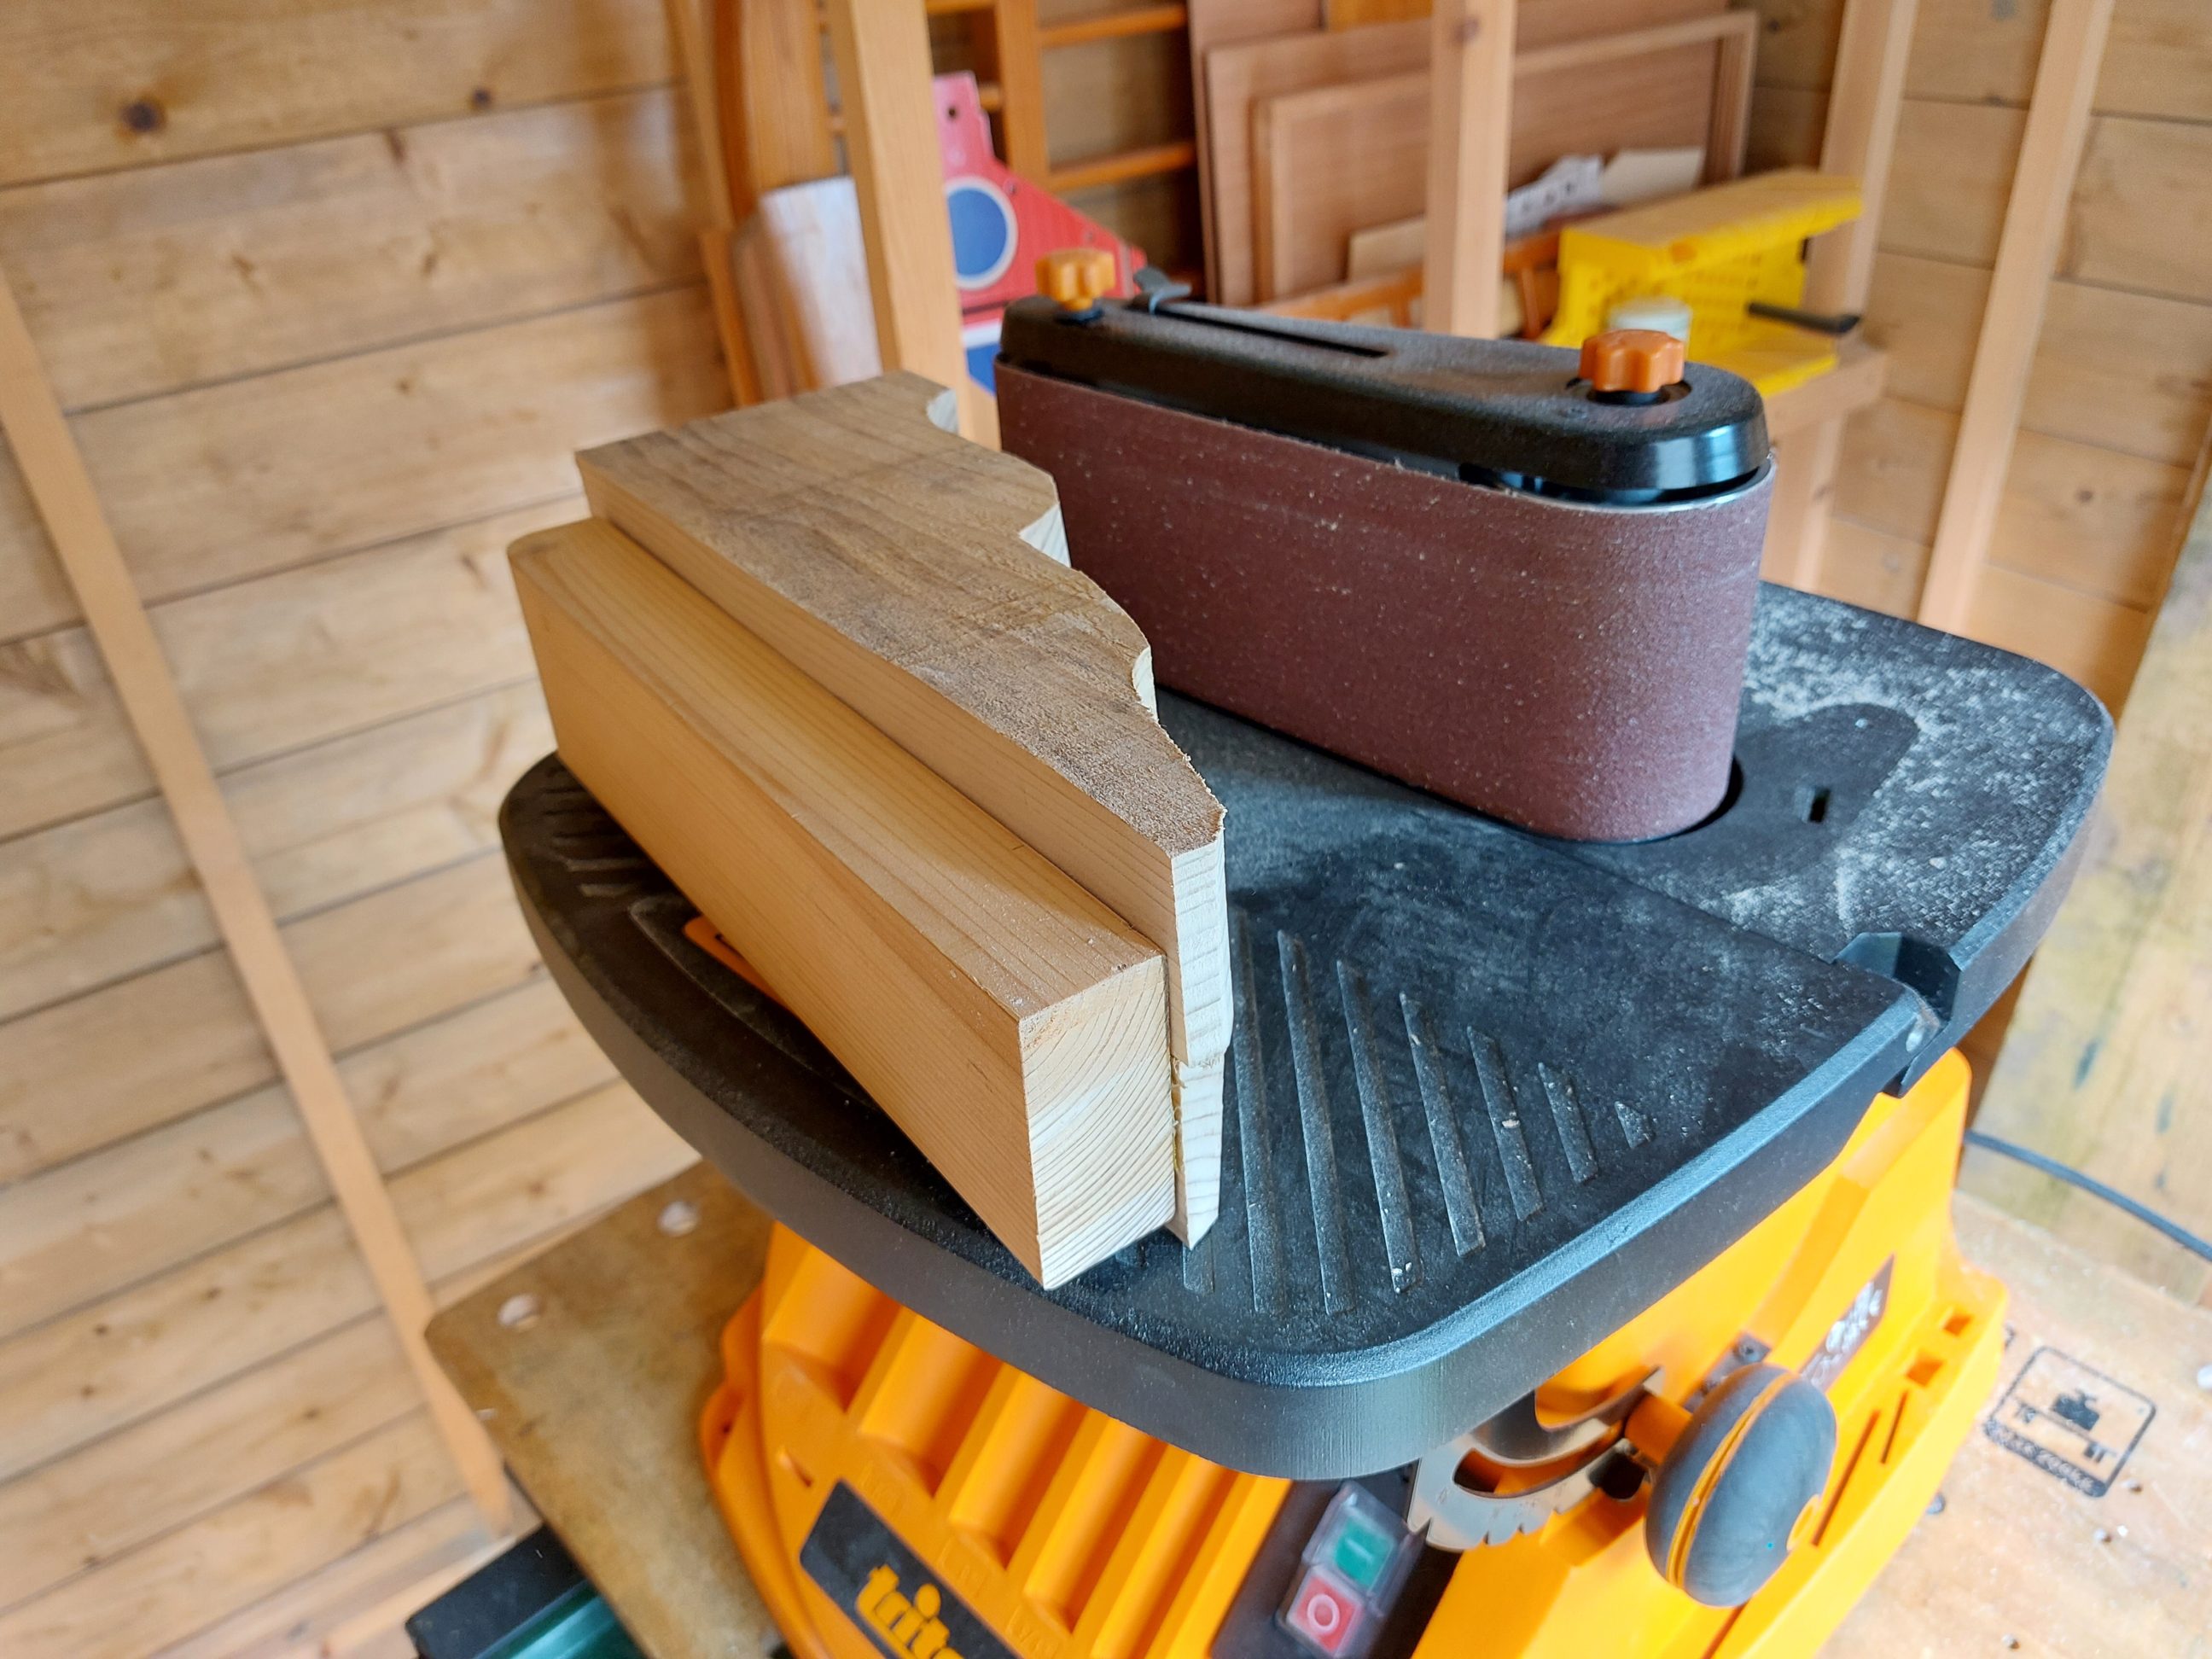
I started by drawing and cutting out a simple template that was traced in the next step. I cut out 2 pieces, fixed them together with double-sided tape, used a block of wood at the back for better alignment and handling and started sanding. First I used a more aggressive 80-grit belt and switched to a finer 120 at the end of the sanding job. I didn’t sand to the line and changed the design during the job, but the faces of these 2 corbels were ready to go and didn’t require any further work.

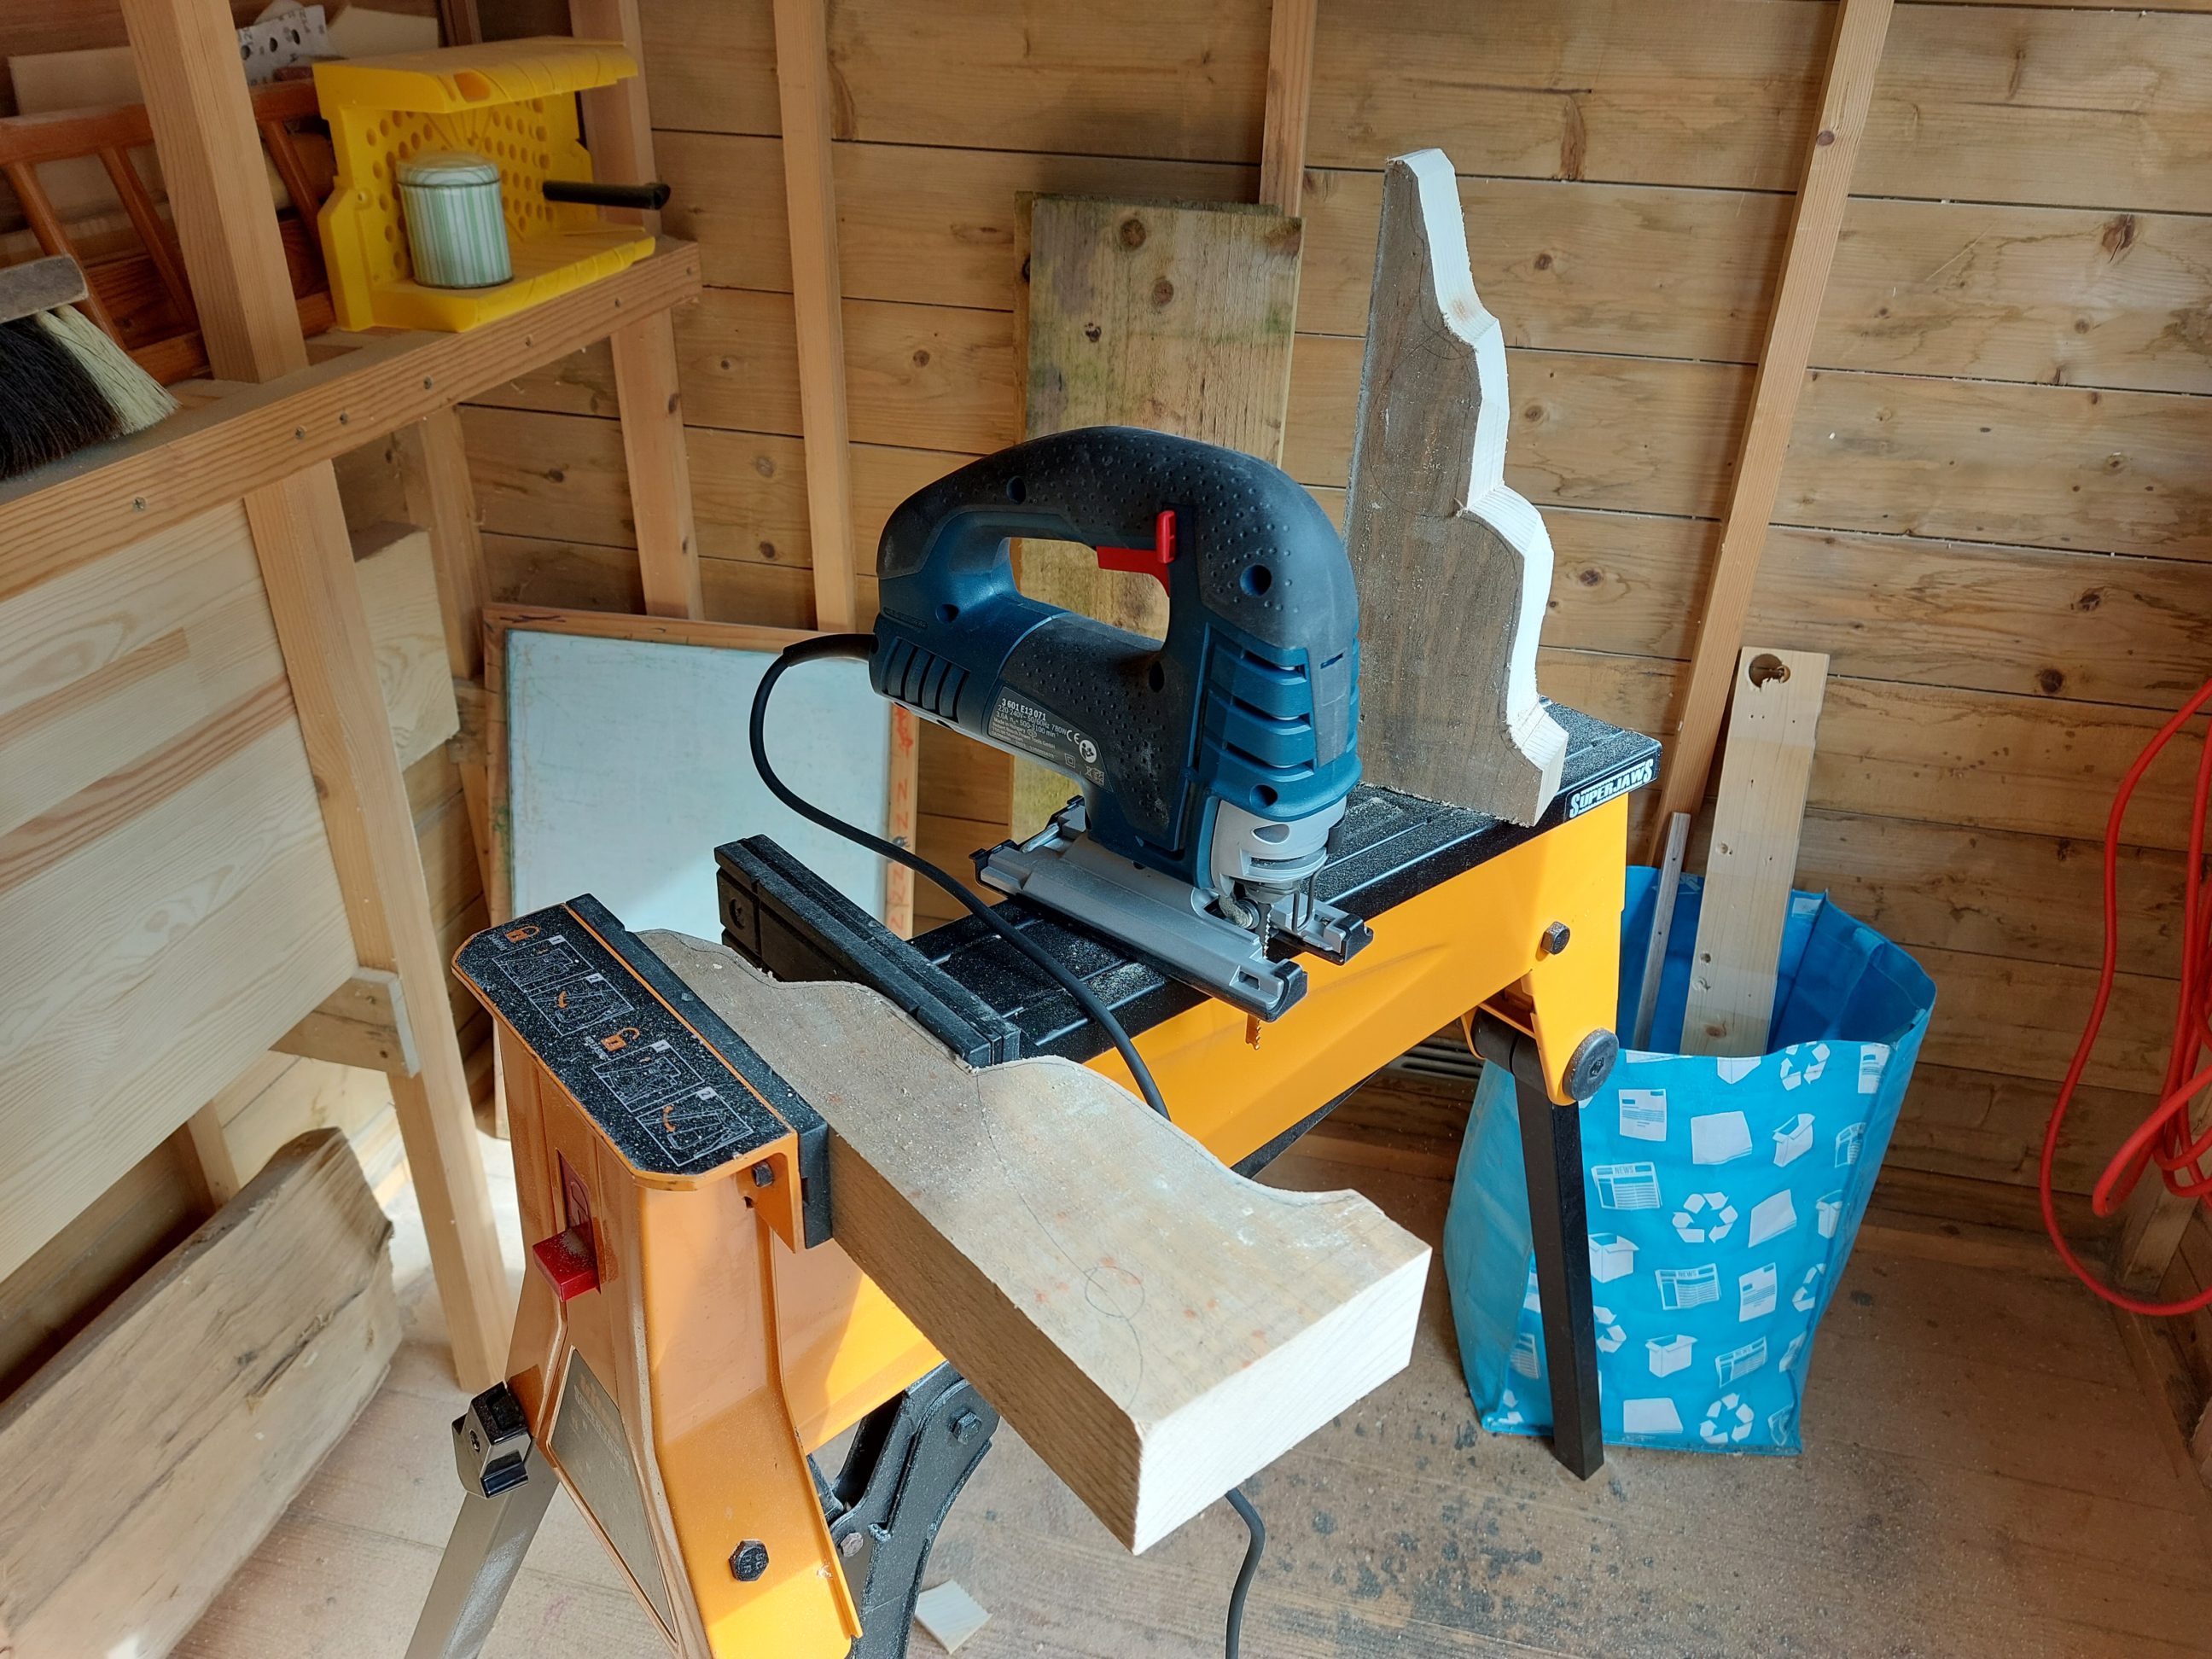

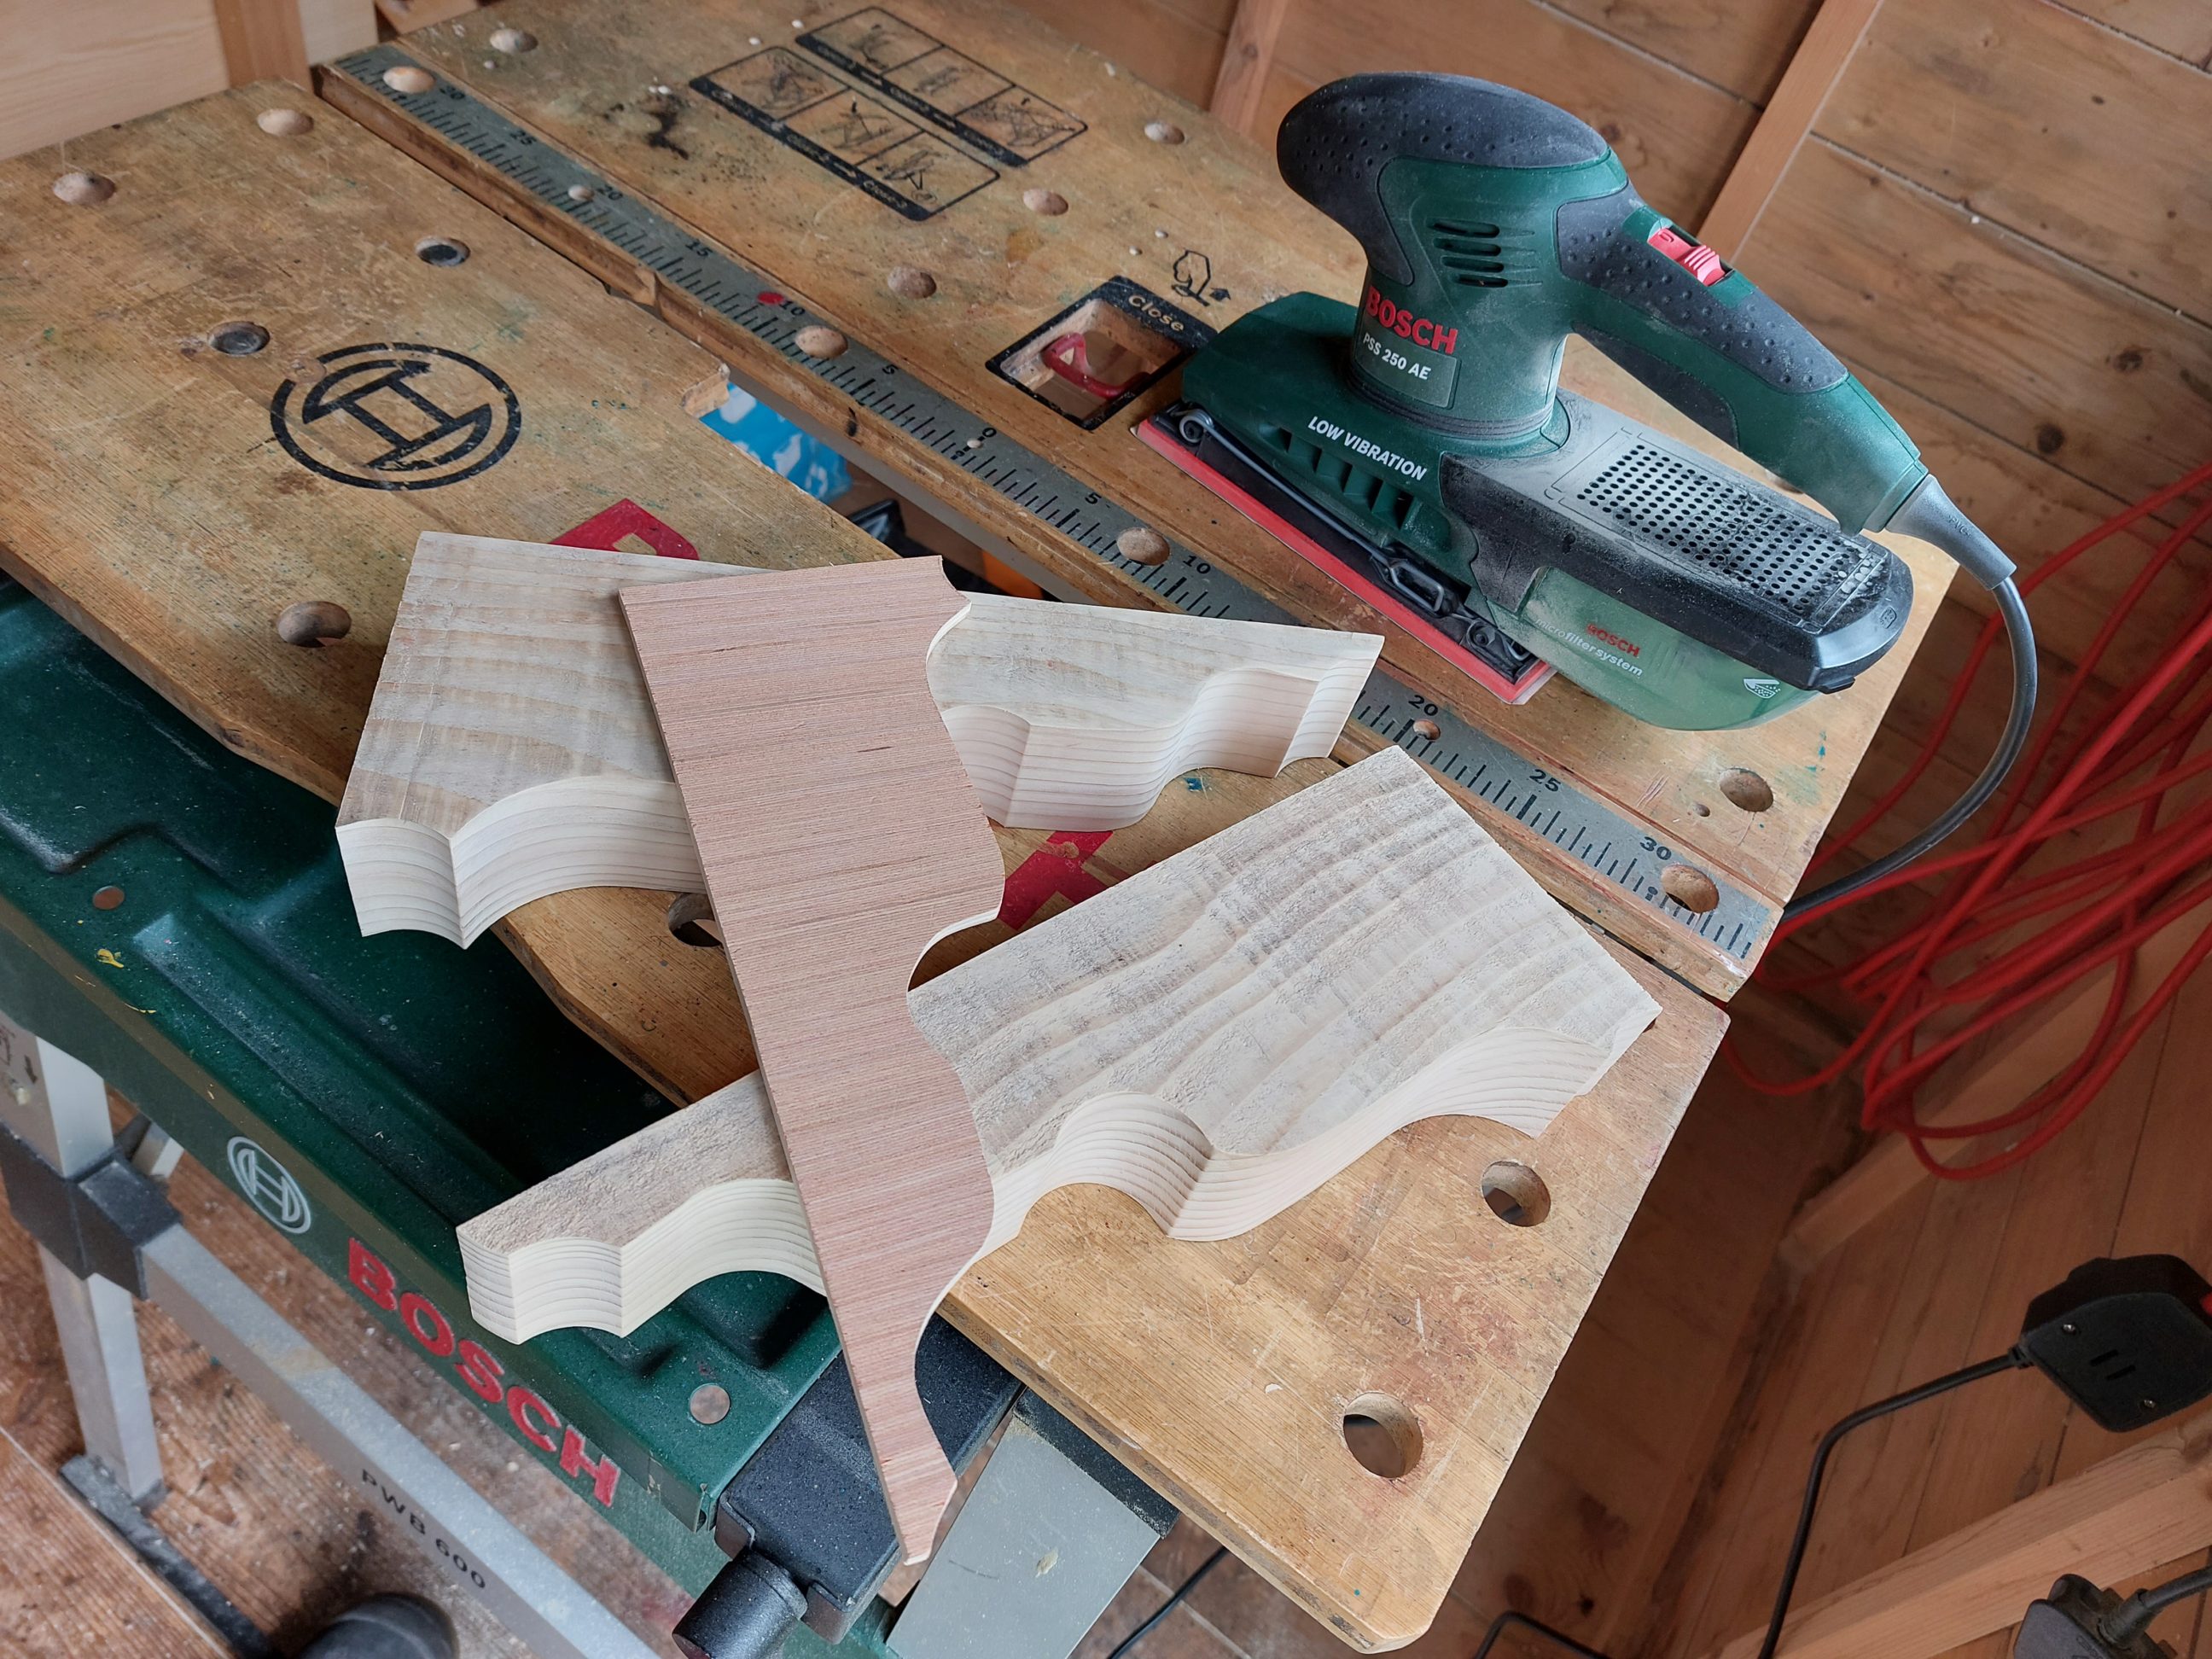
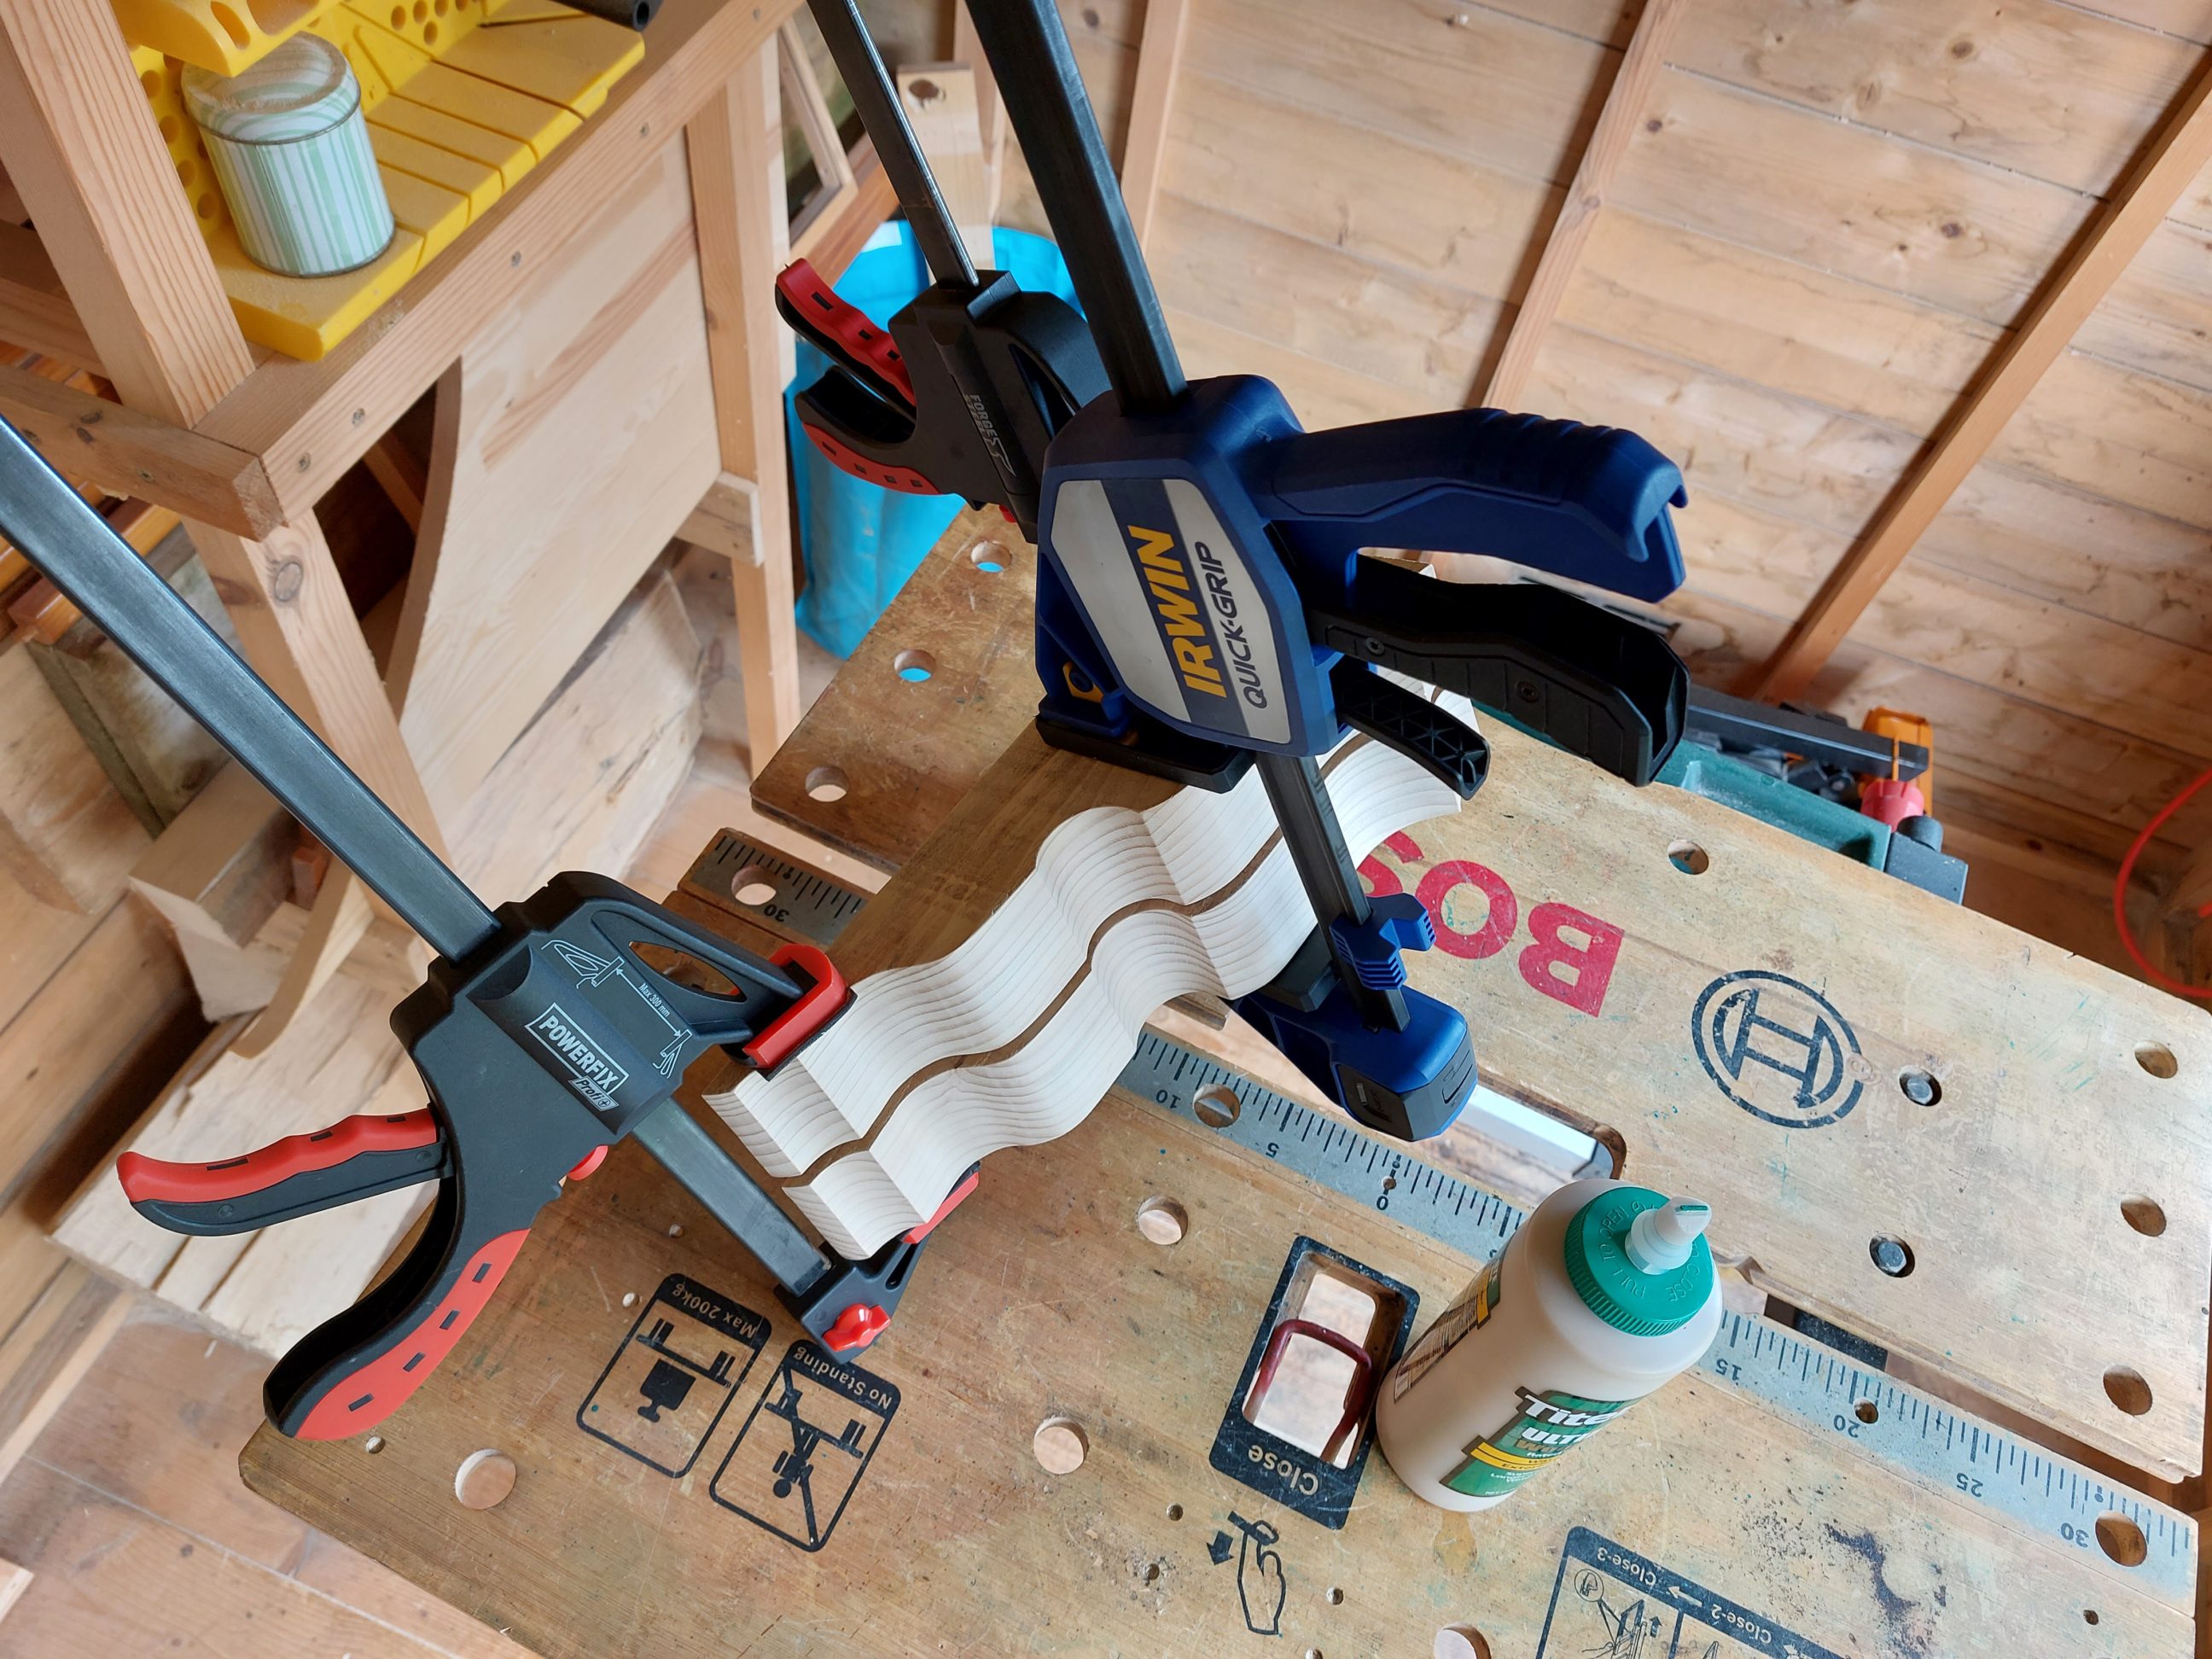
Using a jack plane, I flattened and squared up the back sides. Next, I cut off the tops, using my table saw, mitre gauge and a stop block. From that moment on all 3 sides of both corbels were identical. The middle piece was traced and cut out from a scrap of plywood. I had to sand off some material from its middle section to match the offset curves, but in 90% it was a copy of the wooden corbels. I wanted a rustic look for this project and did just a very light sanding, but some remaining pencil marks had to be removed and all the sharp edges eased, which was essential for handling and most importantly the finishing process. Finishes don’t look good over sharp edges. All 3 elements were glued together and I removed the clamps after 24 hours.


I traced one of the French curves on both sides of the workpiece, making sure the shapes were mirrored. I used a wood-burning pen and tried to stay within the lines. When one side was finished I taped it up to protect it from scratching and smearing off the burnt residue. It’s usually stable to some point and fine for varnishing with a brush and sprayed-on finishes, but I didn’t want the workpiece to be soiled with my fingerprints and there was still some work to do.


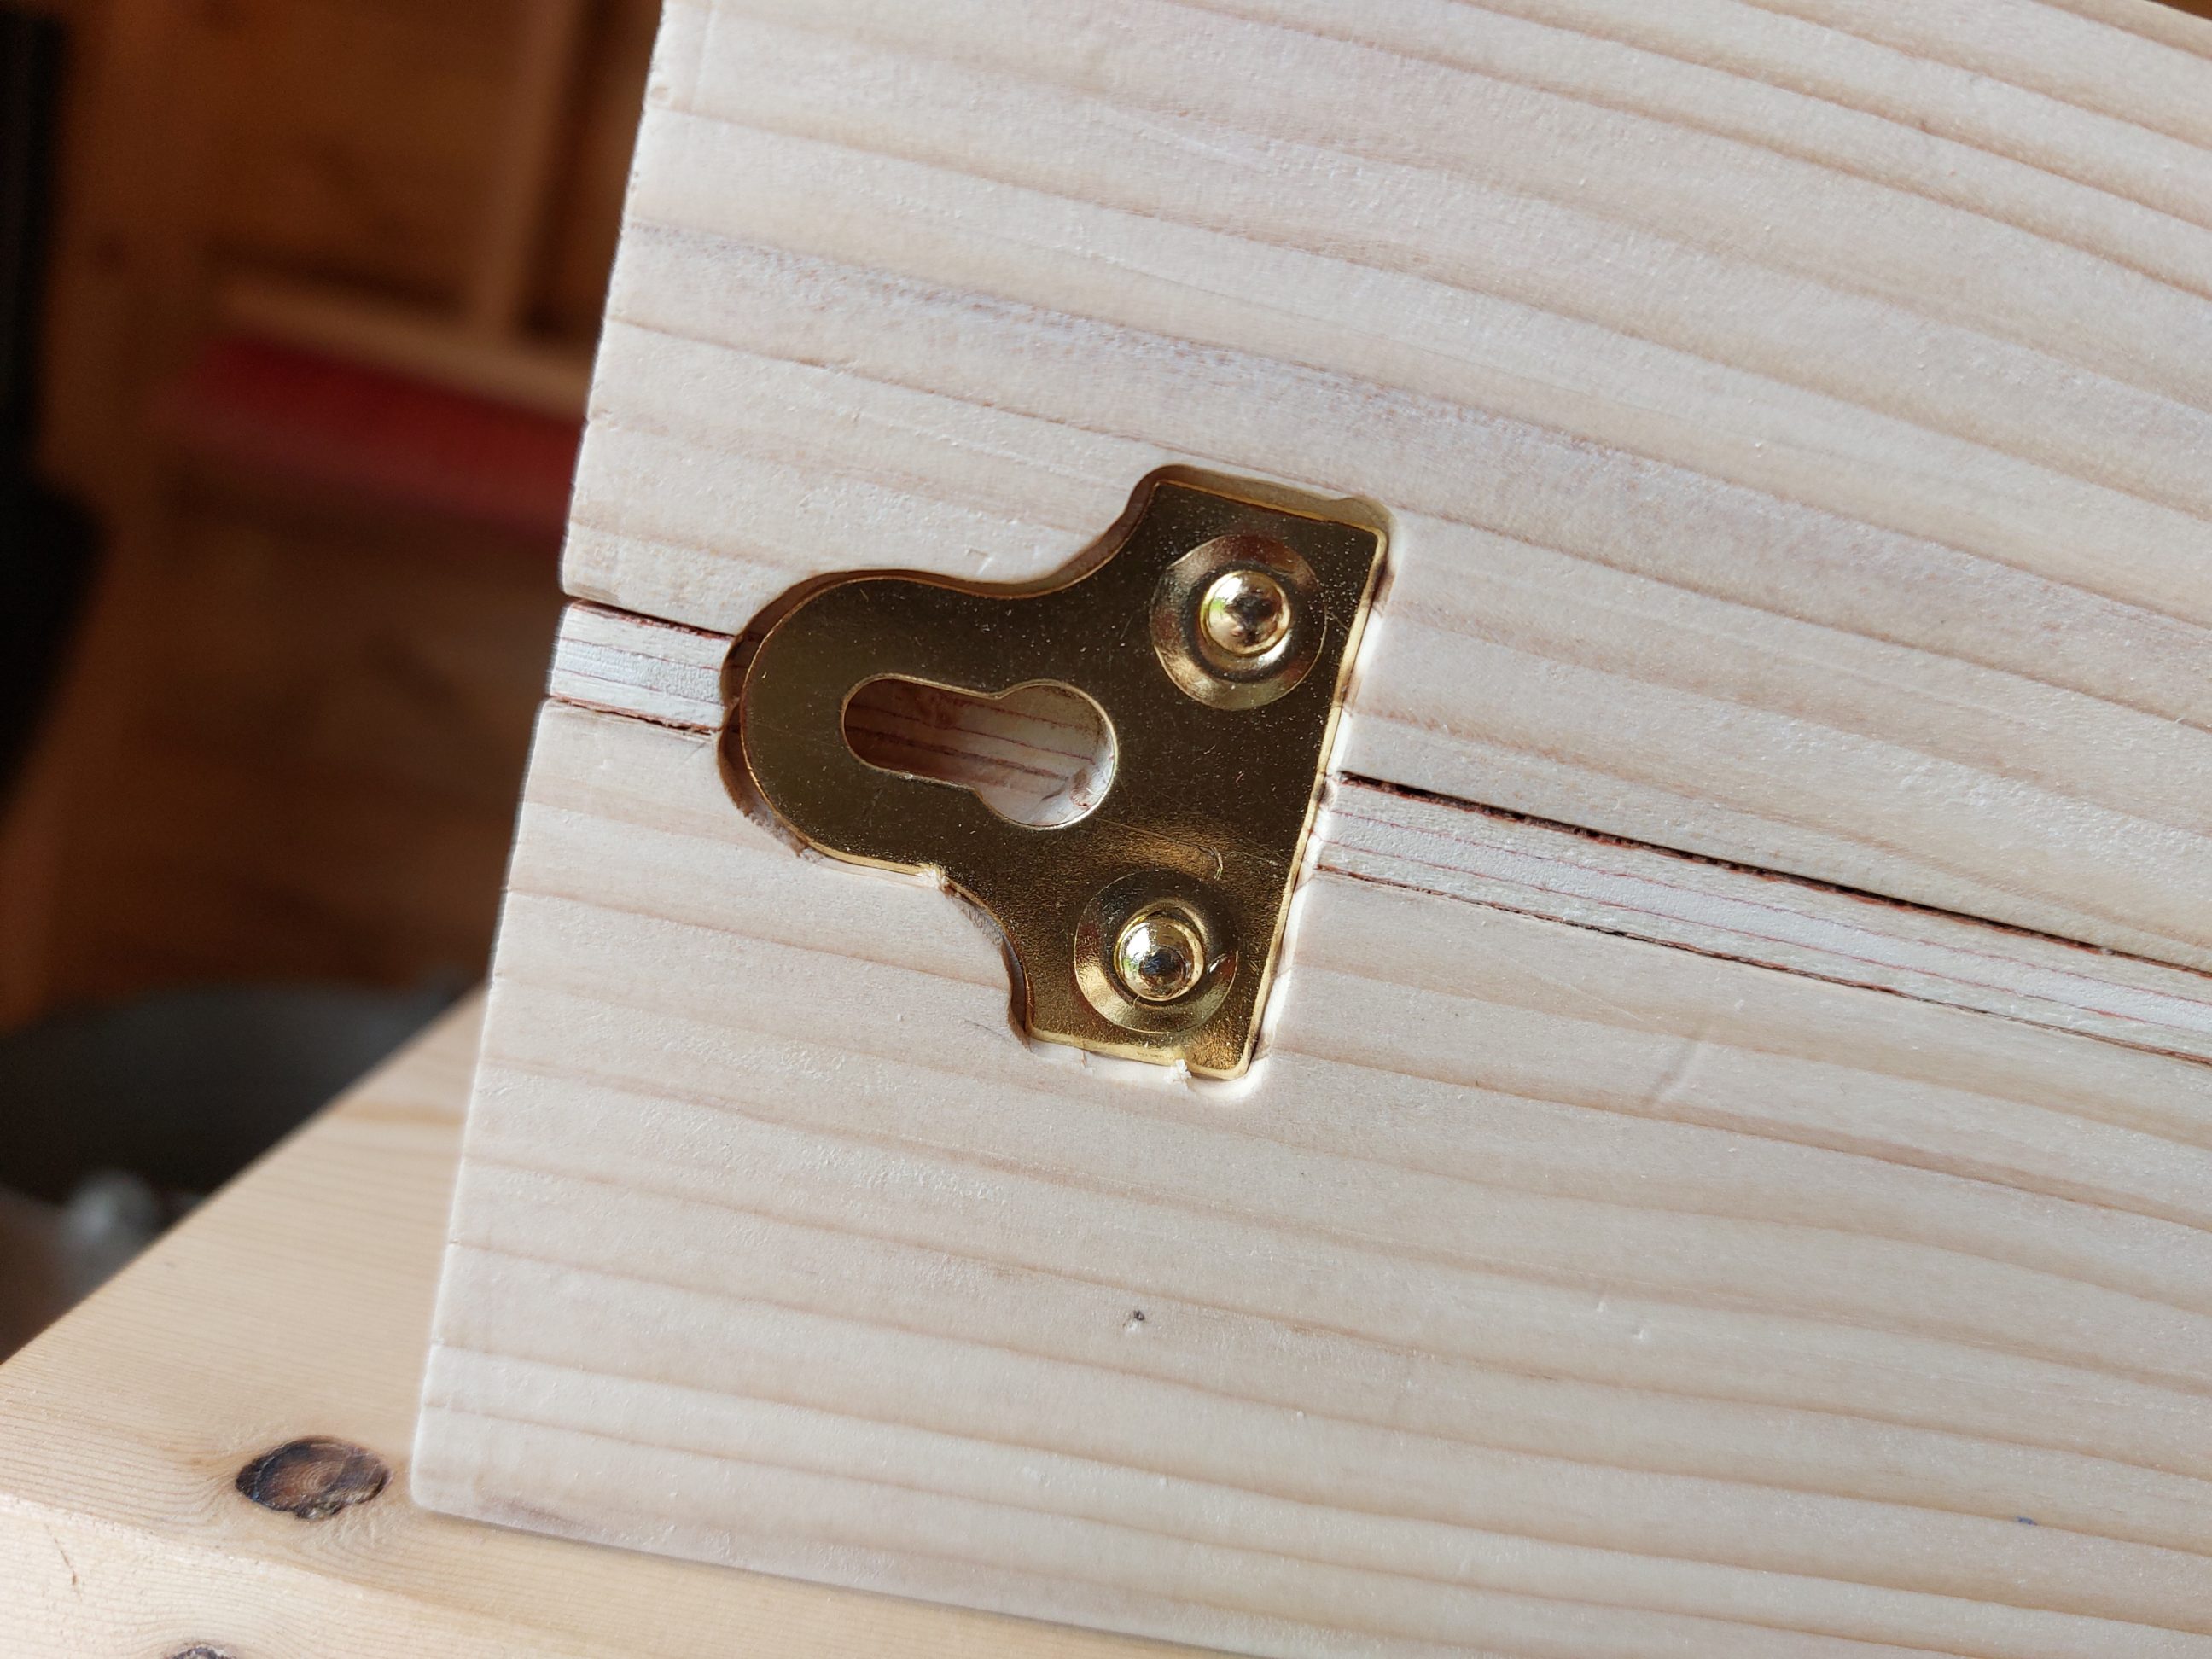
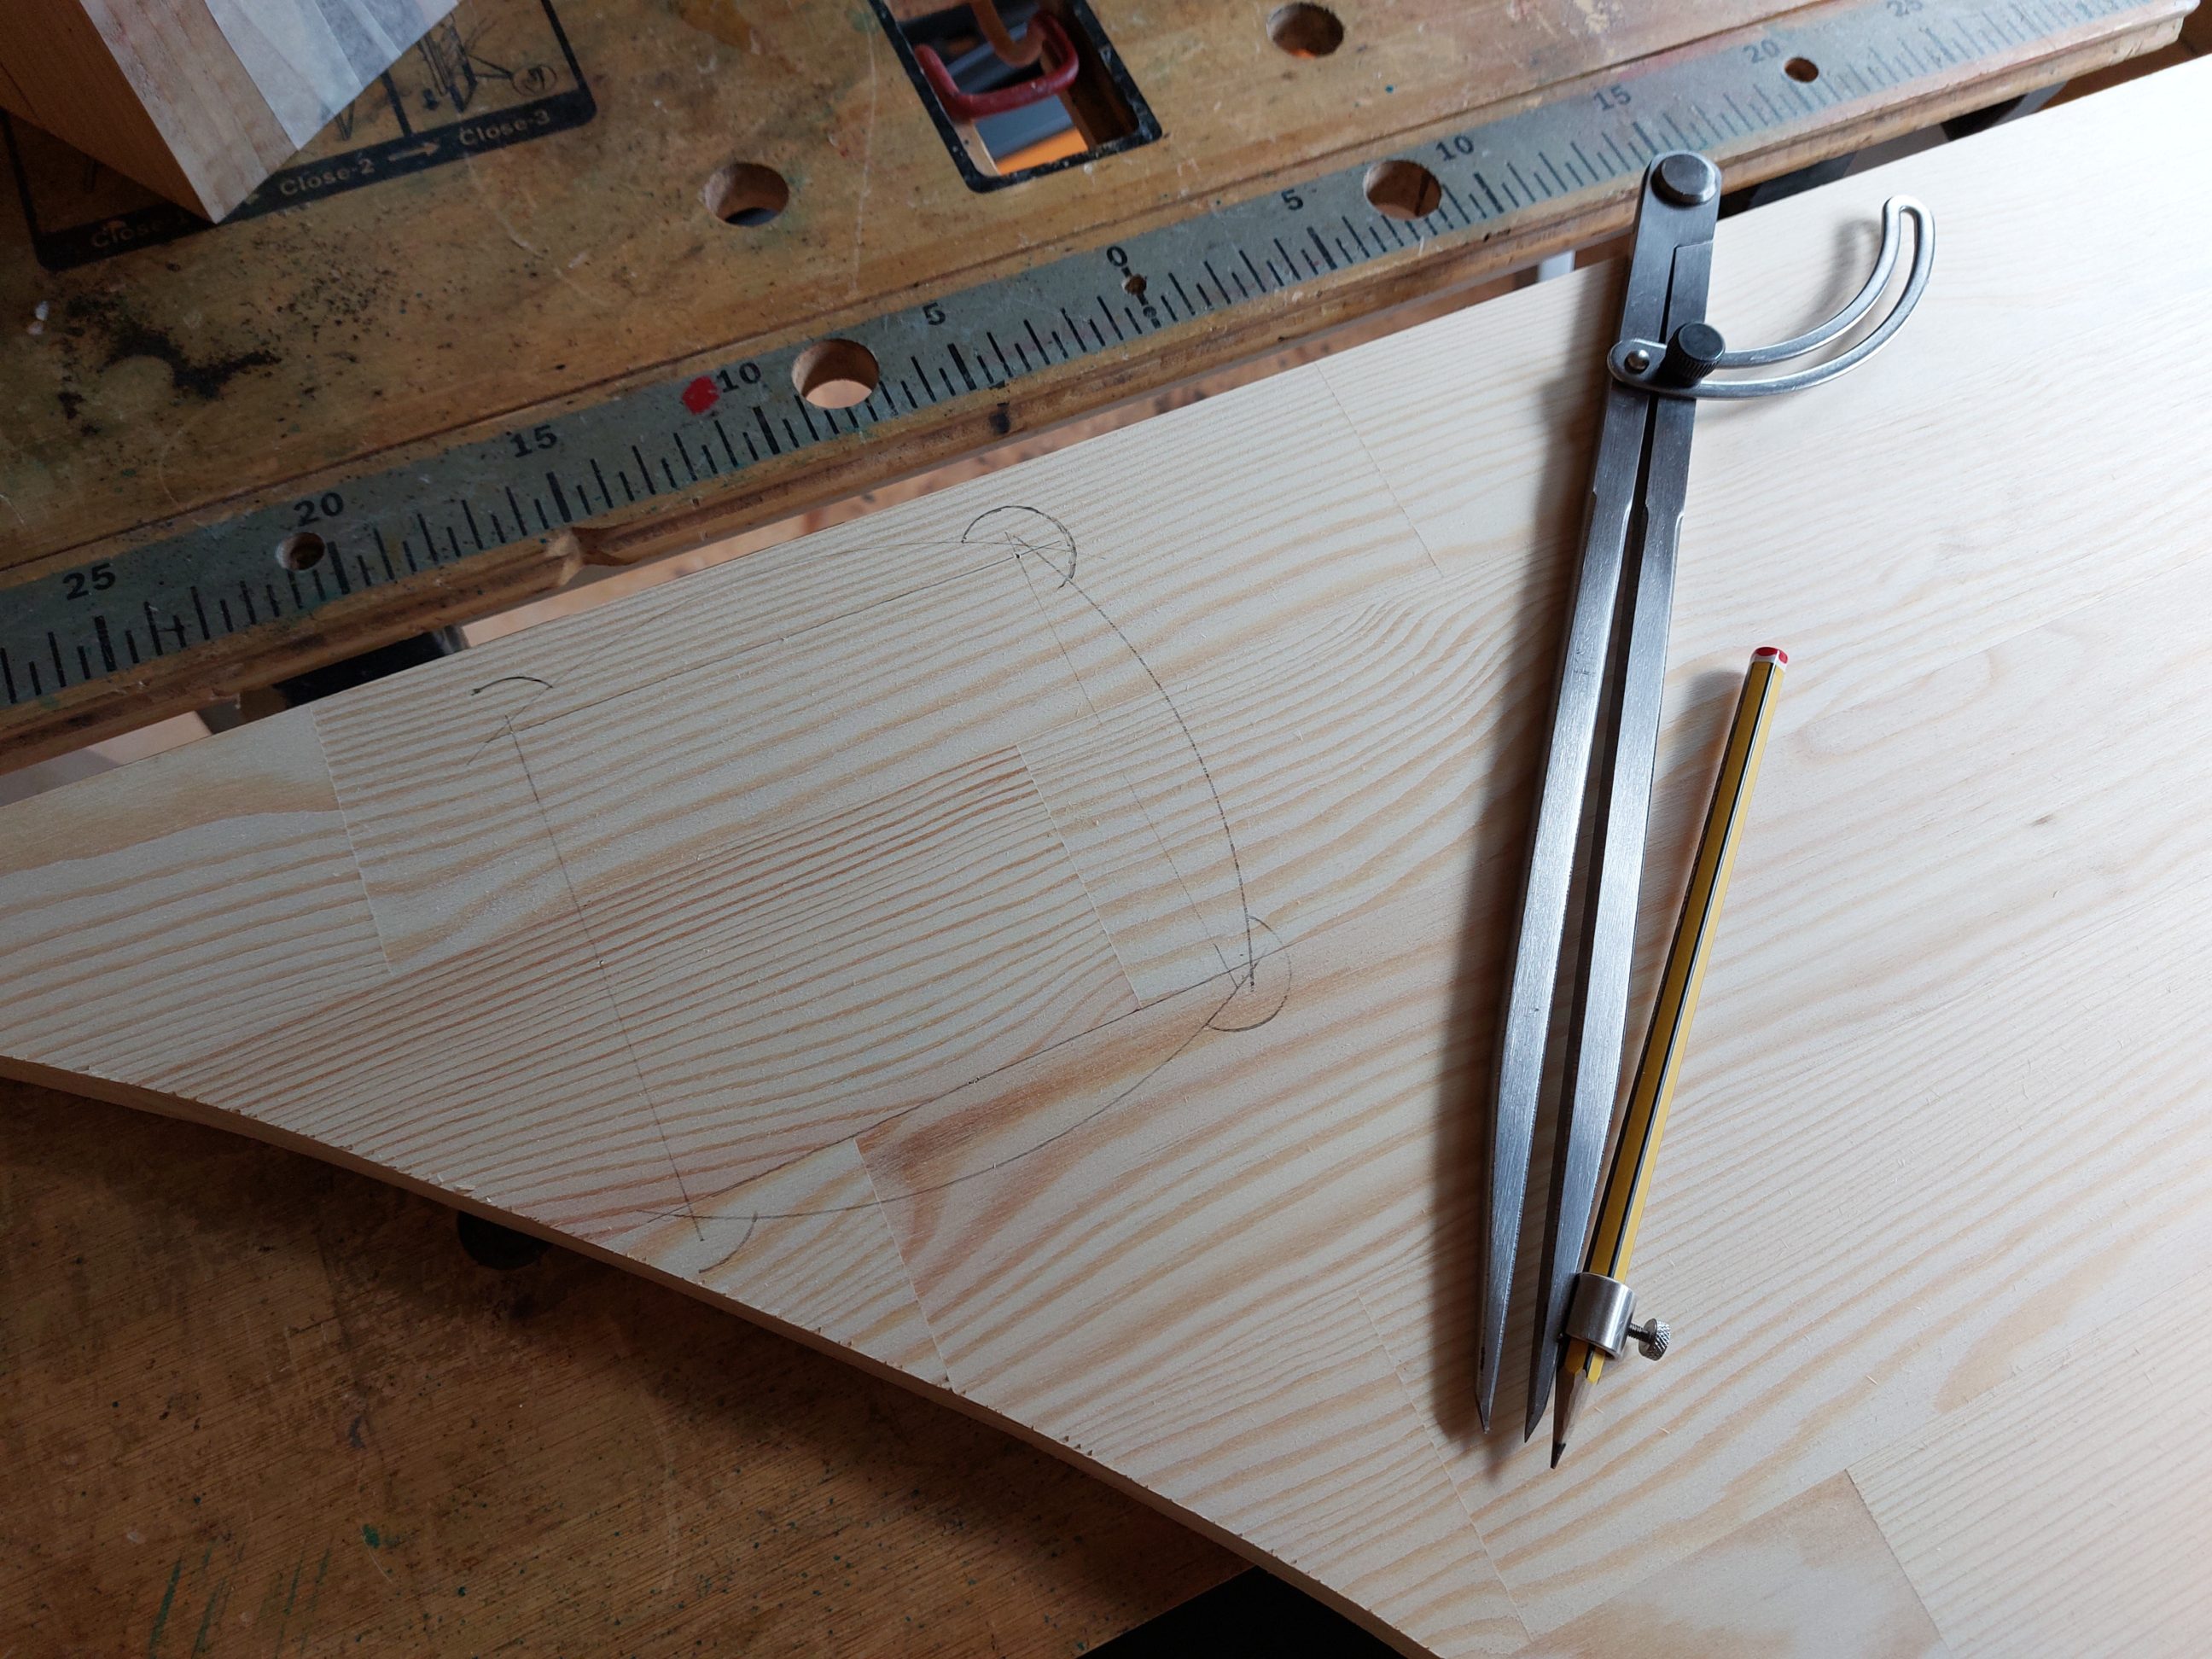
I routed out the nest for a hanging bracket and fixed it with nails. I hammered them in at an angle so they could hold the bracket strong. Using my carpenter’s compass, I drew a shape of the top, cut it out and sanded it to the line. I cut a heavy chamfer on the bottom, the biggest I could without damaging the bit with the router’s base. I also cut a tiny chamfer on the top. The top cap still looked bulky and chunky but I spaced it apart from the base with a piece of plywood and it looked good, or even more than good – it completed the look. Quick sanding of the top was followed by staining. I was lucky with choosing which part was going to be the top and which one was the bottom as they didn’t stain equally and the top one absorbed more stain and looked better. Although it was dry to the touch straight away, I let it cure overnight. This stain is actually a varnish stain, it should be applied with a brush and not wiped off. Sometimes I use it differently – one product for many applications.


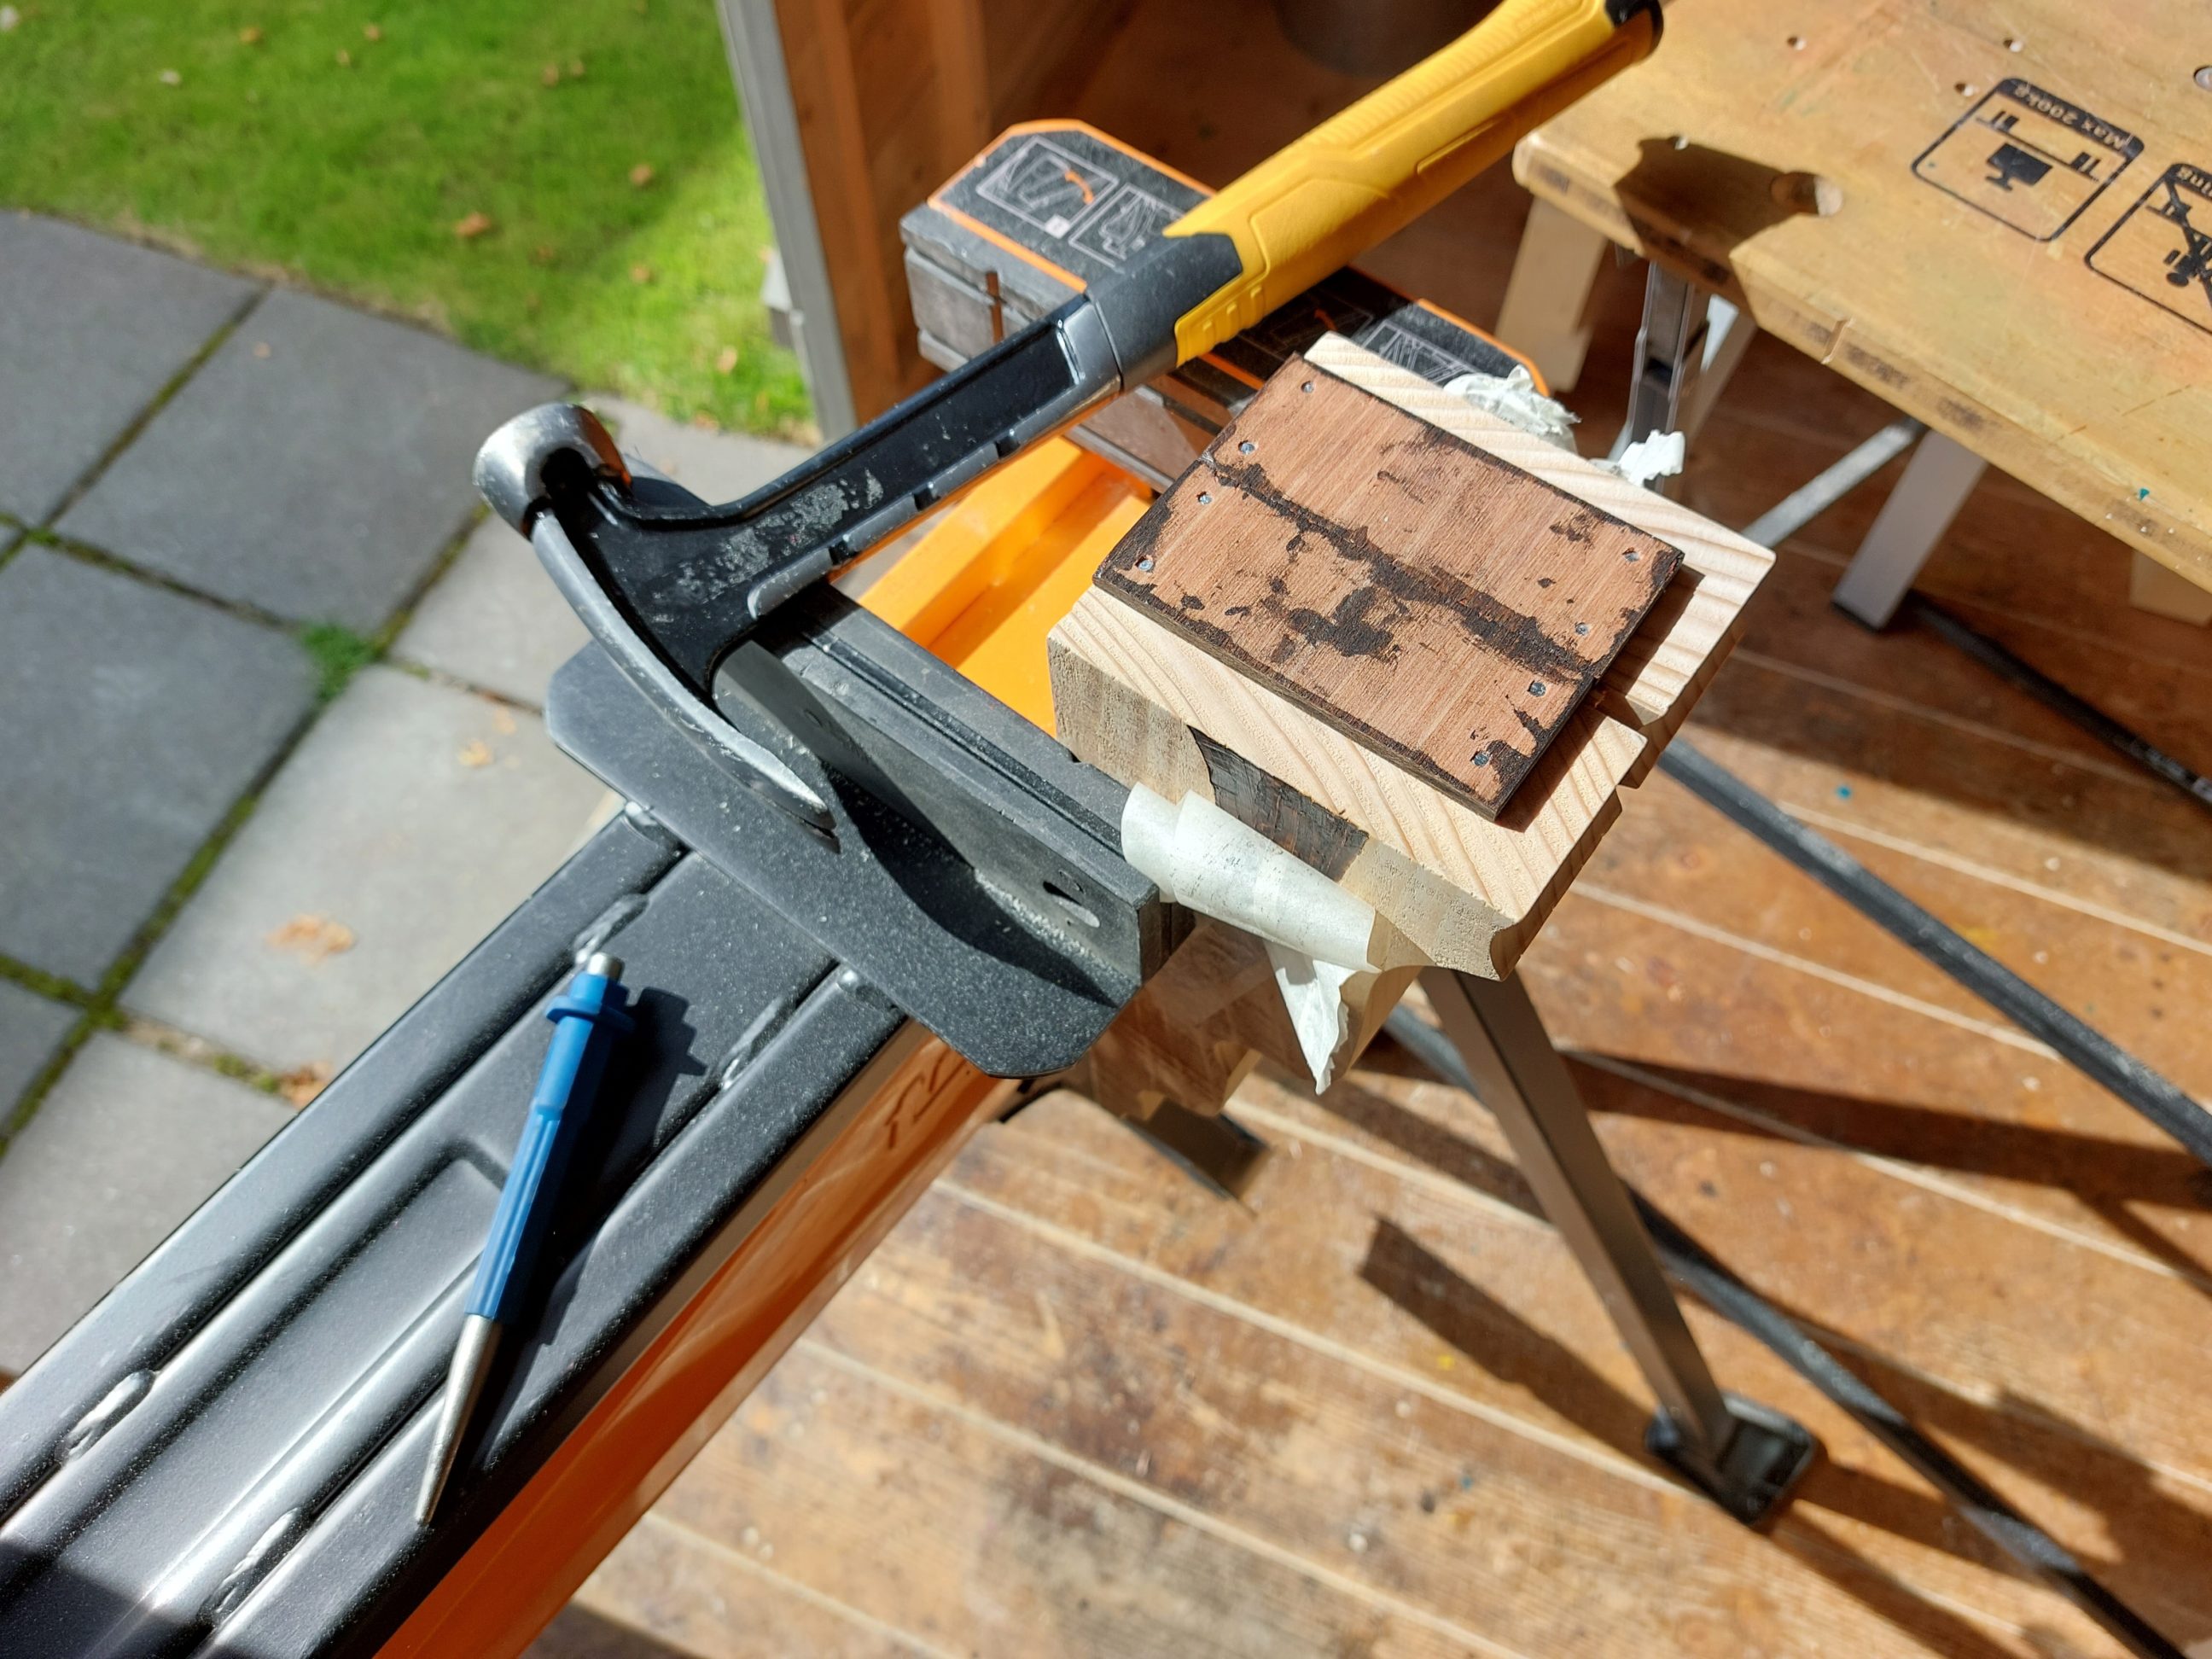
The next day, I used a strip of plywood off-cut and with the use of a hand saw I cut out 2 rectangular pieces. I sanded their edges flat, using my sanding jig and stained them. To prevent slipping and misalignment I nailed them down in a few spots. I drilled countersunk holes in the top, applied some stain to cover raw wood, pre-drilled holes in the base and put everything together with two 50 mm (2 inches) drywall screws. That was the first time I used drywall screws in a project but to match the colour with the top I didn’t have any other choice. These screws would never be seen because the whole shelf will be installed above eye level and there will be always something standing on it – a candle or a flower pot perhaps.


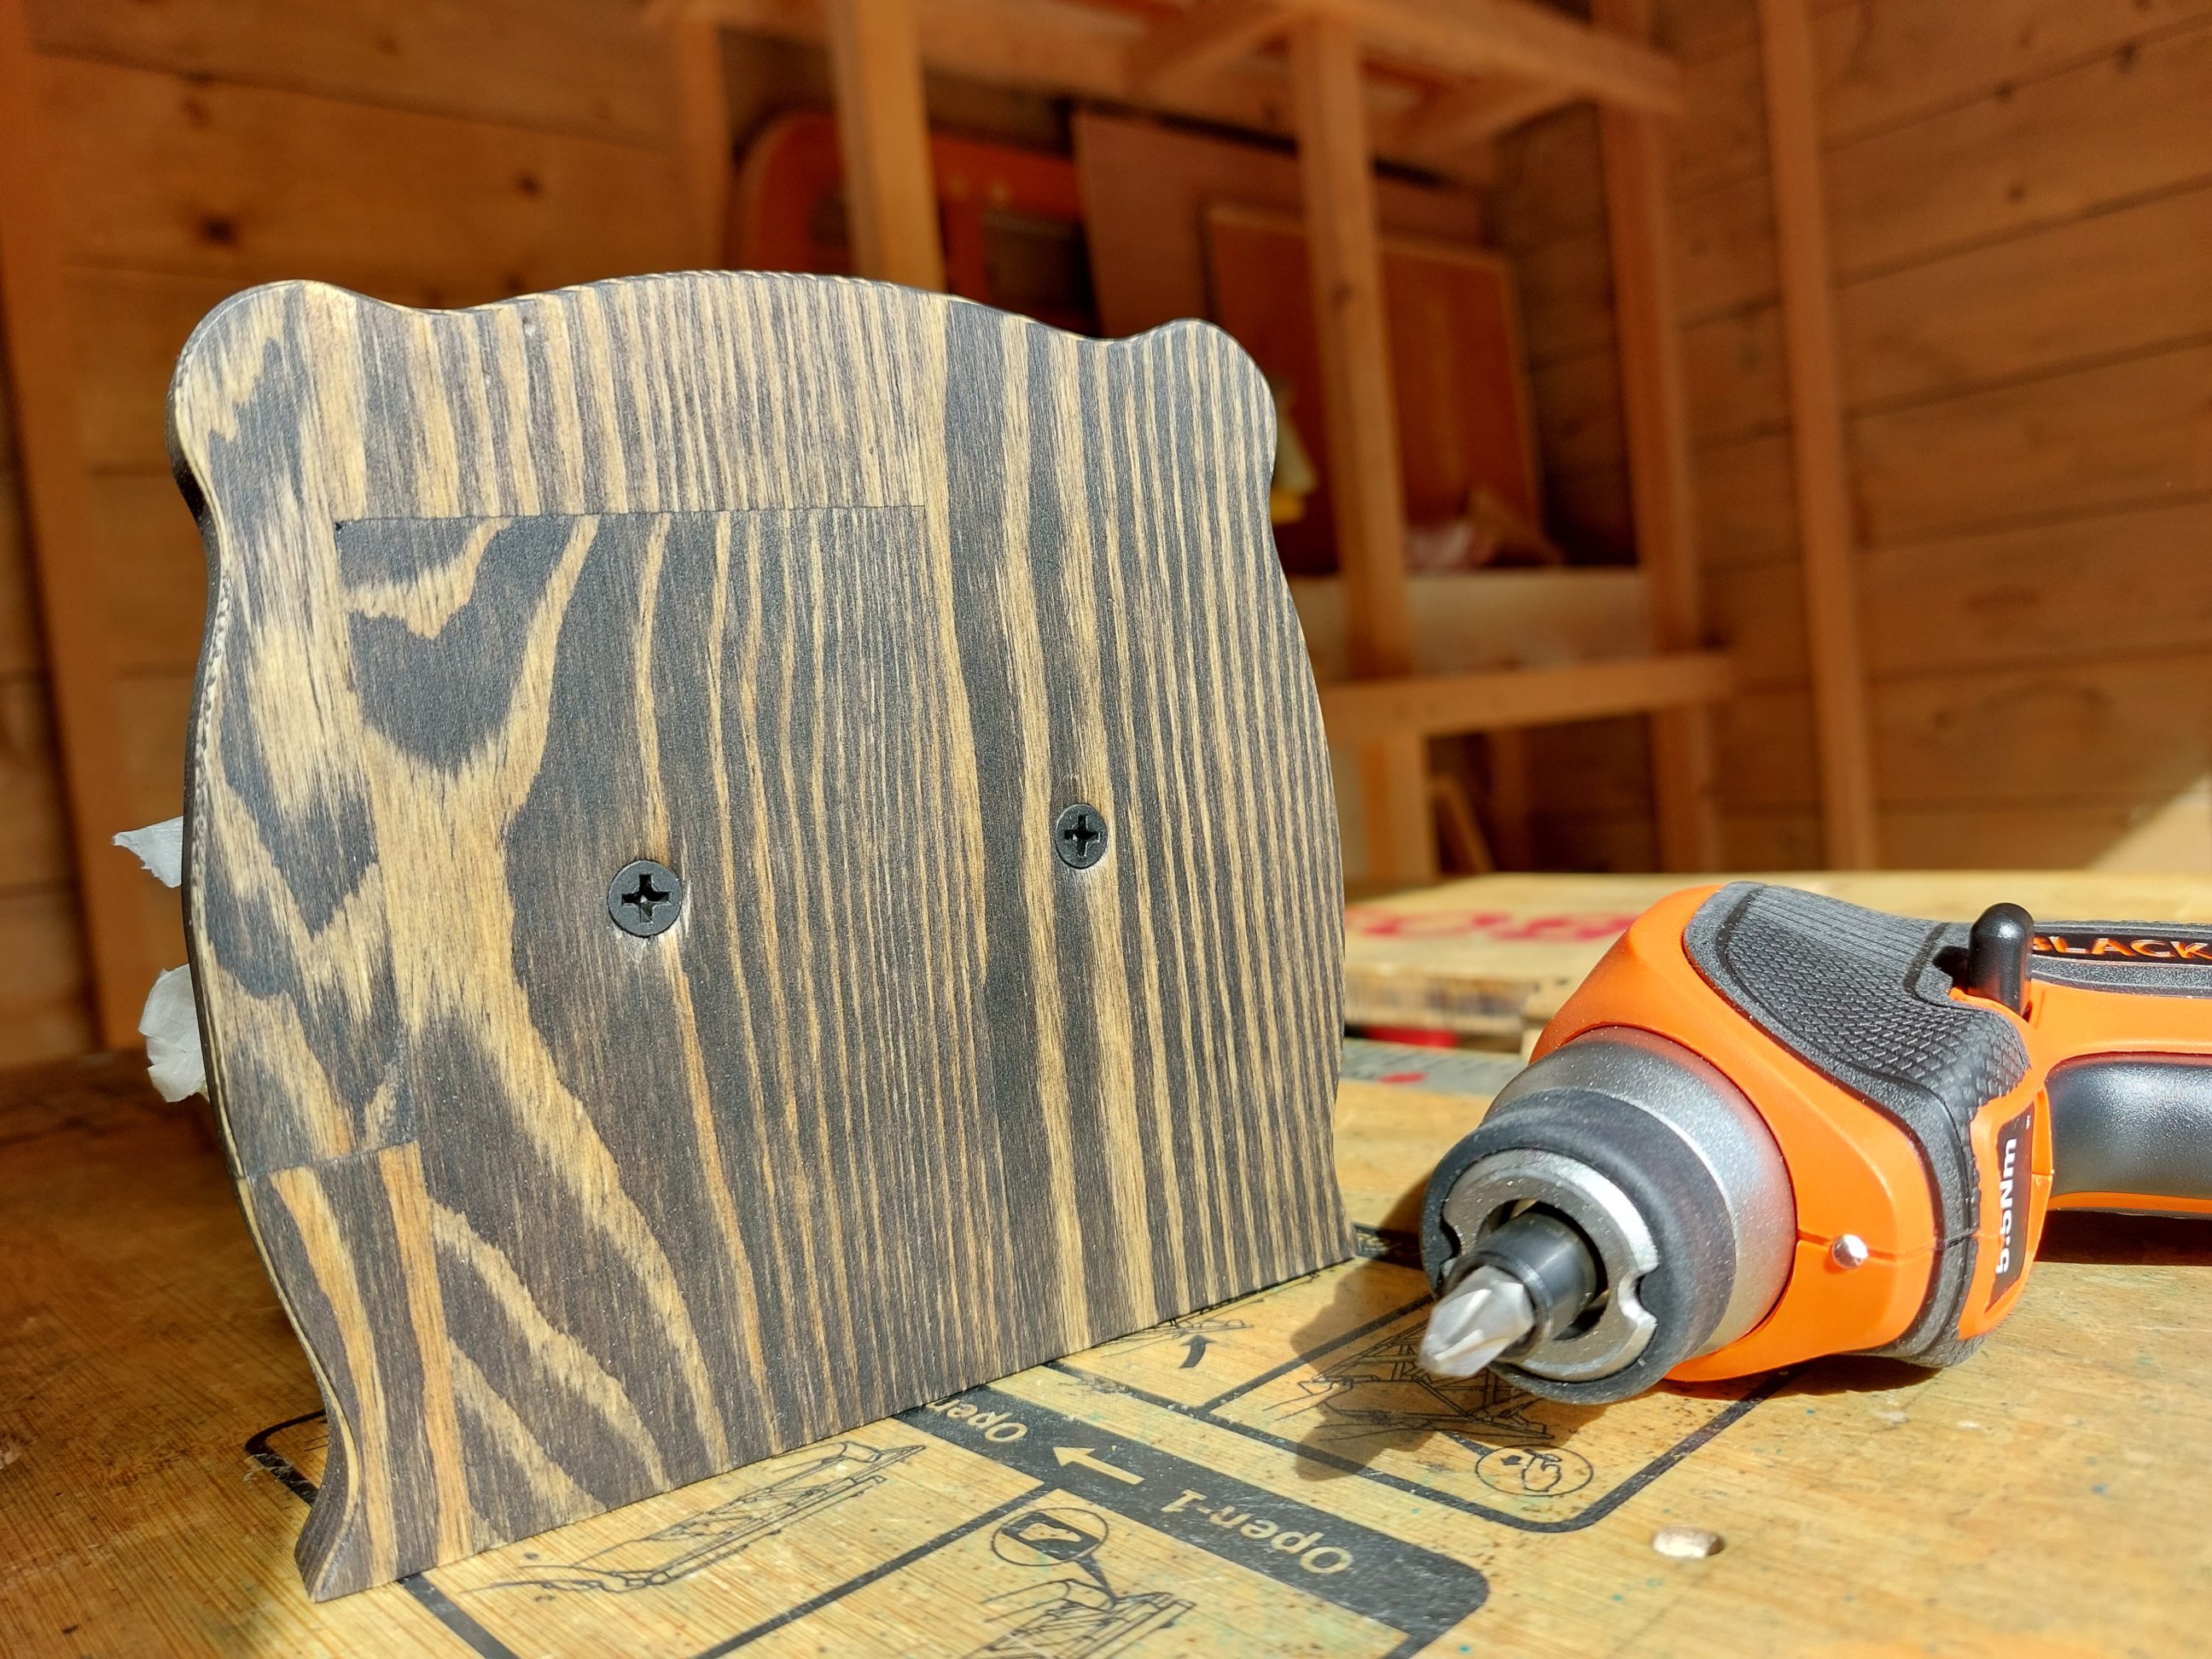


The easiest, most convenient and quickest finish for that project seemed to be spray varnish or lacquer. I had on hand a small tin of matt varnish that allowed me to cover the corbel with about 5 coats and that took no more than 45 minutes to complete. It cured overnight and was ready for installation, just beside The Letter K. The corbel’s cap got the same finish as The Letter K and they perfectly complemented each other. Now I can tell that staining the cap was a good idea and the darker colour matches the skull-shaped candle. The matt finish was also a good choice – anything glossy wouldn’t look as good as this one.


One Comment
Pingback: