Drywall shelf
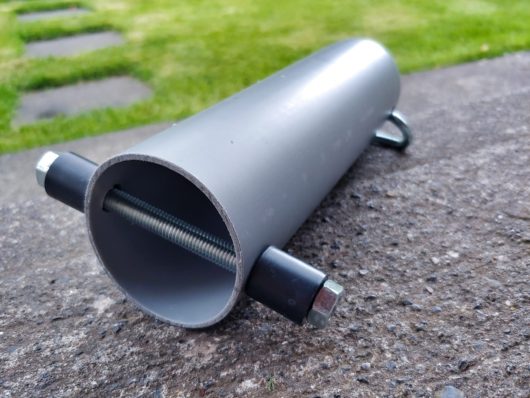
I had never tried those drywall anchors prior to that project. I’d always wanted to, but I was a little petrified of them. However, I knew I needed to step out of my comfort zone if I wanted to take on more challenging DIY projects. So, I did some research and decided to give those anchors a try. It turned out that there was no need to use a setting tool to install them, which reduced the project’s cost. Additionally, the shelf brackets were reused from another project, and the board was free, so it looked like a perfect upcycling project at a low cost. Now that the project is finished, I feel more confident in my DIY skills, and I’m eager to take on even more ambitious projects. I believe that trying new things is essential for personal growth, and this project was a reminder of that.


Before I started drilling, I made sure there were no live wires underneath, nor any studs present. I used smaller concrete drill bits first and finished with the final 10 mm one. Next, I hammered the anchors flush with the wall. Each anchor was originally equipped with a pair of sharp teeth, which theoretically engage with the wall and prevent the anchor from spinning. However, due to a slightly damaged thread on one of them, the teeth didn’t stay in place and gouged the wall during the next step, which was pulling the wings in with a screwdriver. I removed the anchor, inspected it and cleaned the thread by running the entire length of the bolt through the nut parts. Then, I placed a washer onto the anchor to prevent it from sinking into the wall and tightened the bolt again. It wasn’t flush with the wall, so to keep the brackets parallel to the wall, I had to add another washer as a spacer, which I fixed to the bracket with double-sided tape.
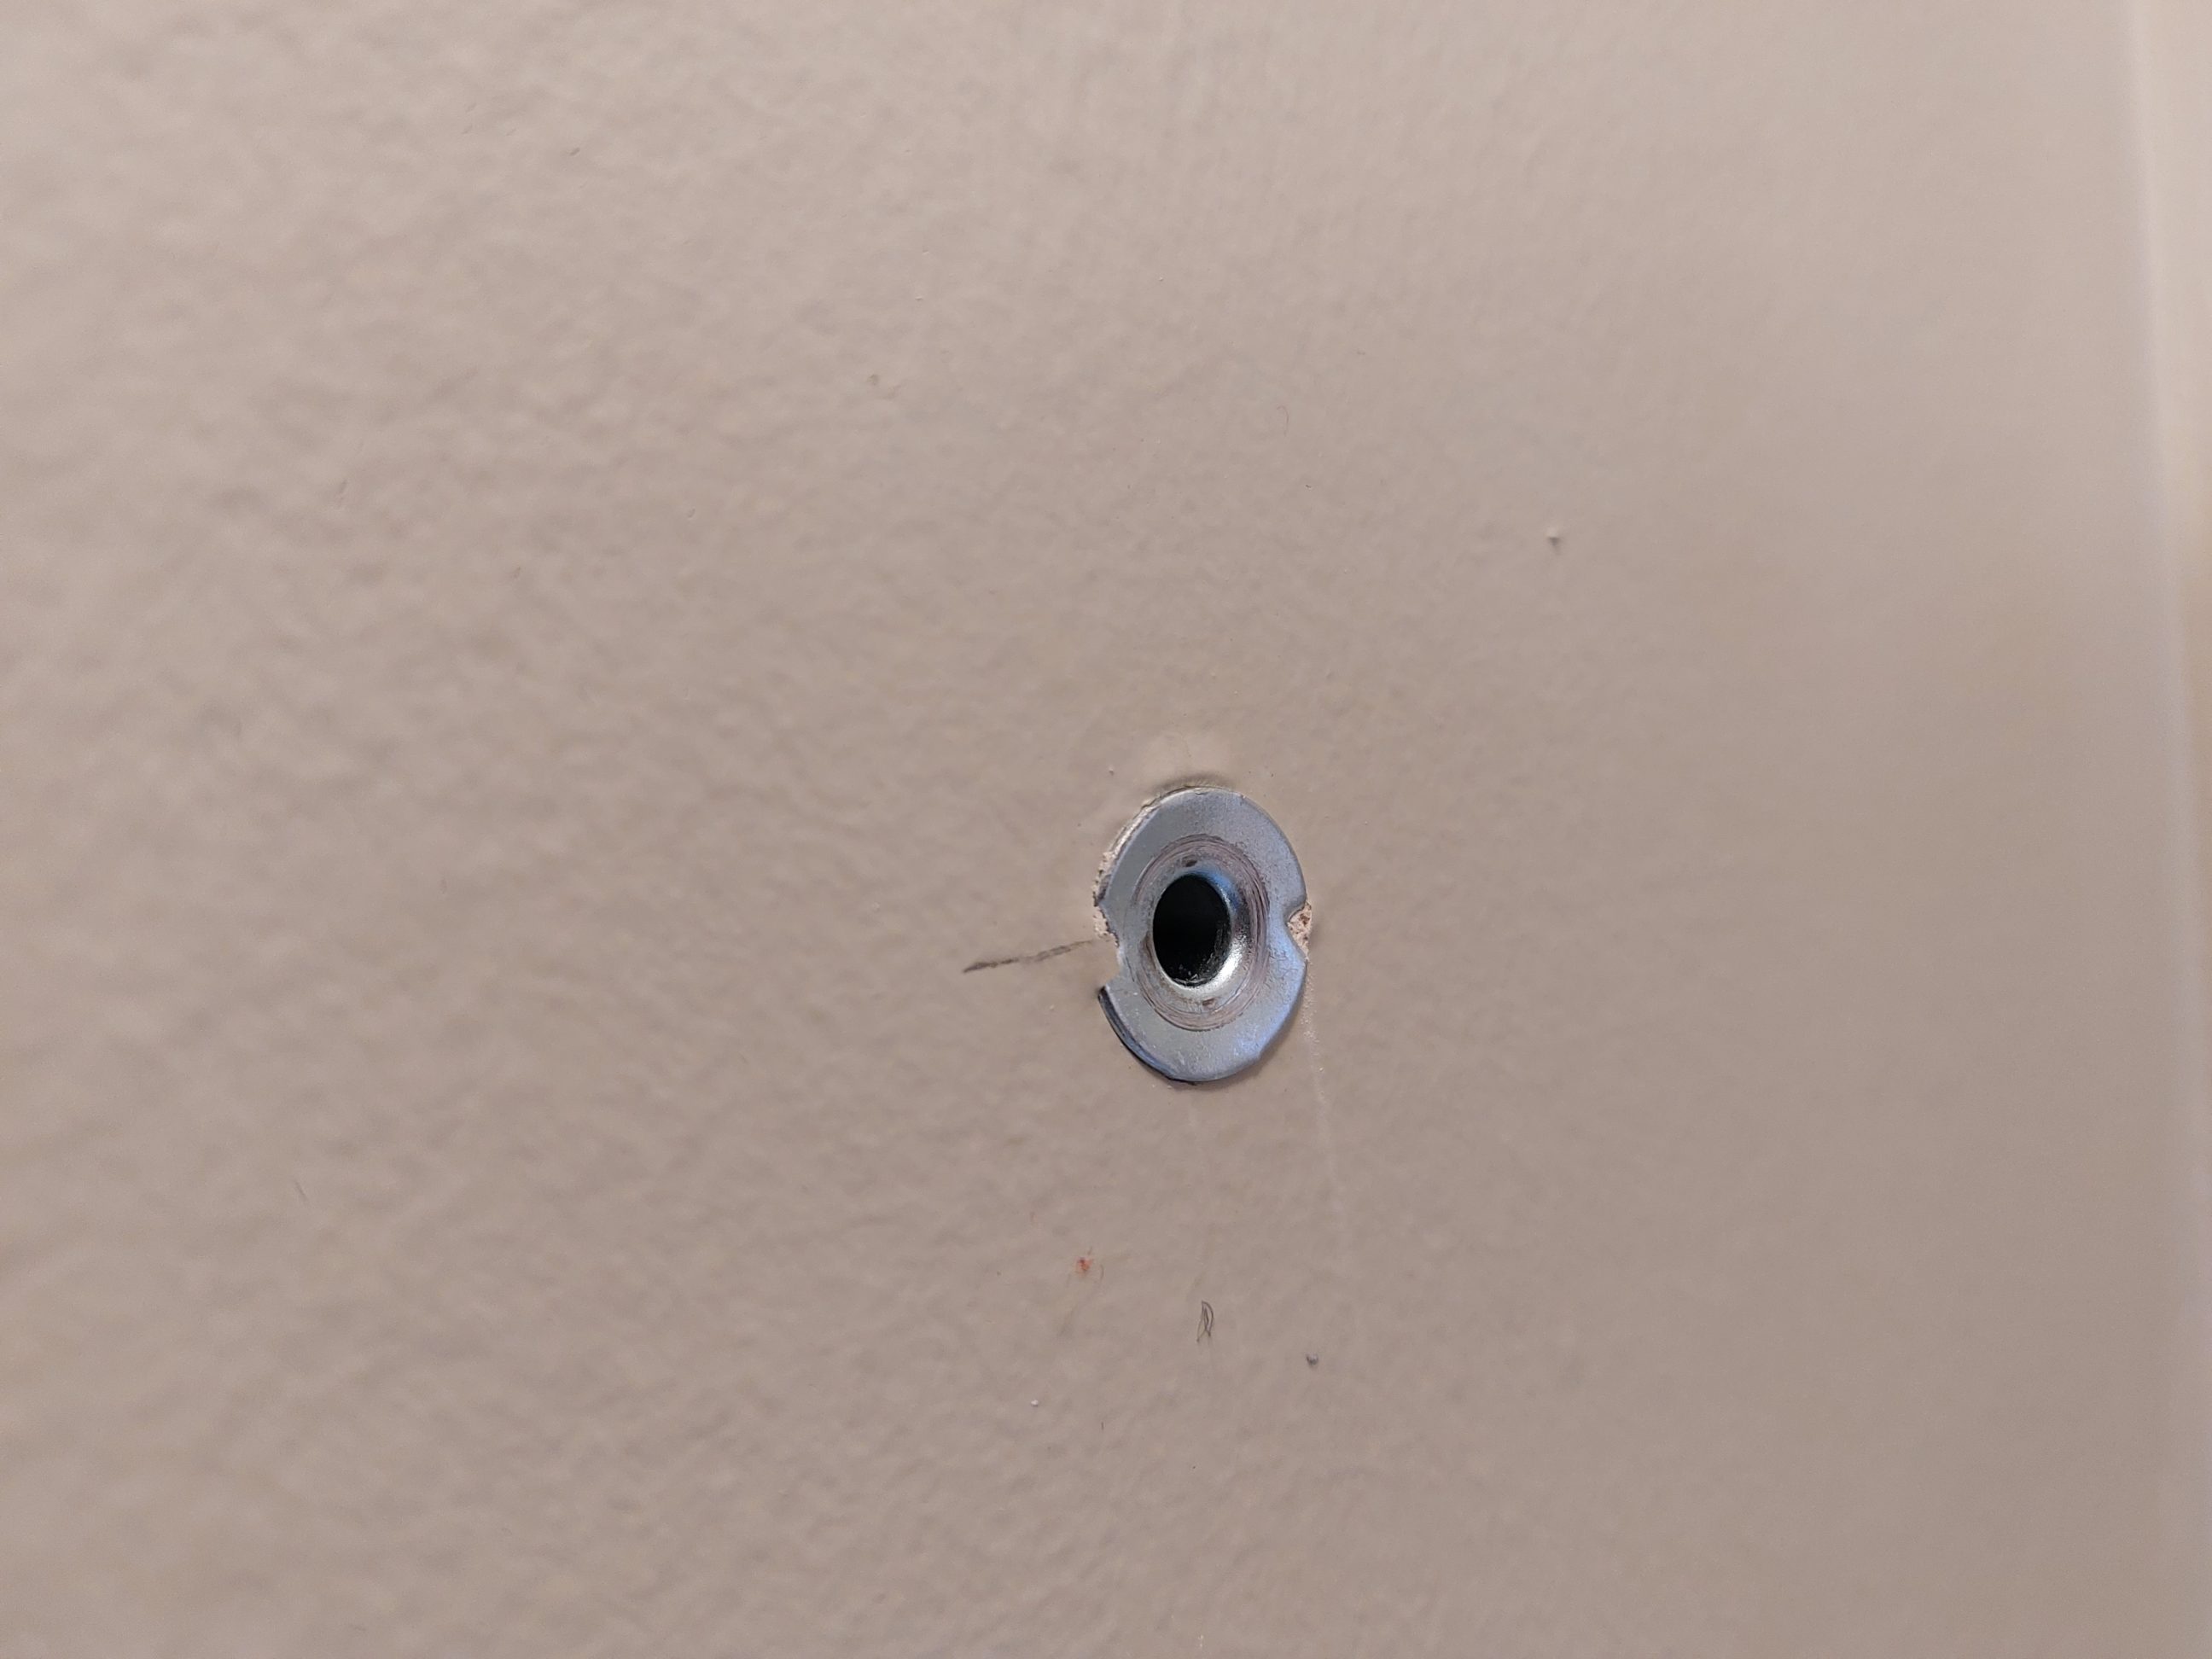
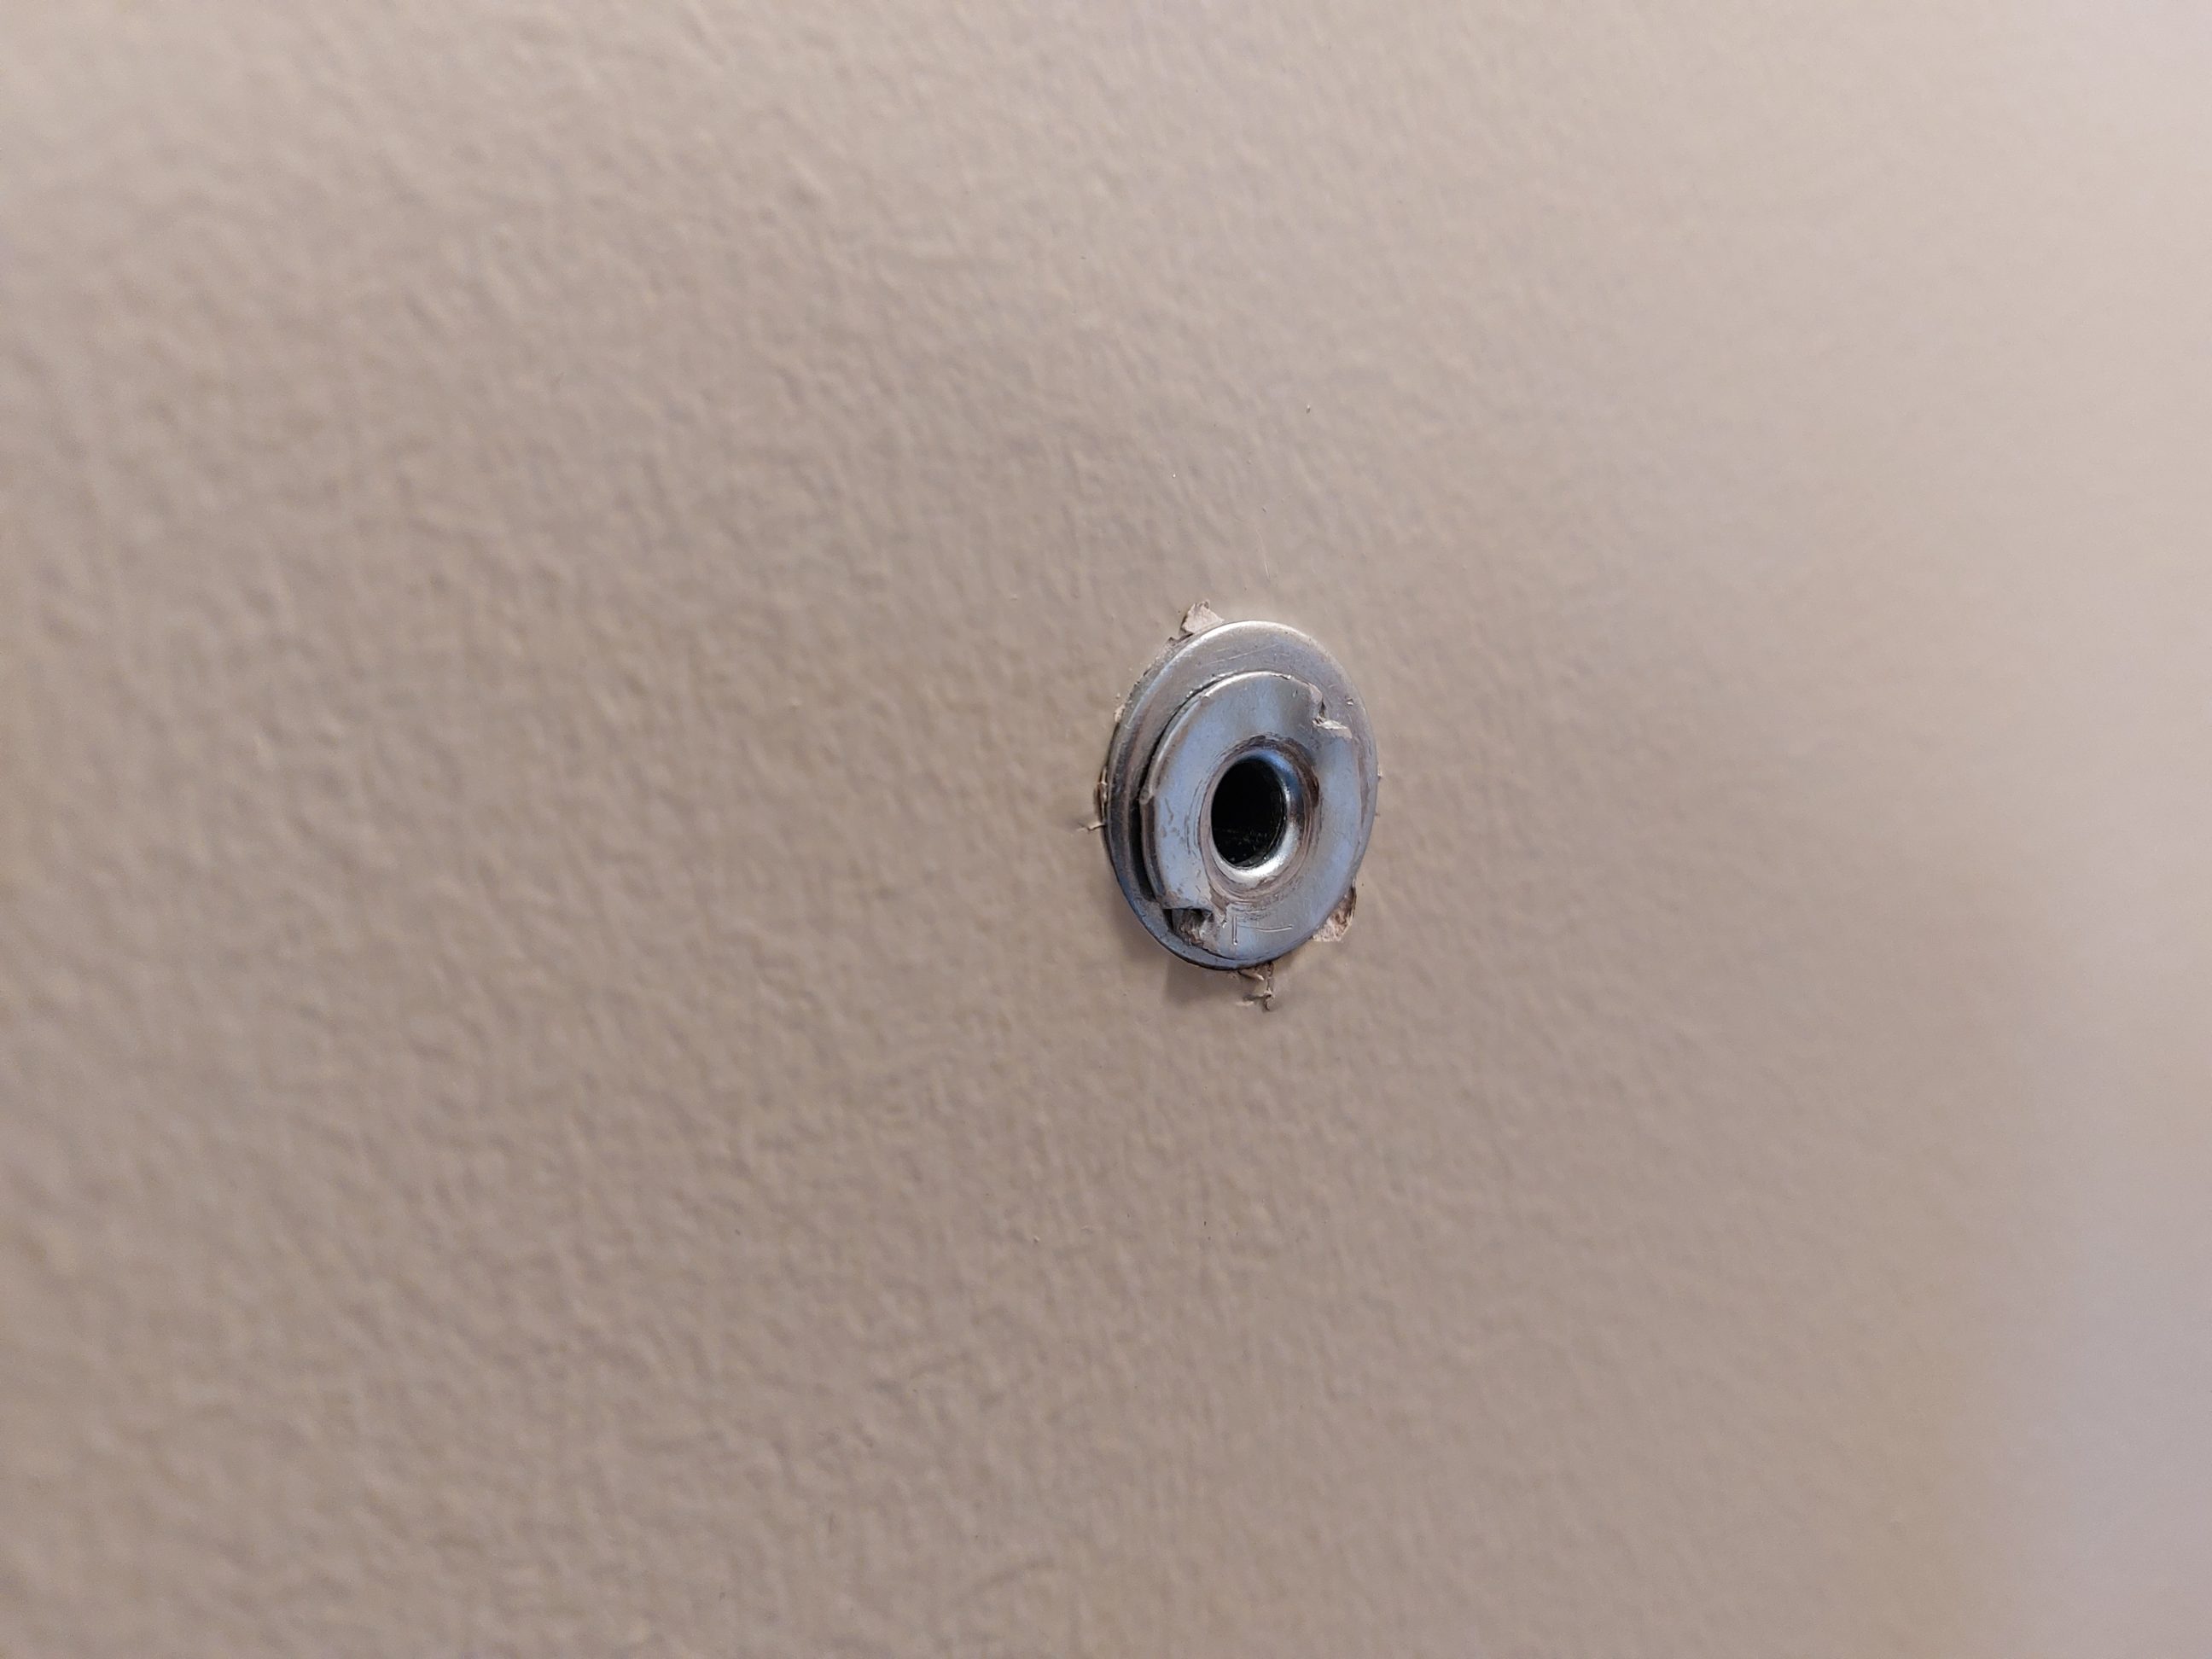


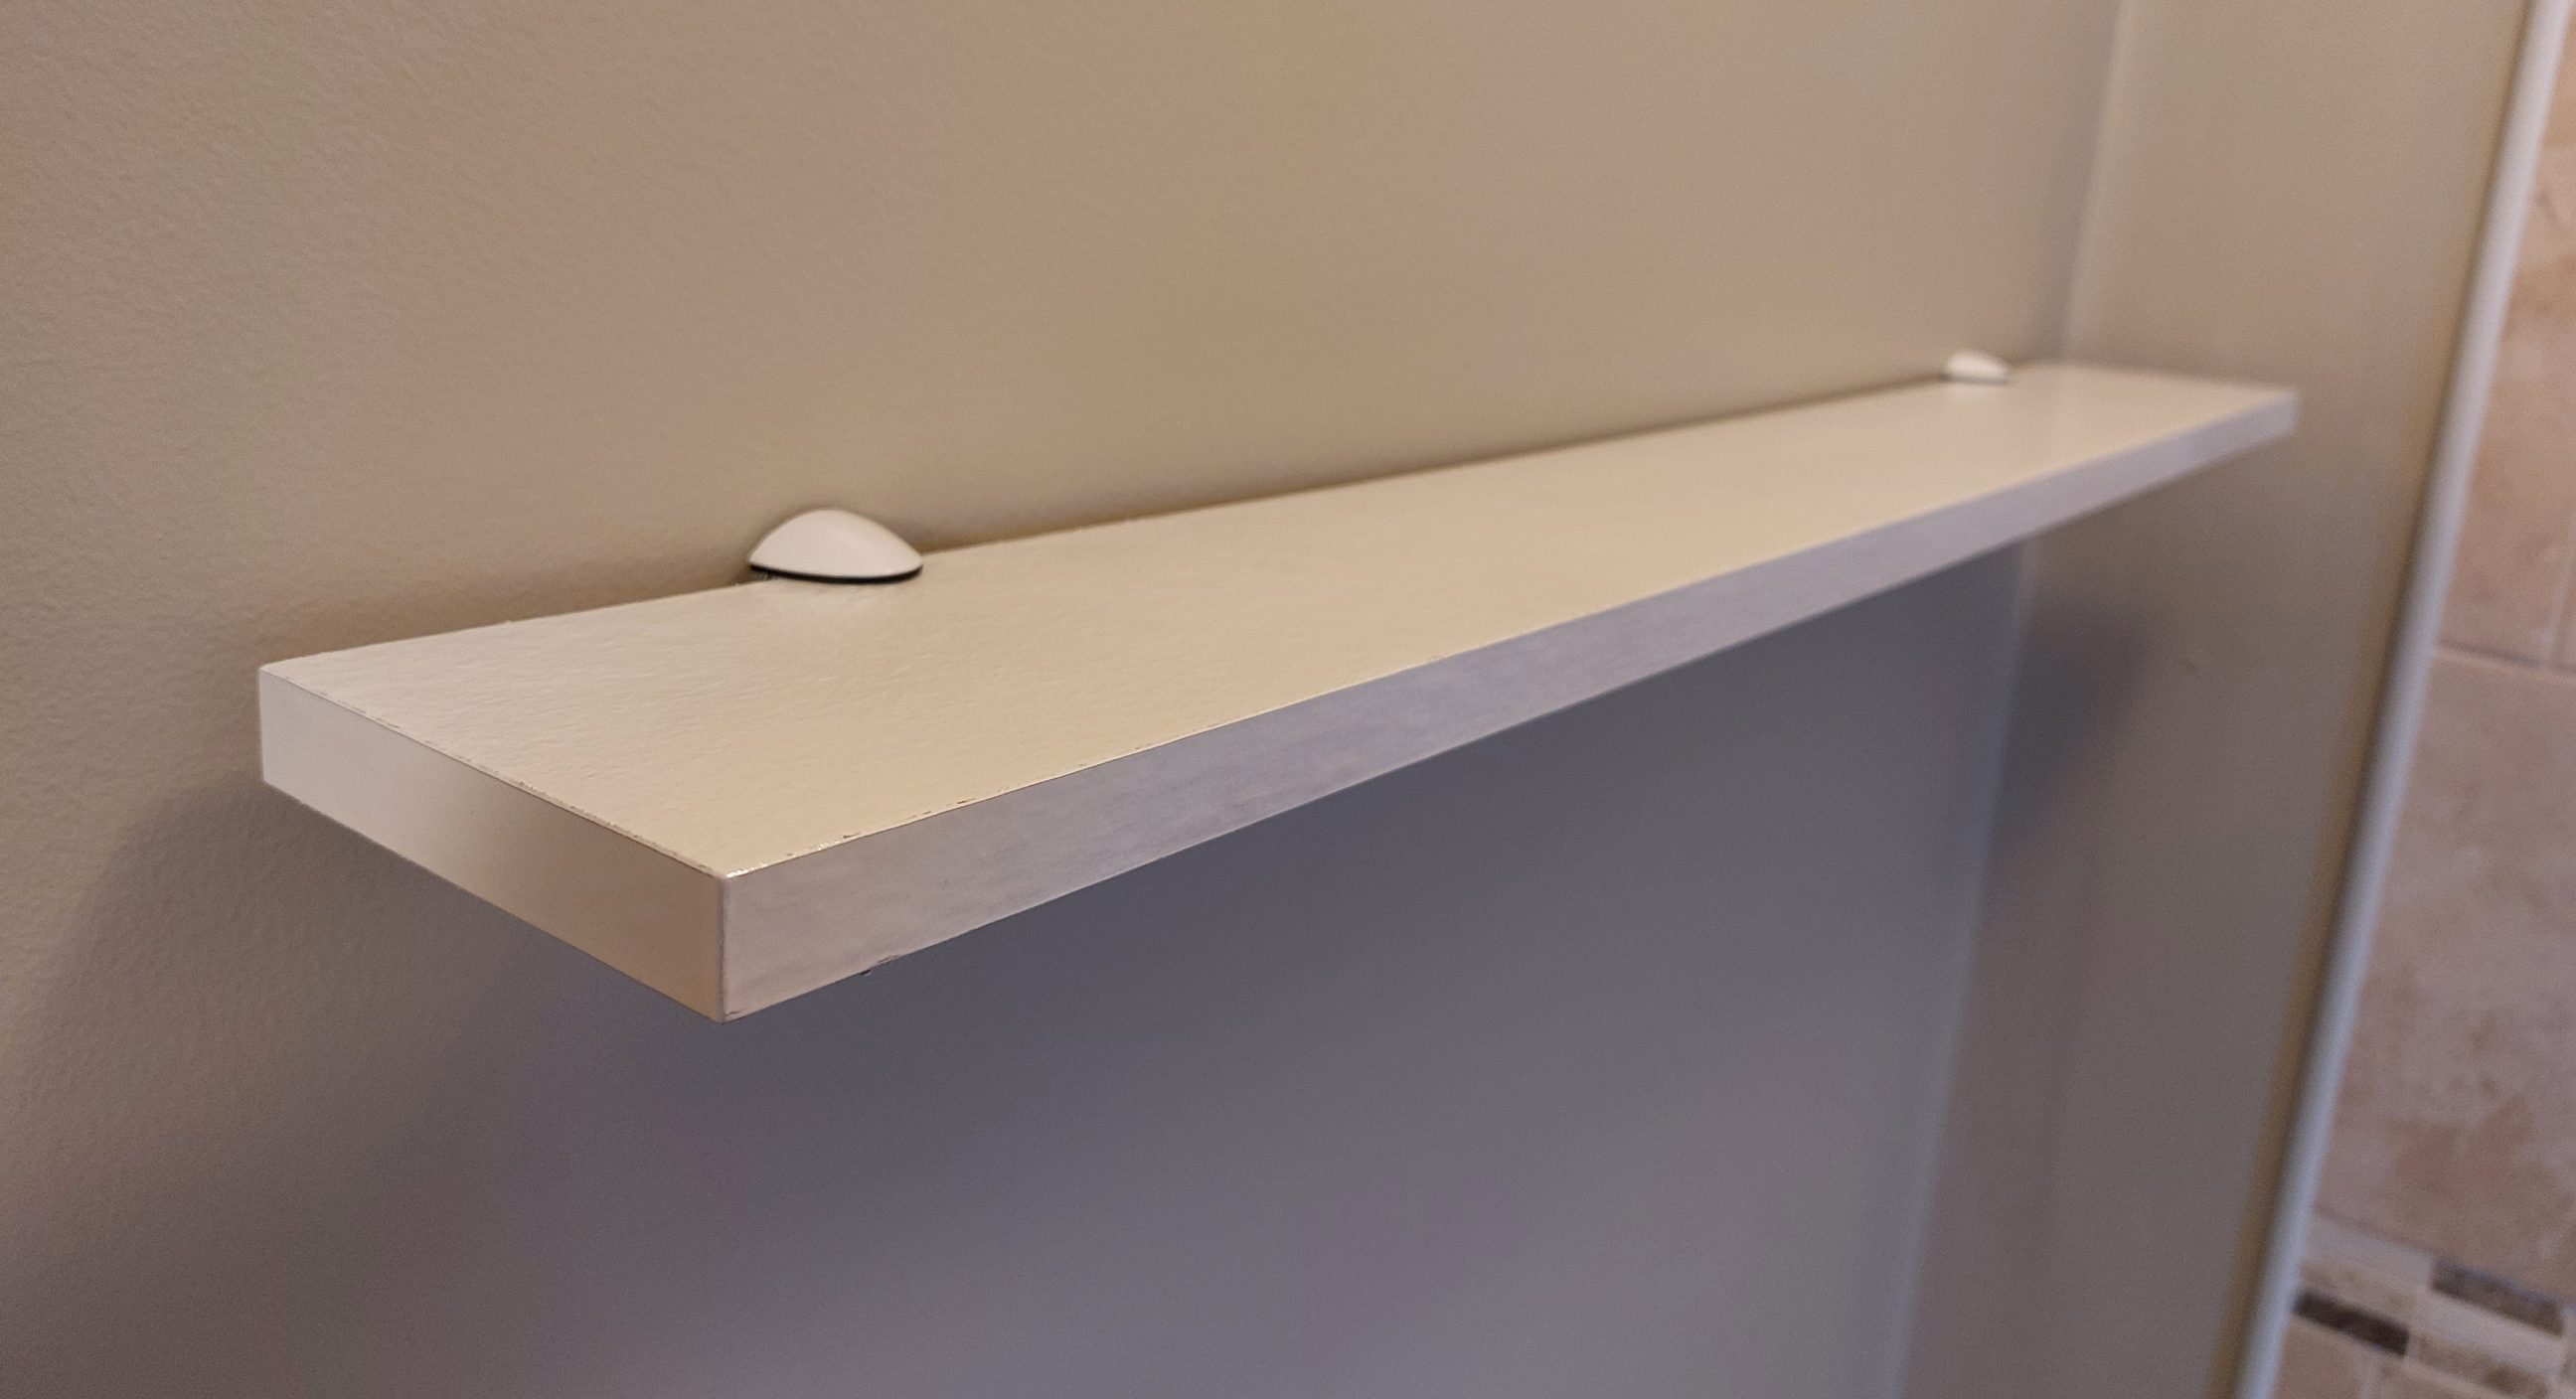
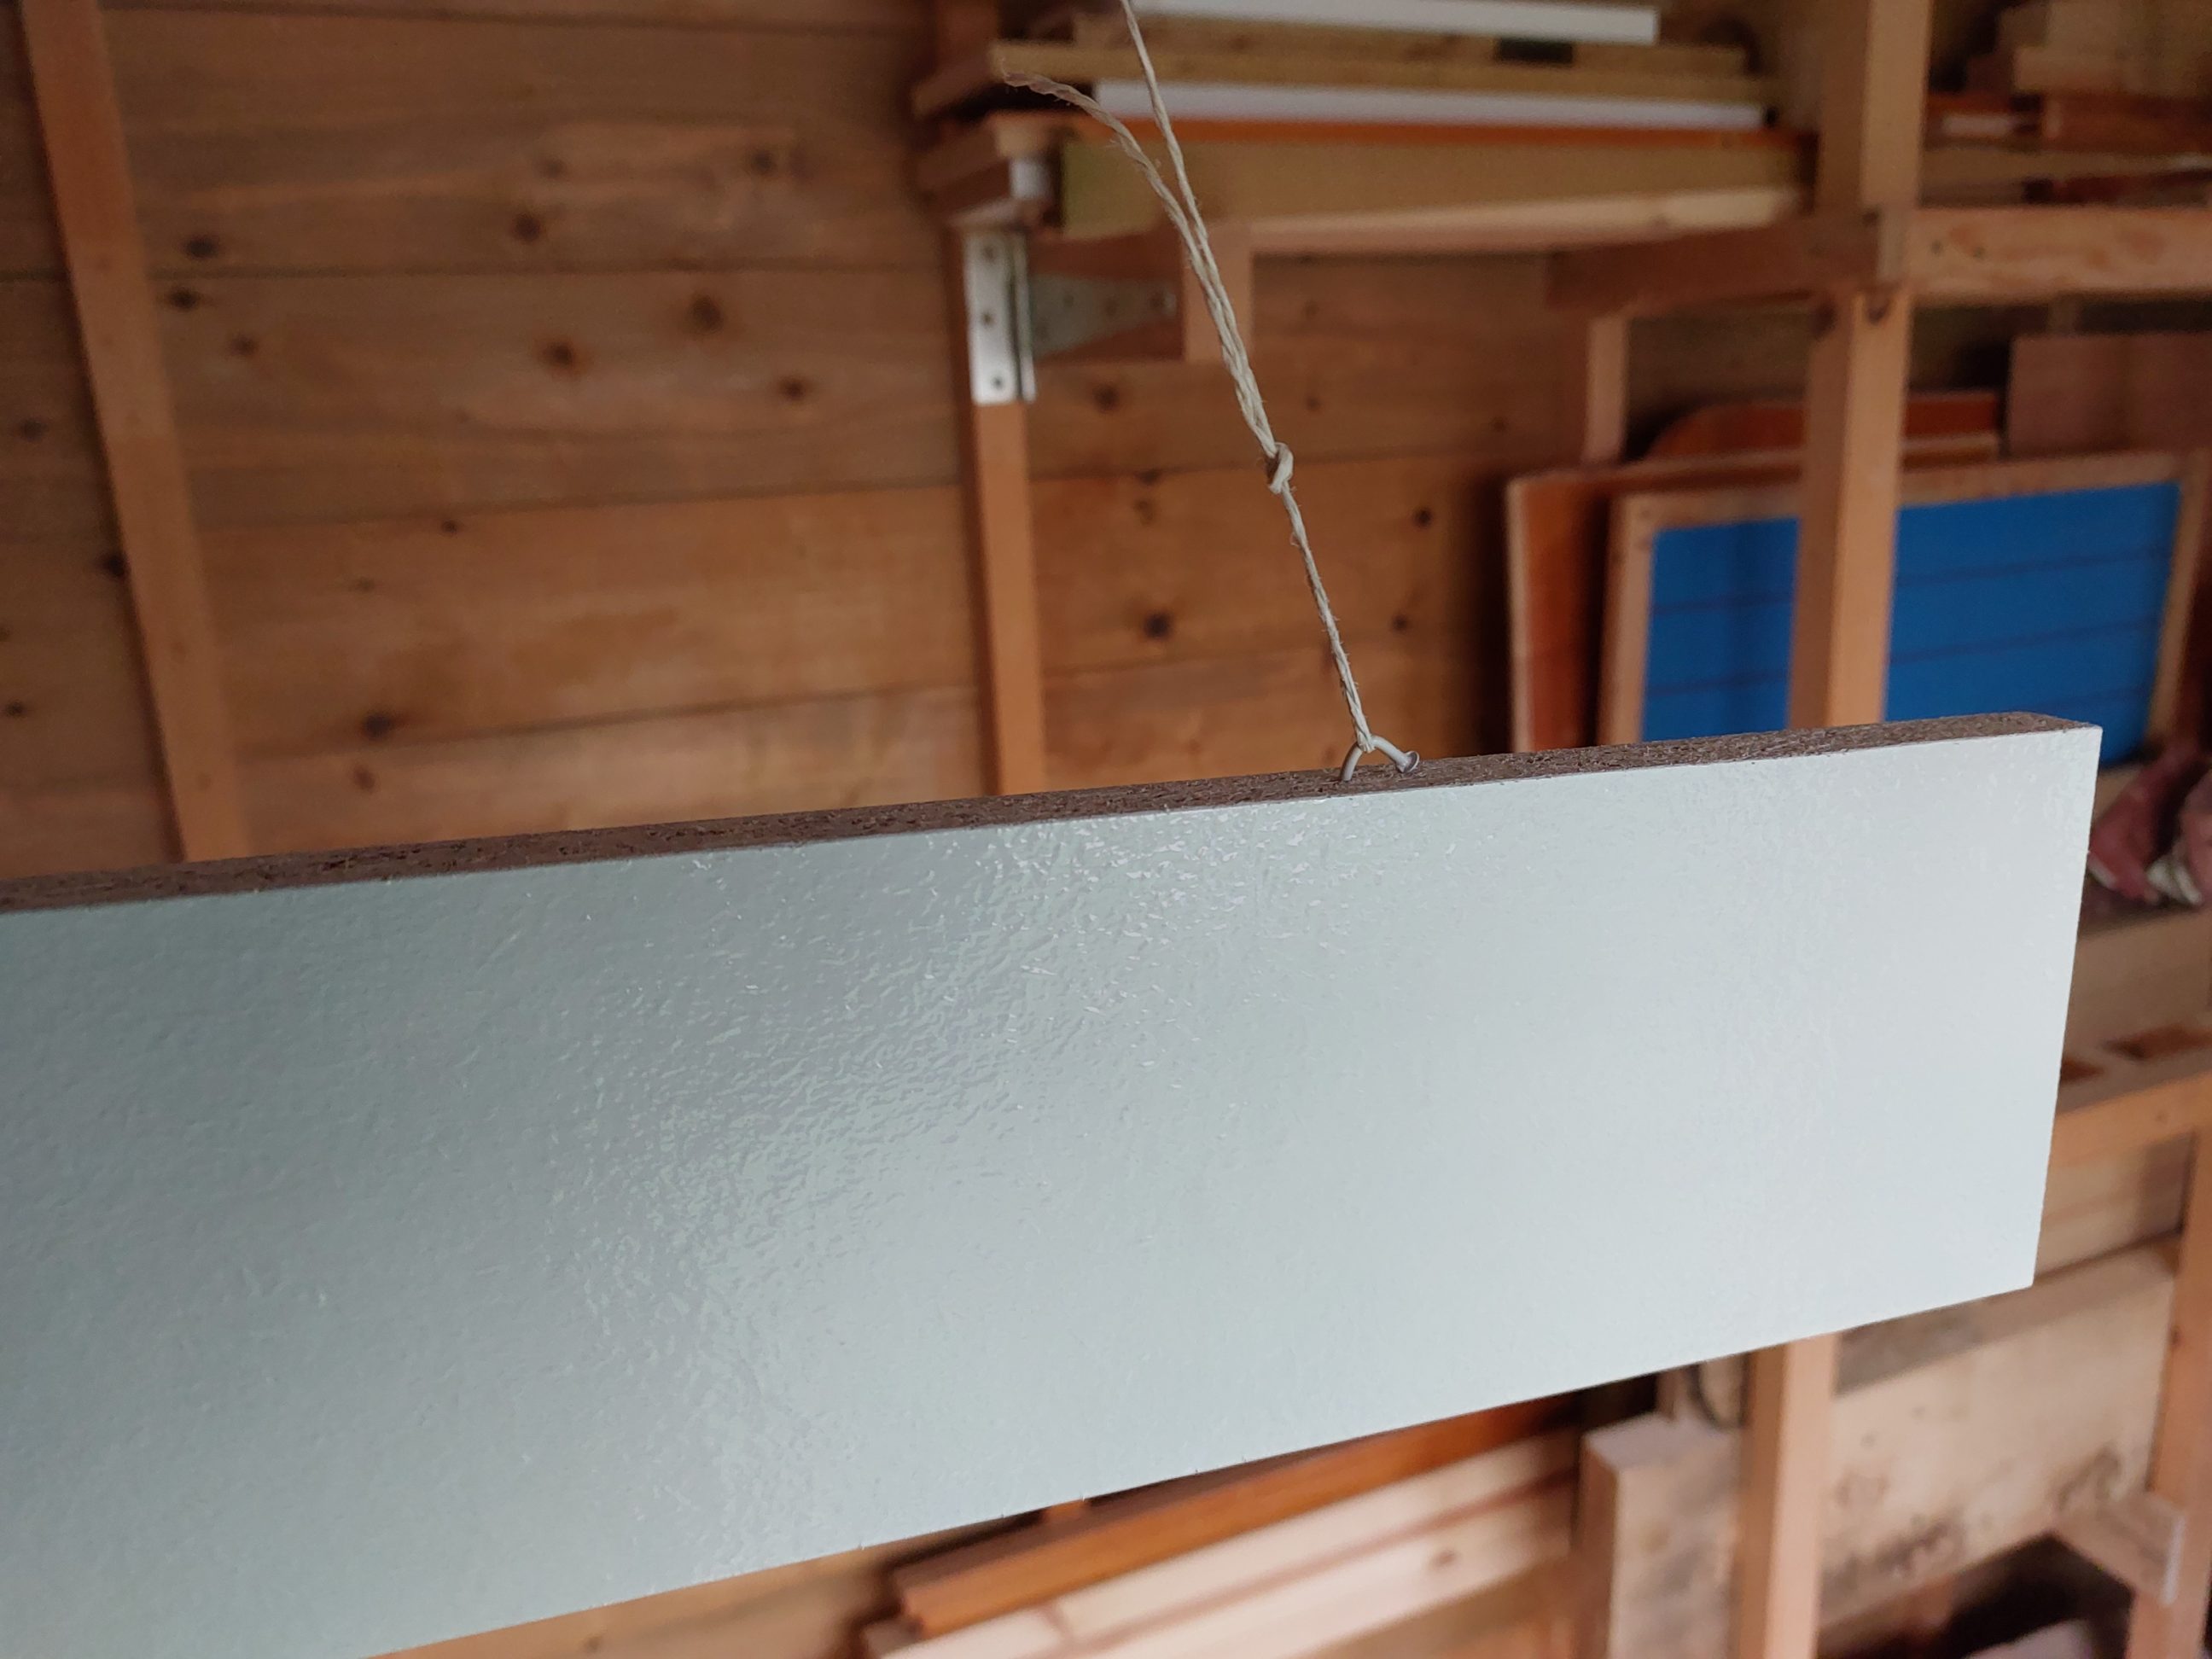
I hoped that the mistake and the fix would be hidden by the shelf when it was installed, and they were, luckily. It was just a quick and easy fix – the left bracket remained as strong as the other one, and there was no need to repair the wall or place the brackets somewhere else. I moved on to cutting the board, which was just a scrap of melamine-like faced chipboard. I cut it to a width of 95 mm (3 3/4″) and ended up with 3 finished edges and 1 rough edge. I made it extremely easy on myself by placing the rough edge against the wall, and the remaining 3 edges were ready for painting. Apart from a single trip at the start, the project was simple and cheap.


I chose to finish the board with white spray paint, which was applied even to the back side, to make sure the board wouldn’t swell if exposed to moisture. While the spray paint coating provided ample protection against water damage, it was not completely waterproof, but it shouldn’t be a problem in the application. I gave it a day or two to dry and installed it on the brackets. The shelf was good to go straight away and could hold a decent amount of weight, making it more than suitable for a bathroom shelf. For me, it was also important that I had an opportunity to learn something new, utilise a pair of old brackets, and upcycle the chipboard, which would have otherwise gone to waste. Everyone’s happy with the additional storage space the shelf provides, and I’m myself pleased with how it turned out and how I managed and saved the project from disaster at an early stage. The shelf is a simple but practical solution that adds a touch of personalization to the bathroom.