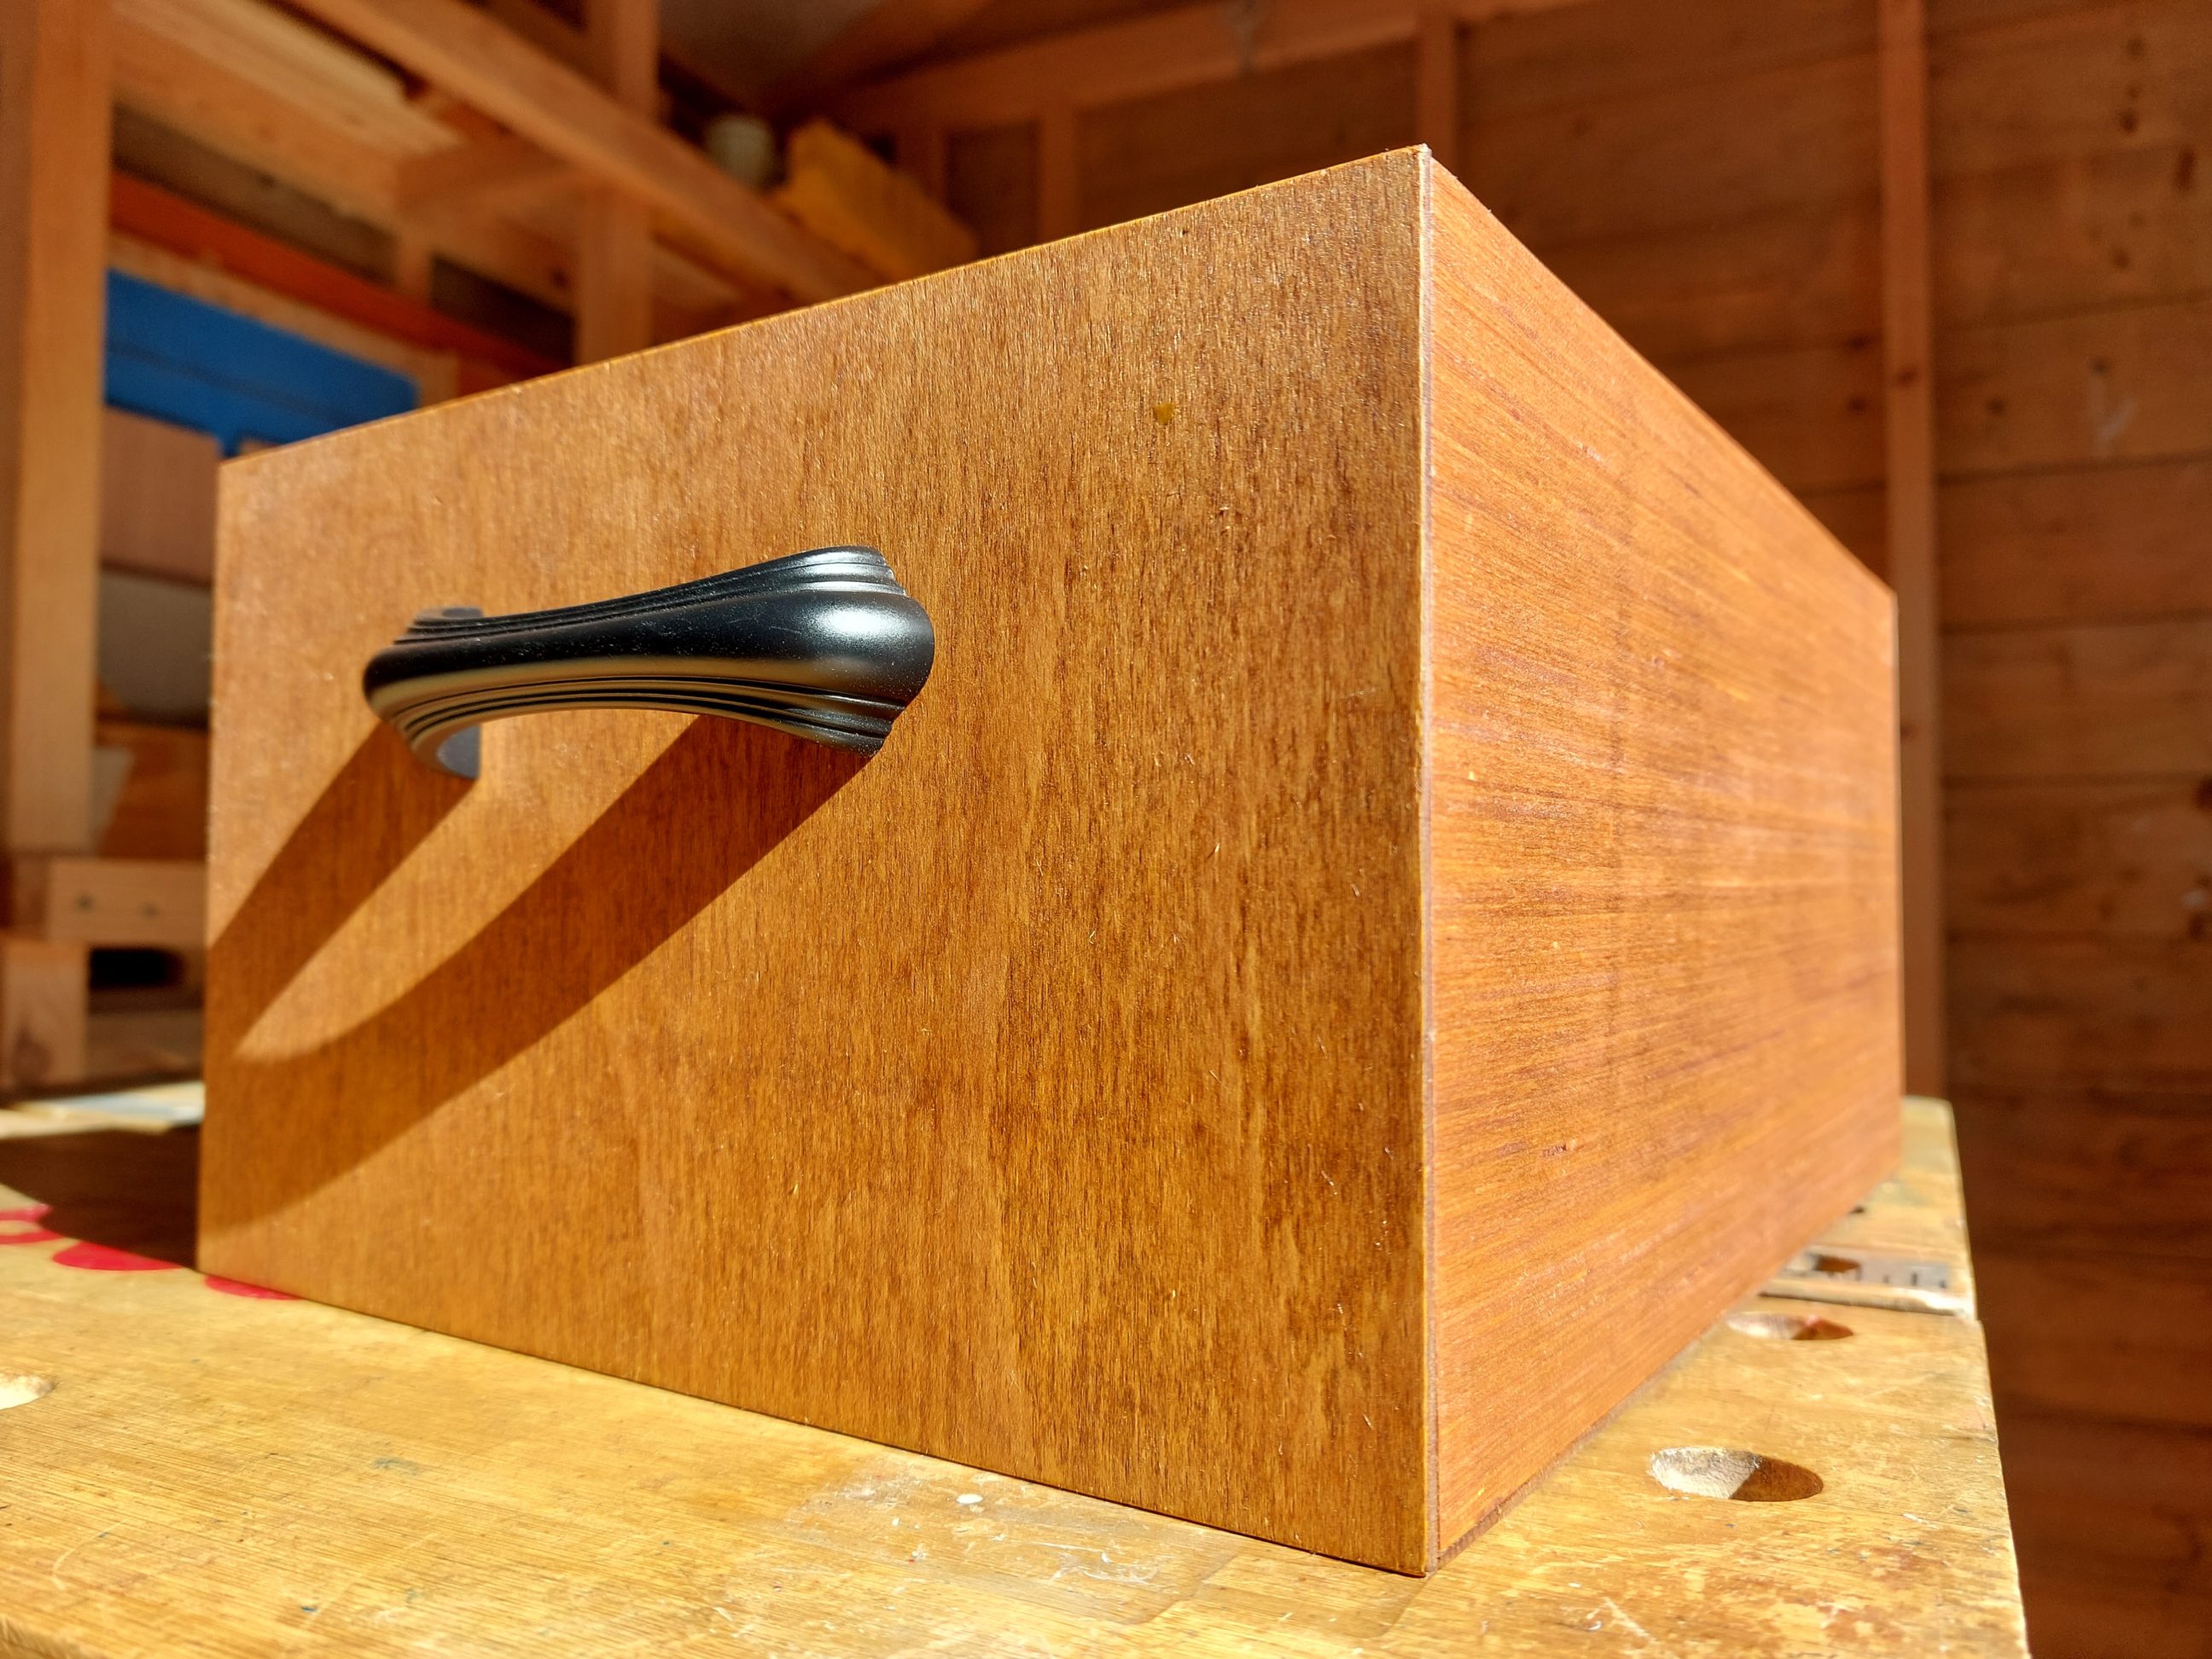
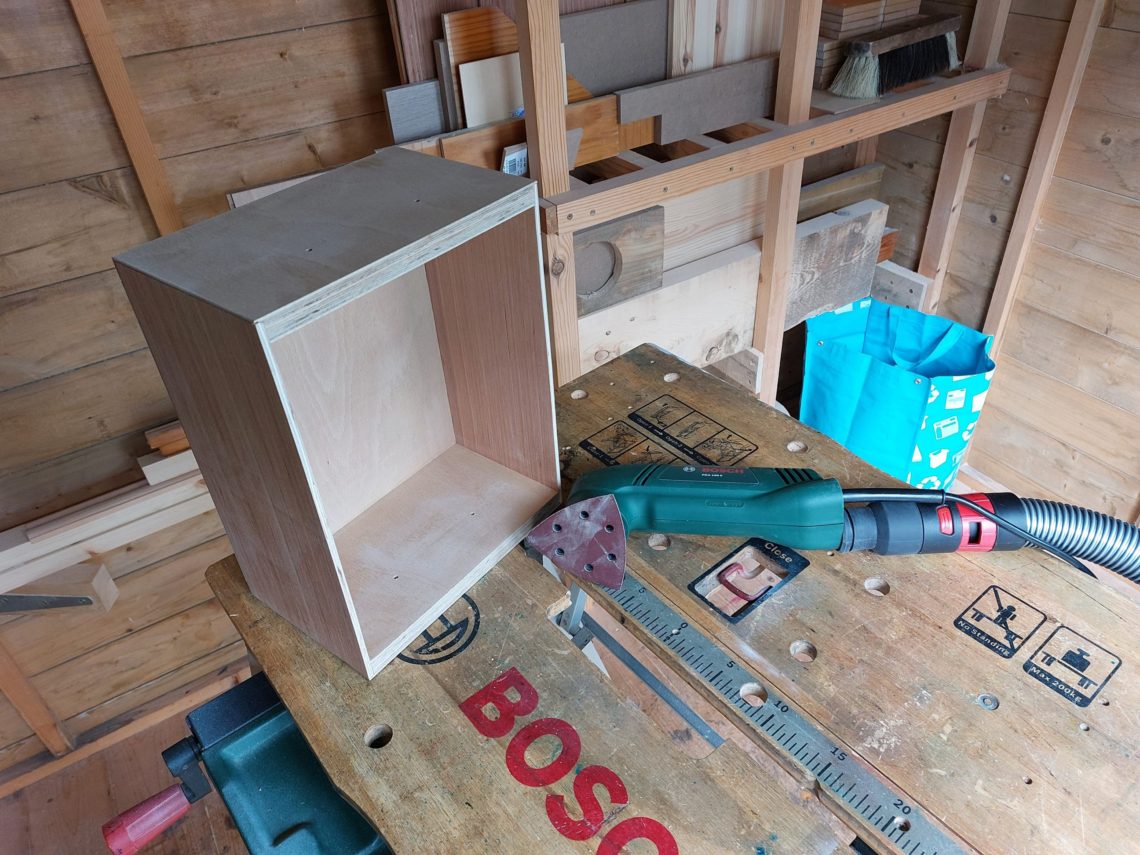
Cedarised plywood box
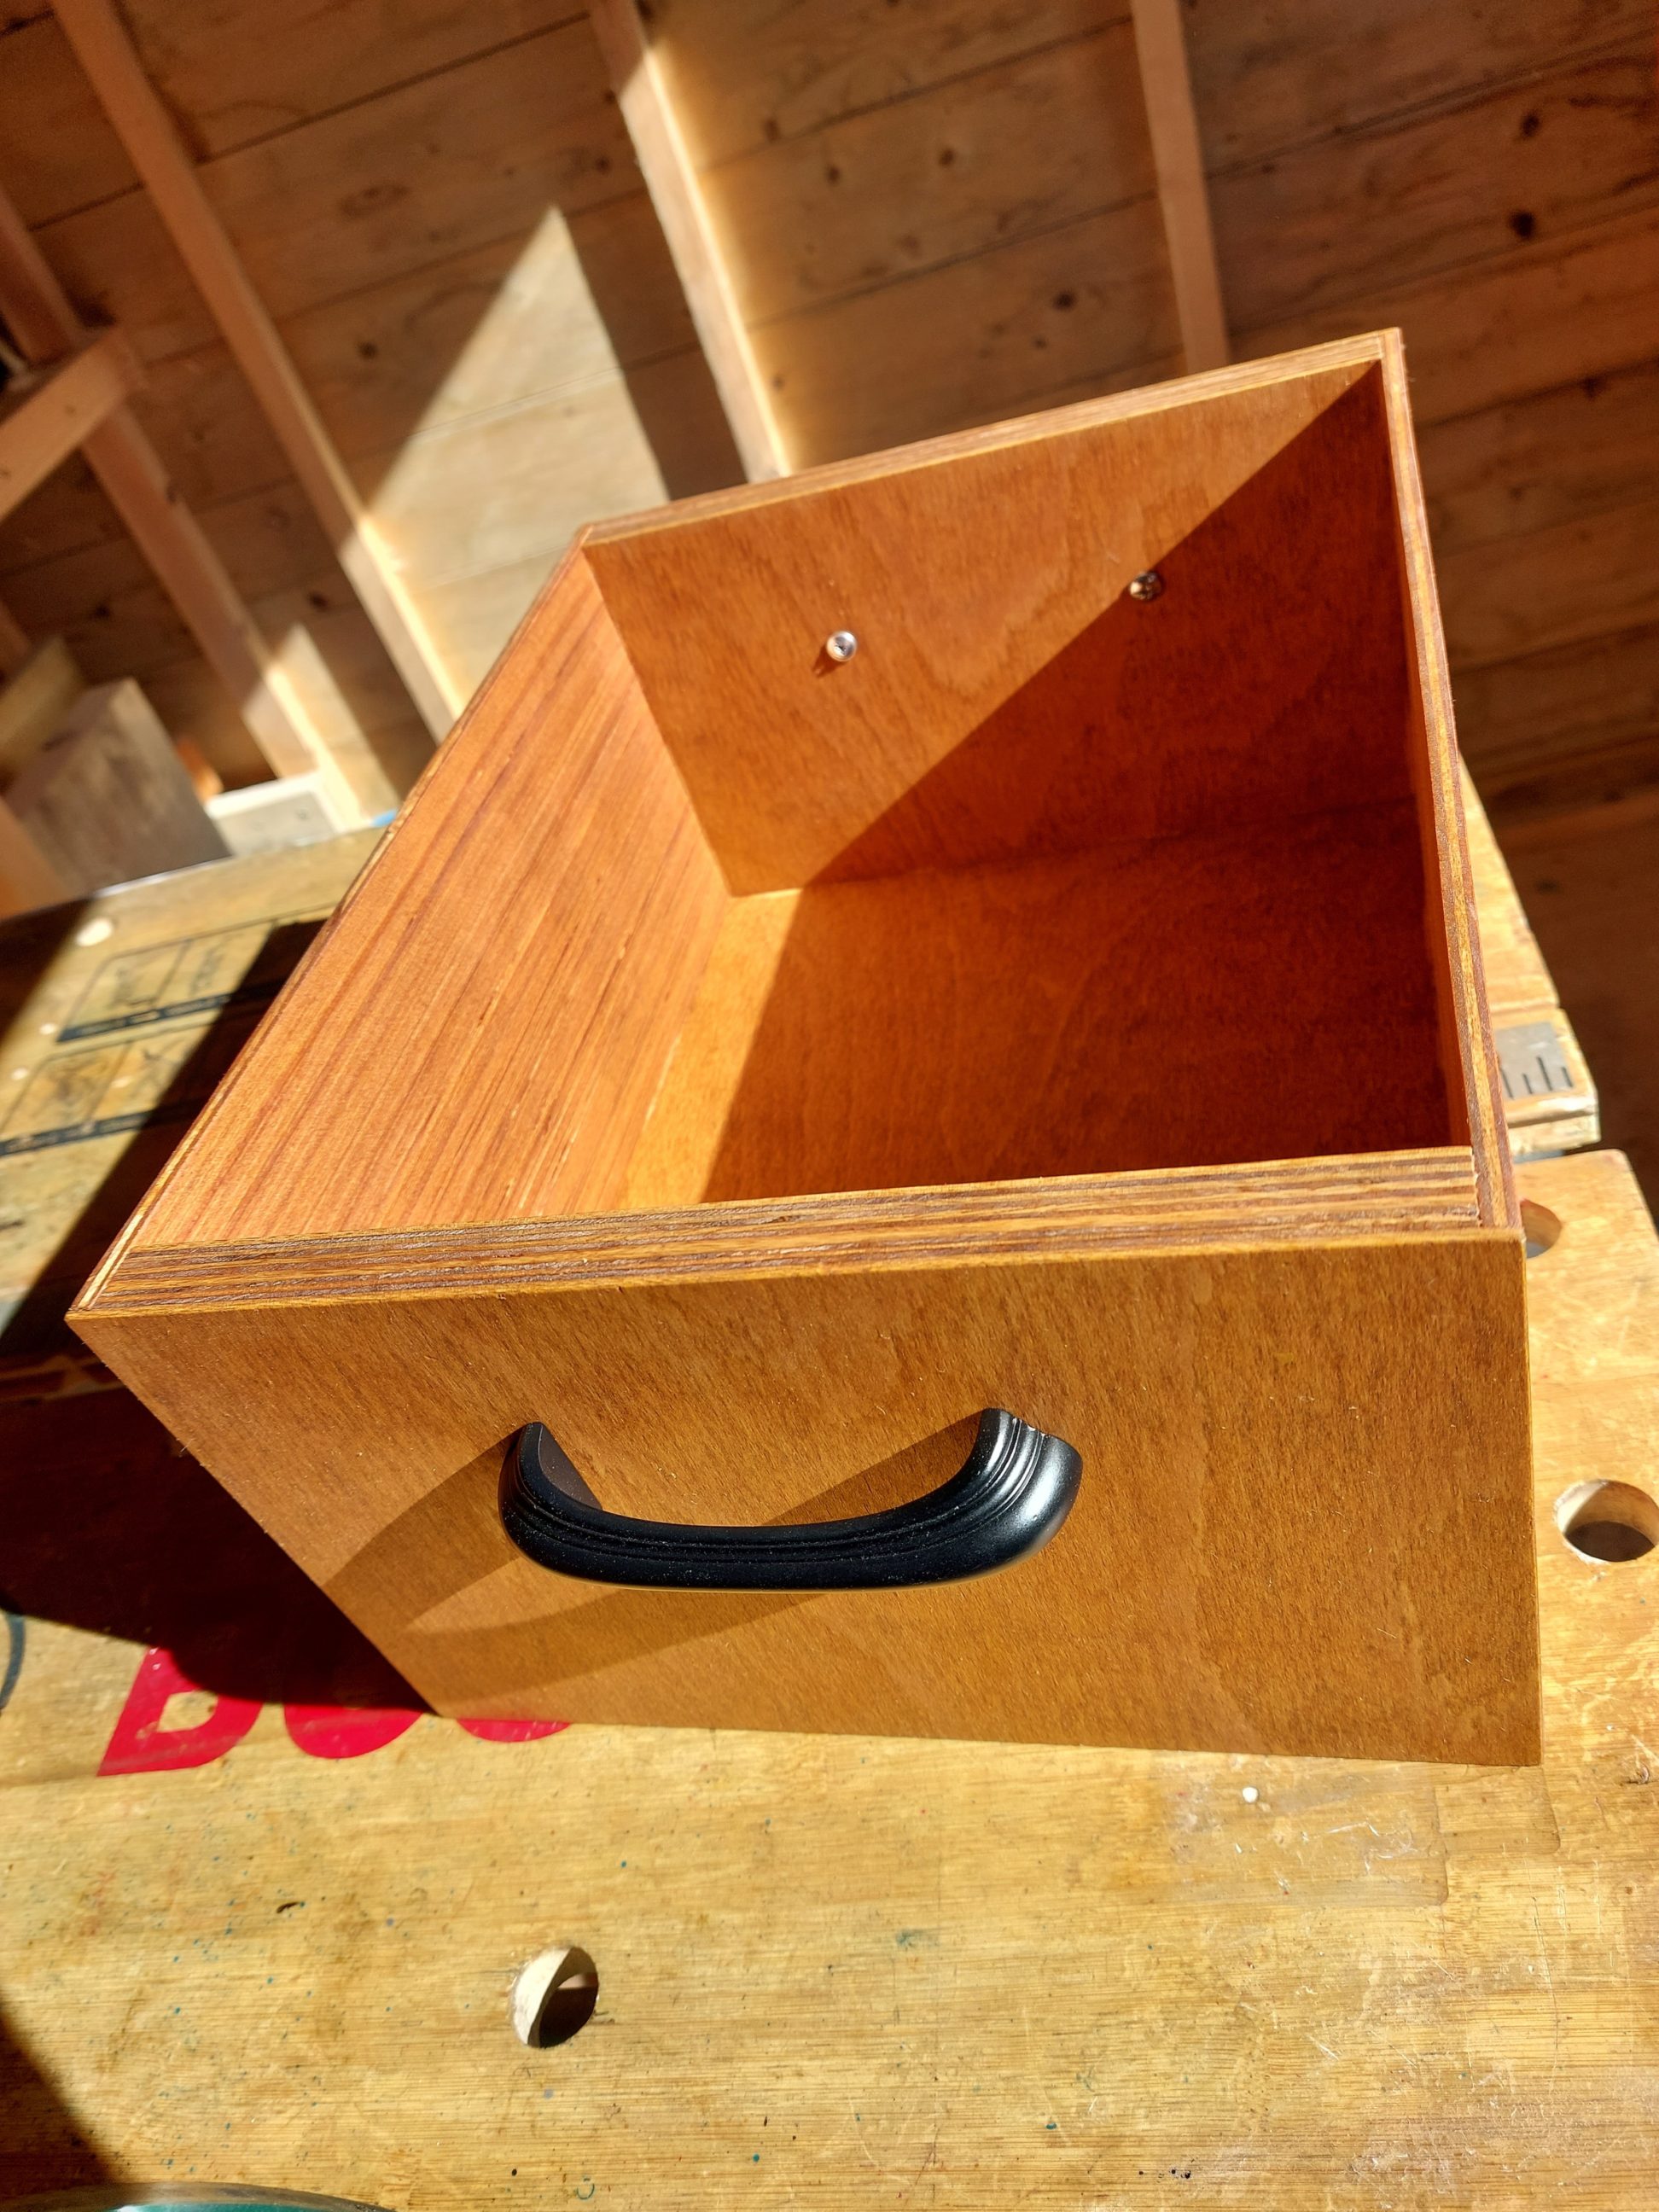
The box itself is made exclusively from plywood – 18 mm light in colour, on the front, back and bottom and 5 mm, slightly darker, on the sides. It uses dowel joinery as well as rebate joints and it’s all glued up, with no metal fasteners used, the only metal parts are the handles. Unlike the project it replaced, a crate that I made in the past, which had too many visible fasteners and was very prone to seasonal wood shrinkage, this box was designed to be metal free and to withstand air moisture changes. The biggest challenge of using these plywood offcuts was removing the labels, the glue was stubborn and the veneer was super thin, almost too thin for sanding. However, I did what I could and achieved good results with no discoloured spots showing off through the finish. The thinner ply was also wavy and suffered from poor integrity and delaminating, but I managed to cut off the bad spots and only used the good parts. Working with low-quality materials can be difficult, but since they were free I could sacrifice a little of my time to give them a try.


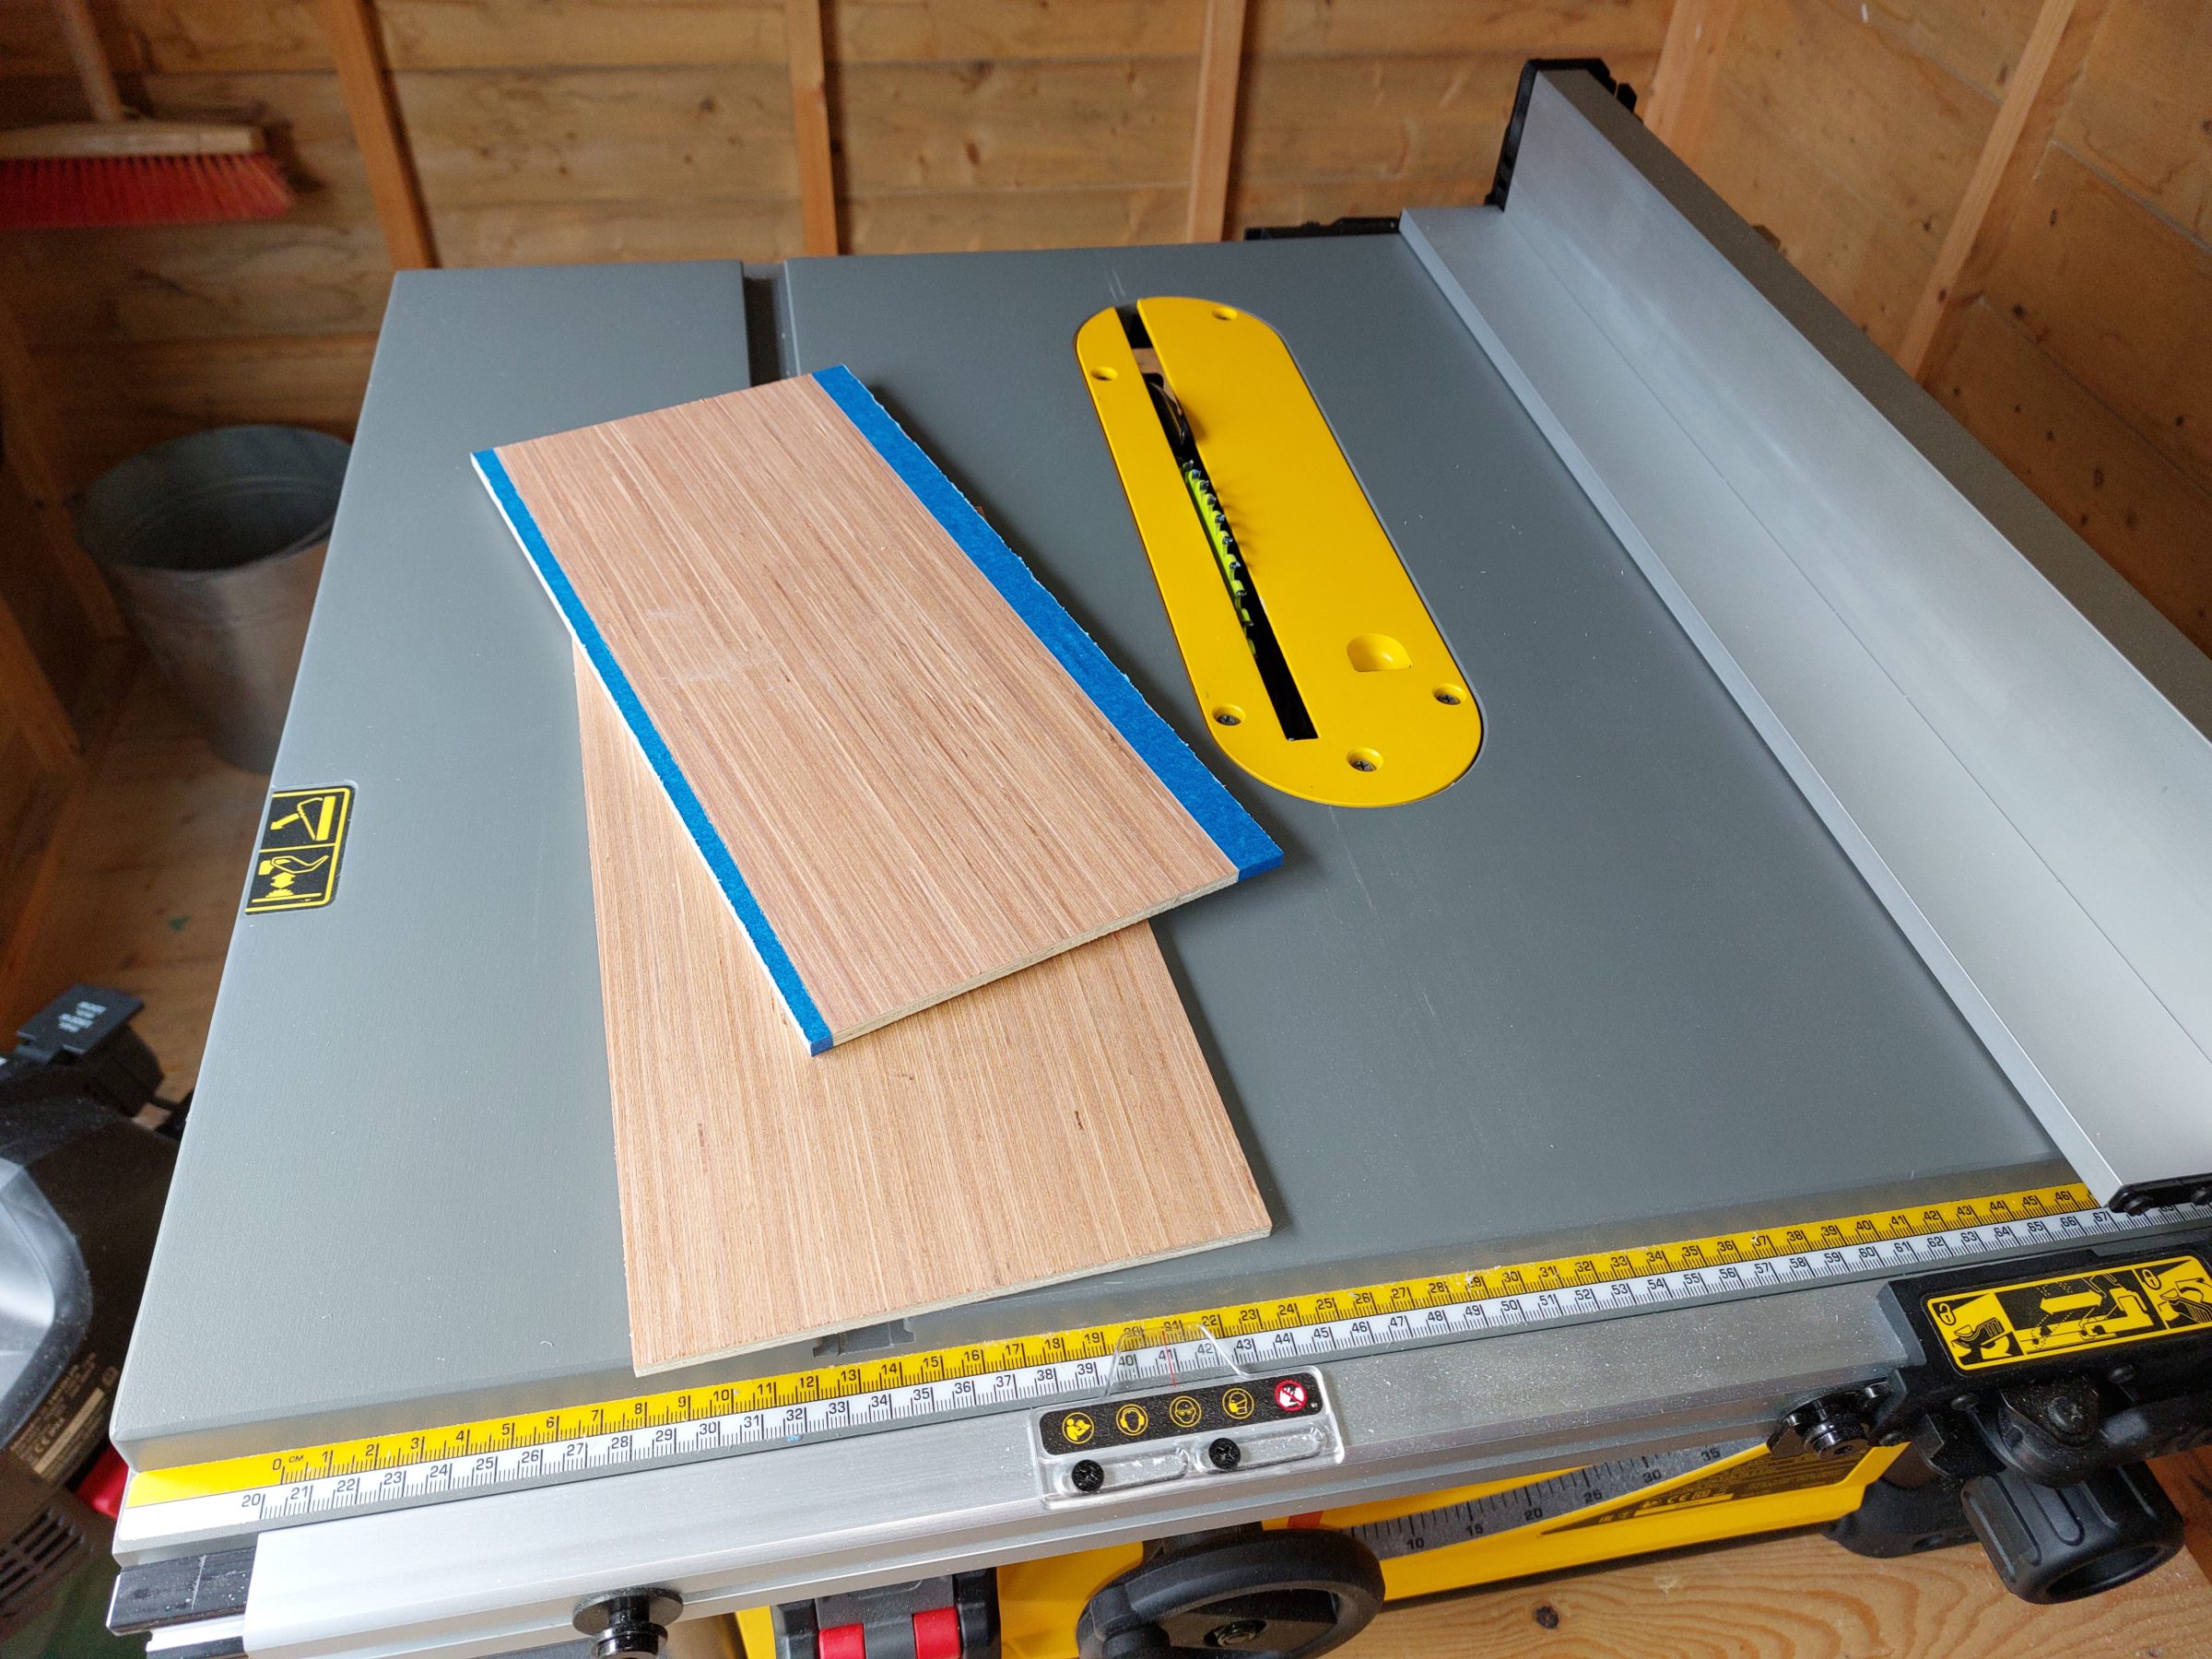
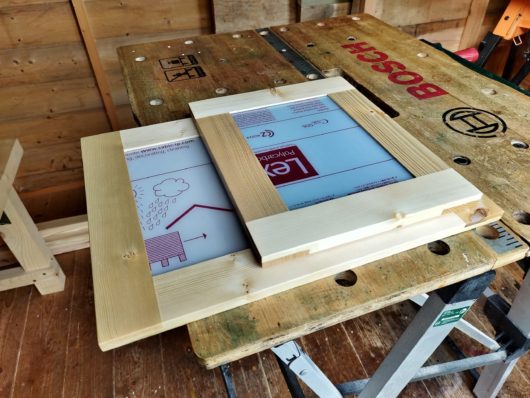
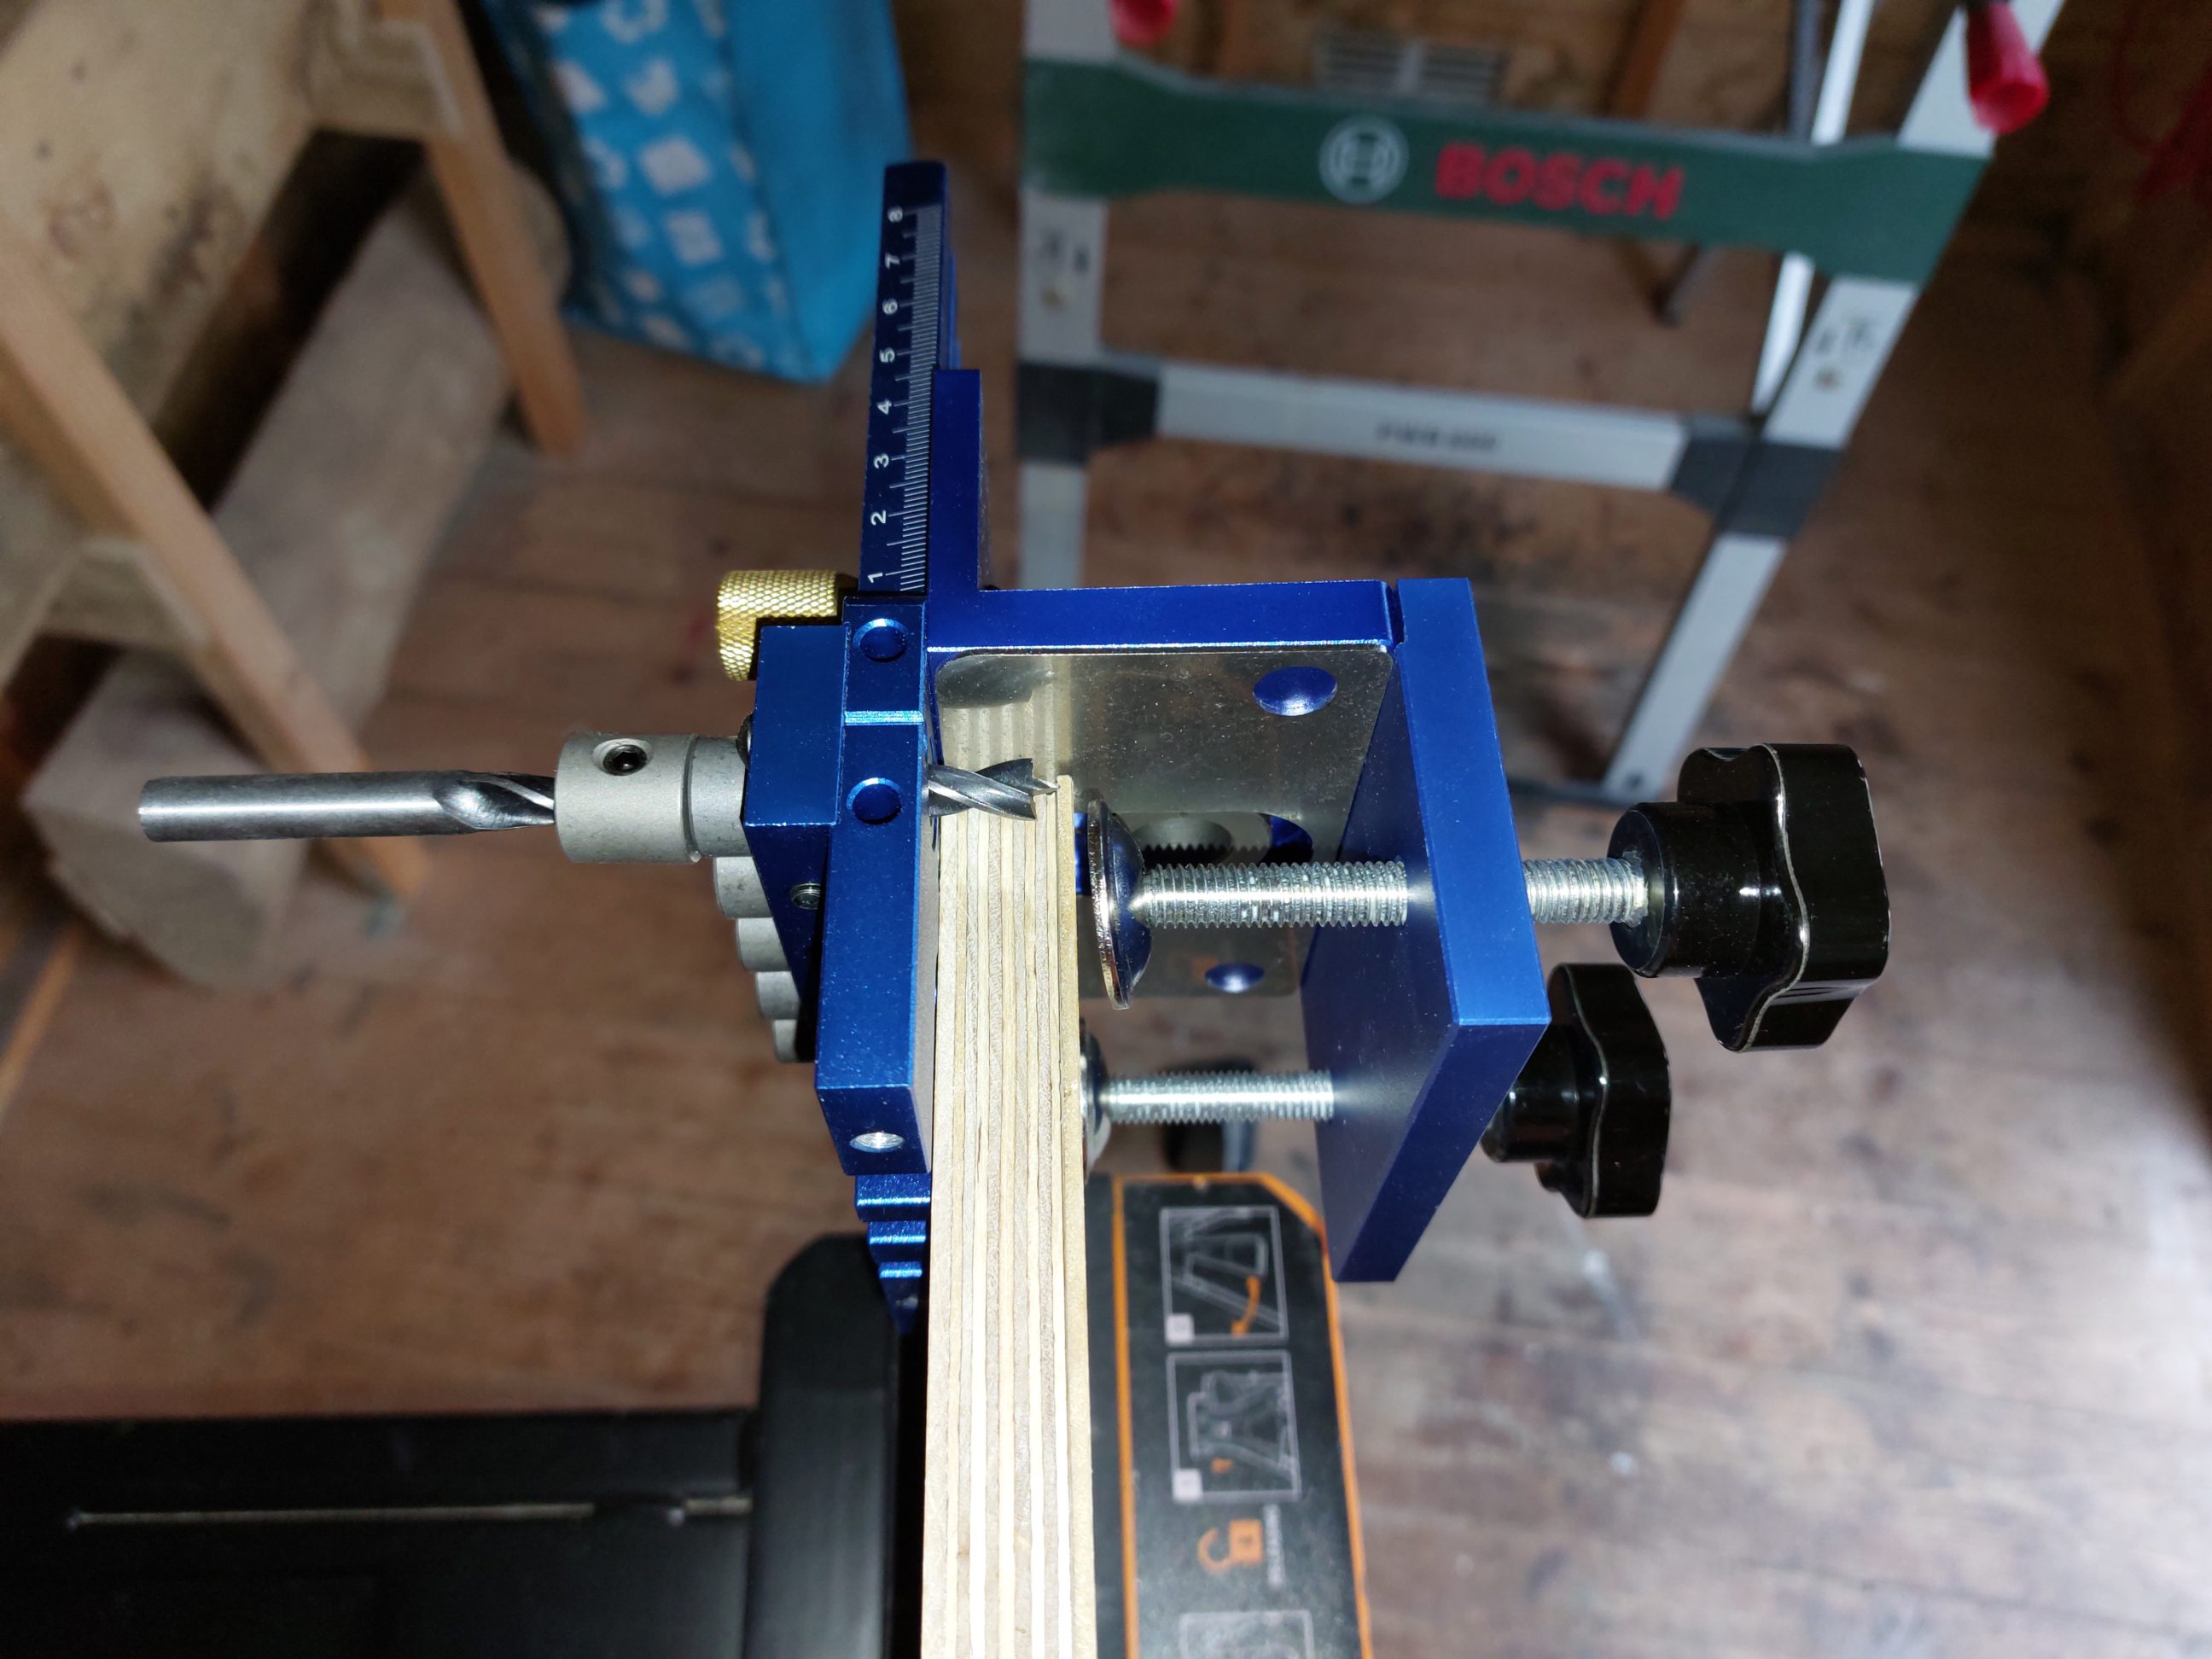
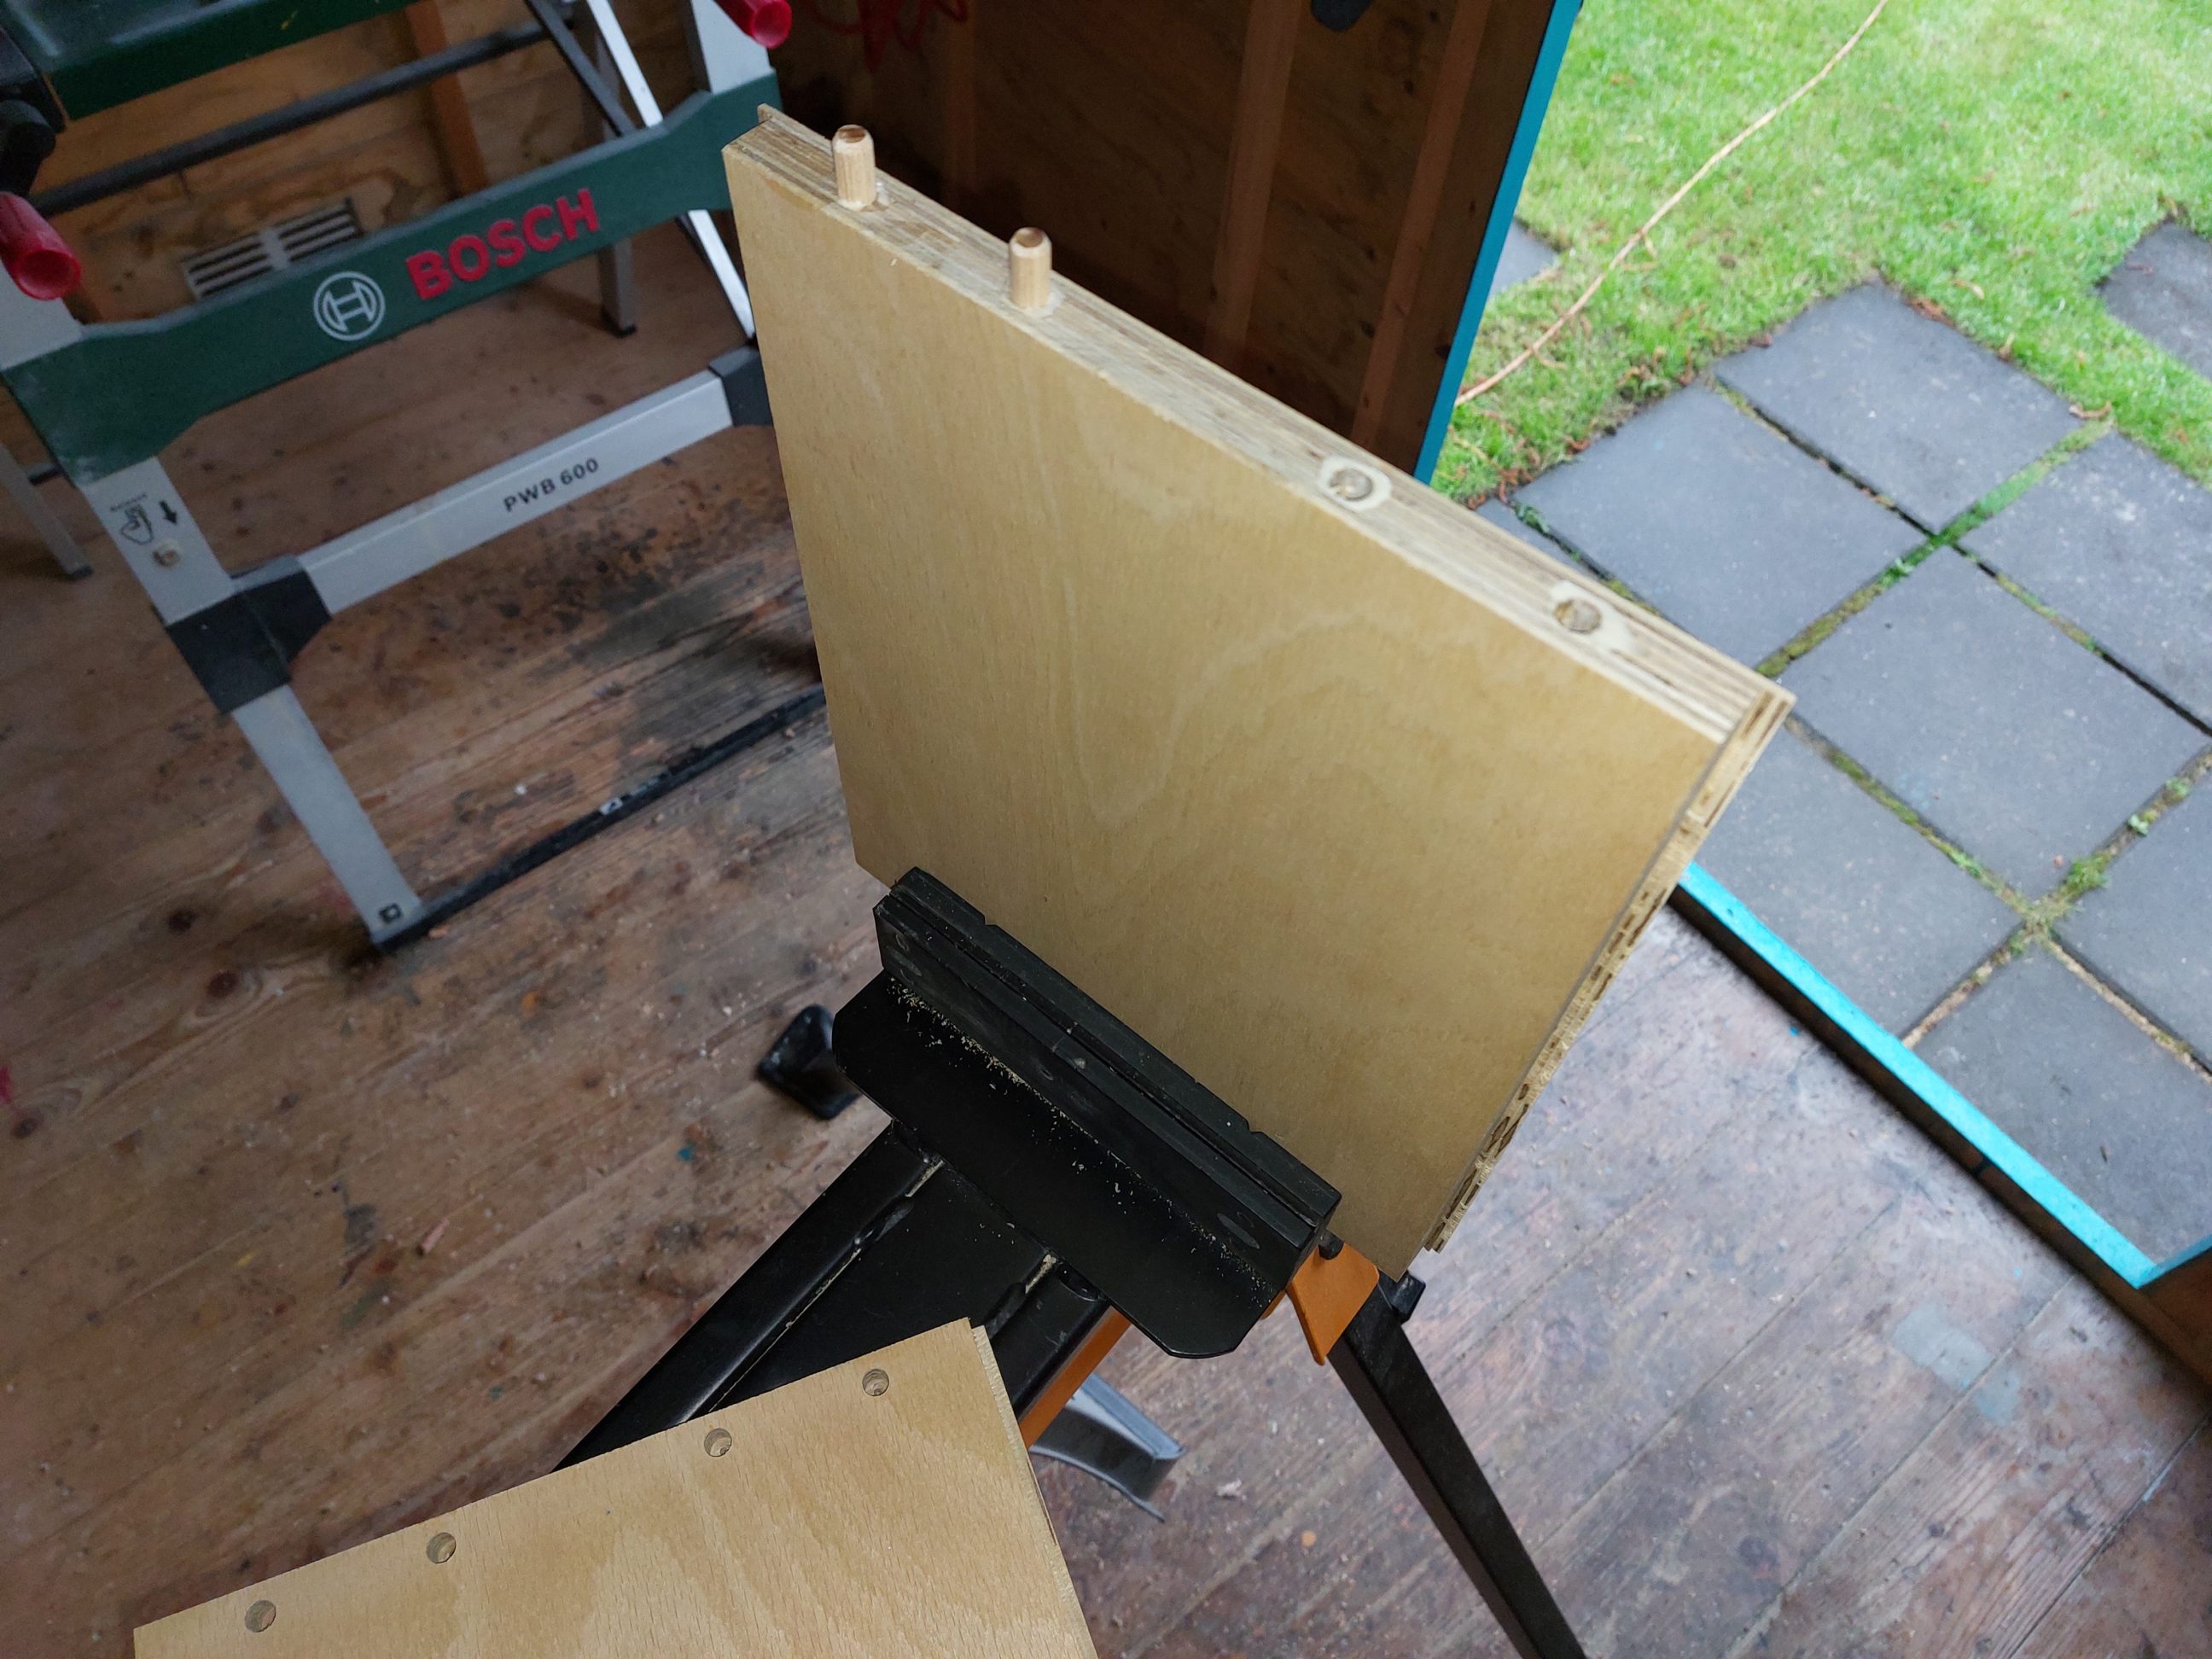
Every cut was taped off and supported from the bottom with painter’s tape to minimise tear-out which paid off and was worth the time spent on that additional step. Once I had the u-shaped walls cut to size, I cut the rebates on them. With the side walls’ size determined in that step, I moved on to cutting the thinner plywood. In that project, I got a chance to use my new dowelling jig for the first time and see how it performs. I used the jig in two different setups, adjusting the drilling depth accordingly. I only had to pay attention to which side of the box was the outside and not use the jig incorrectly clamped as that could result in misalignment. This jig isn’t self-centring, it can be adjusted in 1 mm increments, which is sufficient, but the key is to ensure that the jig is properly clamped and oriented before use.


Since all the joints were rebated or rather recessed butt joints, I needed to fix the exposed corners. Fortunately, that was an easy job and it only required sharp knives and chisels. I cut off a single layer of plywood, shaped 4 individual patches, glued them to the box, and once they had dried, I cut them flush with the walls and the bottom. I also drilled the handle holes using a scrap block of wood clamped from the back to prevent any blowout. Prior to finishing the box, I gave it a gentle sanding which eased all the sharp edges and also helped to erase pencil marks. I didn’t mention that all the stickers and labels were first removed with a heat gun and any remaining adhesive residue was wiped off with white spirit, which required extra time for drying out.


I applied a single coat of coloured Danish oil, let it penetrate the ply for 10 minutes, wiped it off and installed the handles. The box served its purpose the next day when the oil smell disappeared. By avoiding the use of metal fasteners and relying solely on wood glue, the box not only looks better but also is structurally stronger. I used a well-tried design for that box which has been tested in my other projects (such as that box). A very similar approach and look, however, this one might have been even easier to make due to the dowel joinery used and not self-locking joints. It may also be sturdier because the side panels’ nails were replaced with glue joints. It has an original colour, interesting handles and little details in its construction that make it unique and beautiful.