
Mini shipping crate
It’s built very similar to a full-size shipping crate but due to the size of the parts, it’s glued together and not nailed. Most importantly, each side is made of plywood and is reinforced with timber braces but also, the original idea of built-in forklift slots somehow remains. I made many of these full-size shipping crates in my day job and was always impressed with the simplicity of their construction and the way they were put together. Just nails, screws and exposed plywood edges – I wanted to recreate a box like this, just scaled down but using a similar approach.
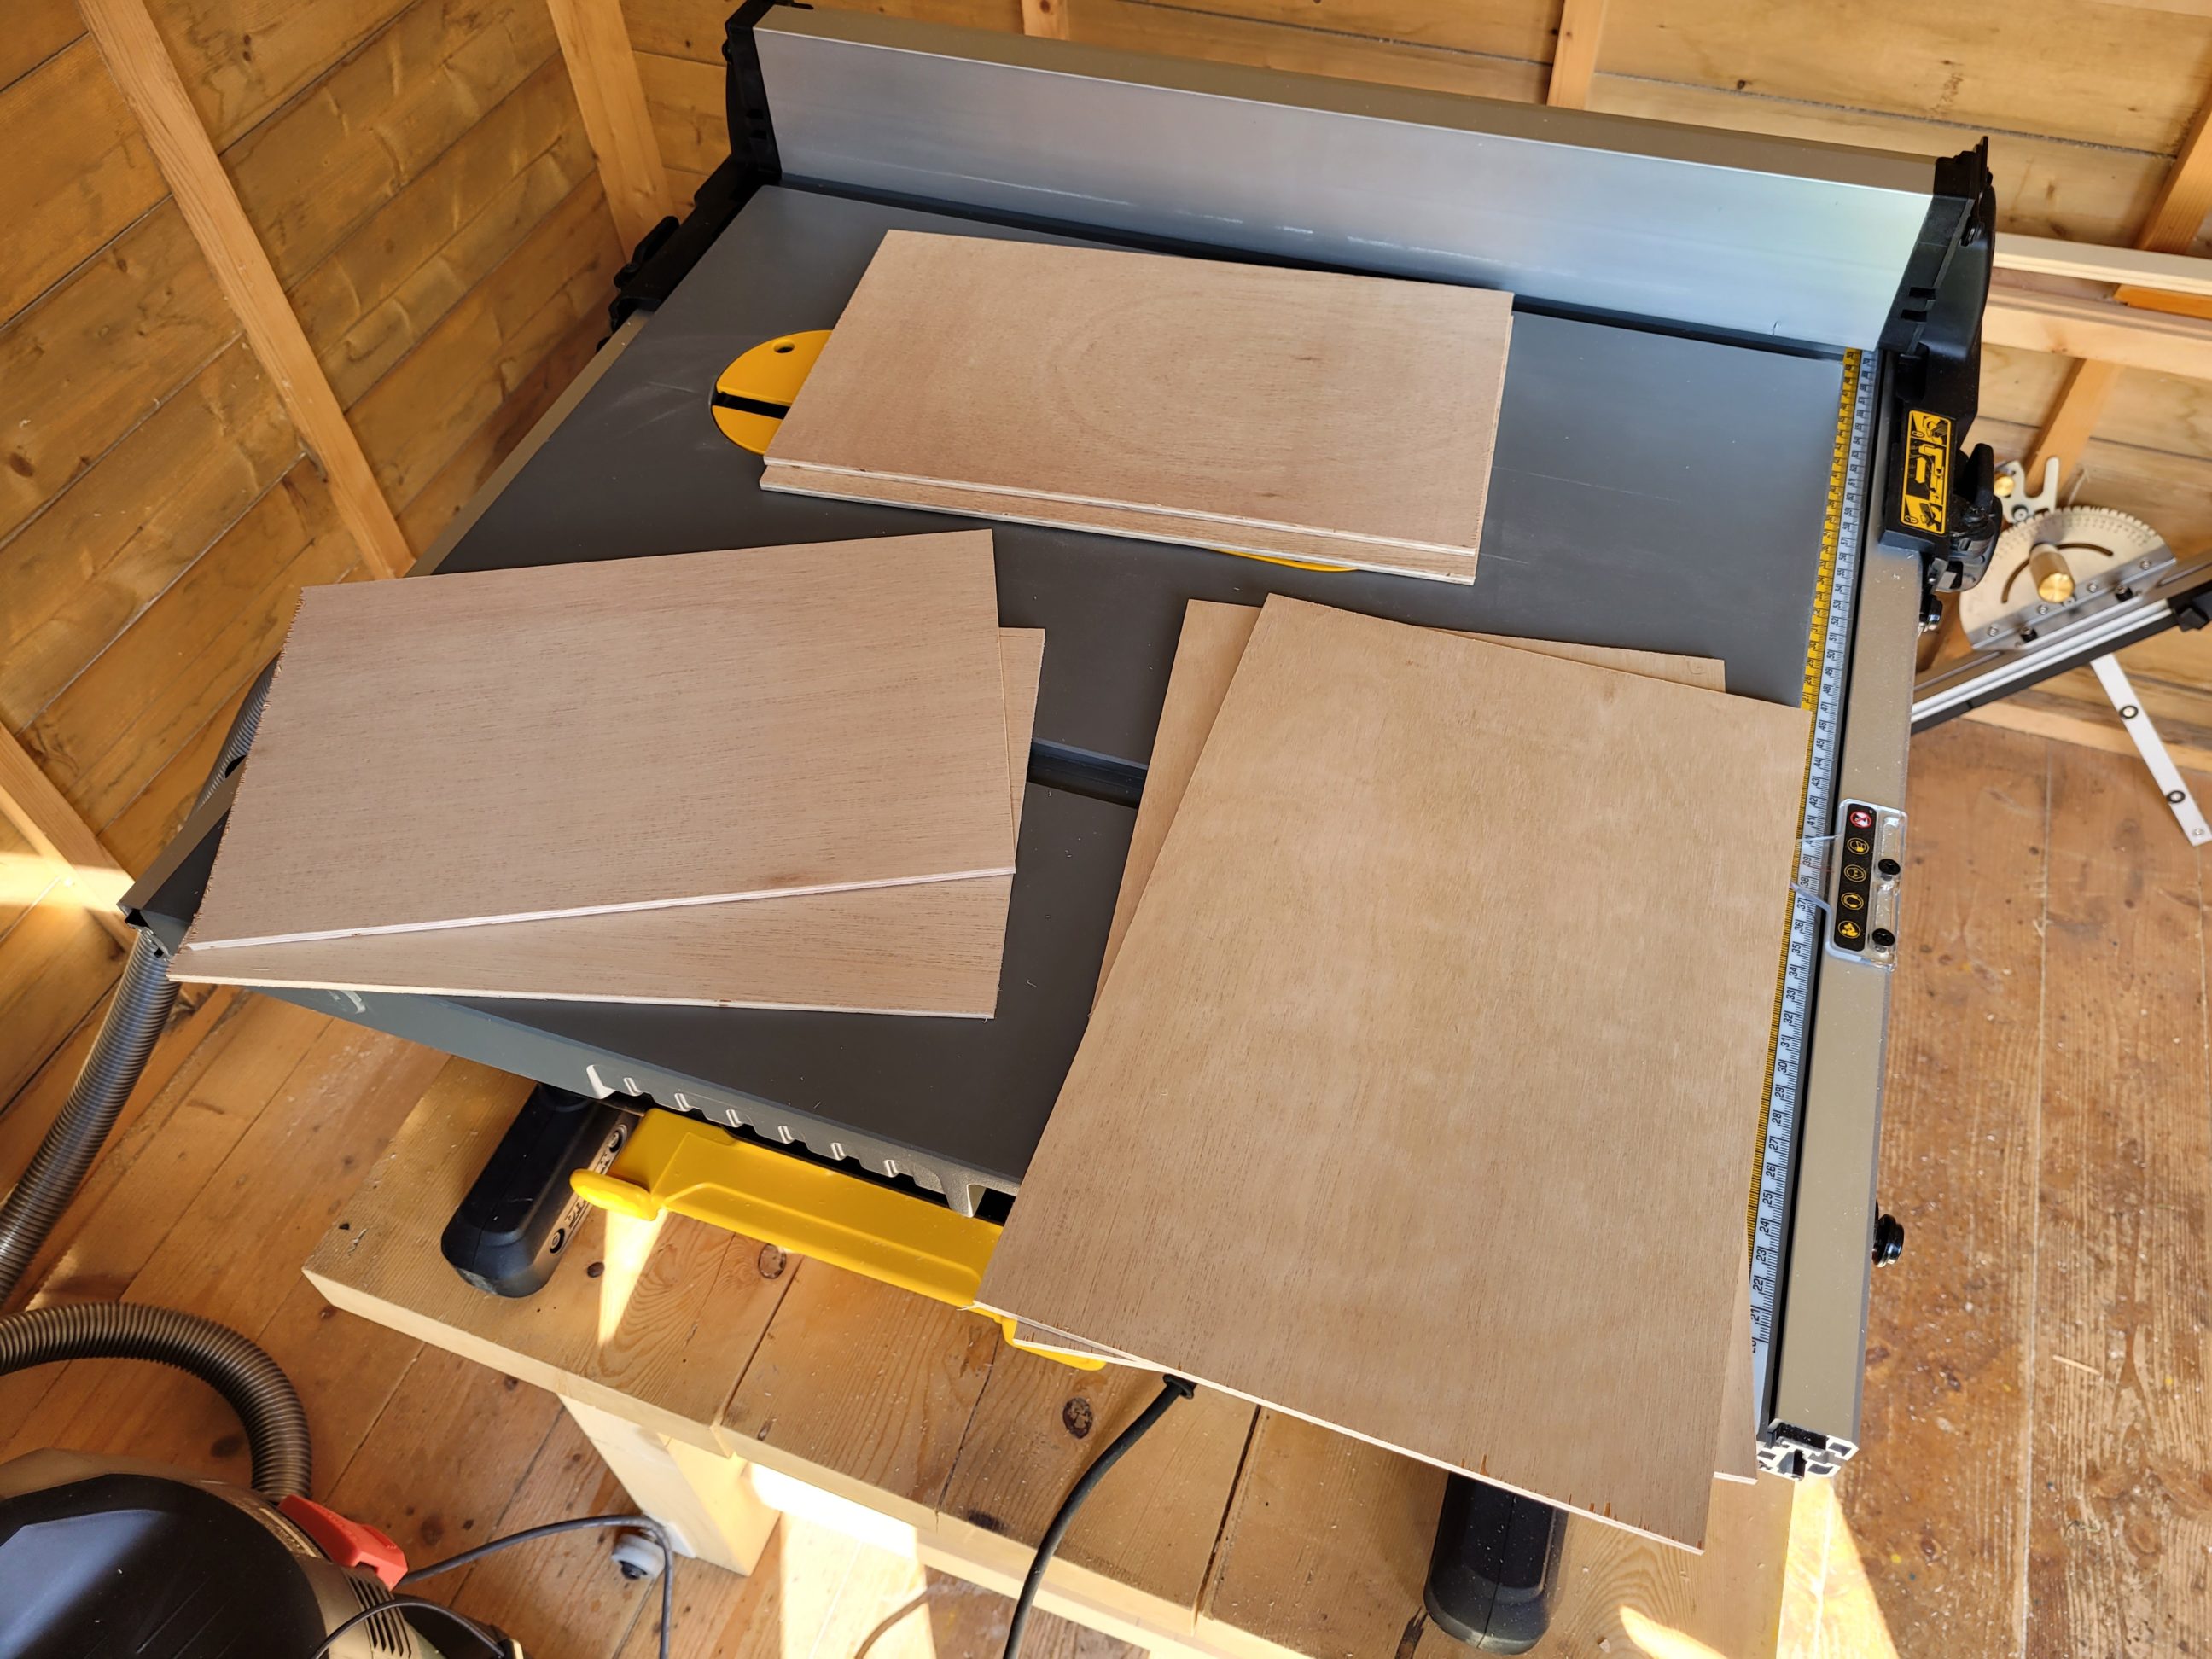


I started by cutting all the sides on my table saw, using 5 mm plywood. The left and right panels were cut to height but left a little longer than needed – they were trimmed to the exact length later in the process. I cut braces as I went and glued them to the plywood, edge by edge. Once I knew the final thickness of the front and back panels, I cut the sides to their final lengths and fixed the braces to them. That way I got all the panels perfectly sized, the braces were glued flush with the edges and there were no gaps. To make the glue-up easy on me, I had to pre-drill a few corners using my rotary tool and not a regular drill – the bit was simply too small for the chuck. I applied glue and tacked panels with pin nails, just to eliminate shifting. The workpiece stayed in clamps for 20 minutes and next, I fixed the bottom to the walls. When the glue dried, I set all the nails below the surface using a nail set and filled all the indentations with wood filler.


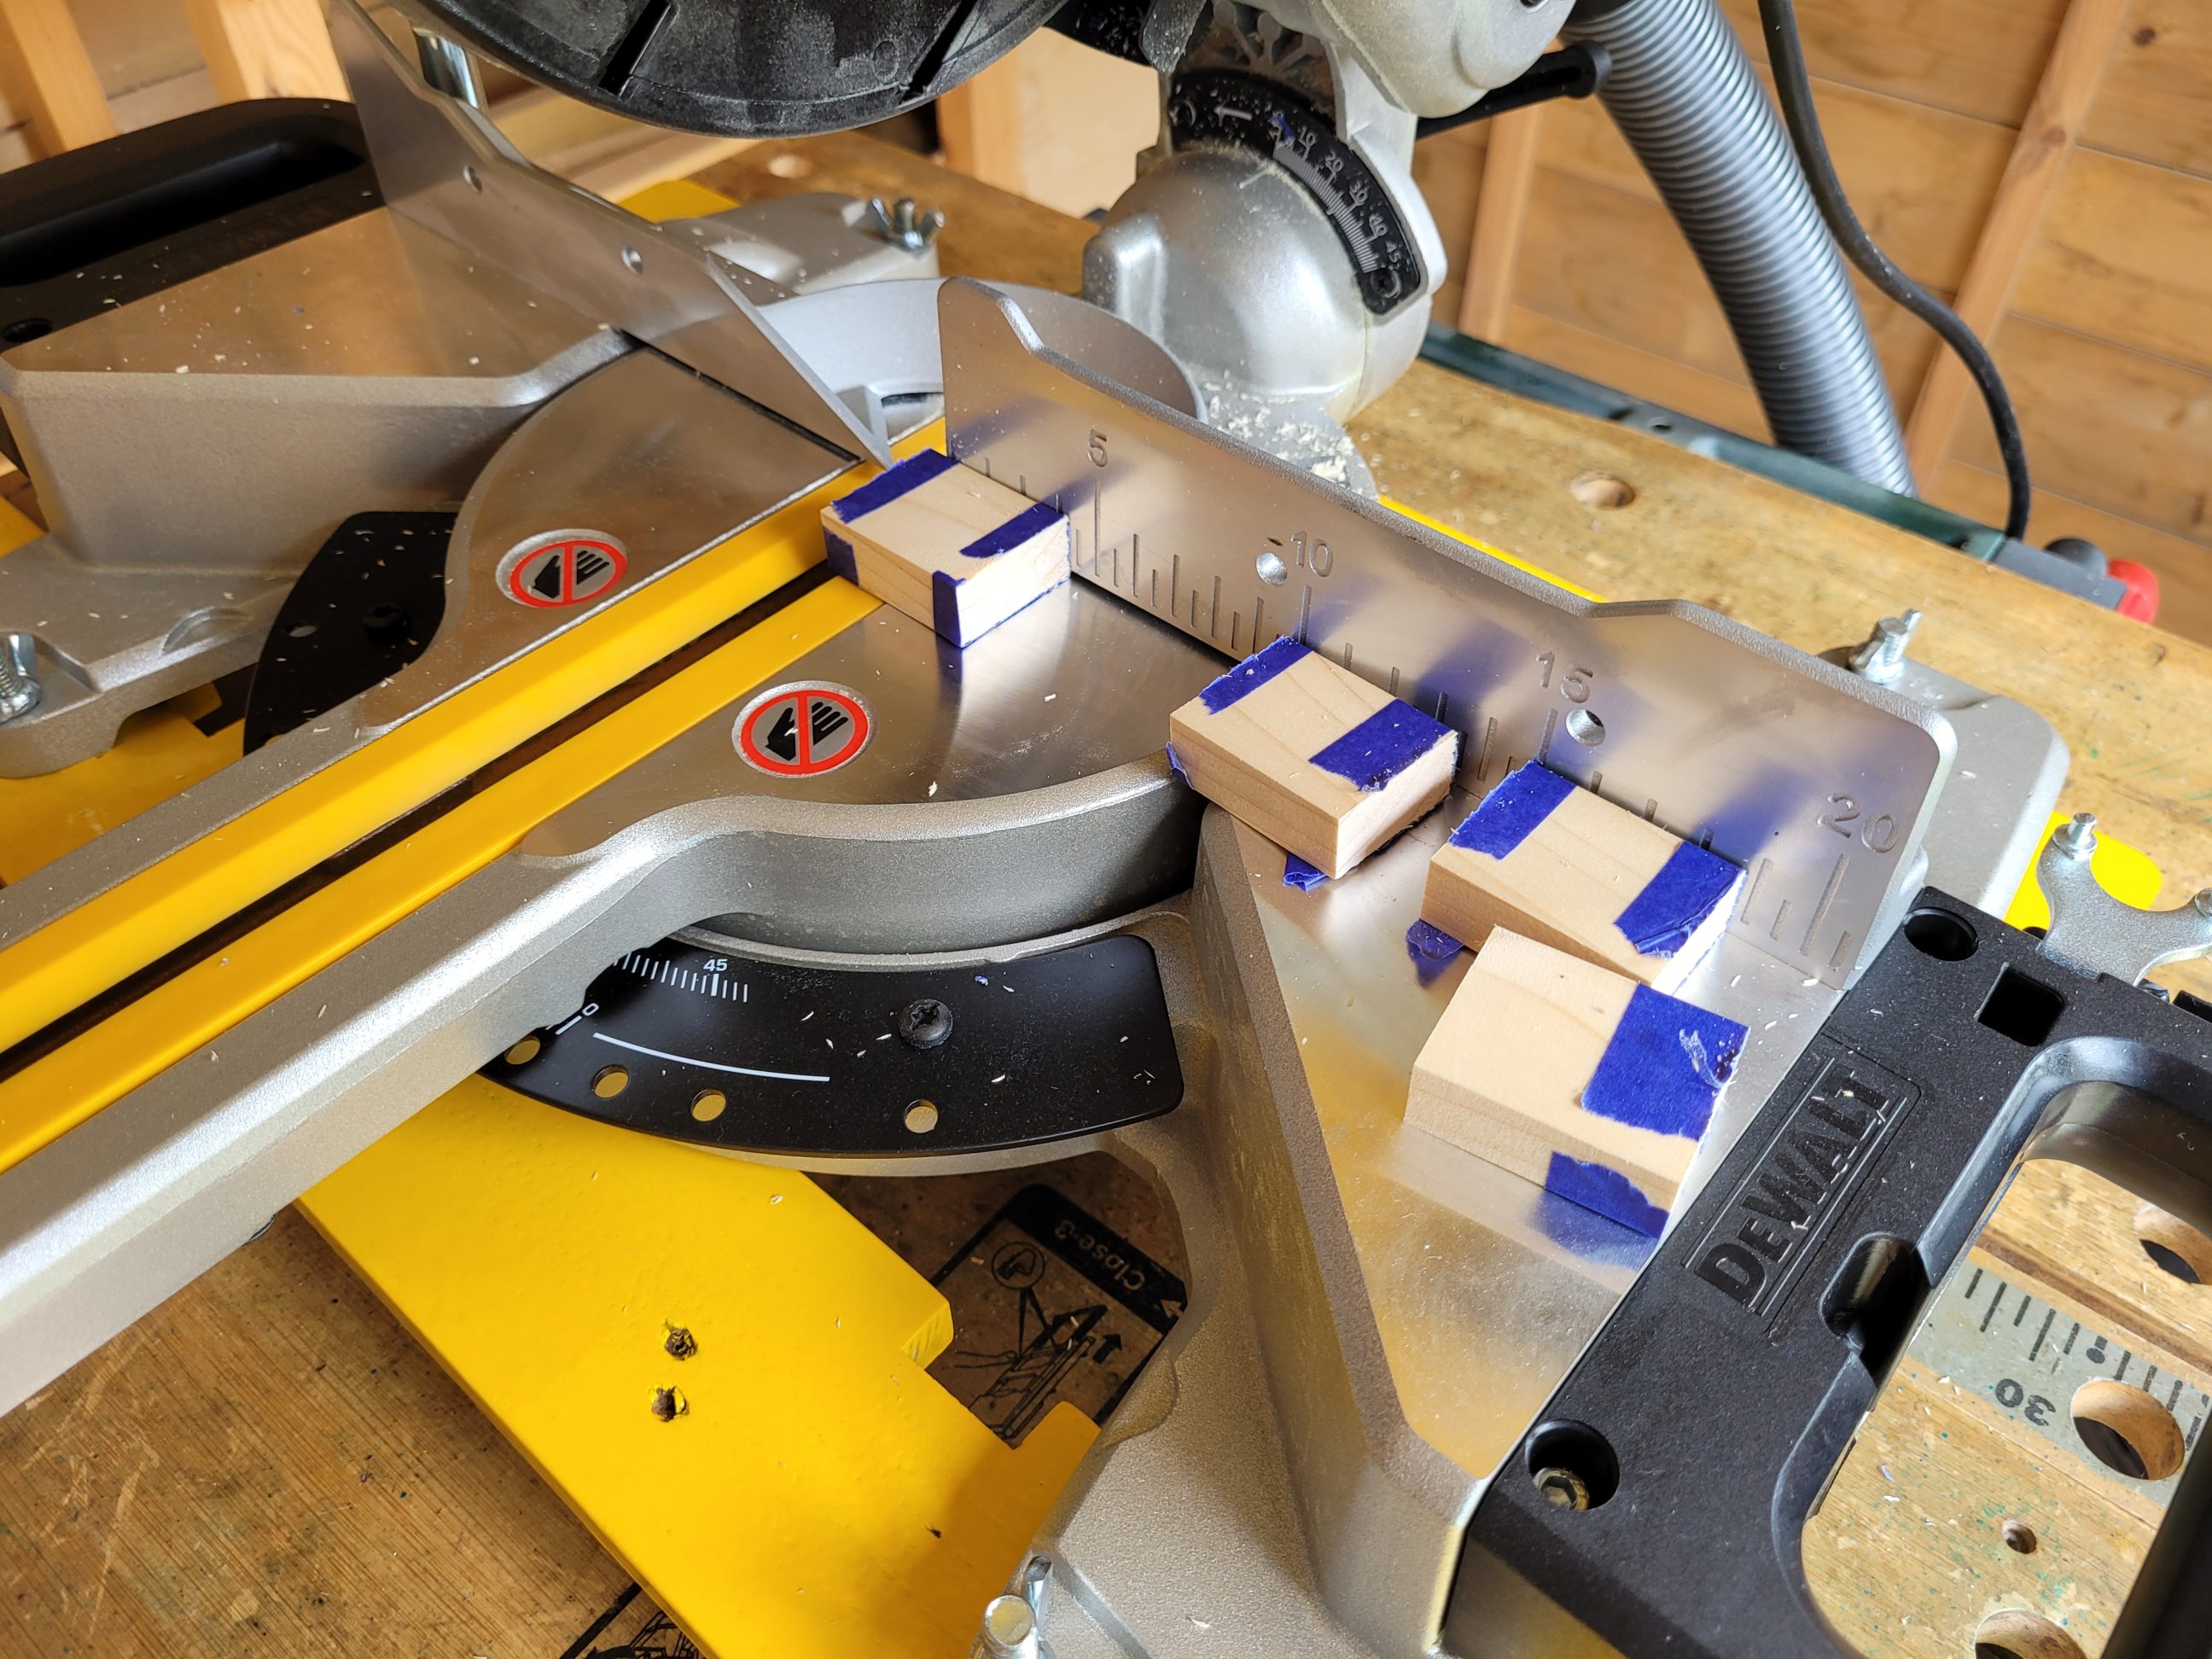
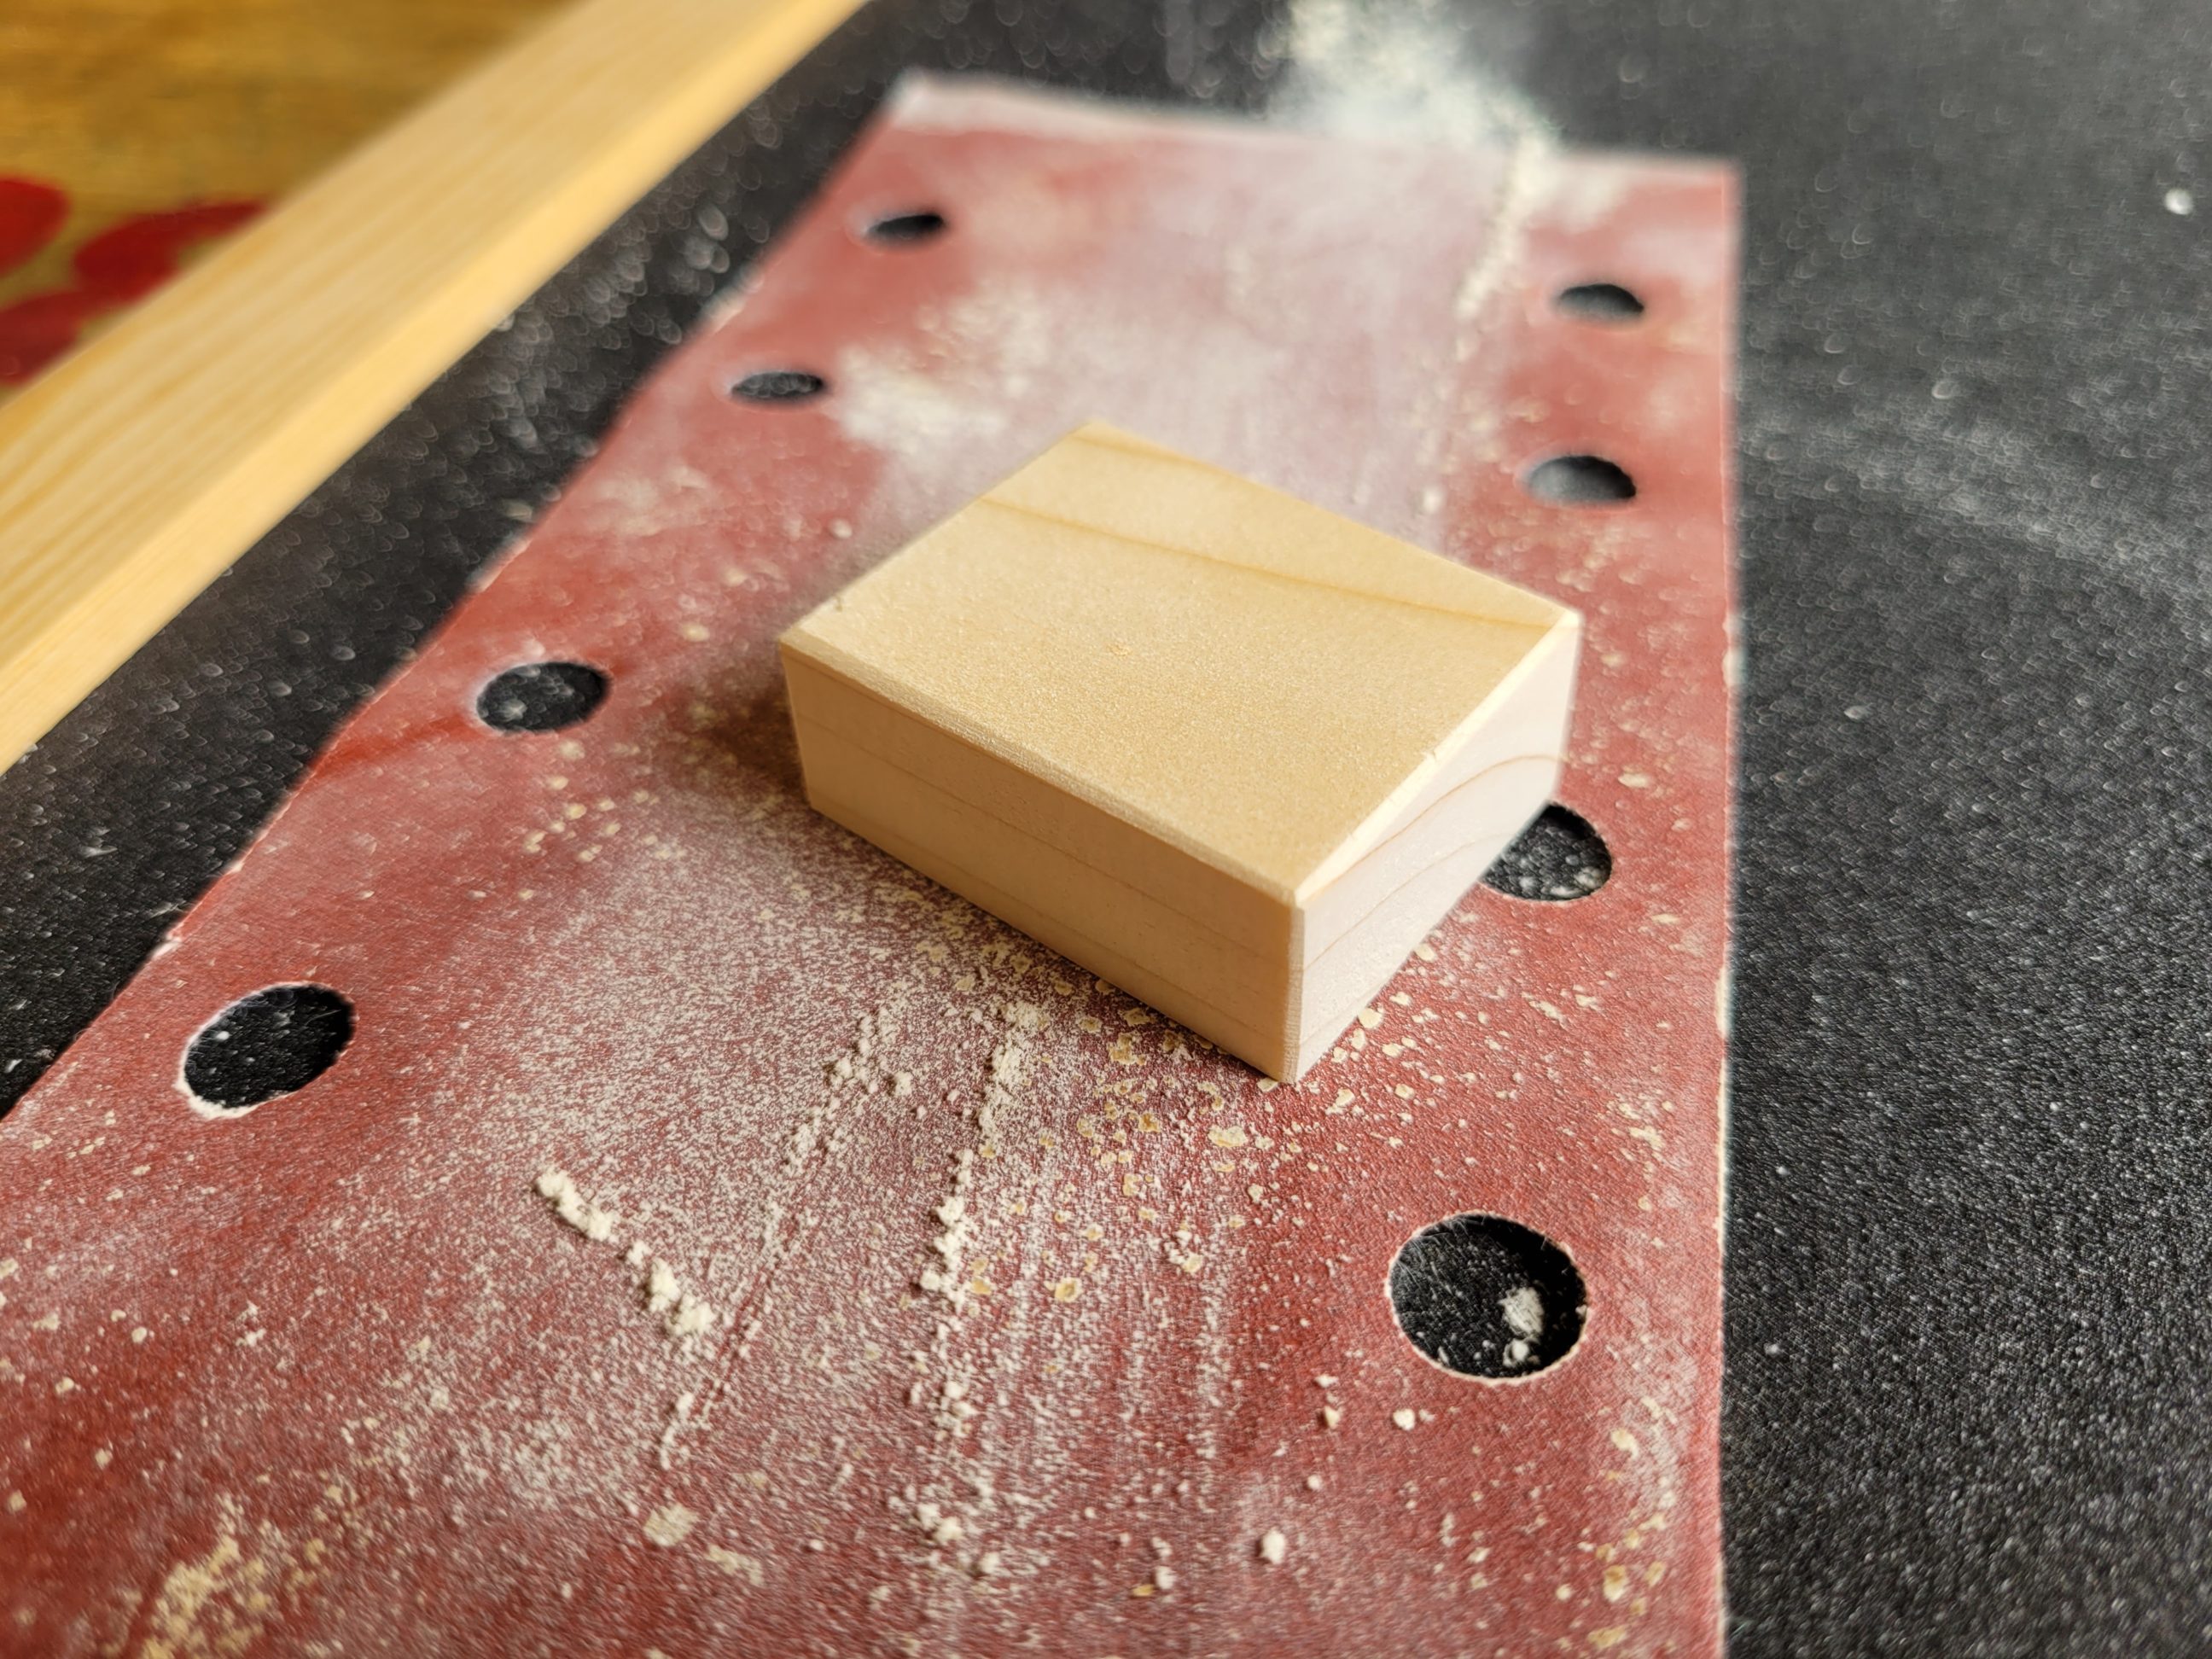
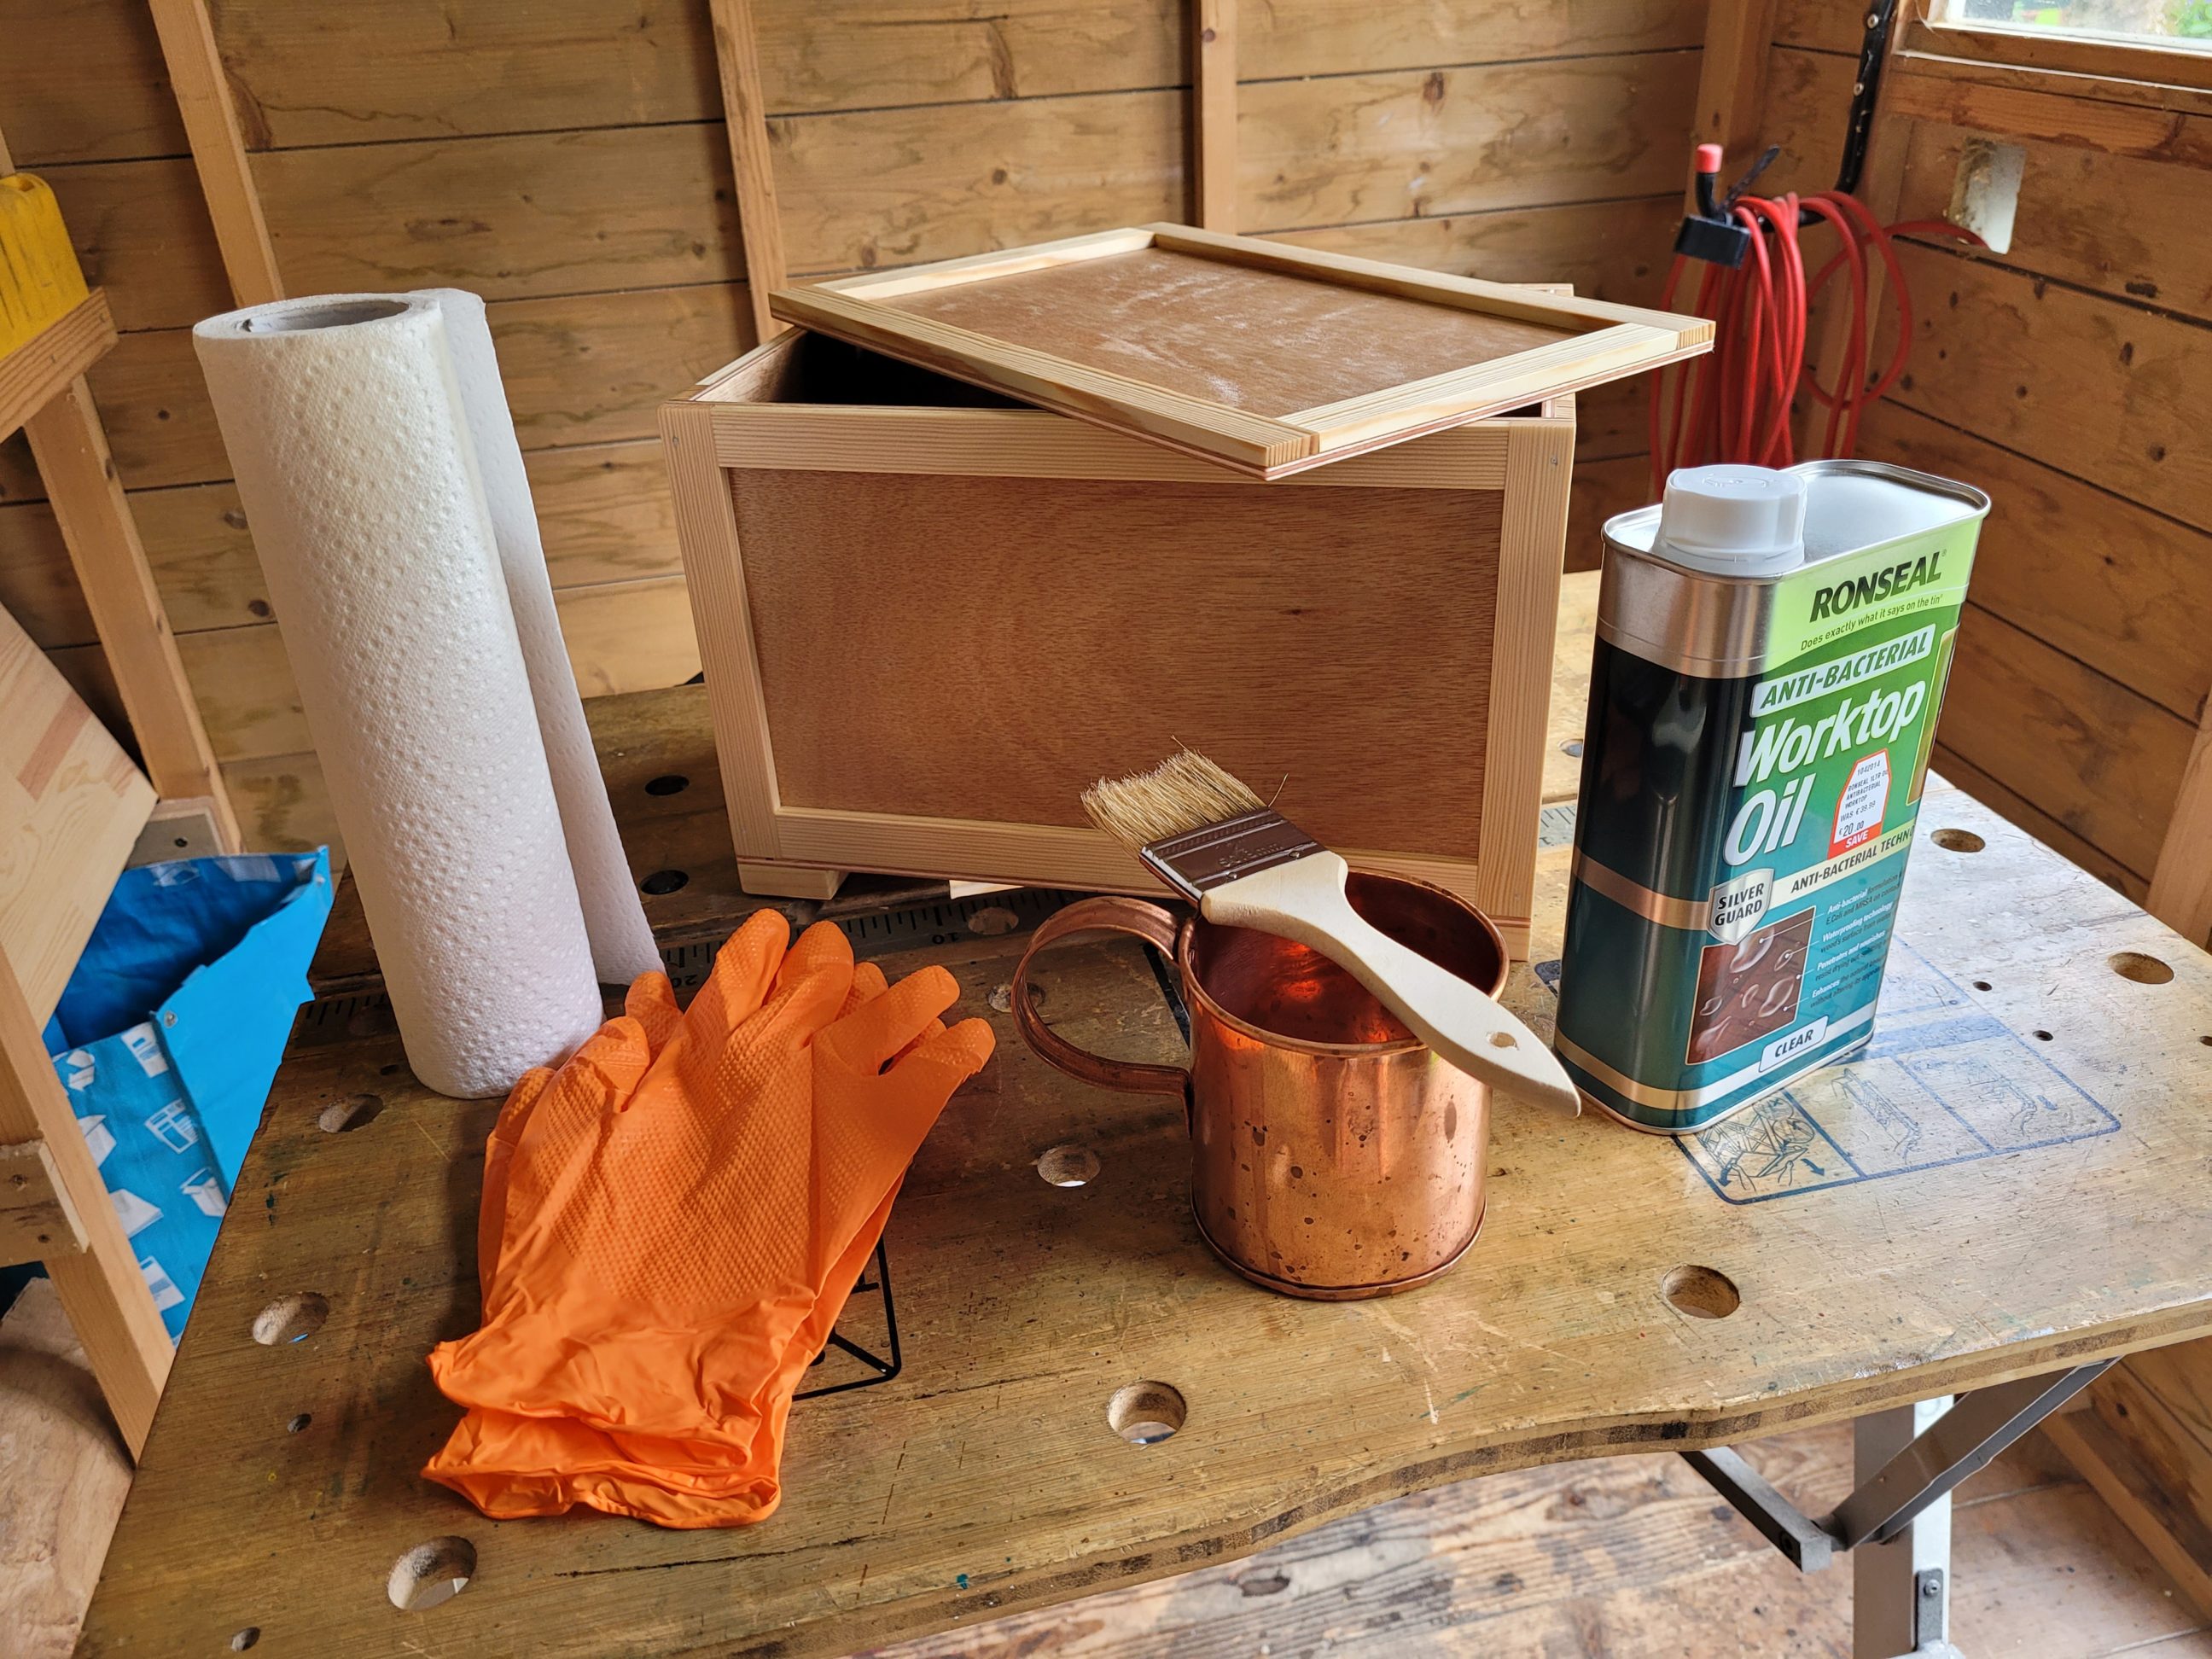
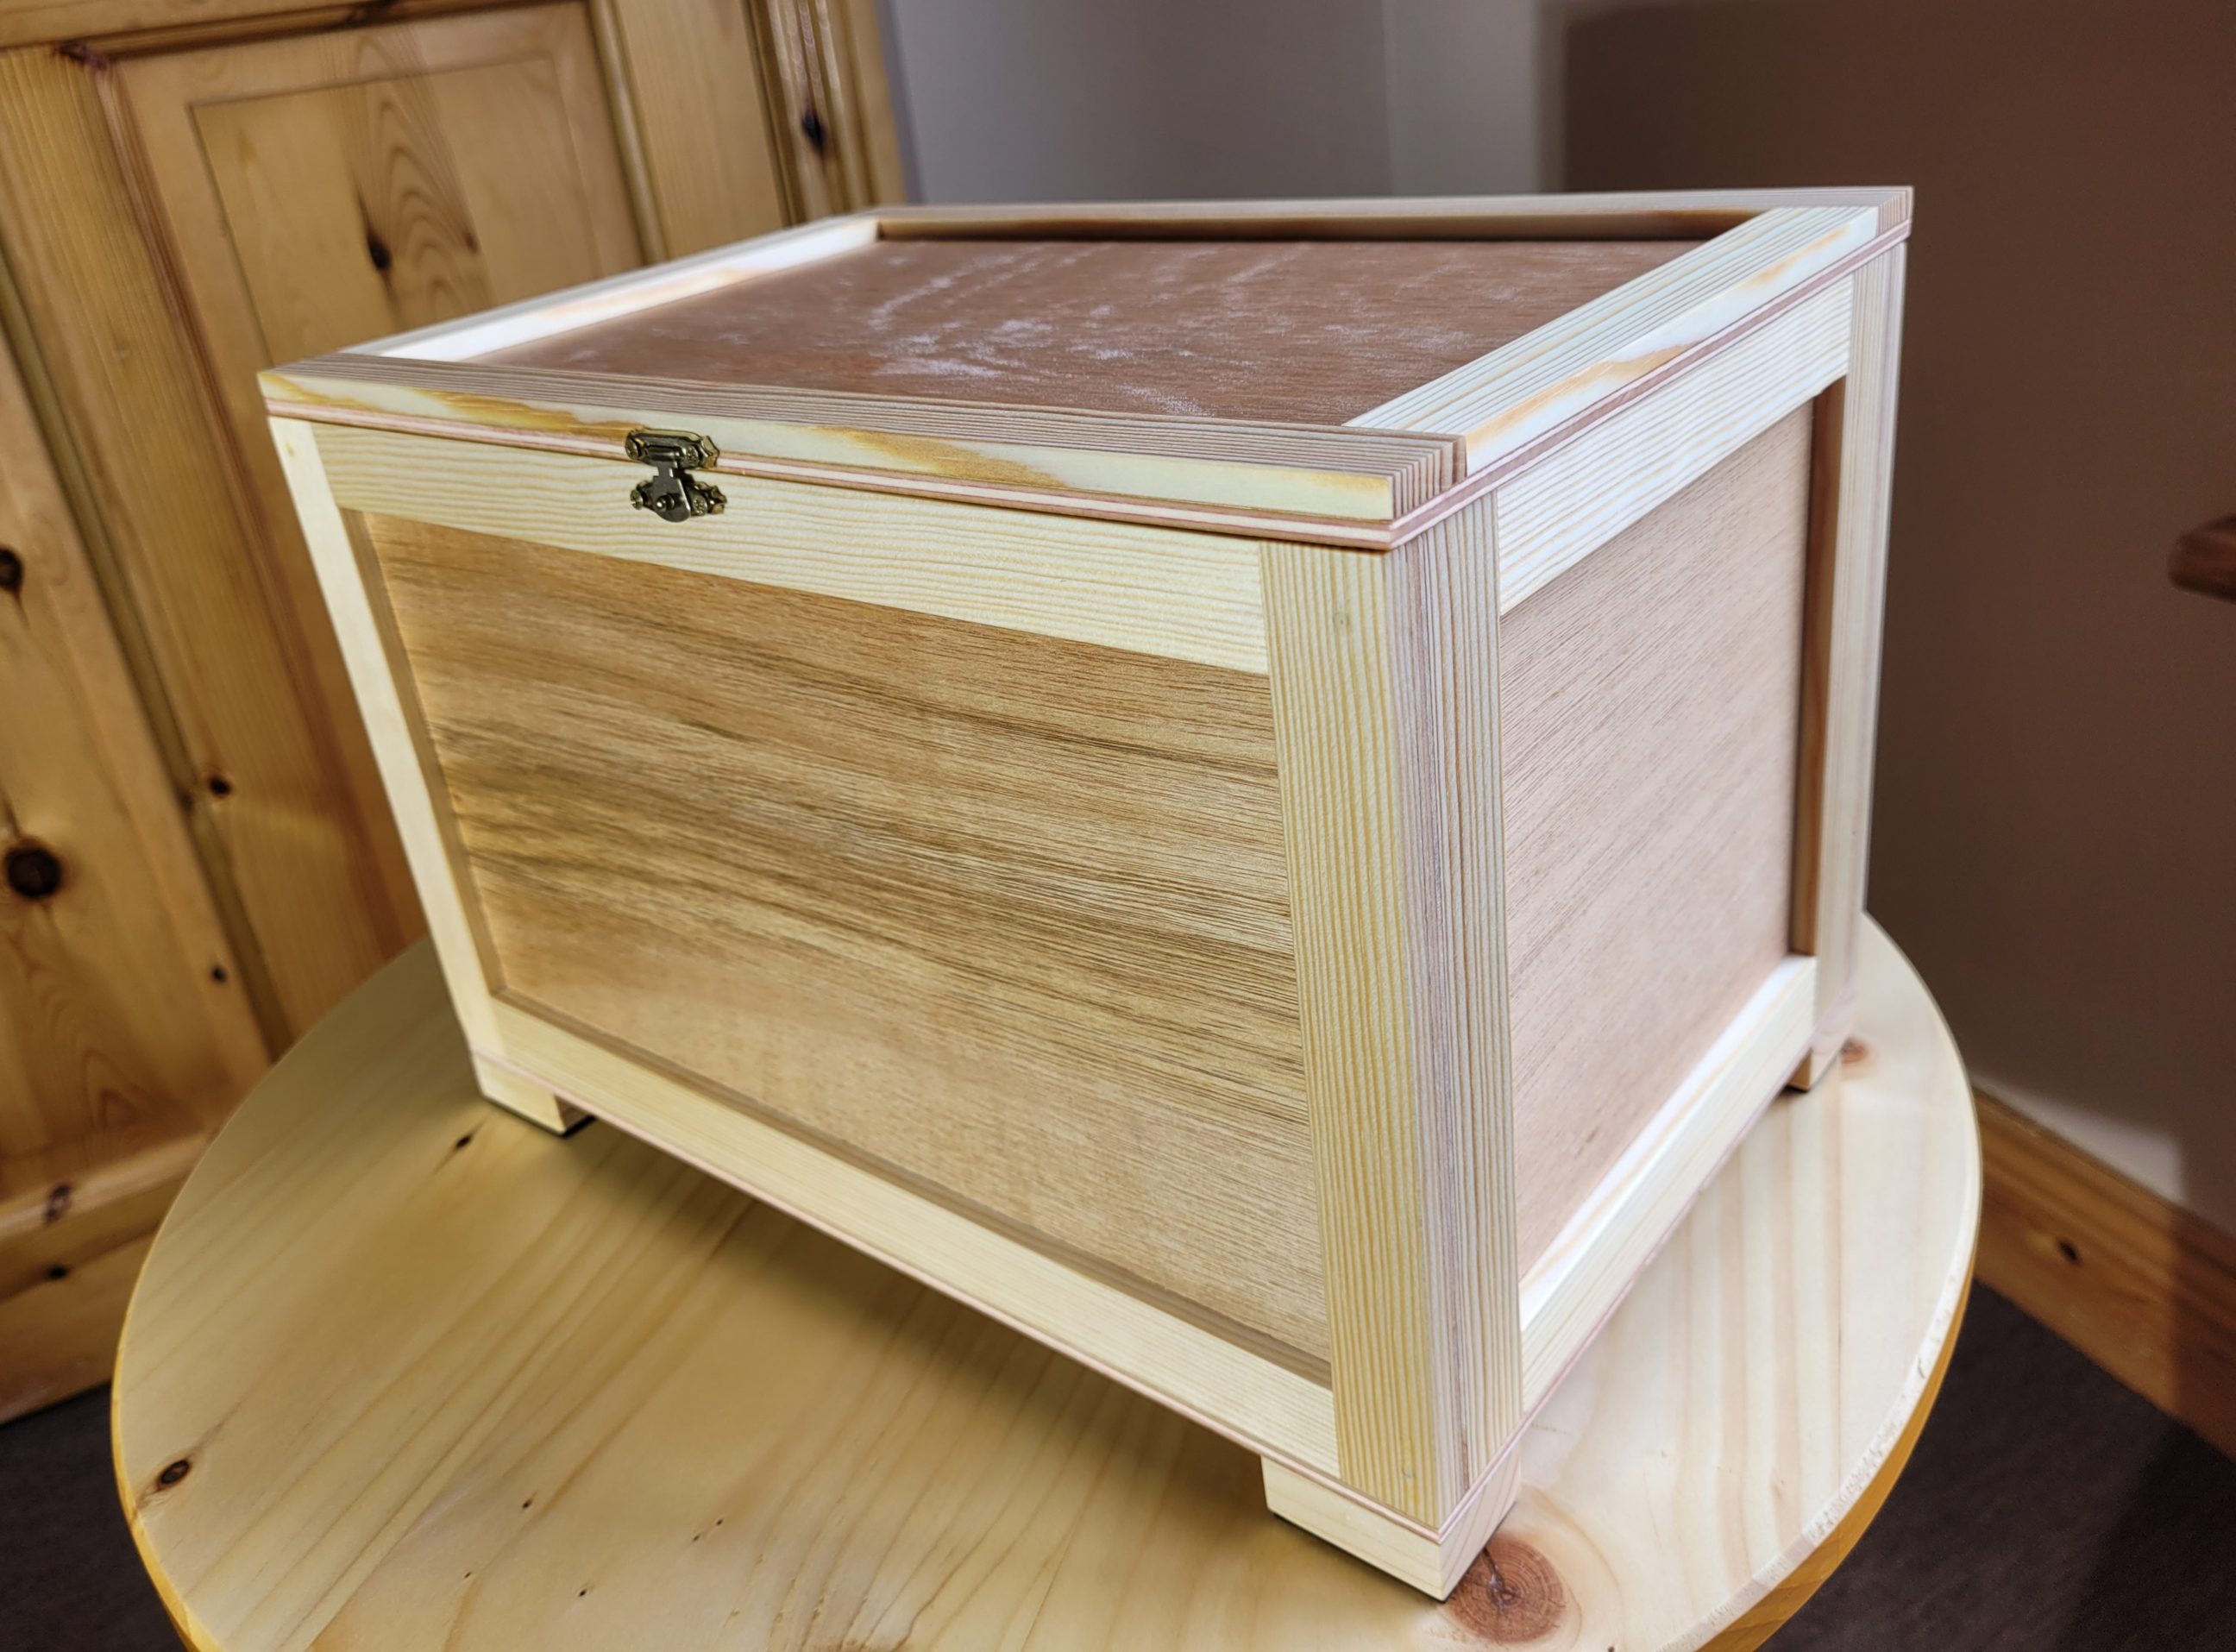
The feet were cut with my mitre saw, sanded, chamfered were needed and glued to the box. Next, I gave the crate and the lid a final sanding, eased all the sharp edges and prepared for the finish. I chose to use oil – that particular one has never been used in the shop, so I had to give it a try and see how it goes. It was easy to apply and virtually odourless, it only lightly enhanced the colours and looked very subtle on the wood, which was exactly what I was looking for. Instead of recommended 3 – 4 coats, I only applied 2 and held off further work for a few days to allow the finish to cure.


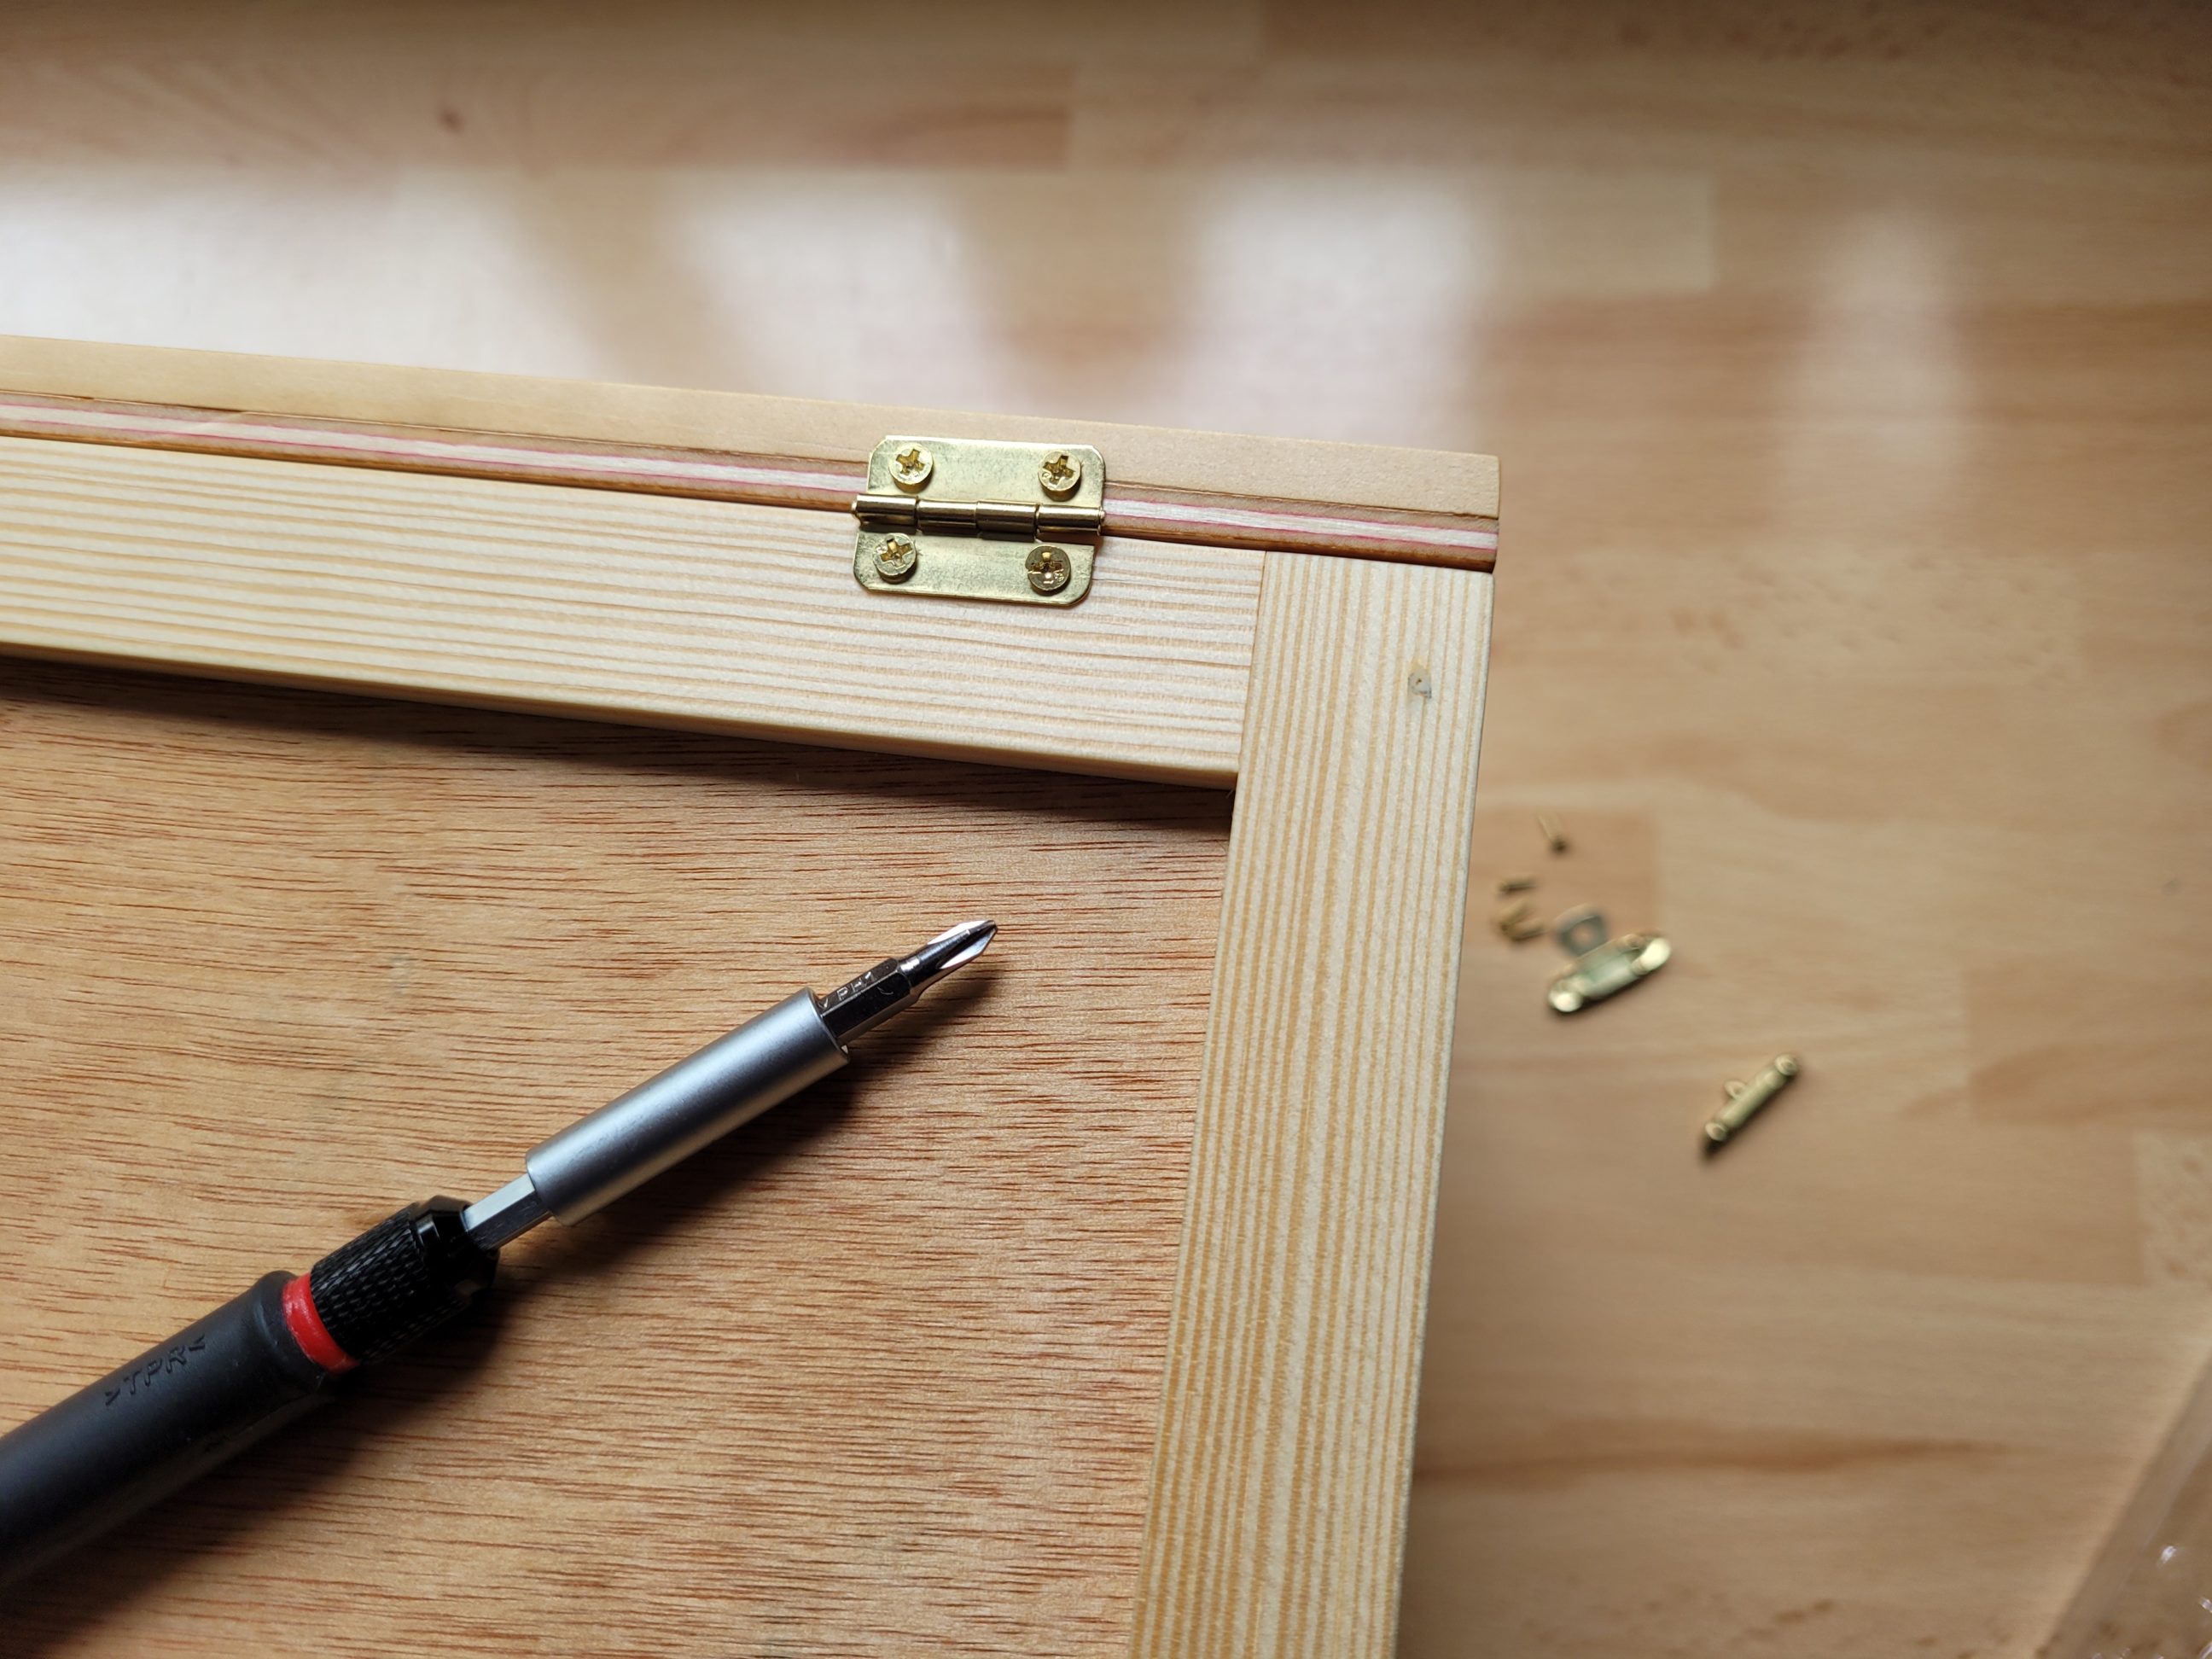
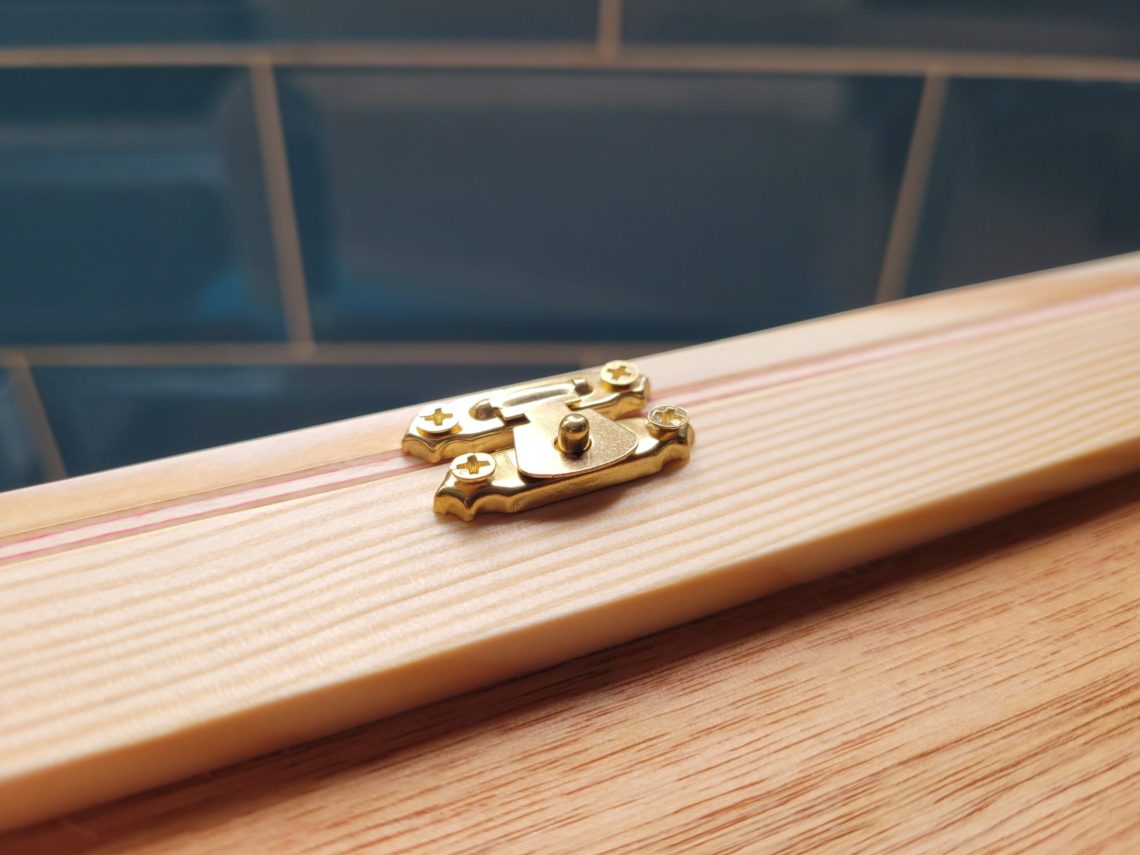
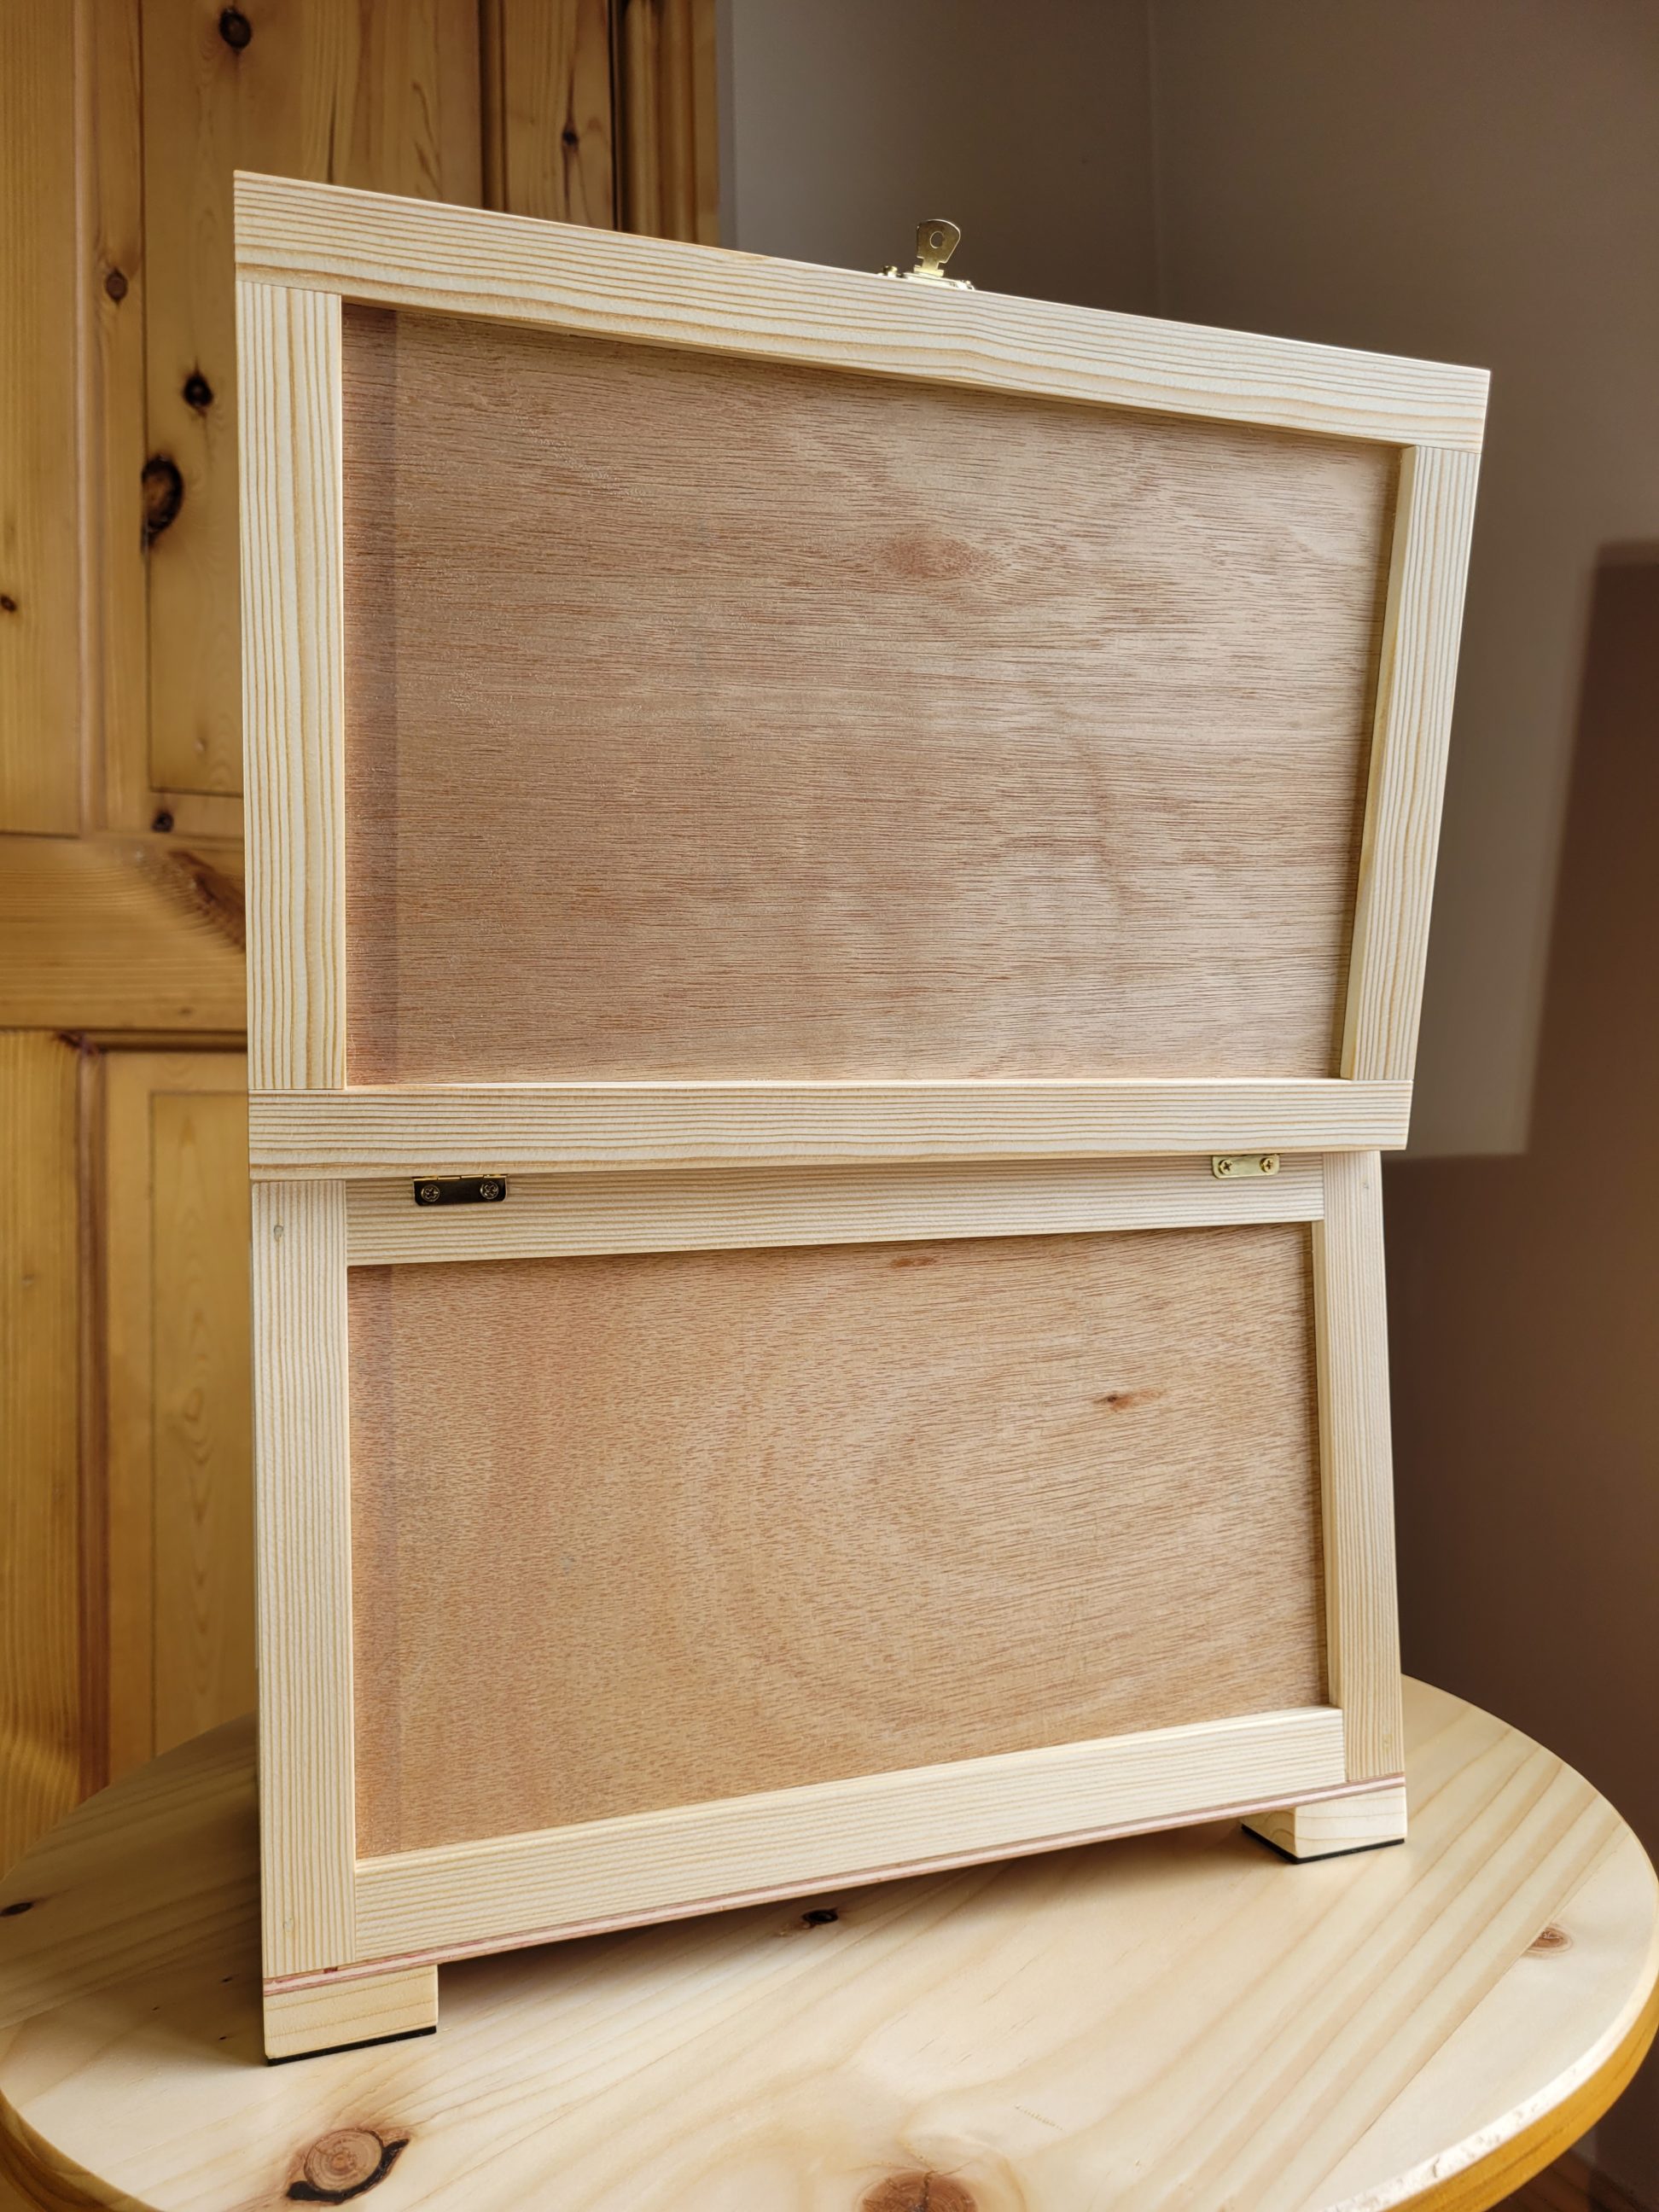
The crate still needed a few touches like foam feet, hinges, clasp and a lid stay. I decided to not pre-drill any holes for the hardware, which worked just fine as the wood was saturated and stabilised with oil plus the screws were tiny. Any bigger screws would definitely need pilot holes. To stop the lid from pulling off the hinges, I installed a simple lid stay, which was just a piece of string tacked with staples. It took me 2 attempts as the 1st lid mounting point was interfering with the wall of the box. Luckily, it could be moved slightly towards the centre of the box, the brace on the opposite side was wide enough to accept a staple in the right place.


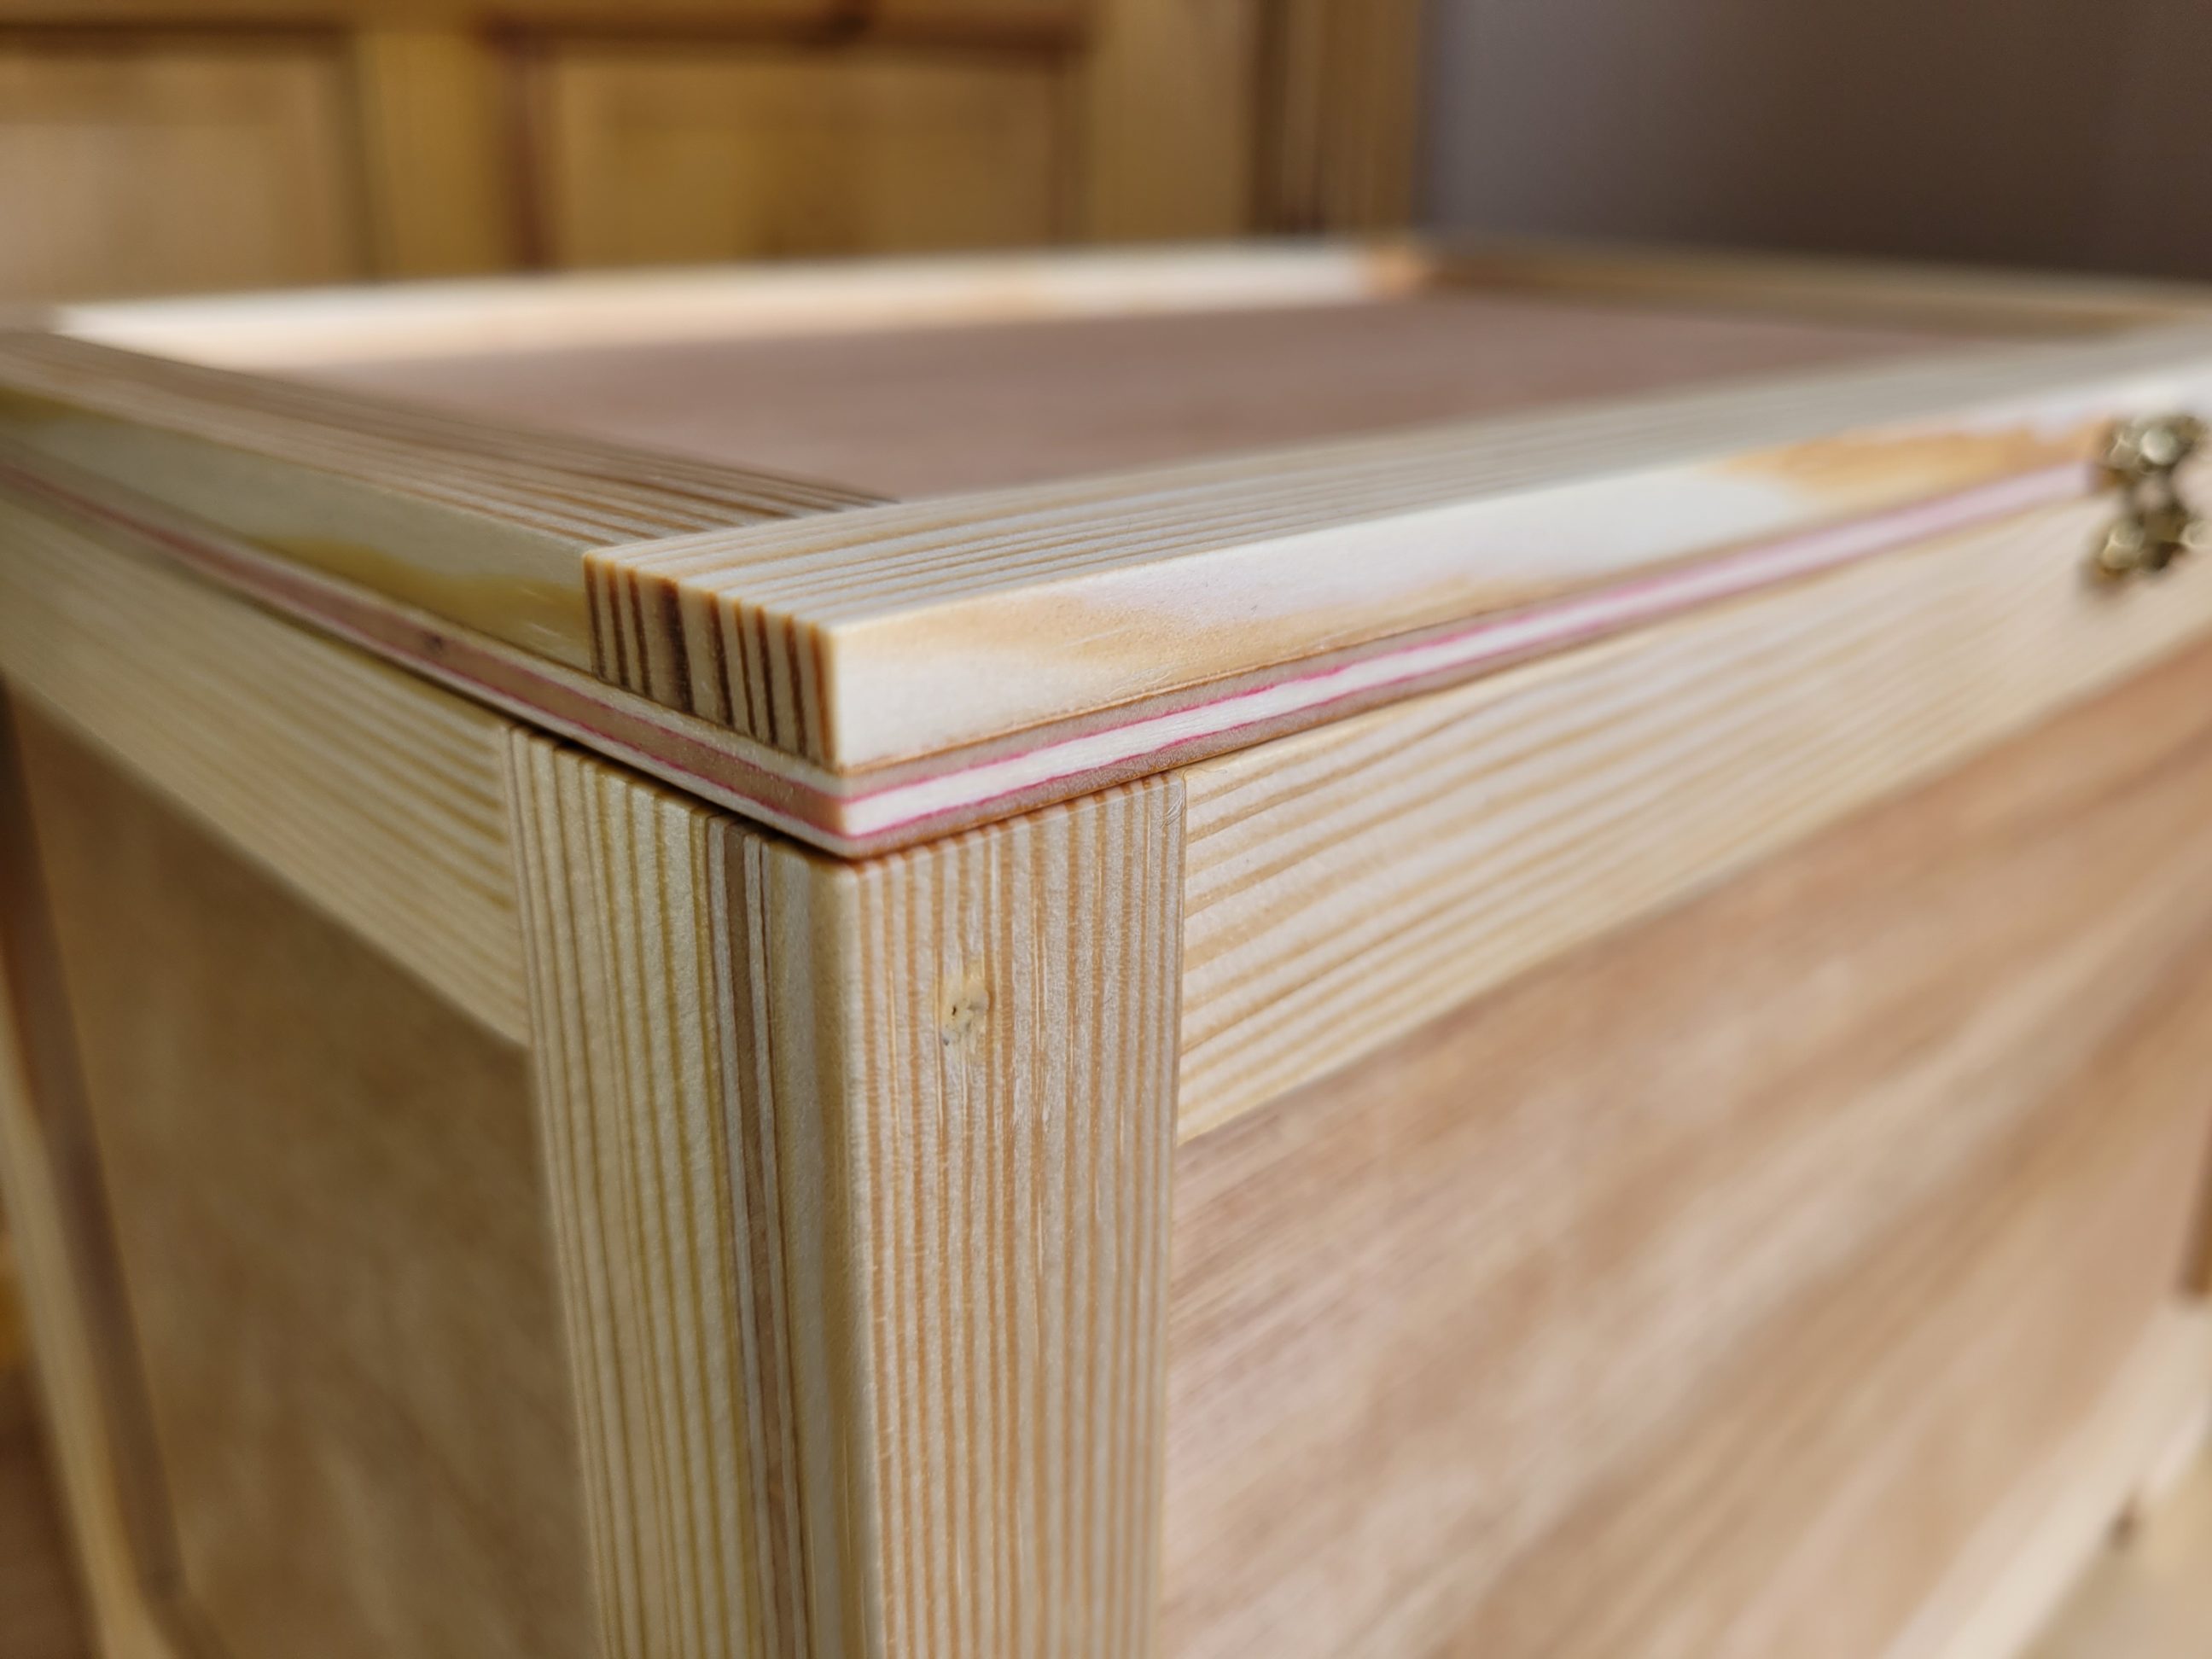
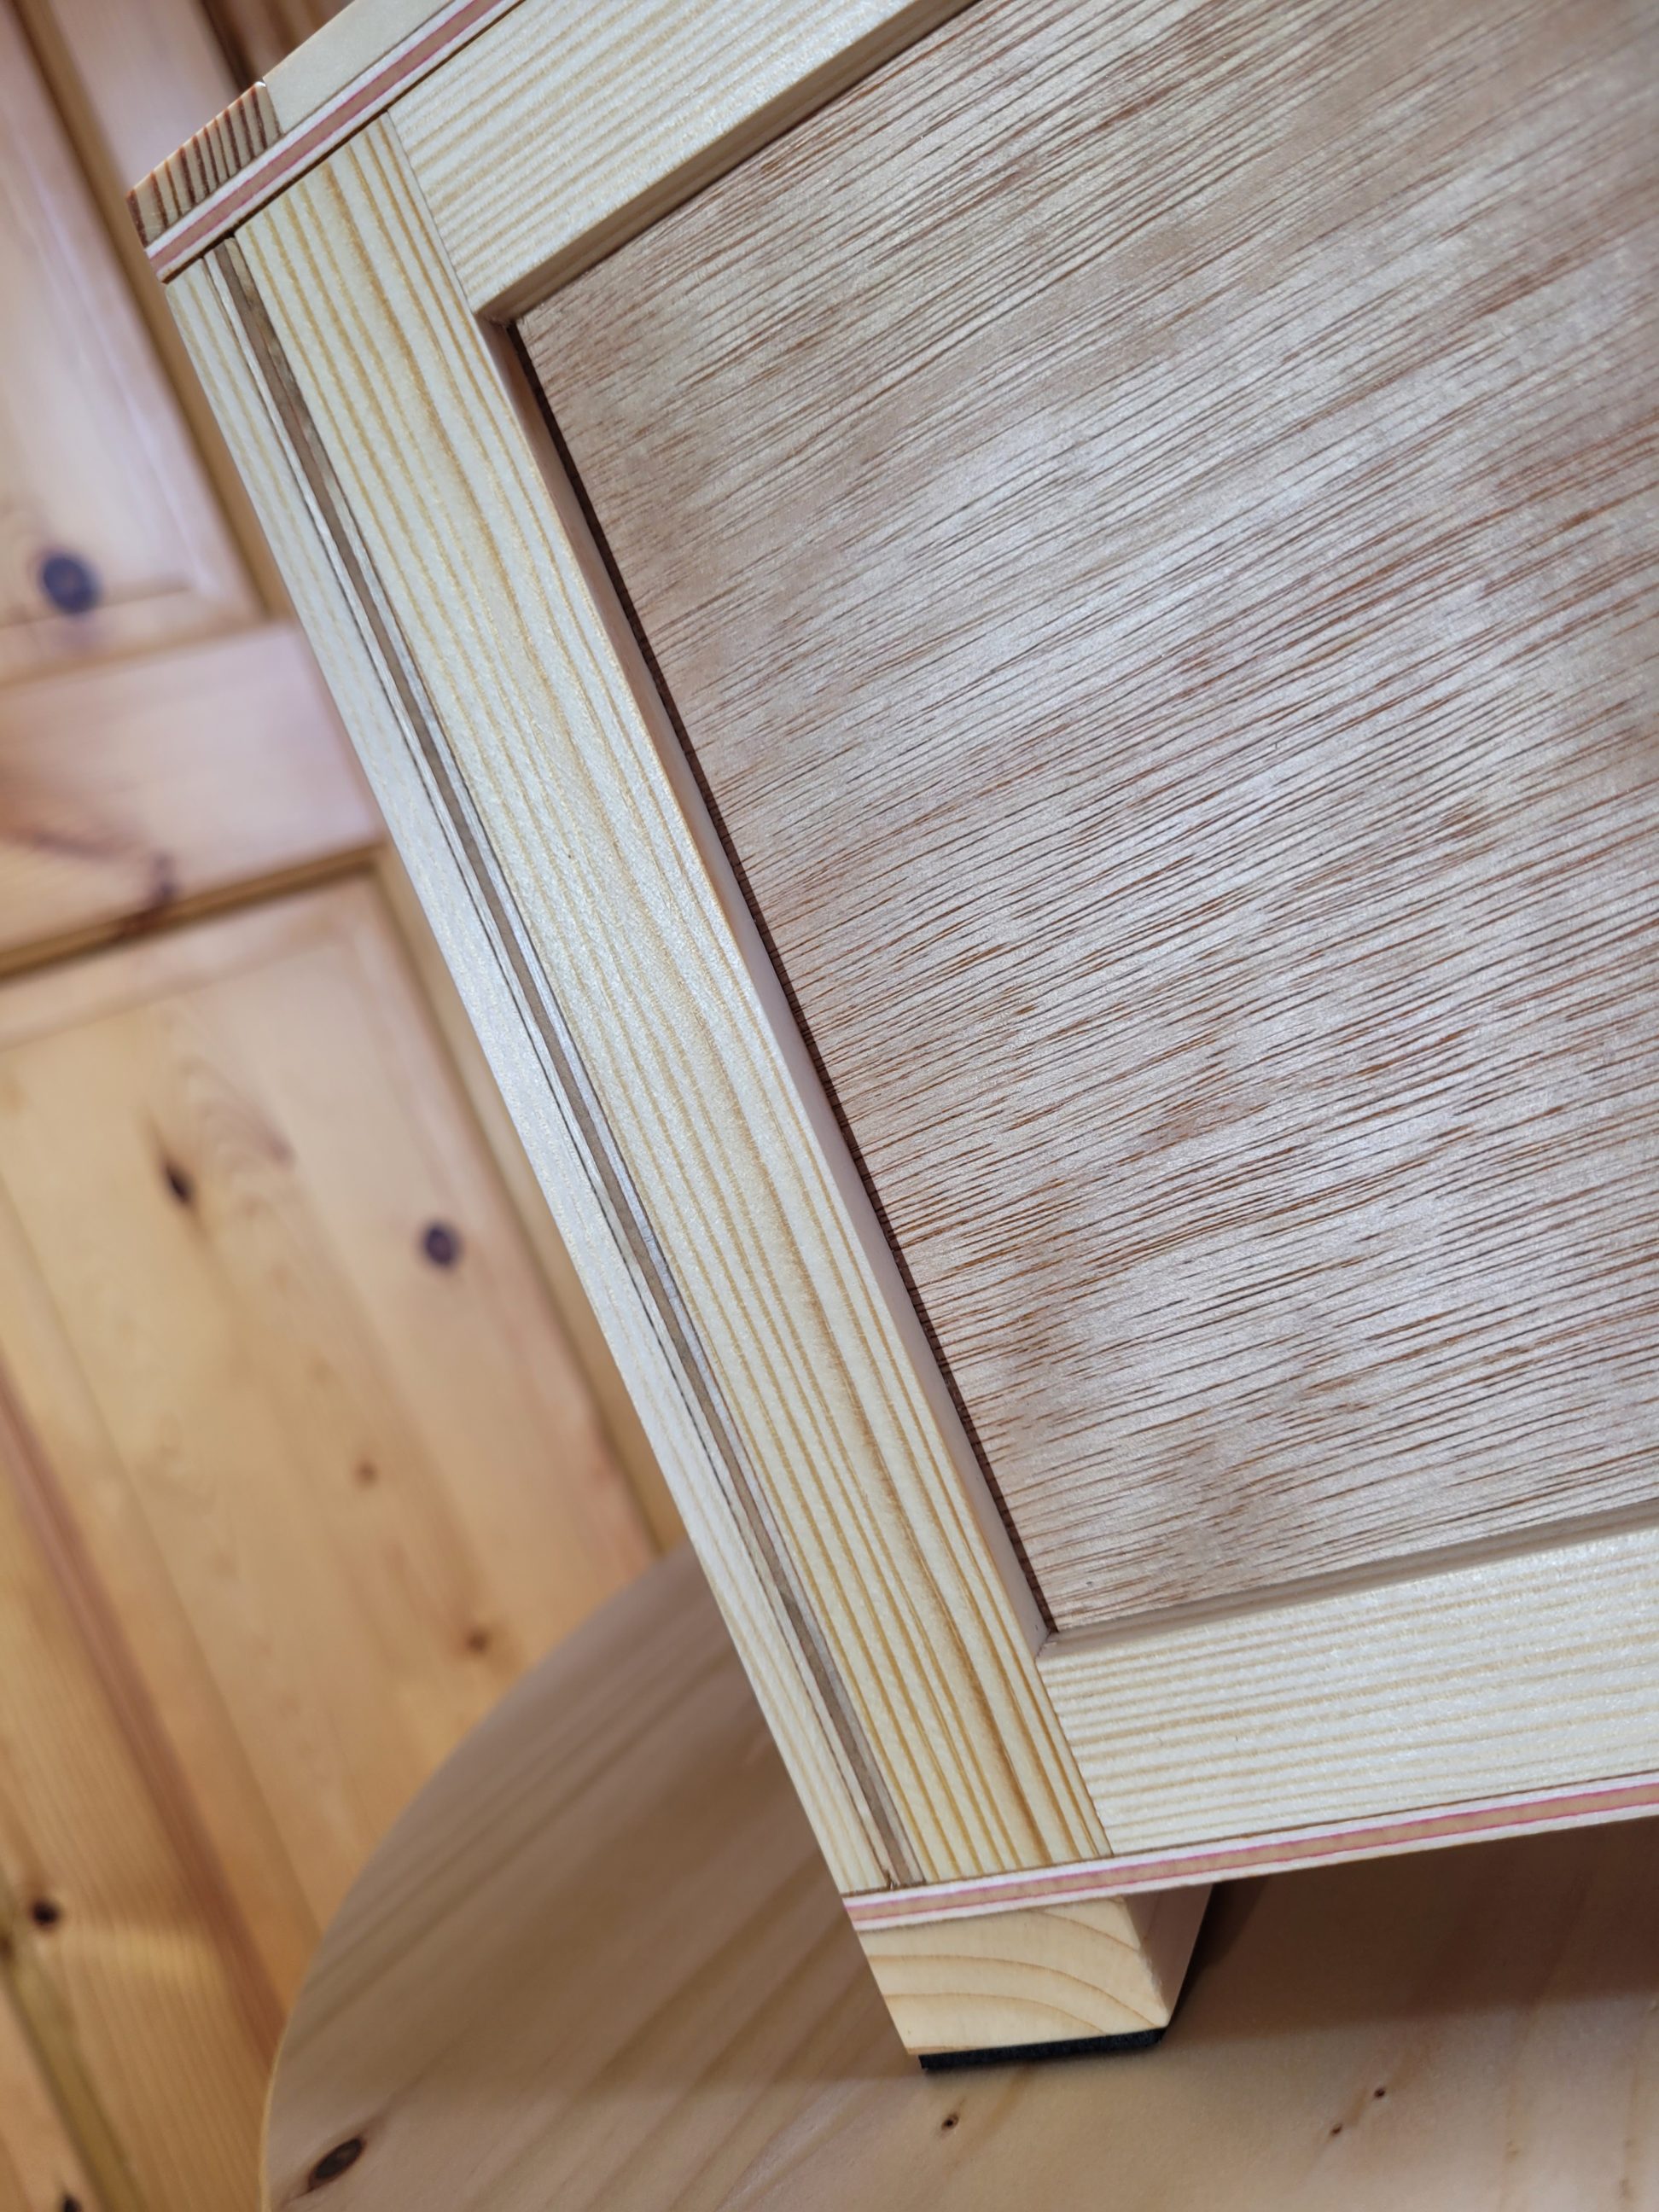
Most of the exposed plywood edges fade away with the clear, simple and straight grain lines of the braces. Where clearly seen, which are the lid and the bottom, they’re still corresponding with the rest and at the same time emphasise the simplicity of the build. All the nail holes were touched with a wood marker and when the light is right, they disappear. This mini crate is made with the same materials as the full-size one, hardwood plywood panels and softwood braces, just with better attention to detail and more precision.


You May Also Like
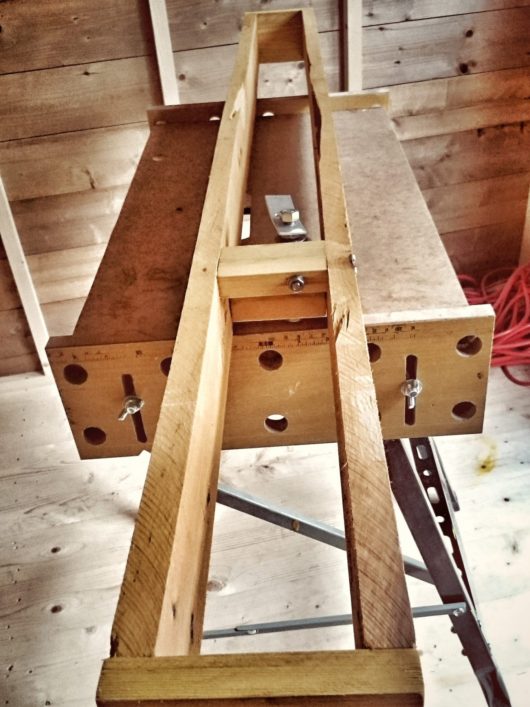
Budget thickness sander
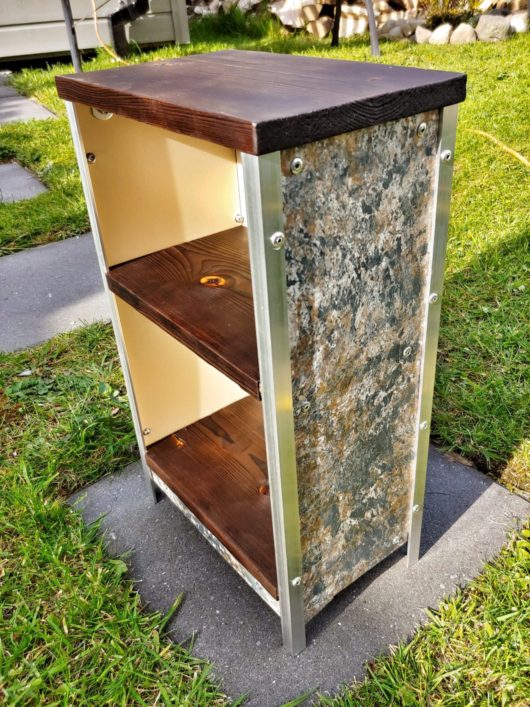
Faux granite shelving unit
