4 tier shelving unit
I used pallet wood to build the tiers. First I cut it to the width.
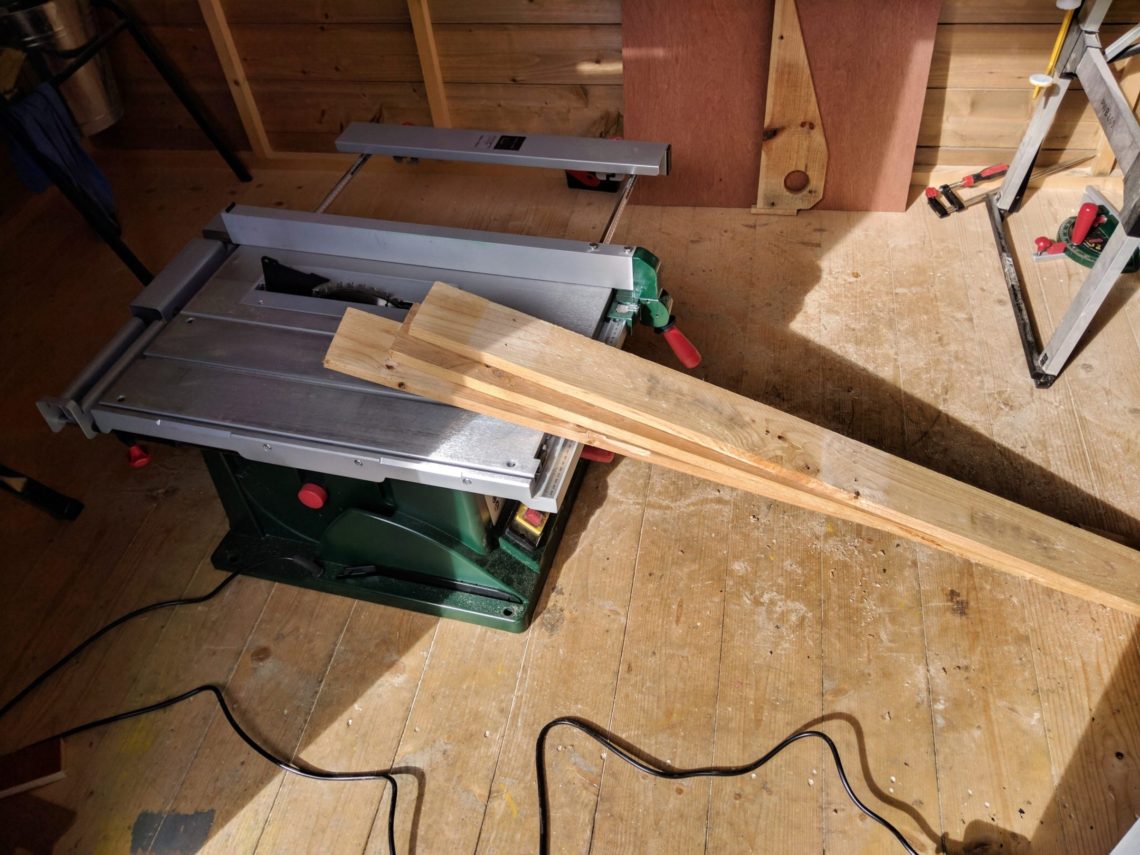

Then I set the blade to a 45º angle to cut everything to length. I used a stop block to make precision cuts.


25 and 30 cm pieces were cut, 8 of each length. Glued and clamped with my recently build corner clamps. It is perfectly square.

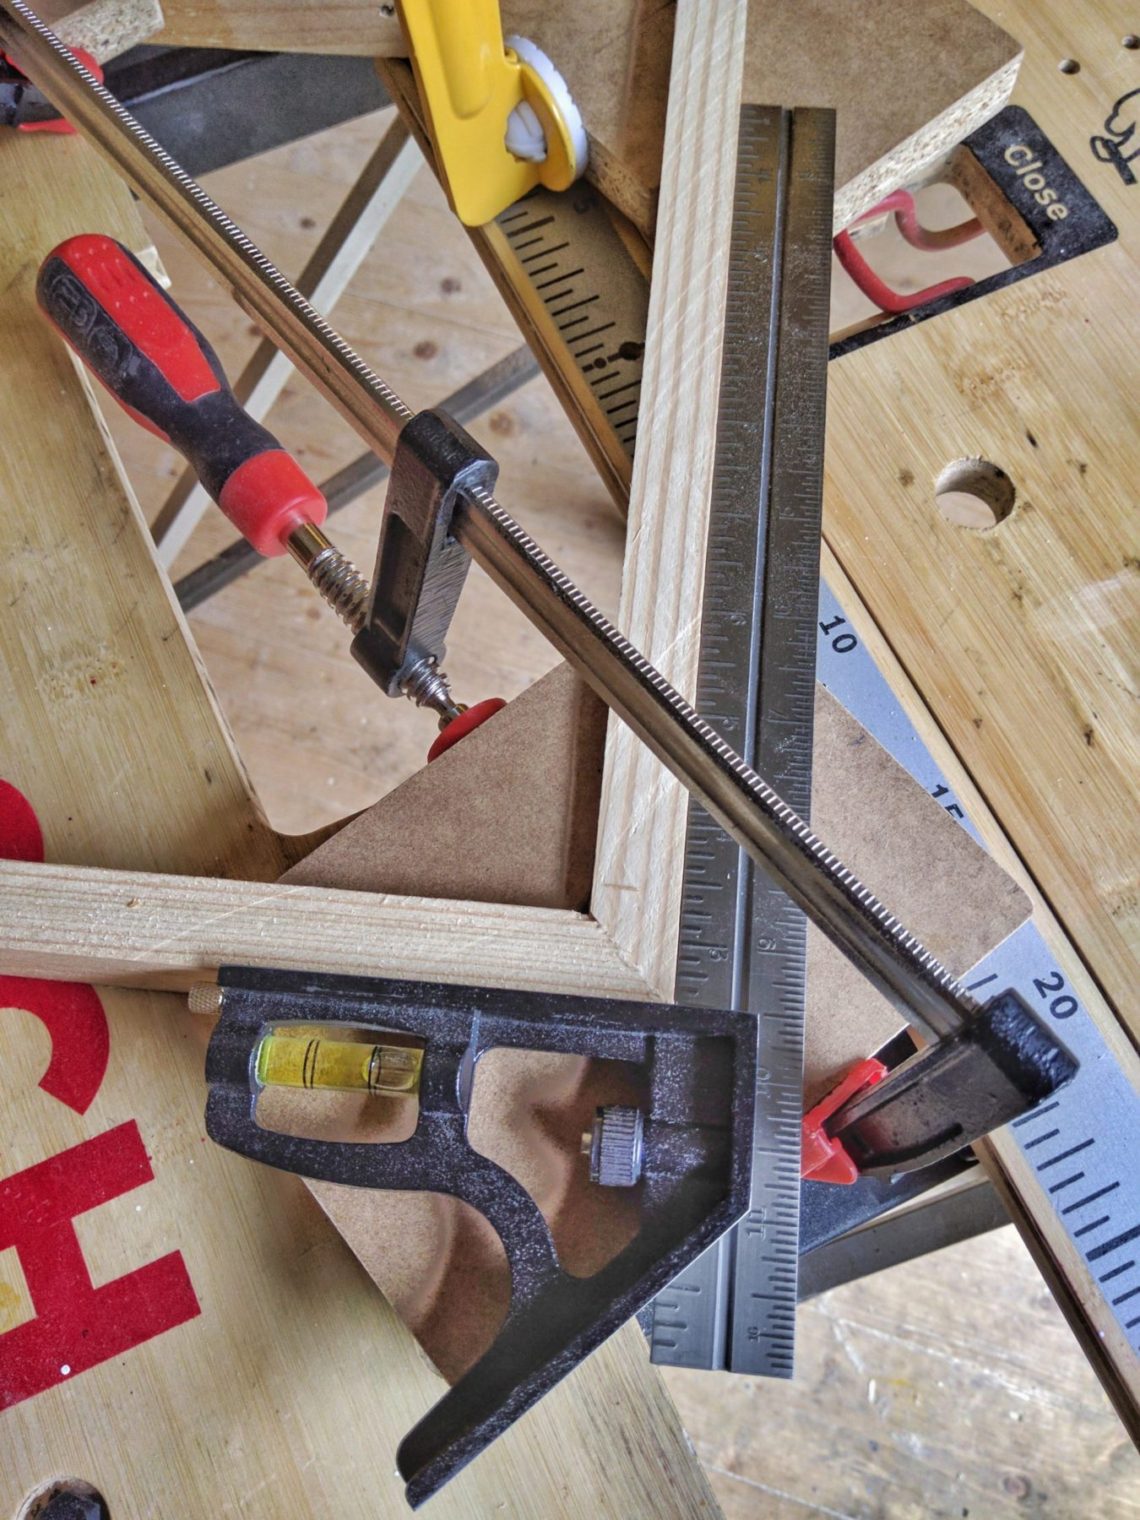
I also tried different ways of using my clamps, even better results.


Sanding, clamping and cutting a recess for an aluminium corner.

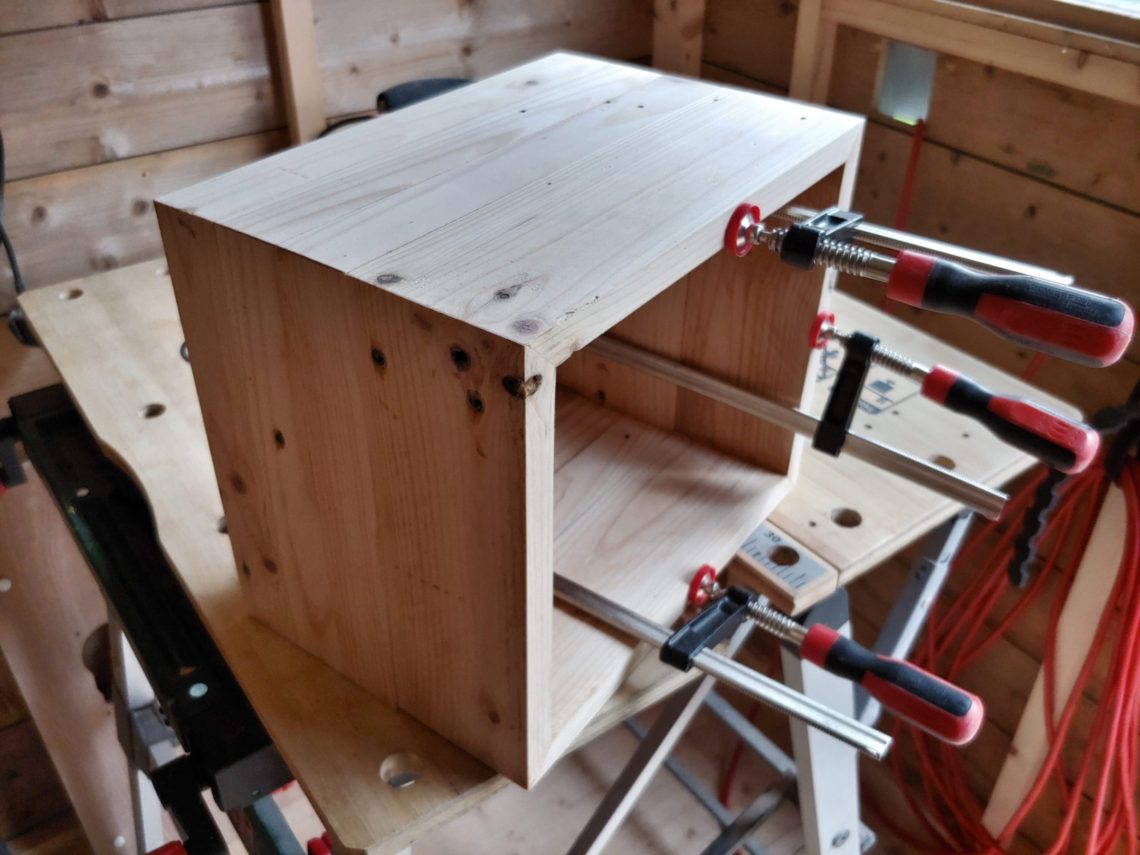


Once the frames were done I prepared another batch of pallet wood.


Planed down to the same thickness and cut to width.

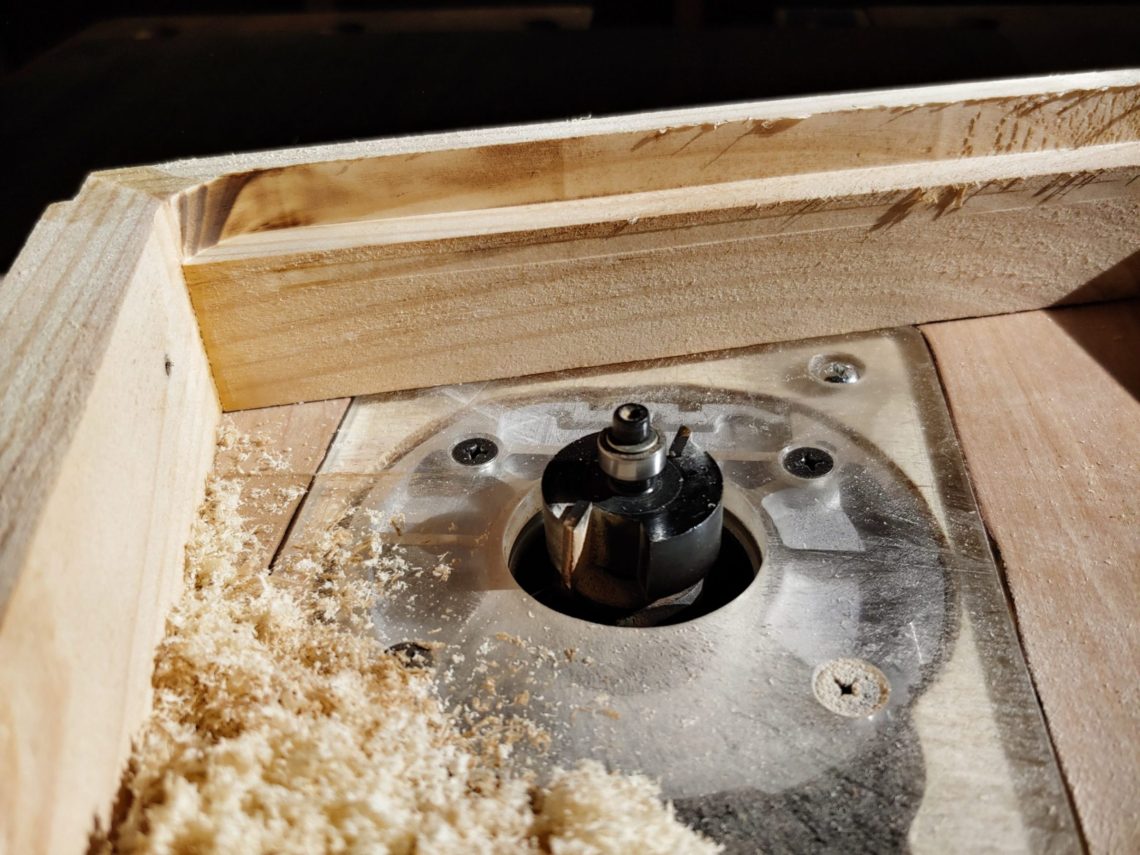
I used a rabbet router bit to cut support edges for the shelves. These rabbets will be cut again, but first things first.
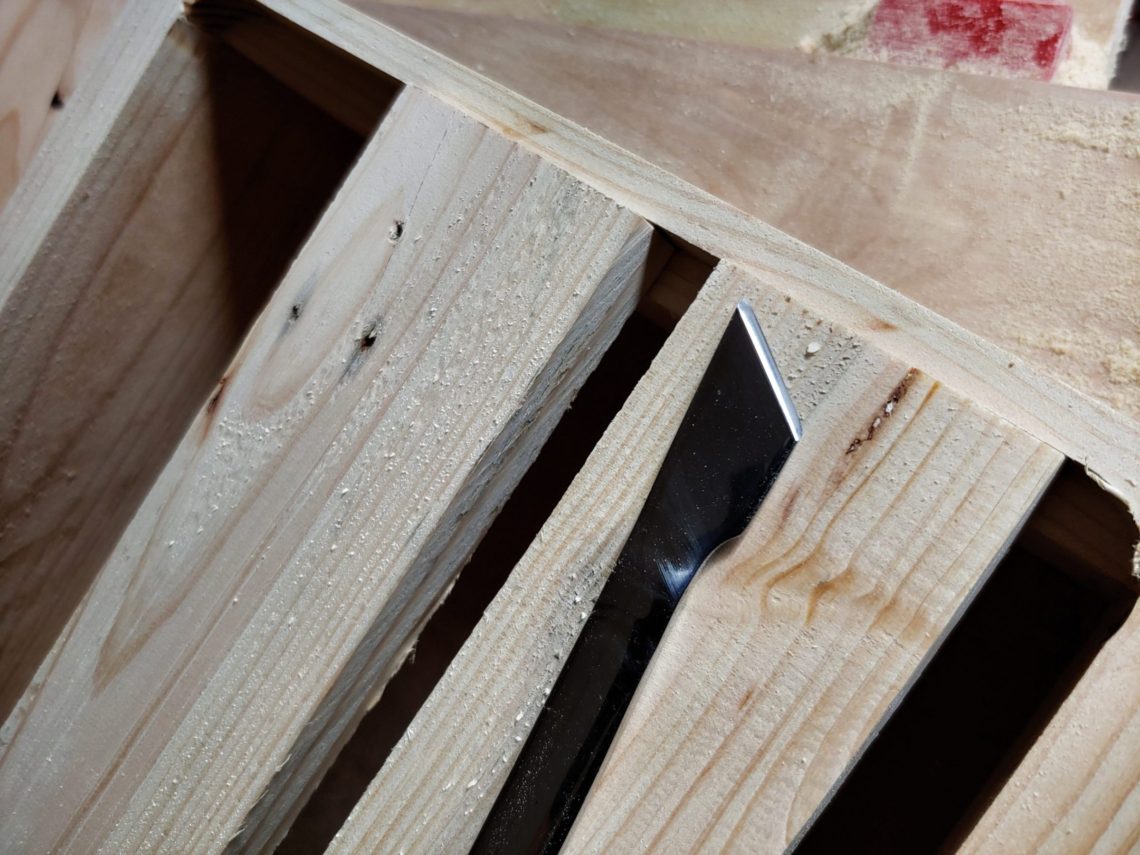
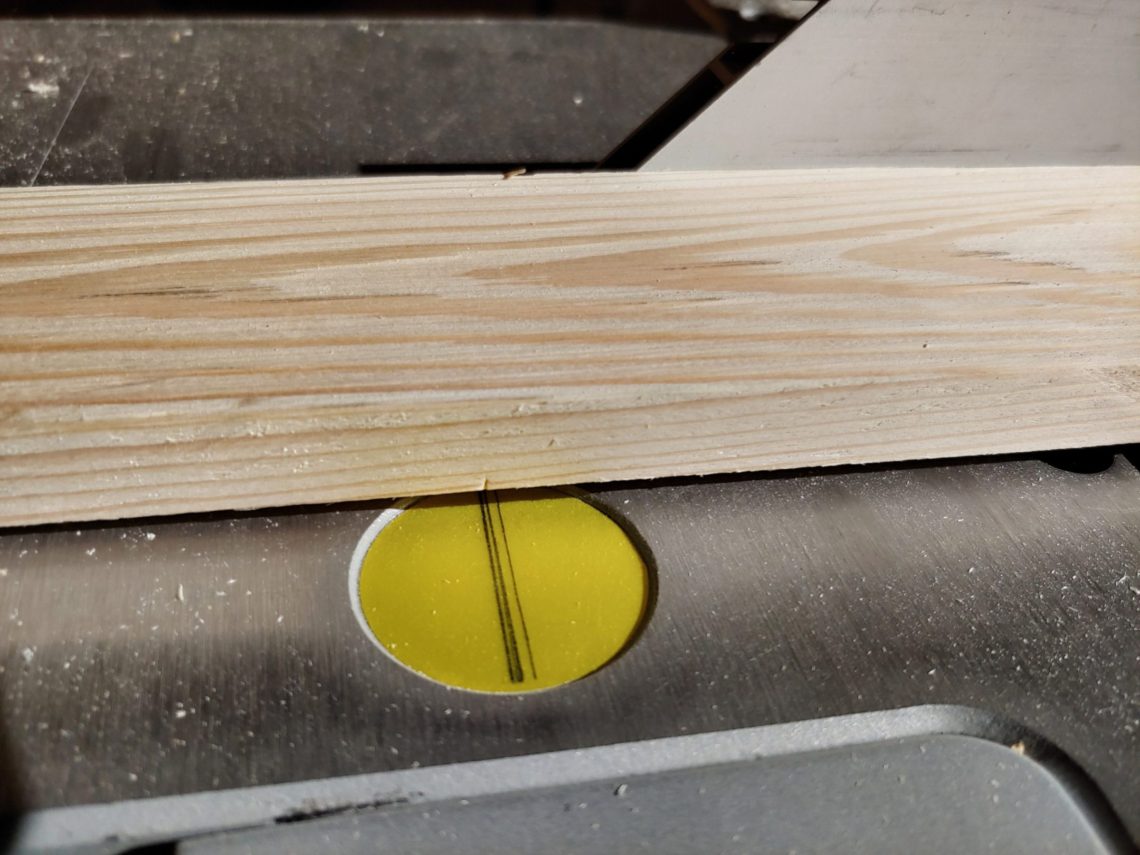
I cut the shelves to the length. I used my marking knife to get the best results. The dent on the wood has to correspond with the line drawn in the yellow circle.
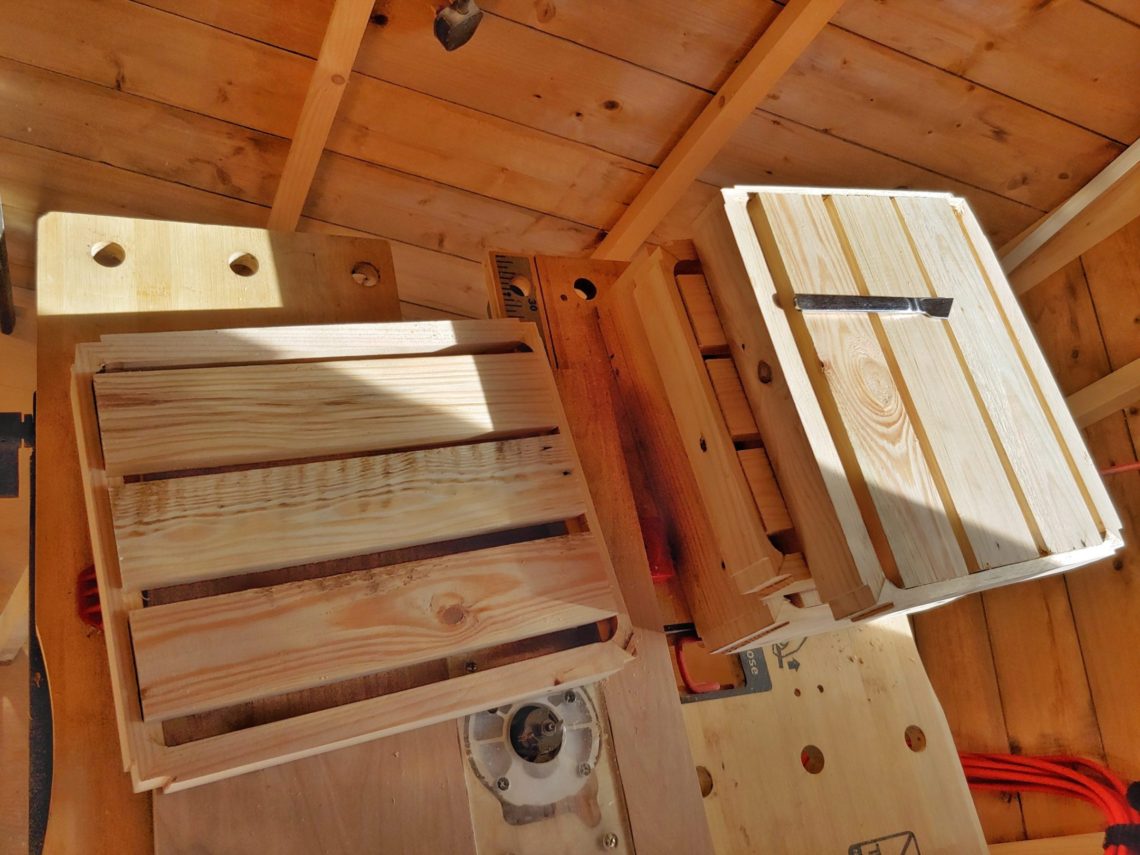
Sanding – 40 grit. These slats will be slightly thinner after this step, that’s one of the reasons why I’m cutting the rabbets in this sequence. The other reason is that my rabbet bit is simply too small to make the cuts in one go.

Continuing my work on the rabbets, I switched router bits to make cuts deeper.

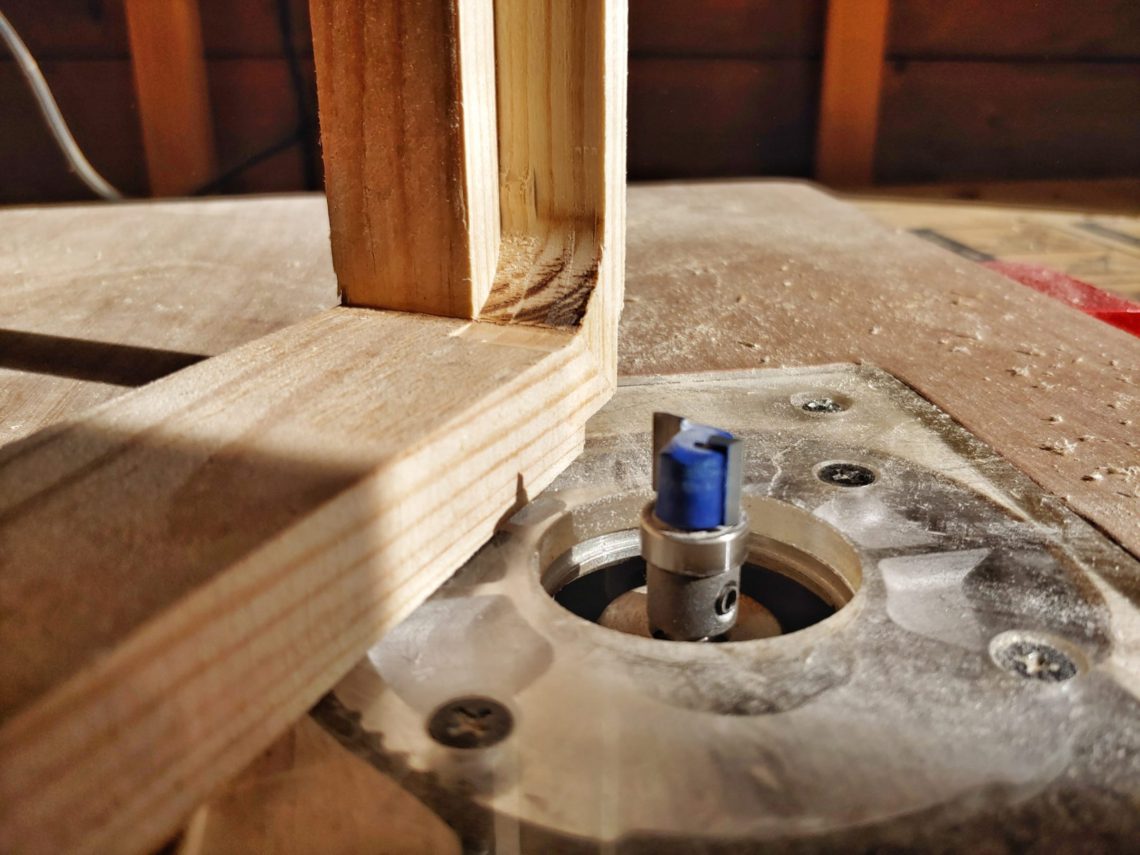

Sanding again.
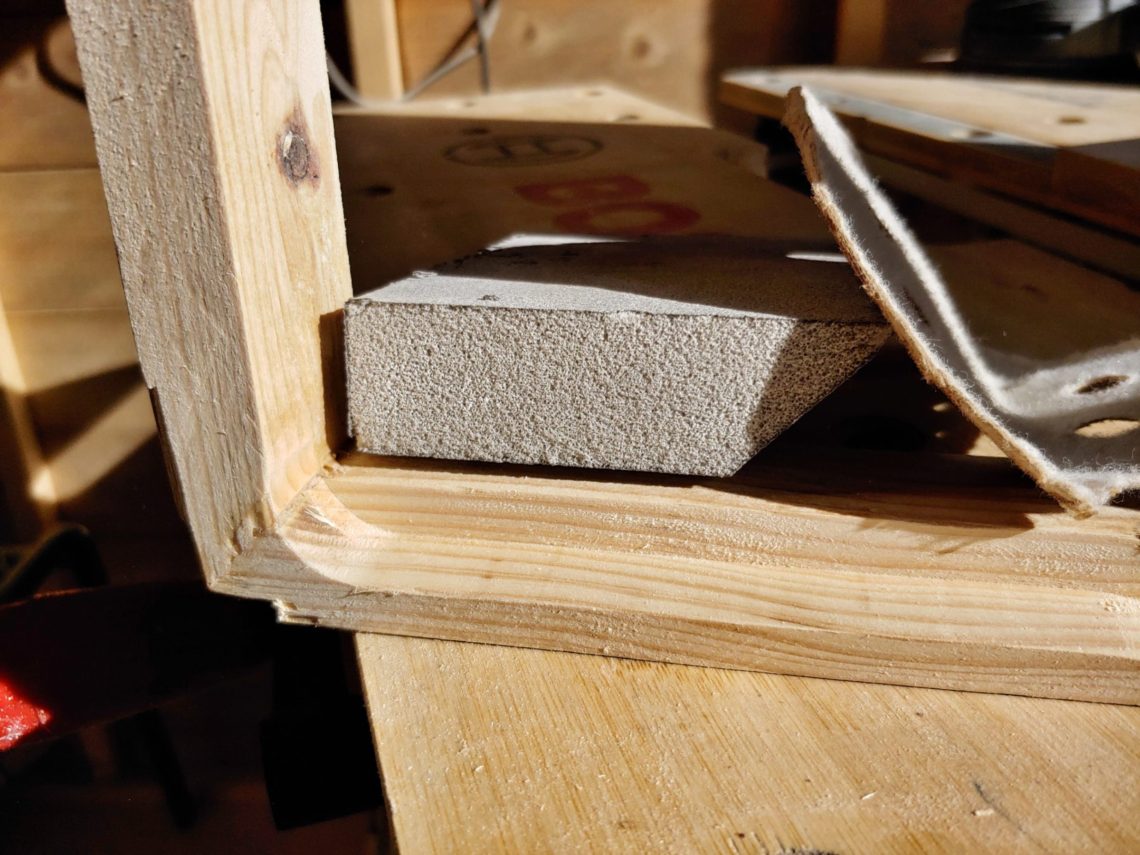
Not a big fan of nails, but this time they were the only option, no glue, just nails. They were pushed below the surface to make future sanding possible.

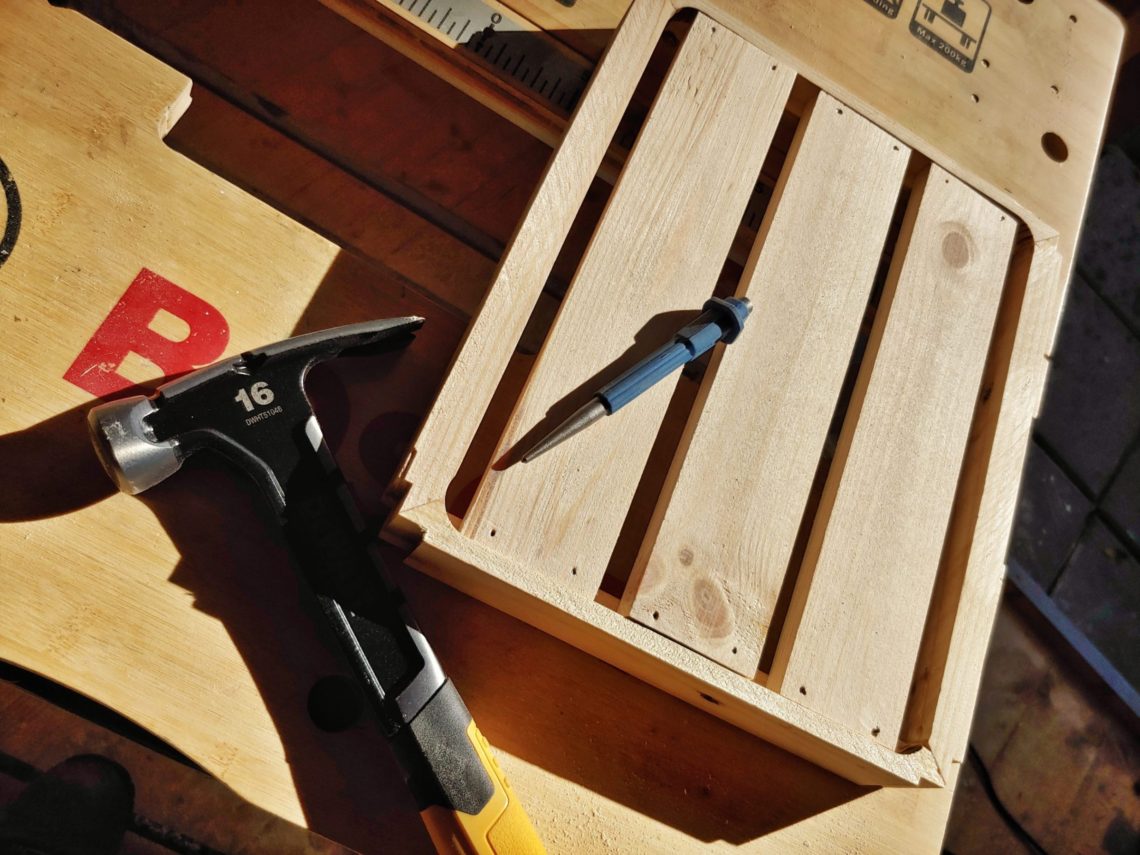
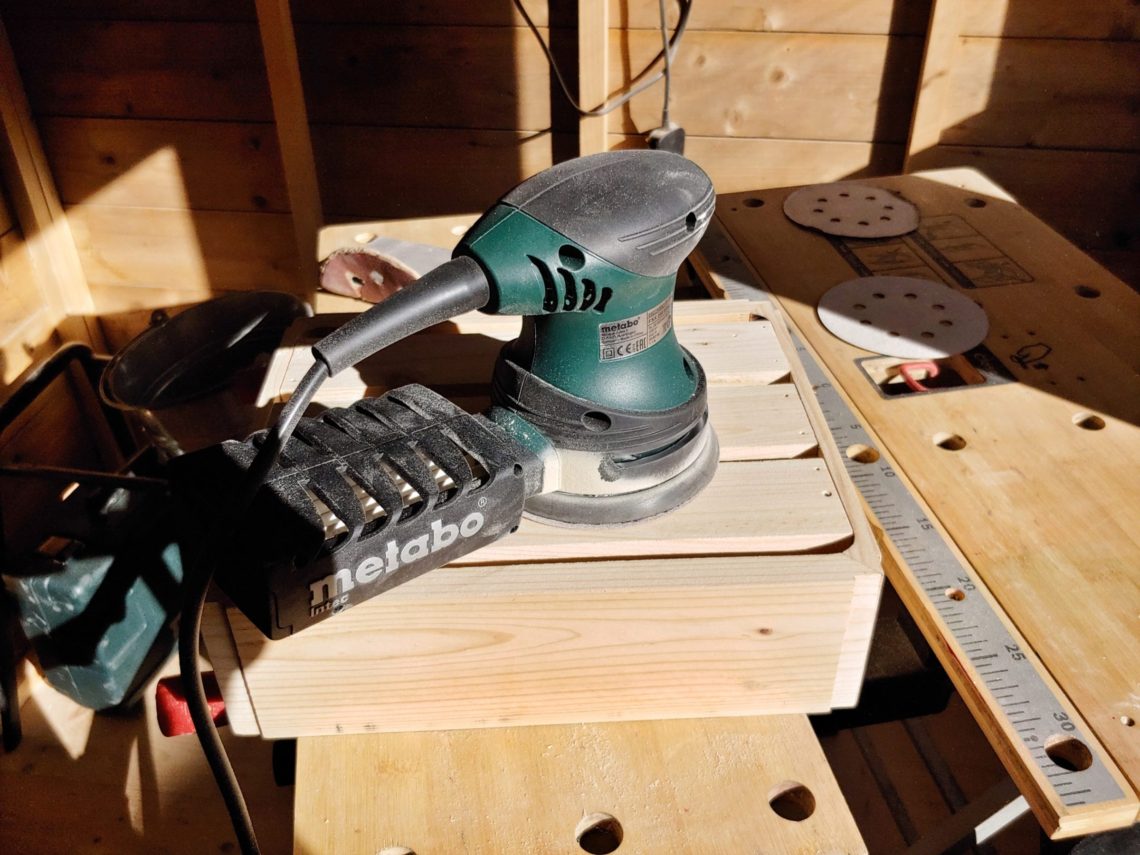
Sanding everything with fine sandpaper.
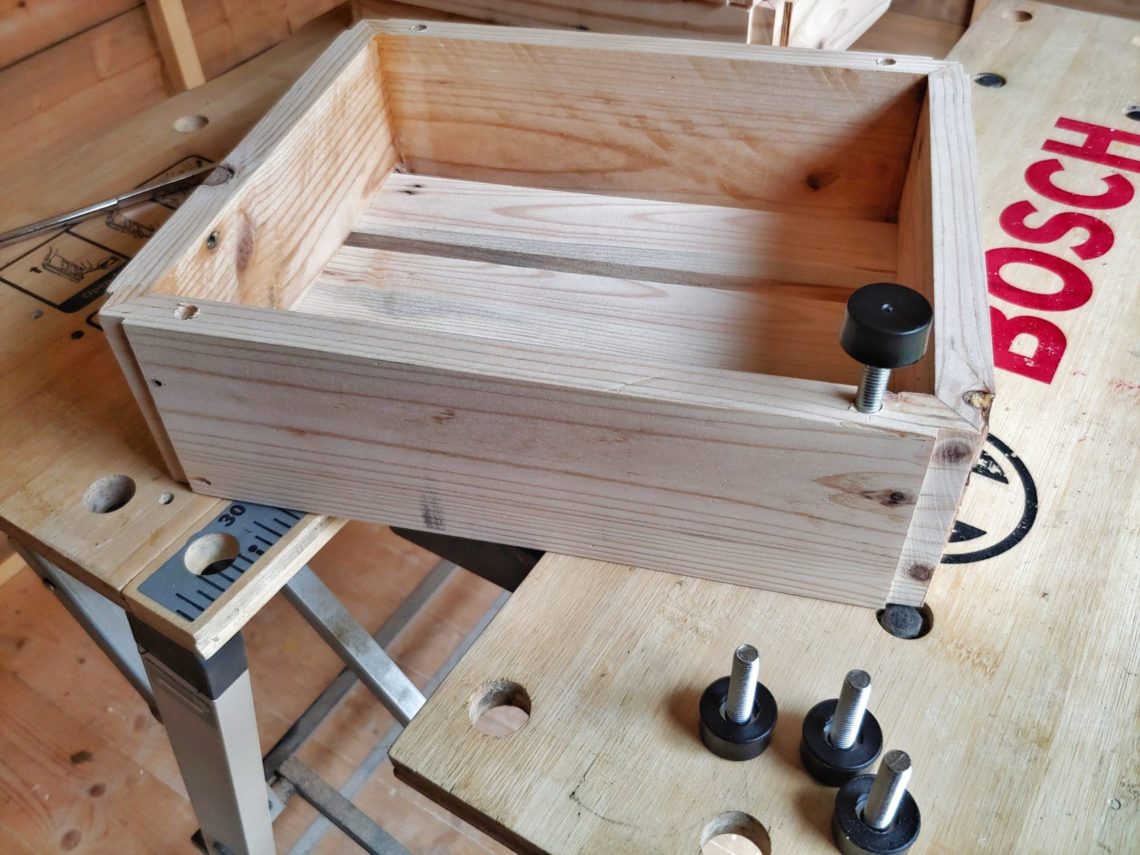
I drilled holes for the legs. They’re adjustable, and the unit can be easily levelled. Applying wood stain was next – I love this colour!


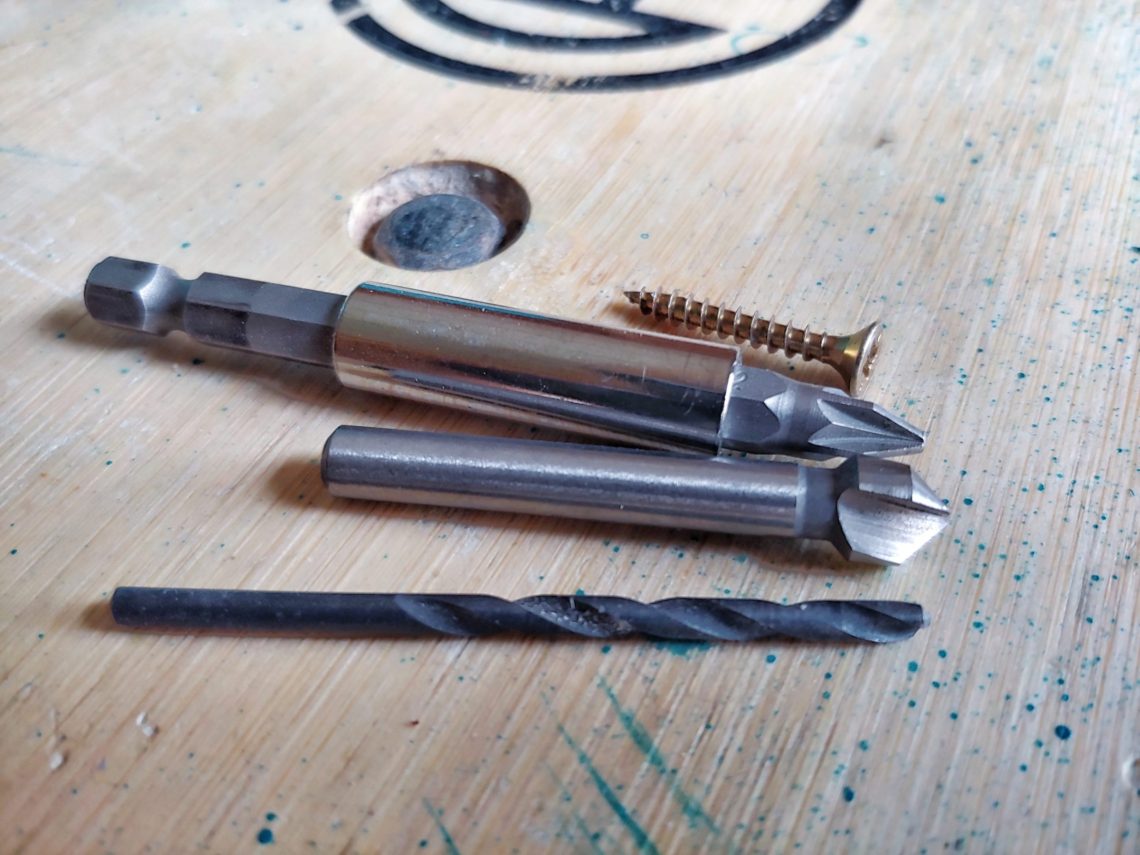
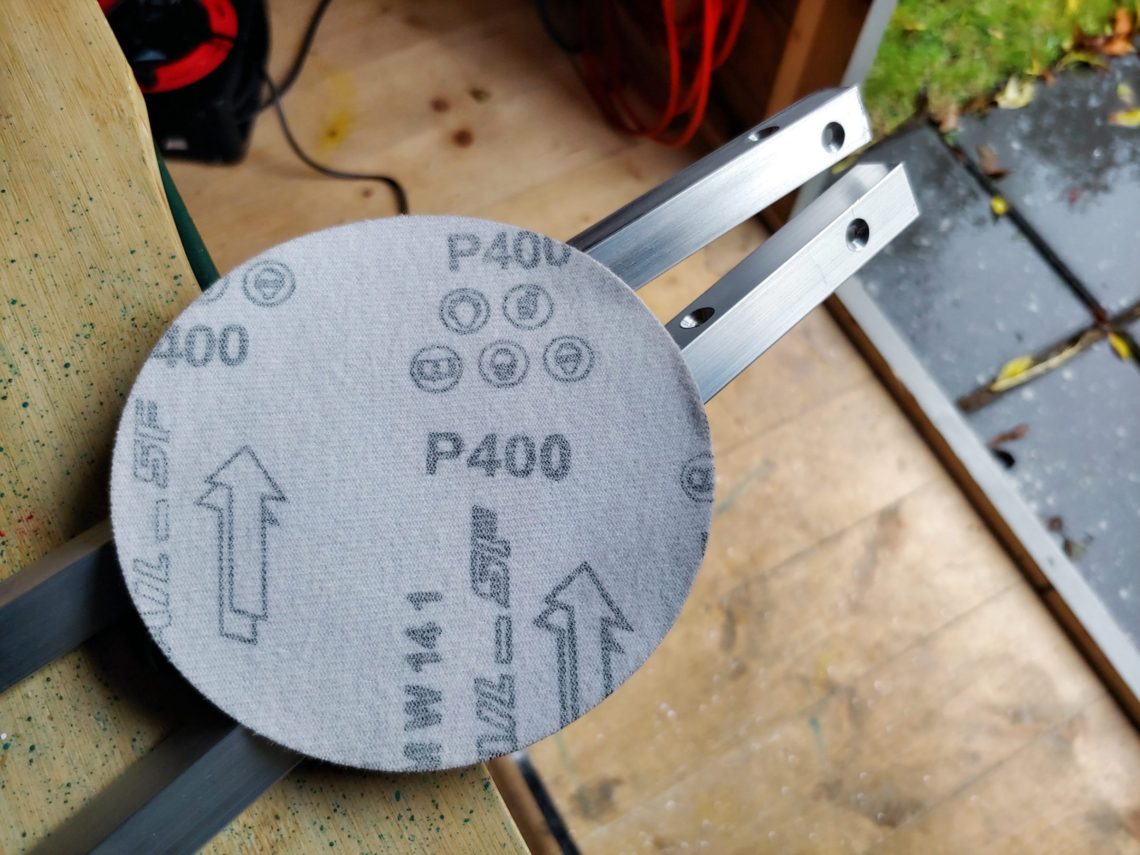
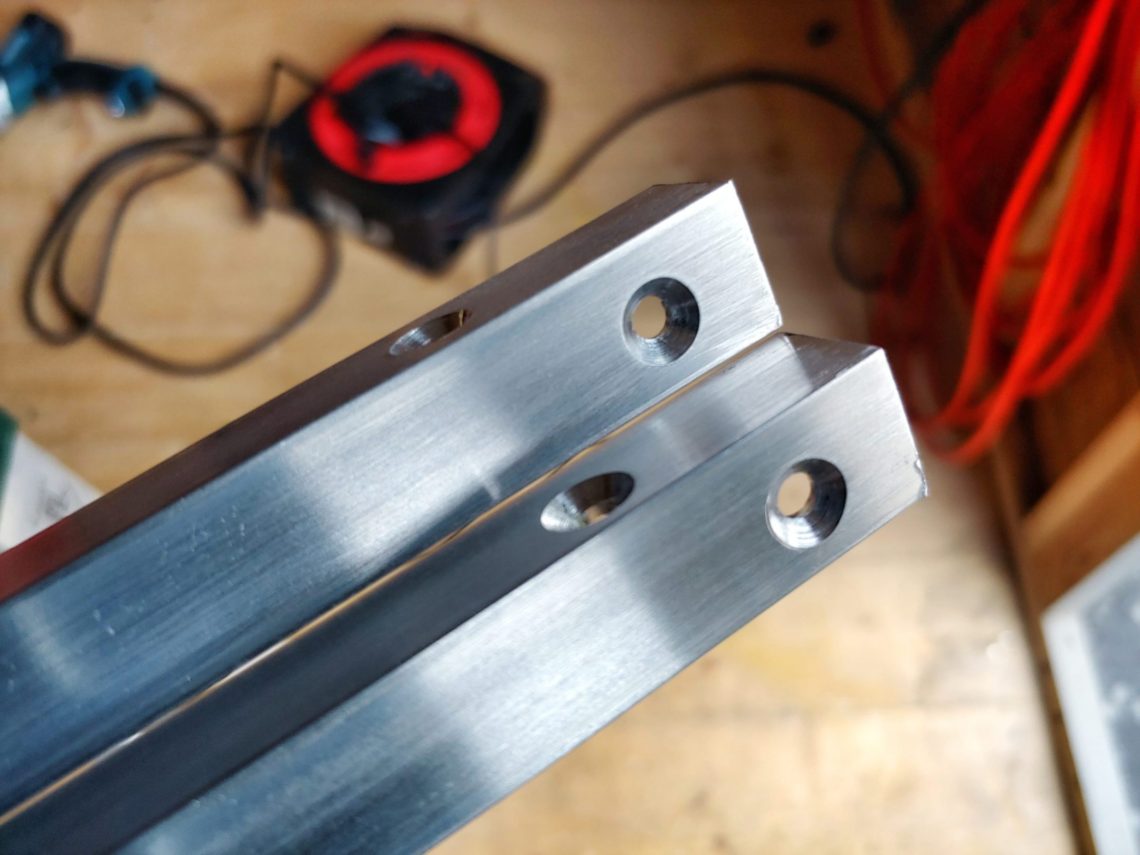
When it came to preparing the aluminium corners, I had to drill holes and countersink them, which generated a lot of aluminium dust. Sharp edges smoothed out with 400 grit sandpaper.

Everything was put together.


The unit was moved to its destination corner and filled up with tools. It’s using 100% of free space, and it’s flush with the skirting board.

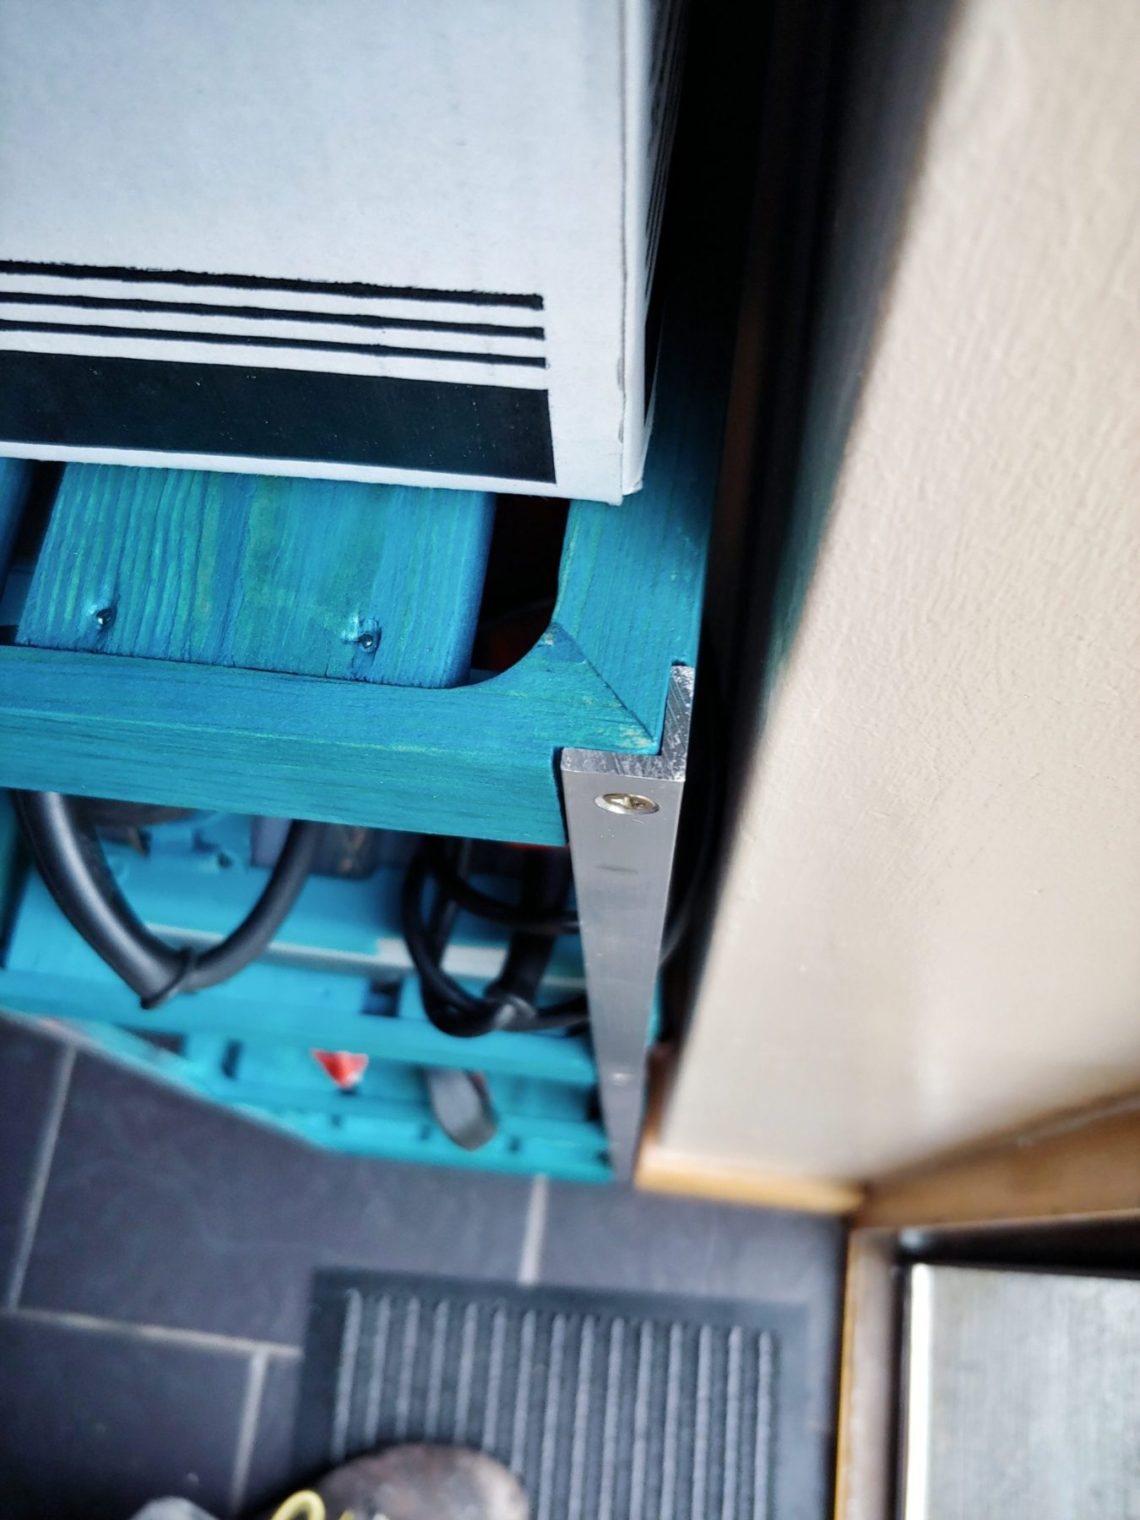

With and without the tools.


