-
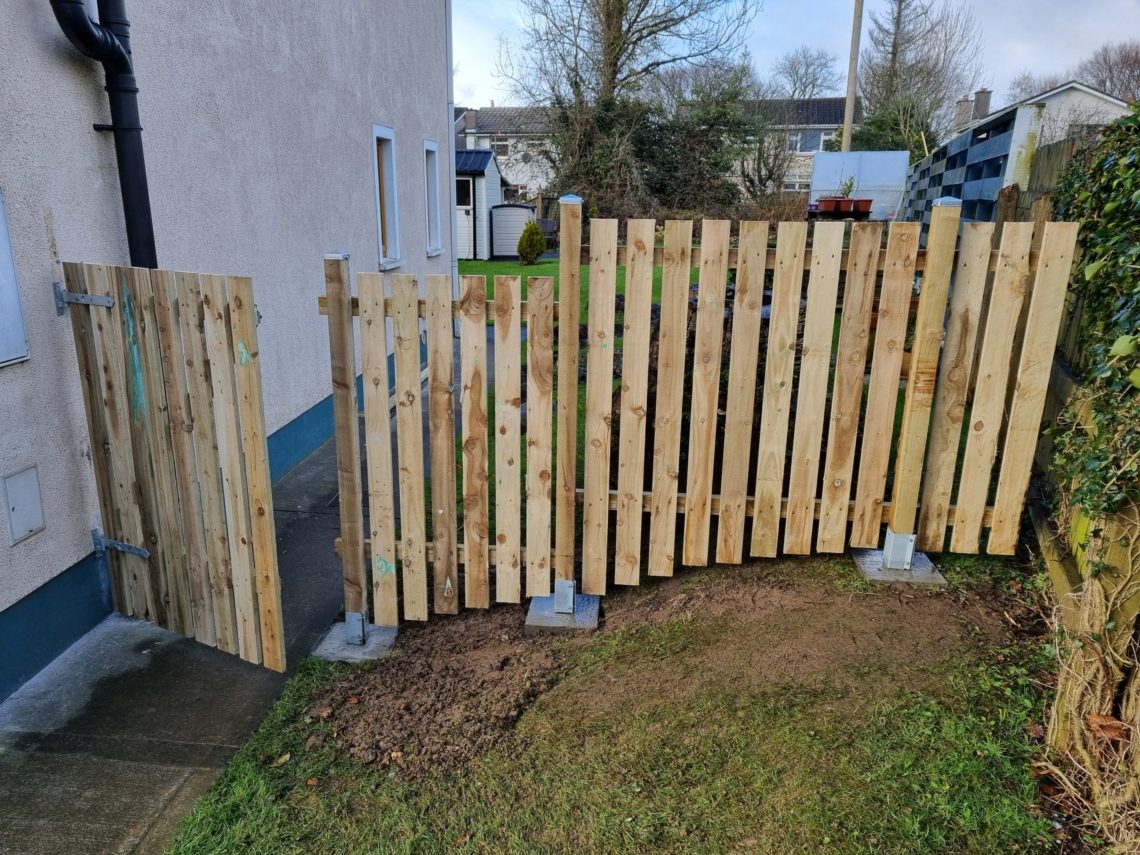
Wooden fence with a gate
I am not a big fan of wooden fences with posts set directly in the ground, whether in a concrete base or wrapped in a plastic membrane. That makes them difficult to replace or repair. Easy maintenance was the primary factor influencing this build, but other considerations included improving existing ideas. It turned out that the old stakes were set too shallow in the ground (less than 1 foot!), hammered straight in with no rubble or concrete! I needed something more professional. What I had in mind was a properly anchored fence made from pressure-treated timber, with a few galvanised…
-
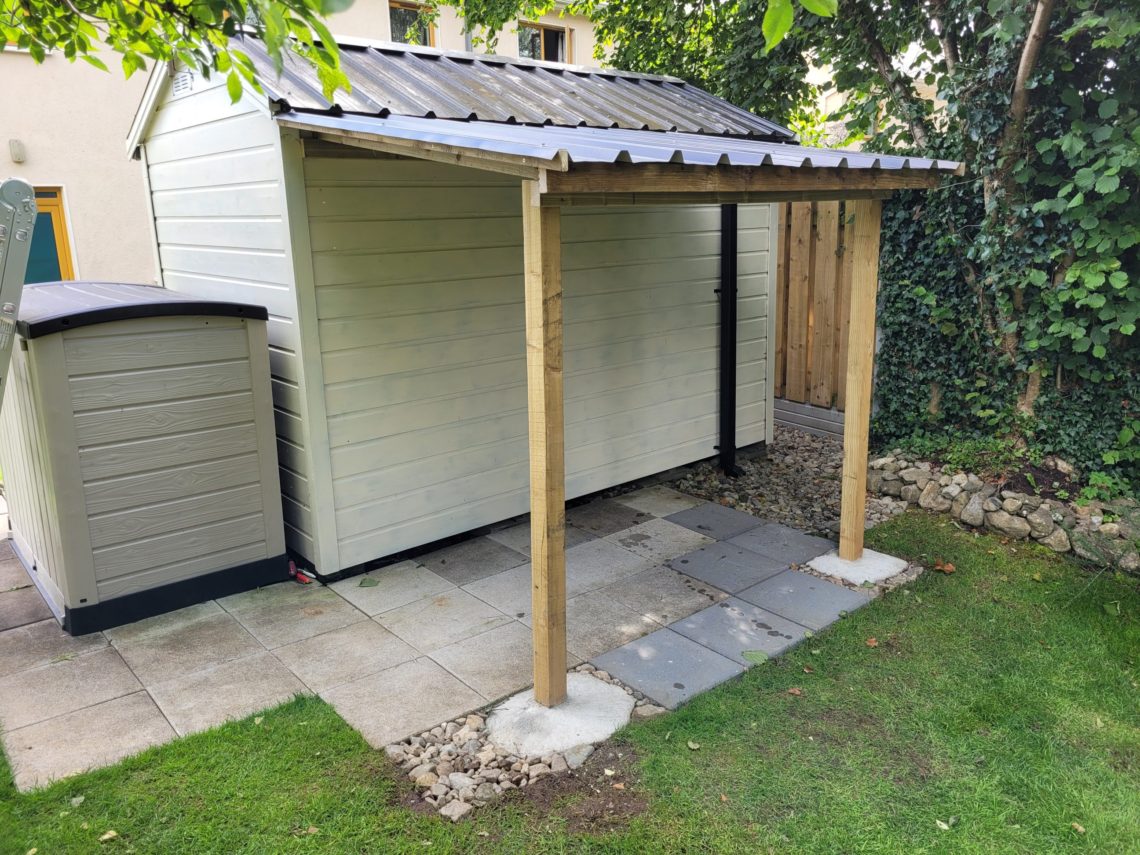
Lean-to roof
Probably the biggest project I’ve ever undertaken, both in terms of dimensions and cost. I had to acquire new skills and familiarise myself with new terminology, but fortunately, I already had most of the necessary tools in my workshop. I was aware that constructing a sturdy frame could pose a challenge, but it had to be done correctly. It needed to strike a balance between solidity and visual lightness, complementing the shed it was going to be attached to. Maintaining visual consistency between the existing structure and the new addition was one of the key objectives. Additionally, the lean-to had…
-
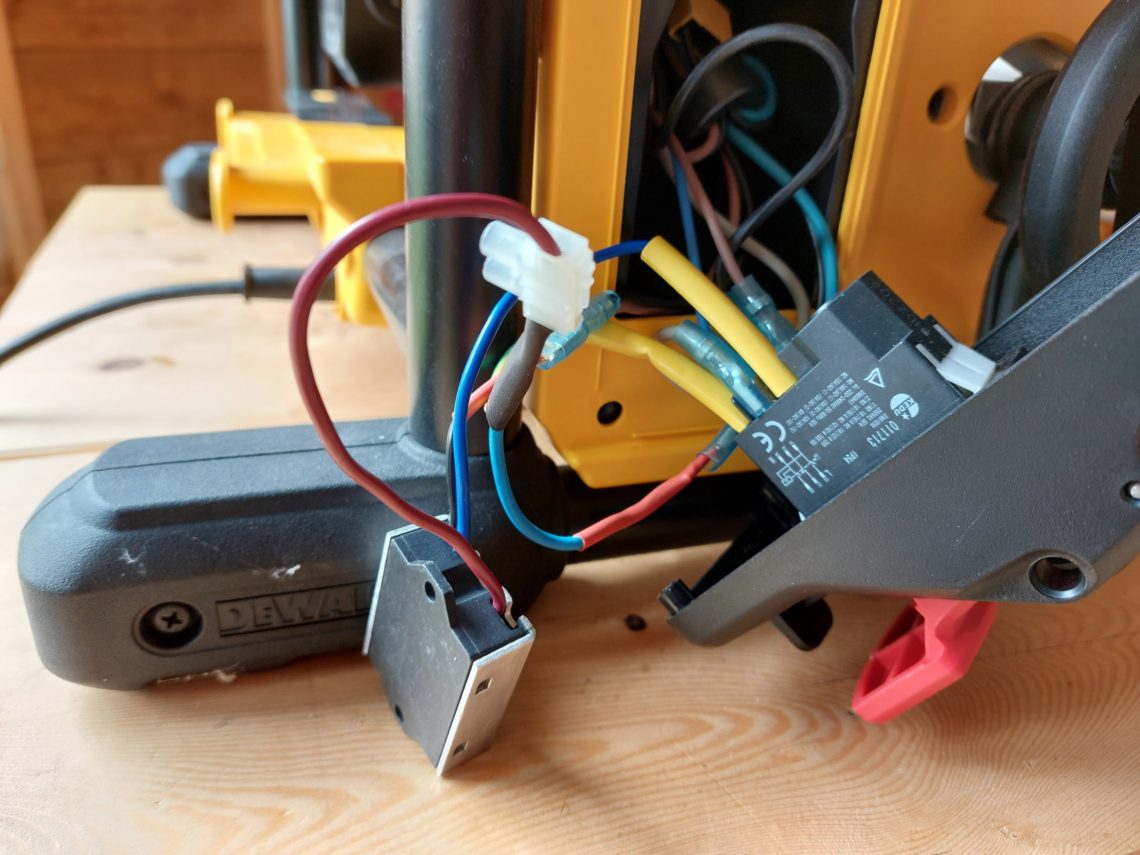
Soft-start module on DeWalt DWE7492
This is a fairly inexpensive upgrade that is quite easy to implement and, most importantly, significantly prolongs the saw’s lifespan. With this soft-start module installed, the saw starts slowly and gains speed gradually, which helps save the bearings and the motor. The whole process can be reversed to the factory setup, ensuring that the warranty isn’t voided. All the pictures shown below can be viewed in full size to make understanding each step even easier. Additionally, at the end of the post, I have included a short video to demonstrate the difference between before and after the module was installed.…
-
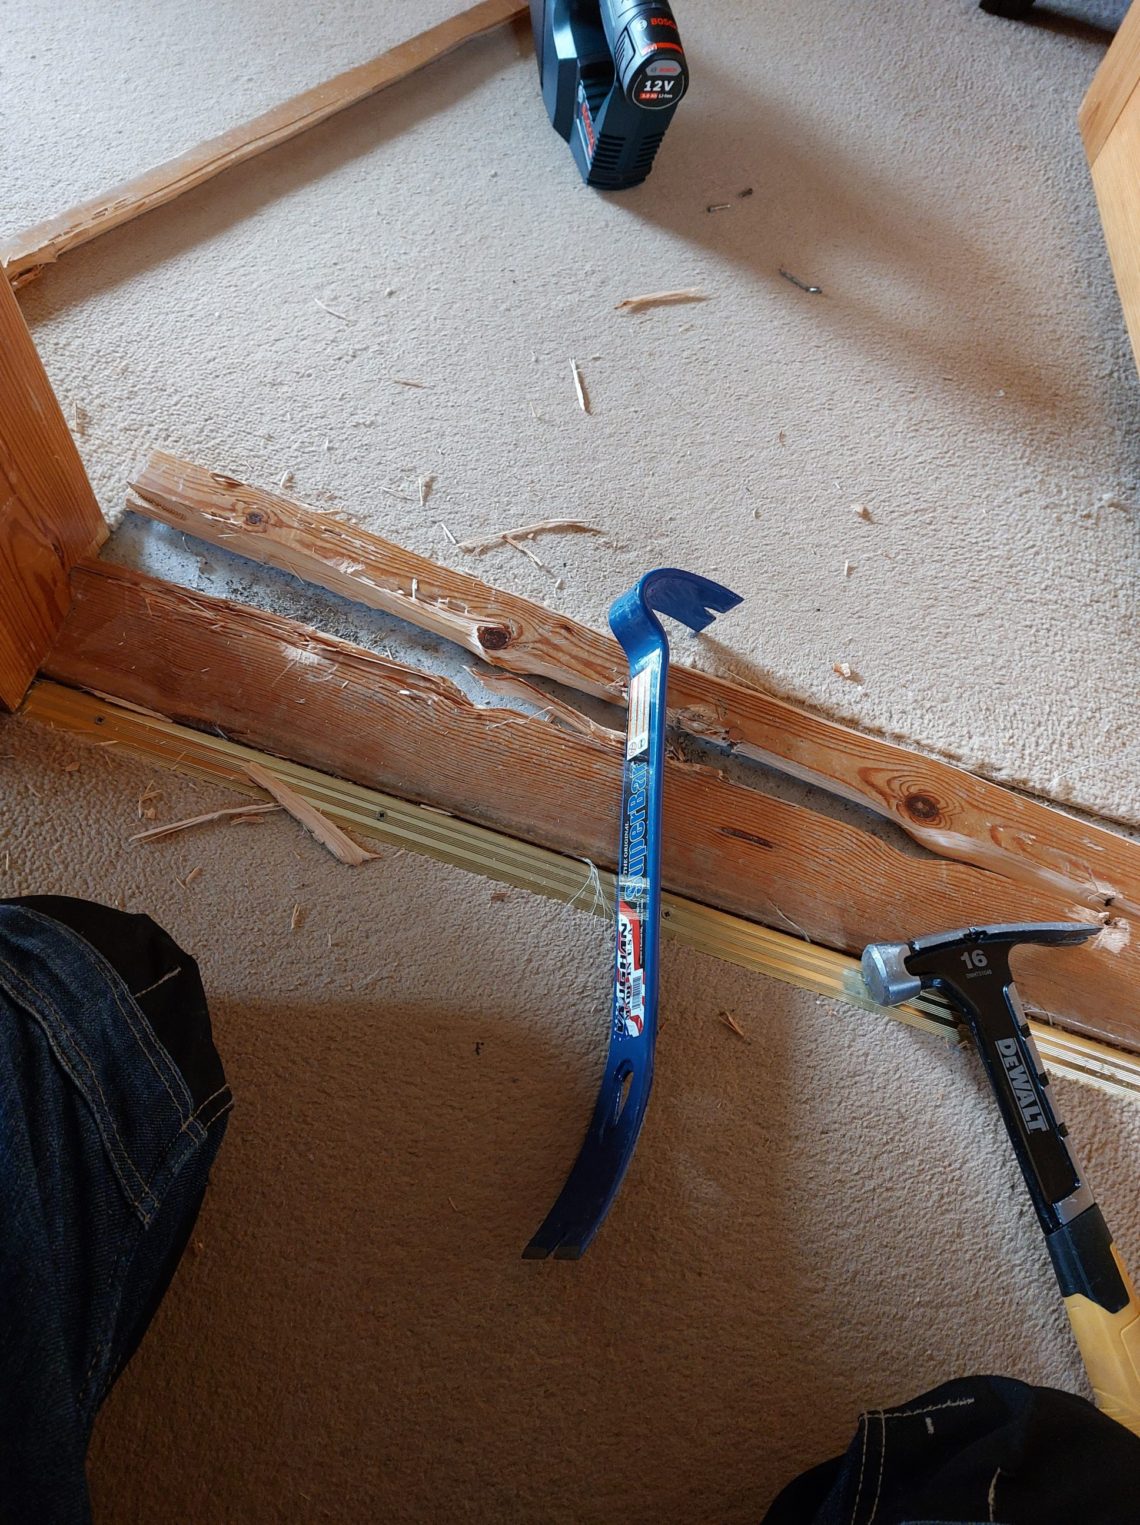
Various trim repairs
There was a need to repair certain parts of the wooden trim in the house, parts that were either incorrectly installed or hadn’t stood the time well. That series of individual projects which involved woodworking and some creativity, not only helped to improve the look of the house but also built up my carpentry skills. Hiring somebody wasn’t considered as it all looked manageable and had to be done neatly – no silicone, no nails and no mess. There were more jobs successfully completed in that process and those were repaired skirting boards (with internal and external mitres), the stairs…