Various trim repairs
There was a need to repair certain parts of the wooden trim in the house, parts that were either incorrectly installed or hadn’t stood the time well. That series of individual projects which involved woodworking and some creativity, not only helped to improve the look of the house but also built up my carpentry skills. Hiring somebody wasn’t considered as it all looked manageable and had to be done neatly – no silicone, no nails and no mess. There were more jobs successfully completed in that process and those were repaired skirting boards (with internal and external mitres), the stairs transition blocks and new door locks but now I’m gonna focus on the most recent ones. All those repairs were or rather will be part of a much bigger process i.e. a complete renovation, which will include new carpets, decorating walls etc.
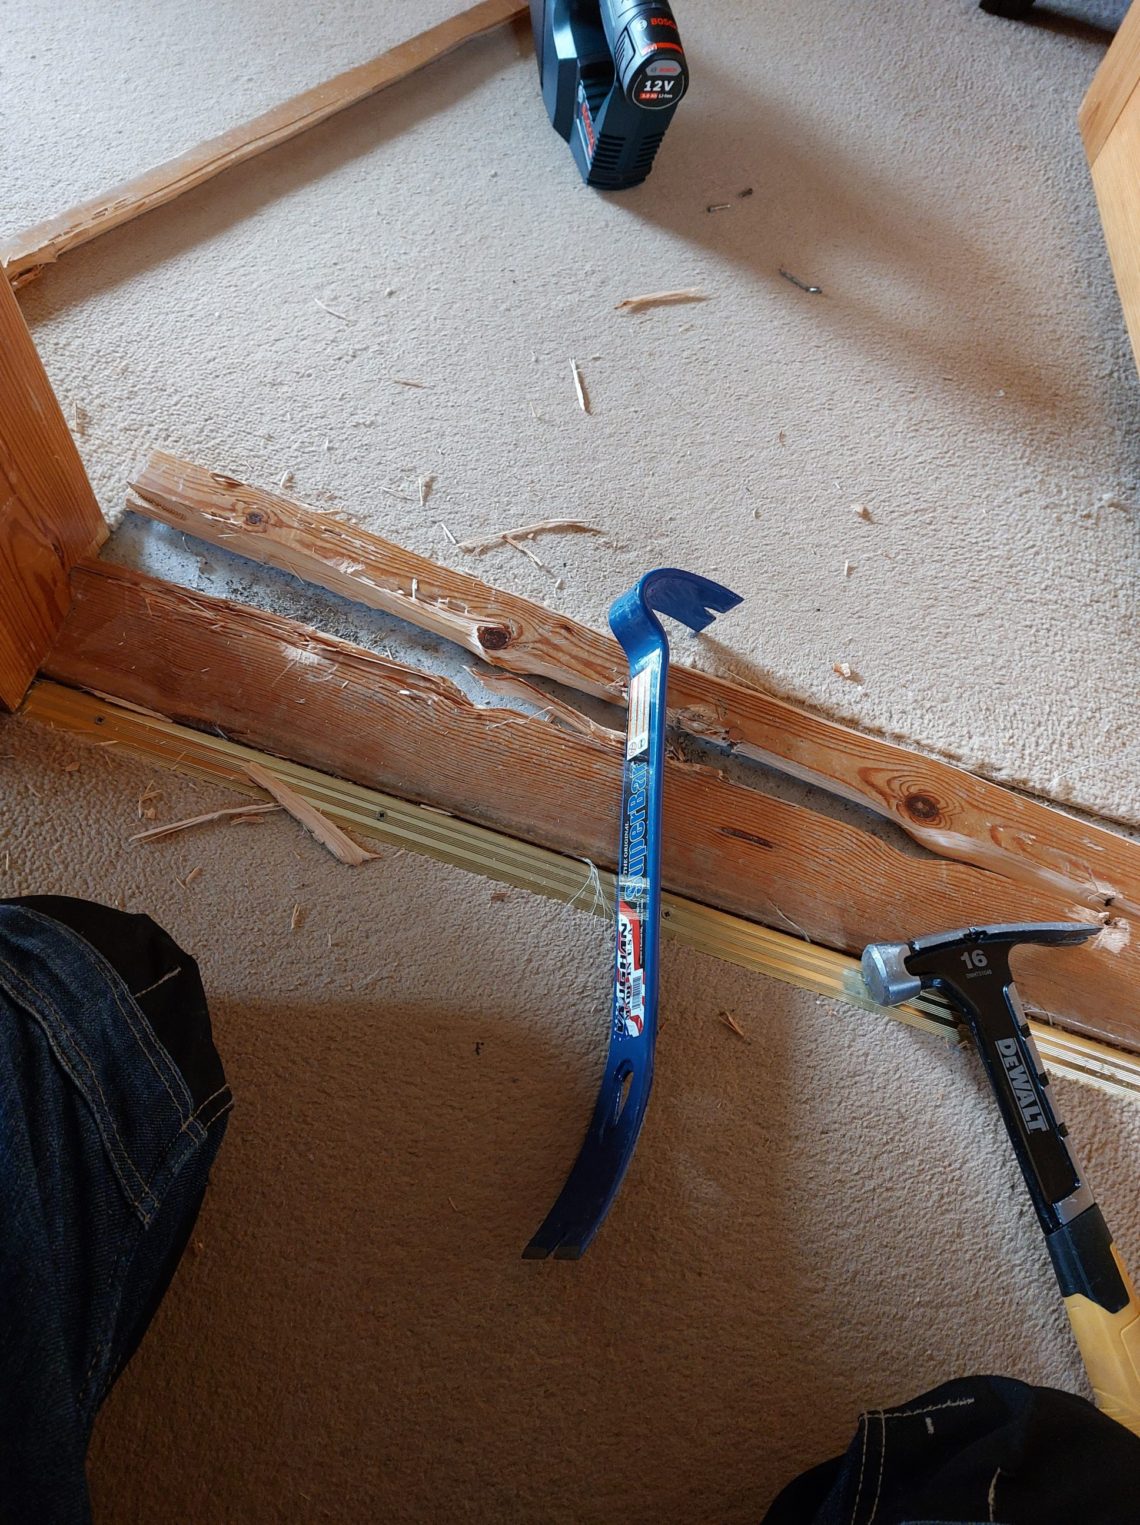
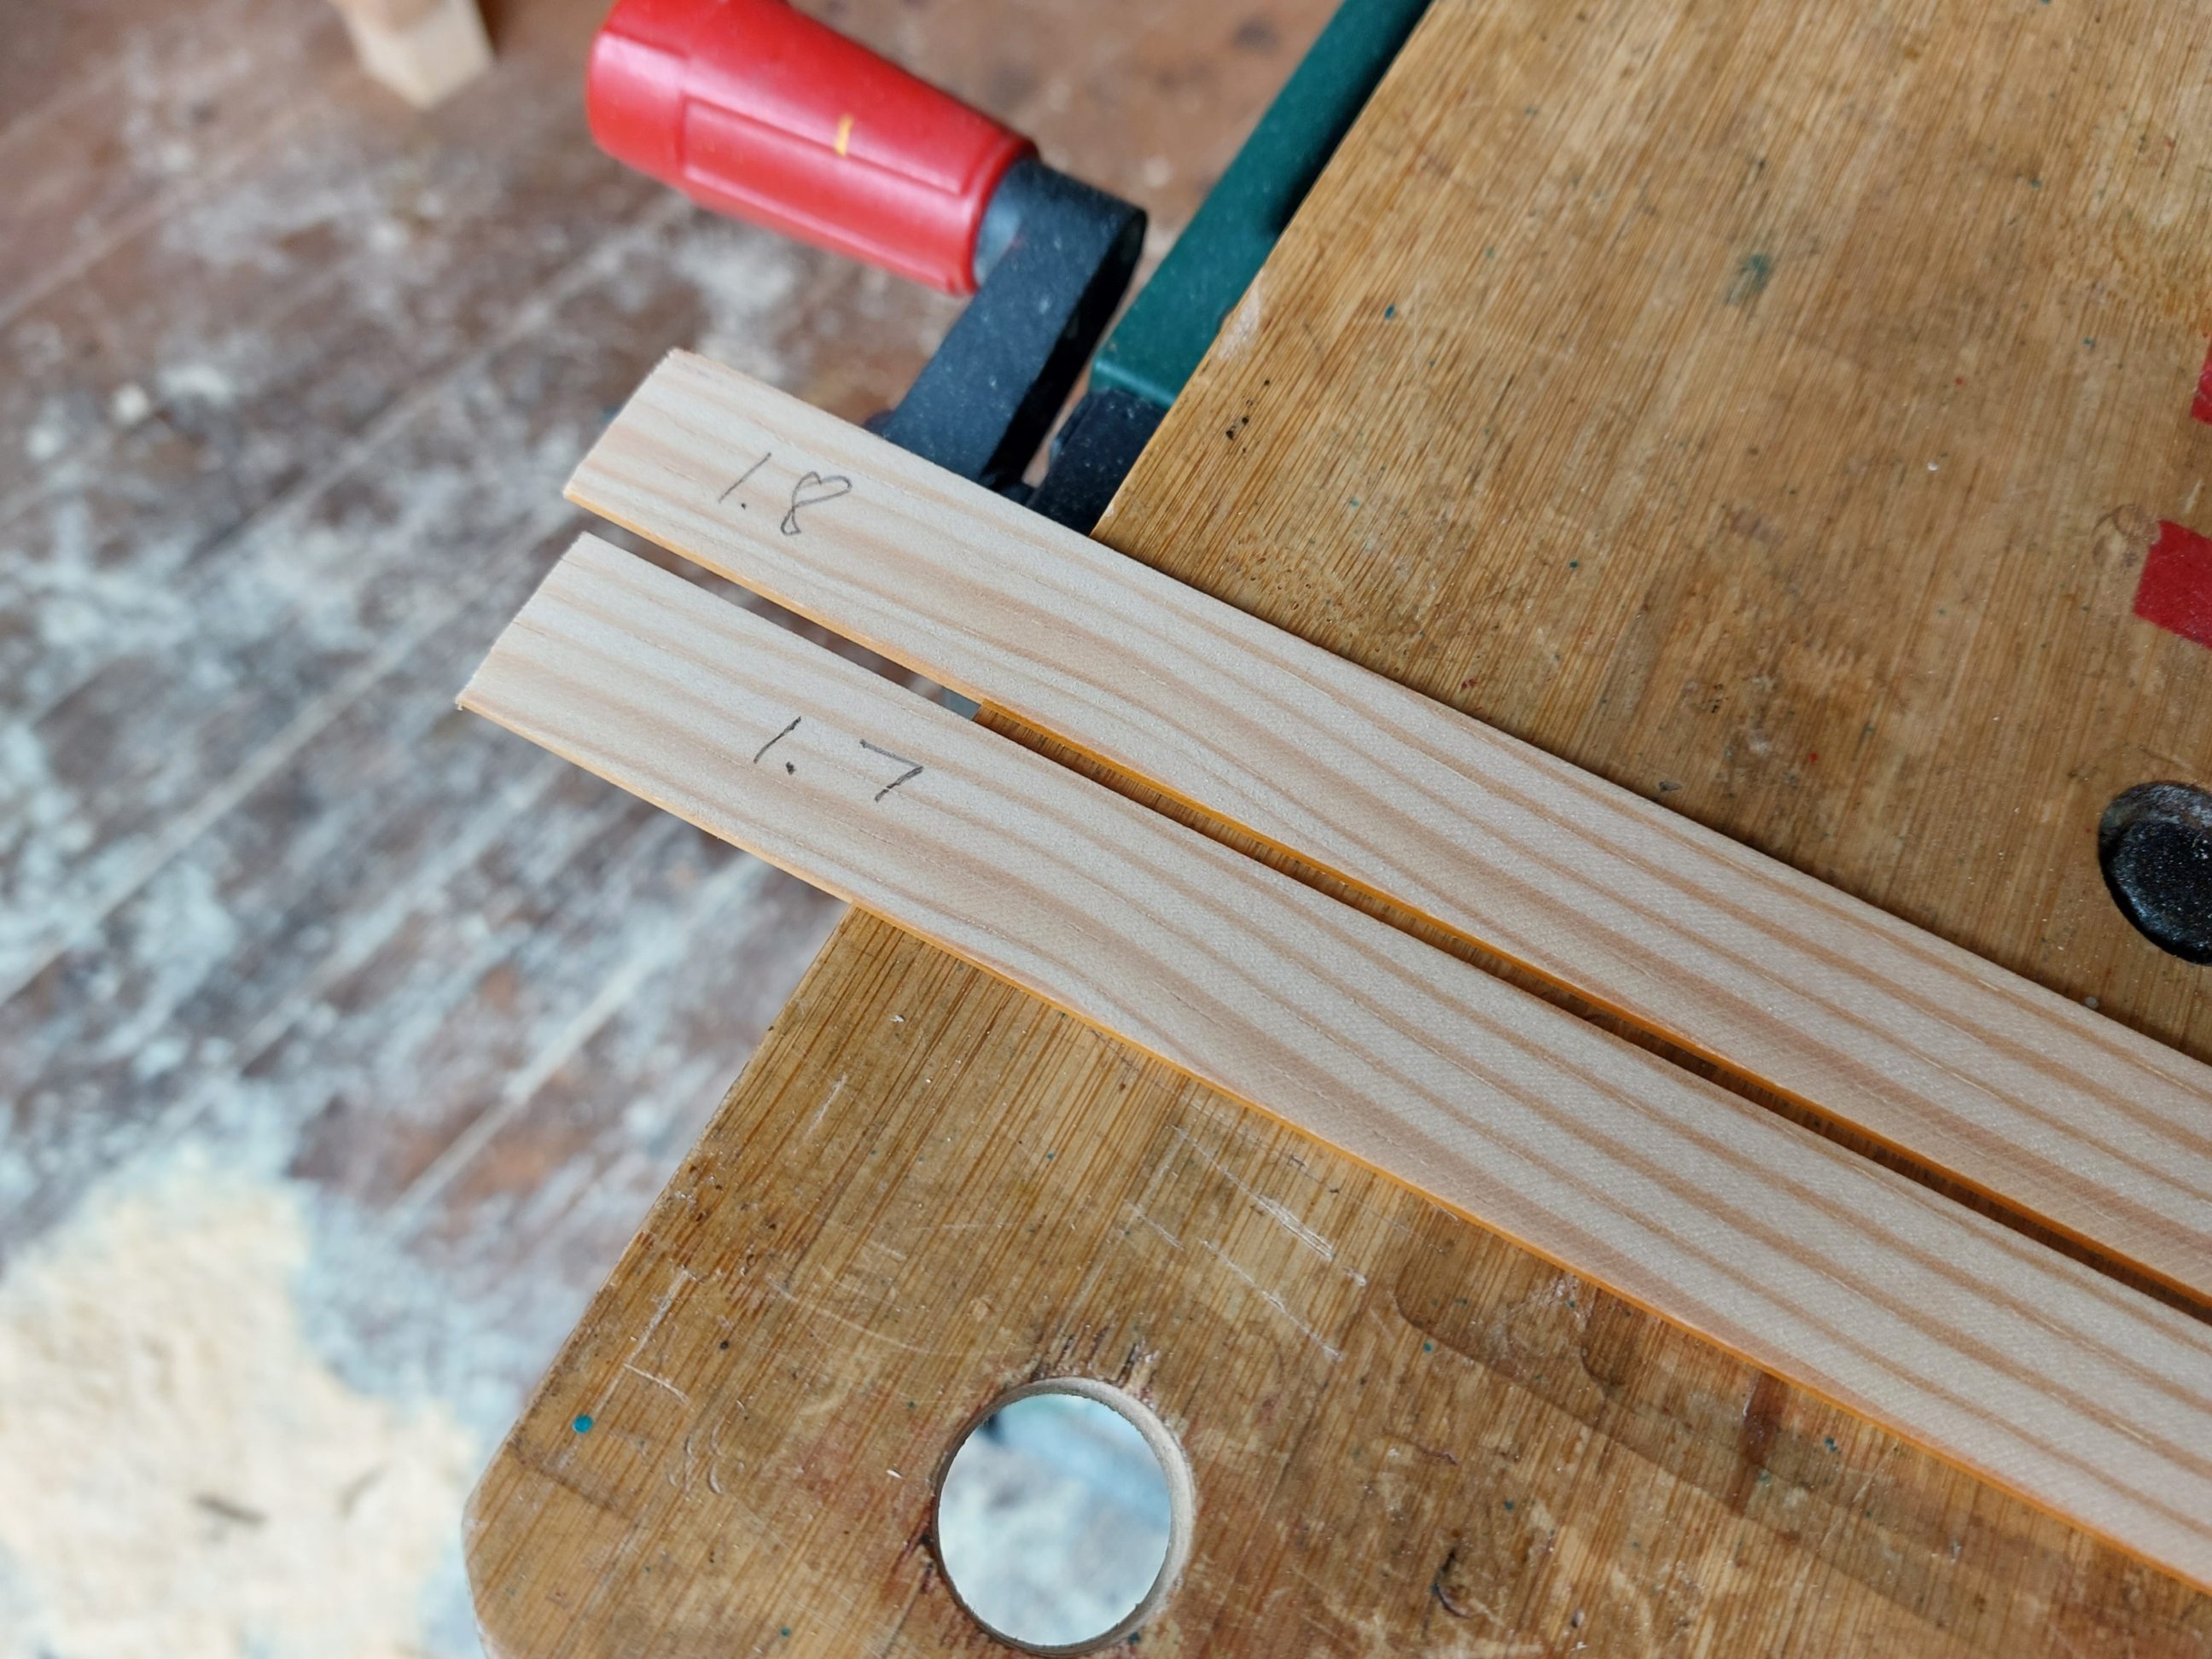
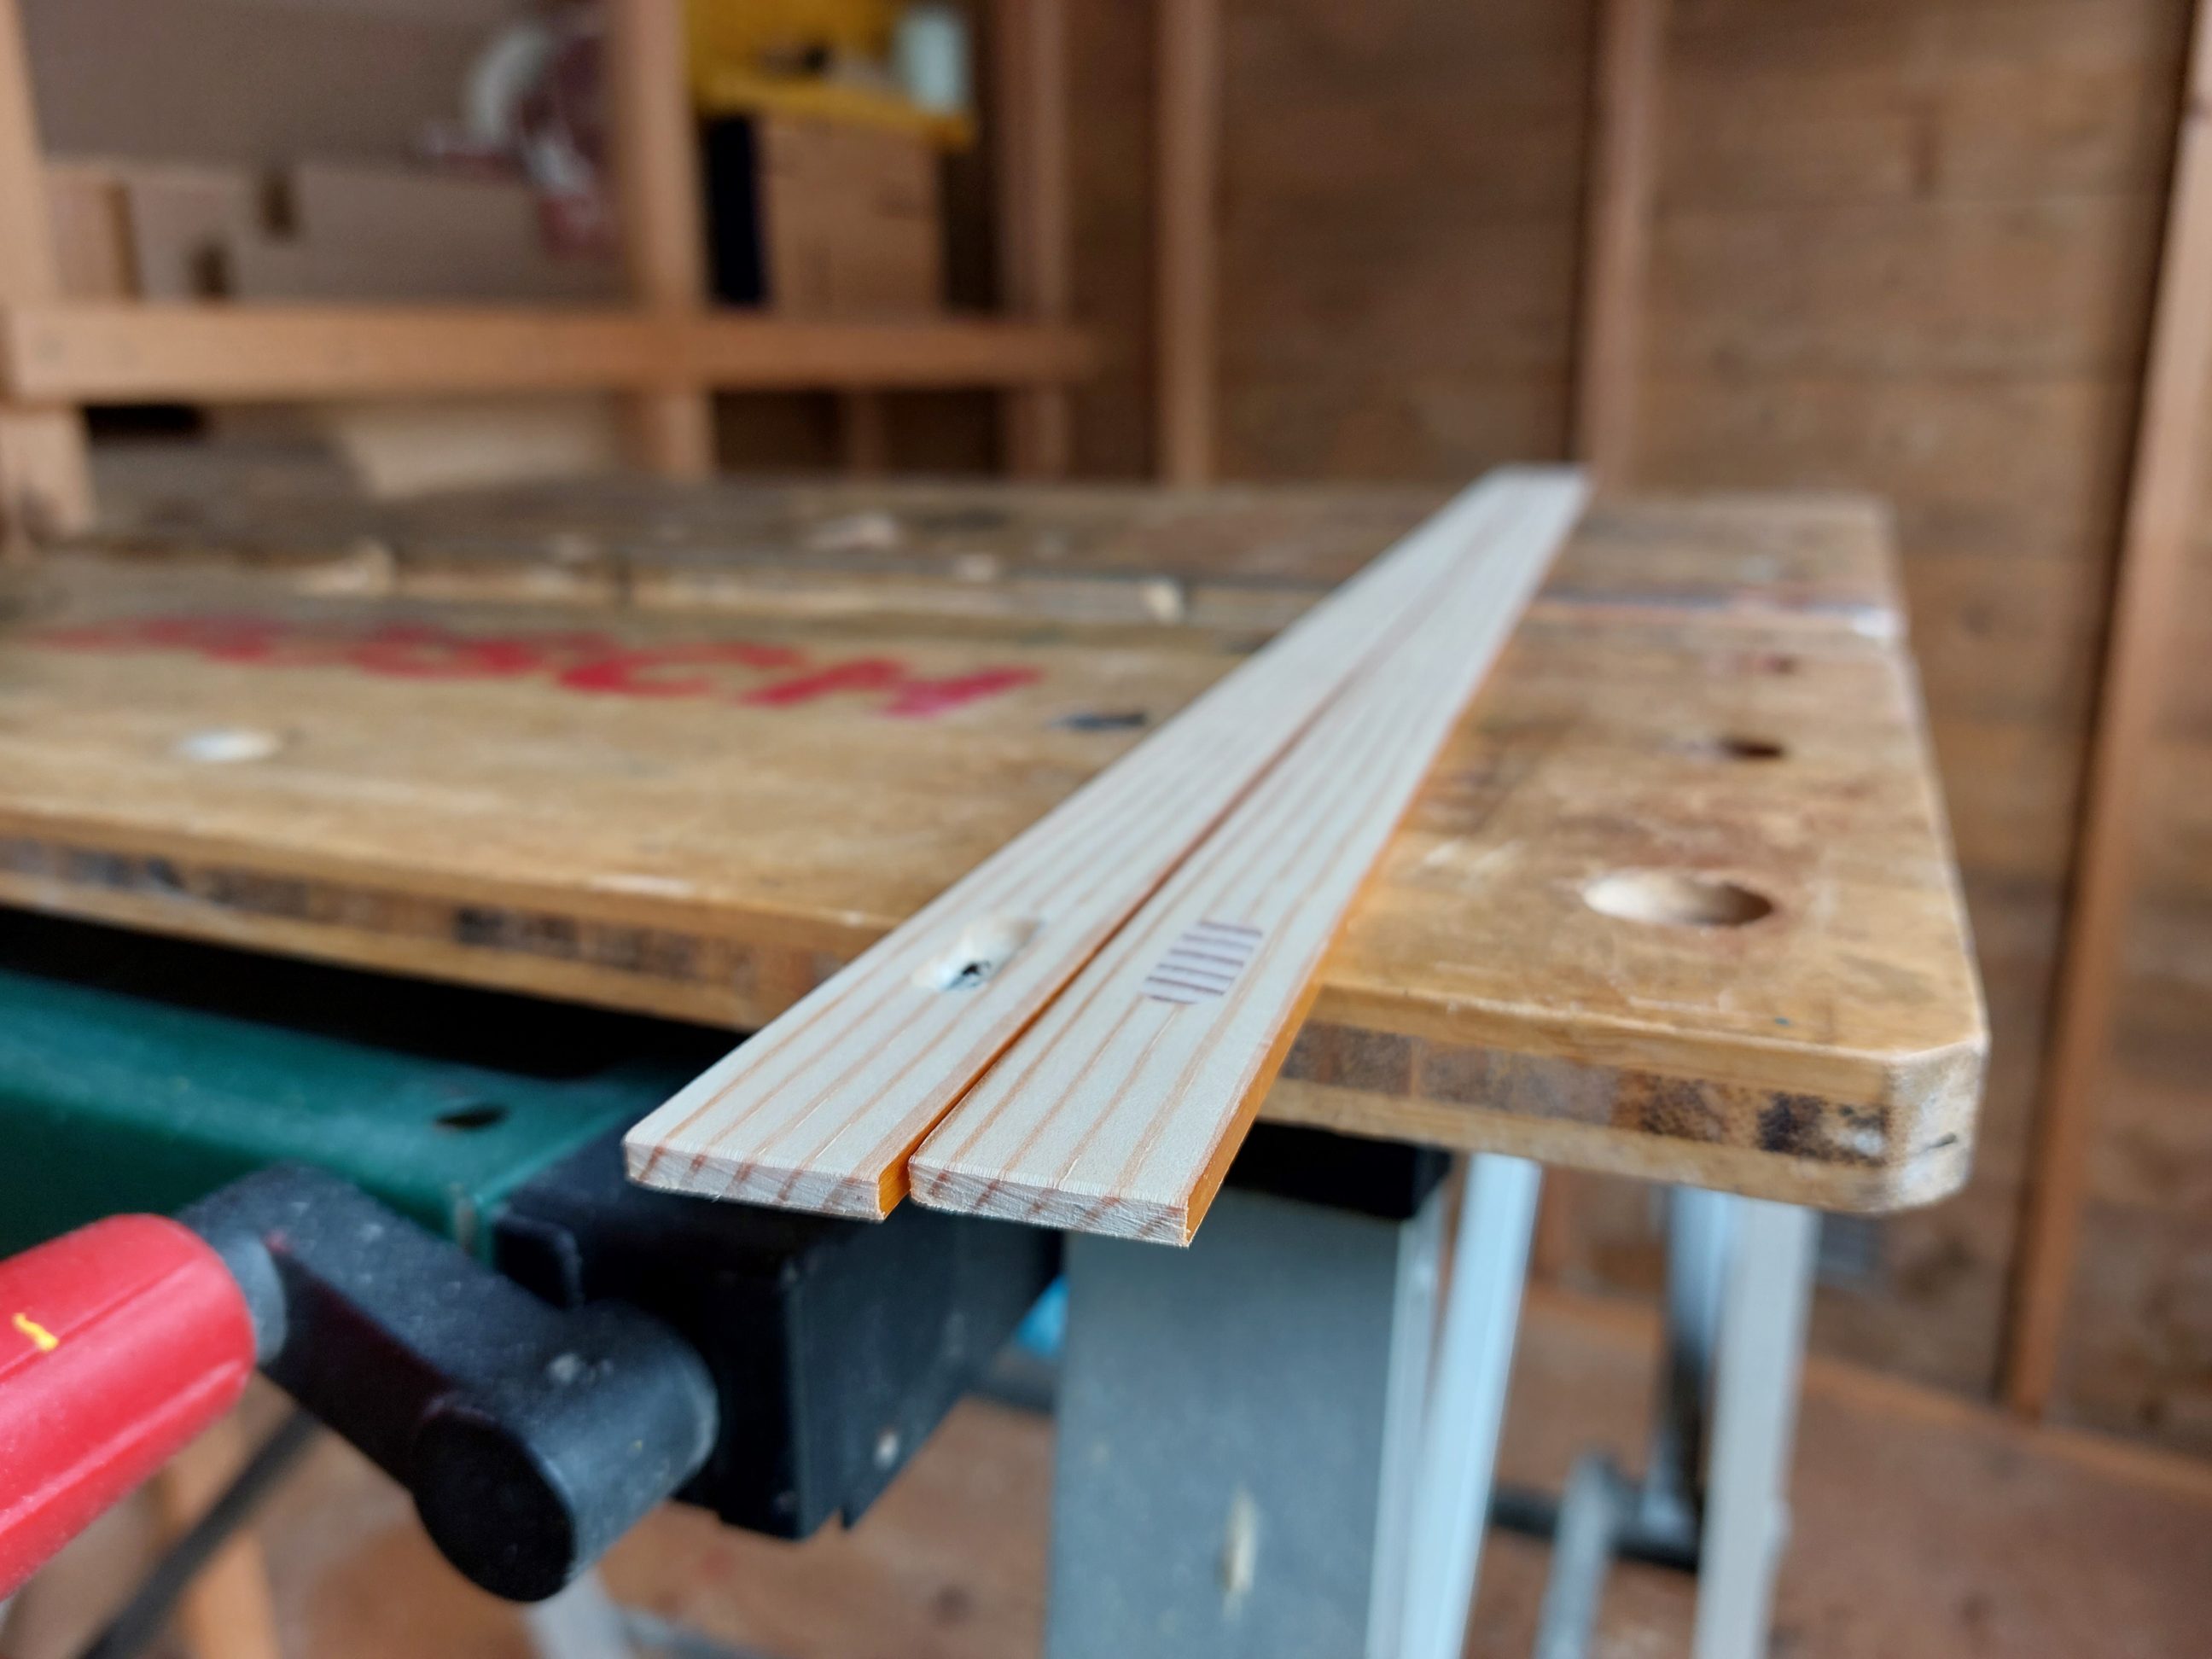
The first task on the to-do list was replacing a threshold with protruding nails and cracked edges. Access from one of the sides was good, which made the job easier. First, I pulled out all the nails, which didn’t engage too deep into the concrete floor below and were bent flush with the trim. The threshold was secured in place with a pair of long screws at each end, driven through the frame from the outside. I had to chop the board into pieces, using a straight claw hammer, and remove each strip individually. Then, I cut the screws flush with the frame using my rotary tool. An additional single screw in the middle was also removed, I drilled a deeper hole in the floor and installed a new plug. I cut the new board to size using hand tools only and moved on to drilling the counterbored mounting hole and cutting the corresponding plug. I had to elevate the threshold with a pair of tapered strips, fixed with double-sided tape. The difference between their ends was subtle (~ 2.3 mm = 3/32 inch), the thicker end of each piece was put on the left-hand side, where the hinges were, whilst the thinner one was closer to the bathroom. That helped to push up the board tight against the existing frame cutouts and close all the gaps. The threshold got a few coats of thinned polyurethane outside to minimize the odour and once it dried, I gently hammered it in place and secured it with a single screw. I glued in the plug, cut it flush, and touched it with a drop of a finish. It will take some time but the colours of the frame and the new threshold will eventually blend in. At that point, however, the new piece of trim looked good and finally, there were no visible mounting holes. It created a uniform gap under the door and sat tight in the frame cutouts – that job was done and dusted.


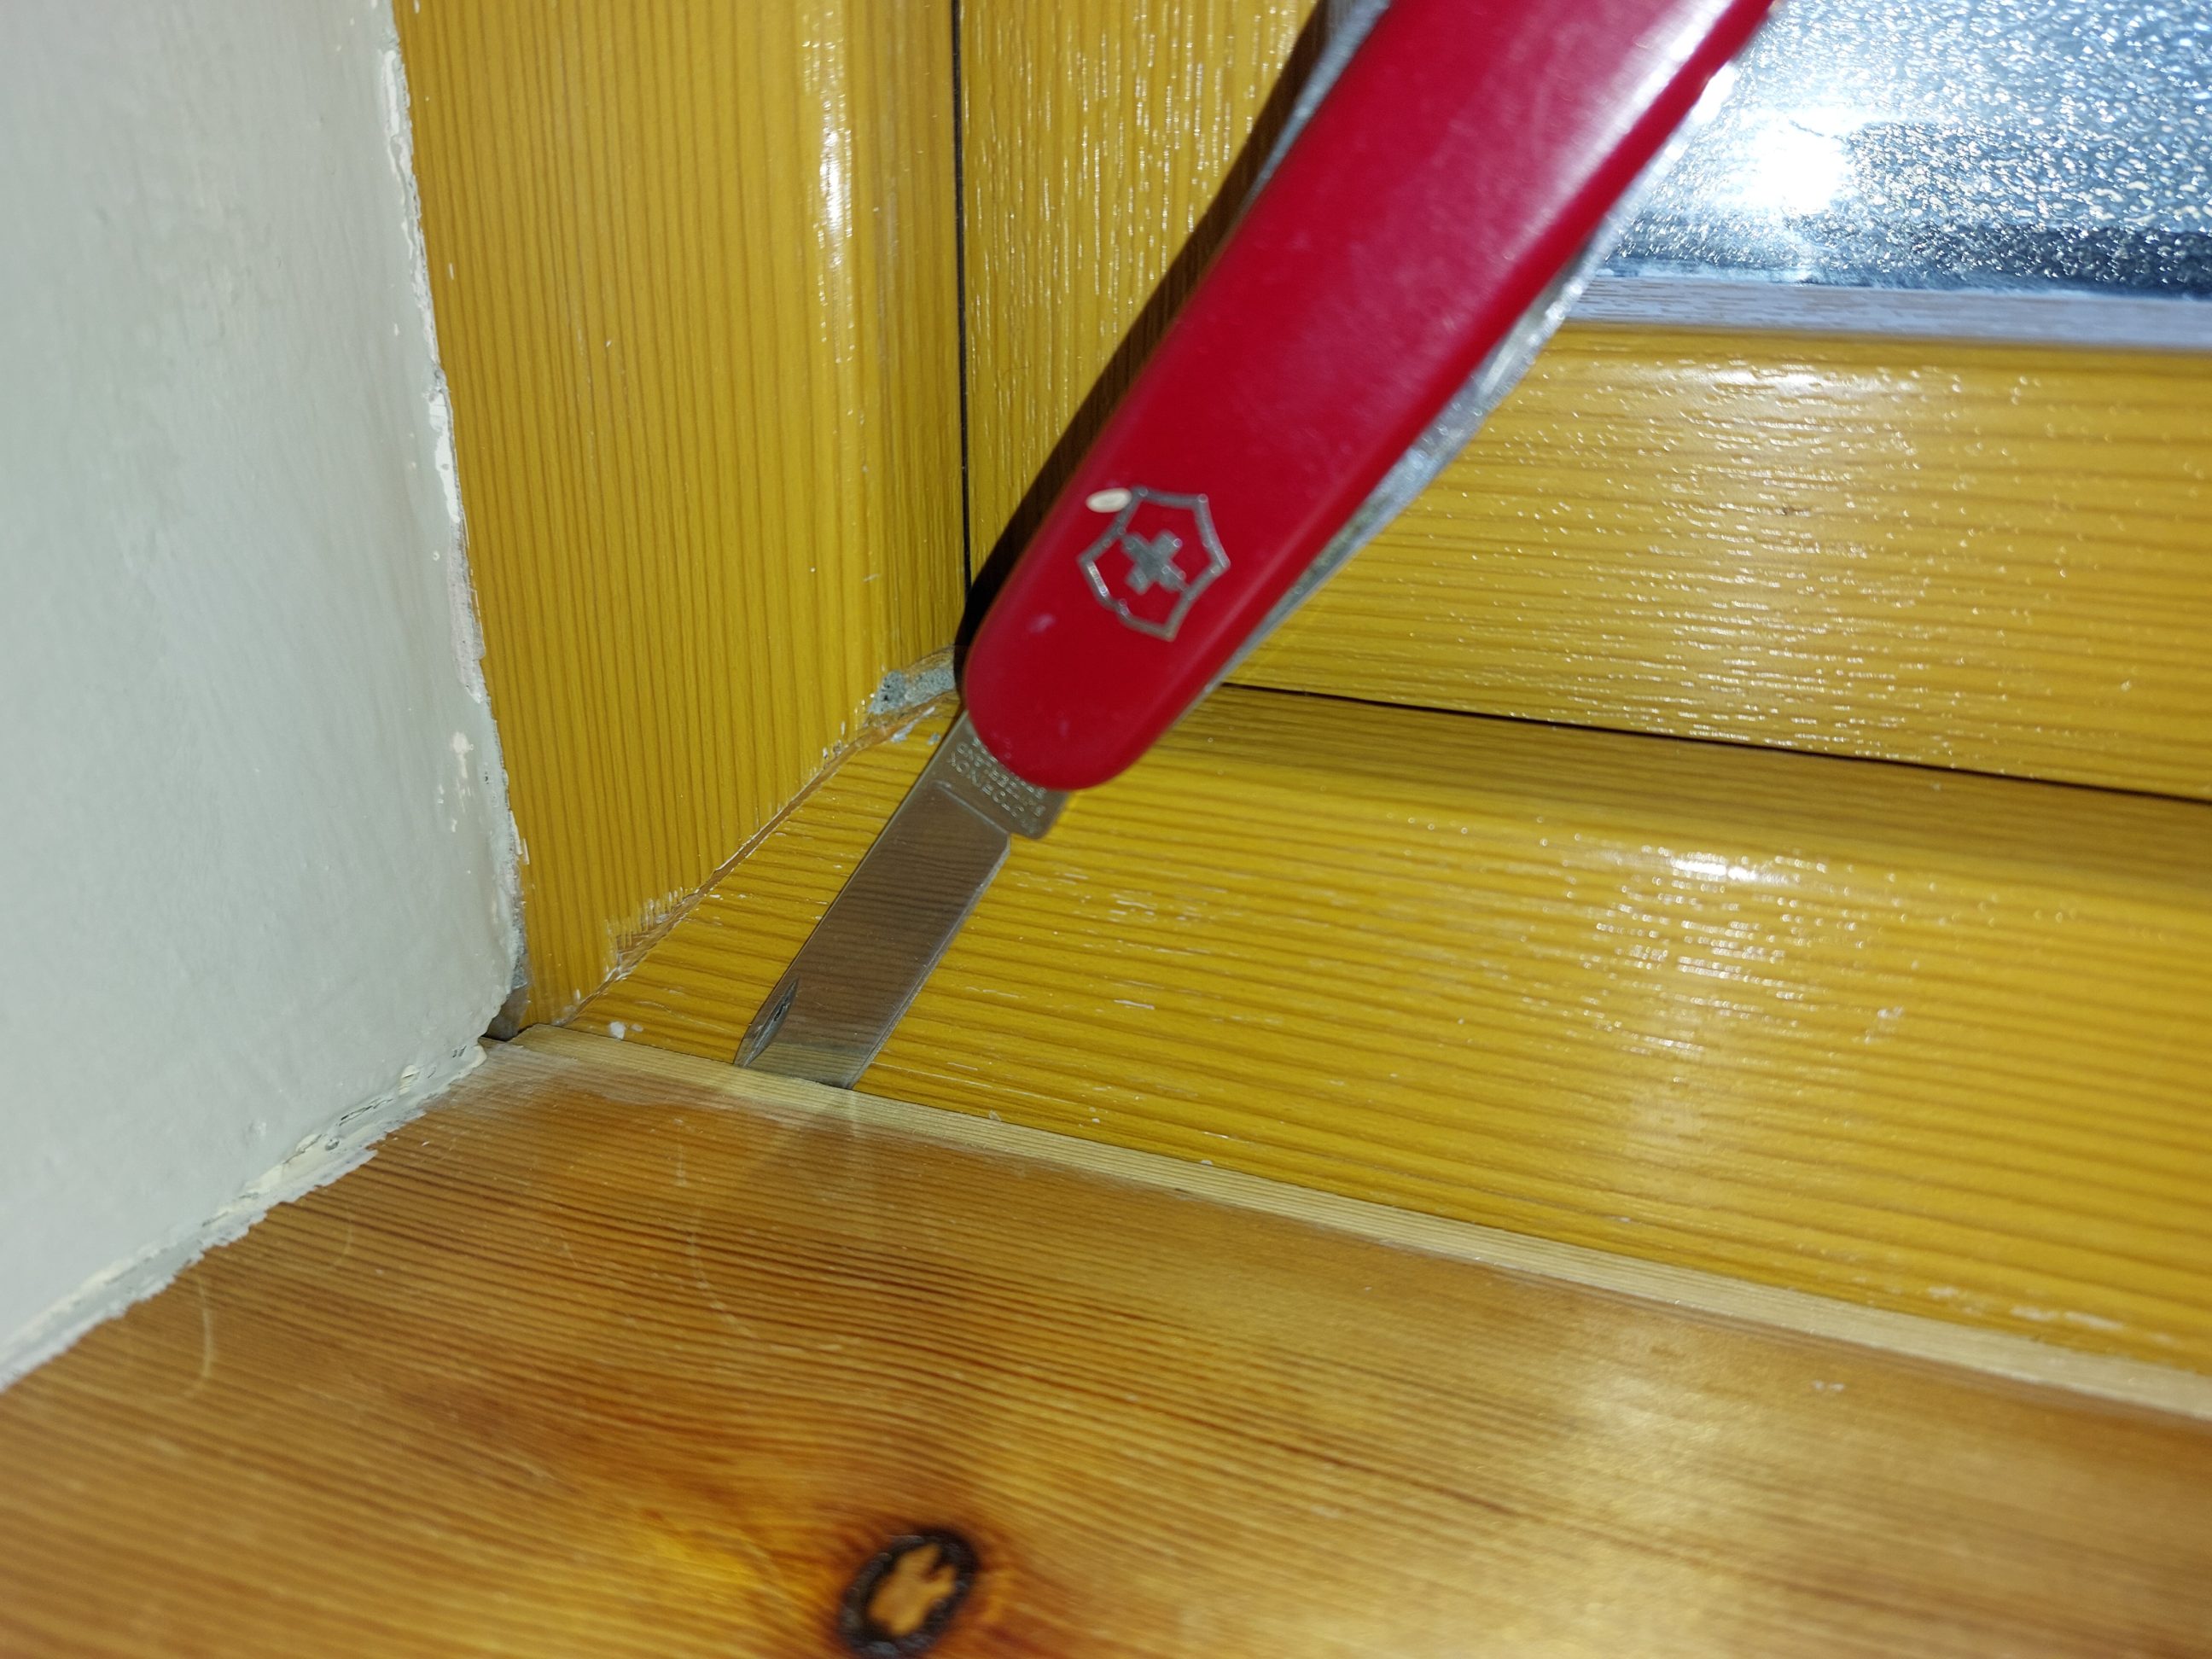
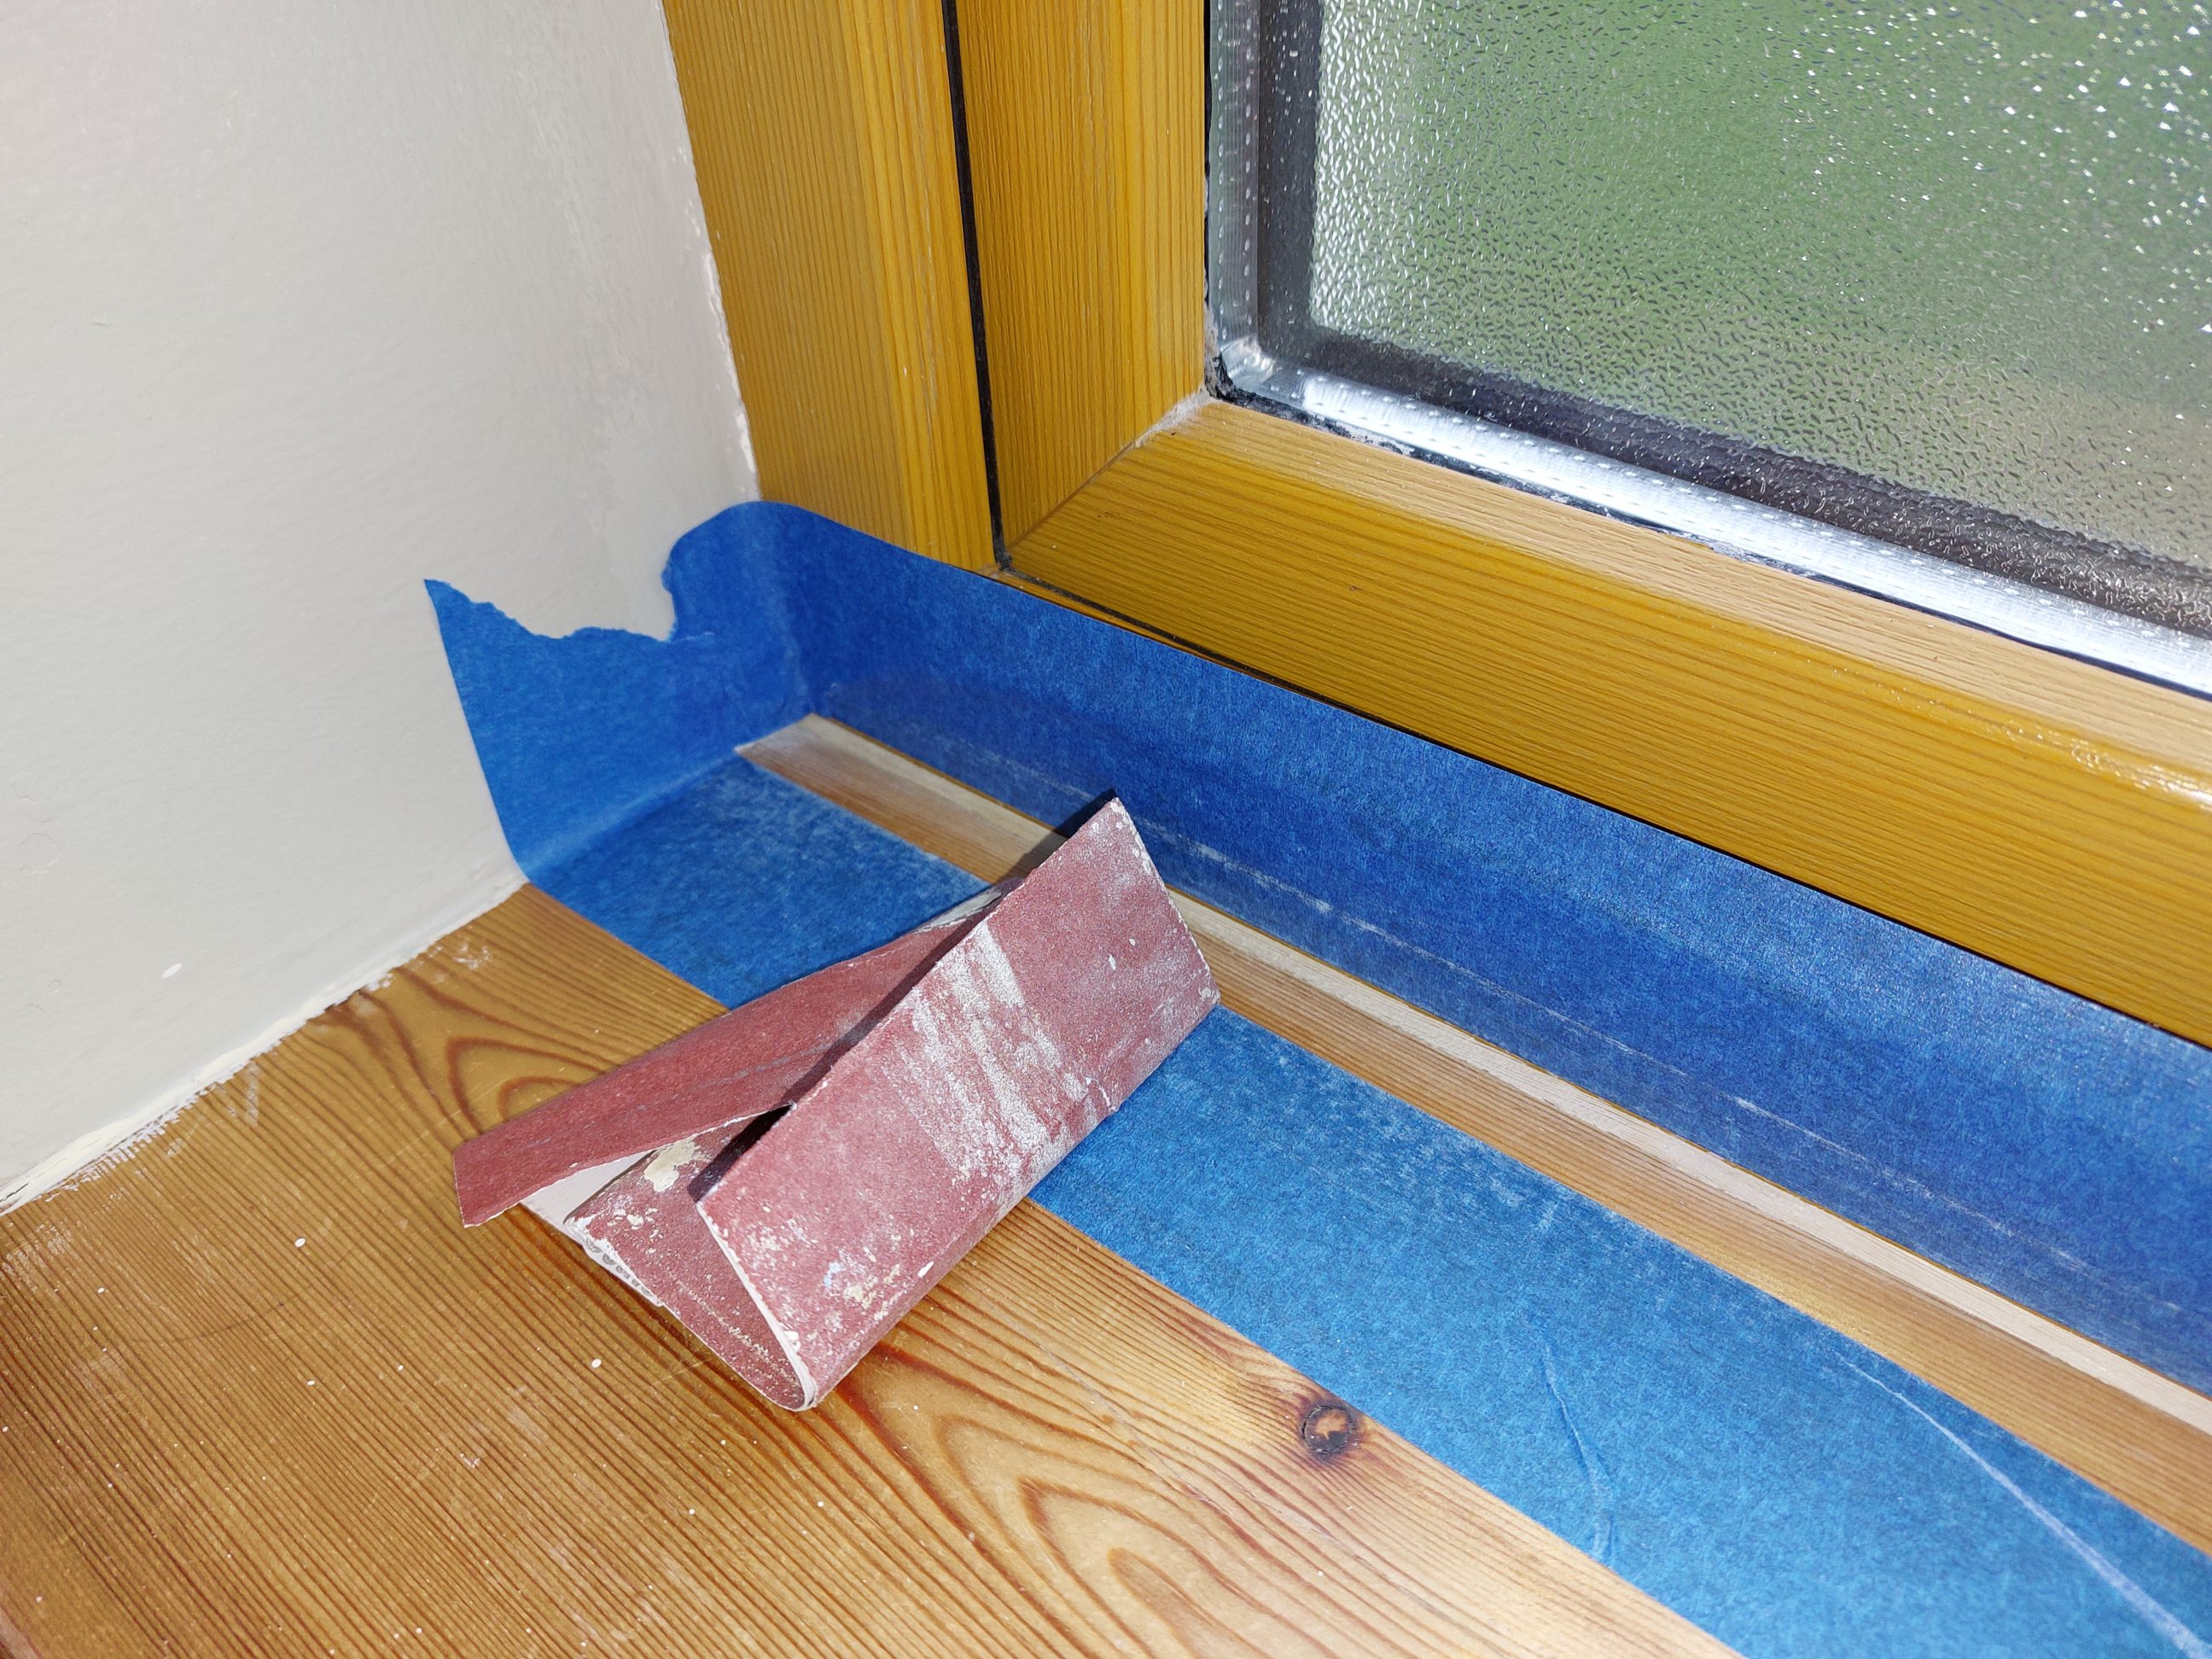
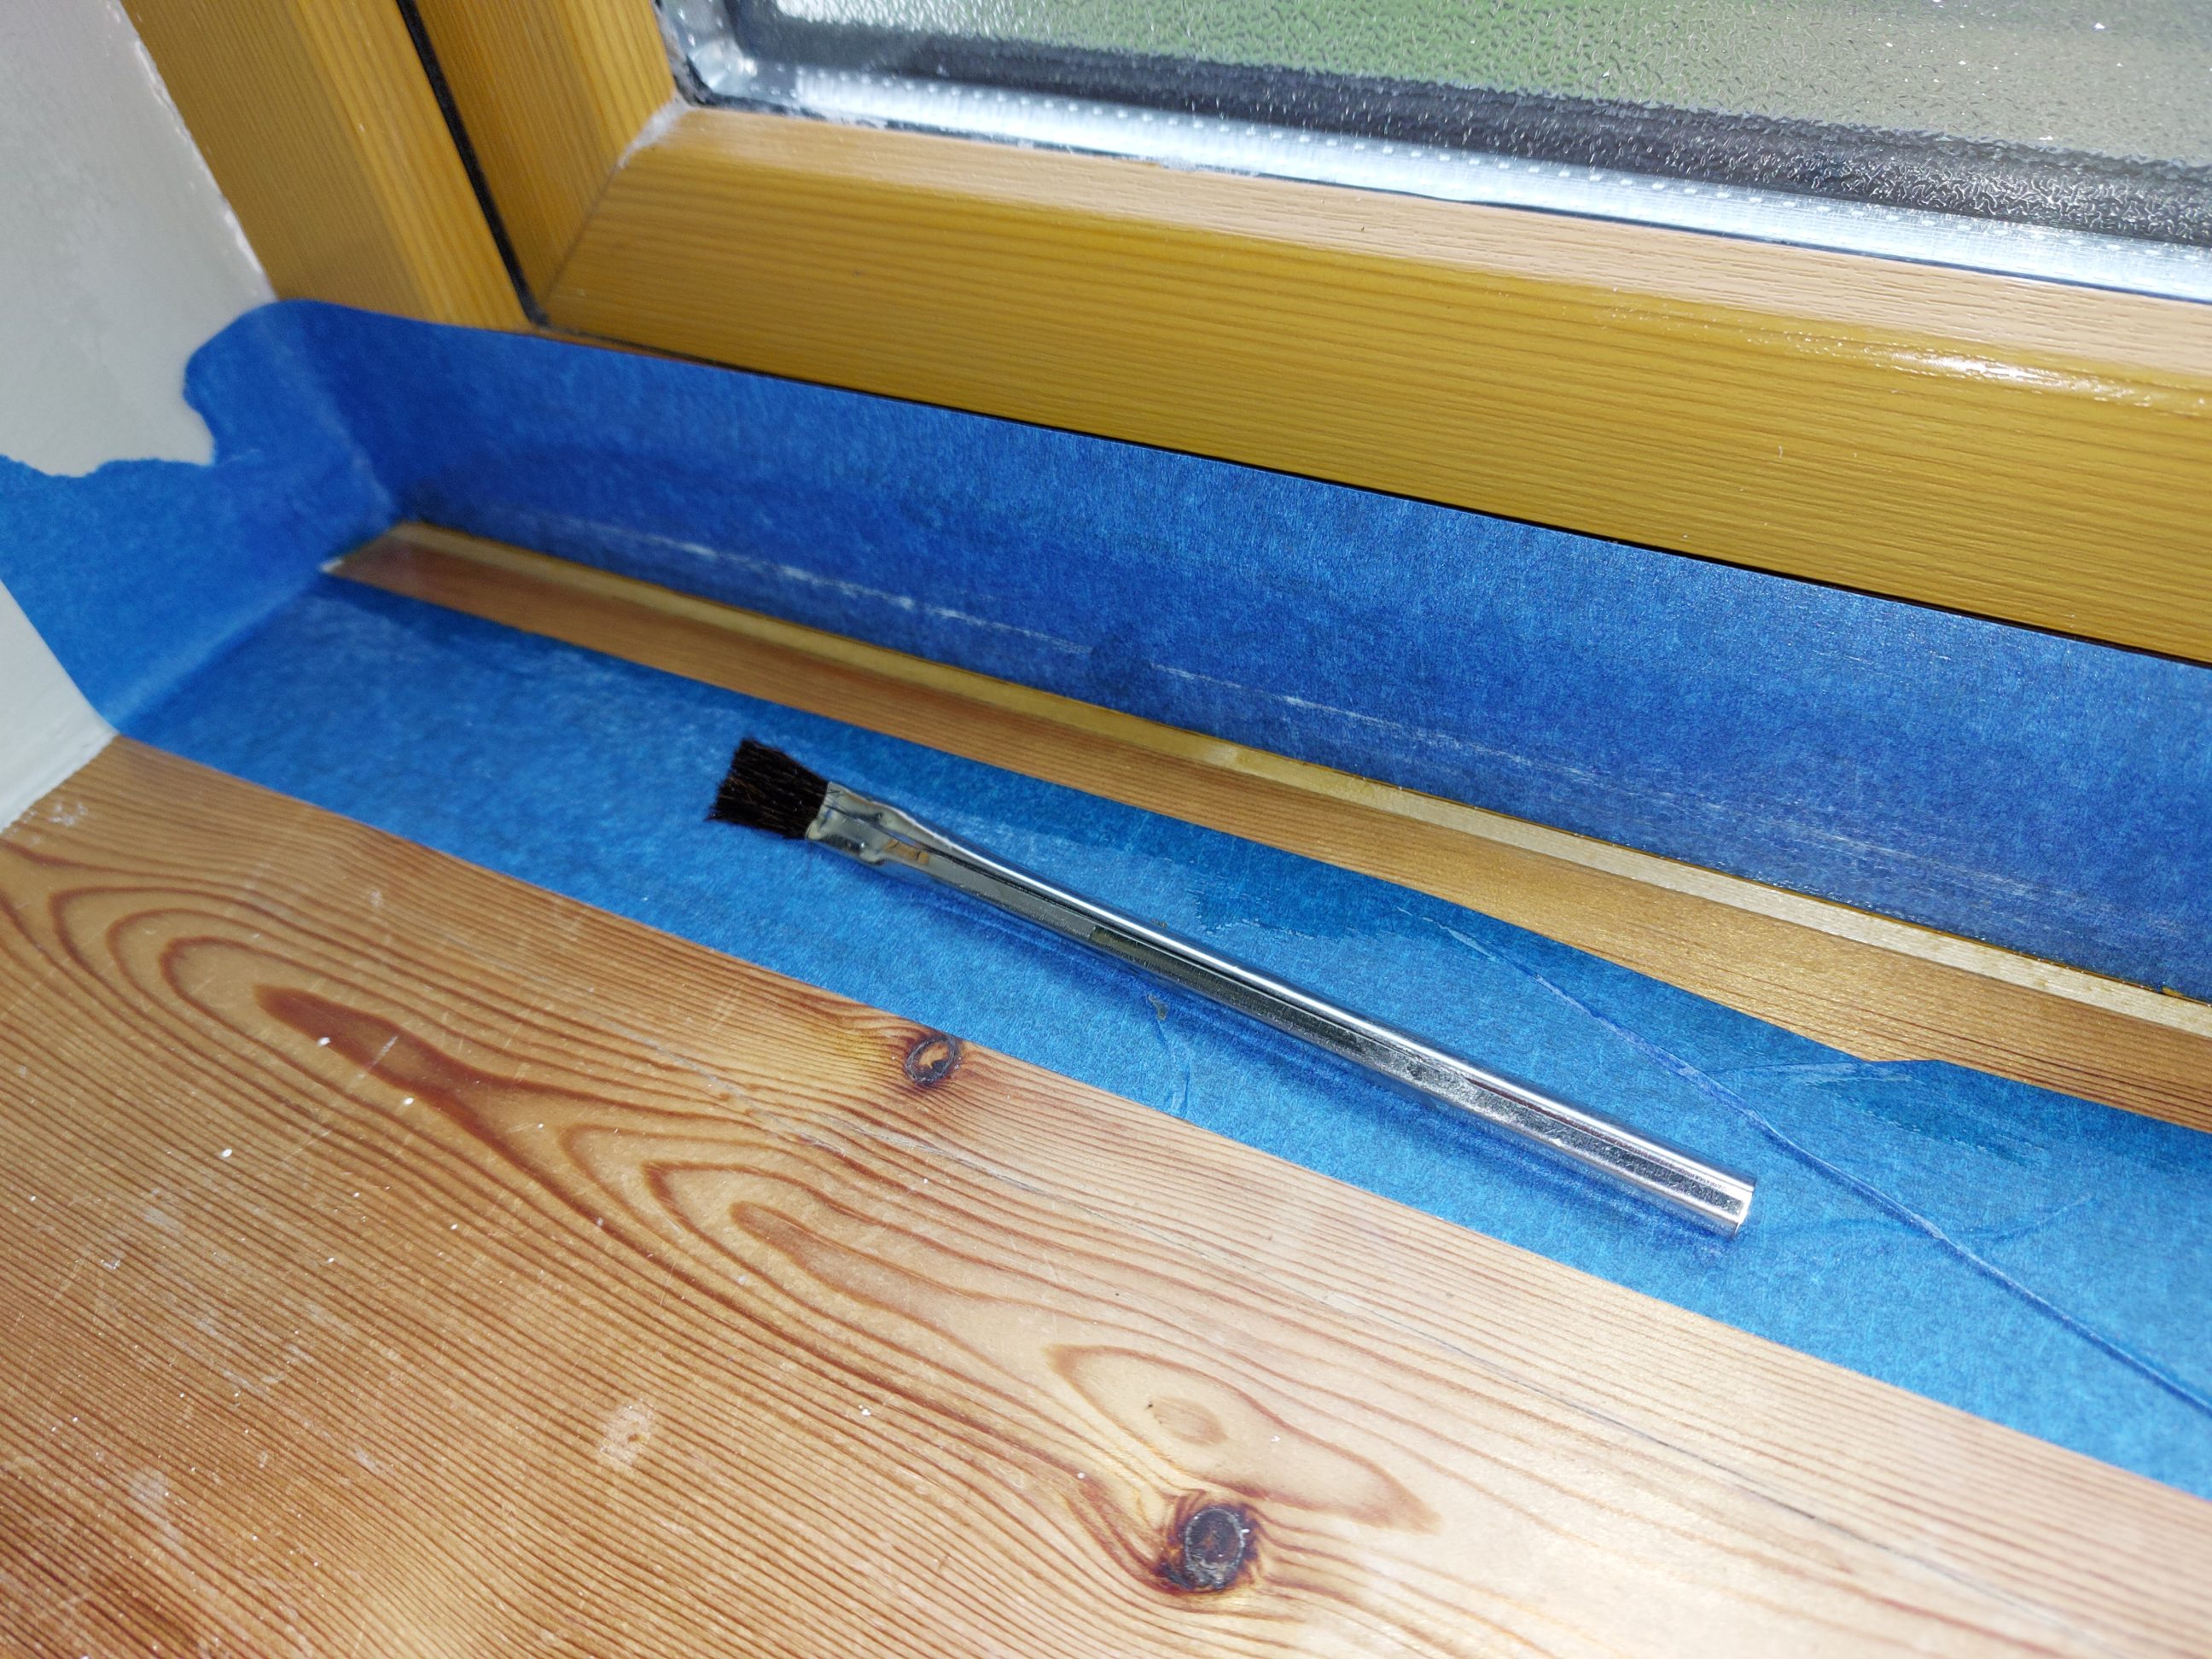
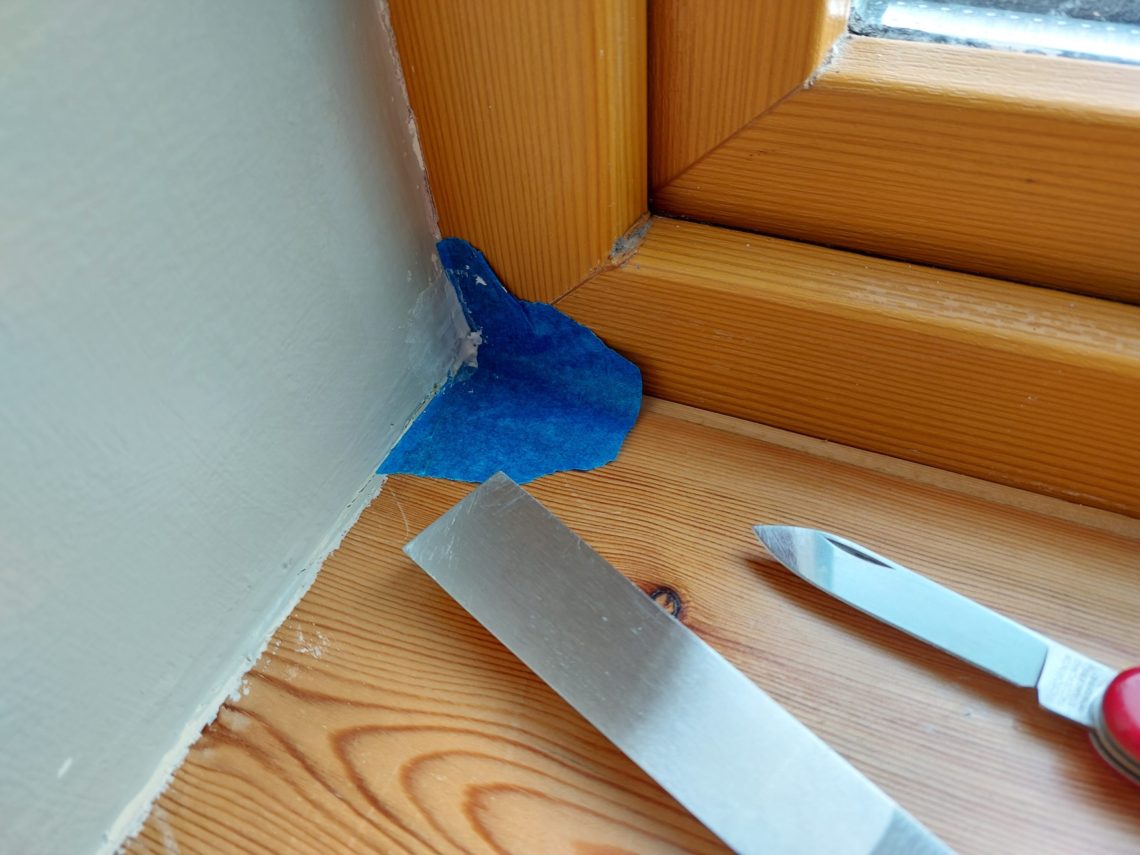
A shrunk window board was next in line, properly installed at the time the house was built but due to natural wood movements it had shrunk and created a gap at the PVC window frame. The original fix was just silicone, but it only lasted a few years and dried out. I removed the silicone bead, cleaned the PVC frame with denatured alcohol (removed old paint), prepared the wall corners using a wall scraper and took measurements of the gap. The new strip was cut on a table saw and glued to the existing board only with wood glue. It clamped itself in place on one end due to the tight fit but on the other side, I slid a pocket knife blade into the gap and it acted as a spreader clamp. After a few hours, it was sanded flush with the window board and the PVC frame was protected at all times with either a metal ruler or painter’s tape. I applied a coat of varnish and once it dried, I filled up the gaps in the corners. I called it done and postponed painting the walls until an indefinite time in future.


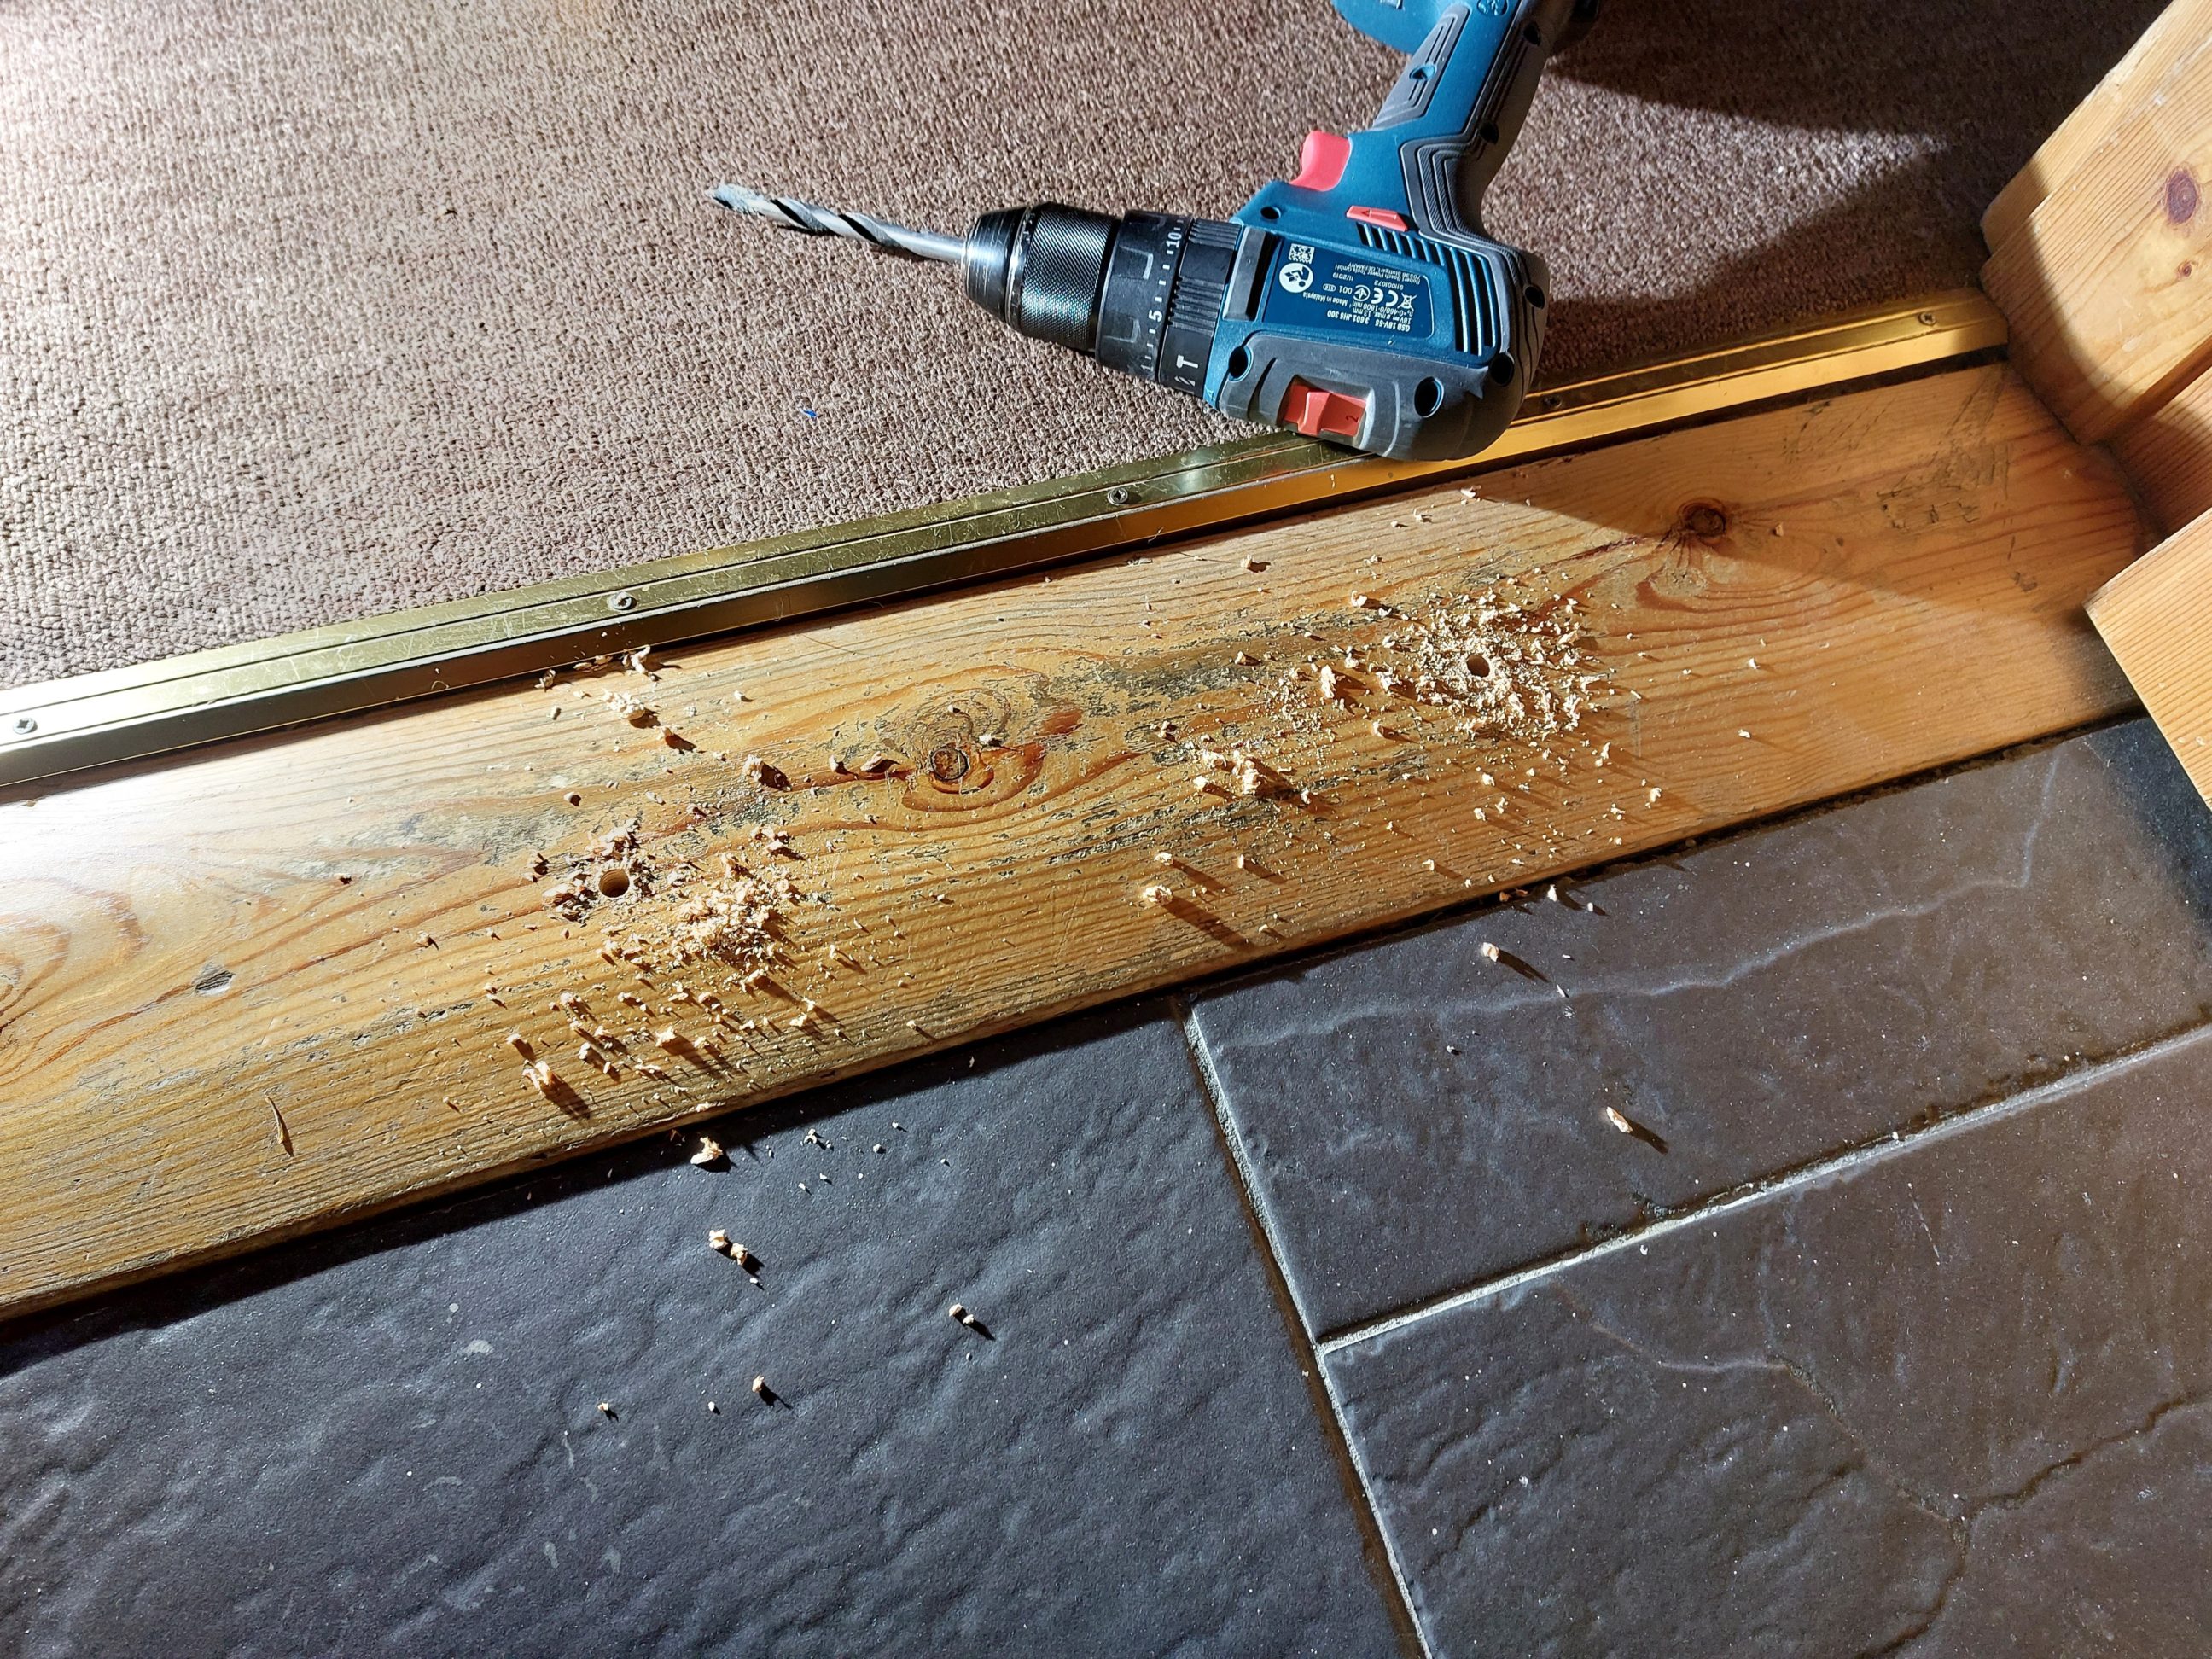
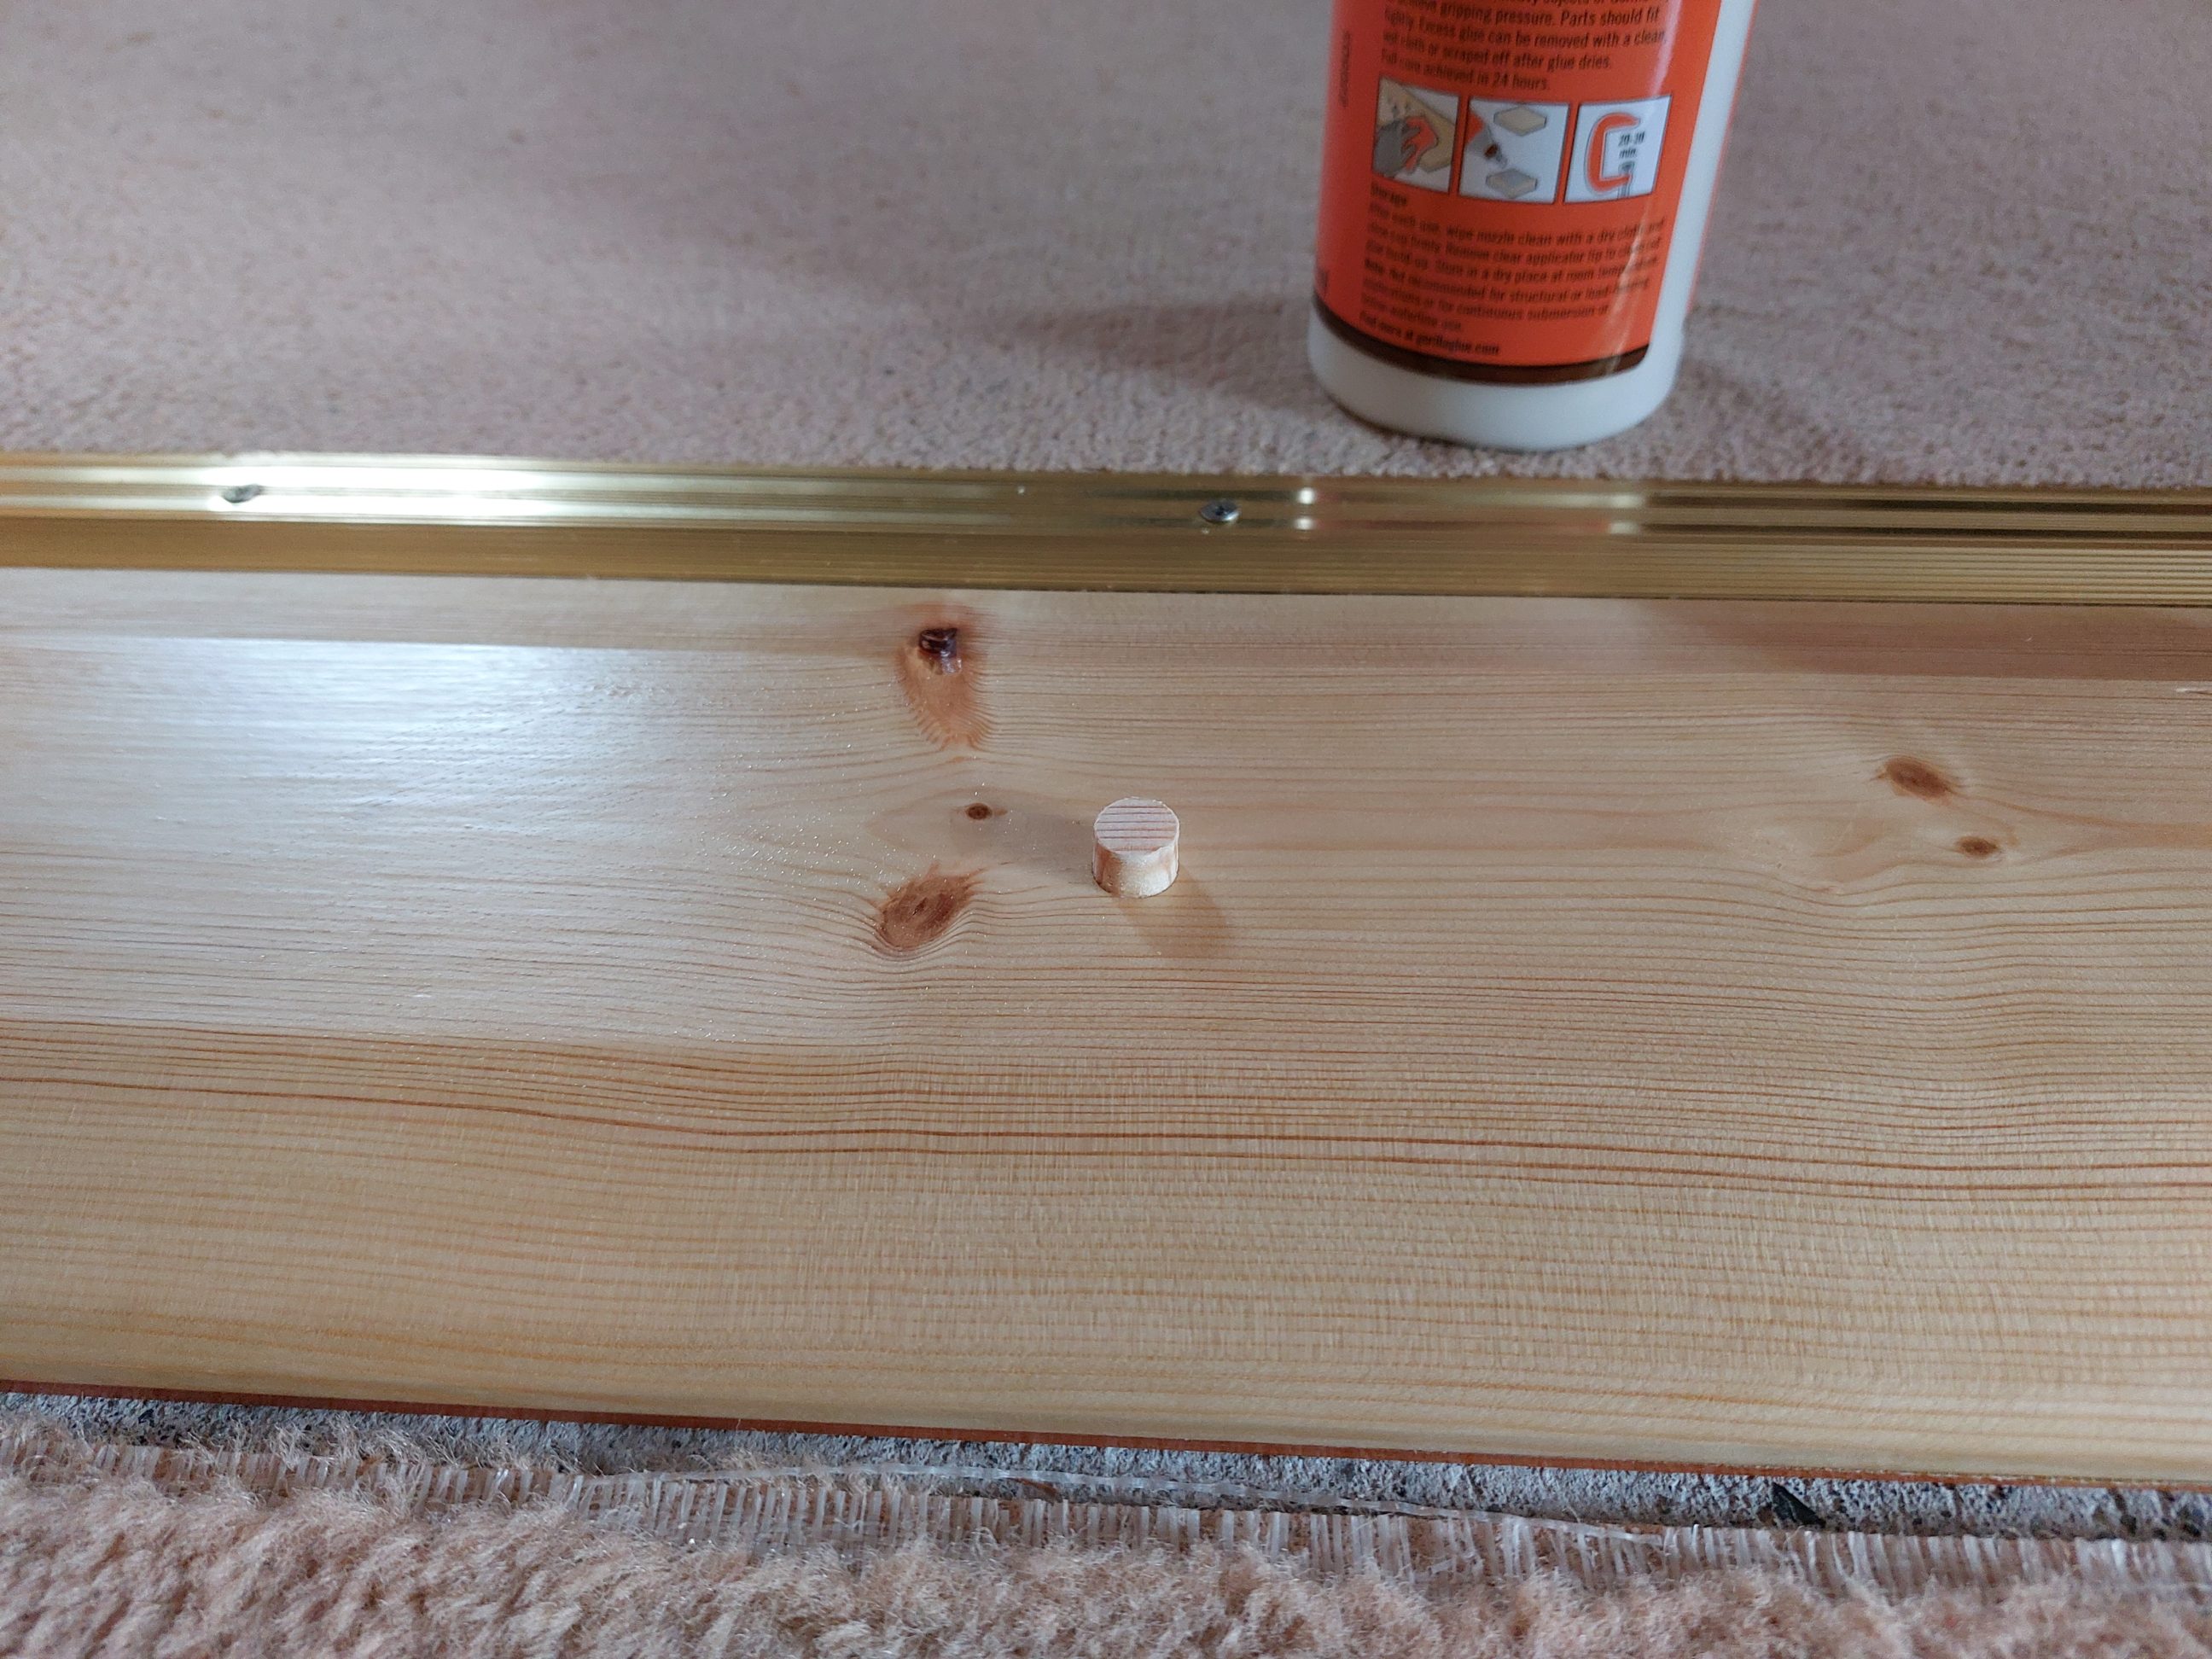
A springy threshold that flexed down was the last thing to fix in that series of various trim repairs. Just like the other threshold, it was held with four screws, a pair at each side, but in the middle, there was nothing that could support it from flexing under the pressure of each step. It was suspended and didn’t rest flat on the floor, creating a 5 mm gap below it. Unlike the other door, there was no easy access from either side and the fix could only be done from the top. That was exactly what I did, I drilled two 8-mm holes using a brad point bit, evenly spaced out and with the size corresponding to the tube nozzle. Through the holes, I squeezed in a generous amount of filler under the board, making sure not to bow the threshold down during that step. The bigger blob of the filler meant better support but also a longer drying time – I tried to stay somewhere in between. The filler dried for 24 hours and it was time to fix the plugs. With an 8 mm HSS bit, I cleaned the holes, just deep enough for the glue and a short plug. I used an HSS bit as there was some drilling in hard material and made sure the hammer action in my drill was switched off. The glue dried for a few hours and then I cut and sanded the plugs flush. I put a drop of a finish on them and the job was called done. These 2 plugs in a contrasting colour will be a feature of the threshold, for a short time, but eventually, they will darken and blend in.