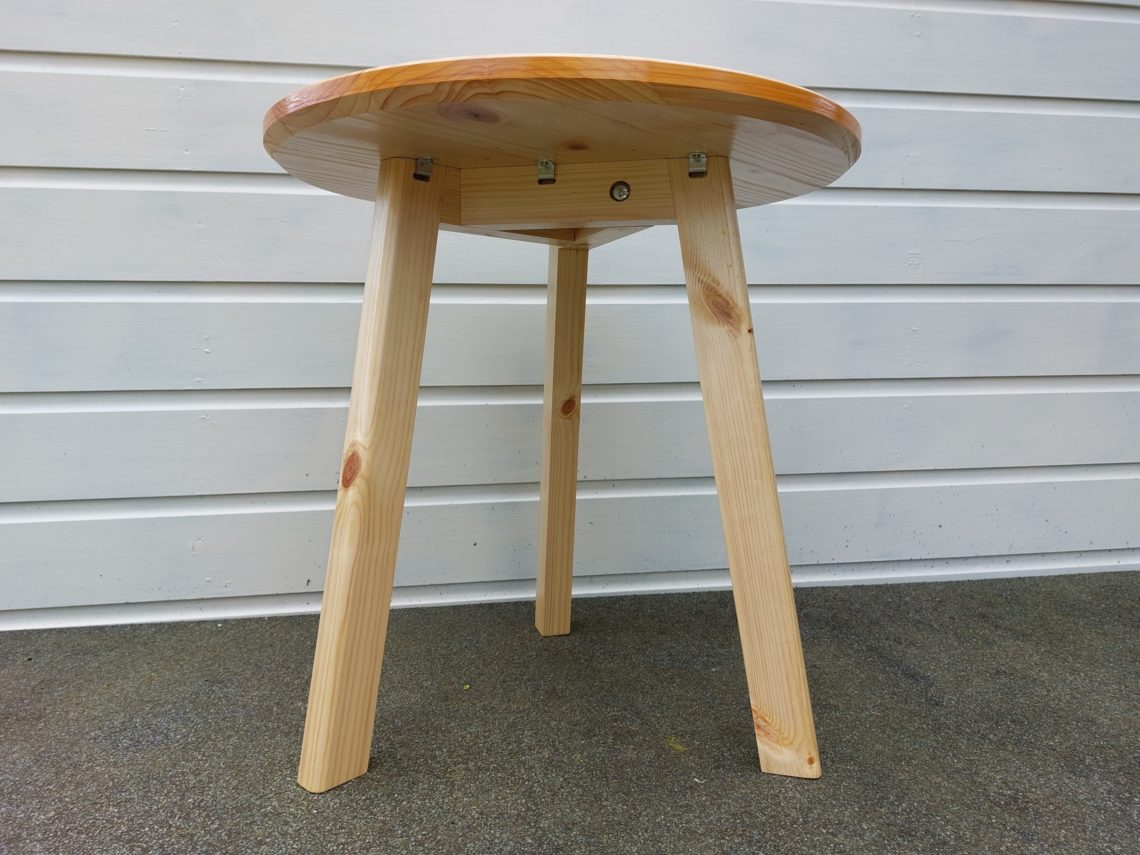
3-legged coffee table
This table is a reproduction of a coffee table available at Jysk Stores, with a solid wood tabletop instead of glass. The tripod legs are typically designed to look best with a transparent top, but since I couldn’t use glass, I had to opt for wood. Although my table isn’t an exact copy of Jysk’s, it’s based on it, and all the dimensions and angles are similar. I must admit, however, that a glass tabletop would look nicer if I had the option to make one. To build these legs, I used timber that I had stored for some time, and for the tabletop, I disassembled my old coffee table that was built a few years earlier. I even reused the old z-clips, which enabled me to complete the project without having to go to the store for any materials.


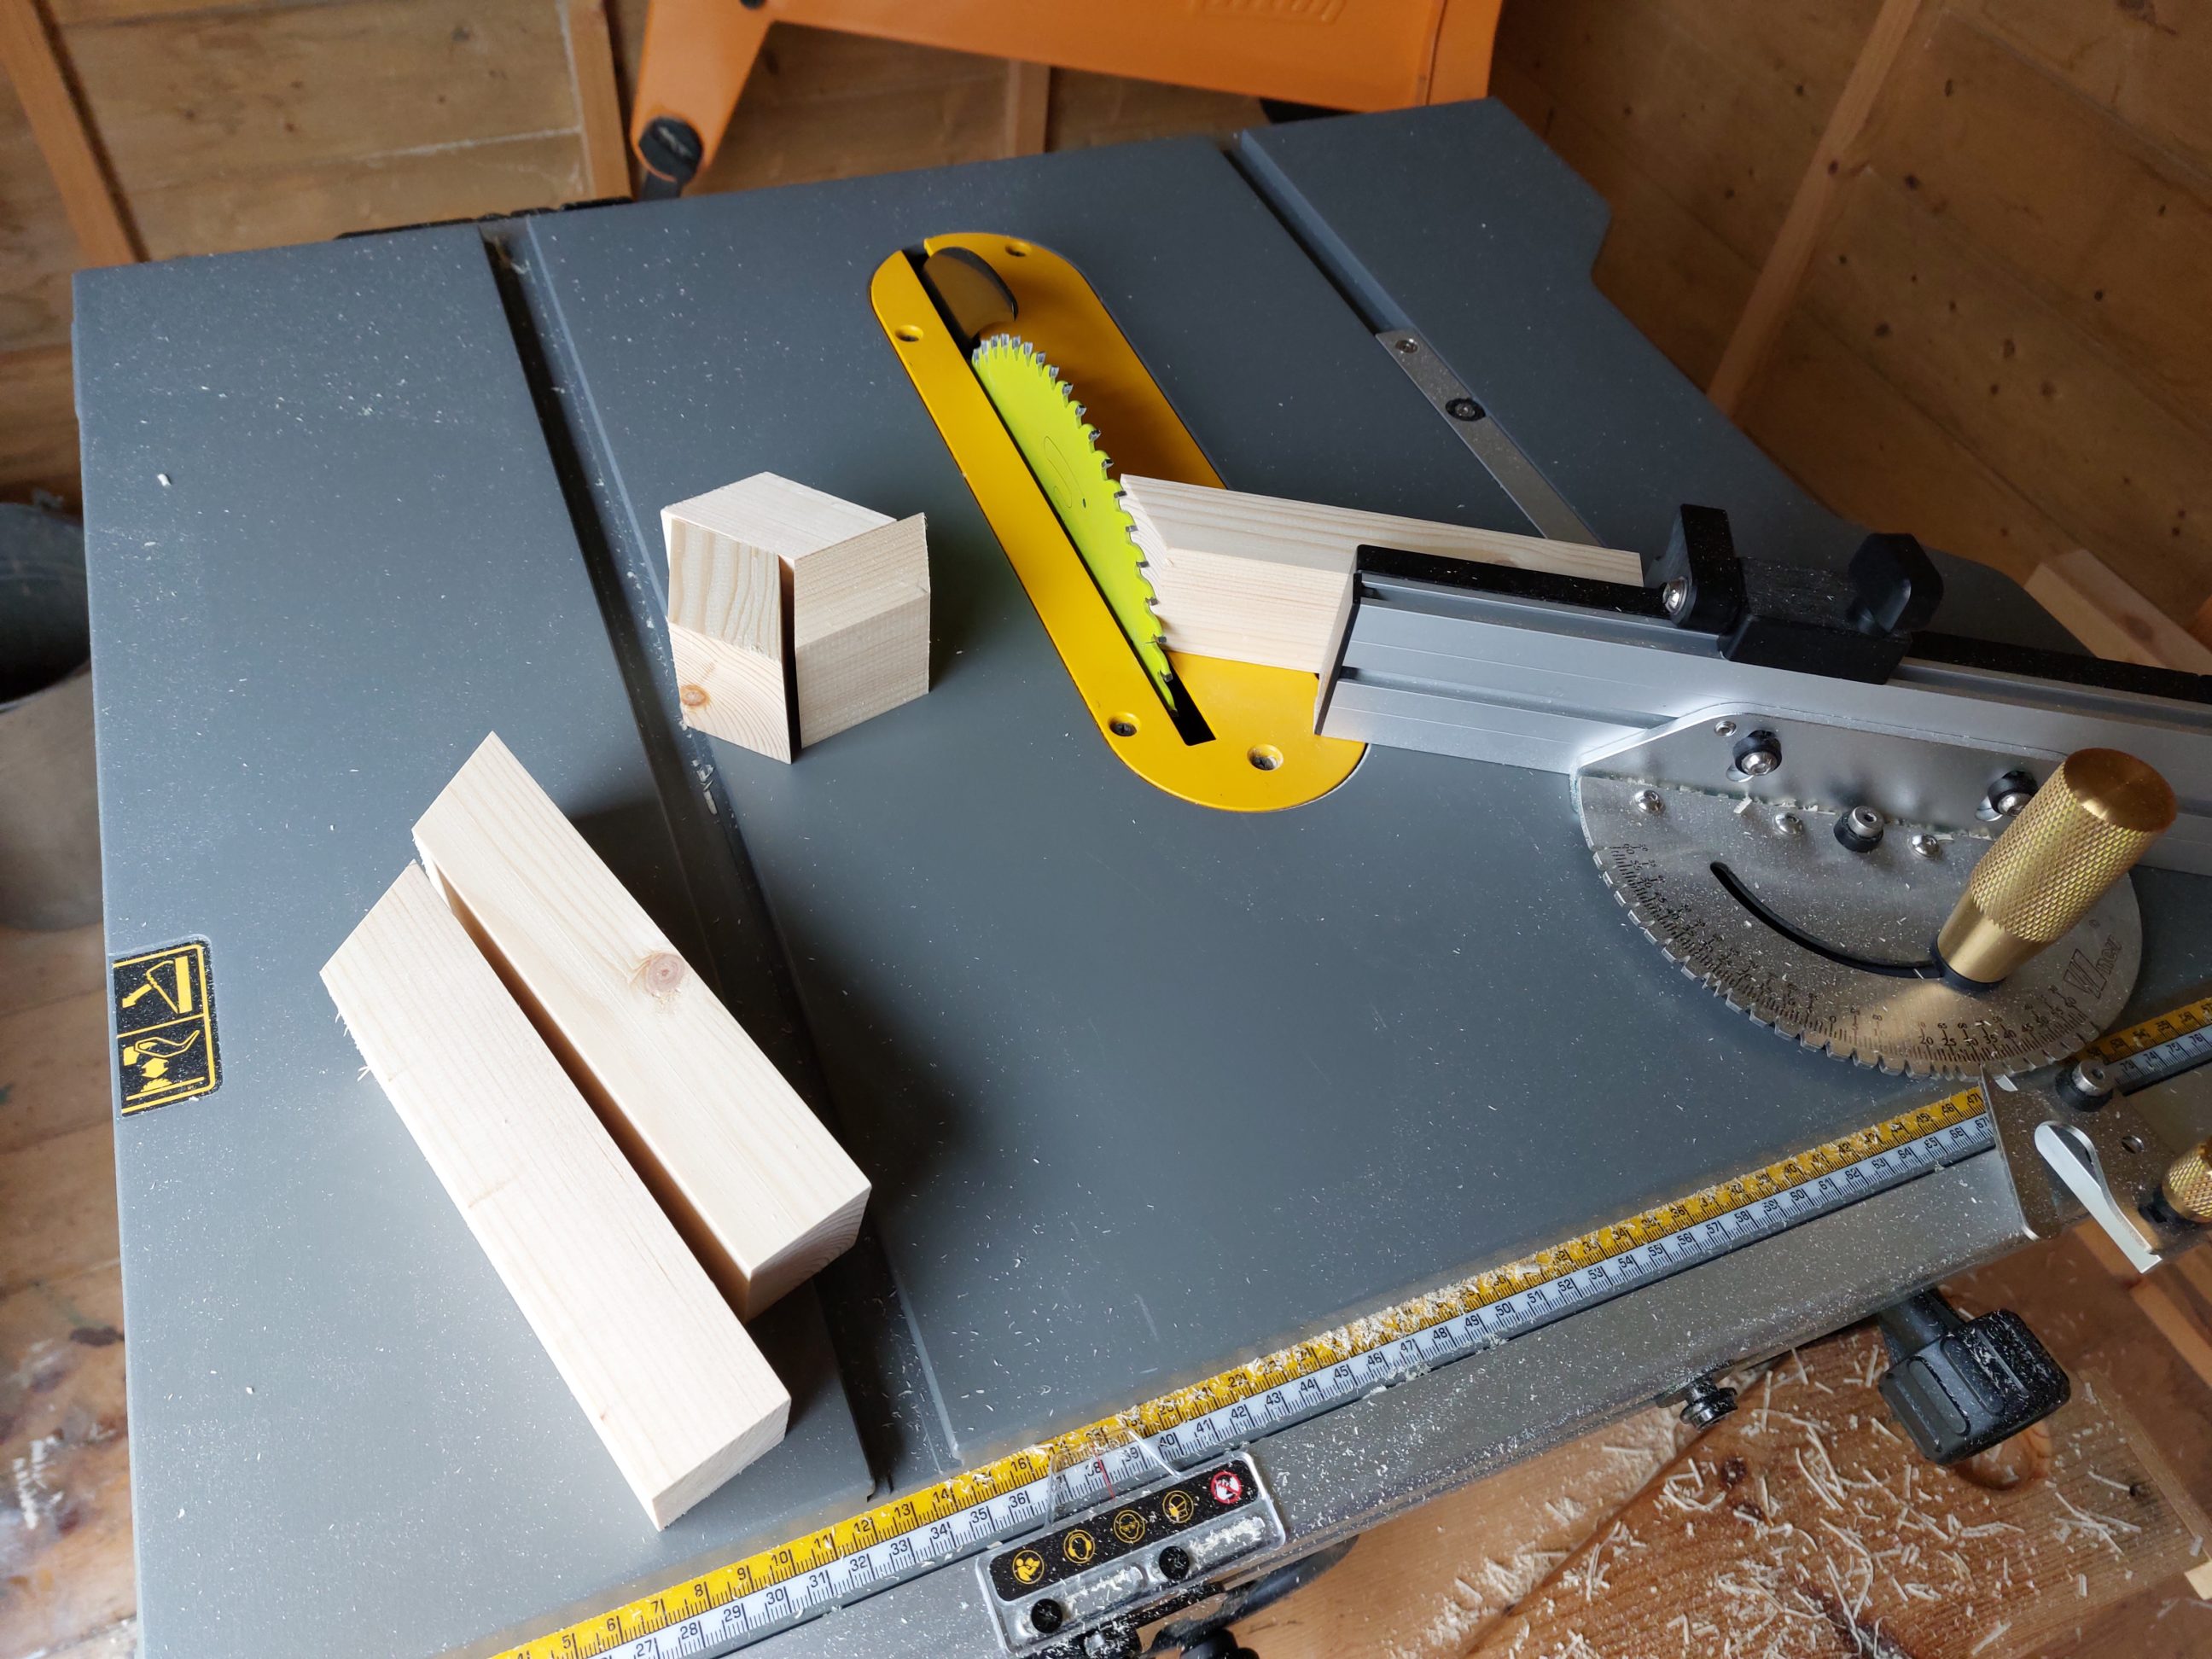

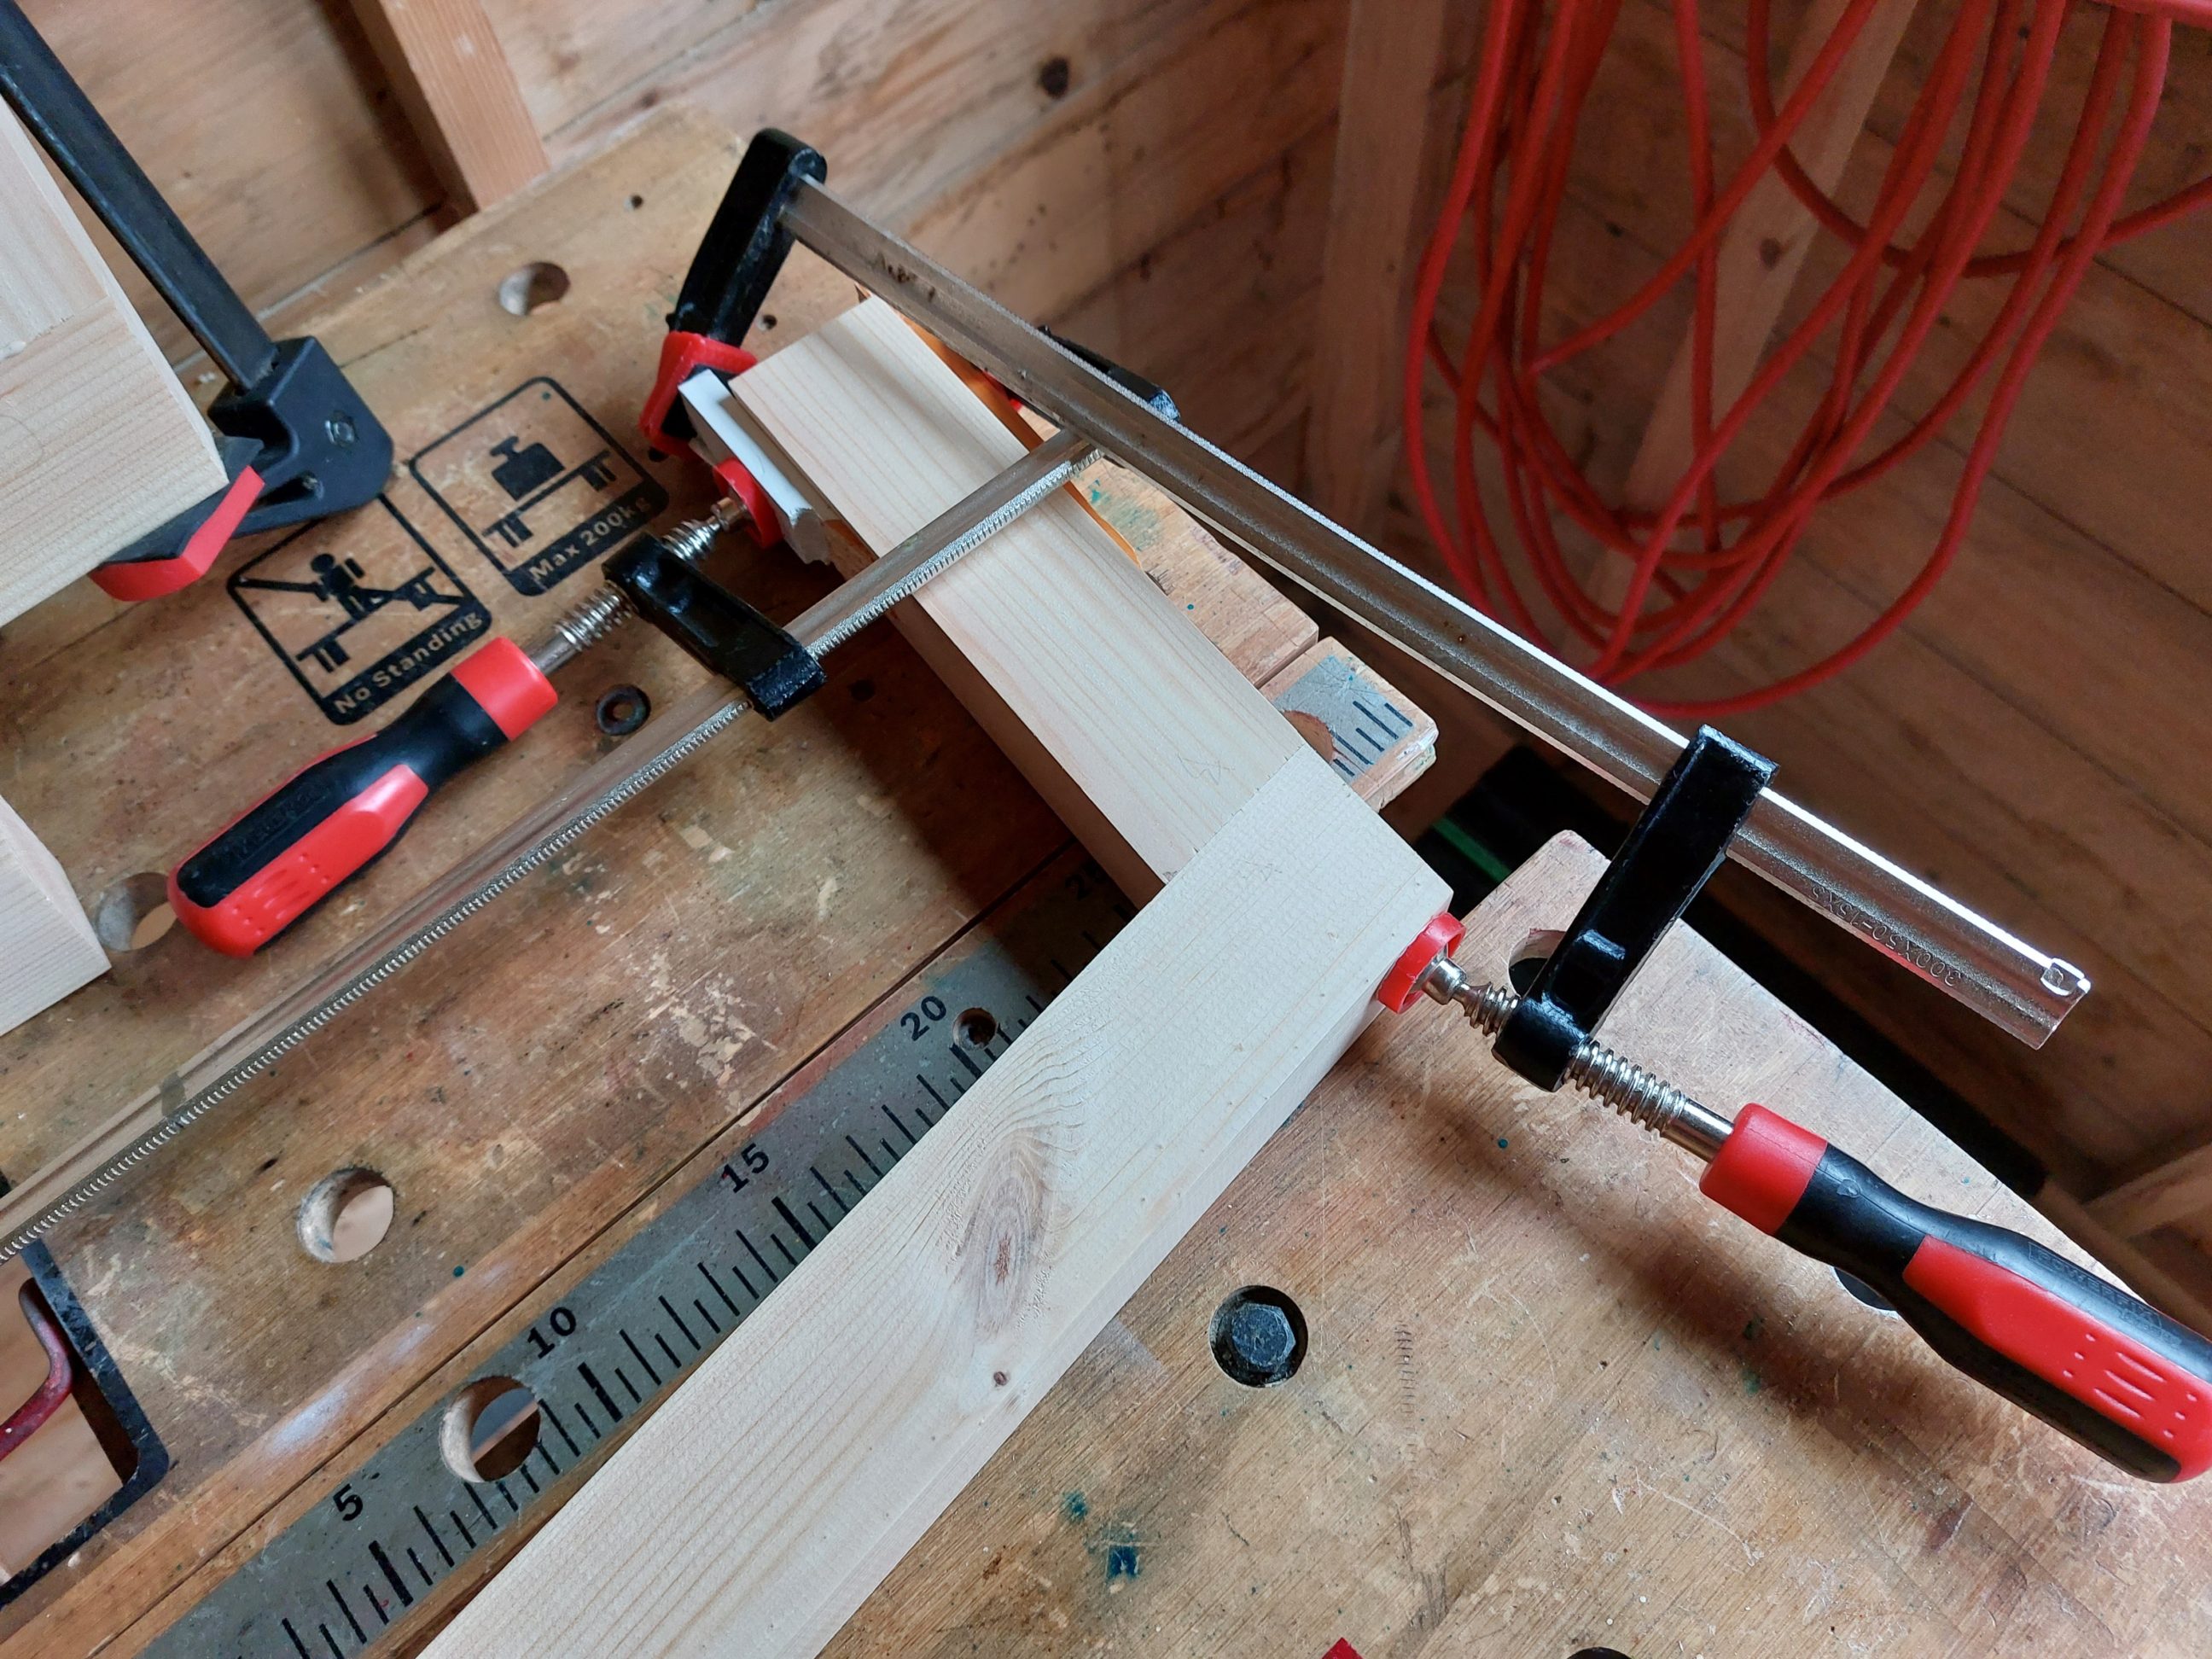
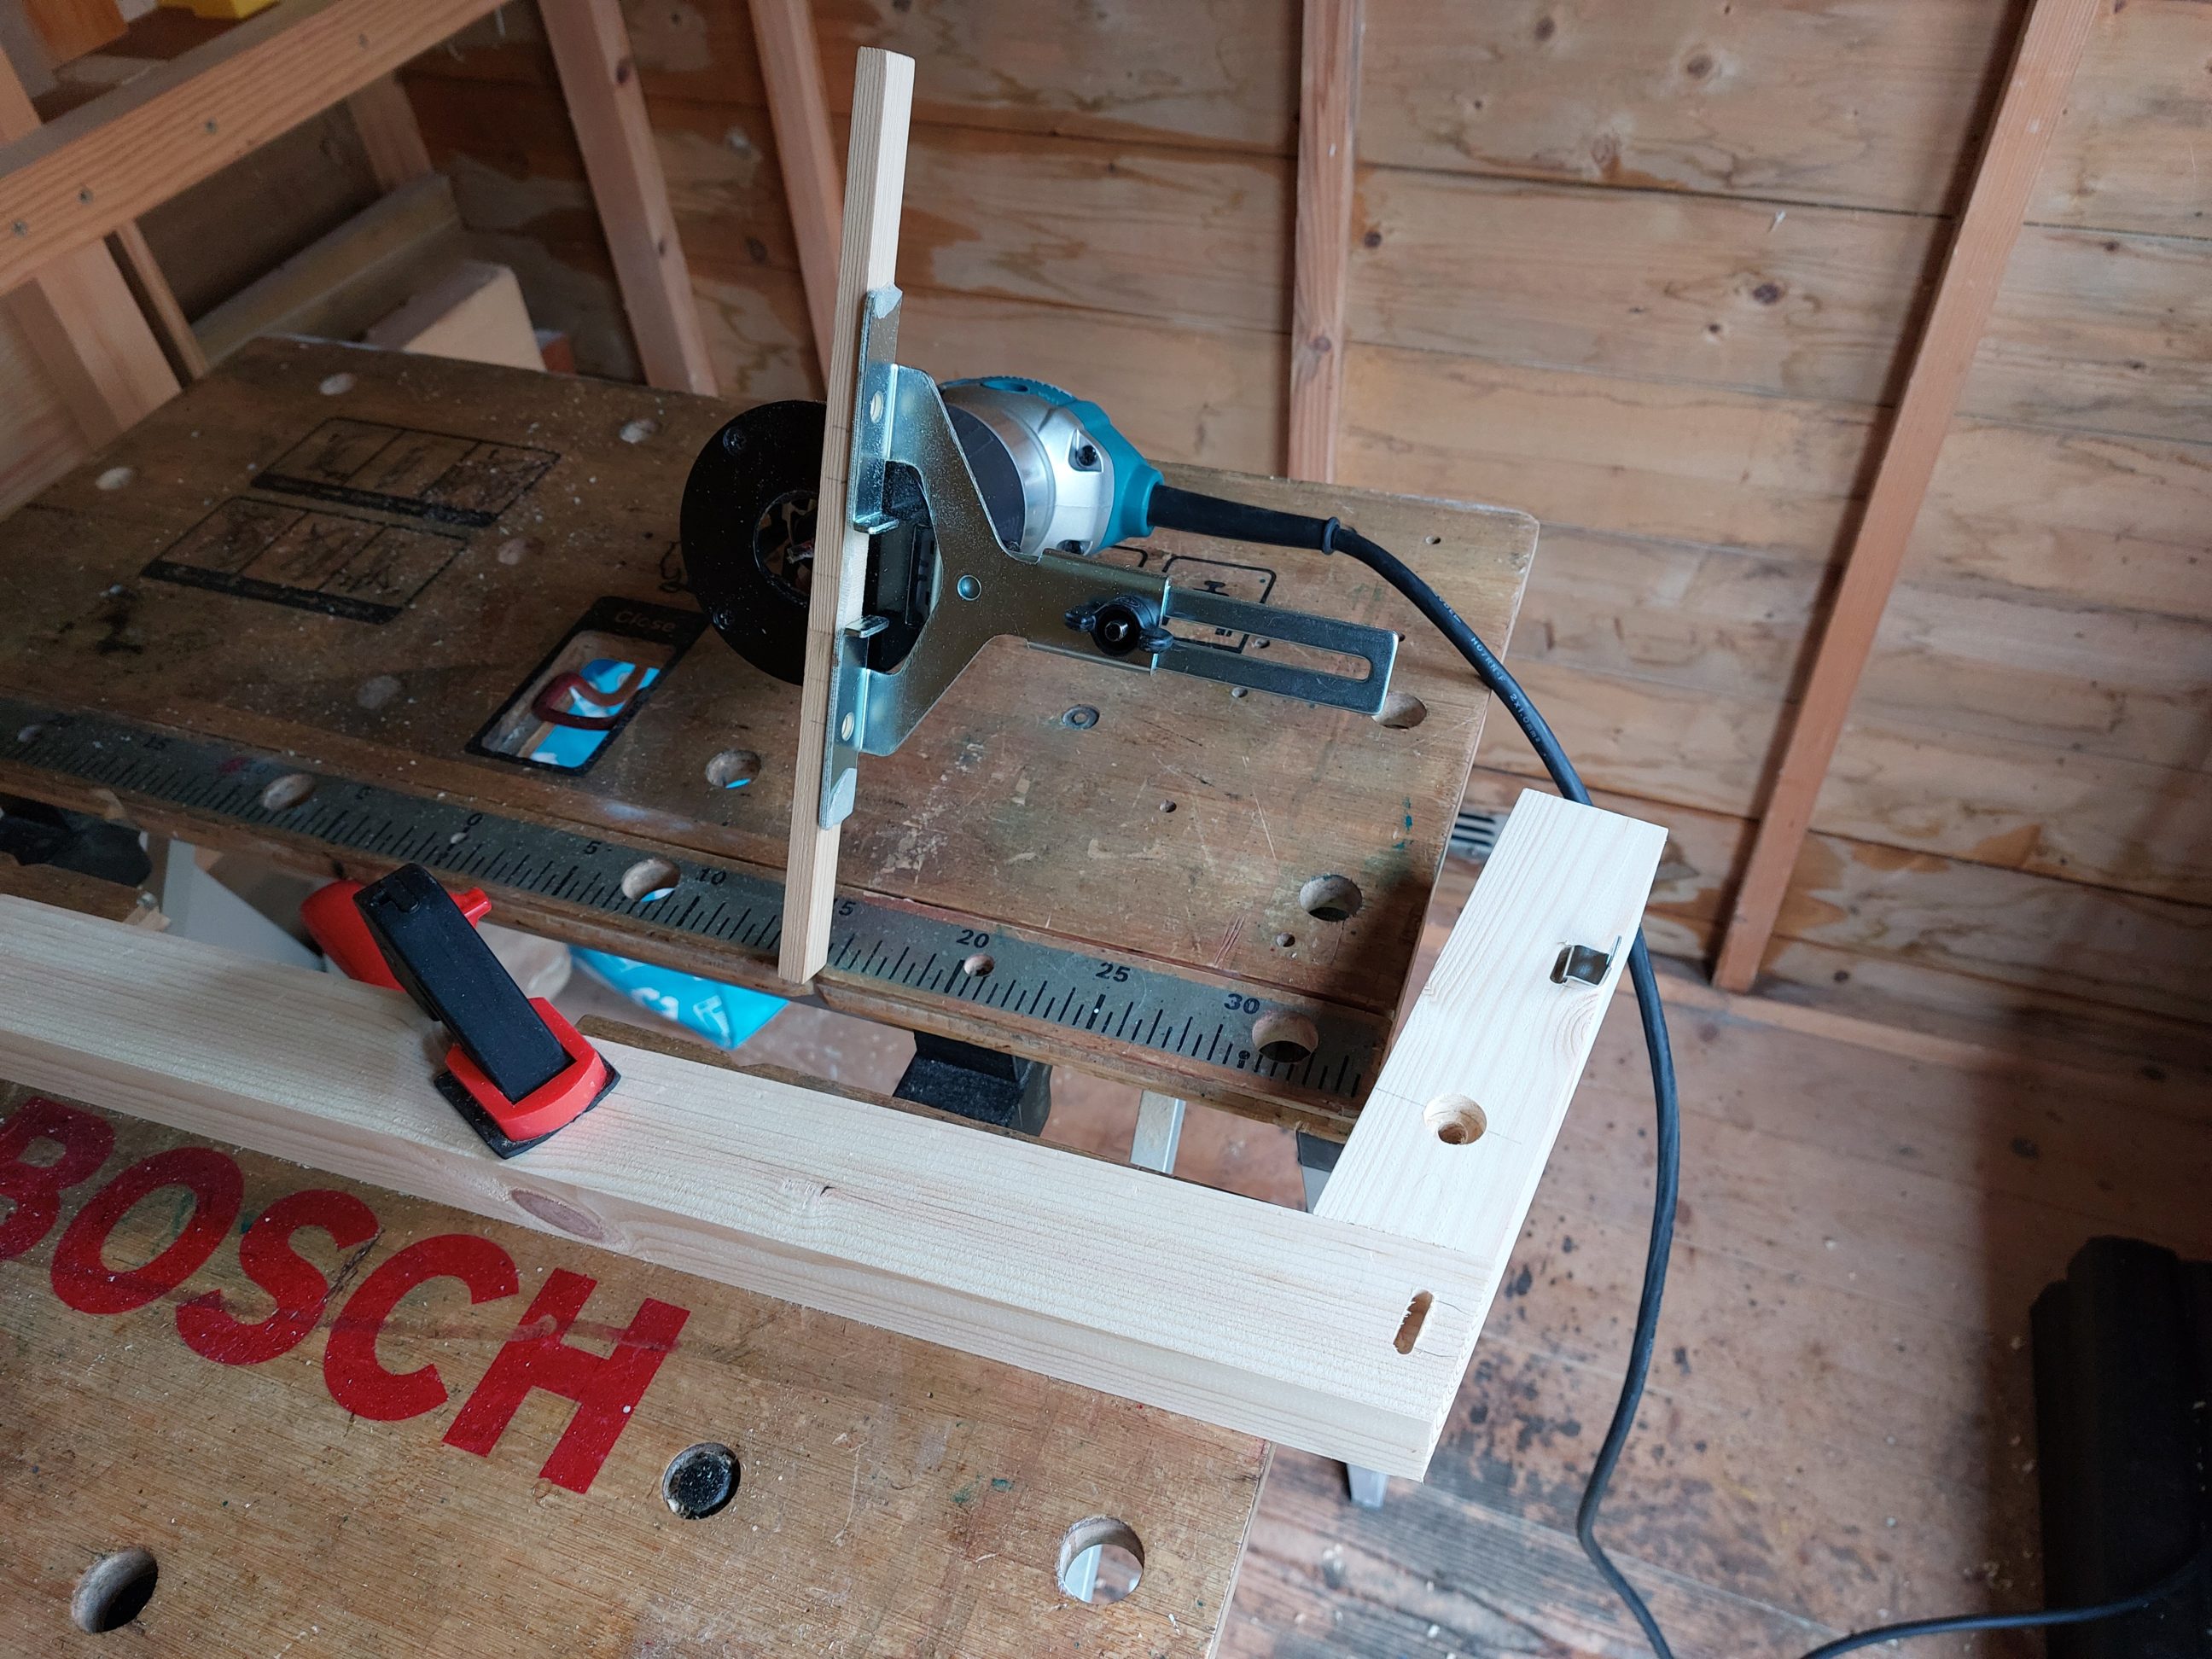
In order to start building the table legs, I had to plane down one of the moulding edges first, which was easily done with my 12-volt planer. Then, I cut three legs to size with 10º angles at each end. The cross-bracing pieces were also cut at a 10º angle, flipped, and cut again at a 30º angle on the other end. Initially, they were cut too long, but I trimmed them down when I clamped them together to see how it all looked. The whole process of cutting those angles was a breeze, thanks to my precision mitre gauge equipped with a stop block. Moving on with work, I used my dowelling jig, which had been gaining more and more use in my projects, to join the leg parts. Both the mitre gauge and the dowelling jig came from the Far East, were quite inexpensive and had done a great job in my workshop. Working with good materials and using good tools made the process of building the legs a lot easier, the only challenge in that step was finding the right way to clamp the glue-ups.


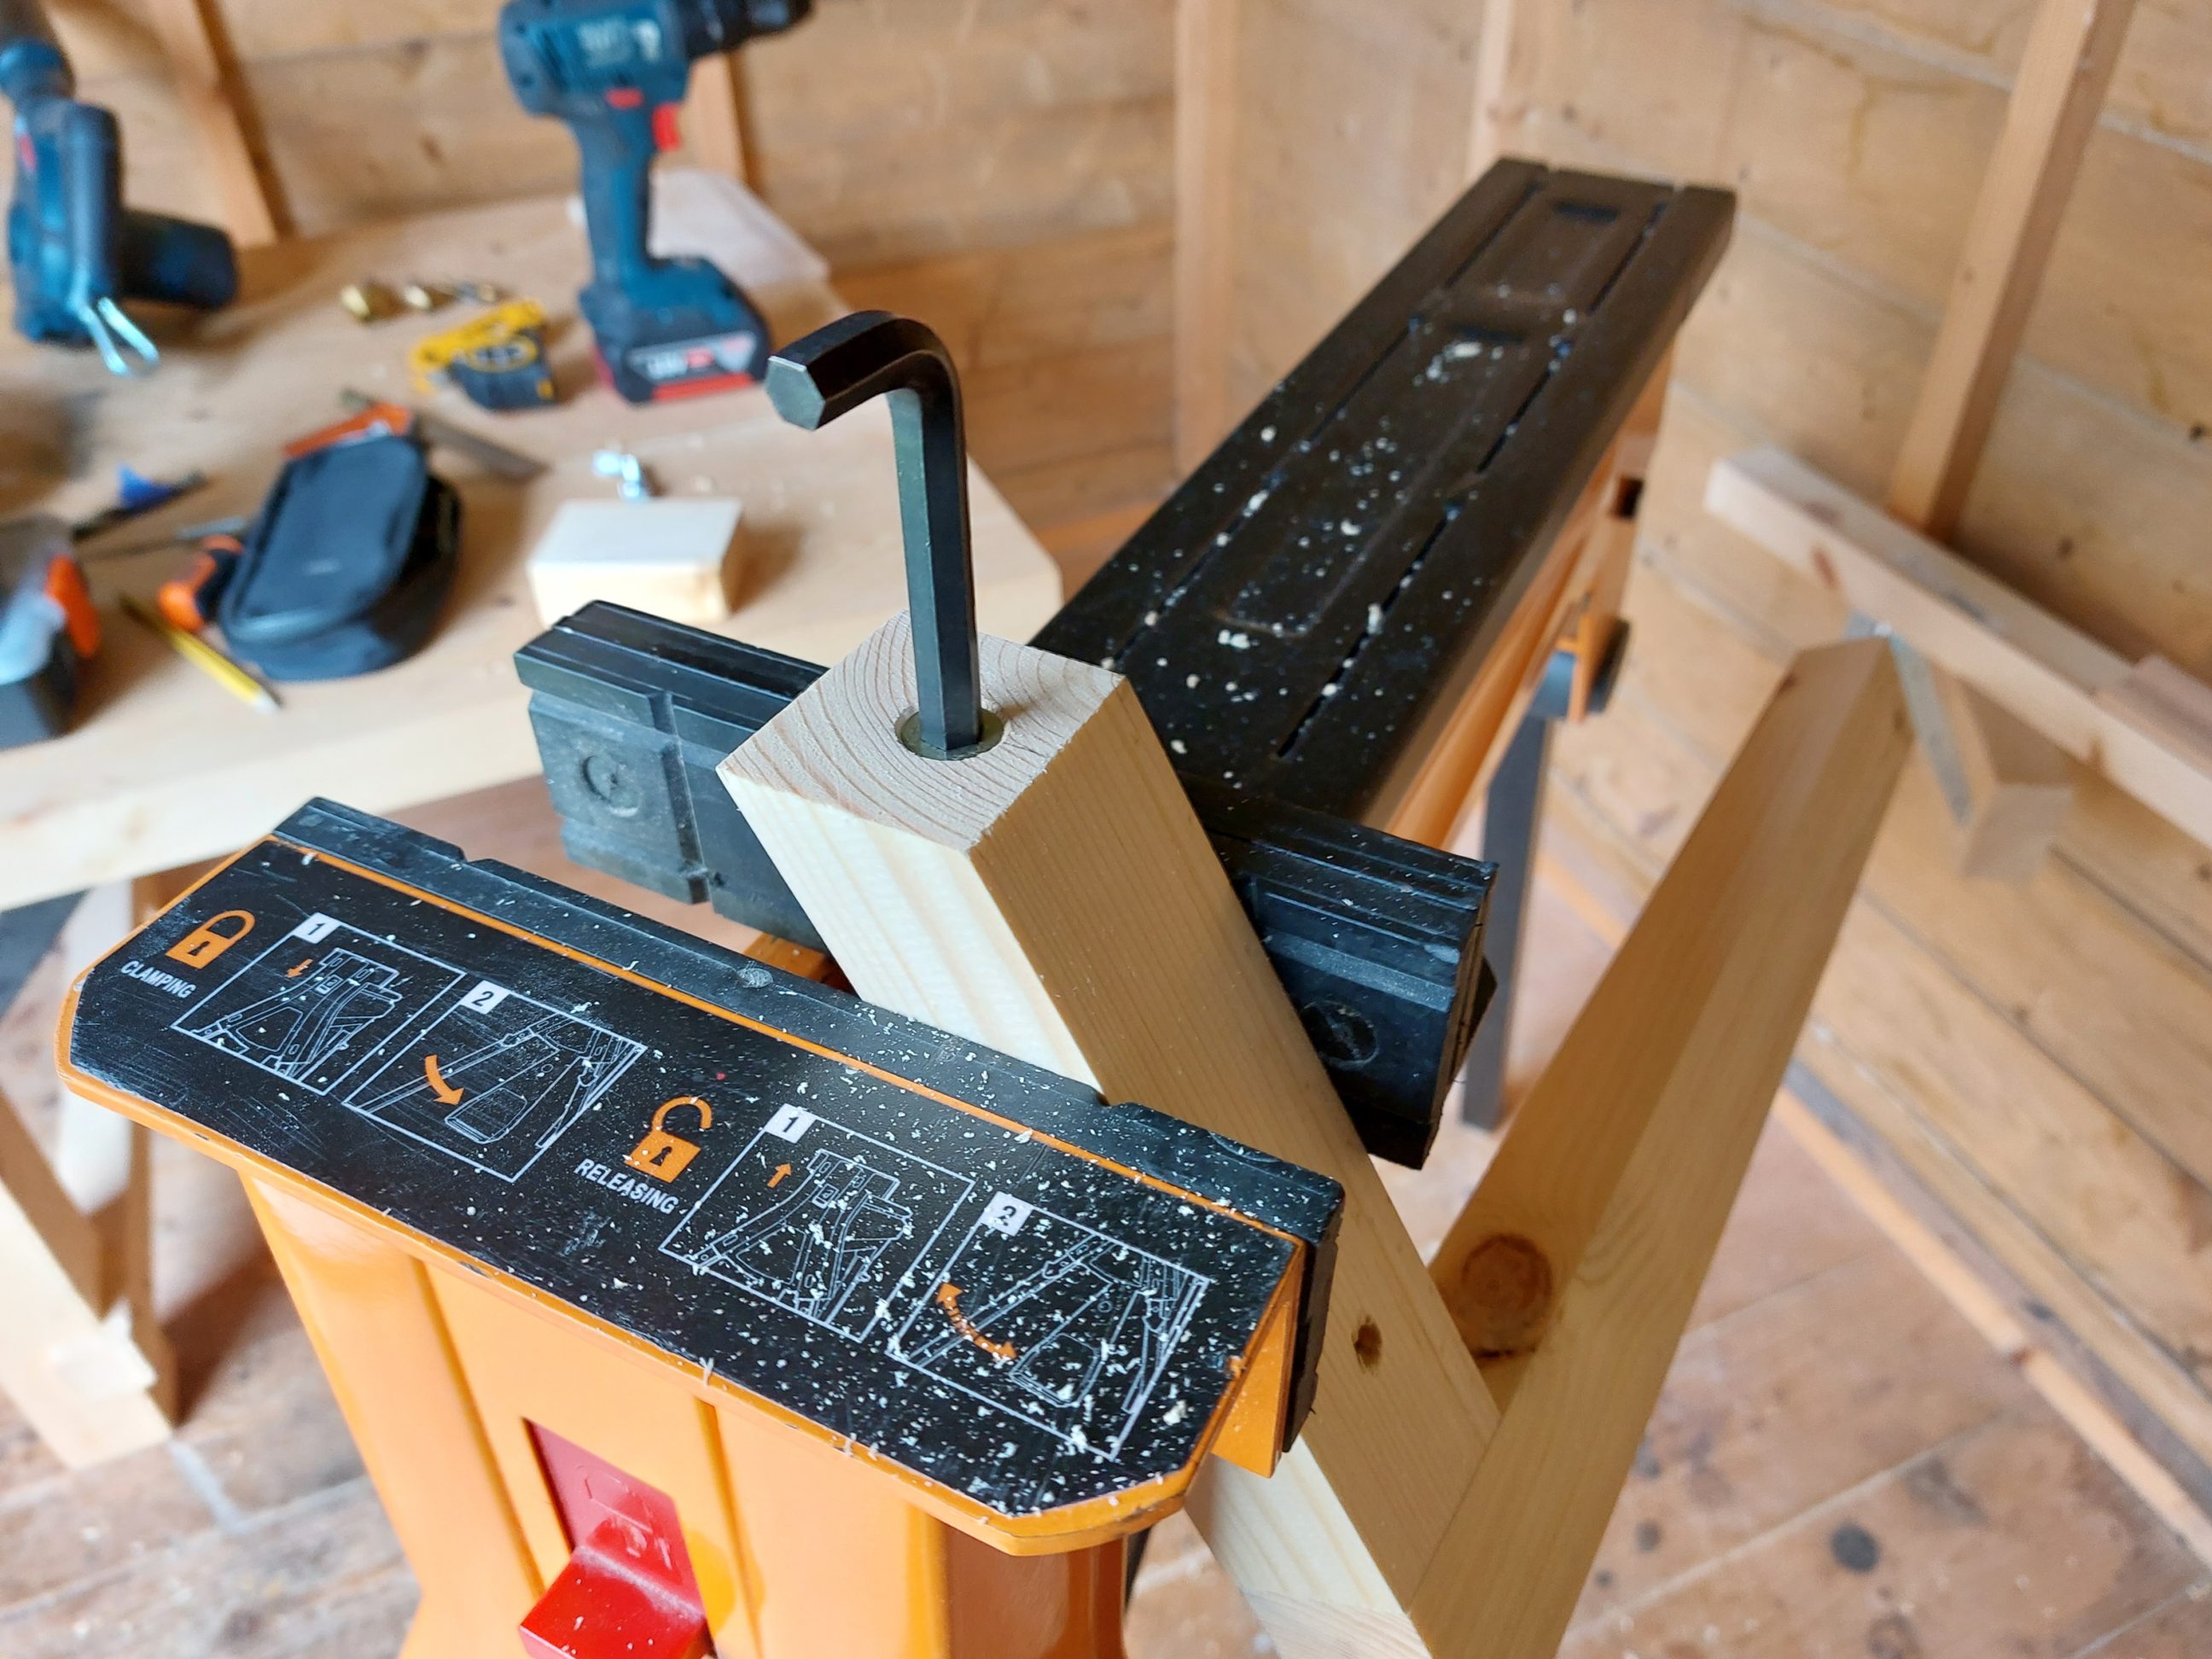
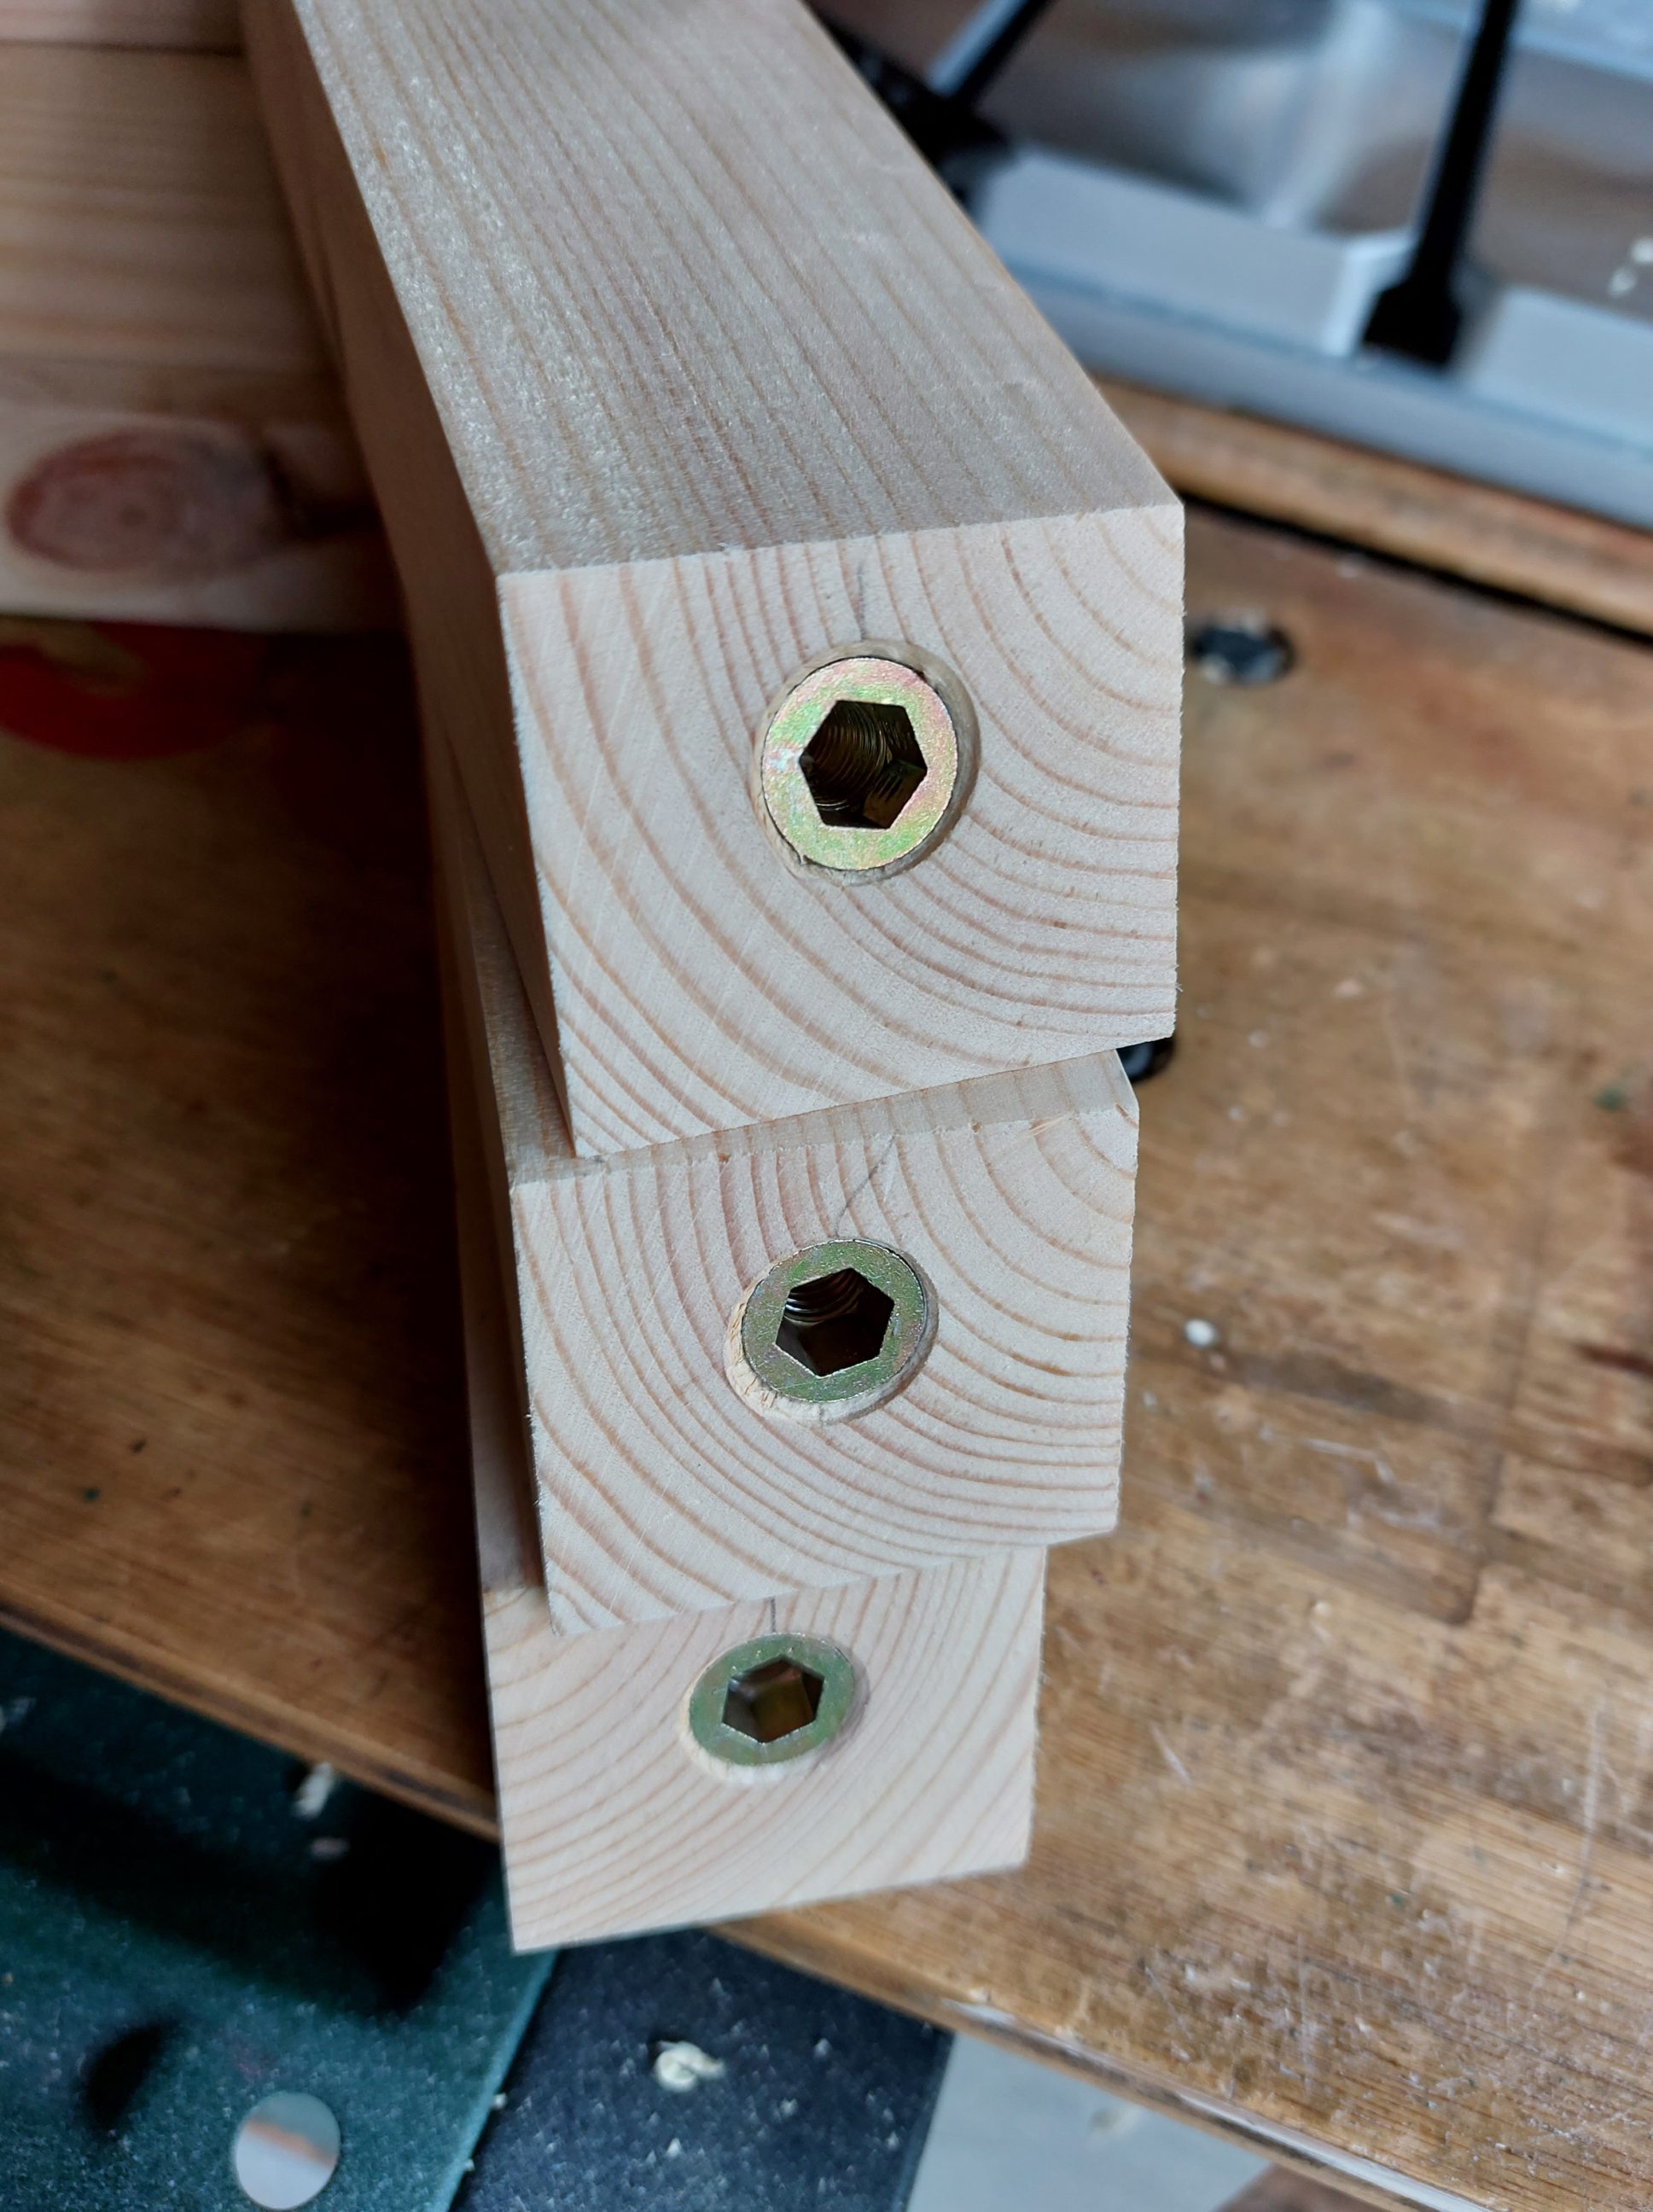
After drilling and counterboring a single hole in the side of each bracing element, I moved on to drilling the corresponding holes in their fronts. That had to be done free-hand, so I clamped each workpiece flat and levelled it with the vice jaws to have a larger visual reference surface and ensure I was drilling perpendicular down. It was important not to clamp the workpiece too hard, as it could deform it and result in an ovate and not a round hole after unclamping. Once each hole was countersunk, inserts were screwed in with a hex key. This part of the process was probably the most challenging, as there was very little room for error. It had to be done slowly and precisely, mostly free-hand.


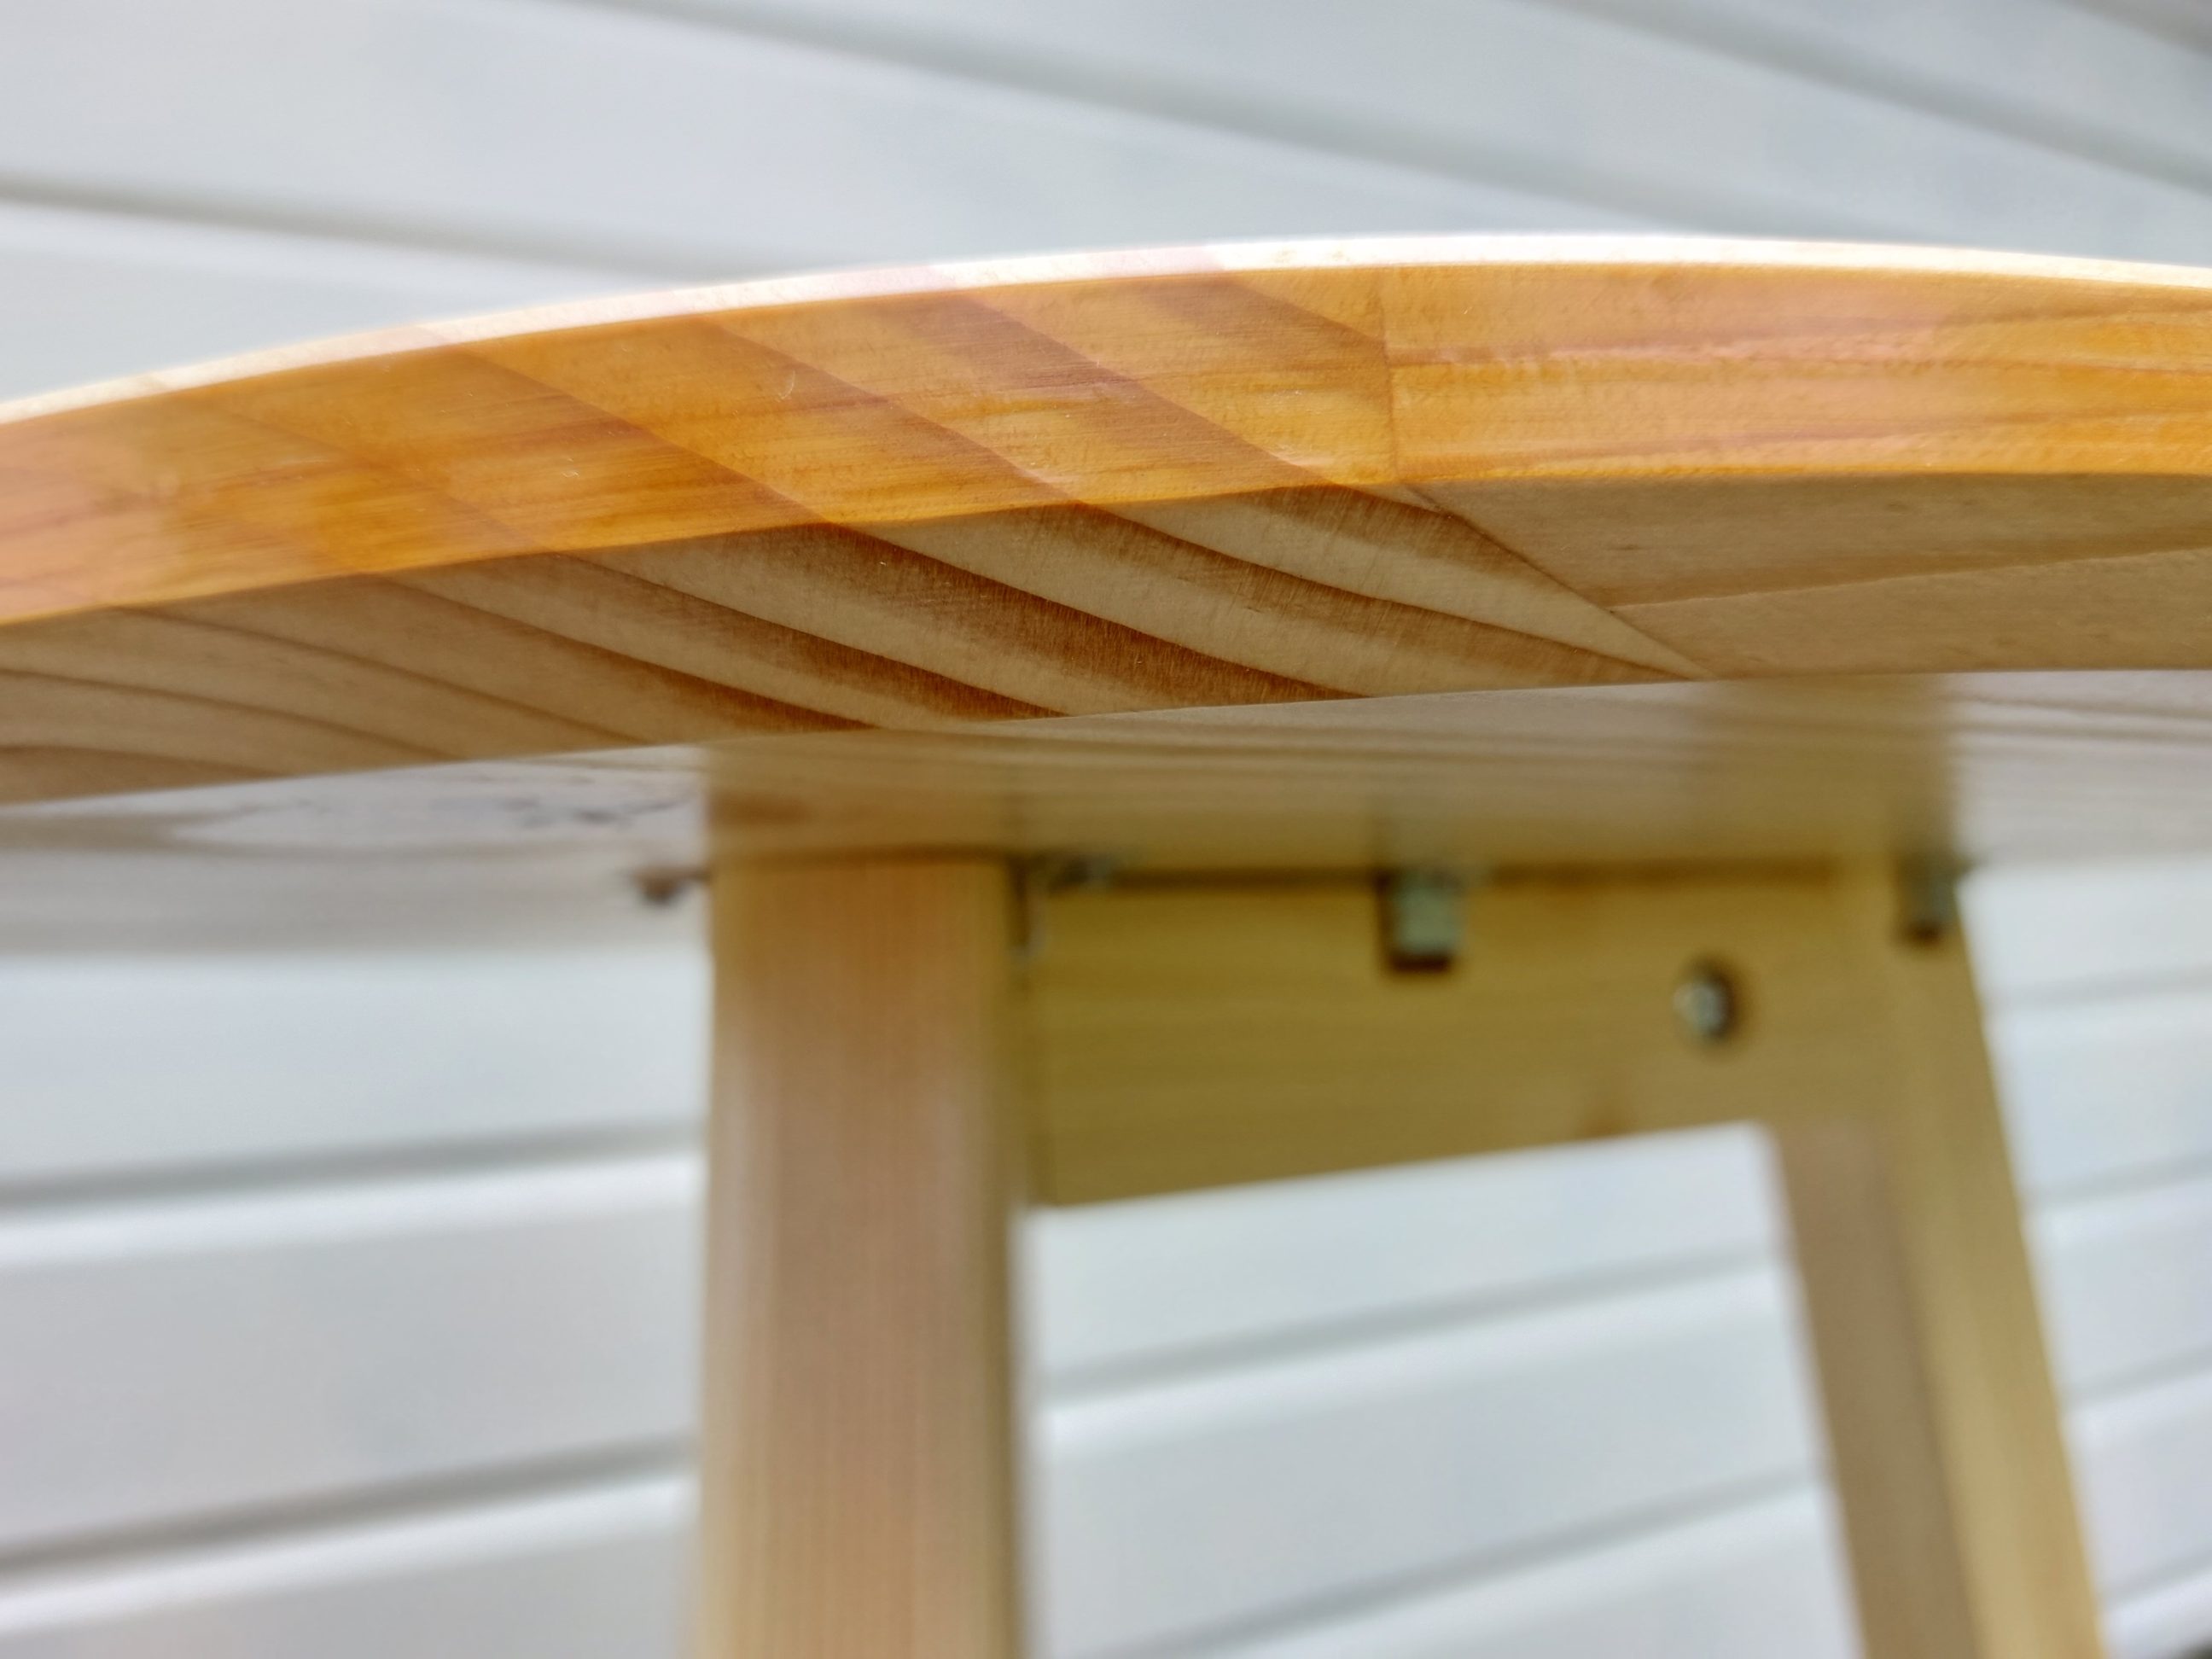
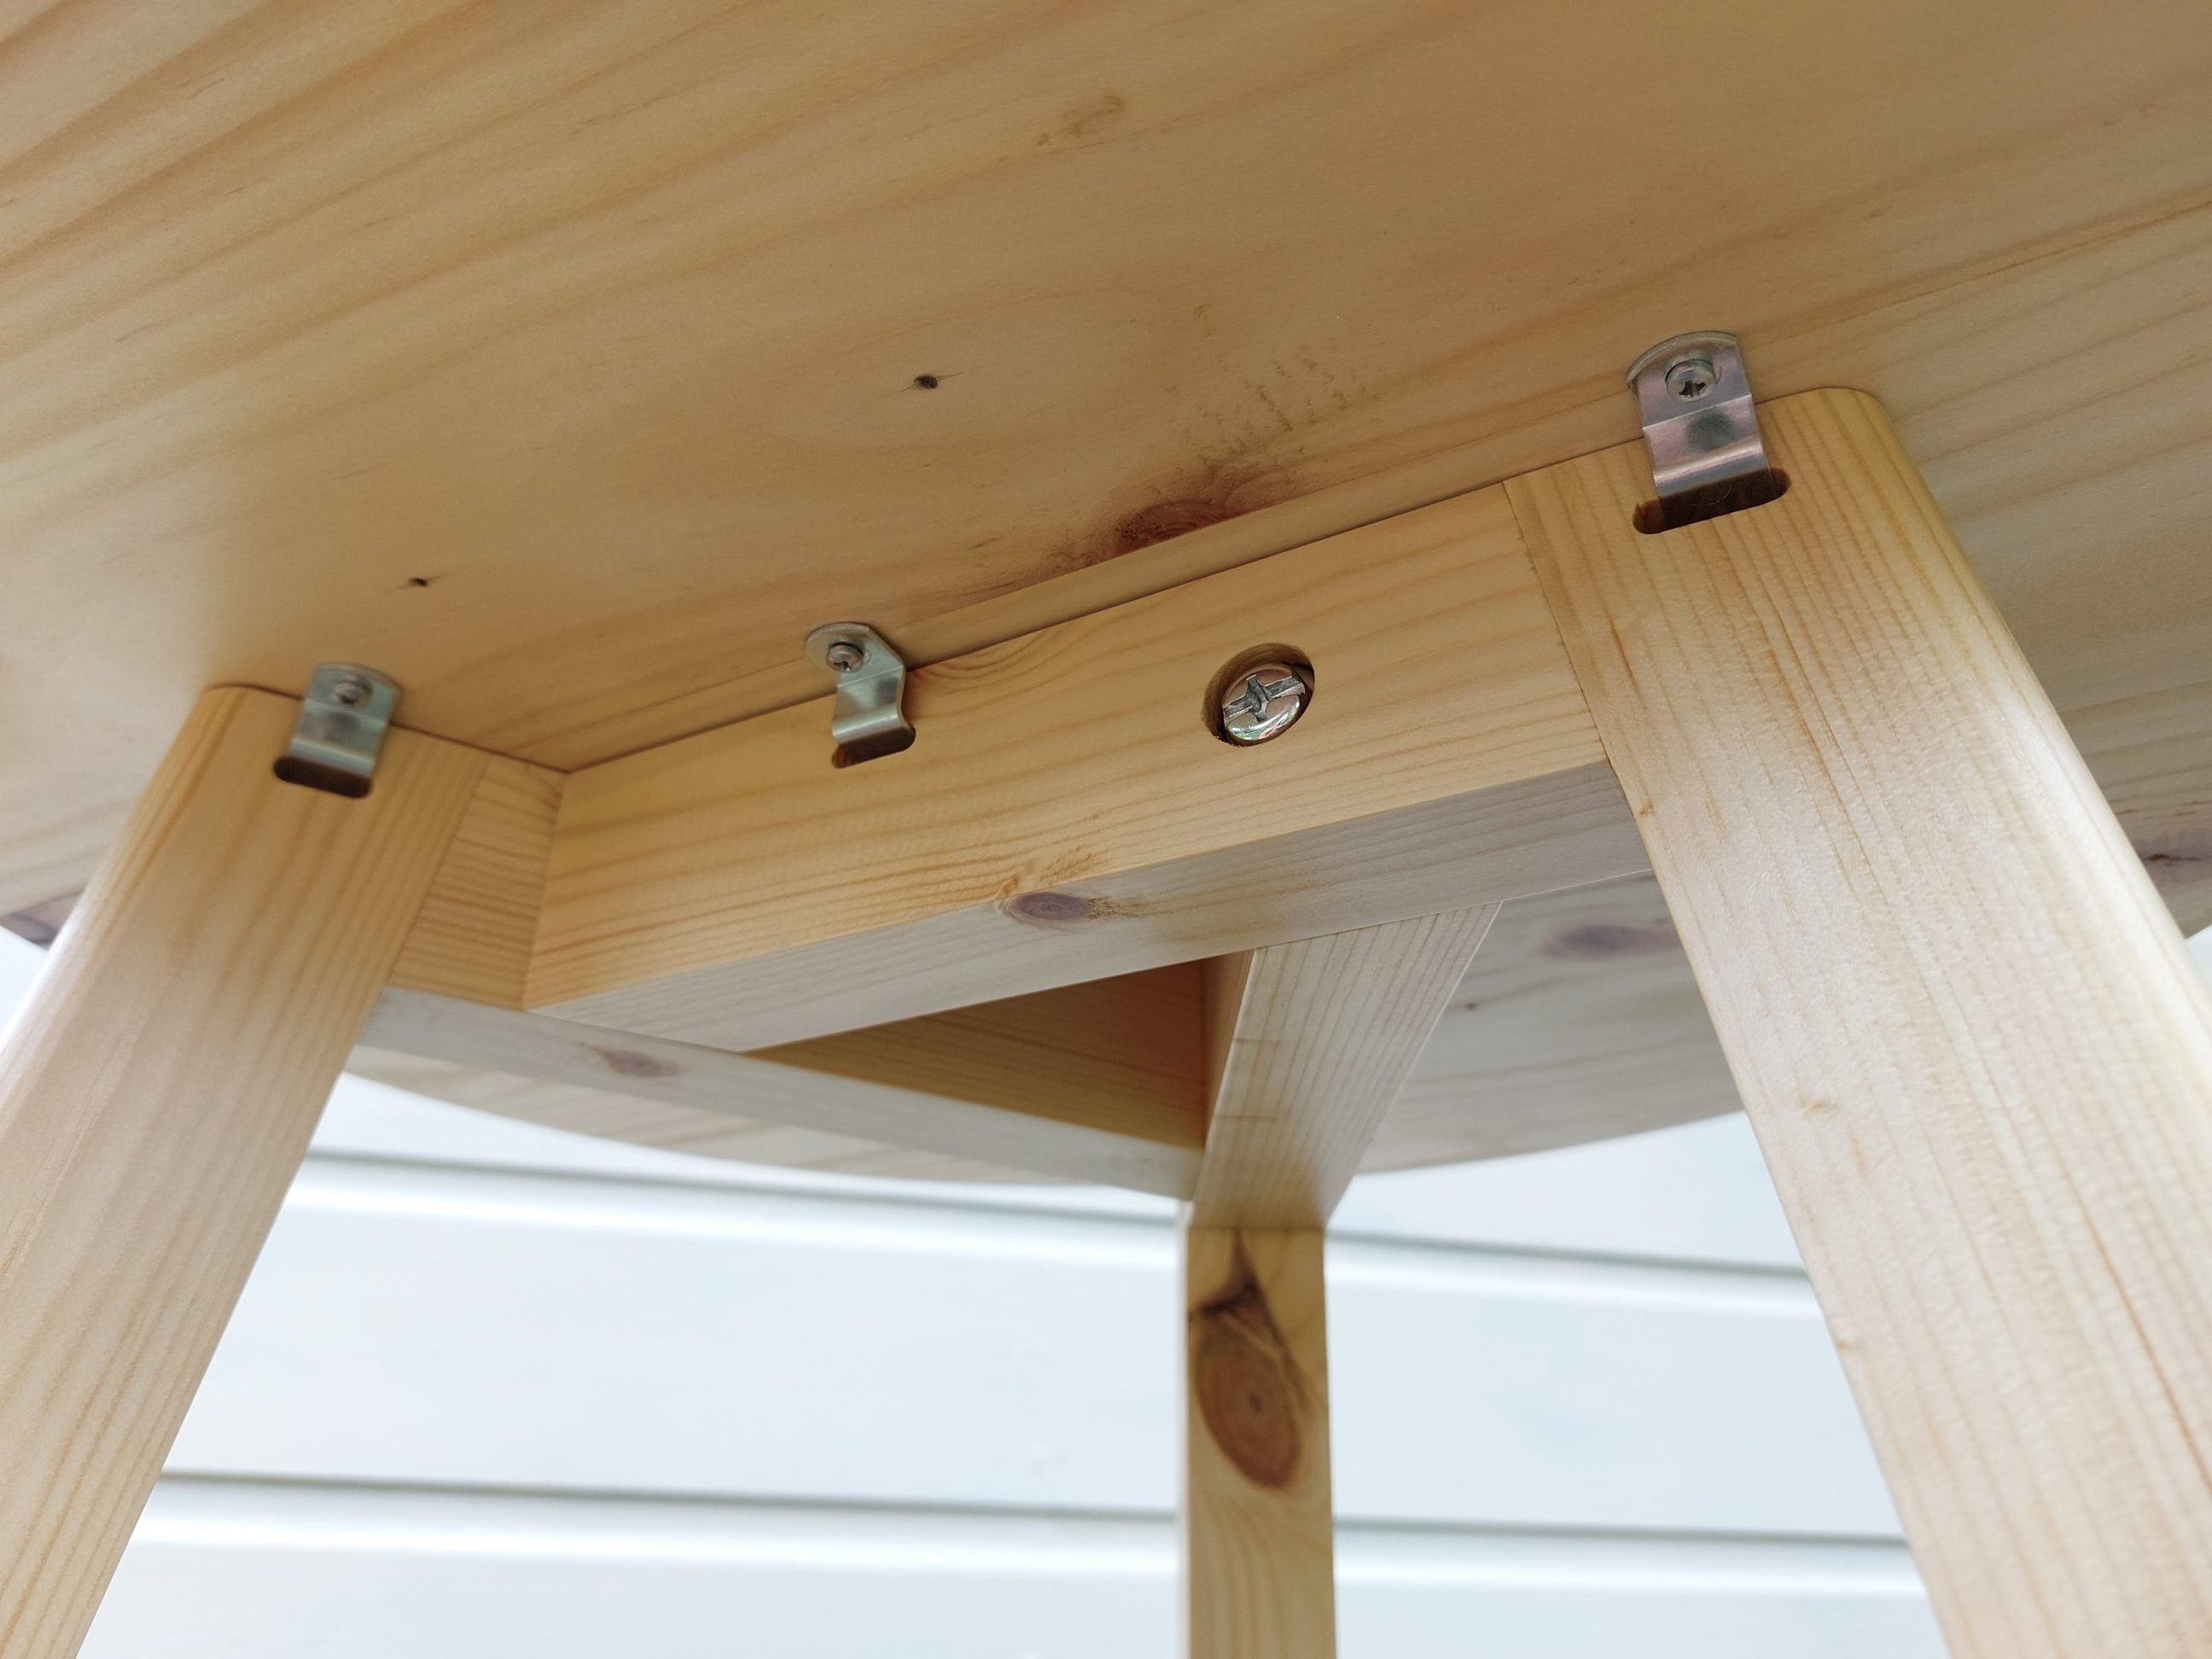
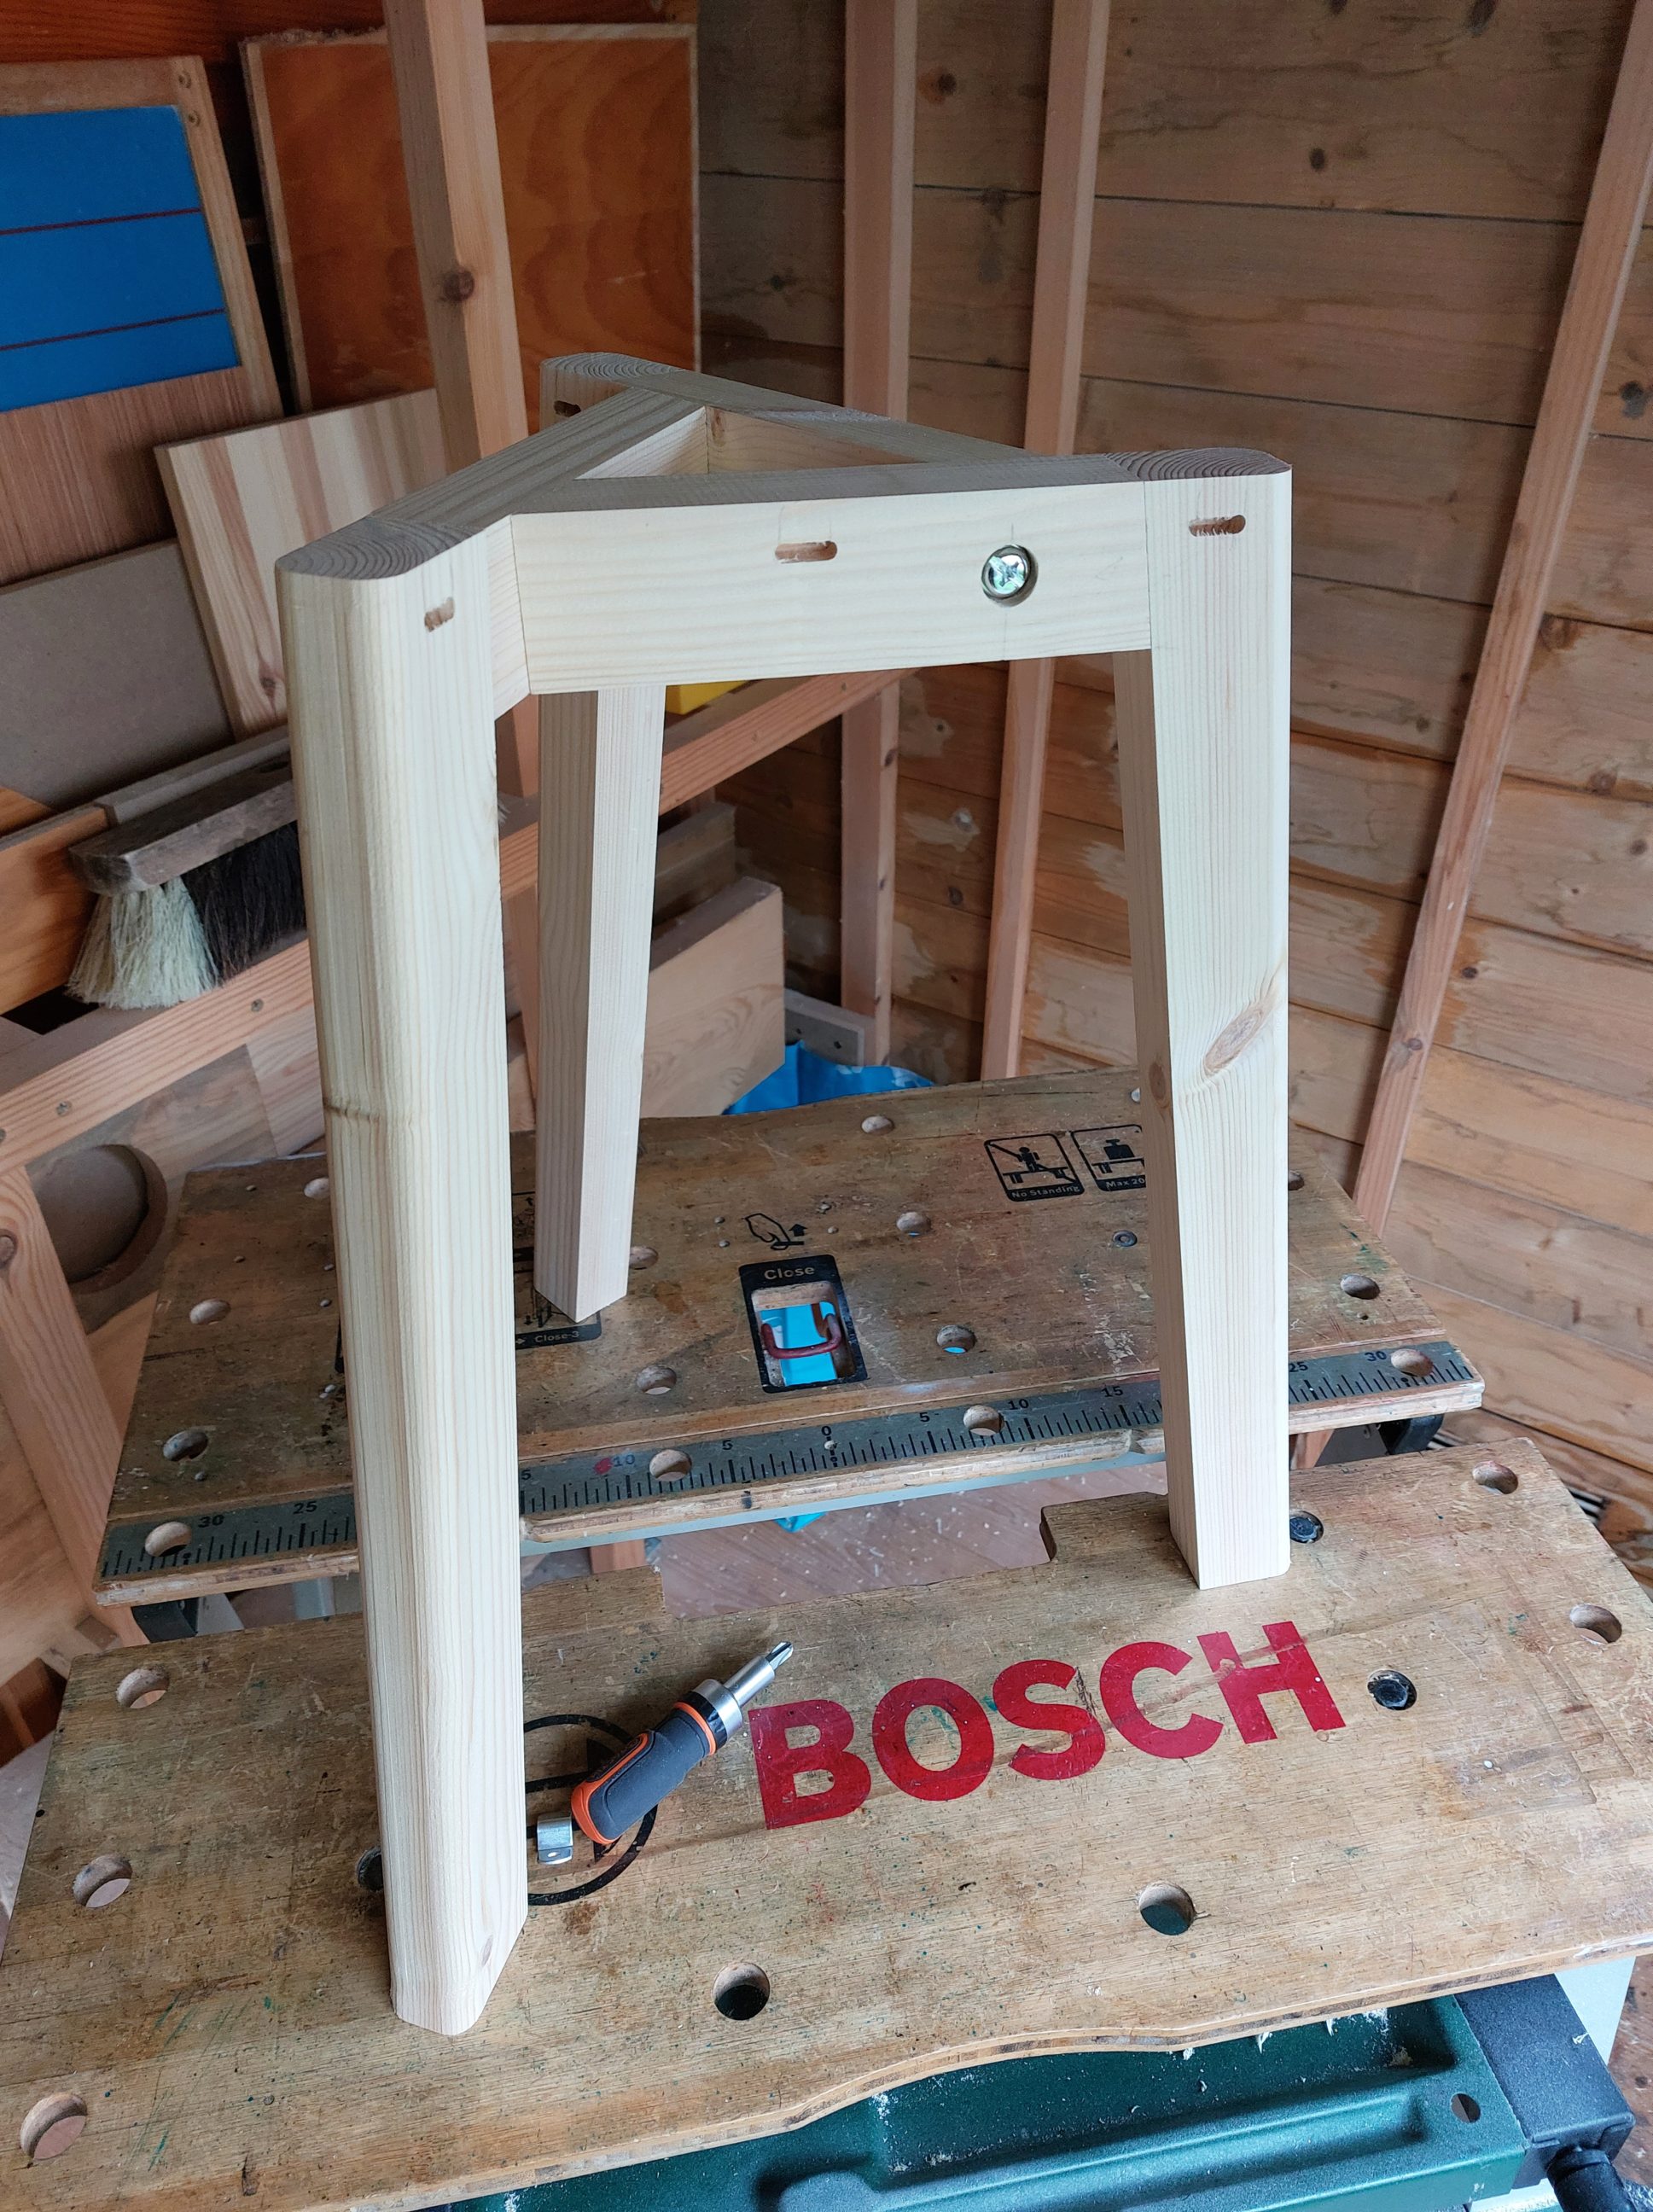
To mount the legs to the tabletop, I decided to use a well-tried method of using “z-clips”. Although they weren’t exactly designed for that type of service, they had never let me down when fixing tabletops. To do this, I routed out three slots in each piece and since the router was already in use, I rounded over the front edges of each leg. After an initial assembly, I brought the base inside for a few days to drive out any moisture from the wood and check if any joints needed rework. That winter was very wet, and it affected the timber I had stored. The high moisture content had to be considered, and ideally, all projects should have been postponed. I kept on, however, building things in my workshop, despite the weather. After a few days, the base was left to dry for, no larger gaps developed and it was good for further processing. In that build, I managed to orient the grain direction correctly, so, if any seasonal movements occur, the shift will be across and not lengthwise. That way the strength of the joints won’t be decreased but only the width of the connected pieces.


I disassembled the old coffee table, reused the clips and of course the tabletop. It had to be flattened and repaired – I wasn’t happy with the large knots that dried out, cracked and opened. First, with double-sided tape, the tabletop was fixed to the workbench and flattened on each side with my router and the jig. Then, all the cracks were filled up with 5-minute epoxy.

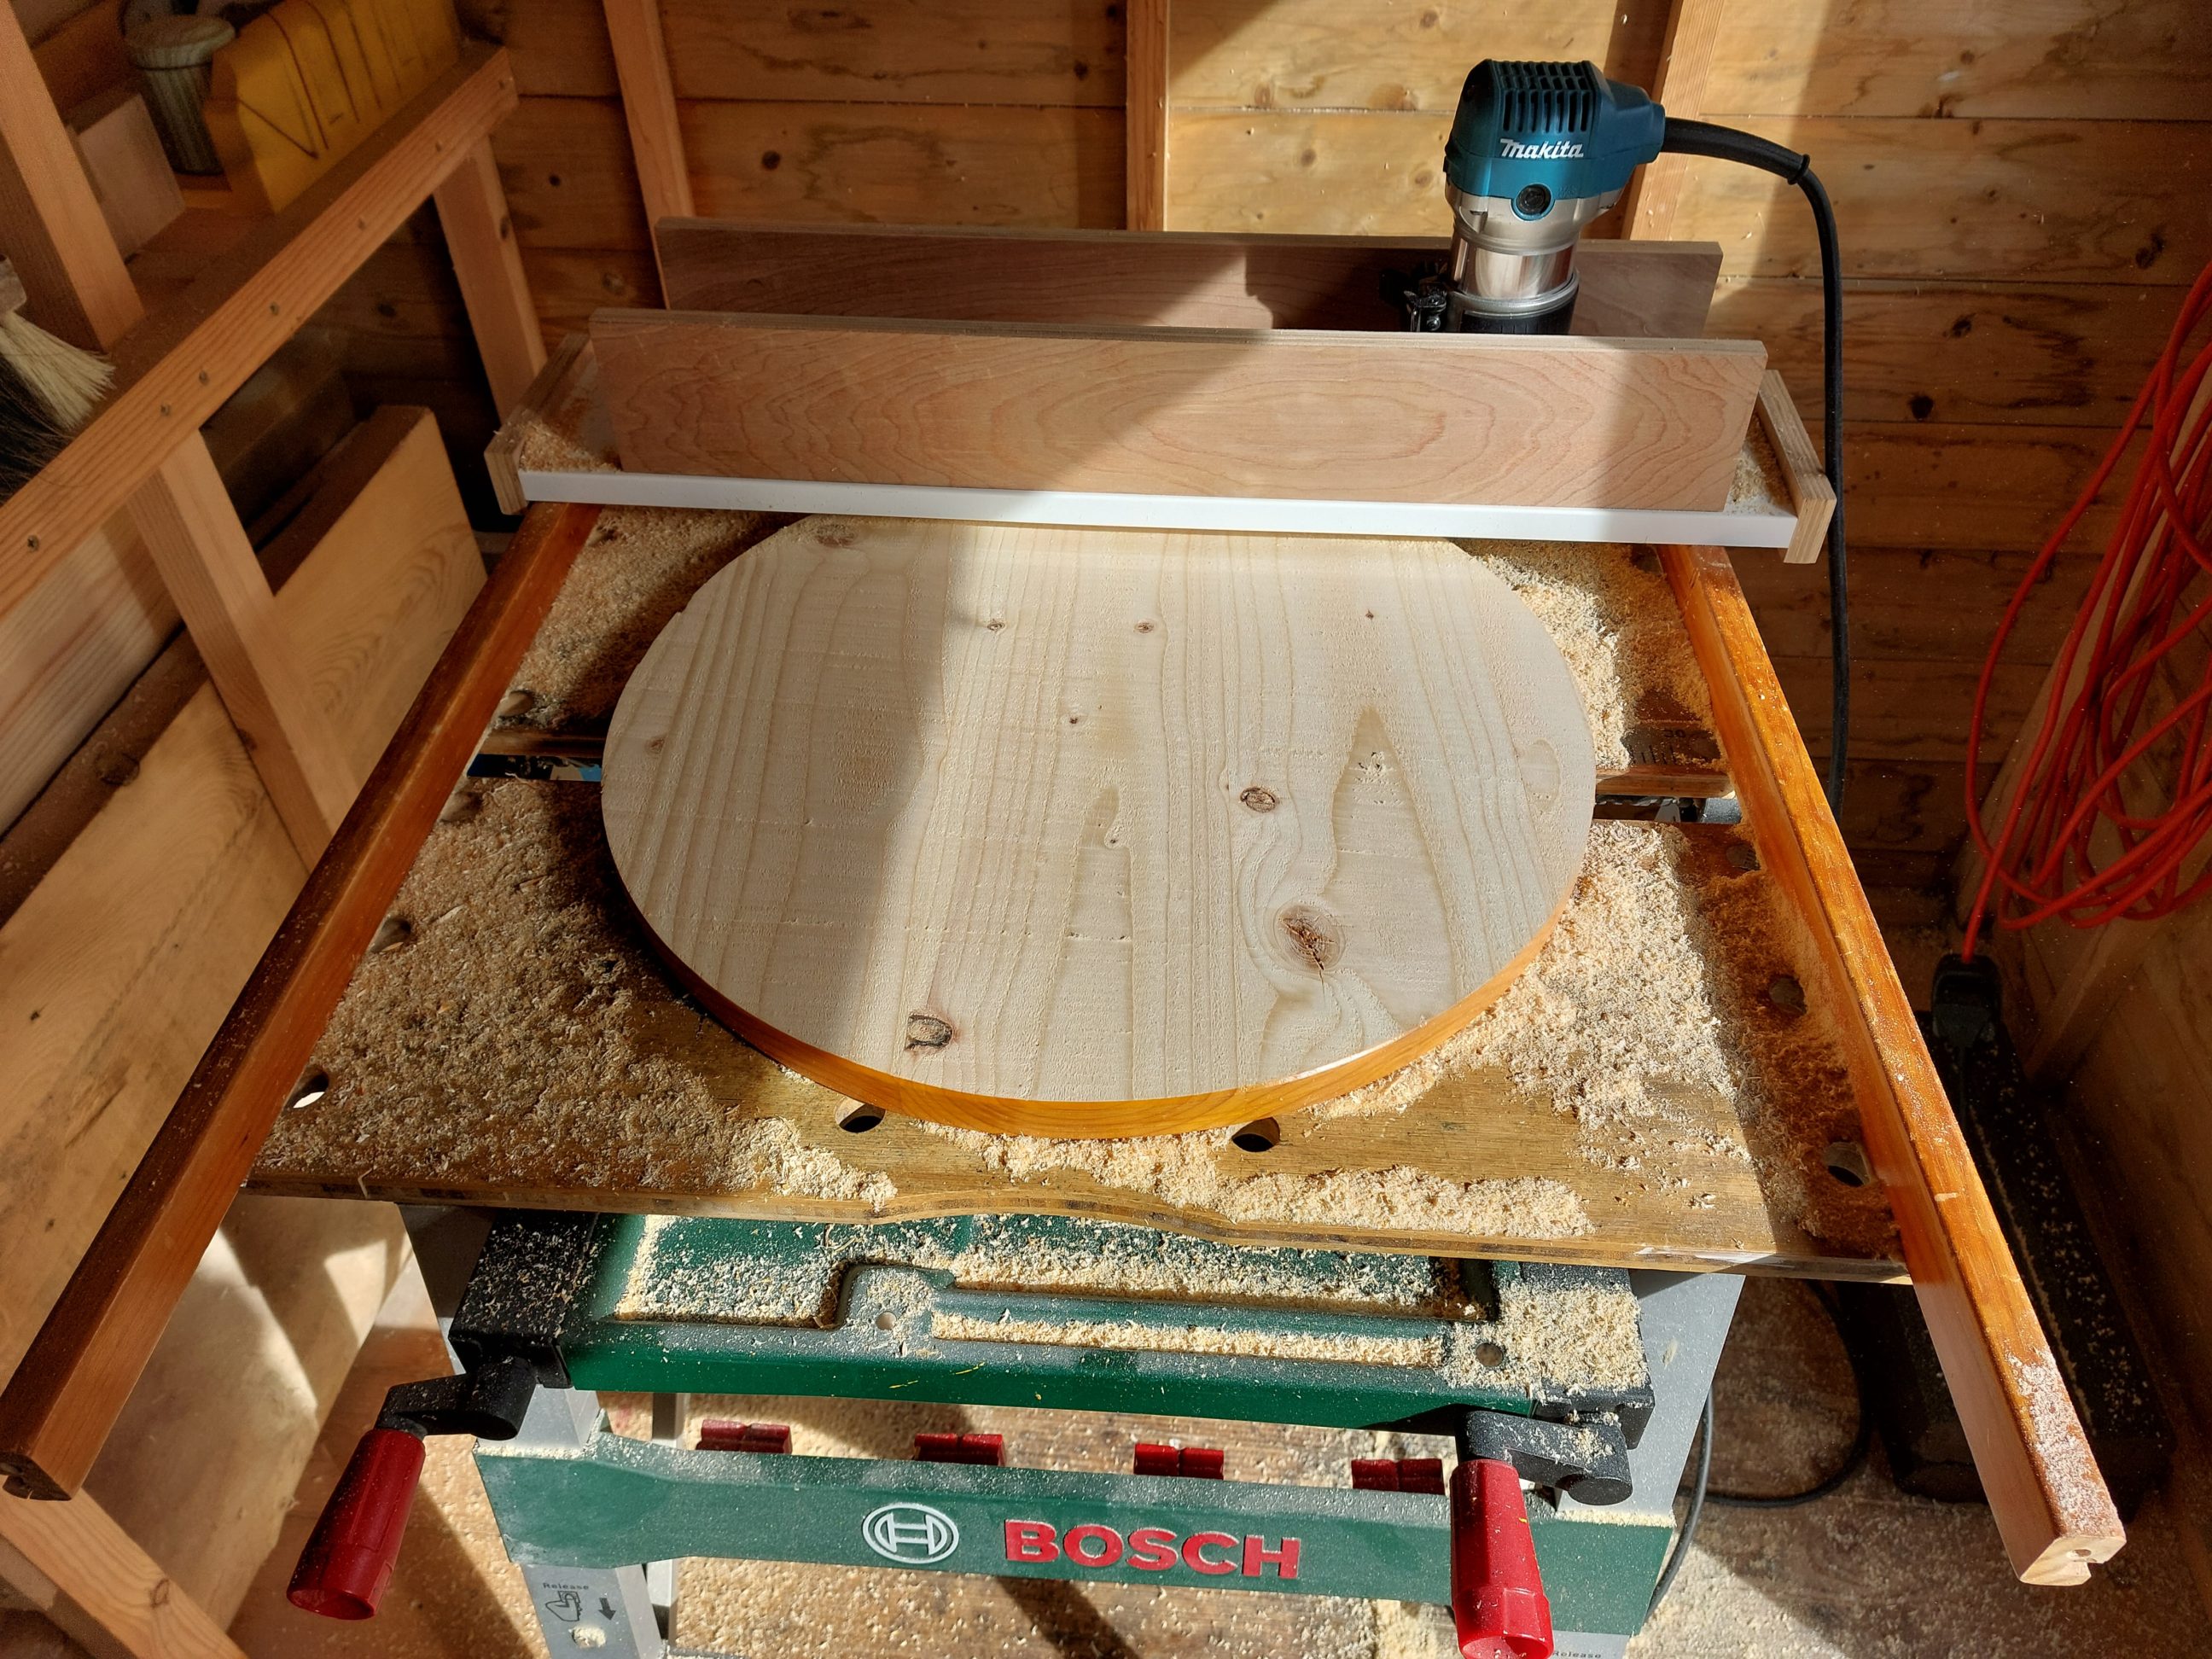

After sanding, I moved on to routing the chamfers. Knowing it wouldn’t be tear-out-free, I had to use routing tricks and techniques to get the best results possible. I used multiple shallow passes and climb cuts in tear-out-prone areas, and I opted for the bigger, 2-handled plunge base to get a good grip and to climb-cut safely. However, despite my efforts, these techniques didn’t help much, and I still had to do some detailed sanding. Unfortunately, working with cheap construction-grade timber often results in unavoidable tear-outs.


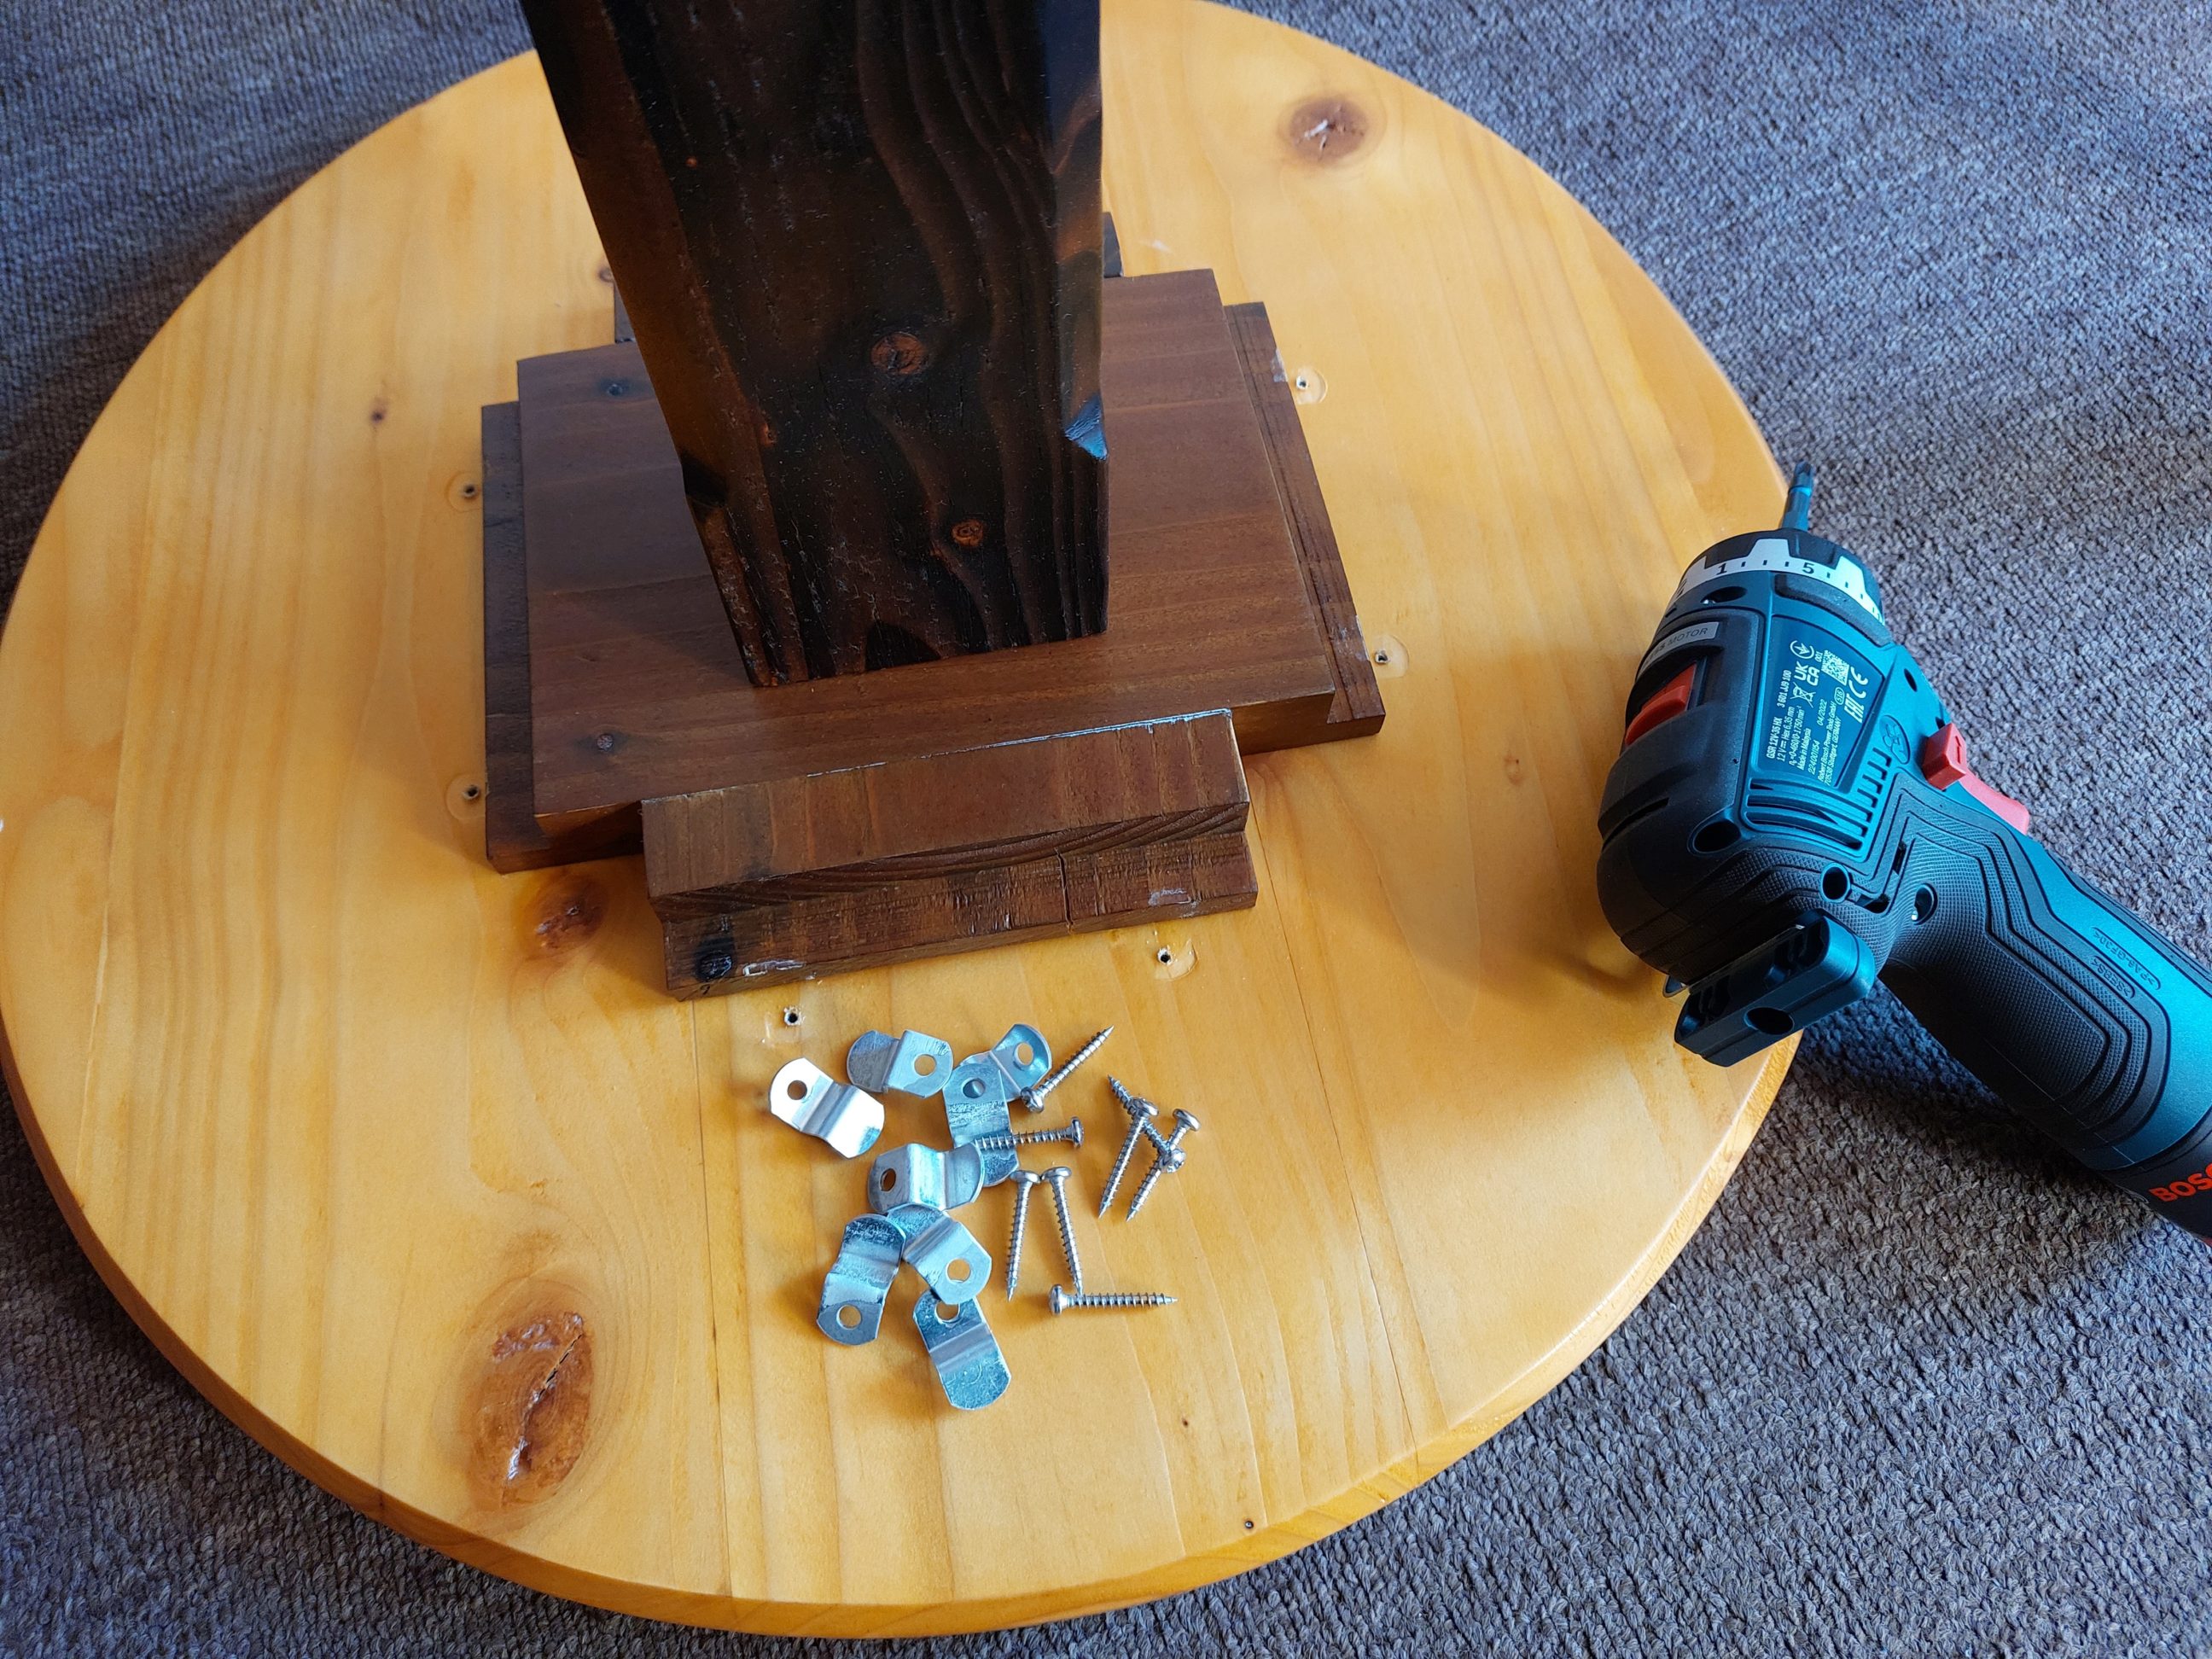
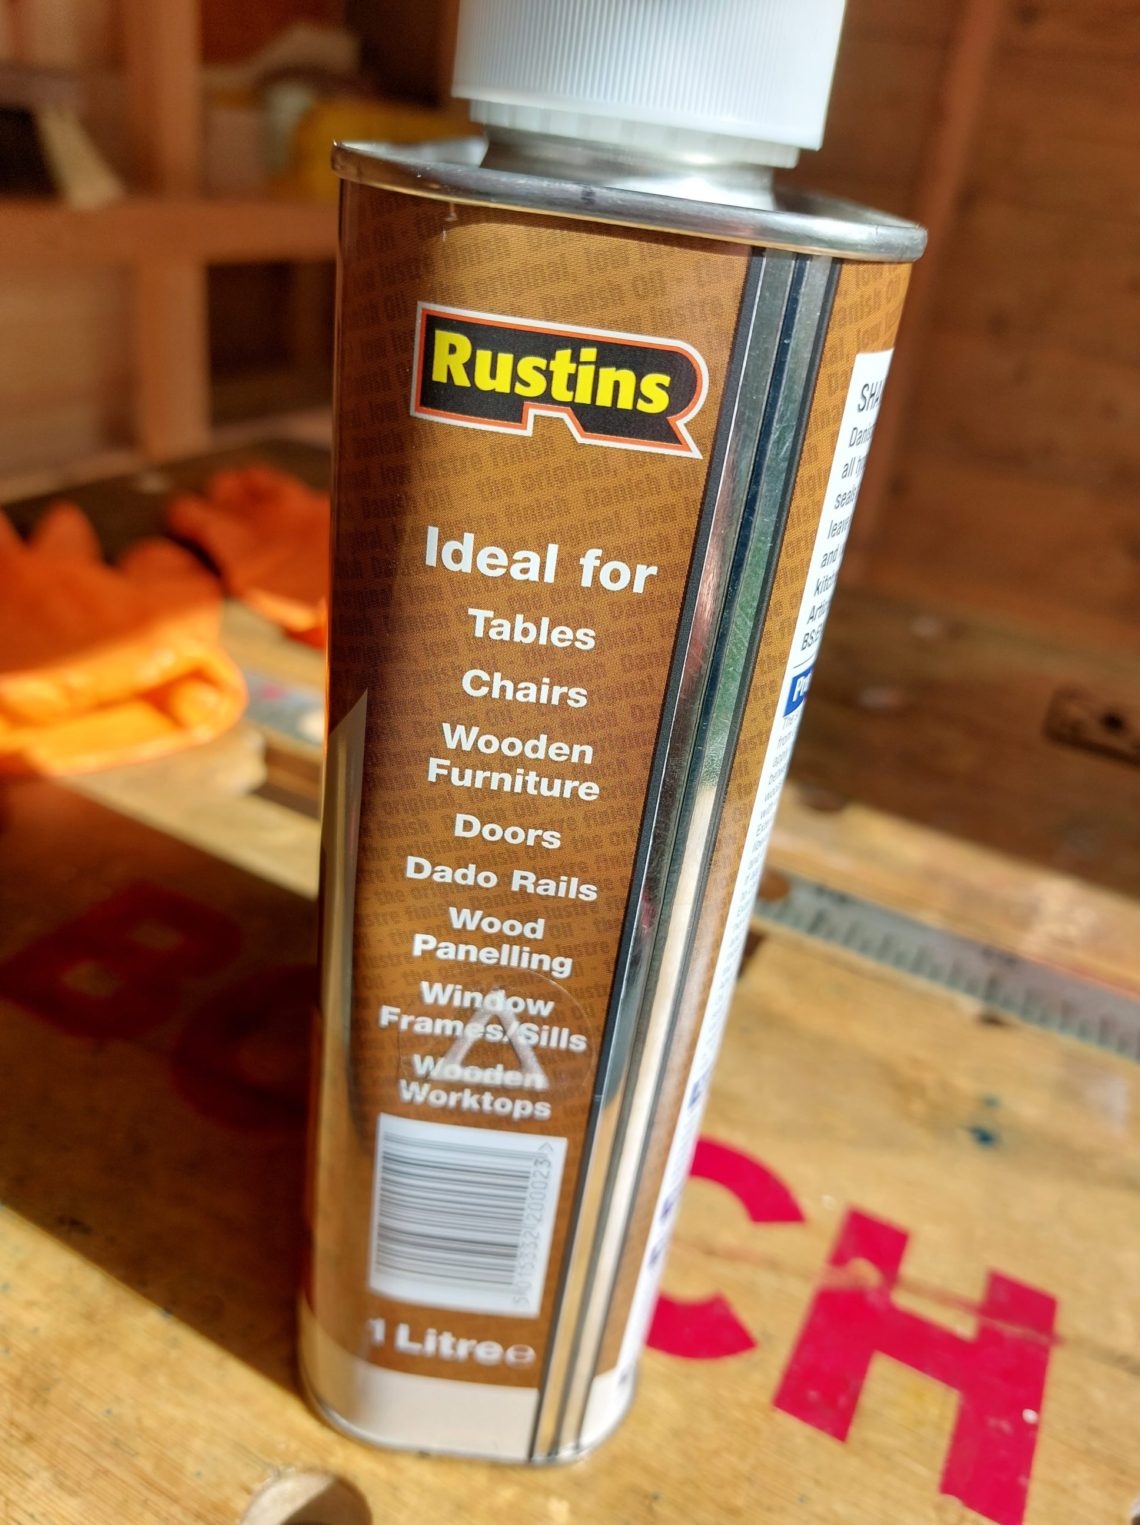
After an initial sanding, I switched the tool from an orbital to a finishing sander and installed a 240-grit sheet on it. The smoother the better – at that point I knew what finish would be used and sanded all the surfaces as best as I could. Again, the weather was still terrible, with high winds and that determined the finish used for that project. I didn’t want to use film finishes as all the particles flying in the air would only mar it, I used a penetrating finish instead. At first, I didn’t consider using Danish oil for a tabletop made of cheap and delicate material, but eventually, I had not much choice and the label saying “ideal for tabletops” convinced me for good. 3 coats were applied and thoroughly buffed with kitchen paper towels after a drying time of 10 minutes. Leaving the oil to sit on the surface for more than 10 minutes isn’t a good idea as it becomes too gummy and not easy to buff off. The last 3rd coat was additionally applied with a scouring pad, and not only a disposable brush, with the direction of the grain – just like the label said, and it resulted in a superior, silky smooth and exceptional finish. What is important in that process and has to be emphasised is the fact of thorough buffing and not only wiping away the surplus, which takes as much time as another 10 minutes. The finishing process took me 3 days and once everything dried completely, I installed the z-clips (canvas offset clips, to be precise).


I was very sceptical about using the old tabletop in this project, but it has transformed completely and in a good way of course. Its renewed version is flat, has repaired knots and is in the beautiful colours of mellow yellow and pinkish. The legs have tight dowel joints and form a stable base with just 3 connecting bolts. The total number of z-clips is 9 and that is sufficient for rock-solid assembly, allowing for seasonal movements at the same time. The table is self-balancing as a result of the 3-legged construction, light and portable. I appreciate the fact that it could be built as a reproduction of an existing project which saved me time in figuring out the right dimensions, angles etc. Of course, I can compare not only the look but also the cost of the two. It is a nice feeling that I could compete with a big manufacturer, adopt their ideas for my needs, reuse an old piece of furniture and build something quite nice myself.