
Router flattening jig
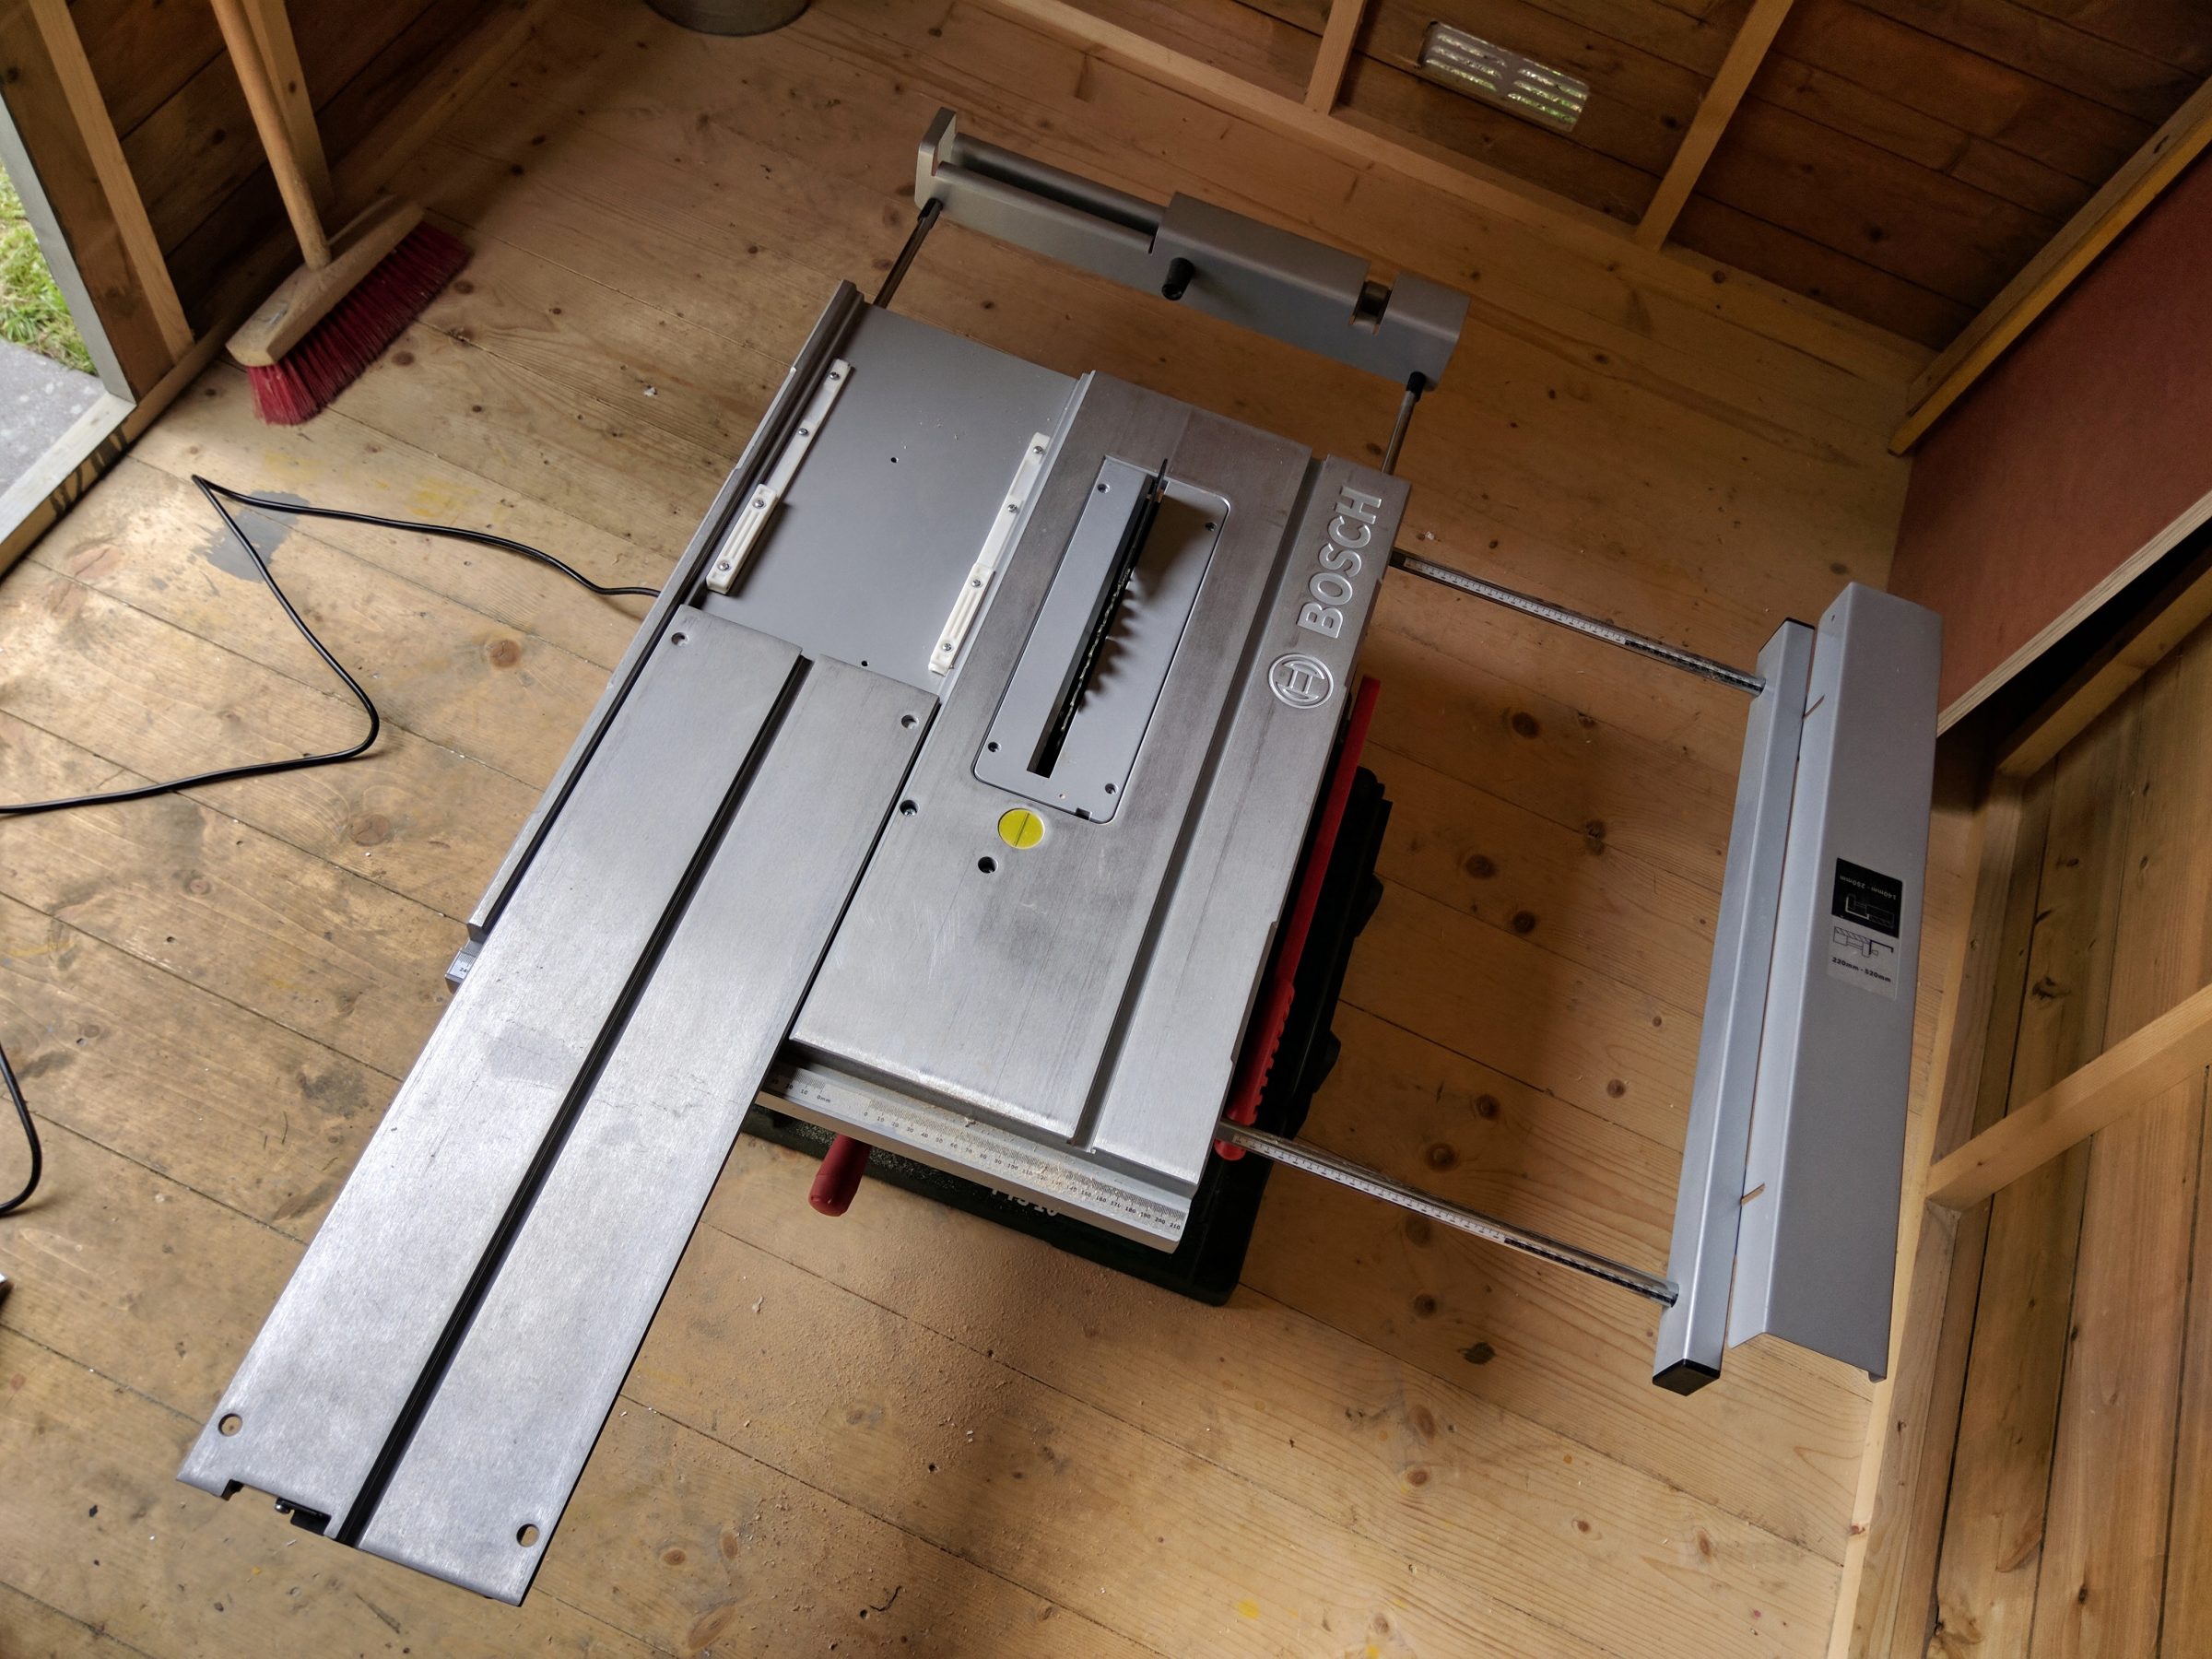
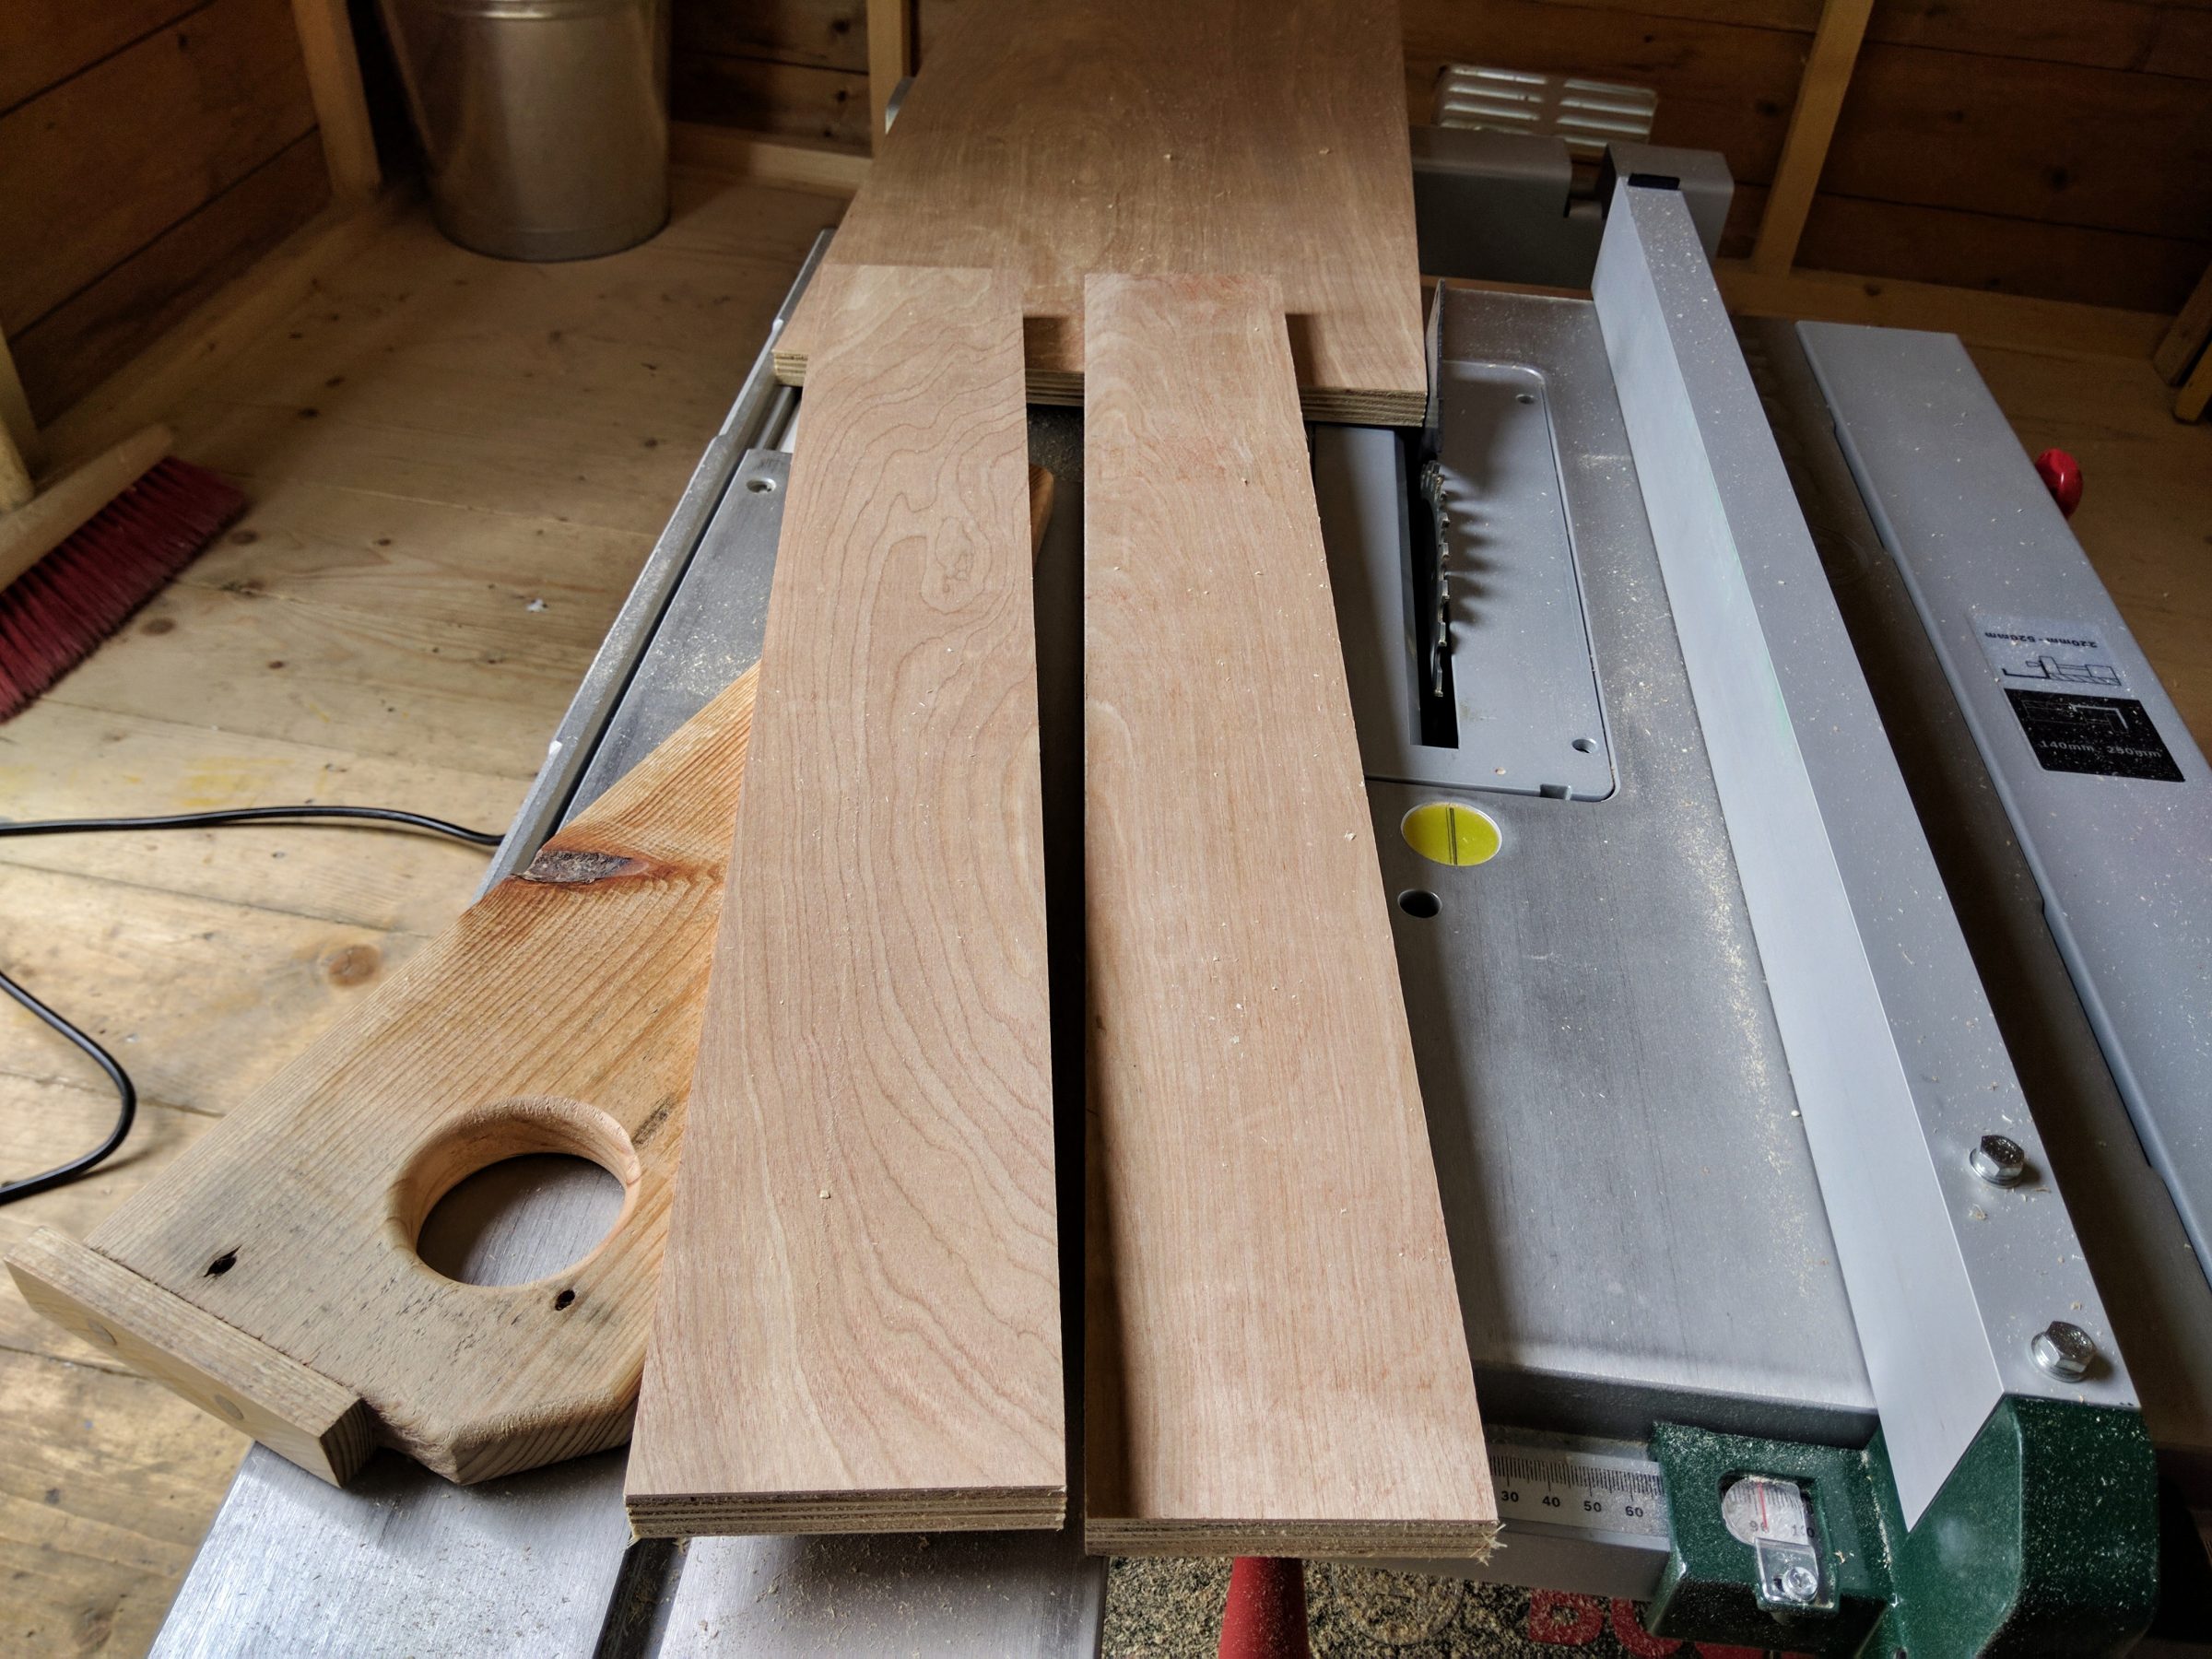
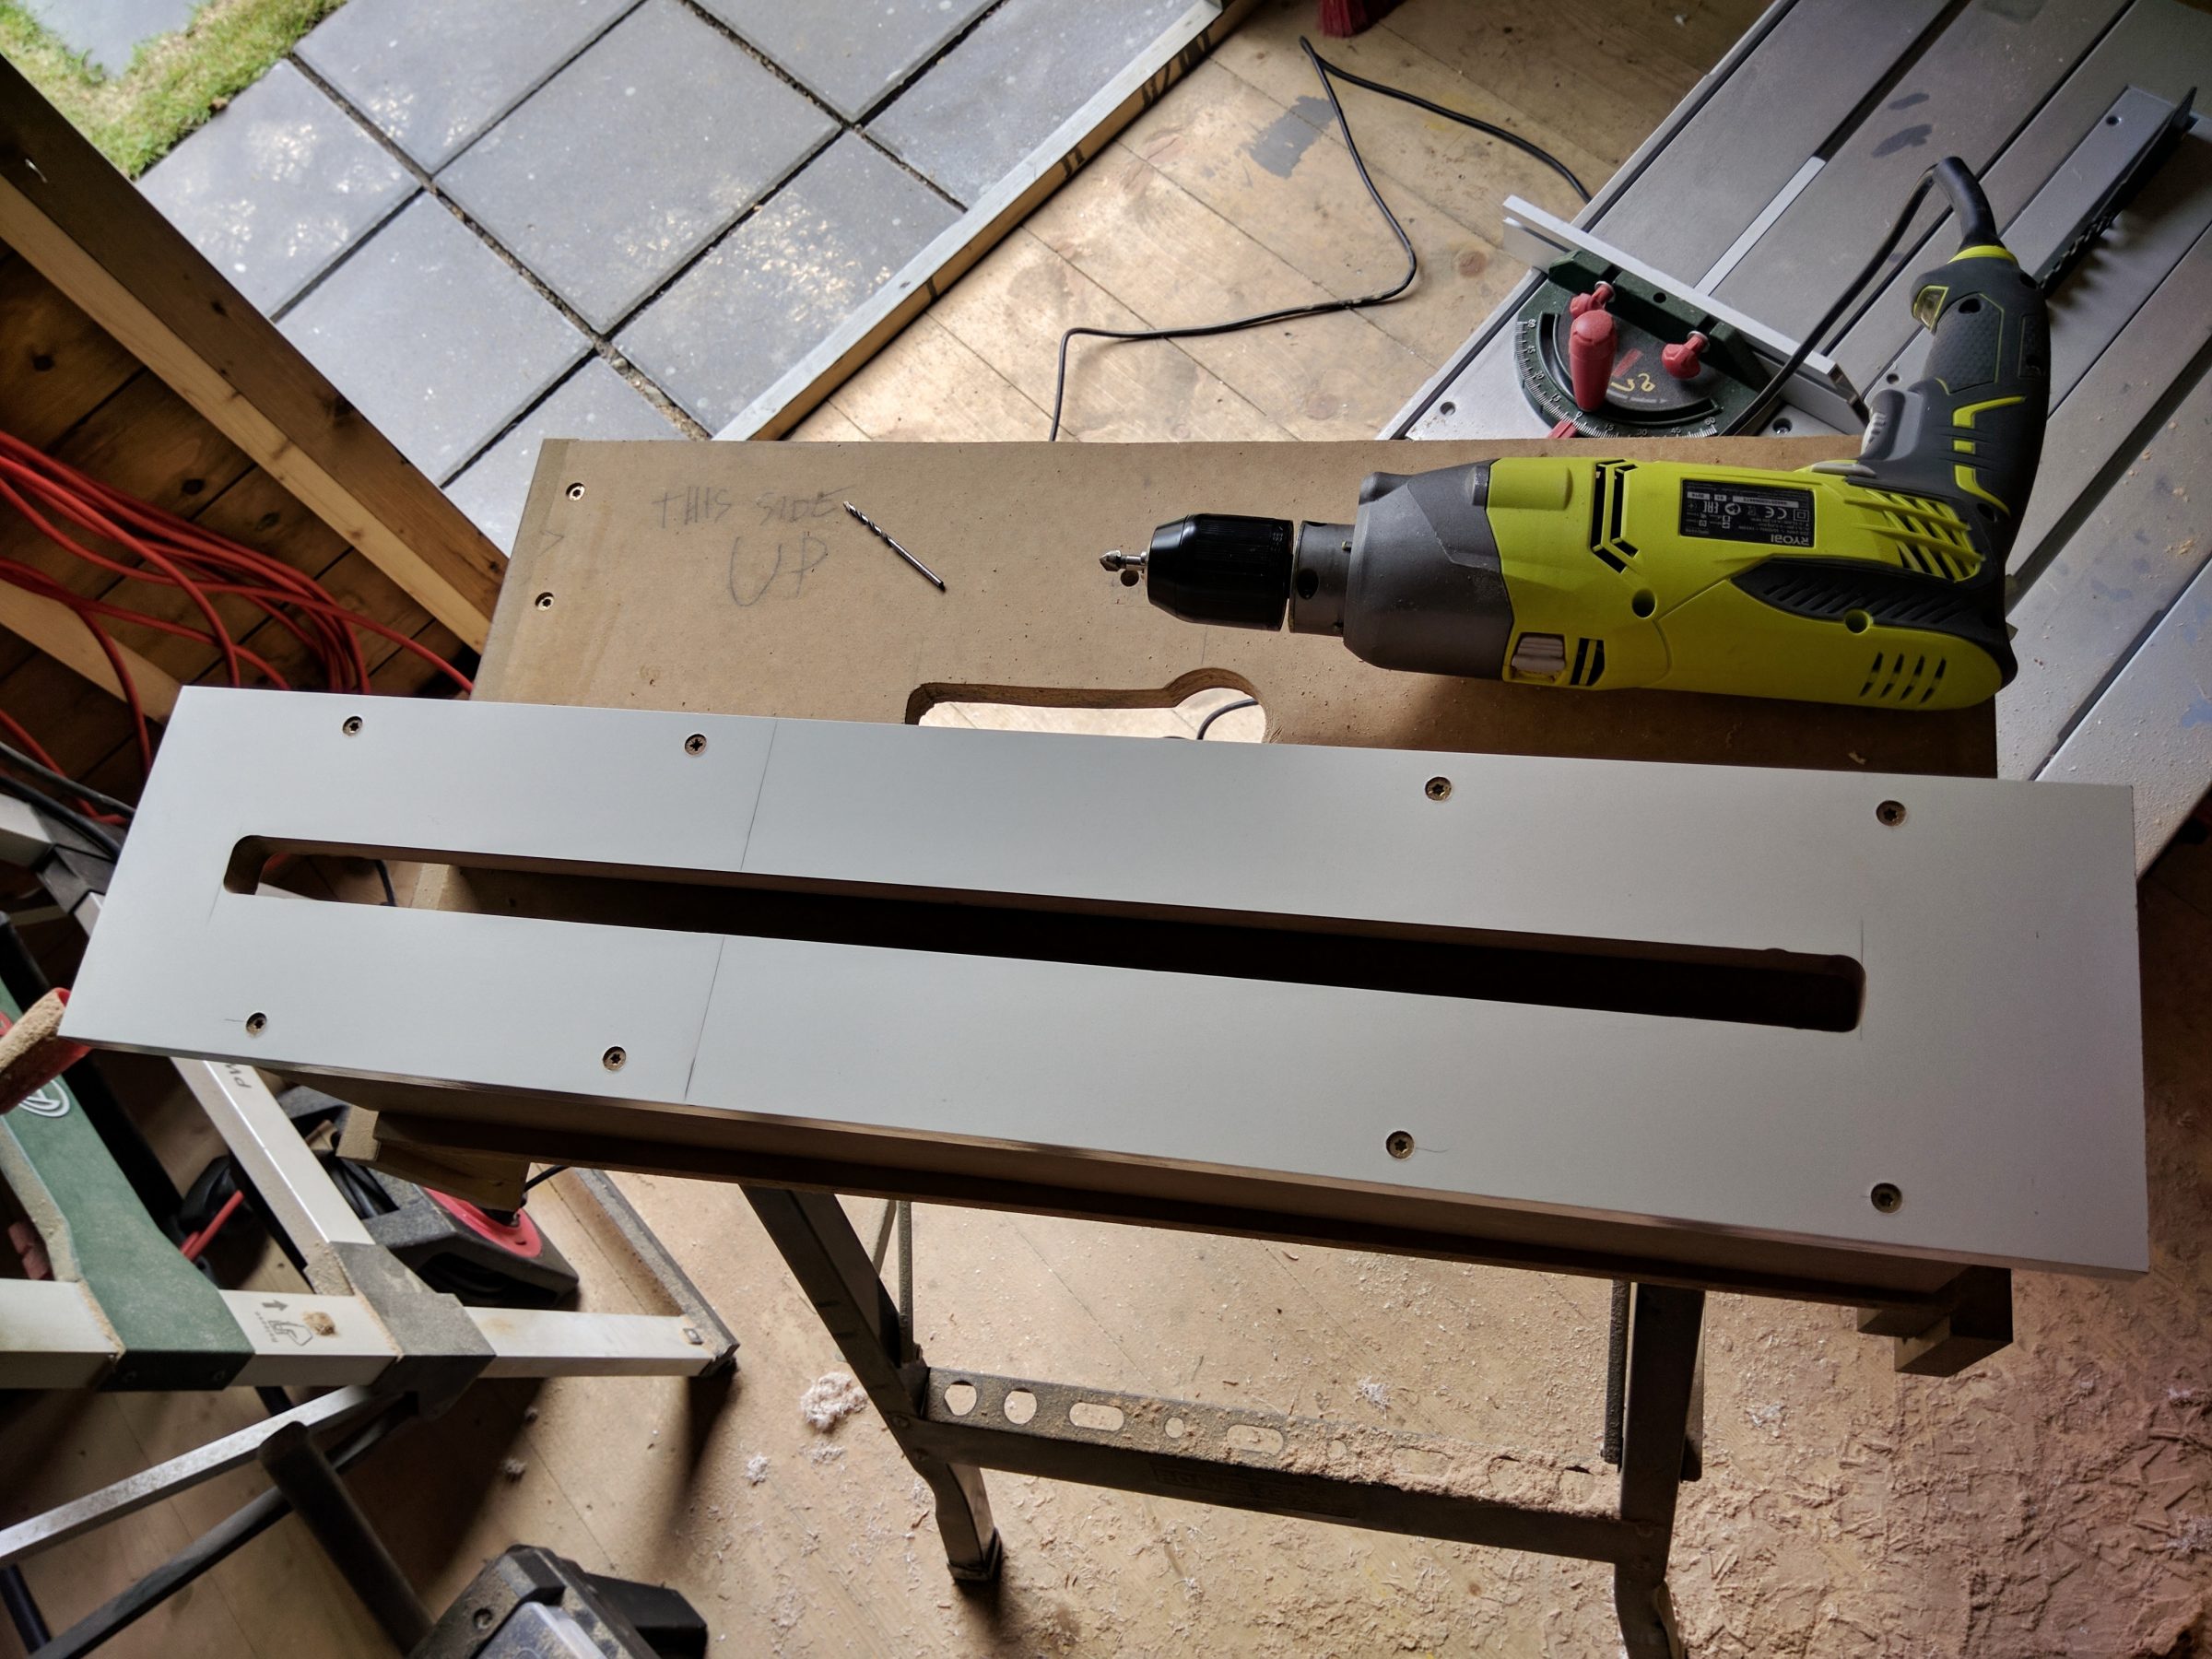
It’s made of MDF (scrap) and 3/4″ plywood (purchased). This jig is going to replace my budget thickness sander. The main reason is the dust – I’m hoping to reduce the dust amount significantly. First I cut the MDF to length, then the plywood that I purchased. Dimensions of 1.2 x 0.6 m were a challenge for my table saw.

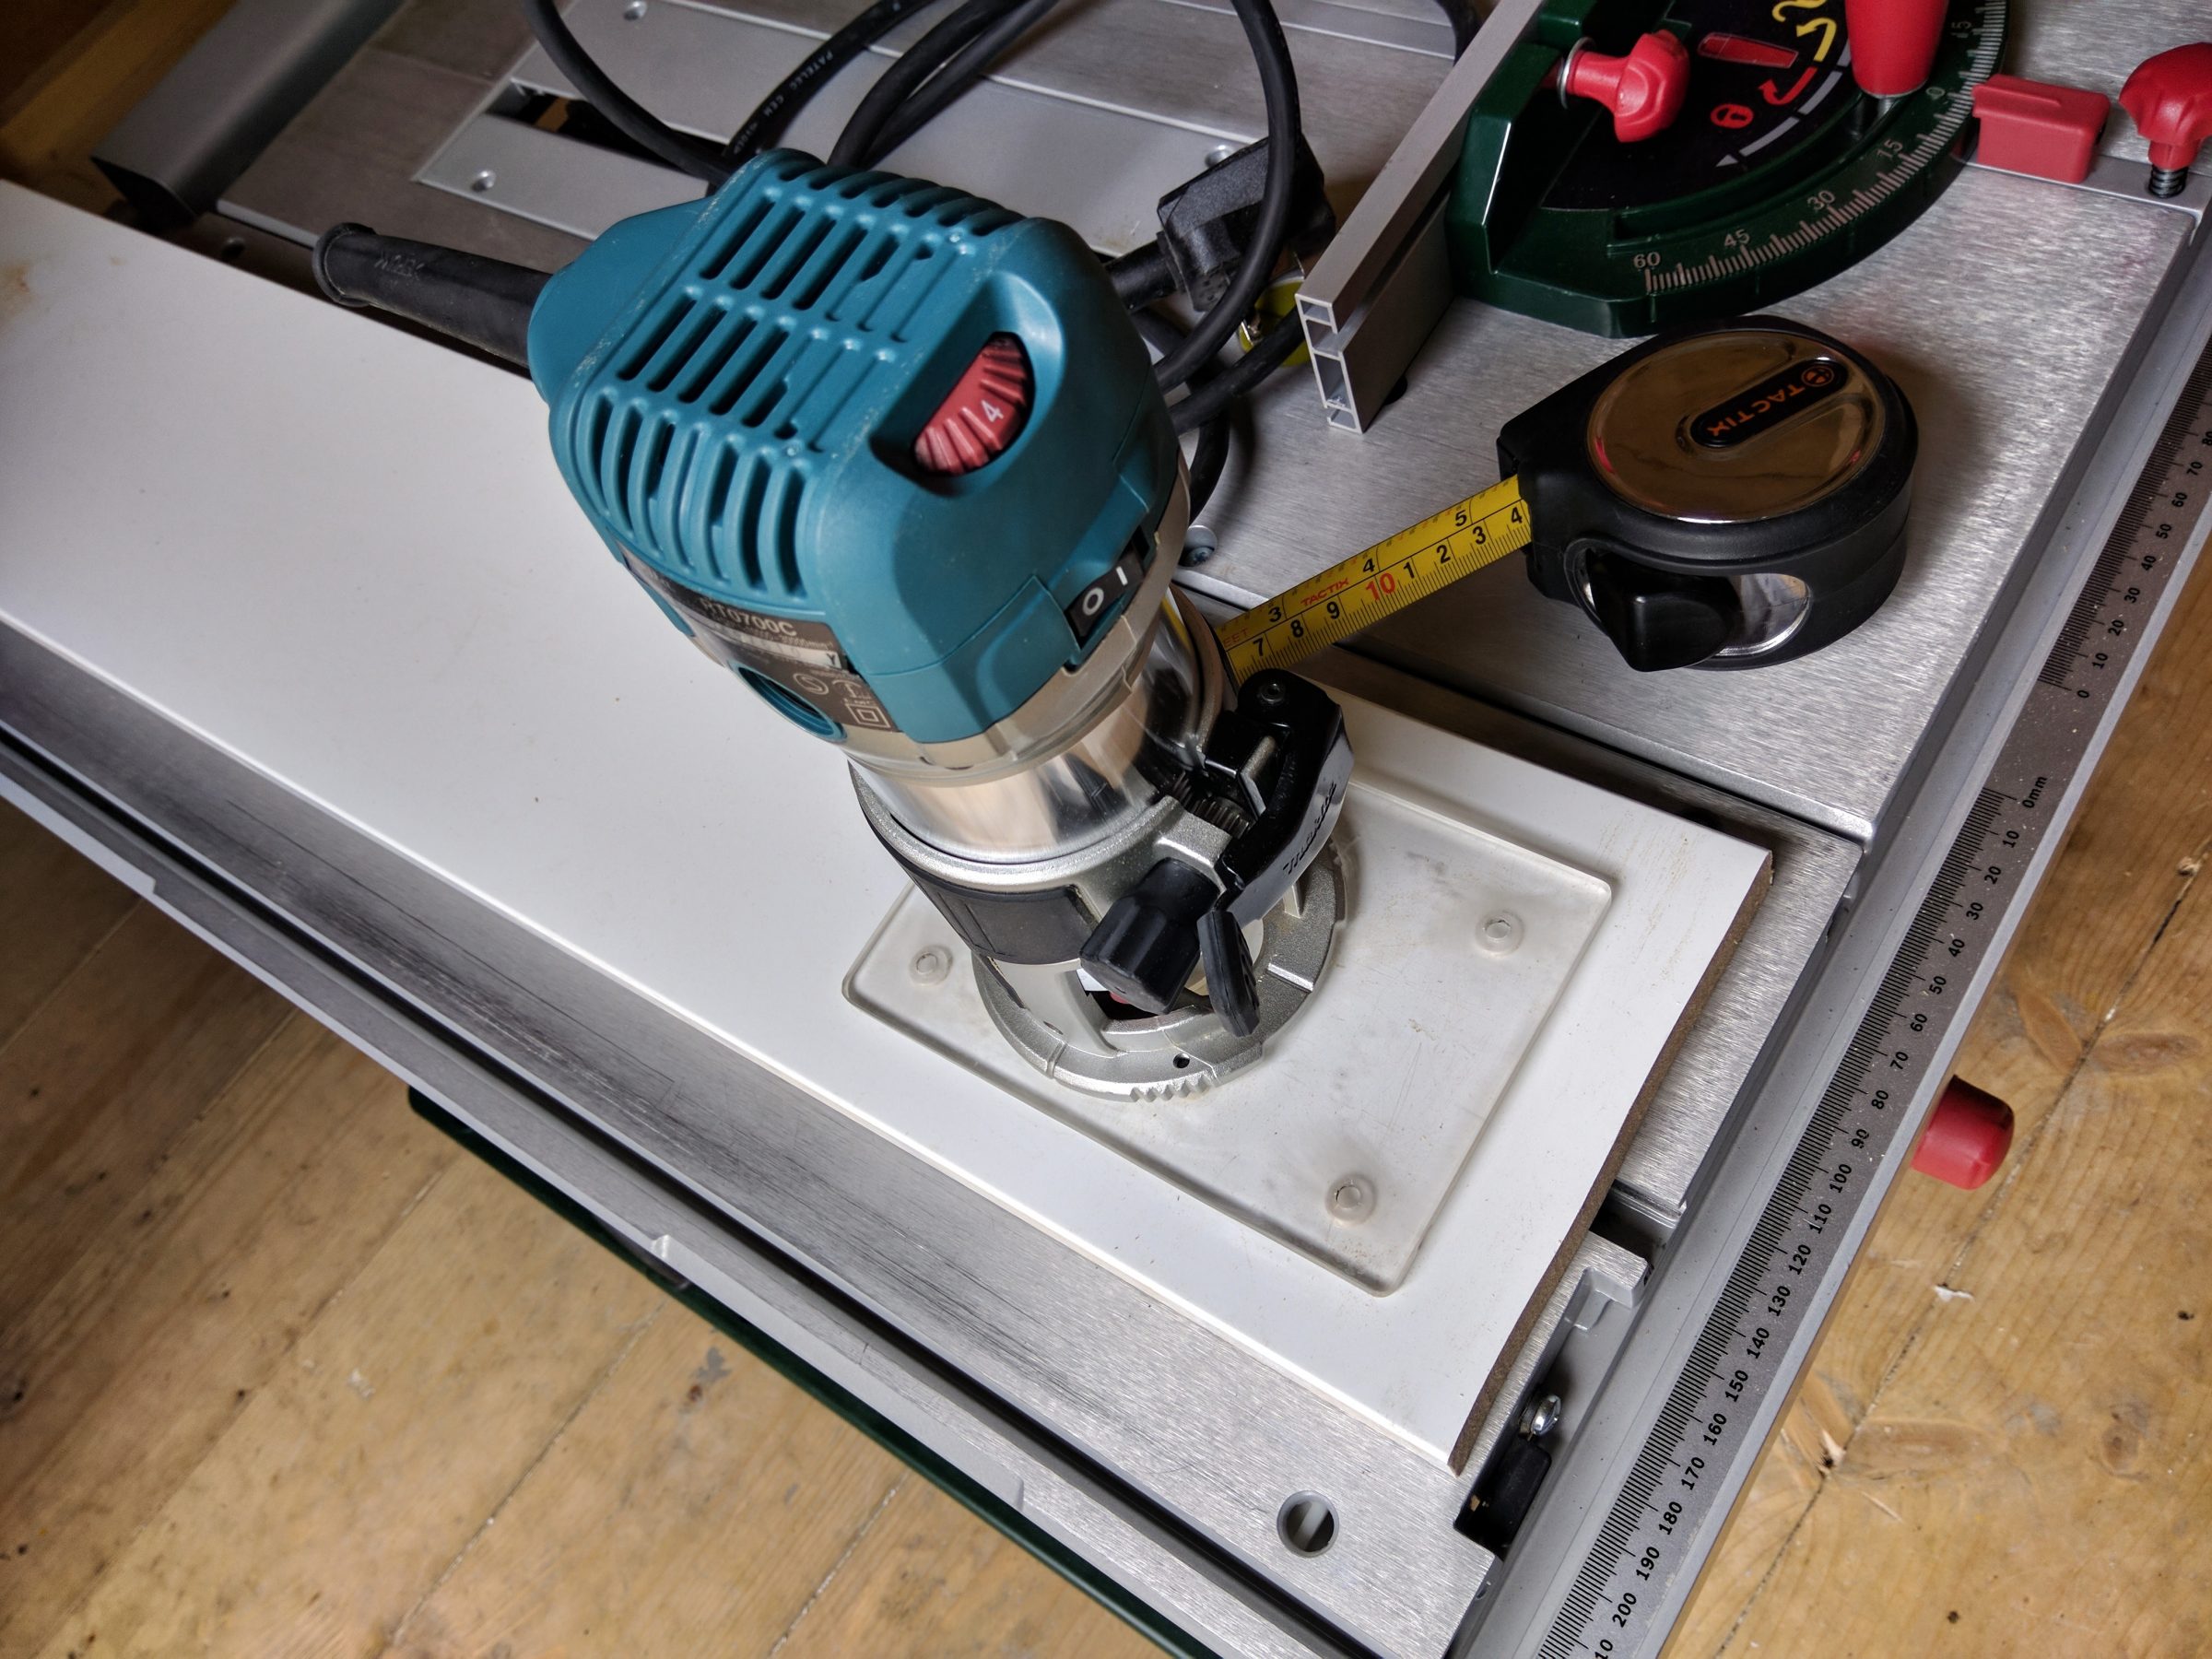
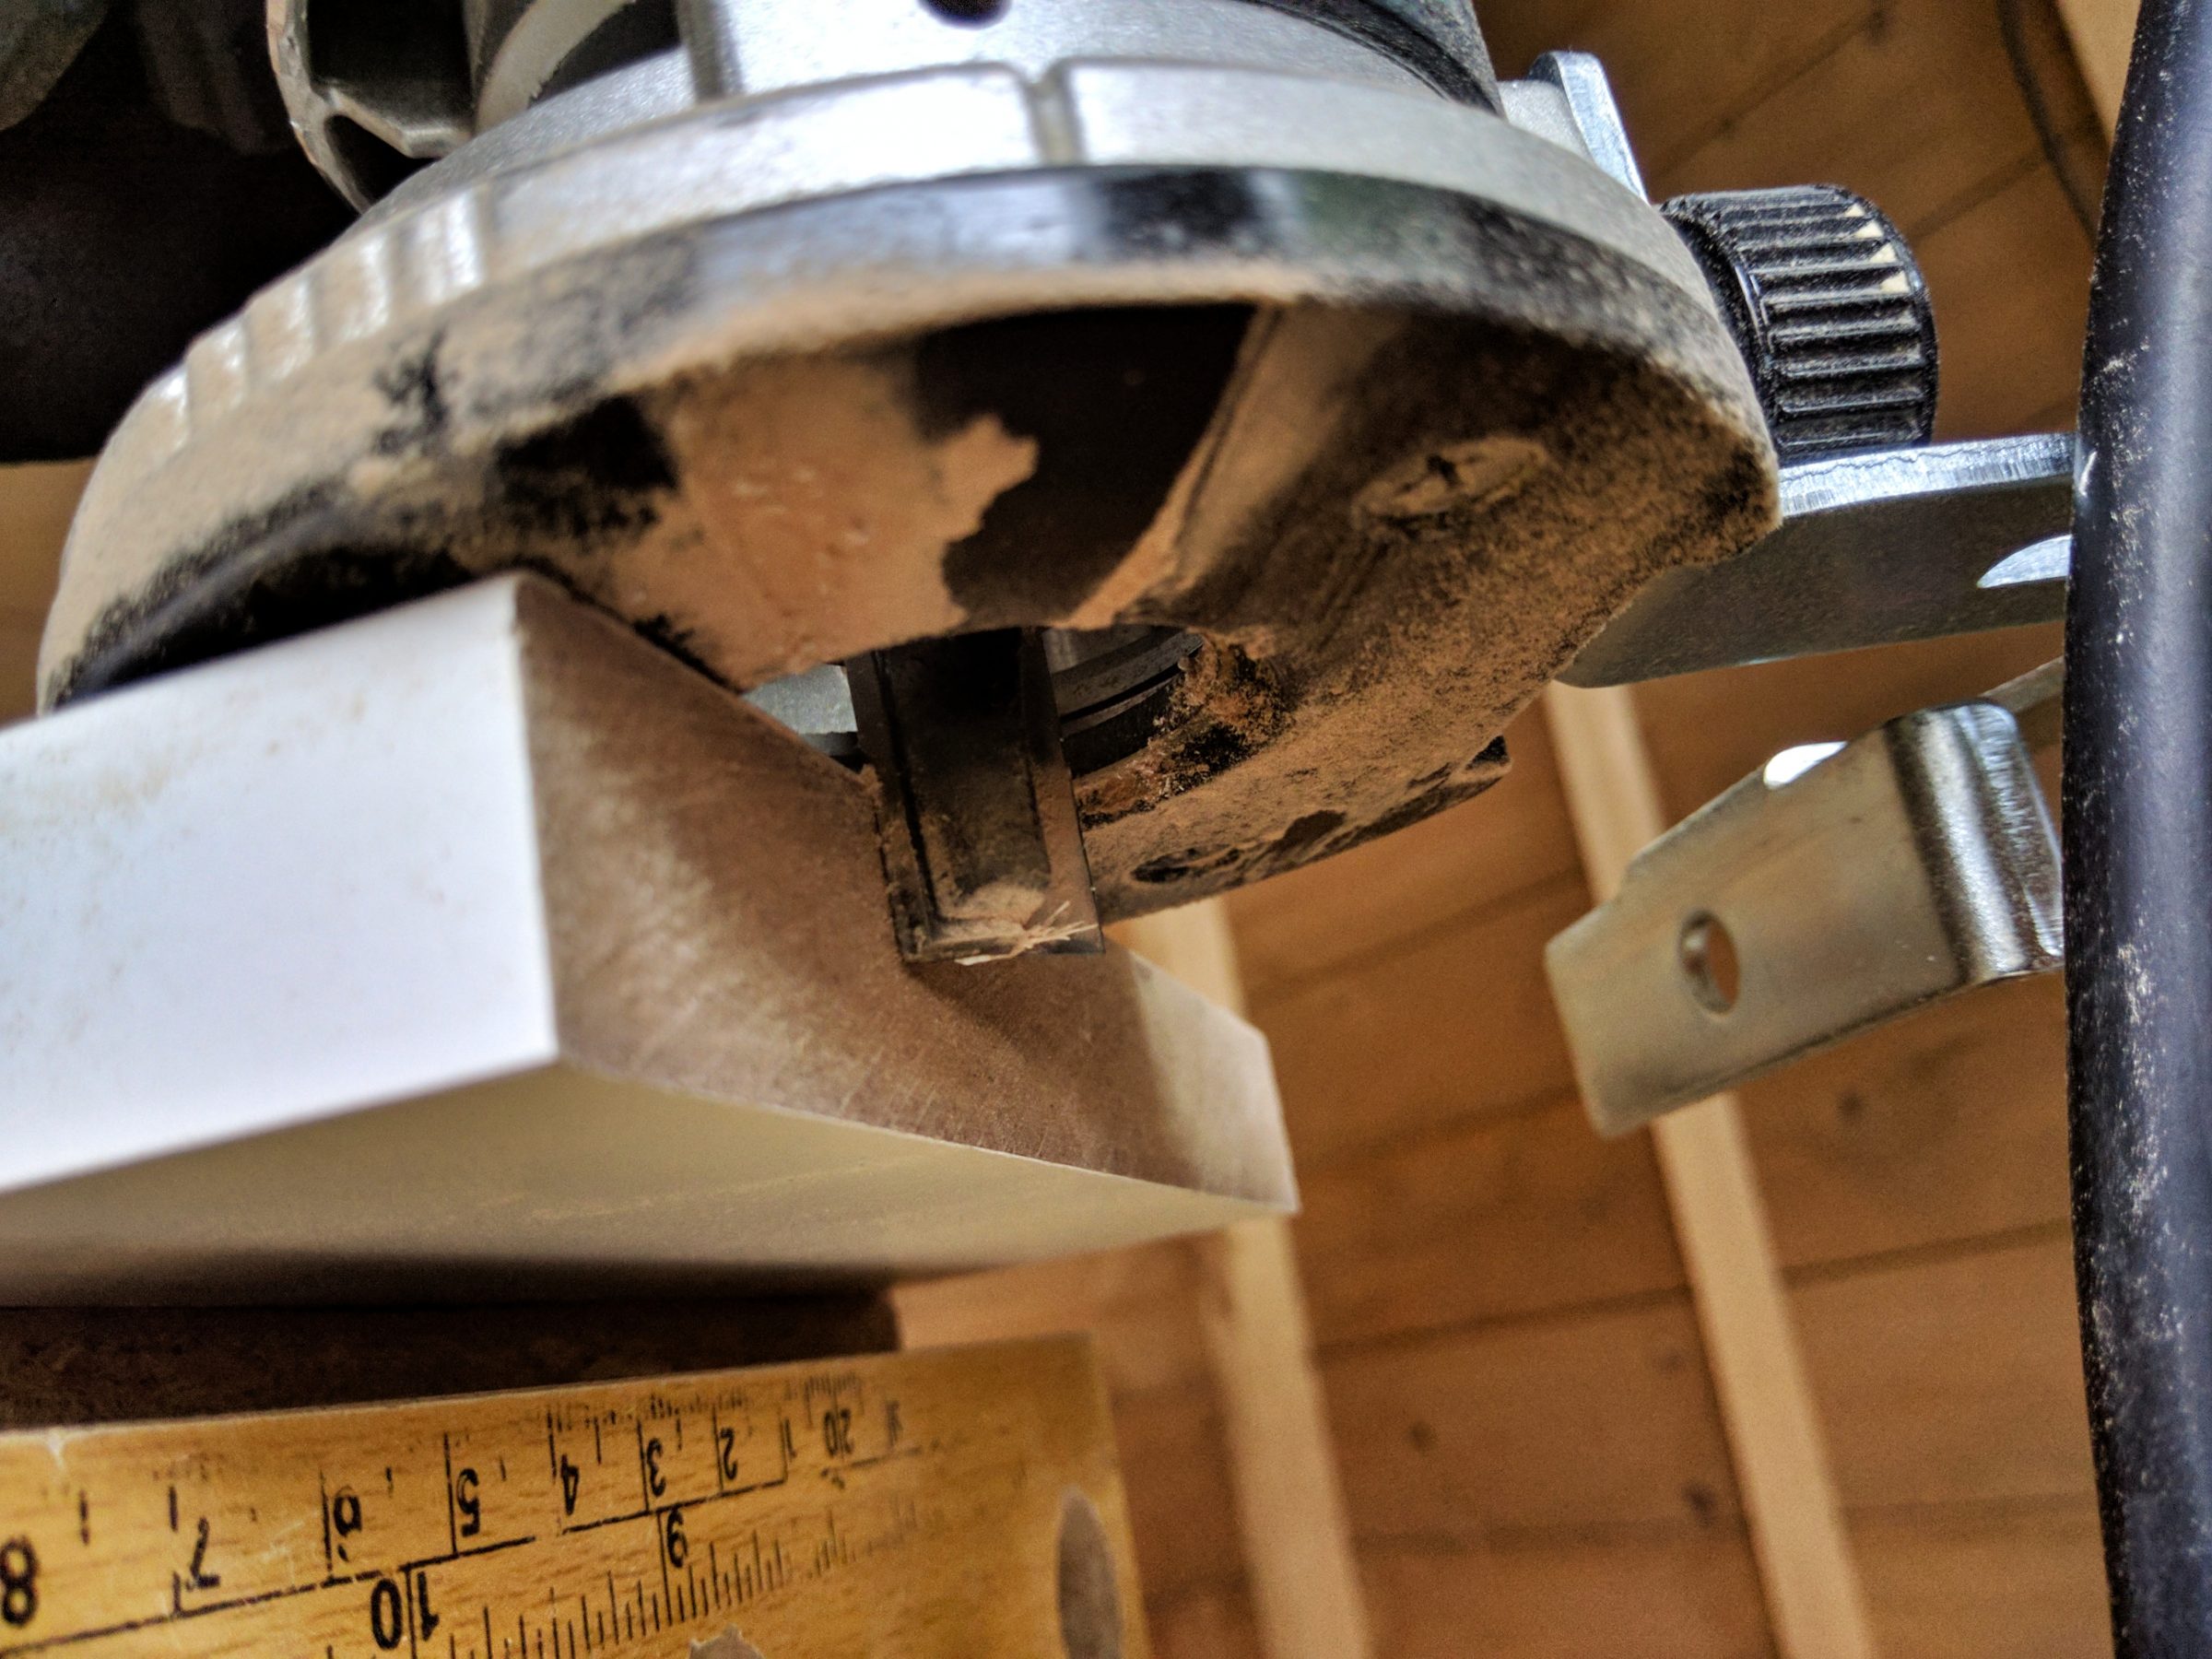
I was going to use my jigsaw to cut the groove, but I realized that this is a tool for savages, so I swapped bases in my router and installed a parallel fence.

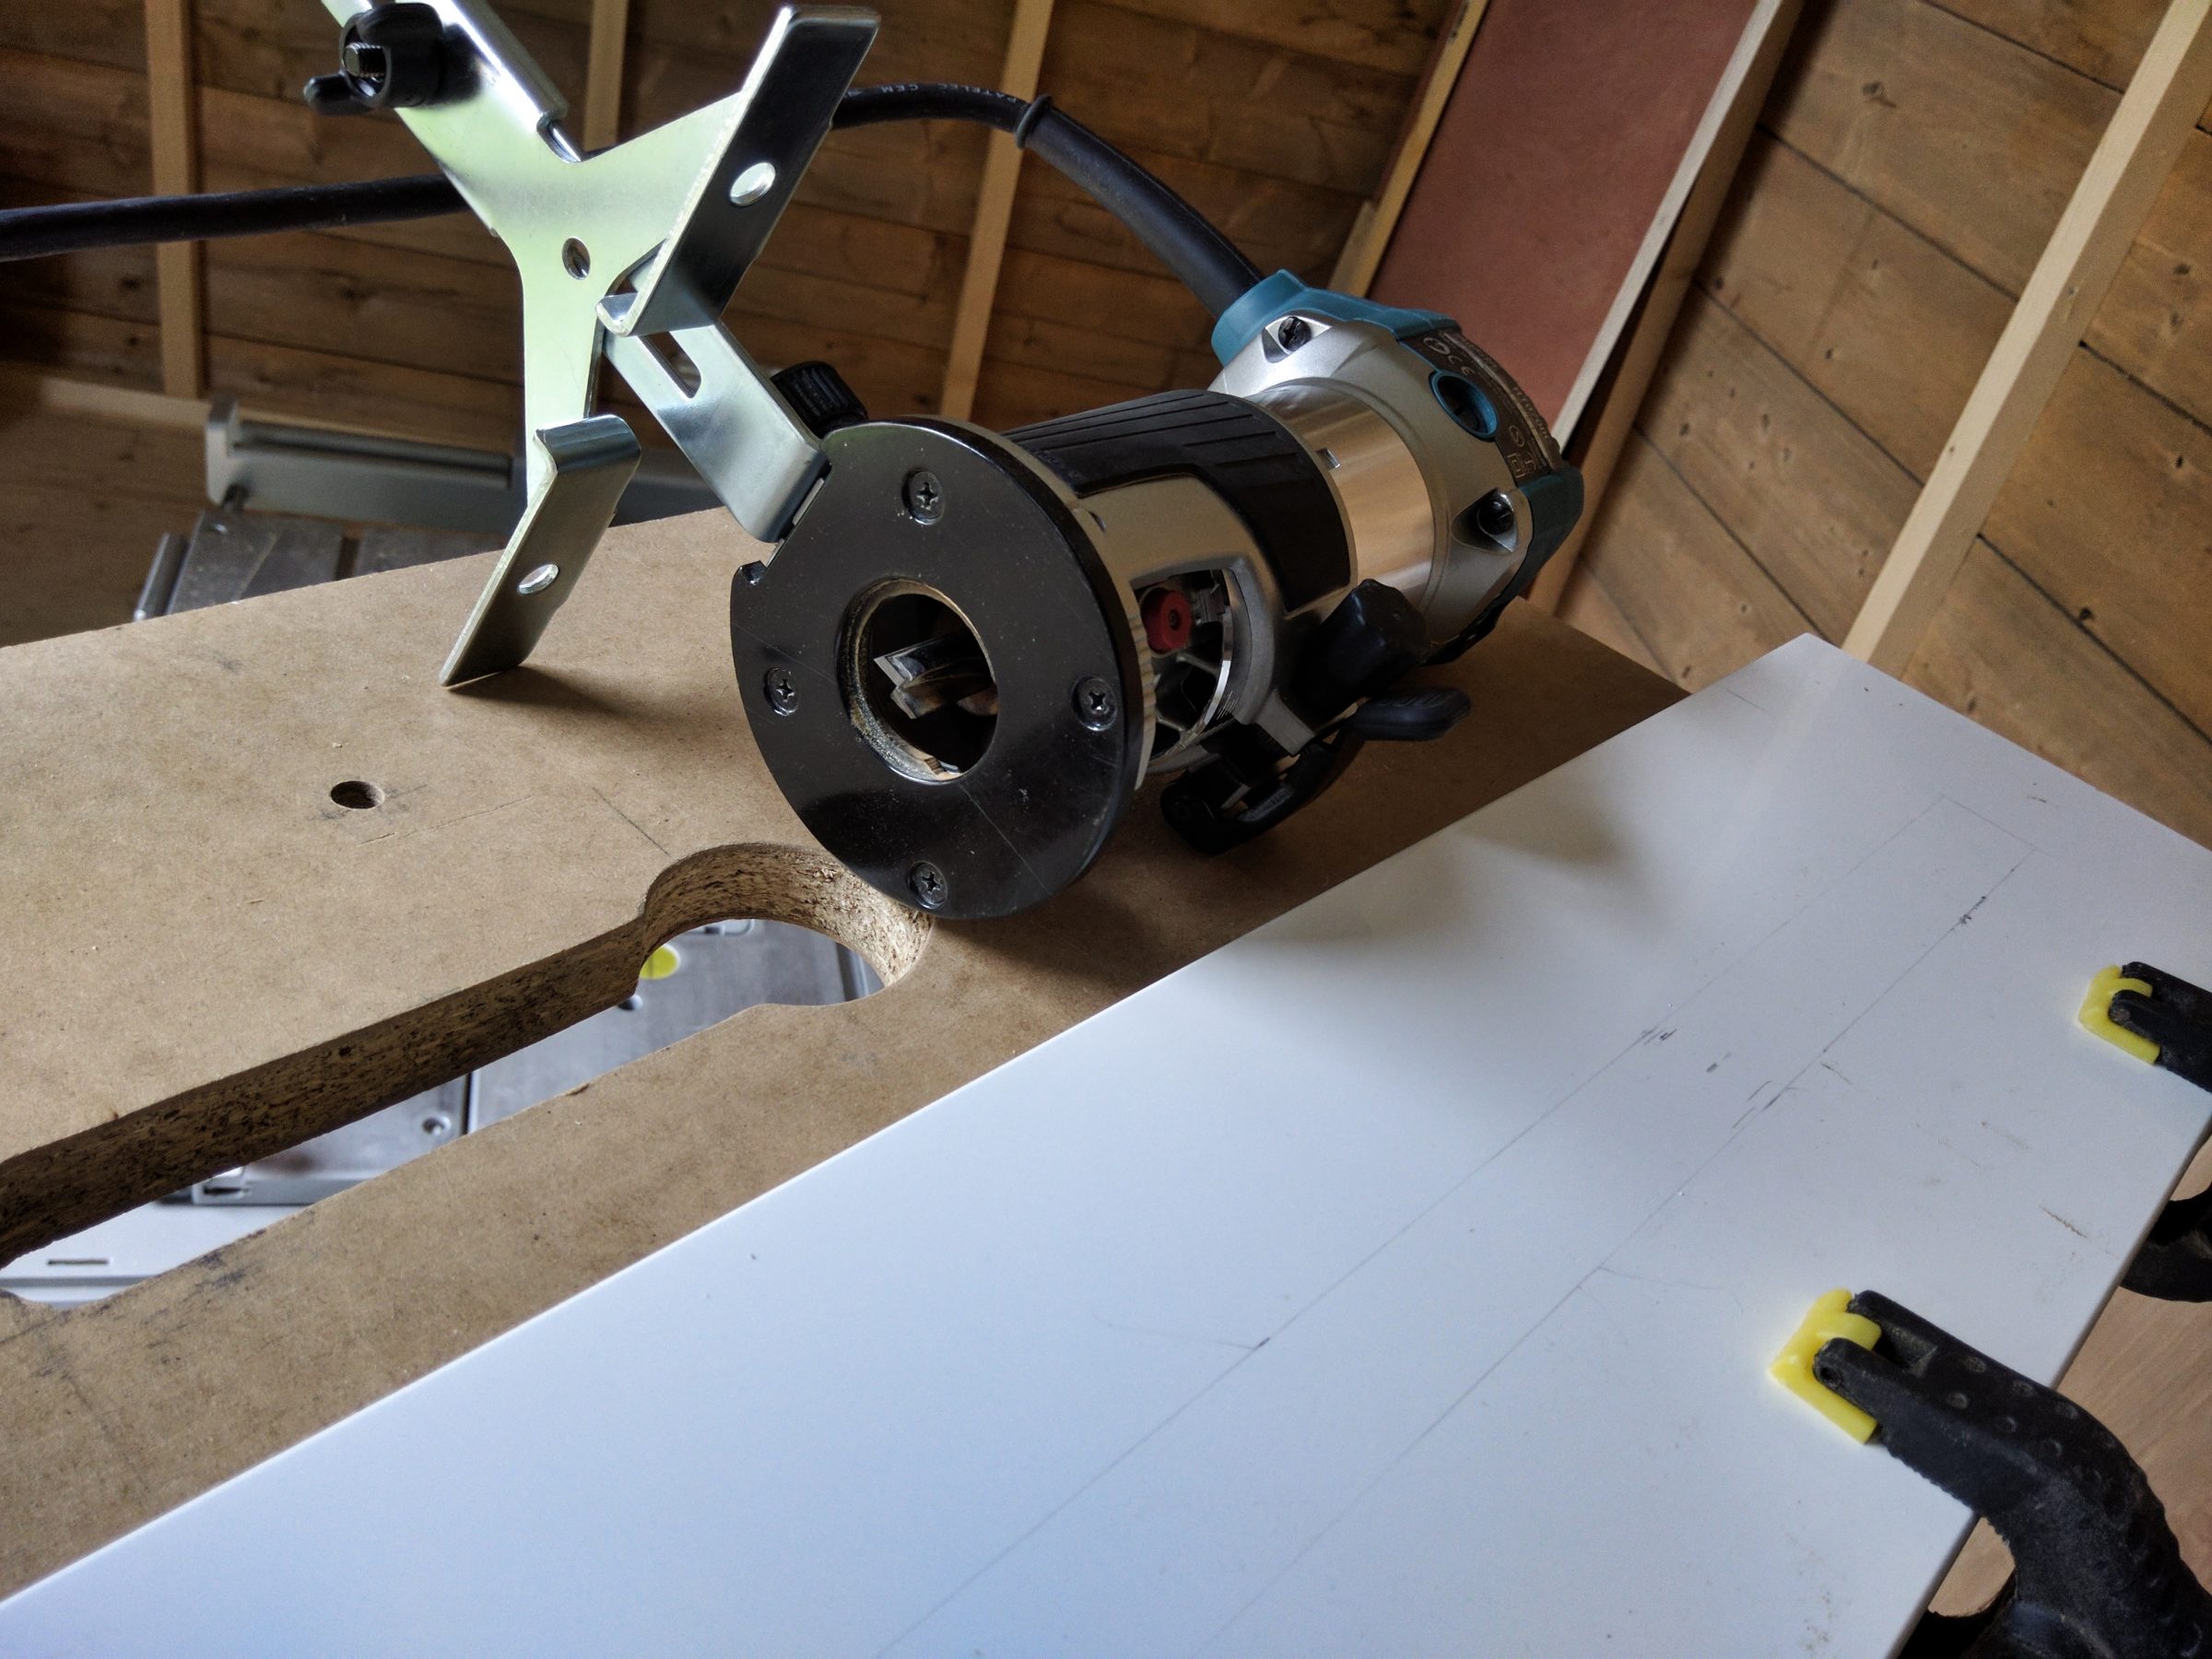
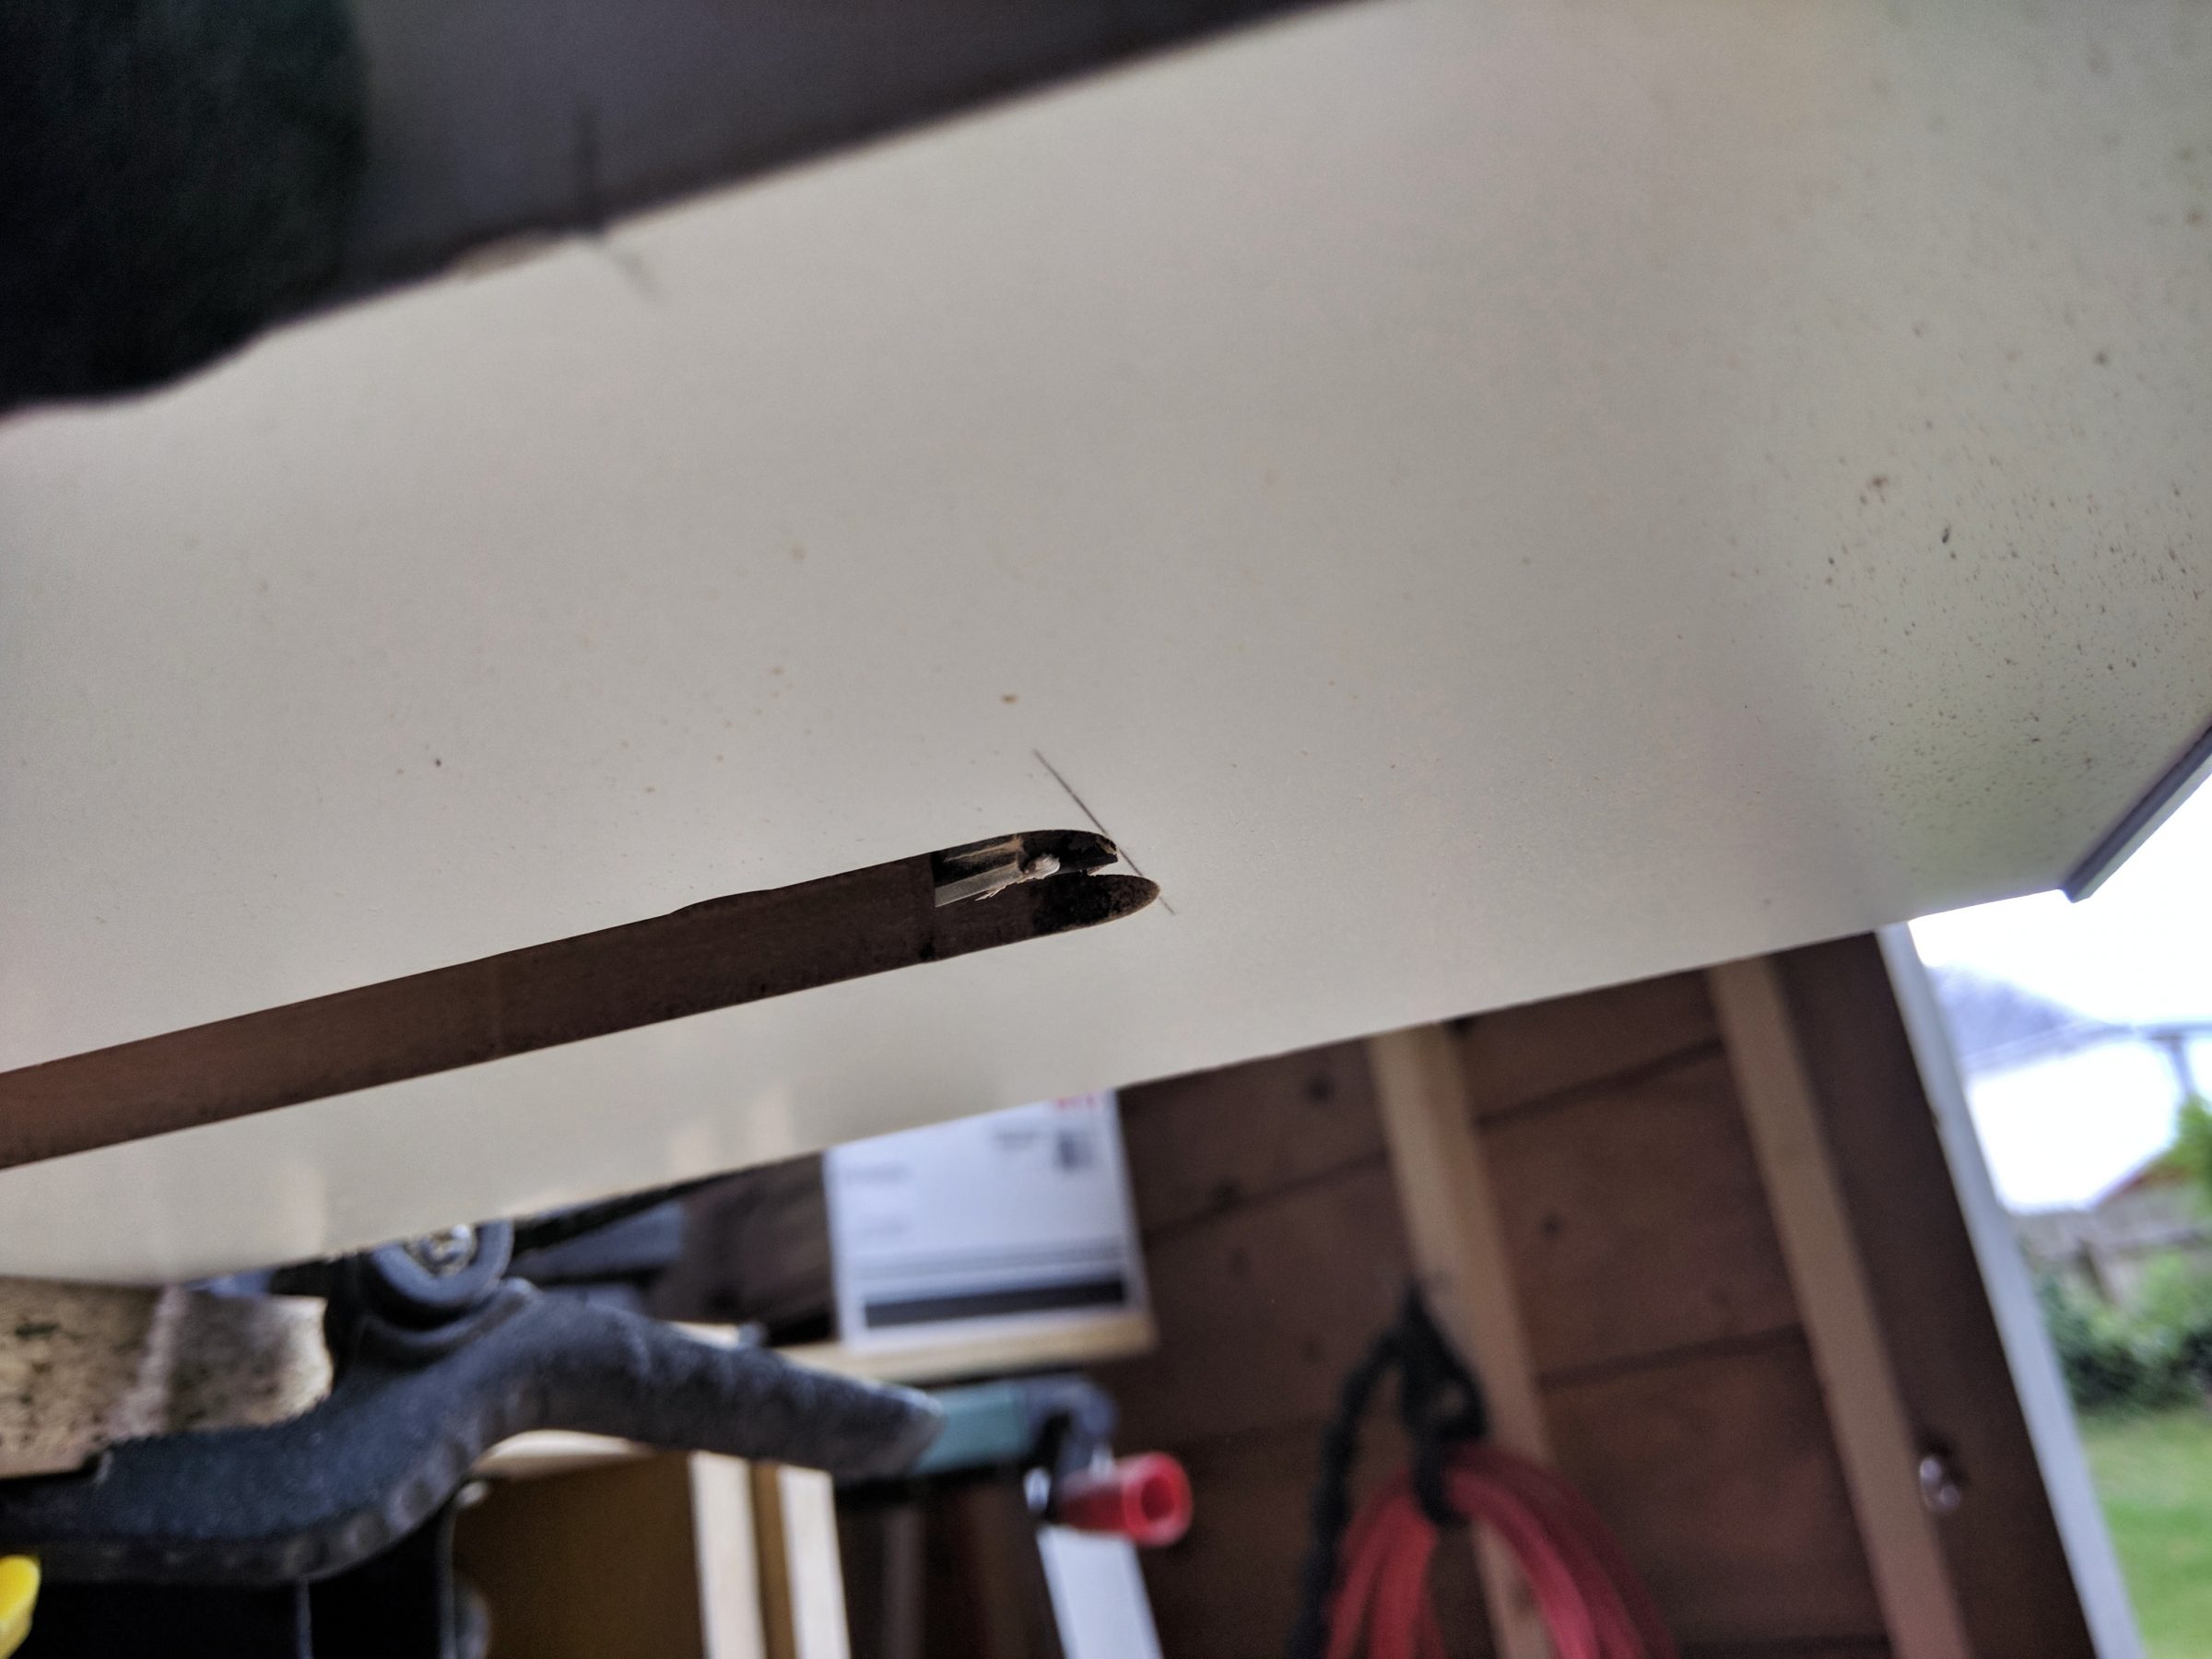
Slightly more than halfway through it cut the MDF from both sides and the groove was ready to be finished by a freehand routing. It came out quite nice.


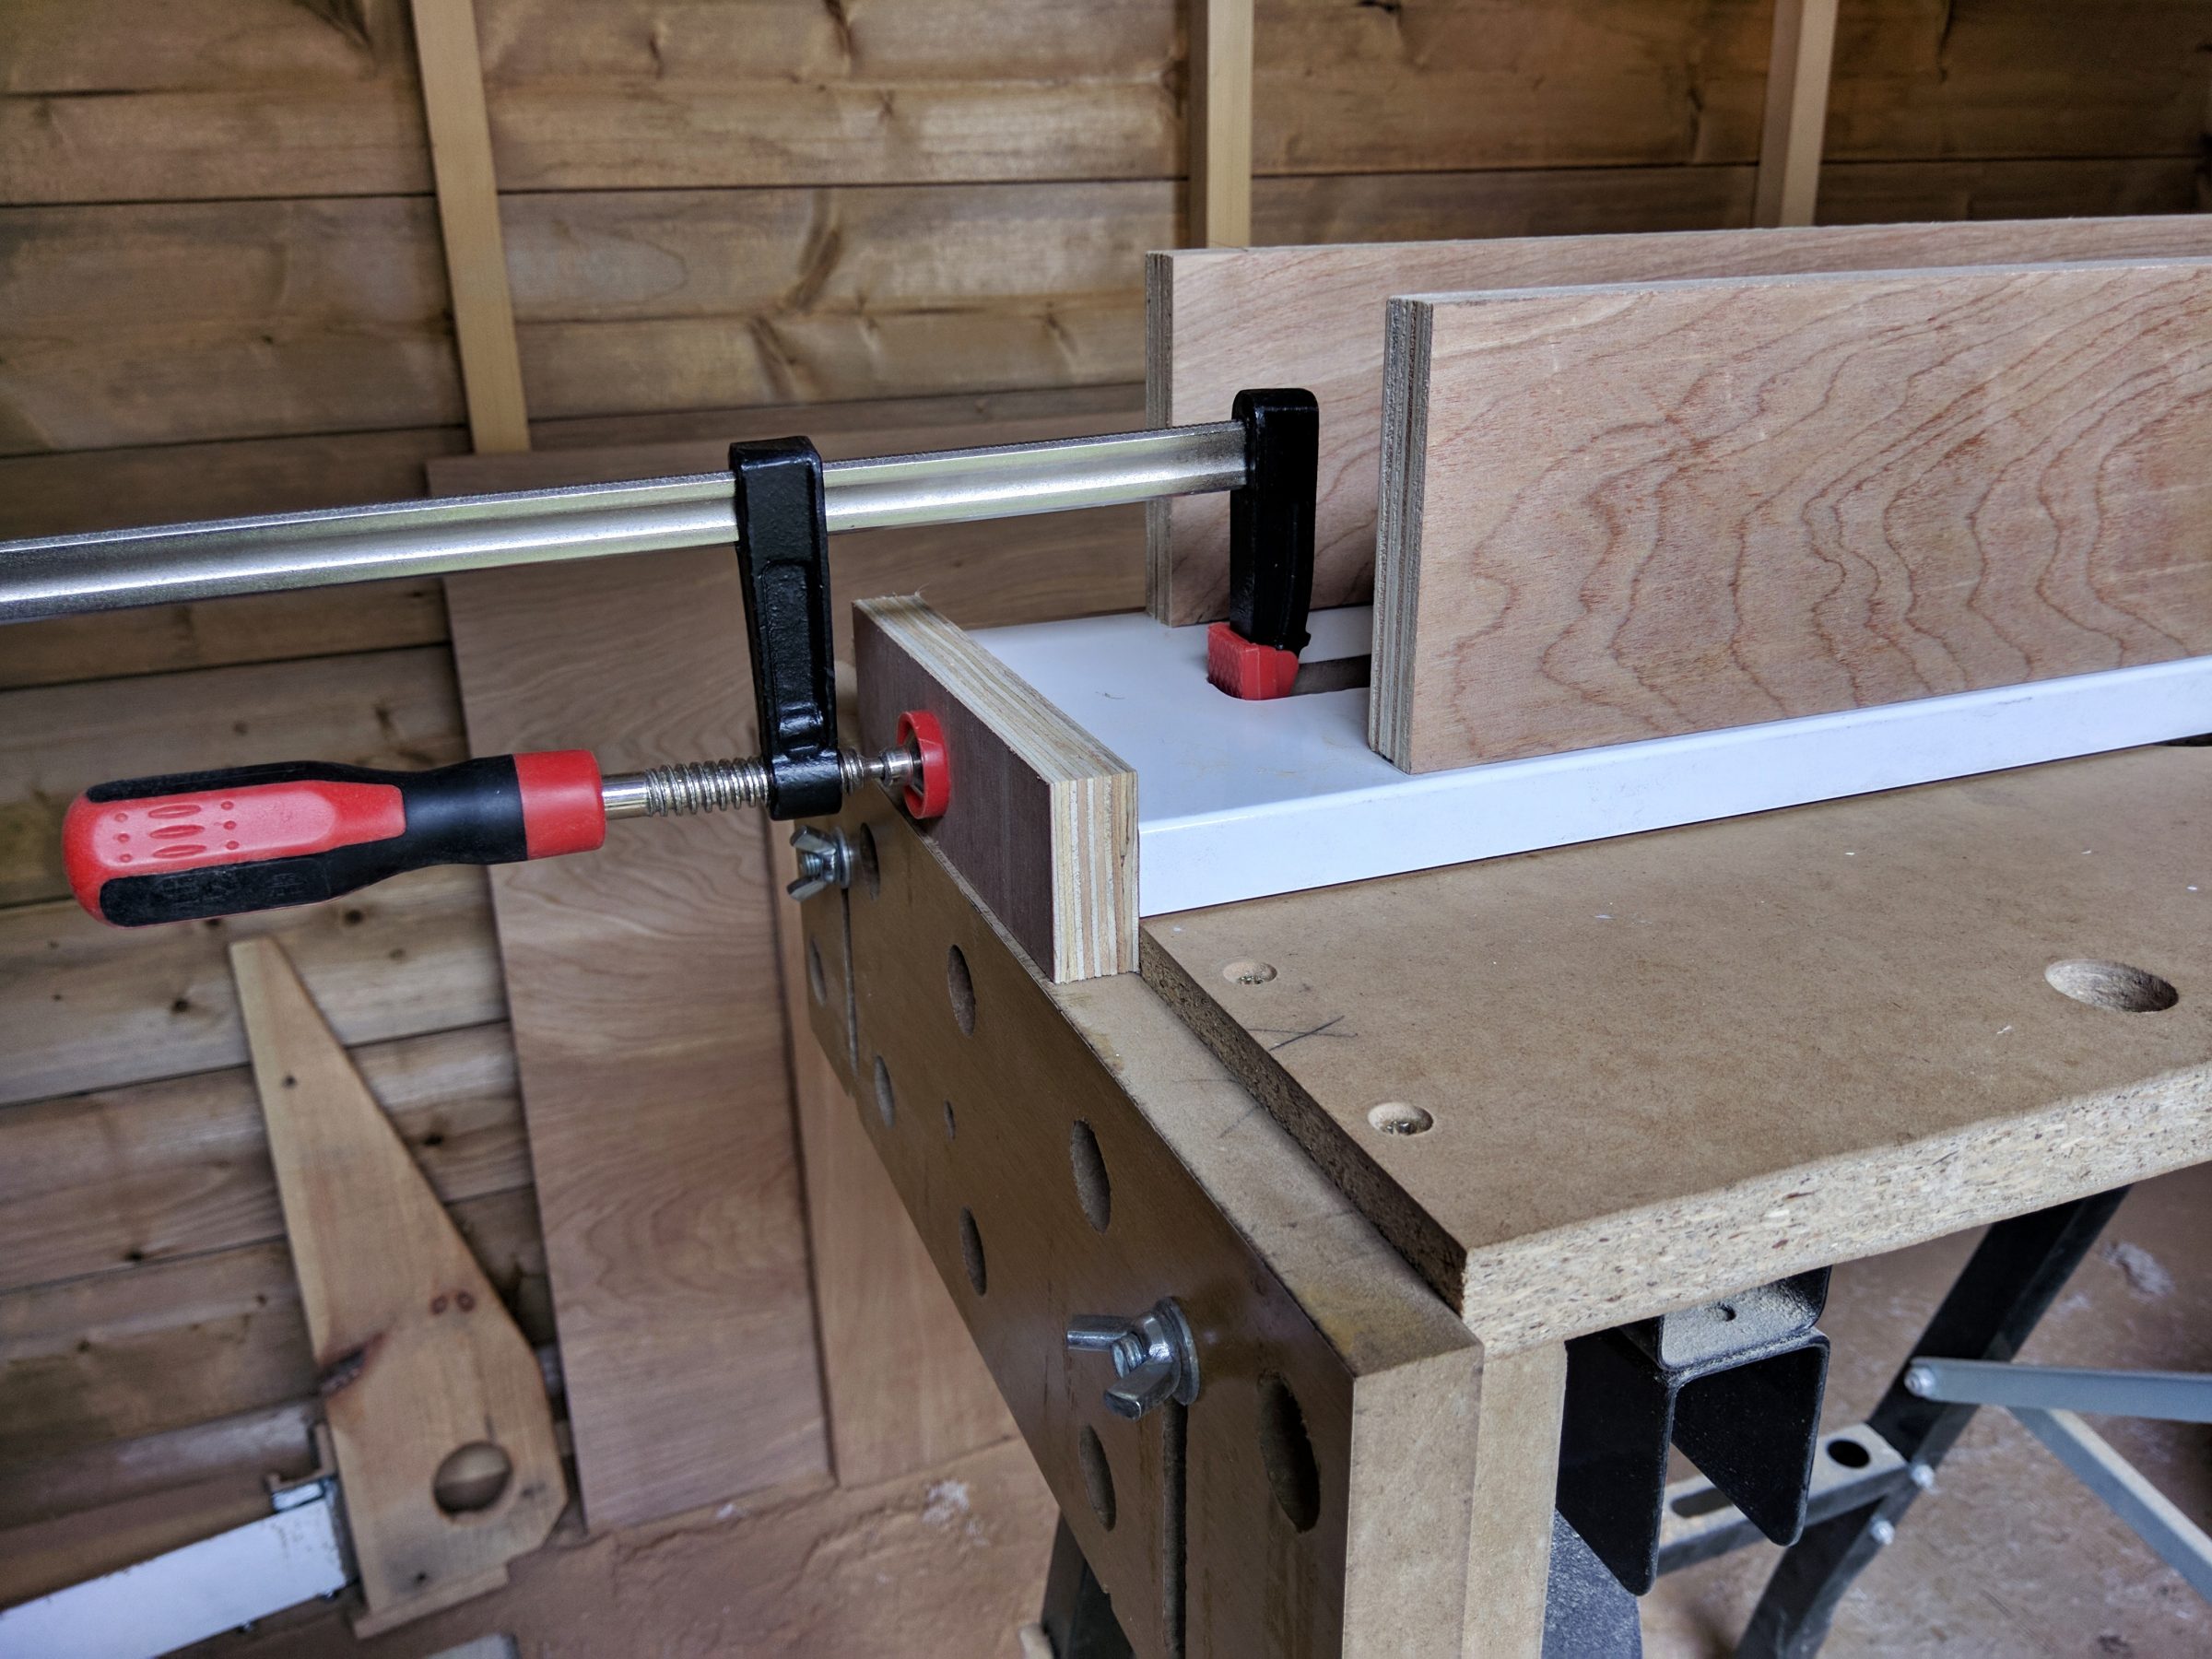
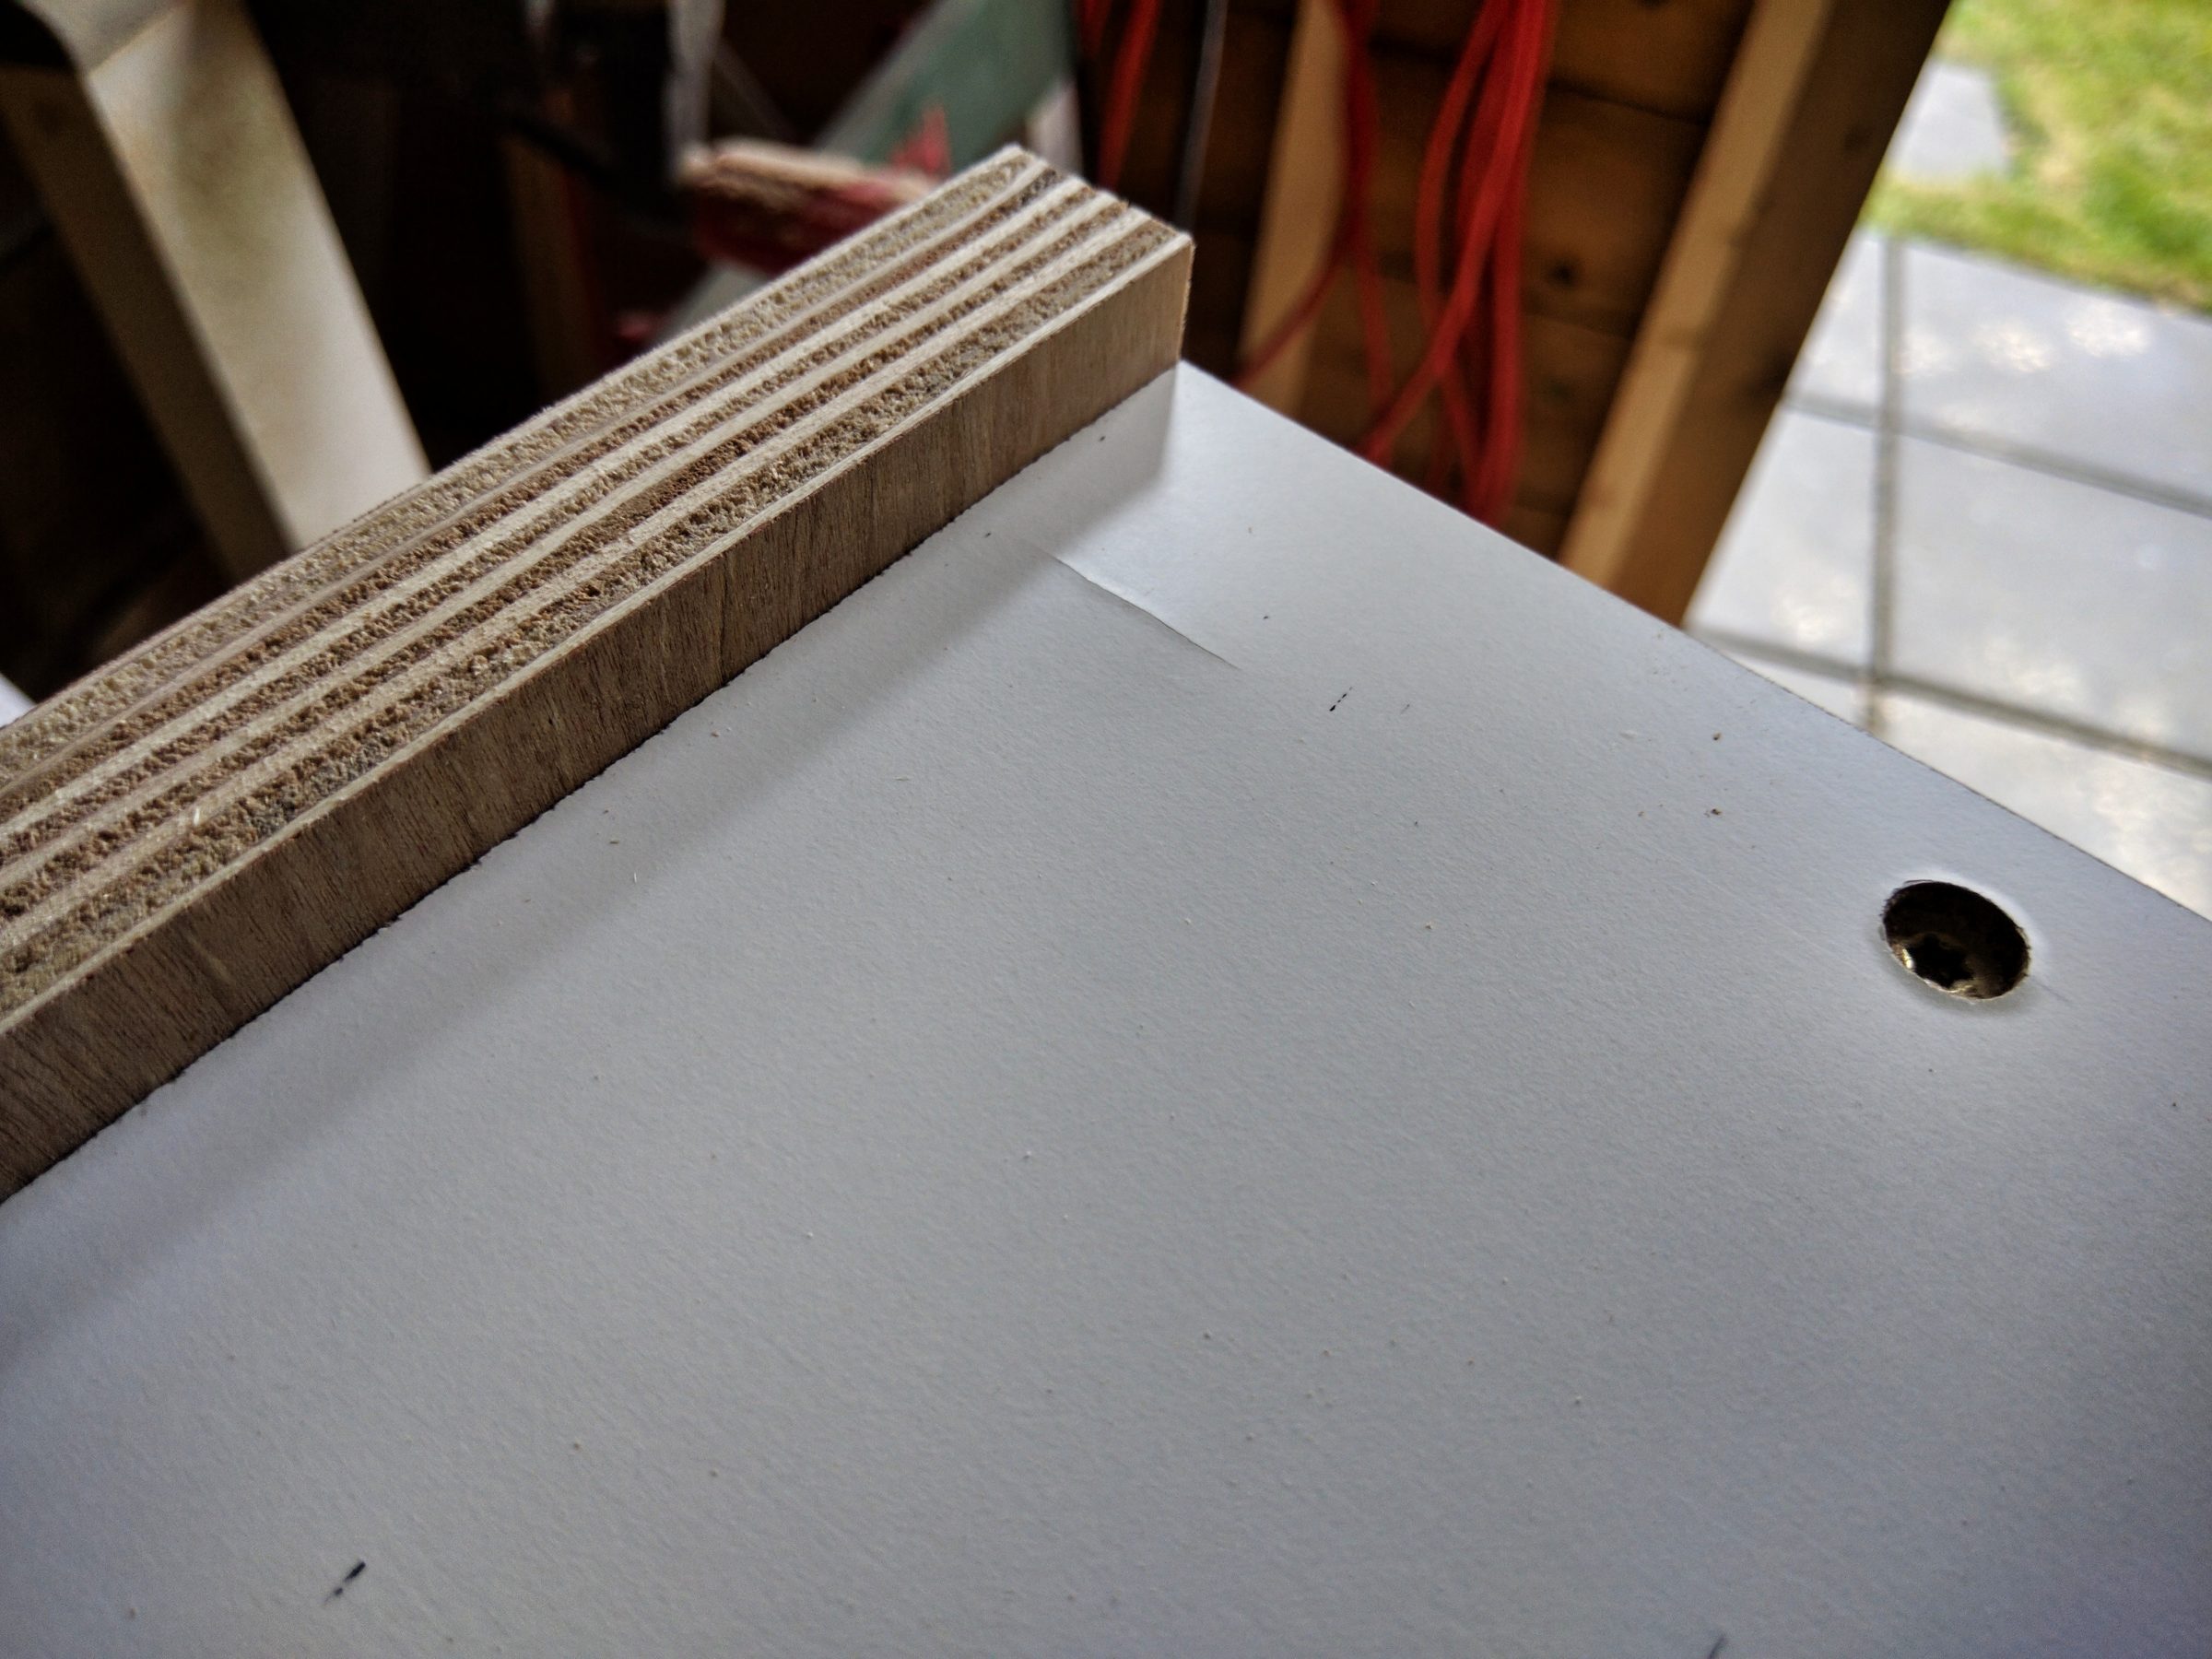
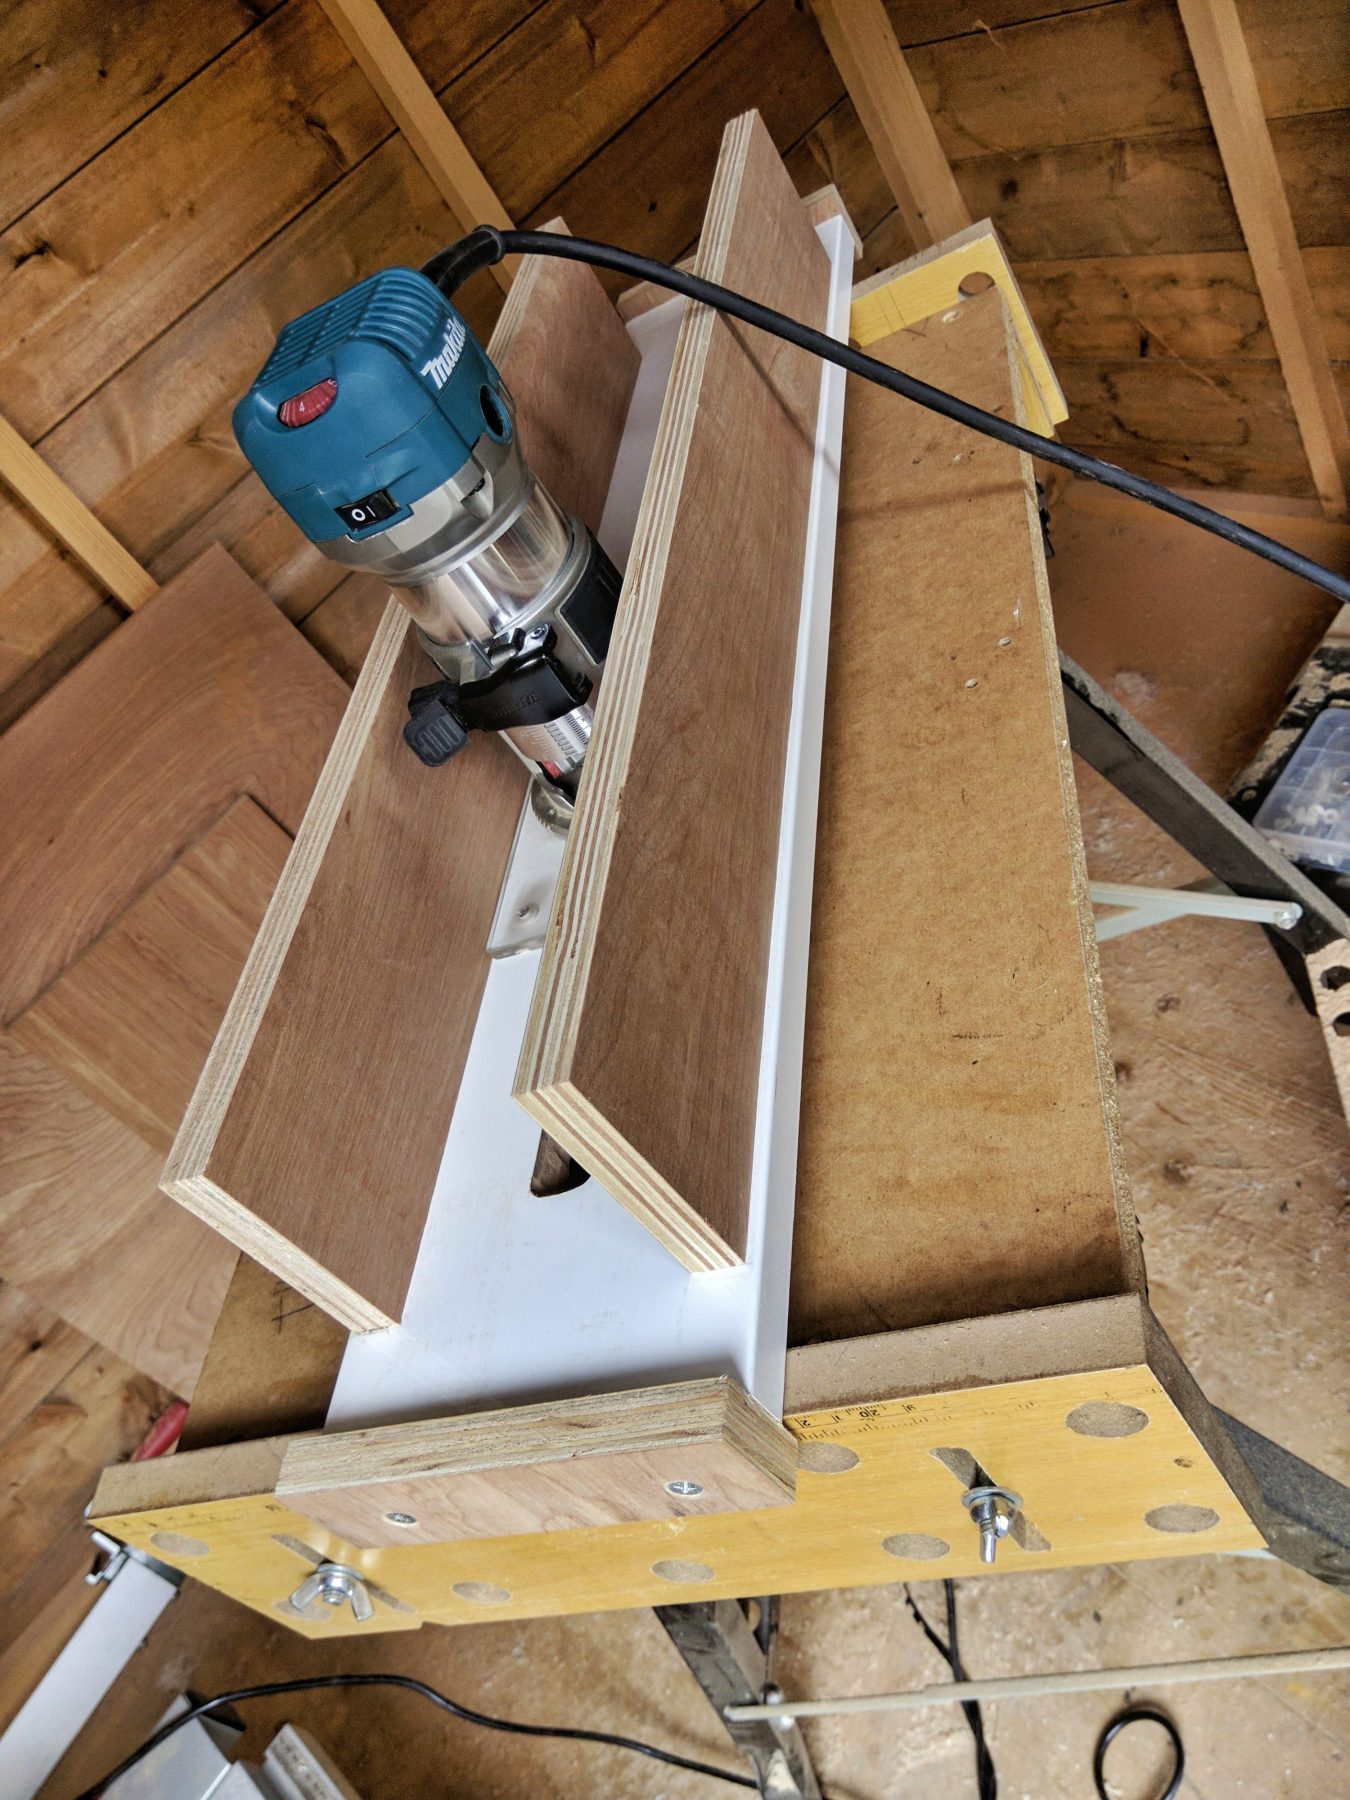
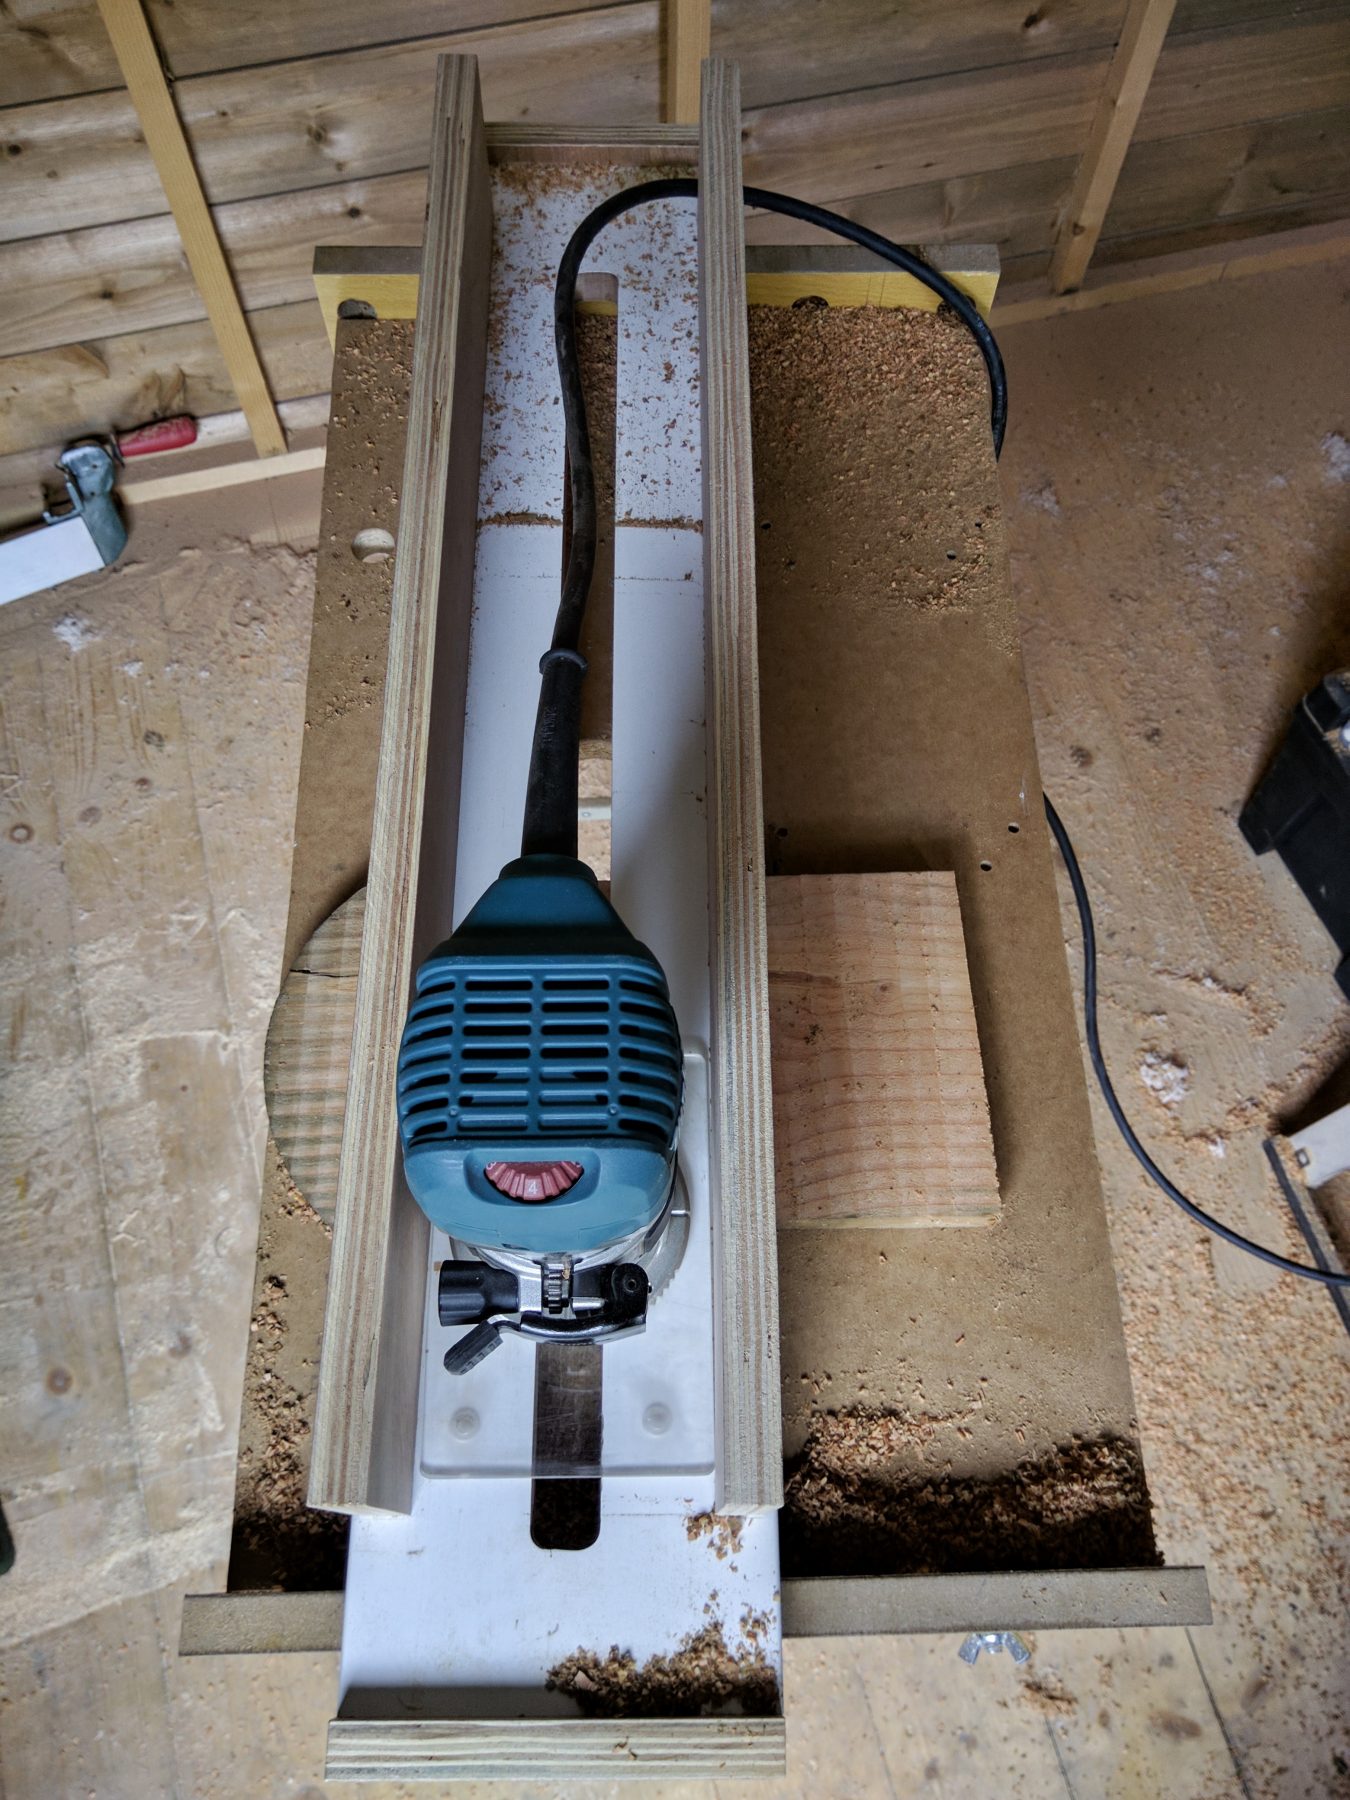
Attaching the plywood, clamping, drilling holes and of course countersinking.


Then the stop blocks – it is always a challenge to drill and drive screws to an MDF – it can split! These blocks are quite important parts of the jig – they prevent the jig from slipping out of the table and also, they hold the router within the jig.
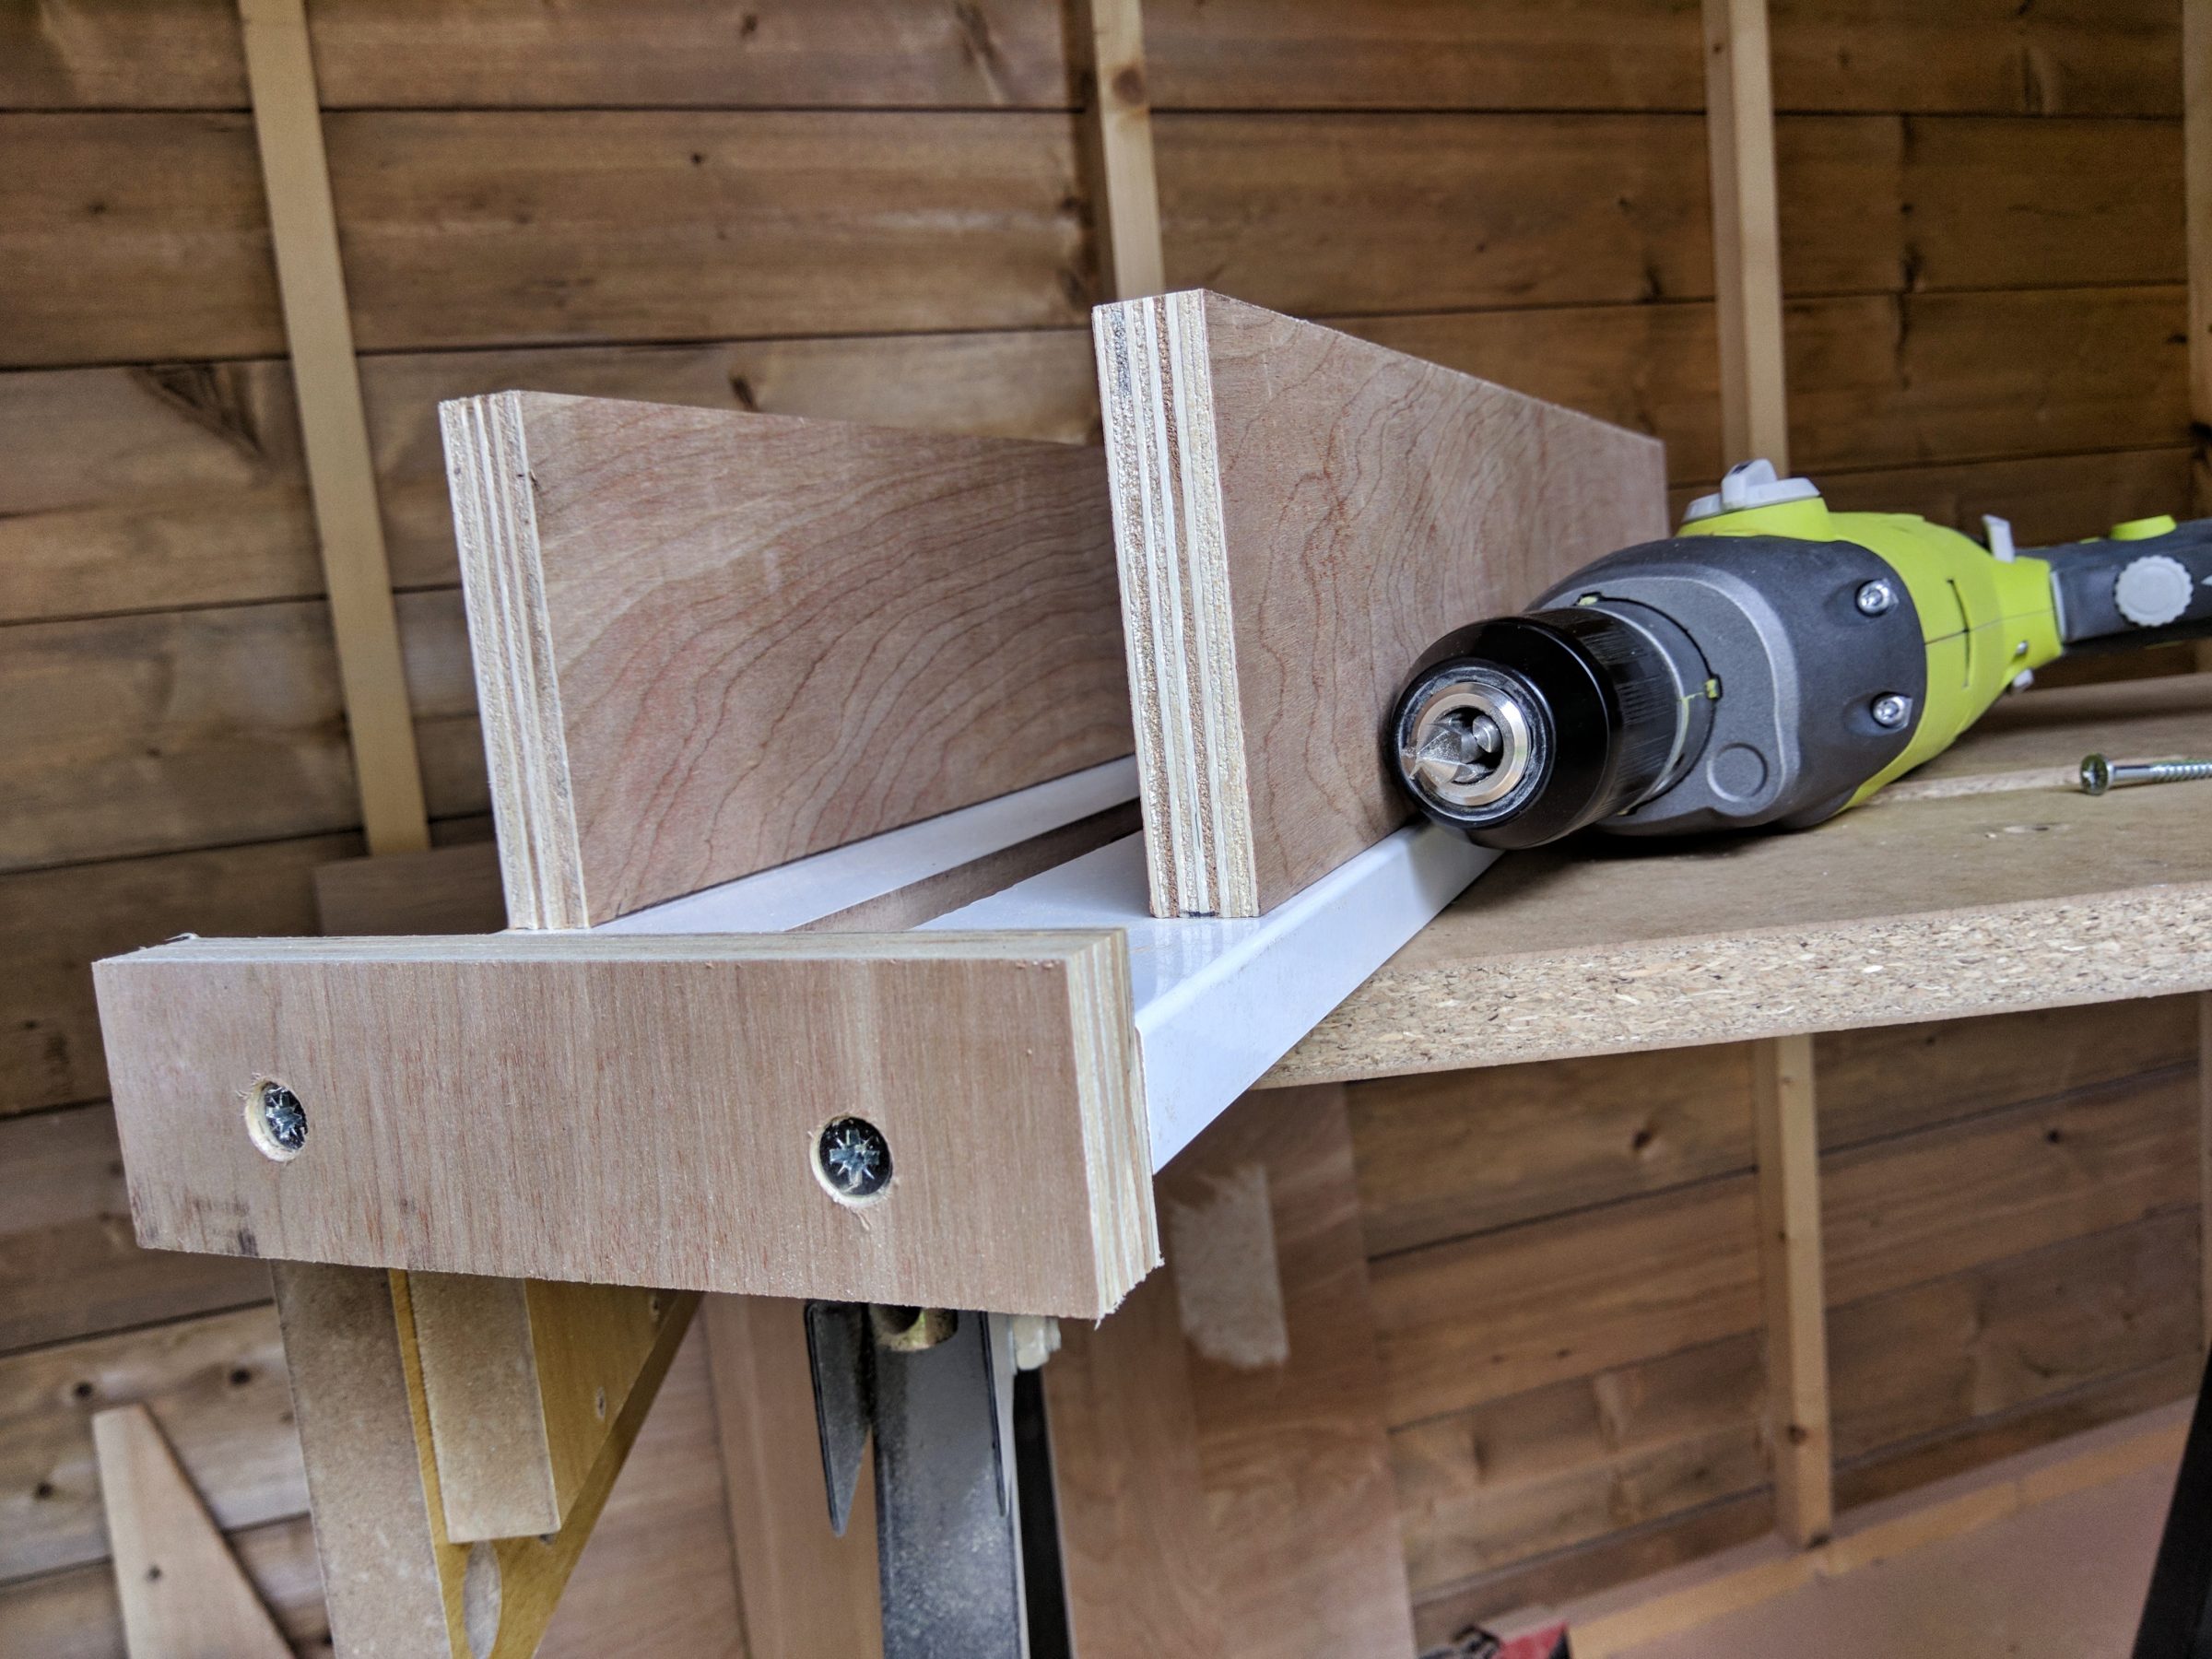

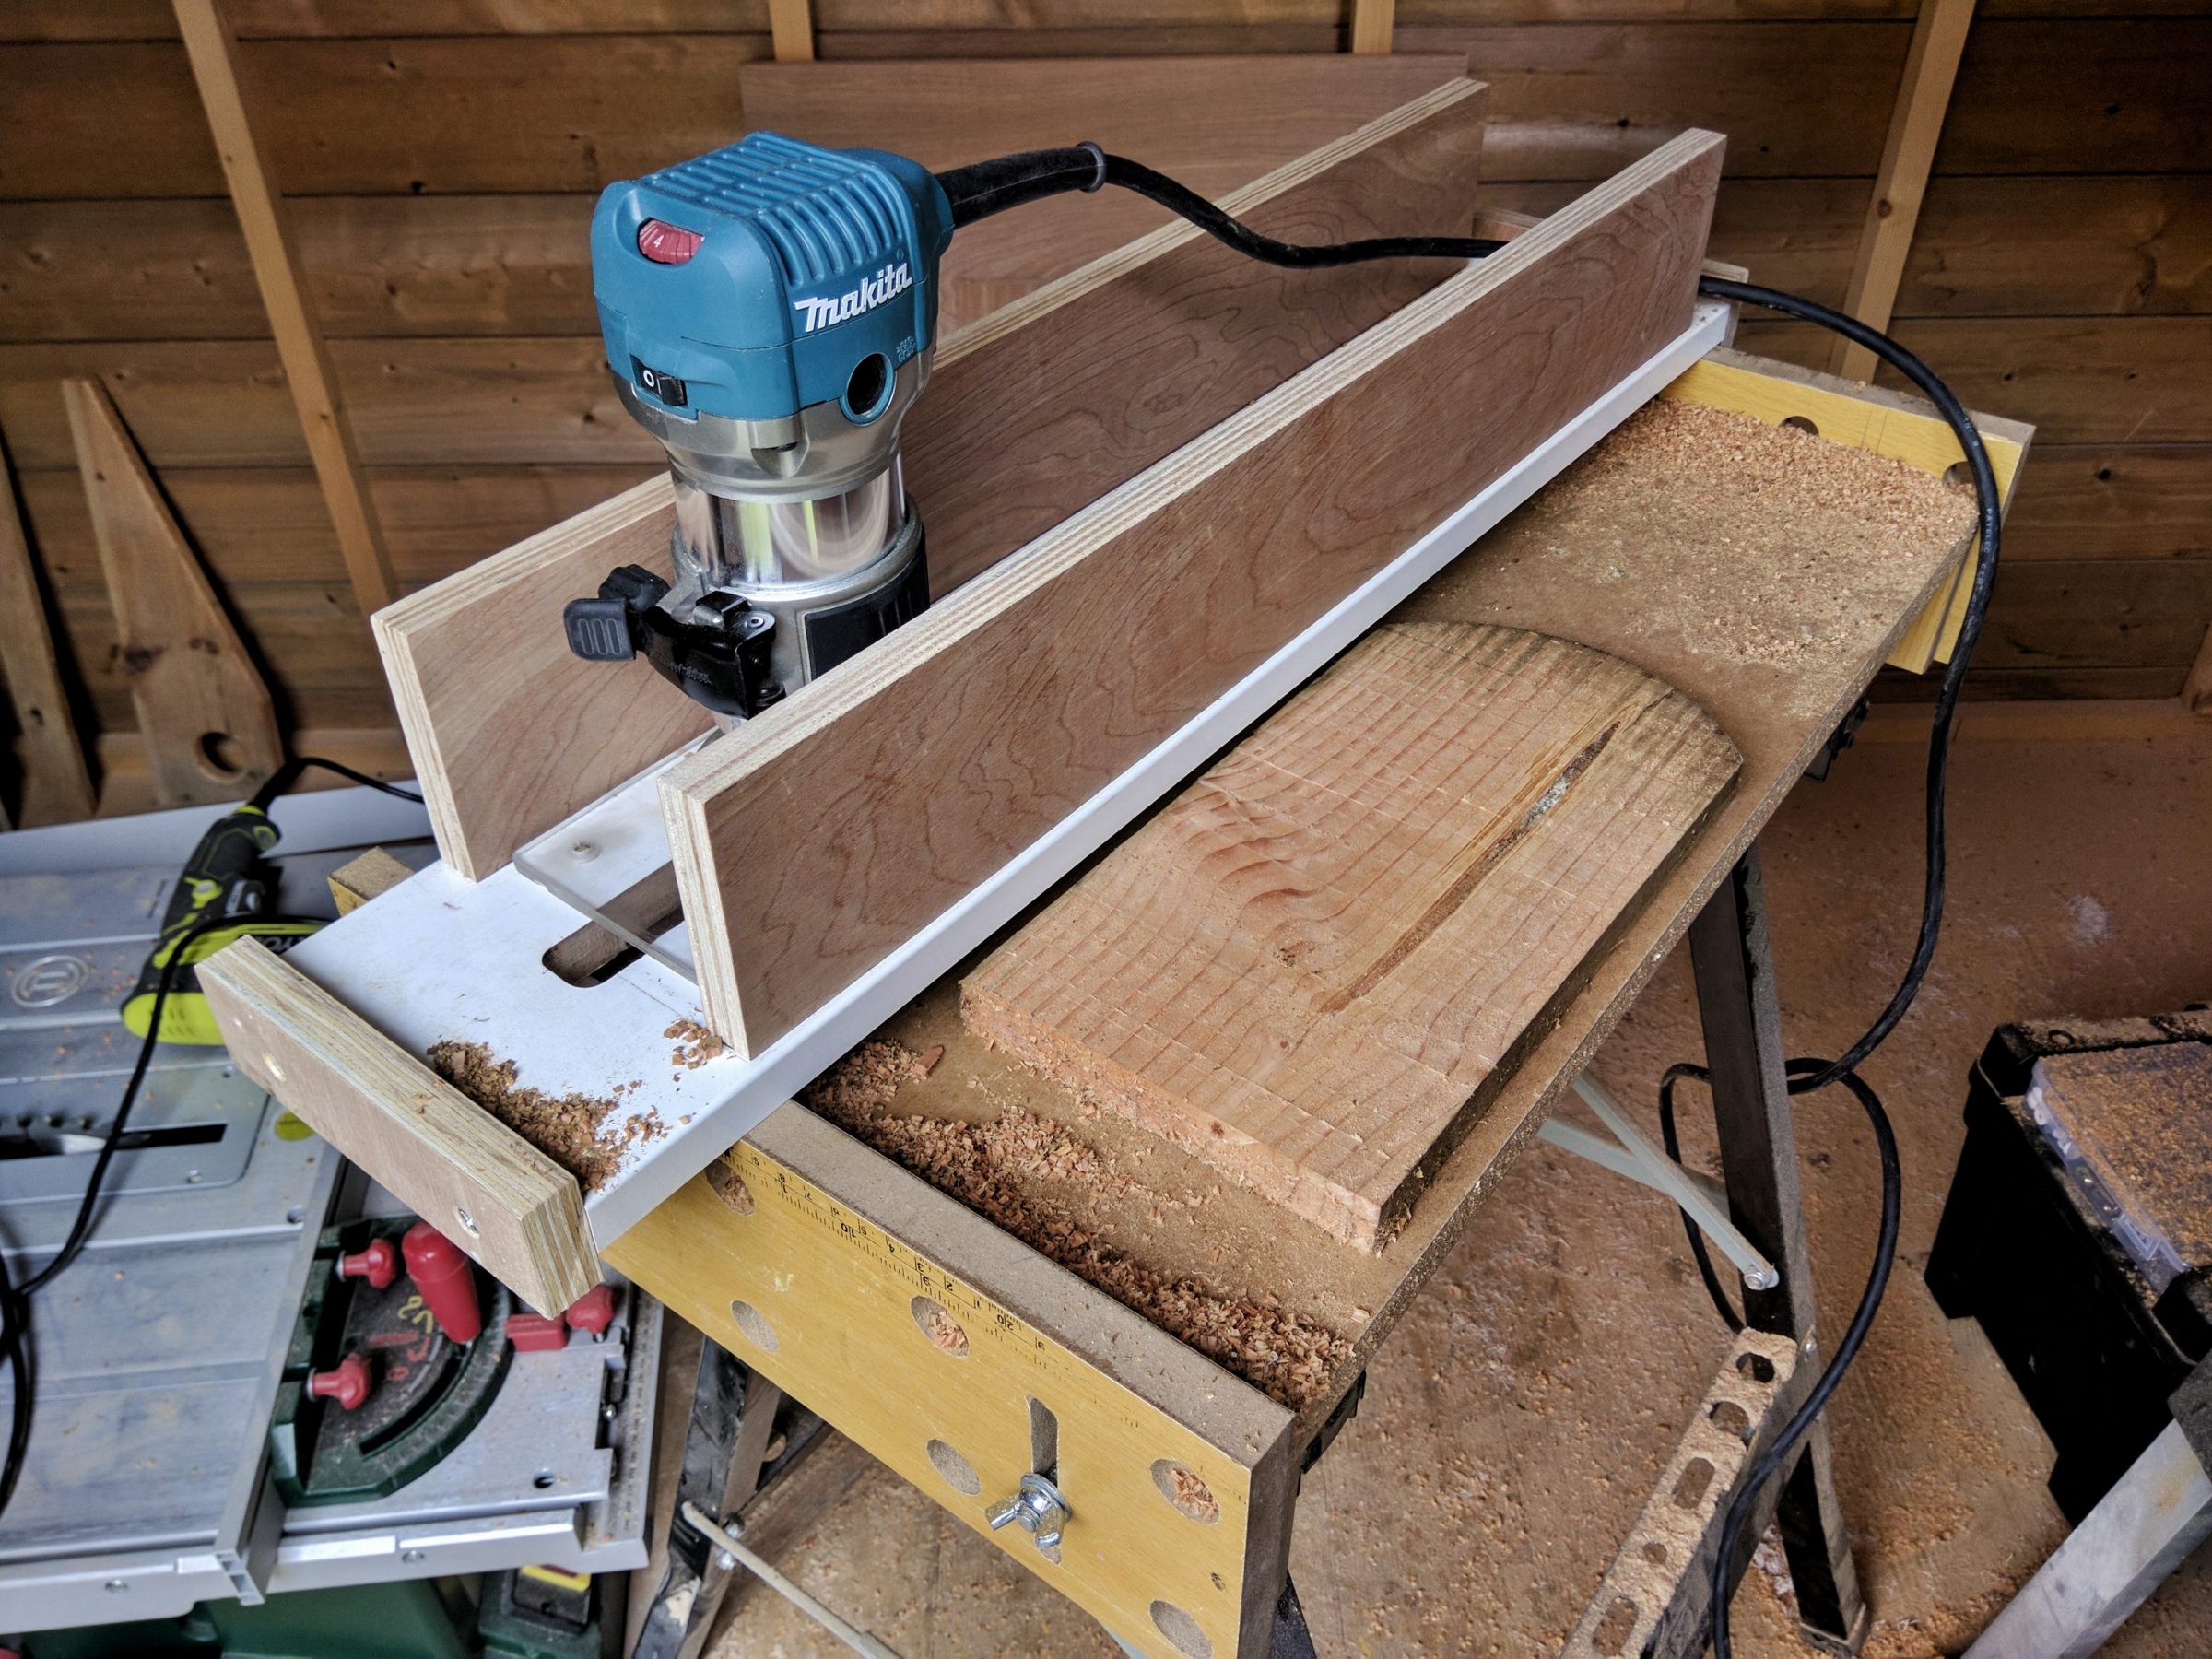
After I finished sanding it (a 1-minute job), I had to try it out!


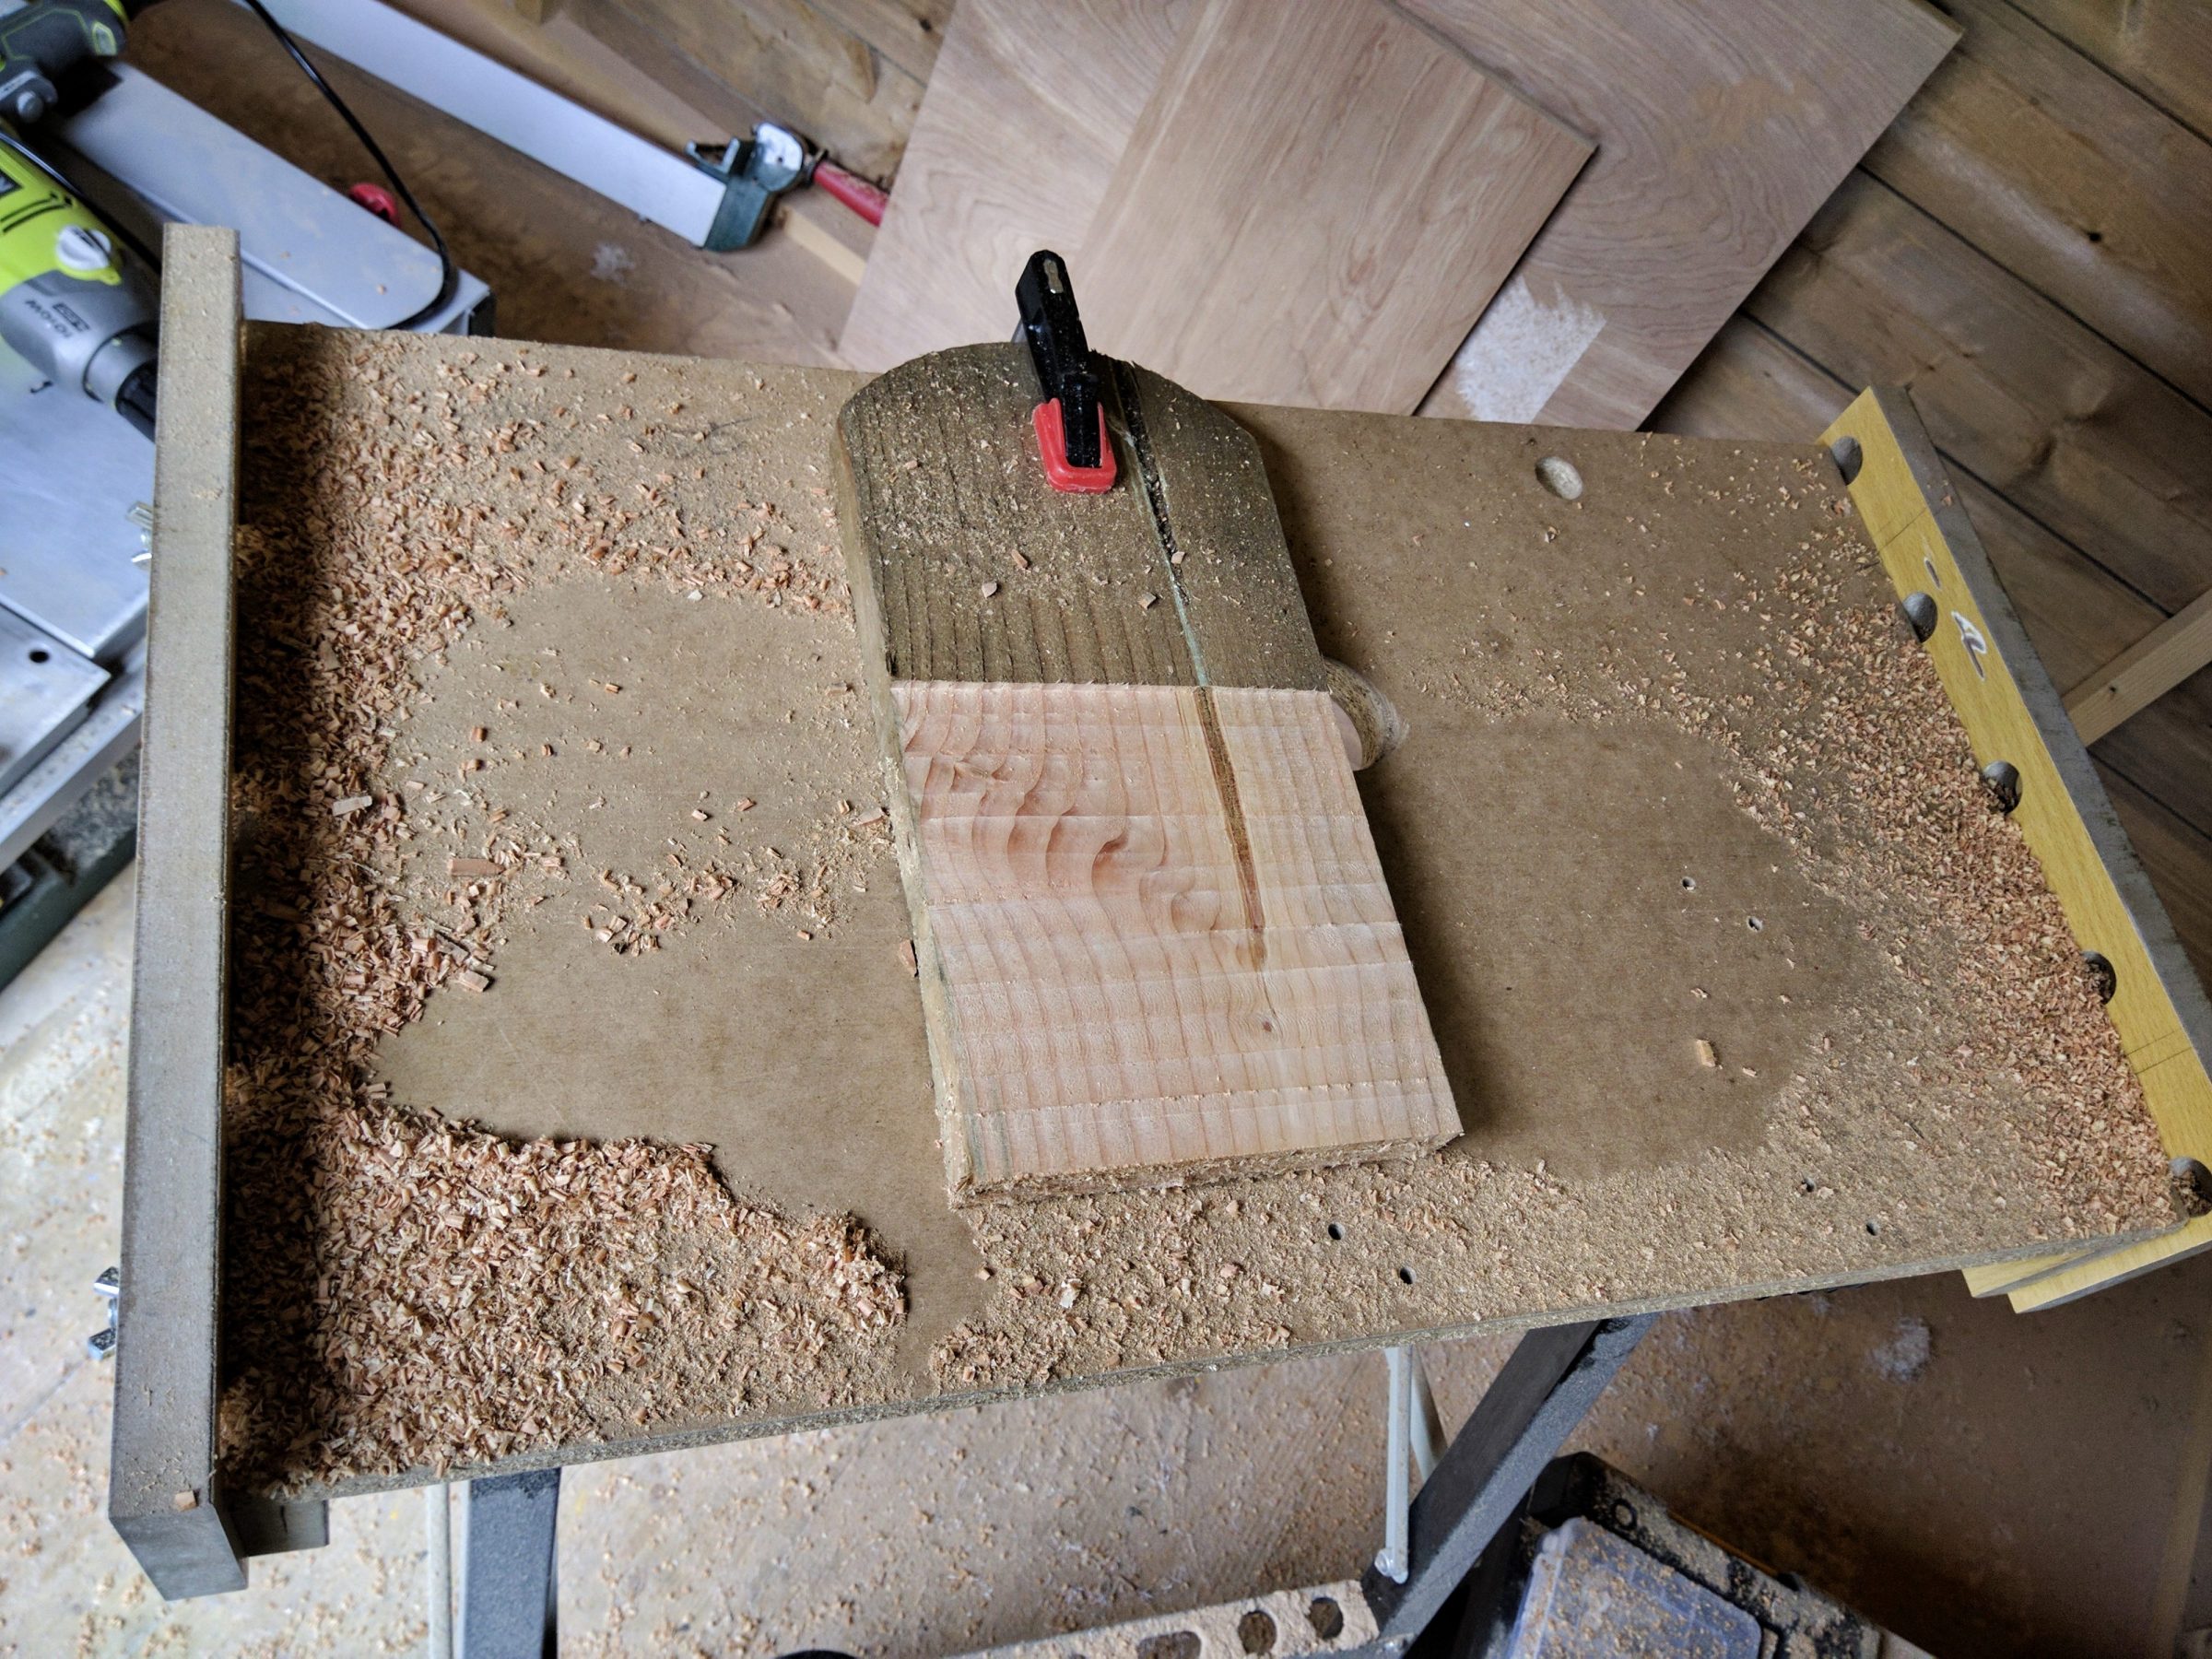


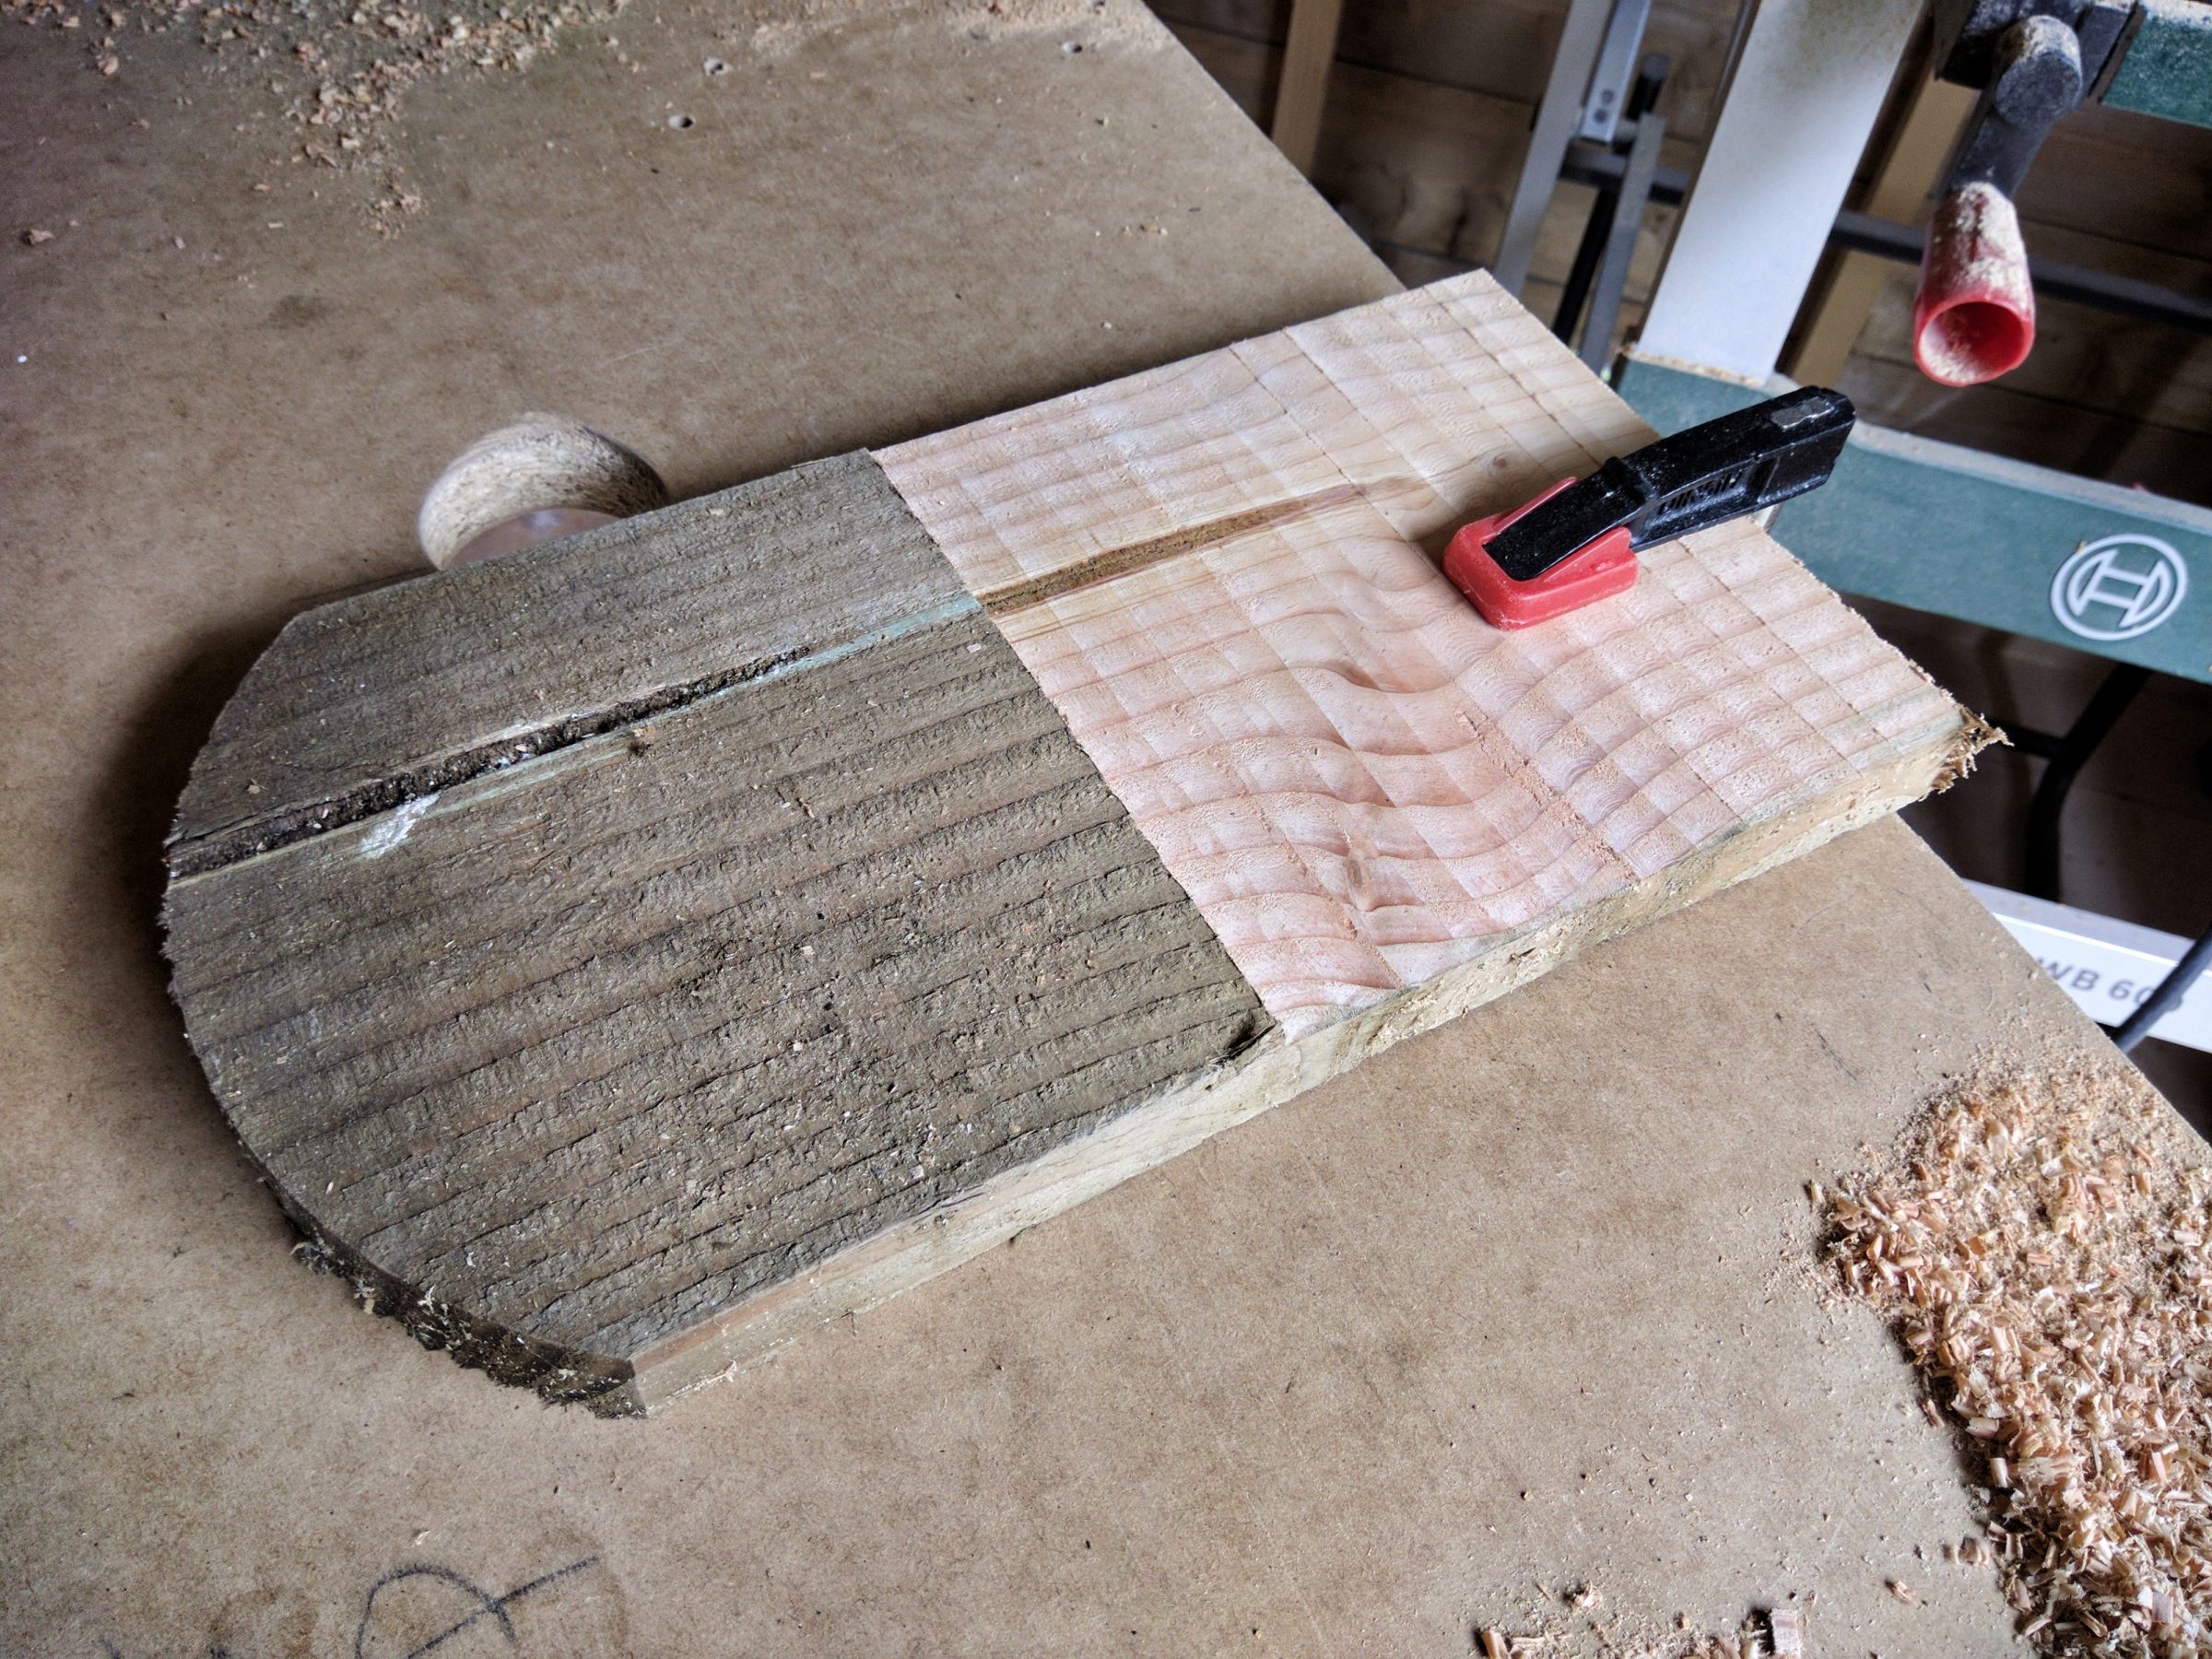
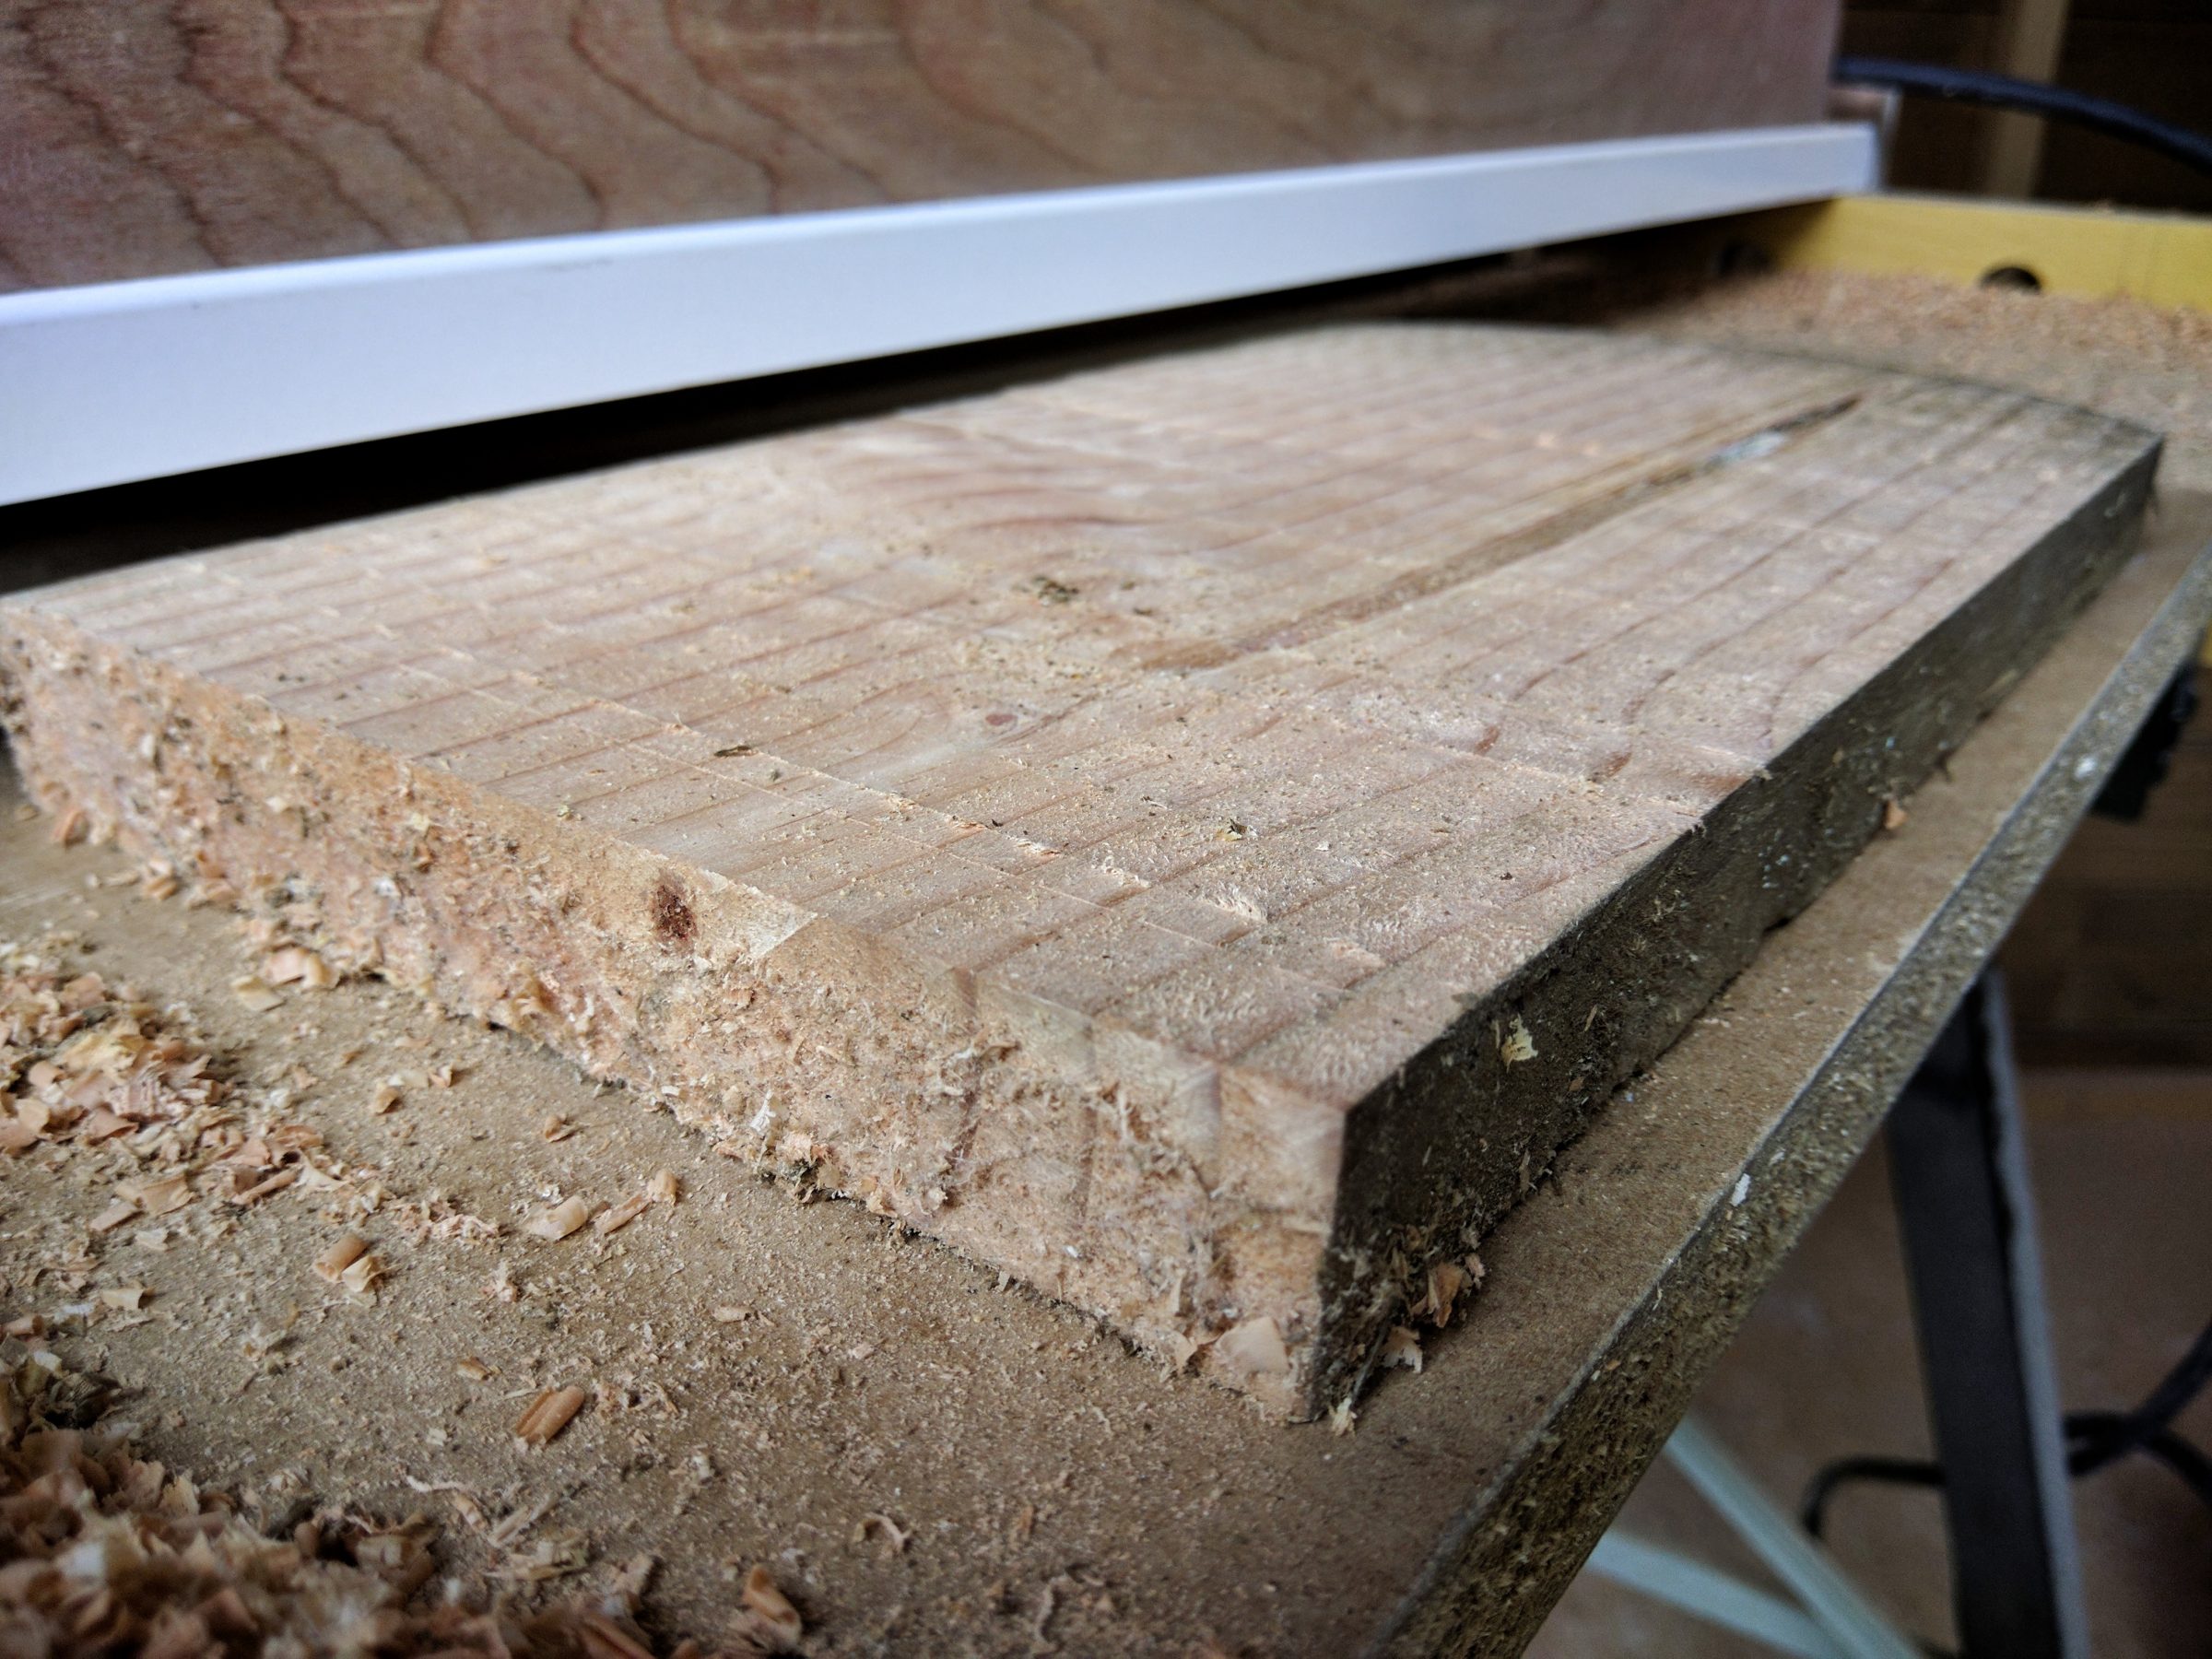
And there it is – a successor of my thickness sander. Less dust, improved accuracy and speed. It’s also smaller and easier to store.


7 Comments
Pingback:
Pingback:
Pingback:
Pingback:
Pingback:
Pingback:
Pingback: