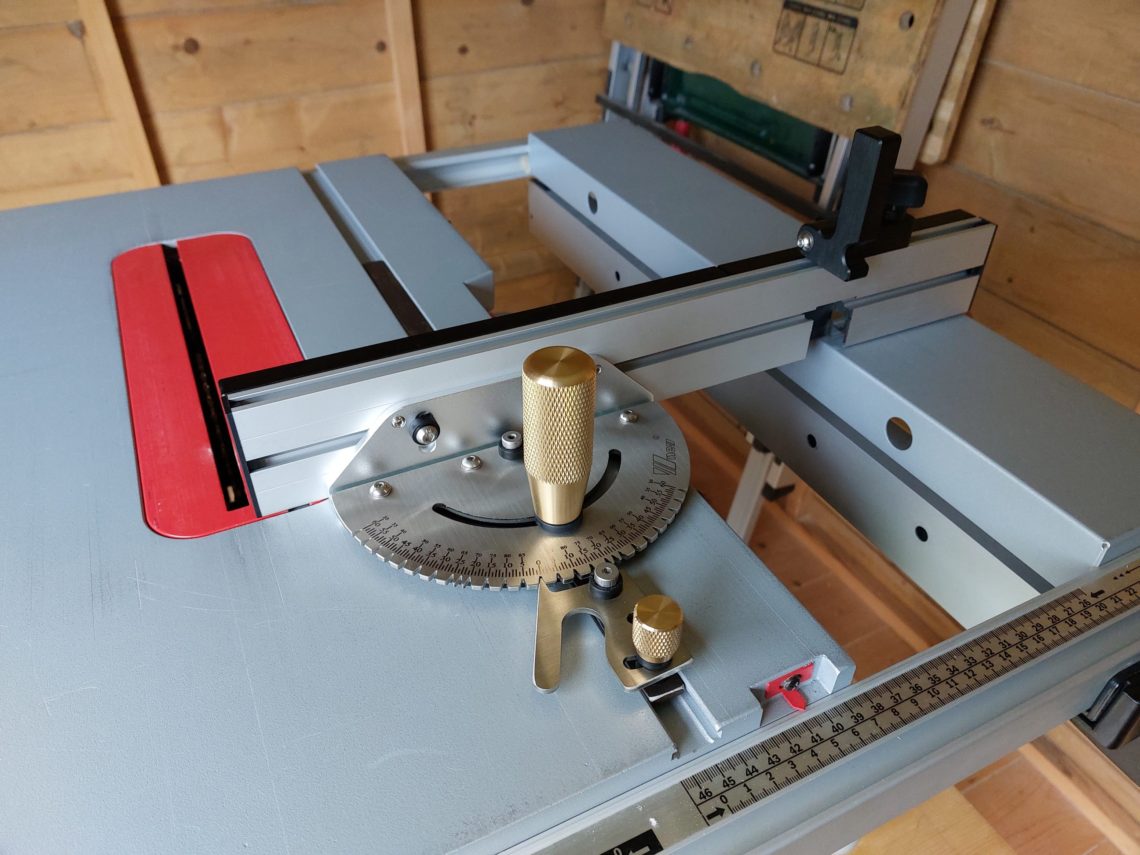
Professional mitre gauge with a 16 mm bar
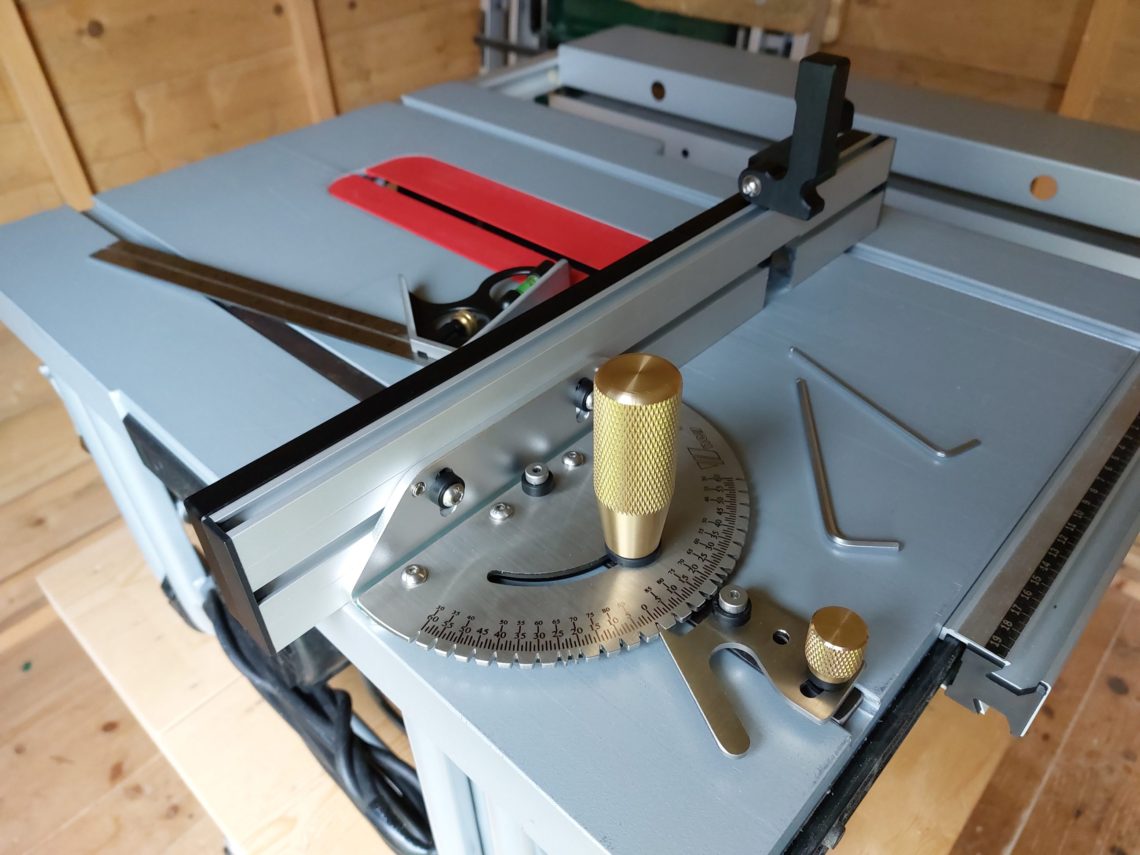
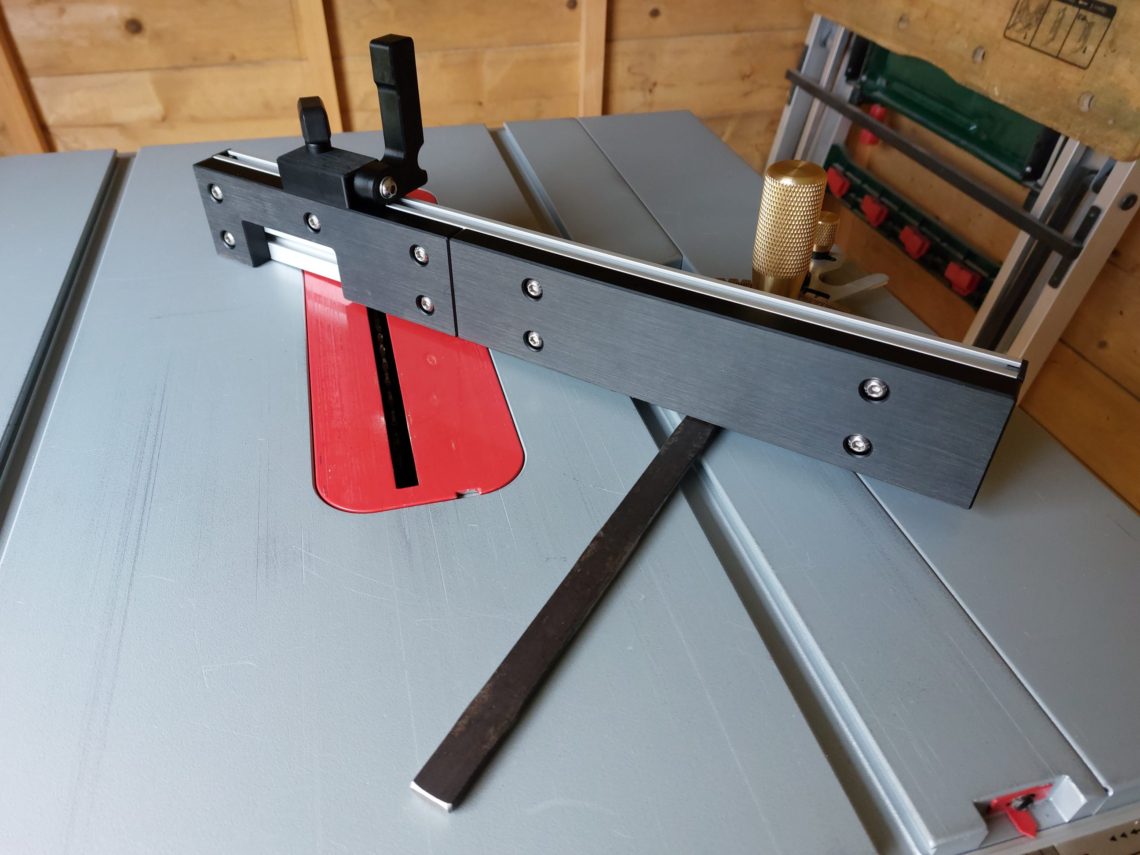
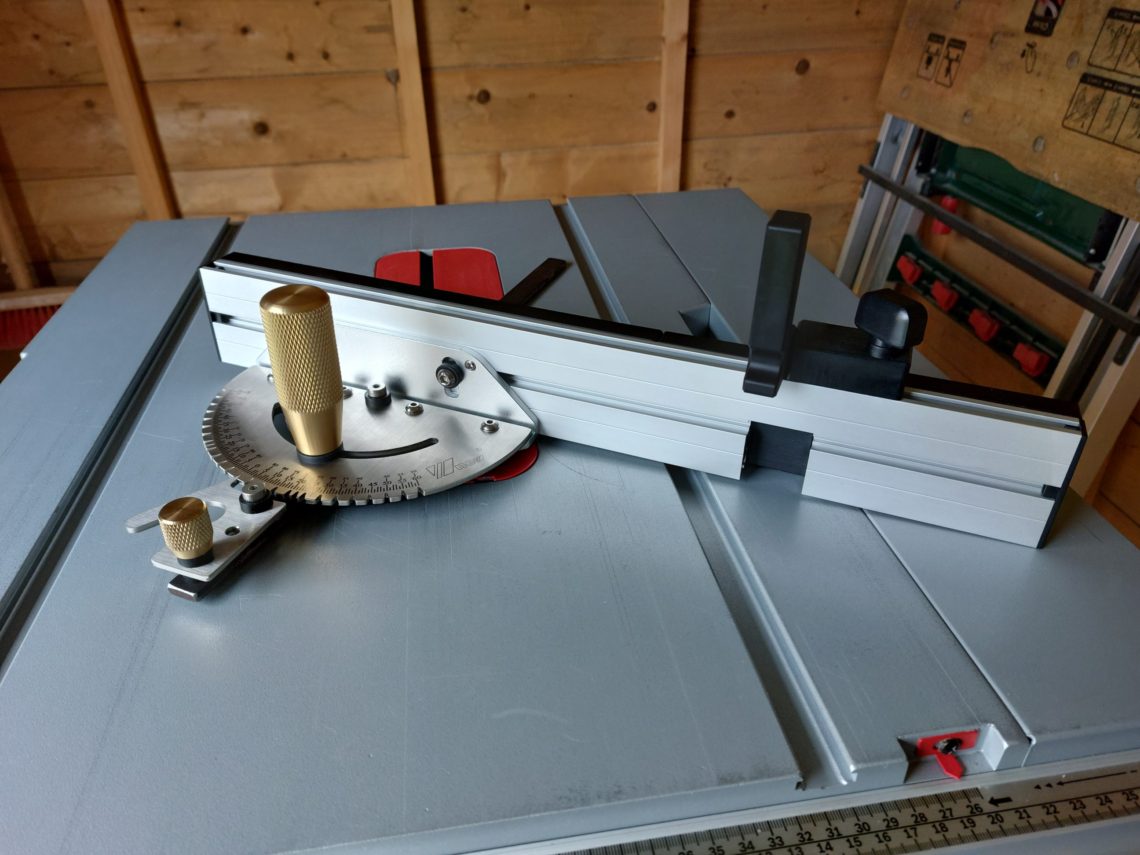
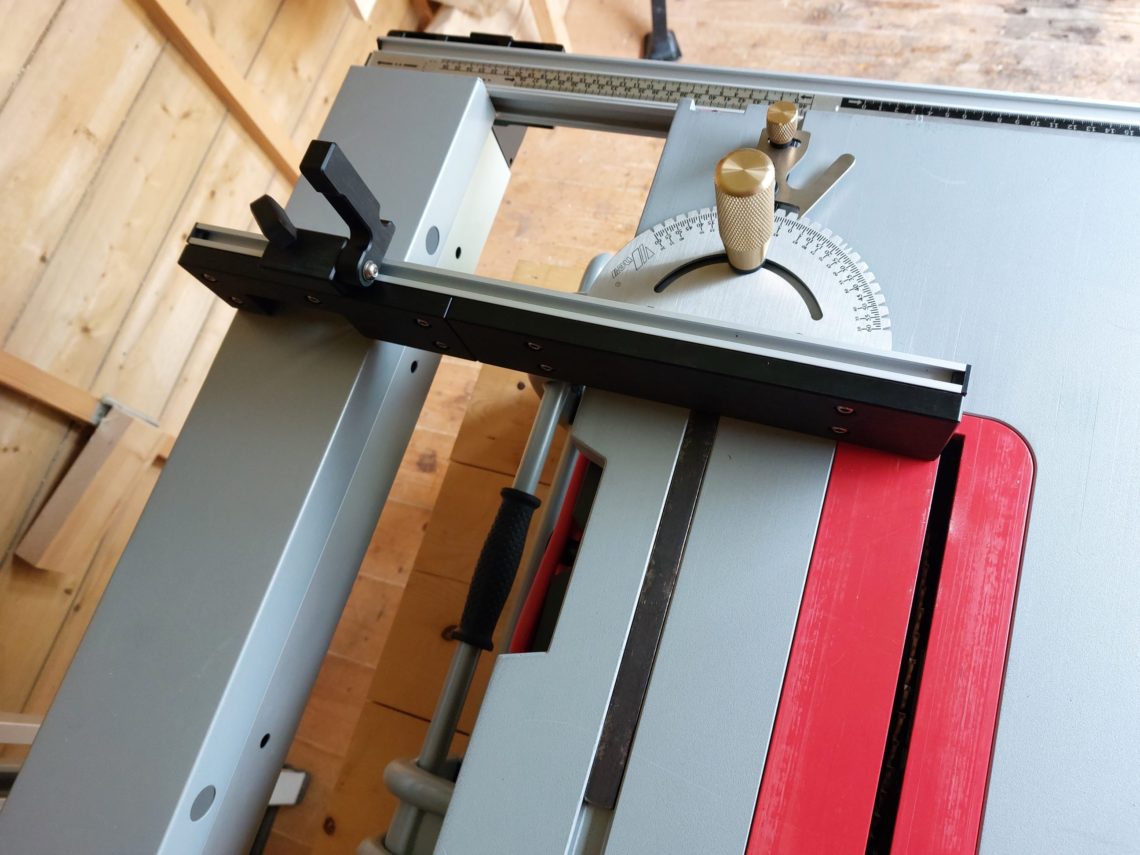
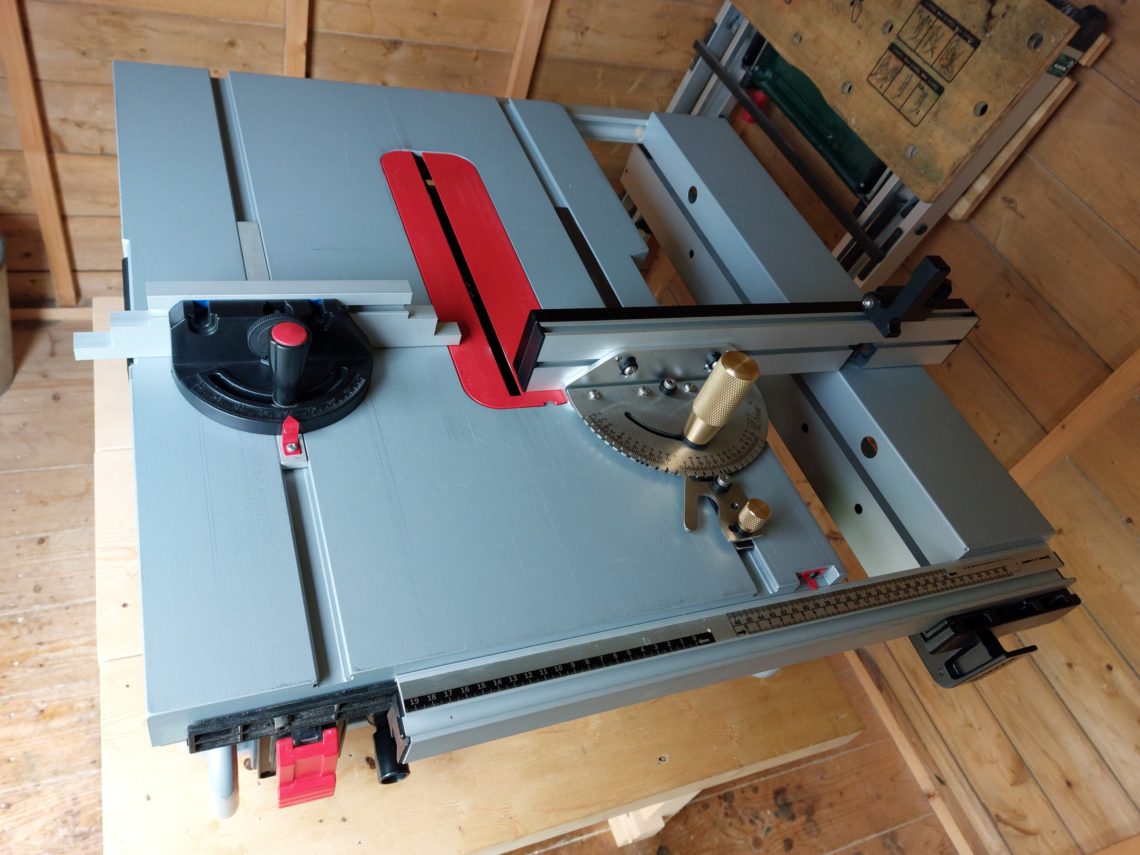
This is the 2nd attempt at improving the mitre gauge for my Bosch table saw. A much larger, heavier, more accurate and equipped with a box joint jig mitre gauge required a bar that would fit into a 16 mm slot. I tried to duplicate the one it came with, changing only the width. My table saw has non-standard 16 mm (5/8″) slots and it initially comes with a cheap mitre gauge. A few years ago I replaced the aluminium bar with a mild steel one, it’s worked absolutely fine being gentle for the slots, there are no signs of wear and no gouges whatsoever. That 1st bar was expanded in 8 places, the new one in 10 because it was longer. I also skipped making the supporting pin at the far end of the bar. It was pretty much the same process altogether, with a few minor modifications, the primitive methods stayed the same because they worked fine.
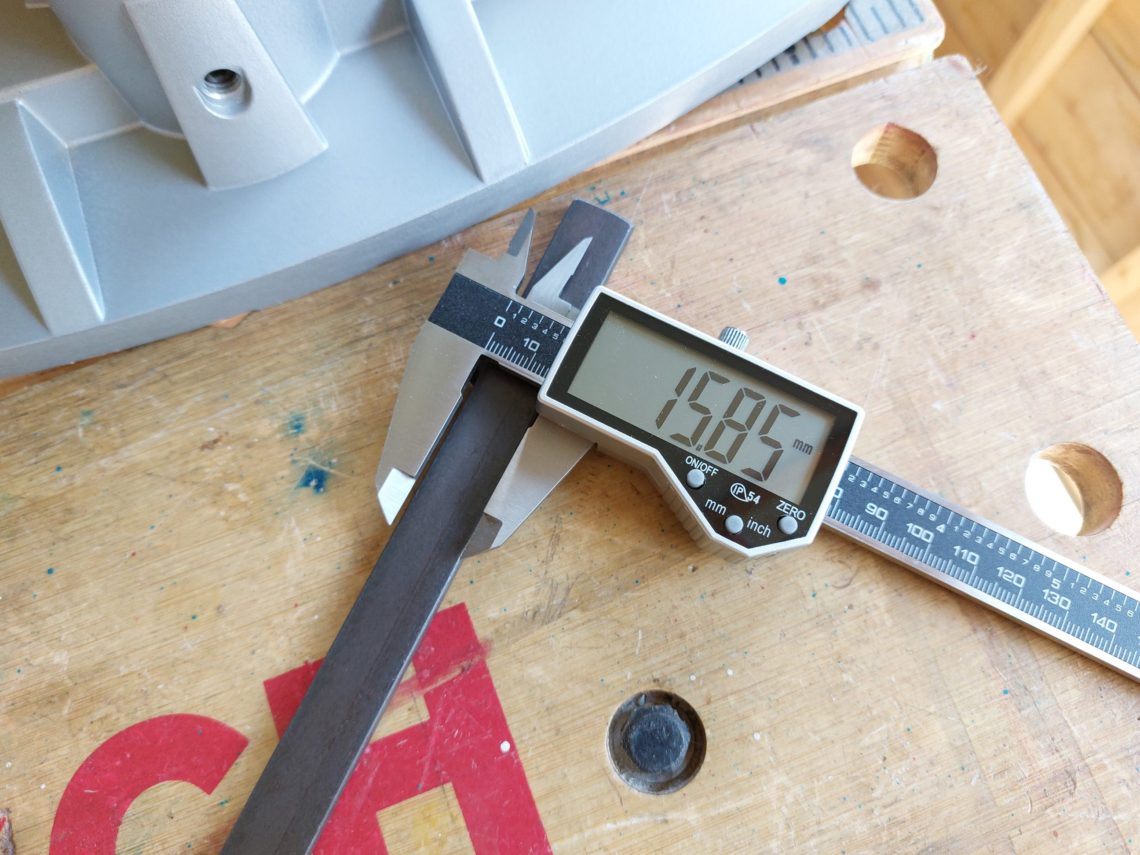
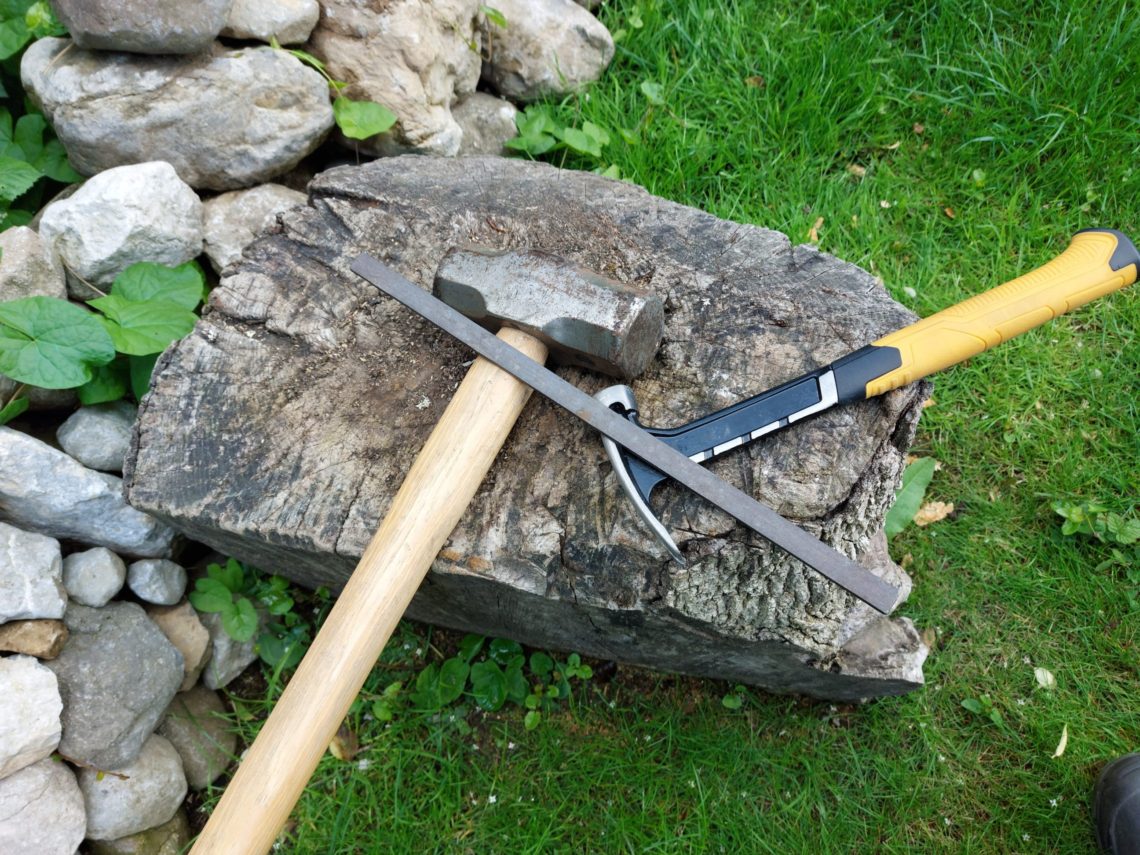
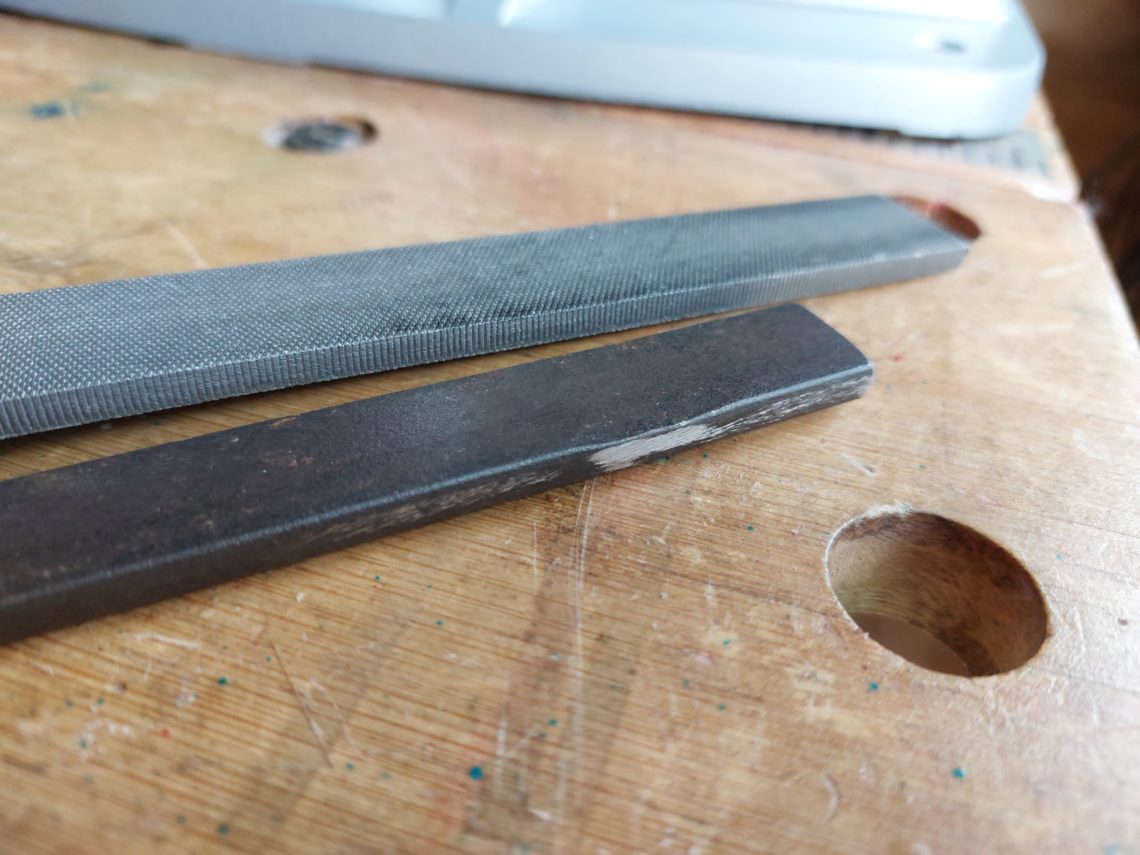
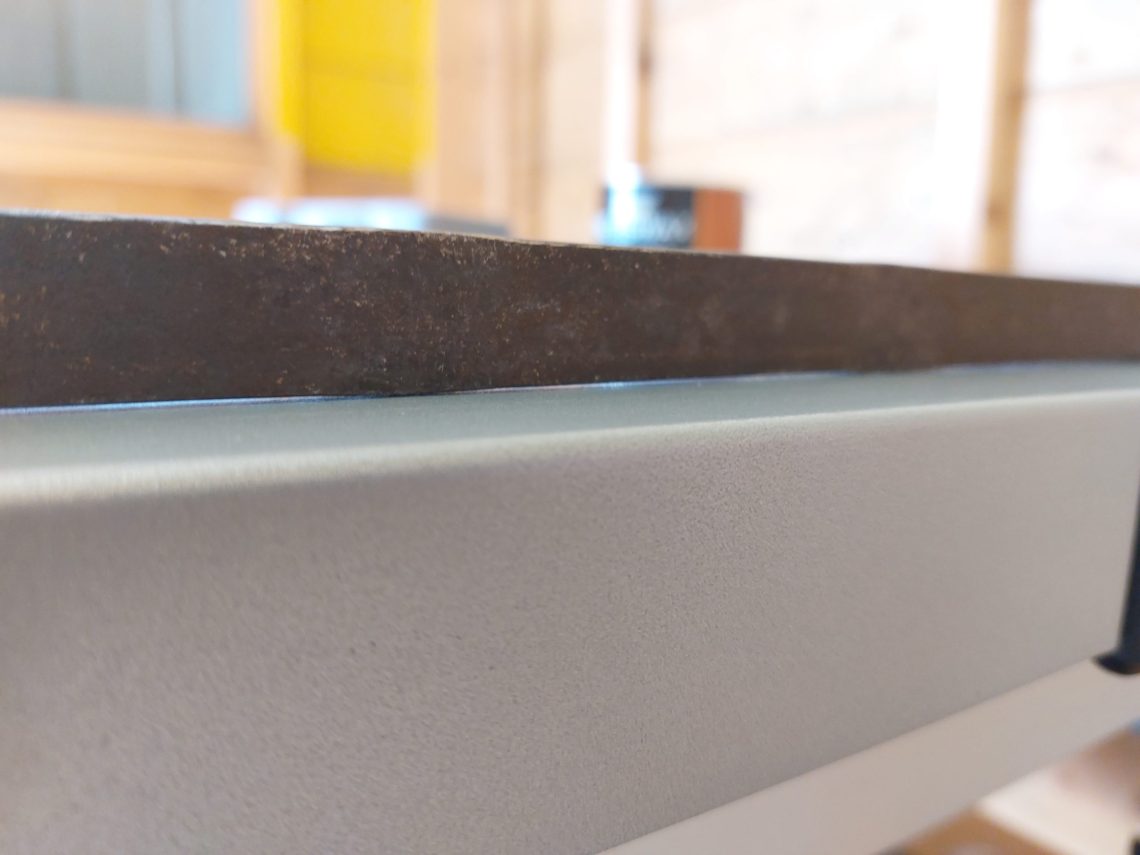
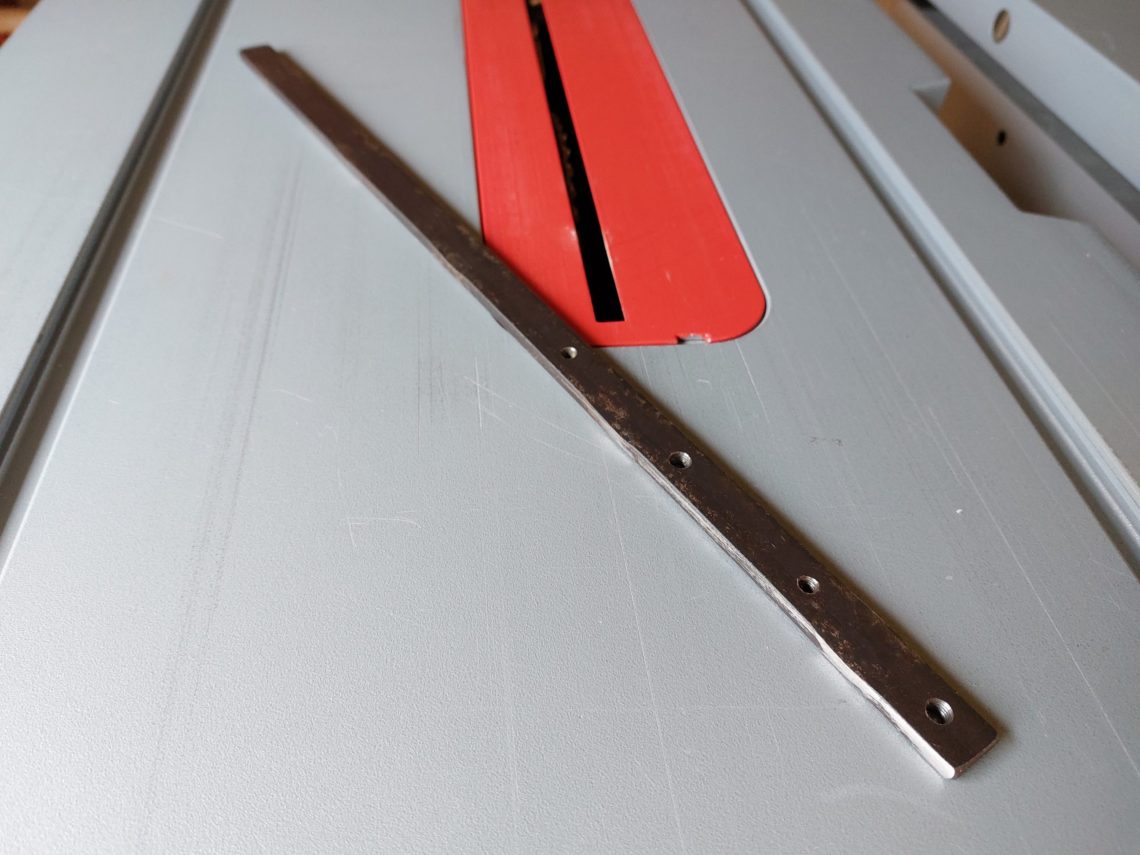
The steel bar had to be resized from 15.85 to about 16.3 mm. That was another 0.45 mm (1/64″), if not added, the bar would have too much play. Like the last time, I used a sledgehammer as an anvil, a hammer as an expanding tool and a file to remove any excess material. That step took most of the time, all the lumps I created had to be perfectly aligned and evenly distribute the expansion between both sides. The bar I purchased wasn’t flat or straight, it was also supposed to be 16 mm in width but it wasn’t. A lot of precision work with not-so-fine tools, I wouldn’t lie if I said it took me a whole day to complete. That wasn’t savage hammering all over the place, it was rather a gentle tapping with a hammer to get a perfectly sized mitre bar.
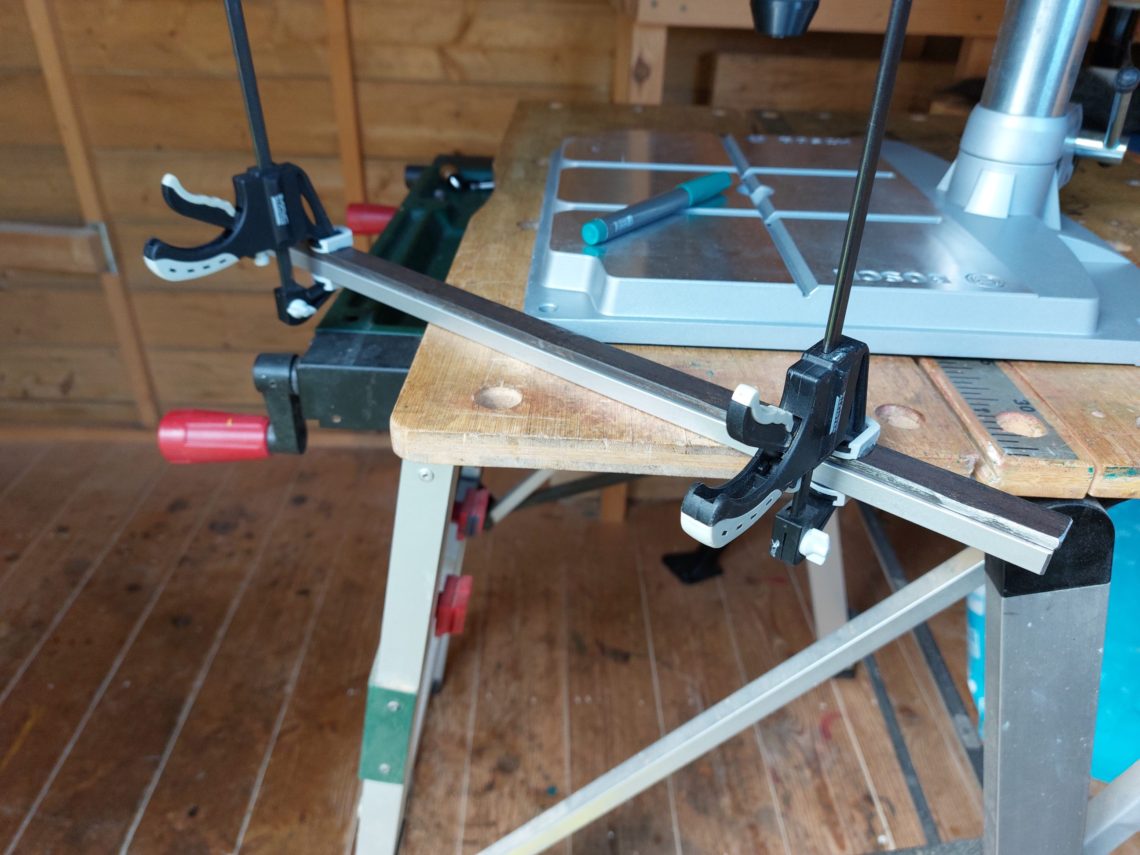
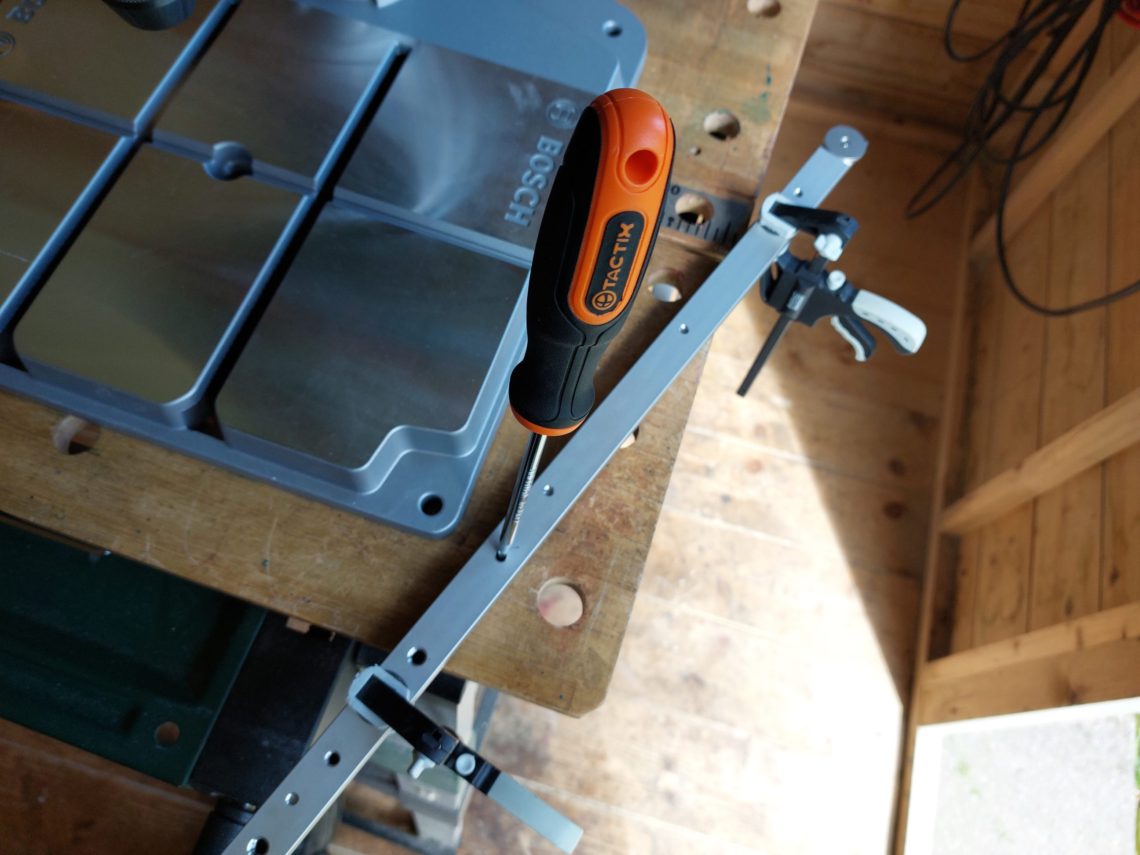

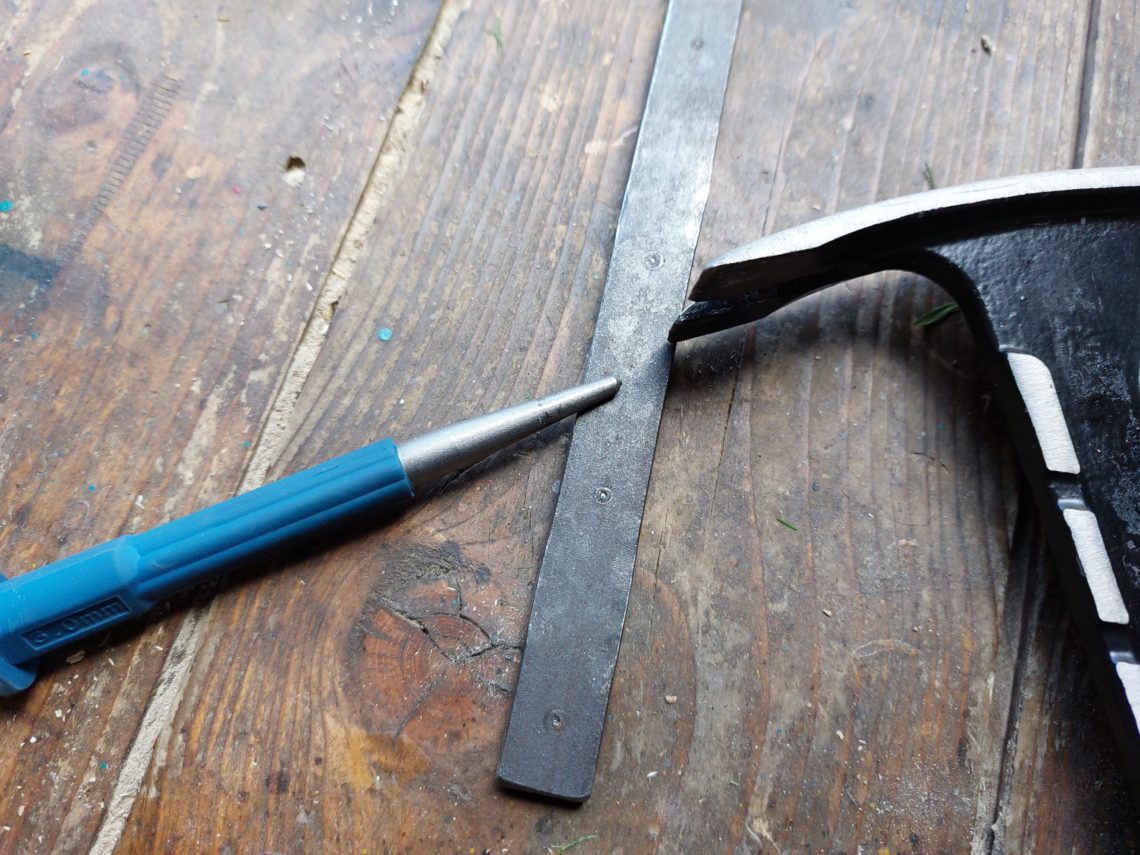
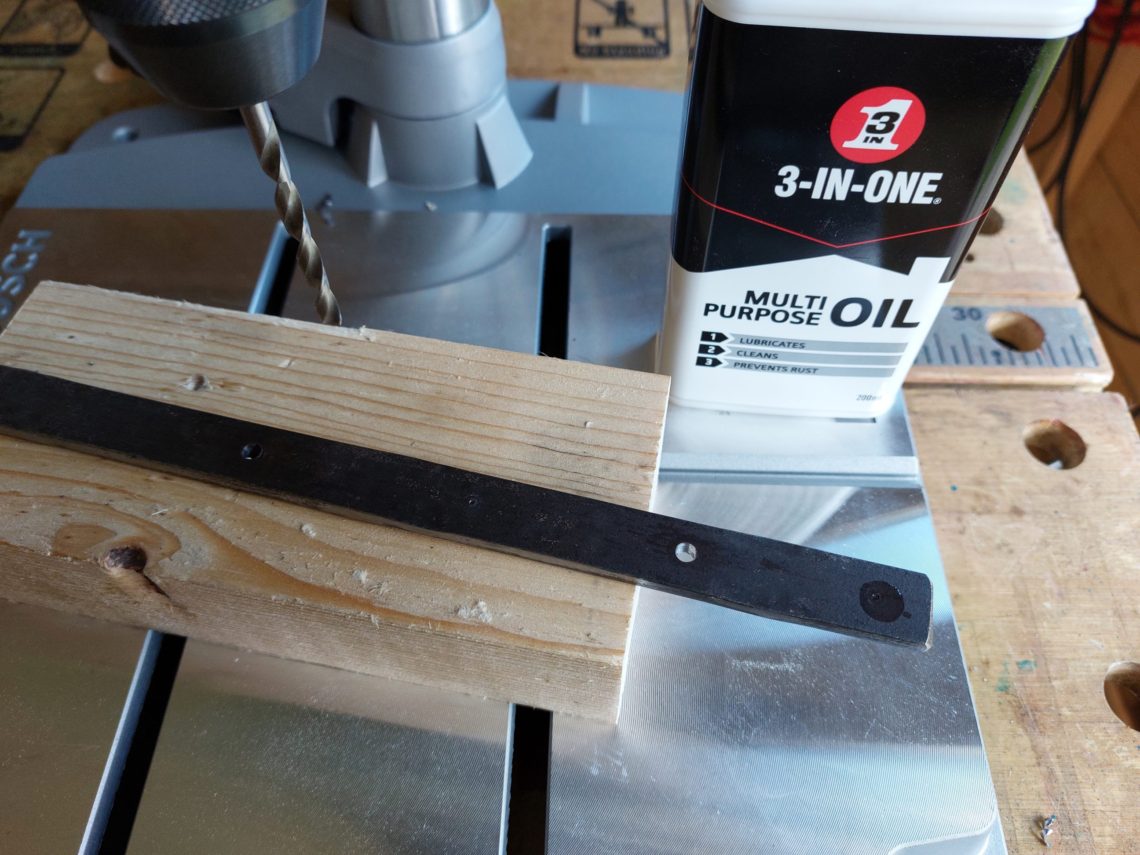
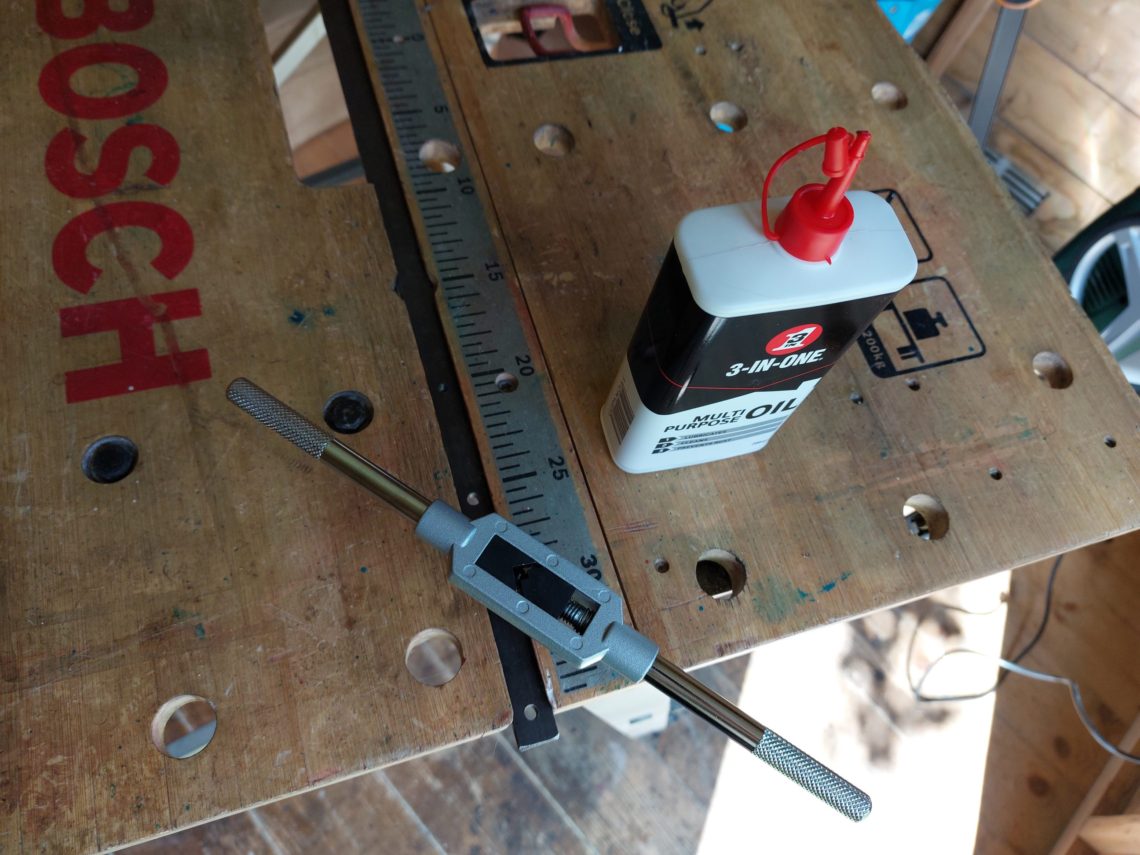
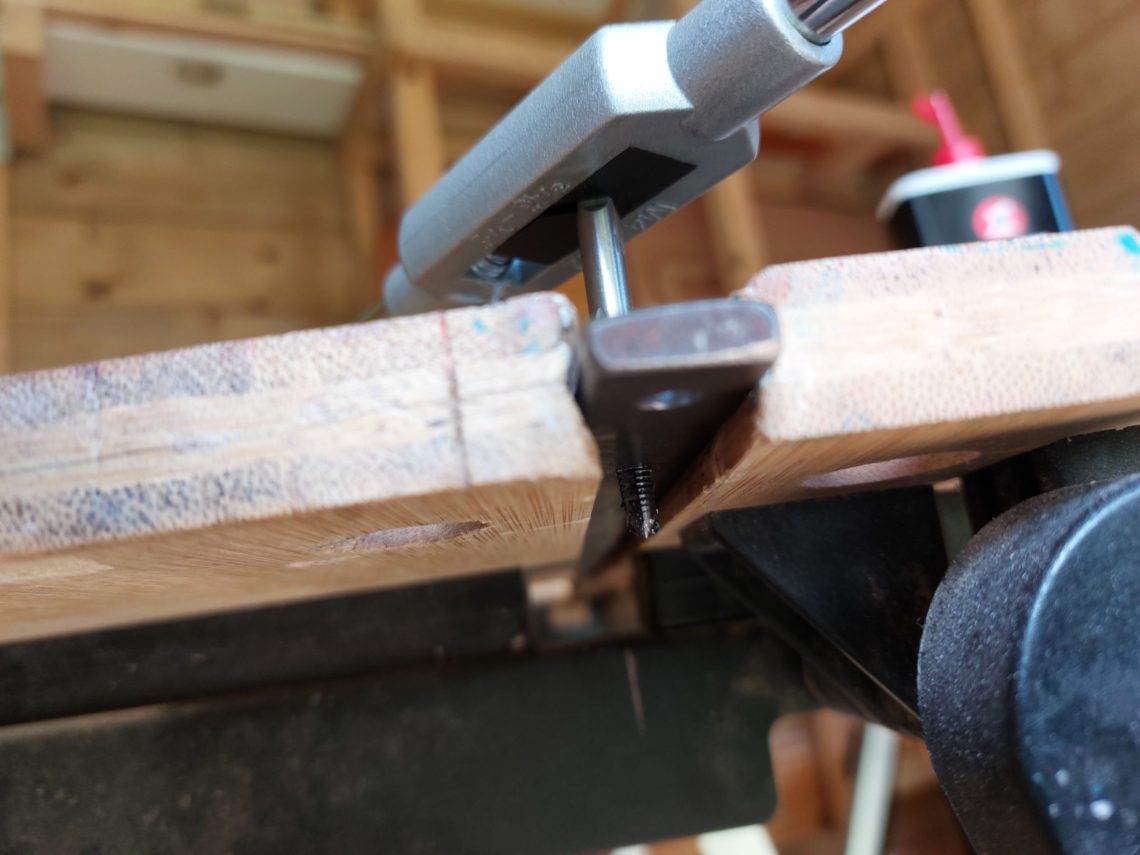
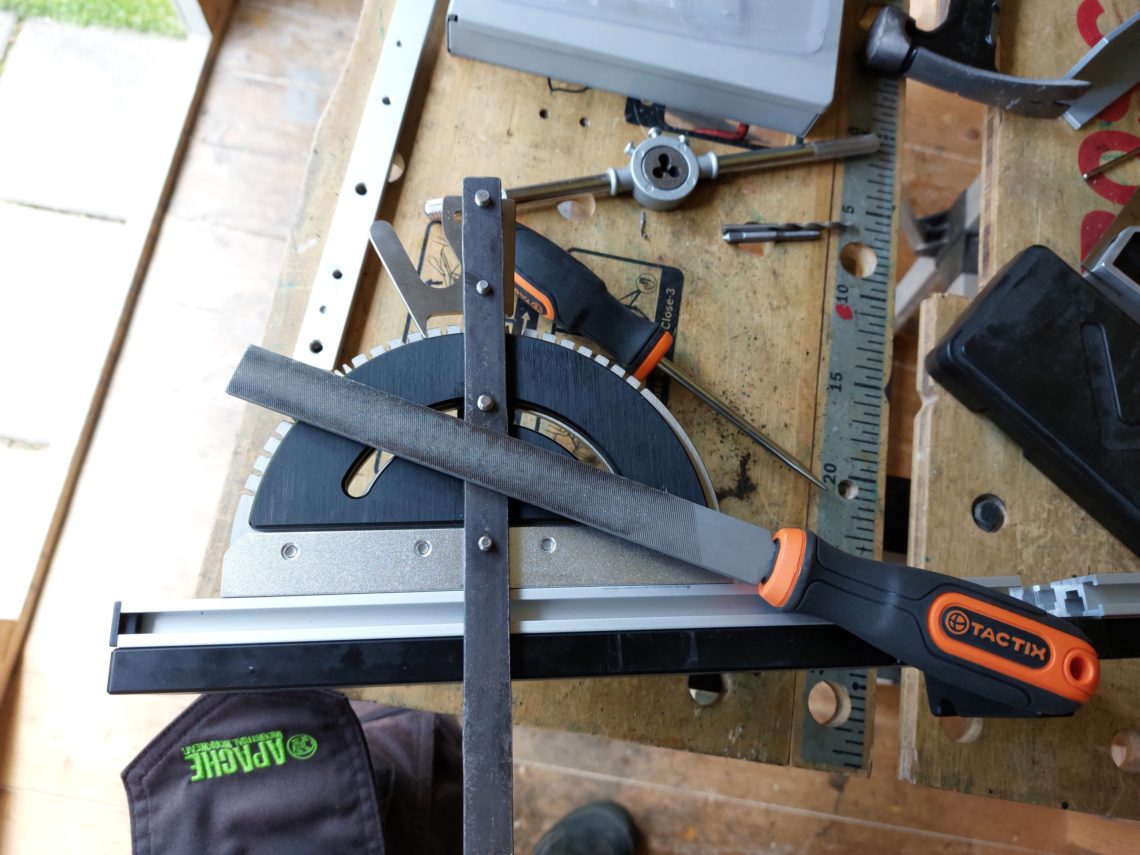
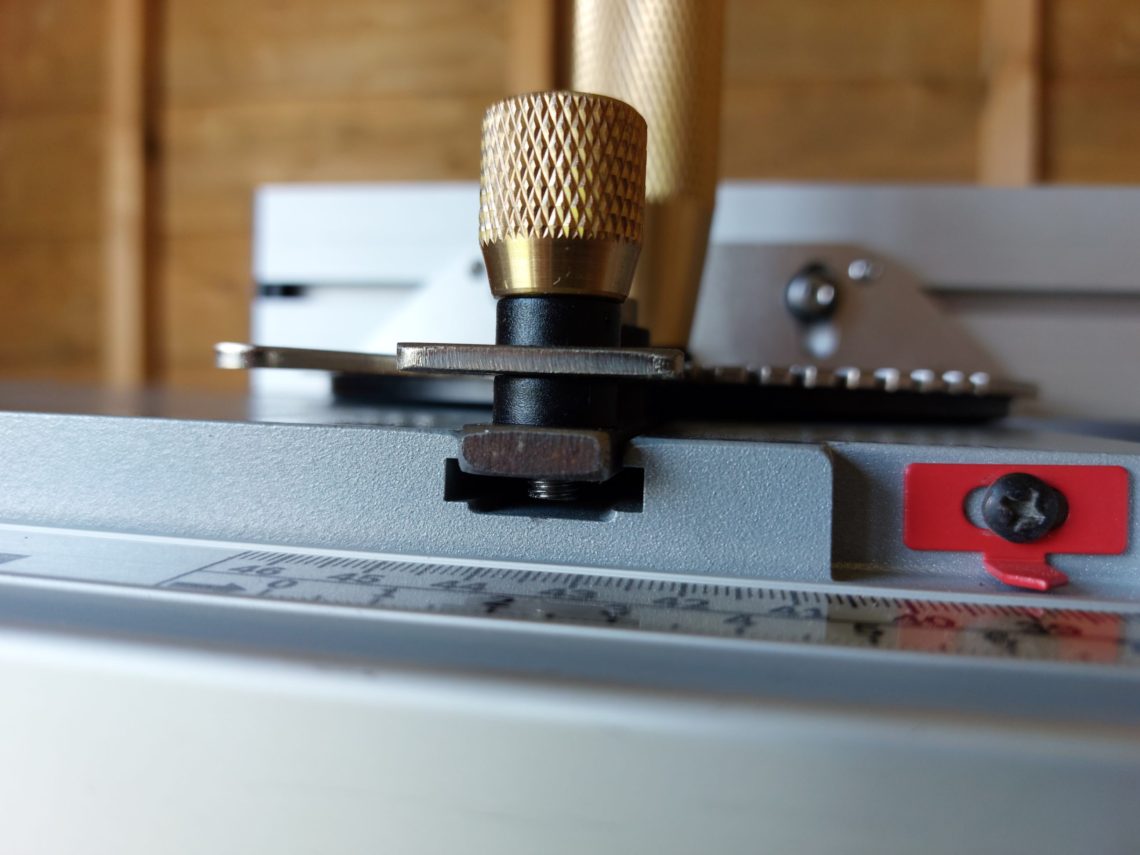
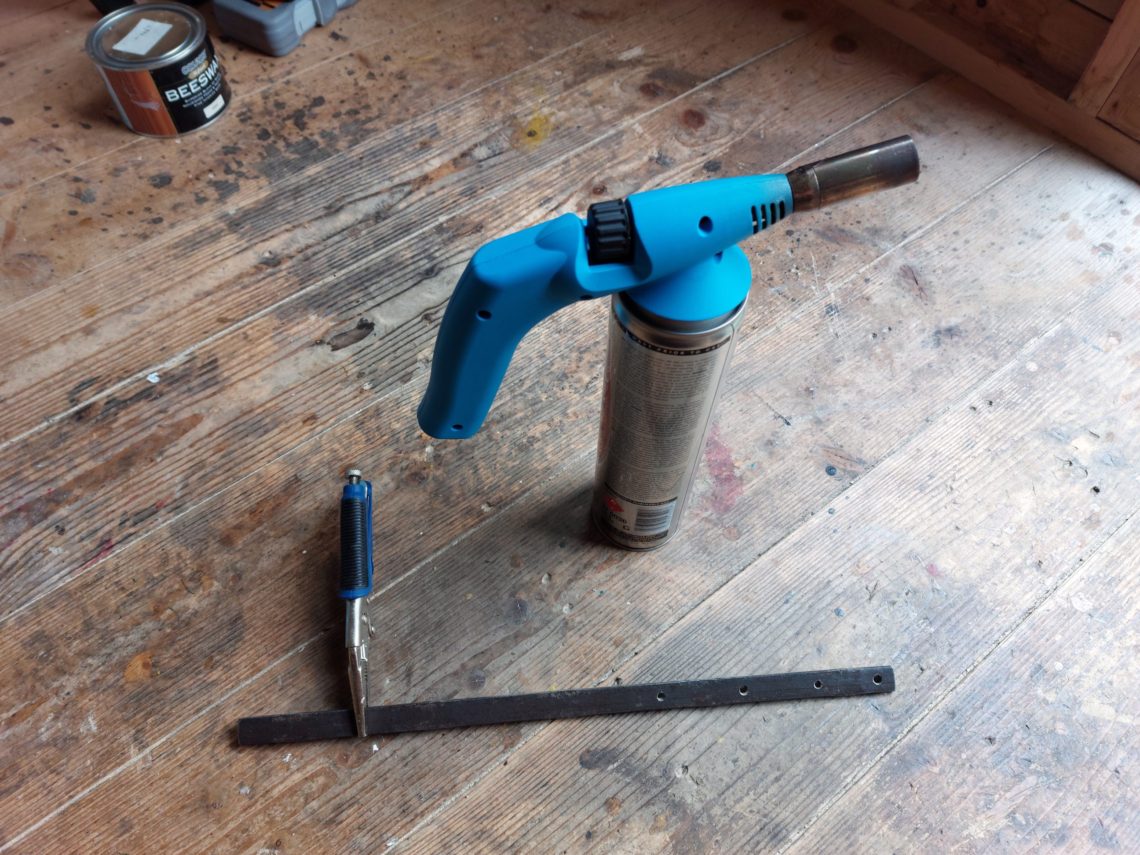
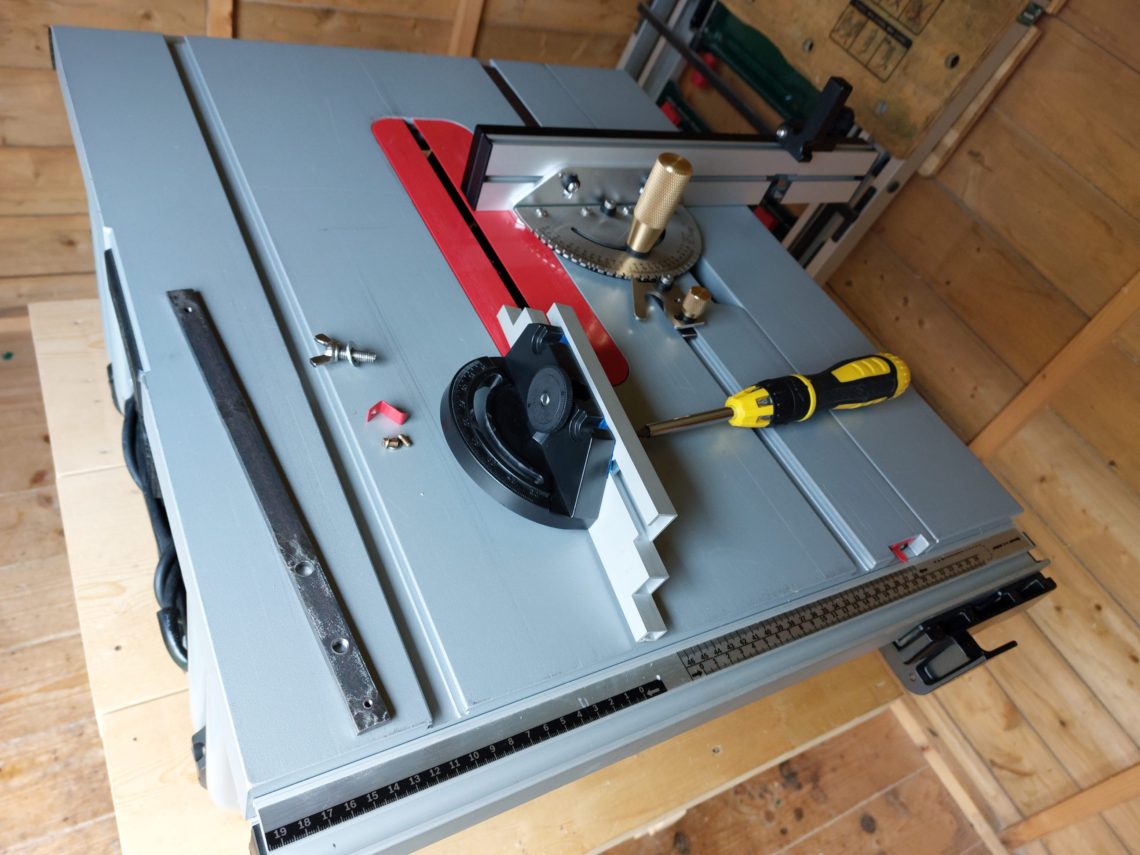
Once I was happy with the shape and dimensions I clamped the original bar to the one I made. I transferred all 4 drilling points using an awl, pre-drilled them with correct bits and tapped threads. Two of them were 5, and the remaining two were 6 mm in diameter – just like the original. Also, the smaller screws got a gentle pass or two with a die, they were just too tight. This is a common problem with this particular mitre gauge, these 2 screws are very tight, they come like this and it’s hard to undo them. The next step was to file down all 4 screws to the safe length, disassemble the mitre gauge, gently countersink all 4 points from both sides and burn some beeswax to the surface using a blow torch.

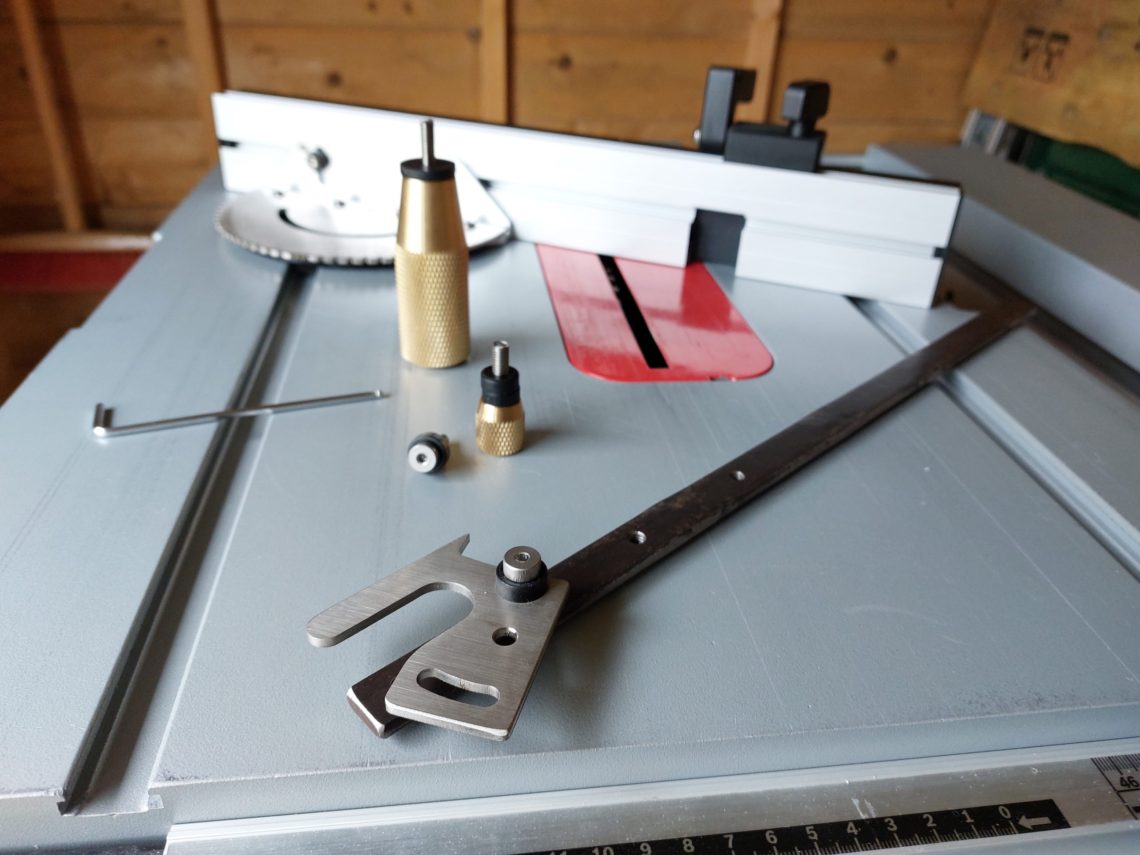
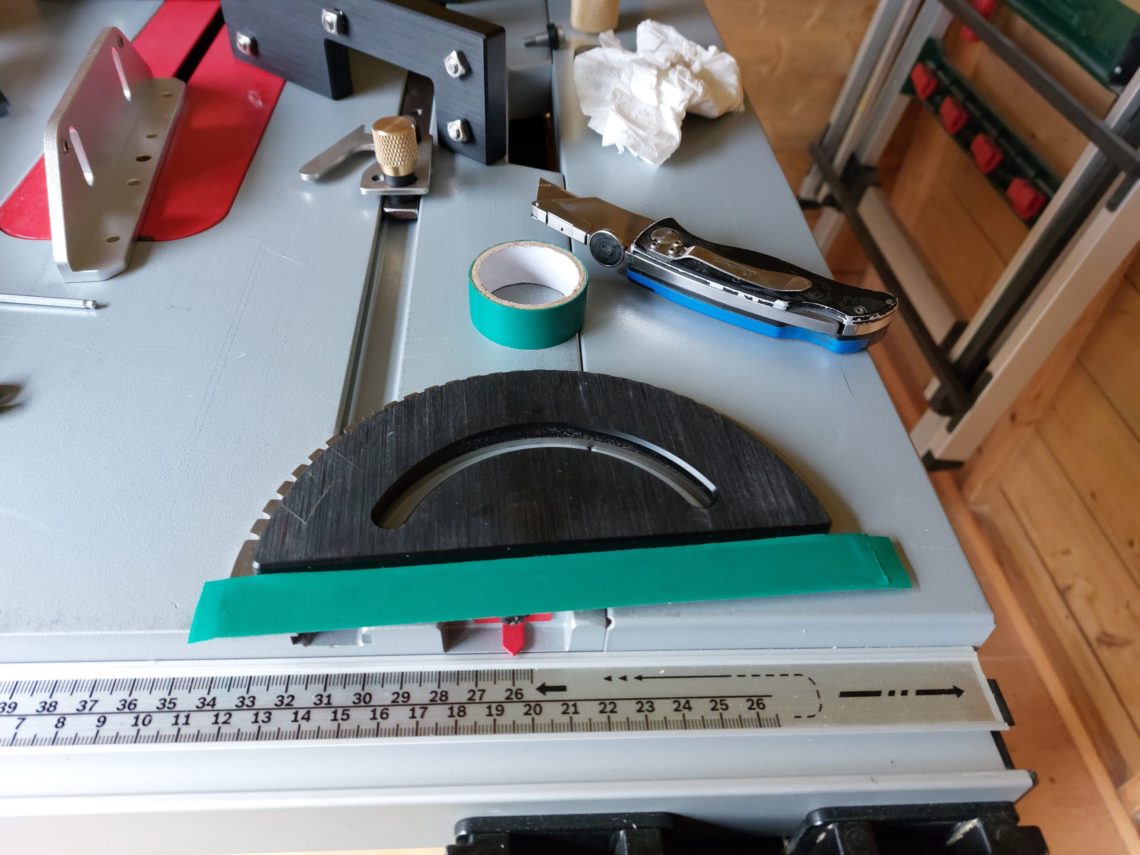
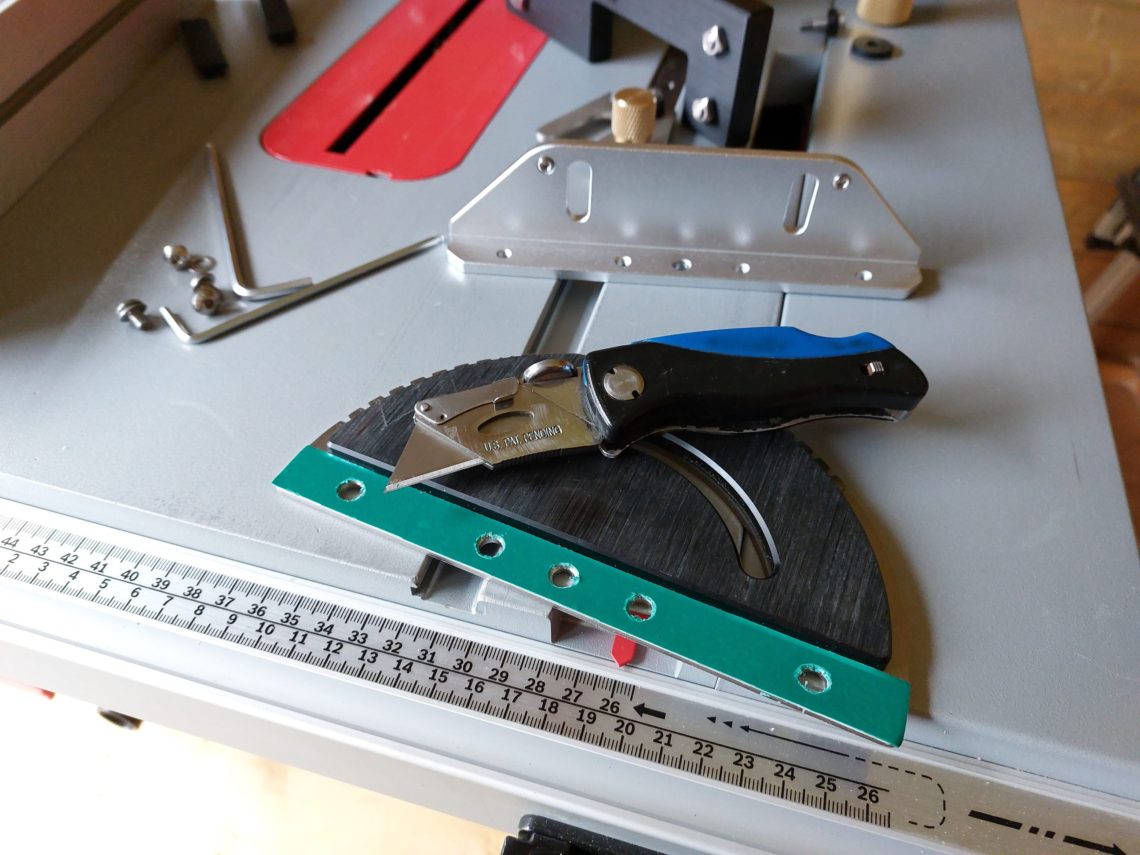
Final assembly and fine adjustments came next. I used an old tape trick to bring all components to the same plane. If I didn’t, my new mitre bar would stick over the slot because it was pulled towards the plate with one of the mounting screws. For a long while, I couldn’t figure out why my new mitre gauge was rocking in the slot? The bottom wasn’t straight and adding 4 layers of tape resolved that problem. When I fixed that I moved on to the fine adjustments. All angles were checked and corrected as that mitre gauge allowed me to adjust everything in every plane. I set it for use on the right-hand side of the table saw – if I want to use its box joint cutting jig, I slide the fence to the left, install the missing pins and the whole gauge goes to the left-hand side slot. The last thing to do was disassemble my small mitre gauge, revert it to its original configuration and push it back into the storage place under the saw. The new mitre gauge should also replace 2 jigs I made in the past – my mini table saw sledge and a box joint jig.




2 Comments
Paul Hargadon
Is that a wnew miter guage Roland ?
rolandrolson
Yes indeed. Nowadays some of these Chinese tools are really good.