-
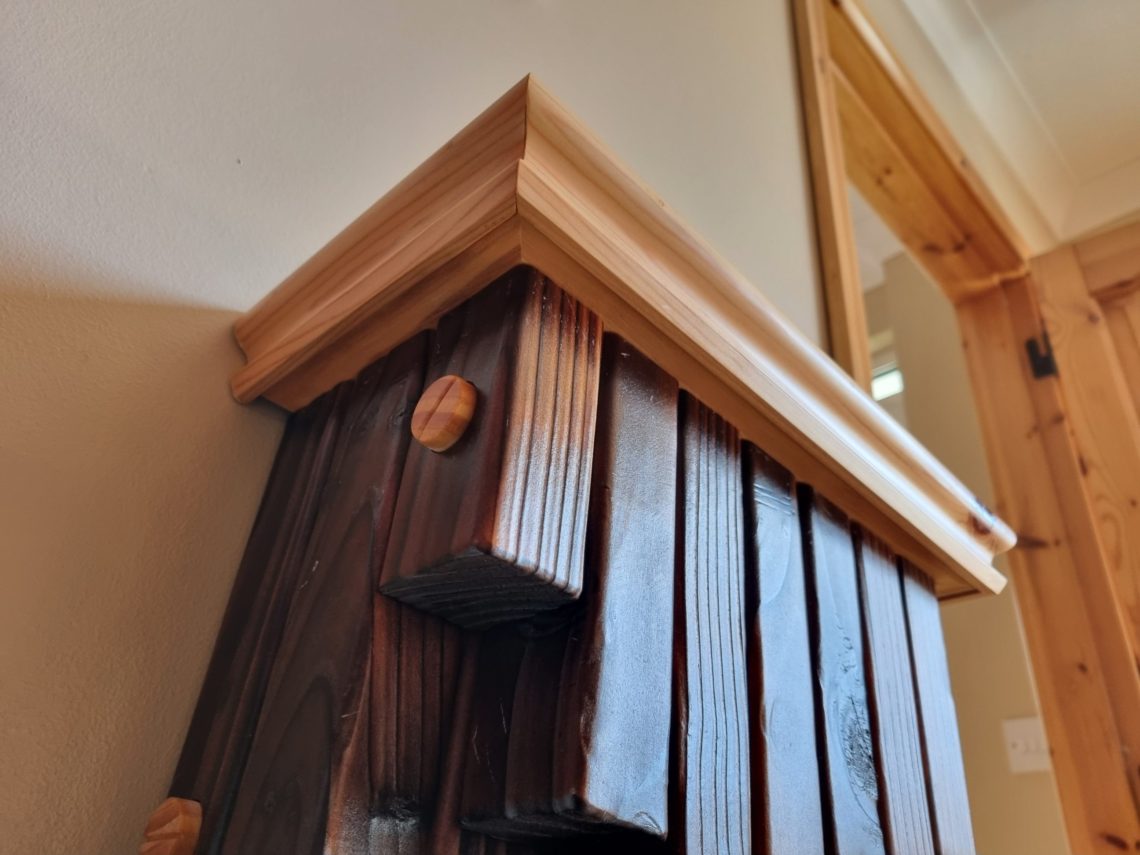
Greenish Skully and Bolo Wrymouth
Two brutally simple, engraved linden boards which were used to make a crate a few years ago. That wood, however, was prone to seasonal movements big time and the crate had to be disassembled. It just wasn’t the perfect material for a crate. Nothing was going to waste, though, that linden wood was perfect for carving and the chisels I had were super-sharp. No excuses, I had everything I needed, and I was ready for some dust-free woodwork, for a change. What began as a solitary wall decoration, soon evolved into a small collection of two whimsical carvings. The self-adhesive…
-
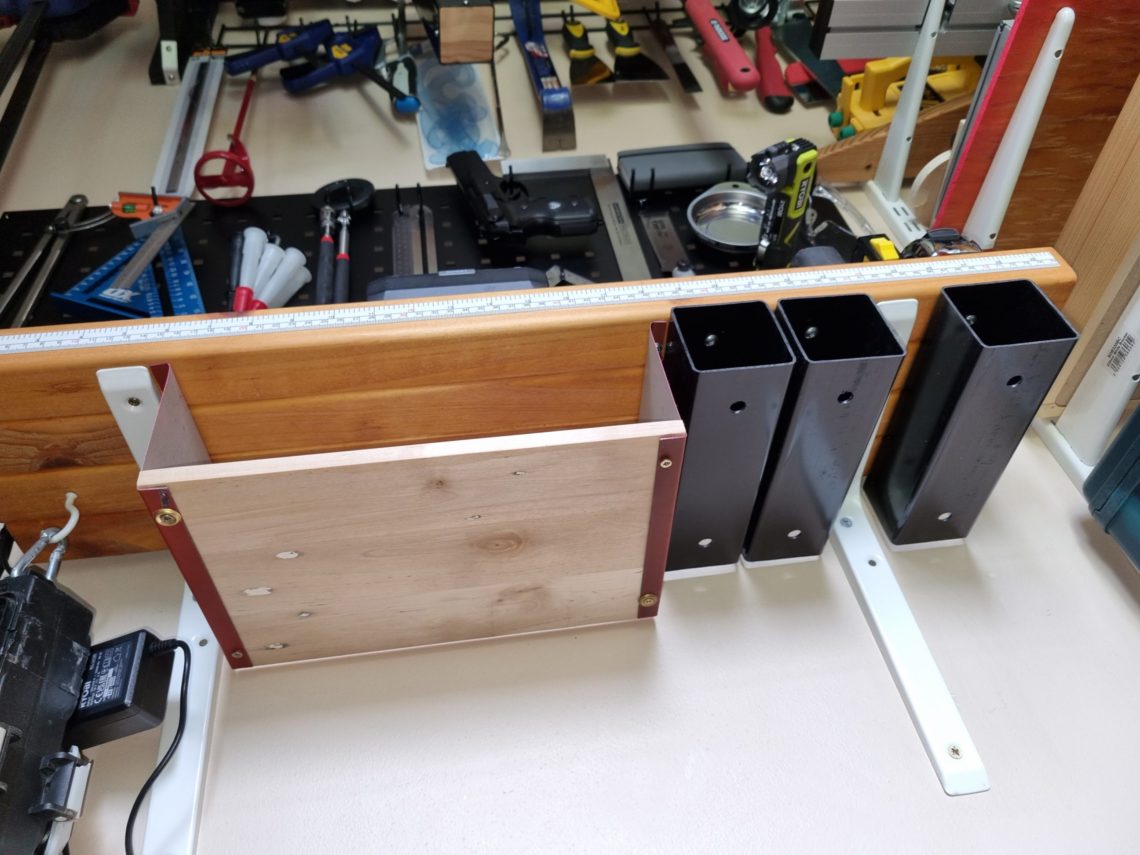
L-Boxx organiser
Bosch L-Boxxes theoretically provide an excellent storage solution for workshops or vans, they are durable, easily transportable, and can be stacked for storage. However, over time, one may realise that the storage space and volume of an L-Boxx can be used more efficiently. In fact, most L-Boxxes in my workshop are utilised in a manner far from efficient. The standard inserts usually hold only one or two tools, along with a charger and a battery, and perhaps have additional compartments for snugly fitting boxes and accessories. Although these inserts protect the contents during transport, they are not as effective for…
-
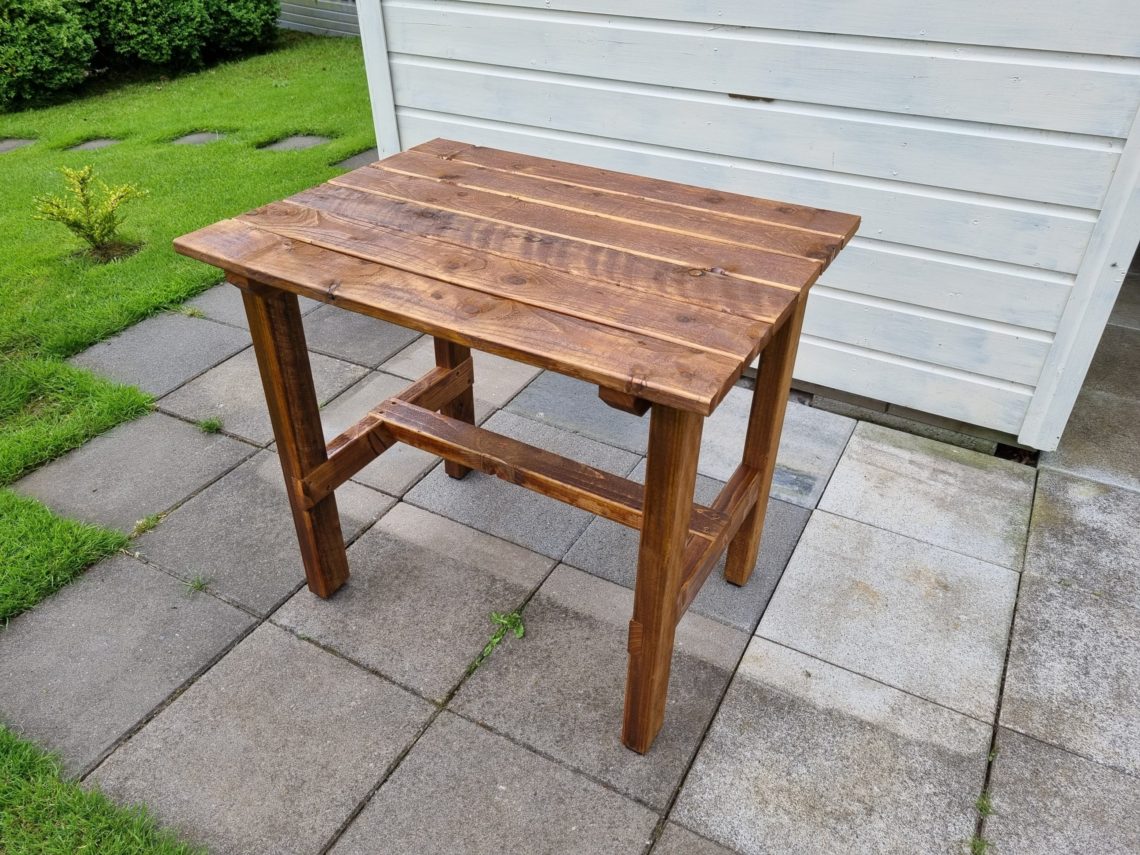
Wooden patio table
In search of a suitable patio table for the upcoming warm season, I found no reasonably priced local options. My online hunt was also fruitless. However, this search wasn’t in vain – I discovered the most popular dimensions and standard sizes. With this knowledge, I checked my pressure-treated timber supply and, to my surprise, I had all the necessary materials for the base! That serendipity not only saved me money but also a trip to the timber store that day. It allowed me to indulge in my woodworking hobby in blissful solitude. Once my cut list was prepared, I used…
-
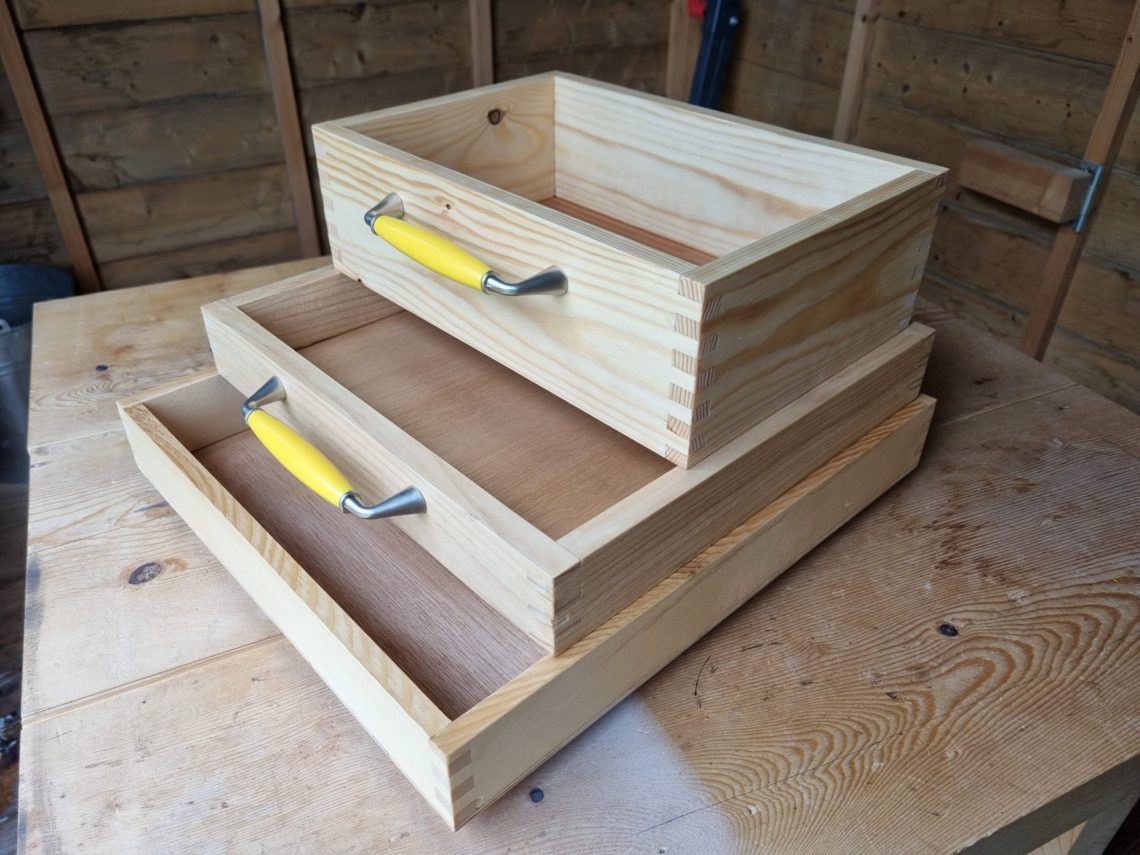
3 finger joint trays and 2 jigs
I wanted those trays to be made of wood, at least their frames. Solid wood looks better and is easier to sand. The material I had in stock required some work before use, it had to be ripped to thinner pieces and planed. But that wasn’t something I was afraid of – making the jigs and cutting the finger joints was the most interesting part of the process. That was due to the fact that for the first time, those joints were cut with a dado blade. Not only did I have to make a dedicated throat plate for my…
-
Chopping board remake
To remake or to rework – that is the question. Had it been my original project, I might call it a rework, but since the board was purchased as is, “remake” seems more fitting for the entire endeavour. The board was always a bit too big, too square and too plain. It functioned well for years but eventually began to crack at both ends. It also never was easy to manoeuvre. The time had come and I had a chance to resolve all these issues. Although the job was straightforward, it took time because the workflow in my workshop had…
-
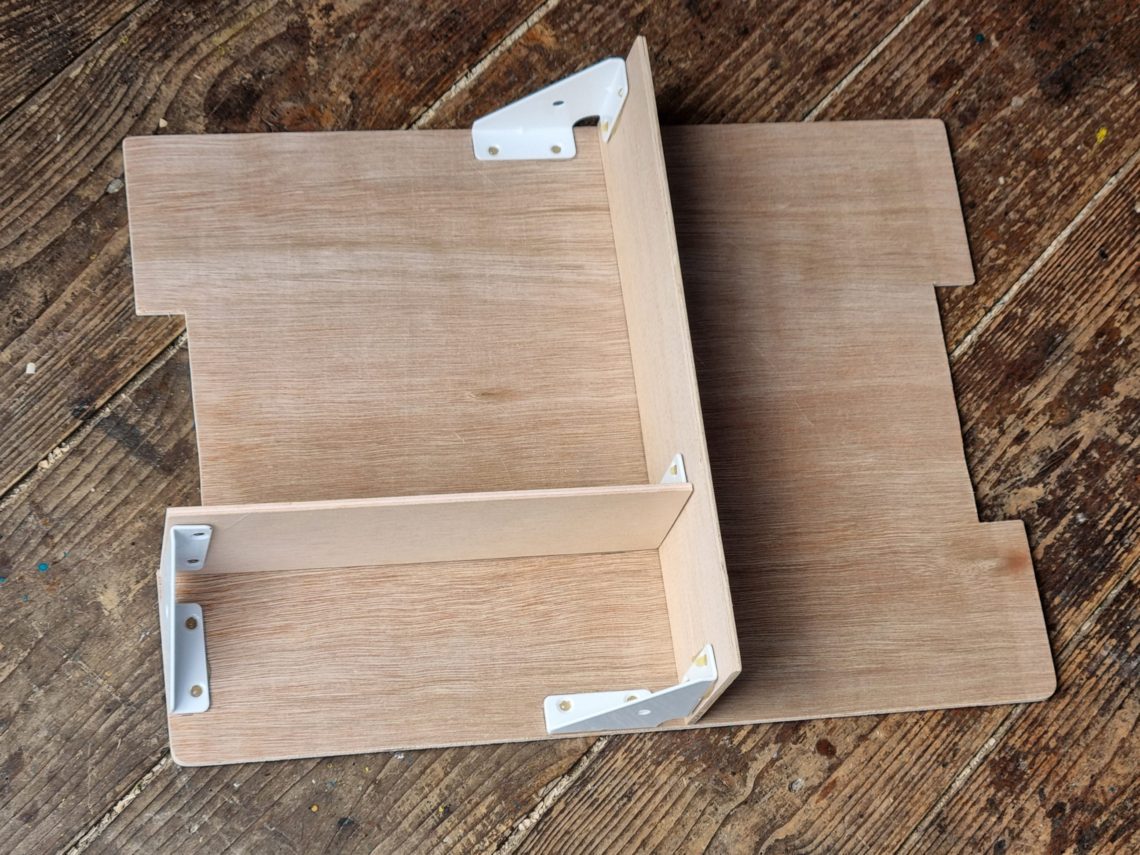
Removable shelf top with a secret compartment
It was supposed to be a quick and simple project. The main goal was to build a larger shelf top for my cascade shelf only using scraps from past projects. The idea of incorporating a secret compartment wasn’t part of the initial plan, it emerged as inspiration struck during the process. Except for corner braces, all the materials and finishes were sourced from my existing supplies. While this saved time by eliminating the need to visit a local shop, it also presented a challenge – I could only use what was already in stock, ensuring that the final product would…
-
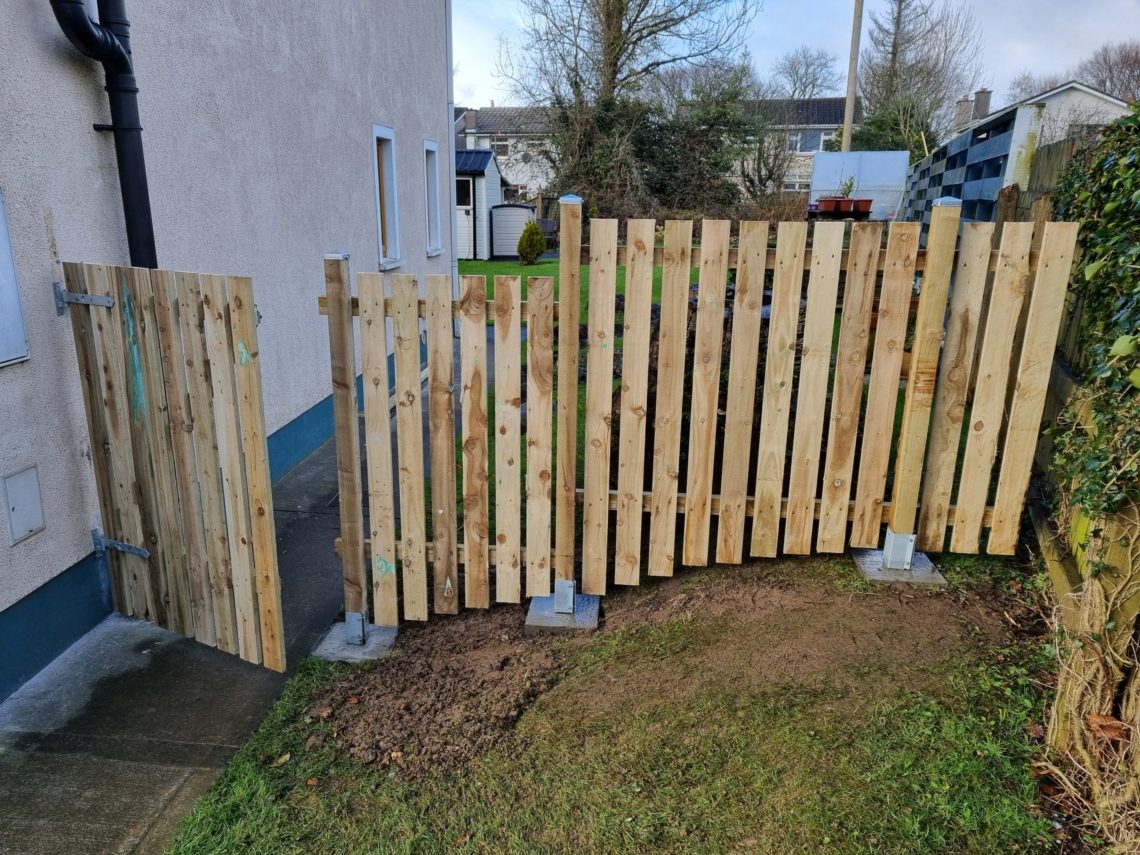
Wooden fence with a gate
I am not a big fan of wooden fences with posts set directly in the ground, whether in a concrete base or wrapped in a plastic membrane. That makes them difficult to replace or repair. Easy maintenance was the primary factor influencing this build, but other considerations included improving existing ideas. It turned out that the old stakes were set too shallow in the ground (less than 1 foot!), hammered straight in with no rubble or concrete! I needed something more professional. What I had in mind was a properly anchored fence made from pressure-treated timber, with a few galvanised…
-
Under shelf storage
It’s made from 100% upcycled materials, like PVC downpipe off-cuts, metal roofing sheet leftovers and pallet wood. There was an empty space underneath the shelf and initially, it was filled up with tools hanging from below on hooks. I soon realised that this setup was limited to items equipped with hanging holes and many items couldn’t be stored there due to their shapes and properties. I didn’t want to leave it as it was, and I couldn’t resist upcycling these old downpipes and other stuff. It would have been such a waste. I also needed more storage space, which is…
-
Dado stack throat plate
This insert is completely metal-free and is not adjustable. It fits perfectly and sits flush with the table saw top. It’s always ready to use and requires only a second for installation. This plate is essential when using a dado blade (I guess they’re called “grooving blades” here on the British Isles), ensuring safety when cutting rebates or box joints with the saw. As with everything in woodworking, this project too, could have been built in many other ways, but I tried to keep it as simple as possible. I also aimed to reduce the cost of materials to an…
-
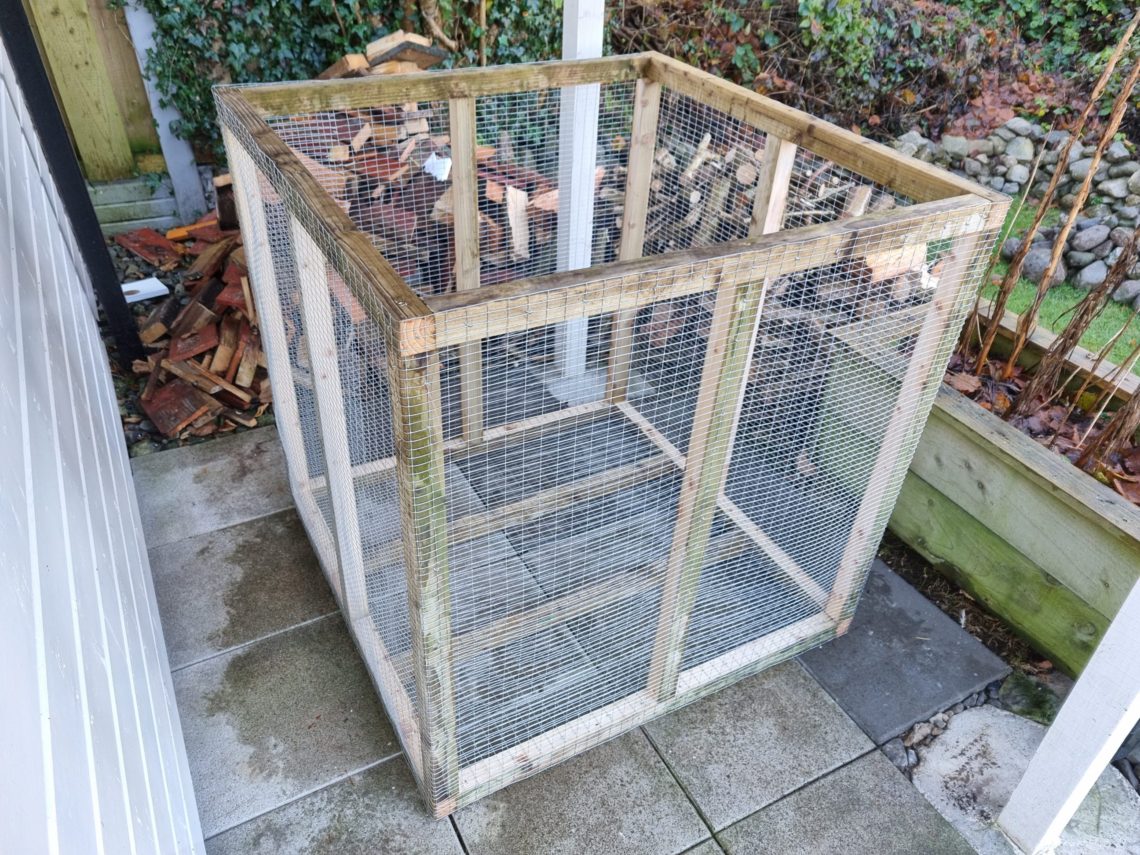
Timber and wire mesh bin
The capacity of this storage bin is 1 cubic metre when filled up to the top edge. The roll of mesh I had on hand was 1 x 5 metres, which determined the size. Coincidentally, the salvaged pressure-treated timber I had was just enough for a build of this size. It was like killing two birds with one stone – I wanted to use up the timber that had been lying around for too long, and I needed a quick-storage solution. The word ‘quick’ needs to be emphasised here. You can always stack firewood, creating a neat and compact pile,…