
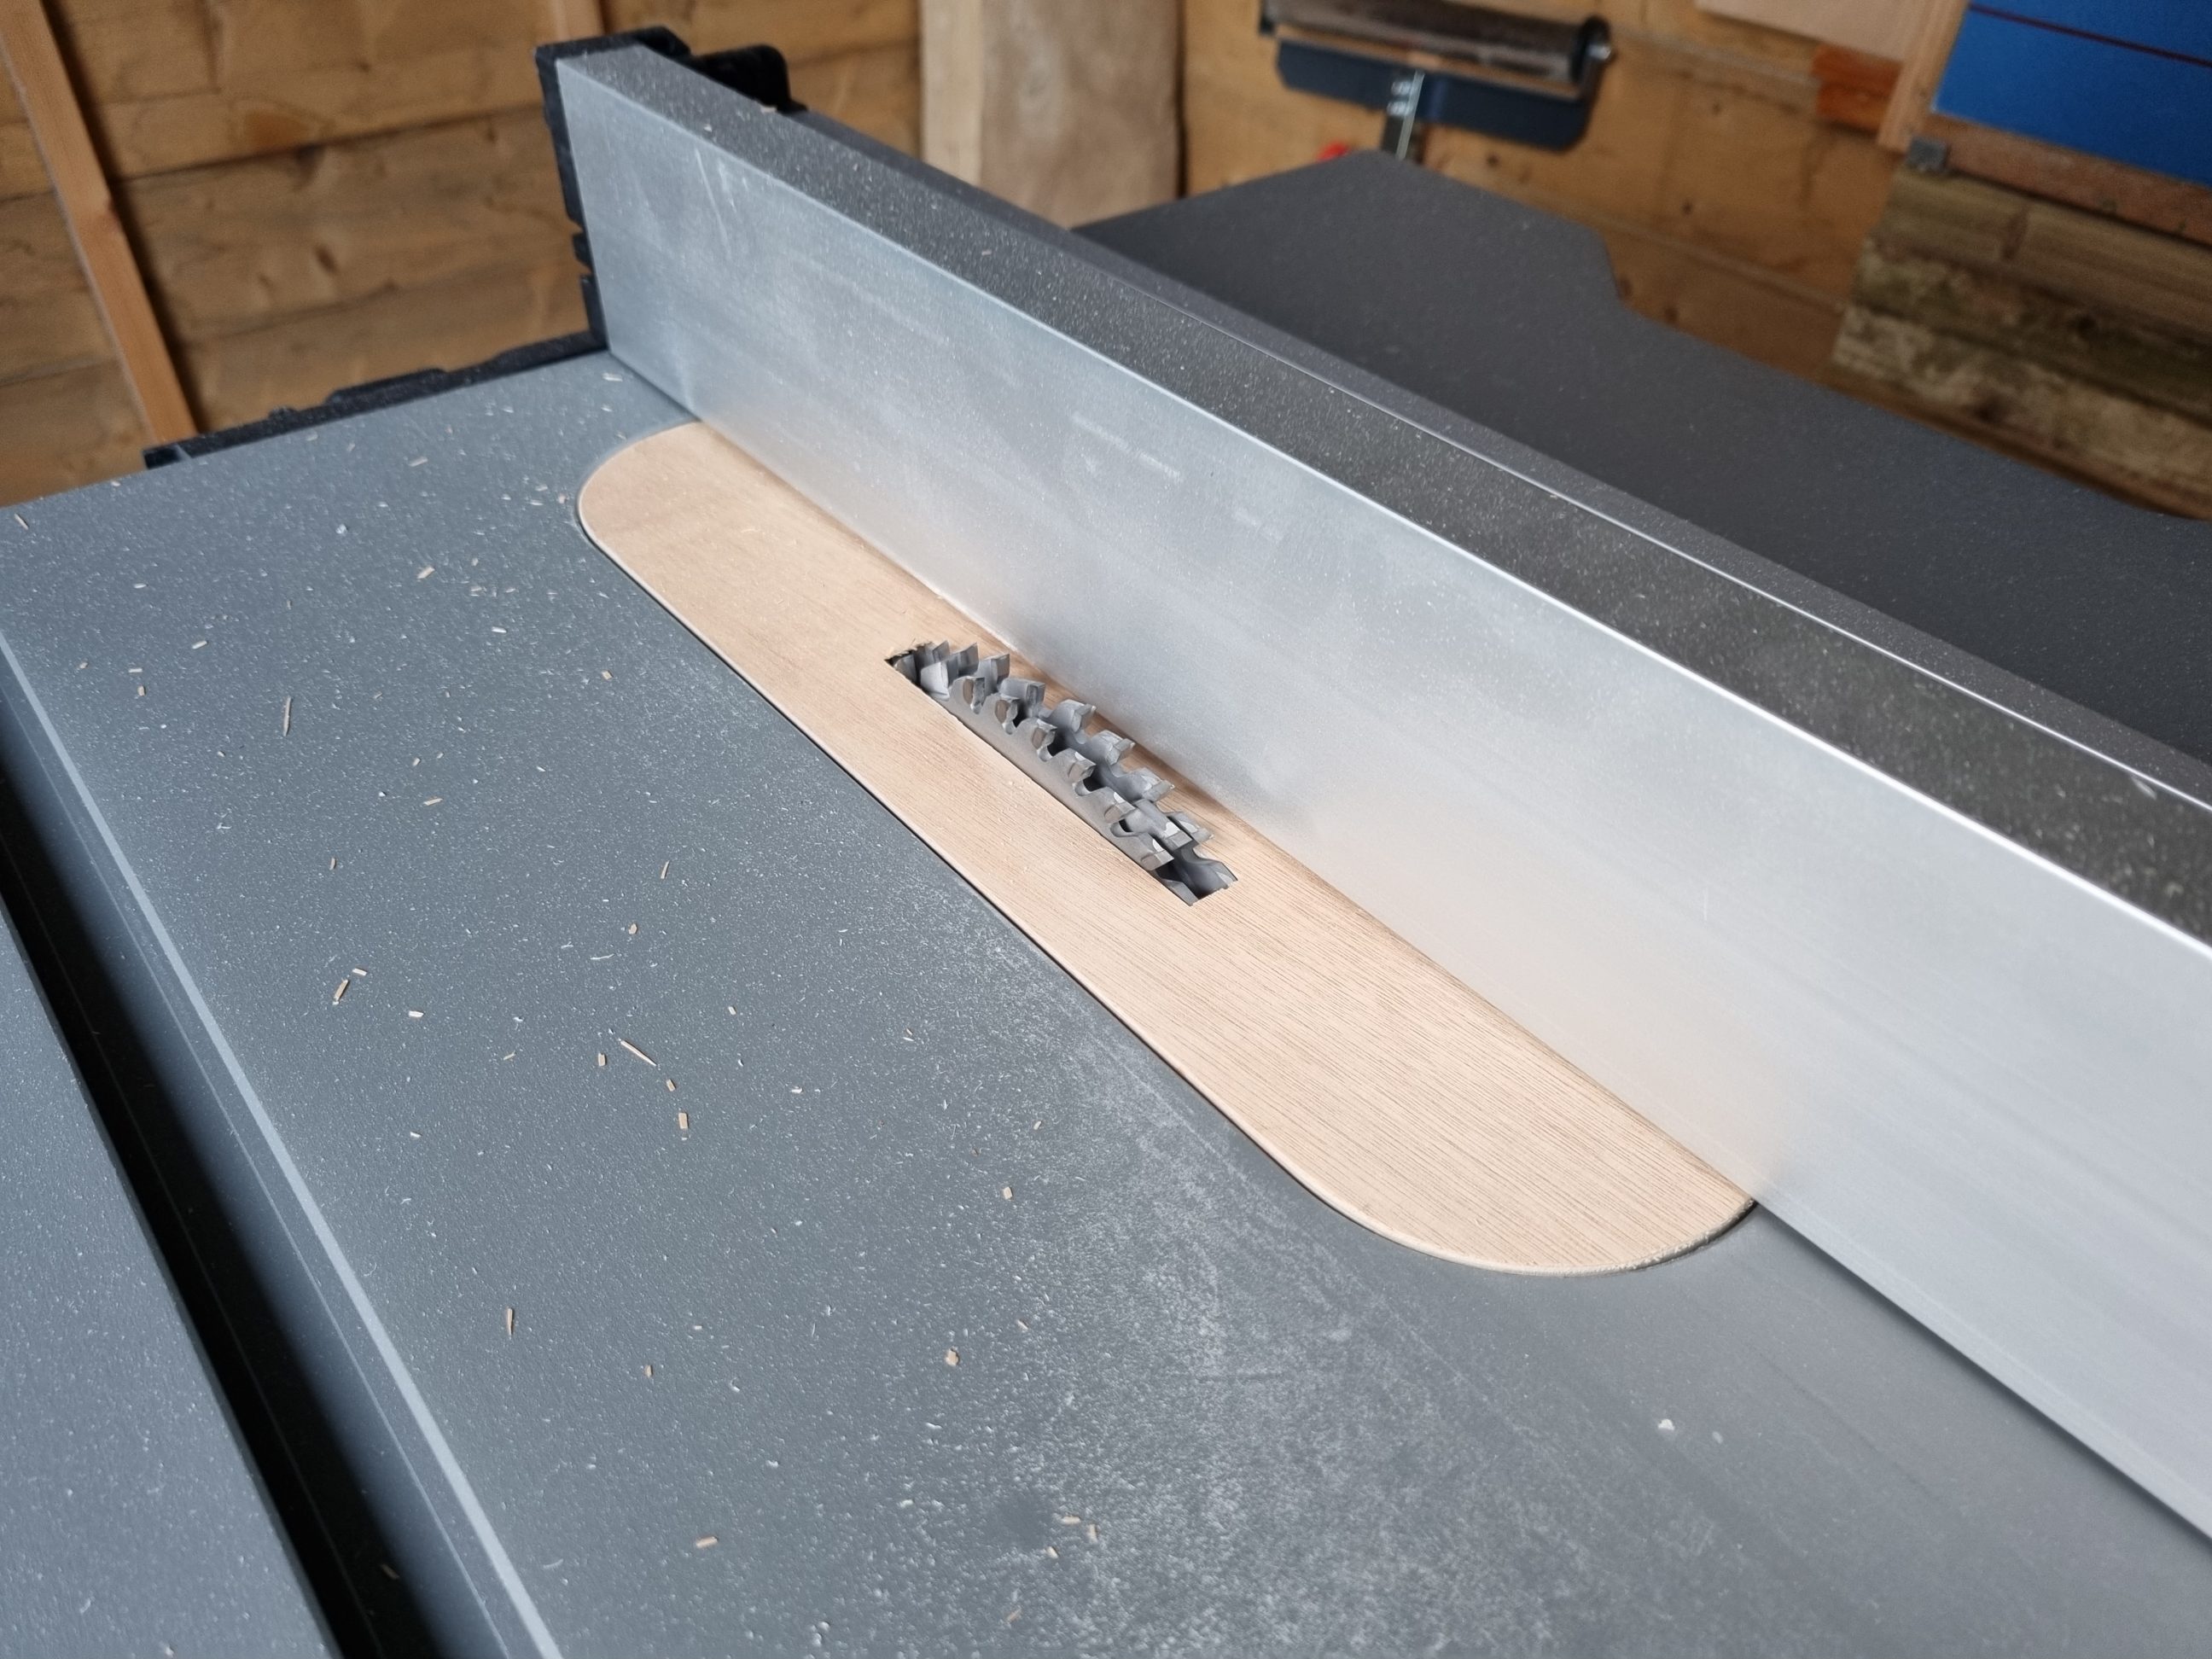
Dado stack throat plate
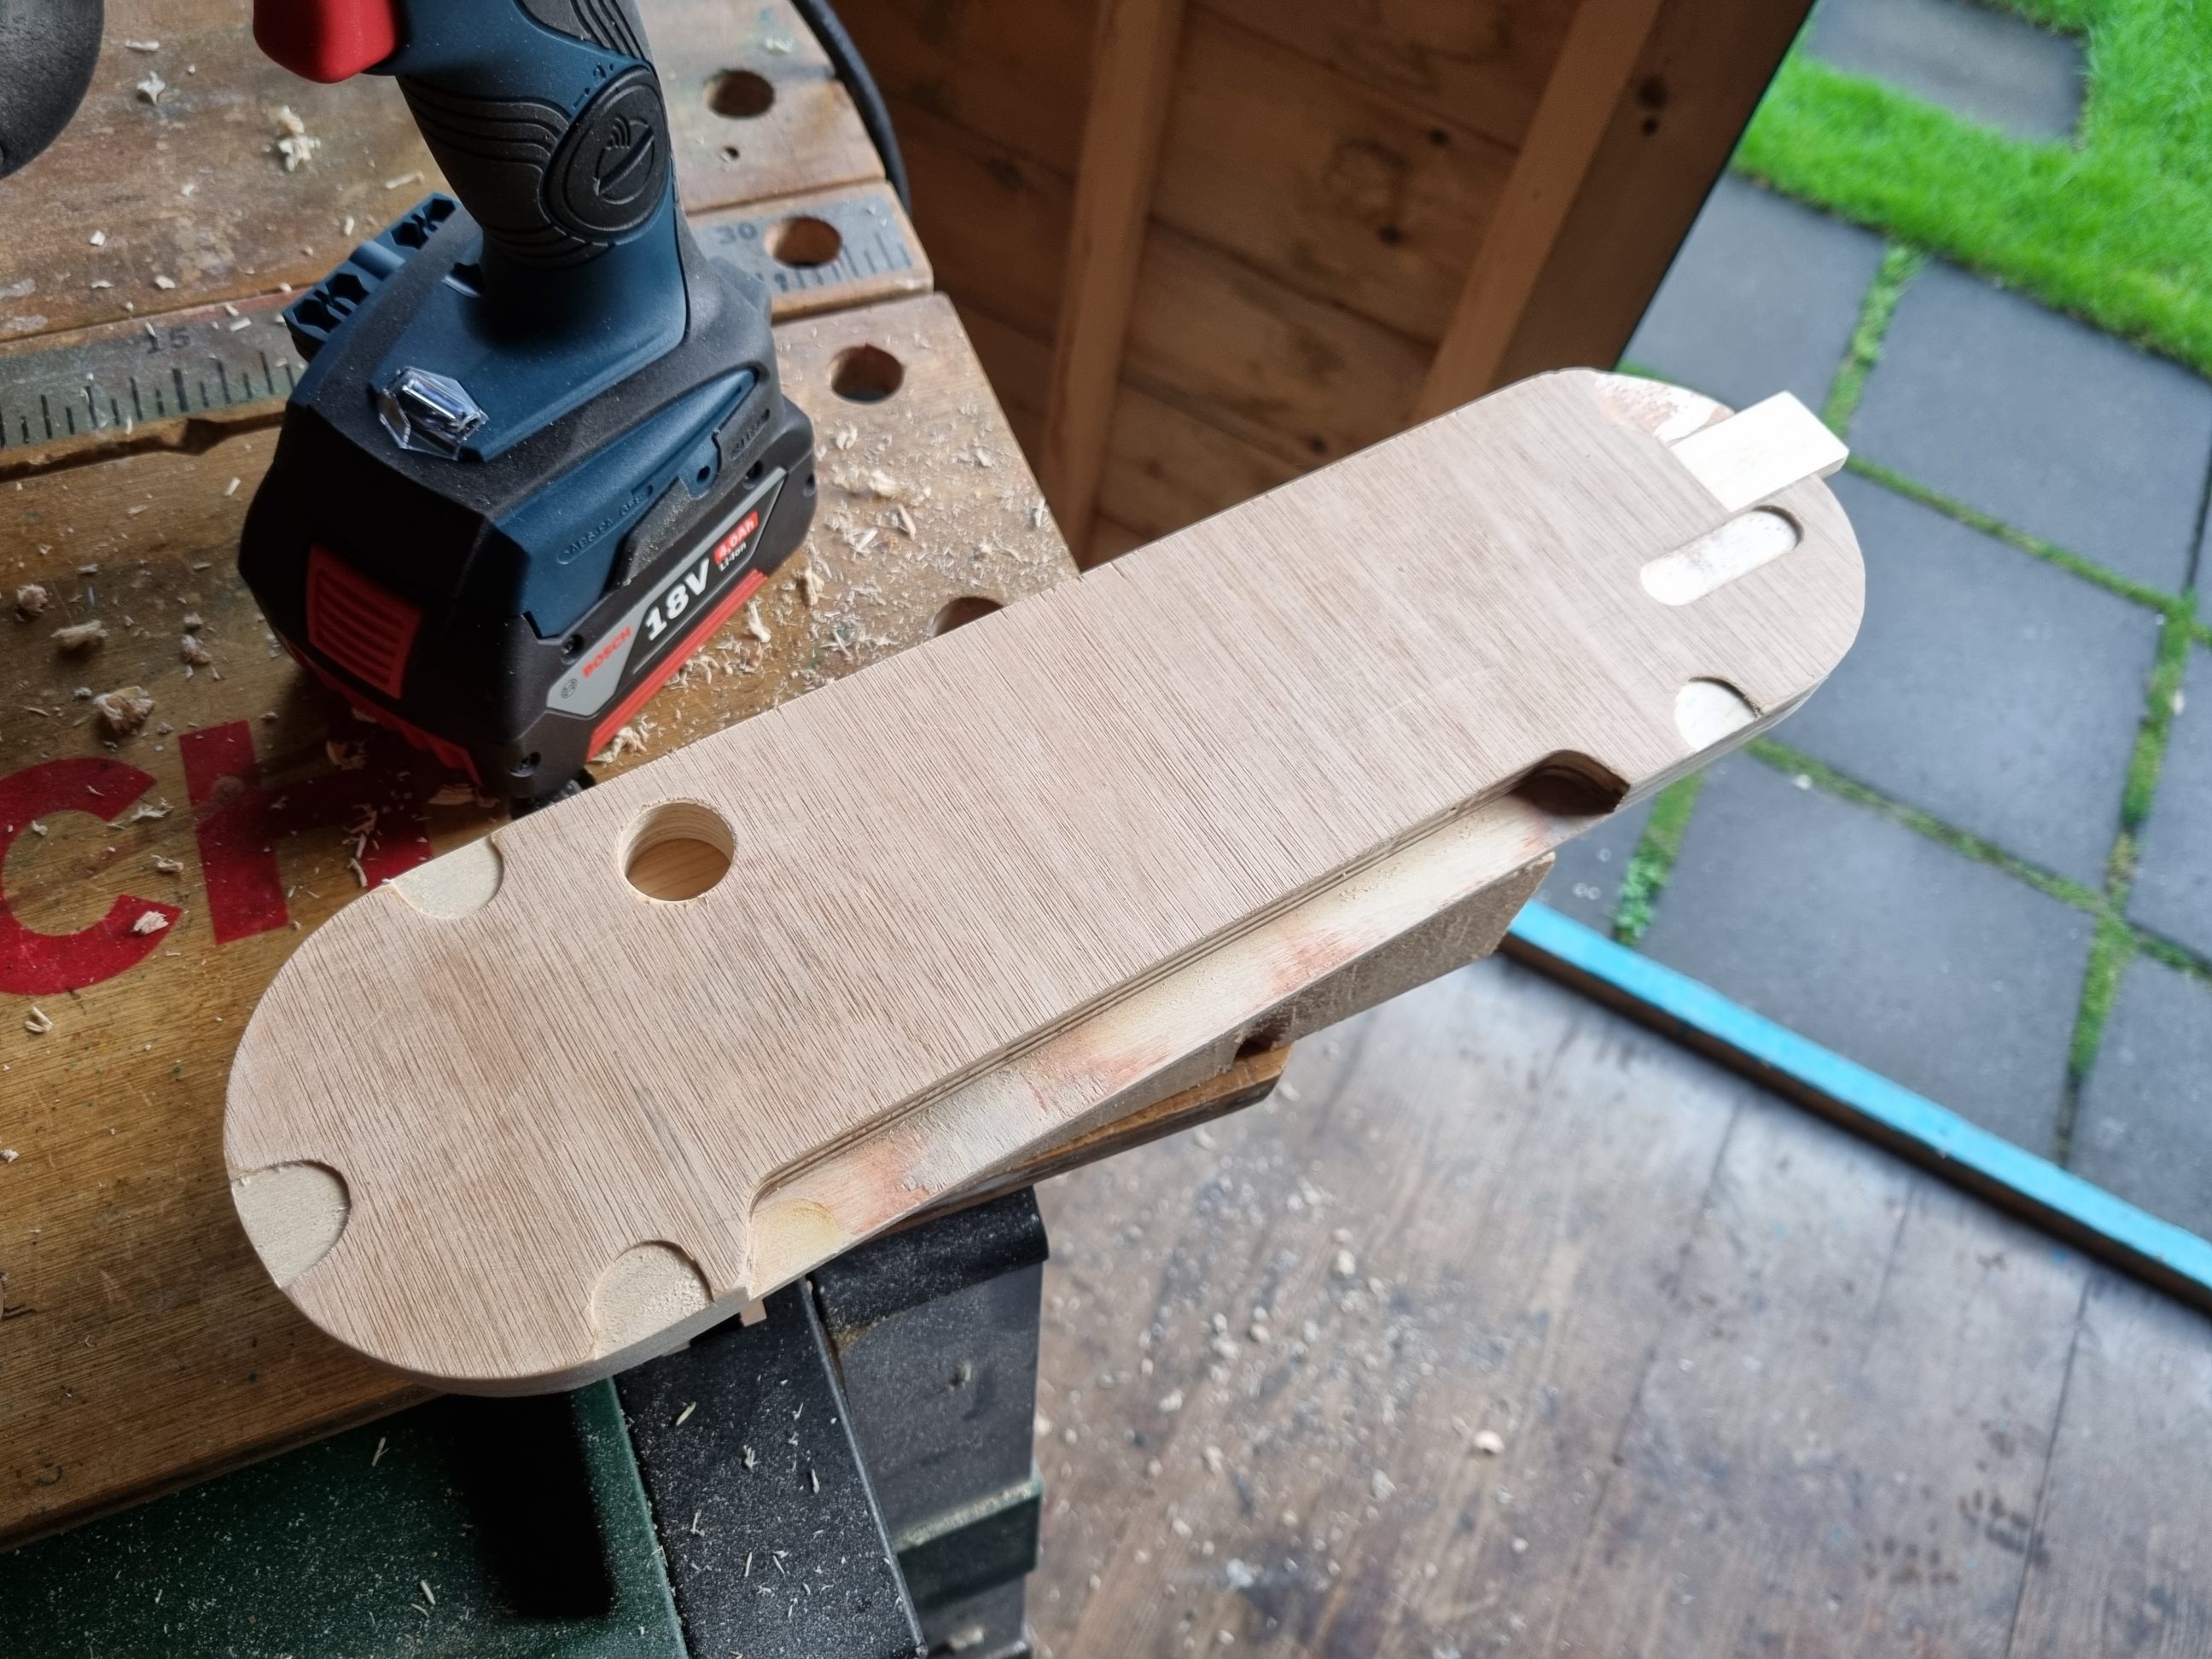
This insert is completely metal-free and is not adjustable. It fits perfectly and sits flush with the table saw top. It’s always ready to use and requires only a second for installation. This plate is essential when using a dado blade (I guess they’re called “grooving blades” here on the British Isles), ensuring safety when cutting rebates or box joints with the saw. As with everything in woodworking, this project too, could have been built in many other ways, but I tried to keep it as simple as possible. I also aimed to reduce the cost of materials to an absolute minimum, that was why I used scraps. This project is not only simple and cheap but also showcases the DIY spirit and the concept of upcycling often seen in woodworking.
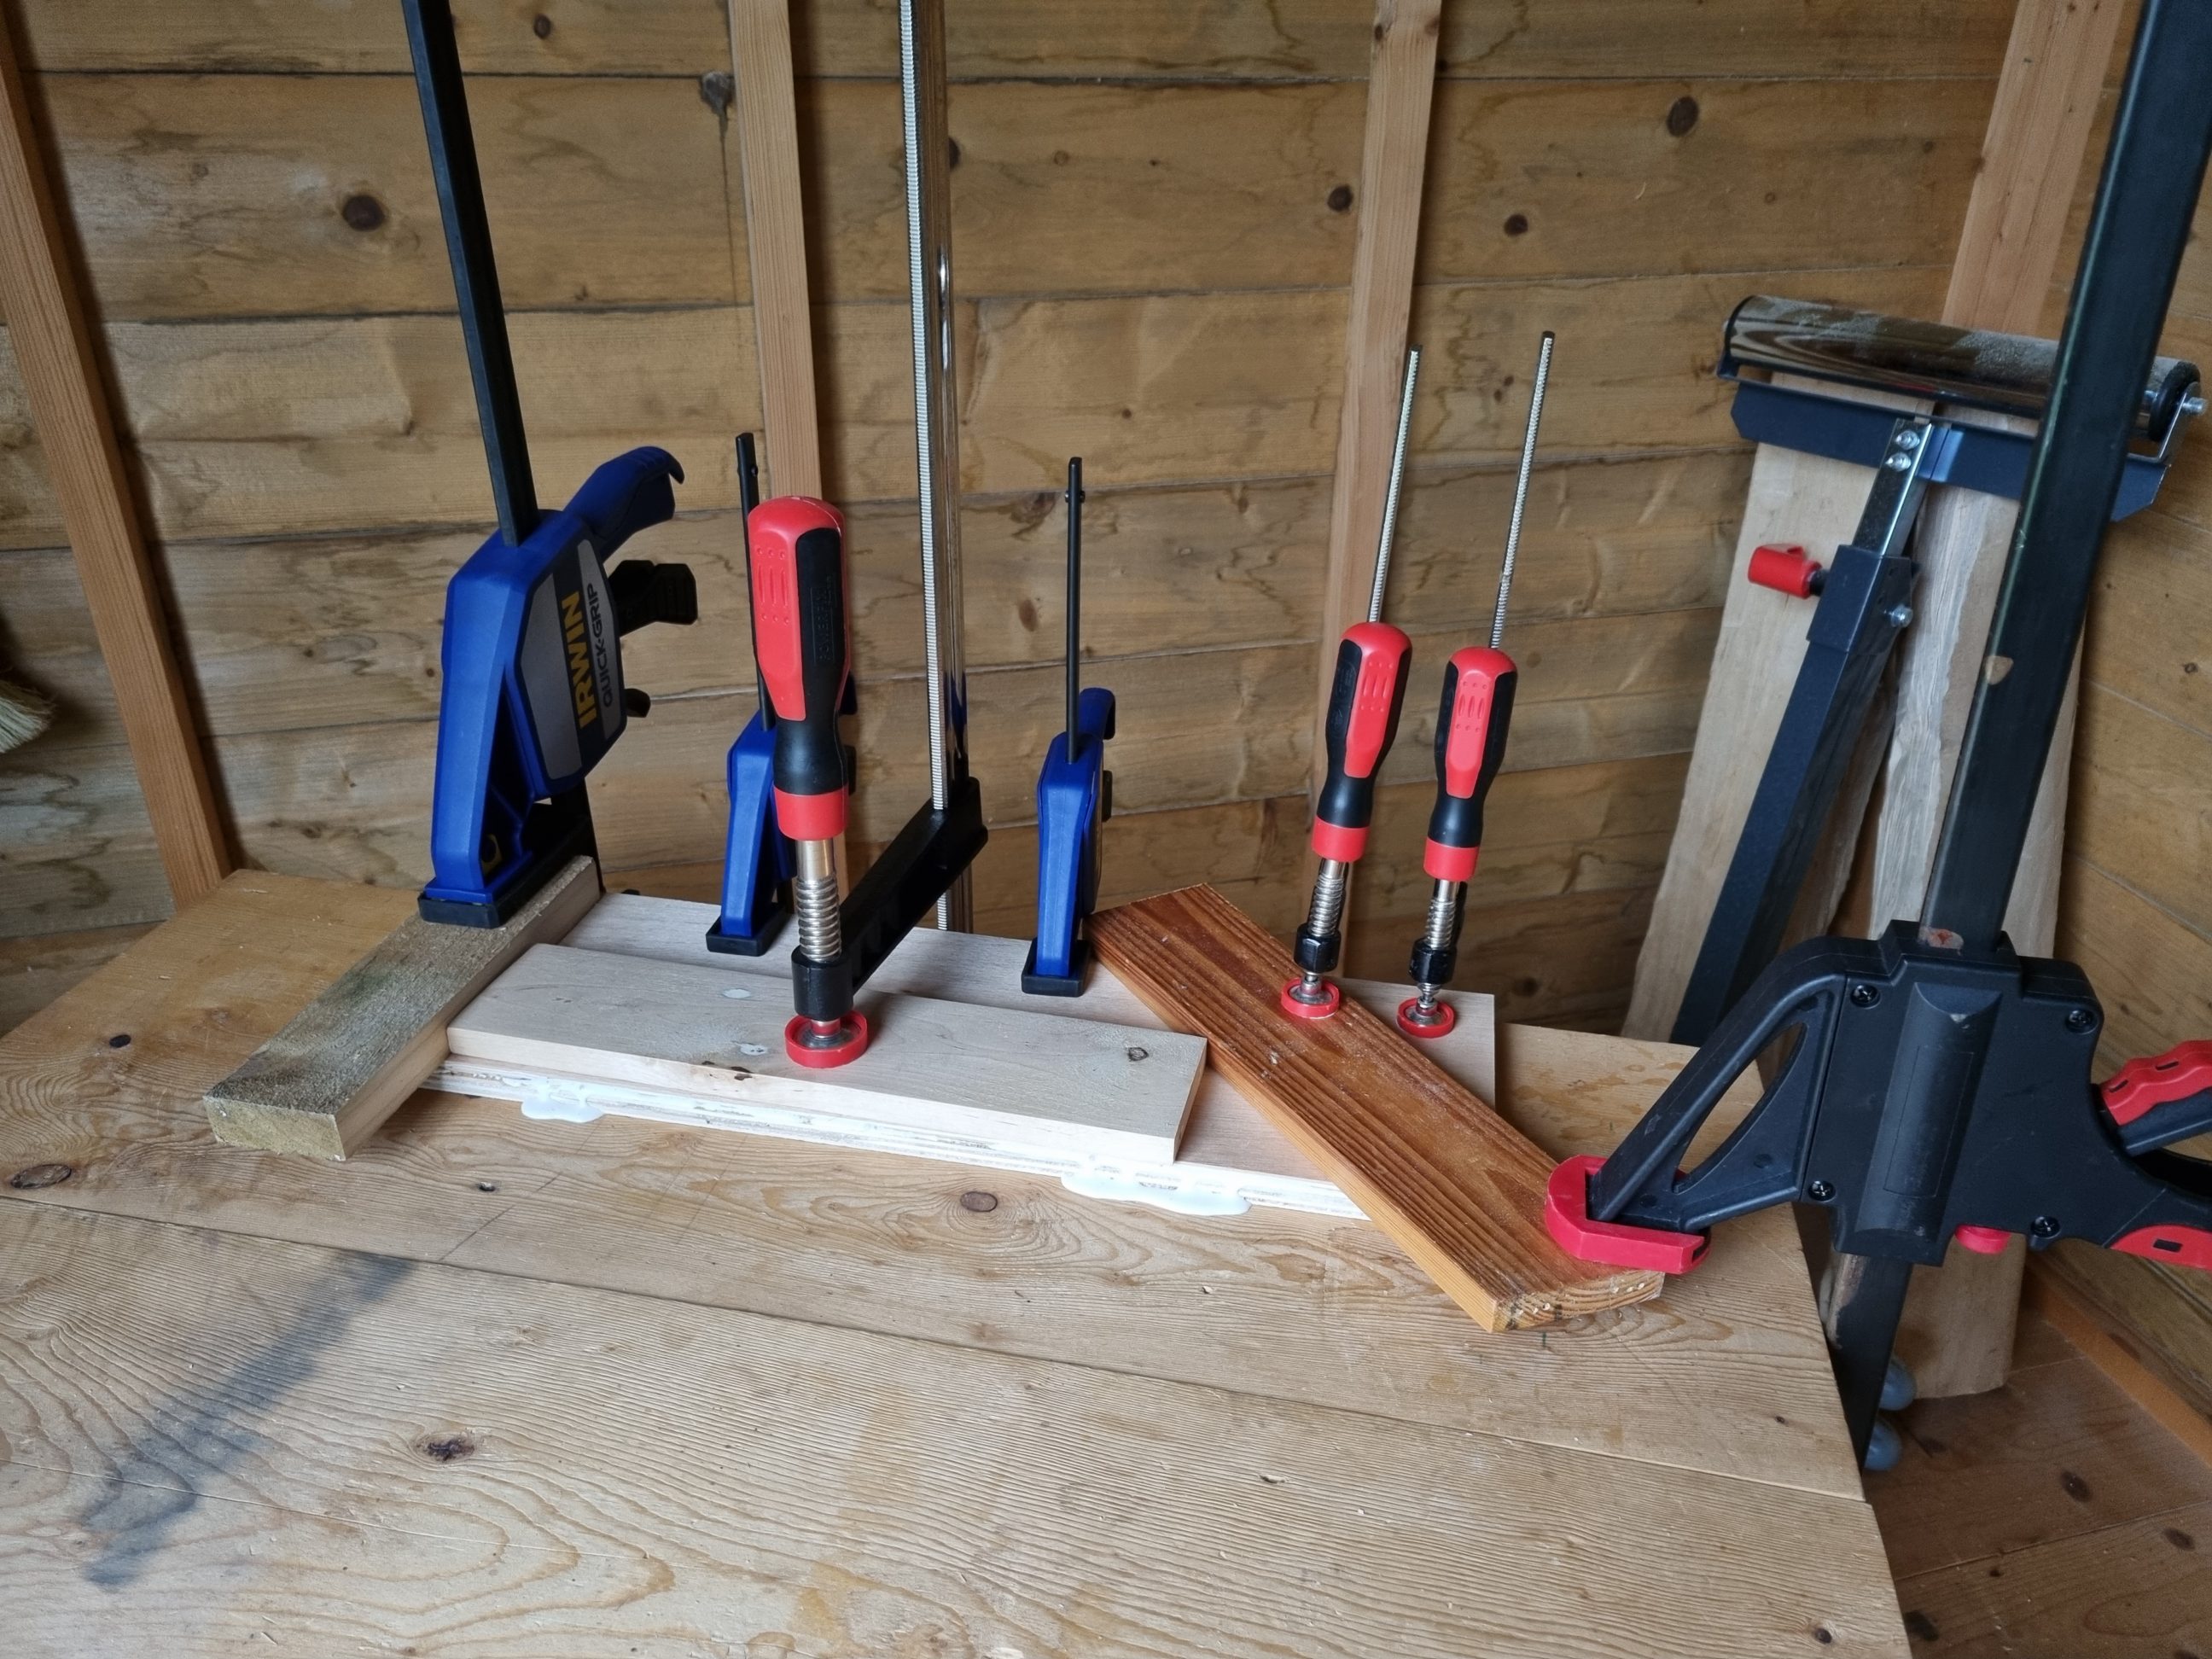
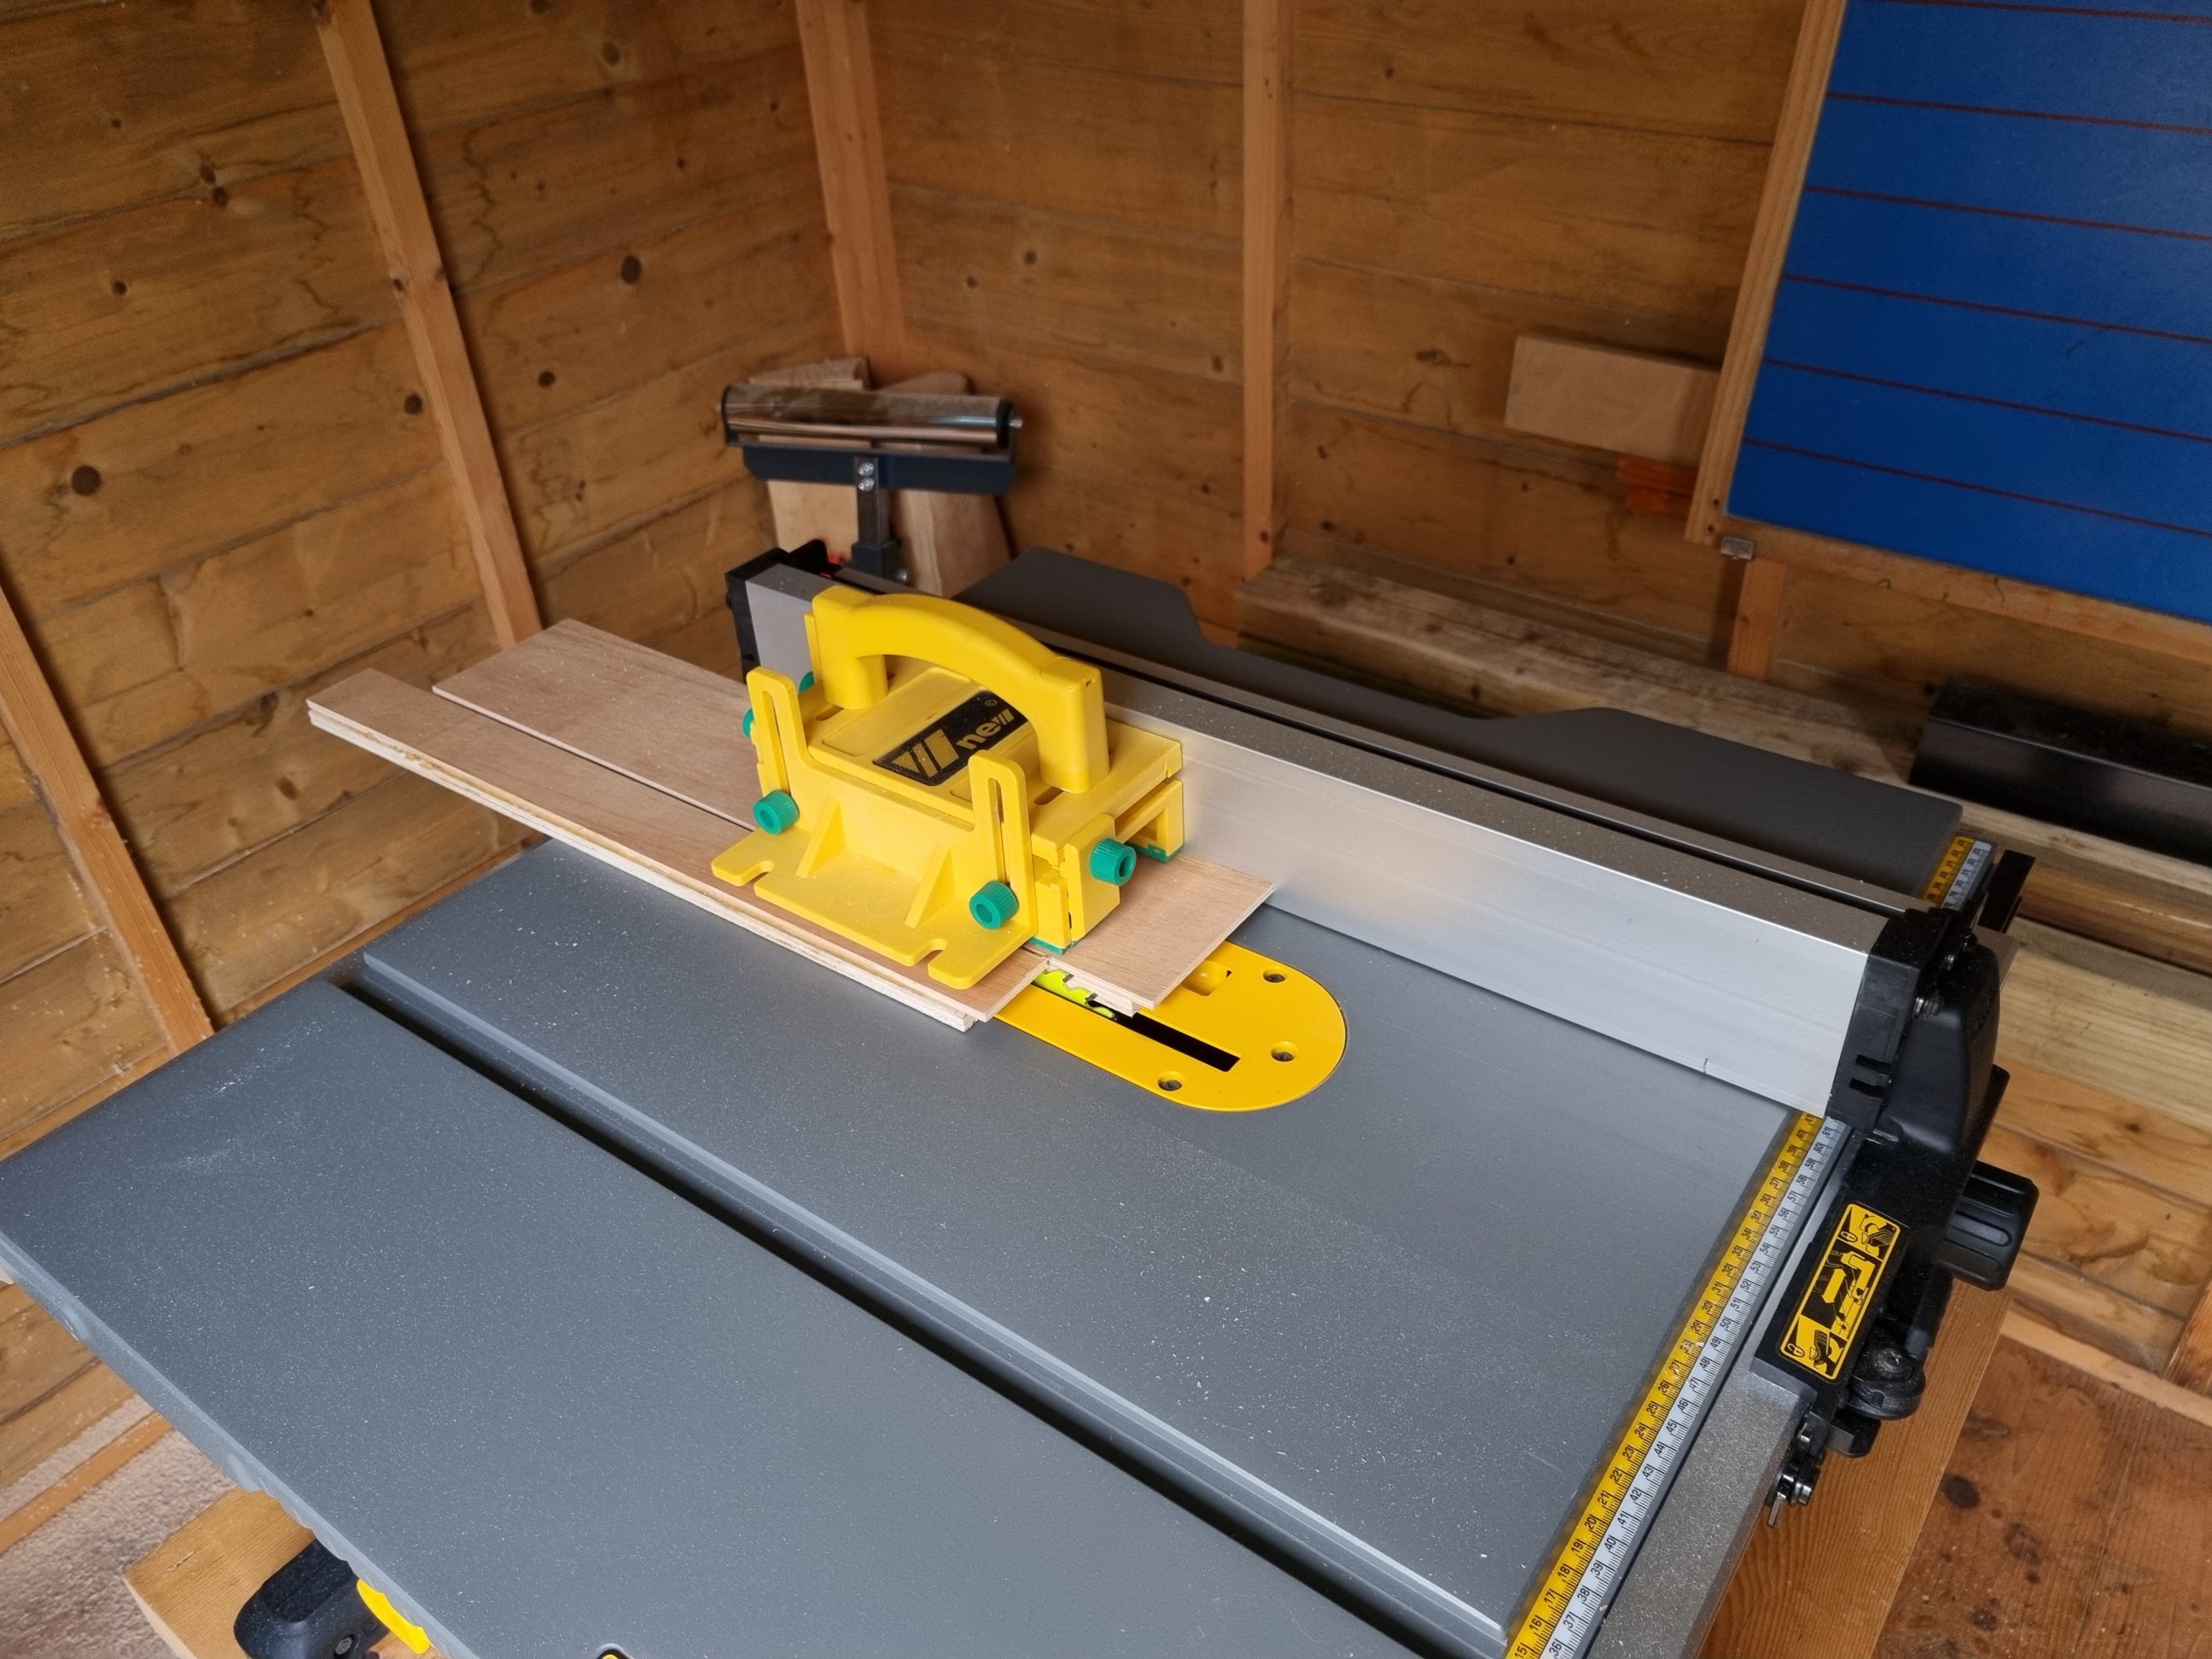
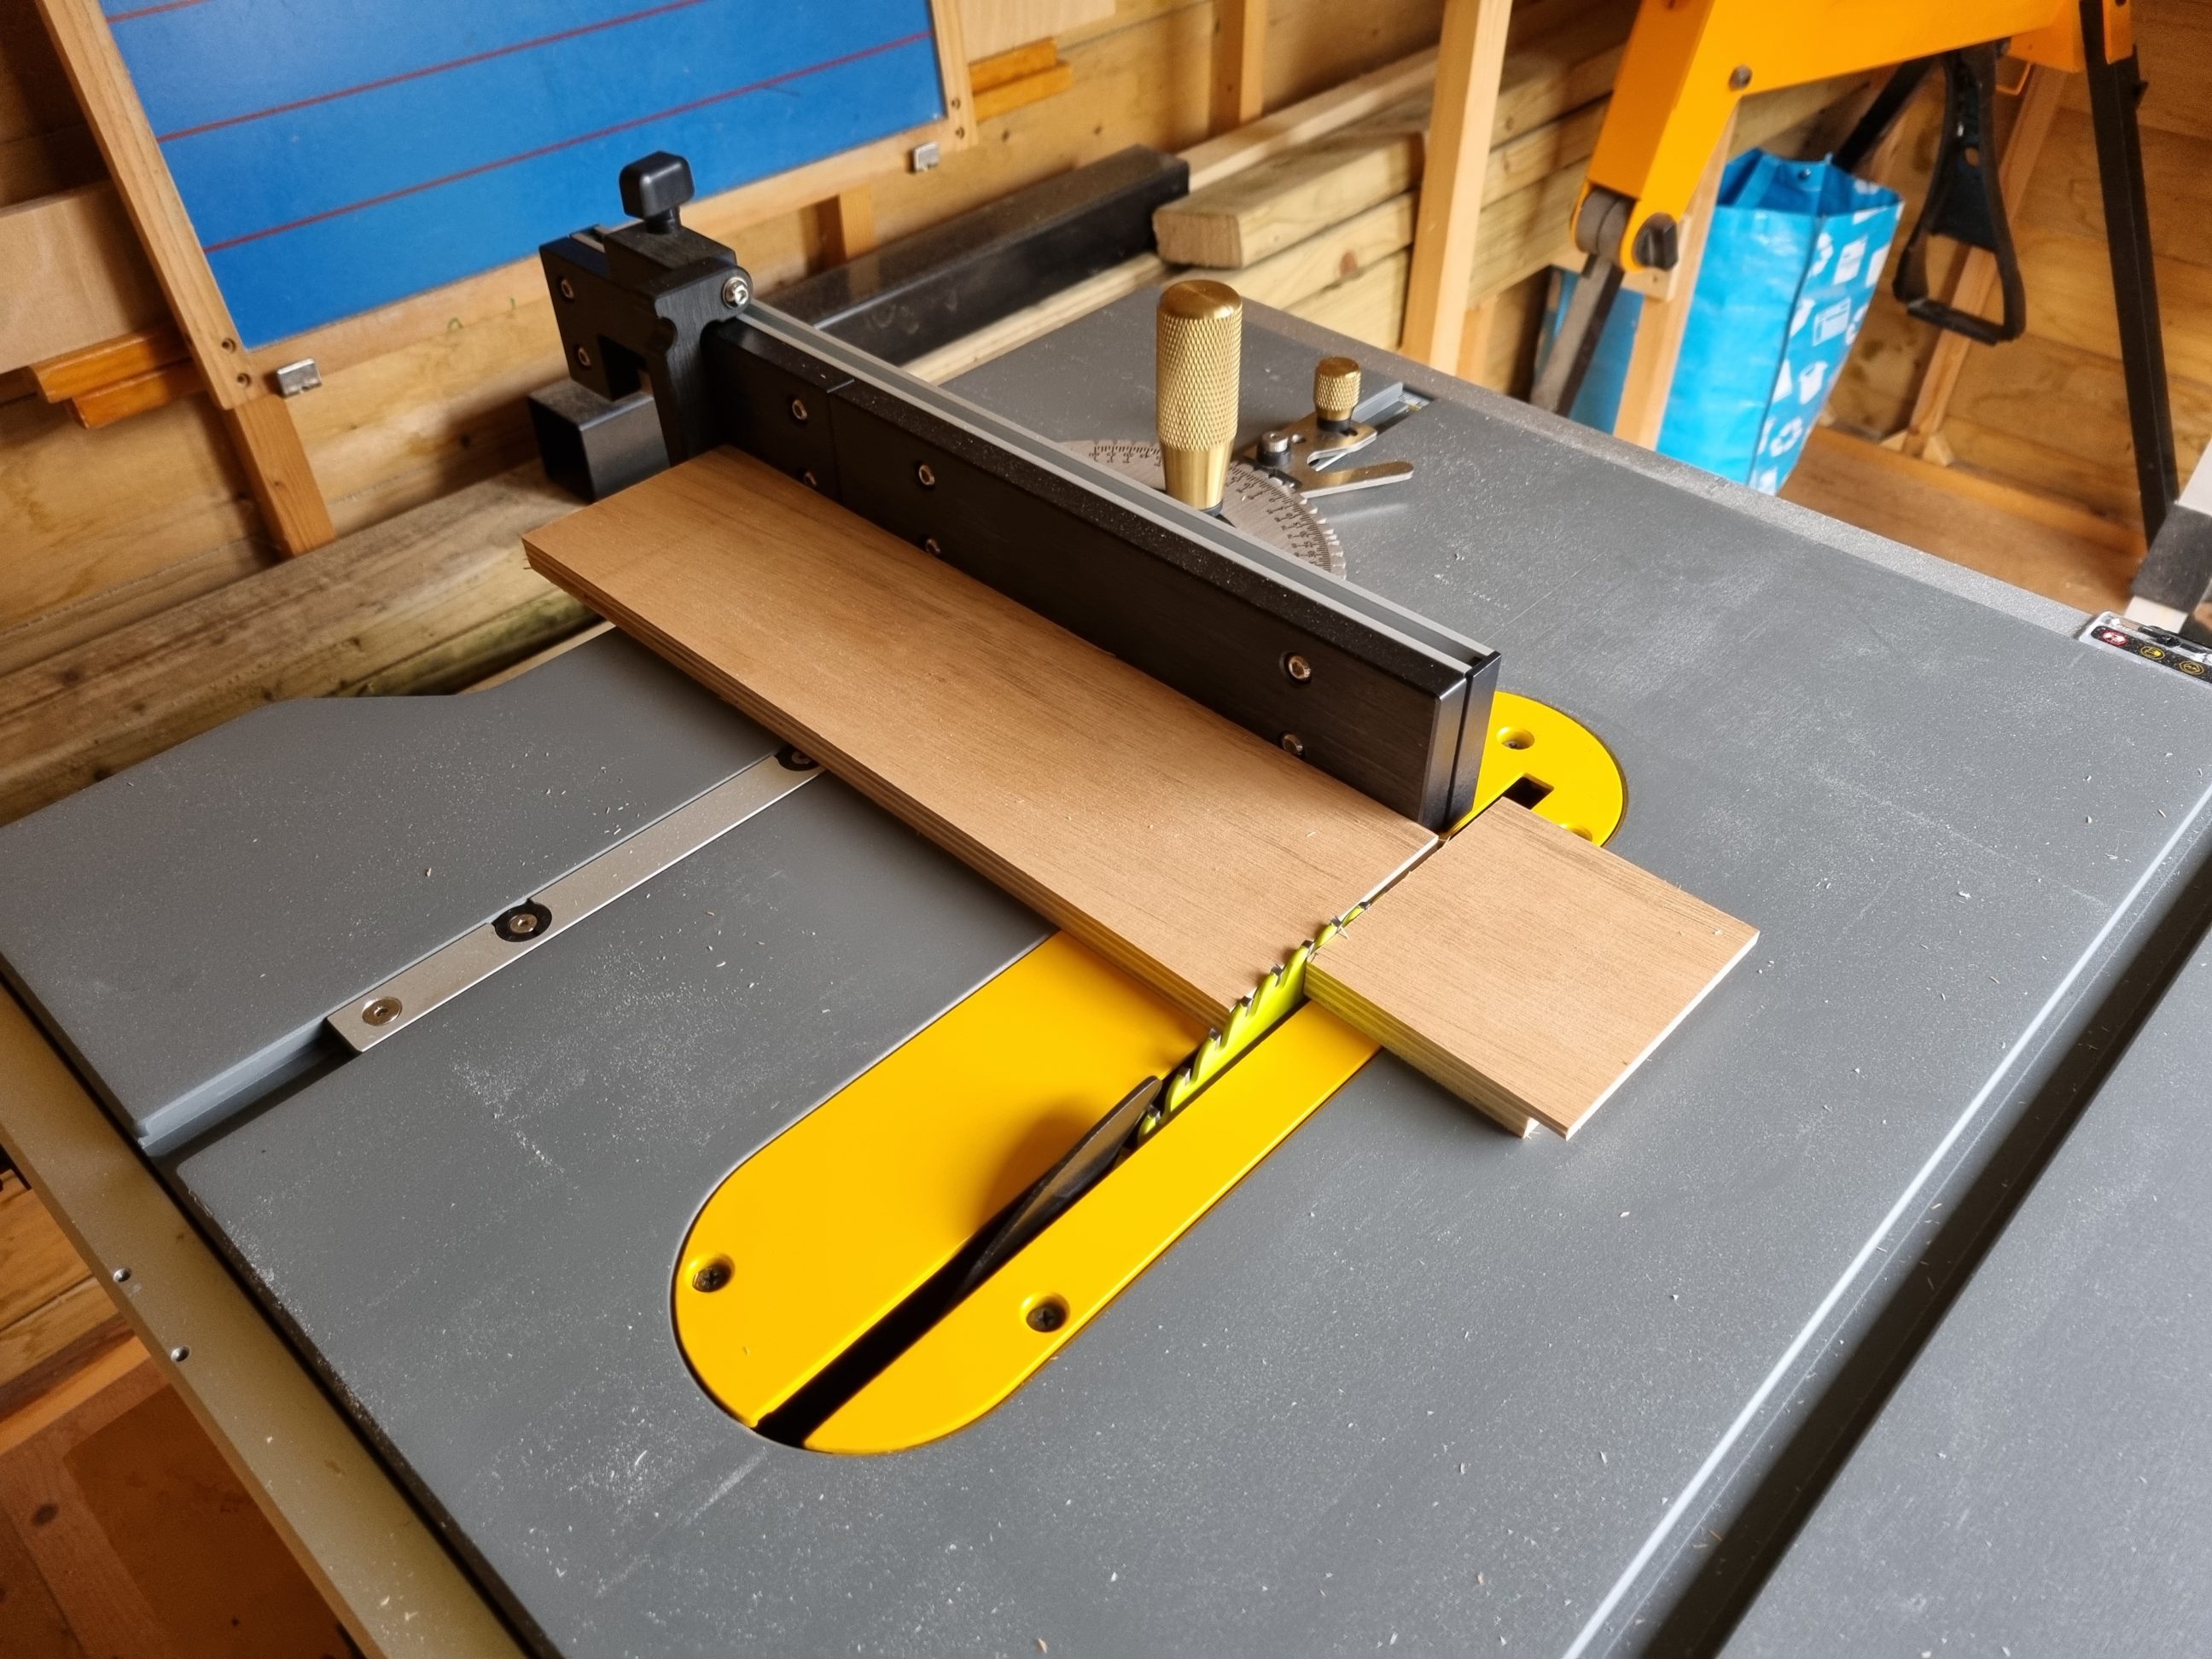
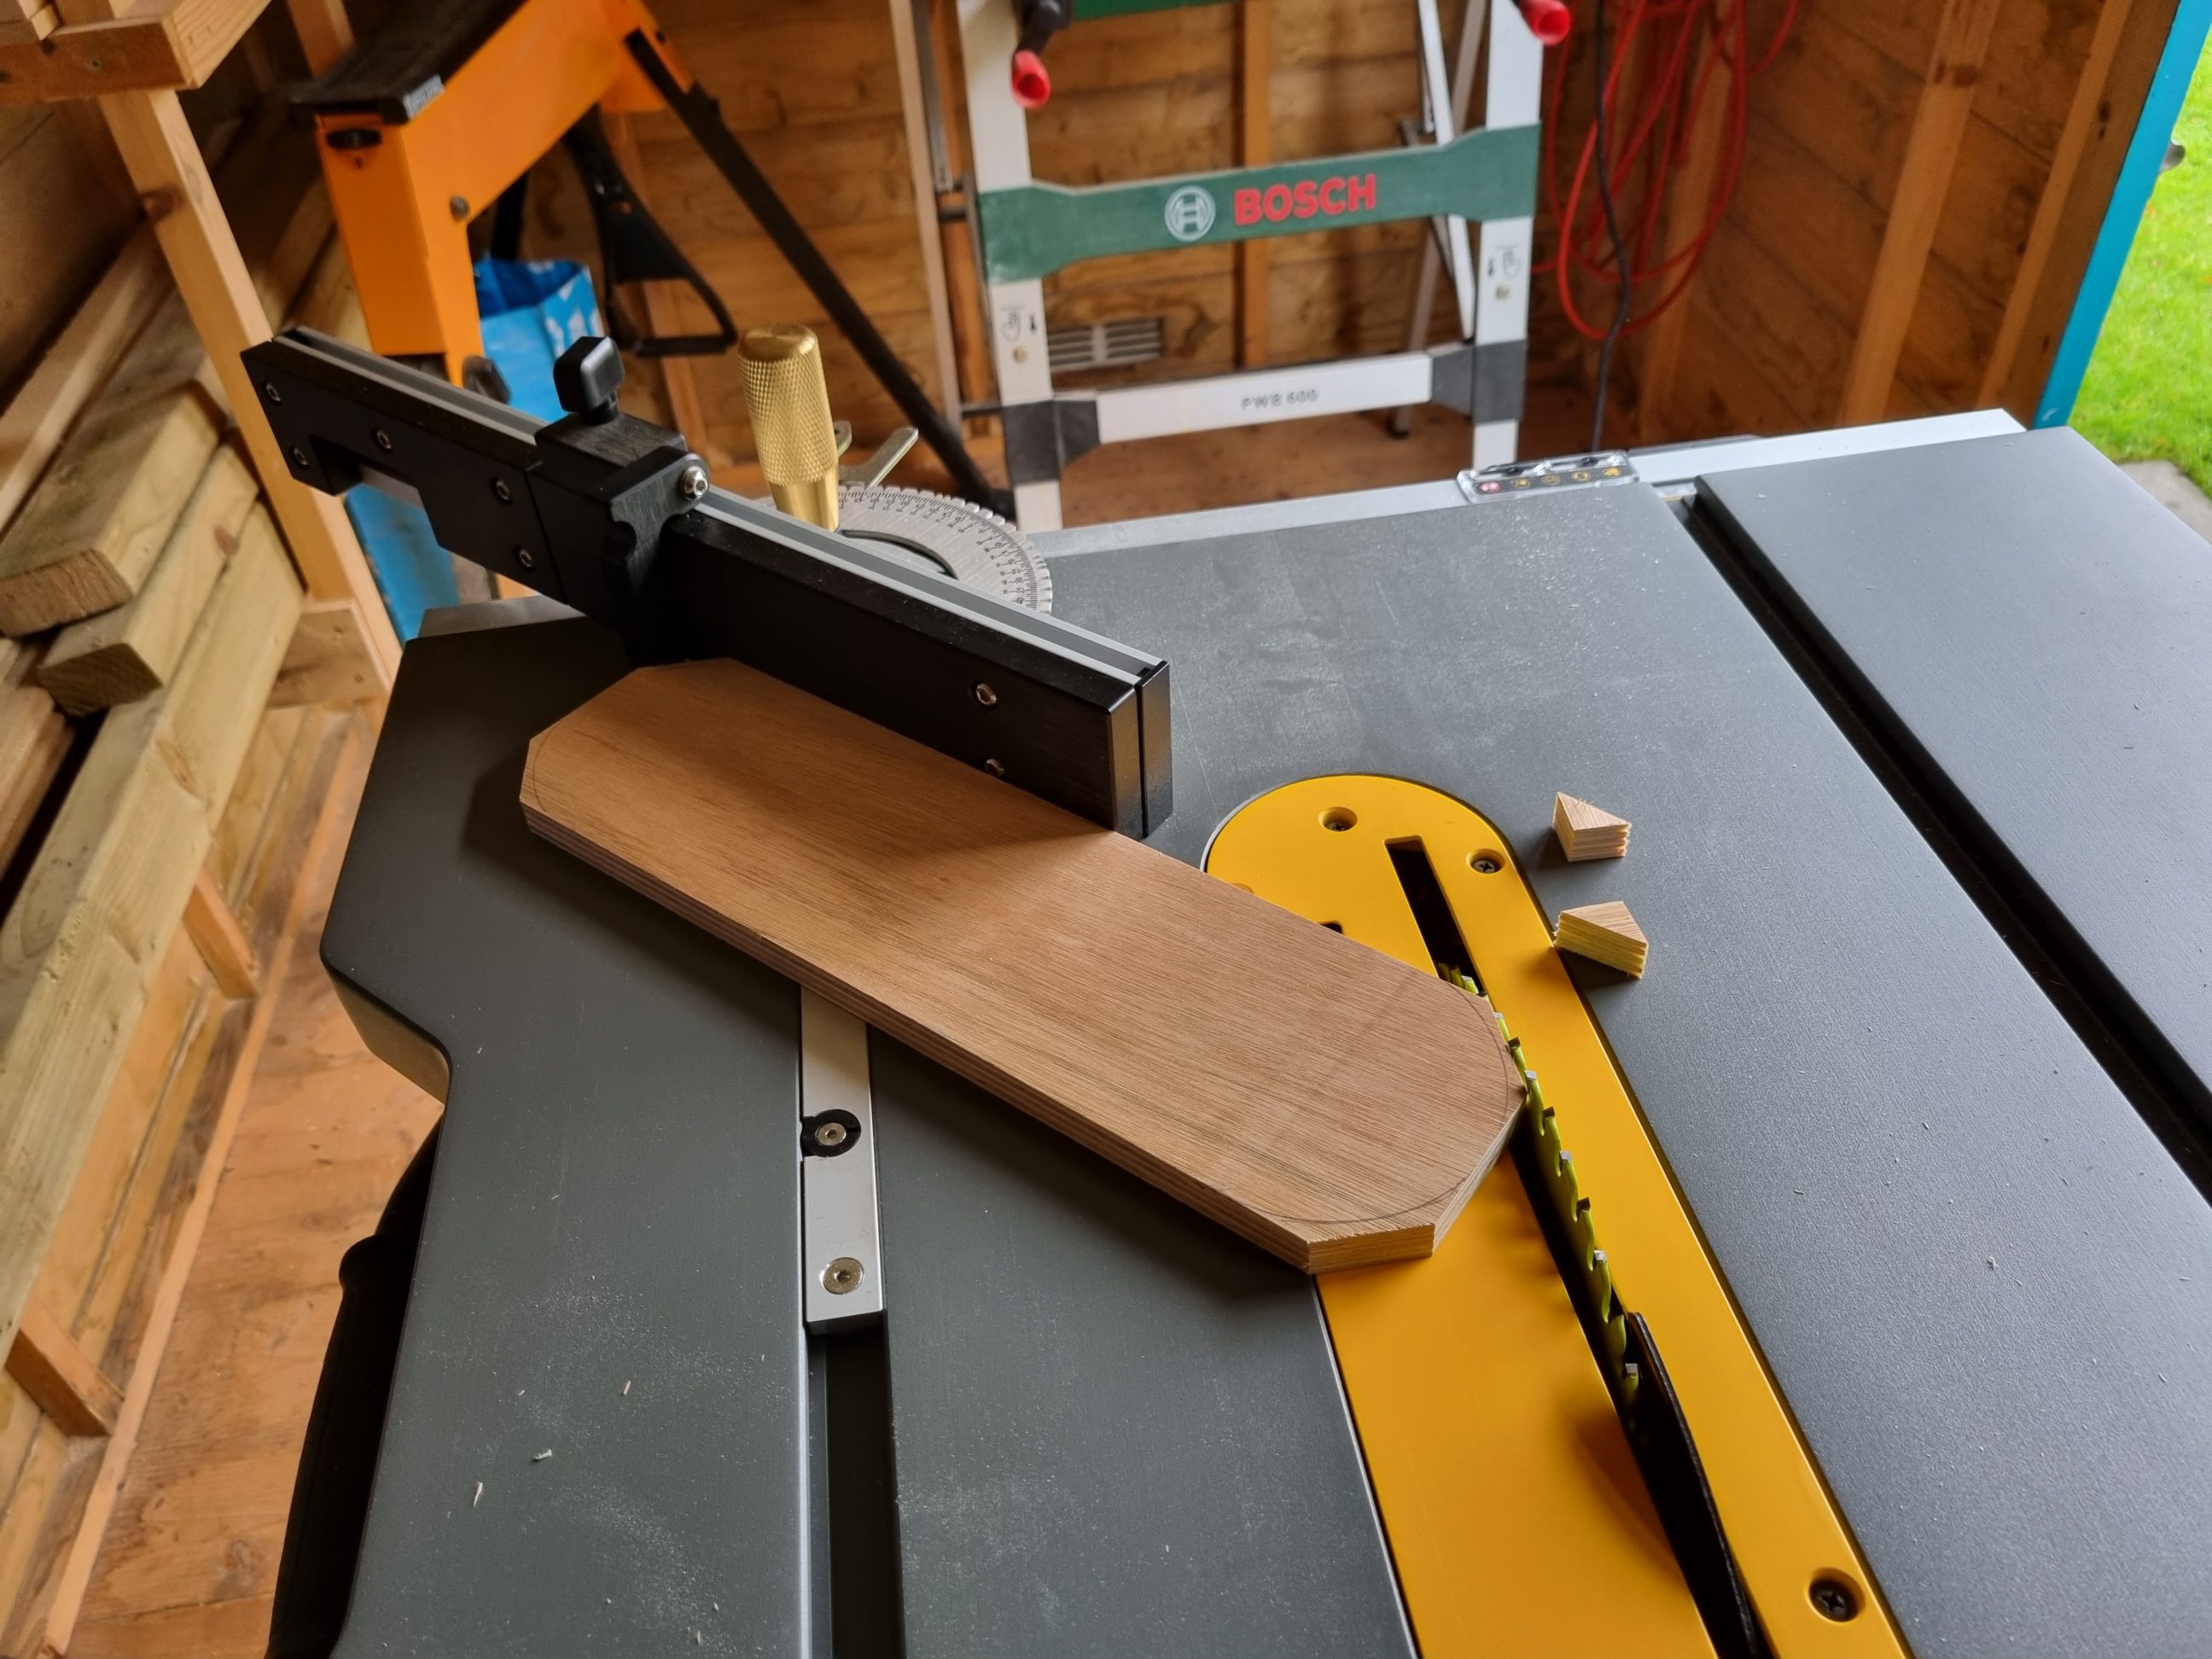
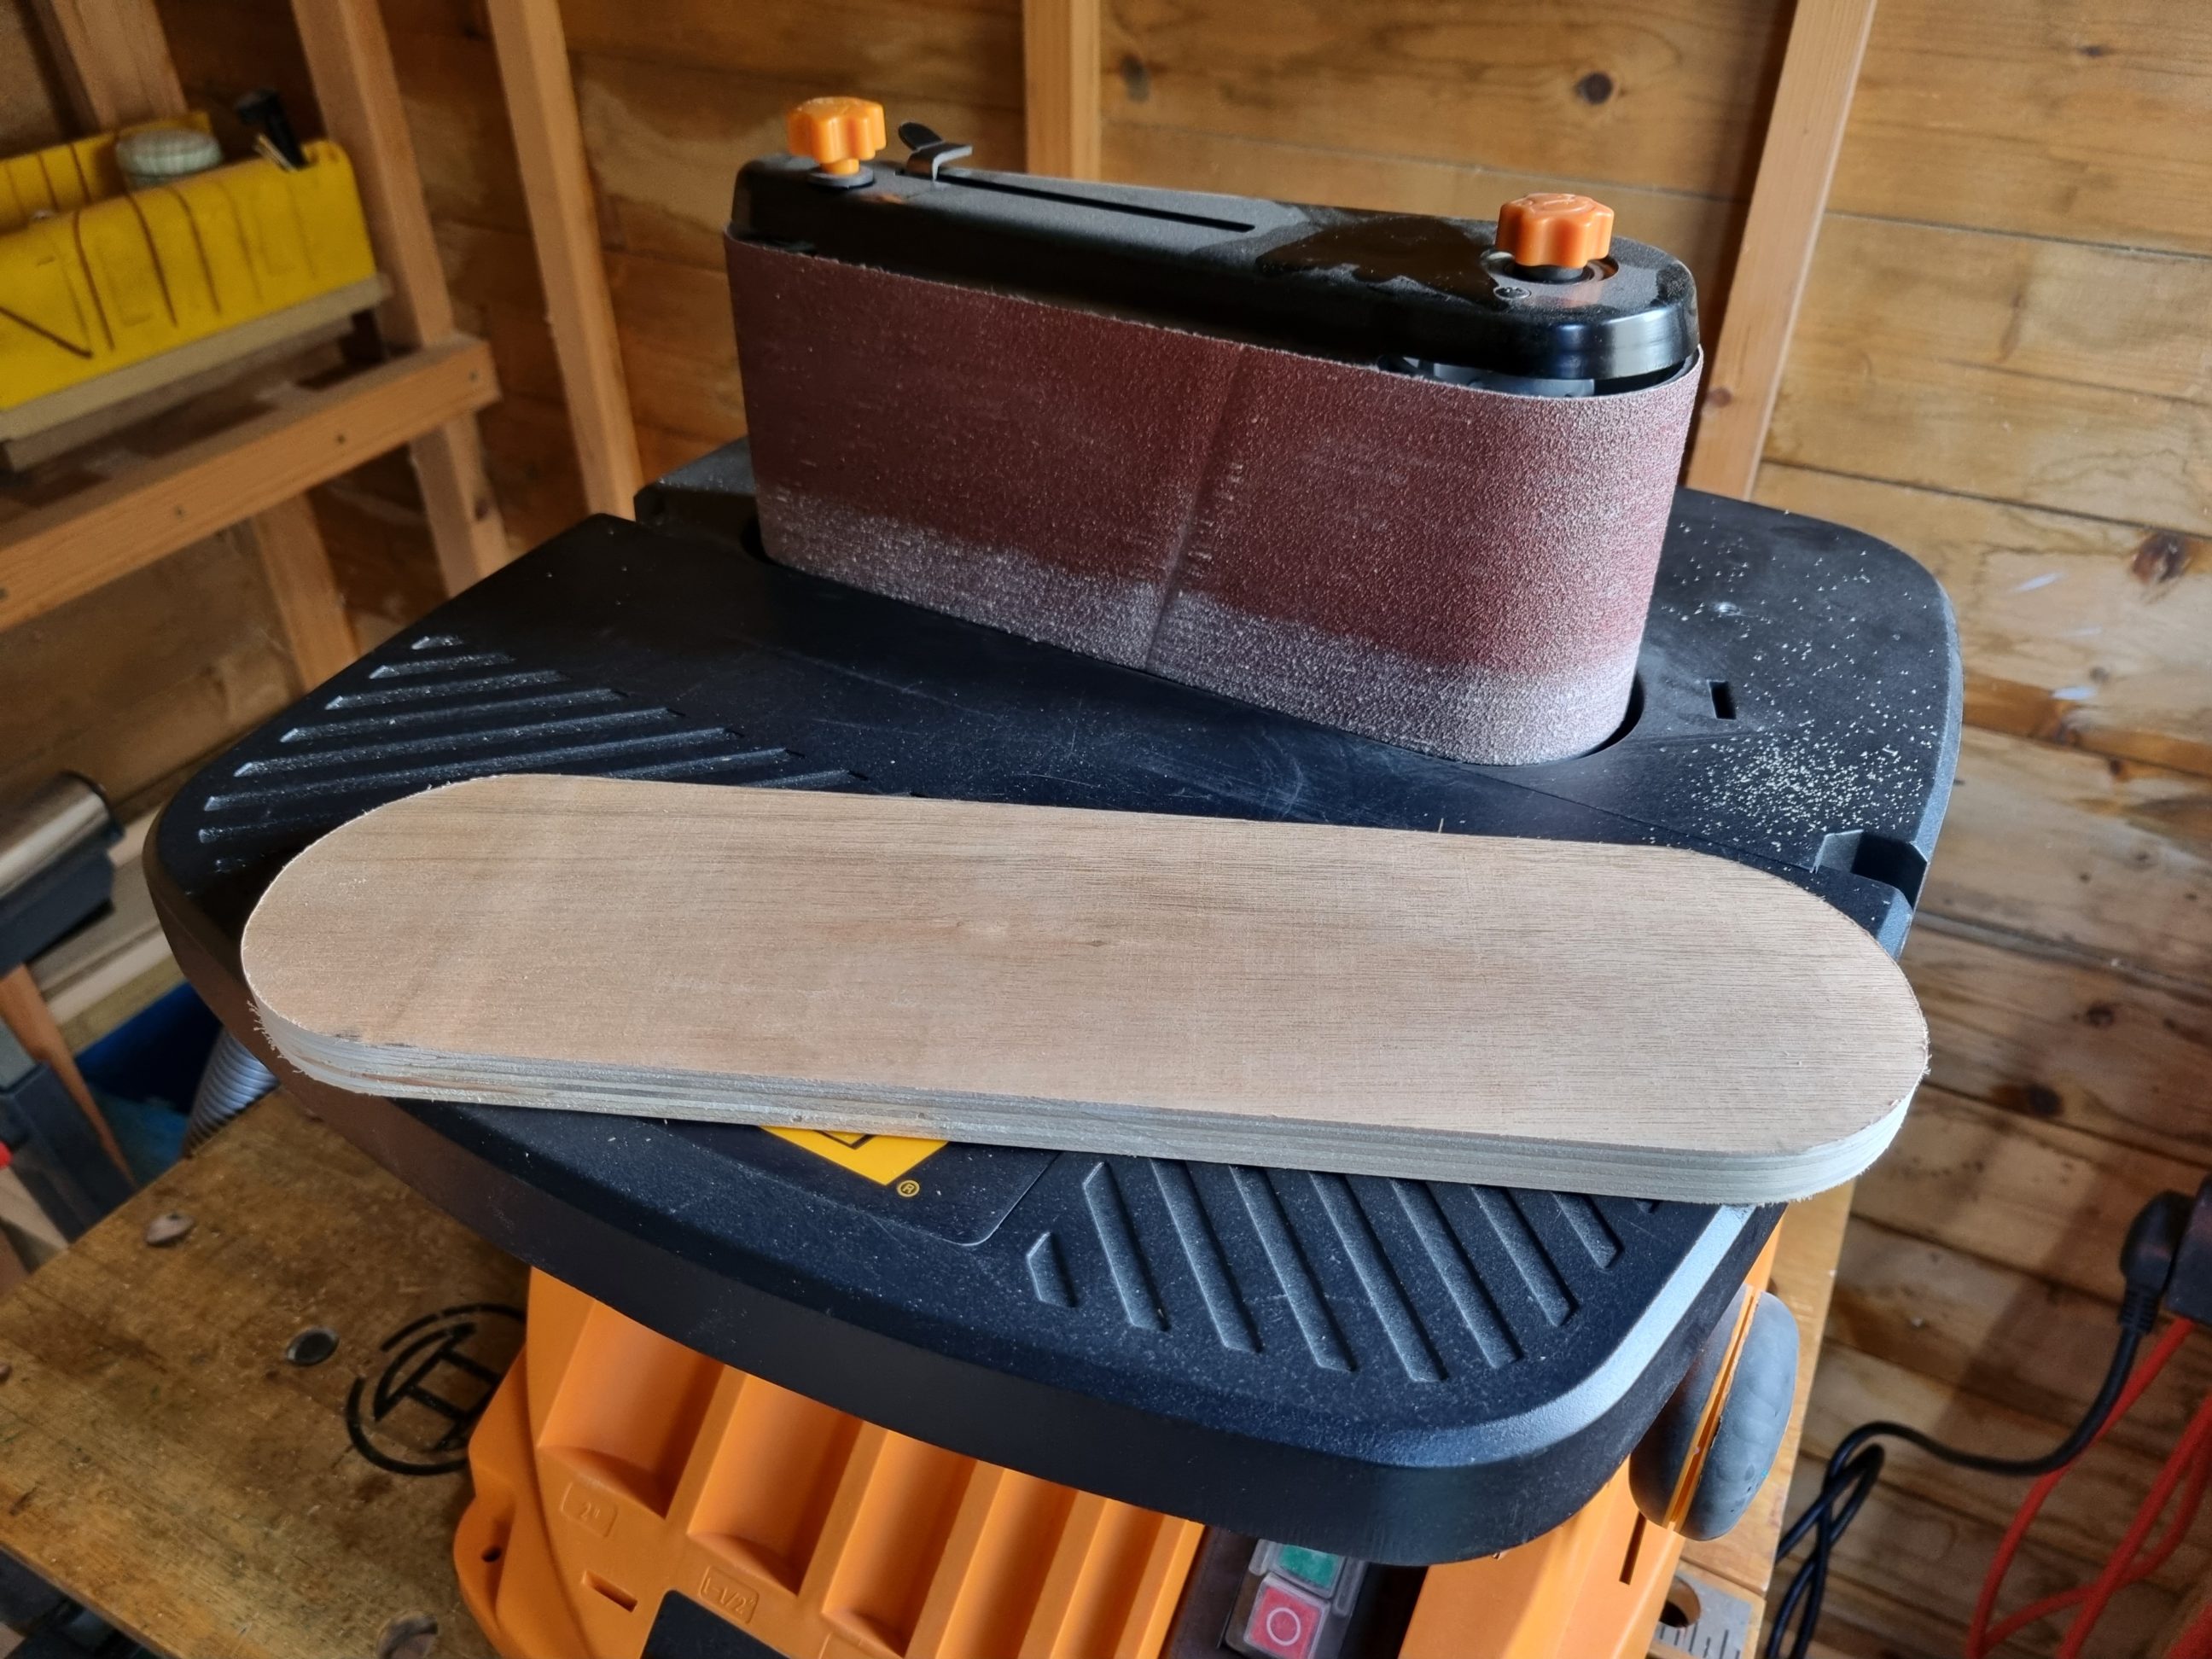
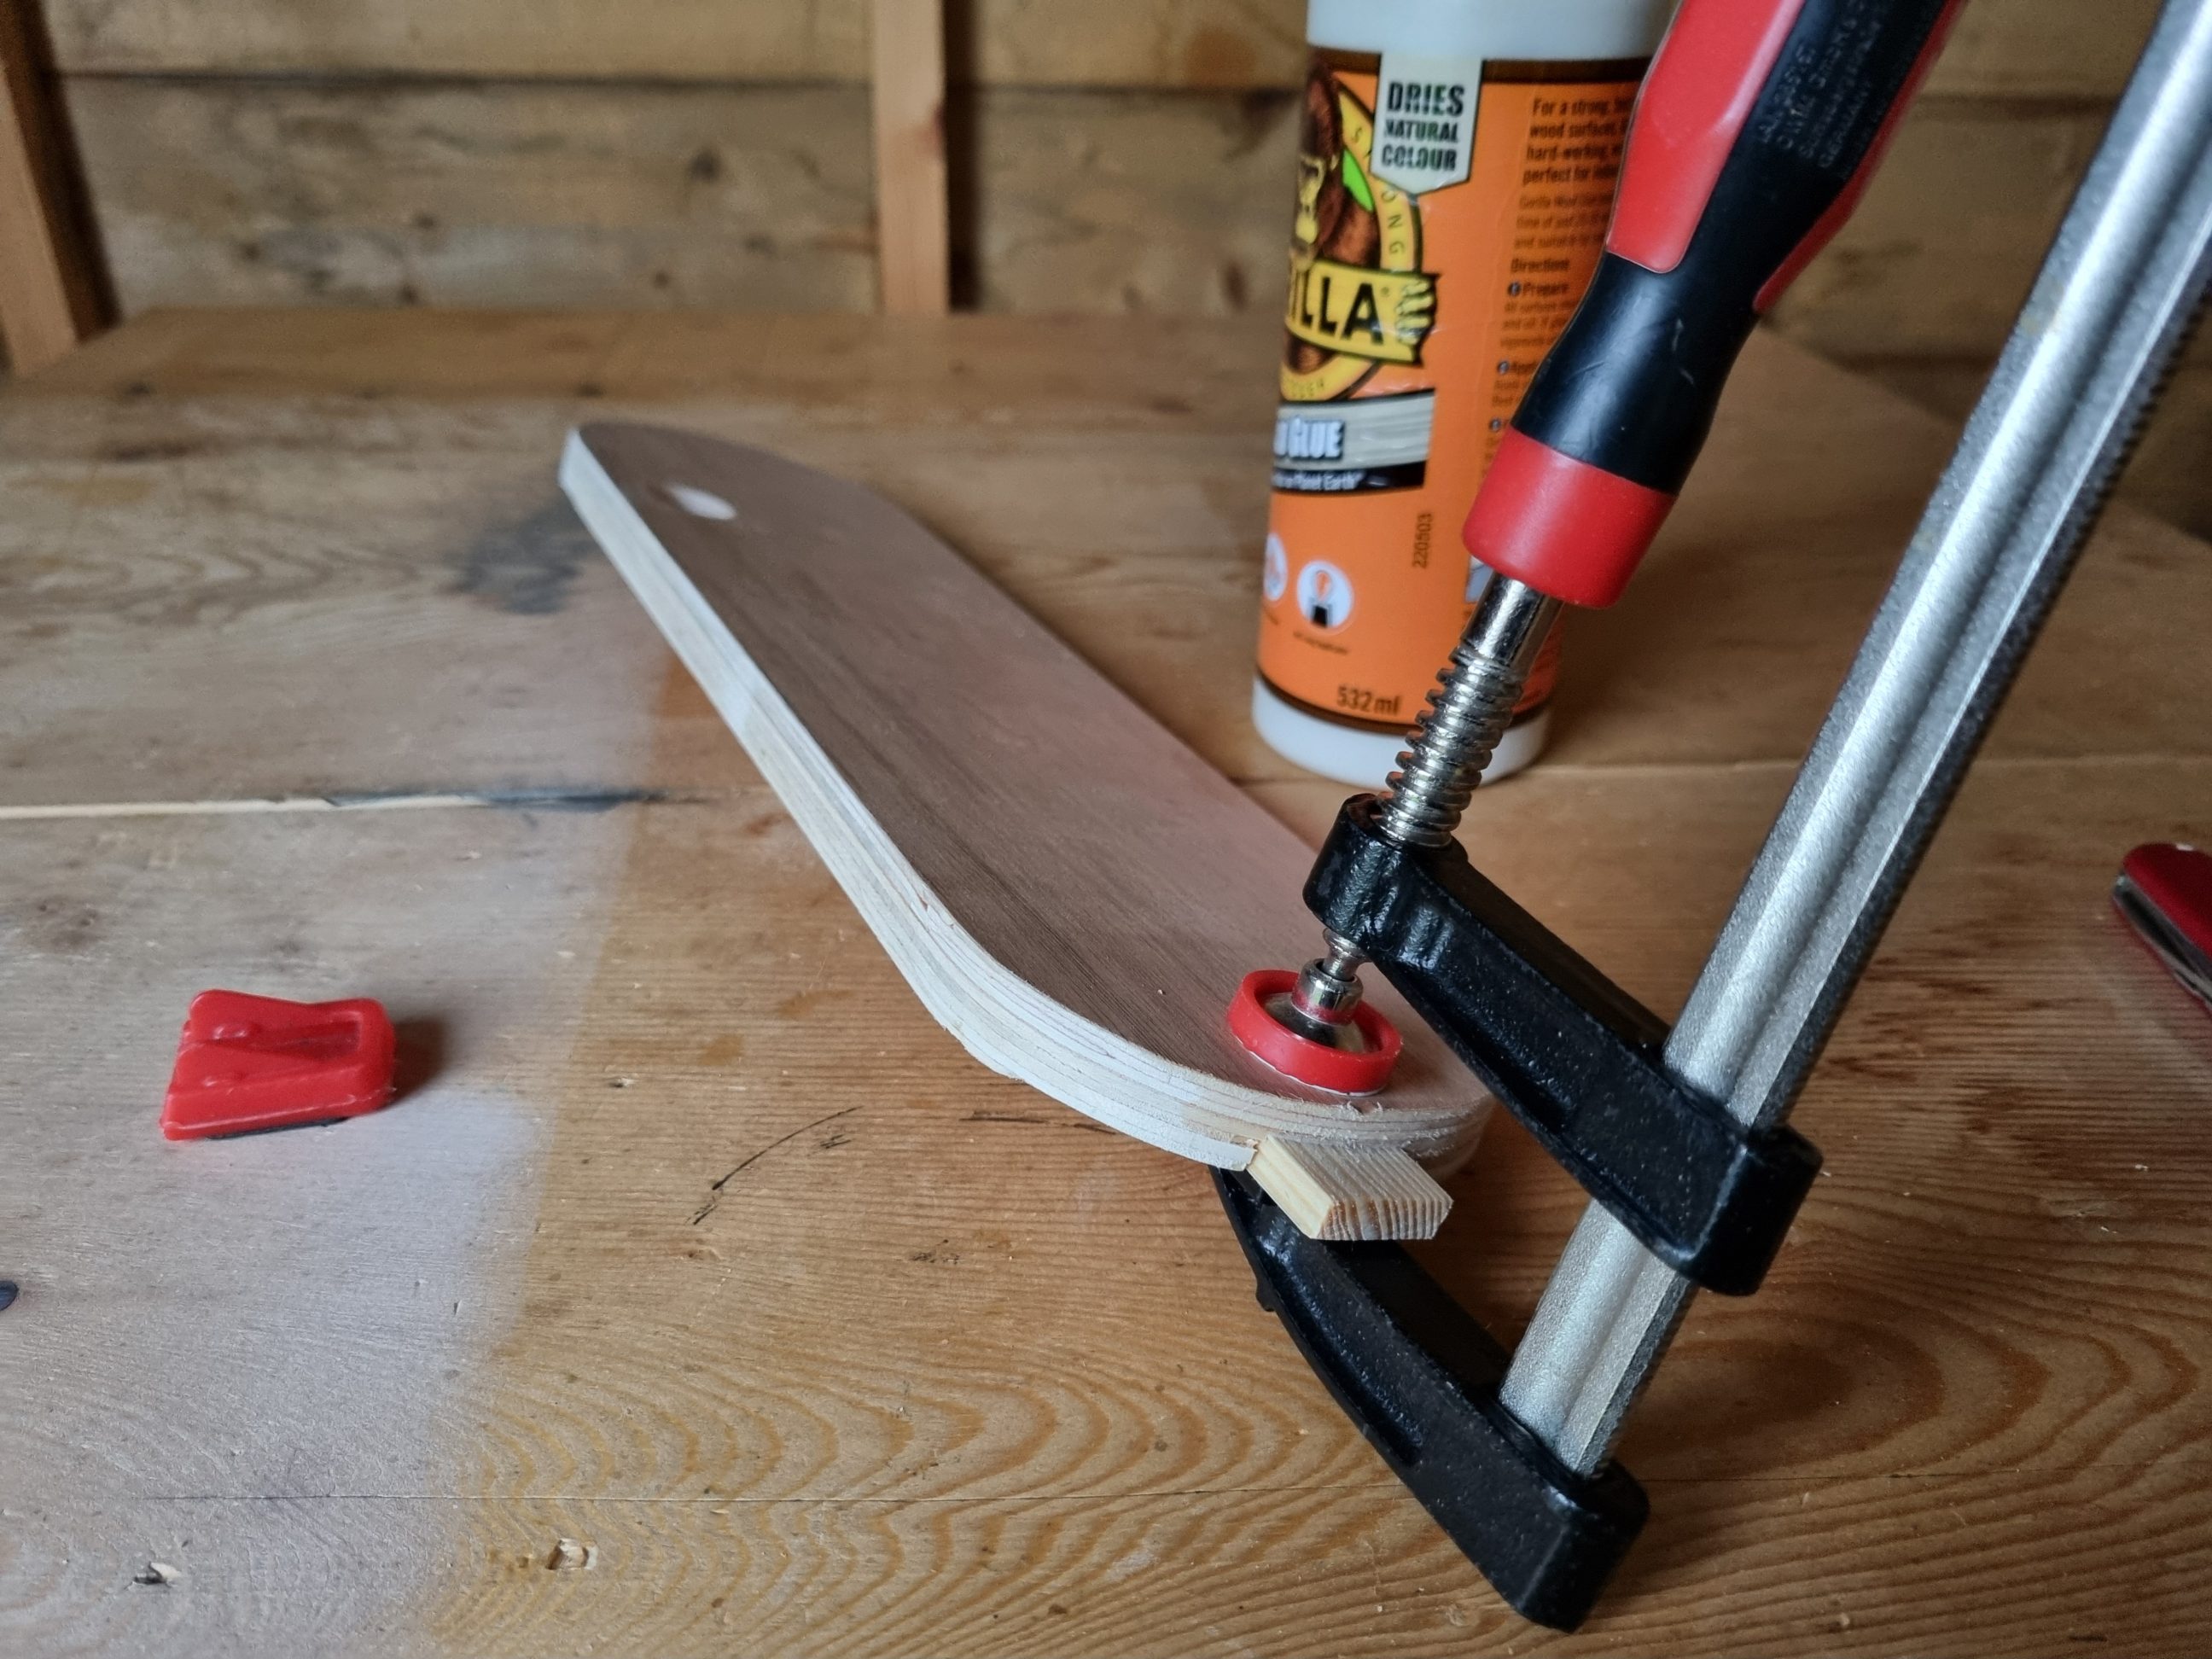
I needed a thick plate that wouldn’t flex while in use. However, lacking plywood of sufficient thickness for the project, I had to improvise. I decided to laminate two scrap pieces, clamped them onto a flat surface, and allowed the glue-up to dry overnight. The following day, I cut the insert to the required size and rounded off the corners. Sanding was necessary, and for this task, I used my oscillating belt sander equipped with an 80-grit belt. That way the surface was smooth enough and the excess material was removed quickly.
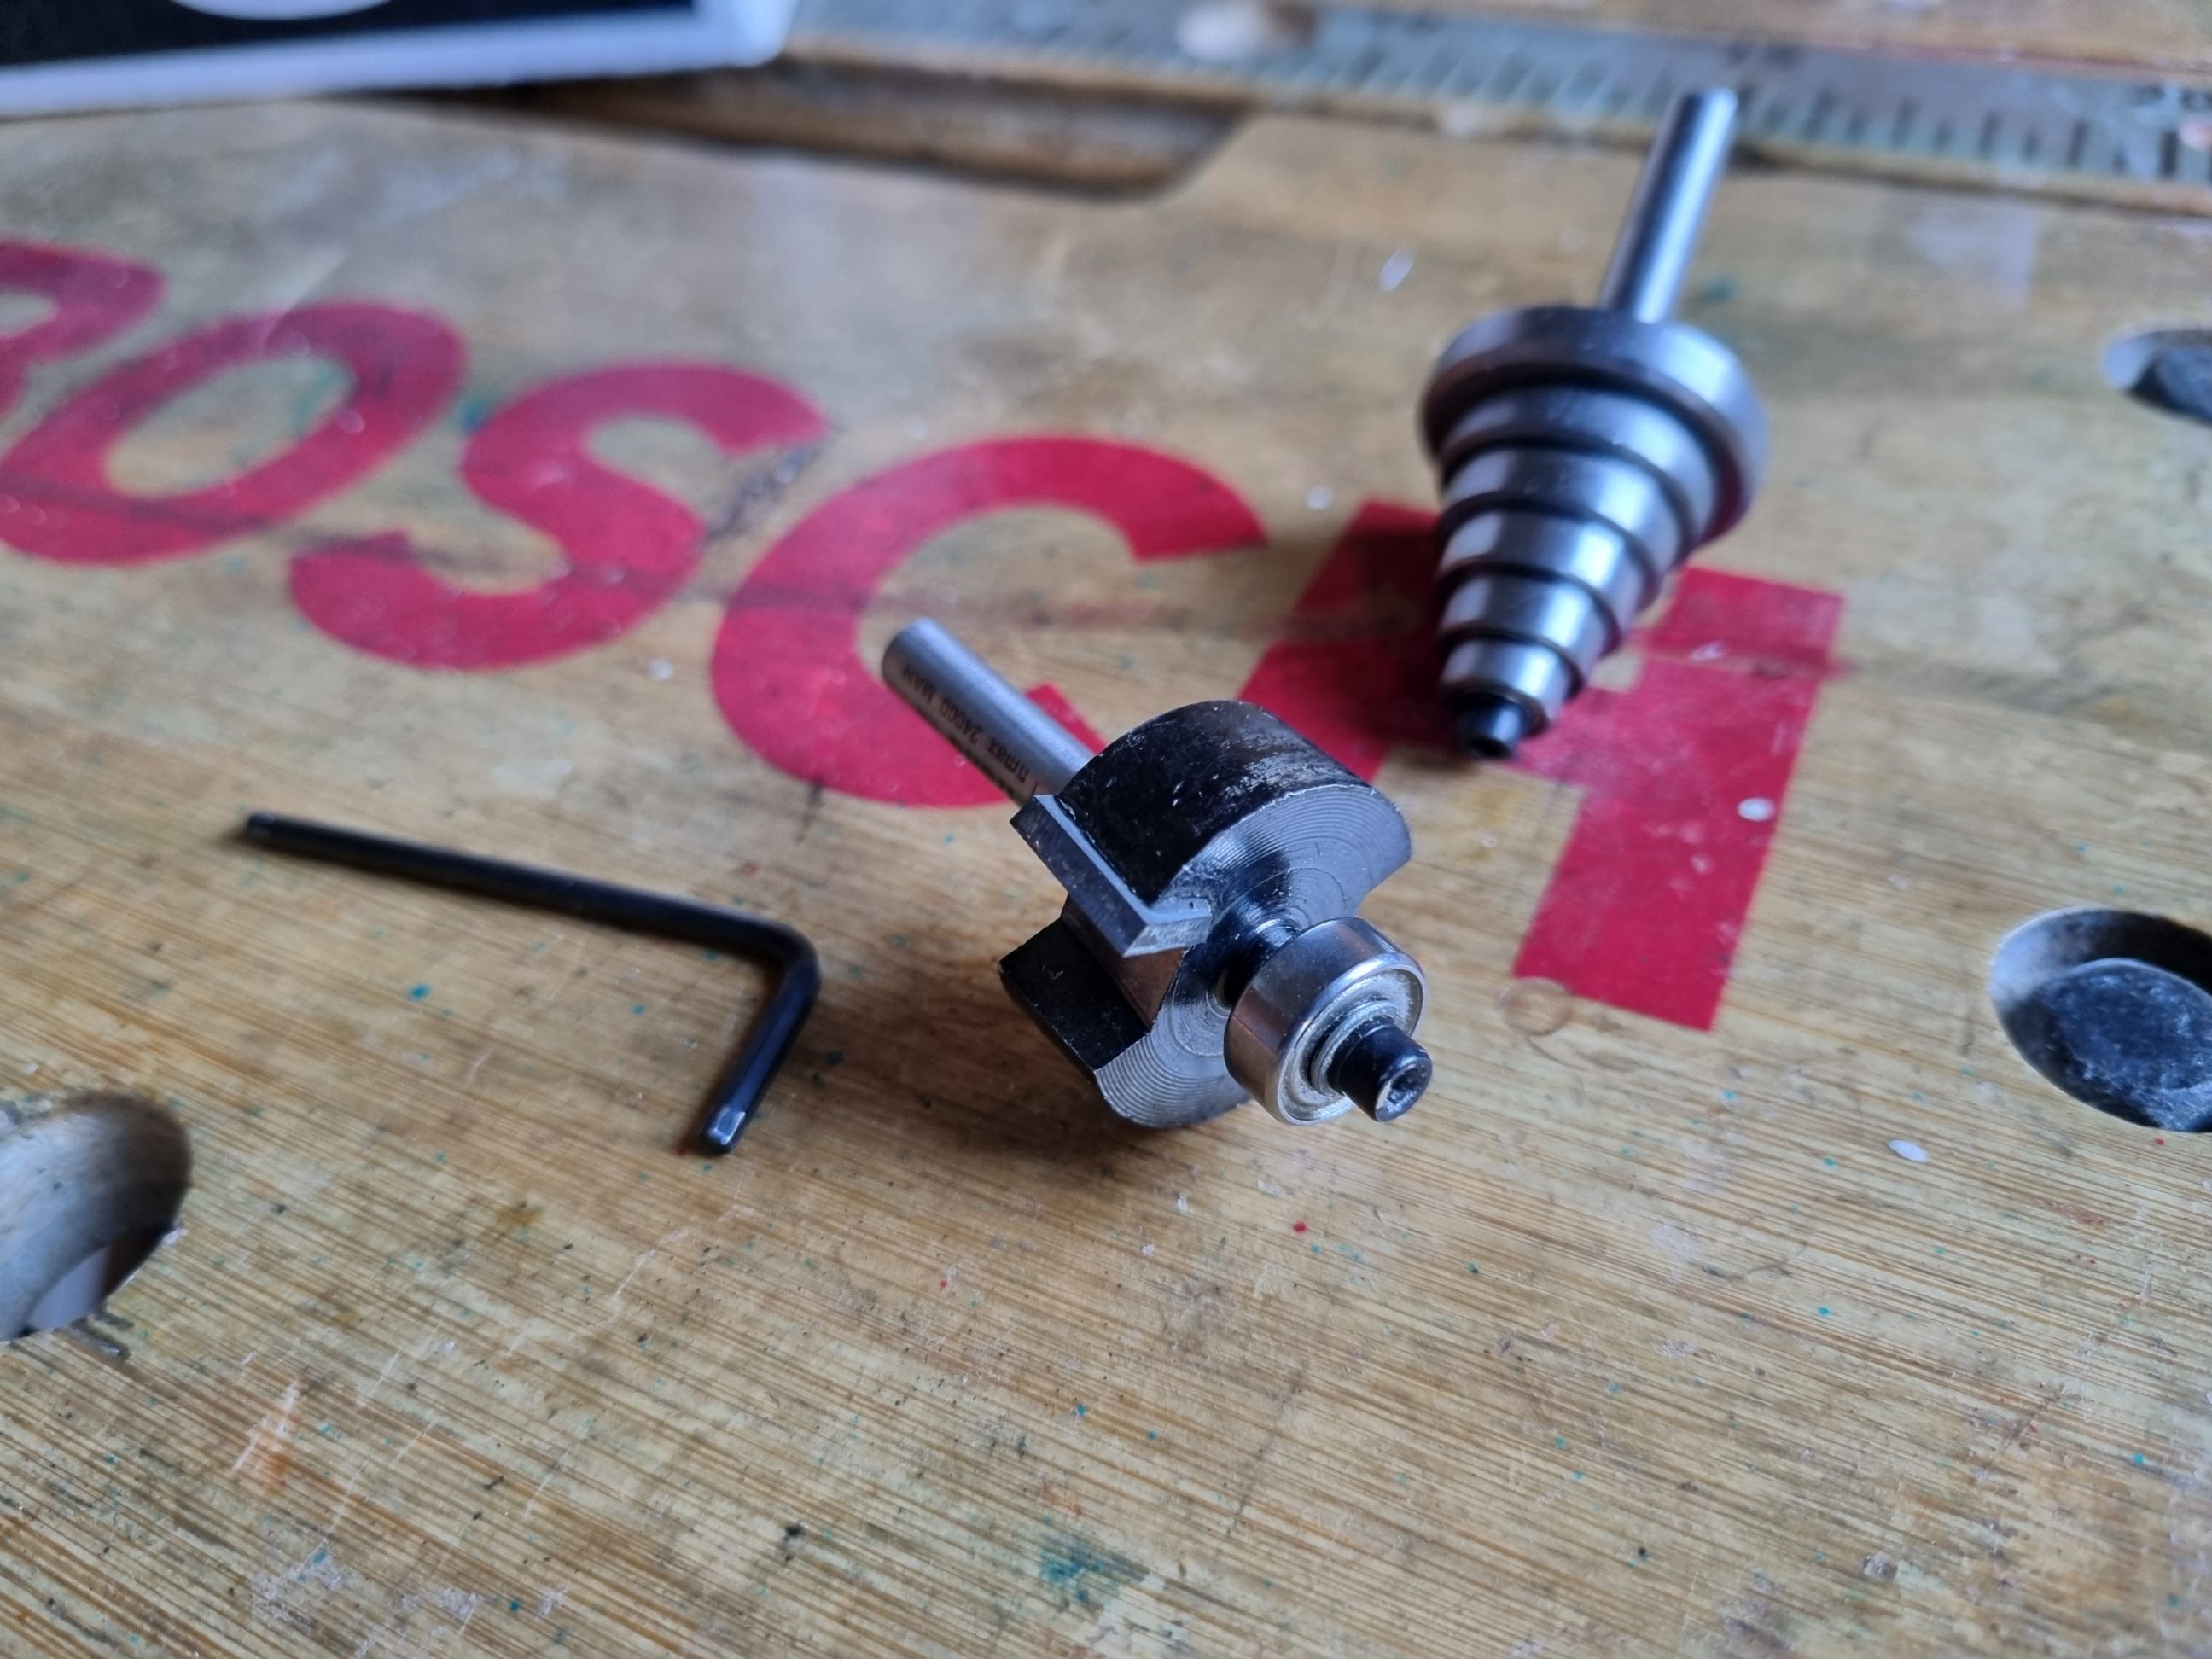
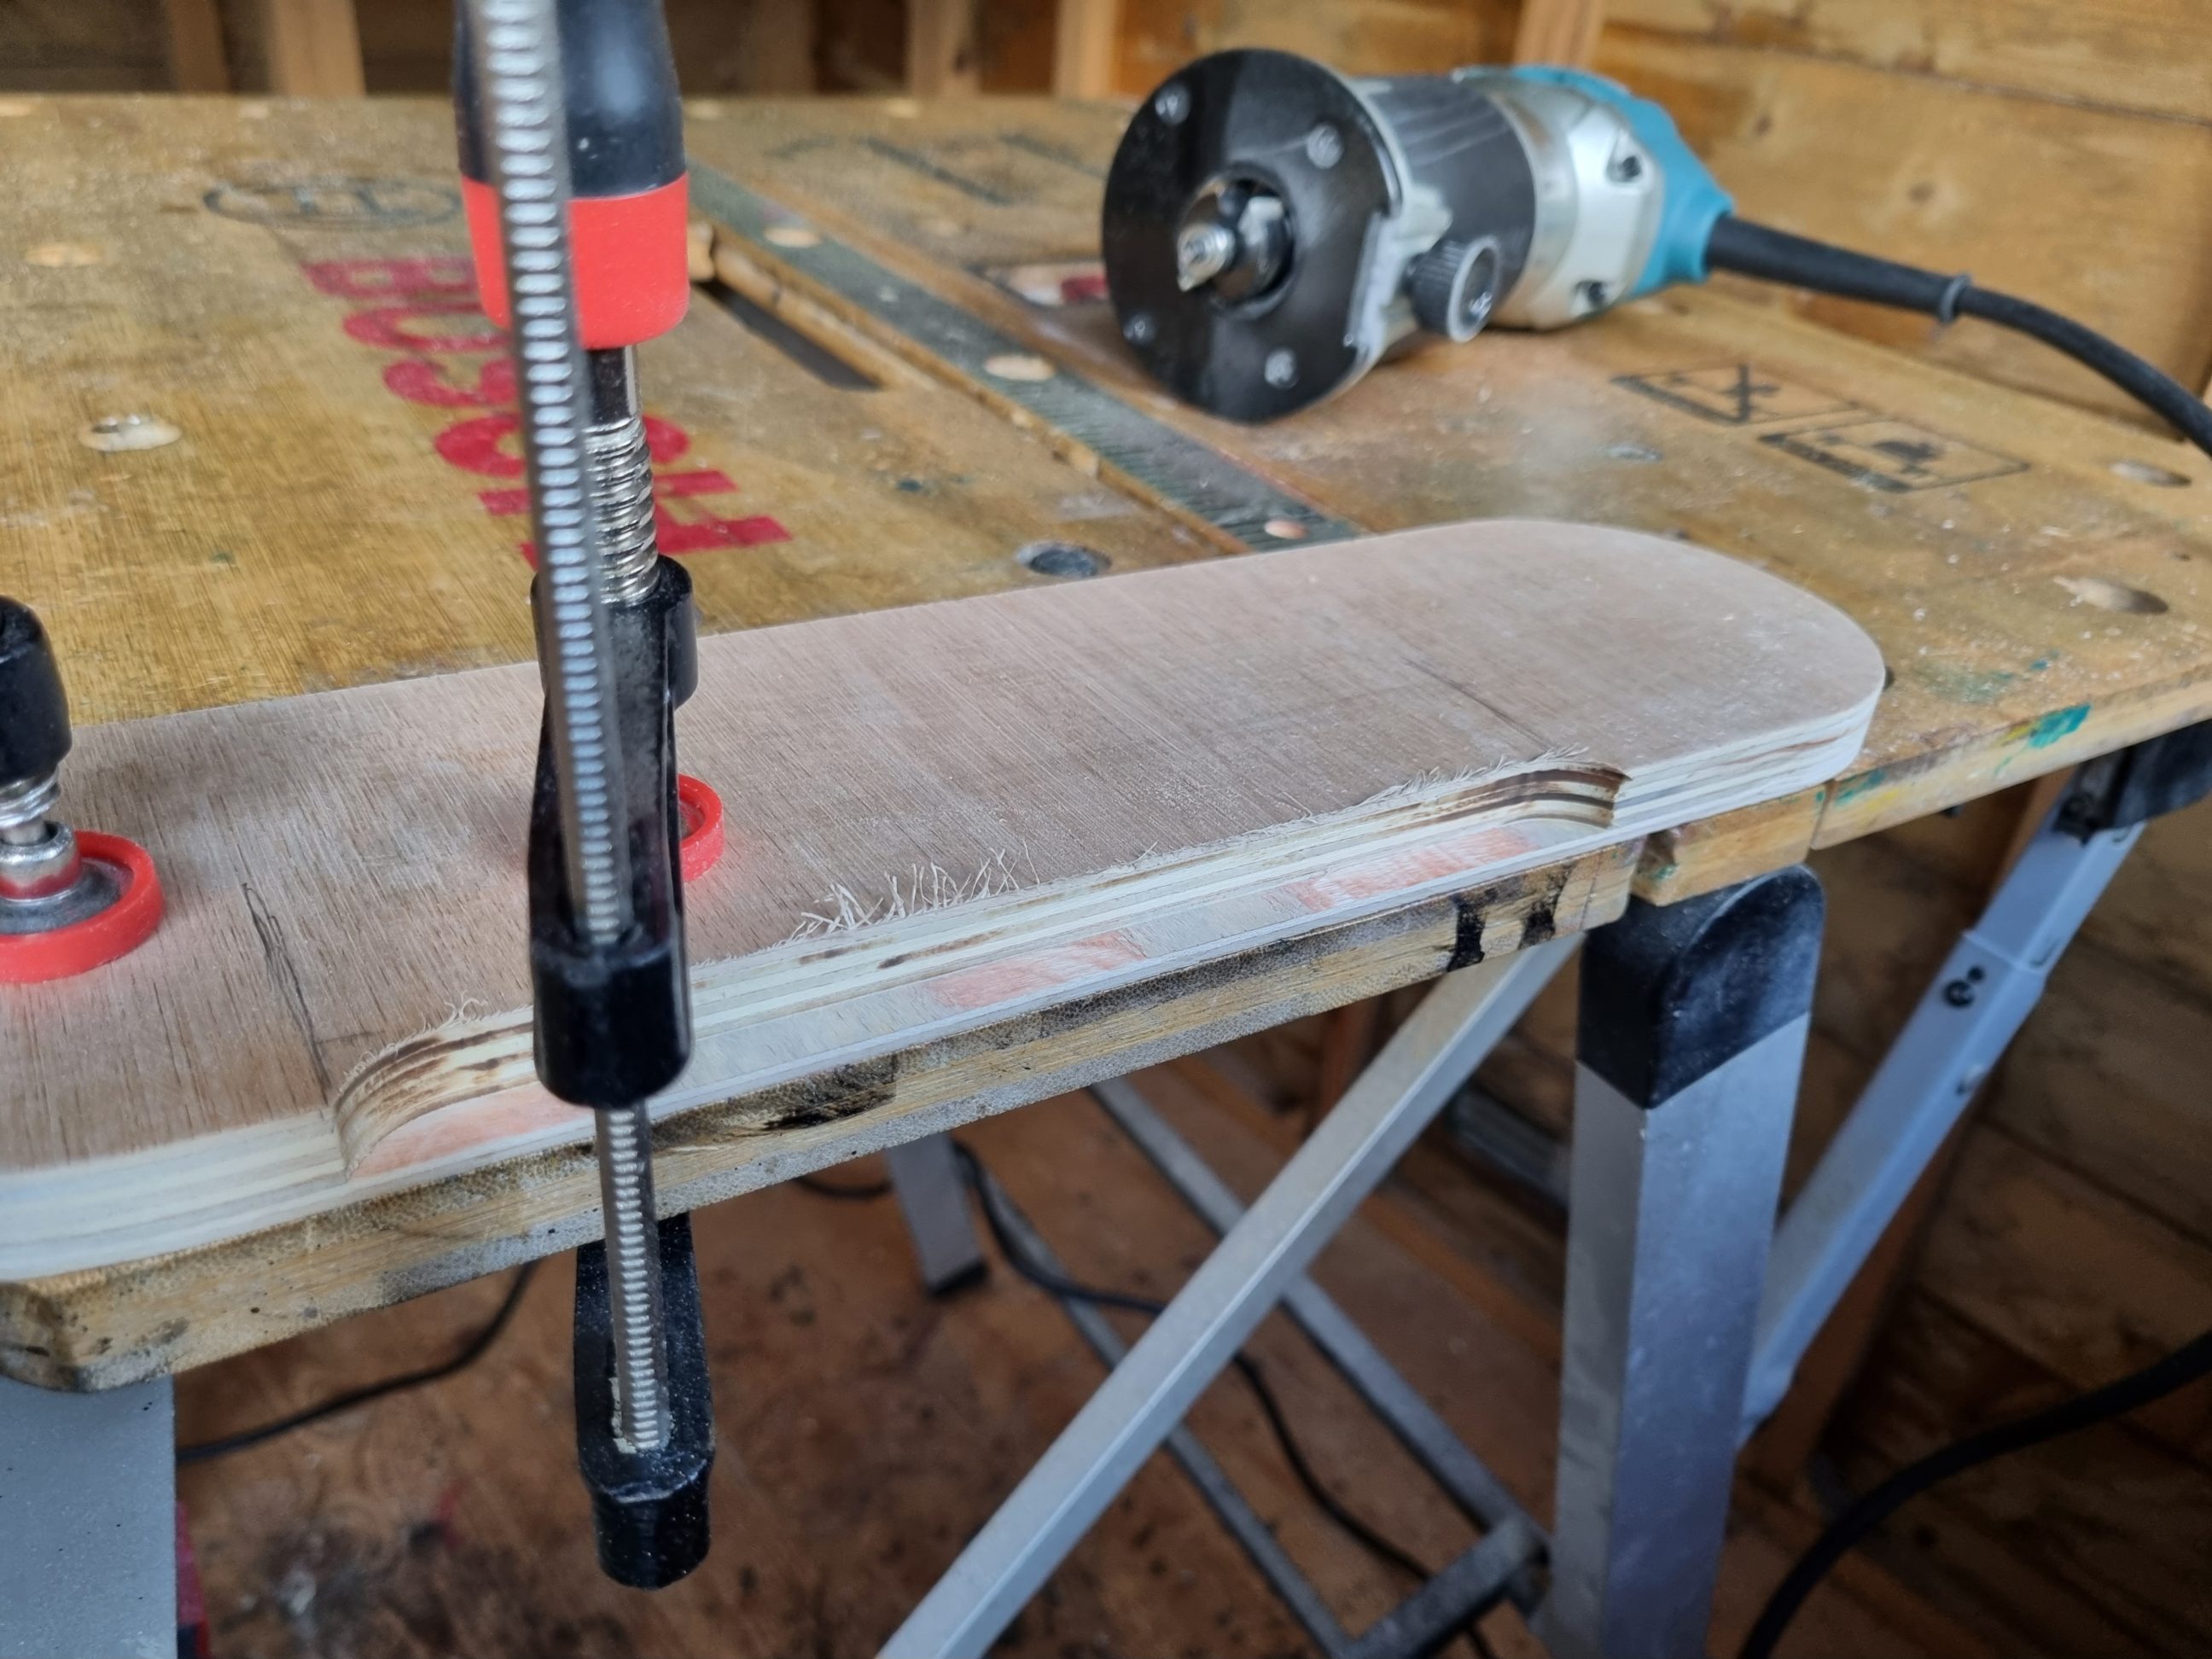
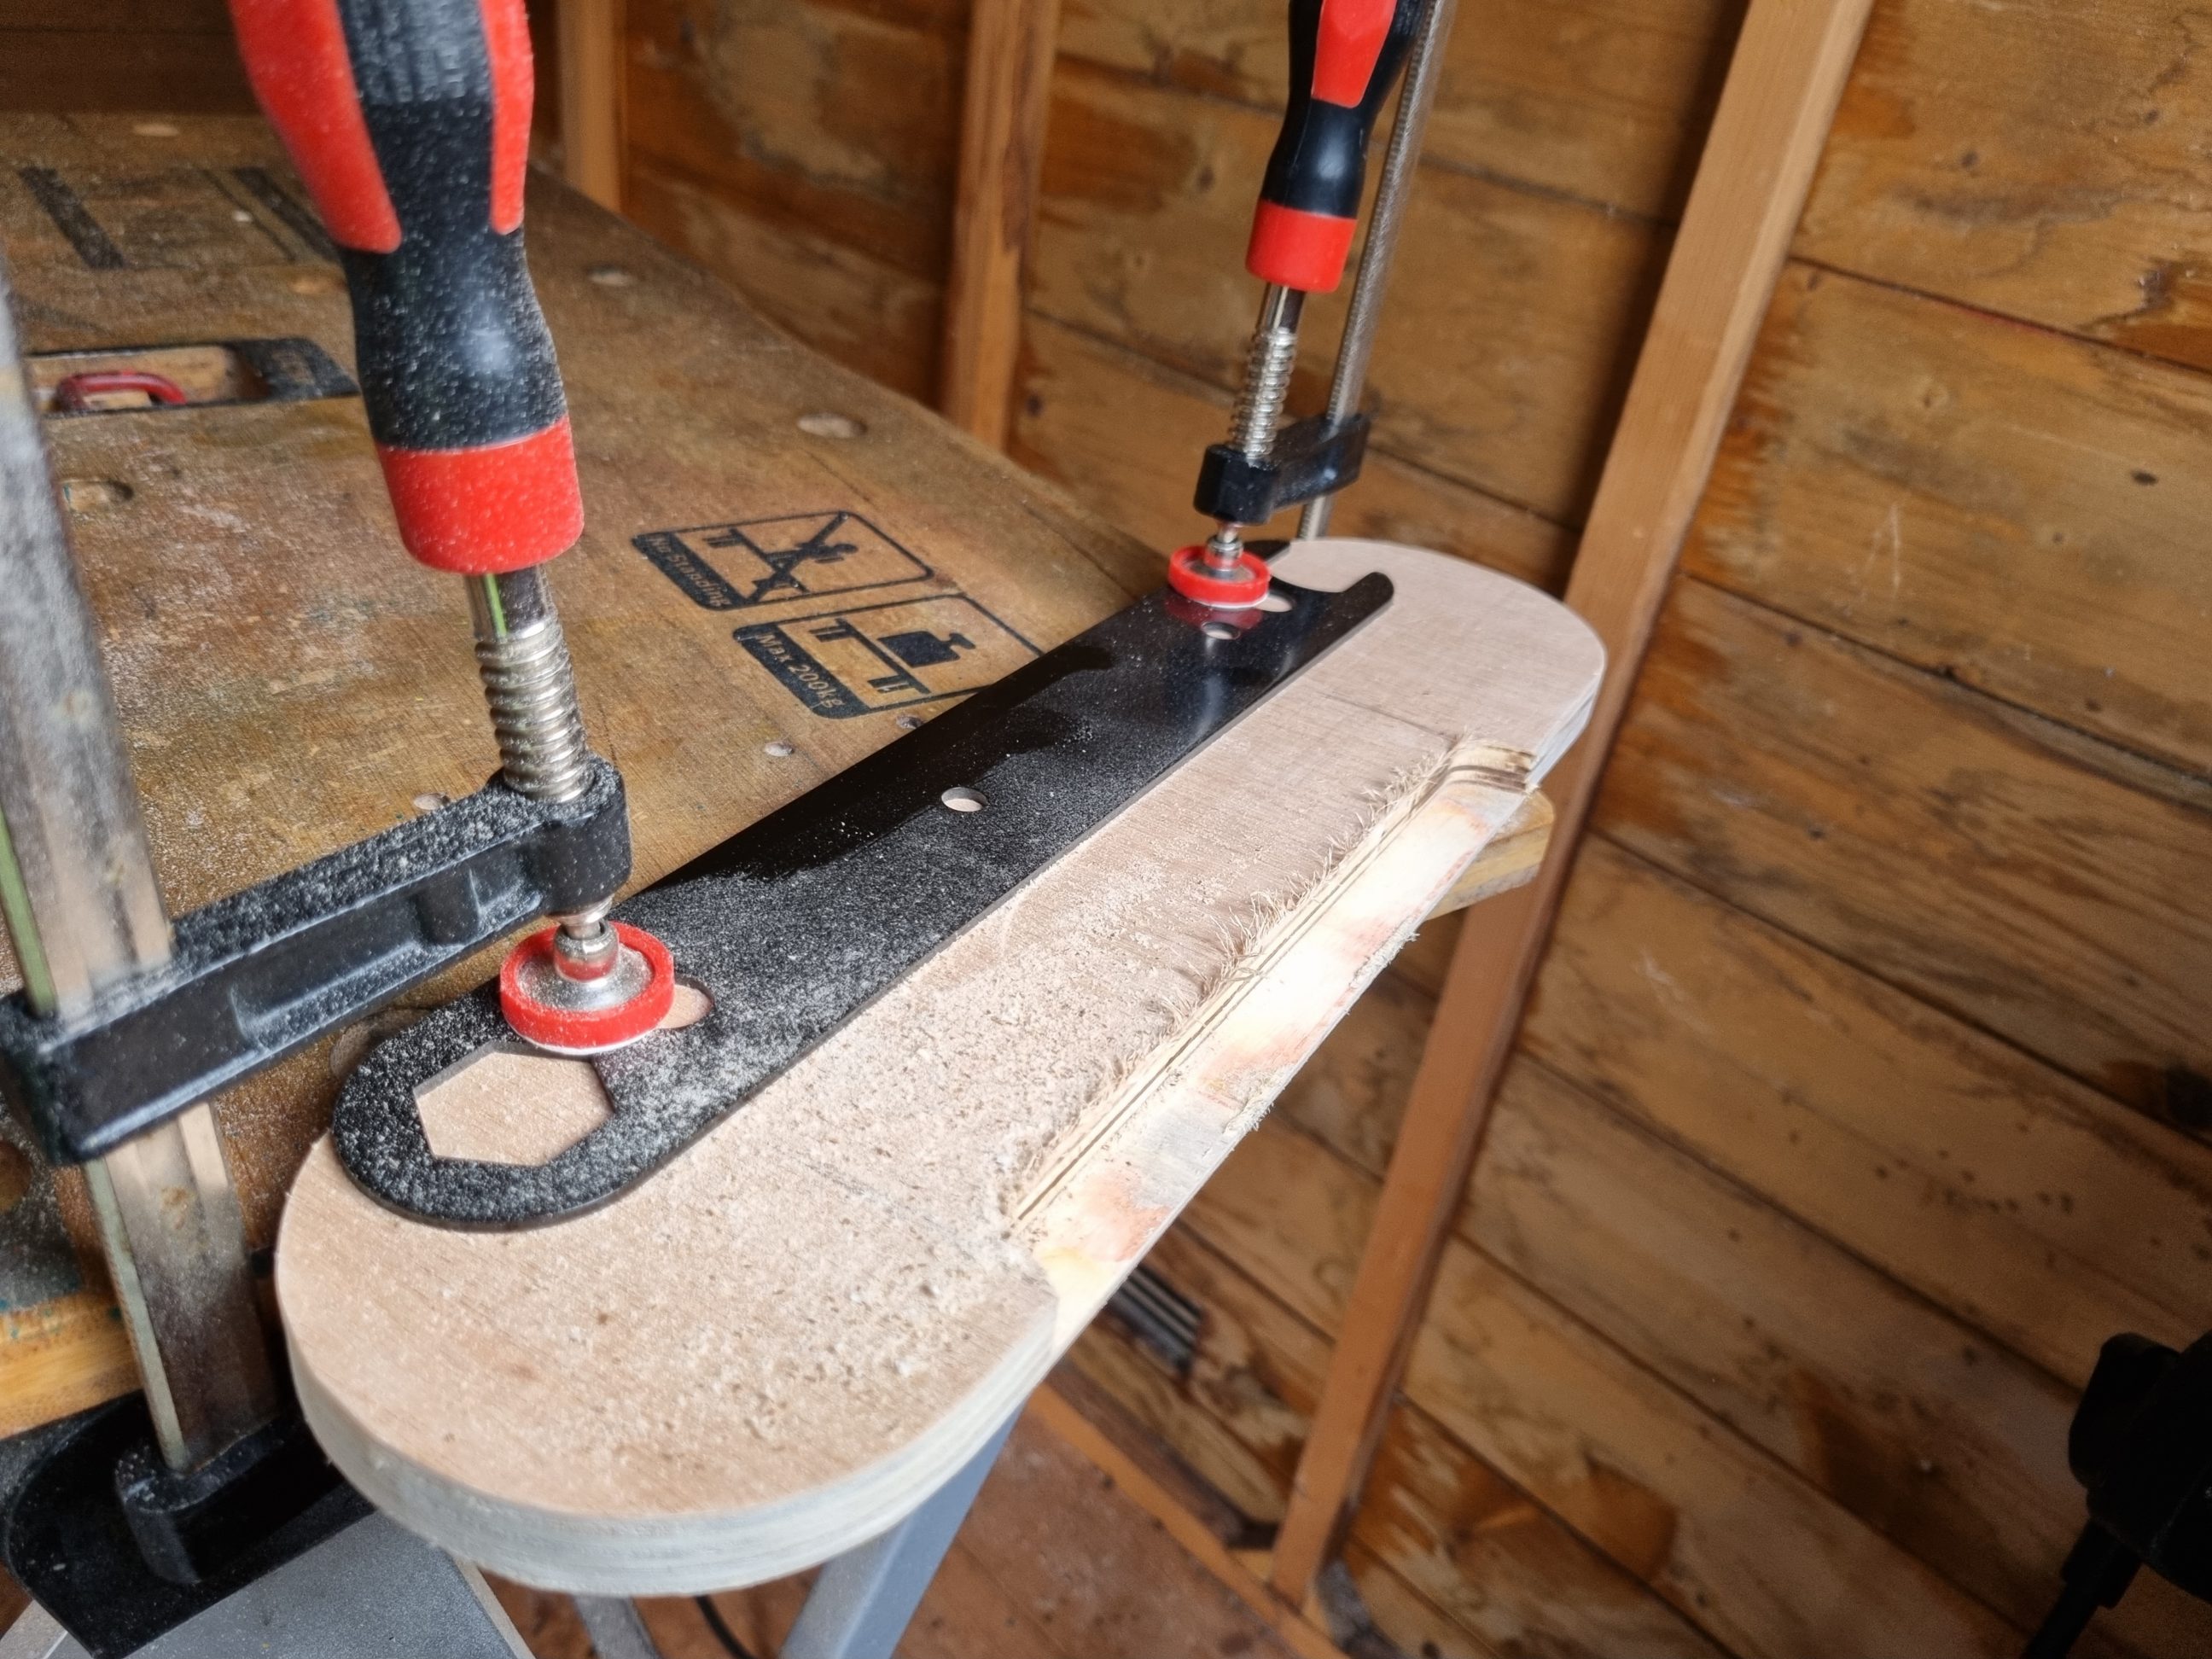
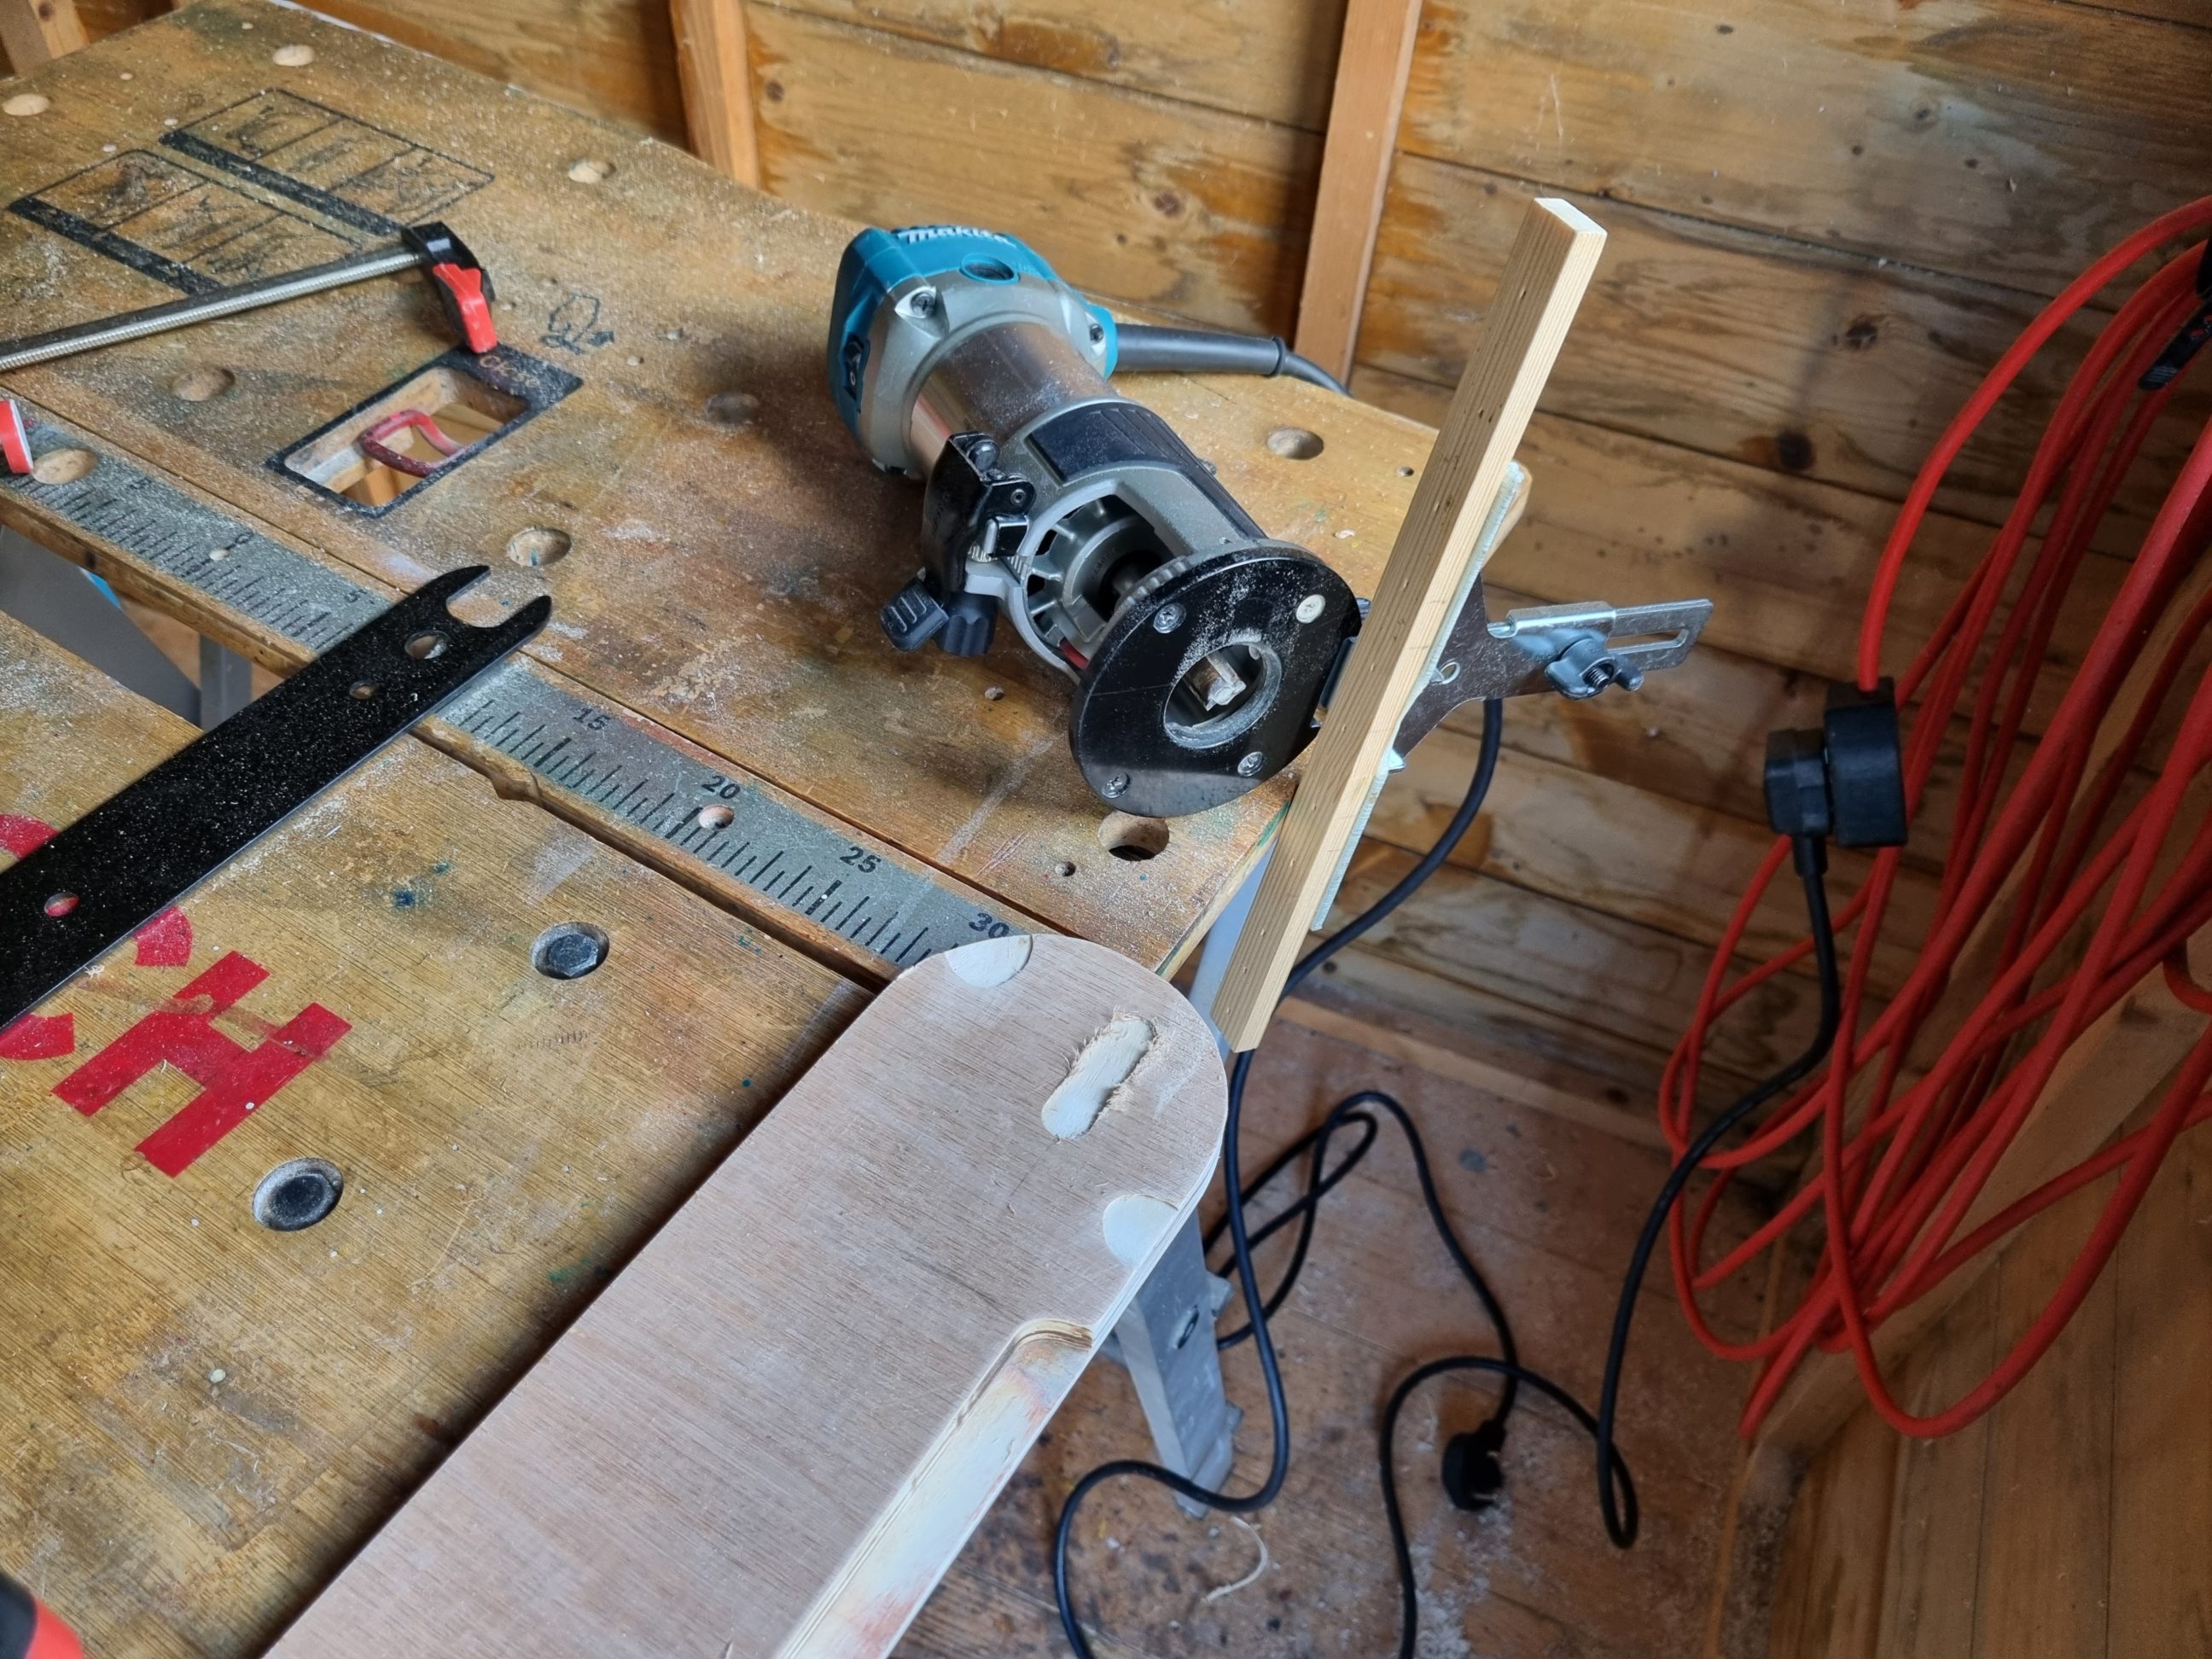
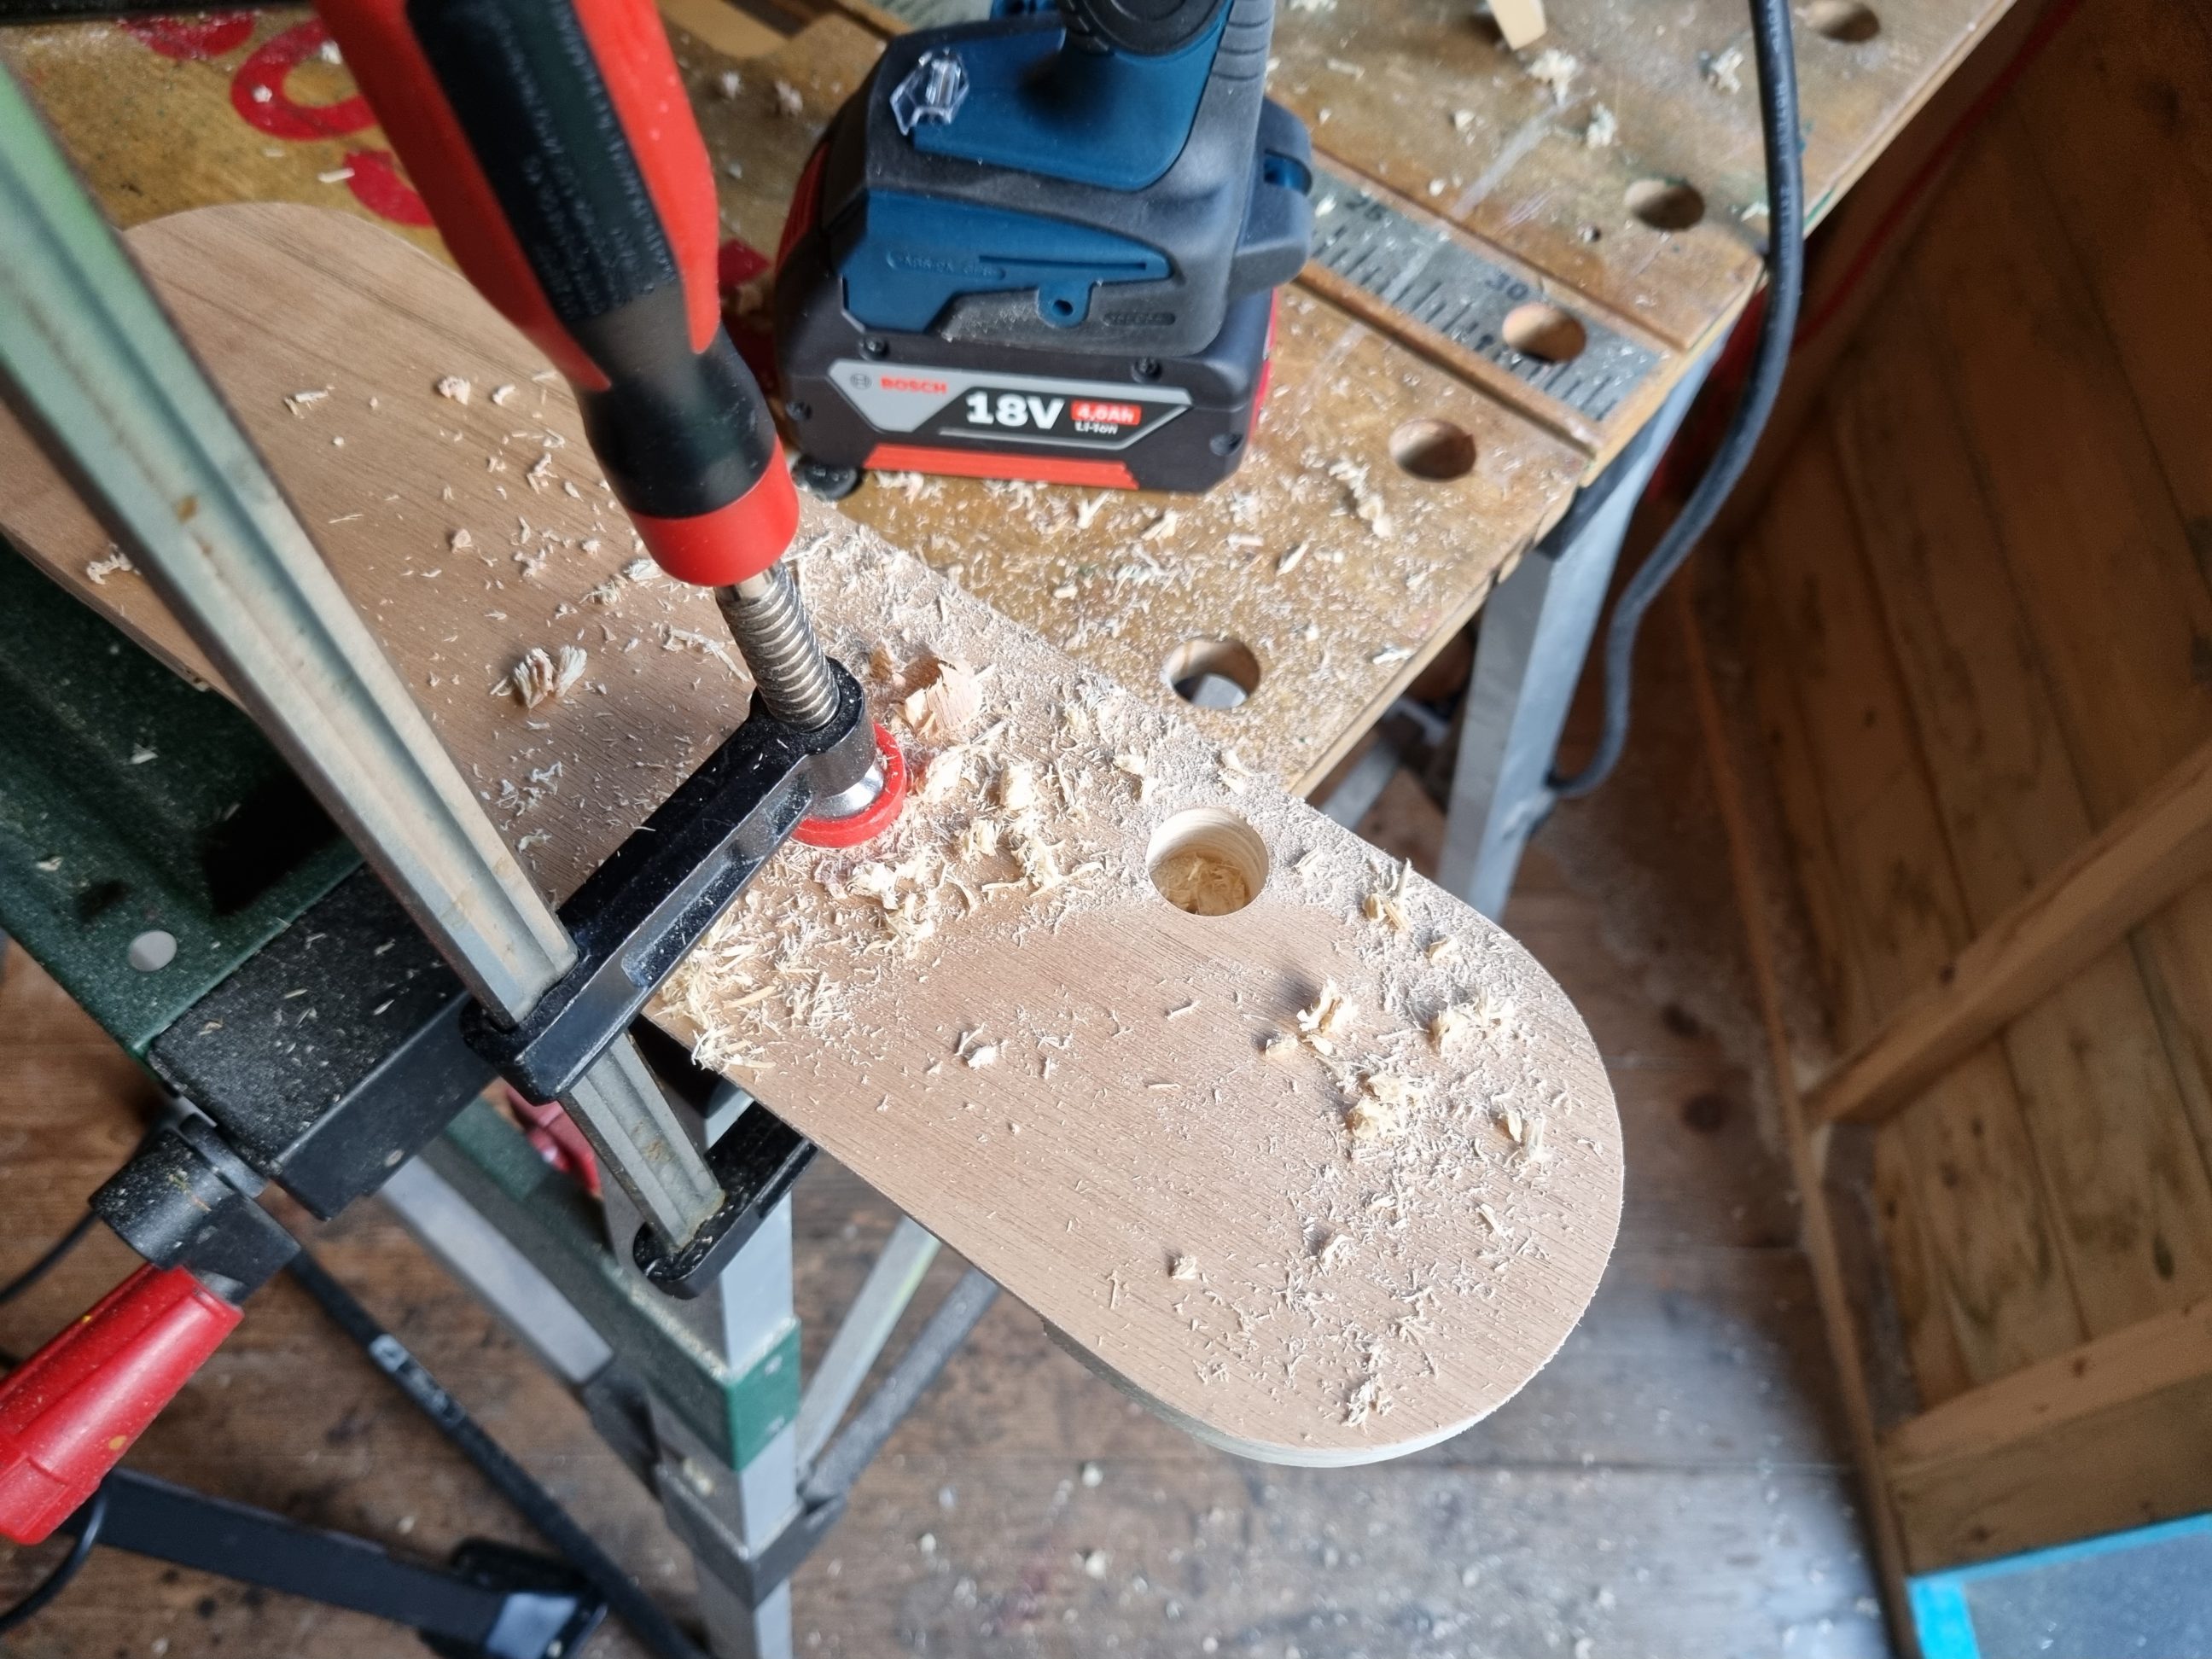
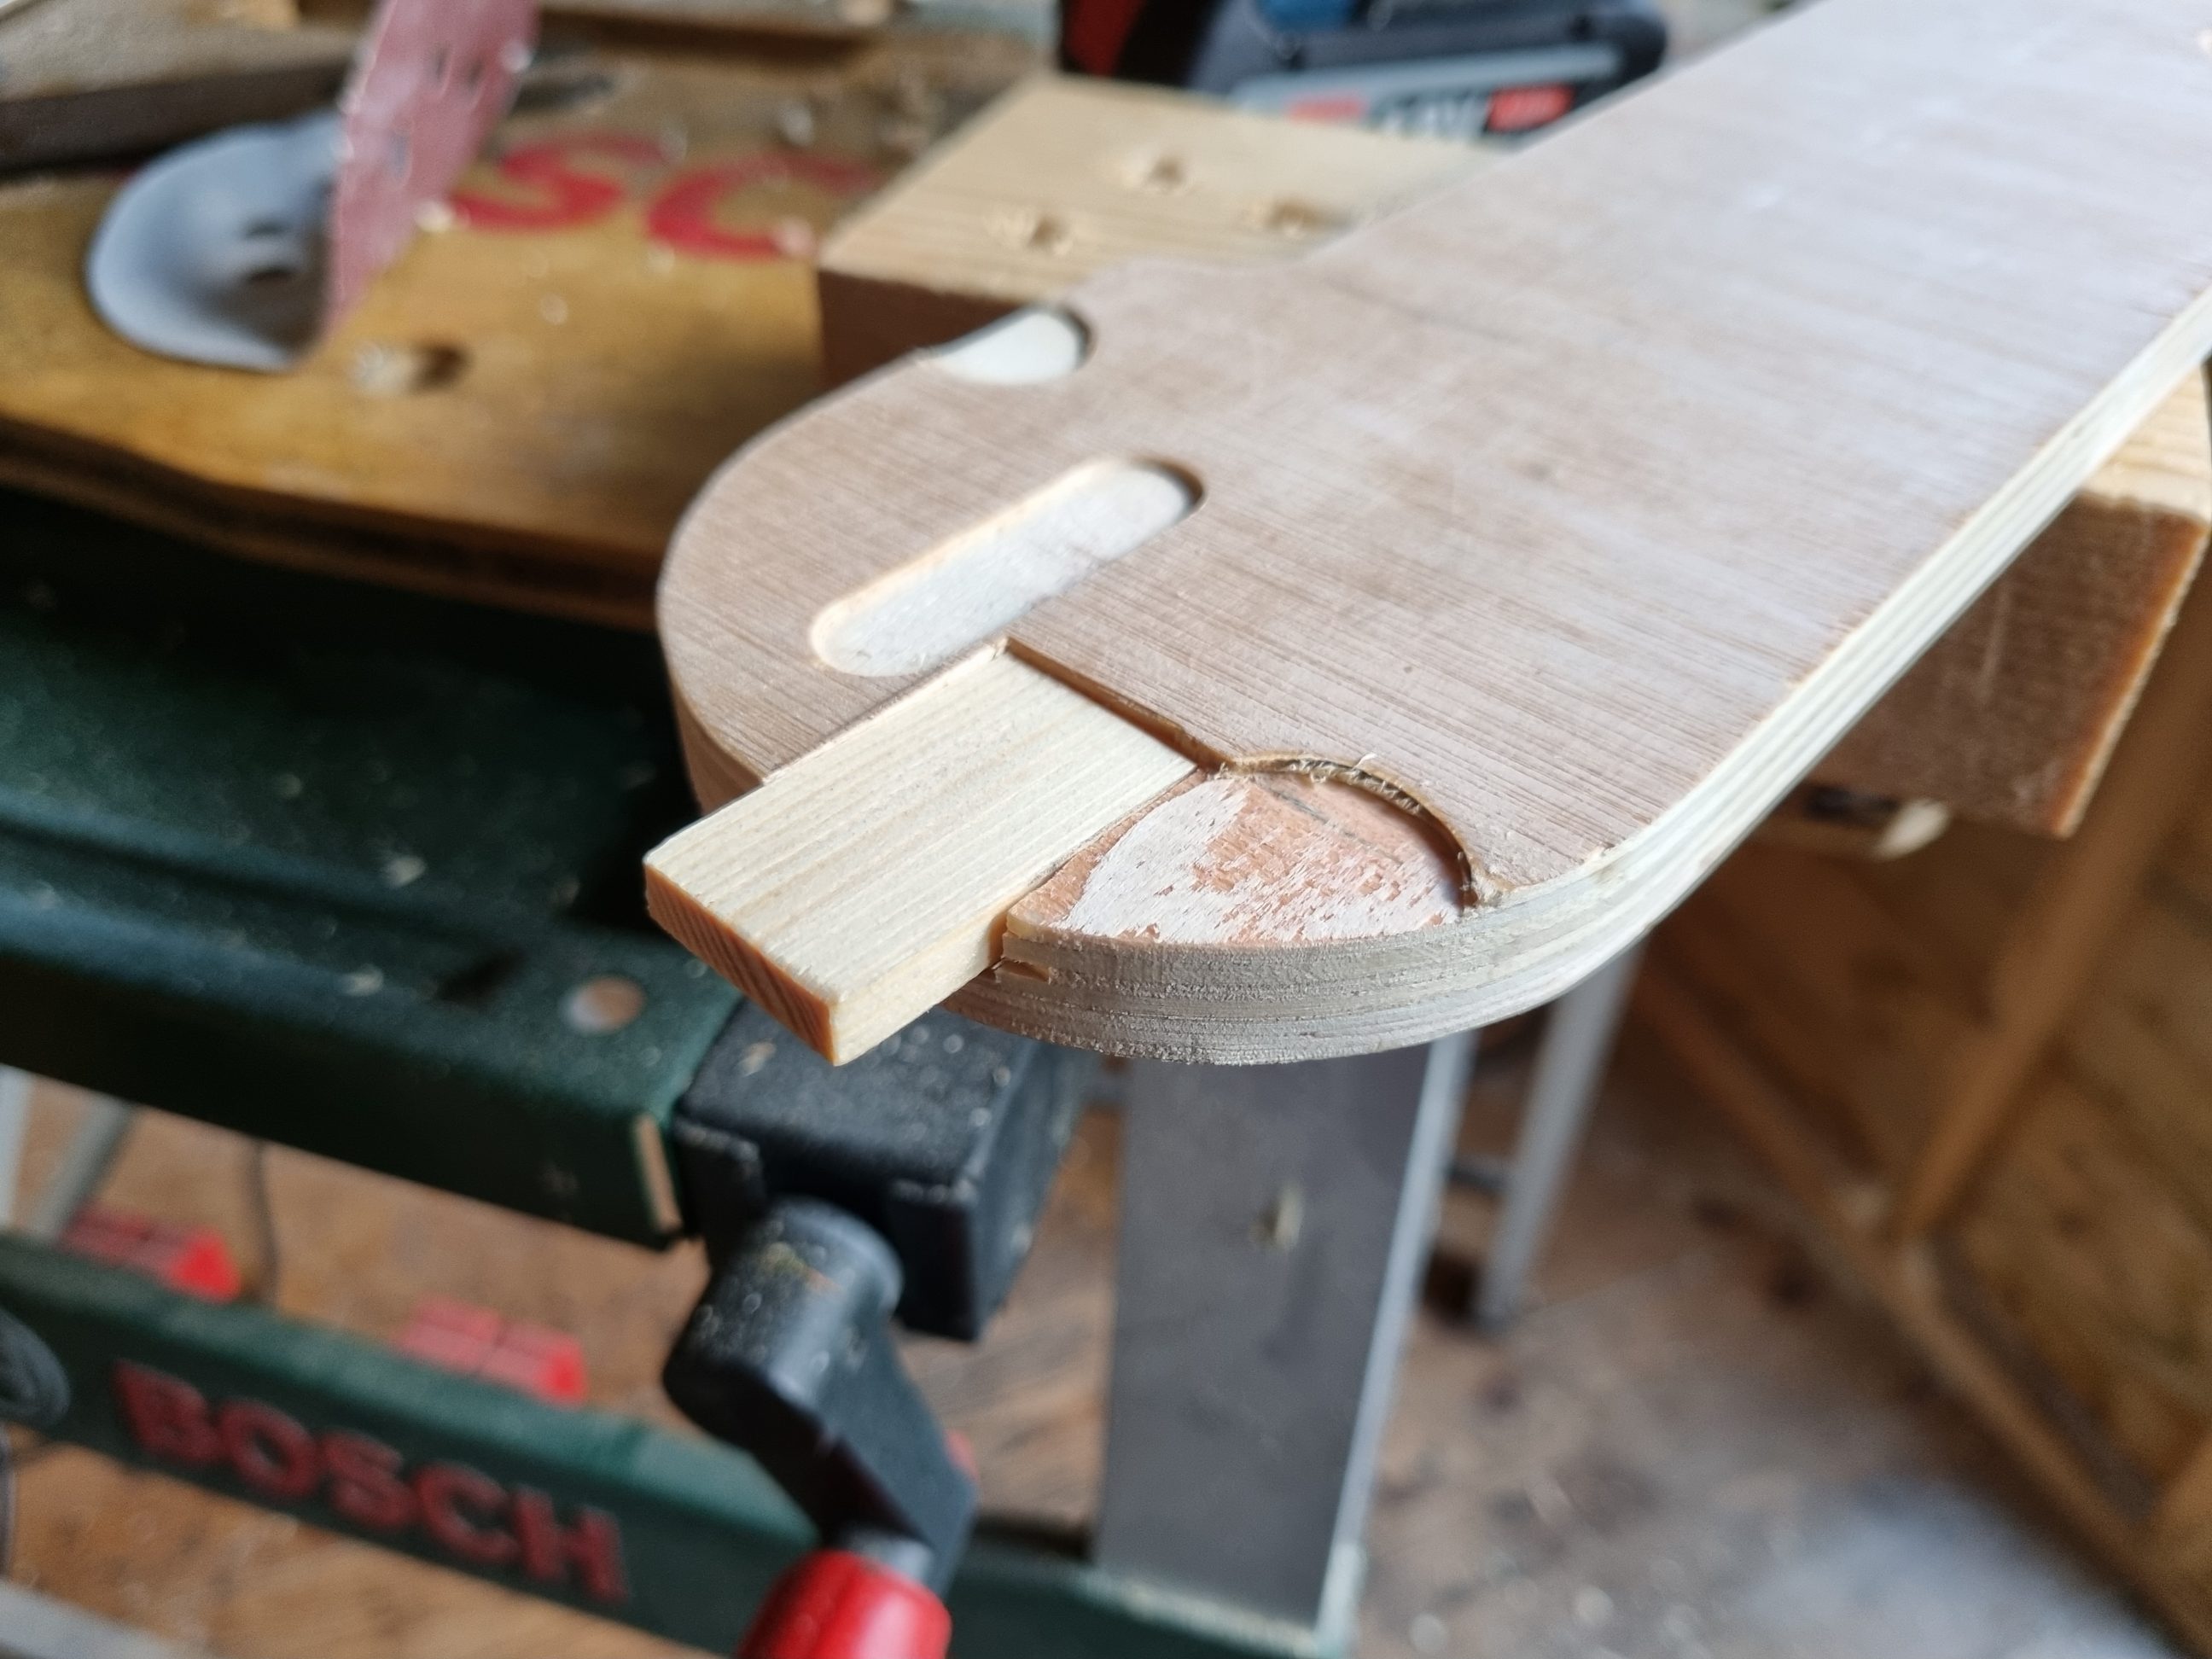
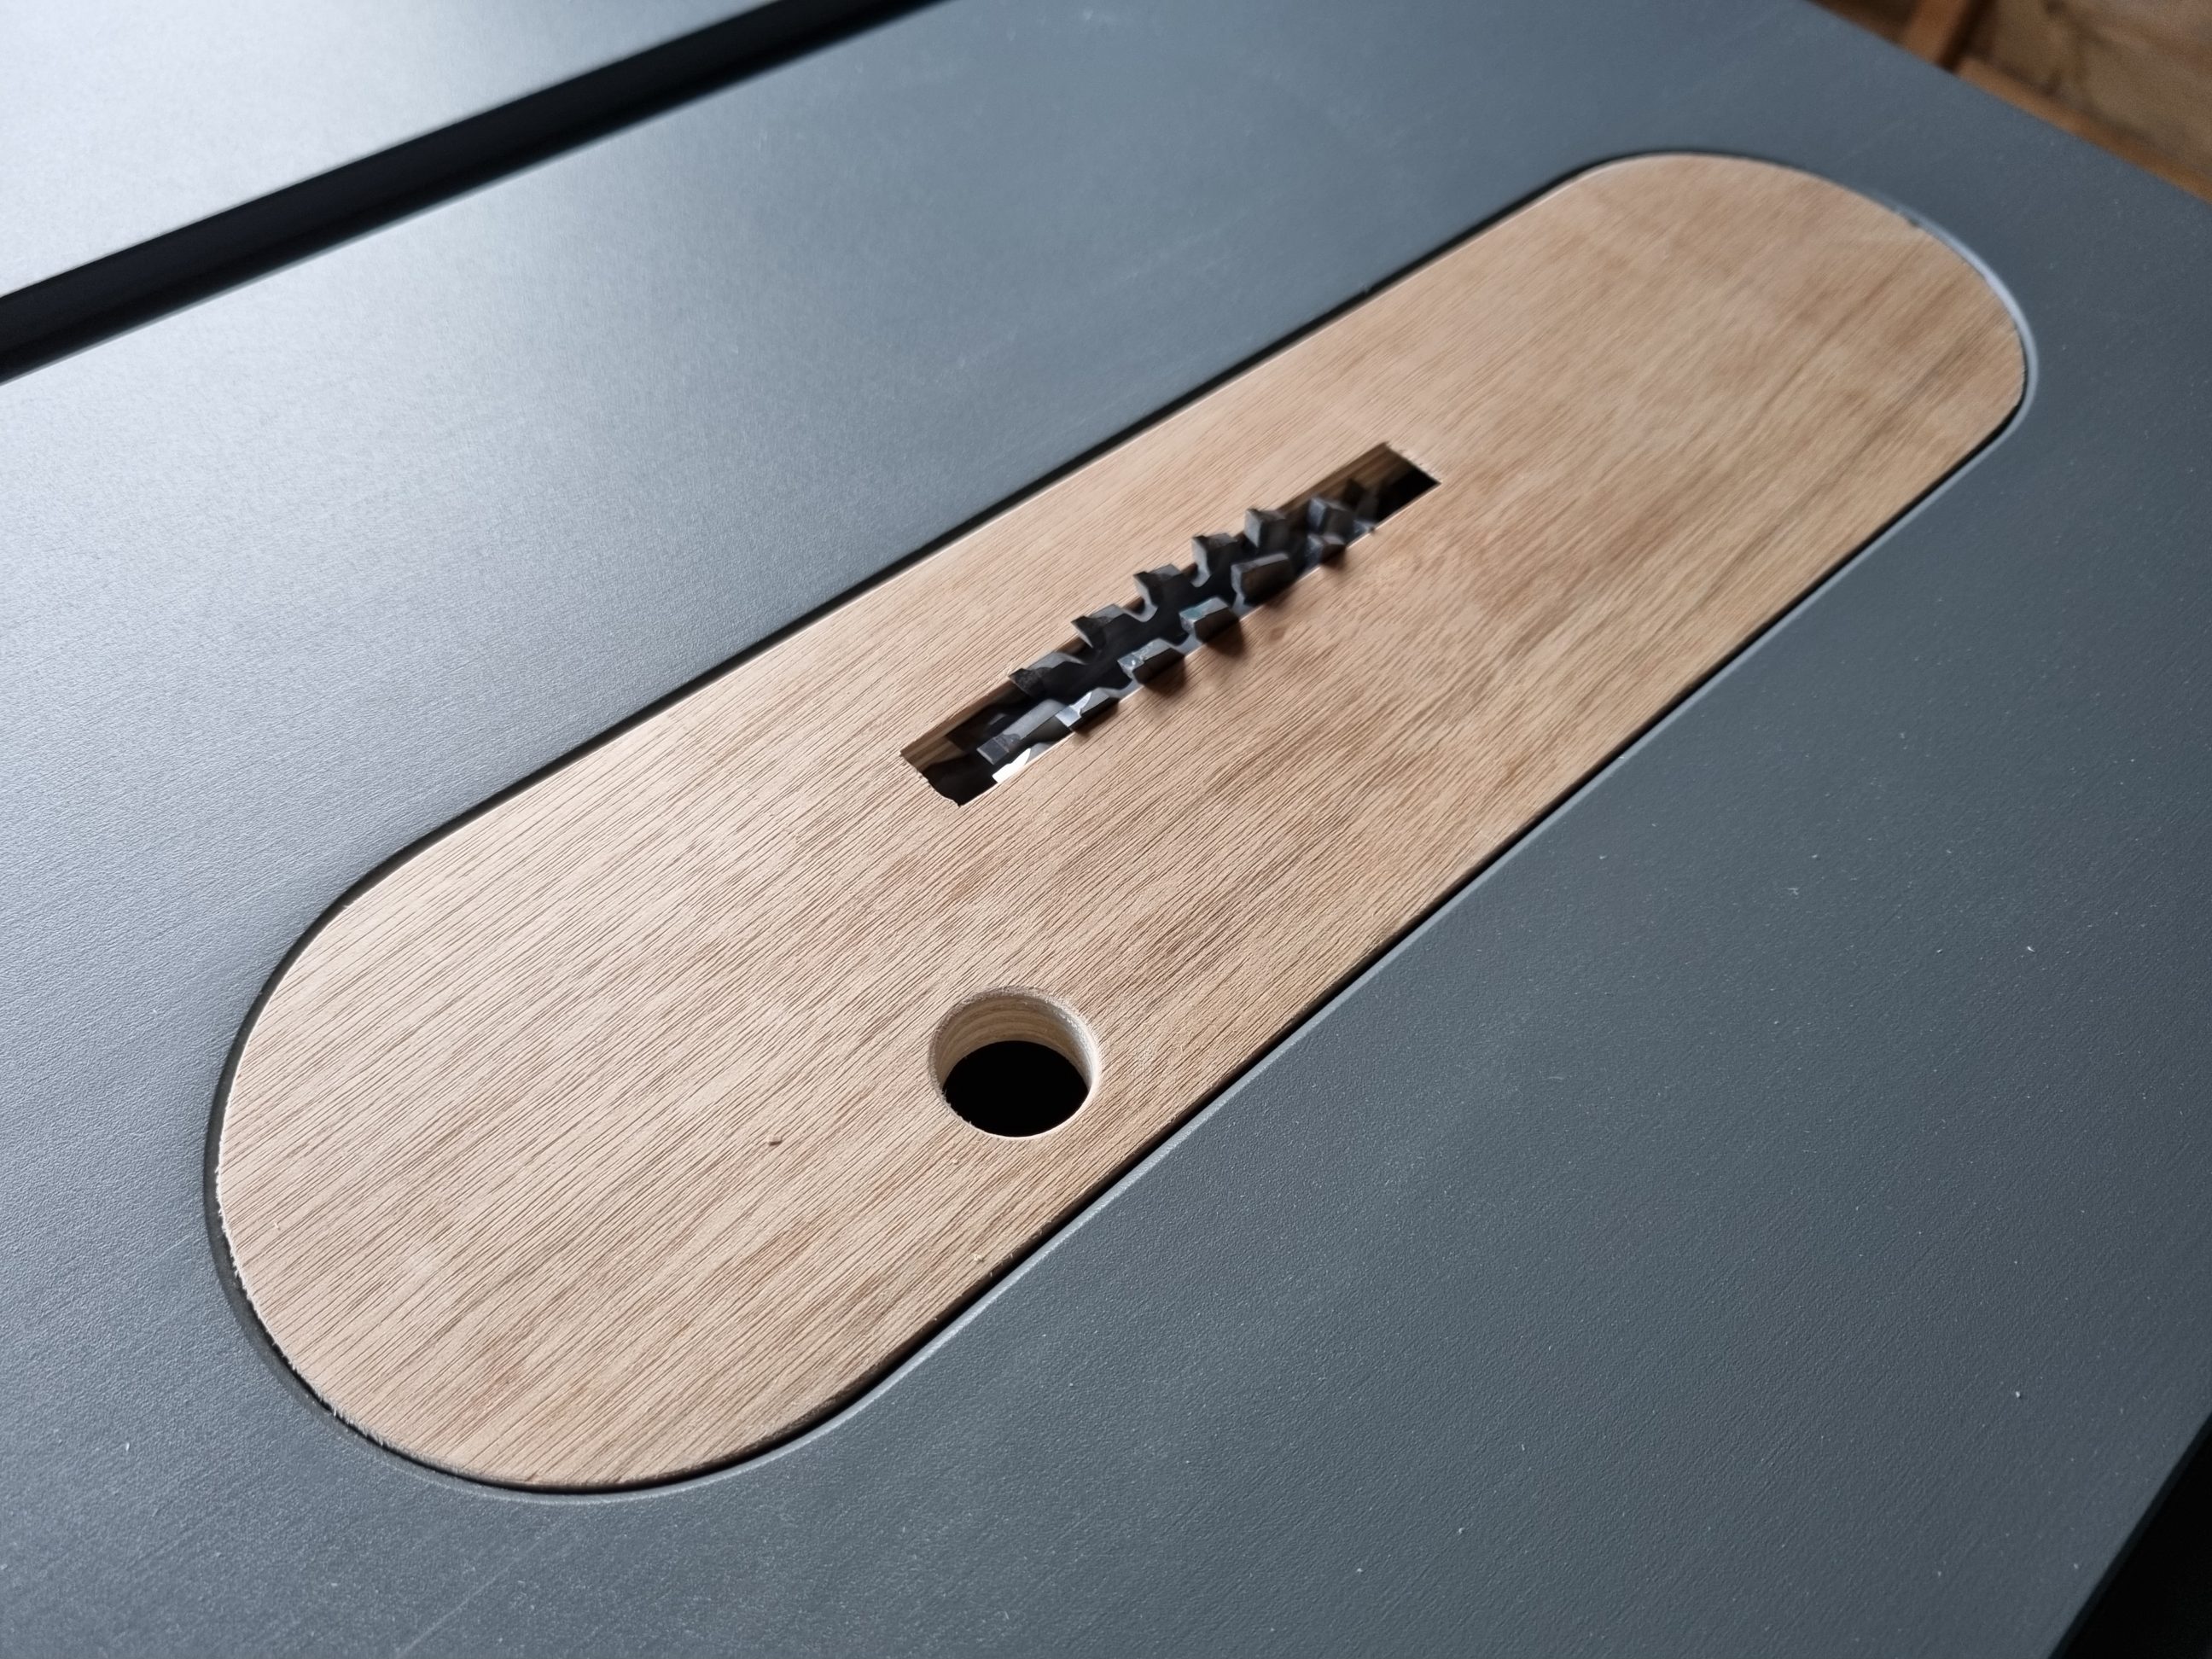
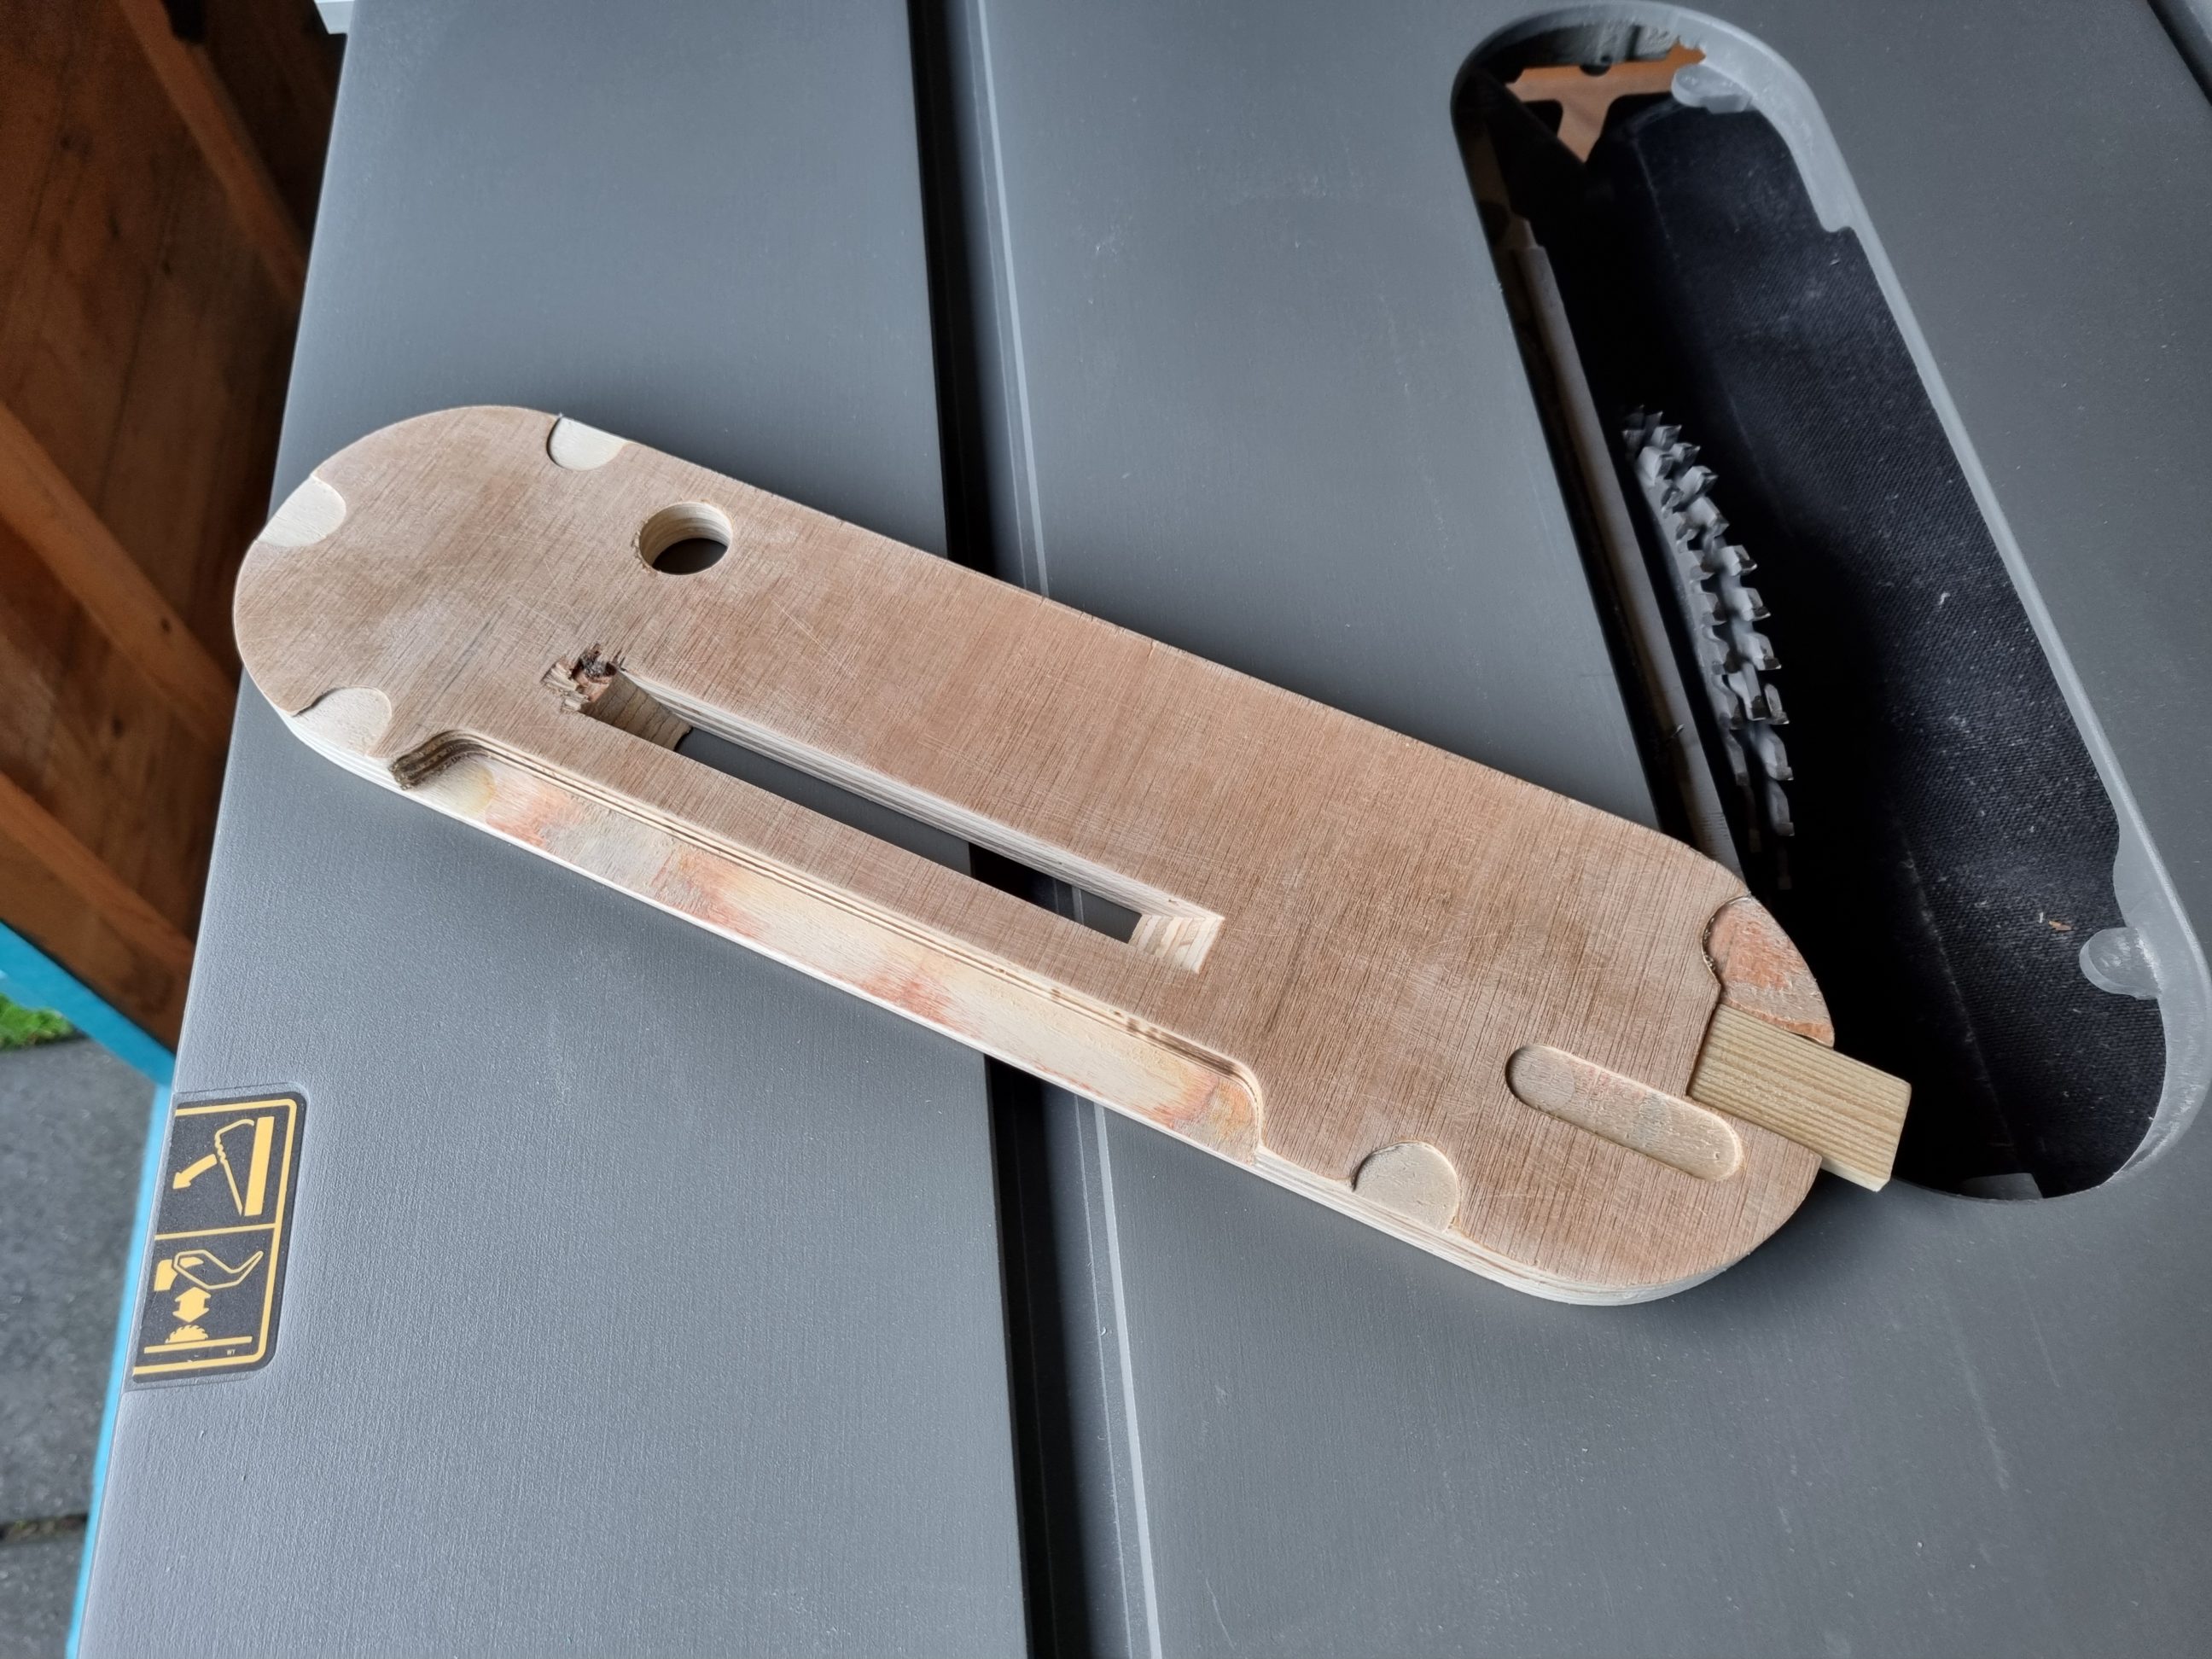
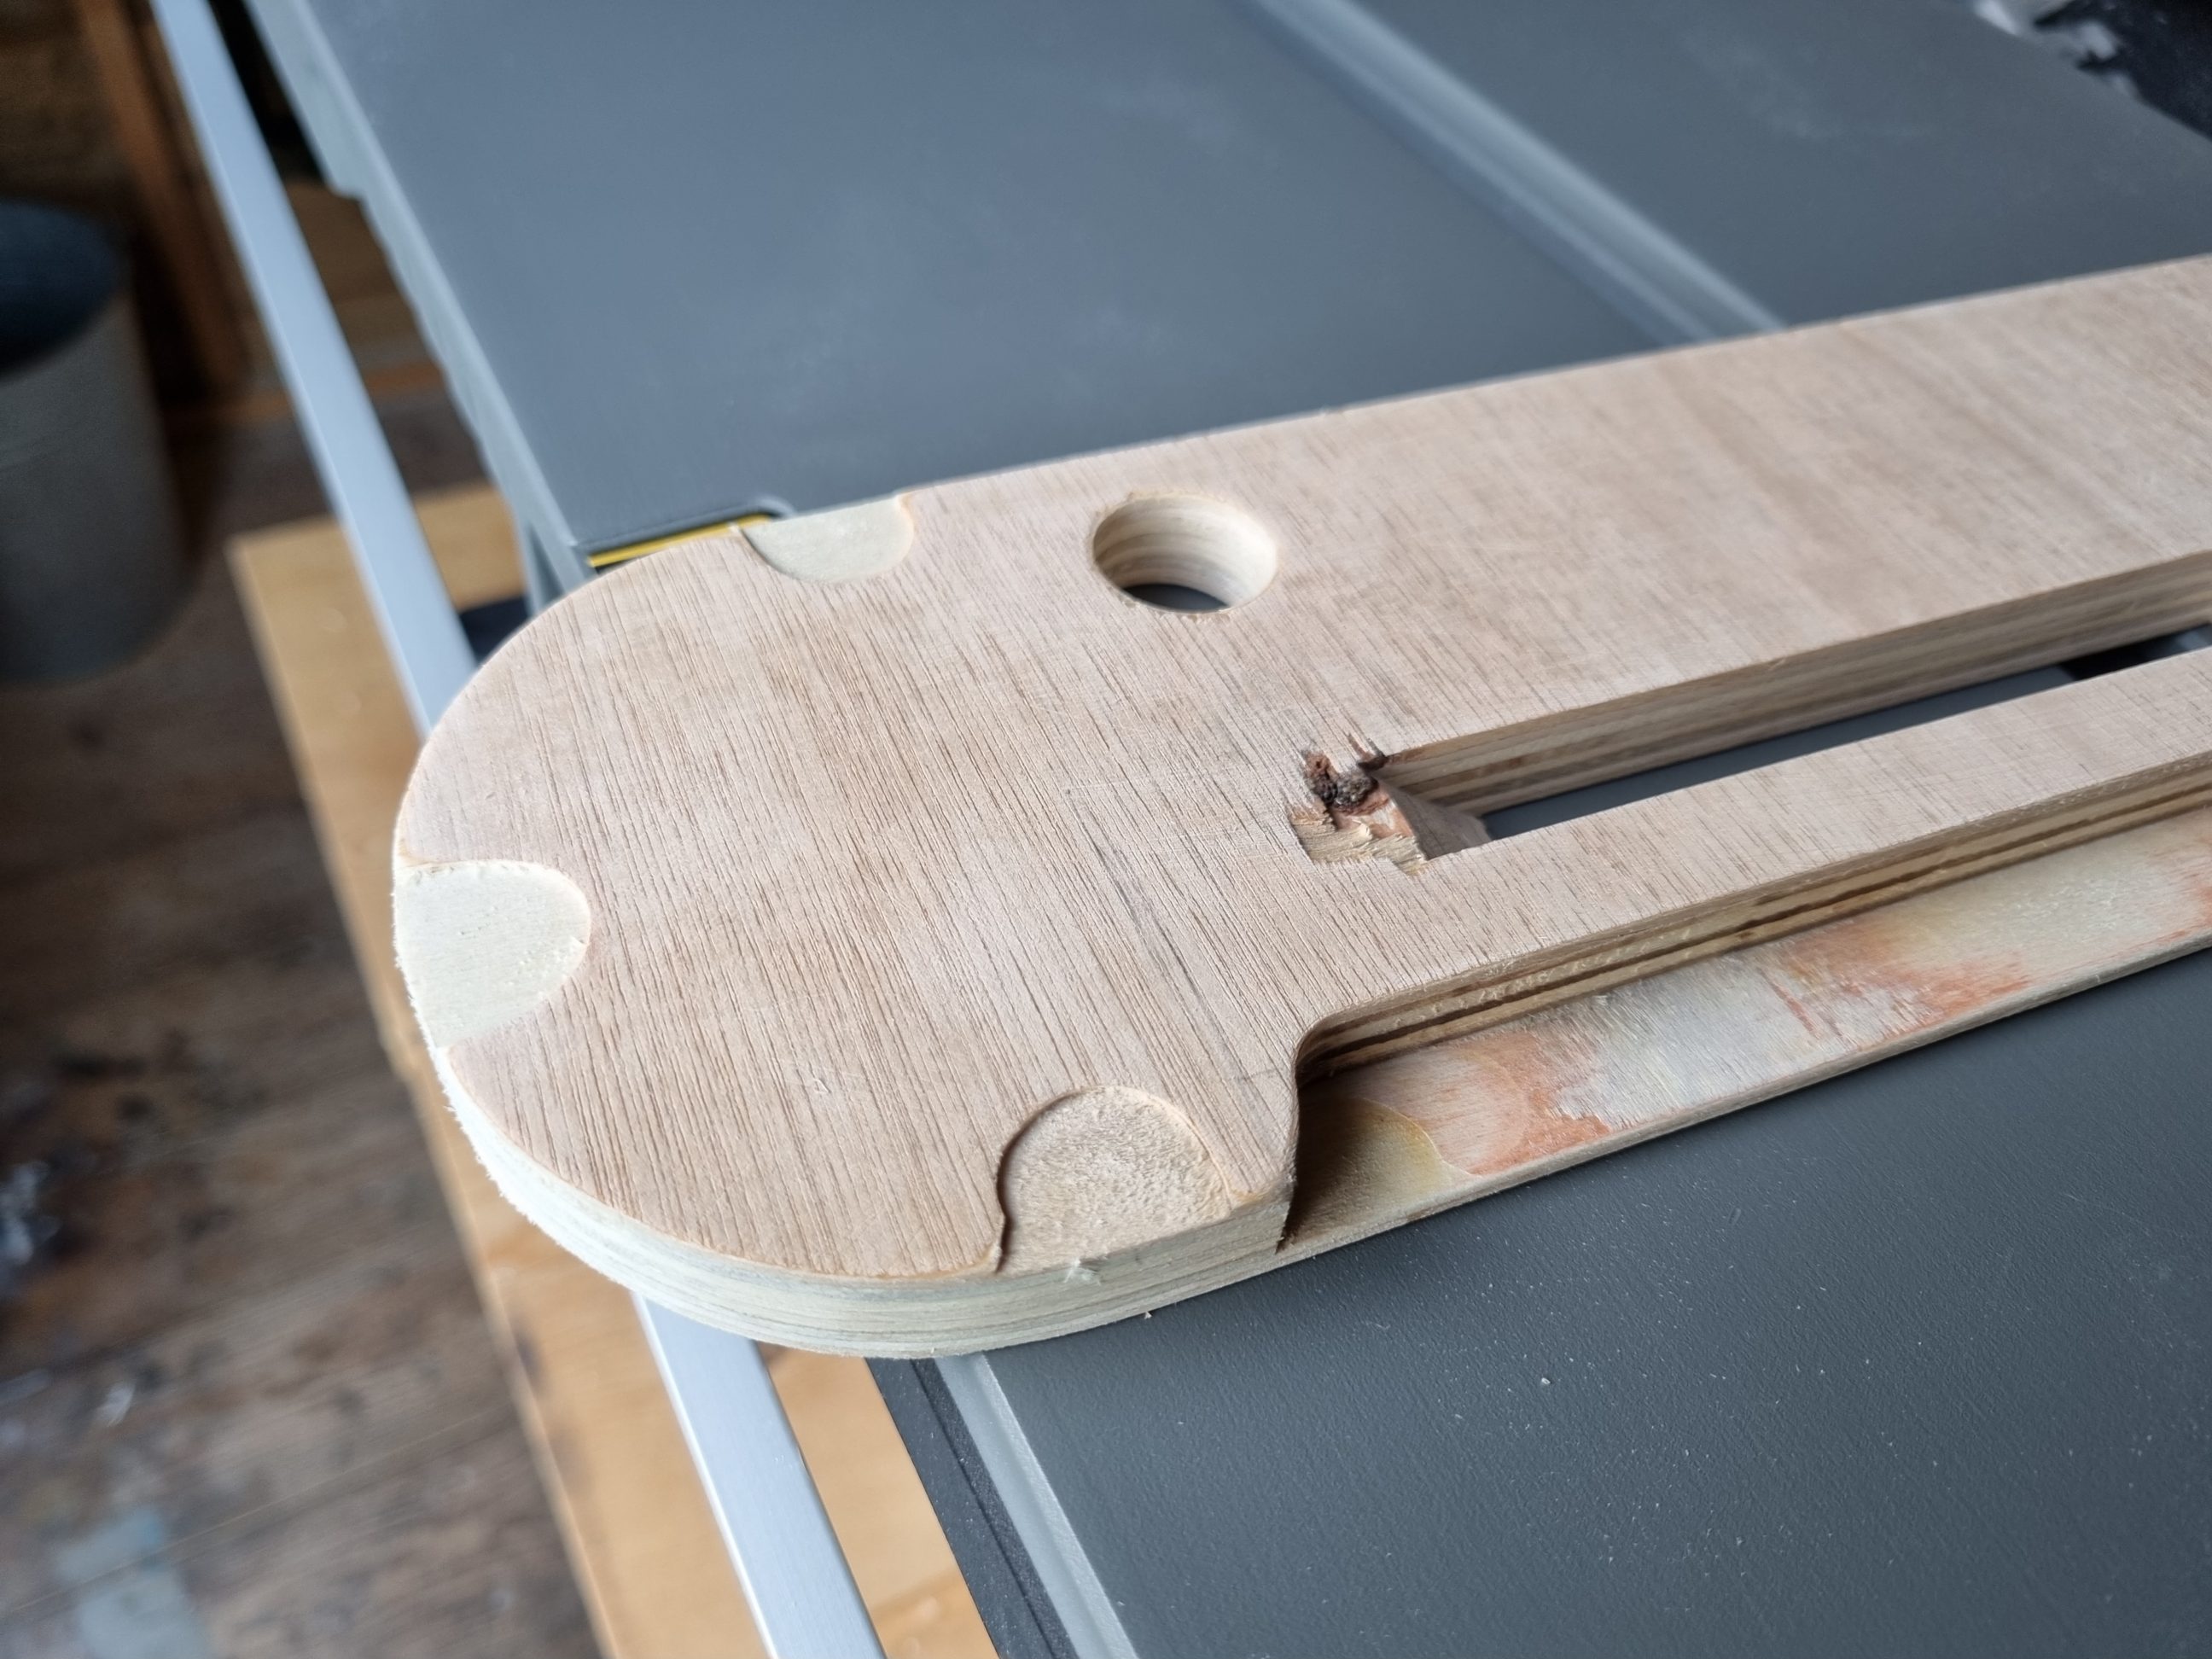
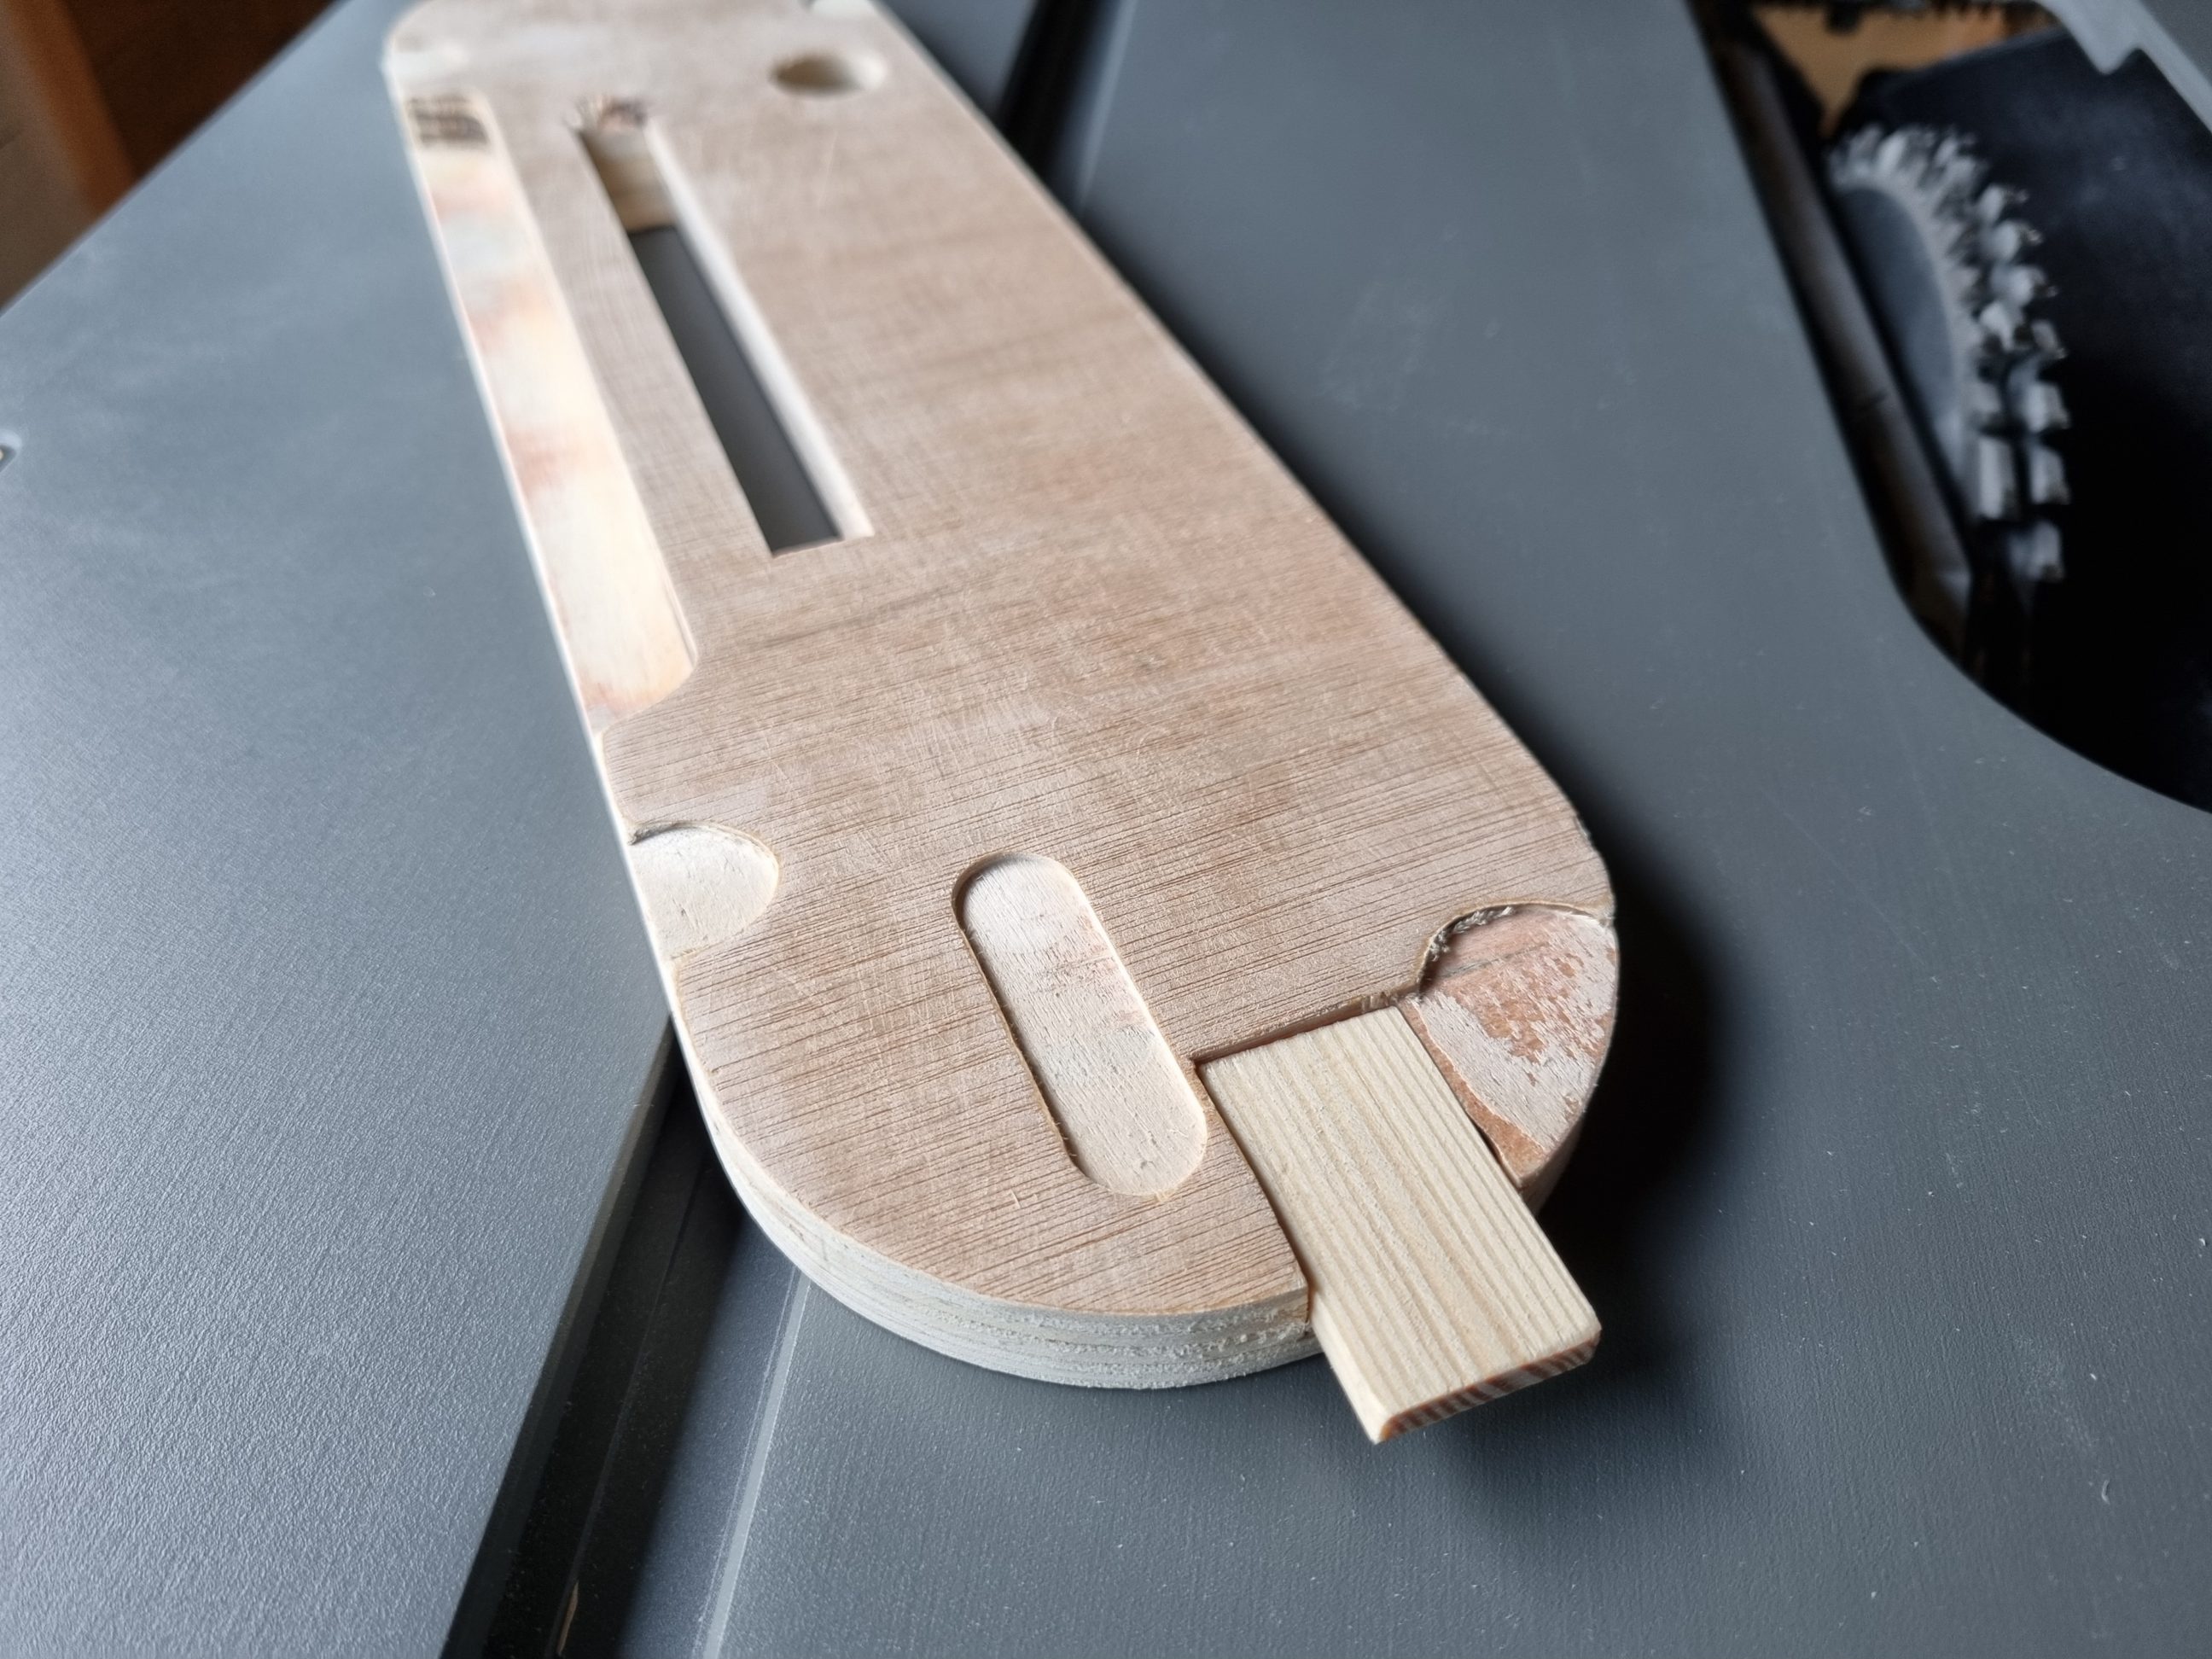
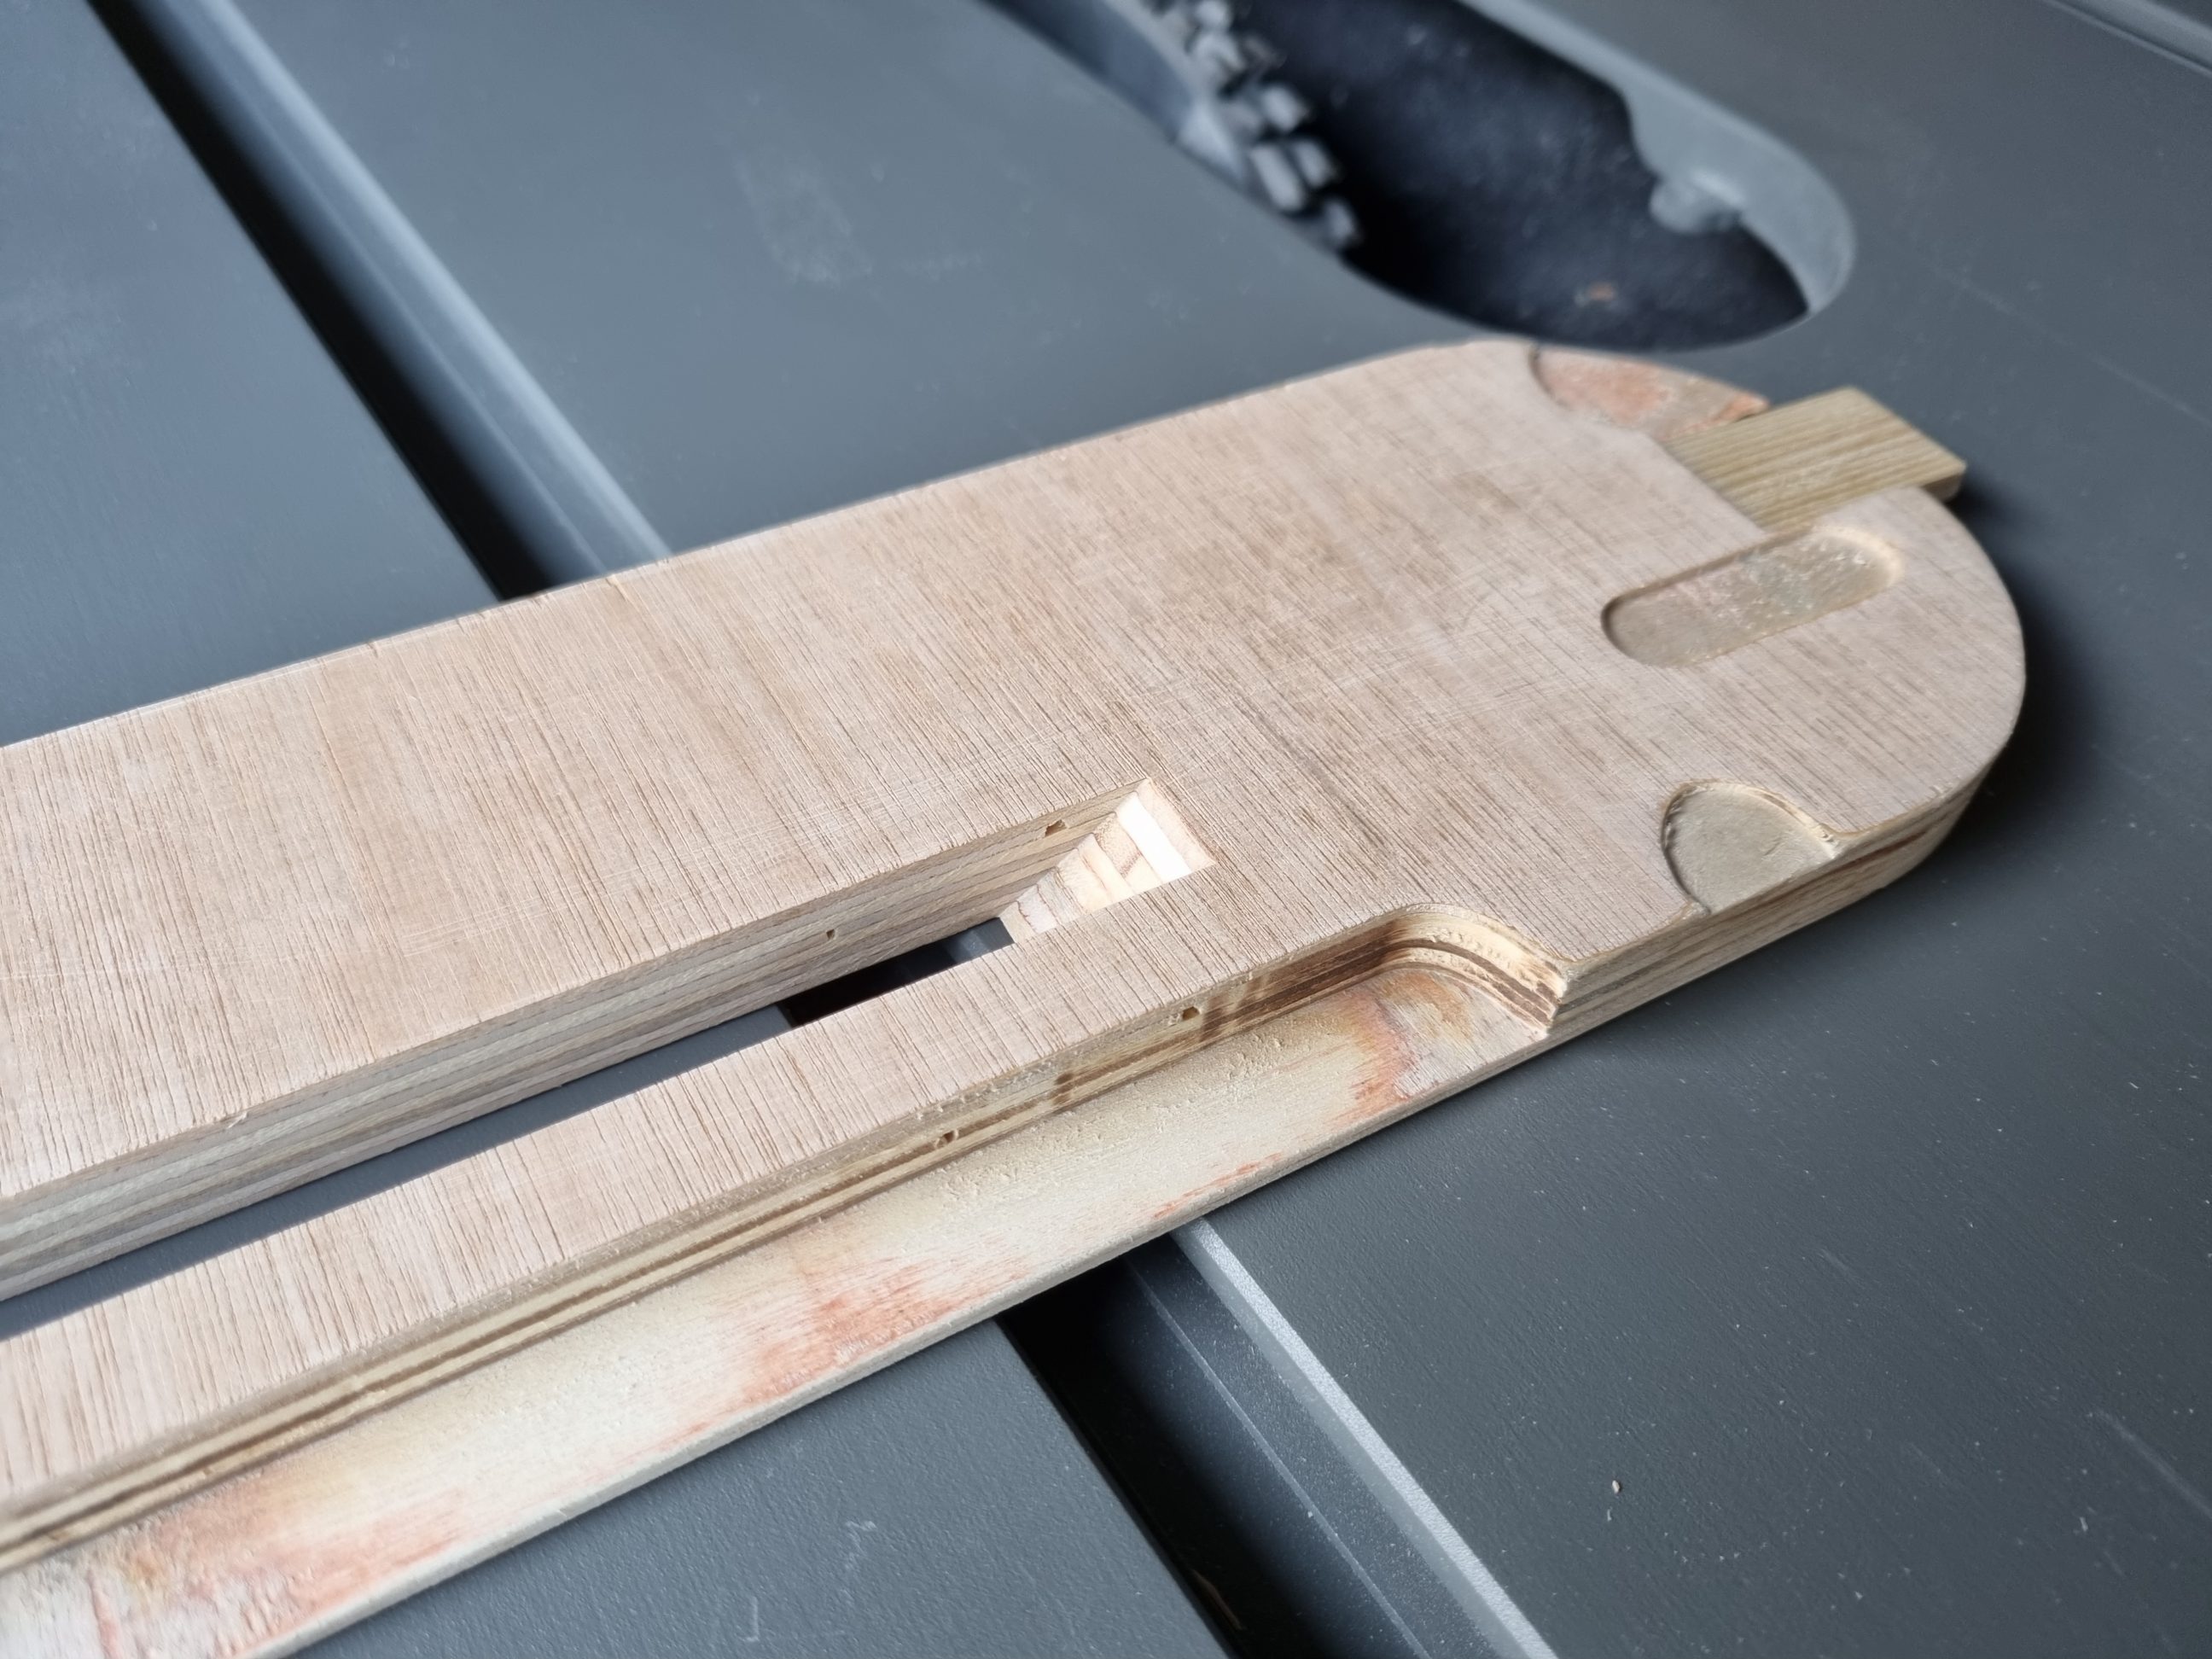
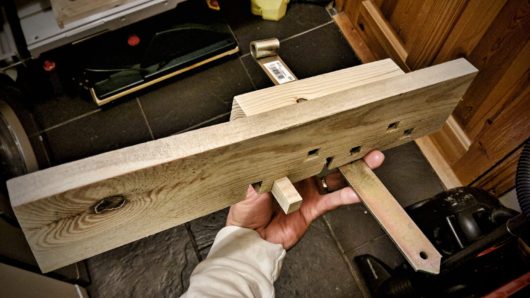
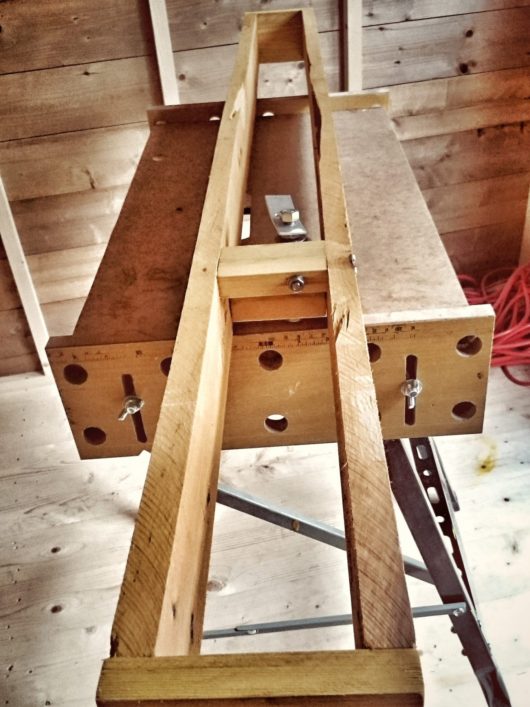
I initially attempted to cut the groove using a rebate bit while clamping the workpiece flush with the workbench. However, after two attempts, I realised that even the smallest bearing was too big to create a wide enough groove. Consequently, I switched to a straight bit and improvised a guide using a spanner and a few clamps. Additionally, I routed a shallow channel for a riving knife mounting fixture. Although this fixture only interfered with the plate in its most raised position and was unnecessary for regular use, I decided to cut a channel anyway. To prevent the plate from lifting and shooting towards the operator, when in contact with the blade, I used a router and a chisel to create a nest for the back tab. At this point removing the plate became challenging, therefore I also drilled a 20 mm finger hole for easier removal.
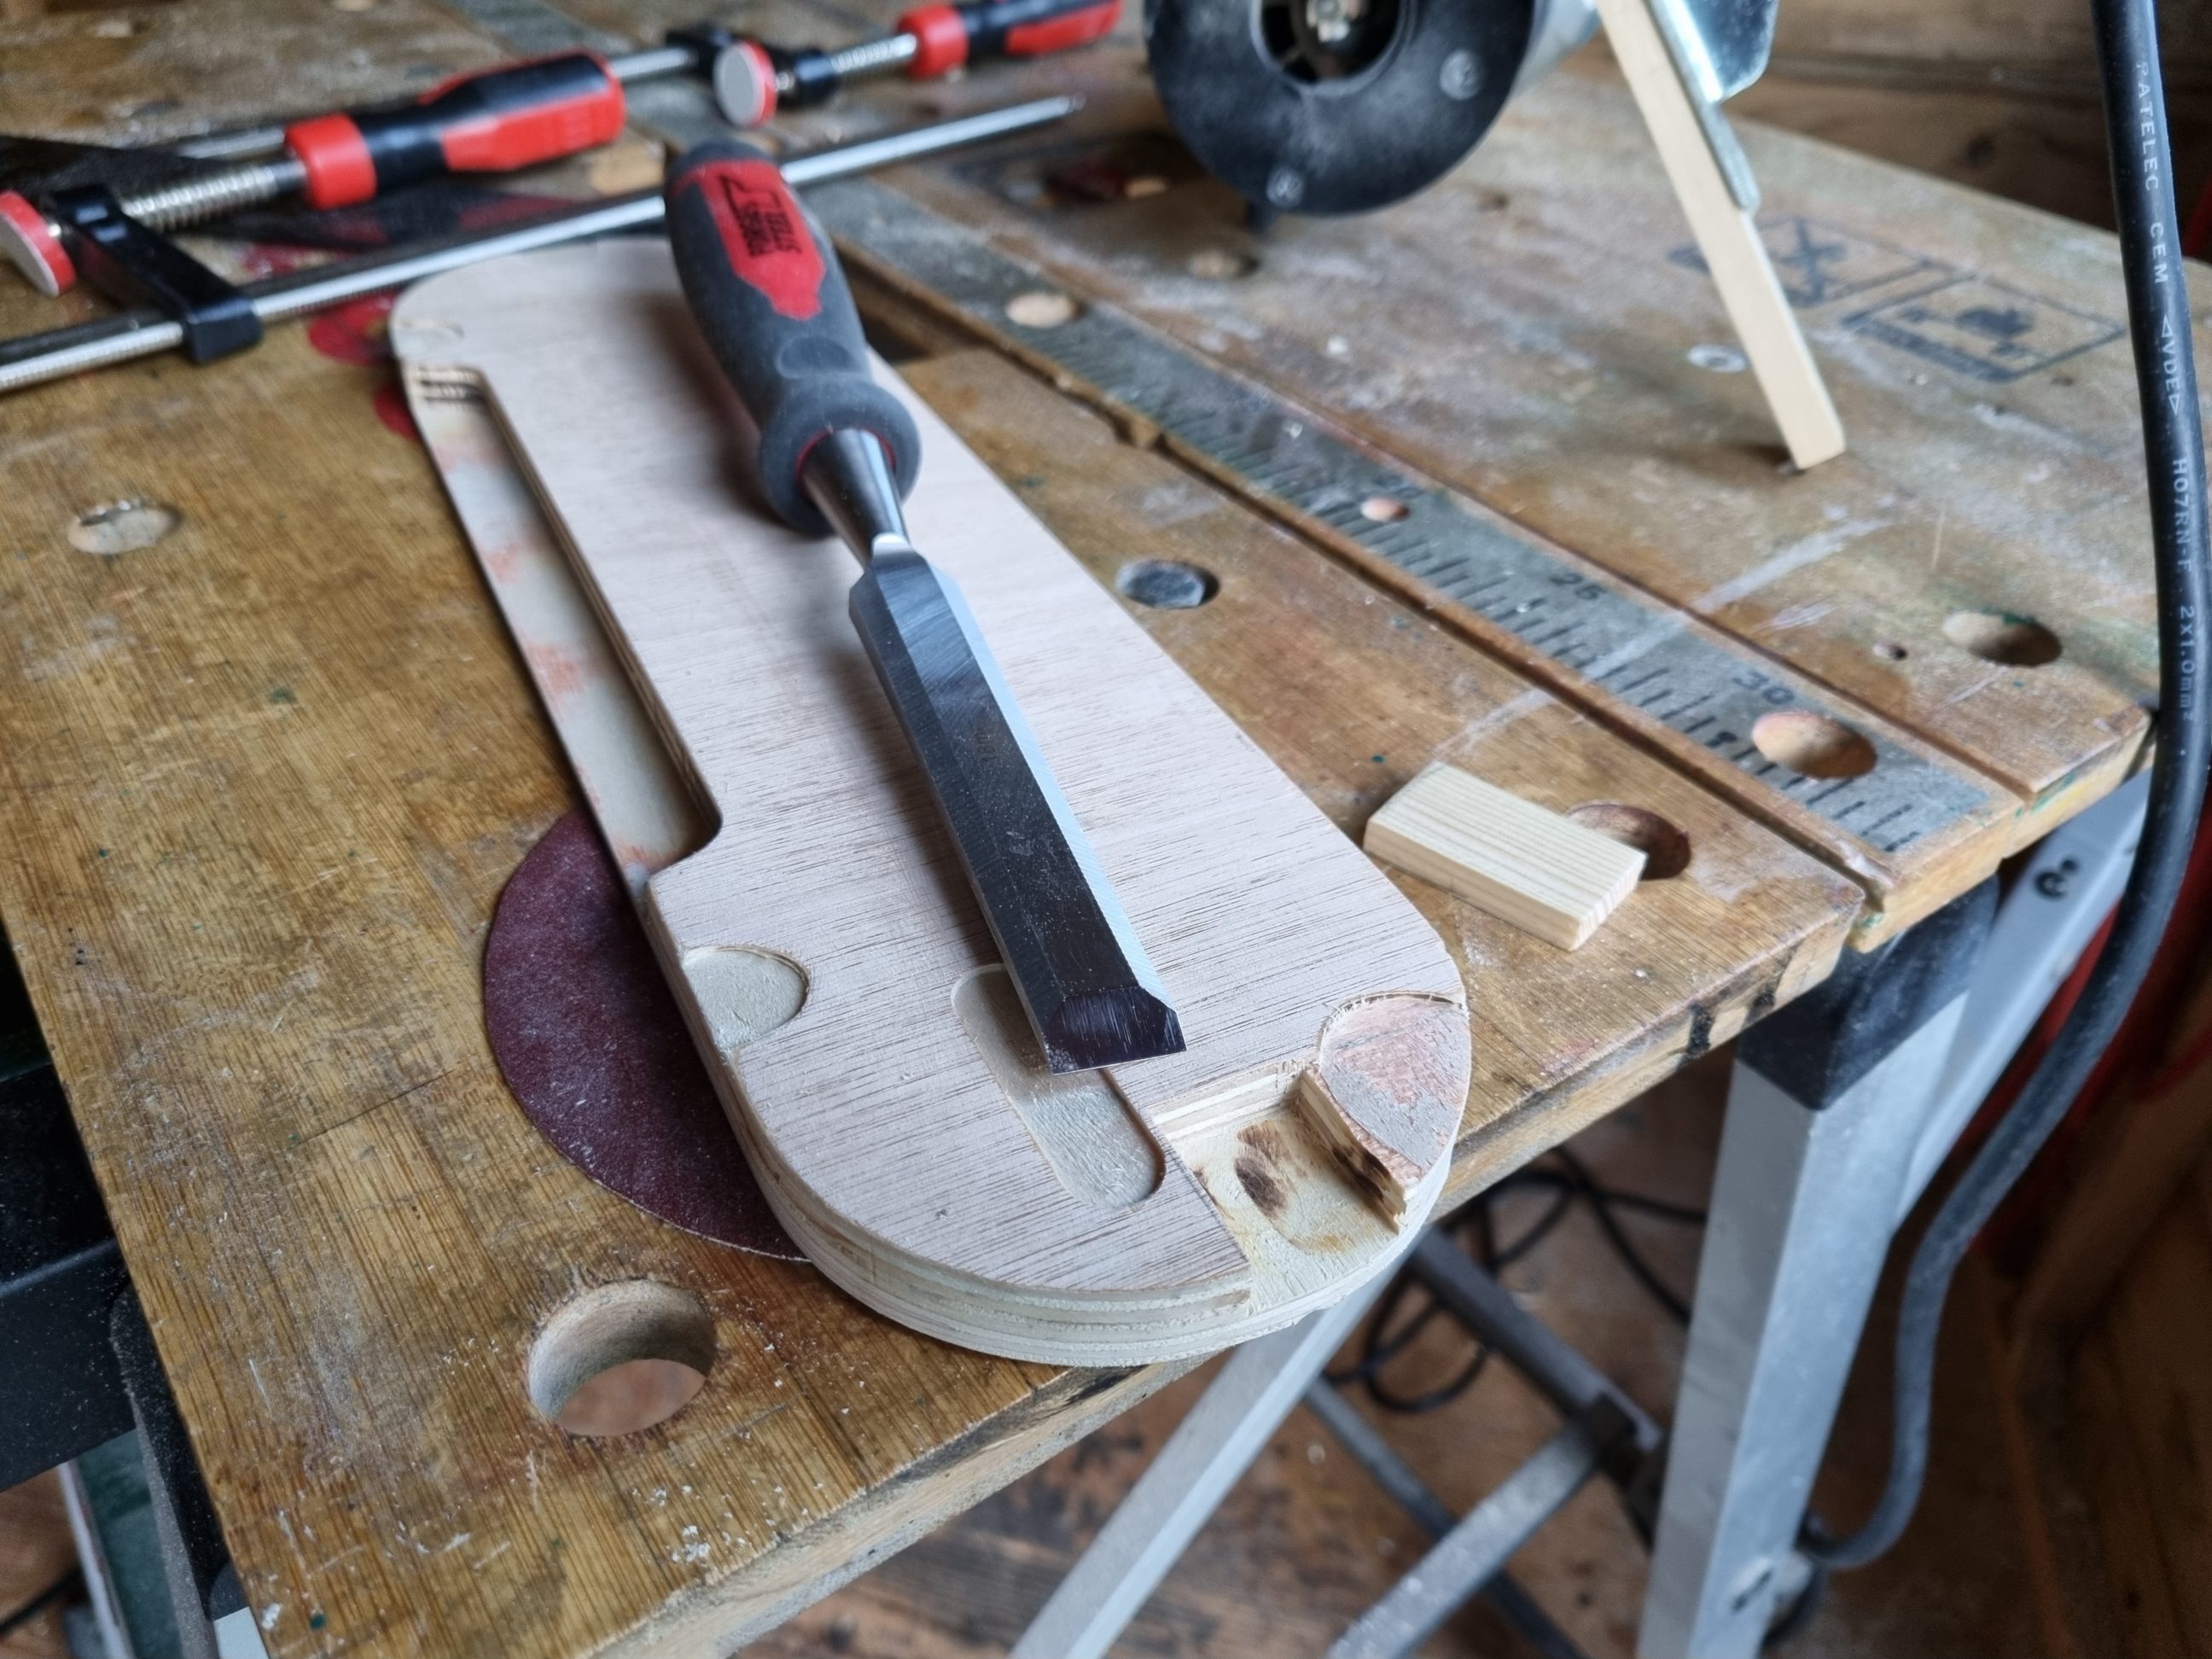
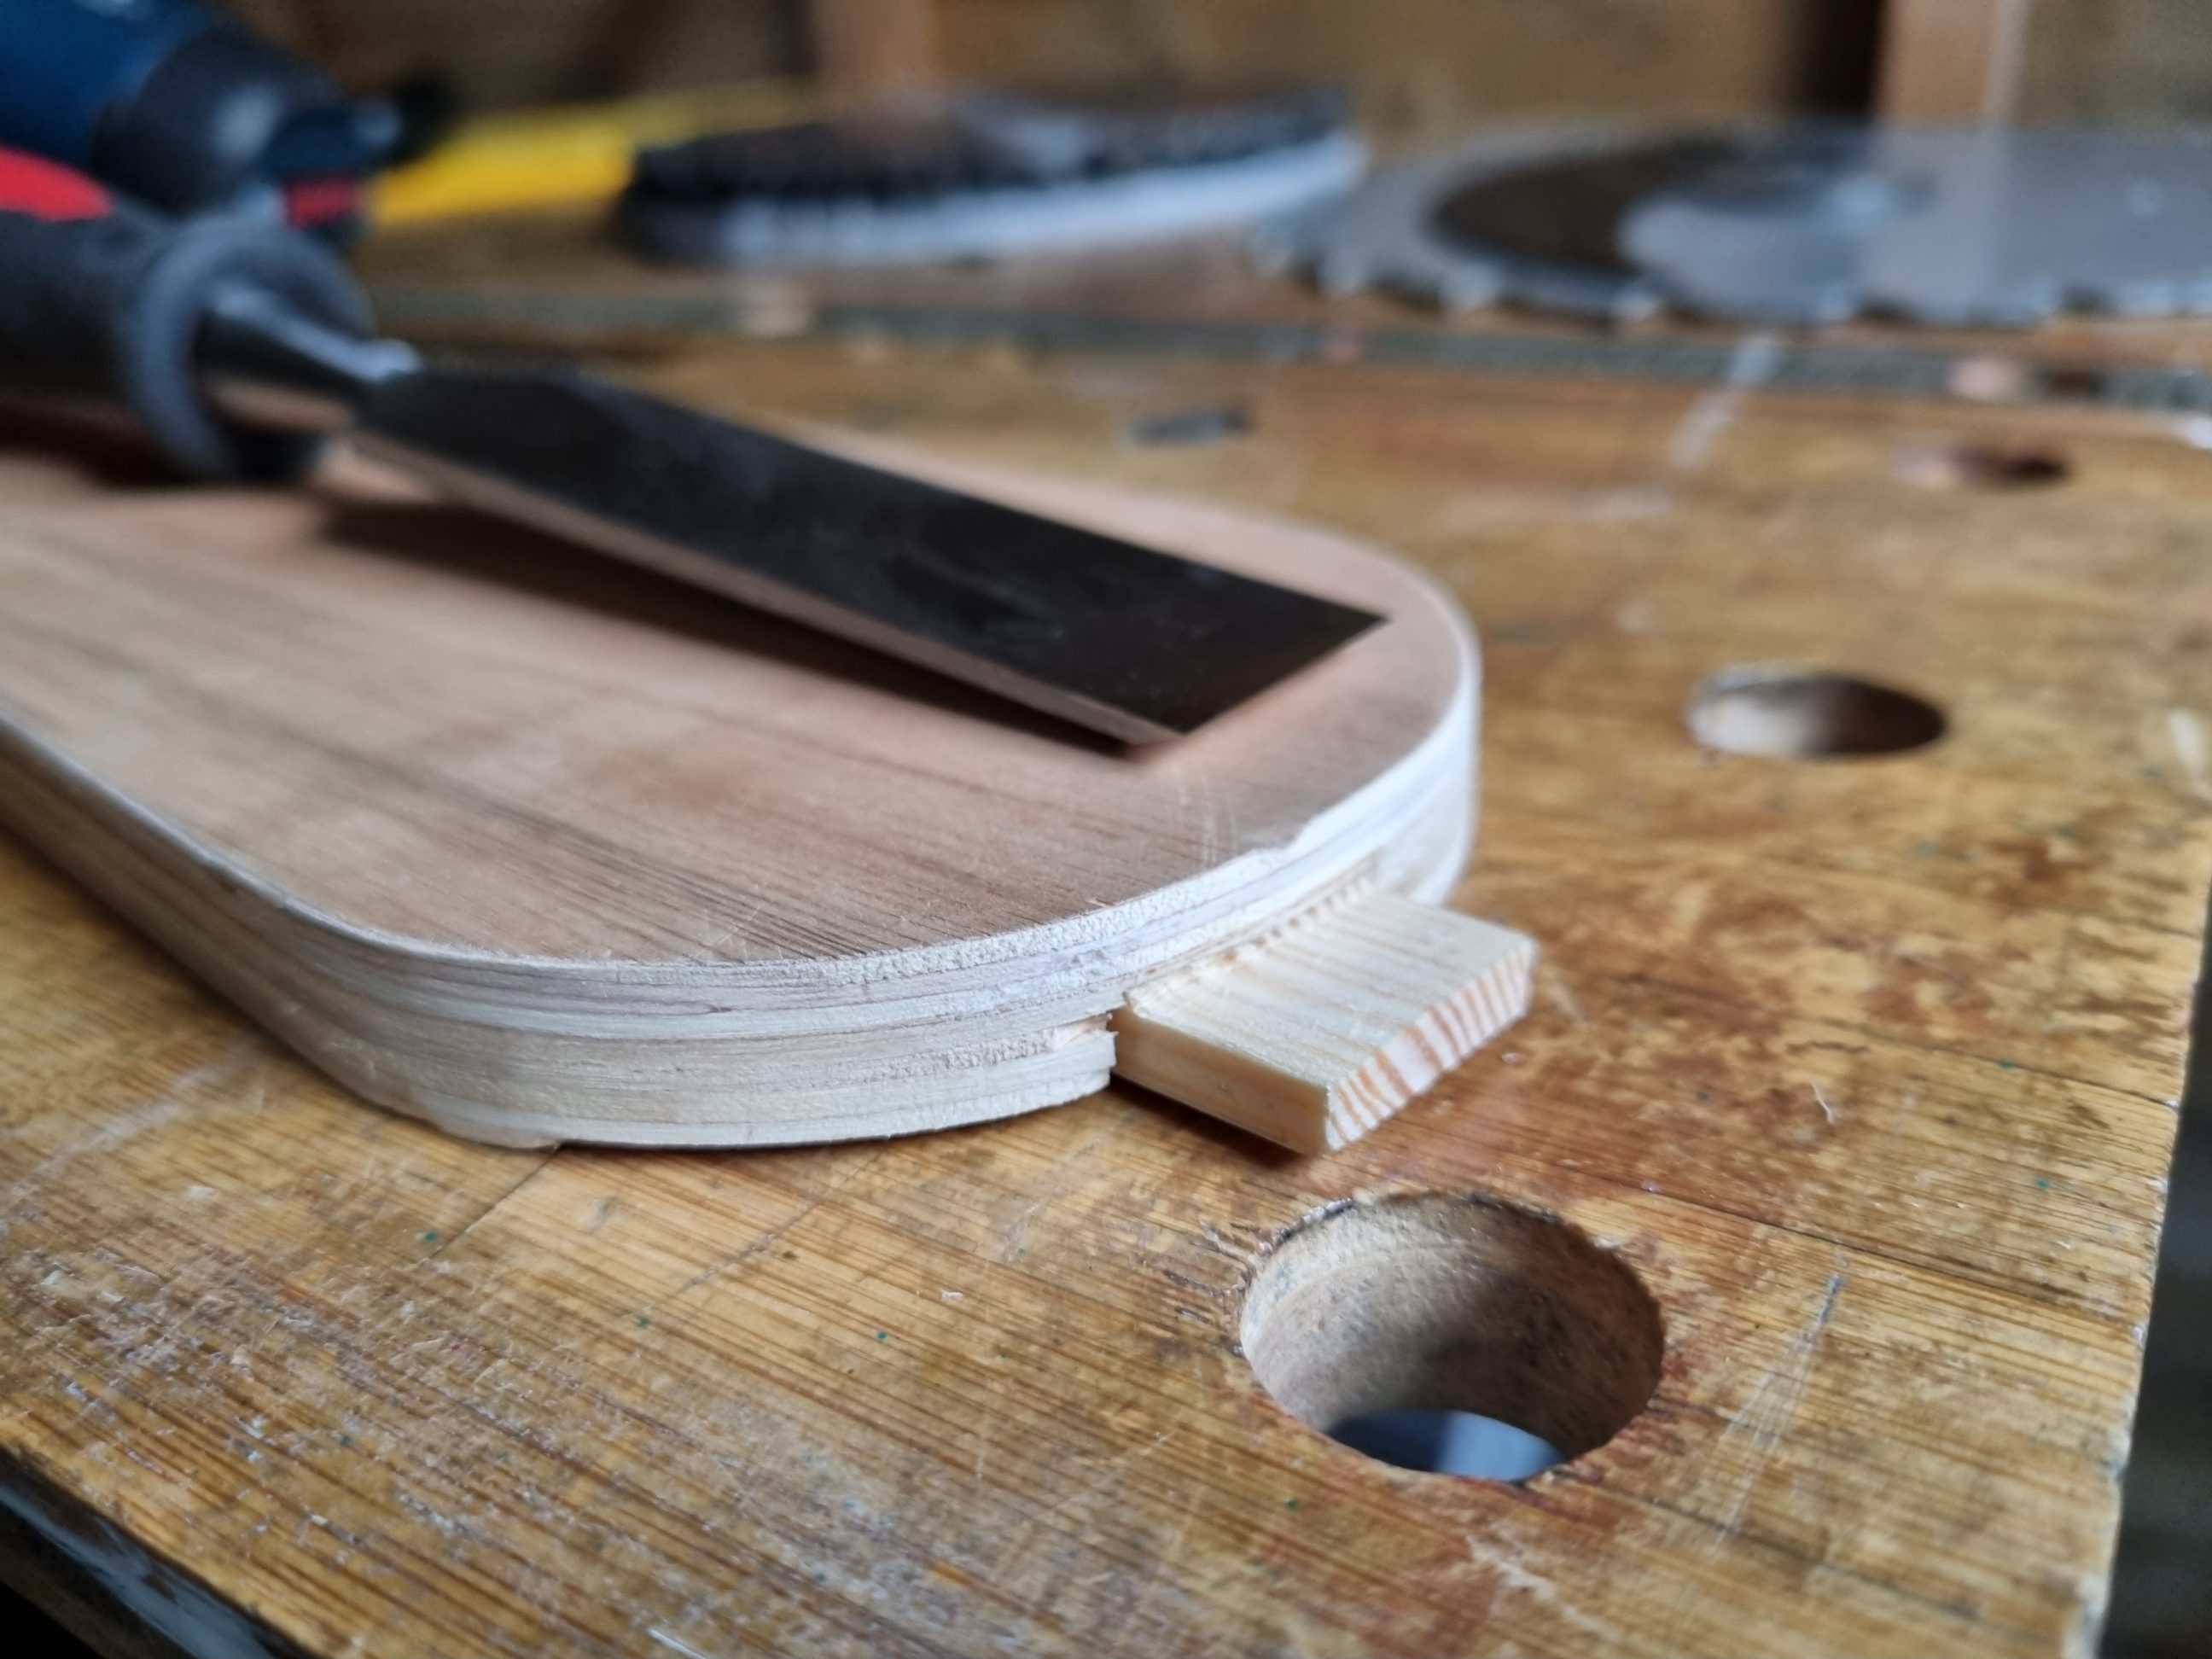
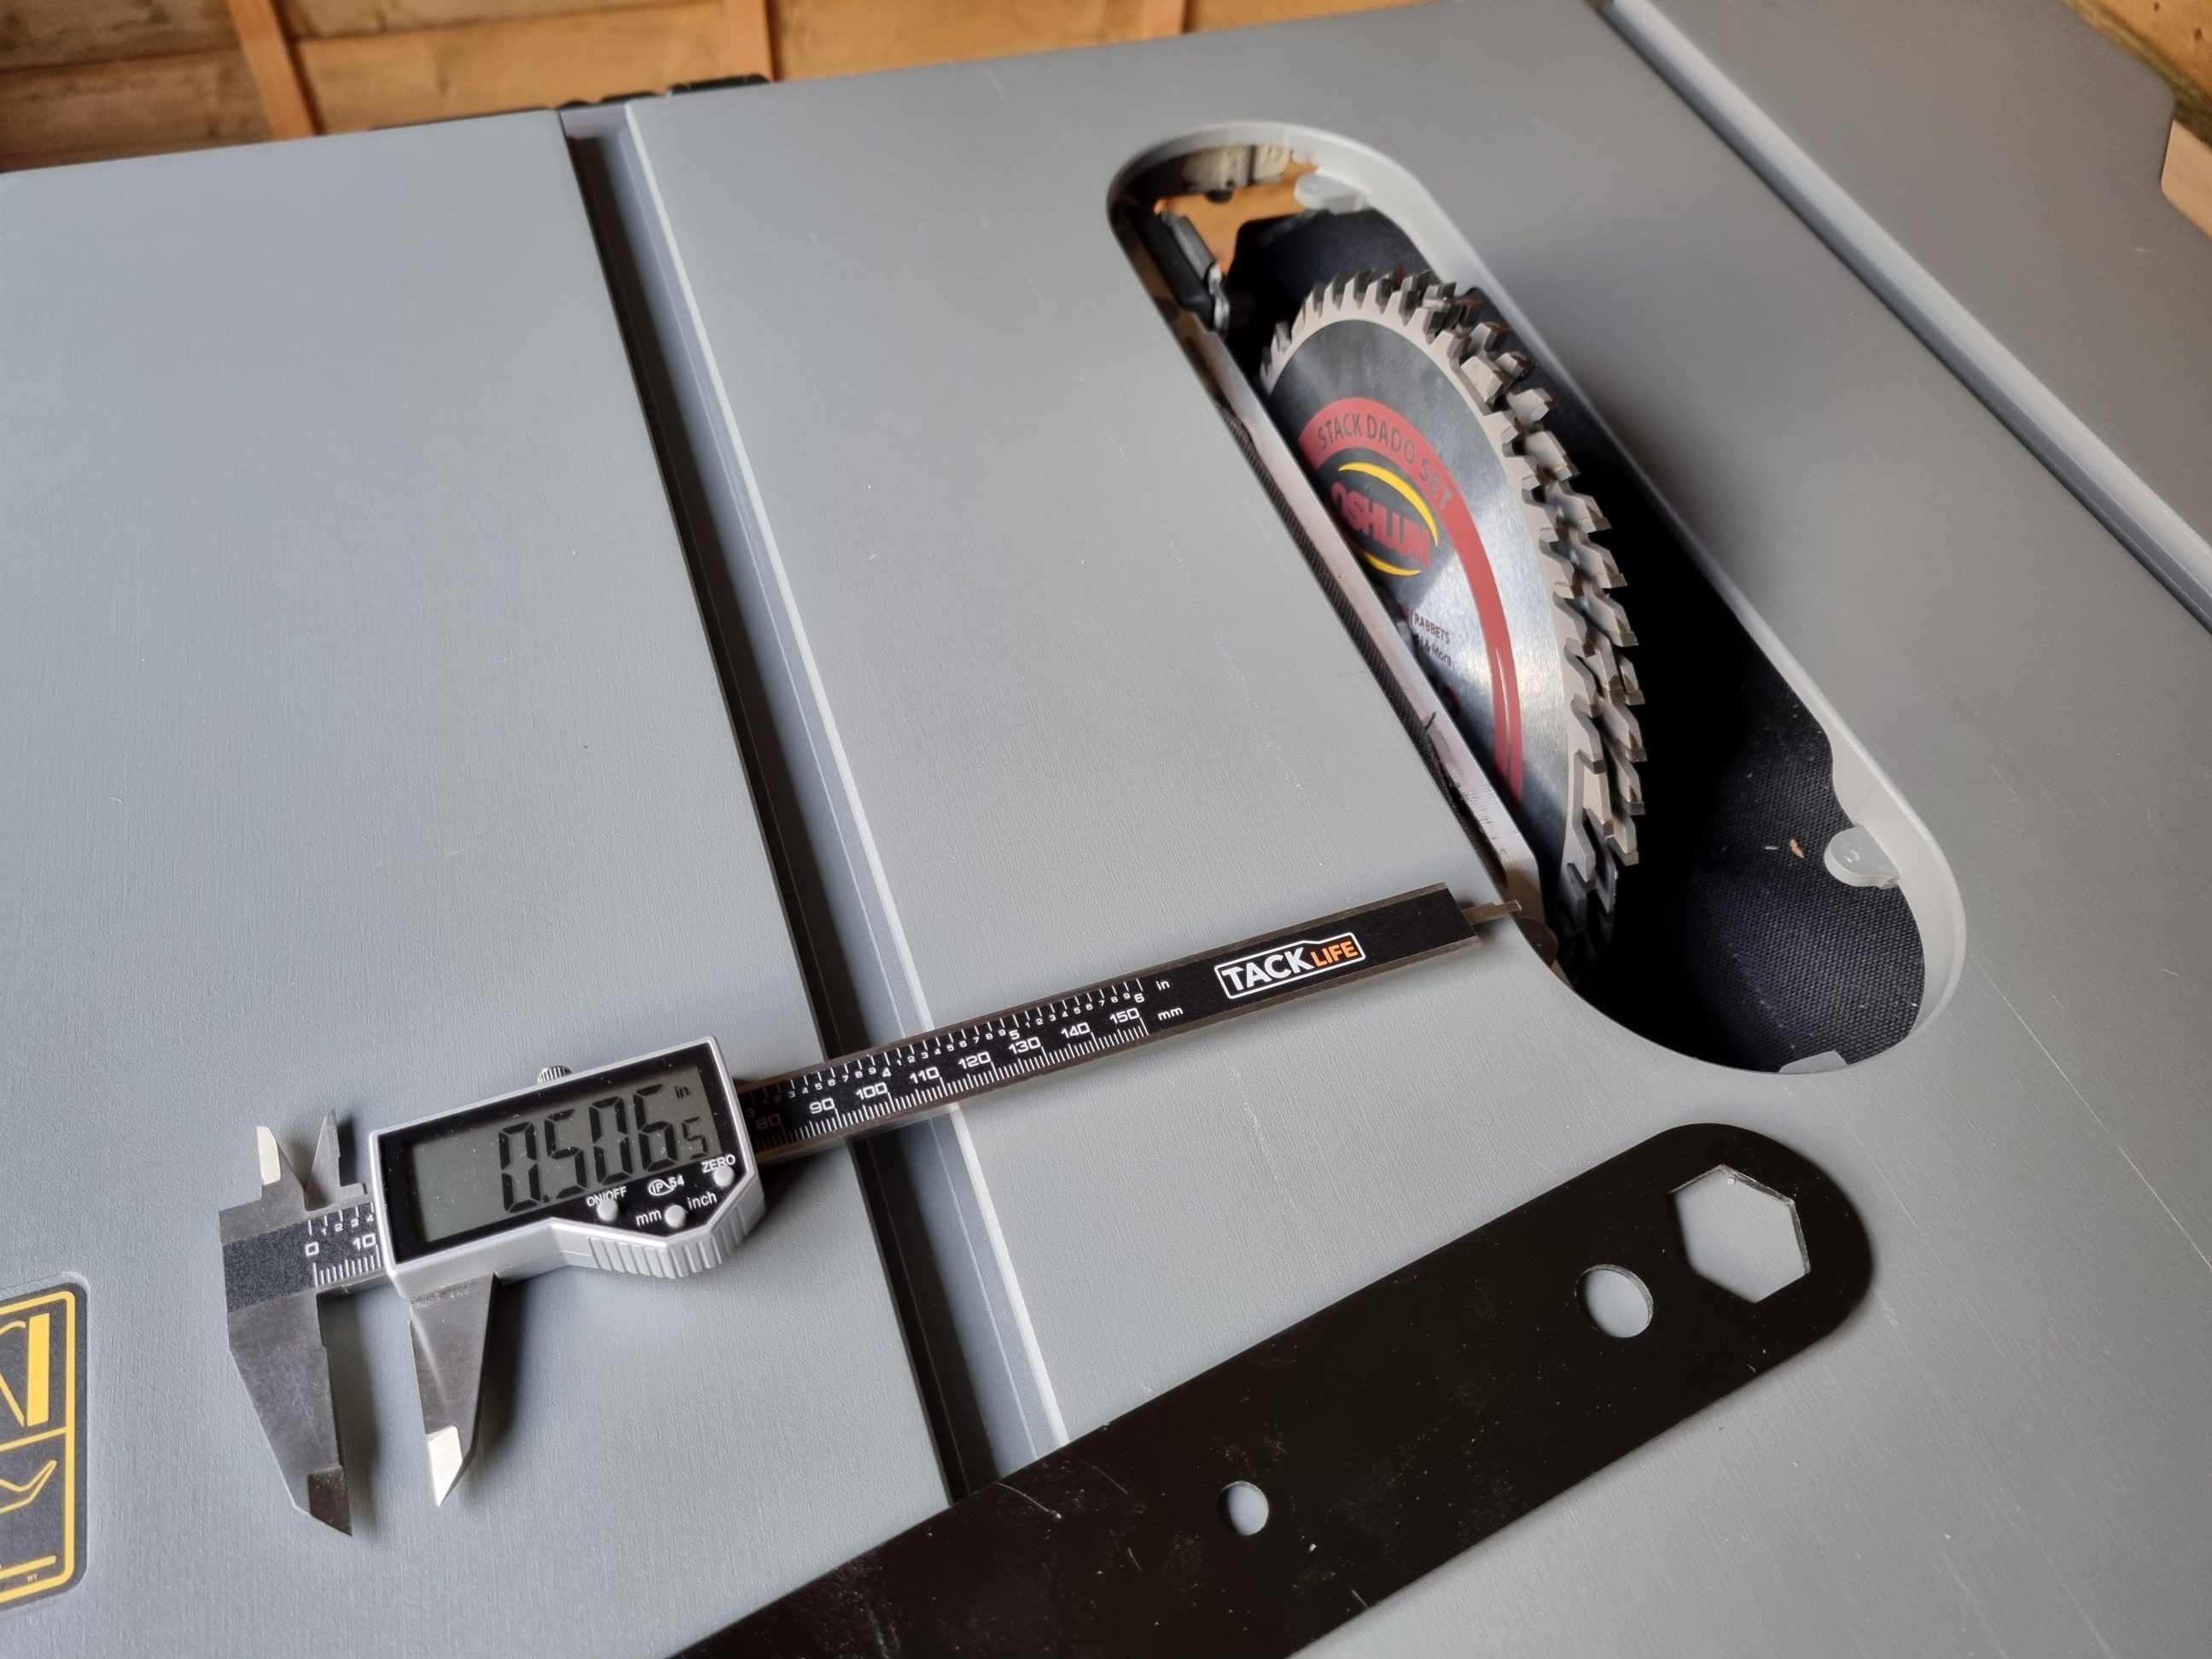
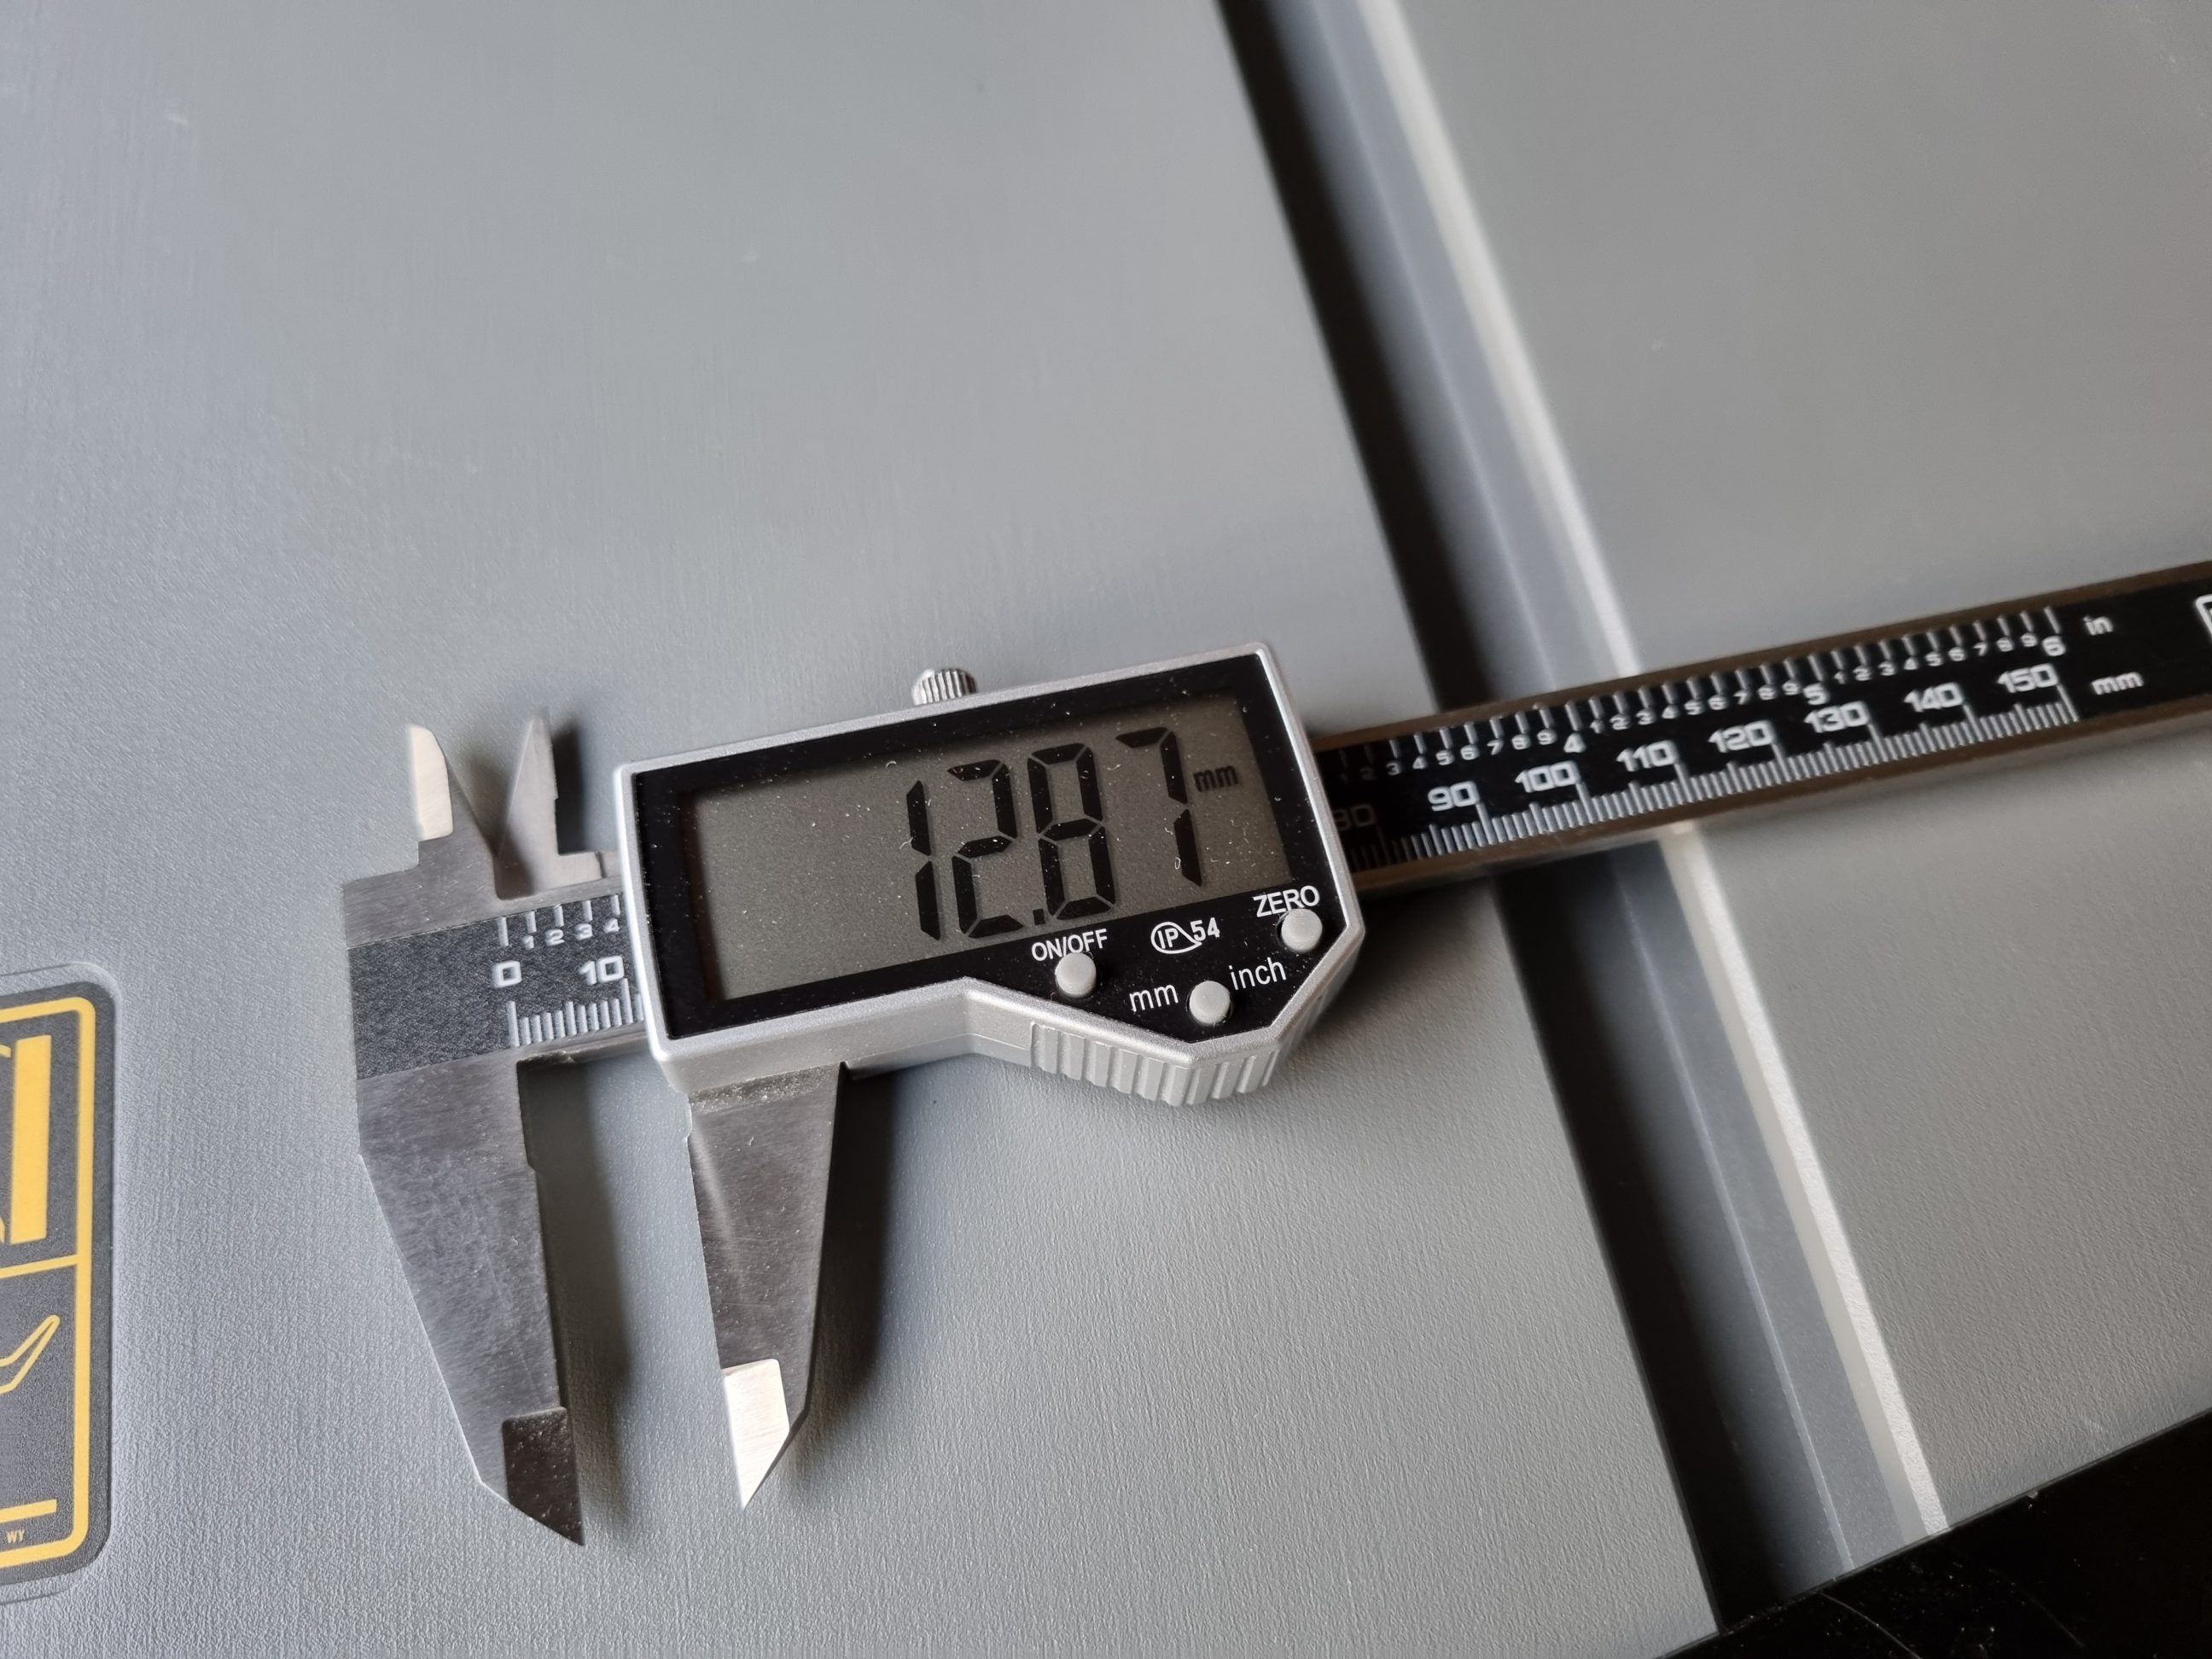
After the glue dried, I needed to make a quick adjustment to the tab – it turned out to be slightly too thick. A sharp chisel proved to be very effective, requiring only a moment to remove the excess material. I then proceeded to mount my new dado stack on the arbour, choosing a thickness of approximately 1/2 inch (12.87 mm). I made a note of the safe fence distance, that wouldn’t block the blade, placed the insert in, repositioned the fence and slowly raised the spinning dado stack. I purposefully cut only enough to suit my anticipated future needs while working with materials ranging from 12 to 19 mm in thickness (up to 3/4 inch), specifically with box joints in mind.
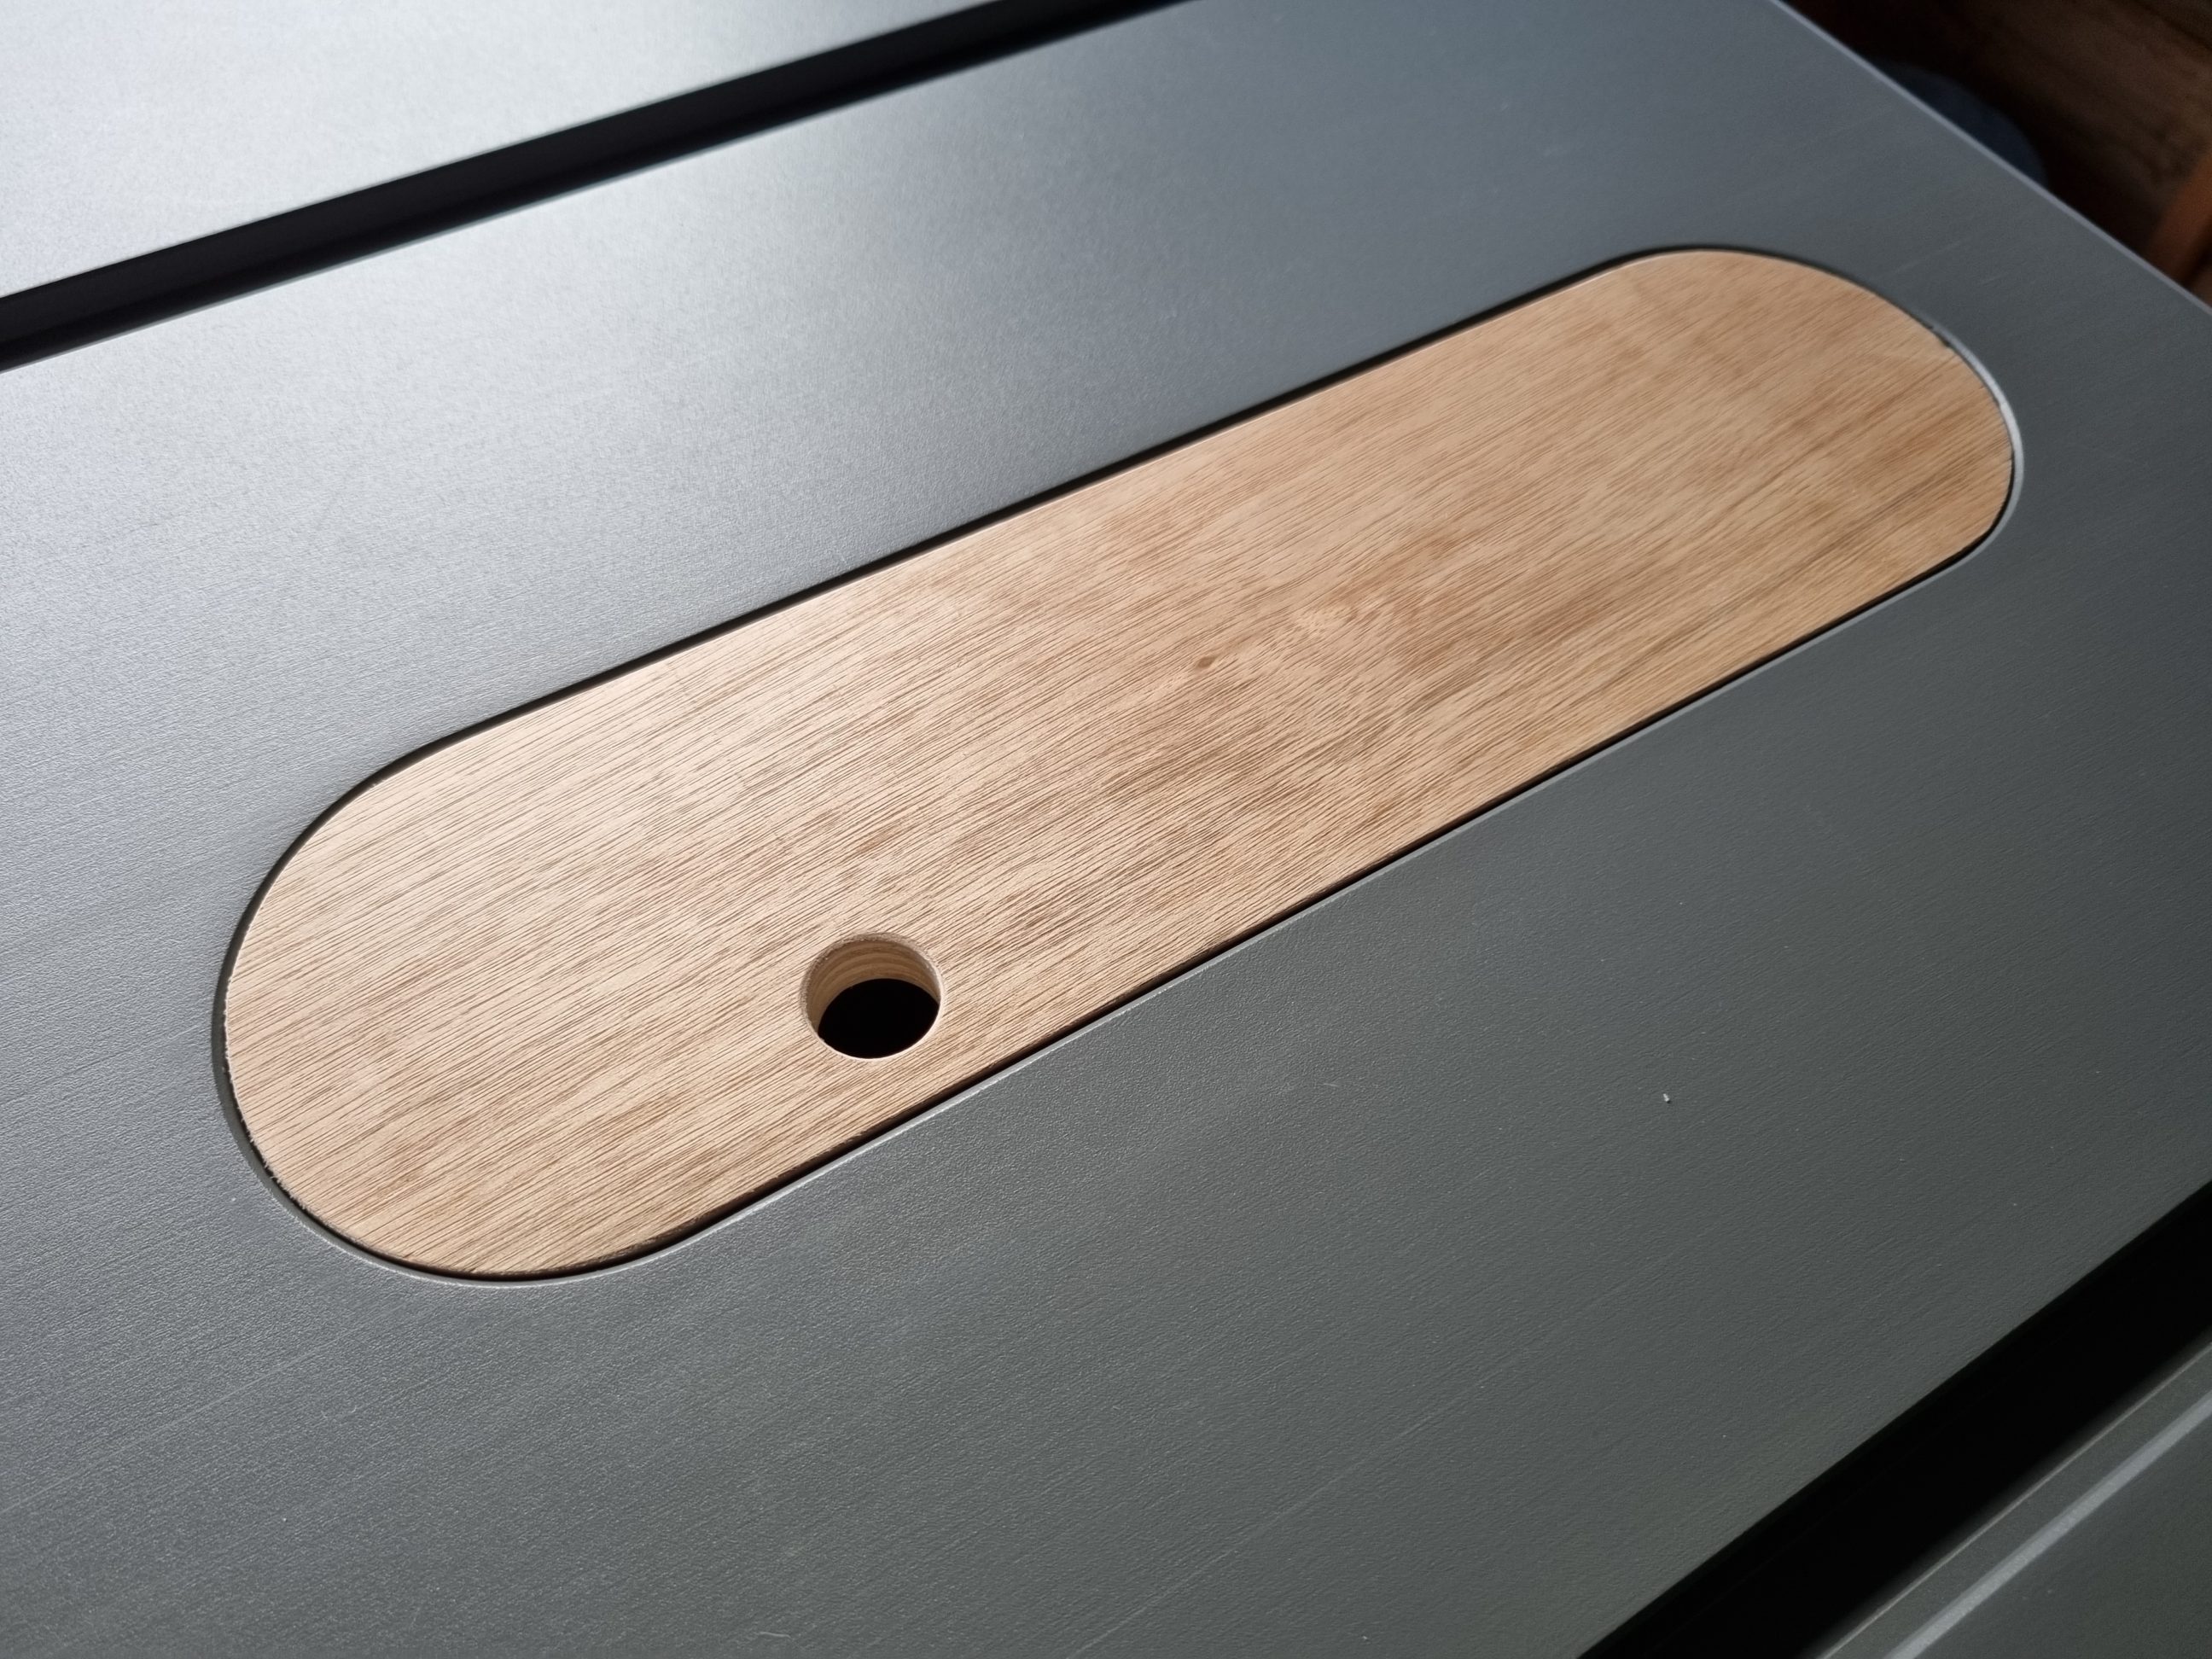
The decision to leave the plate without any finish was deliberate, as it aligned with the essence of this DIY project. The beauty of its raw state was only enhanced by sanding the edges lightly, allowing the natural characteristics of the materials to shine through. This approach not only added a touch of authenticity but also simplified the process, highlighting the upcycled nature of the project. Furthermore, by forgoing some of the finishing steps, I reduced the use of additional chemicals. This project stands as a testament to the notion that simplicity and functionality often go hand in hand in the realm of DIY and upcycling projects.


2 Comments
Pingback:
Pingback: