Wooden patio table
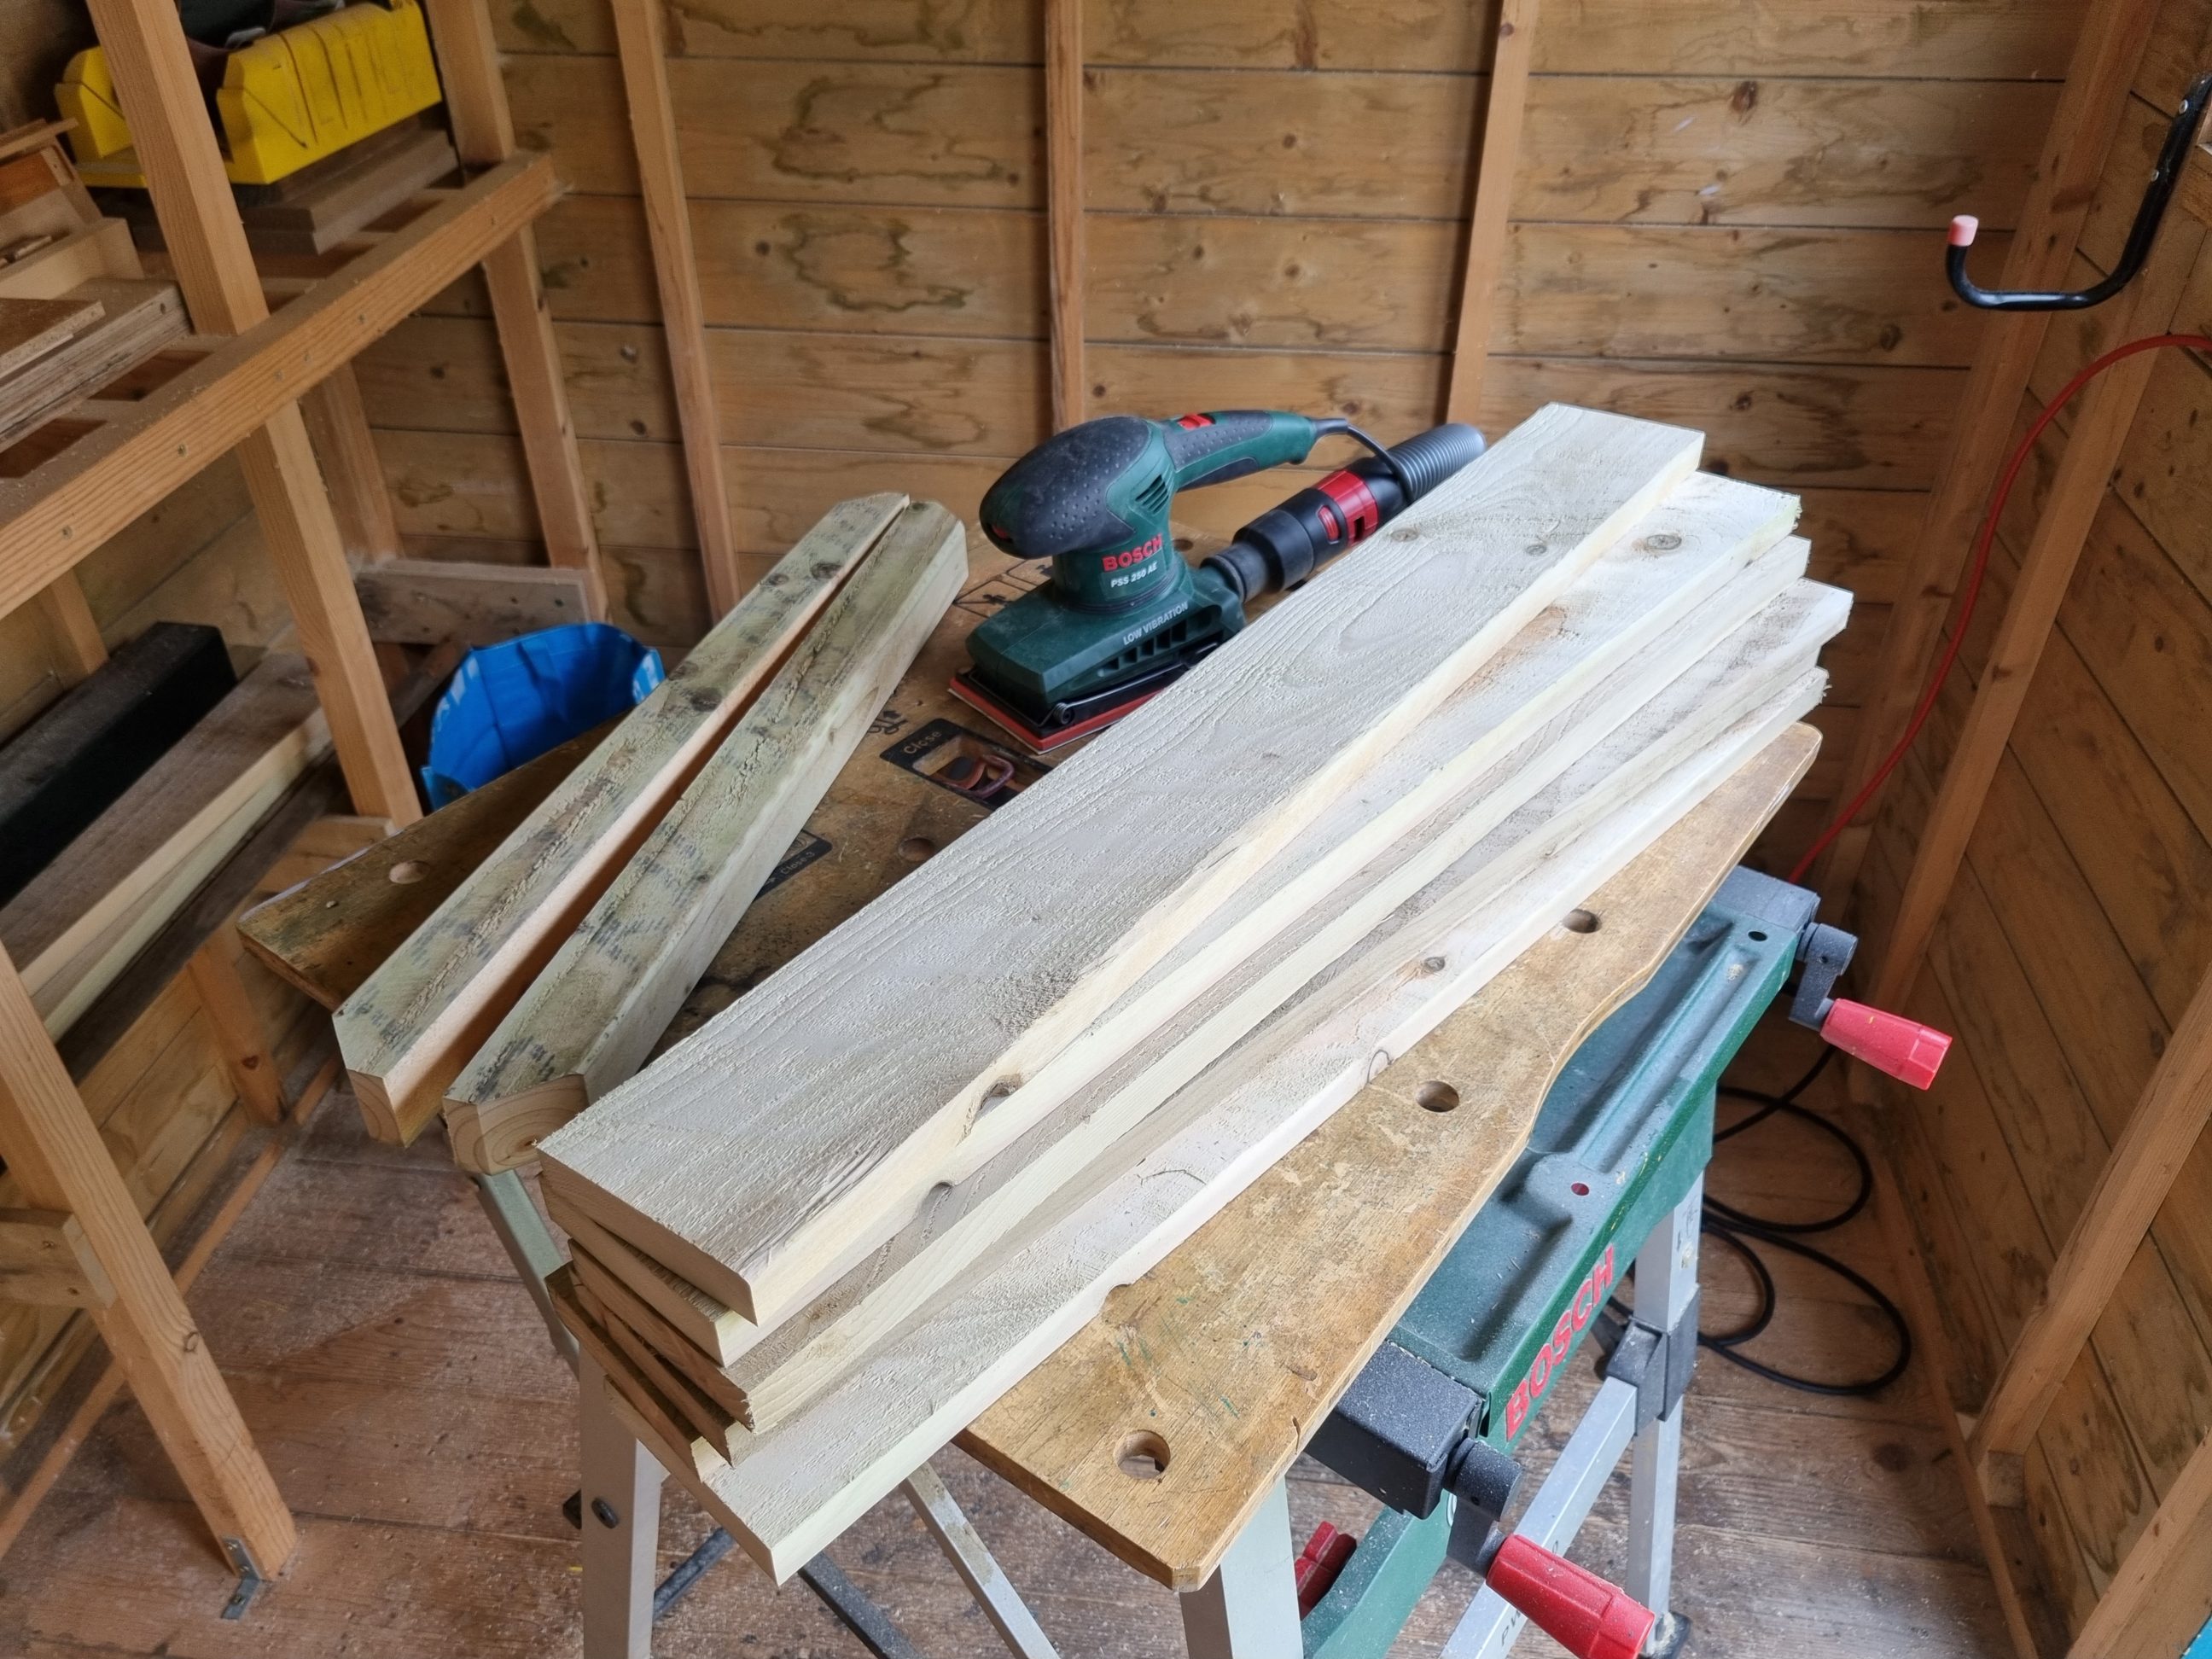
In search of a suitable patio table for the upcoming warm season, I found no reasonably priced local options. My online hunt was also fruitless. However, this search wasn’t in vain – I discovered the most popular dimensions and standard sizes. With this knowledge, I checked my pressure-treated timber supply and, to my surprise, I had all the necessary materials for the base! That serendipity not only saved me money but also a trip to the timber store that day. It allowed me to indulge in my woodworking hobby in blissful solitude.
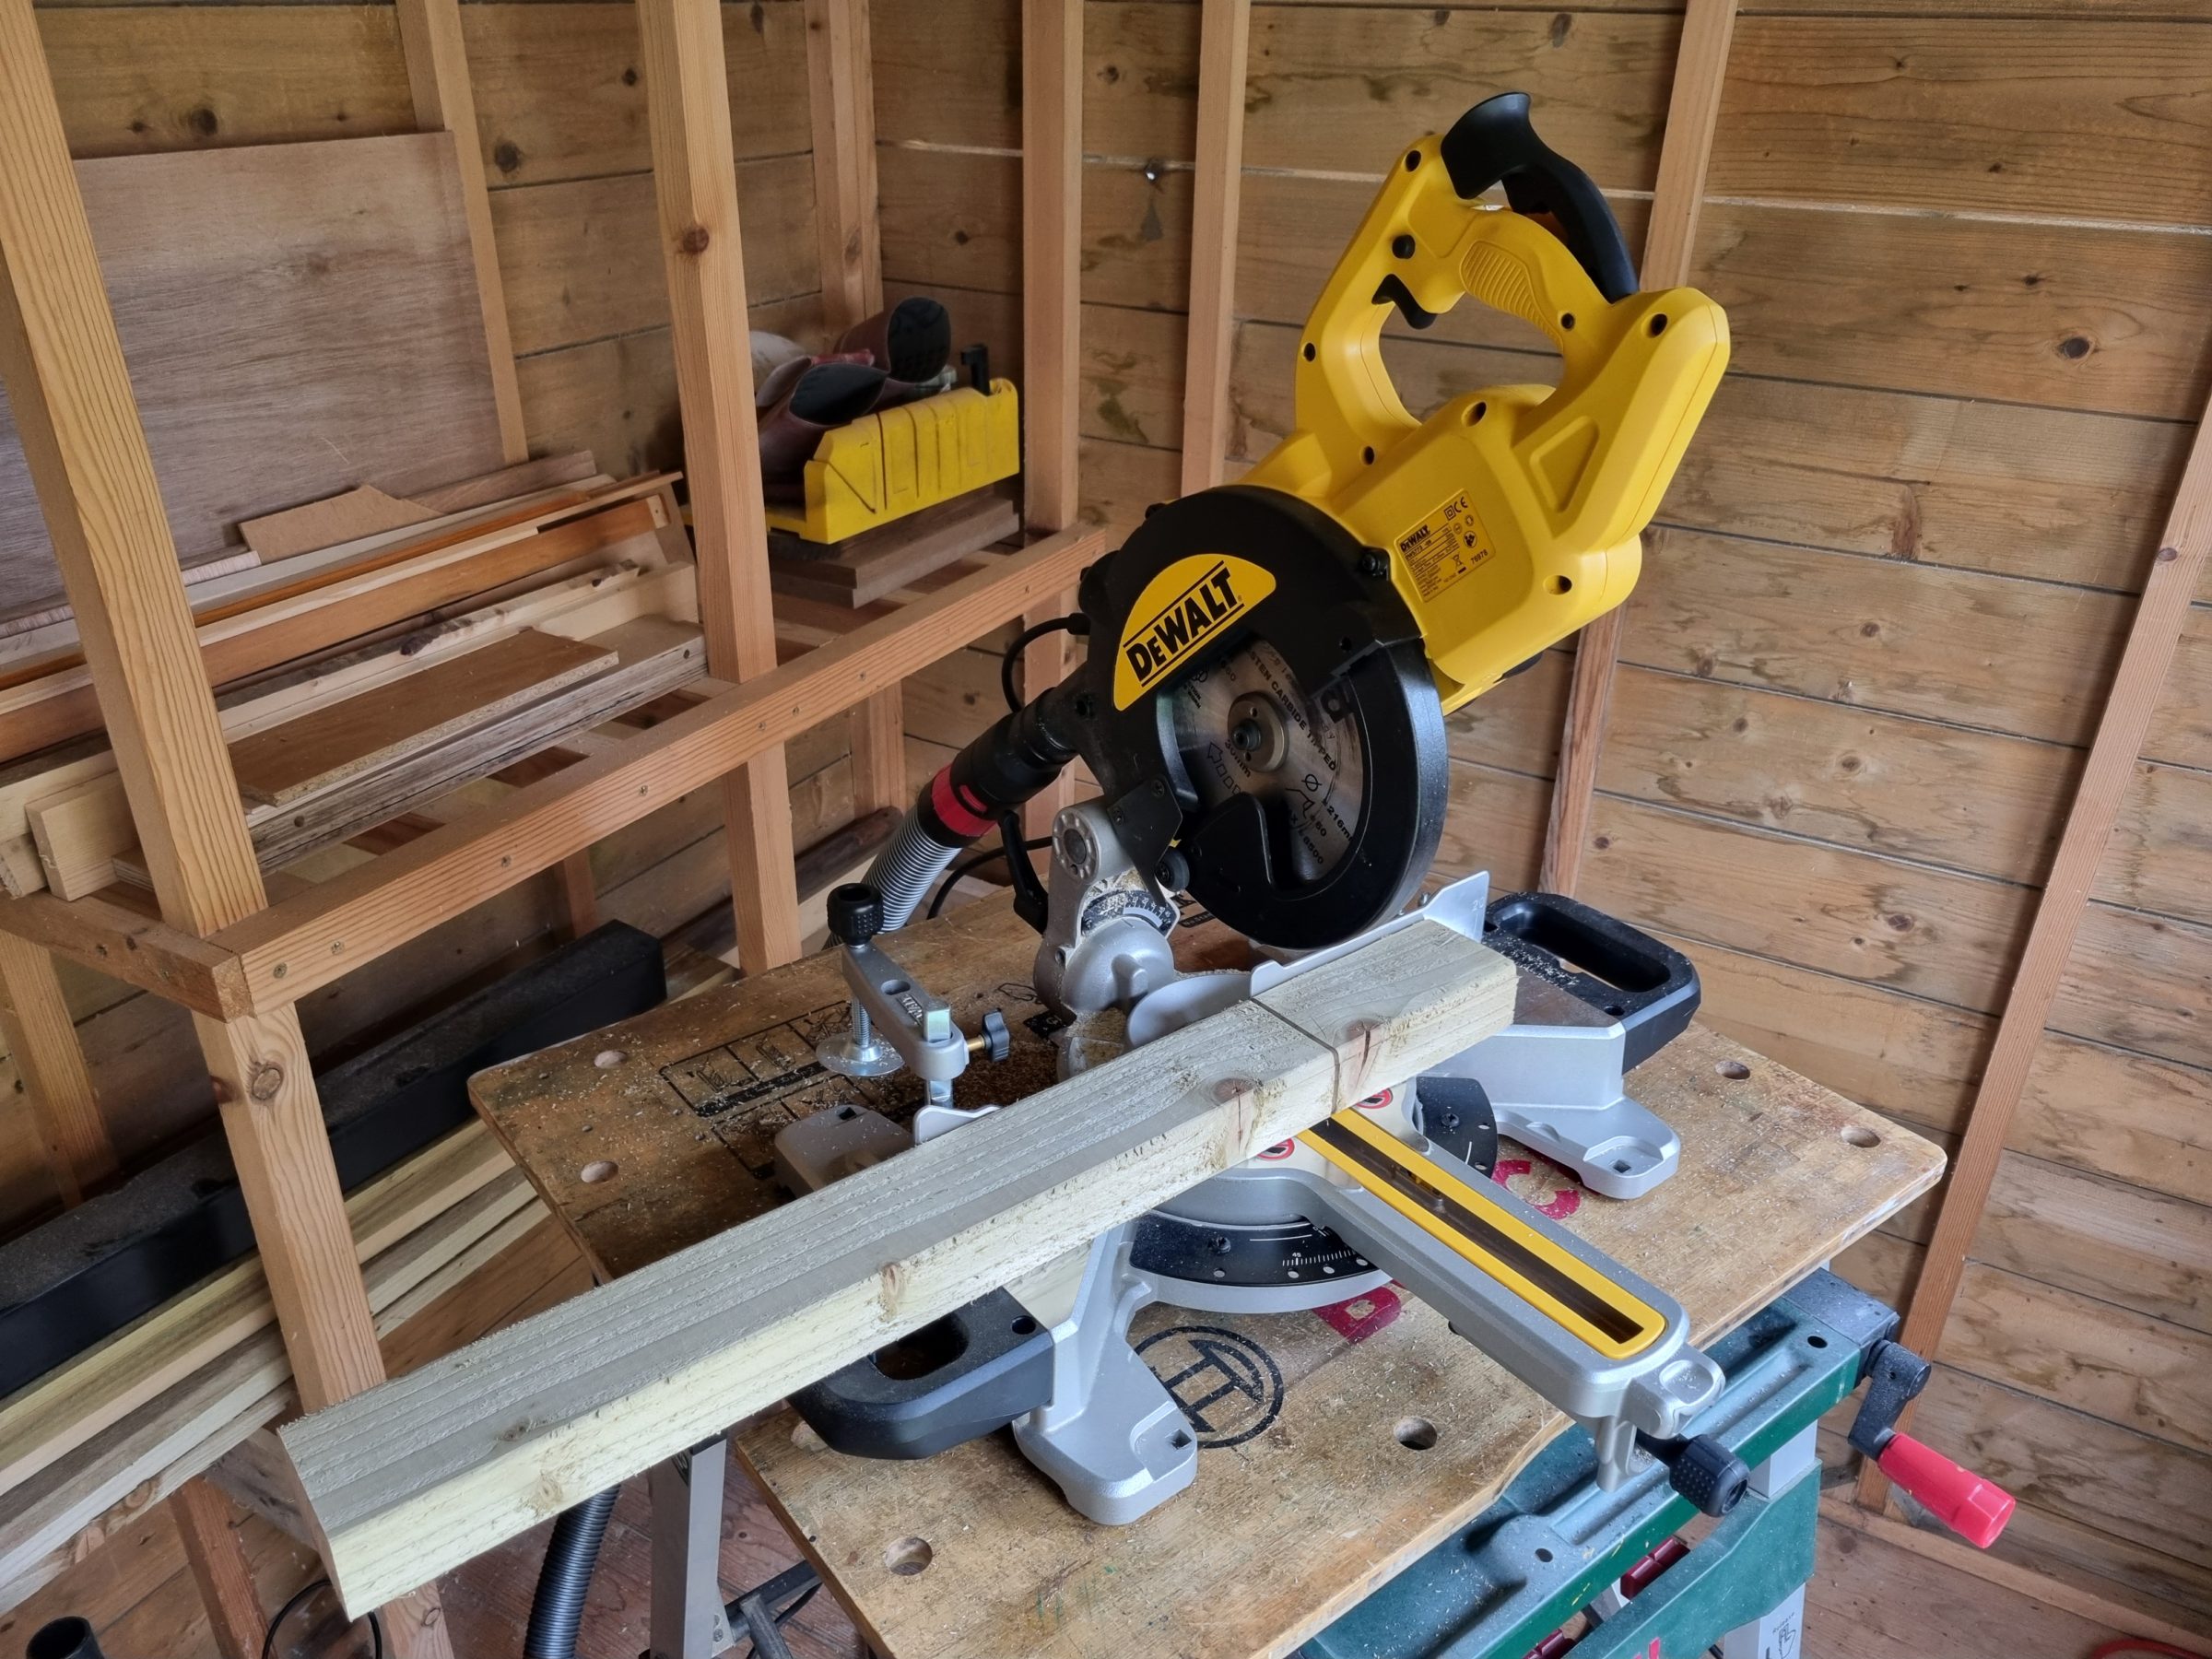
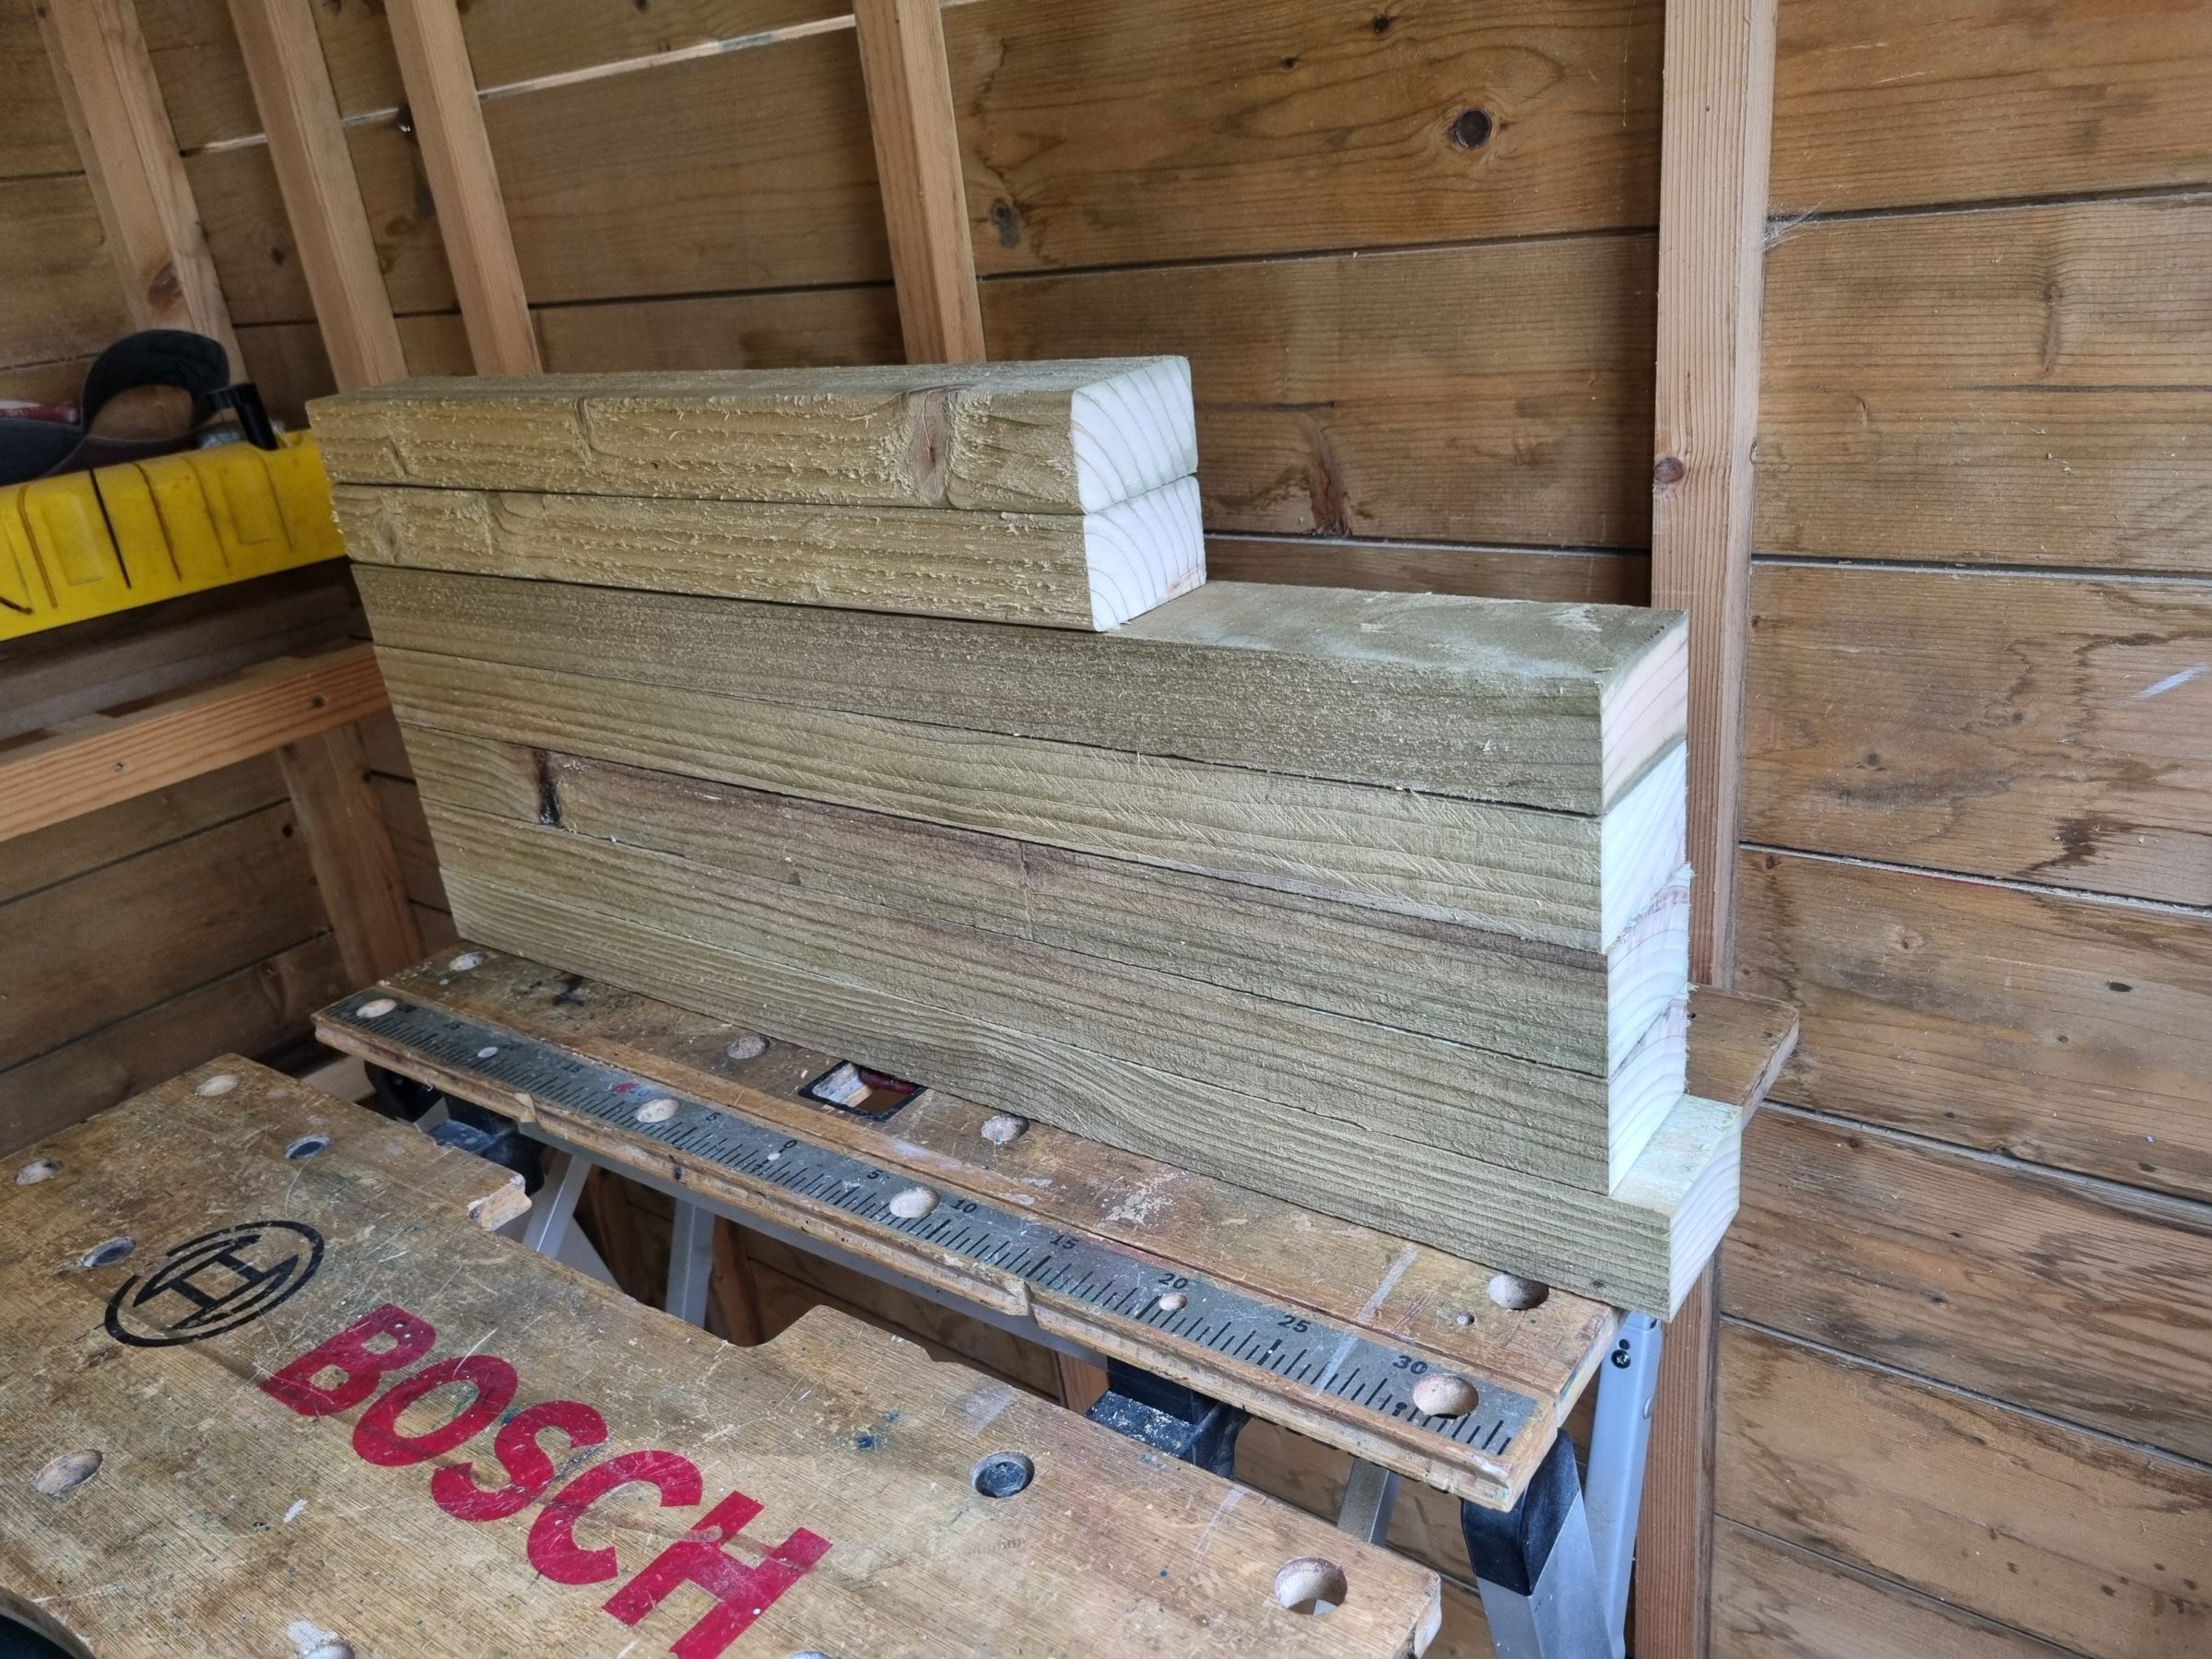
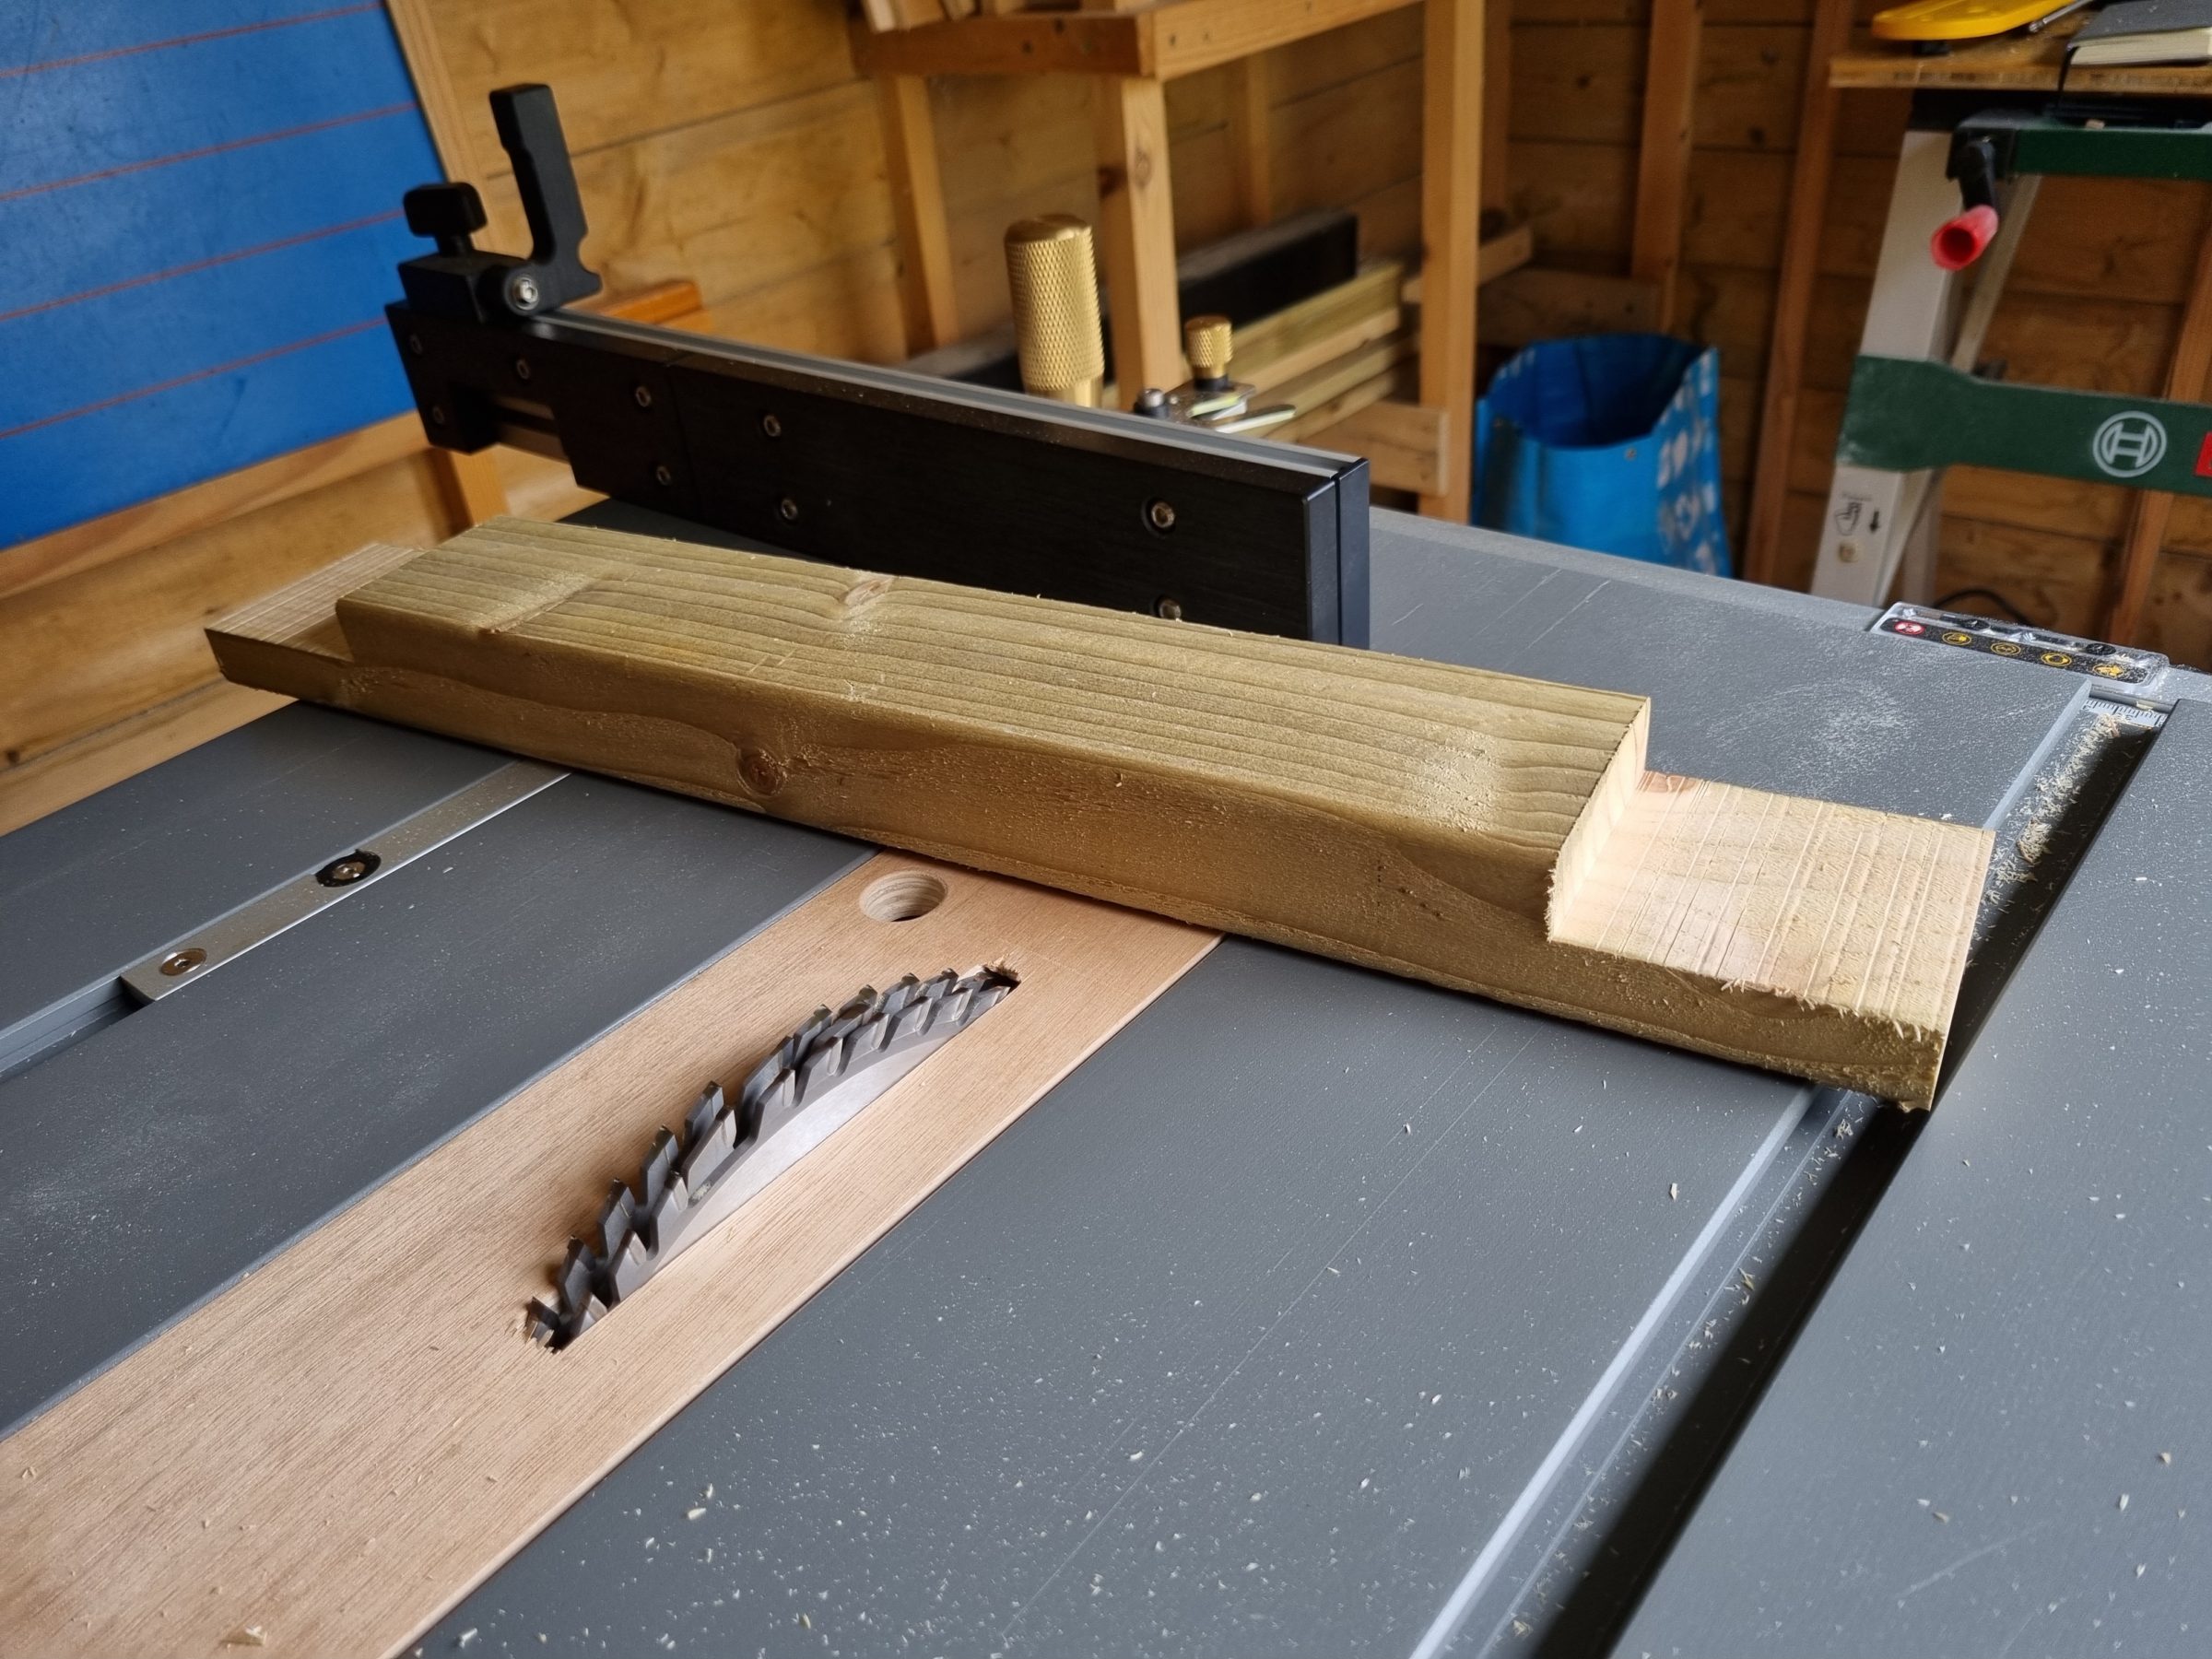
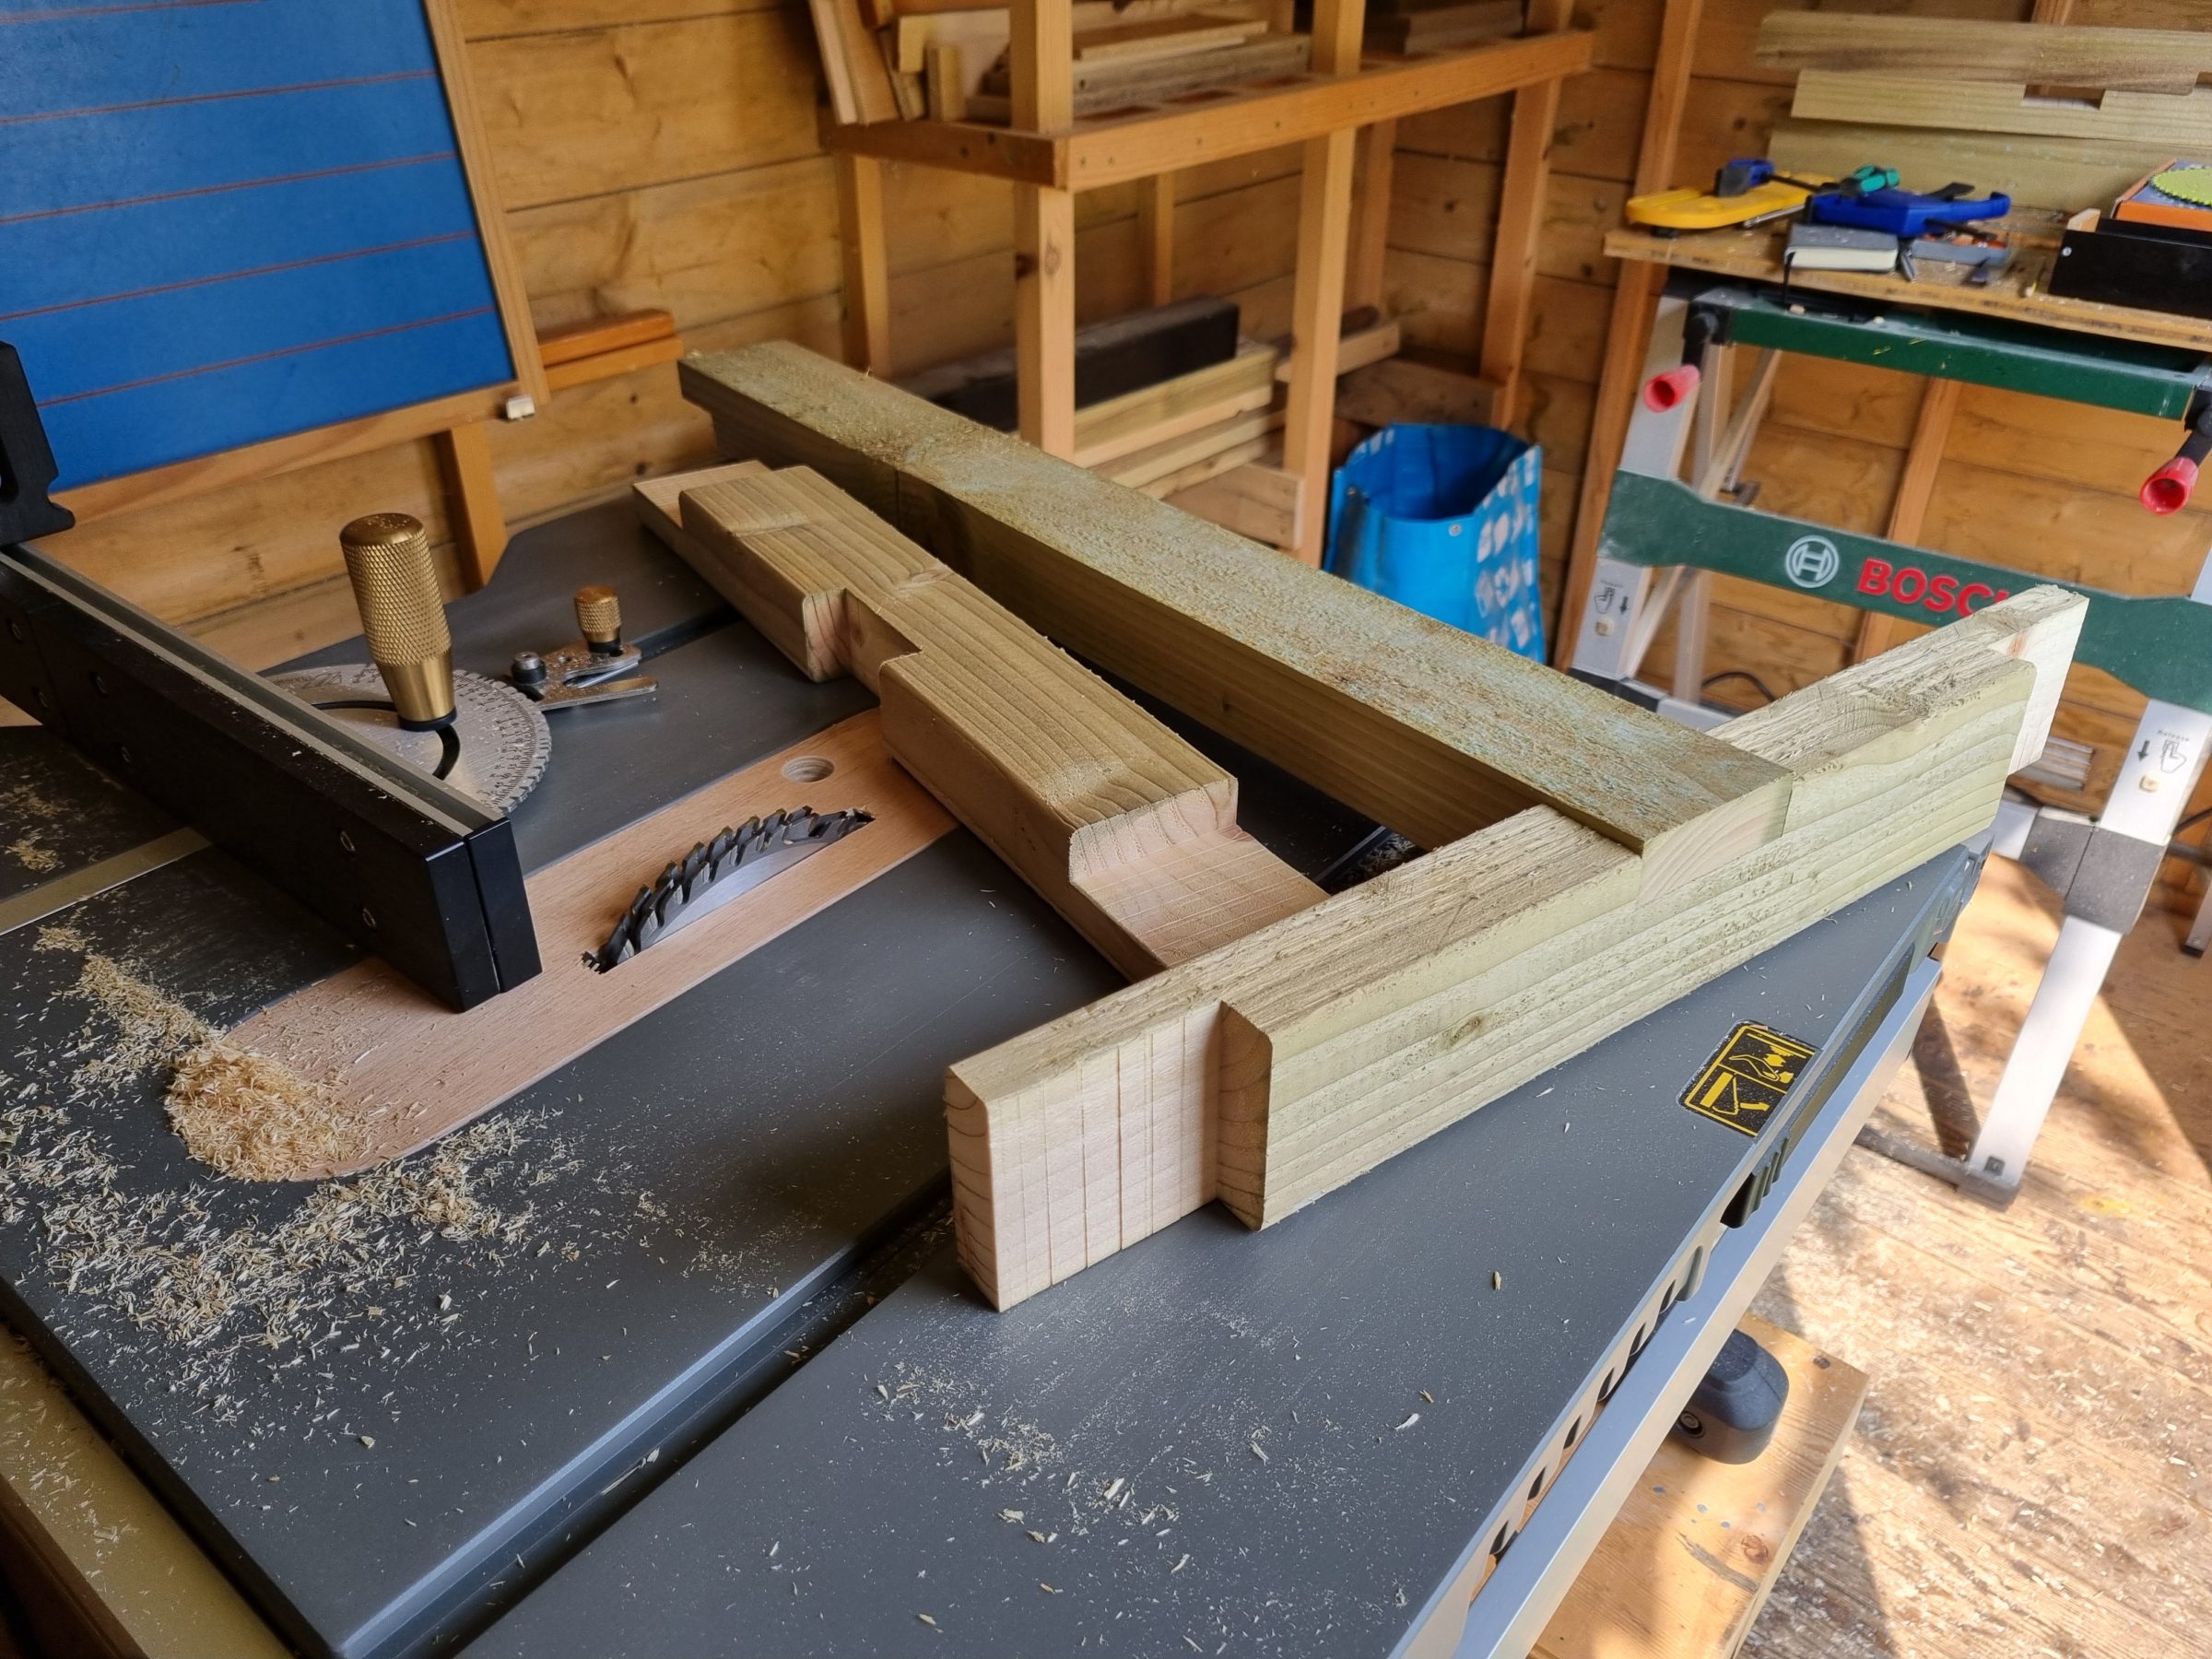
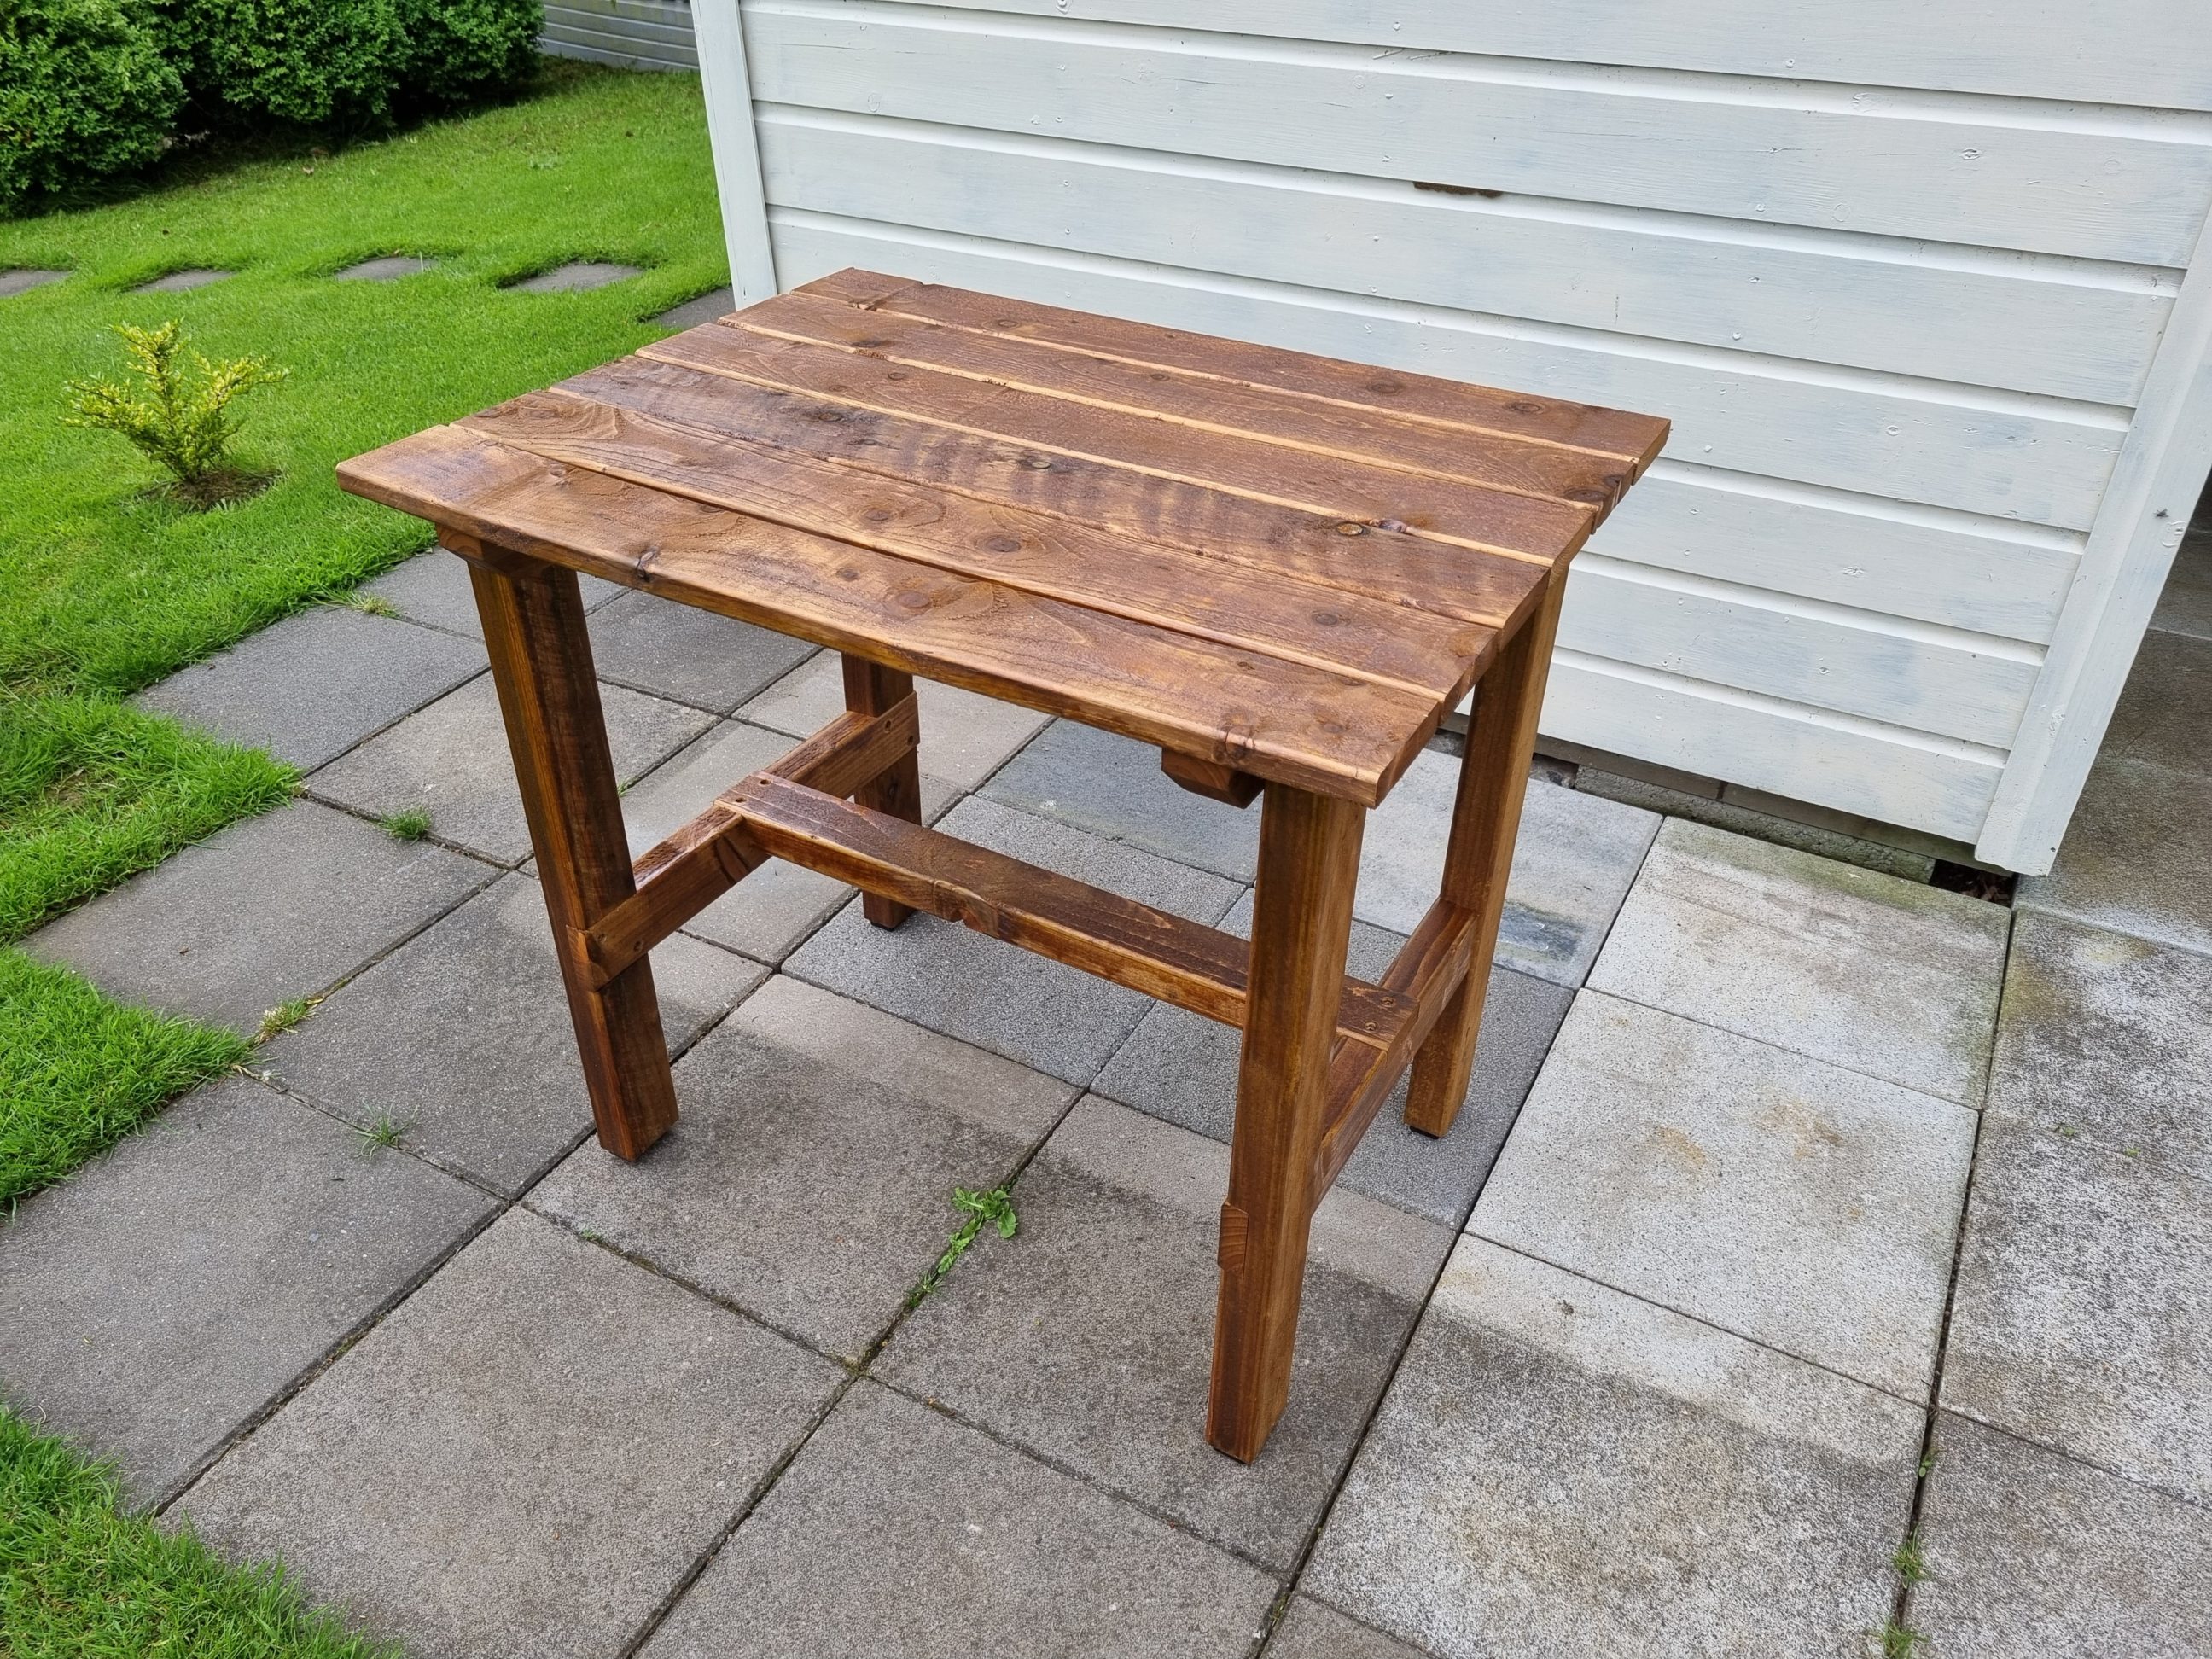
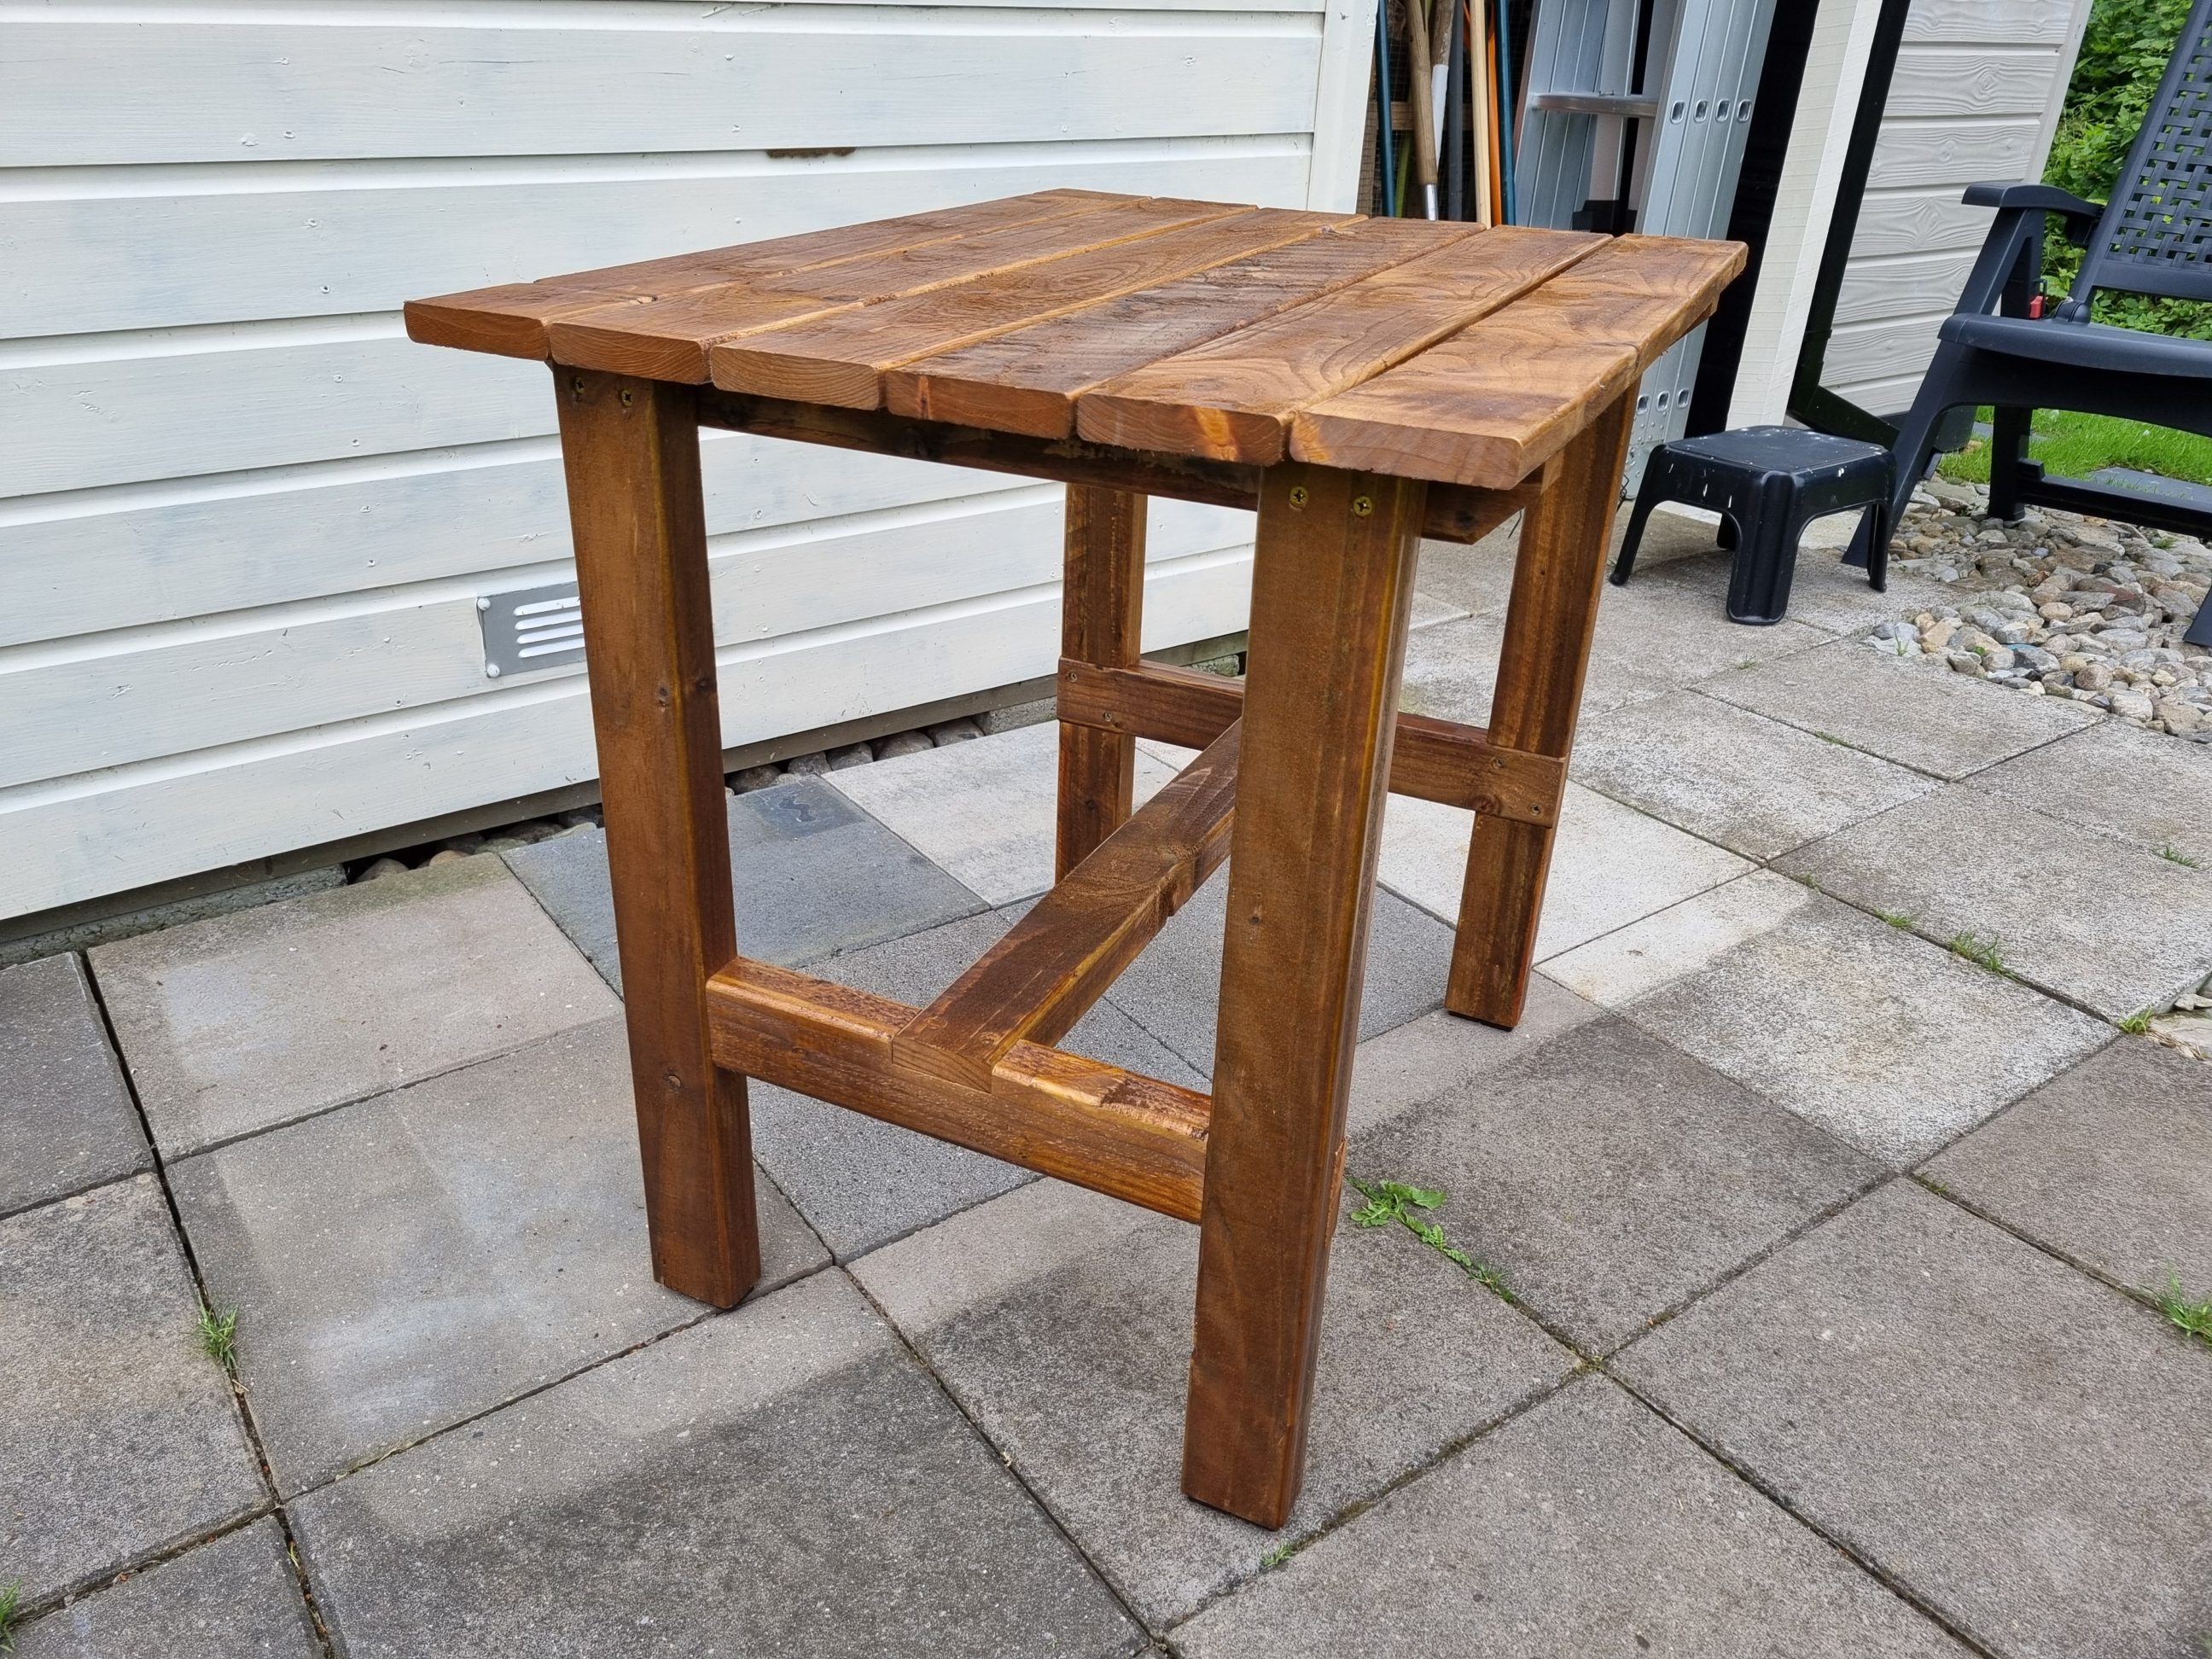
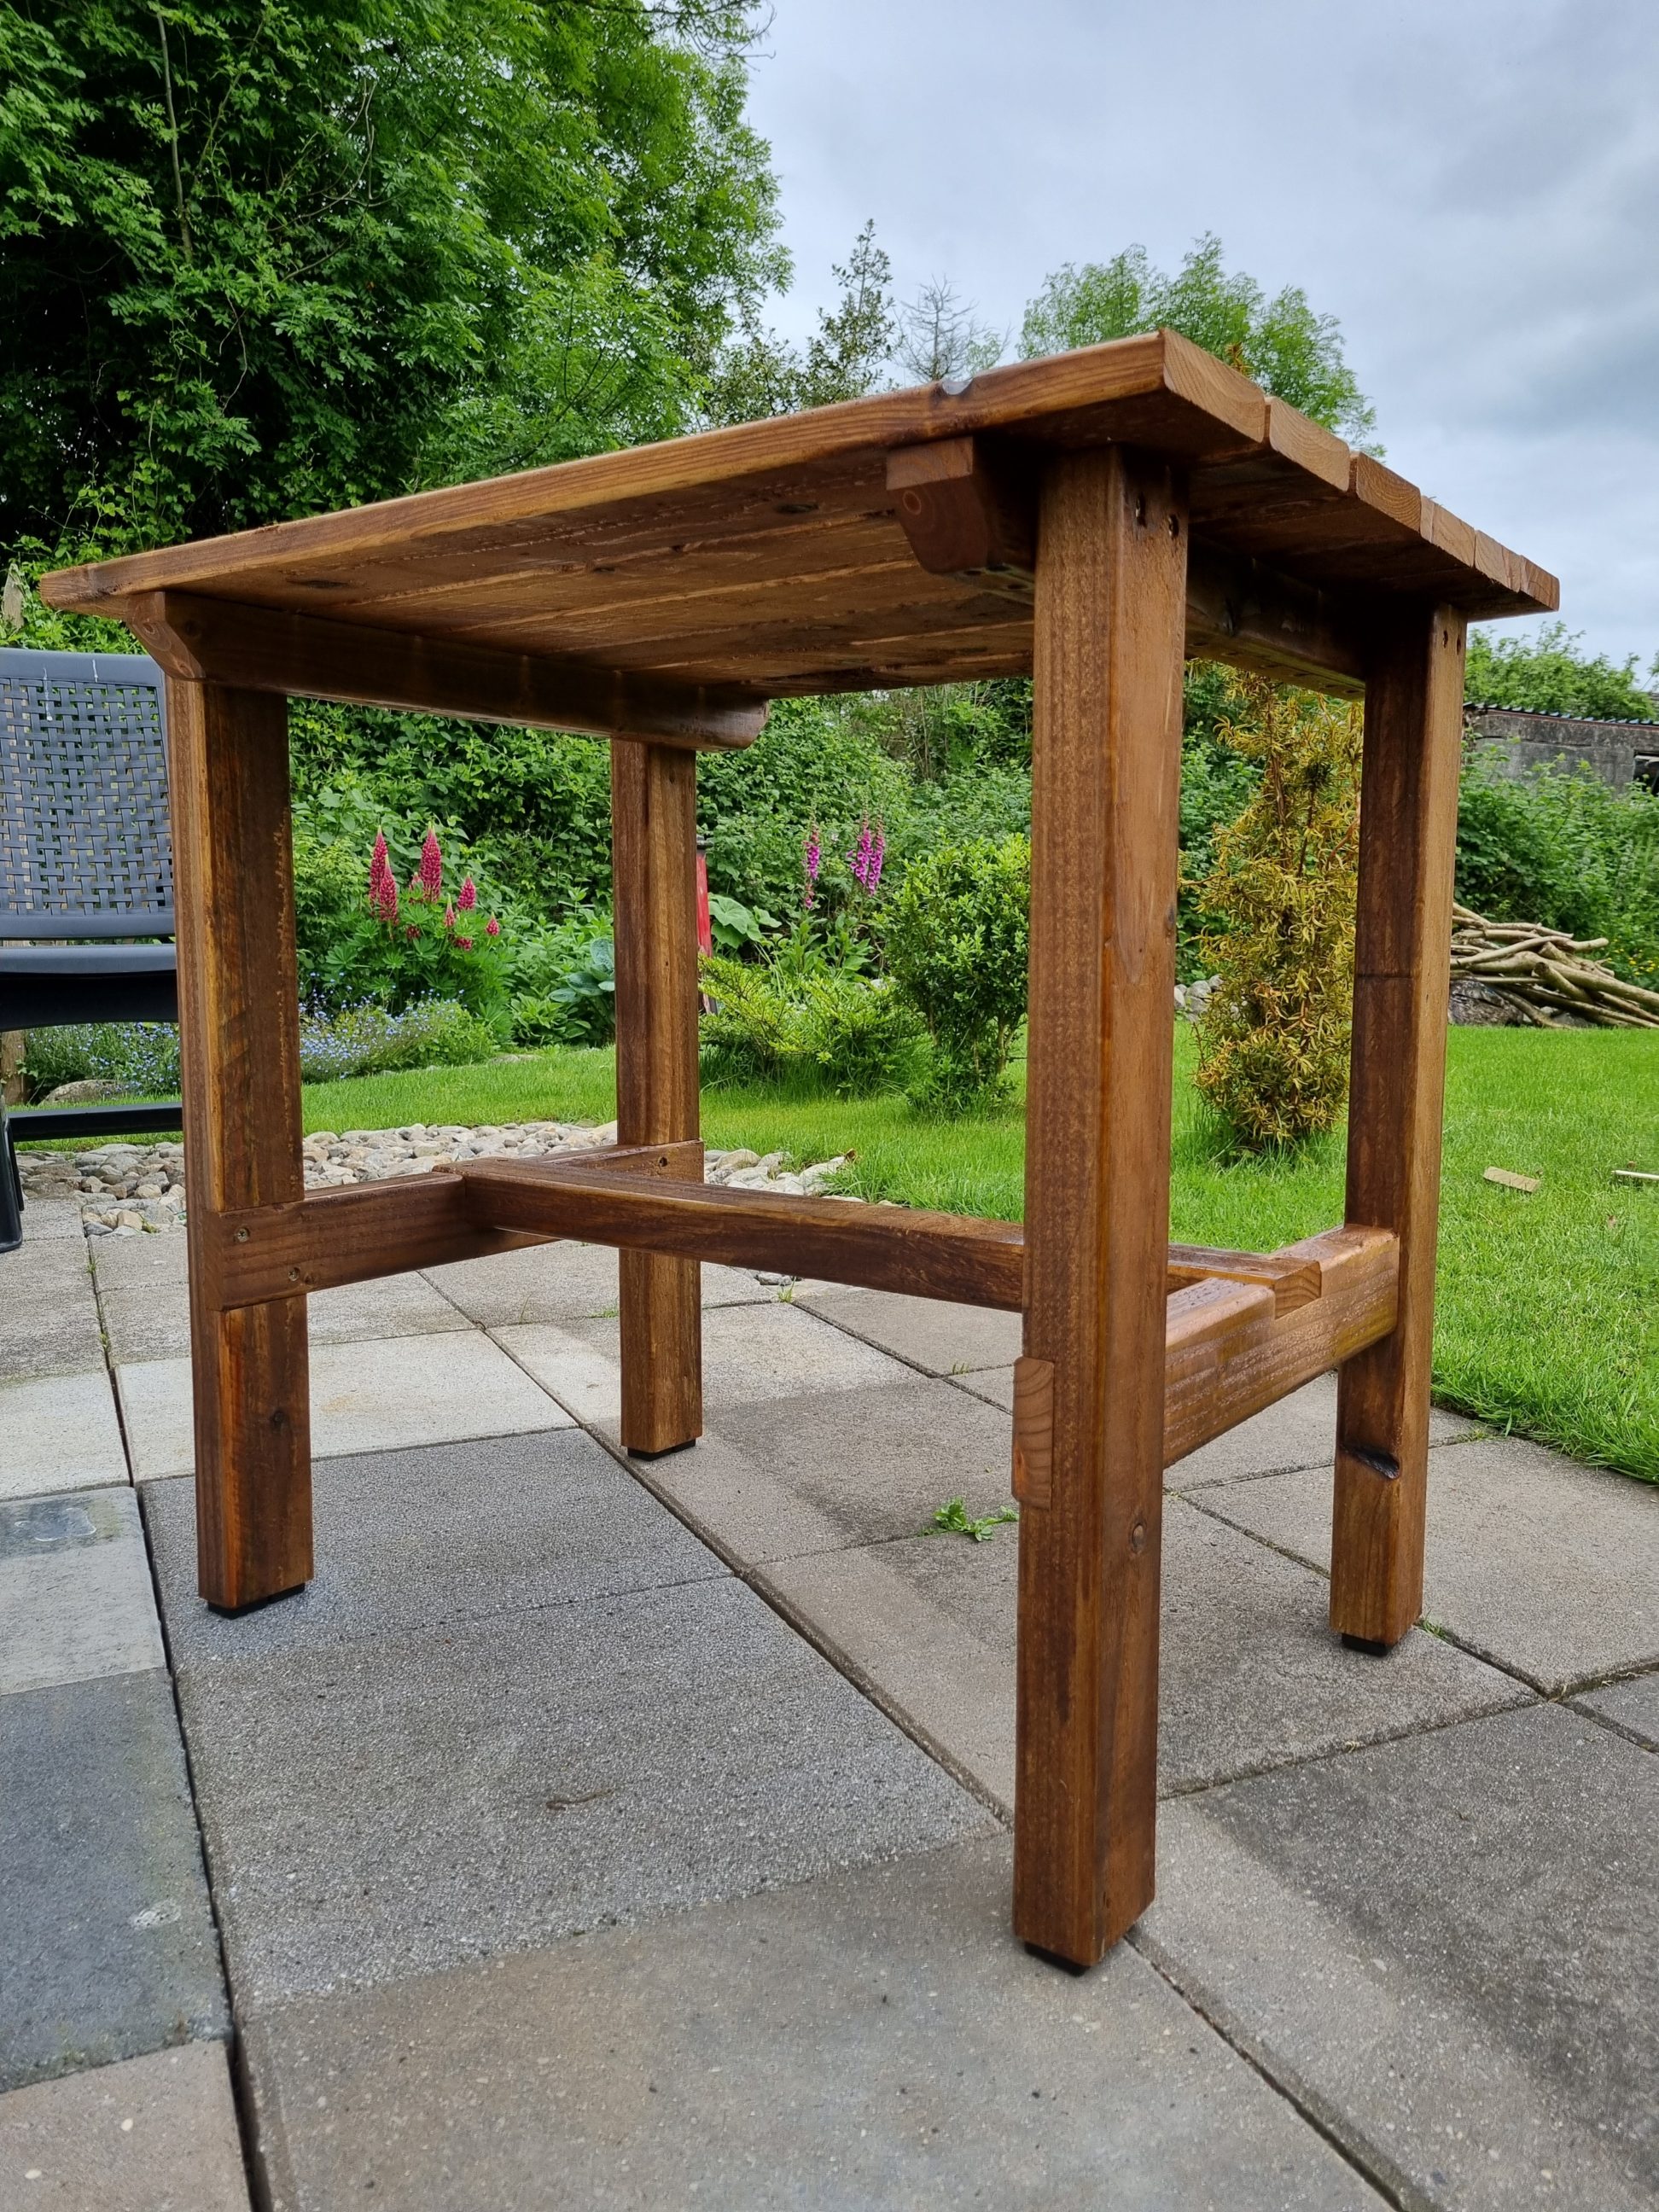
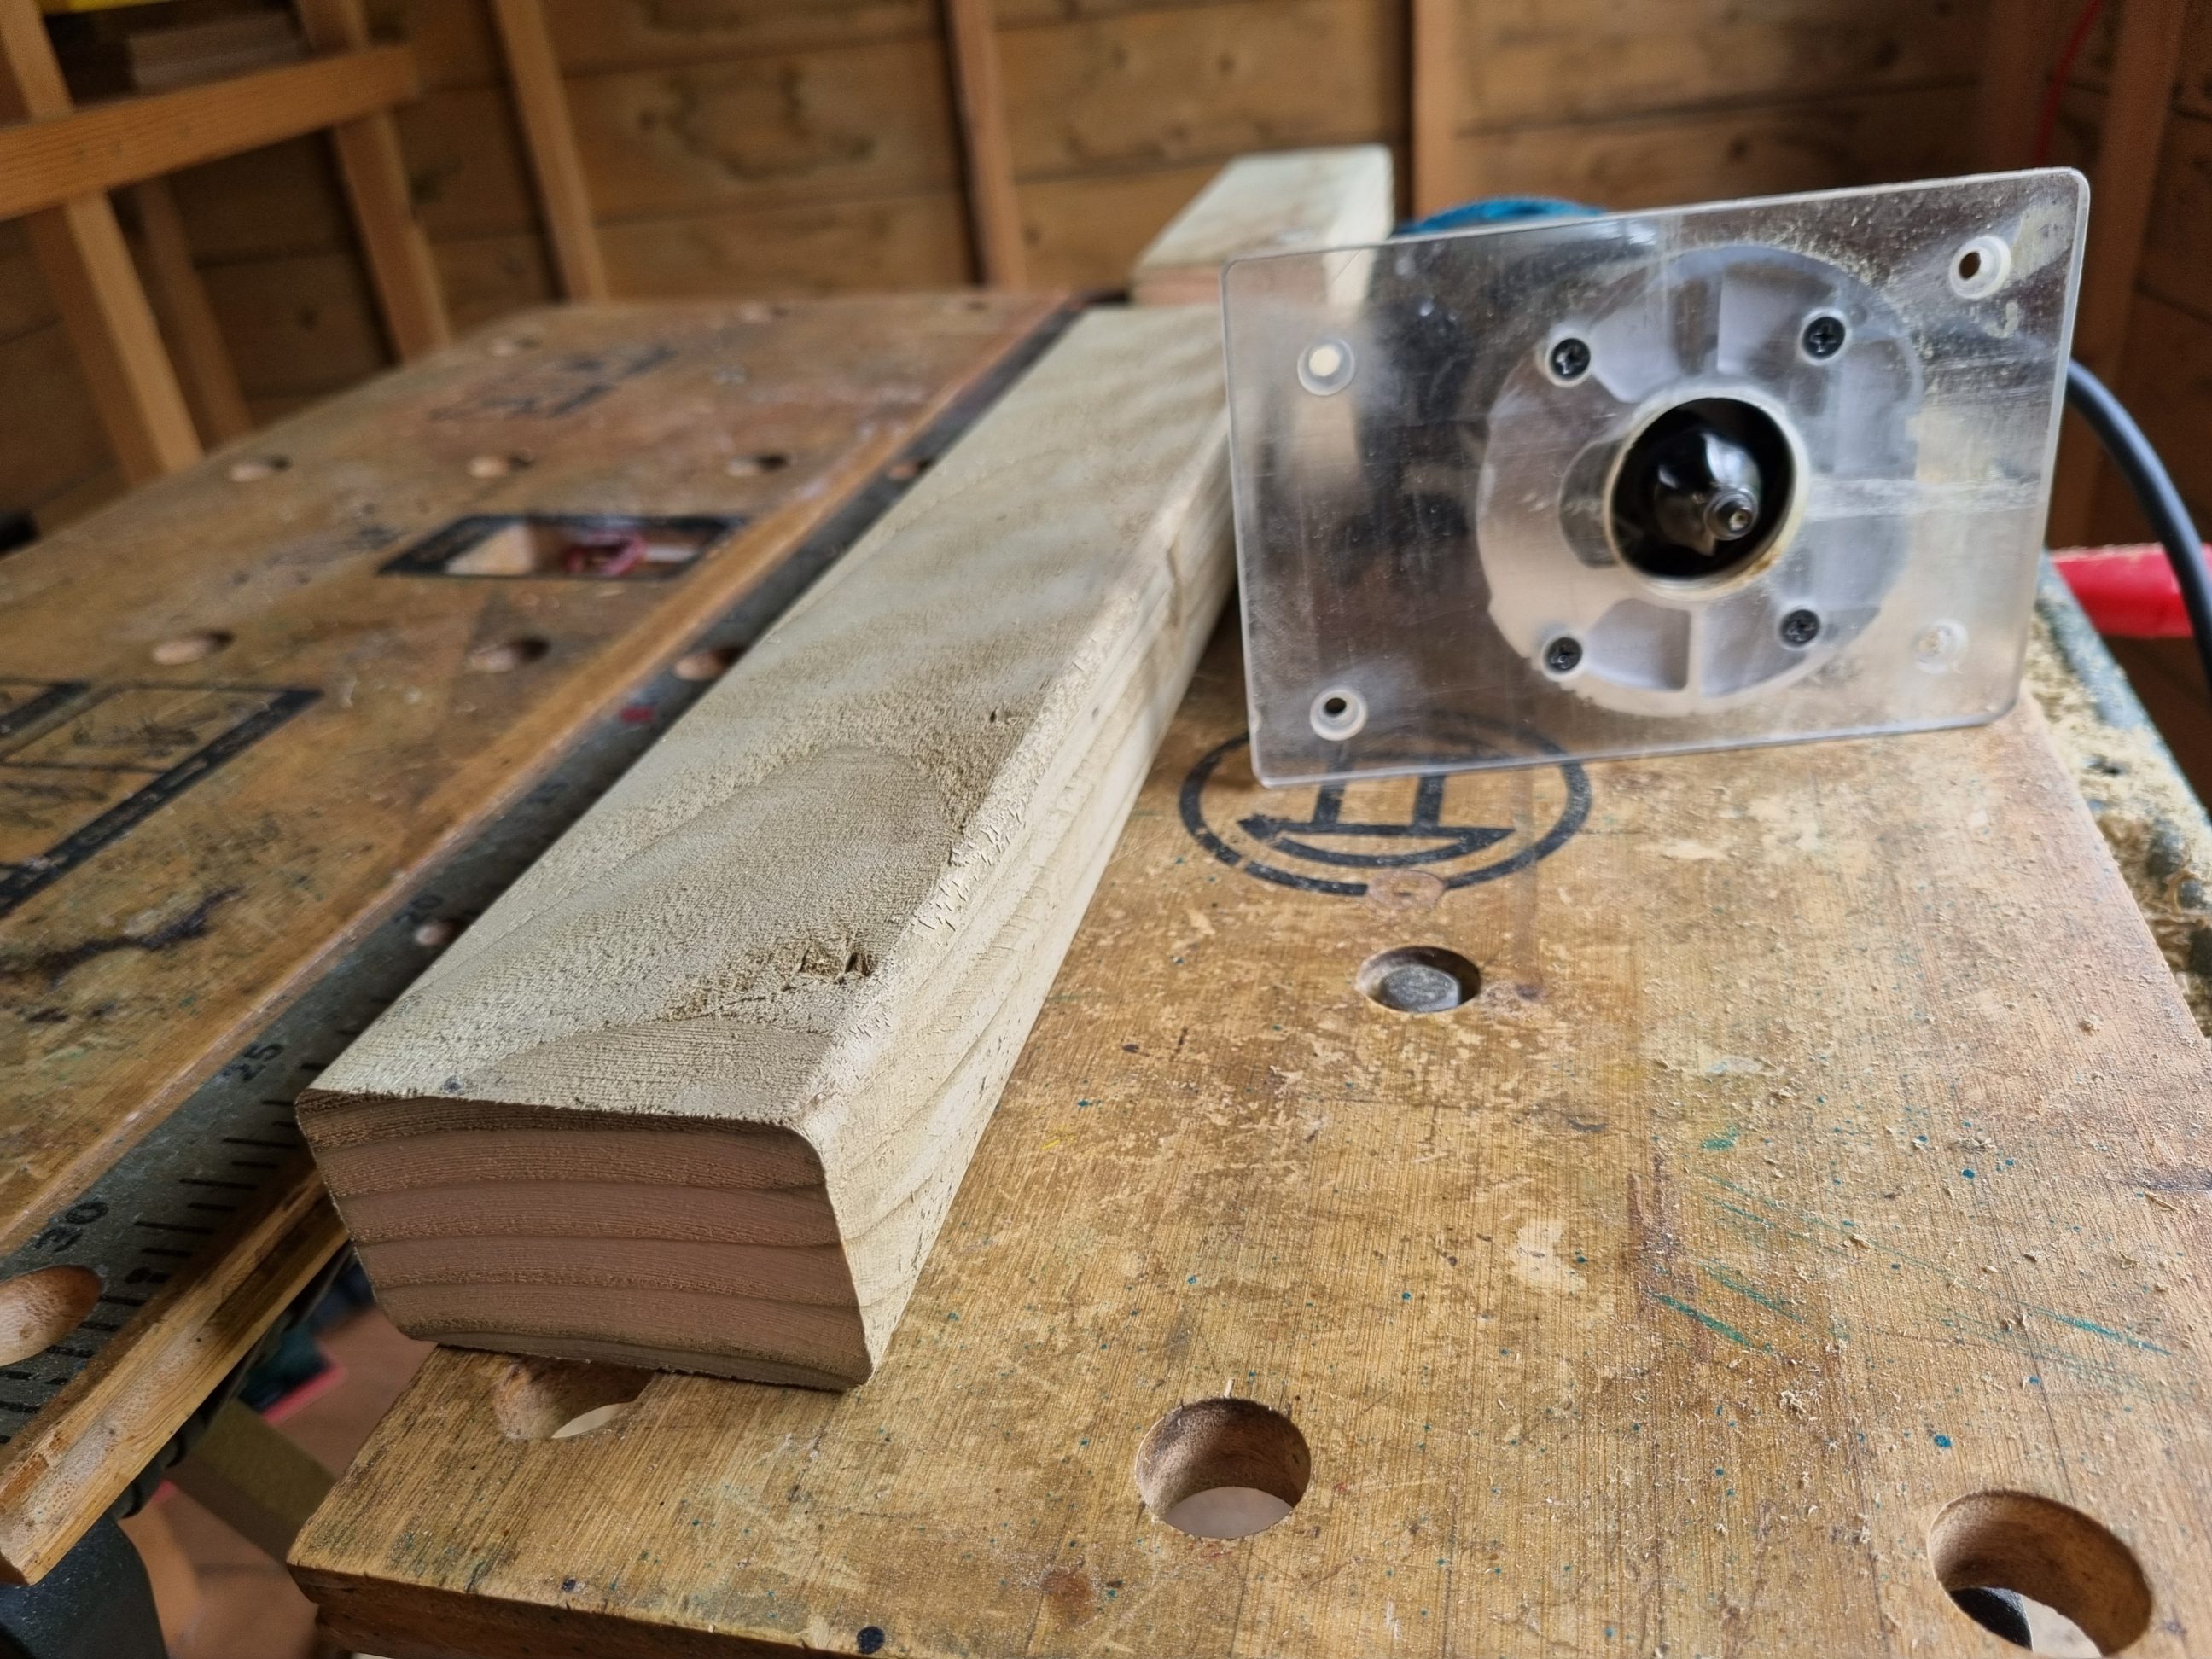
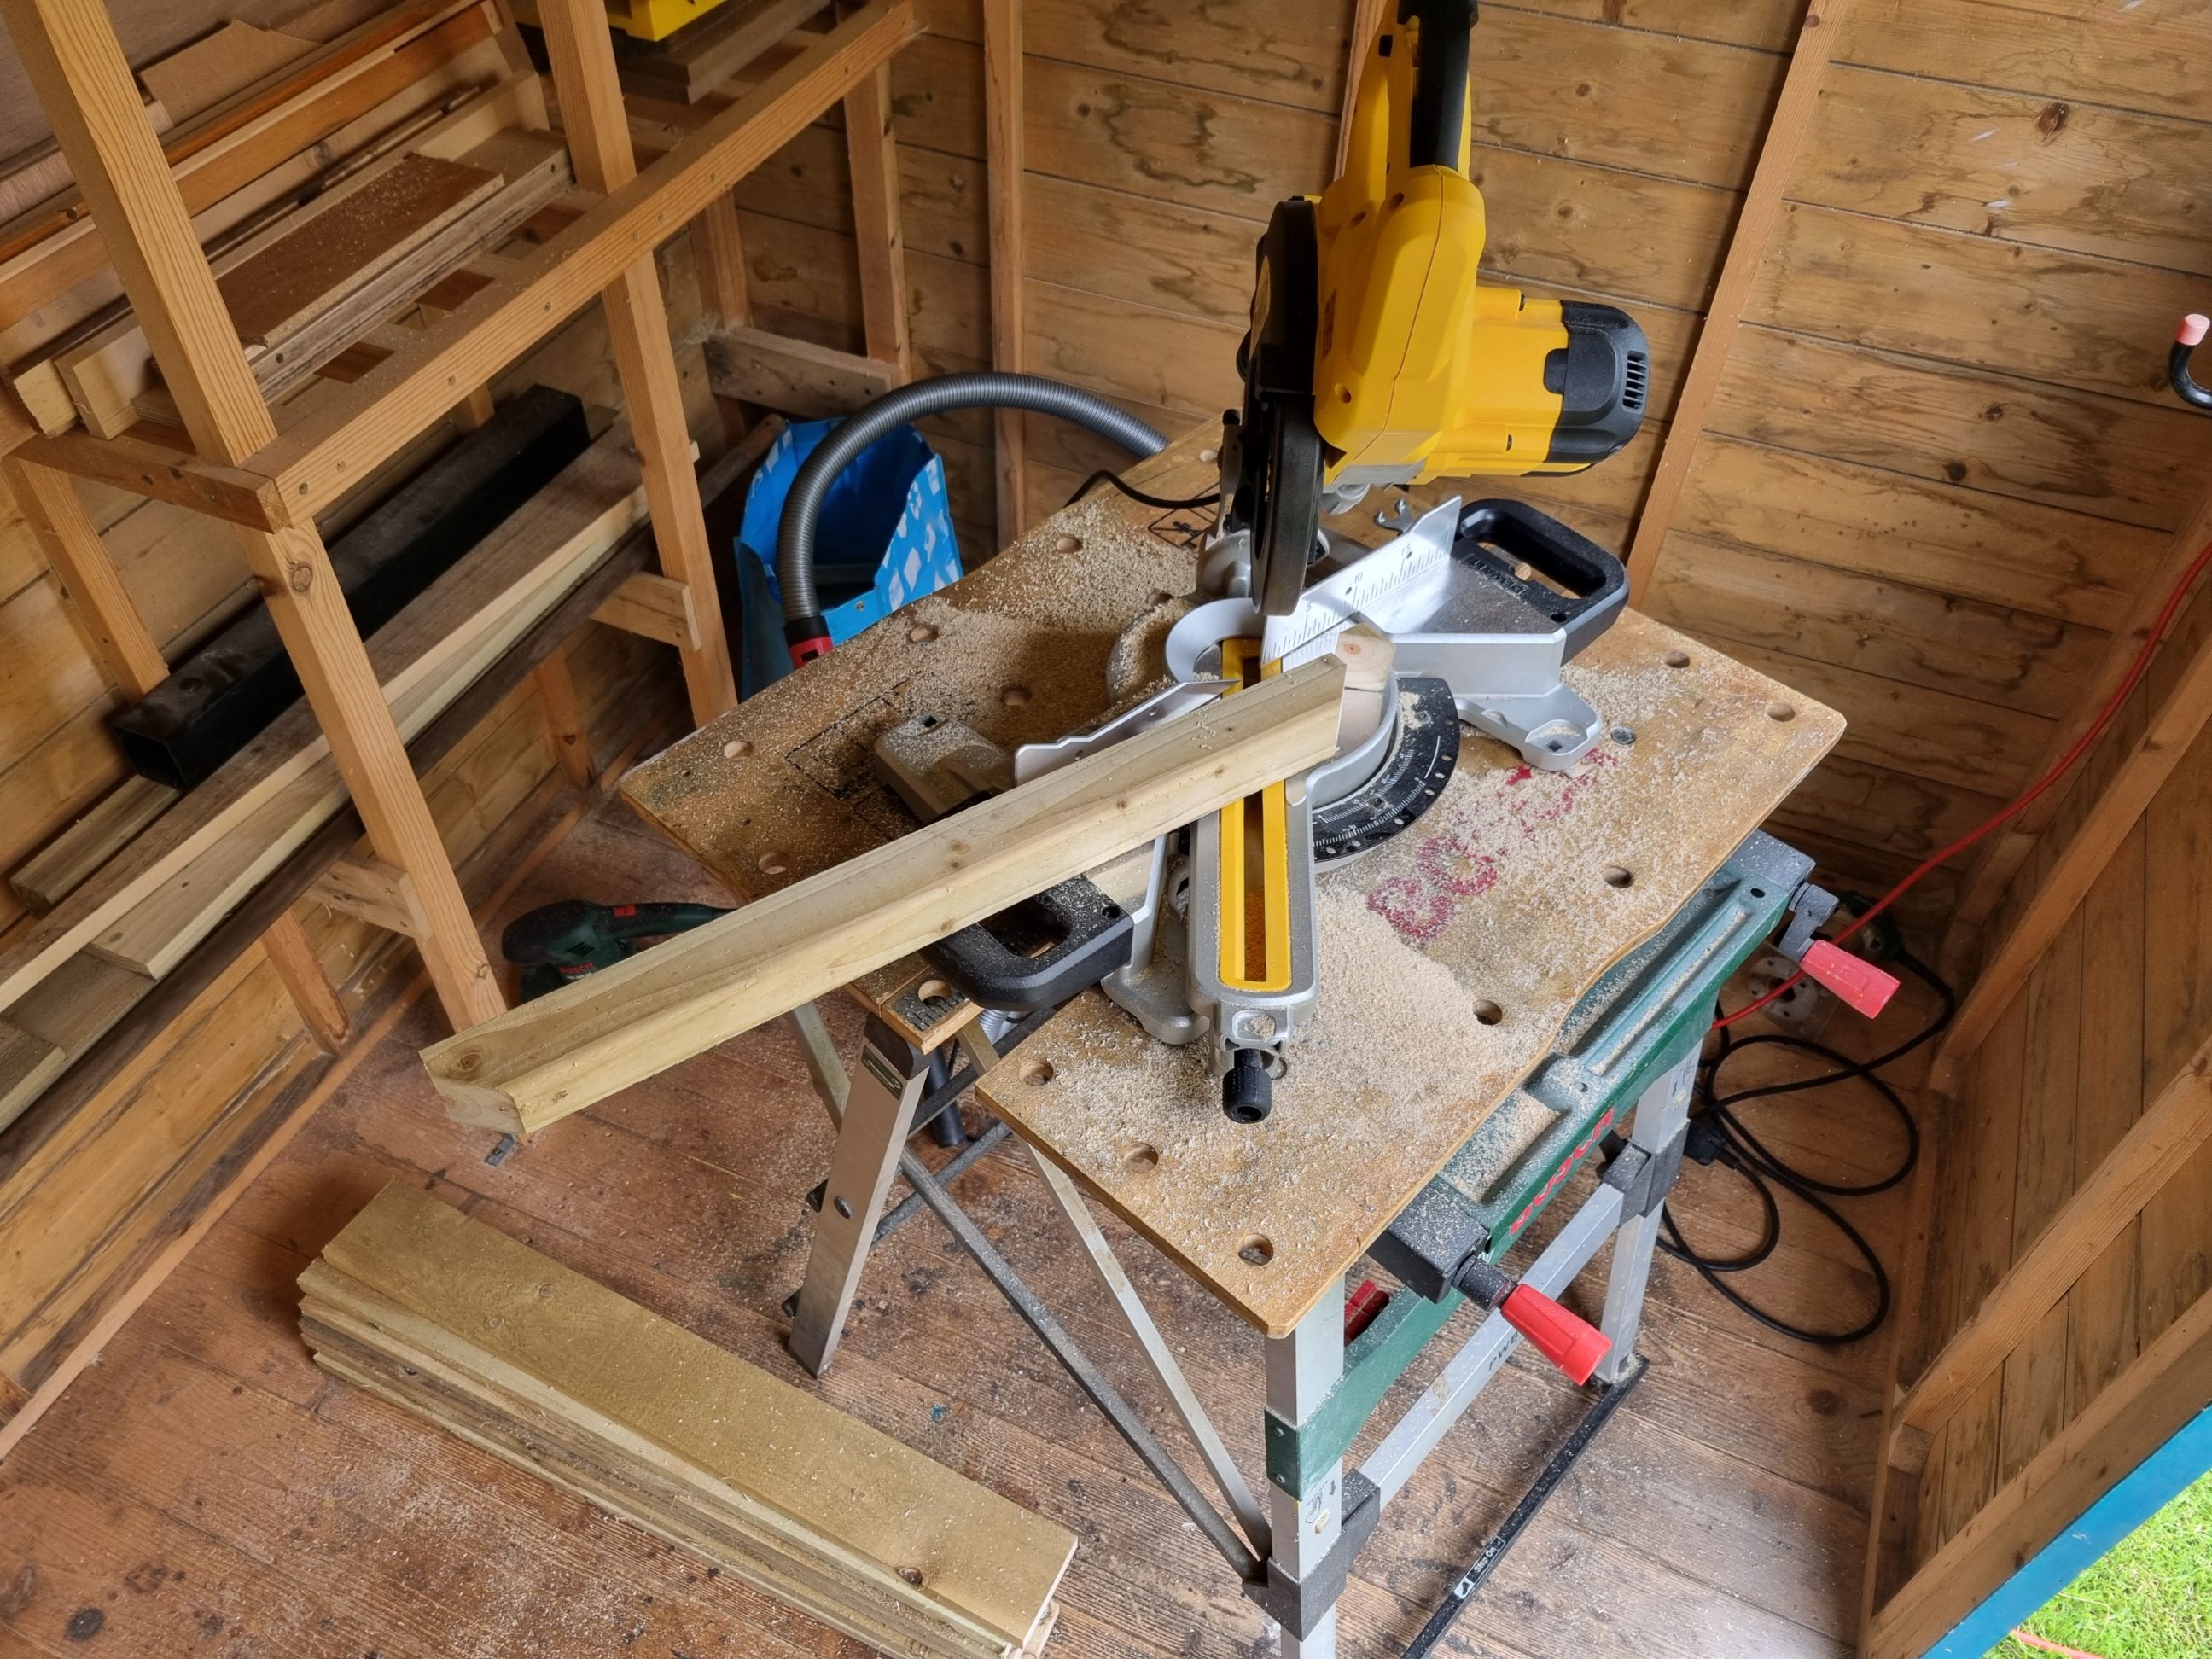
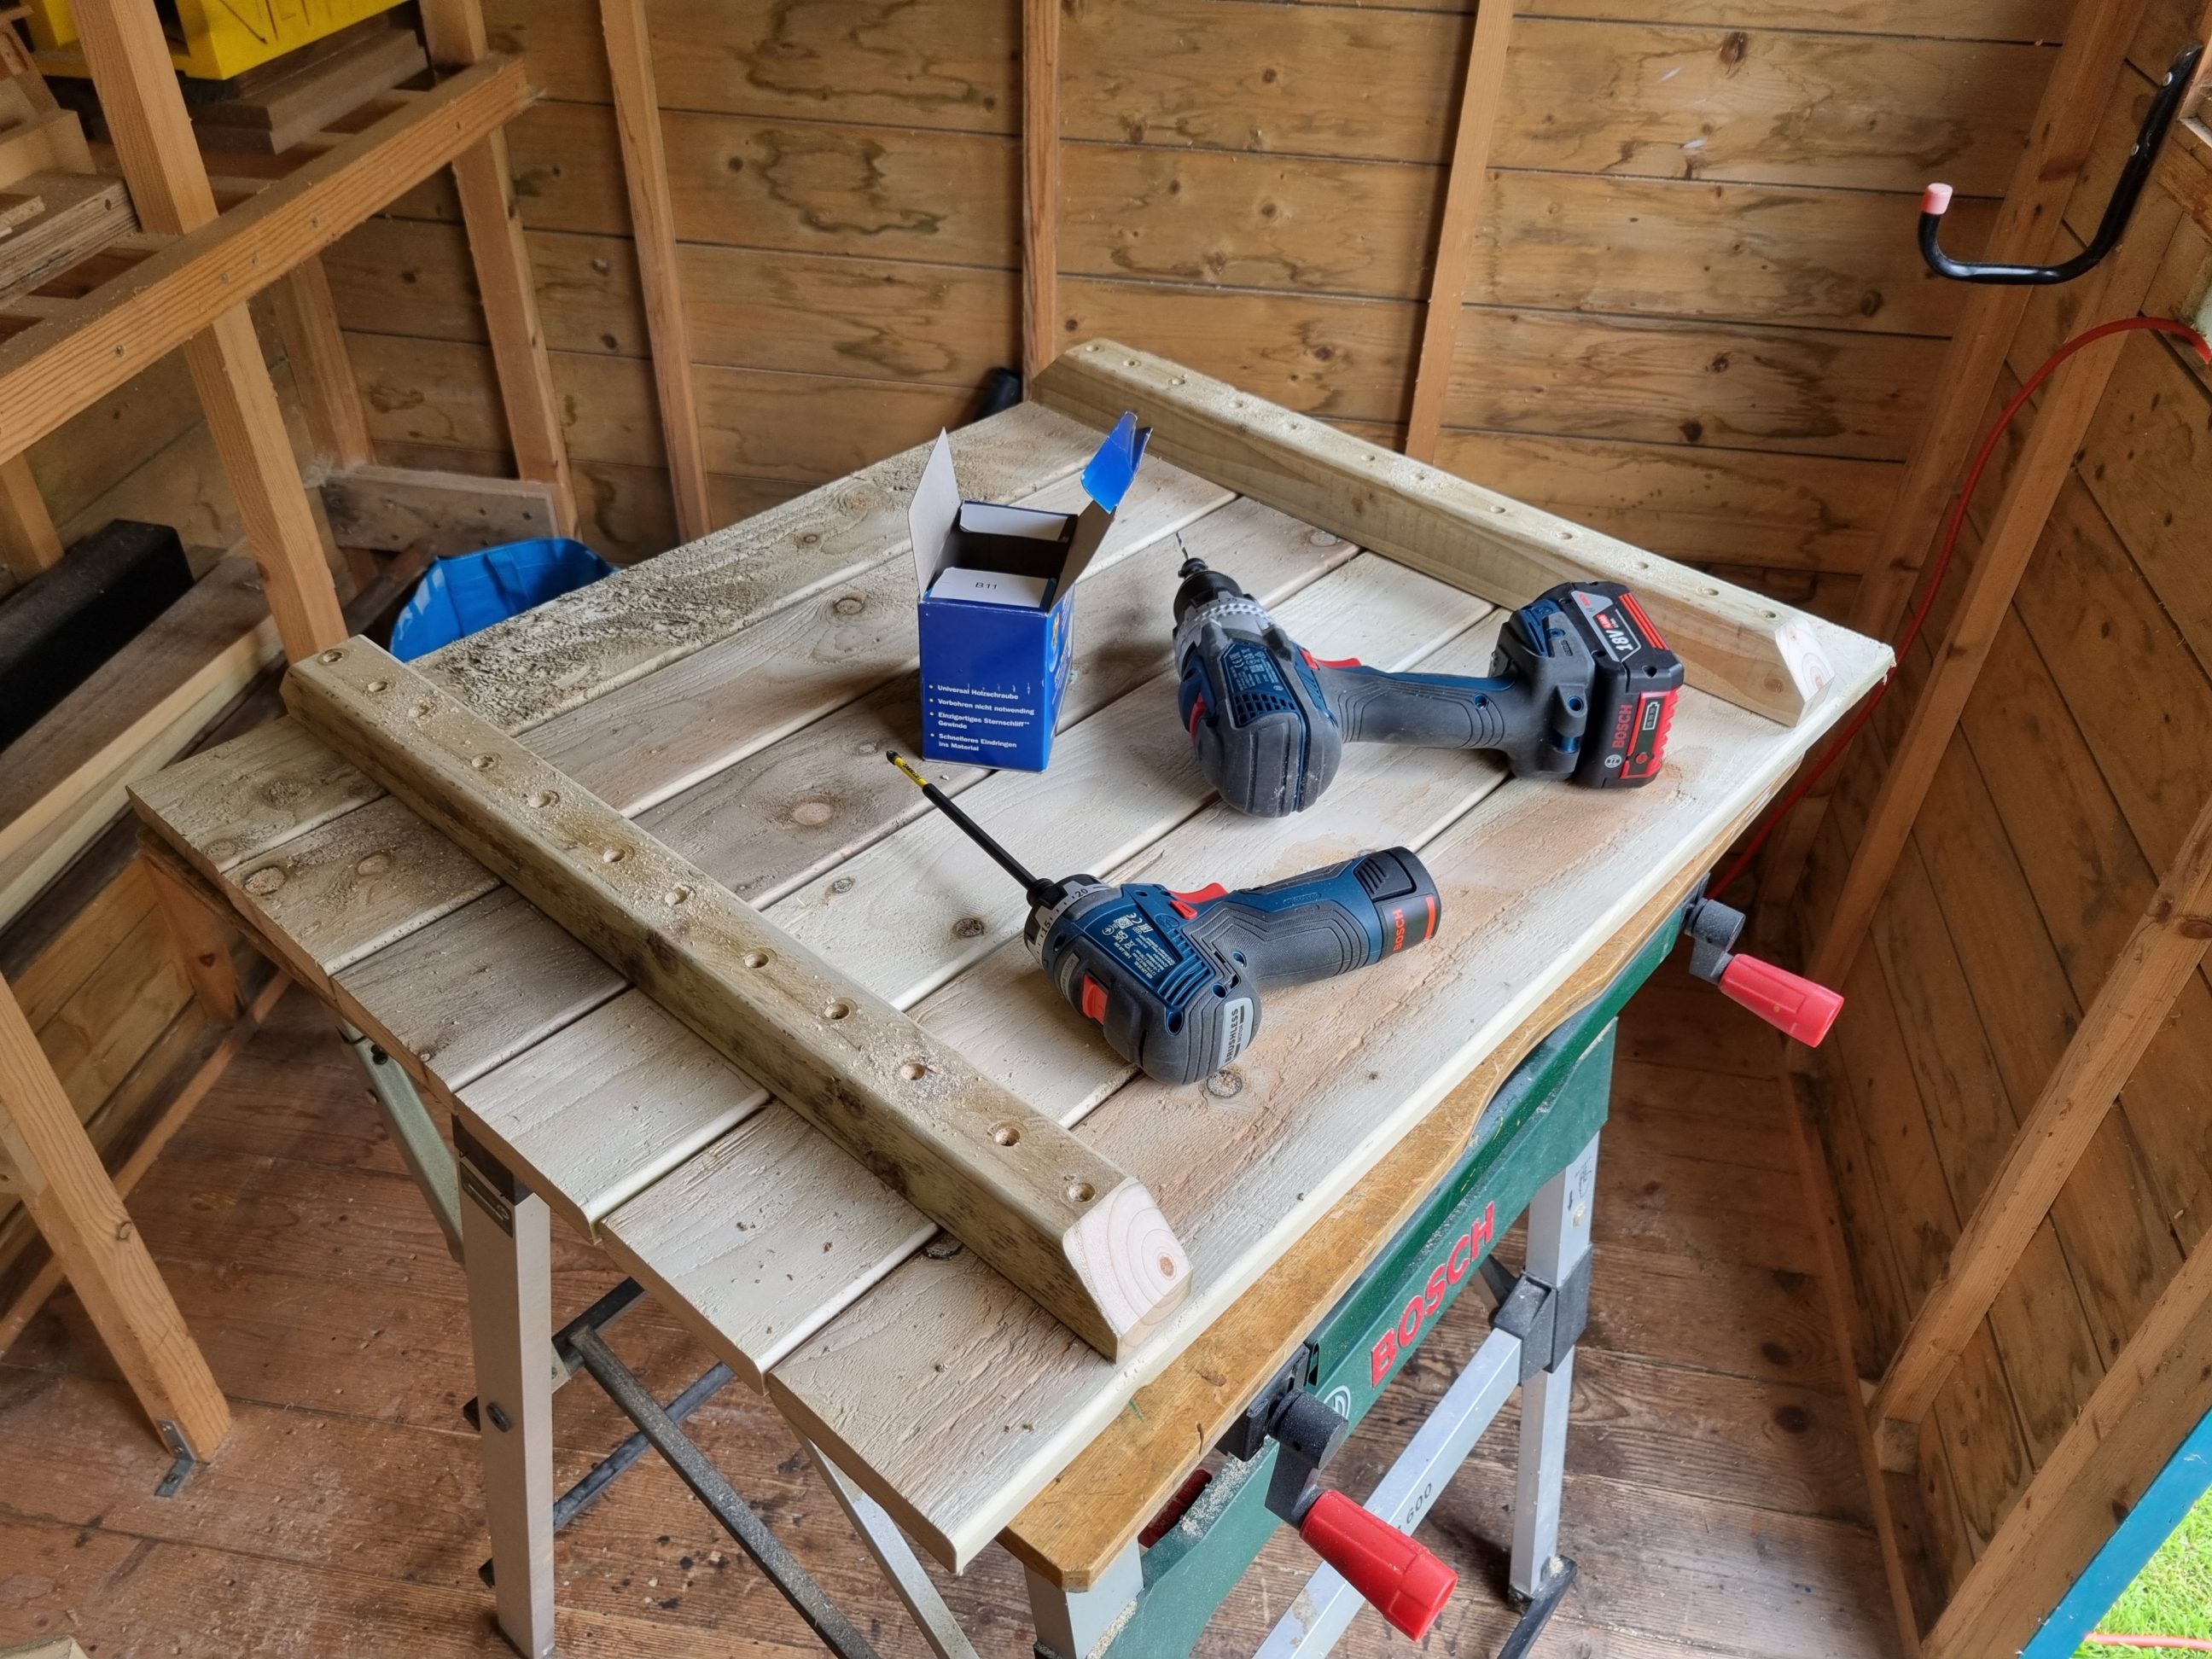
Once my cut list was prepared, I used my mitre saw to cut four legs, two side stretchers, and the medial stretcher. The use of half-lap joints made determining the lengths straightforward, eliminating any need for guesswork or calculations. The base dimensions were simply 10 cm less in both length and width than the top, which measured 80 x 60 cm (approximately 31 1/2 by 24 inches). The legs were trimmed to the required length, subtracting the thickness of the top, which was a standard 1 inch or 22 mm. To cut the joints, I used my dado stack and the throat plate I made a few months earlier. It took no time at all and the results were great. I can now deem it my new preferred method for cutting dadoes (or rebates and grooves, as they’re likely called in British English). There was little to fault with this technique, except perhaps the amount of sawdust that the shop vacuum failed to extract. Aside from that, this approach to cutting half-lap joints was both swift and secure, which is, of course, paramount. I cut my half-lap joints with a slight protrusion rather than a perfect overlap, allowing me to work around the original round-overs, which appeared more aesthetically pleasing when the parts were not exactly flush with one another. The edges of the side stretchers were originally the only ones rounded over, but to give the project more consistency, I had to make the other ones look the same.

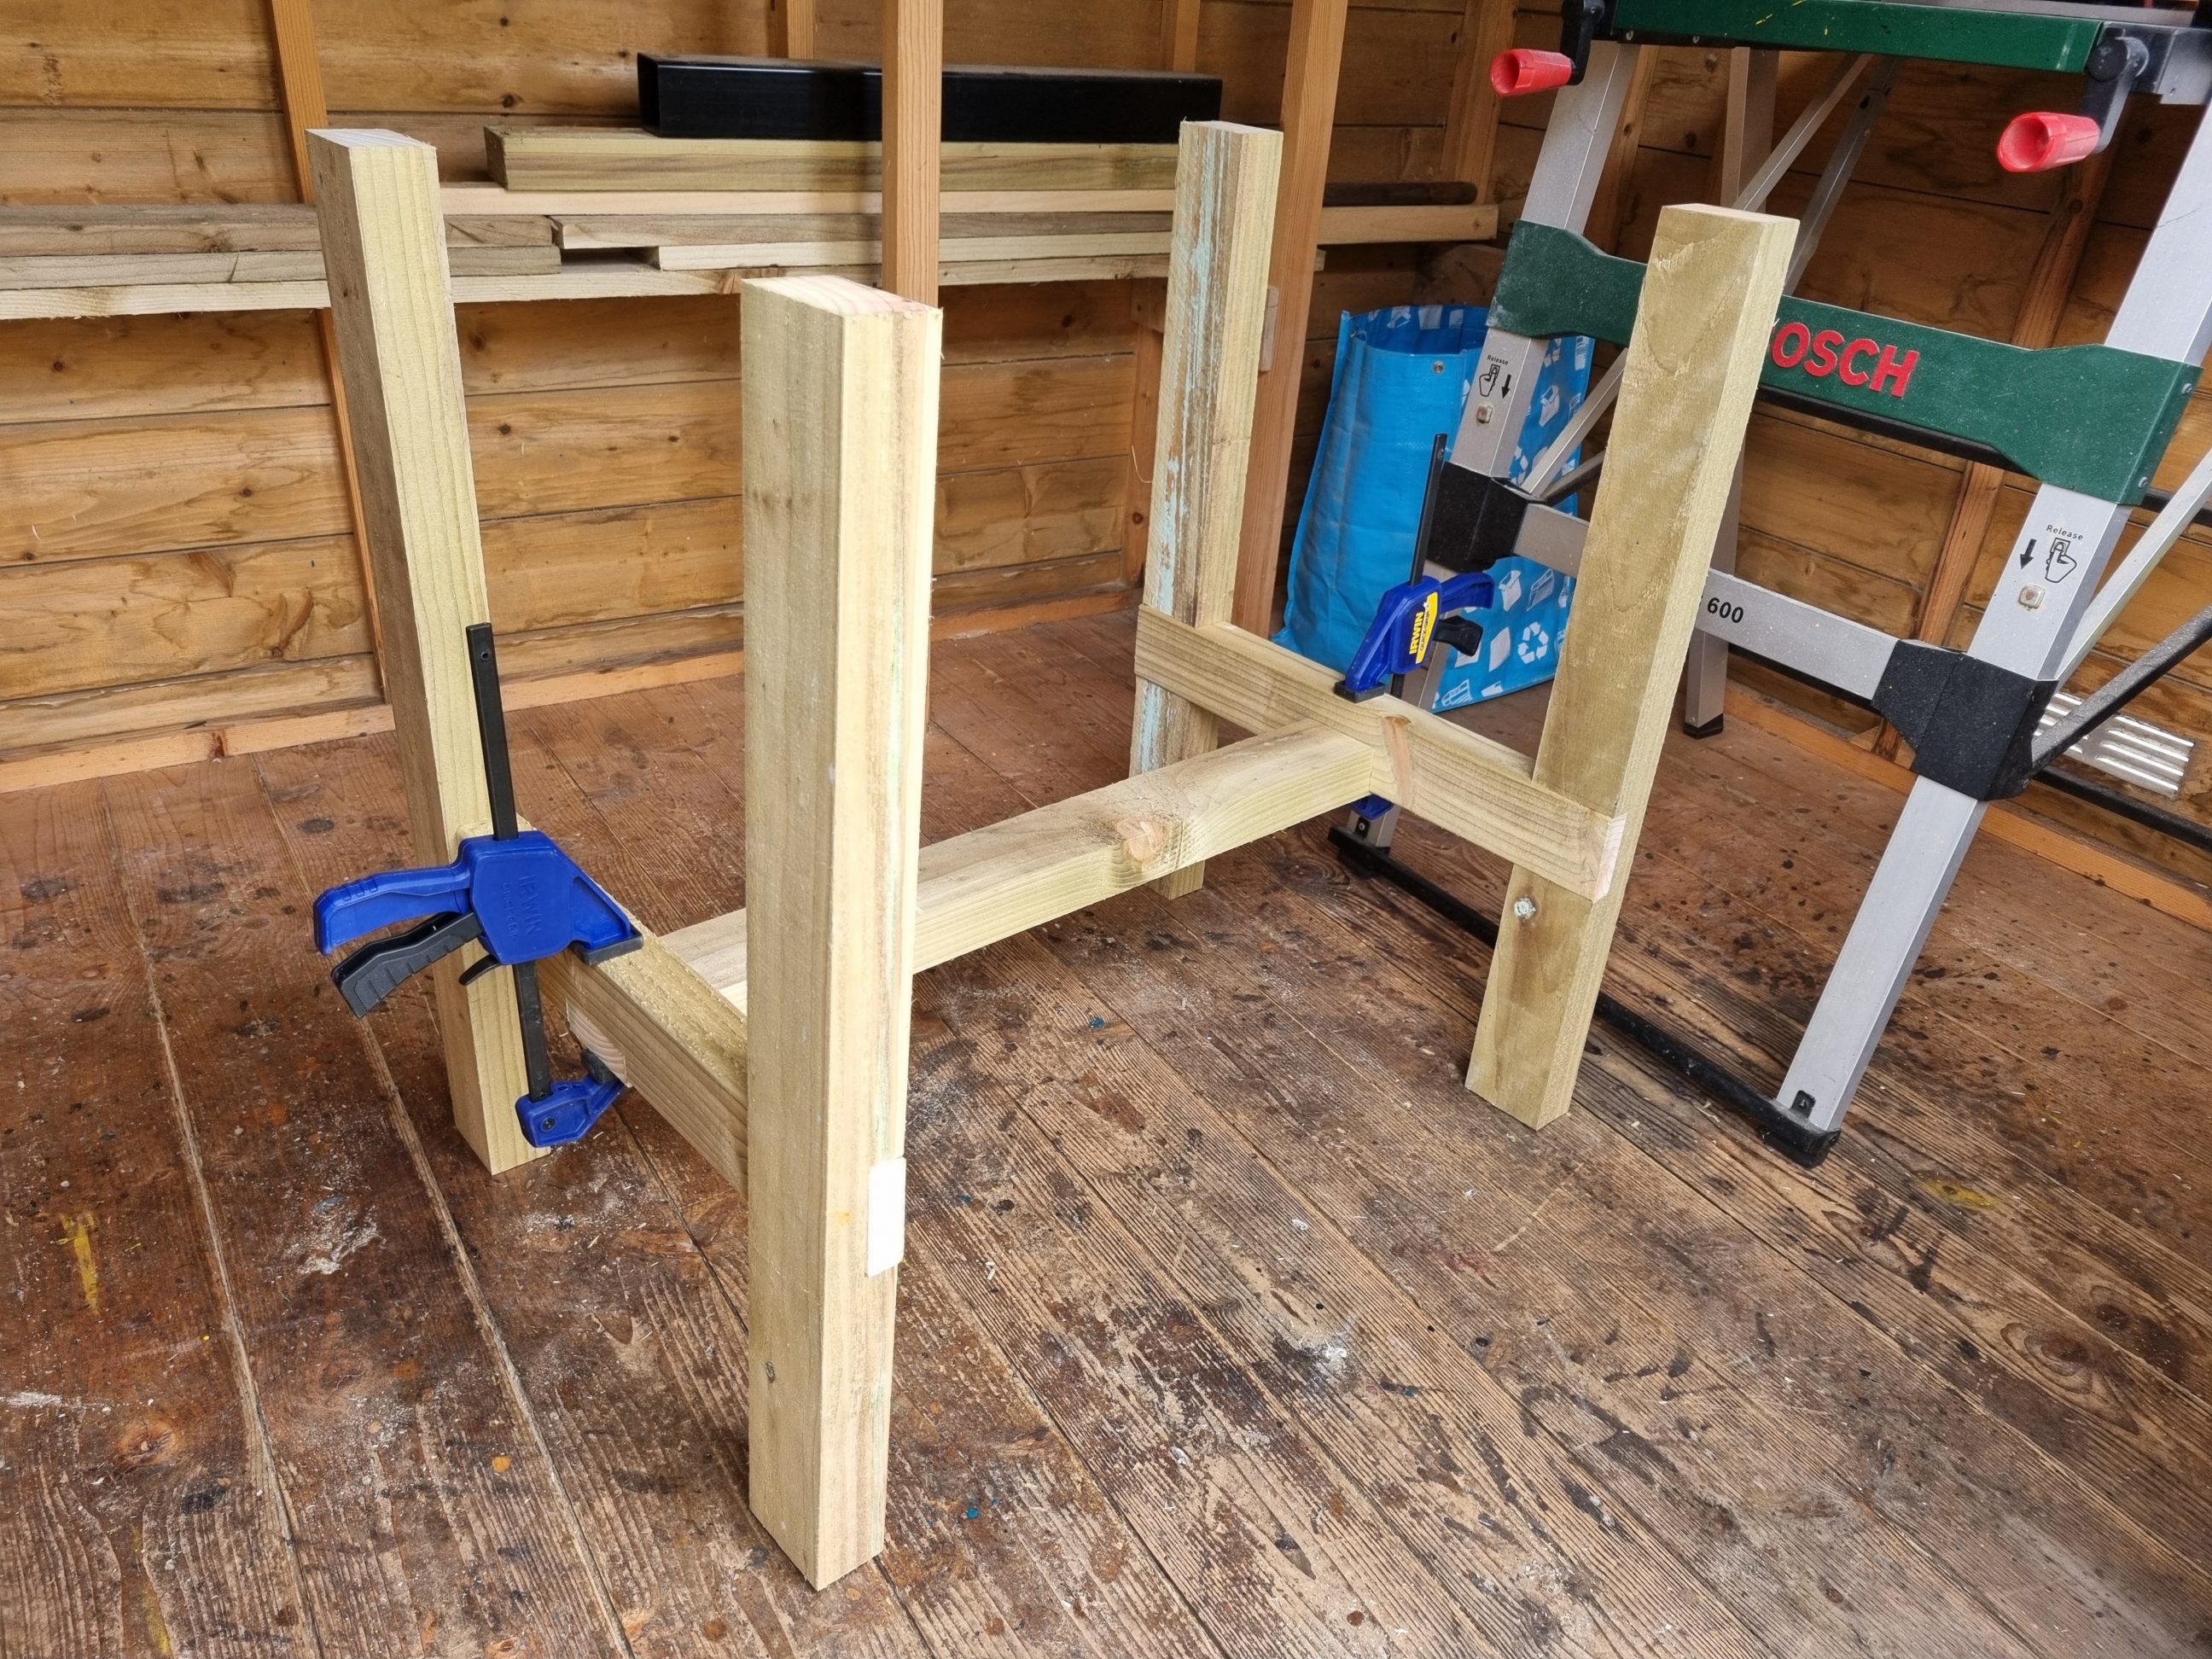
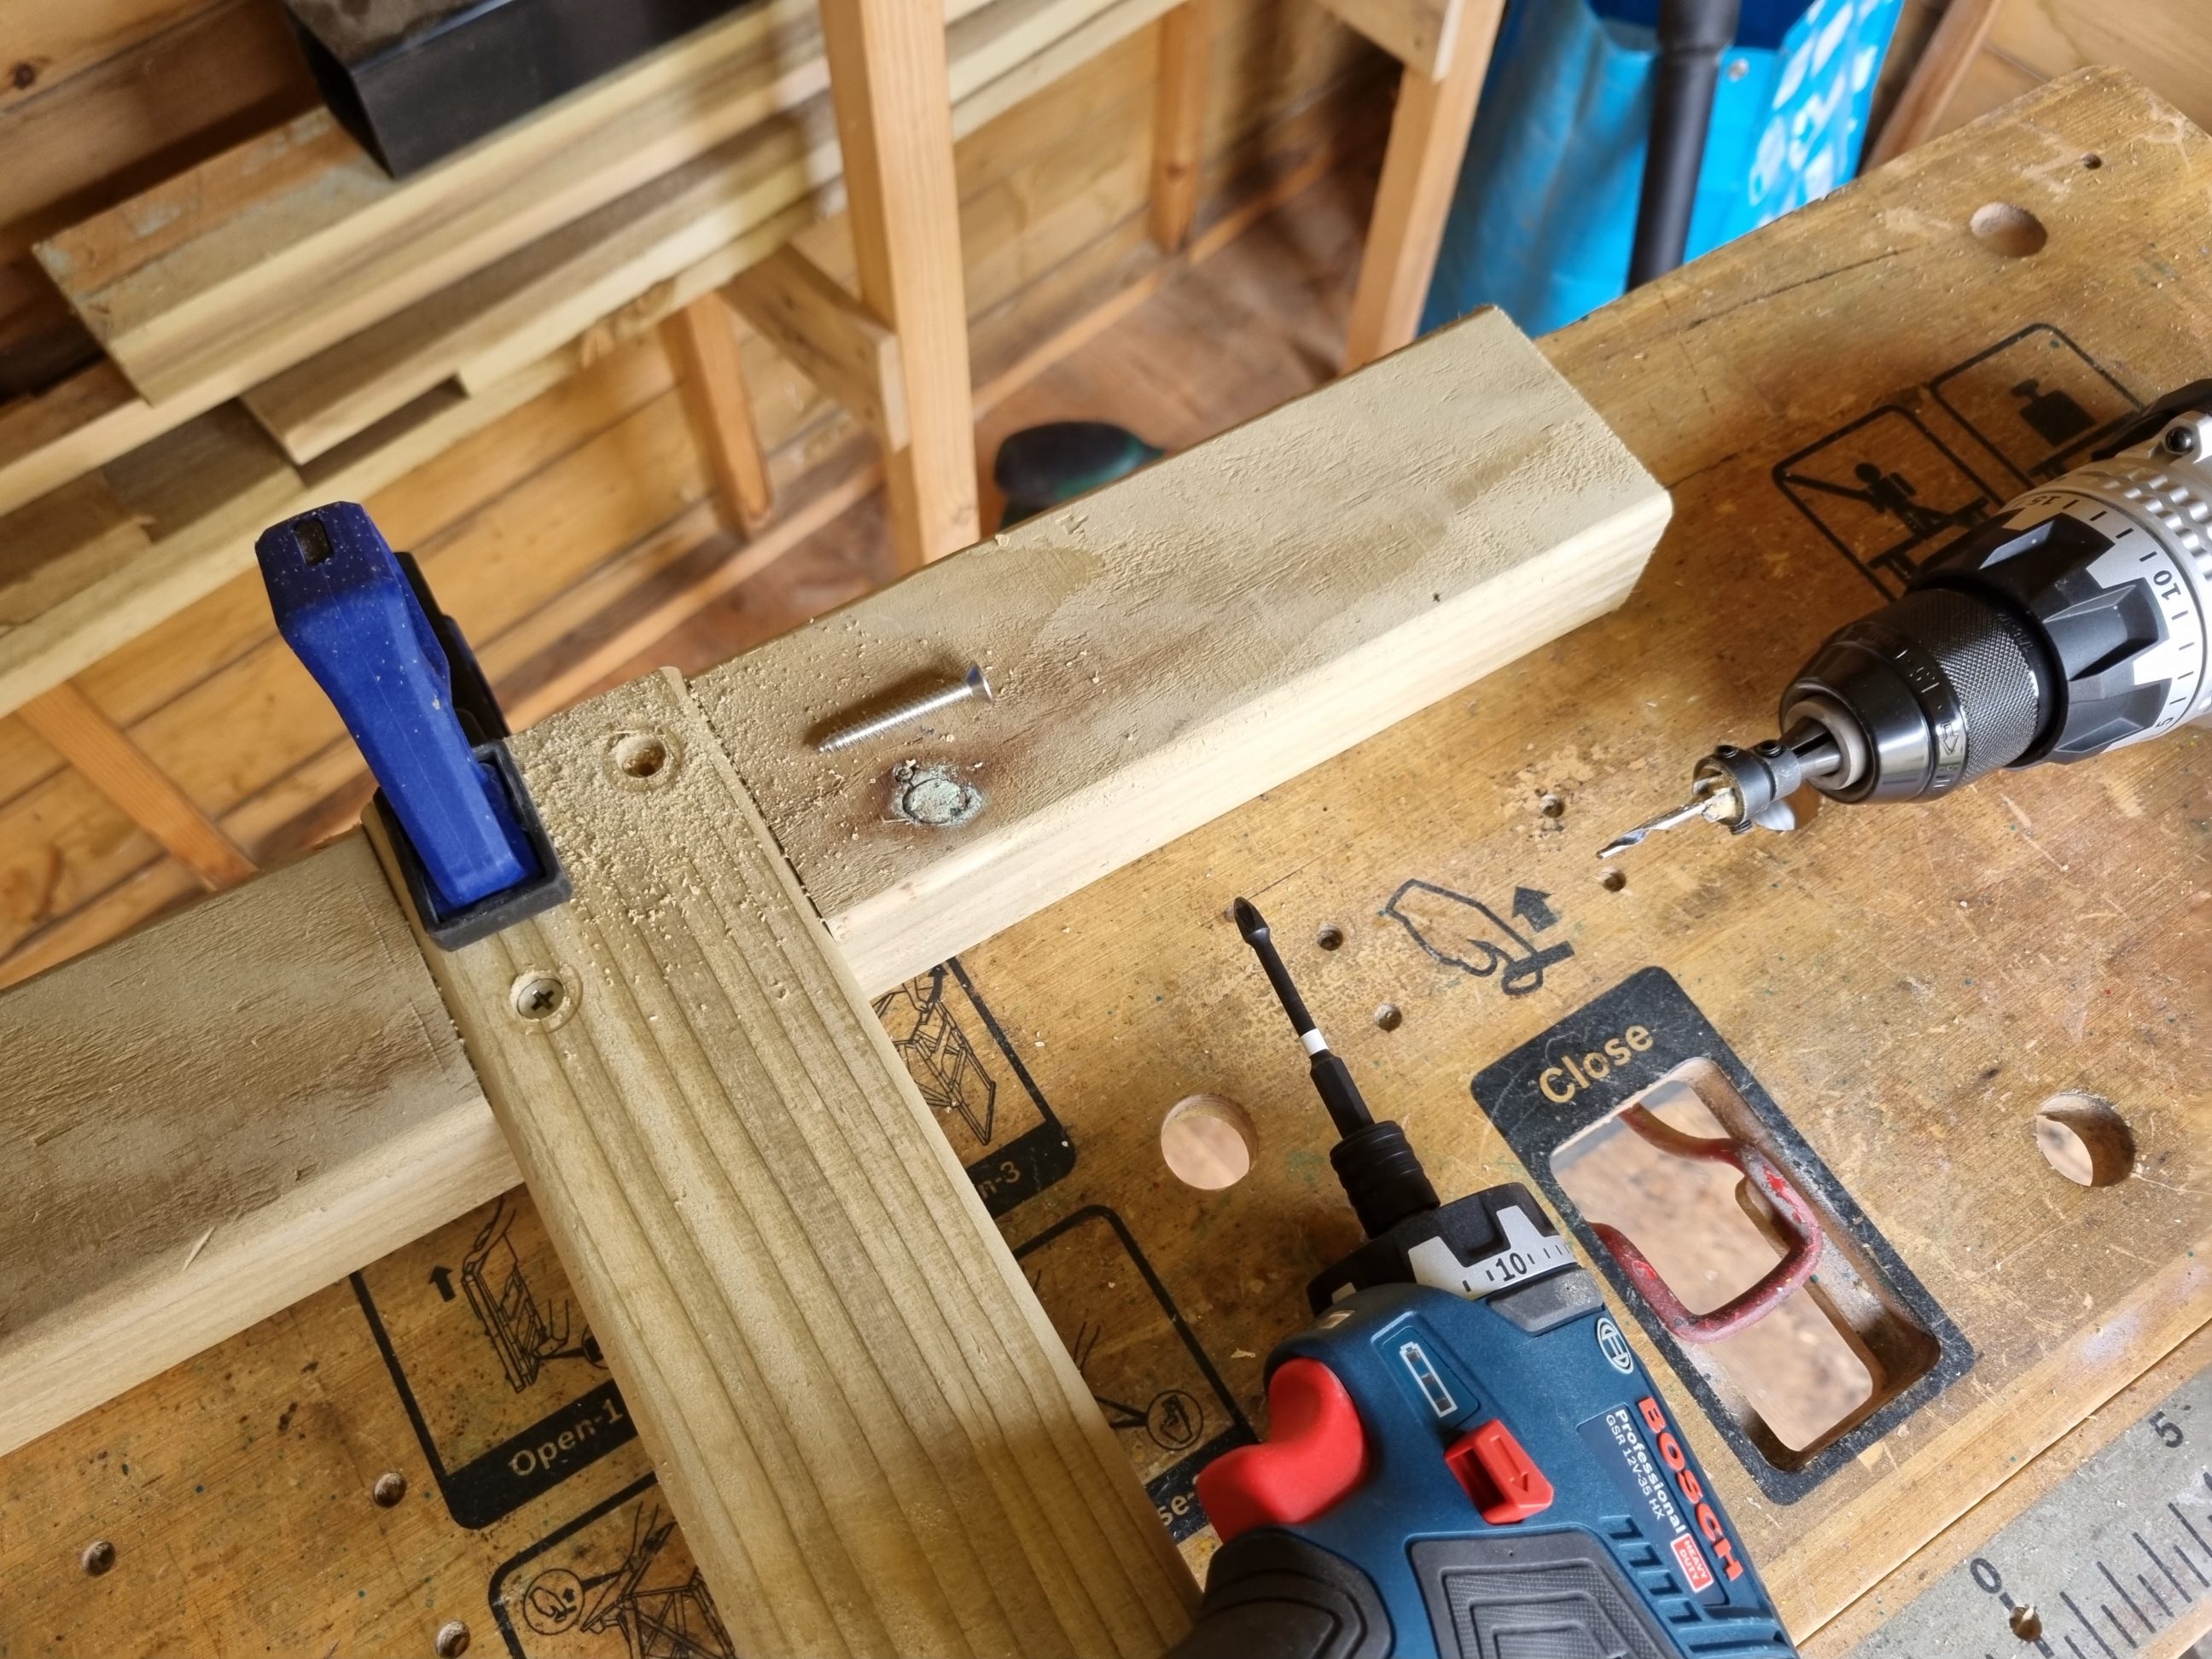
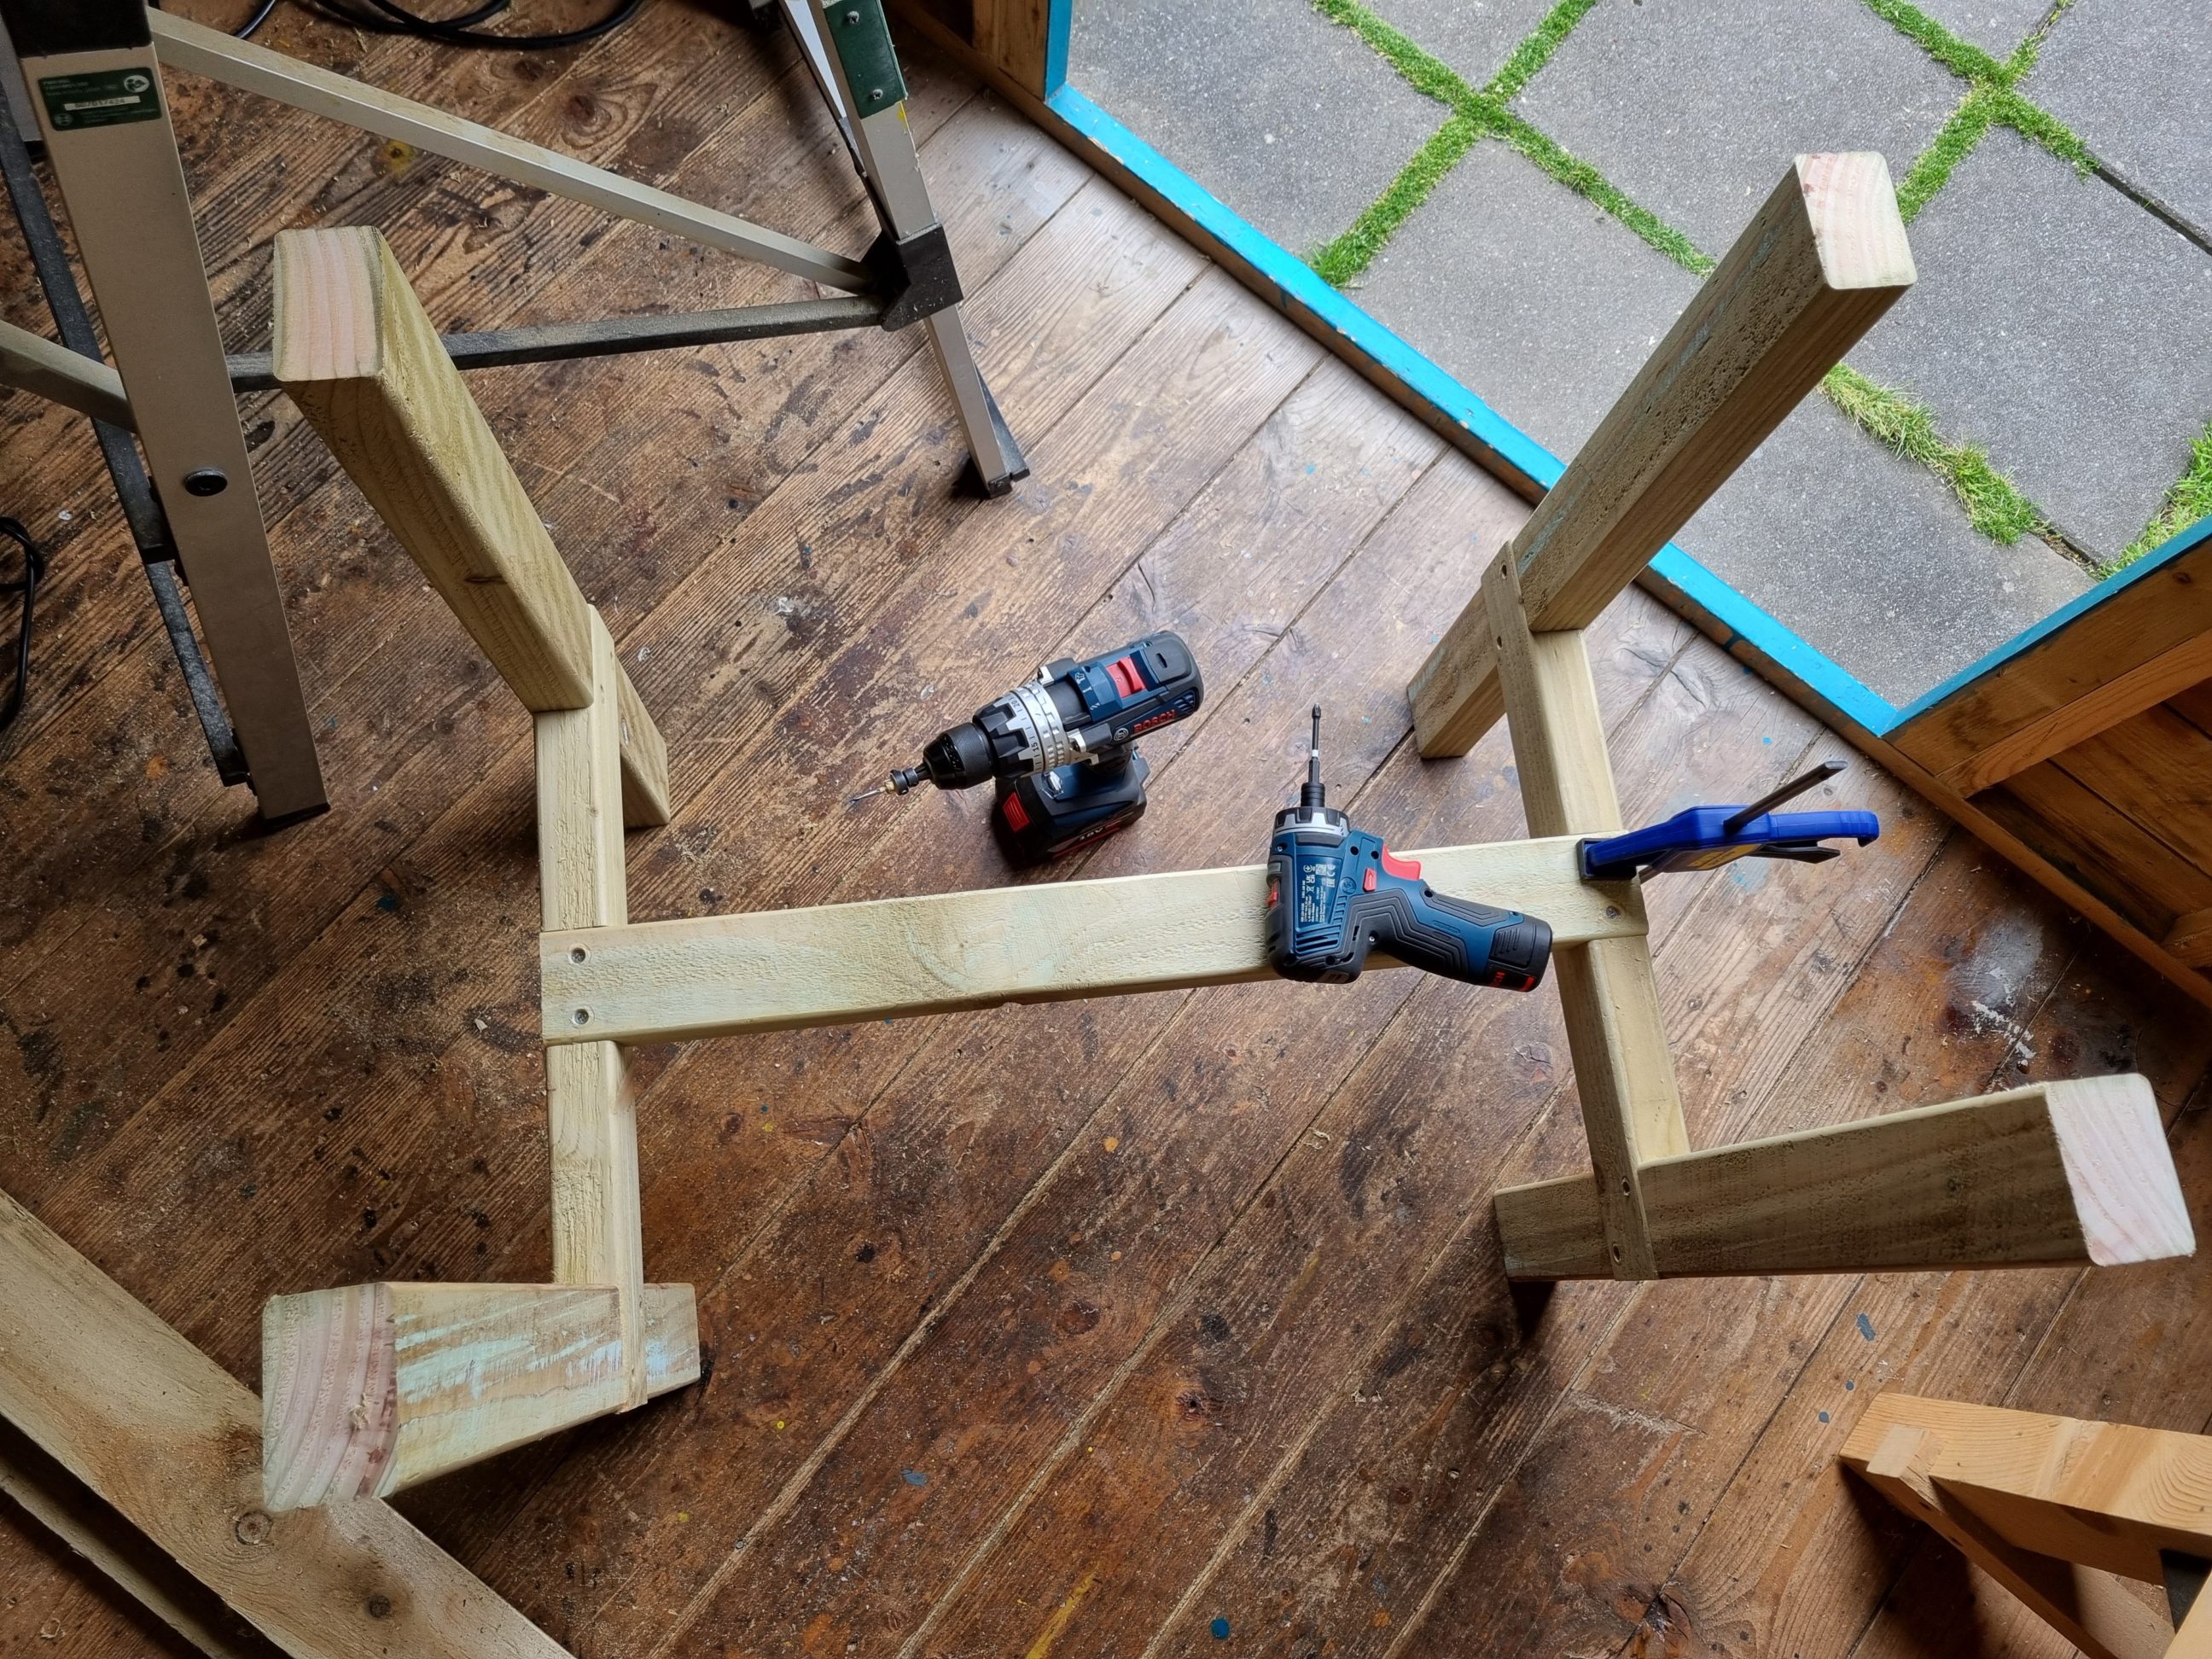
The joints turned out to be quite snug, facilitating an easier quick dry-fit. My goal was to visualise the best way to assemble all the components, considering various orientations such as outside-facing or upside-down. After some deliberation, I positioned the side stretchers inside the frame and the medial stretcher facing upwards. However, later on, I was dissatisfied with this arrangement due to the visible counterbored holes and their susceptibility to wet weather. Prior to the final assembly, I lightly sanded the surfaces and rounded off the sharp edges. To prevent any splitting caused by the screws, I pre-drilled and countersunk all the necessary areas.
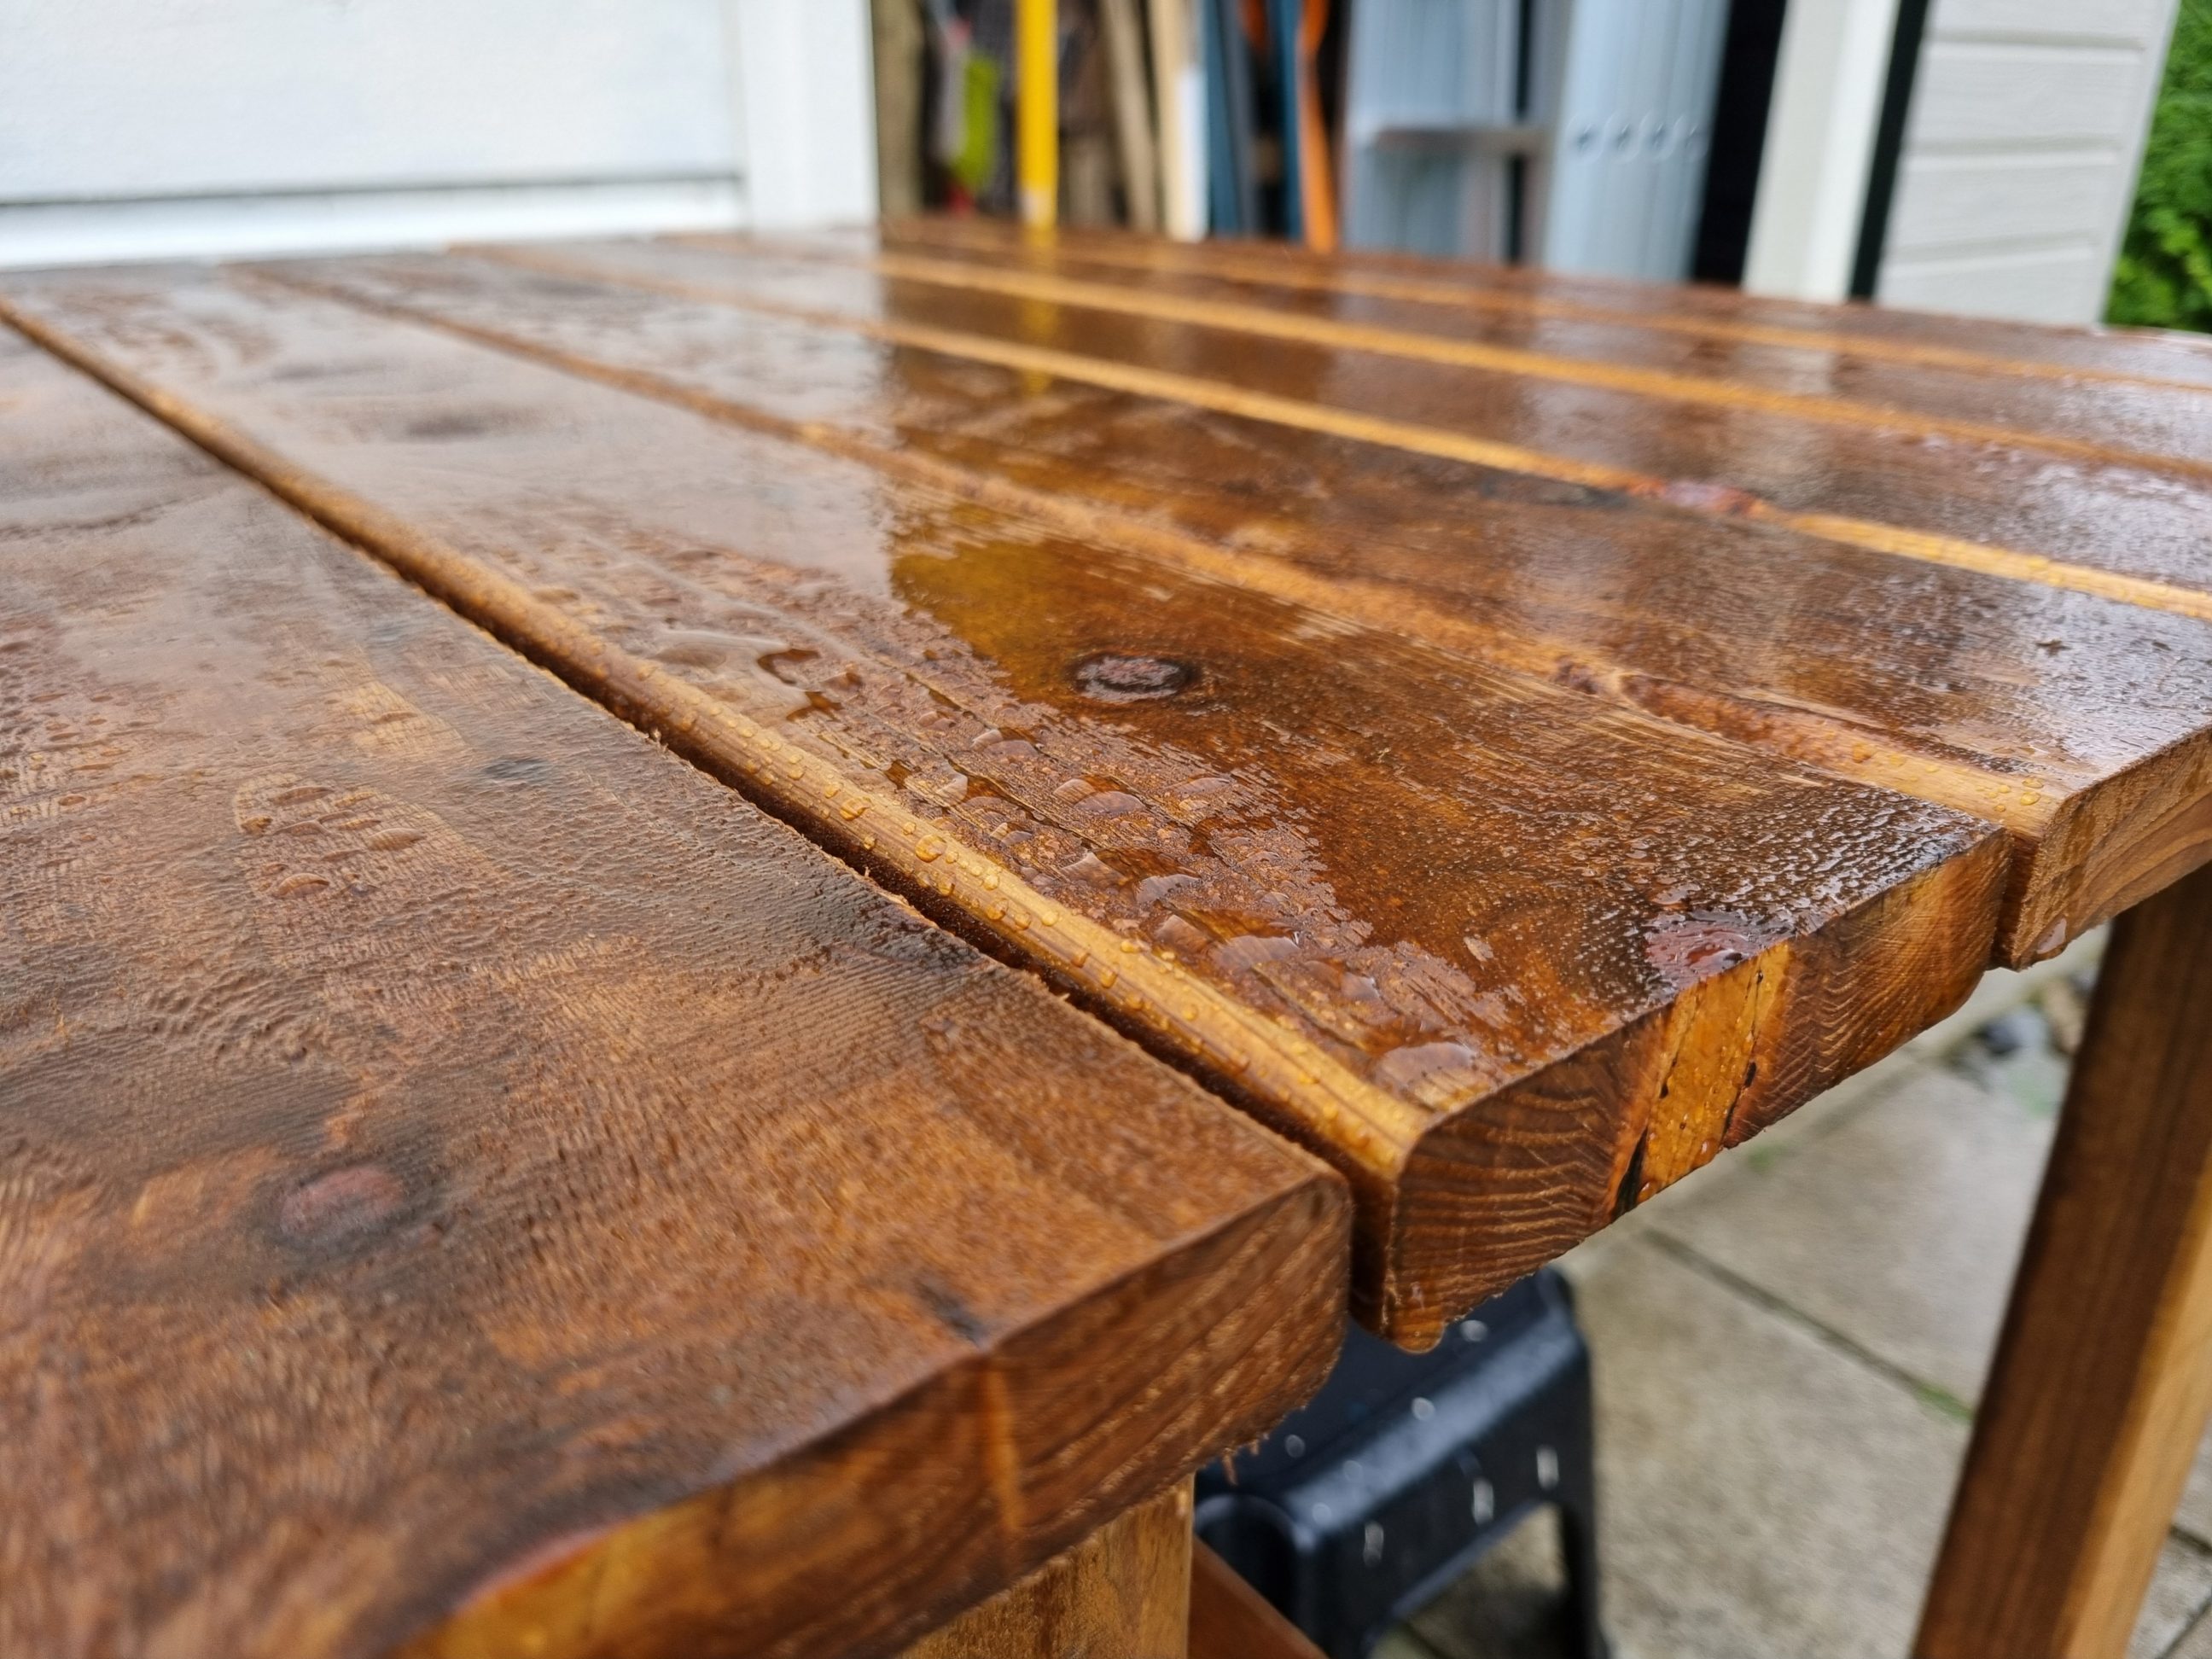
I cut the tabletop boards to length and the top rails at a 45º angle to make them more user-friendly. Again, all the tabletop parts were sanded smooth and rounded over where needed. I counterbored, quite deeply, the holes in the rails to get the most from the screws. Their length was too short for attaching the top boards without sinking them into the wood and the next available size was too long and they would go through the top. I wanted them to sit deep in the wood, almost all the way through.
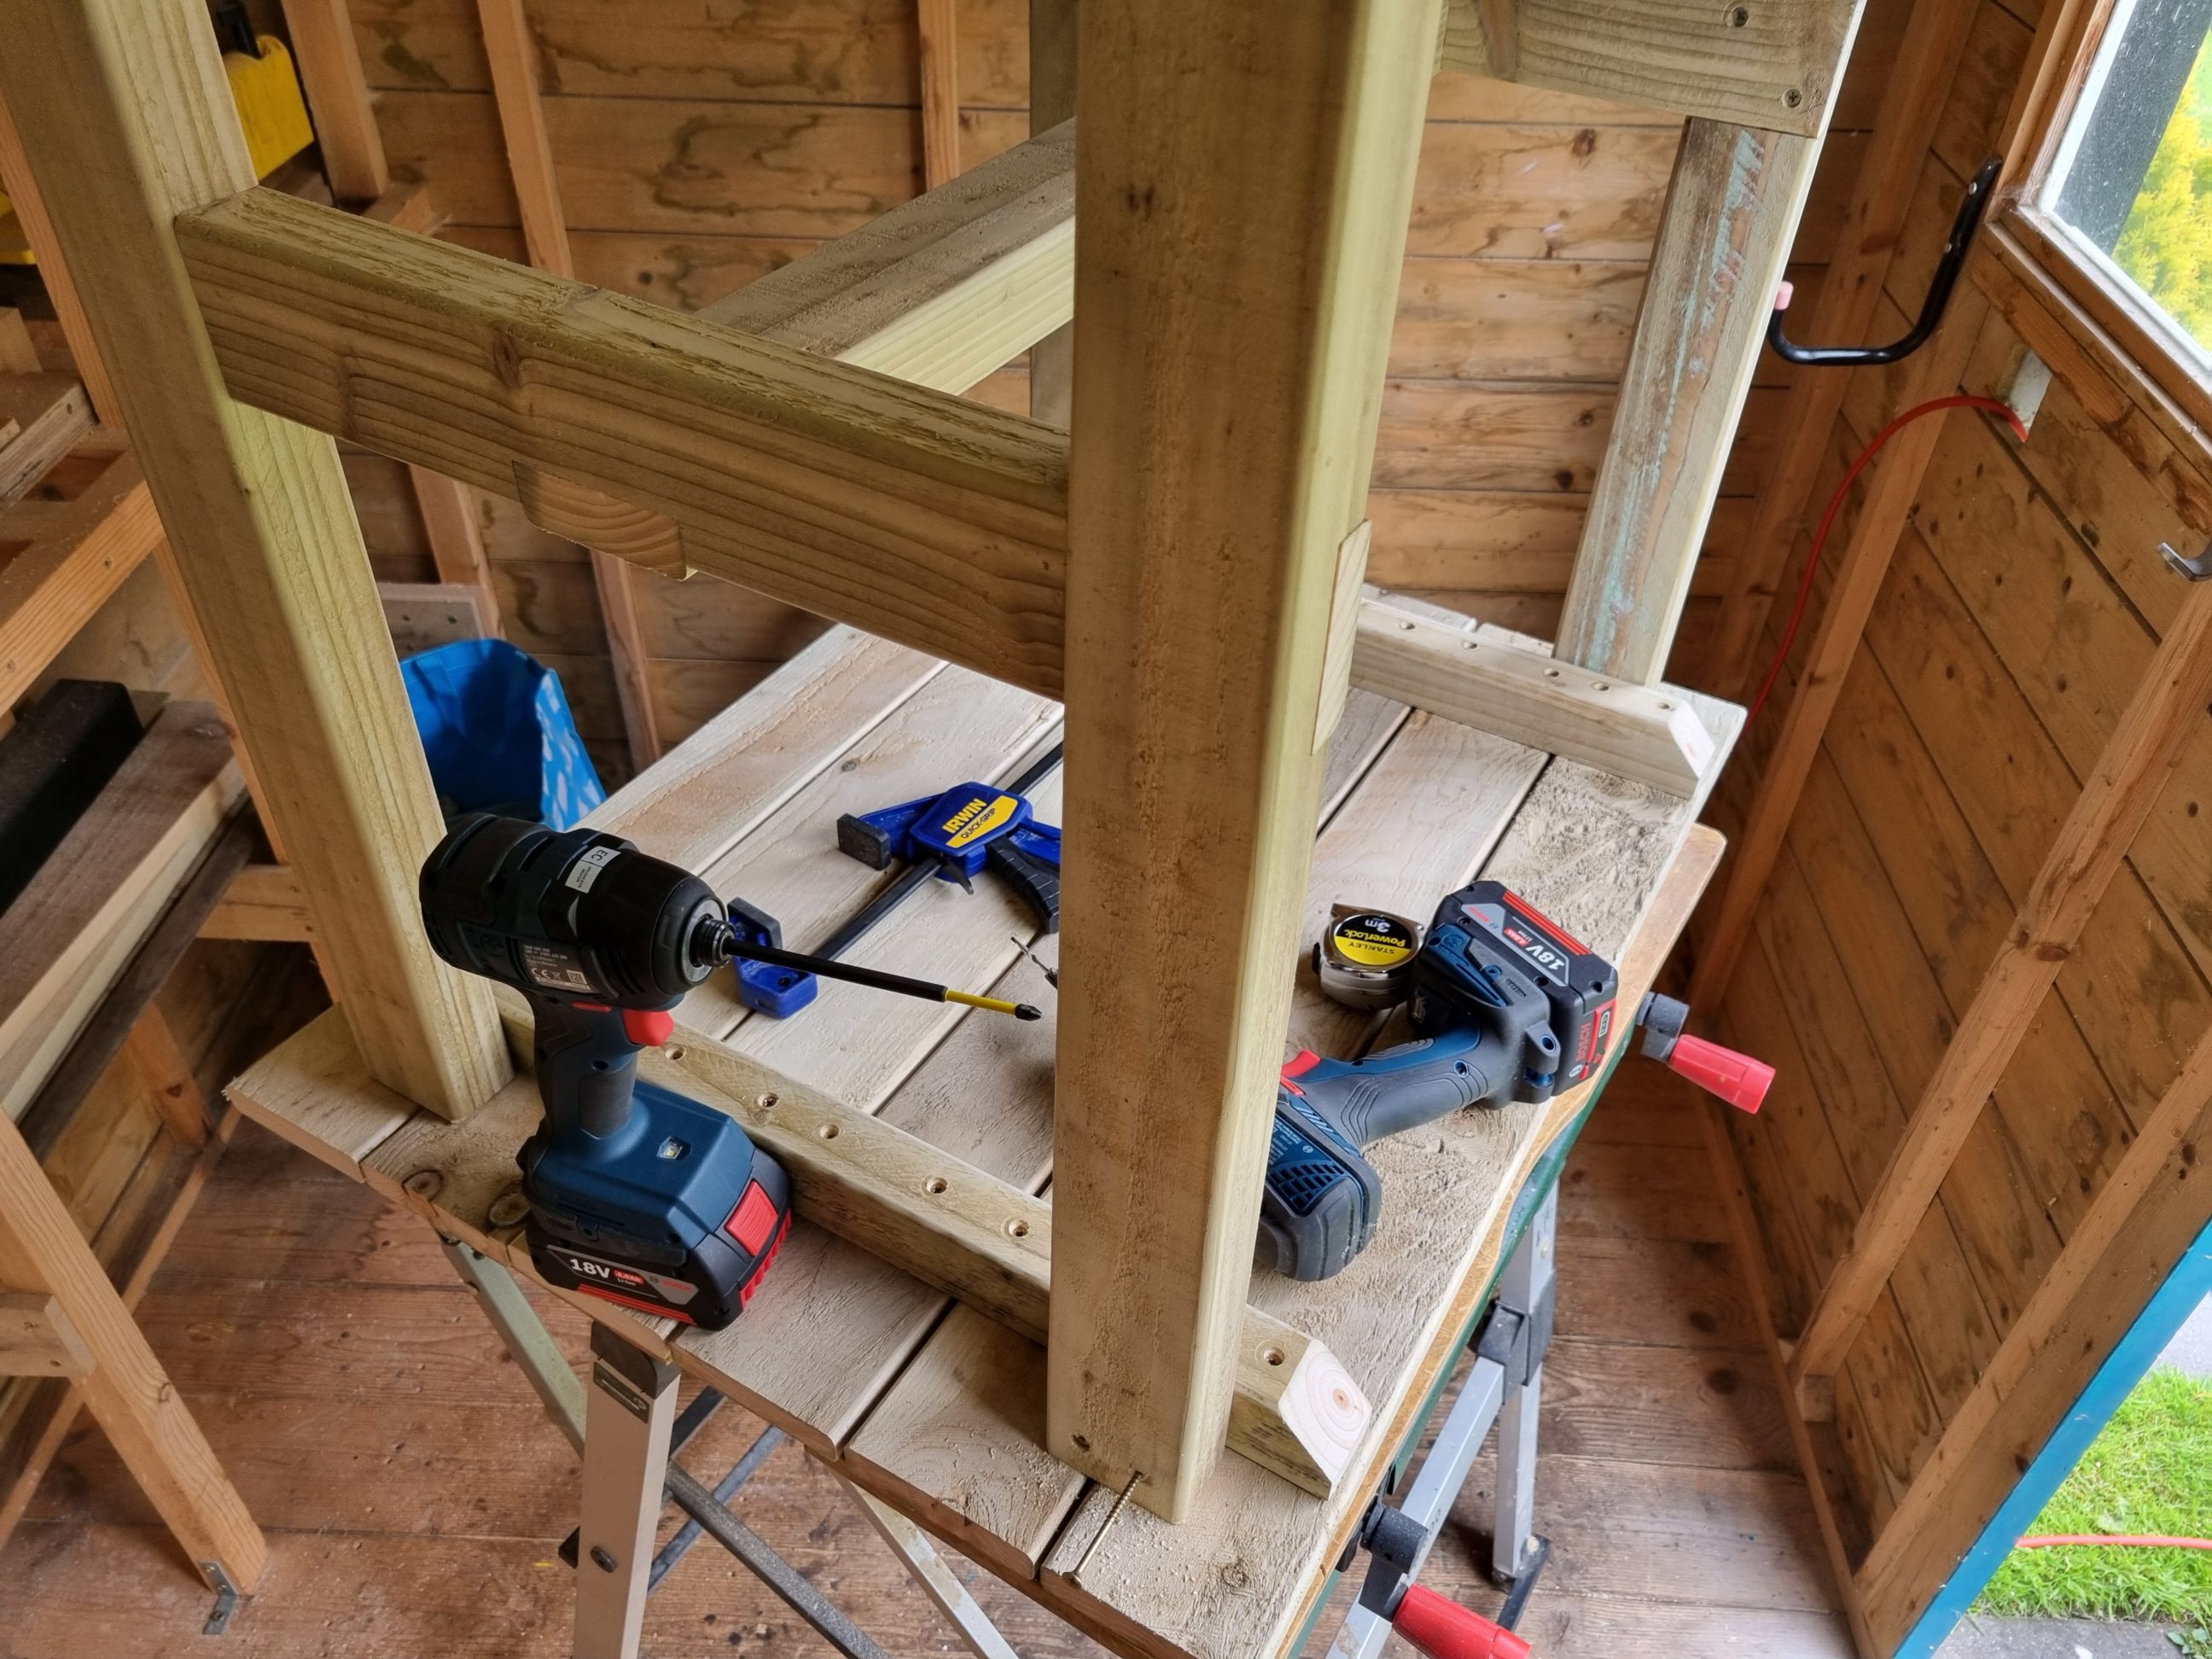
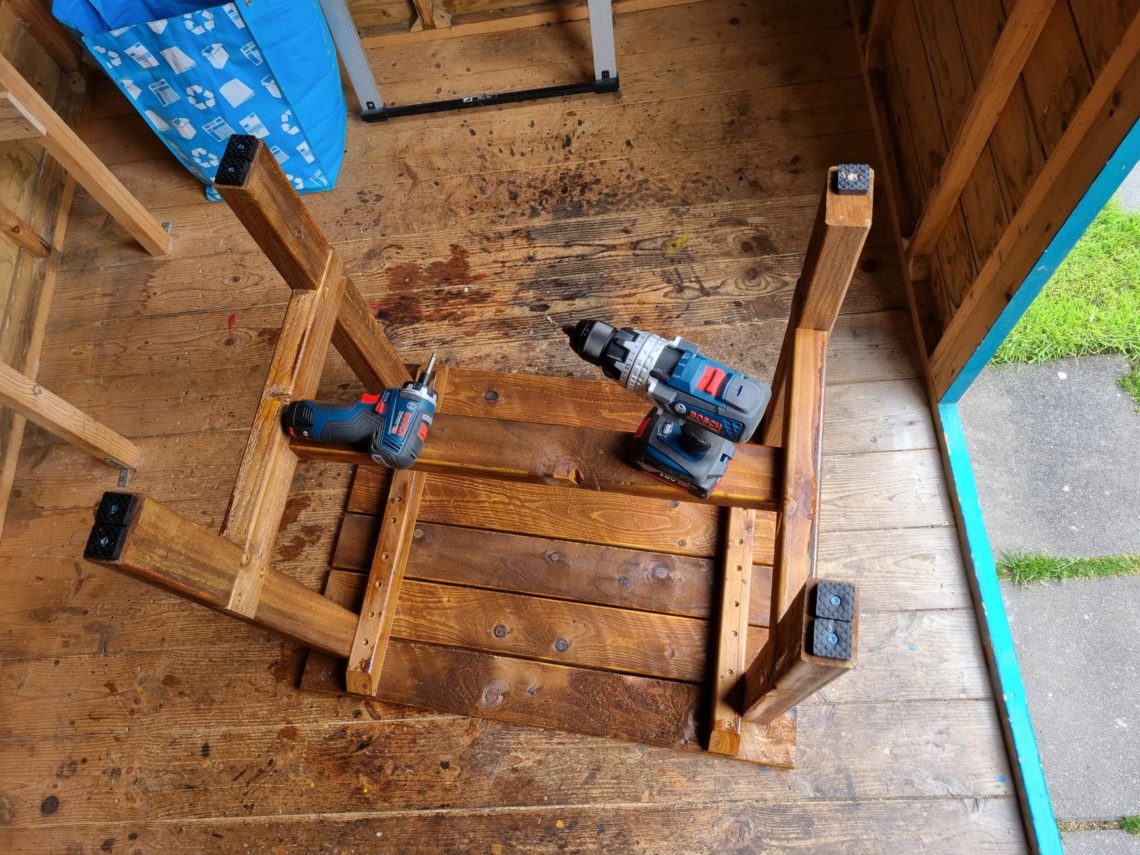
Attaching the legs to the rail required even longer screws and a much more powerful tool – my trusty 12-volt screwdriver didn’t work and I had to use my impact driver. With the assembly completed, all that remained was the finishing touch. Sanding the table before this step seemed superfluous, the edges were crisp but not too sharp.

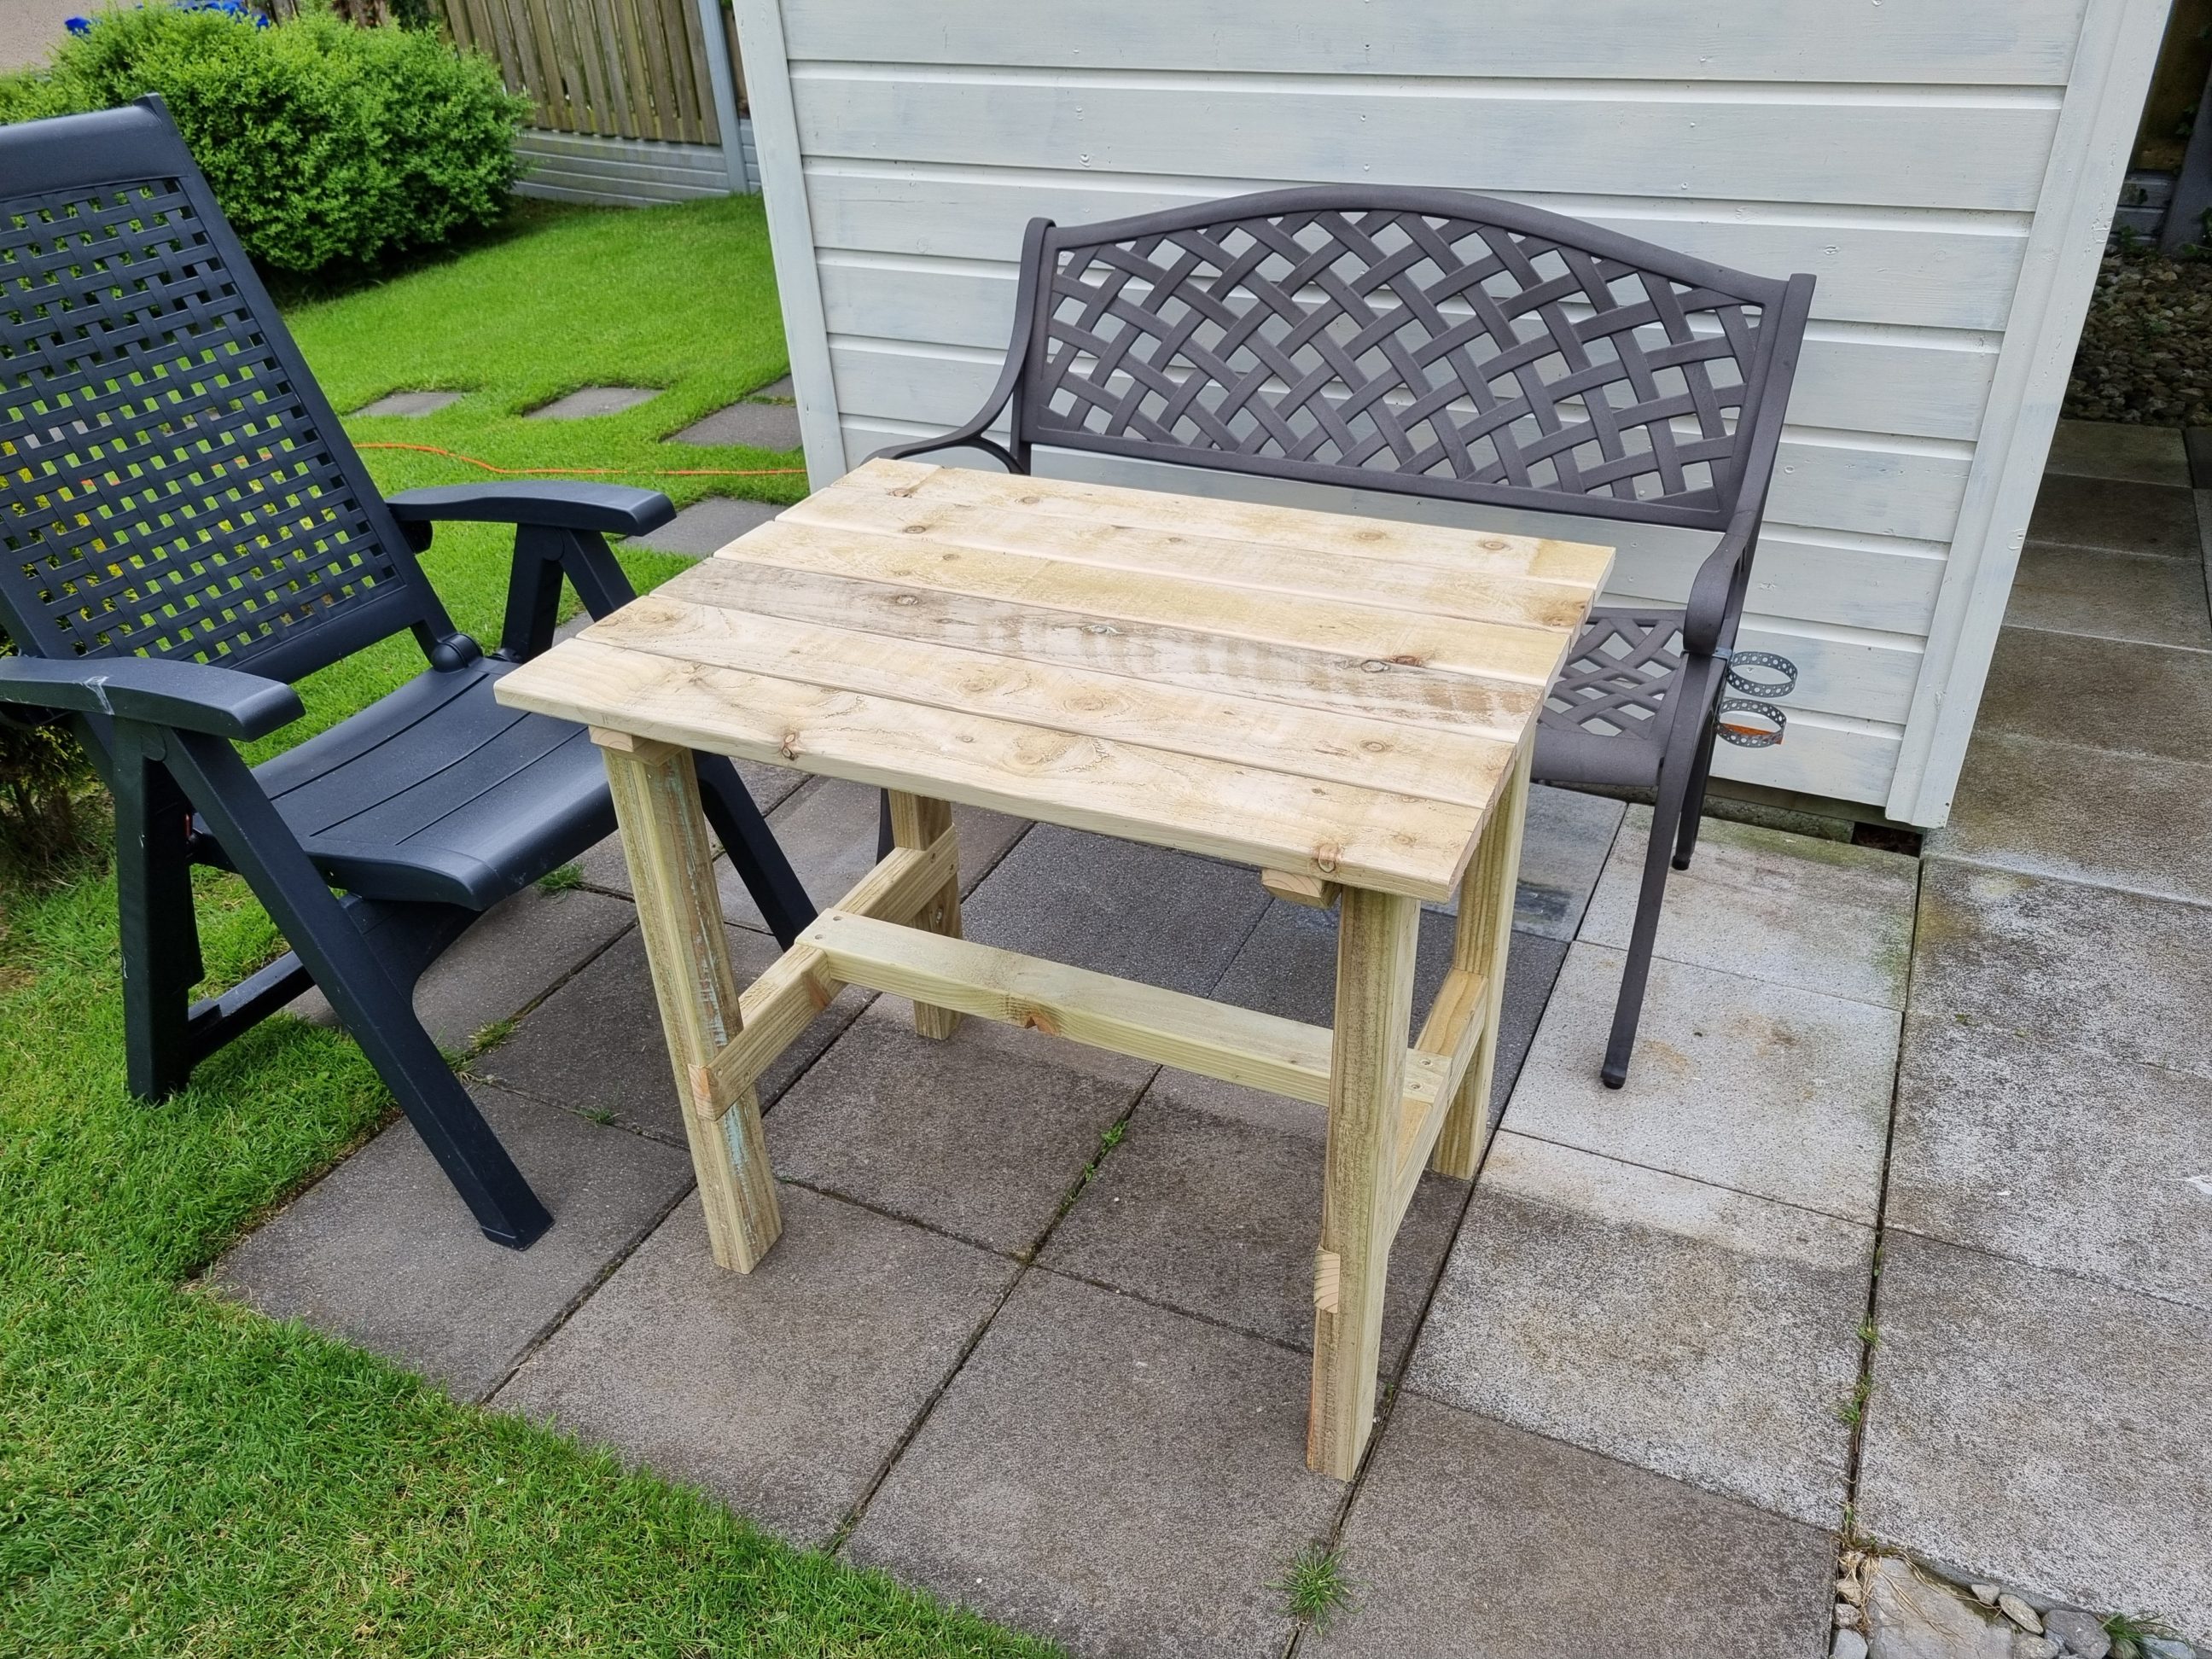

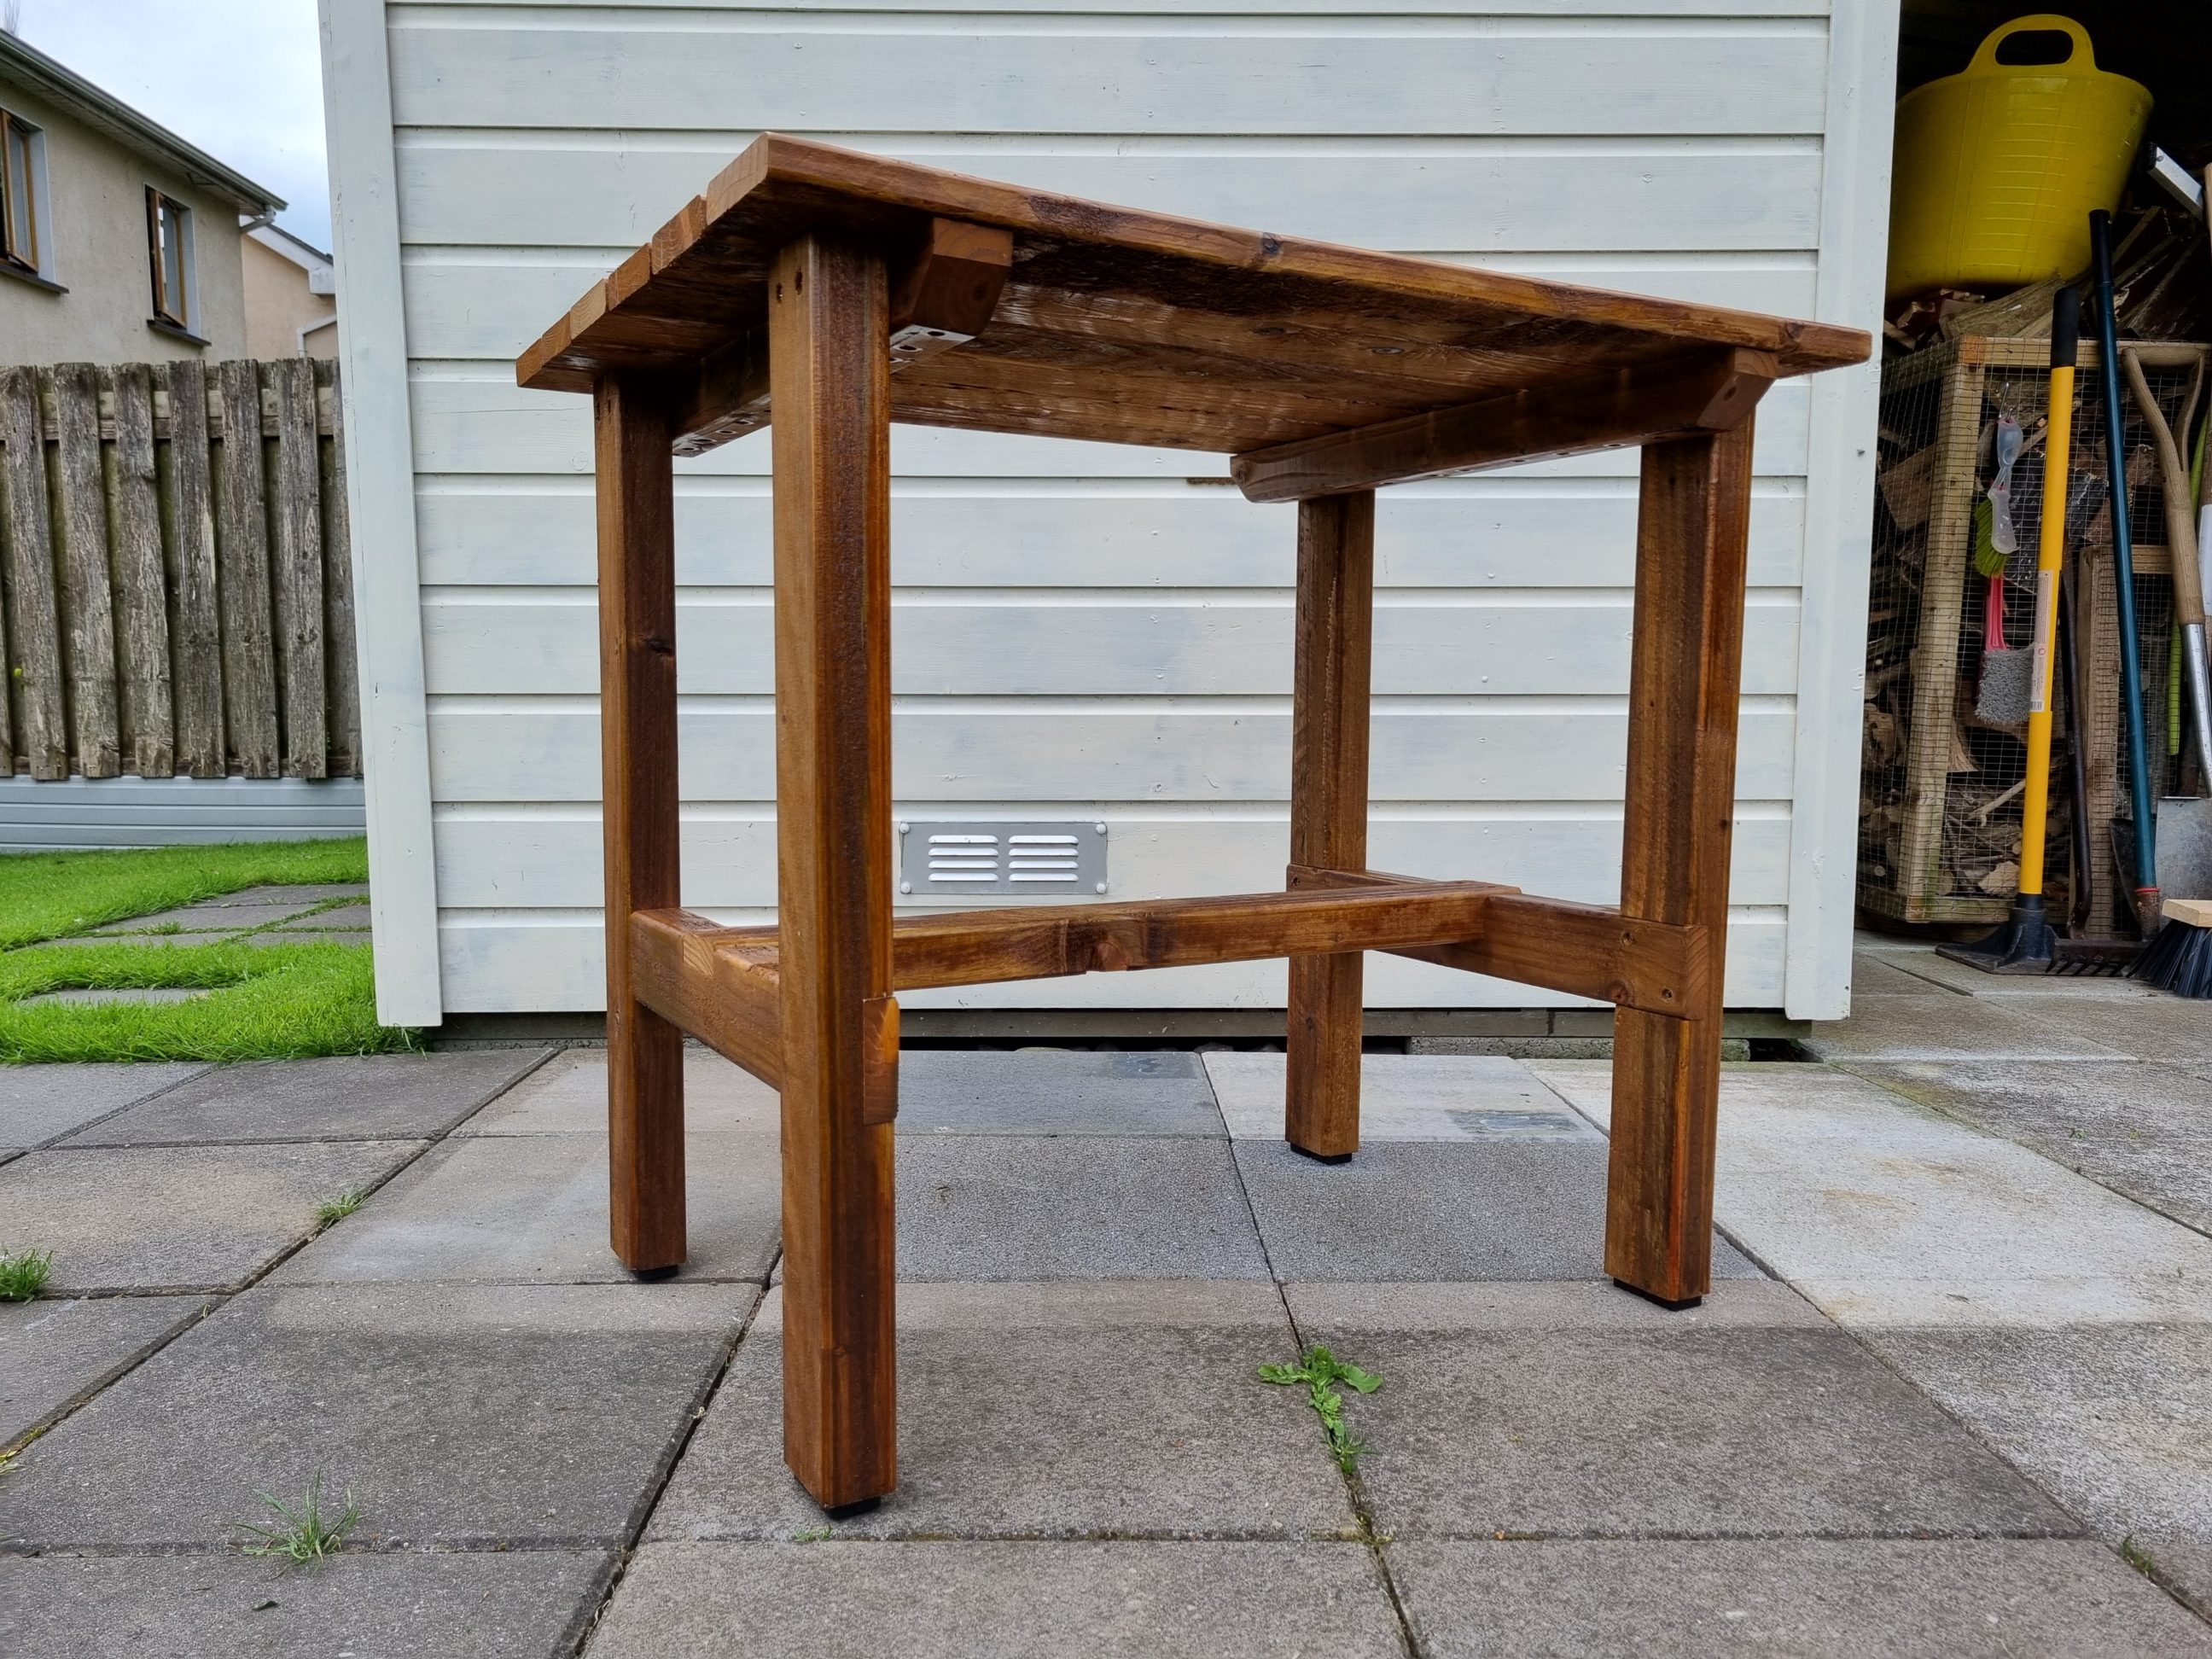
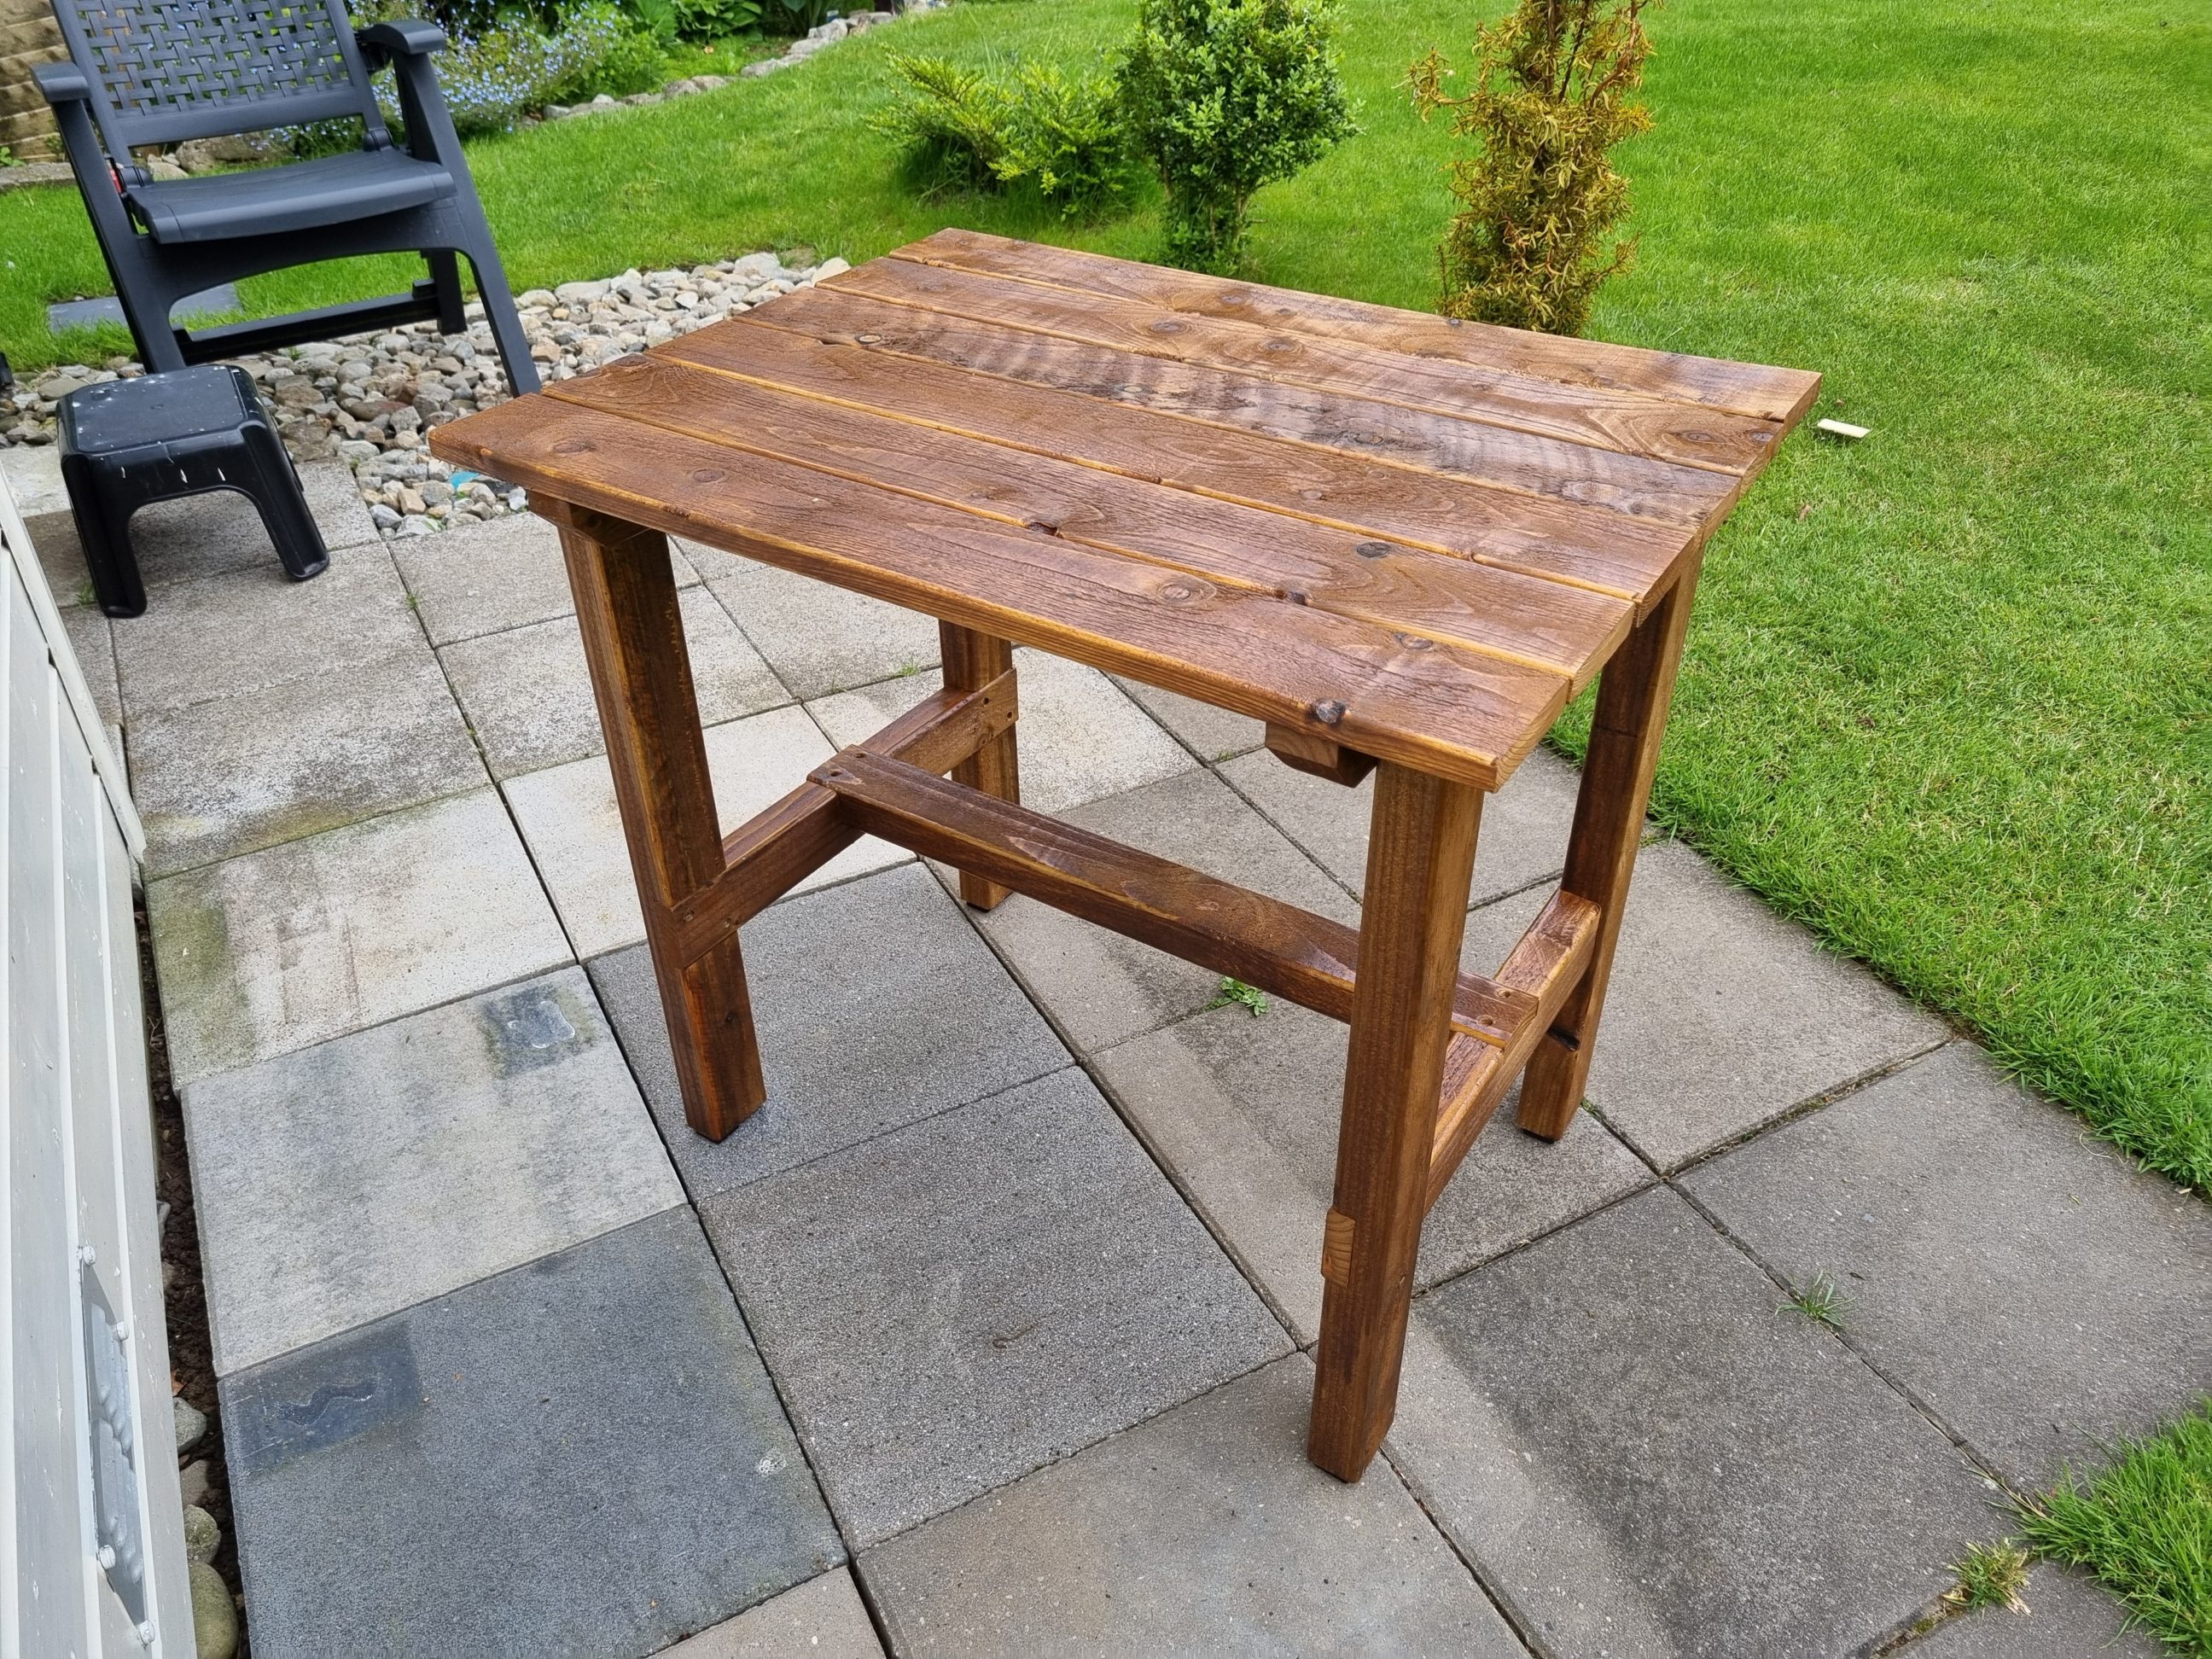
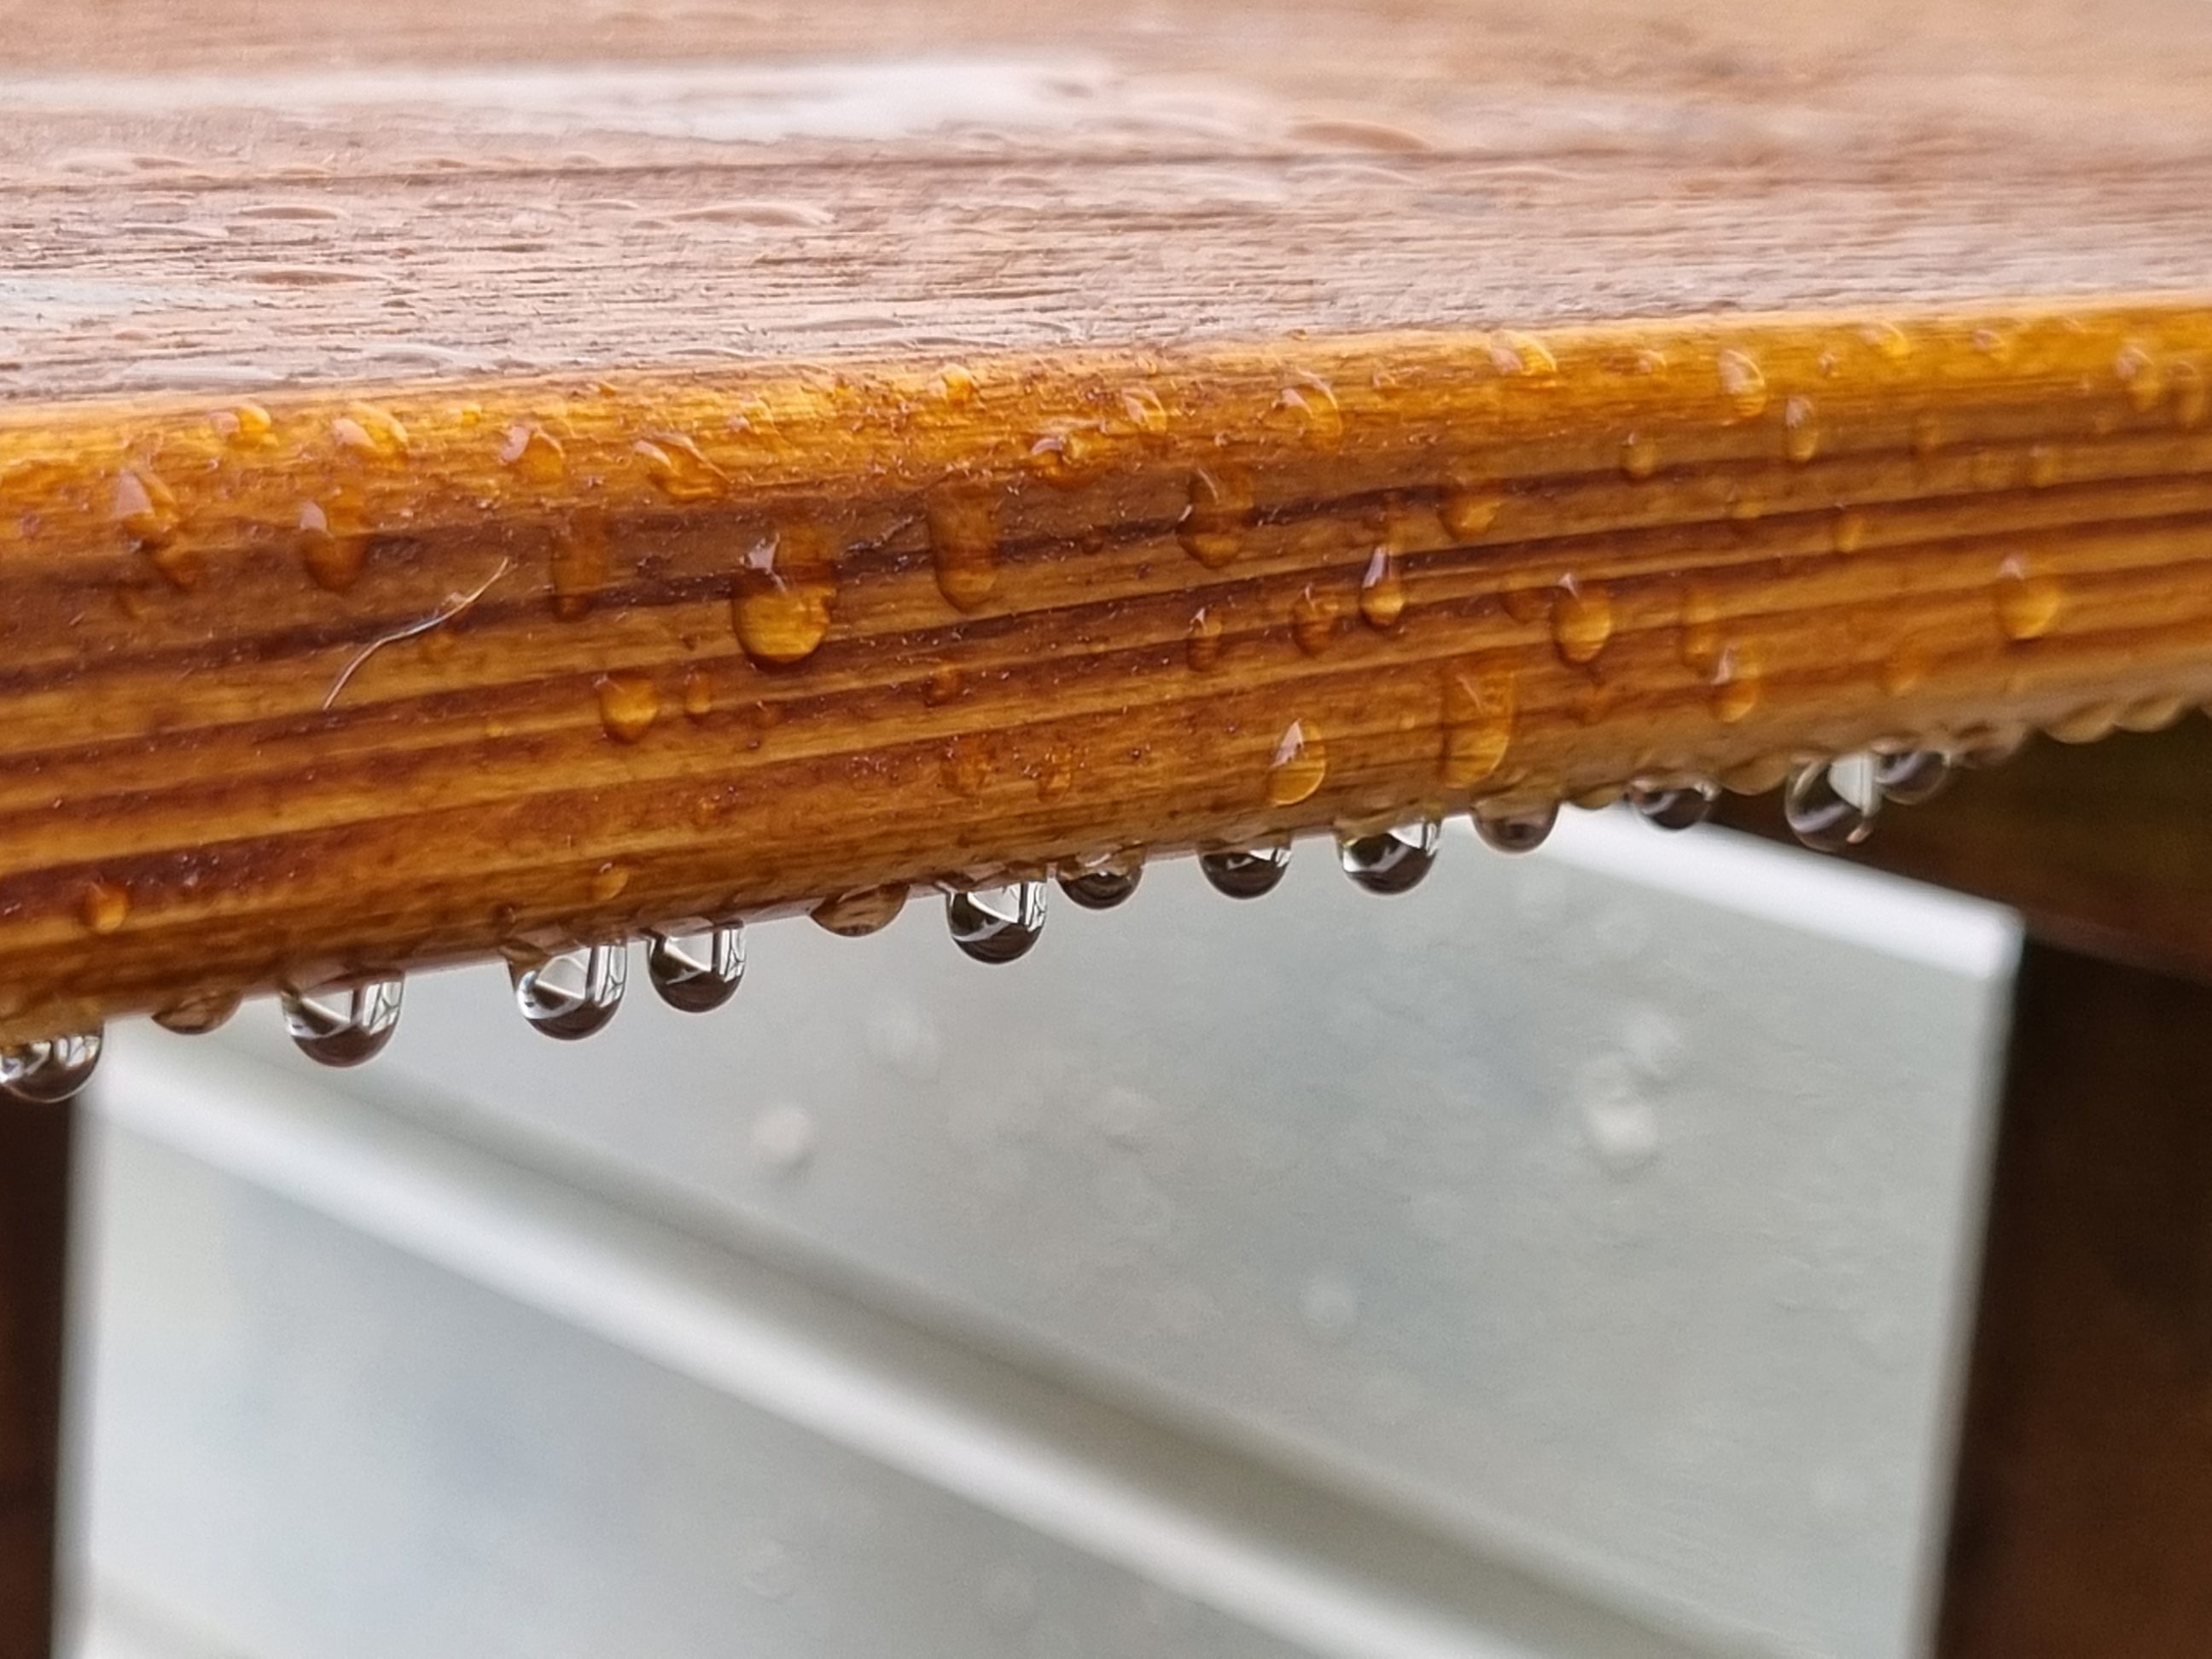
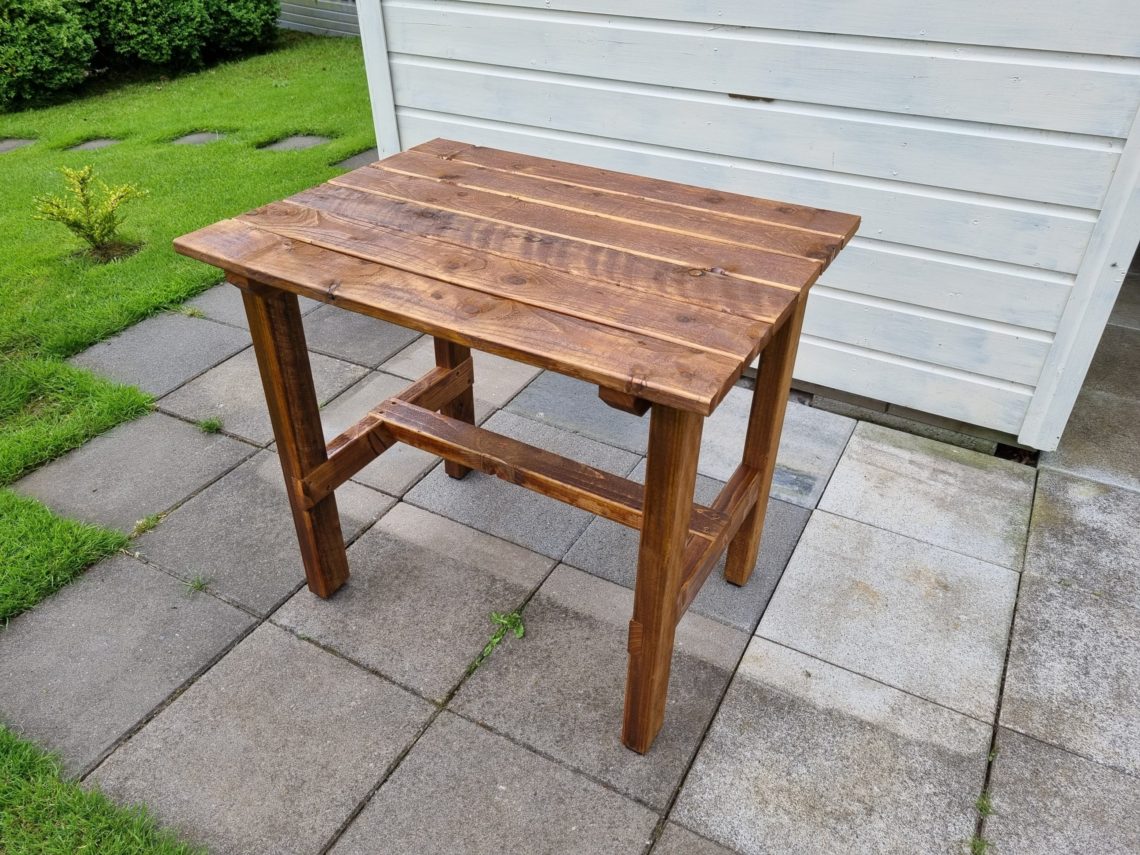
It looked good even without a finish and in fact, it was used that evening at the BBQ. The next morning, however, I applied a single coat of Danish oil, the Canadian cedar, using a disposable brush. I used off the whole tin of that product as the wood was very dry and thirsty. Lots of oil meant lots of fumes – to keep the air flowing in the workshop, I used a fan which additionally cooled me down on that hot day.
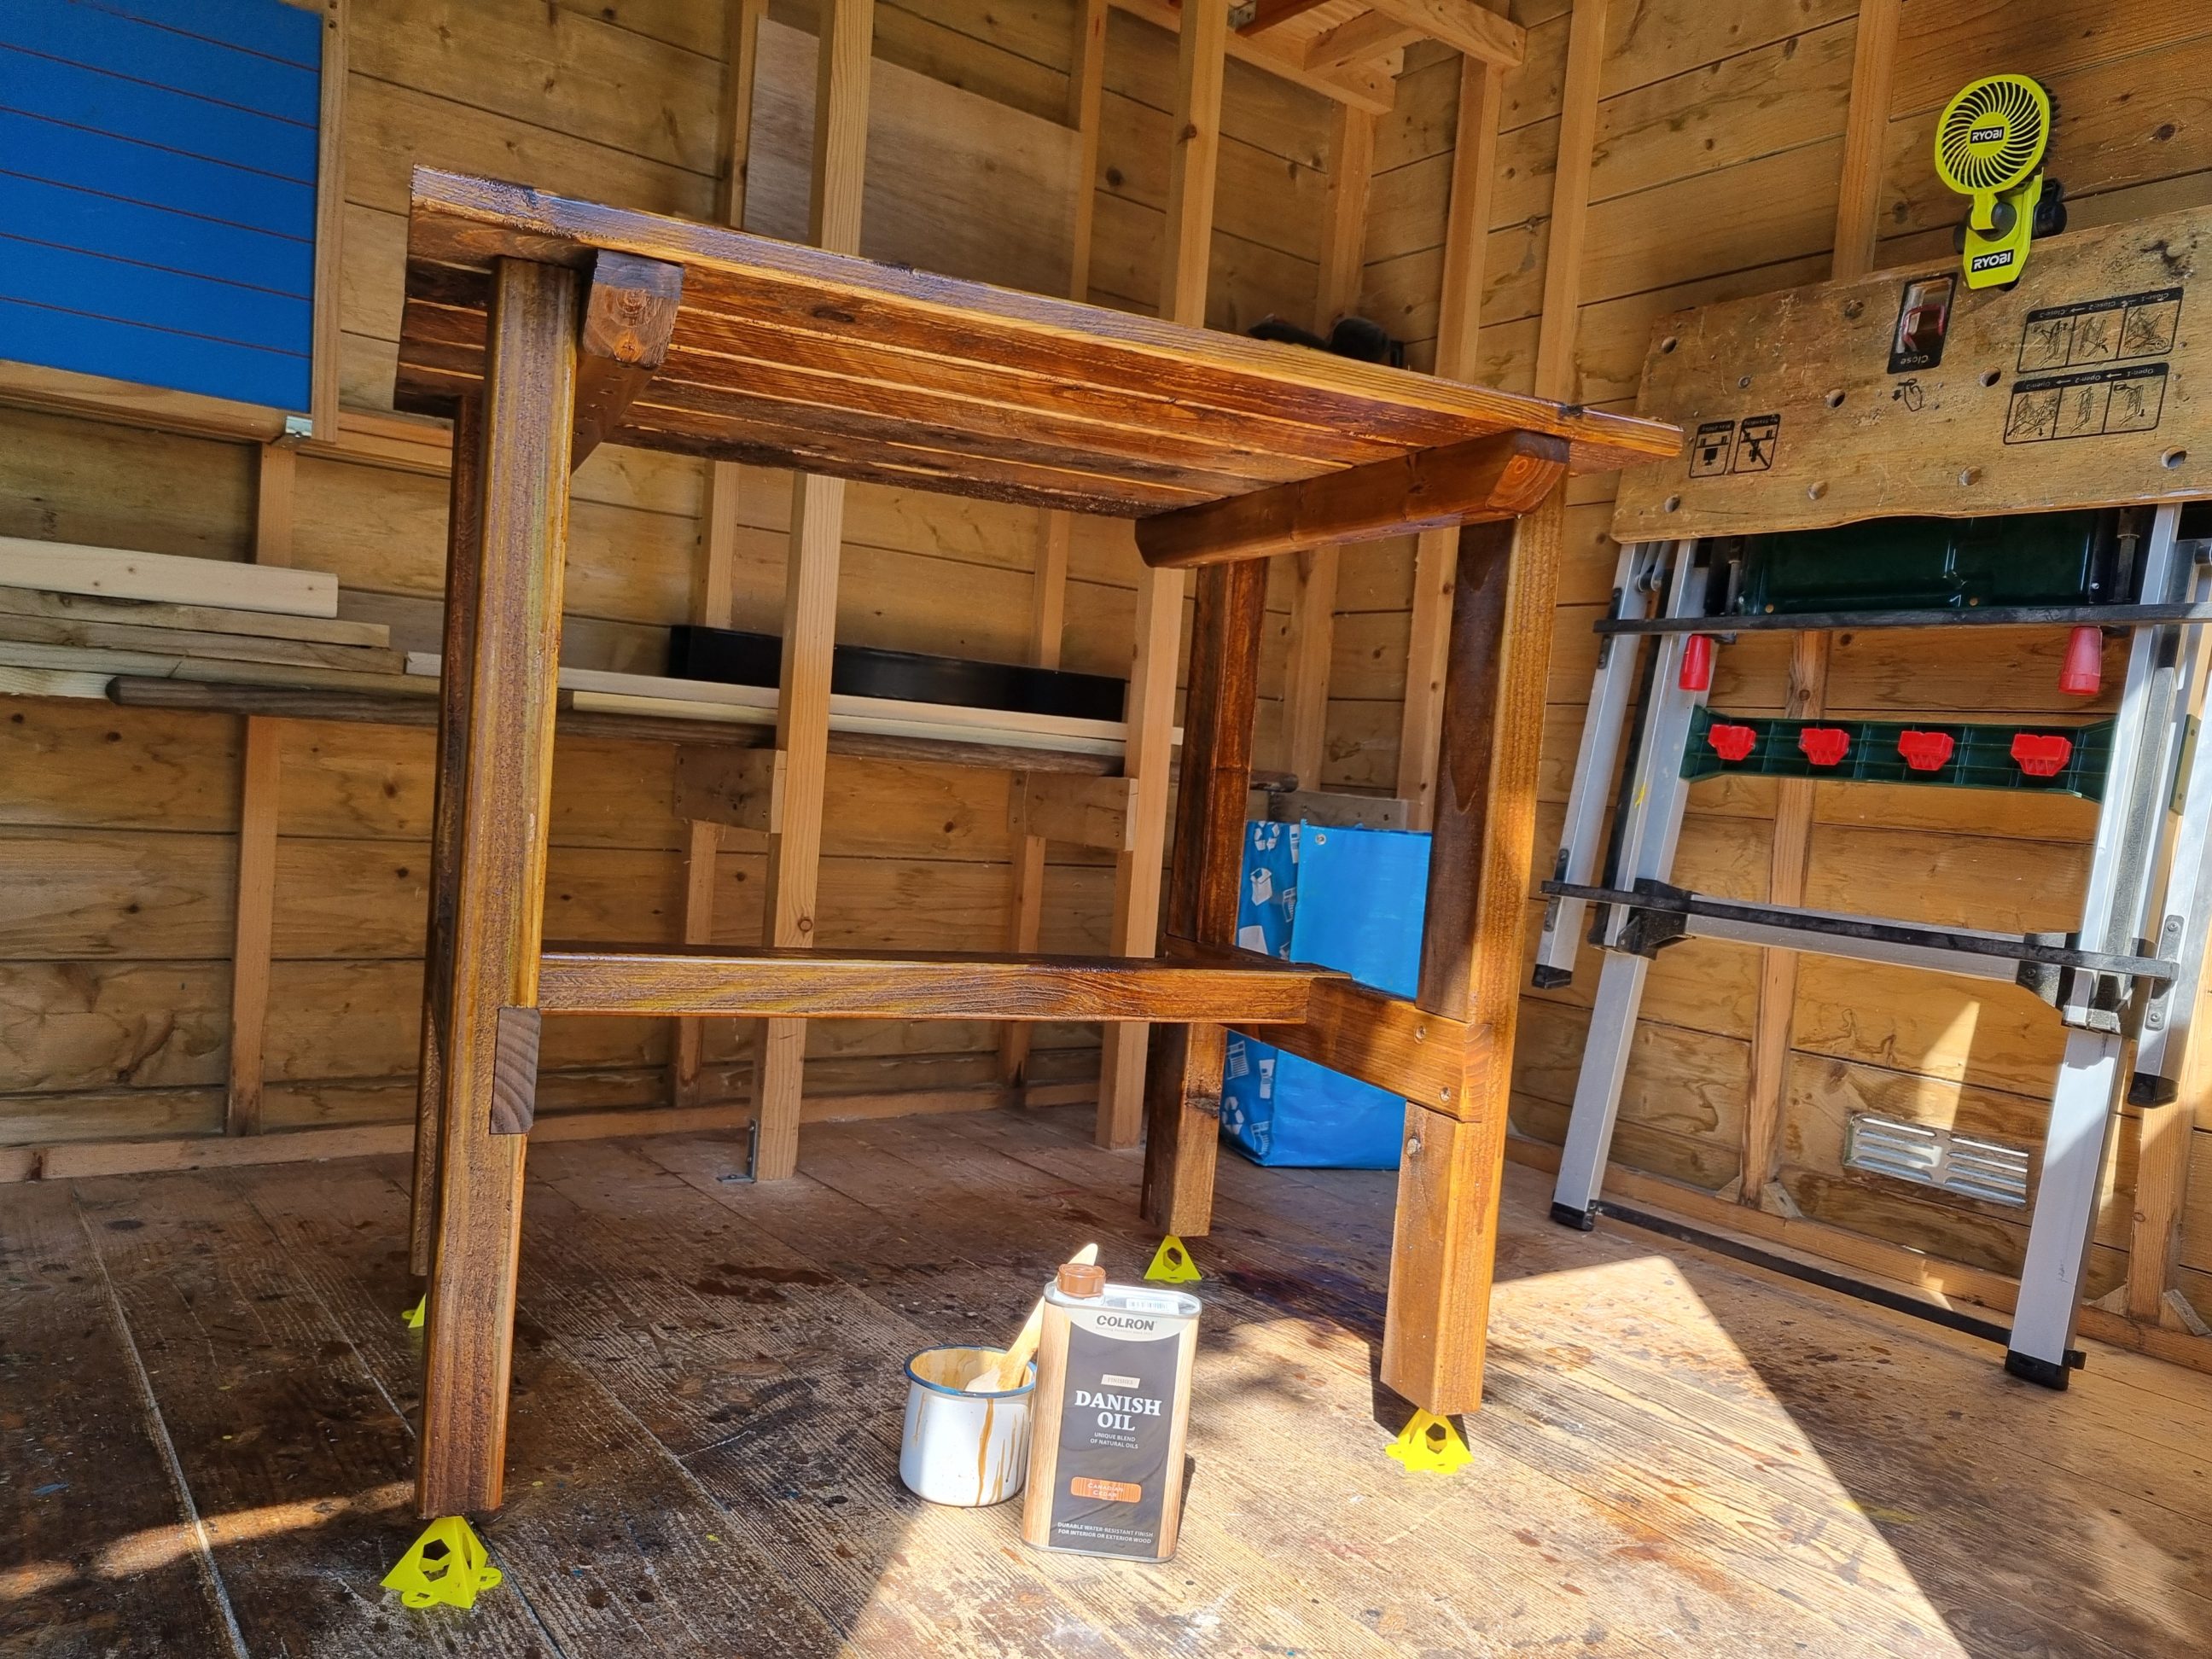

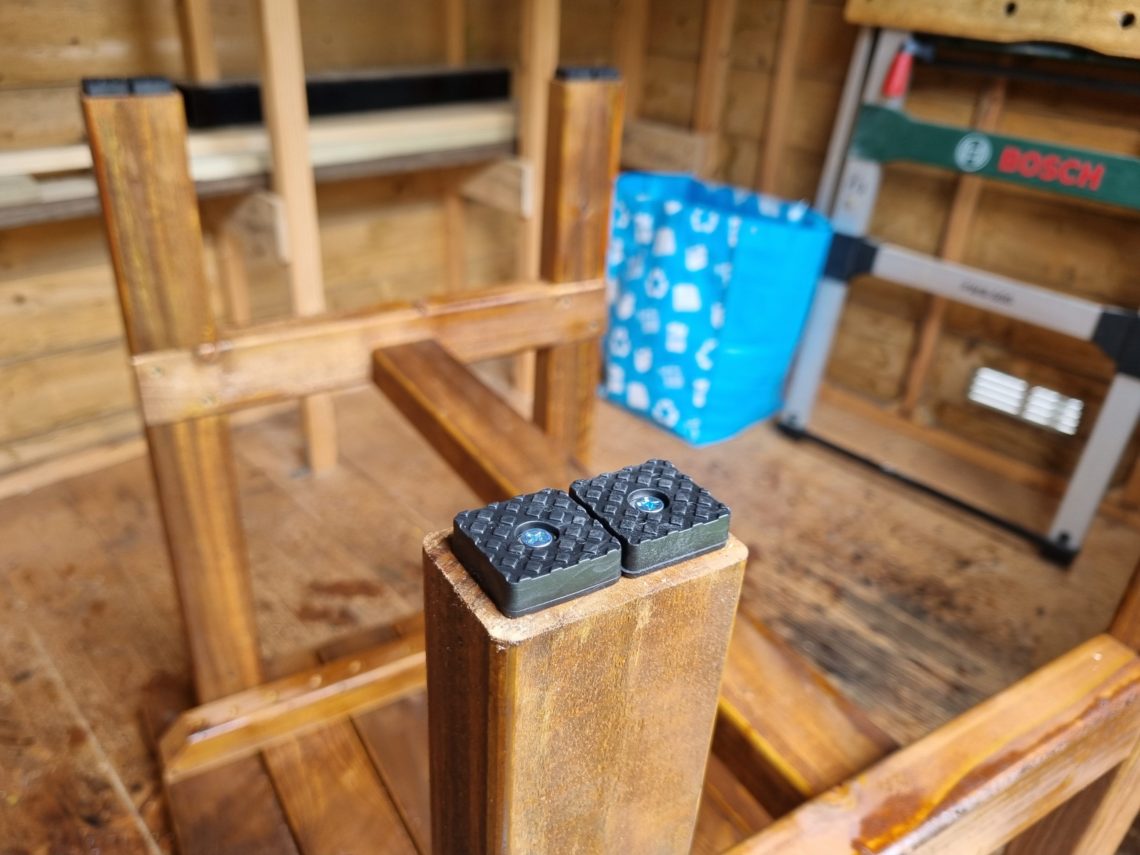
In the meantime, I ordered rubber feet for garden furniture and when they arrived in the post, I attached them to the legs. Along with the water-repellent finish, they will surely prolong the life of the table by a few years. Since I had most of the materials and finishes in stock, the total cost of building that table was ridiculously low. But even if everything had to be paid for in that project, it would still be a very affordable piece of garden furniture. The most extravagant expense was the finish, which was only used because it didn’t find too much application in past projects and was only taking up the space on the shelf. Still a very good product, just too expensive for that kind of a project. Nonetheless, I’m very pleased with how it turned out, it serves well and looks good on that little patio.