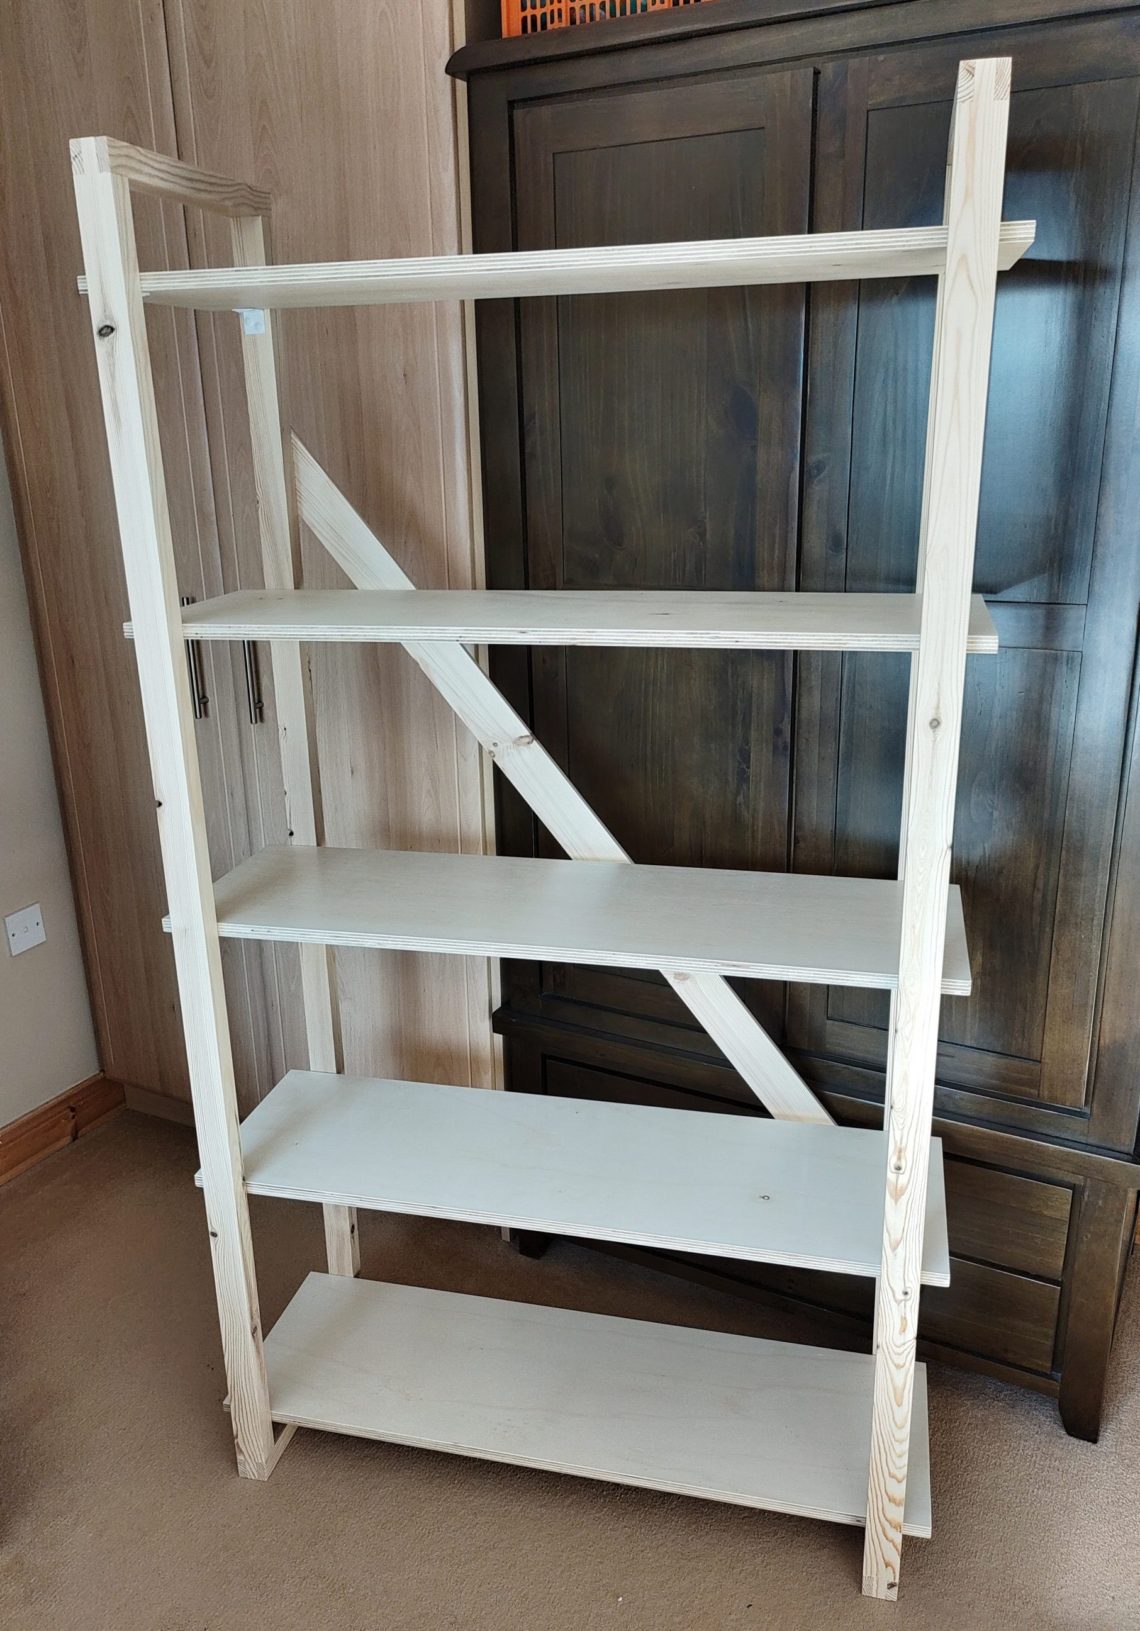
Bookcase
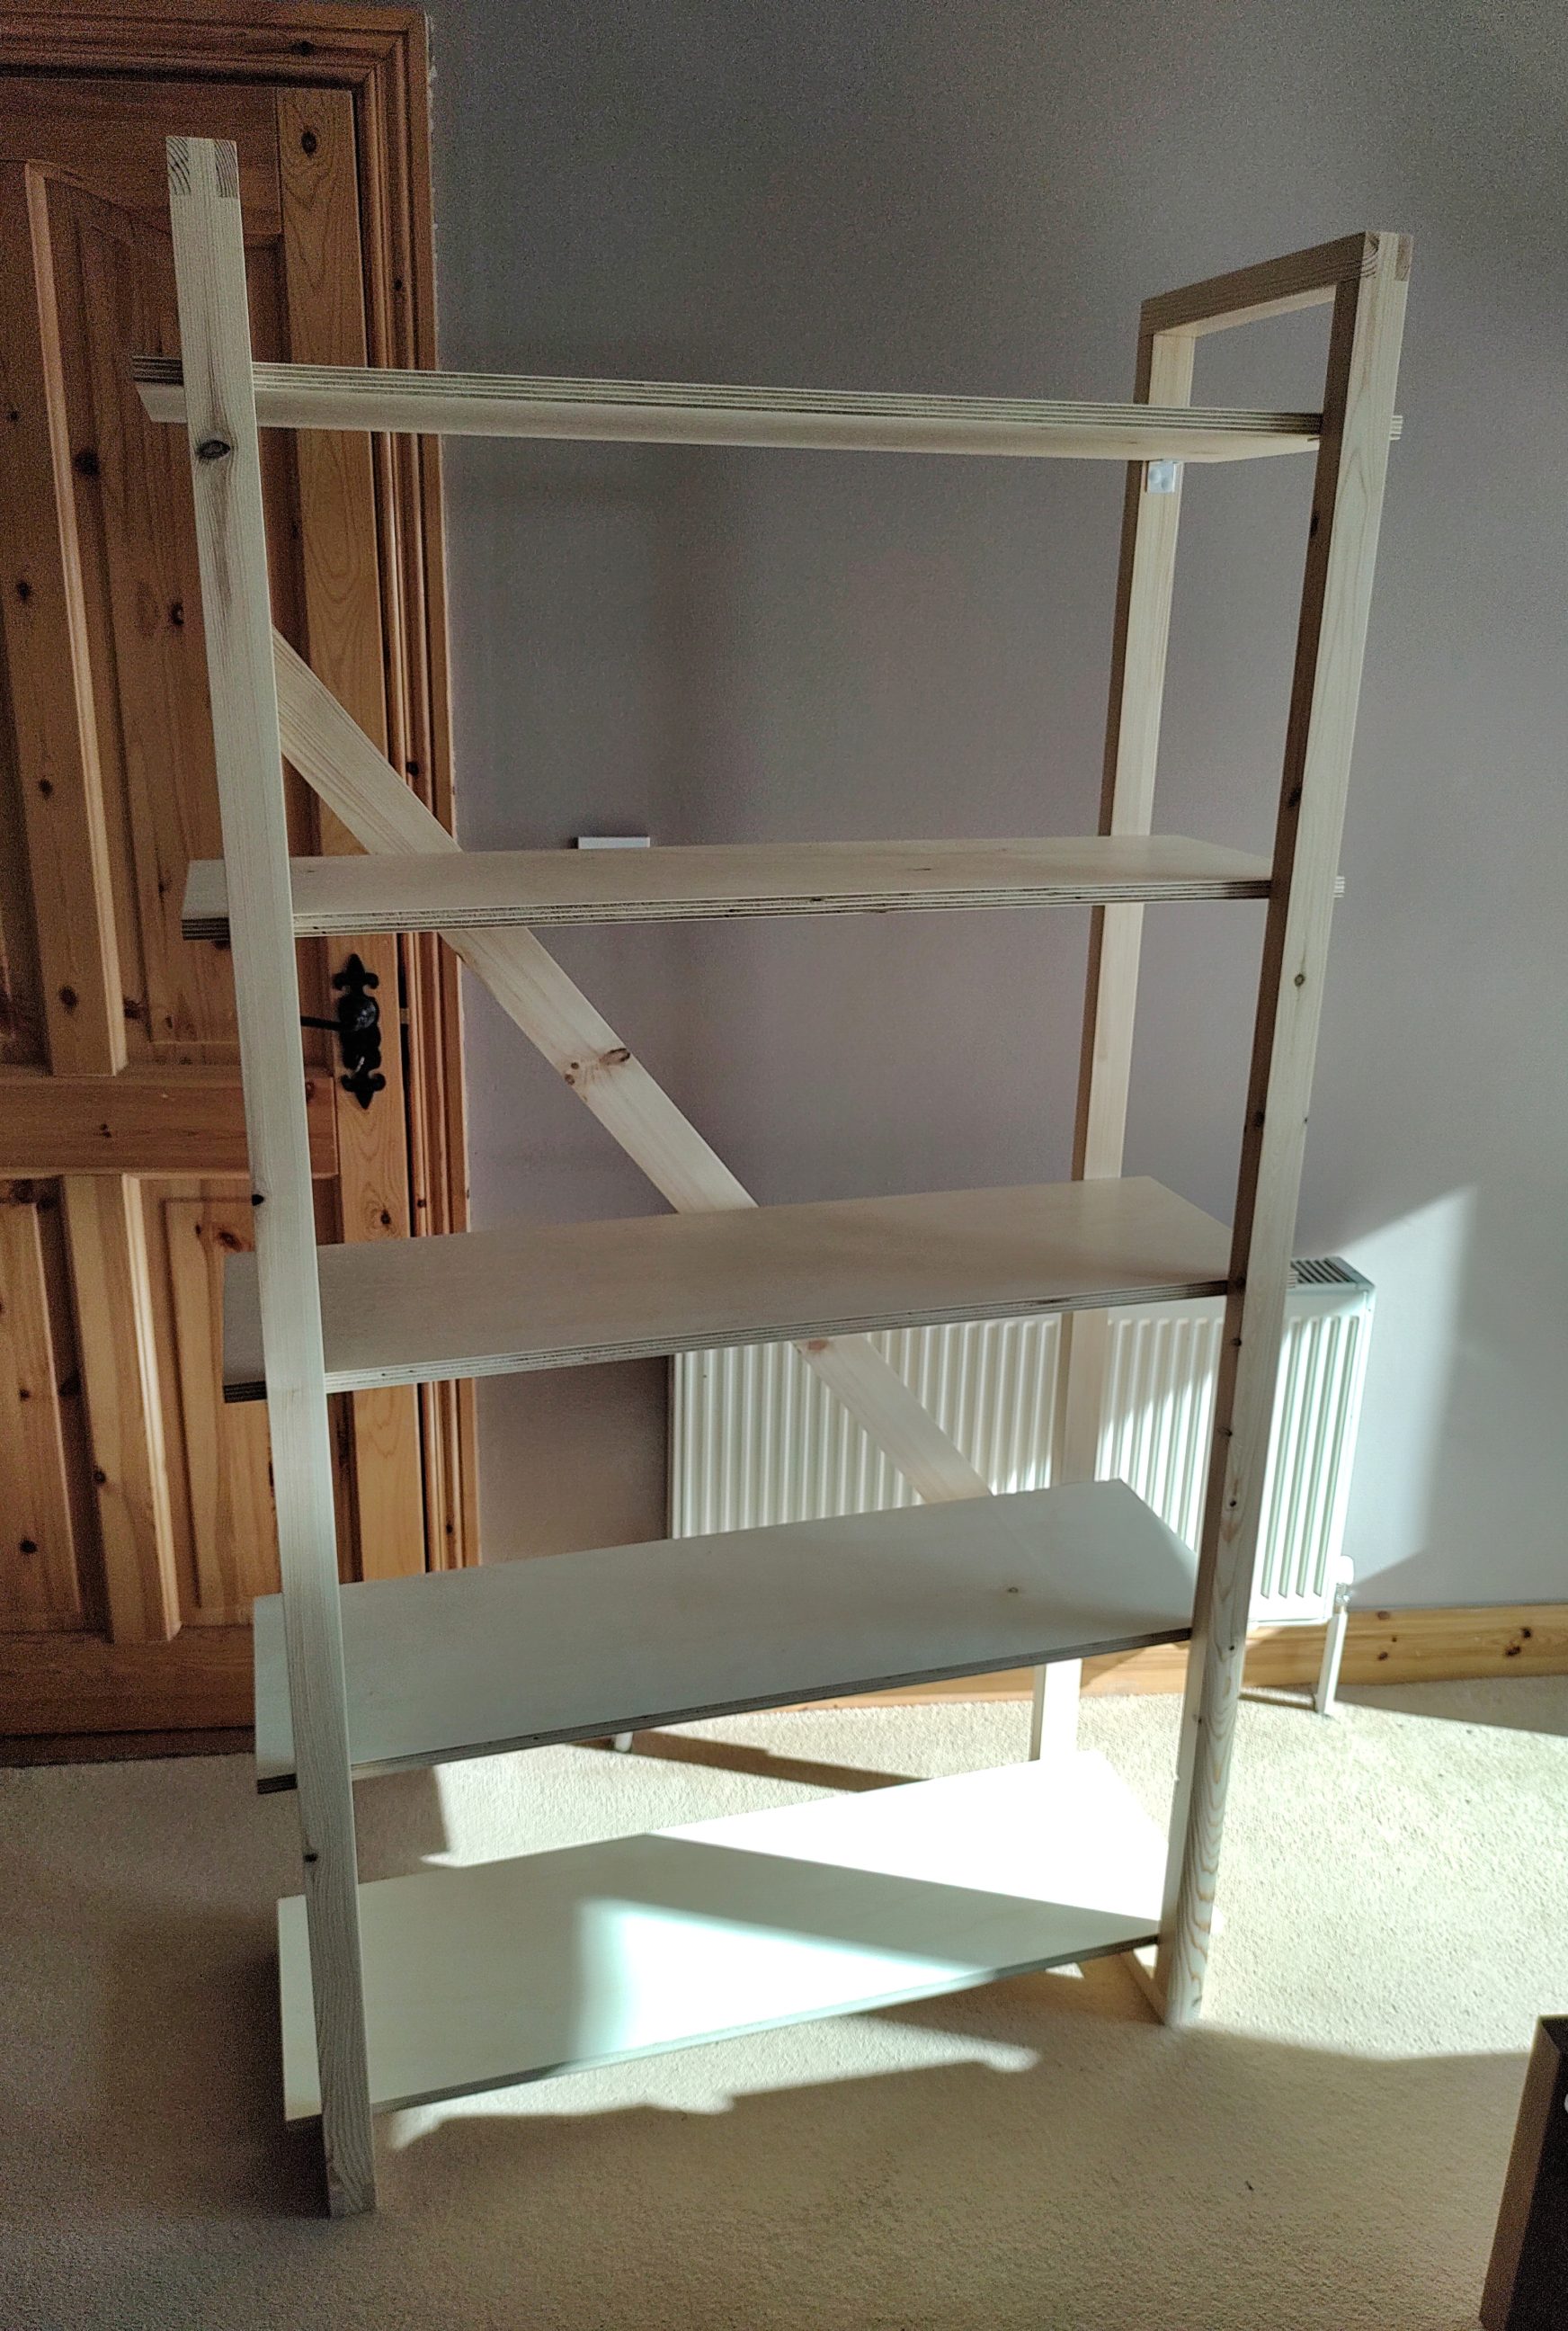
This is a simple but quite sturdy construction, it has a modern, industrial look, and it can be disassembled and moved by one person. The plywood shelves are perfect for supporting heavy items, like books, that’s why this bookcase uses them instead of solid wood boards, which had to be thicker to support the same weight. The frame is designed to be rigid and not to take up much space. All the metal braces and screw heads are either painted white or covered with white caps. This bookcase was relatively easy to make – the hardest part was the cutting of bridle joints which took a few afternoons, but on the other hand, the plywood was already cut to size by the supplier and only needed a finish.

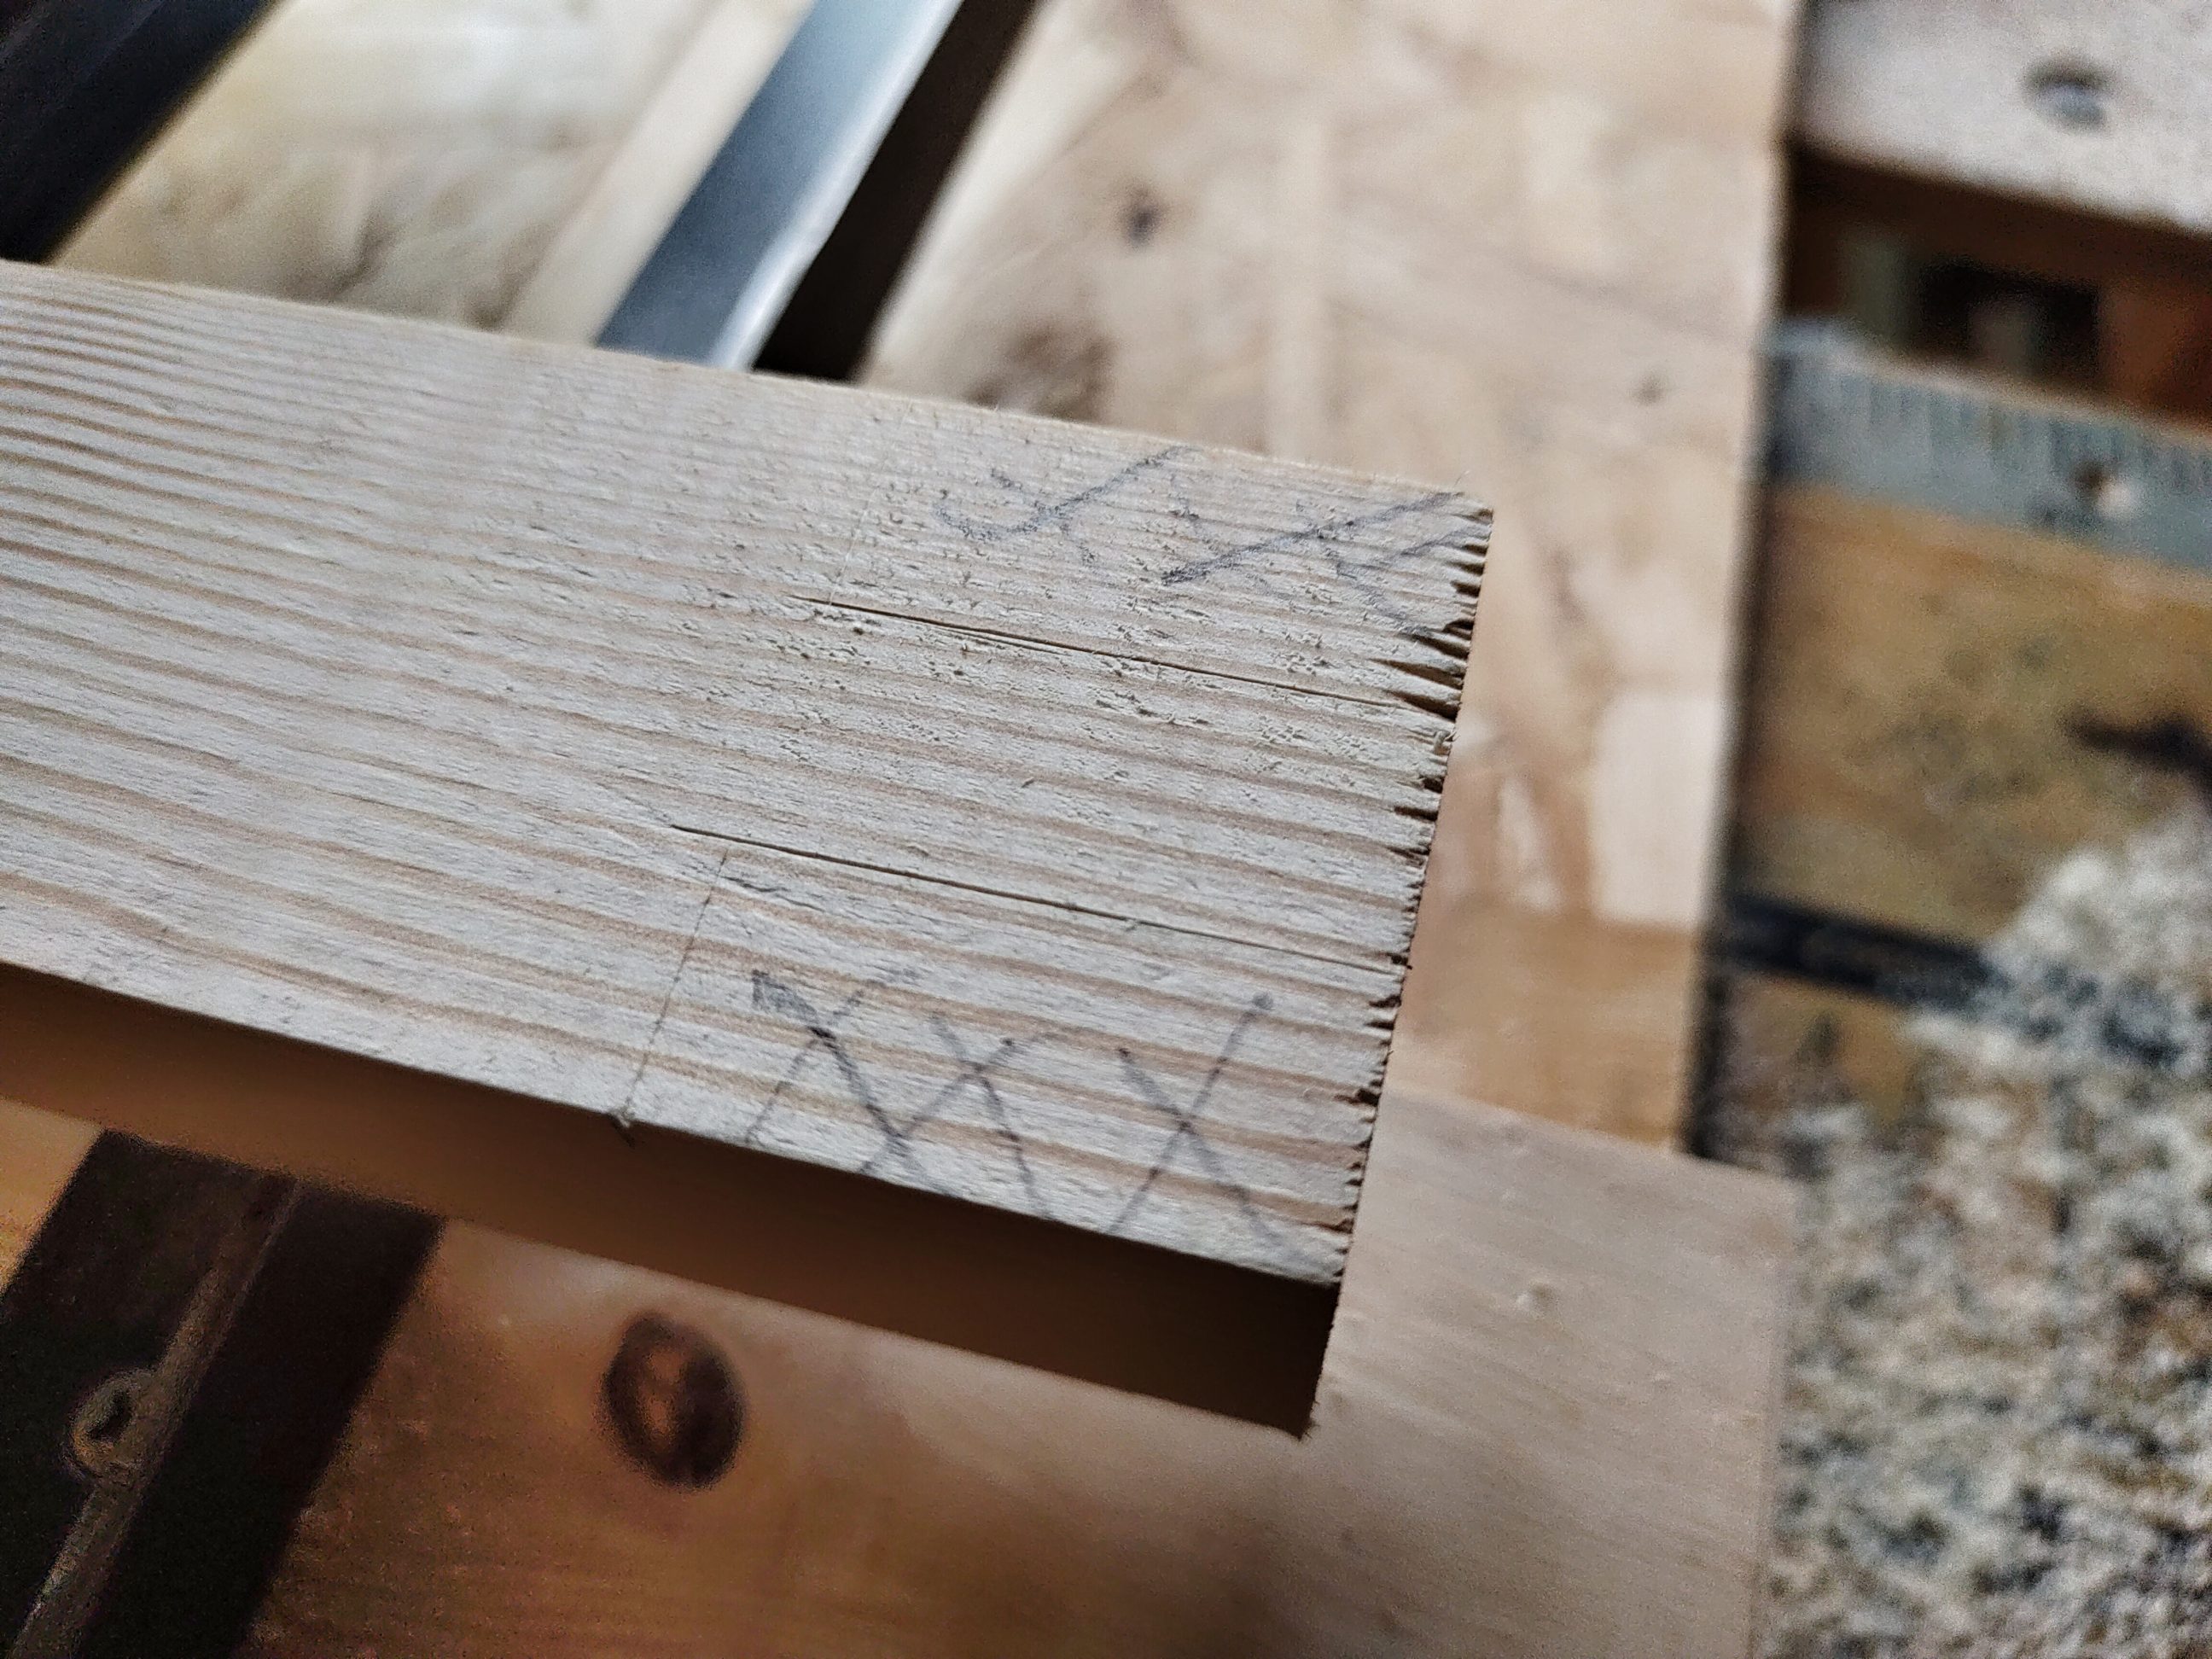
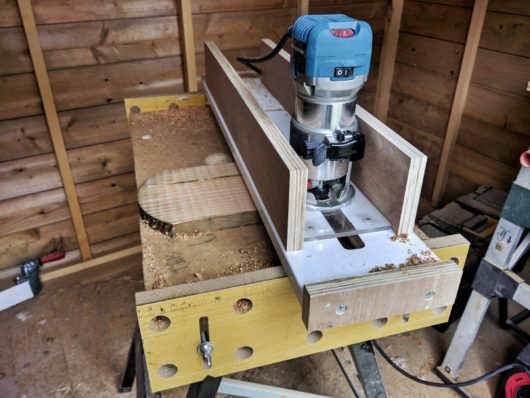
I started by building an improved circular saw jig, the one I had was too small and too basic for this project. Once I had the jig built, I cut off ends from all 4 upright boards and made sure they were exactly the same length (they were all 180 cm / 6 feet in length). Next, I clamped a stop block to the front fence of my freshly built jig, set the blade height, and I was ready for cutting the tenons.


Using a circular saw and the jig was the only option for boards this long. I don’t have a mitre saw, and I couldn’t use my table saw either. It was a time-consuming process, but eventually, I was able to move on. Using the same jig, I cut 4 short pieces and started cutting the mortises.


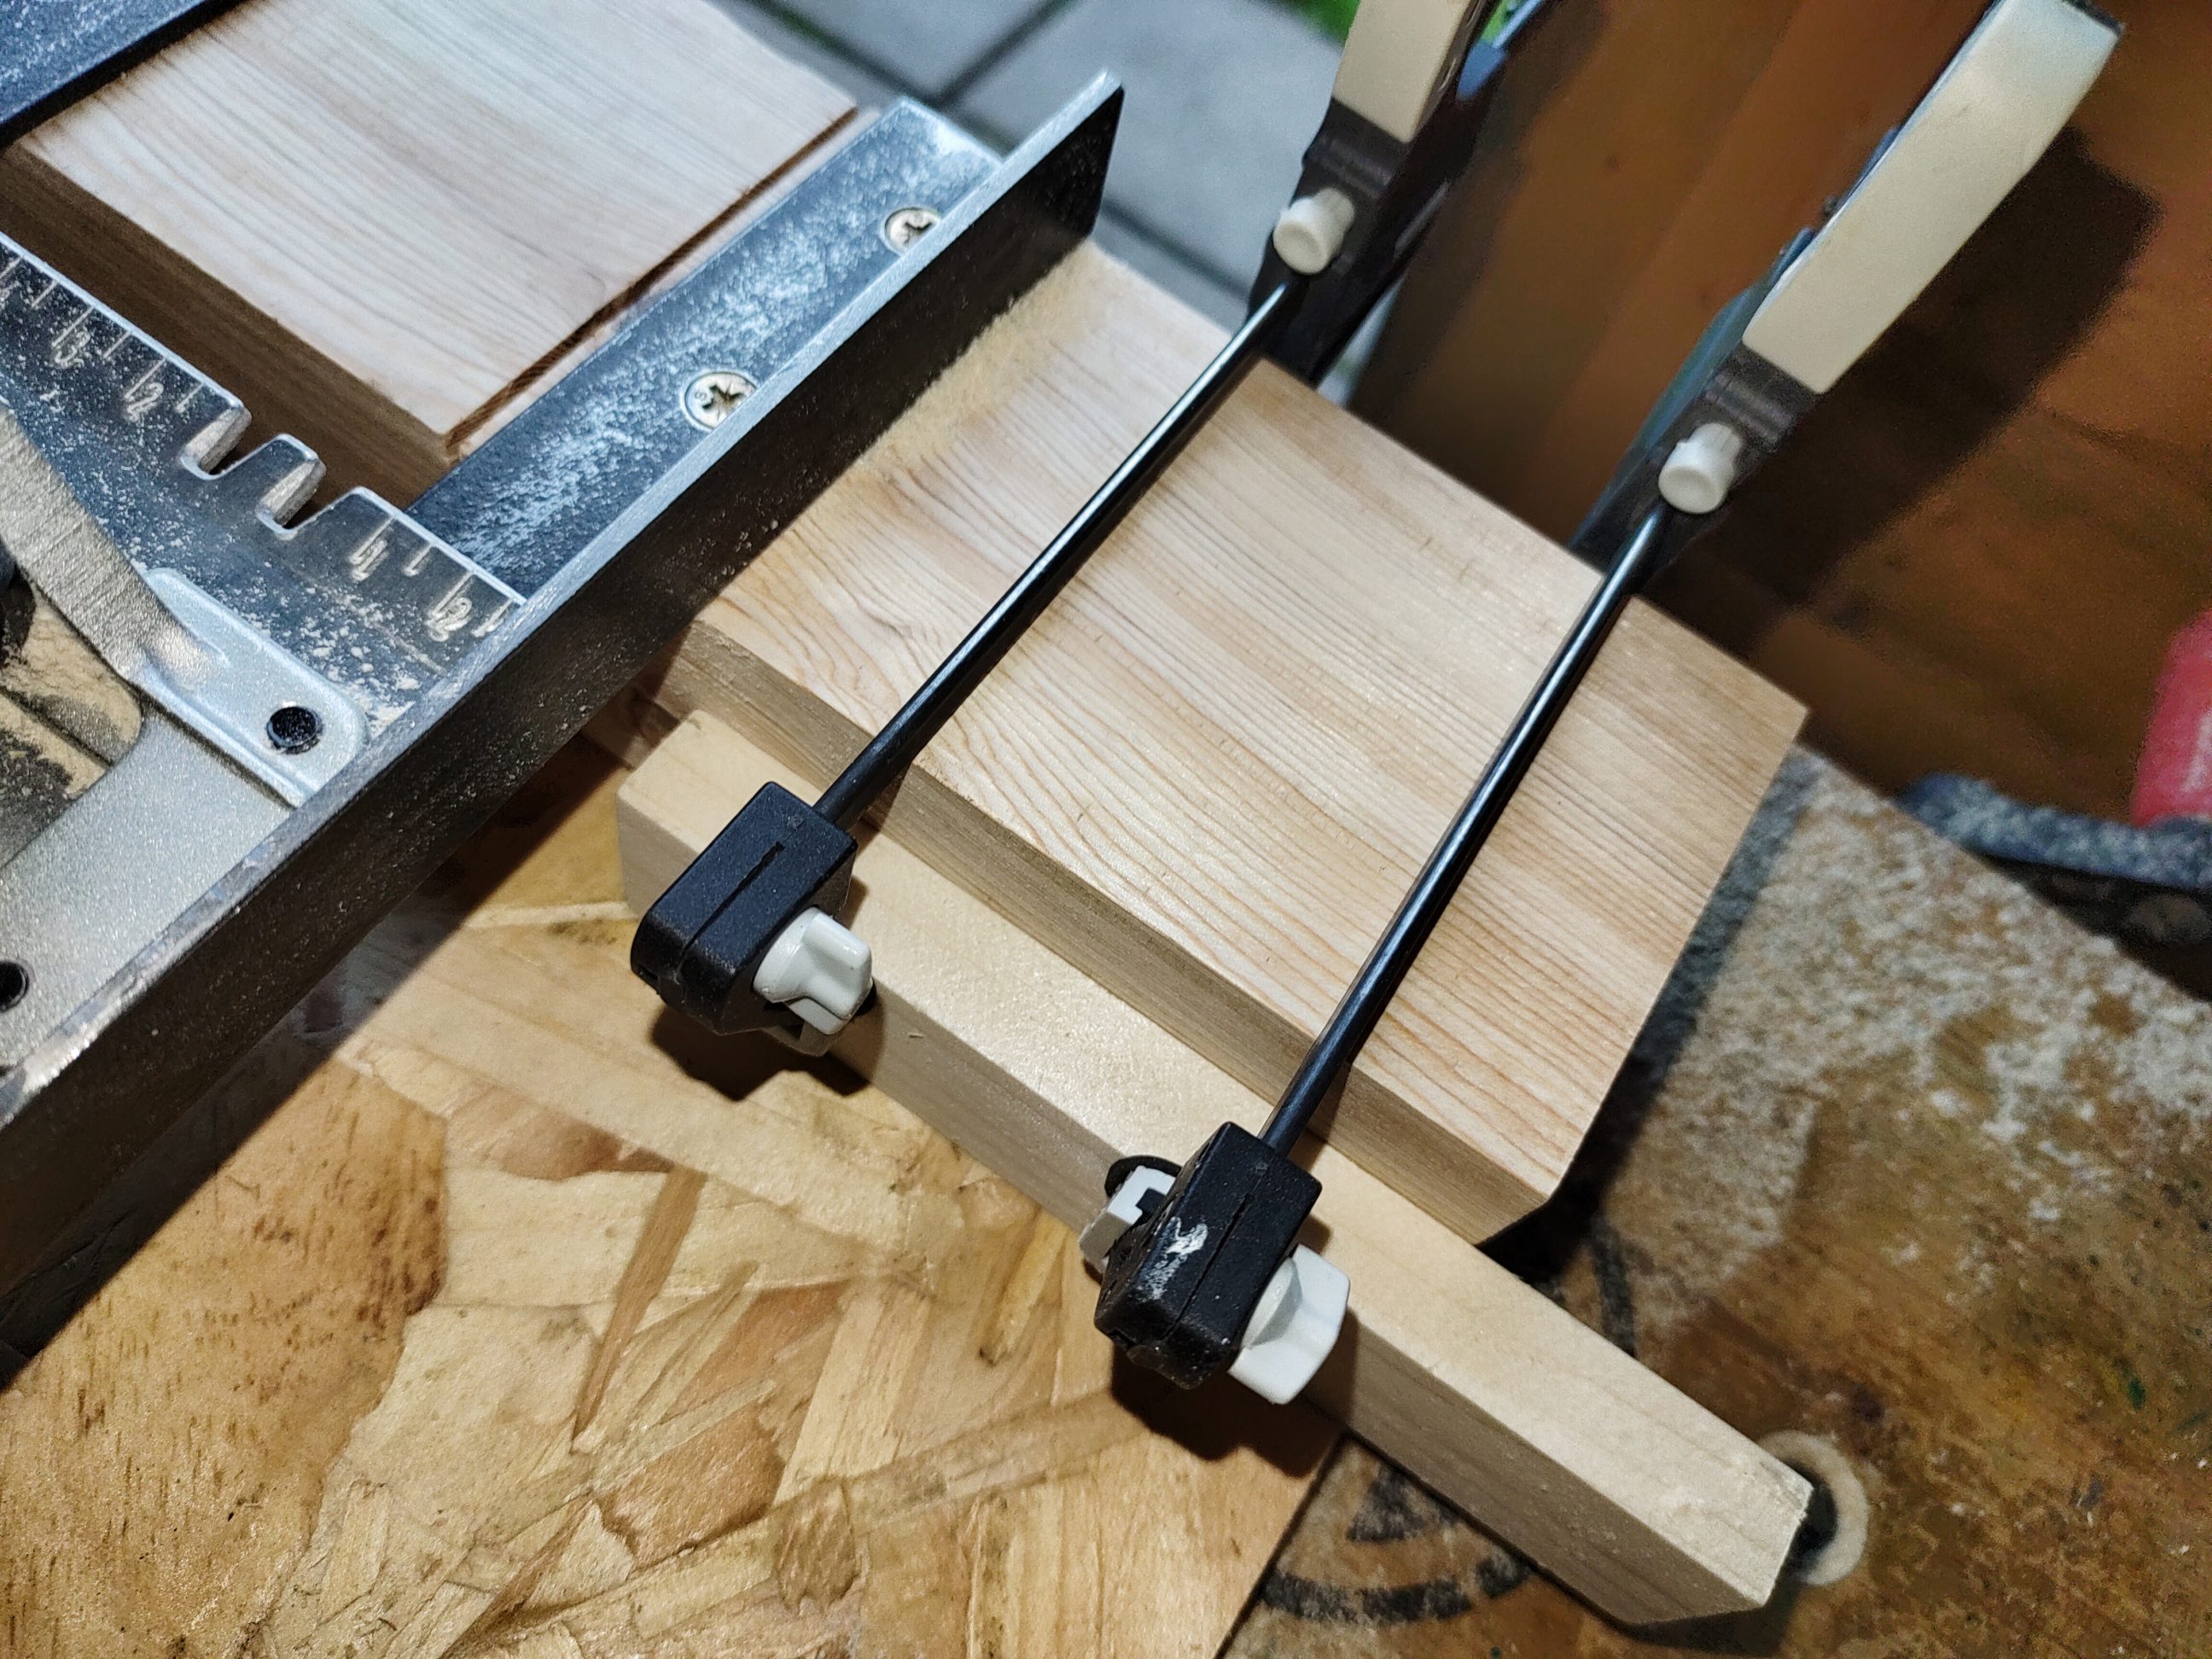
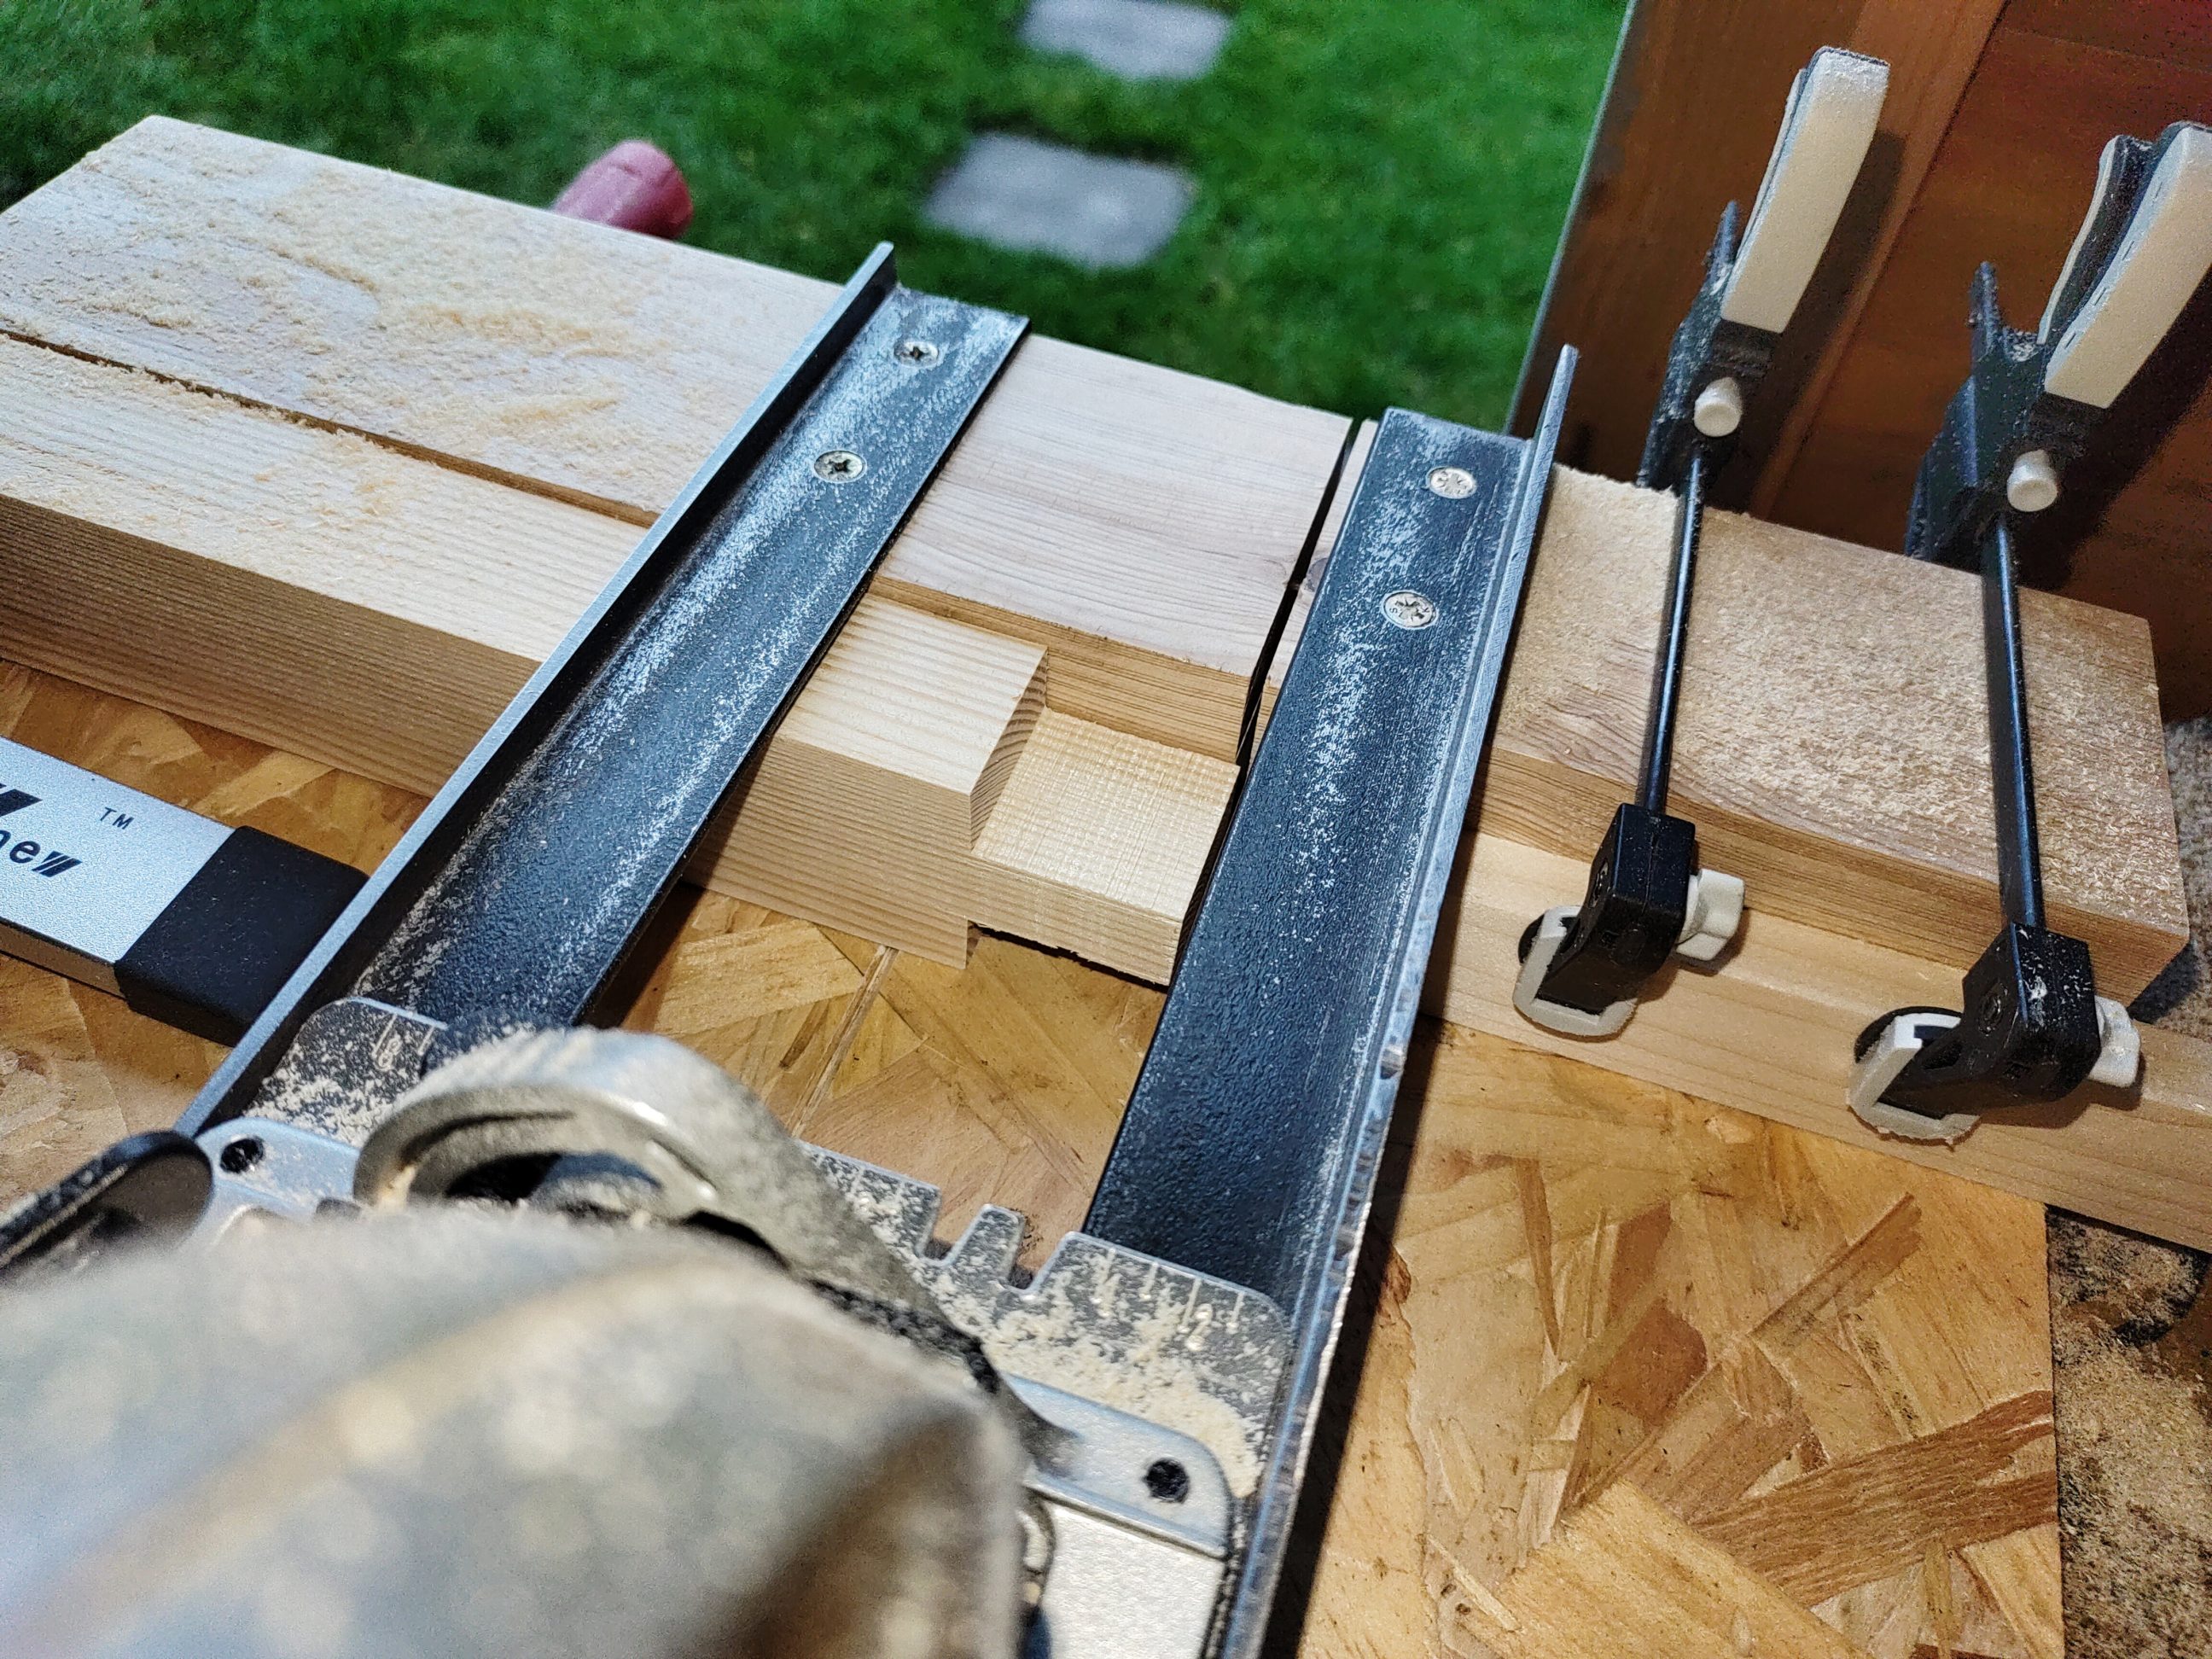
I needed a simple jig for that task. Just 2 wooden blocks, connected with a double-sided tape and just in case clamped together with a clamp placed slightly above the fence. The jig worked accurately and safe, it was easy to build and to disassemble.


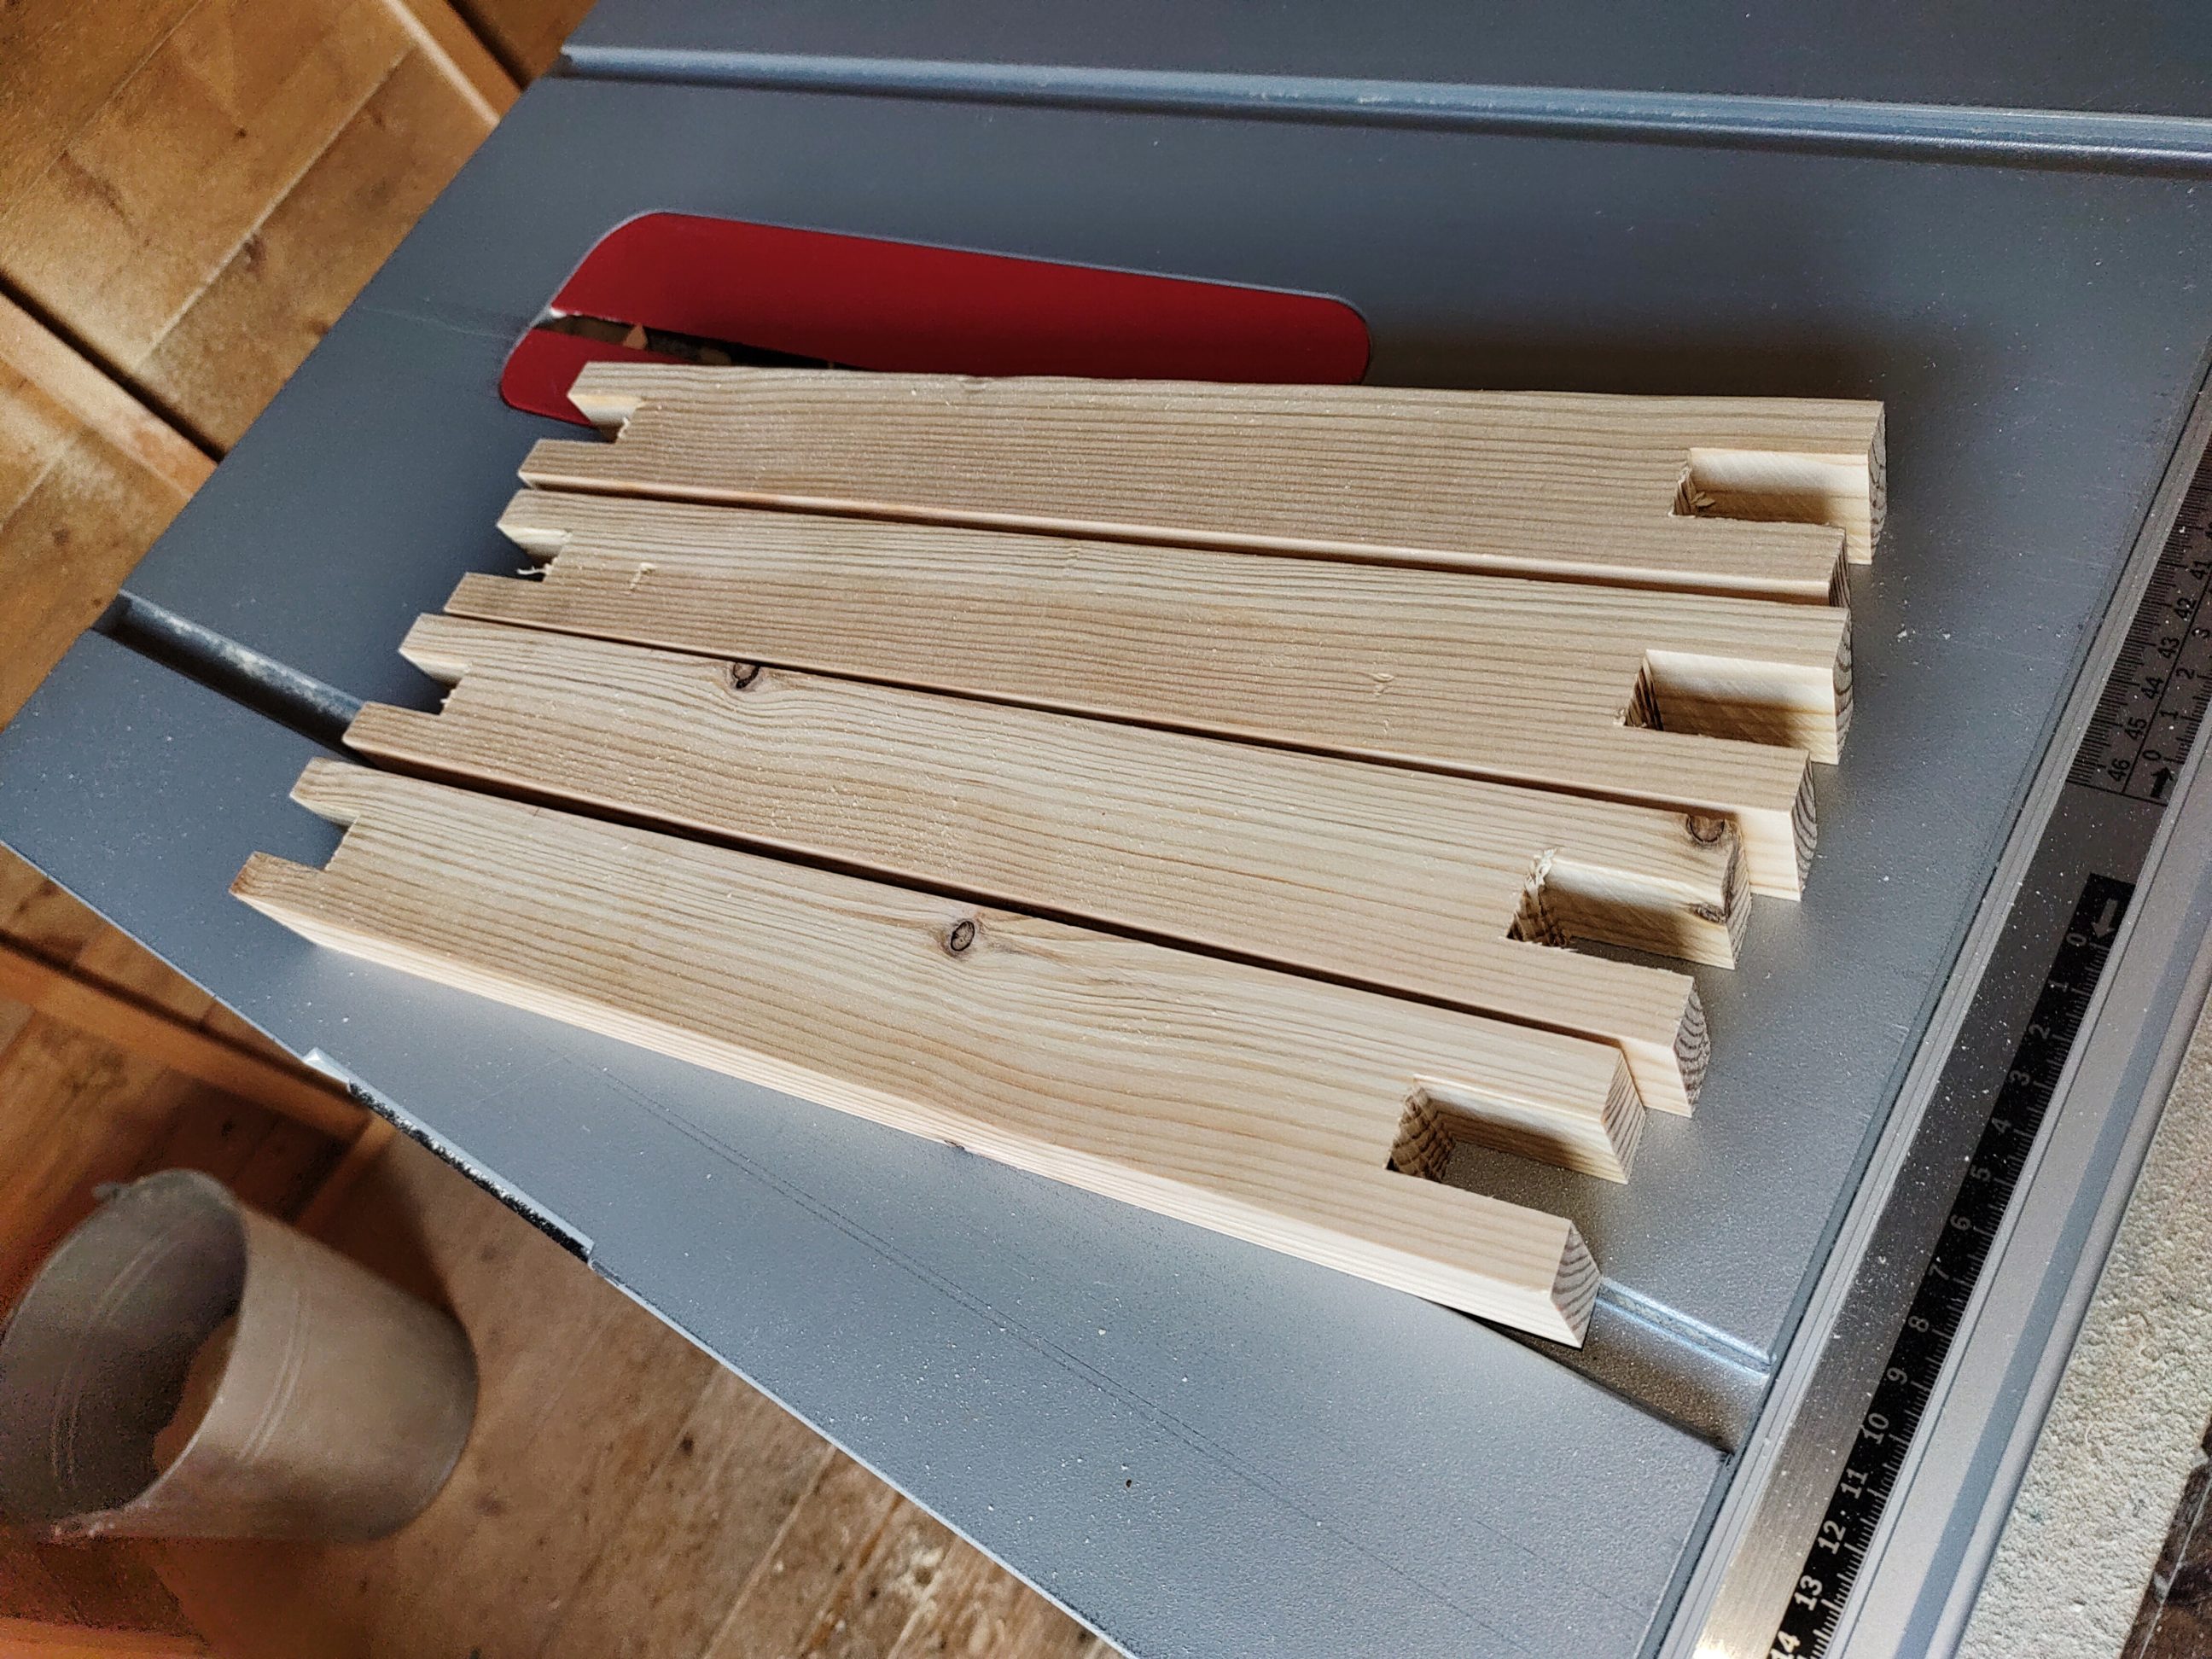
Only 1 of the mortises was cut fully, by moving the fence from left to right, and I quickly realised that the method was slow. I left the fence in the position it was set to, which at the same time was the edge of the mortise. I double-checked all the joints with the piece I had cut, it looked good to go and to replicate. All the pieces were cut by flipping them over, moving the fence once, making the series of cuts, moving the fence second and the last time and finishing all the mortises in that step. A relatively short period of time, just watching my fingers and pushing the jig against the fence.


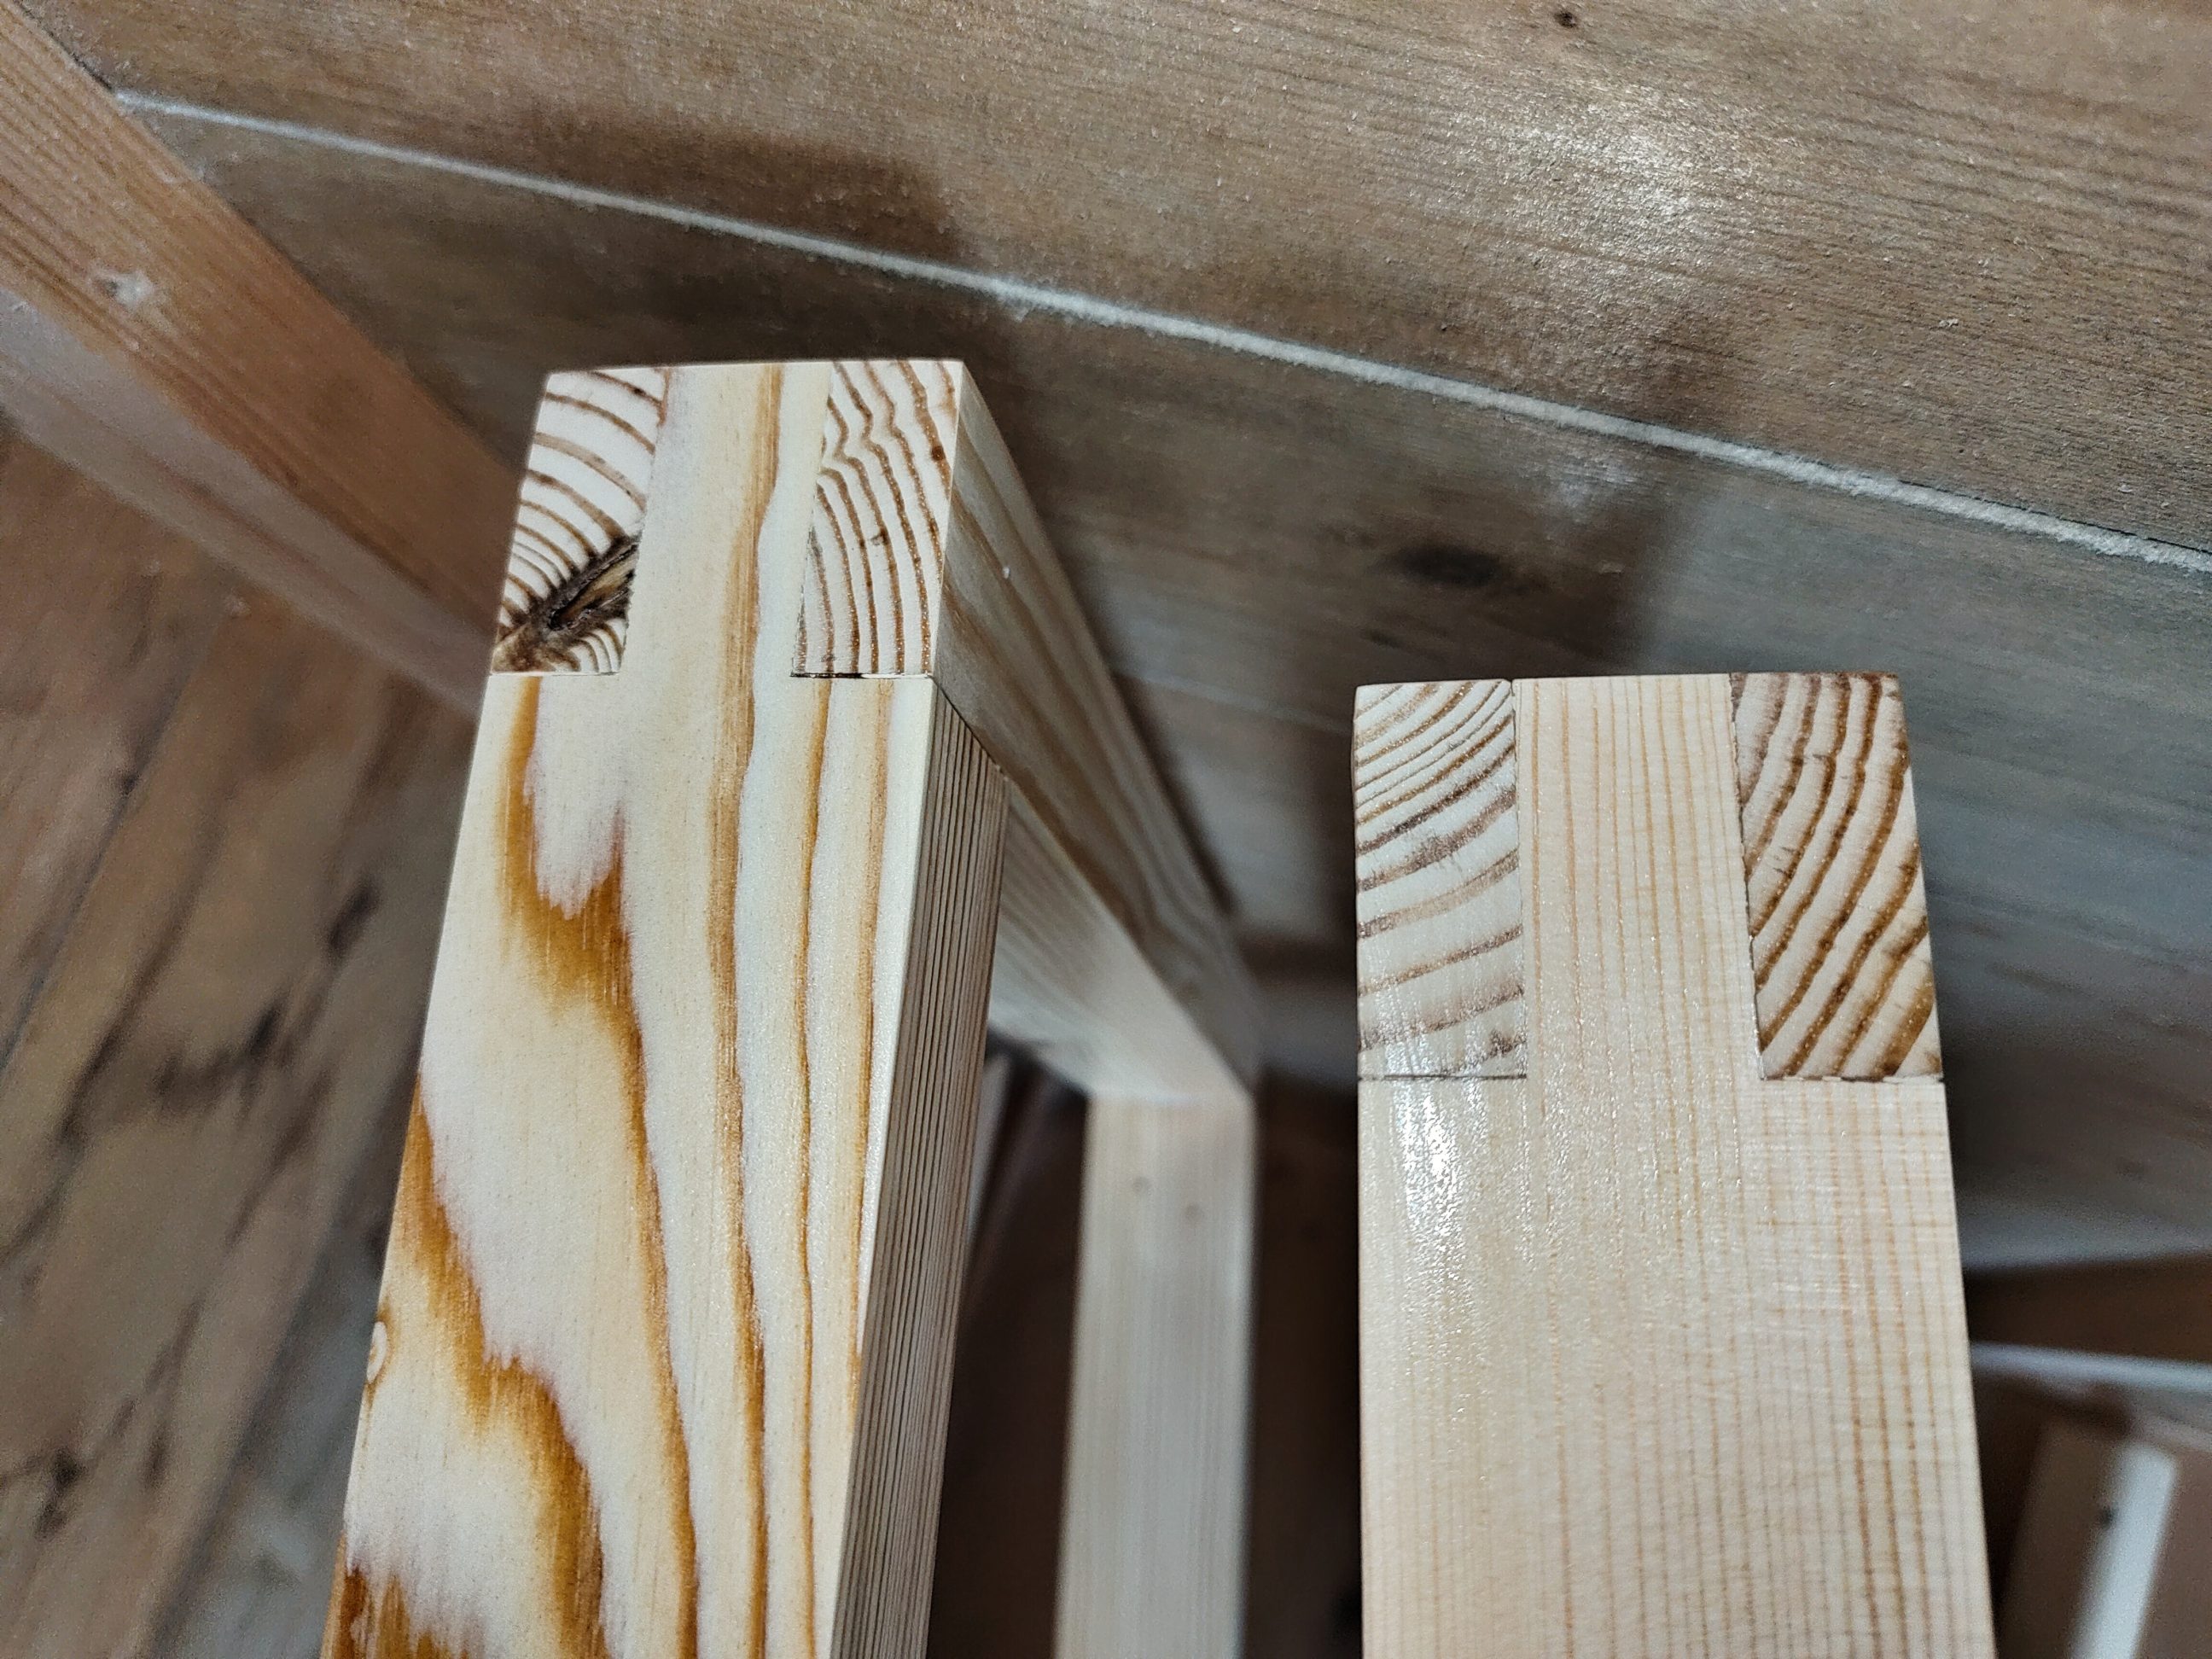
I quickly dry fitted my frames, and they only required some fine chiselling before glueing them up together. All the paper labels had to be removed, sooner or later – it was easy to do with a heat gun and scraper.


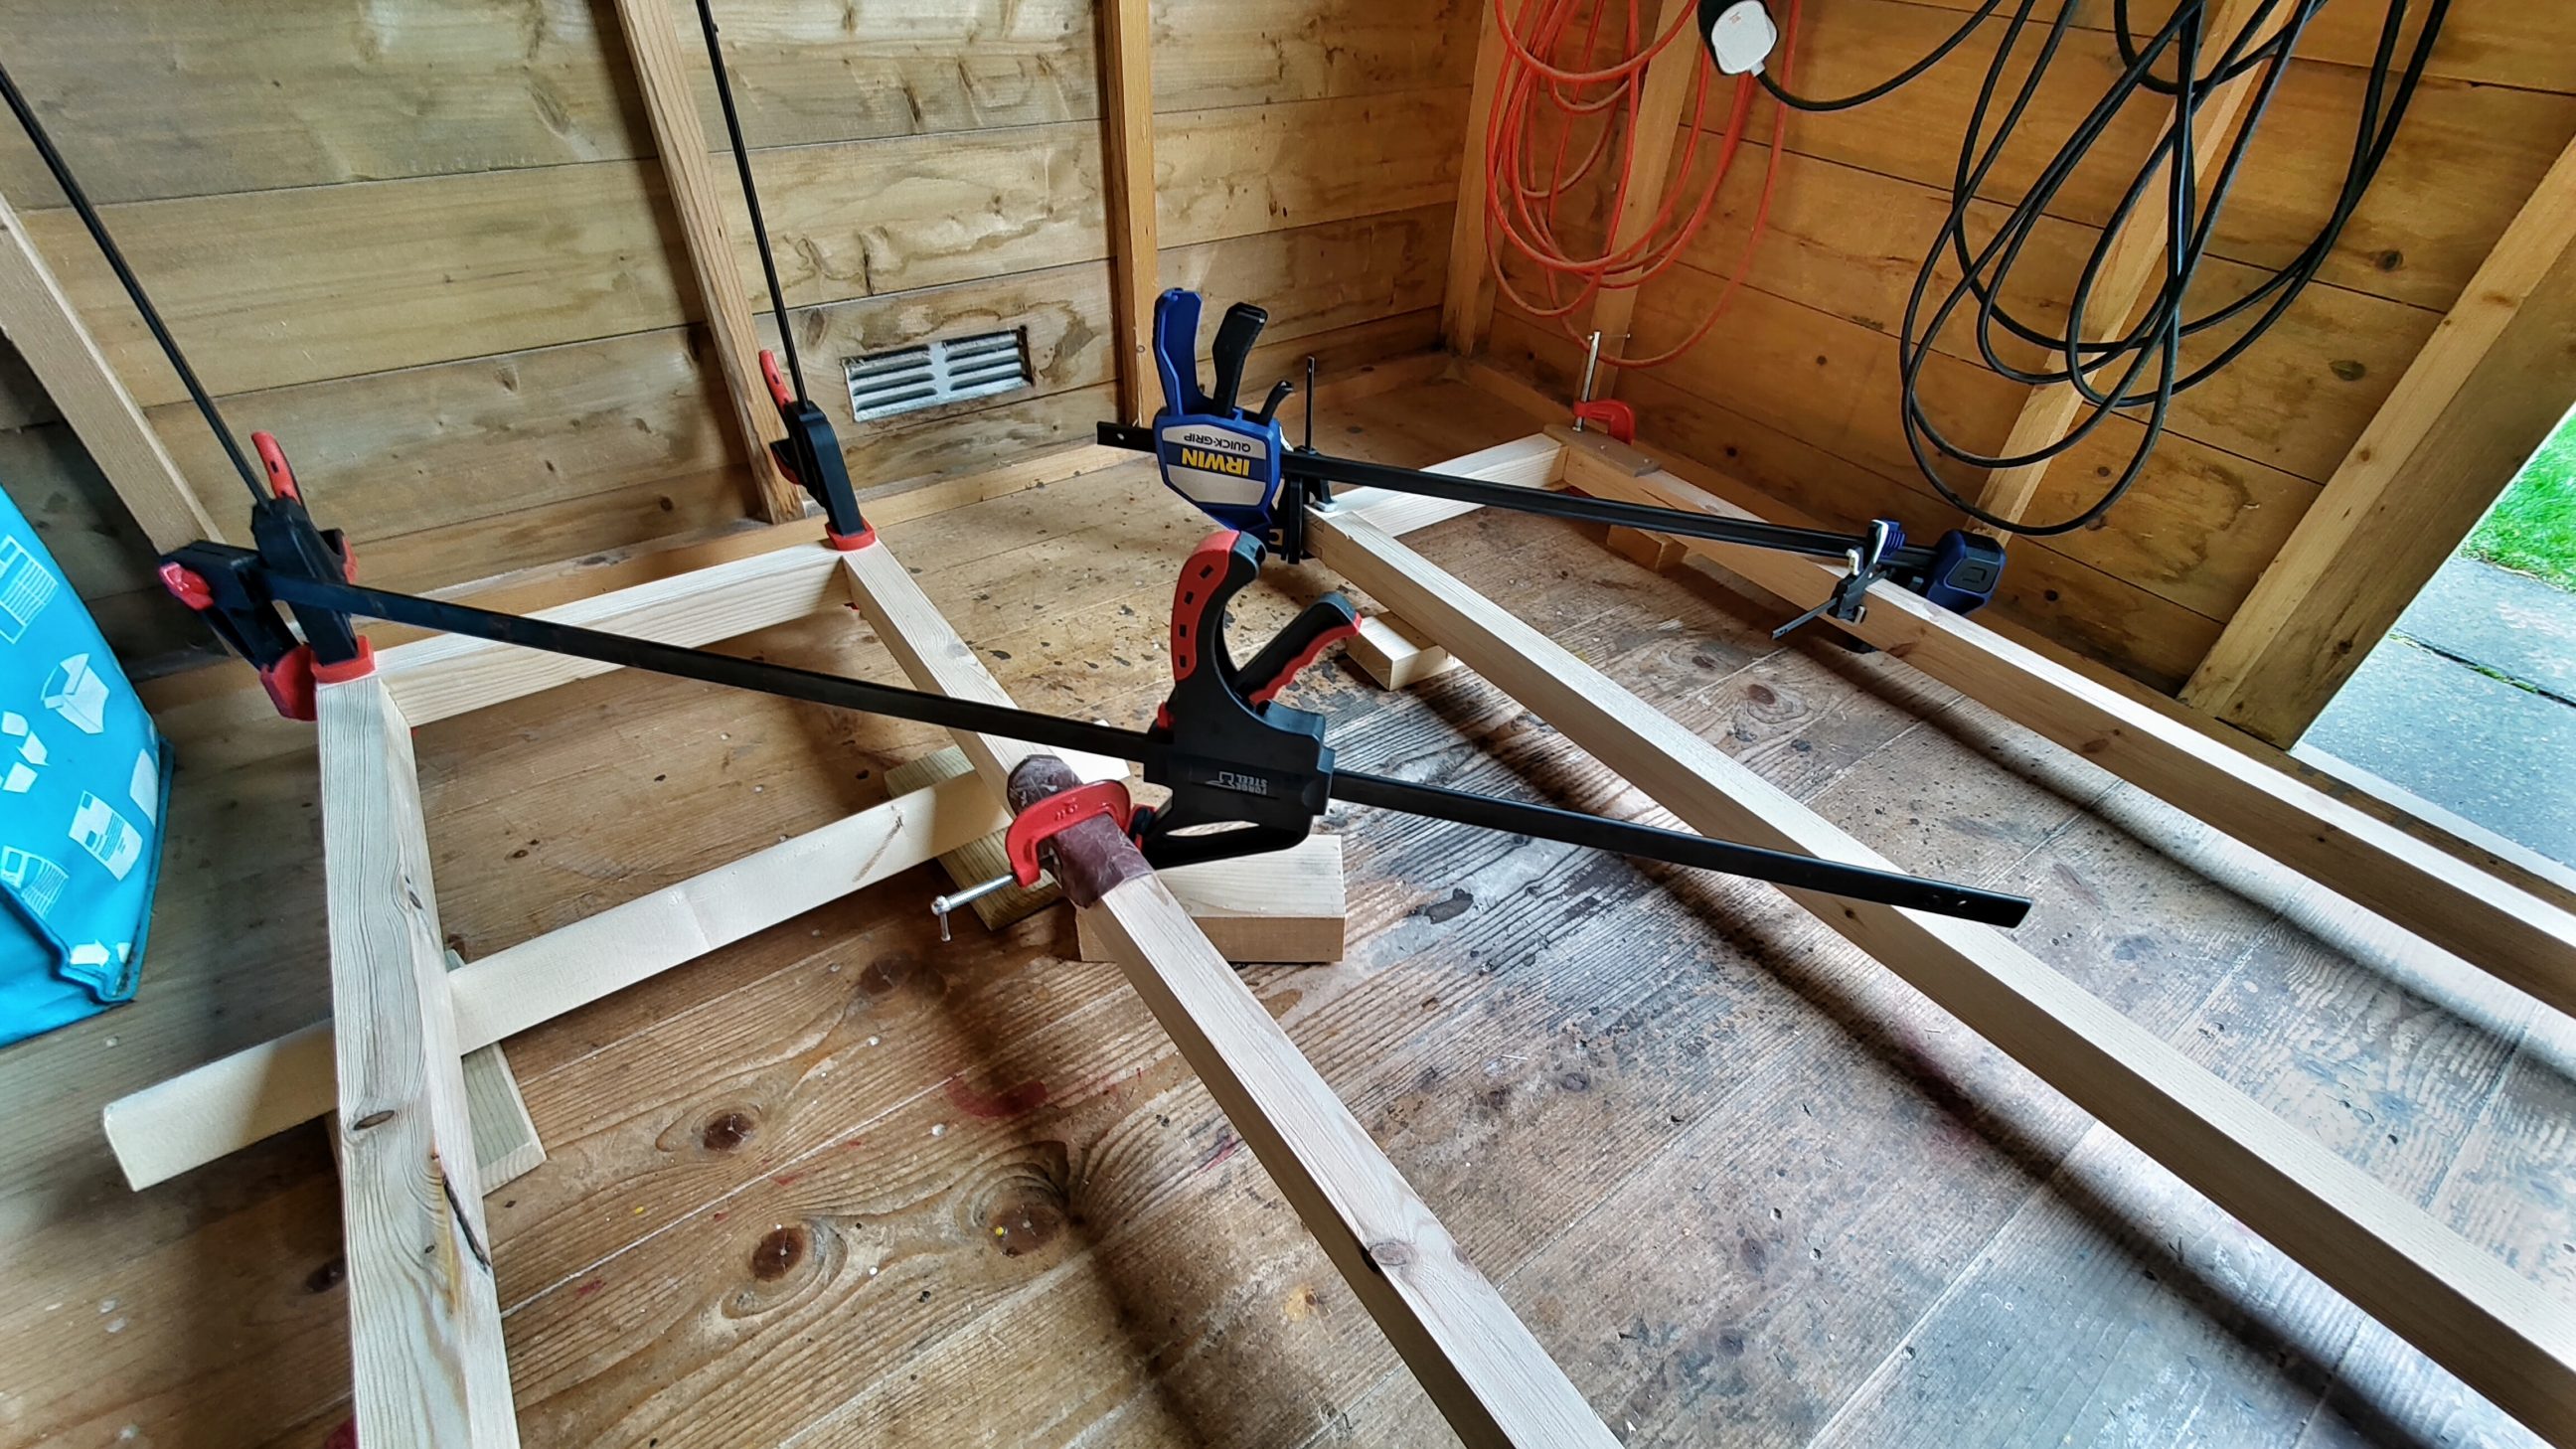
Each corner was individually assembled, checked and tuned with a chisel. I marked them from 1 to 8, glued them up and checked for square. I let the glue dry overnight and removed the clamps the next morning.


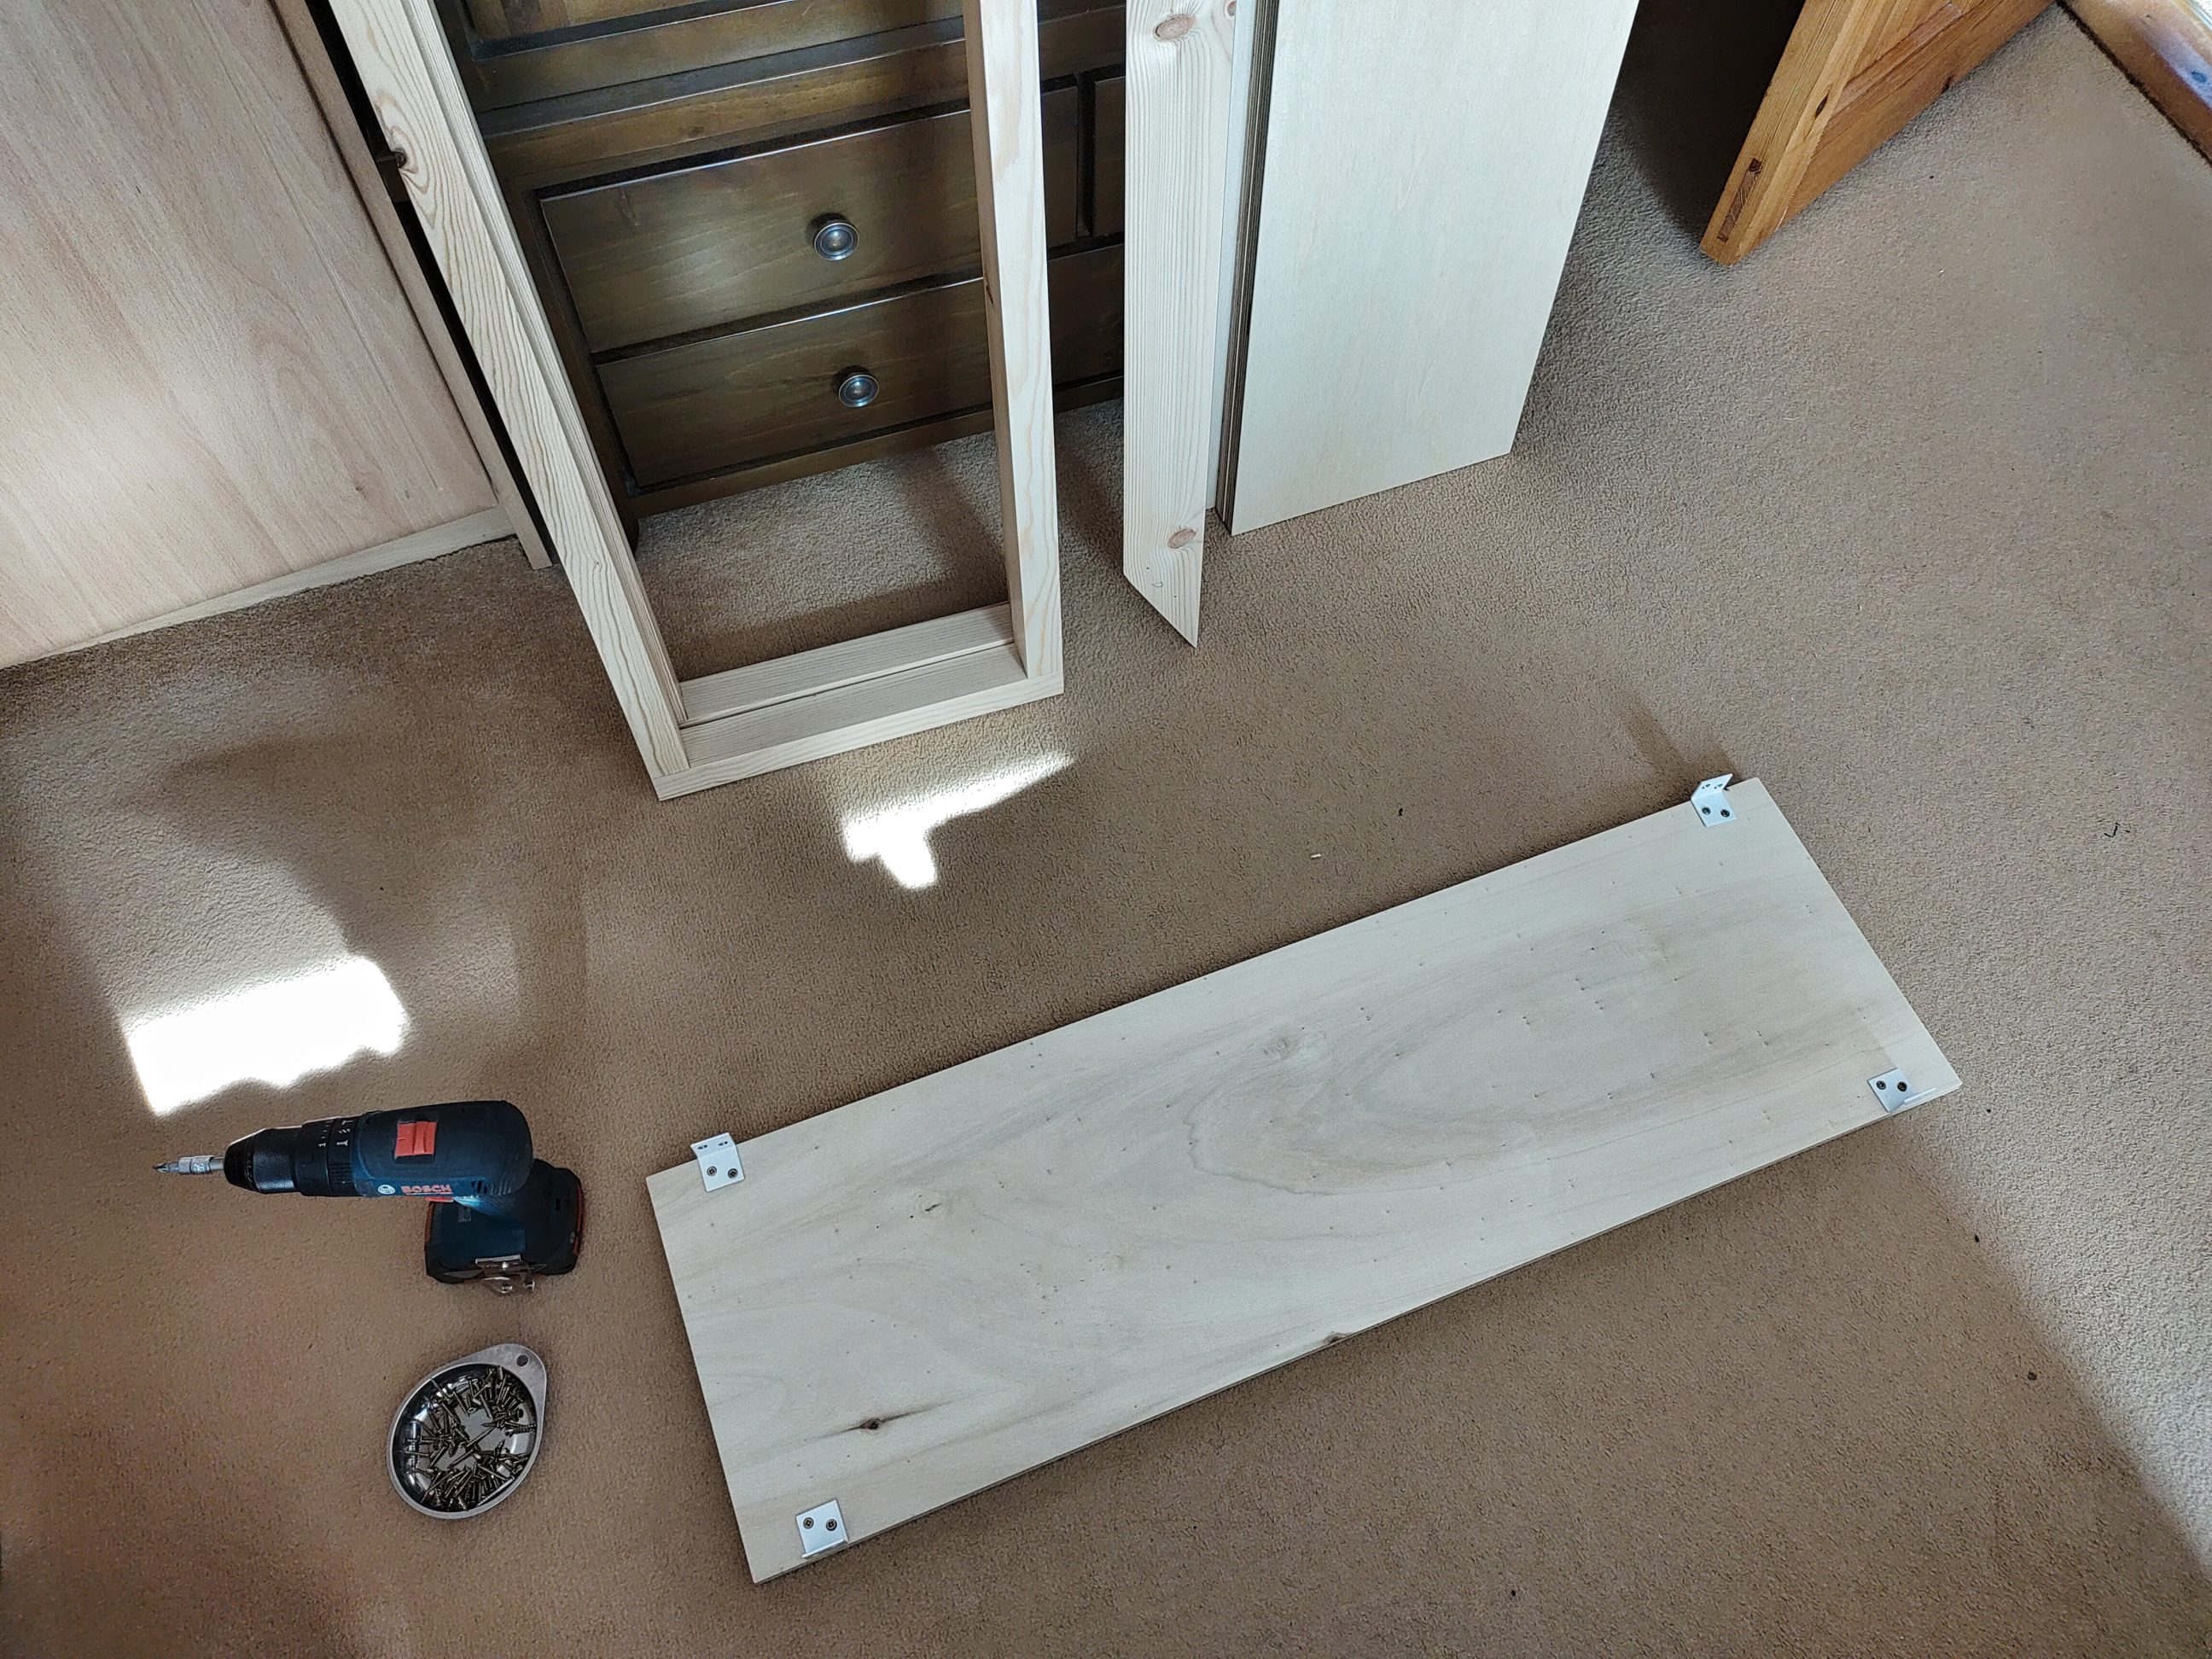
All 5 shelves were supposed to be evenly spaced from each other, but the distance from the bottom had to be smaller than the top one. The upper shelf simply needed some support for the books, whereas the bottom one was designed to provide some additional storage underneath. I marked all the mounting spots with an awl and pre-drilled all the holes. In order to use screw caps, I had to countersink the braces again, each hole had a layer of paint that was too thick to let the screws sit flush.


In the meantime, my new shelves came in it the post and along with the frames, they could be temporarily put together. Unlike the frames, the shelves were not pre-drilled. The bottom shelf was very tricky to attach, but with some mini tools, I eventually managed. During that pre-assembly, I made sure that none of the screws was overtightened – I only wanted to see how would the layout look and to figure out the back support.


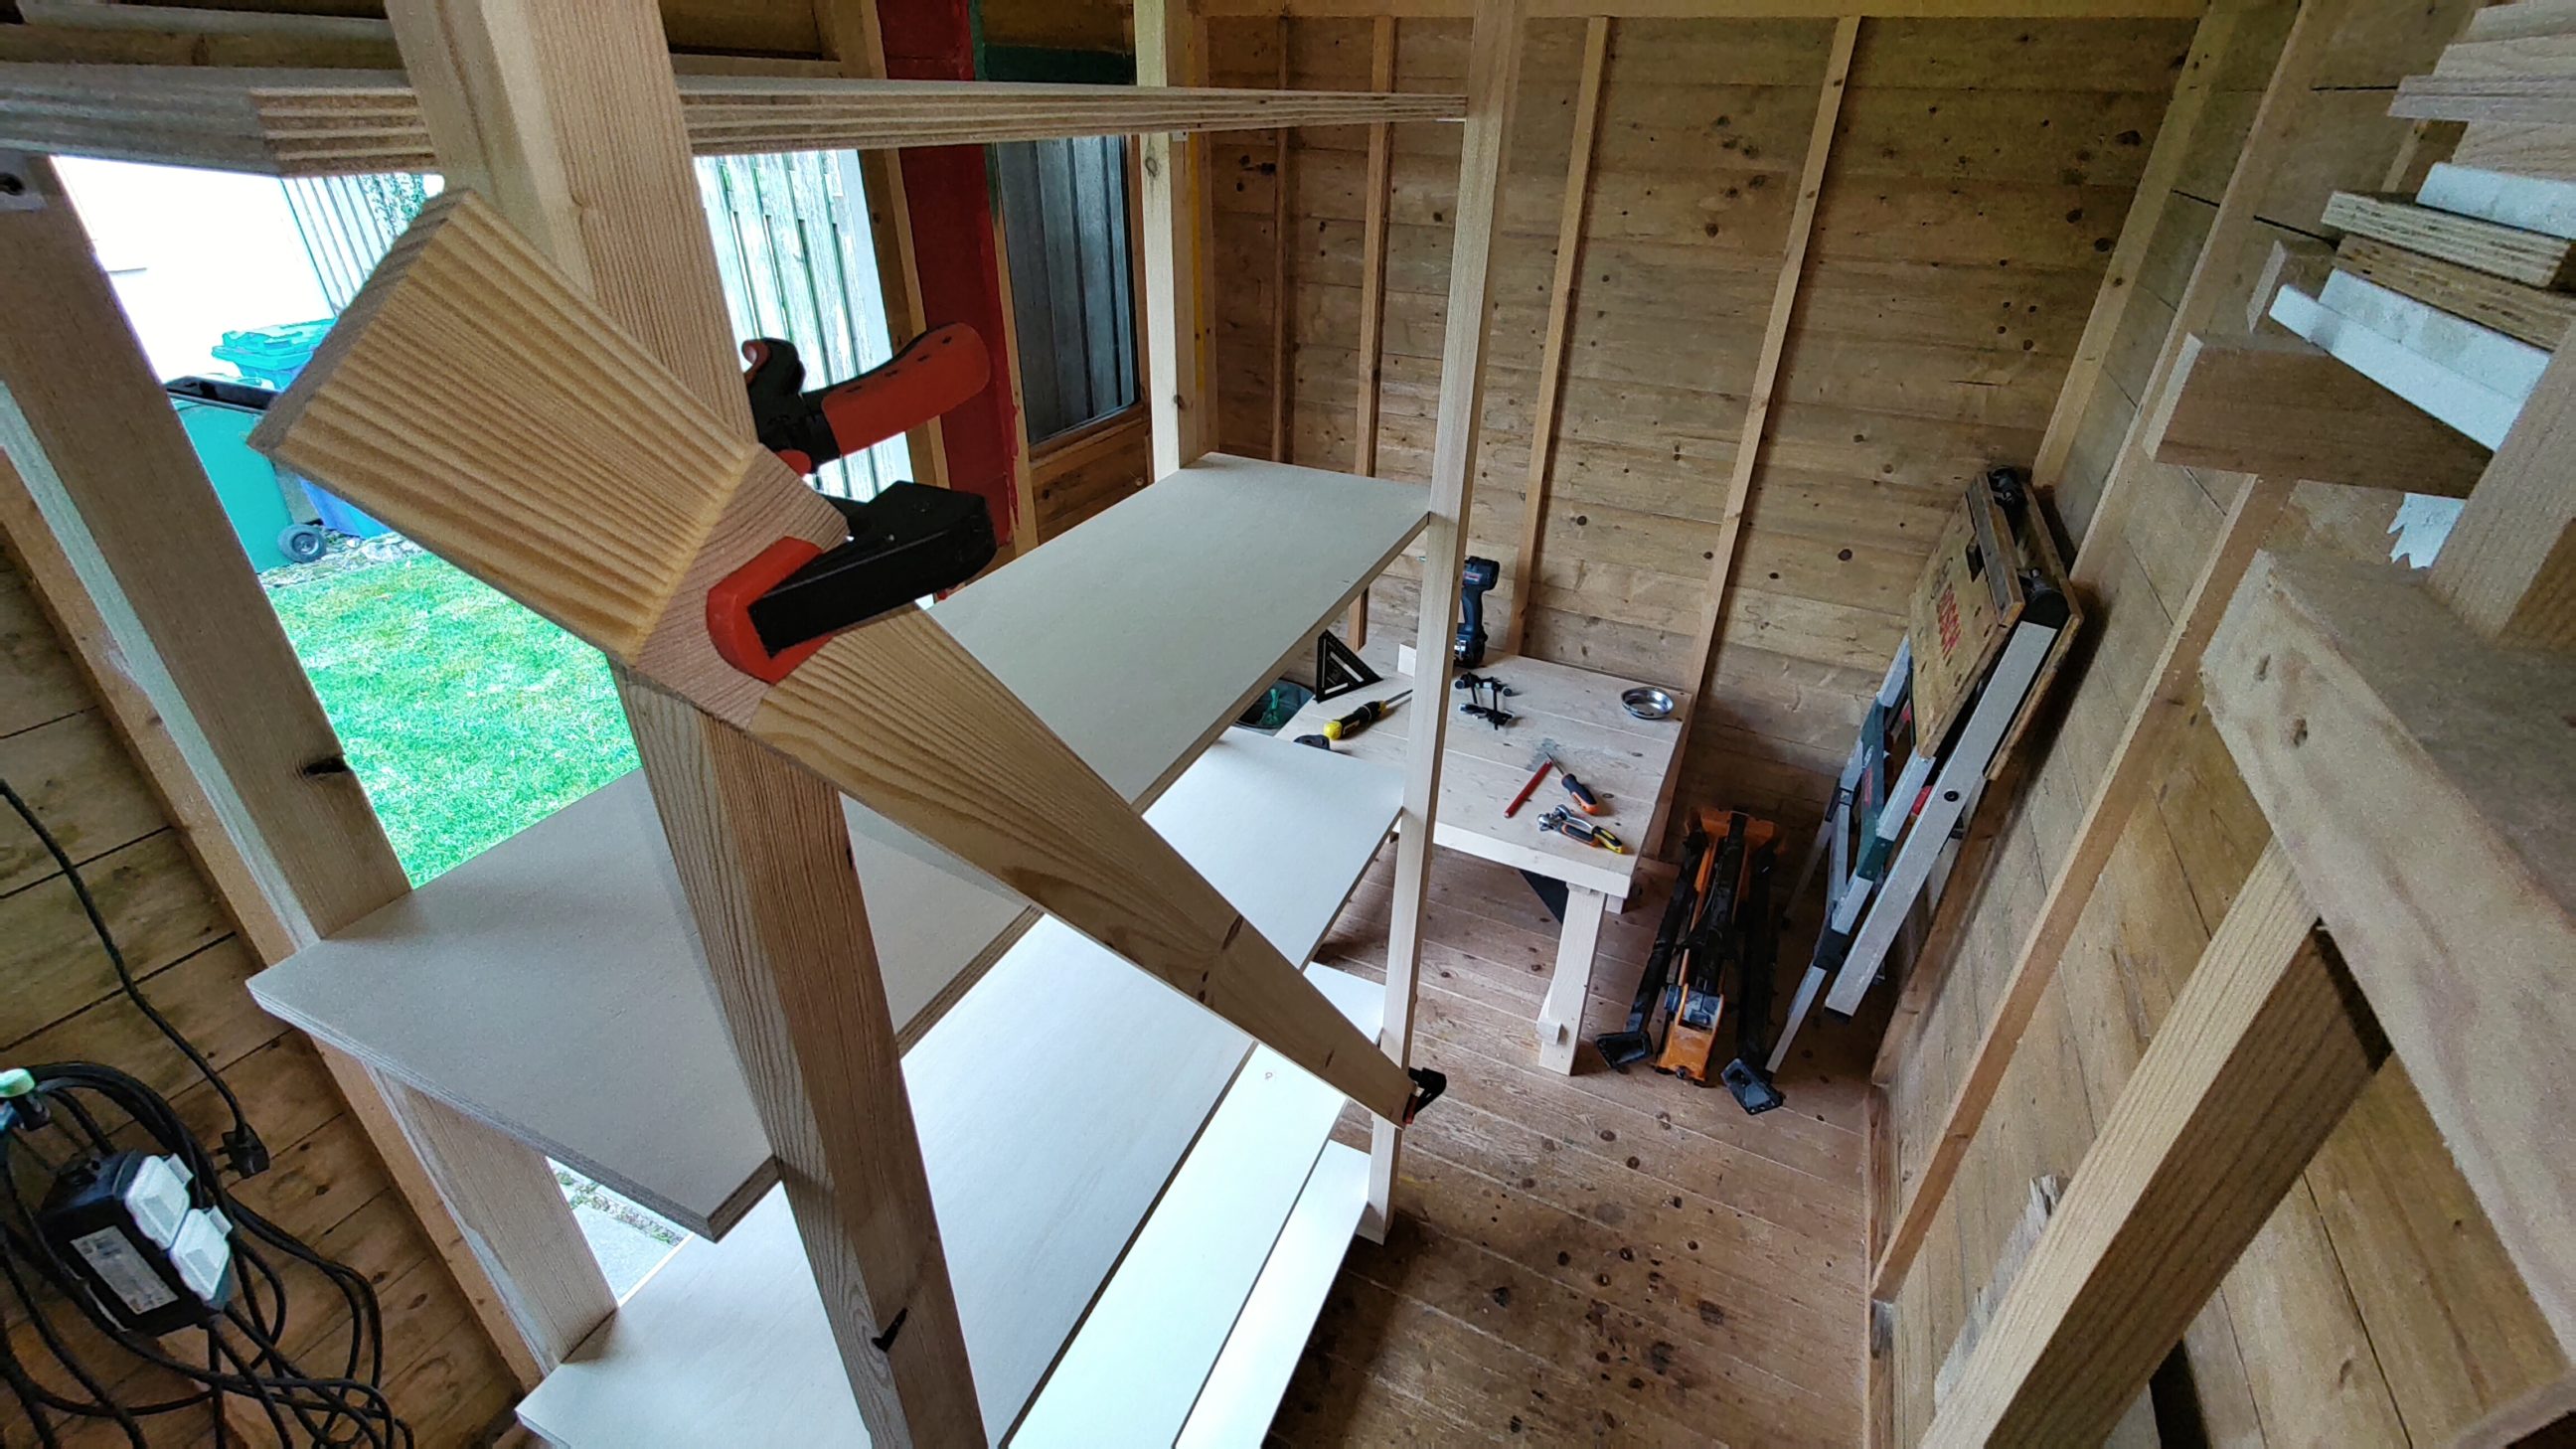

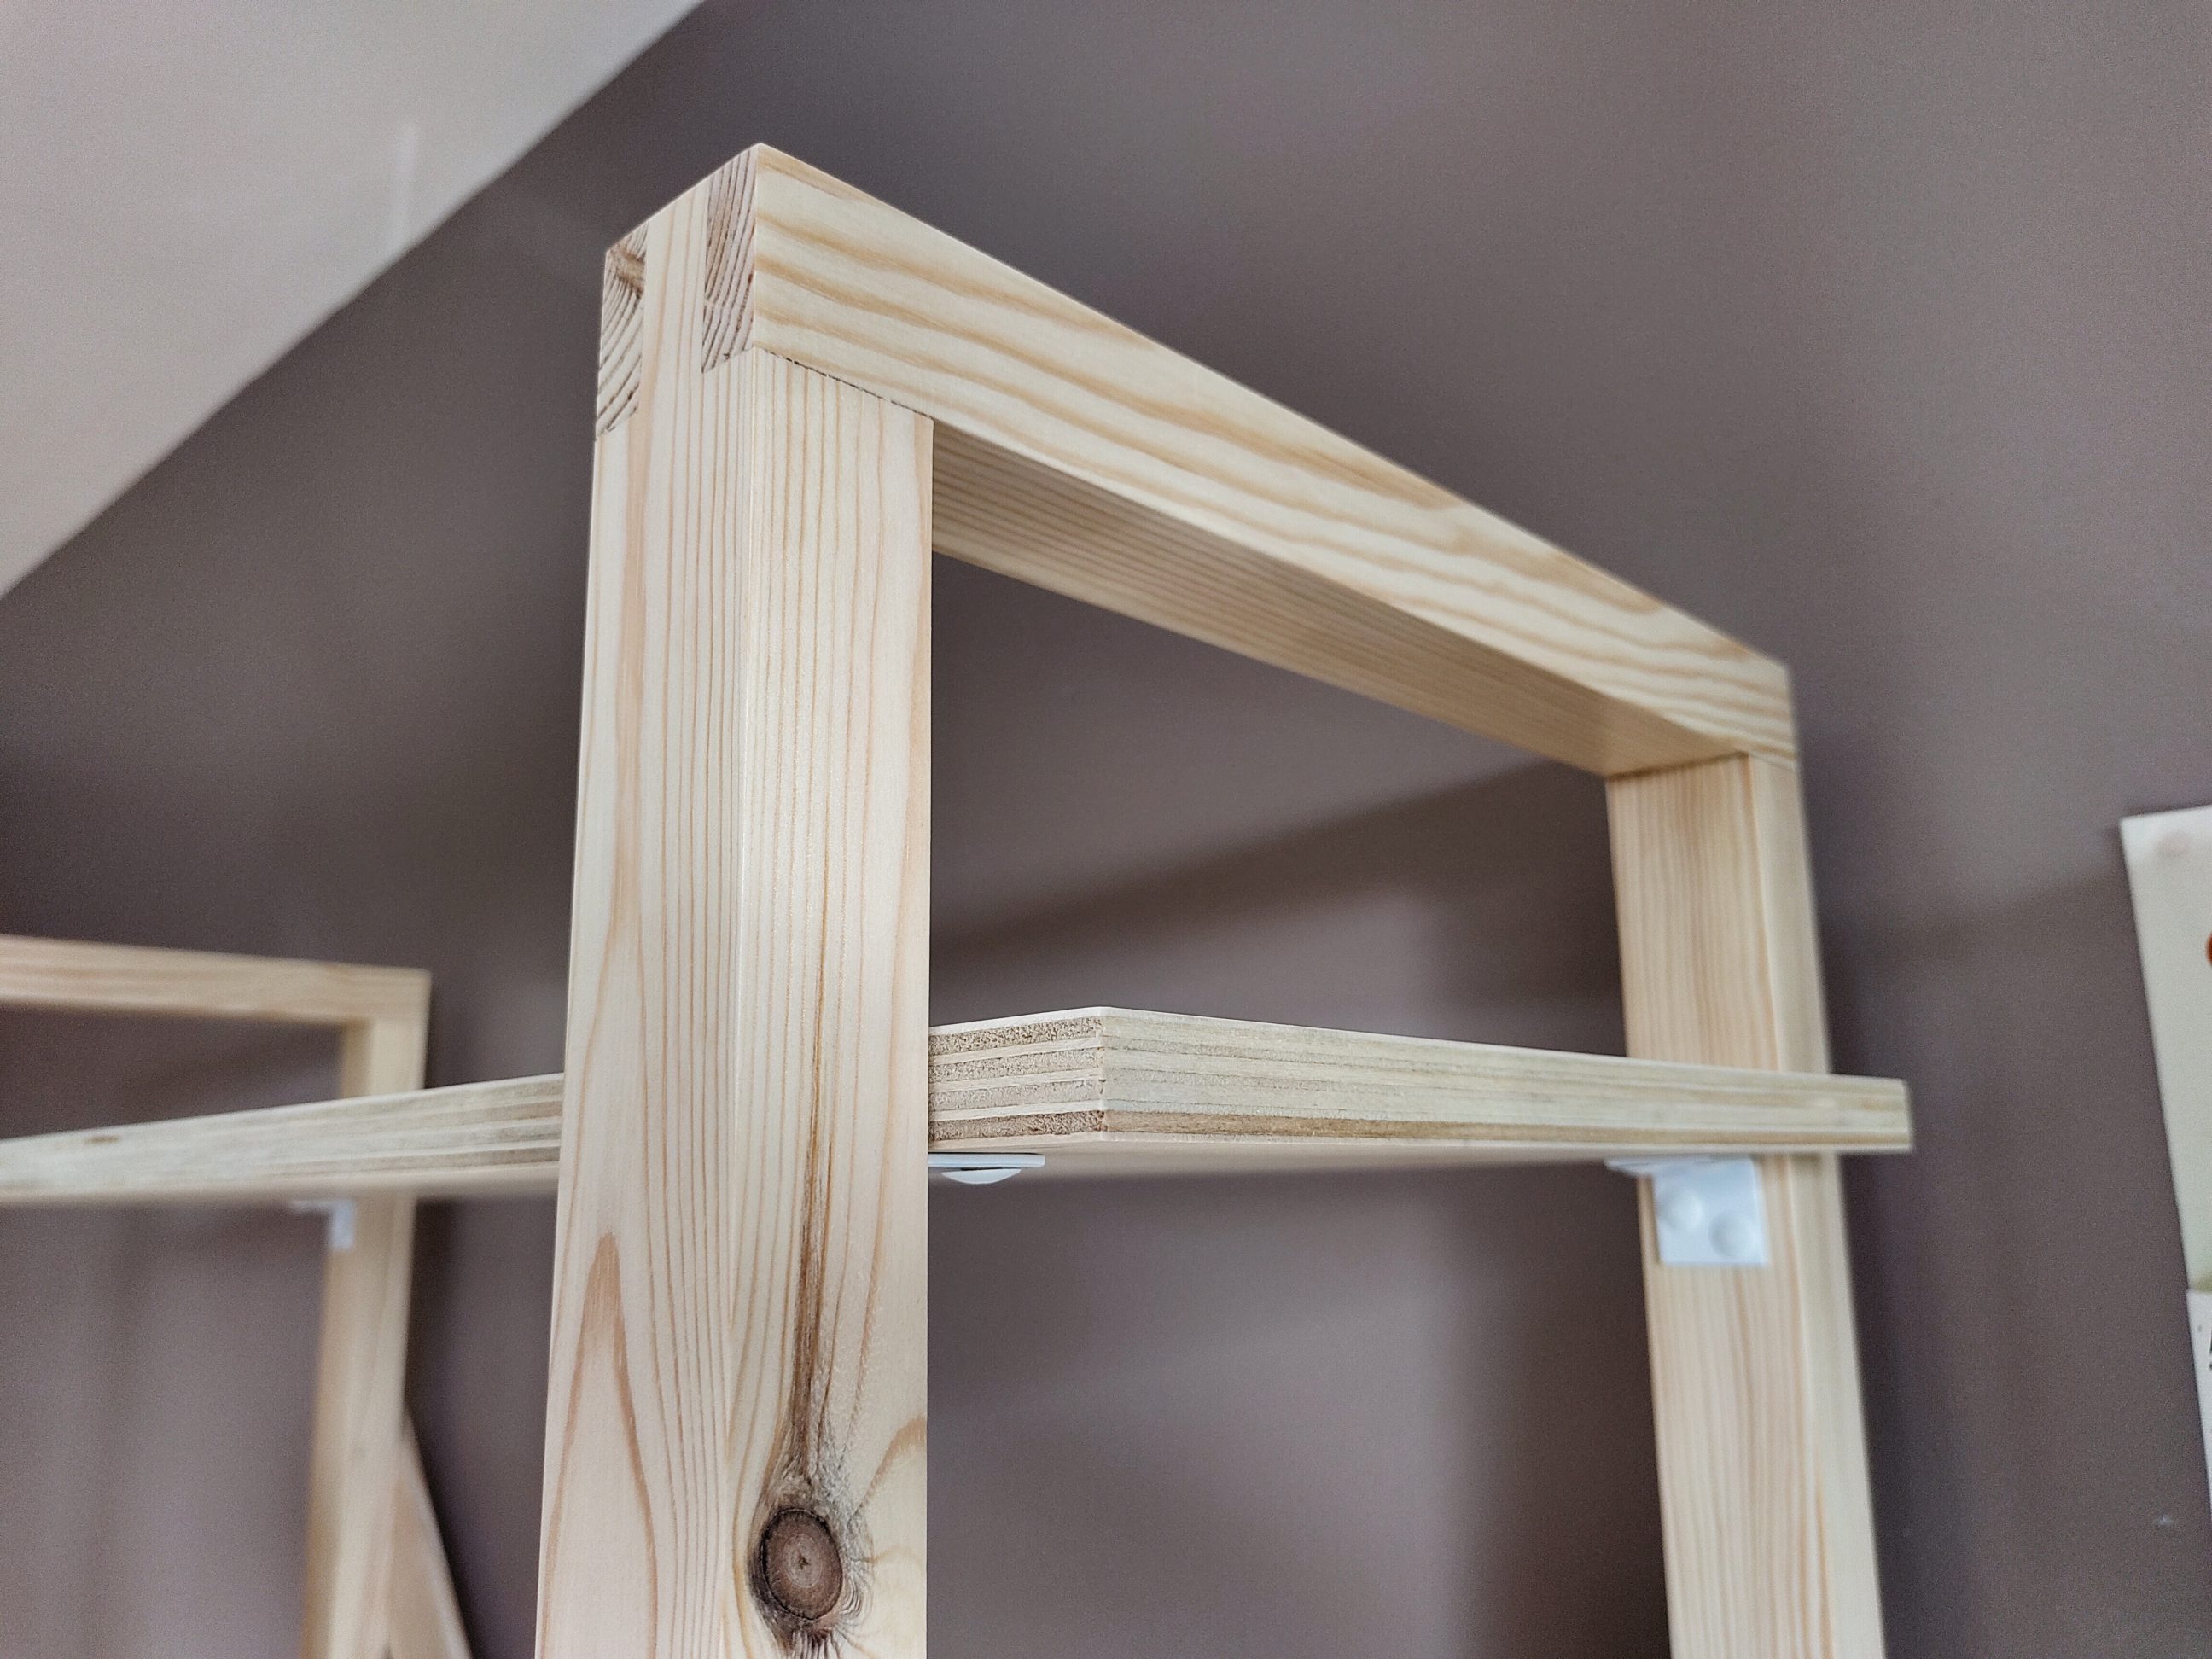
I decided to go with a single diagonal board to stabilise the bookcase. Along with the exposed plywood edges, my bookcase would have an industrial, modern look. I clamped a relatively wide board to the back and checked the results. It was strong and stiff enough, quick and easy to make. The frames were very strong, the corner braces were attached with 4 screws each and the wide support for the back was screwed in with 2 screws at each end – that combination made the bookcase strong enough for my needs. To make the back support, I cut it to size with a circular saw and used pan head screws to secure it to the frames. Using any other screws wouldn’t work, countersunk screws could only compress the fibres and nestle too deep in the board because of the grain direction. That board could be fastened directly to the frames because my bookcase was going to stand against the wall and the skirting board (U.S. baseboard) which would create a gap for the supporting board.


The bookcase had to be disassembled before the next step, and that was sanding. With my new 1/4 sheet sander, I did all the sanding, inside, outside, corners and the edges. It was the 1st day of testing it, and it turned out very good for narrow edges, like plywood, it helped to have them square and flat. The sander was also good for plywood faces, it took just a bit off, leaving the veneer almost intact. From time to time I had to use my orbital sander, mostly for sanding off glue from the bridle joints. Any important pencil markings that I removed during sanding were done again as they might help during the final assembly. Sanding was a time-consuming process but once done, I blew off the remaining dust and prepared for painting.


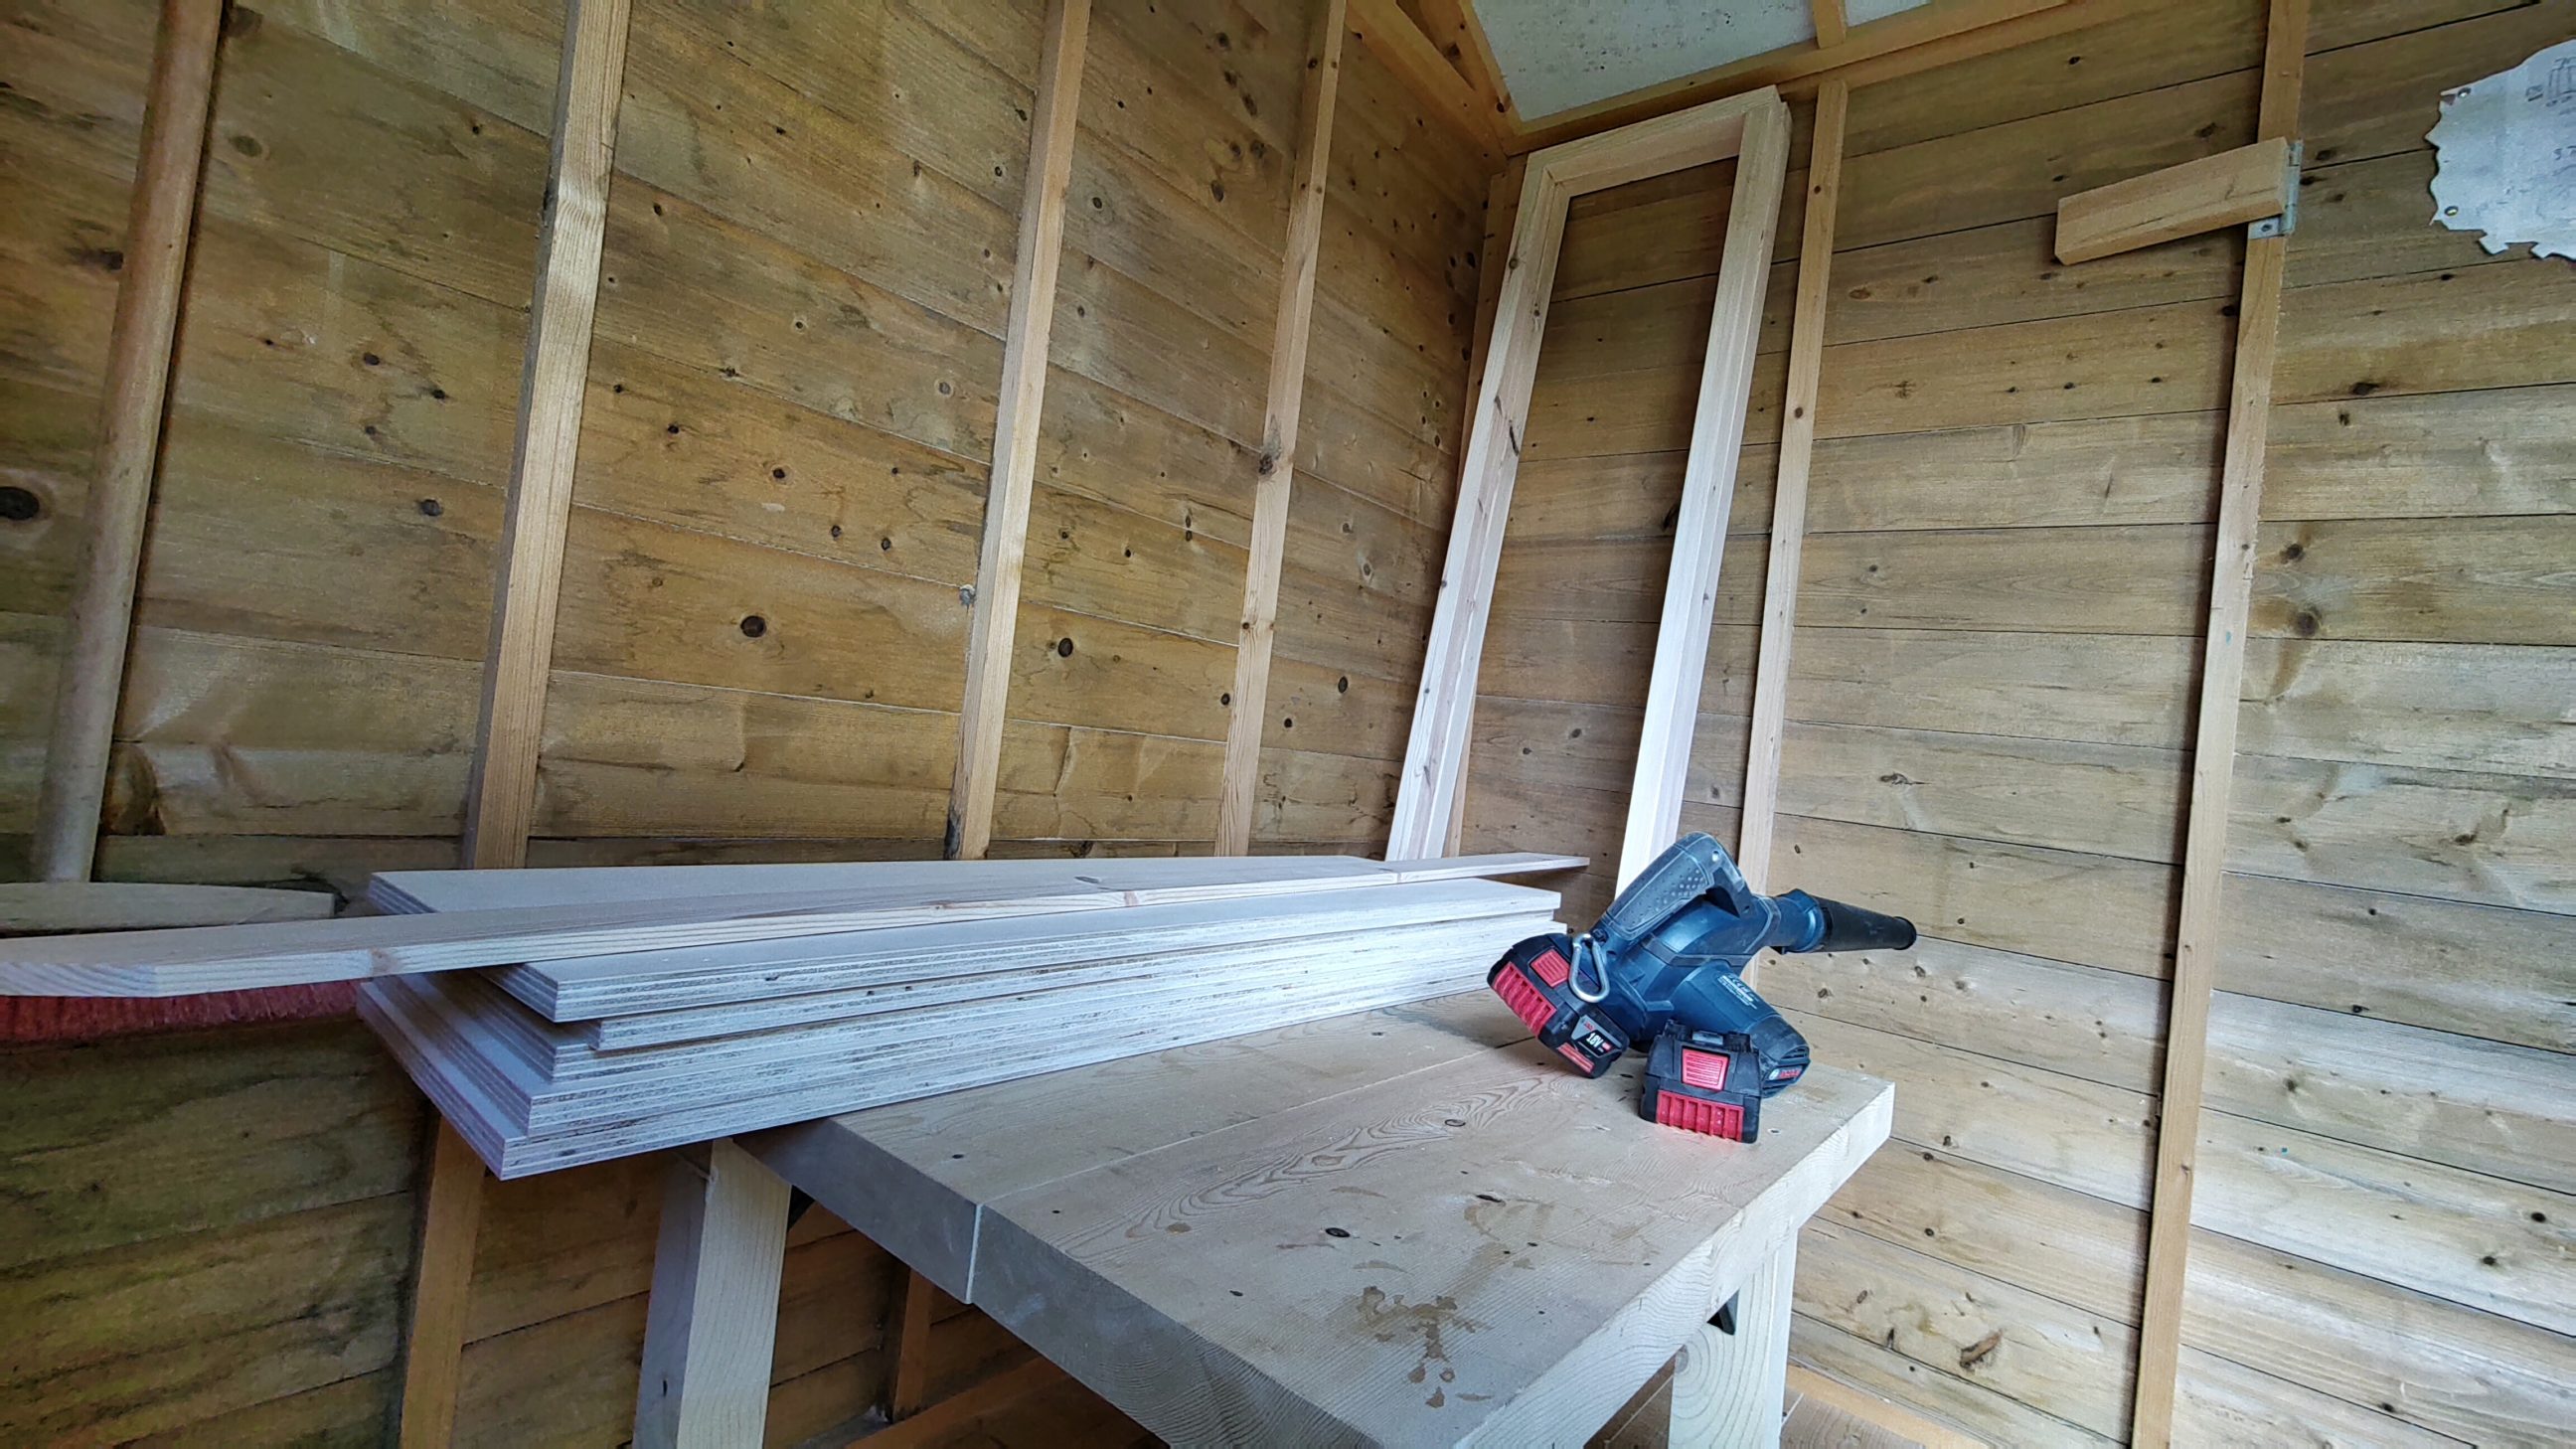
Applying water-based varnish took me some time, due to the size of the project. There was very little room in the shed to use for drying and applying the finish, but I used some tricks and thanks to the short drying time I could apply up to 2 coats in 1 day. It still took me 3 afternoons to complete. I did 2 coats without any sanding in between. Even during my work, the 2nd coat of that clear, satin varnish changed the look of the wood/plywood from white and flat into live and tinted – not much, but just enough. It’ll change a bit more in the future, exactly the way I like it. The final shades and colours won’t be yellow (like oil-based varnish) – rather light brown and red – they’ll be beautiful and subtle.


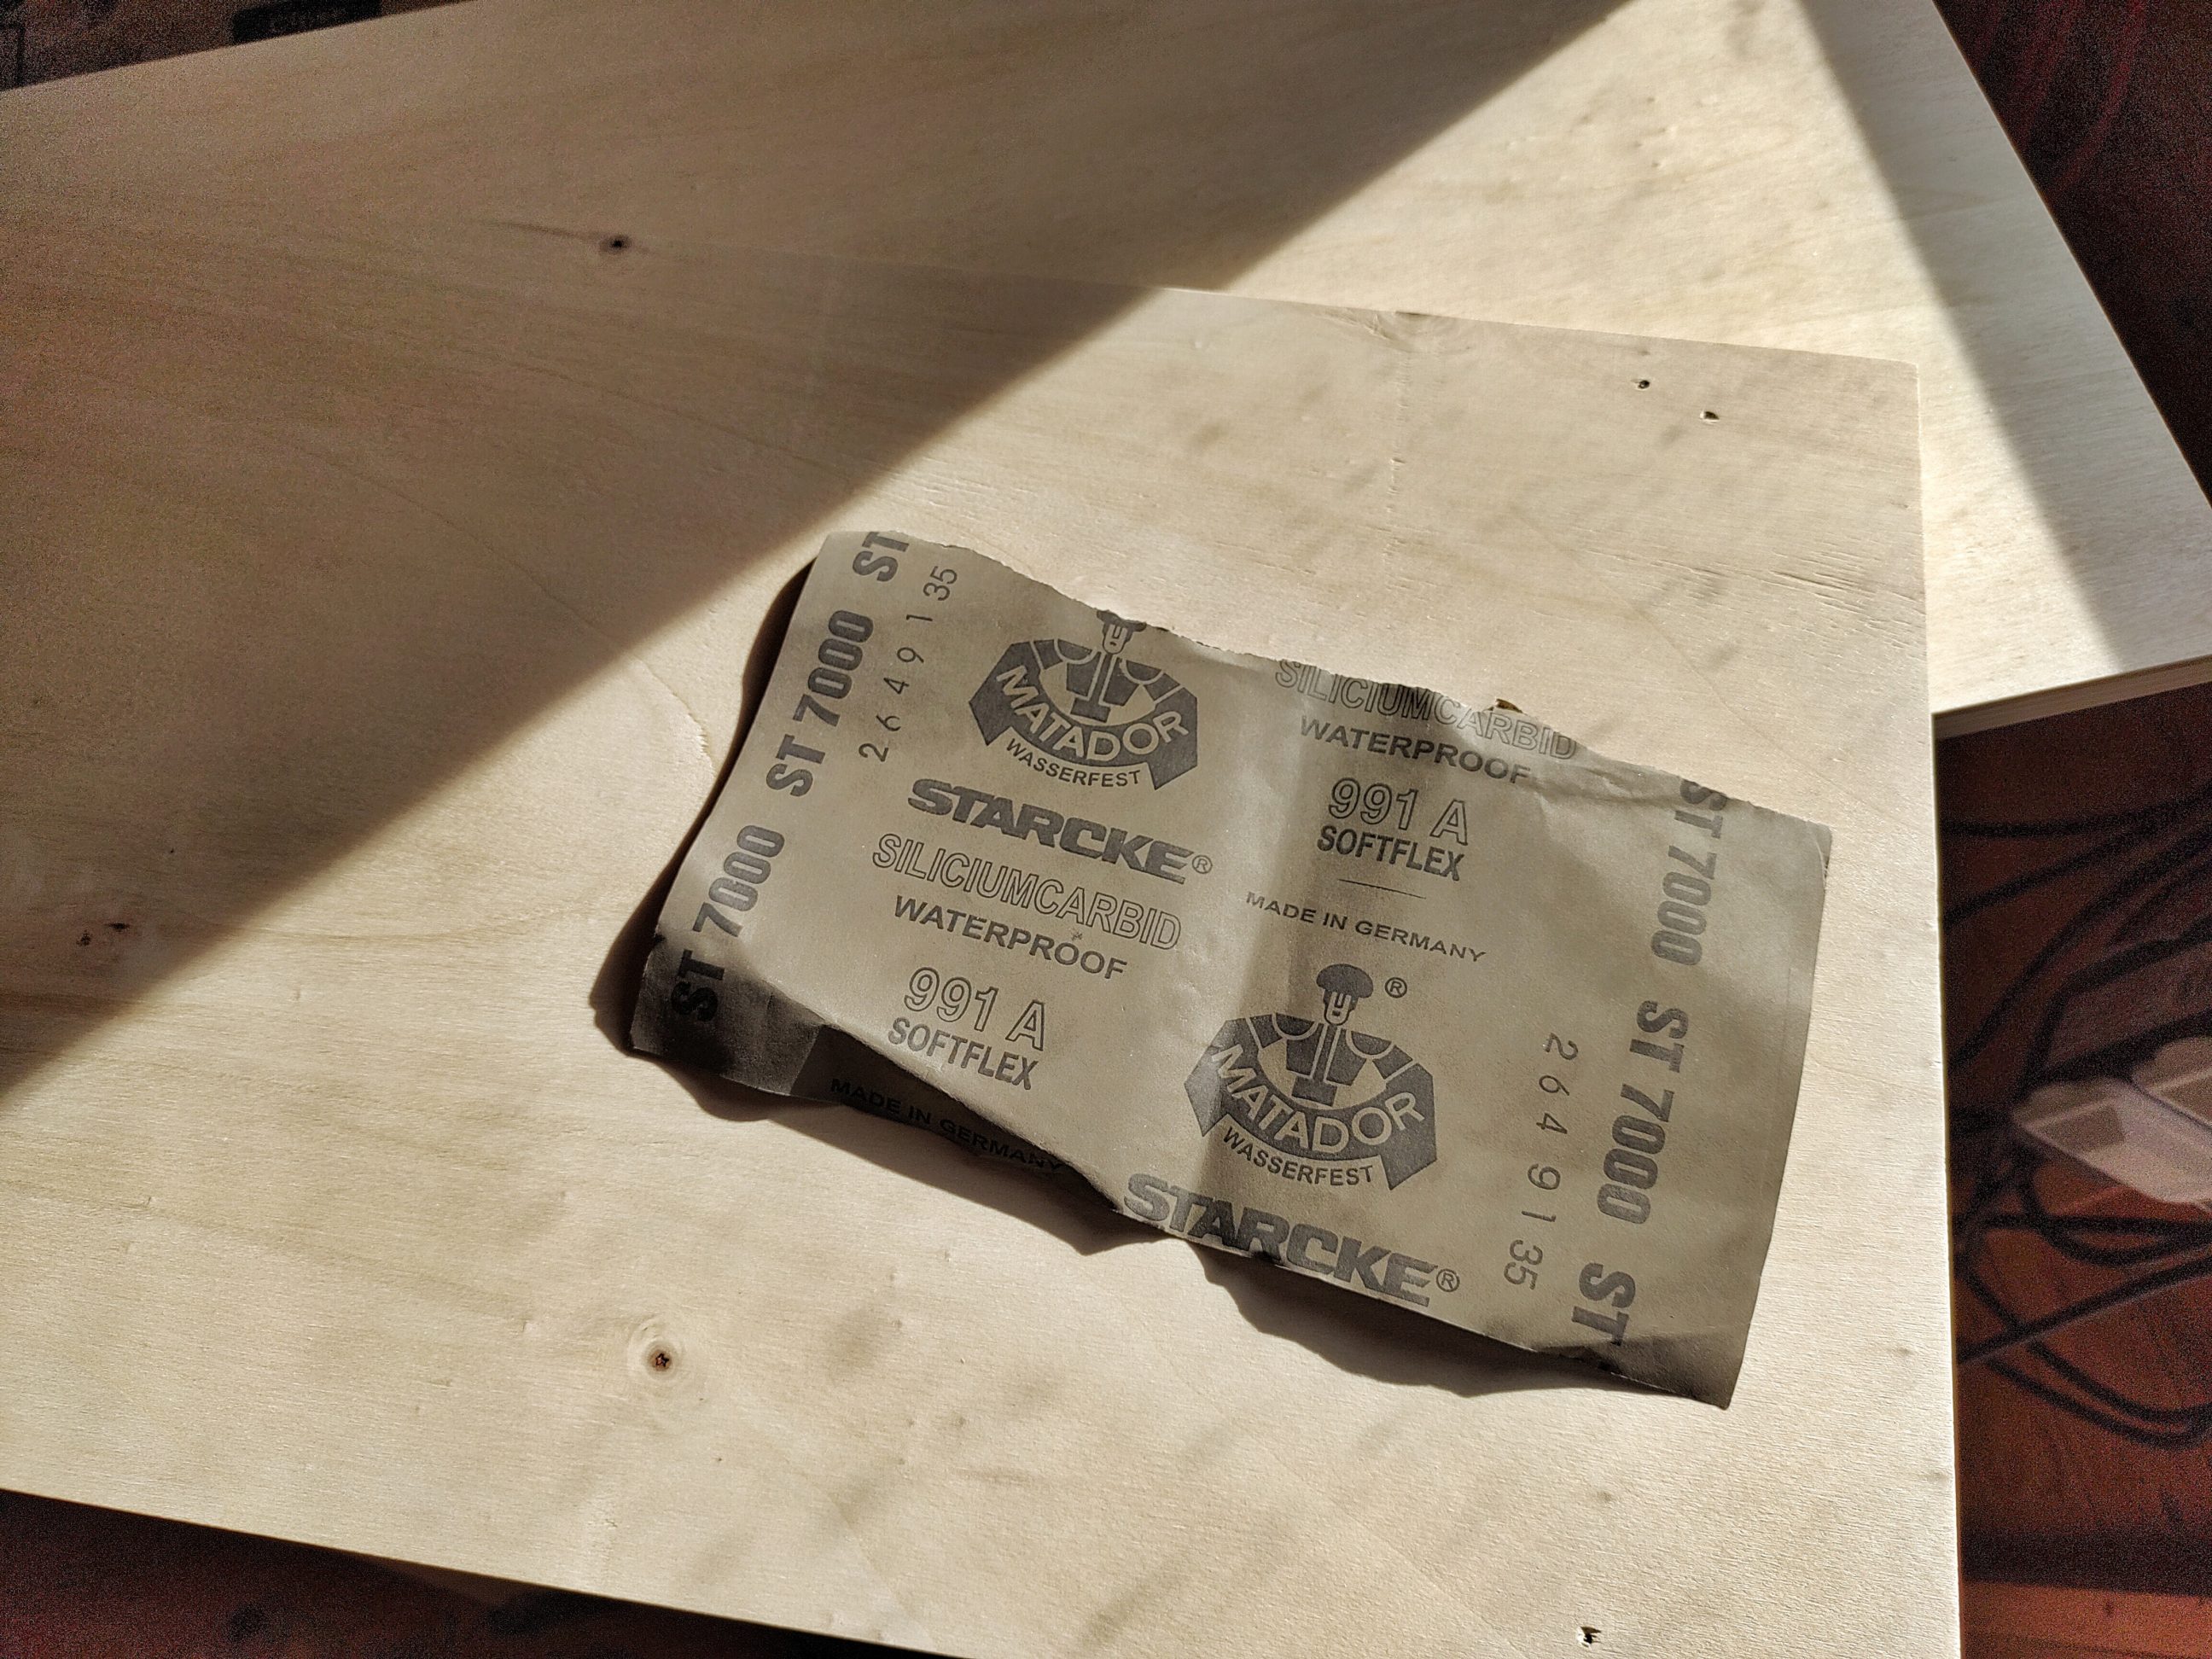
Since I couldn’t find any paper bag, I used ultra-fine sandpaper to smooth out any stuck dust particles. I moved all the parts inside and started the assembly. It was done with hand tools and a drill with the clutch set to a minimum. One by one, I attached all the shelves, keeping the screws a little loose at that point. Once the back support was attached, I tightened down the bottom shelf, lifted up the bookcase and tightened down the remaining shelves. All the screw caps were pushed into the slots and the assembly was done.


During the build, I had to struggle with limited space, that was the biggest restriction and the only thing I could do was to have my workspace clean and tidy, keep calm and carry on. My workshop was simply too small to do all the pieces at once. I can tell now that this bookcase was the biggest project so far, and I mean its dimensions either flat-packed or assembled. Even if it looks simple, it comprises many parts and sides to sand and paint. It’s one big surface or area to finish, in other words. But what makes me smile and what I look at with pride are the bridle joints – they present themselves strong and professional. They’re like little details that may be overlooked first, but eventually, they catch the user’s attention and are appreciated.


One Comment
Pingback: