Mitred plywood box with a sliding lid
This box features a bottom panel that sits in a groove, as well as a sliding lid. The corners are mitred and the entire assembly is held together with glue alone, with no metal fasteners. The glue-up process was quick and easy, requiring only blue painter’s tape and light-duty spring clamps. The only challenge was cutting all the pieces to the correct length, width and angle which meant precision. Fortunately, all the cuts were tear-out-free even without taping over the cut lines. I’m not sure if I achieved these professional results due to a good blade or just plain luck. Despite the plywood not being of the highest quality, I managed to conceal any imperfections and create a perfectly sized storage box that meets my needs.


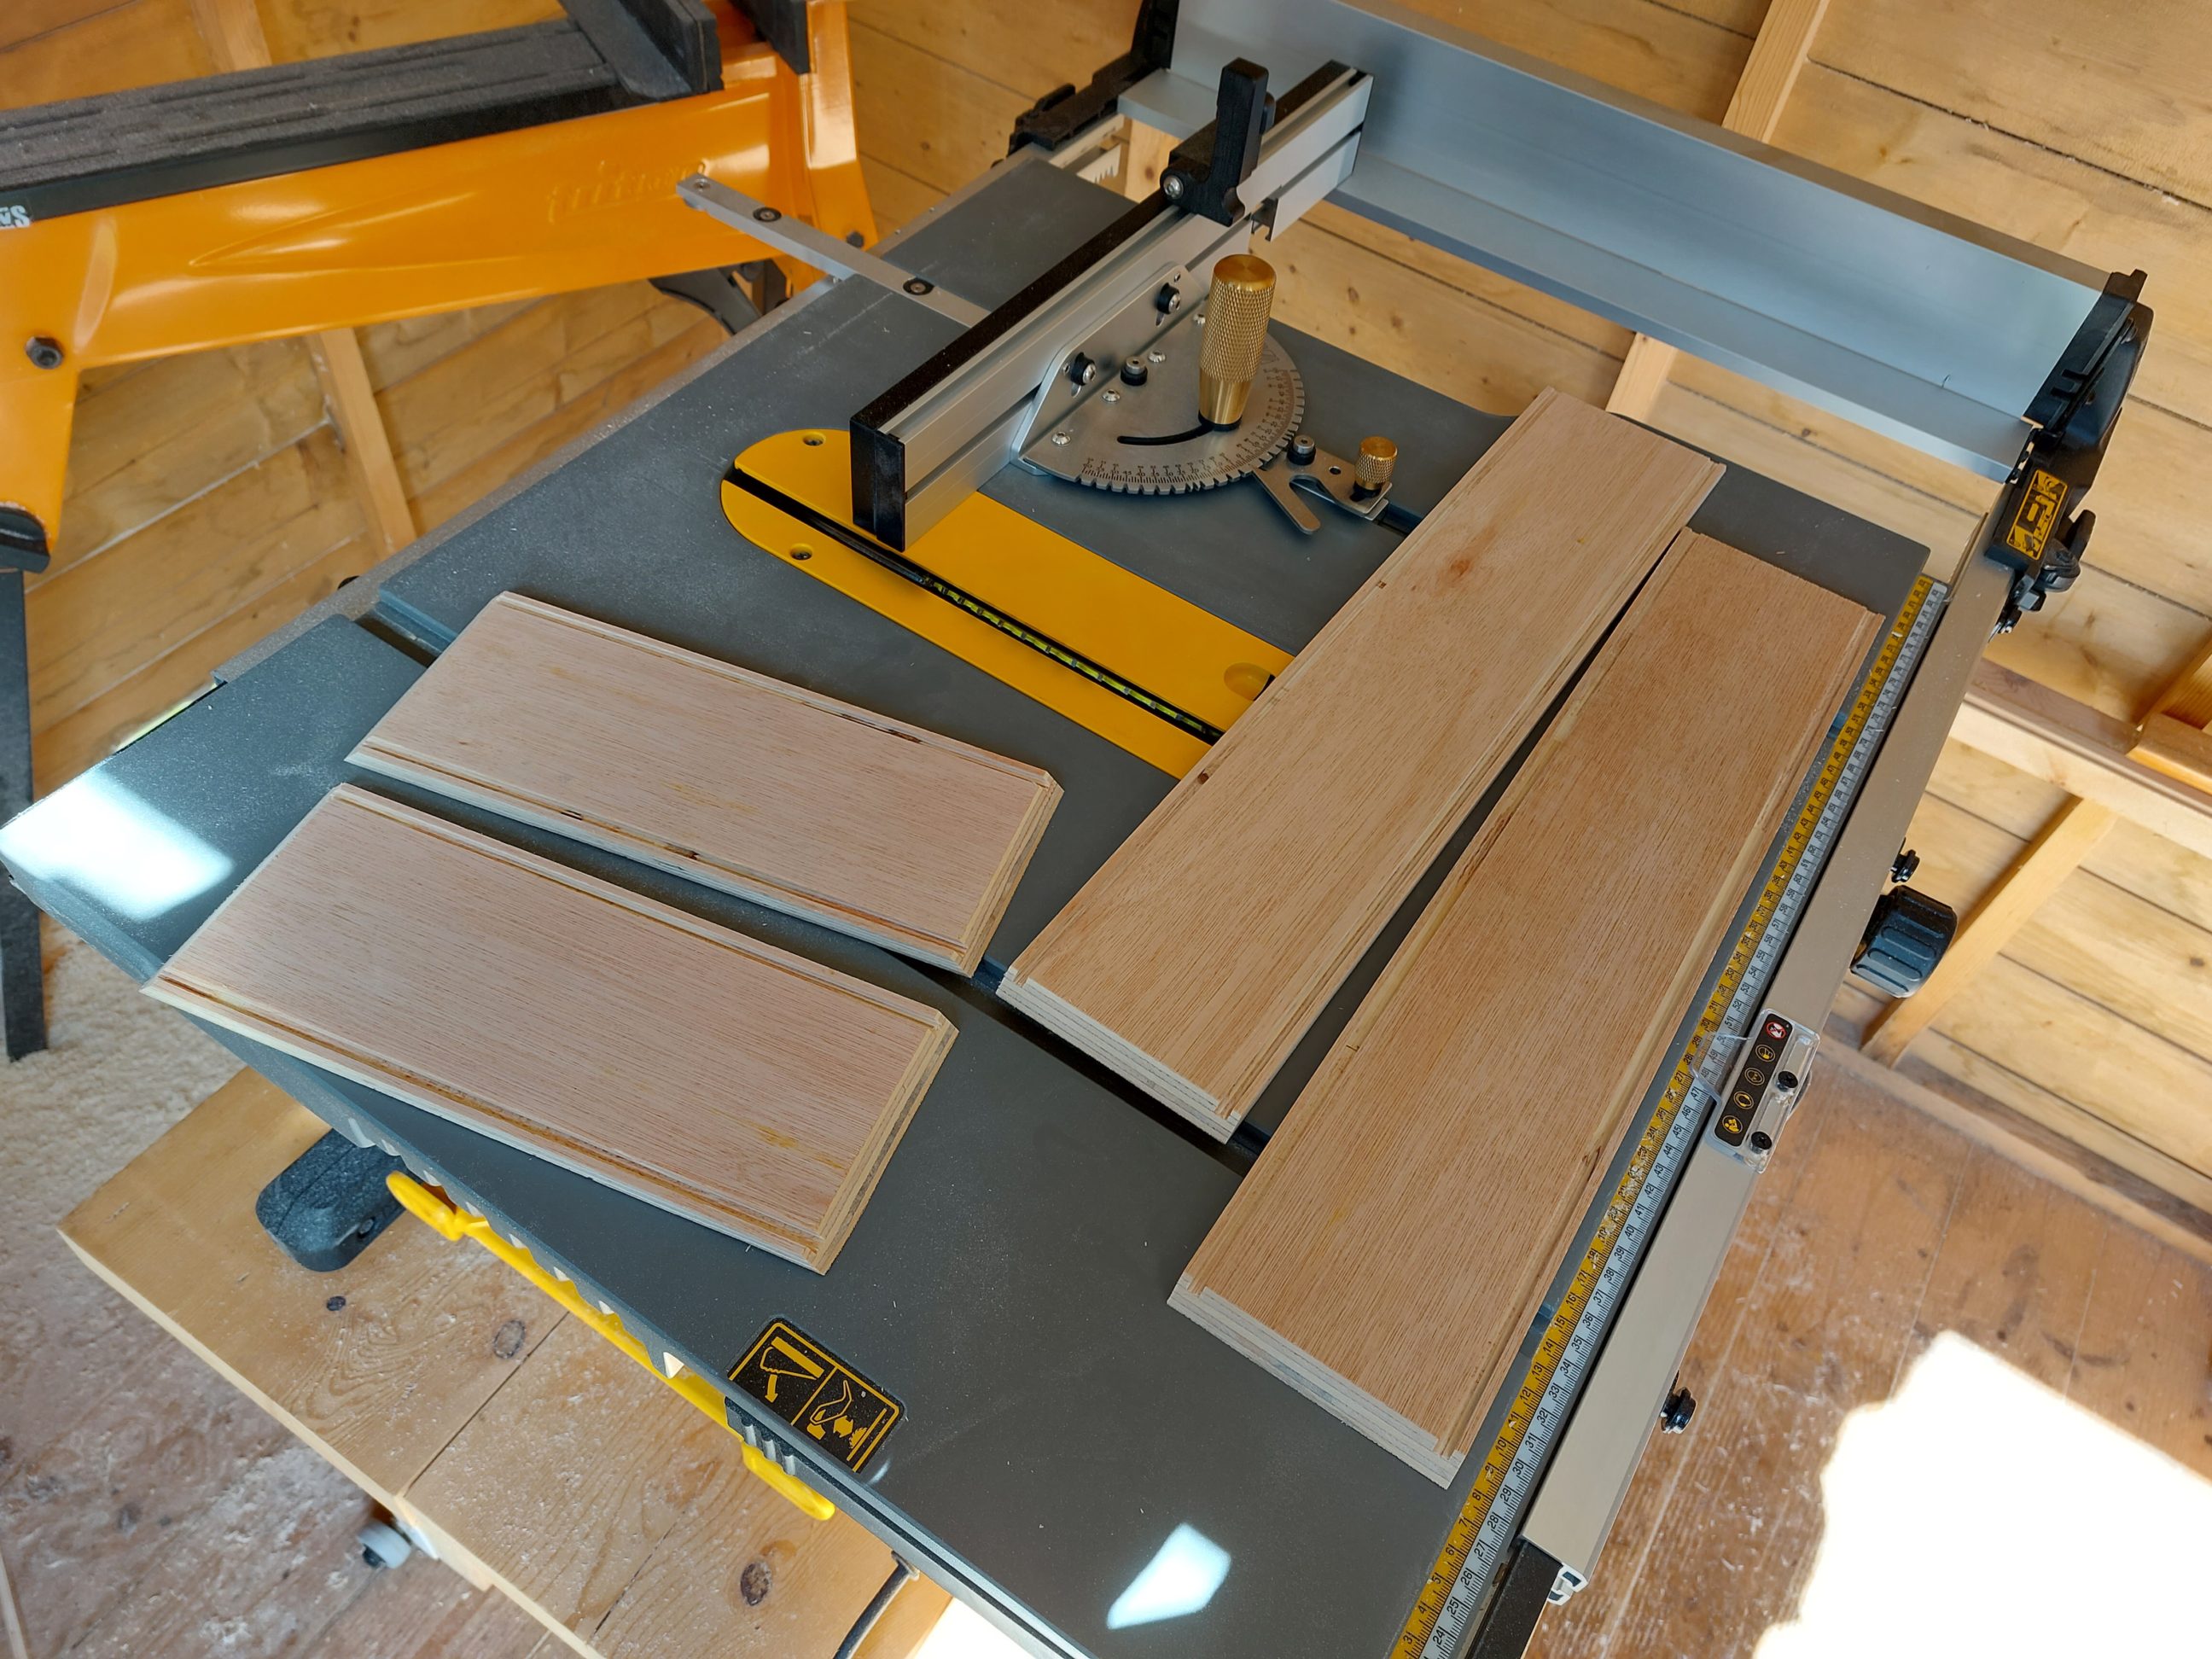
After removing all the labels using a heat gun, I cut the plywood sheet into three equal strips. The material I was working with was slightly bowed, so I had to orient it correctly for the next step. I needed to cut grooves towards the inside of the box on the convex (and not concave) side of the strips, to get the bottom self-clamping when installed. While the bow wasn’t significant, using the sides the other way around wouldn’t be smart. Using a blade raised to about 3mm, I cut grooves of two different sizes, slightly wider for the bottom and narrower for the lid. That was because the two sheets had different thicknesses and came from different suppliers. I made sure to double-check that the tilted blade was precisely at 45º and cut all four side panels to length. As mentioned earlier, I didn’t use masking tape to support the edges from the bottom of the cuts, there was no tear-out, making the entire process quick and easy. In the next step, I needed to trim the front panel to the correct height, cutting off a strip that I saved for future glue-up.


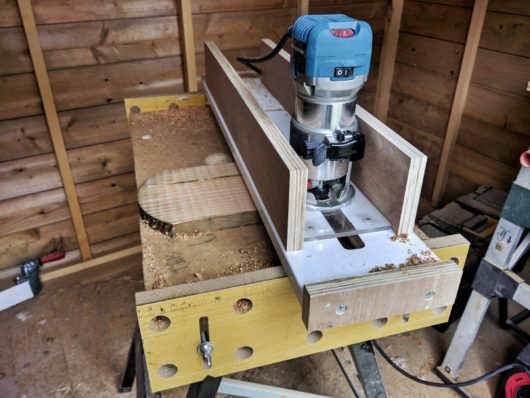
I glued the strip upside down, with the smooth side facing the lid. I then planed it down to the correct thickness and removed the rough edge using a 12-volt planer. To prevent tear-out, I set the tool to remove as little material as possible in a single pass, ensuring only the excess material was removed, leaving the strip (which became a pull handle) uniformly thick and flat.


After giving the box a gentle sanding, I fixed the mitre gaps with a dash of glue, which I pushed into them and forced surrounding edges together with the shank of a screwdriver. I had to perform this operation delicately, keeping the super-thin veneer in mind. Fortunately, there wasn’t much to correct as all the corners were close to perfection straight after glue-up. To make the staining process easier, I diluted the stain-and-varnish with a dash of white spirit. This step extended the working time from seconds to minutes, which was helpful when wiping it off from the surface. While this product is designed to be applied with a brush and dry as a thin film on the surface, I sometimes use it as a stain to change the project’s colour. If not diluted, it dries fast and has to be applied in sections.
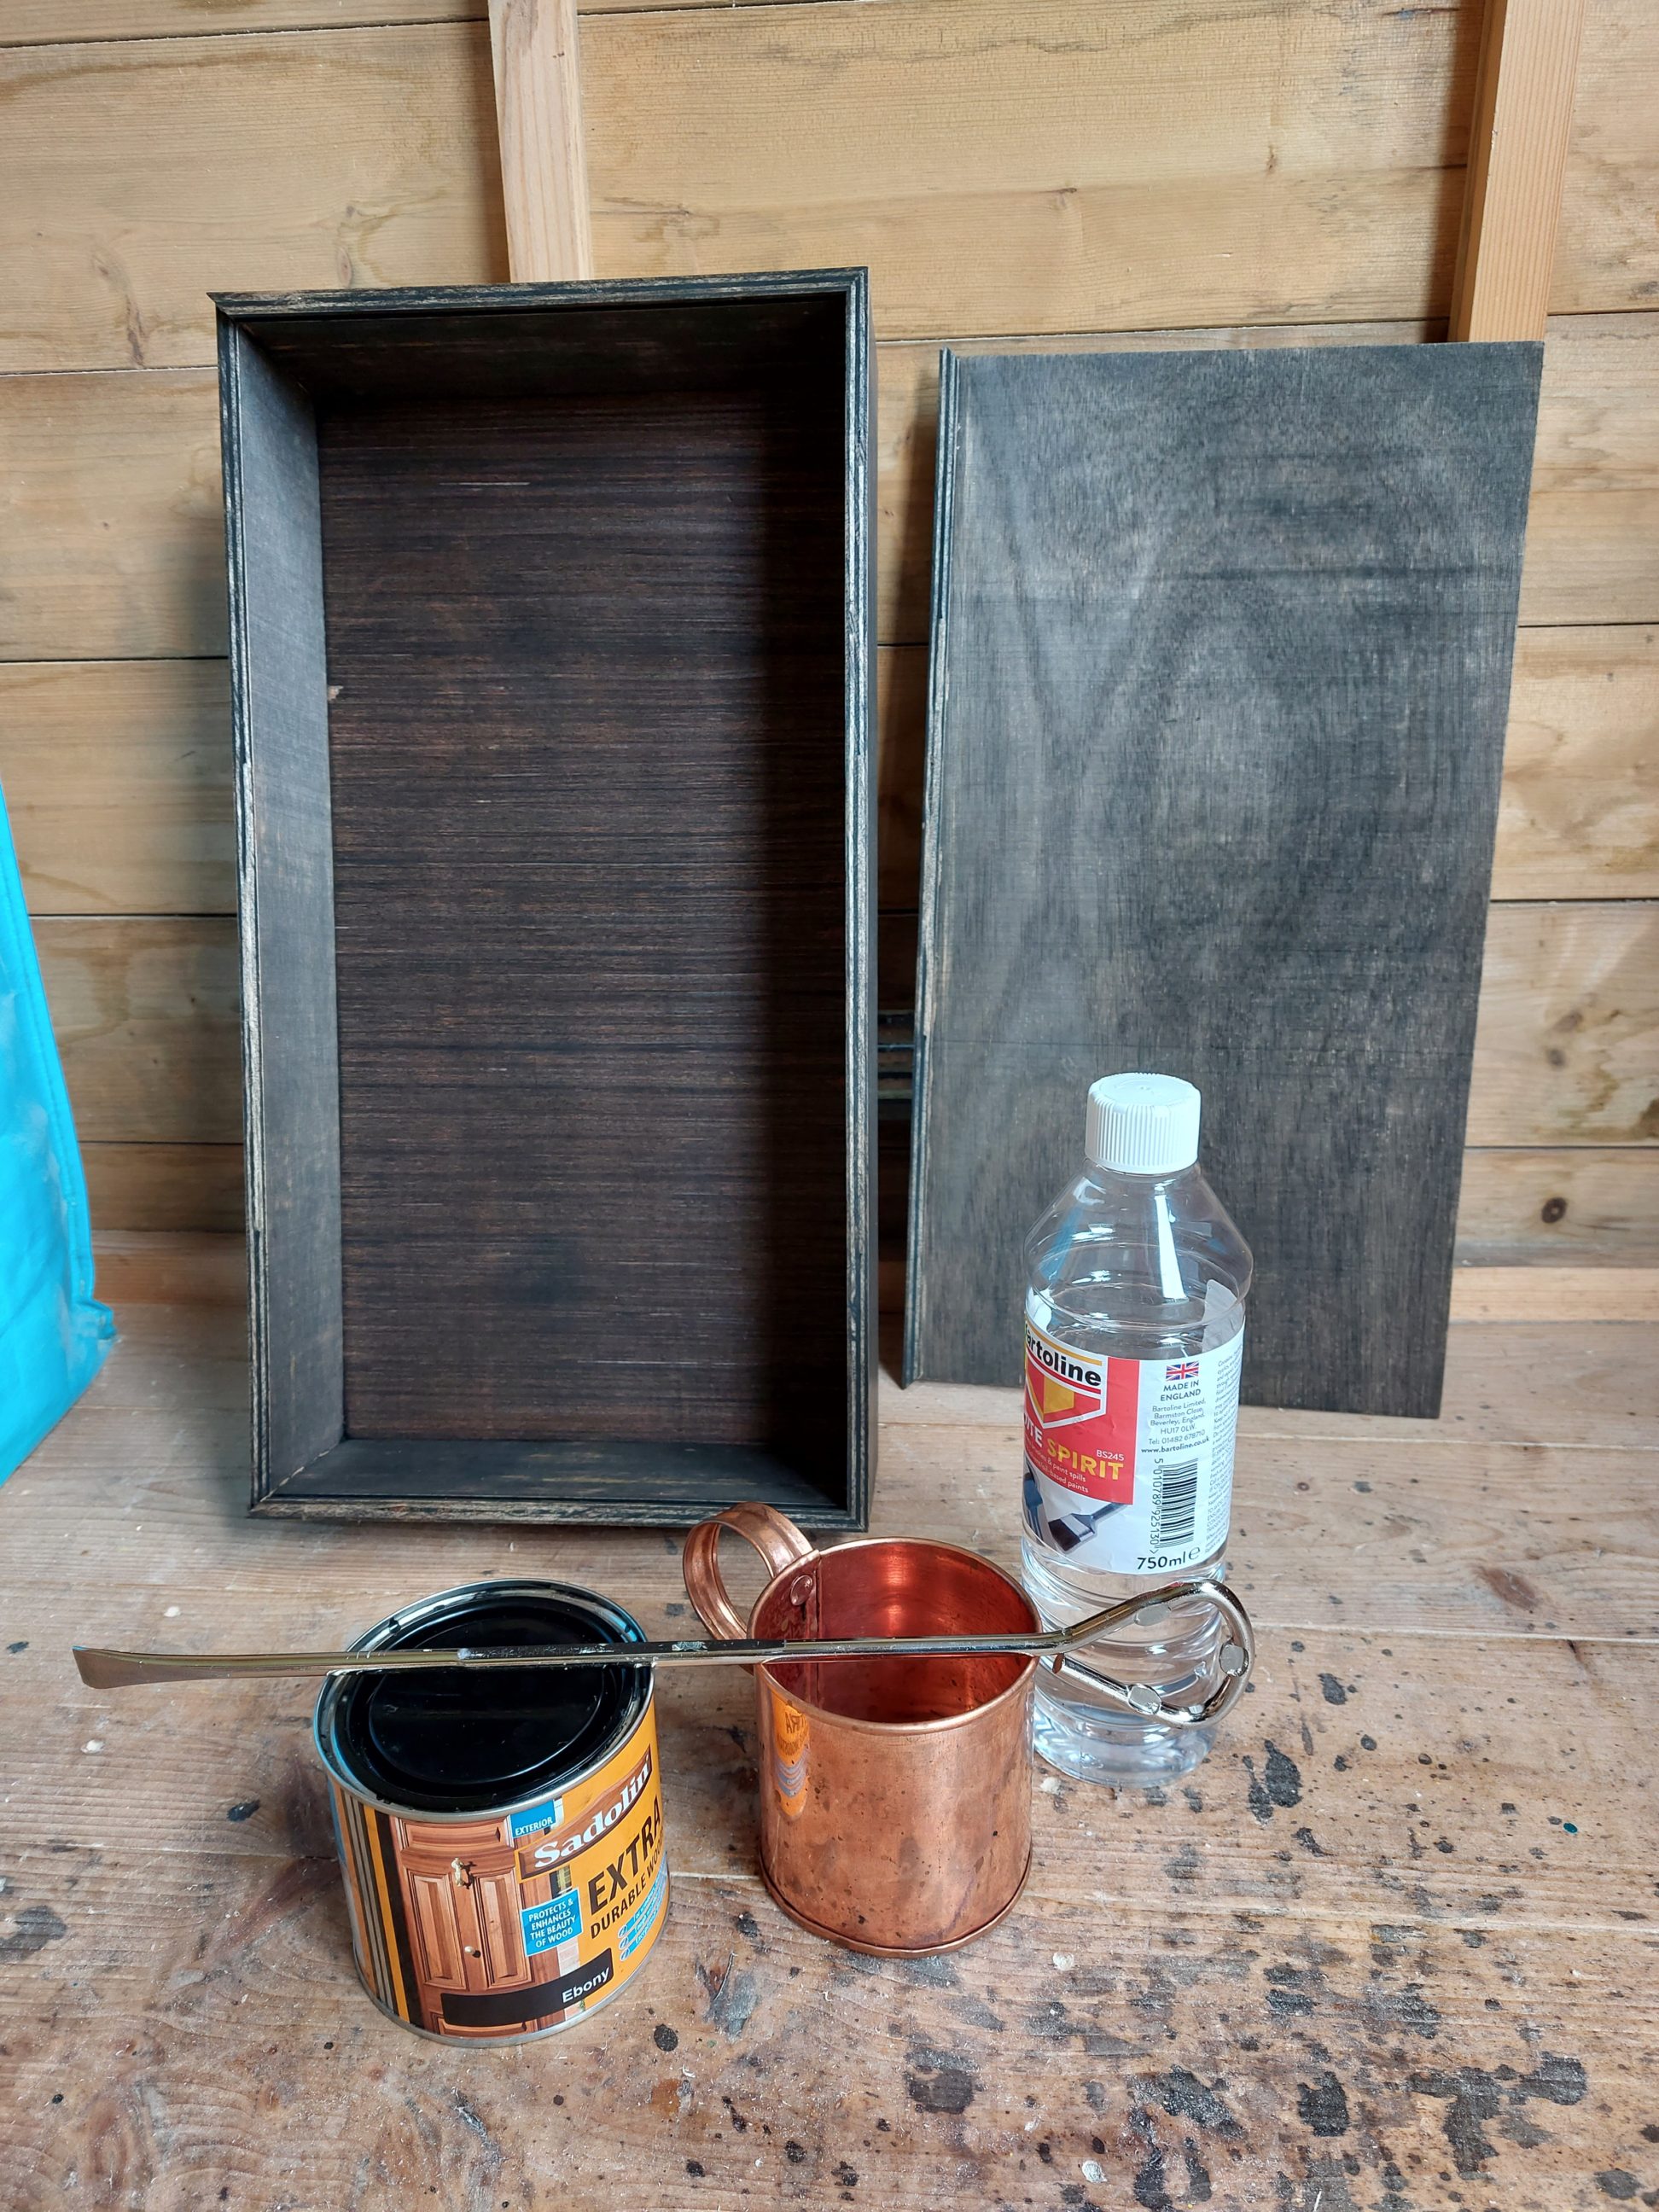

All the exposed plywood edges needed a touch of spray paint, that way all the panels faded out from dark brown into black. I was very happy with this effect, it transformed the box completely and was done in no time. I let it dry overnight and it was good to go the next afternoon. I was surprised by how straightforward that project was, it was new to me to capture the bottom in grooves and that approach brought some uncertainty to the project. I was also afraid of the tear-outs that could occur during cutting over my table saw. Luckily, none of those caused any problems and now, I am happy that I’ve tried and learned something new. To be honest, these are the basics of making boxes and I shouldn’t have waited for that experience for so long. Nothing bad happened, quite the contrary, everything turned out great and looks very professional. All the mitres, corners and angles are cut with precision and attention to detail. Not without significance is the fact that the tools, blades and accessories I used were new, well-designed and built and that made my work much easier. On the other hand, the plywood used was rather low quality, not to be confused with cheap which are not the same things, at least nowadays. The material I got was a little wavy, bent, bowed and chipped but I managed to use it in the project anyways and the results are good. I’m happy that I used thinner 9 mm (3/8 inch) plywood for the walls, which made the box look light and not too bulky. Although it’s a shame that this box will be pushed under a bookcase and hidden in a dark corner, its purpose is to store equipment away from dust and make use of an empty space that would otherwise go to waste.