Over-engineered metal-free box
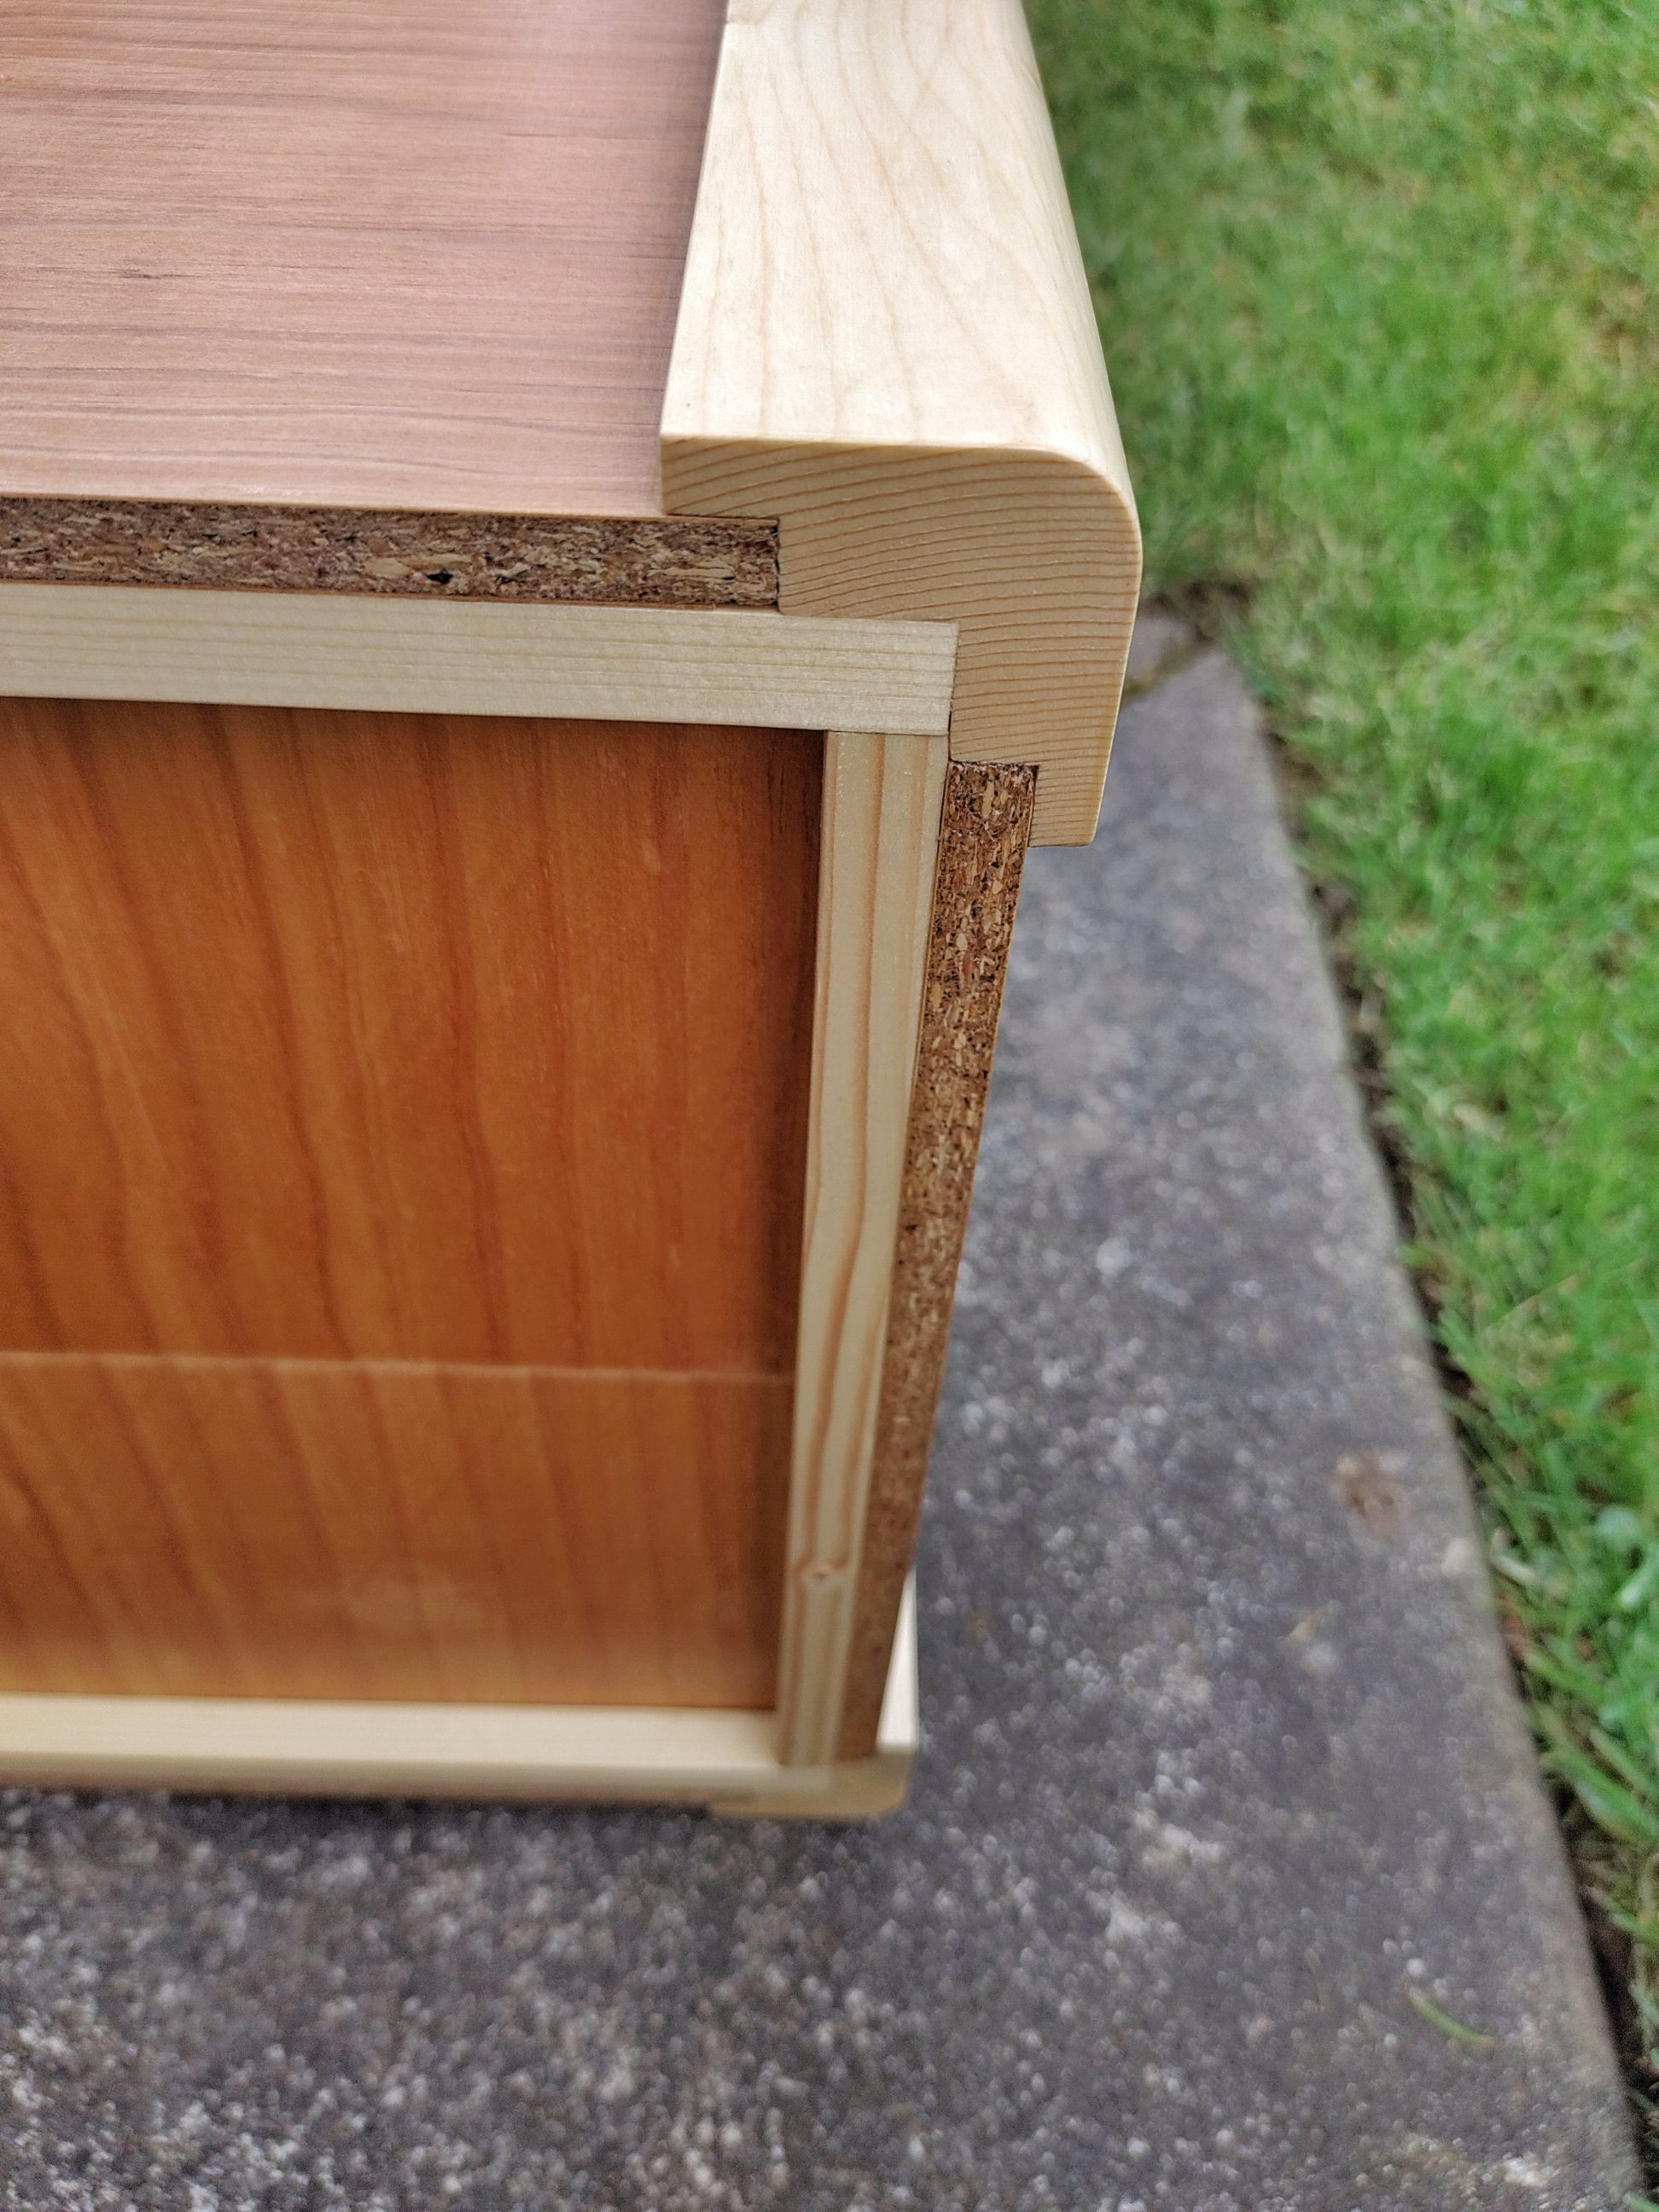
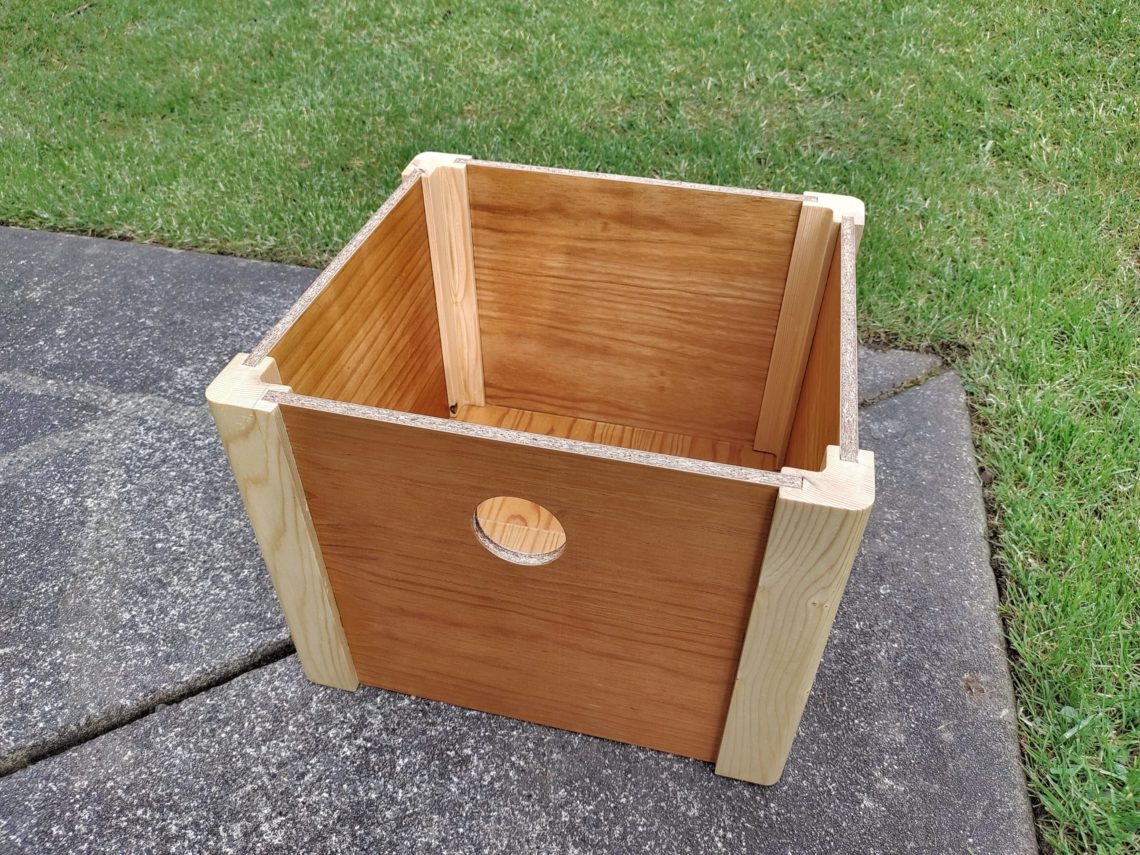
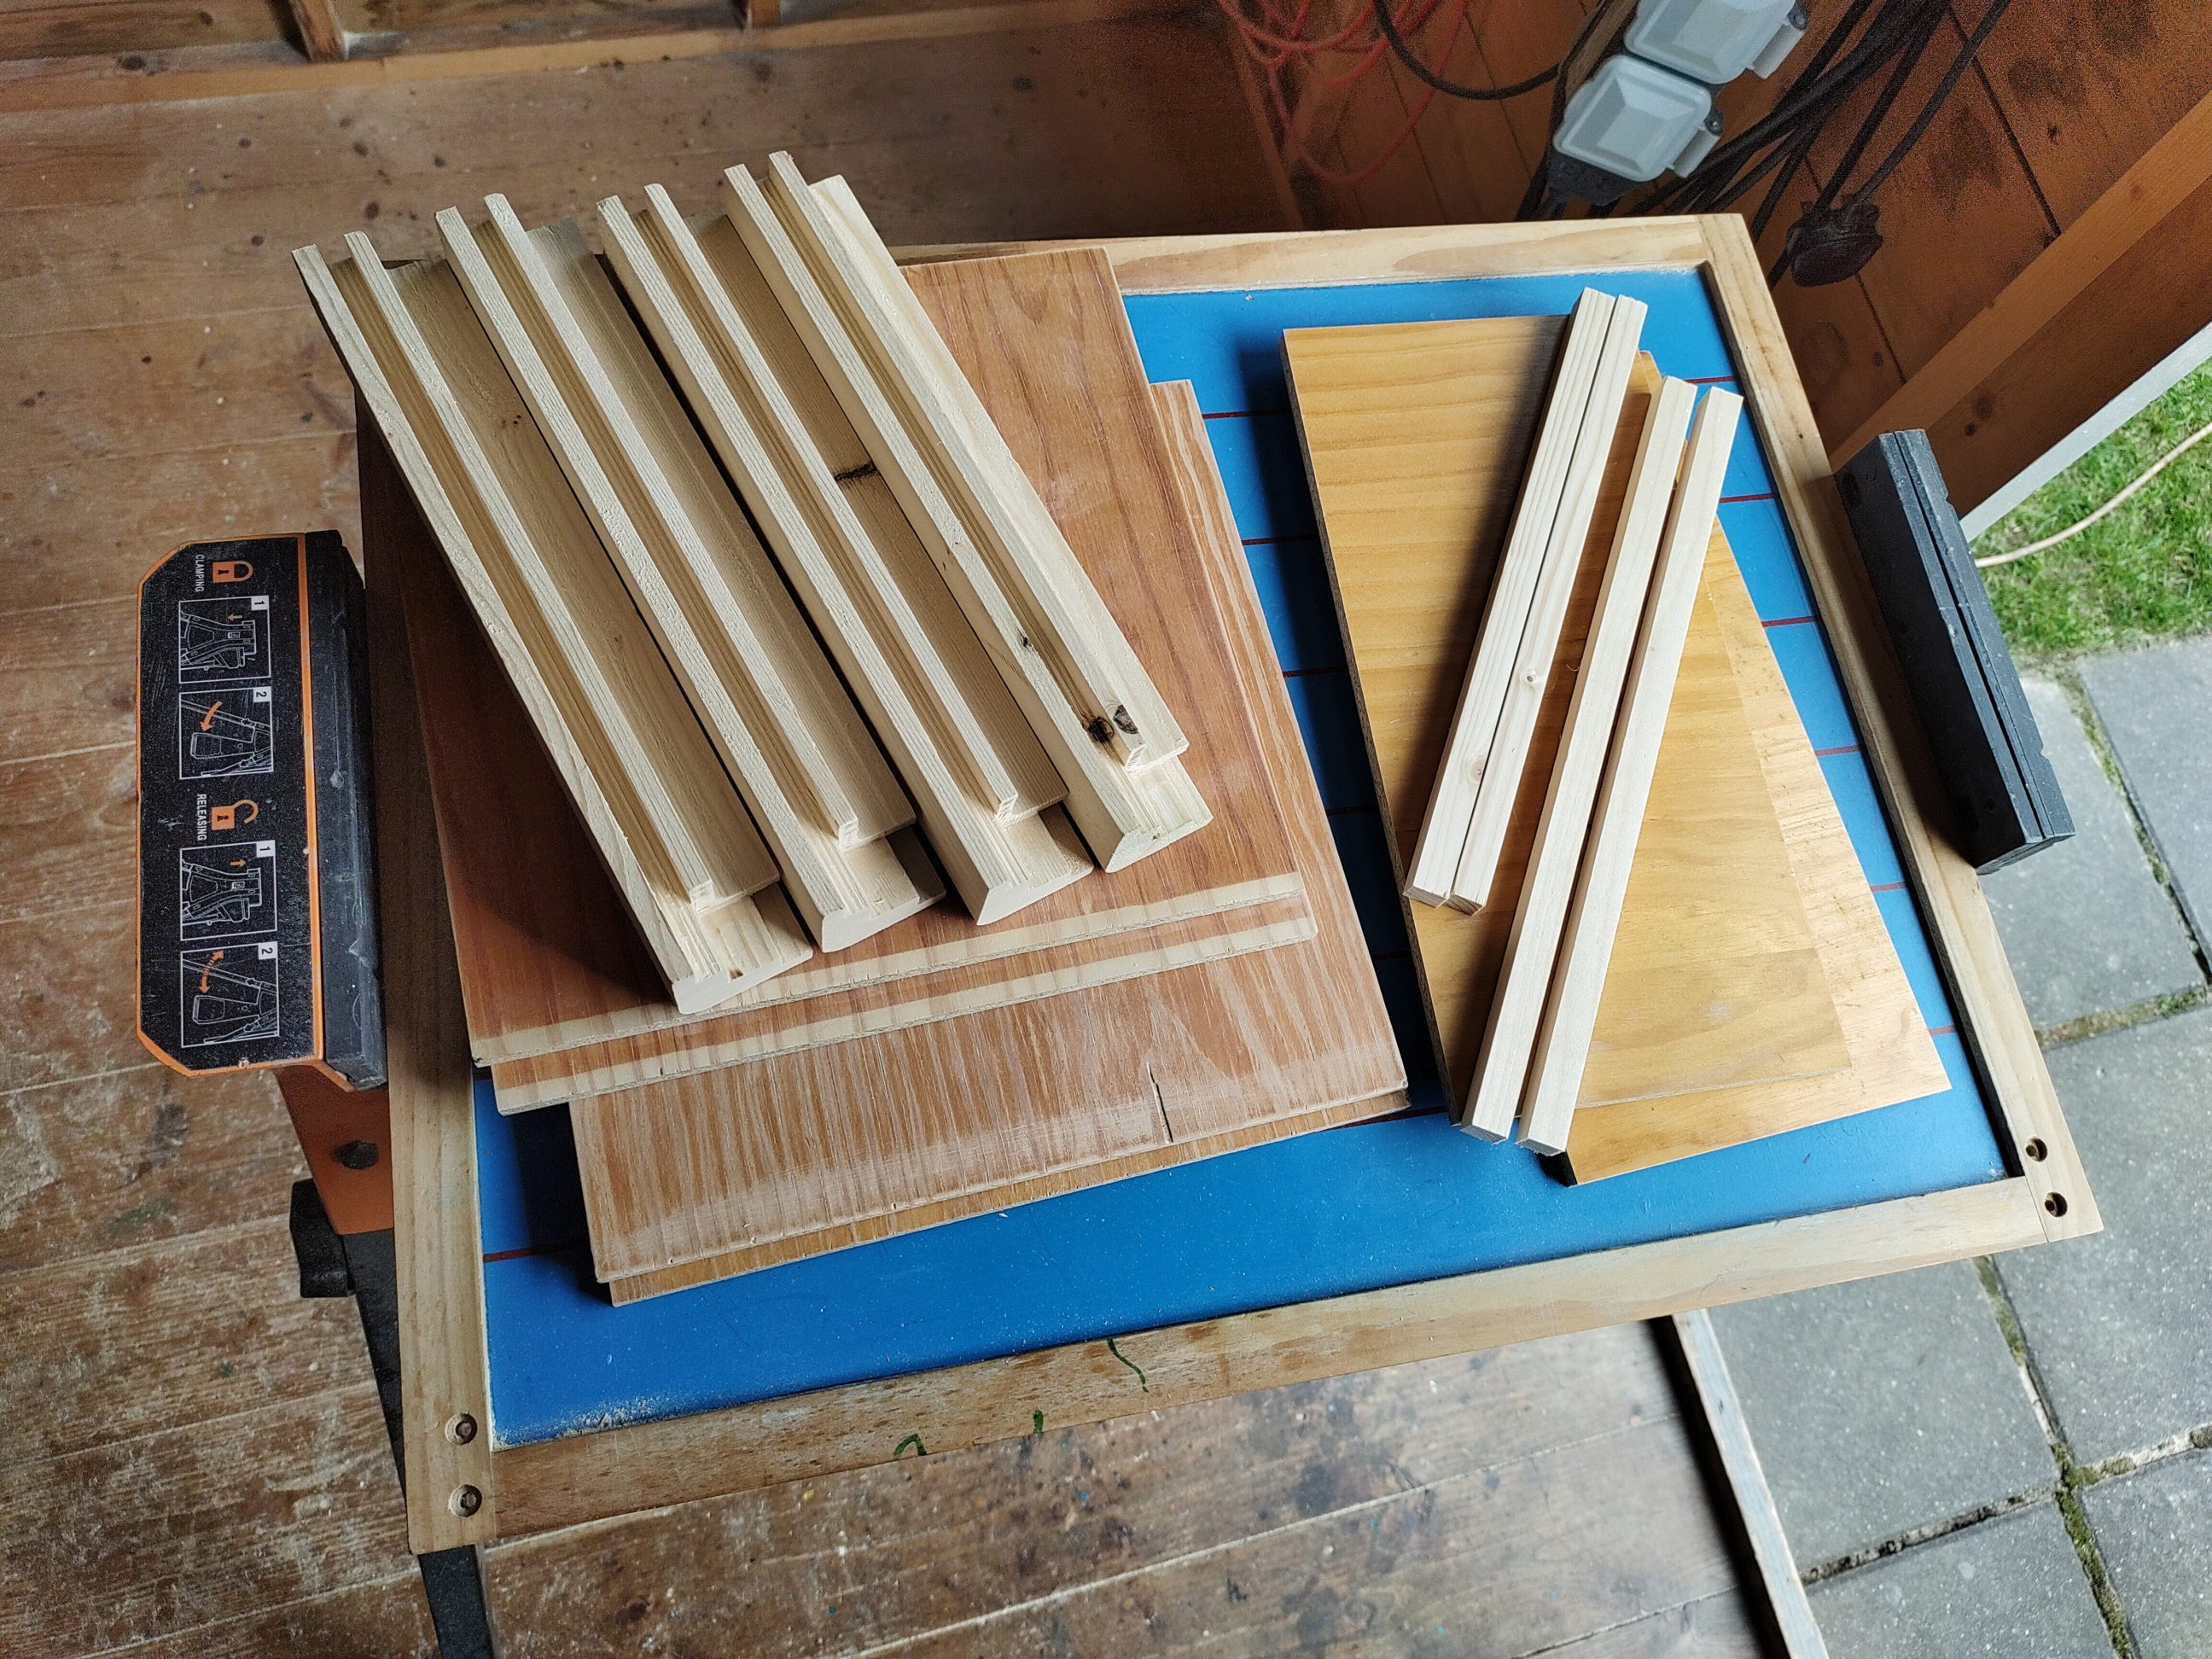
This box is made out of 100% upcycled materials, the walls and the bottom of this box are veneered chipboard sheets, reclaimed material that came from an unwanted piece of furniture. Solid timber corners were made in the past, using a router and 2 common bits, I made a few of them and they were put aside and waited for the right project. They were originally a single board used on a construction site. The bottom rails were off-cuts from another project – basically just scraps. Everything is glued together – which makes the box 100% metal-free. Even during the preparation, I checked all the timber and chipboard sheets for metal, they were all reclaimed and since I had a good metal detector I checked if anything could damage the saw blade.


I prepared the chipboards first – all the stiffening edging strips were removed with a hammer. Next, I cut the corners to length and all 4 sides to size. I sanded the chipboards before proceeding to the next step, that way I knew the exact thickness of the sides. I cut the grooves in a few passes, just moving the fence from left to right a couple of times. I put the walls together and tried to figure out how to attach the bottom to them. The idea was as usual – not too simple and rather over-engineered, just the way I like it. I had to remove some material from the bottom parts of my corners in order to make some room for the bottom and its rails.


I prepared my router table, and I set all the fences, stop blocks and the bit height. The first pass was followed by 2 more by moving the fence slightly to the right. When all 4 corners were finished with that setup, I changed it for the next step. I clamped a supporting block of wood to the back of each workpiece and cut across the grain, establishing all the chiselling lines I needed.

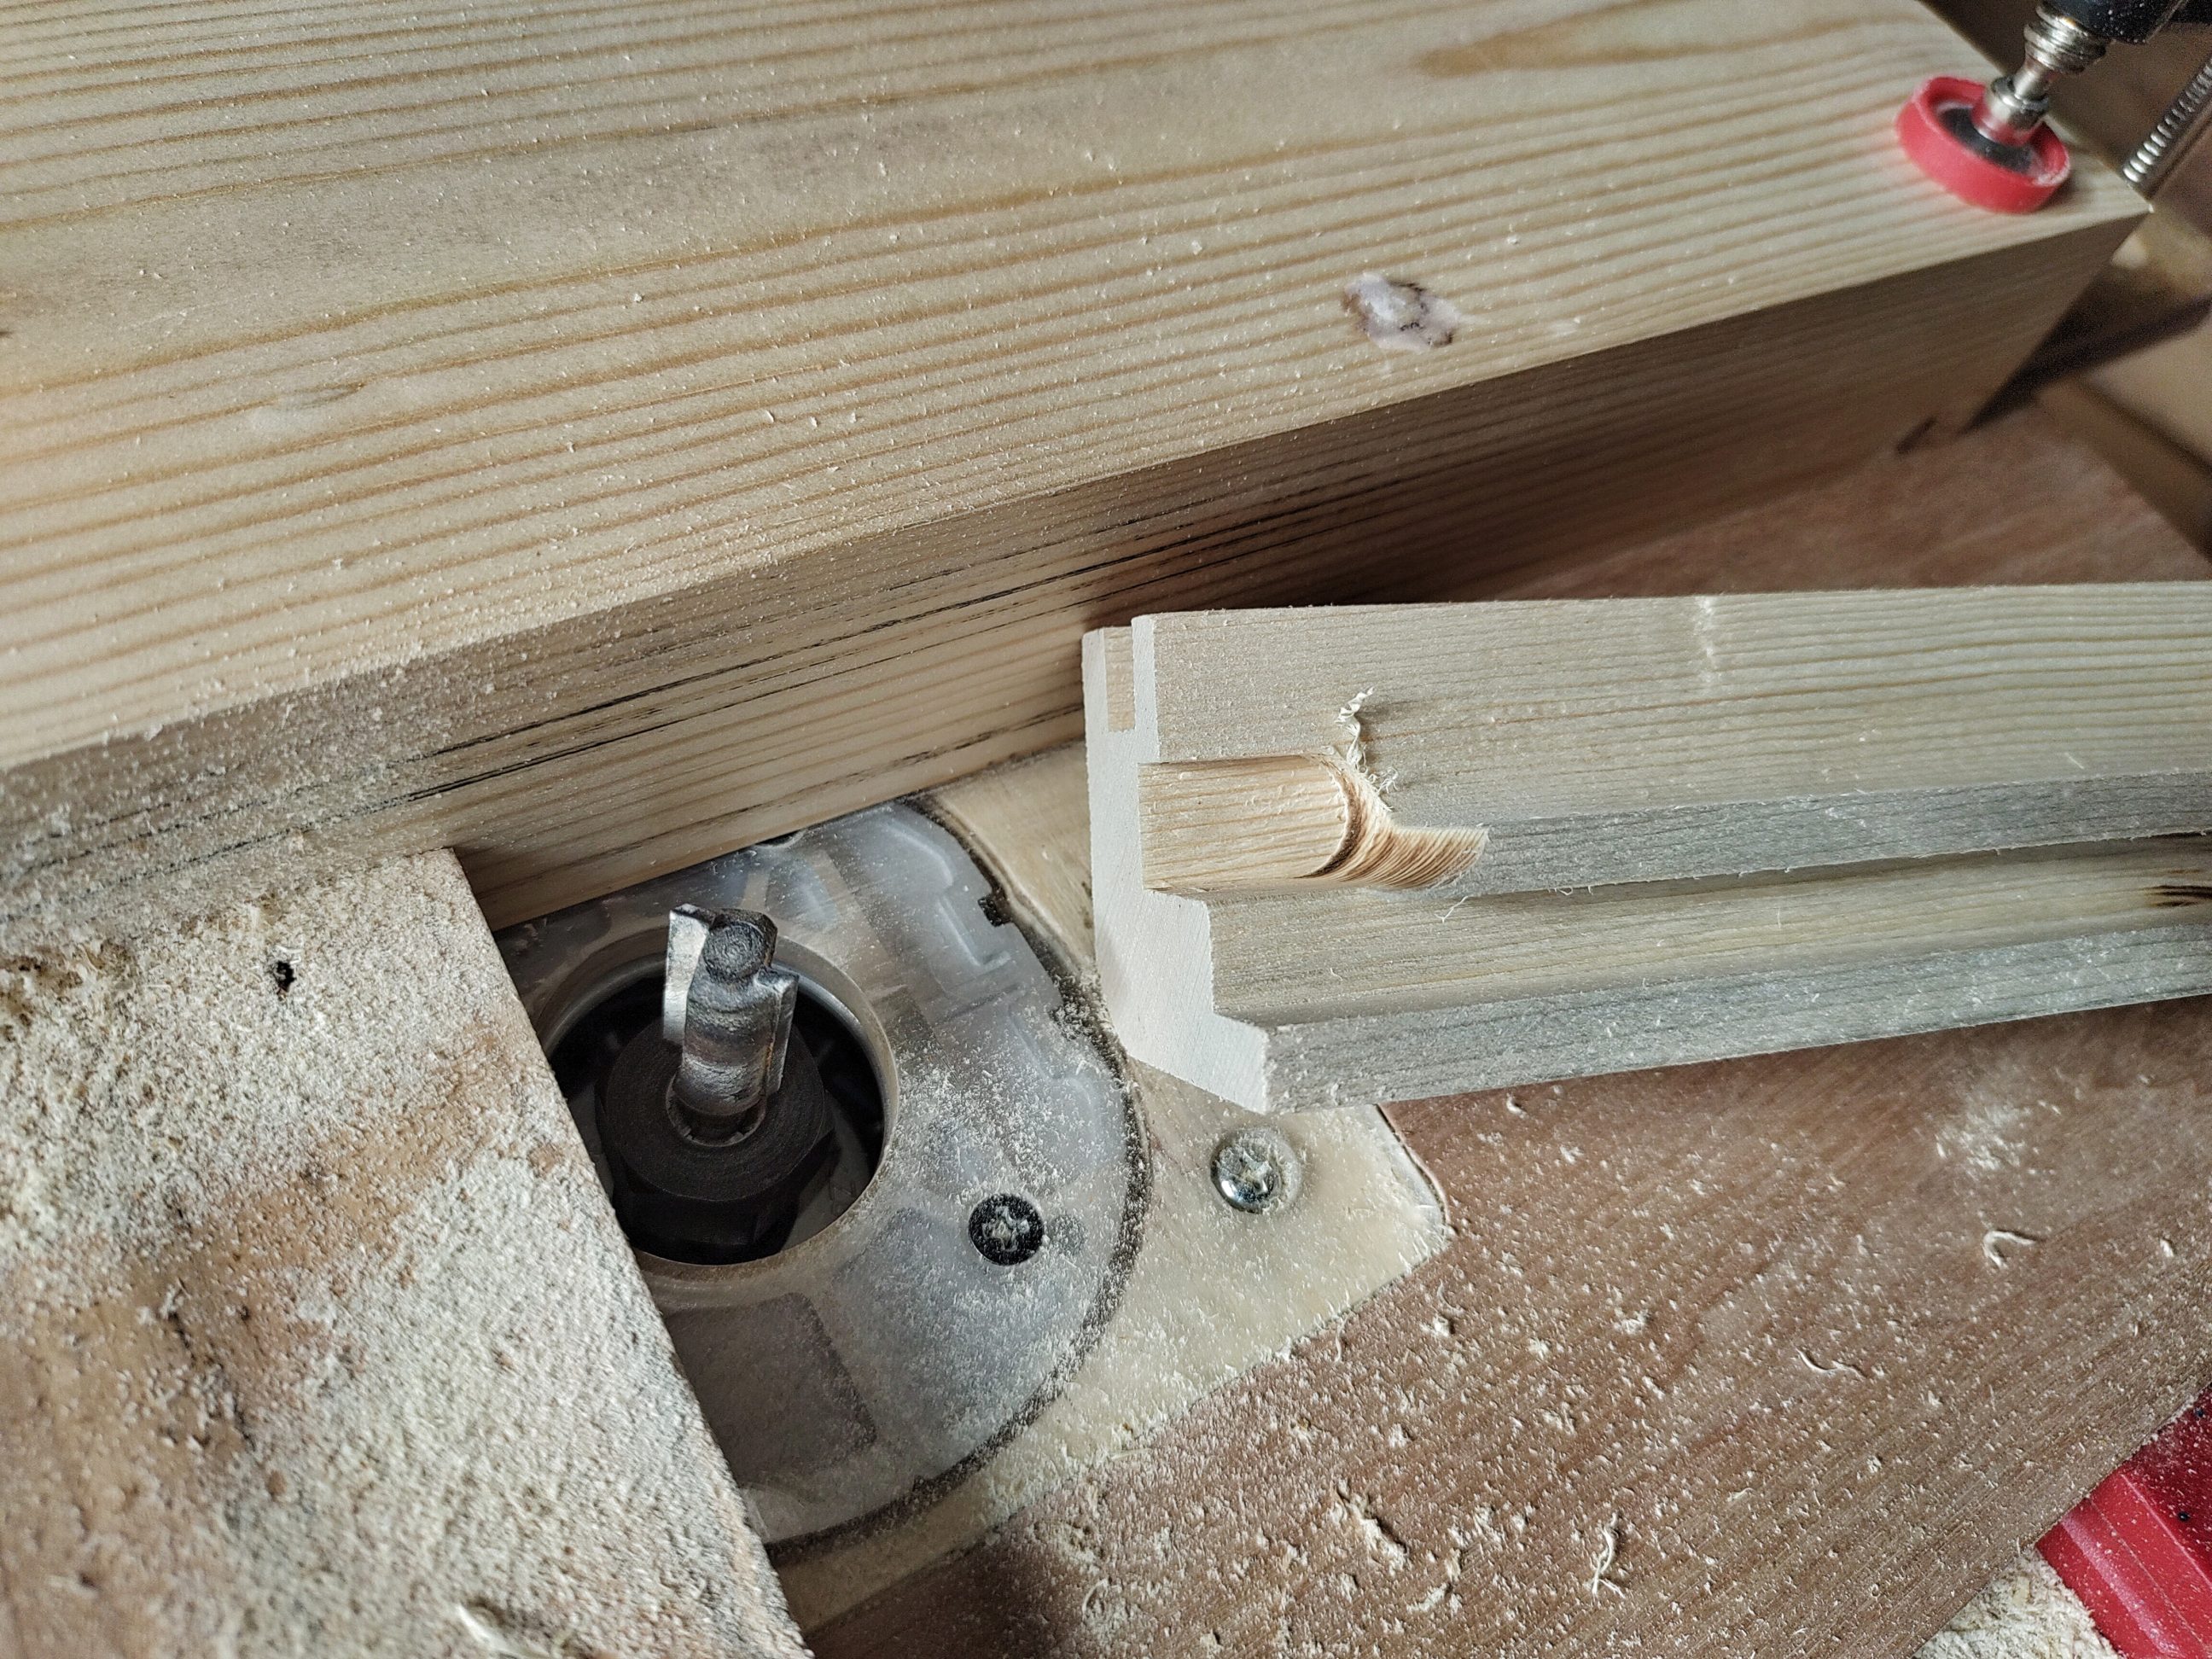
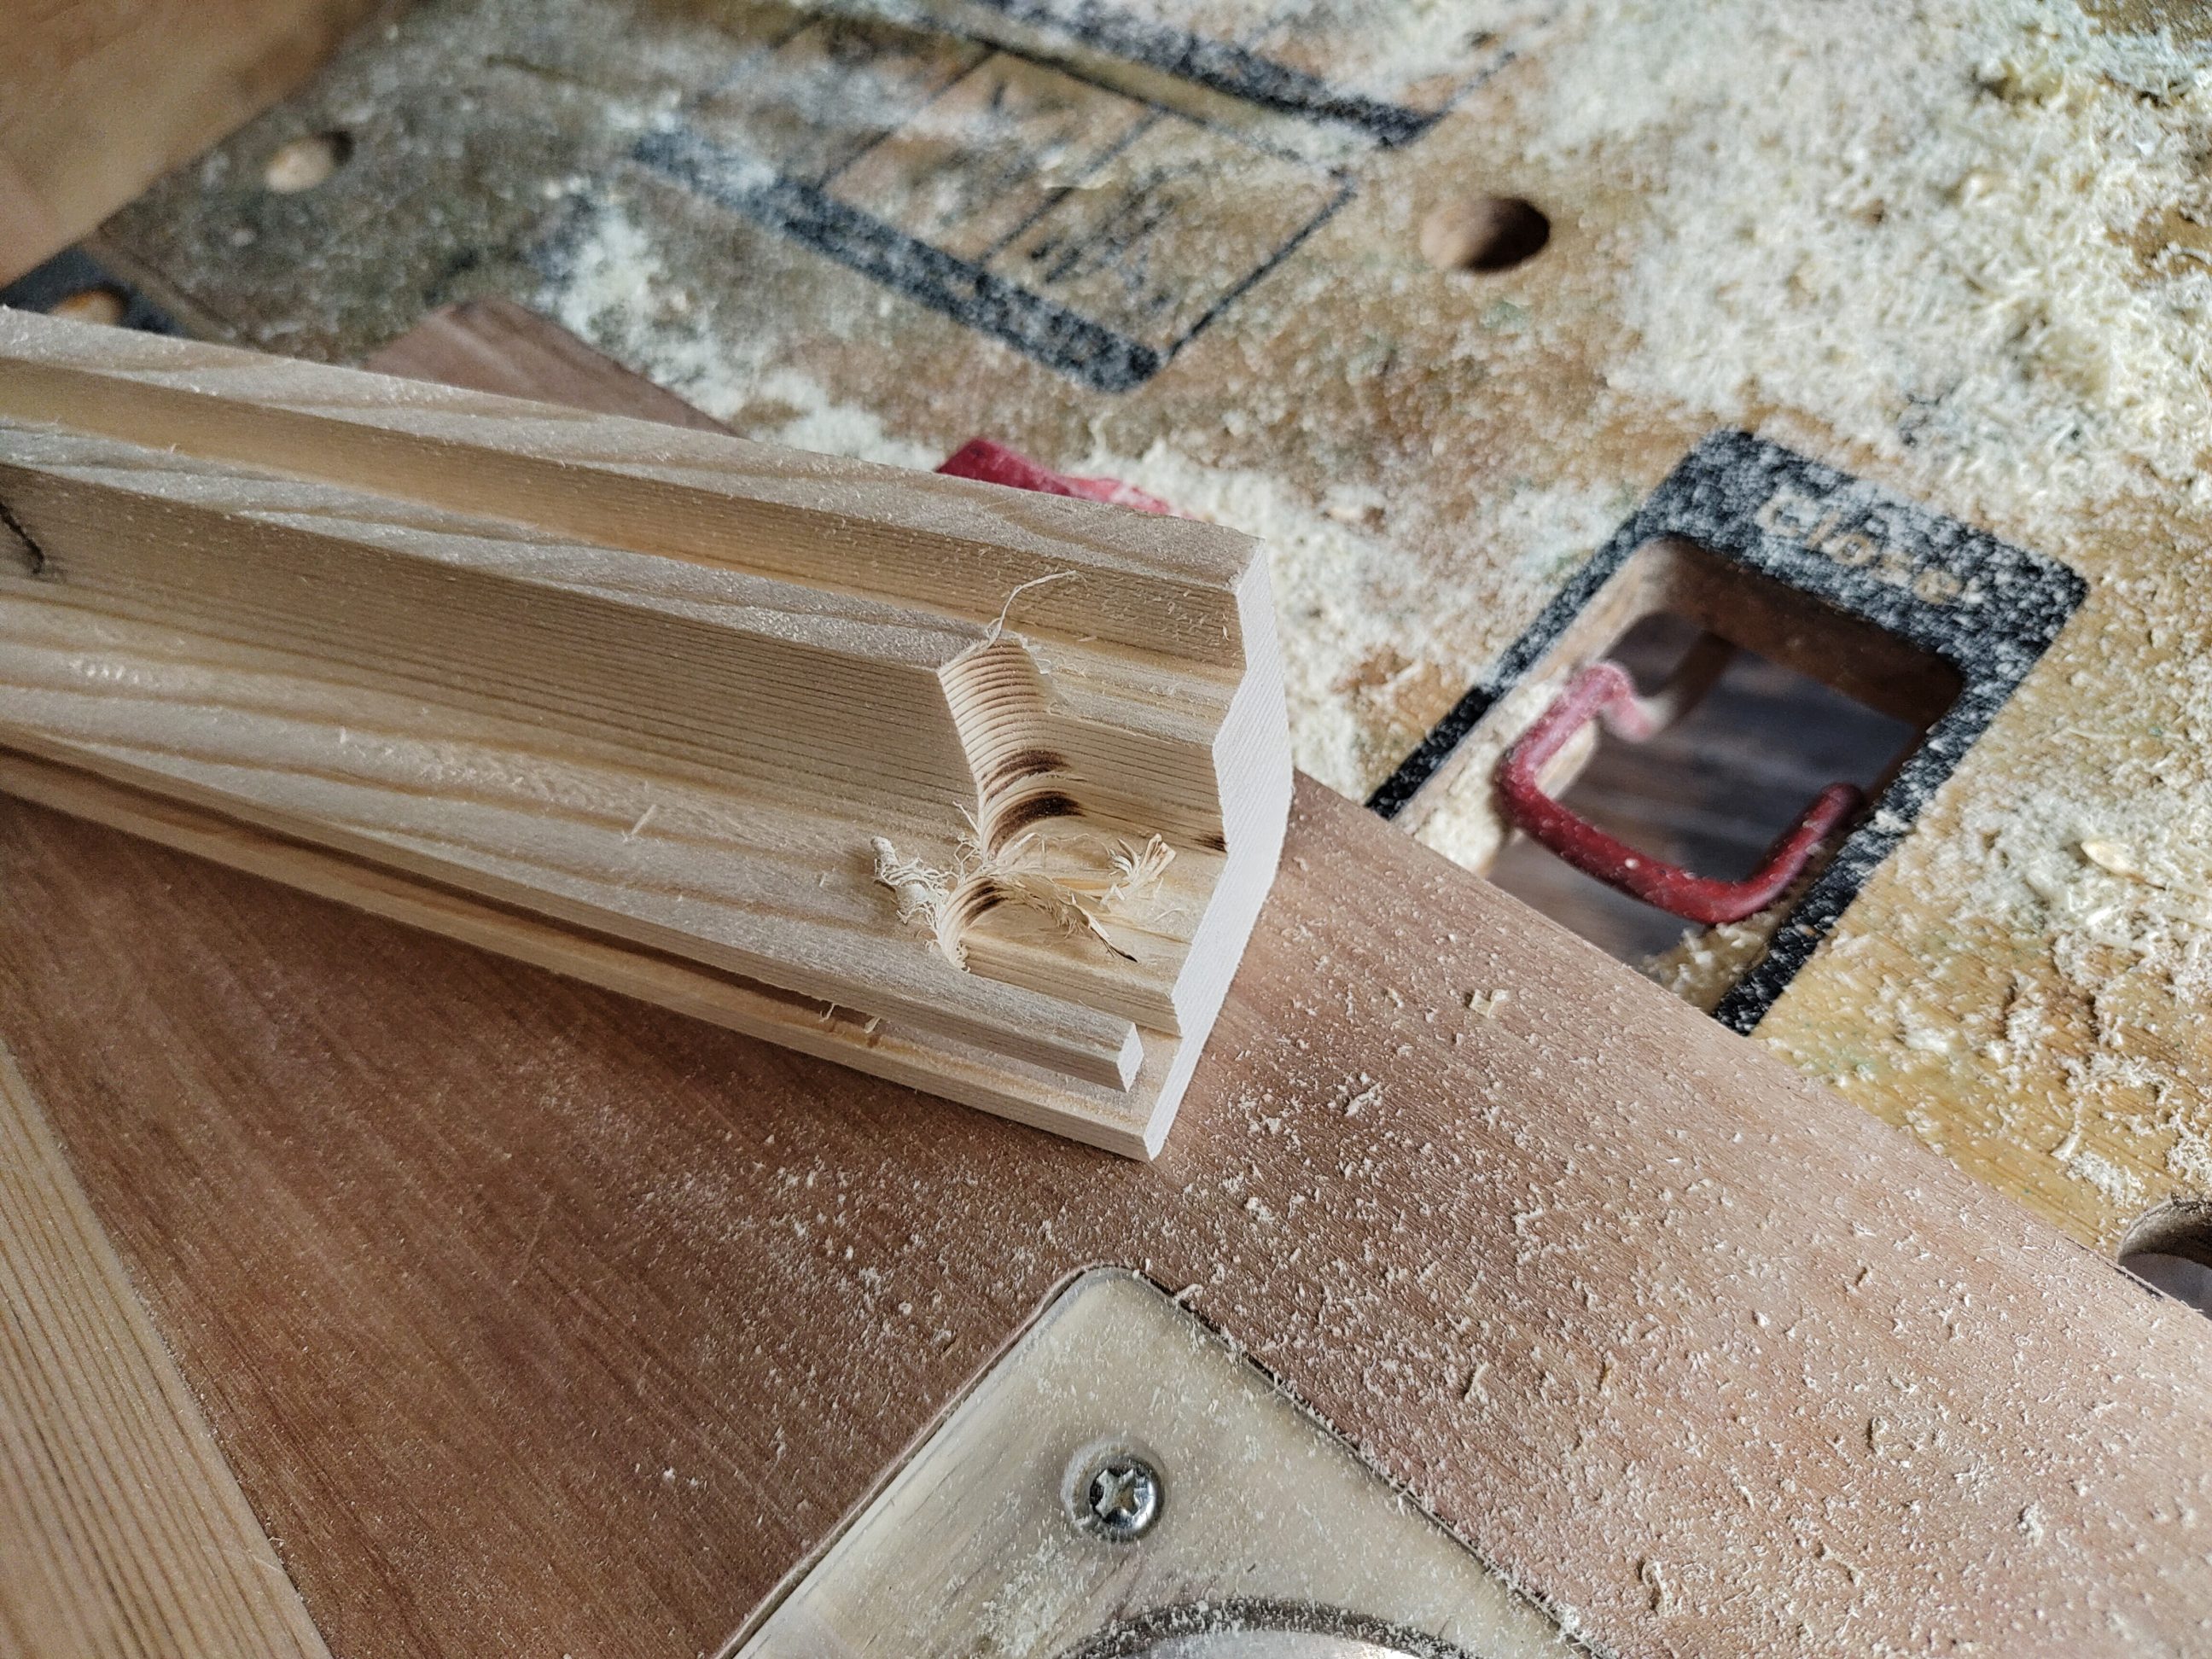
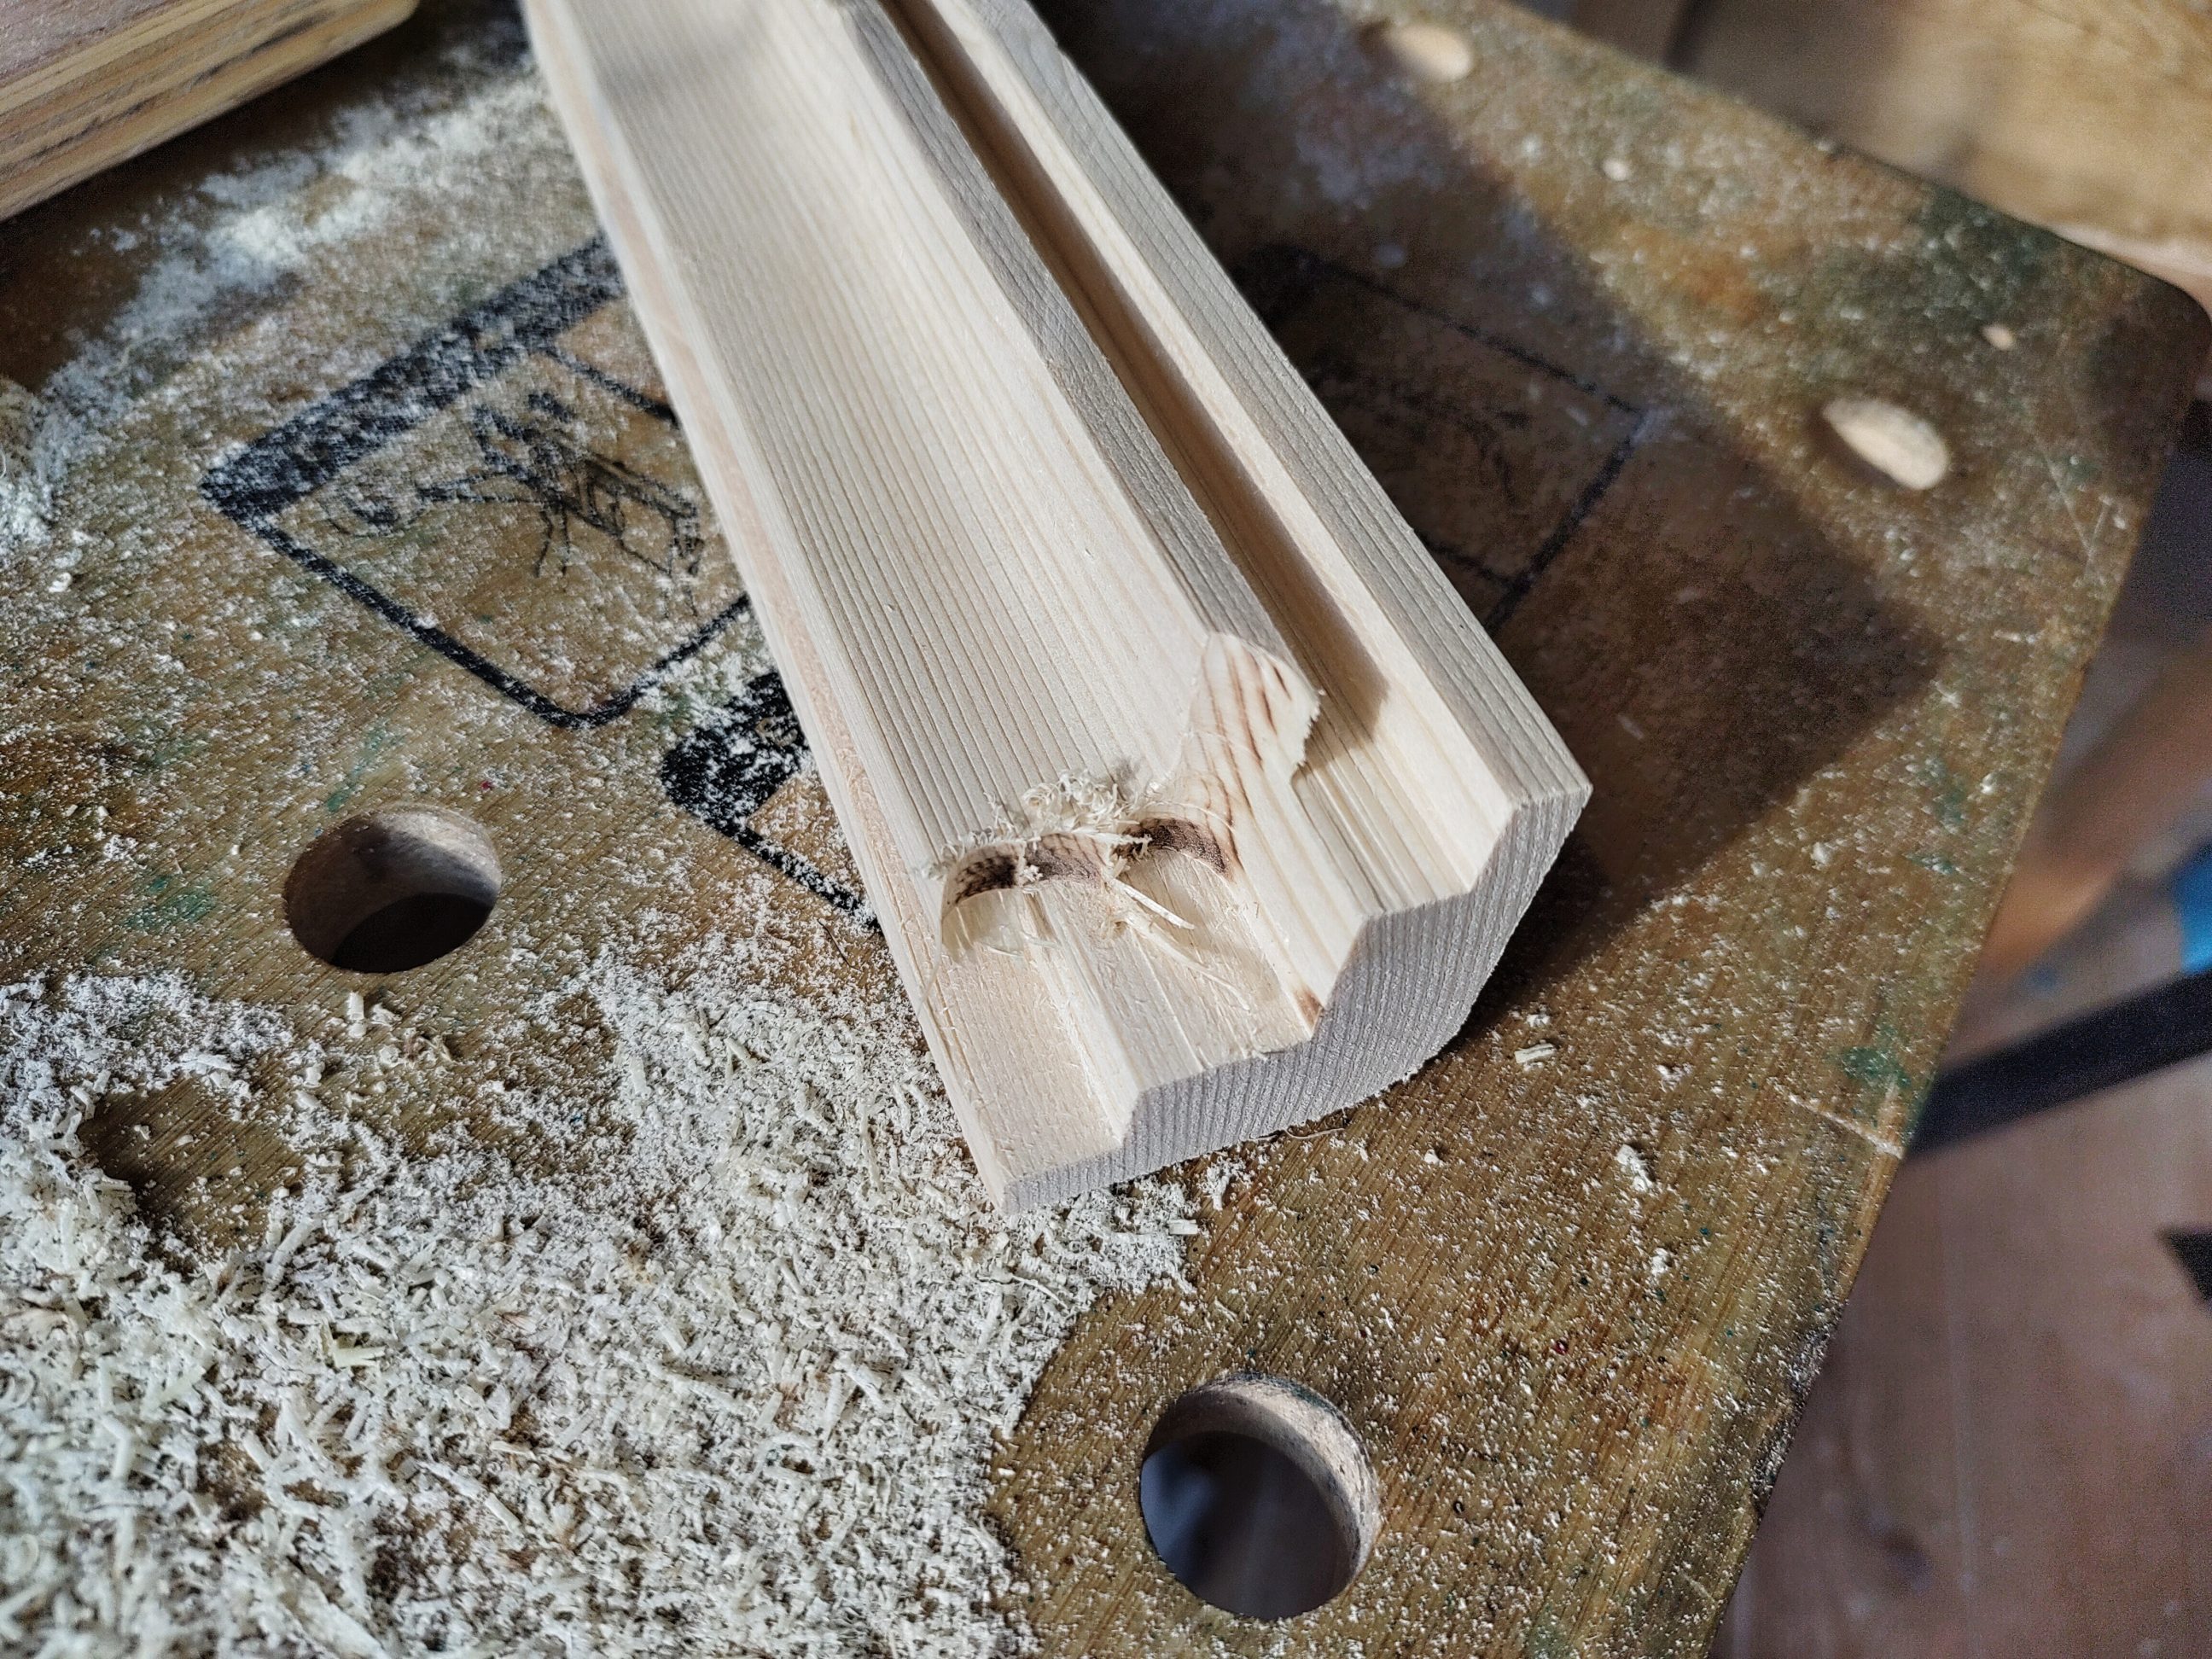

The majority of the material was removed, so the chiselling was easy and quick. Unfortunately, I lost one of the corners in the previous step, because I wasn’t focused enough – it had to be recreated. Luckily, I still had 1 spare corner to use.


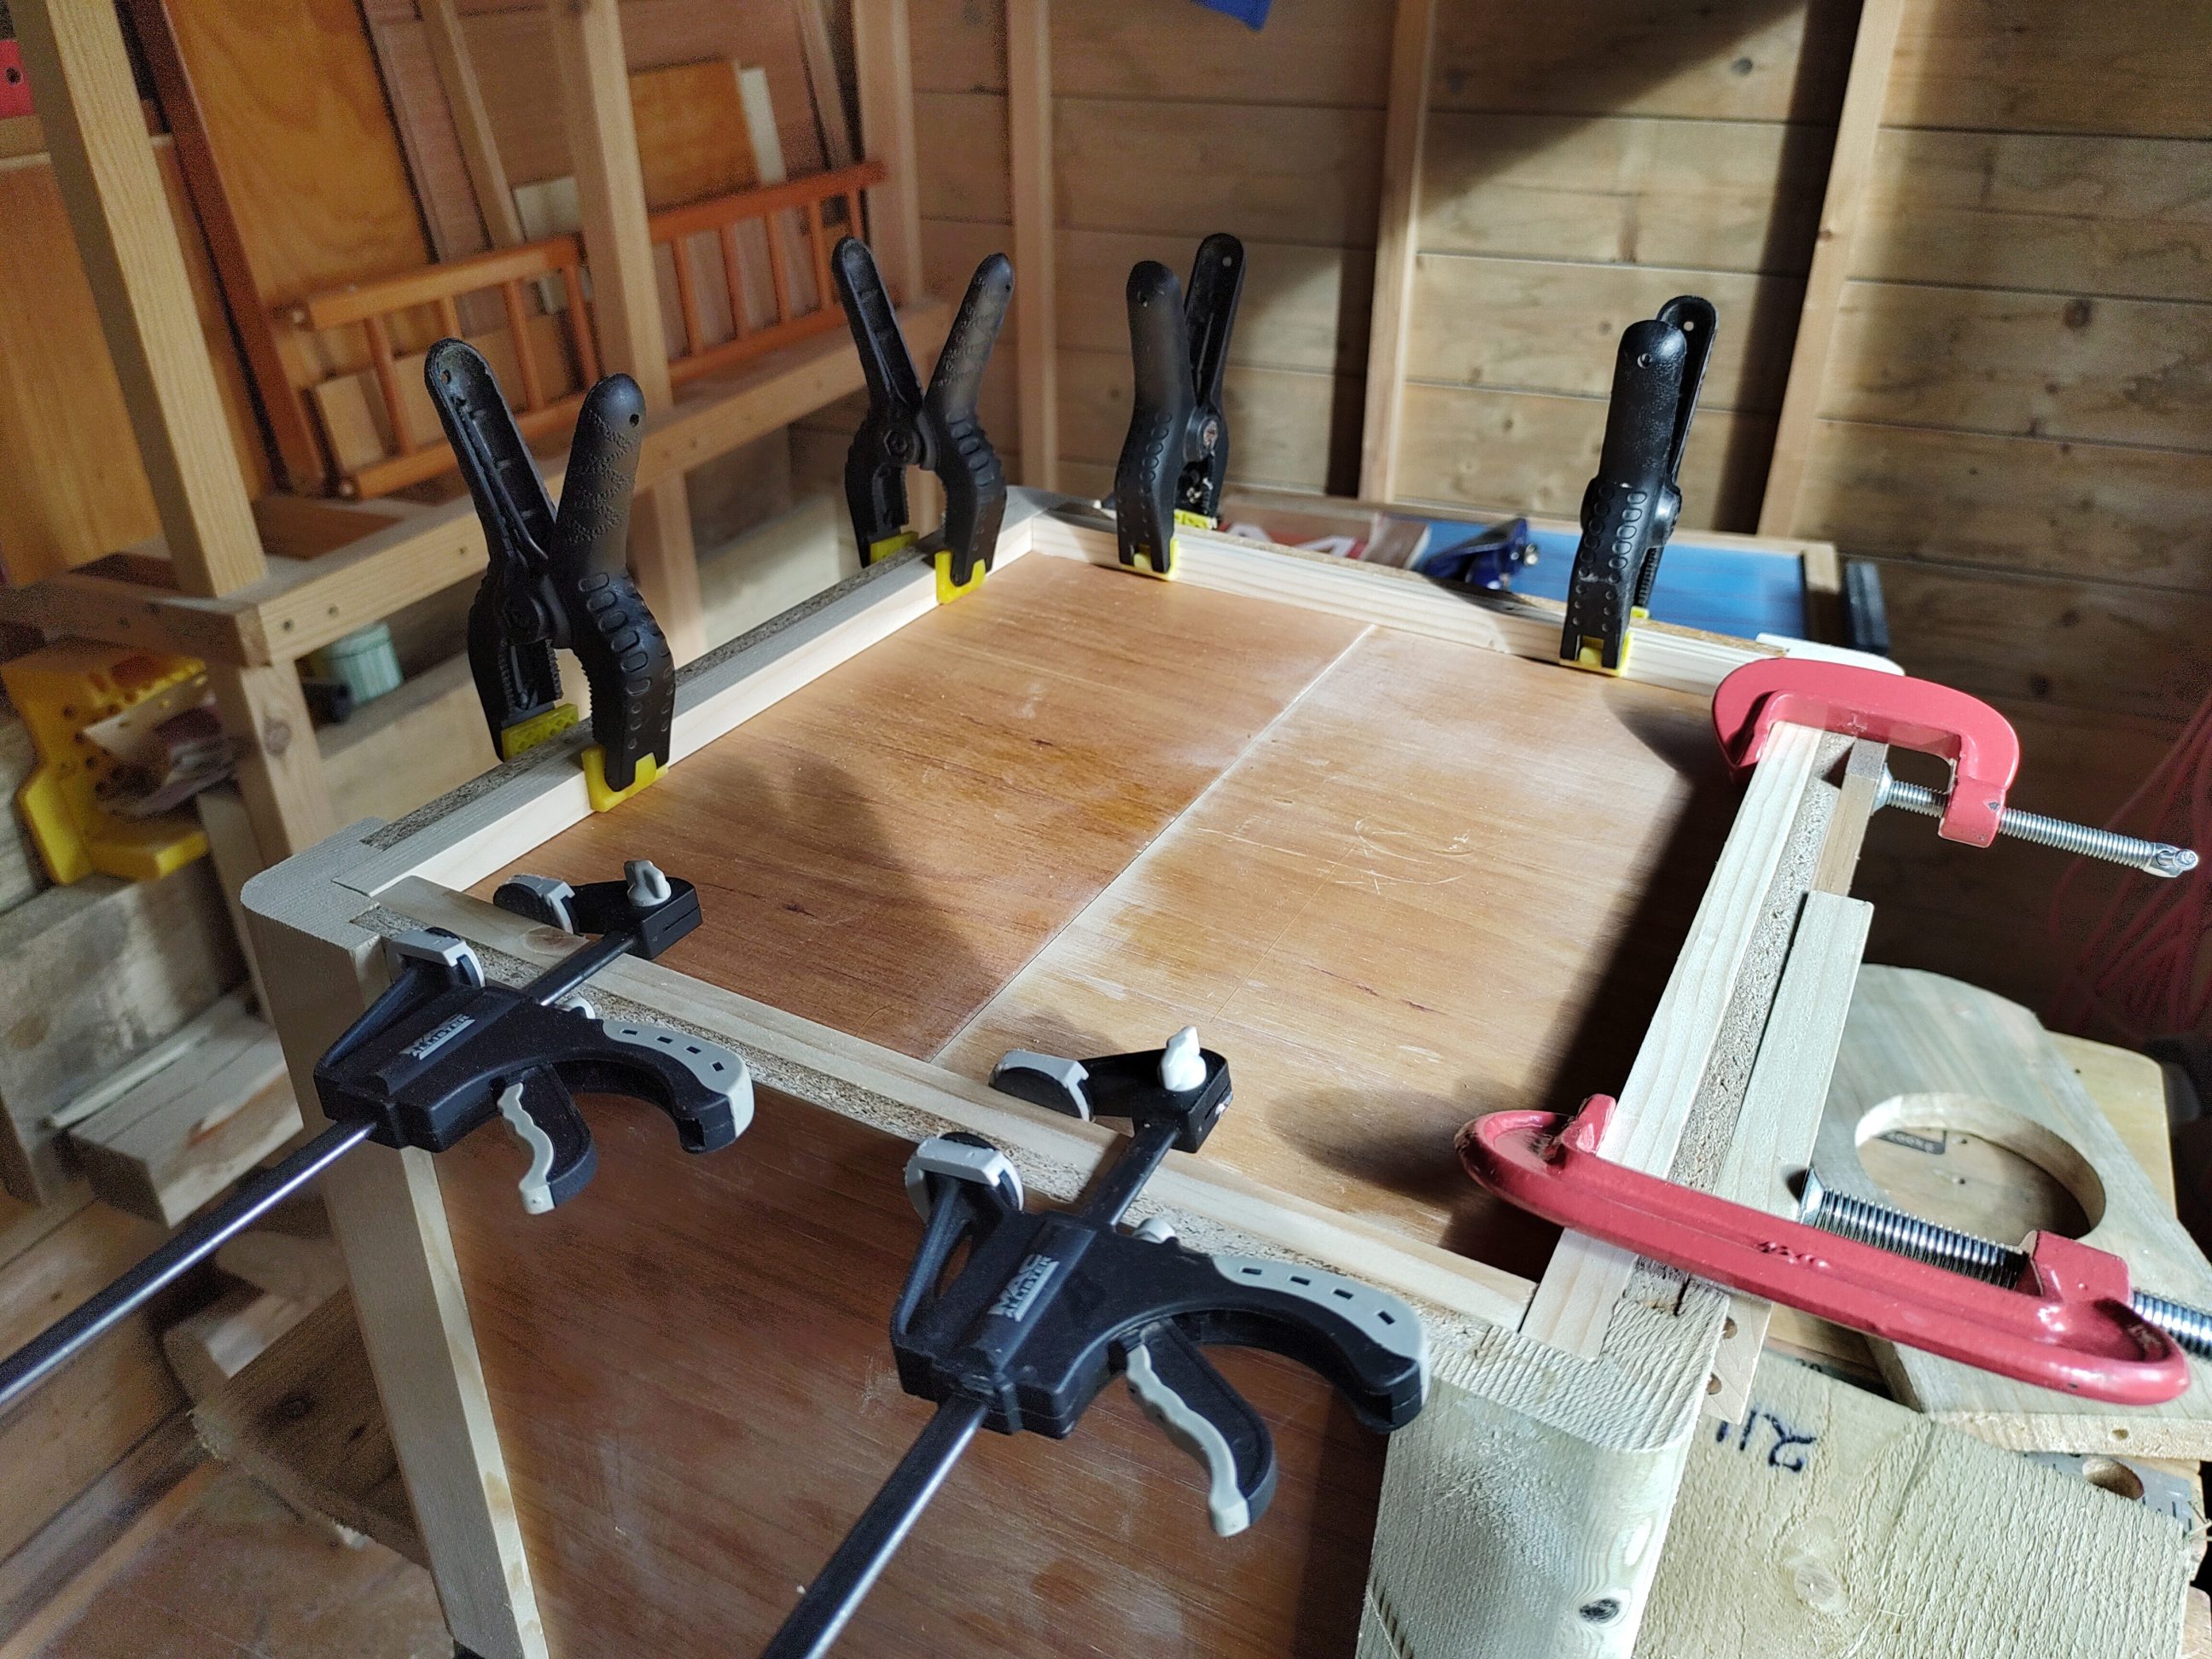
I sanded the inside curves and also the visible sides of the grooves, leaving the rest for later. There were many times during the build when I sanded something – it was usually a quick sanding, or if I may call it sand-as-you-go sanding. It usually didn’t take more than a minute to complete. Moving forward, I cut 2 bottom panels and the supporting rails. Everything was put together temporarily, disassembled and only the sides were glued up. As always, the box was checked for square and I let the glue dry overnight.
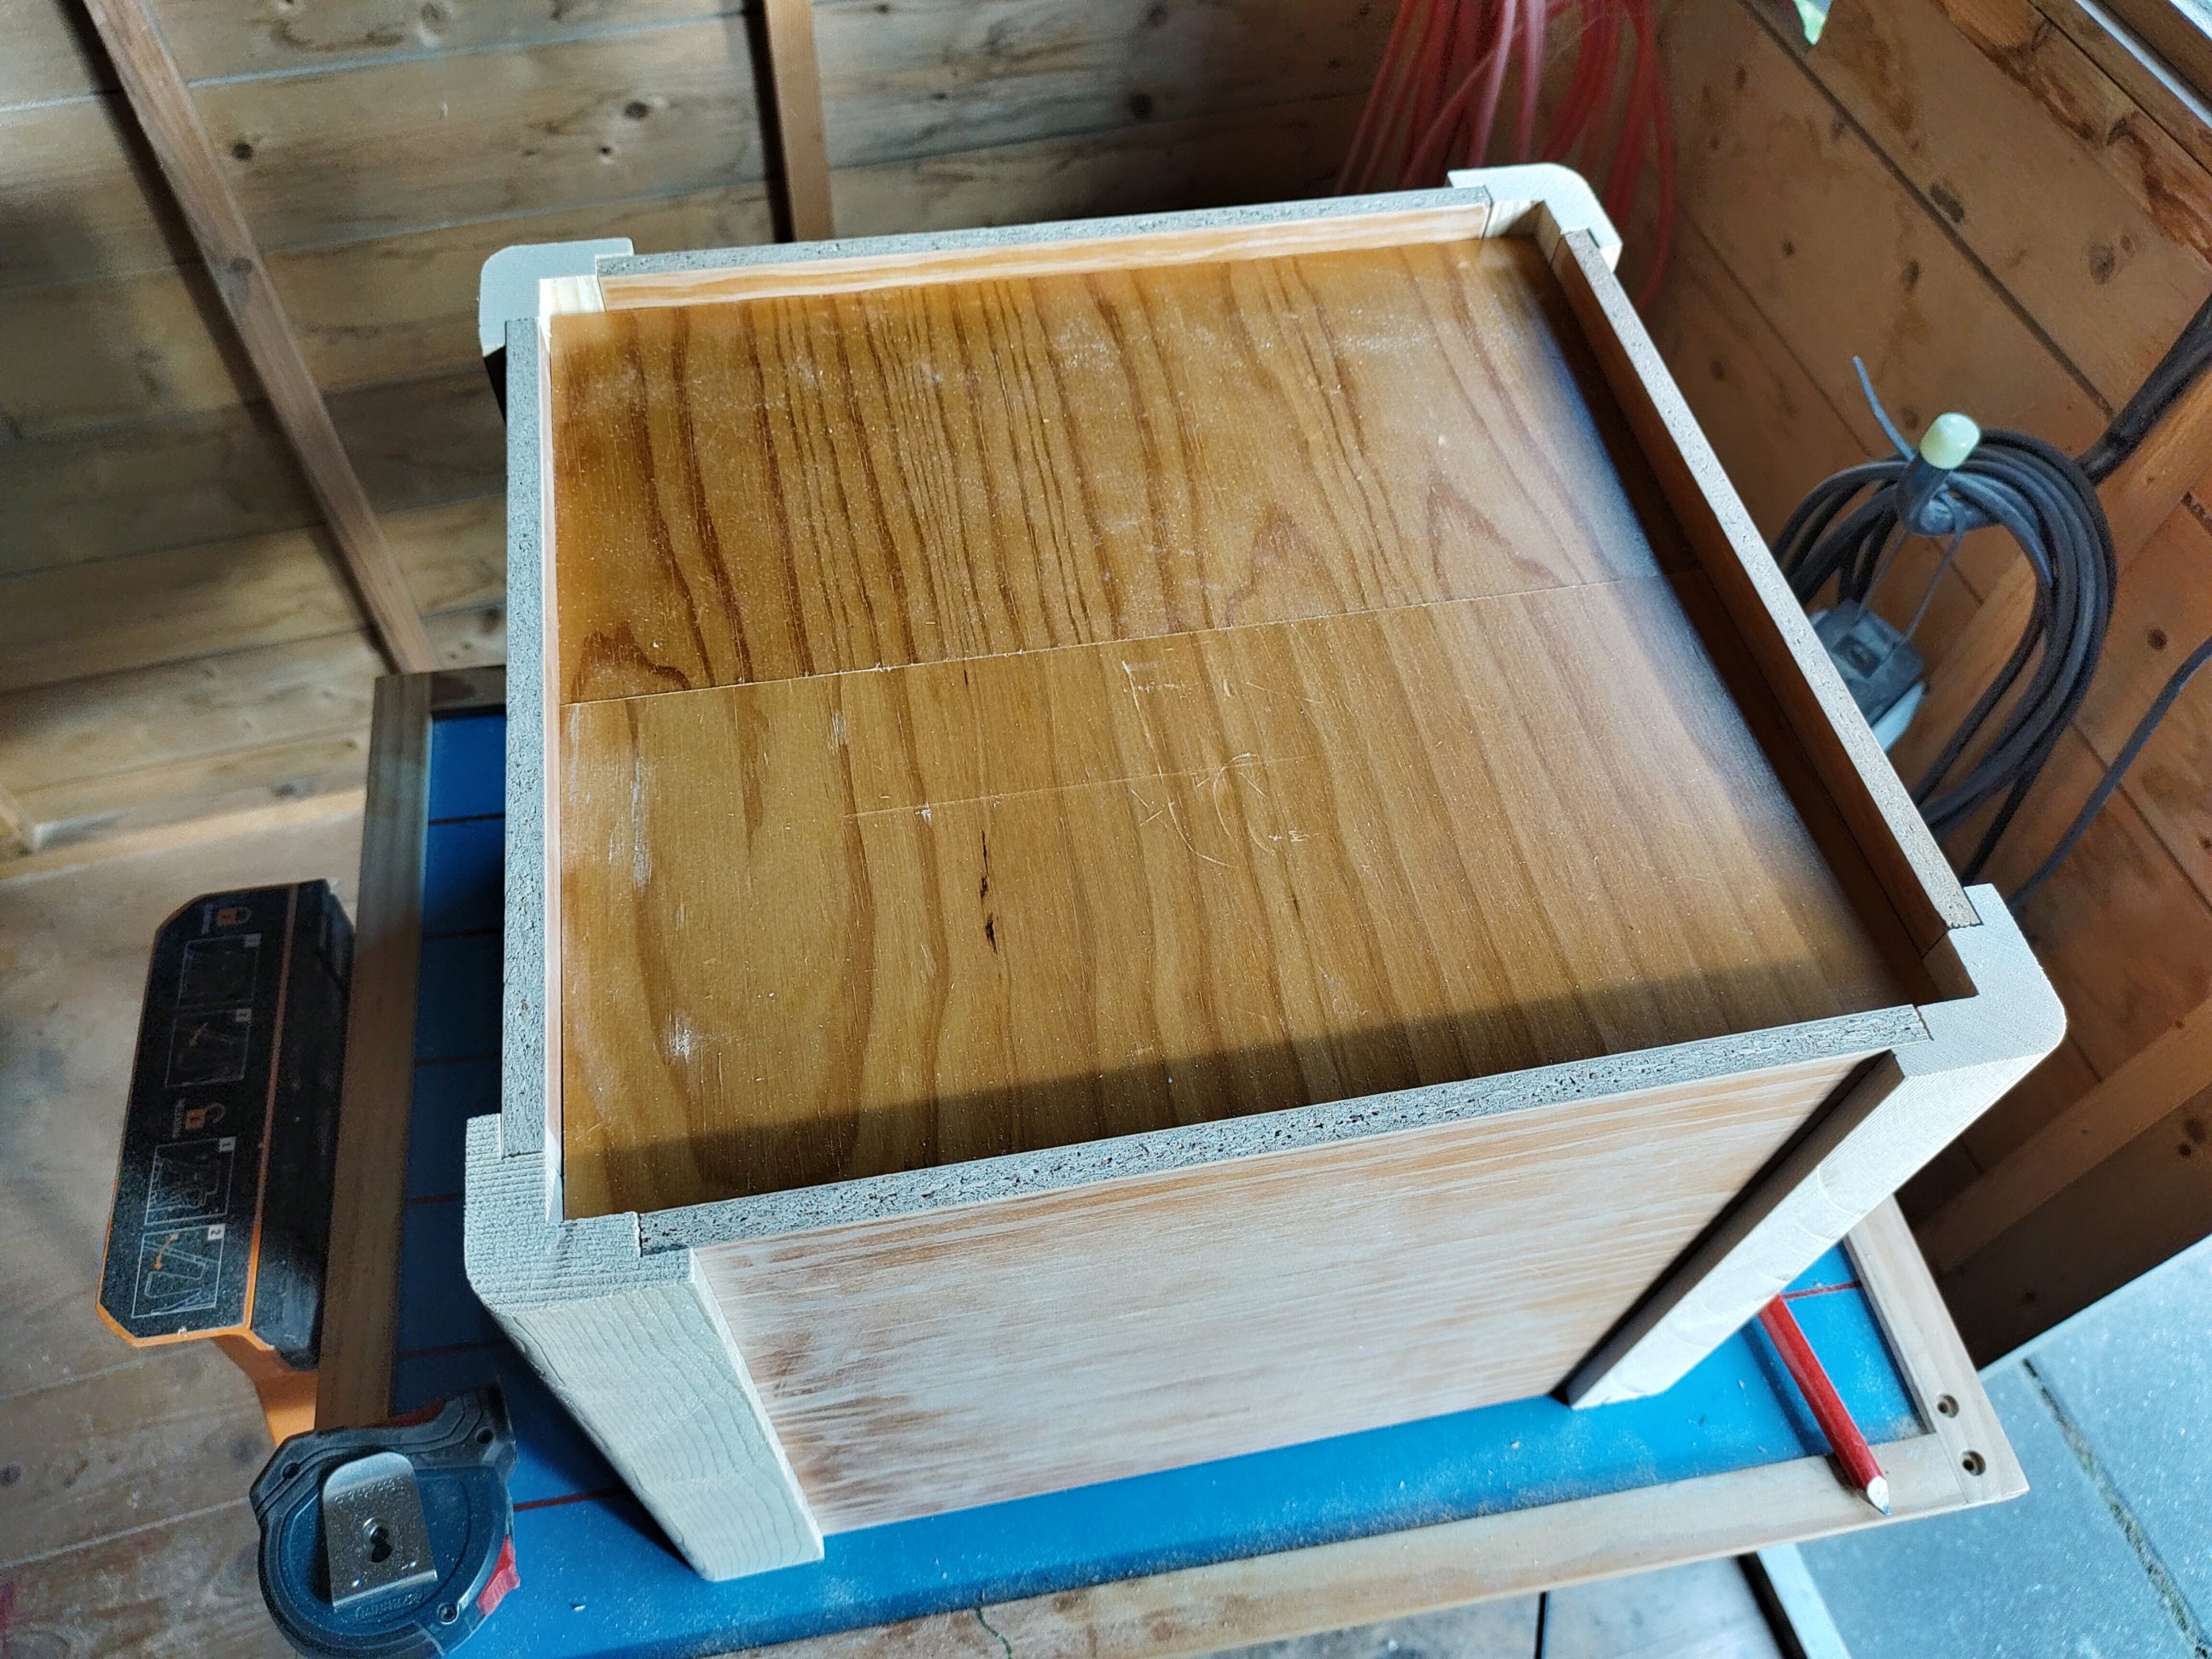


When the glue dried, I again lightly sanded the inside, using my favourite sander, also by hand and did some fine alterations with a chisel. With my mini shooting board, I shortened the rails to the exact length and with a bucket inside the box, I started the final glue-up. The bucket had one job – to push the bottom against the rails, using the mass of the box and gravity.


When it dried, I removed the clamps and sanded the outside – panels and my over-engineered corners. Next, I blew off the dust and the box was ready for the finish. I wanted to replicate the already existing chipboard finish and what might look similar was wipe-on poly. Homemade version has worked always for me, so I made a small batch for that project, as well. I simply mixed some polyurethane and thinner and using cloth I applied the first coat.


As expected, wipe-on poly looked exactly the same as the previous finish. A few more coats were applied and I started to think about the pull handle. There was nothing interesting in shops so I drilled a hole using a 56 mm hole saw (almost 2 1/4″). I clamped a scrap board from the backside to get crisp edges on both sides of the hole. That step should be done before the finish was applied, but I was hoping to get a nice handle and drill 2 small holes for the screws. I had to change my plans during the finishing process, drill a hole and cover it with a few coats of wipe-on poly.

Applying the finish took a few days, and there was another day or two for allowing it to dry. Not the quickest way to finish a box, nor the odour-free. When the finish stopped being smelly, which meant it dried, I buffed the box with 0000 steel wool and wax and finally, it could be called done.