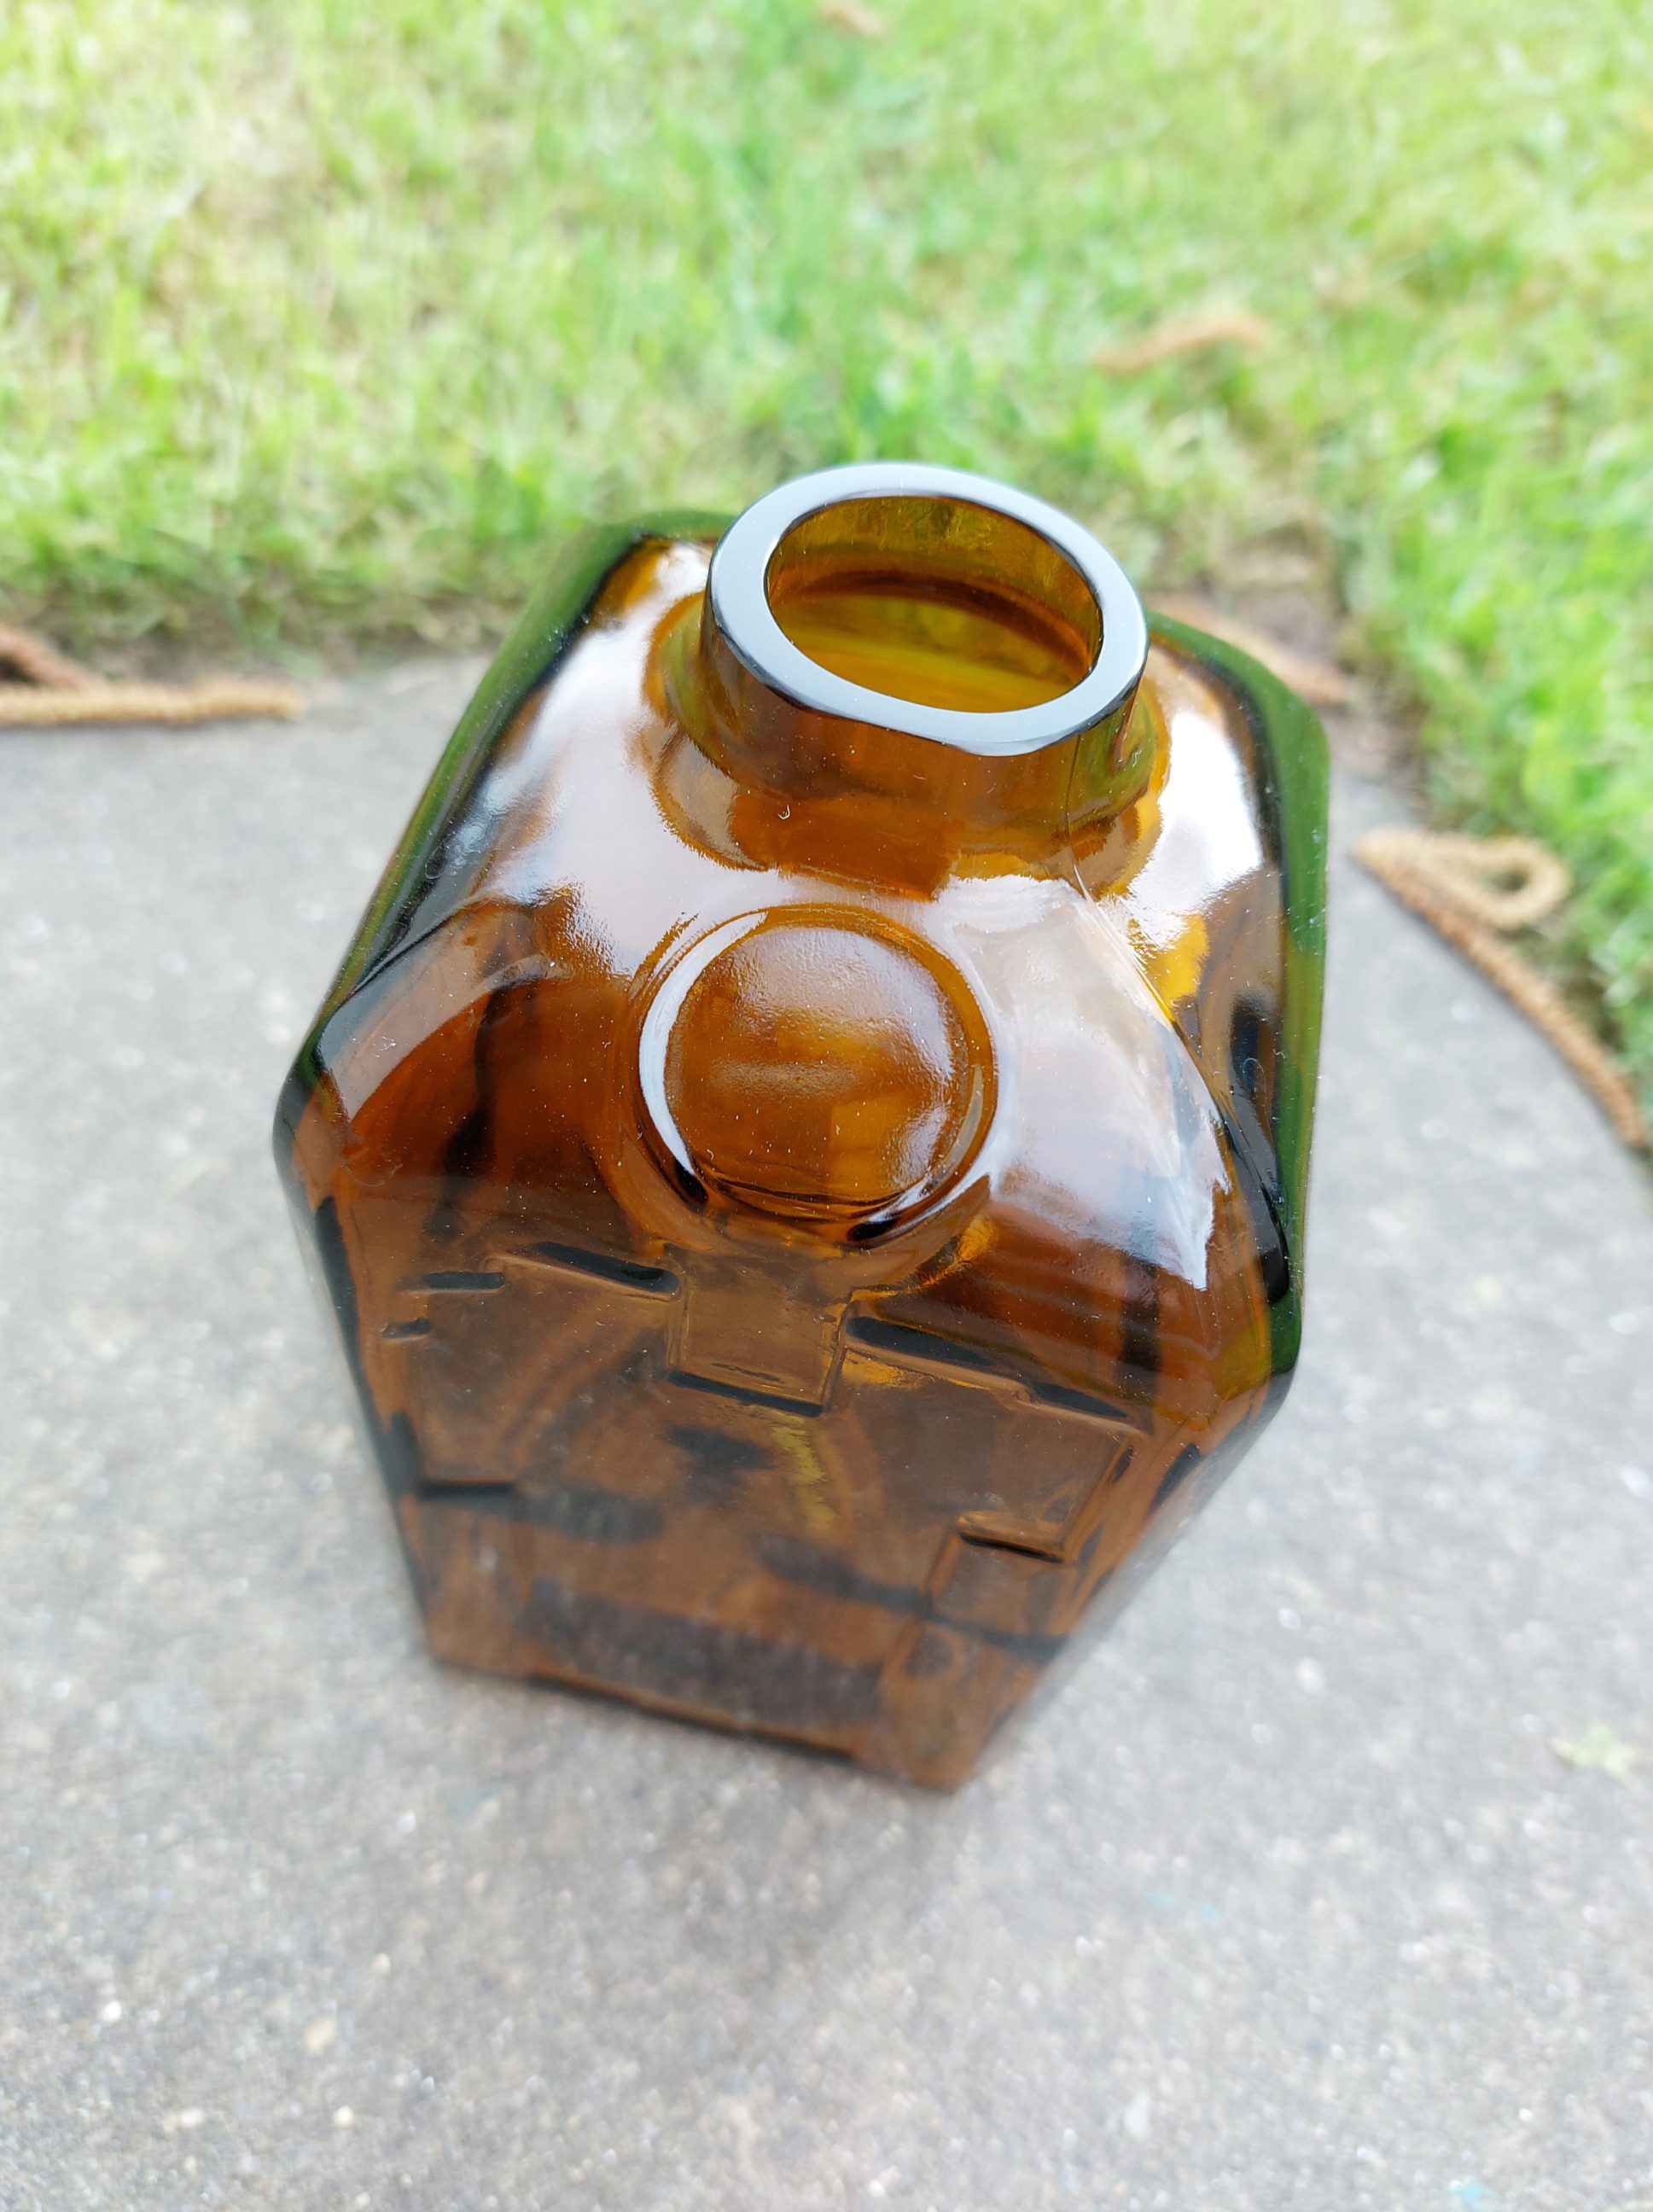
Neckless Cointreau bottle
Using a rotary tool to cut glass had not been attempted in my workshop before that project. I had always used a glass cutter and dipped the workpiece alternately in icy and boiling water. That method worked okay, but it was quite unpredictable, with a failure rate of roughly 50 per cent, which meant that one out of every two attempts was a reject. That was still acceptable for me since all the material was free, but it was sometimes frustrating to see a rare bottle cracked in a way I didn’t want. Additionally, the old-school method had other limitations, such as being shape-limited and only allowing for cutting in straight lines across the workpiece, rather than along it. However, all of that was about to change. With some health and safety precautions in place, like using eye and lung protection, the new approach was simple, safe and effective.

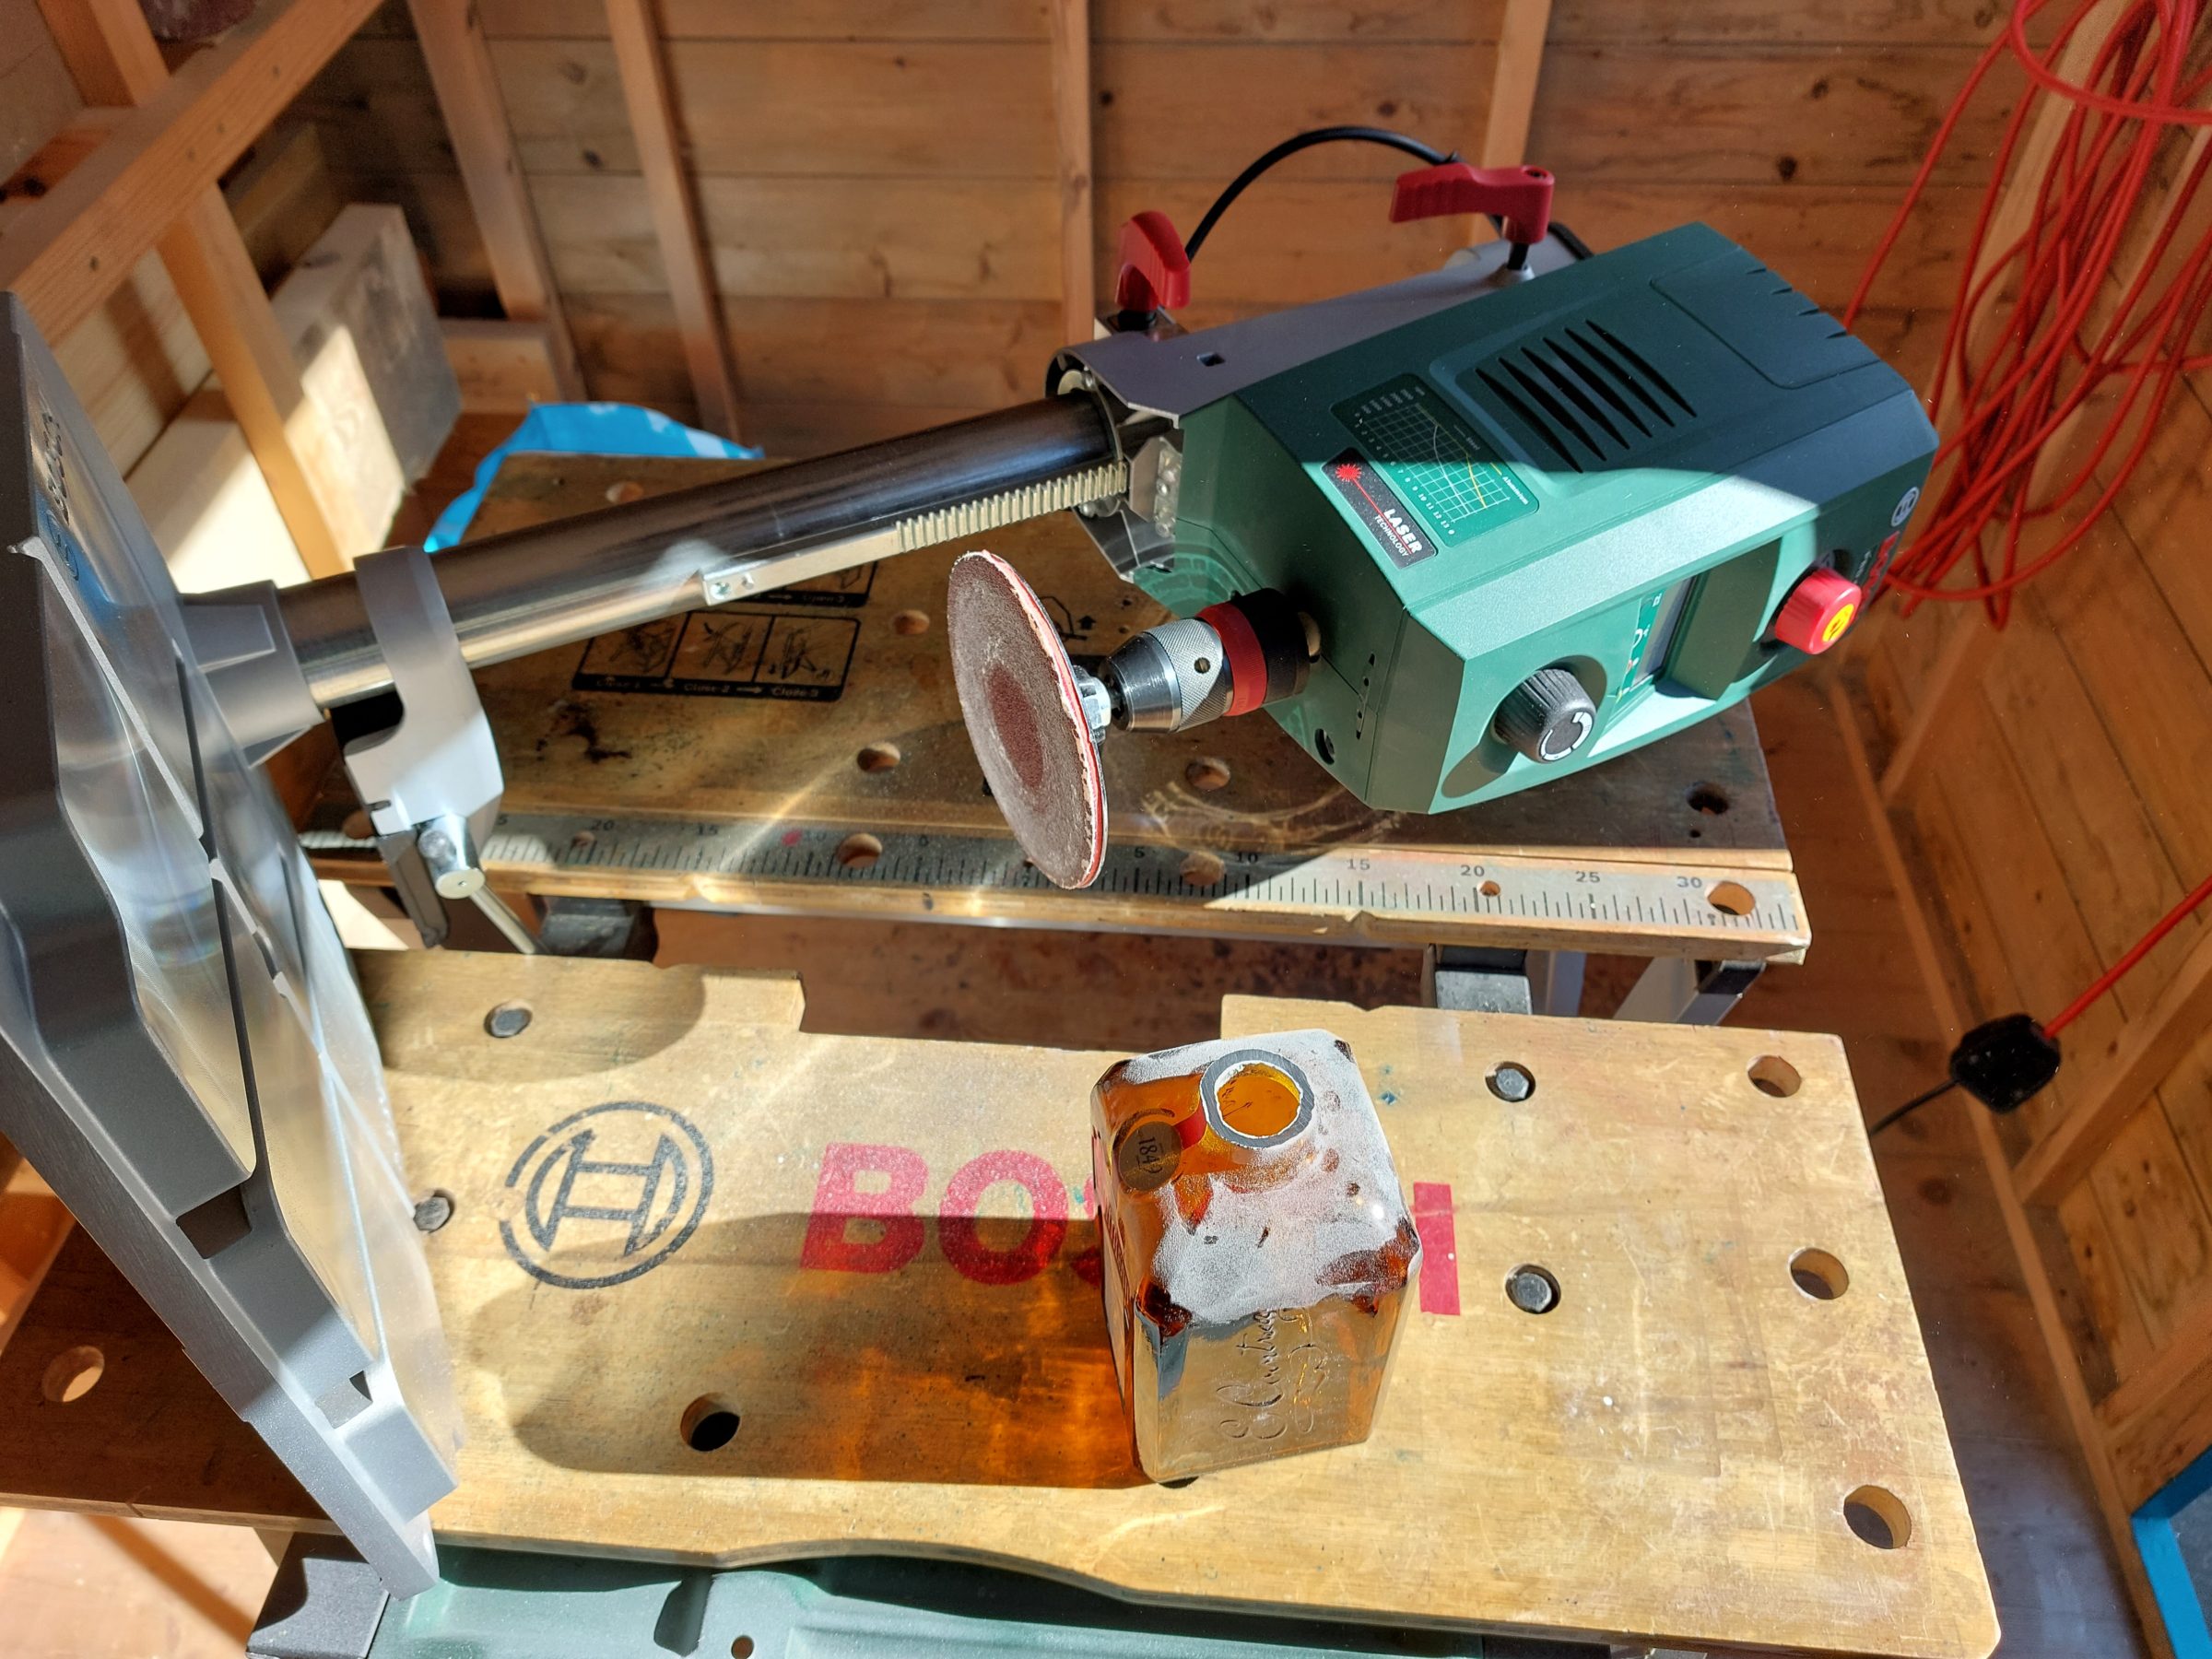


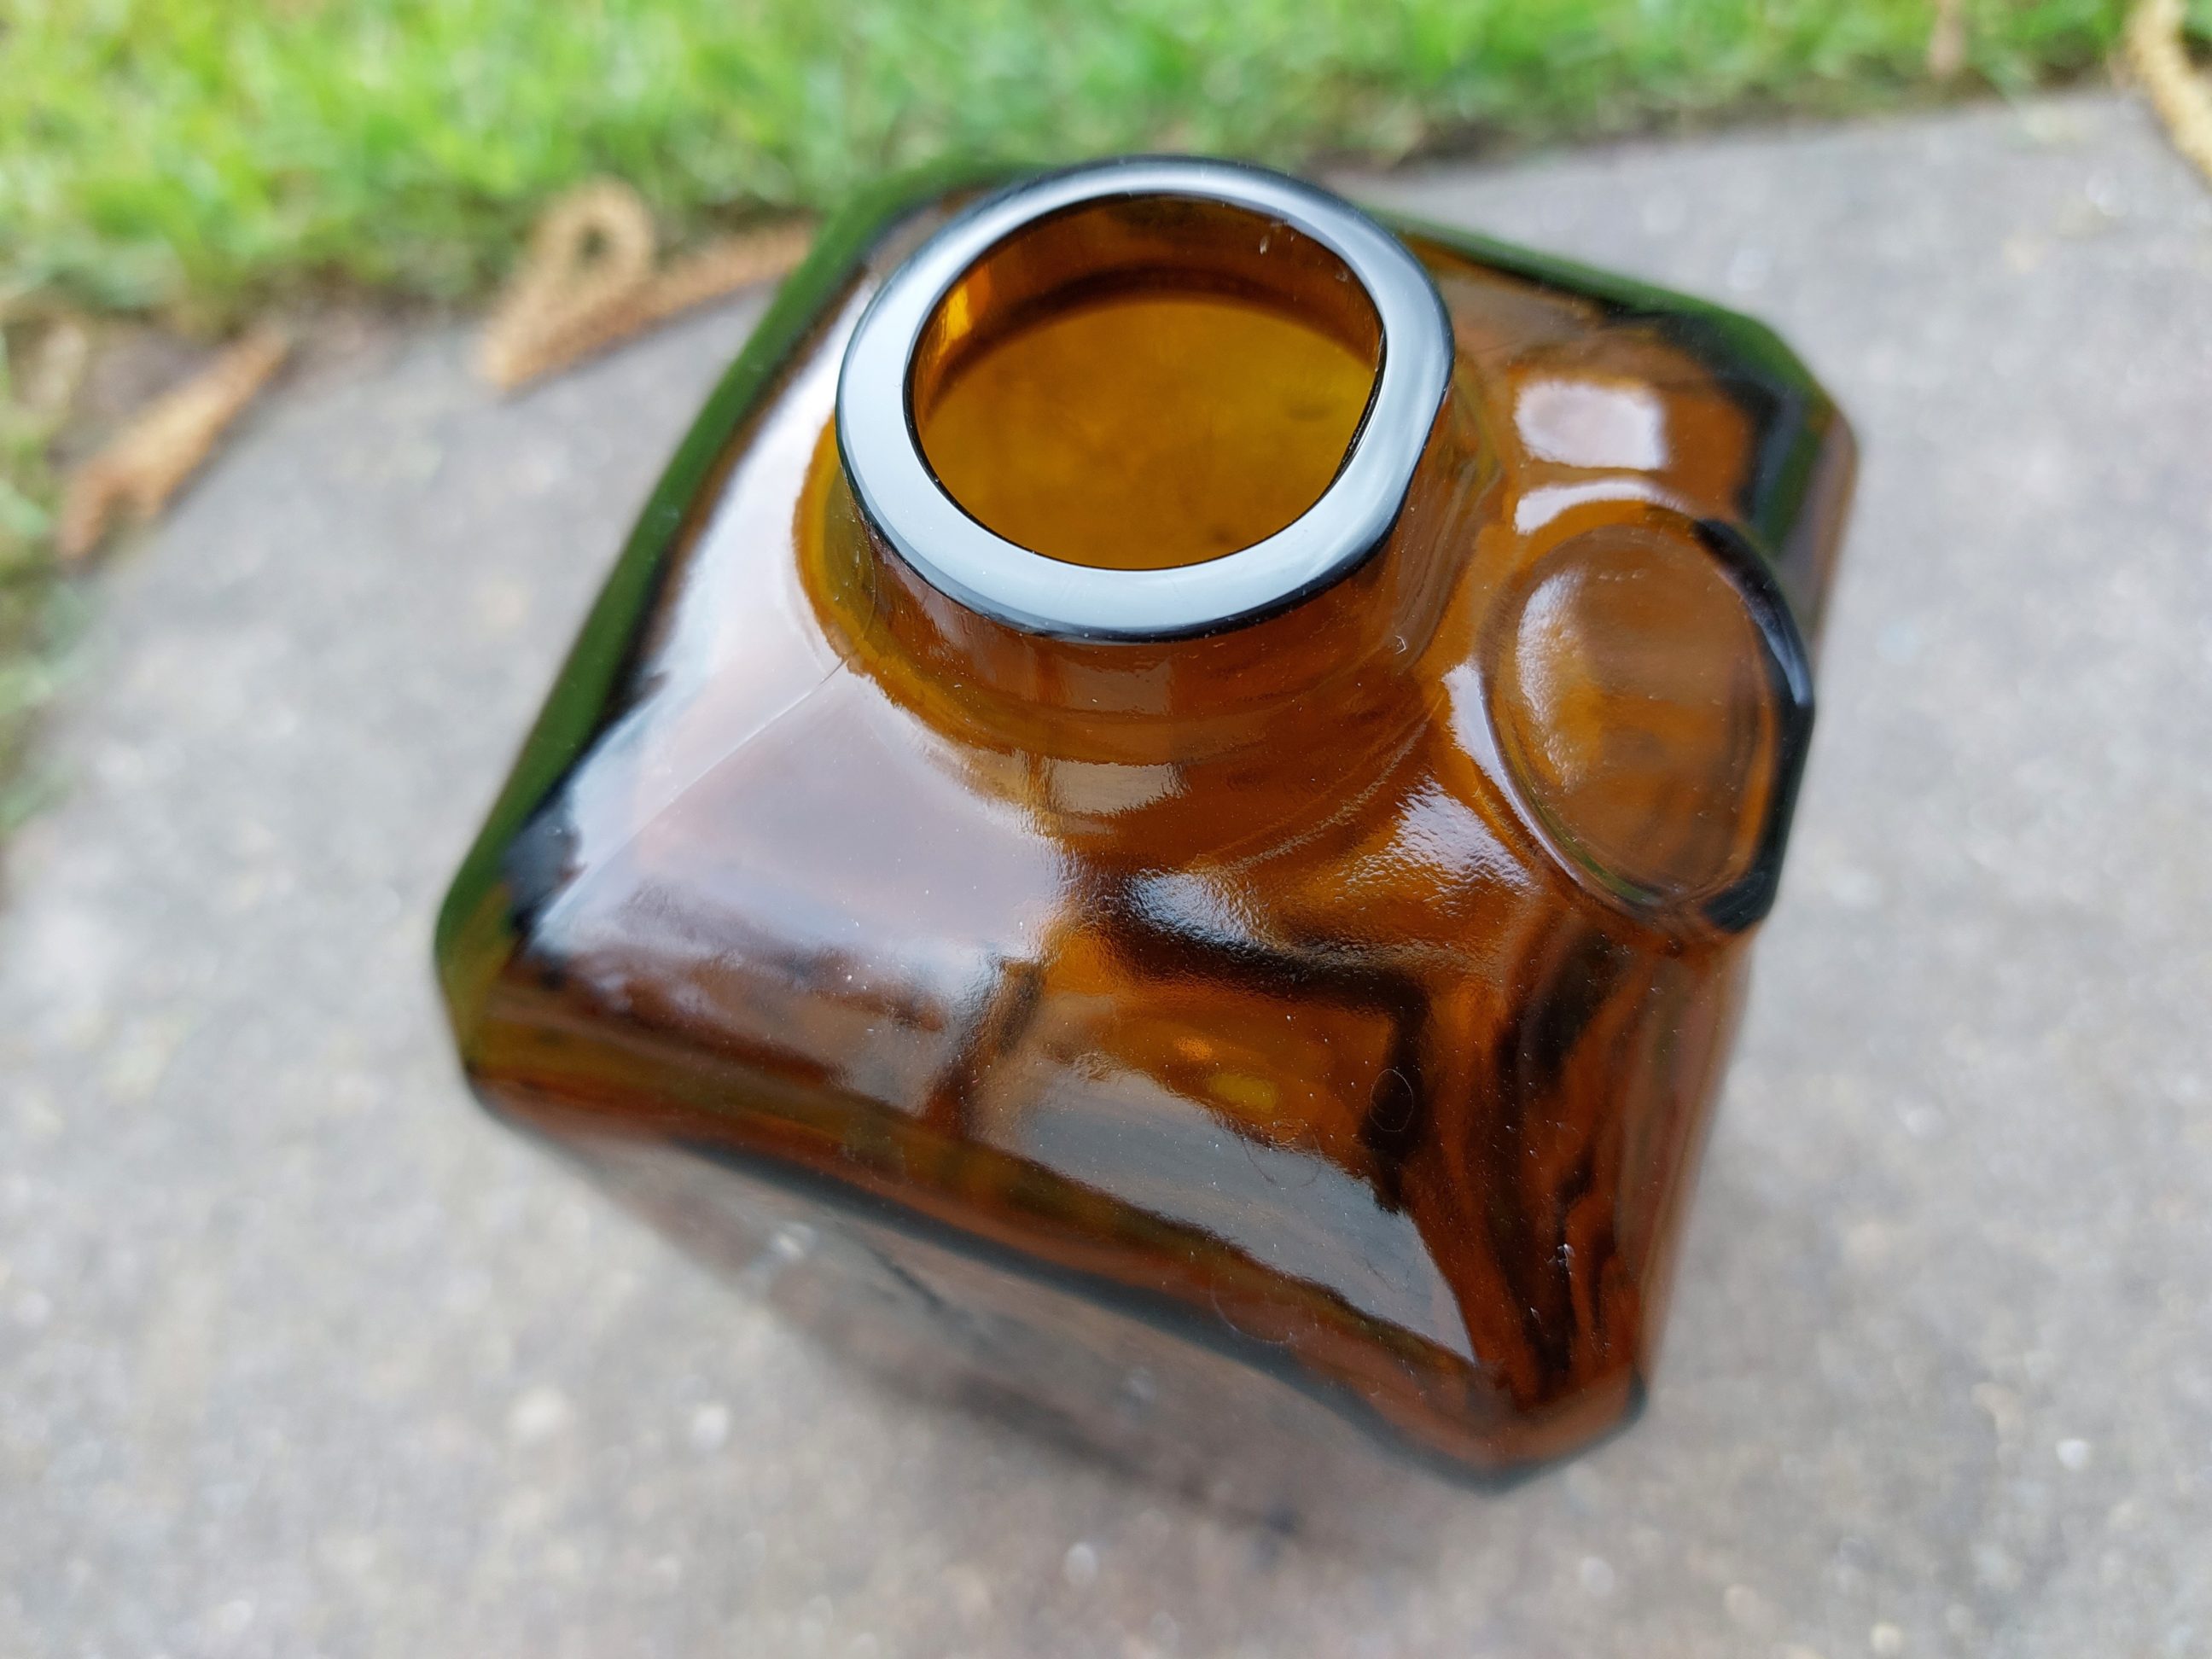
As in the old method, this one too was about working at a slow pace. That was about the temperature and not the attitude, of course, both the workpiece and the tool being used had to be kept cool. The process was fairly straightforward and it started with taping off the bottleneck thread – an unwanted part of a bottle that ruins the look of a proper vase, a part that if it’s not there changes the look of a regular bottle into homeware. Once the cutting line was established, I cut off the top with a rotary tool equipped with a diamond disc. It didn’t take long at all and in comparison to the old method was an interesting competitor. Using a pillar drill laid flat on the workbench, I started the sanding process, going slowly at a max. of 700 RMPs and changing the sanding discs from 40 to 2500 grit. At the 600 one, I started forming the outside bevel. When that part of the process was done, I polished the cut with scratch remover, the same one I have on my car care products shelf.


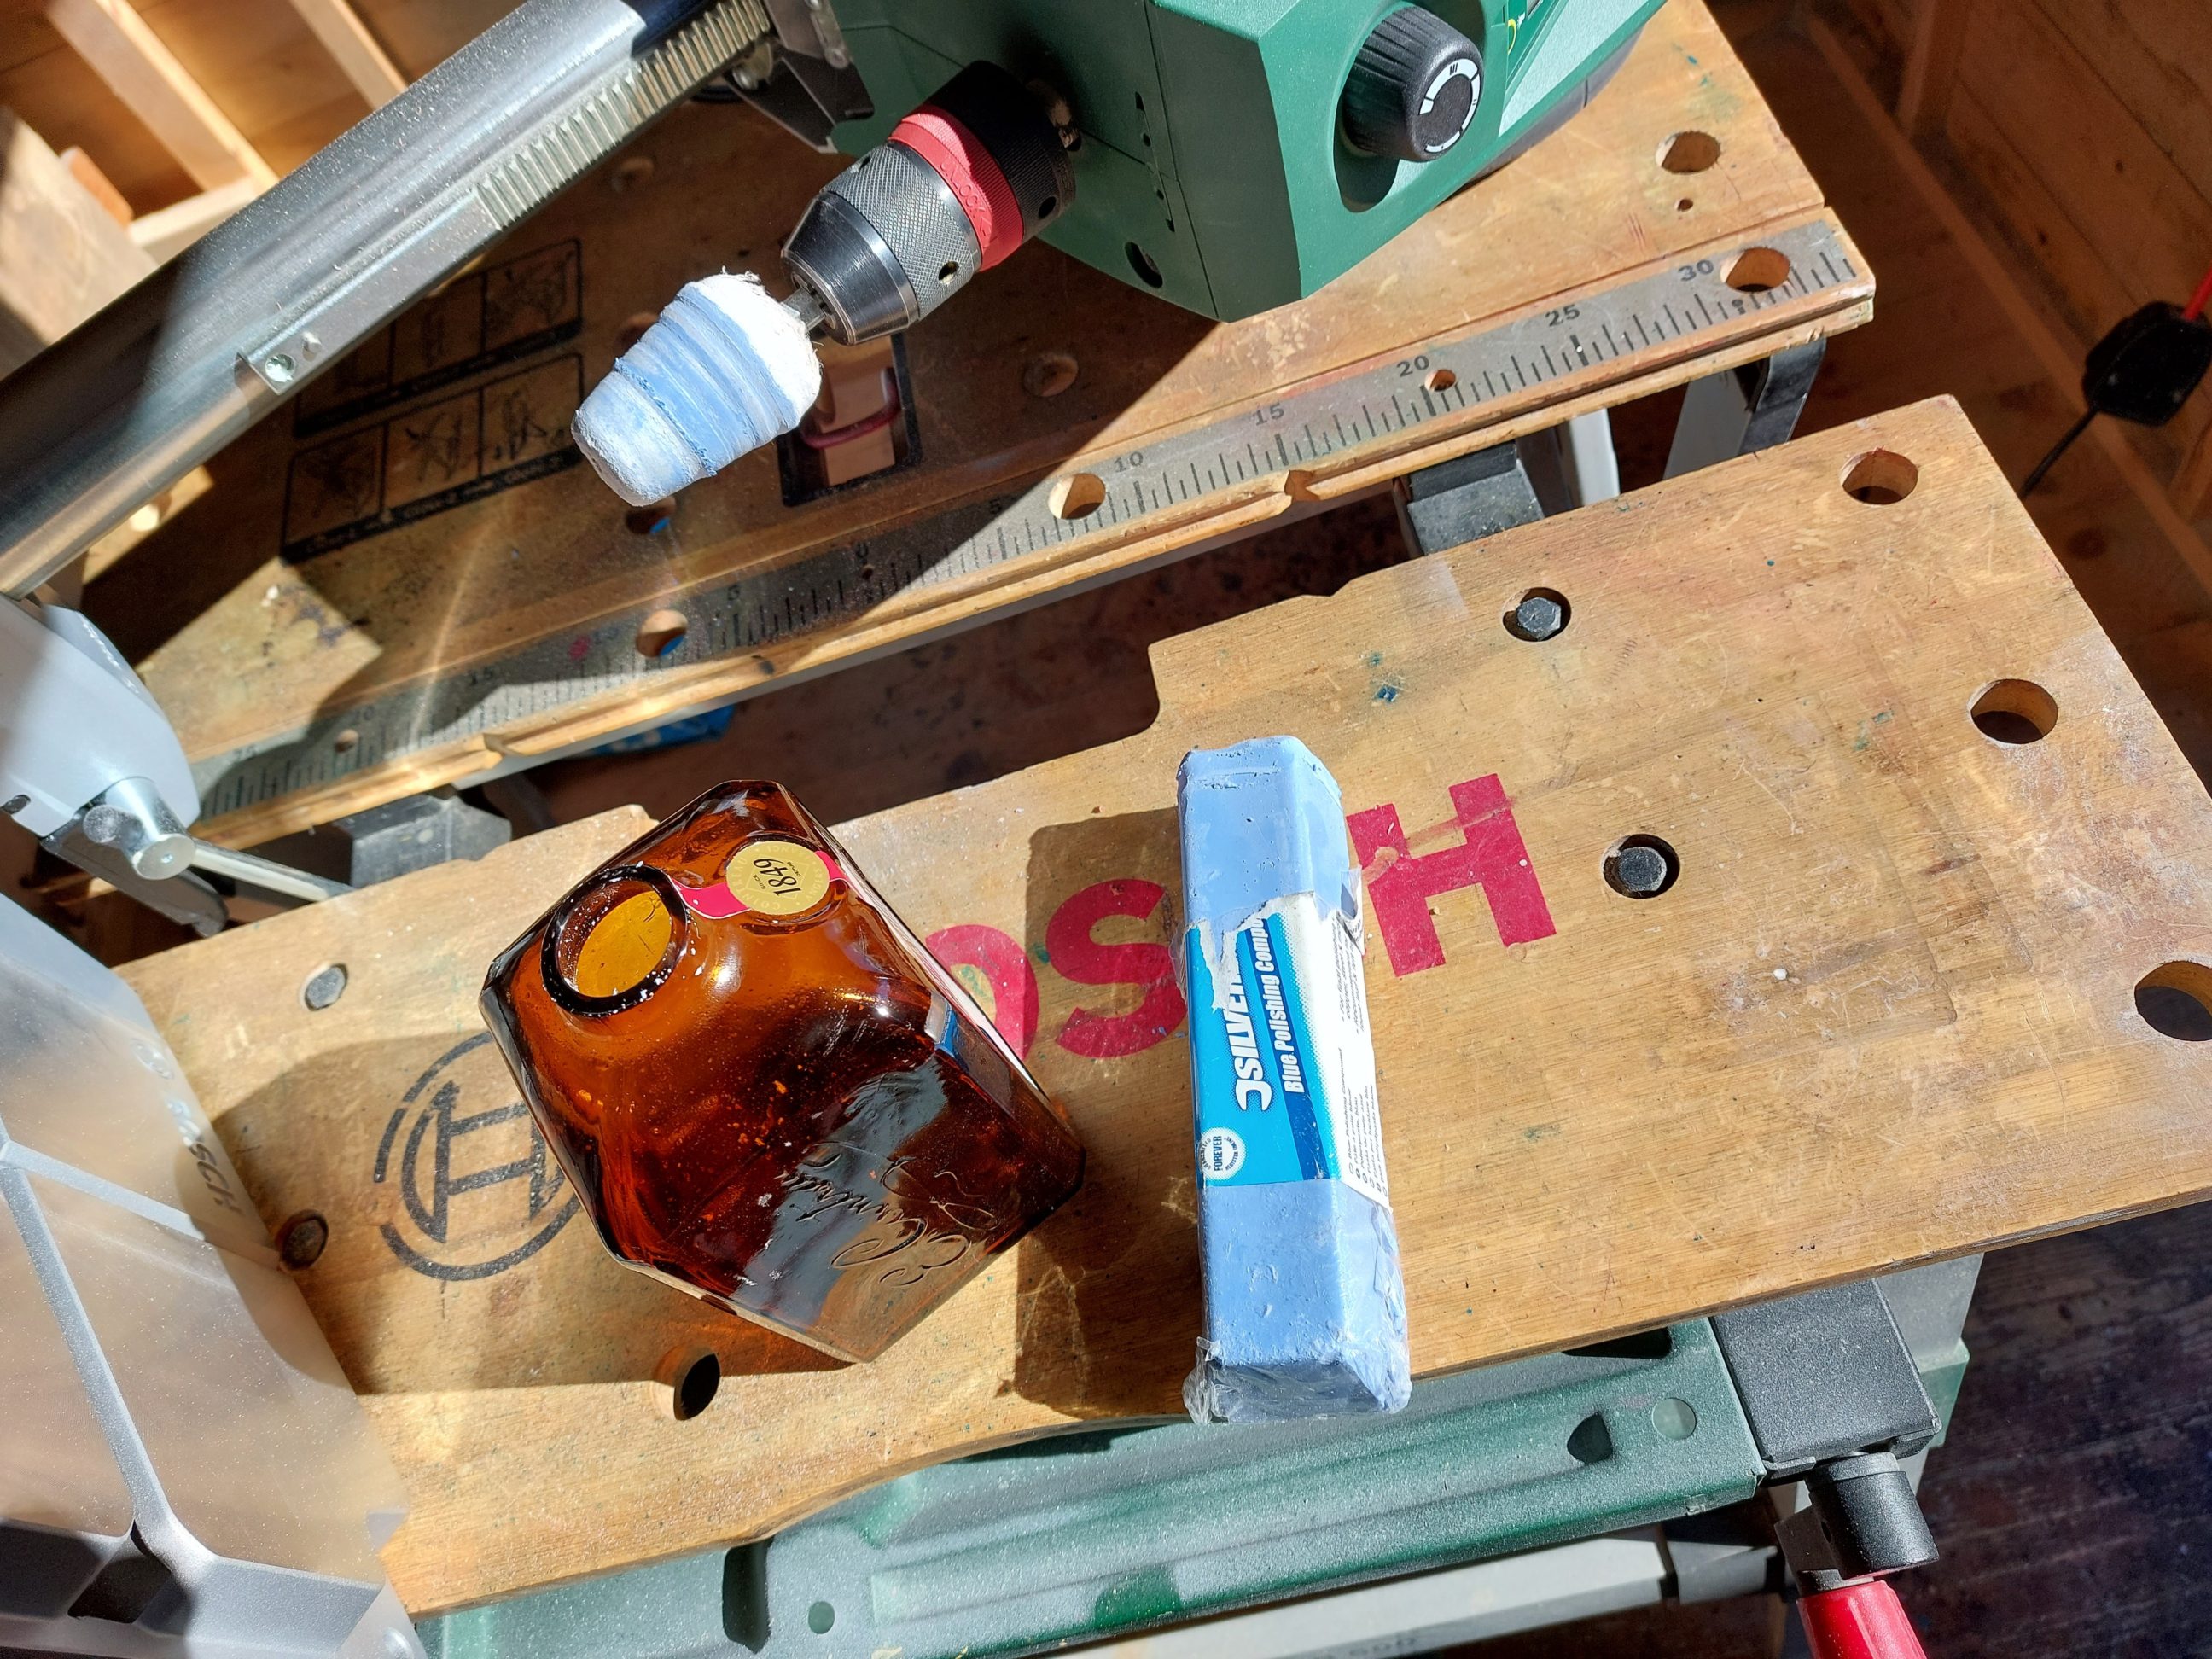


Using my trusty sanding drums ranging from 240 to 600 grit, I carefully sanded the inside bevel, ensuring that every curve and angle was smooth and flawless. Once the sanding was complete, I moved on to the polishing stage, using a cone mop and a specialized compound to achieve a lustrous and radiant finish. Some pesky labels were still marring the vase’s elegant surface. I set to work removing them, using hot water and white spirit for the most stubborn ones, to dissolve the adhesive and scrub away any residue. Finally, the vase was ready for its debut. Crafting glass homeware is a delicate process that requires patience, precision, and a keen eye for detail. Every time I create a unique piece like this, it fills me with a sense of satisfaction and accomplishment. Not only is the vase perfect for displaying a small bouquet of flowers, but it’s also sturdy and durable enough to withstand the rigours of travel or shipping conditions if need be. Whether it’s proudly displayed on a mantelpiece or carefully packed in a suitcase or a box, this vase is a testament to the beauty and versatility of glasswork. And by versatility, I mean that this vase can bring joy and beauty to others as well, whether sold or gifted, making it even more rewarding than keeping it for myself.