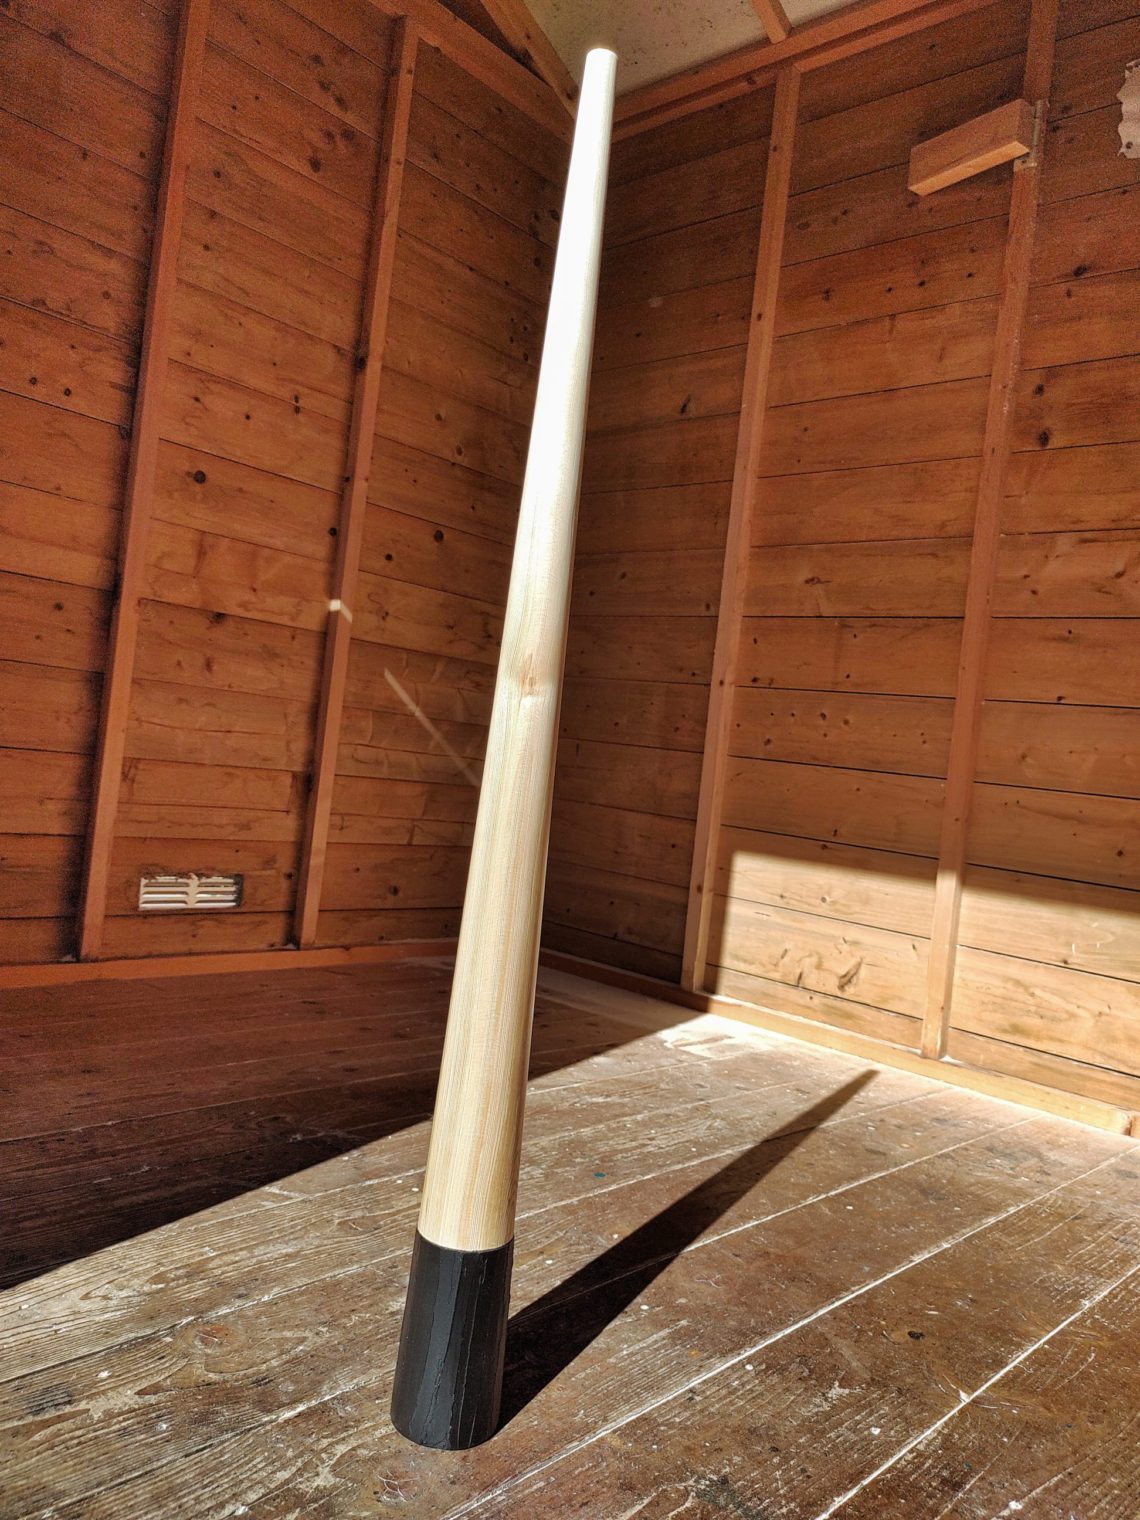
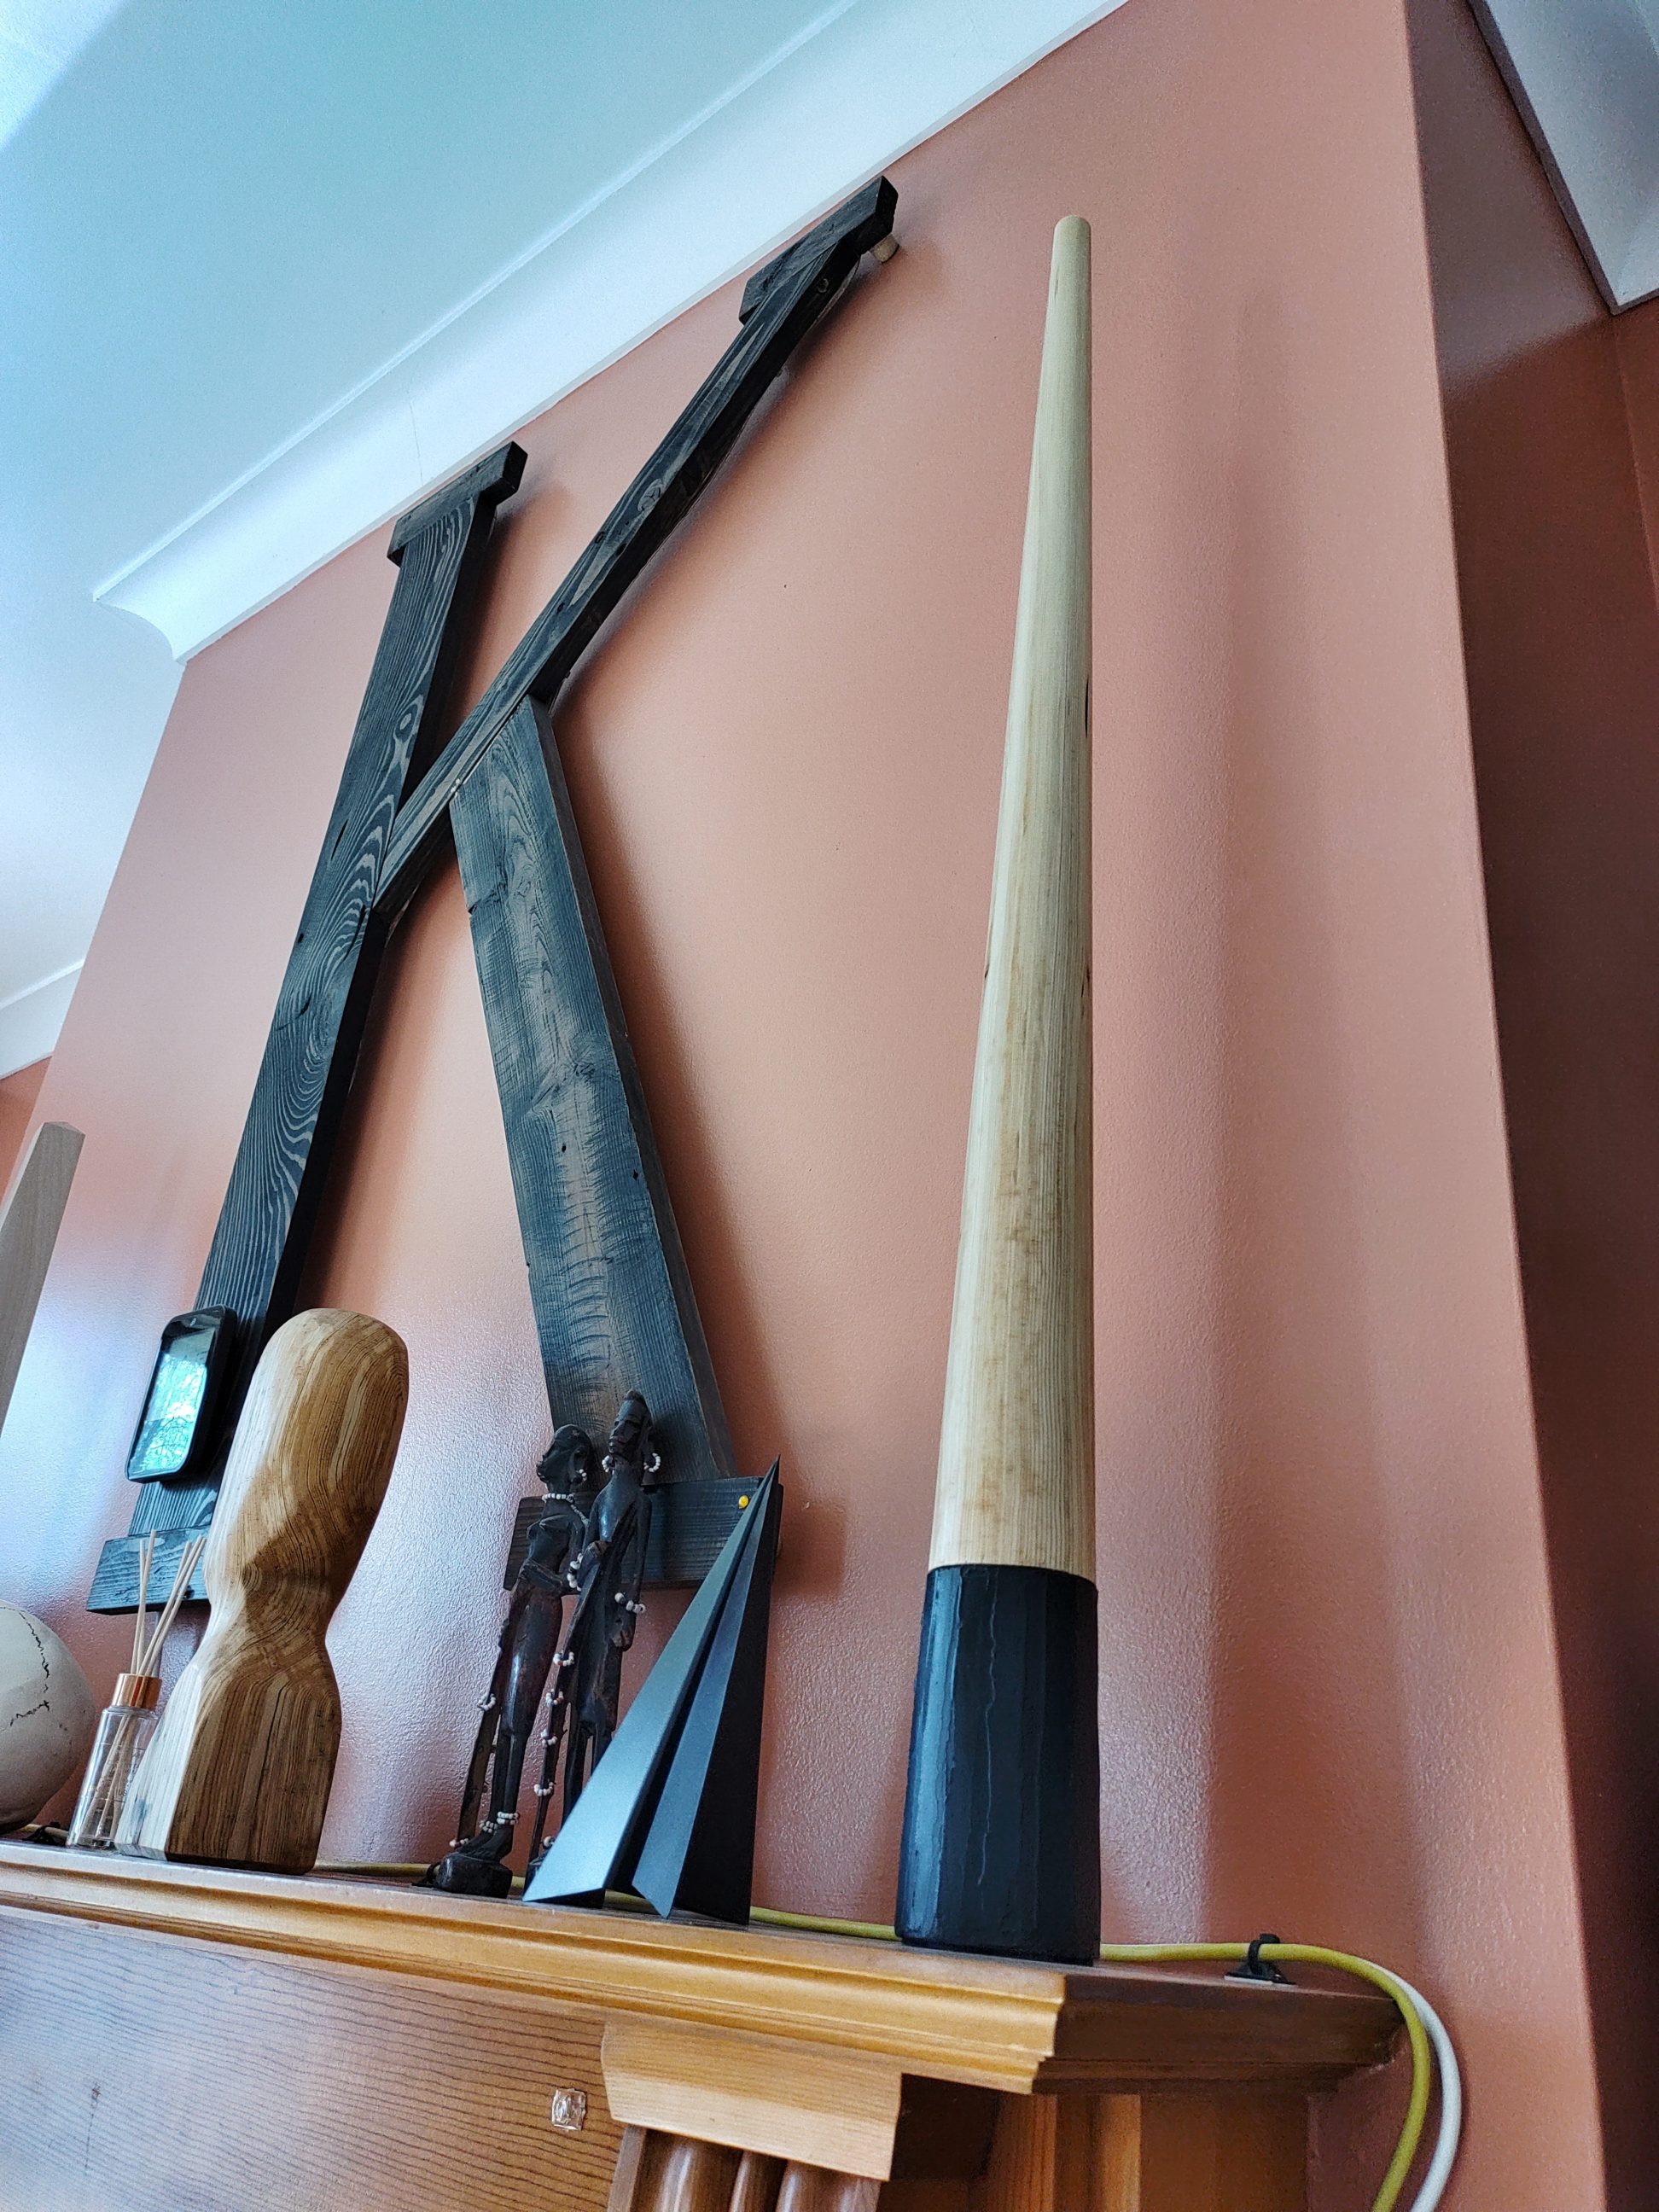
Spire
Made from a single piece of timber without using a lathe. It was cut with a table saw and a very simple jig that had to be built for that project. The spire is 88 cm tall (~ 35 inches), its peak isn’t sharp but if it was the spire would be 35 cm taller (another 13 3/4″) and that way it would form a perfect cone. This project was inspired by The Spire of Dublin and it’s also made in Ireland. It must be very Irish to build spires, I guess.


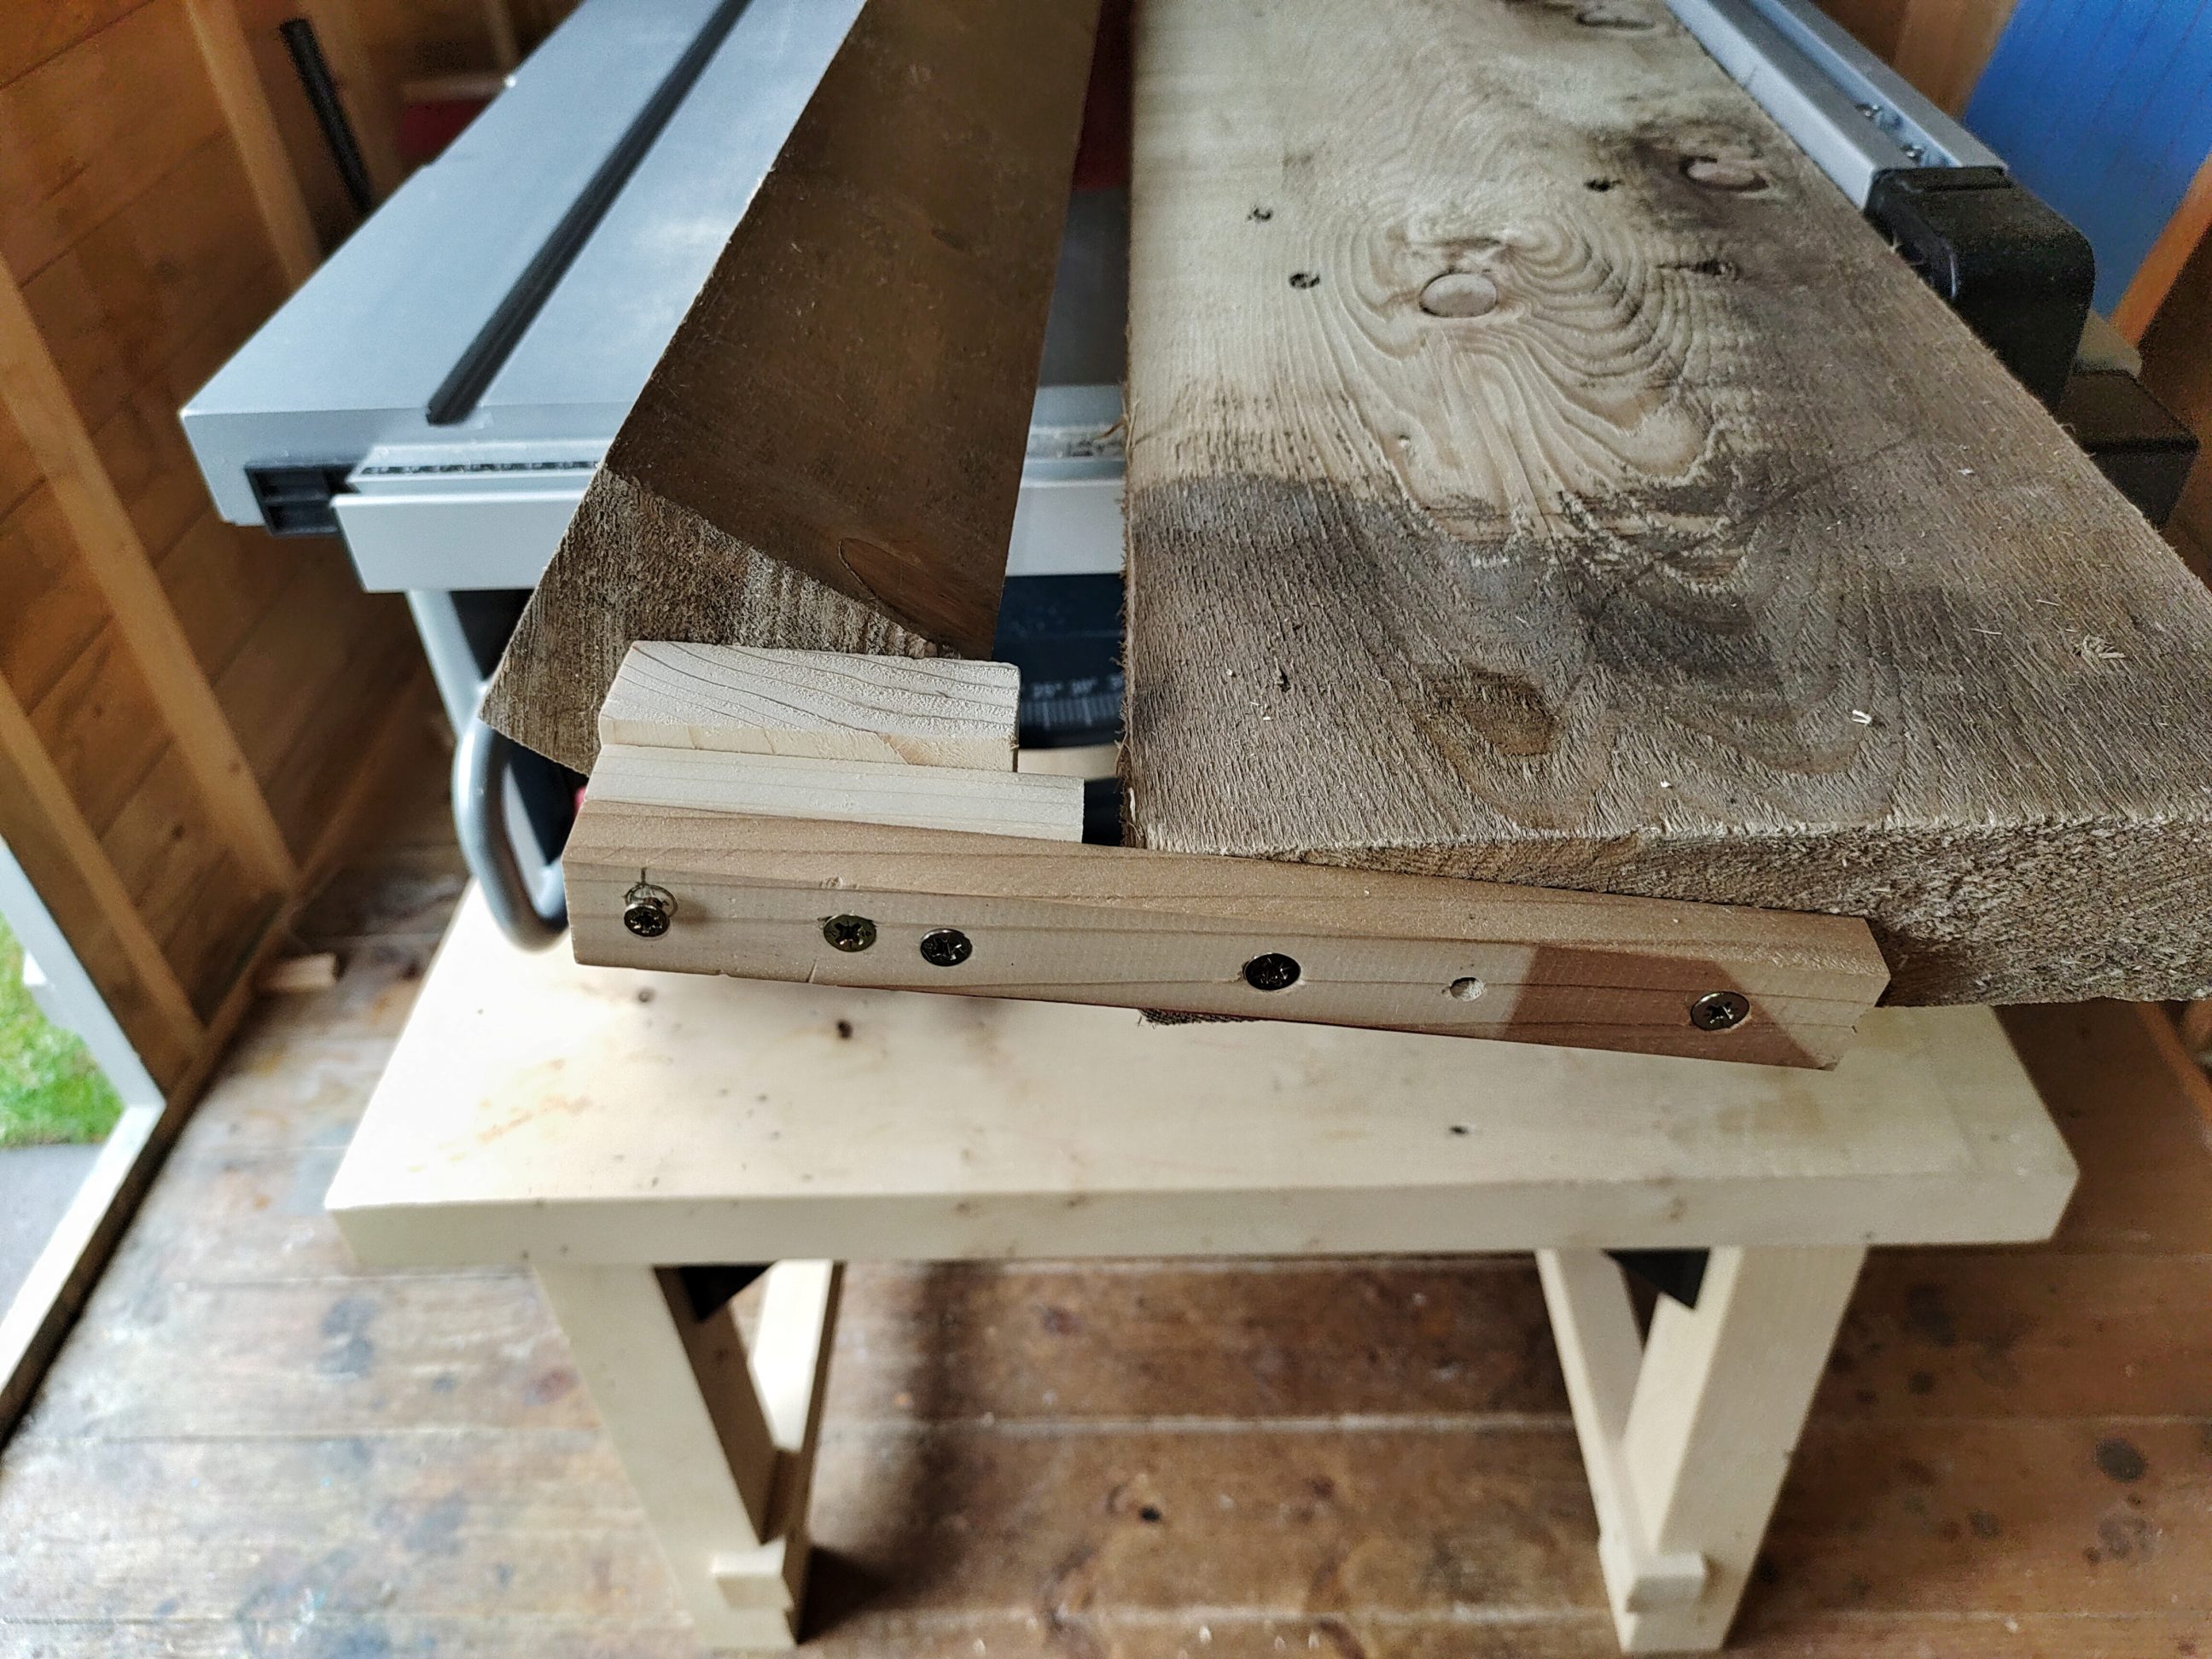

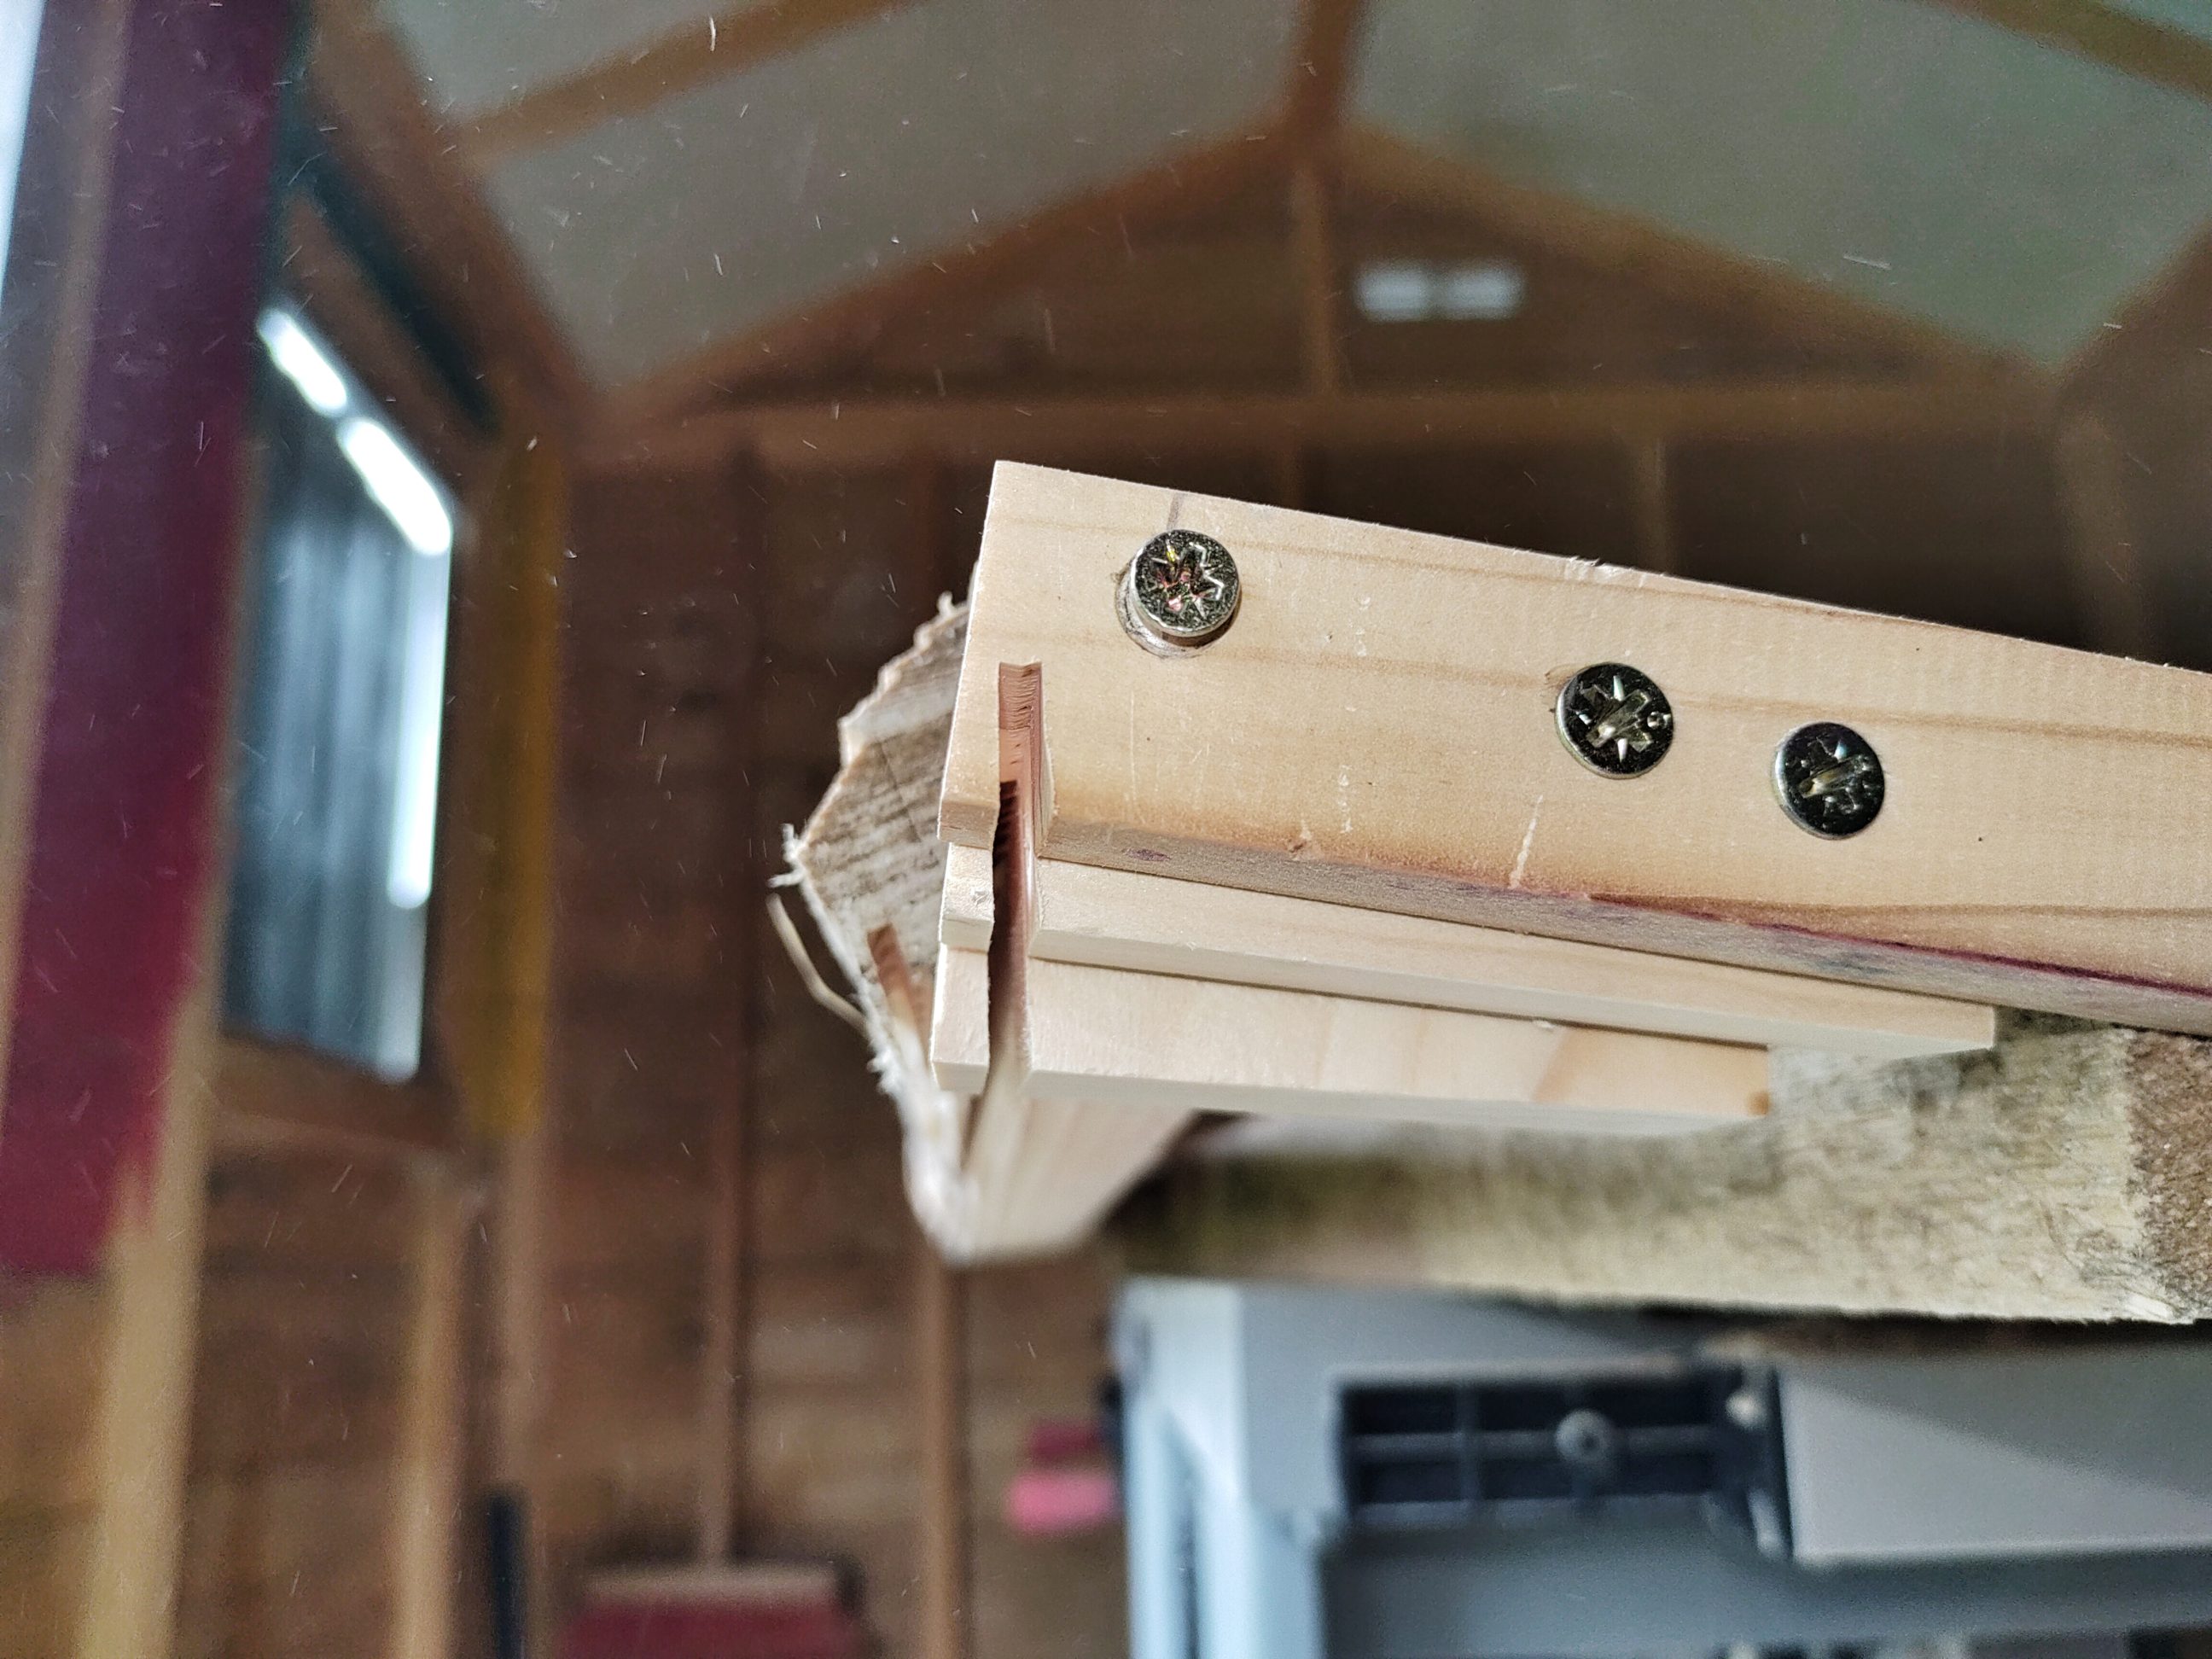
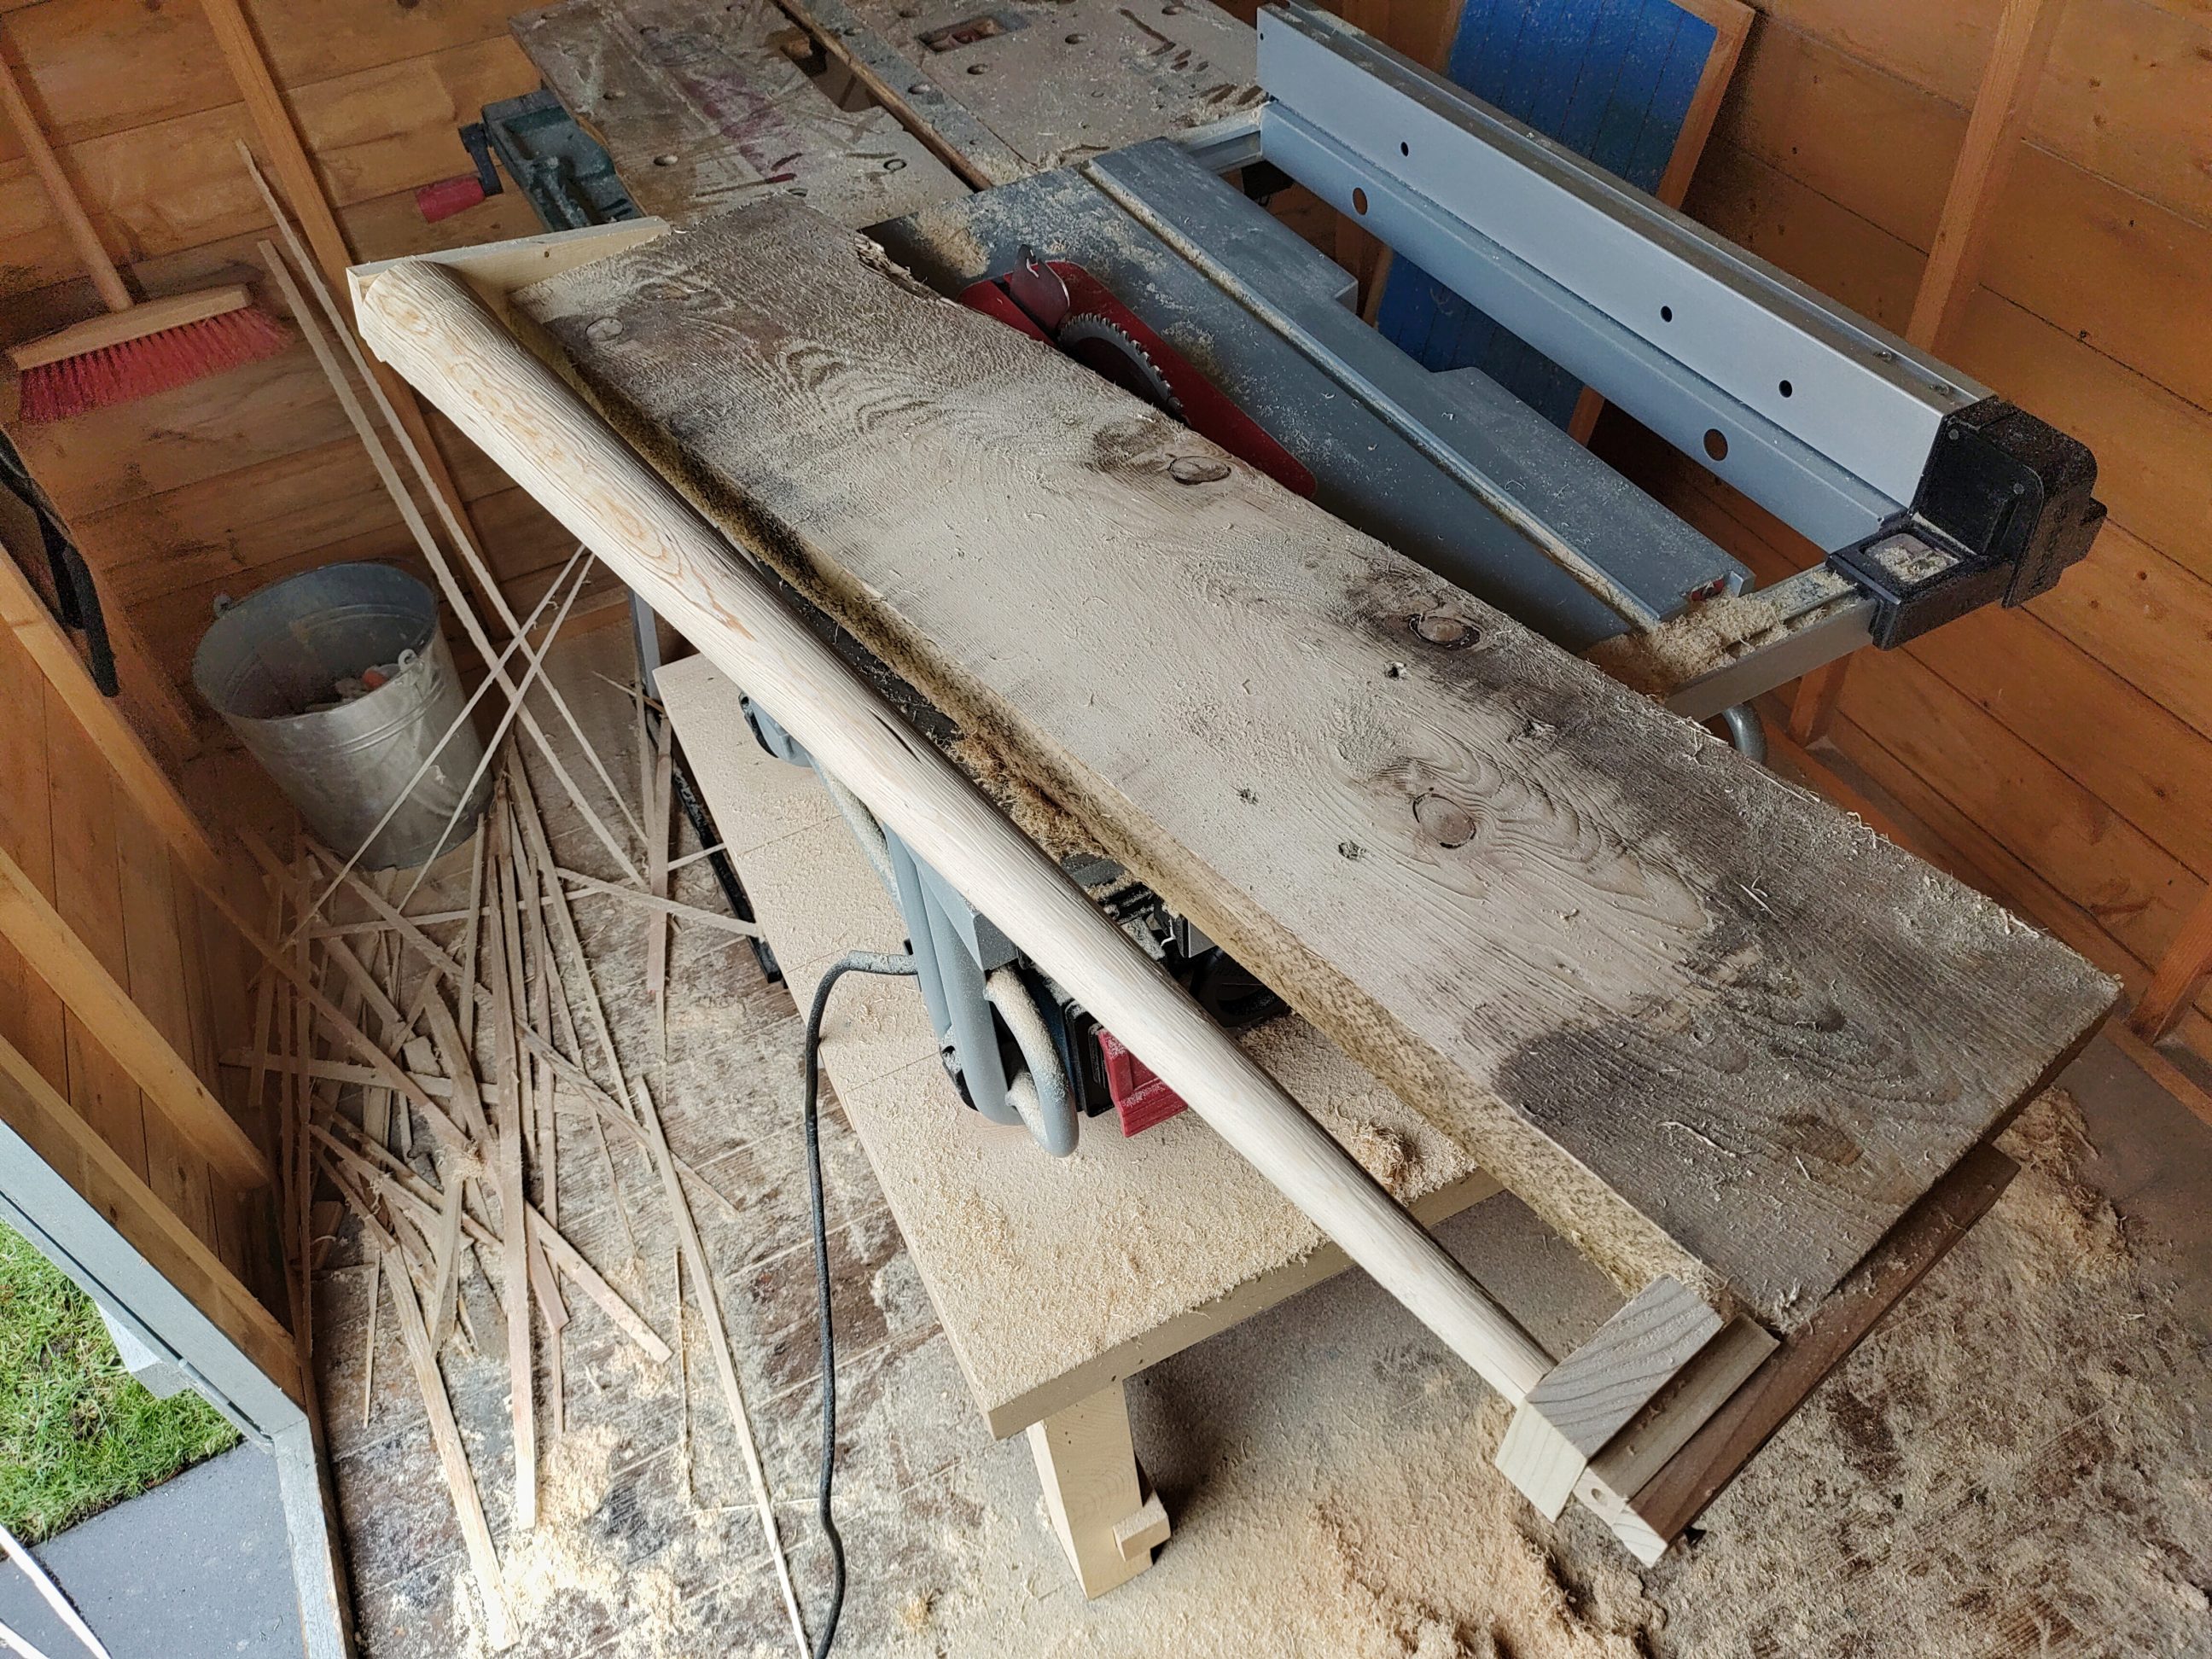
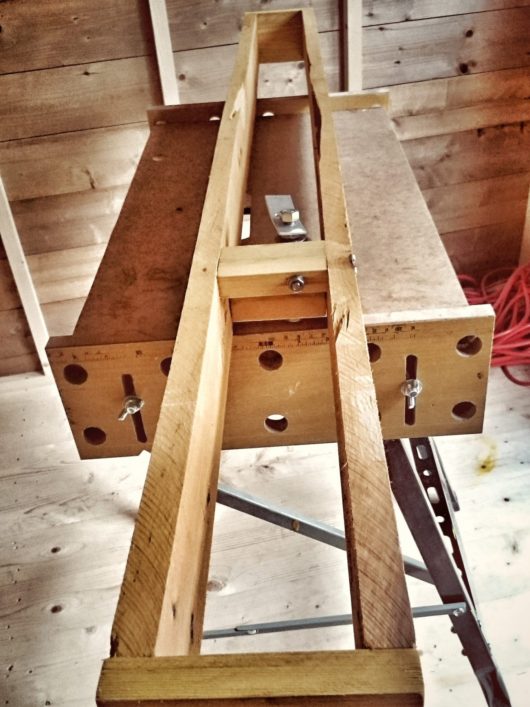
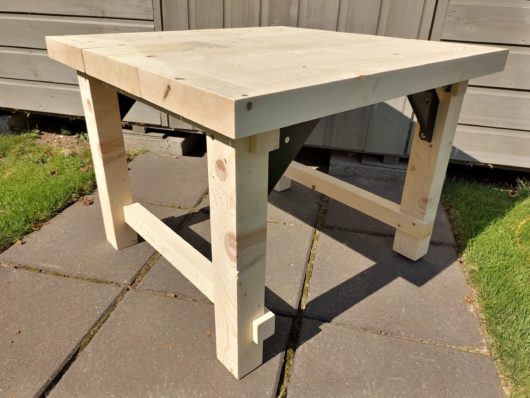
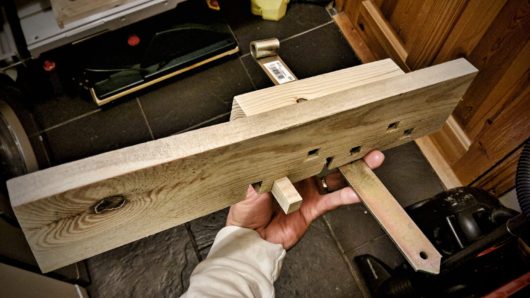
As mentioned, the jig I built for the project was simple. It was just a thick board with a smaller wooden arm attached to each end. Those 2 arms were fixed at an angle to facilitate the rotation of the workpiece. Since the board was longer than the post (and I didn’t want to cut it) I had to use some wooden shims. I marked the centre points and drove screws into the top and the bottom, making sure they weren’t fully threaded.

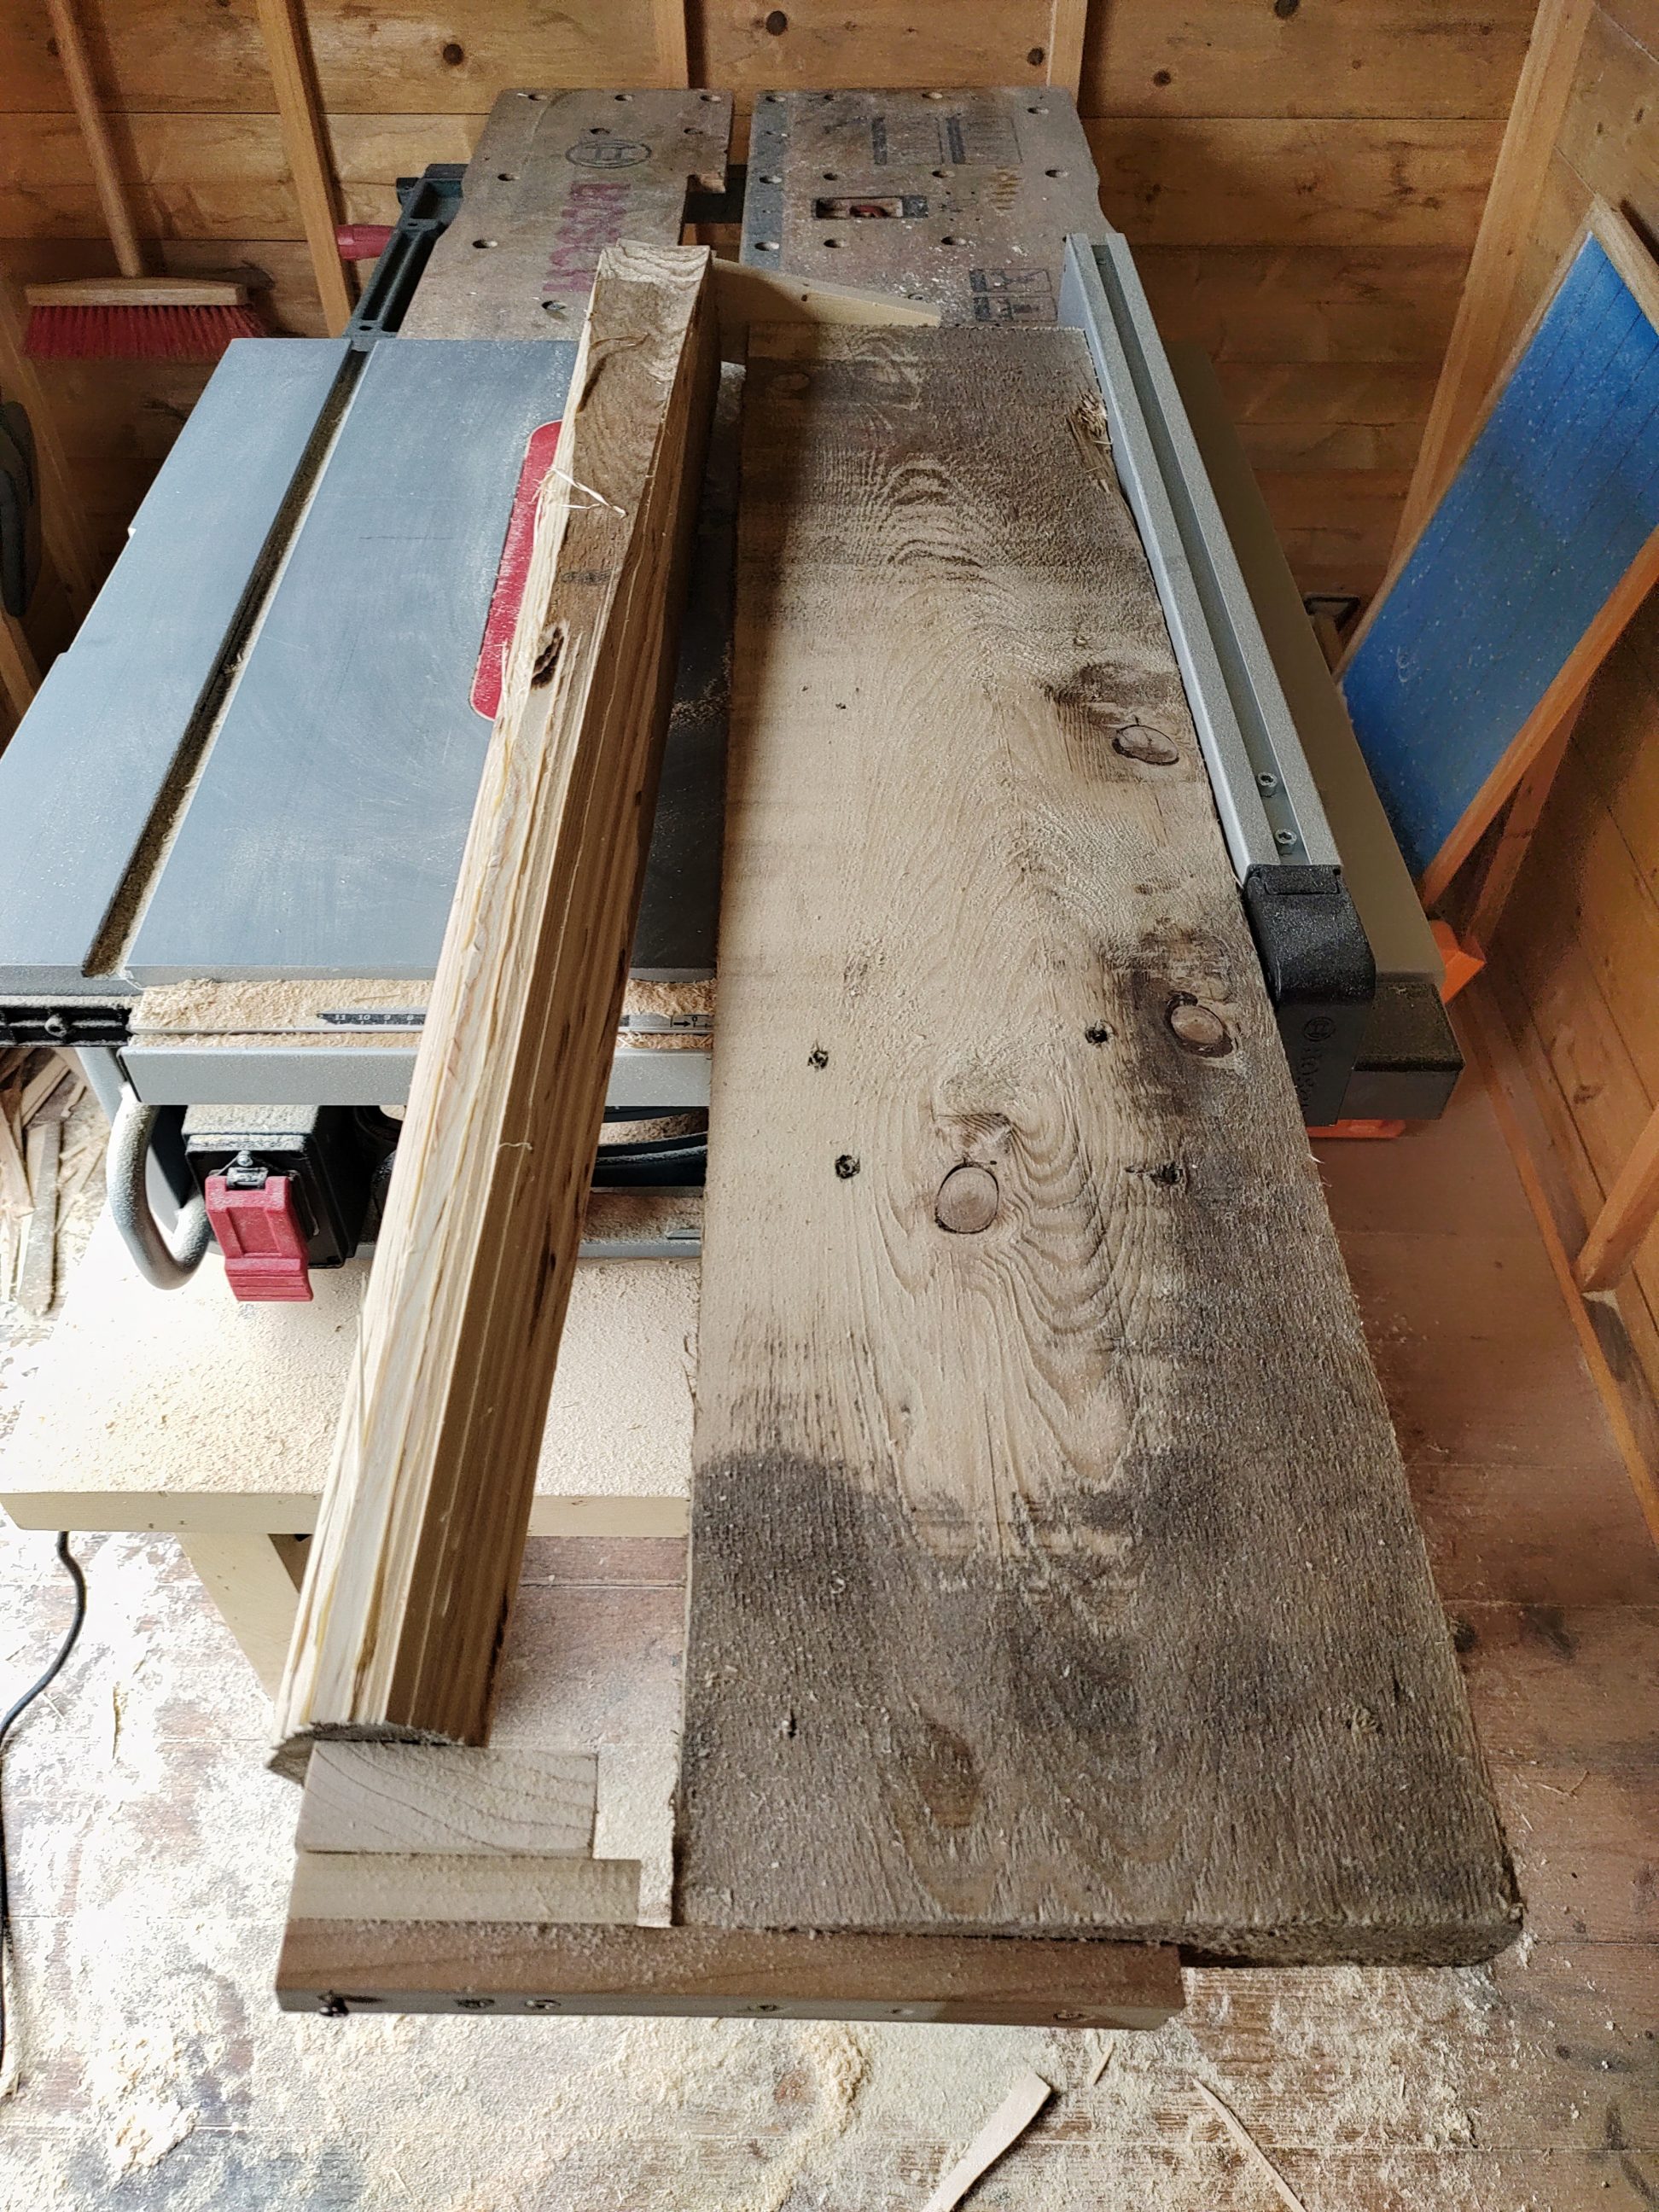
I made several cuts and realised that the blade needed to be raised up and the fence moved to the left. With the new setup, I made a series of cuts by rotating the workpiece a bit after each pass.

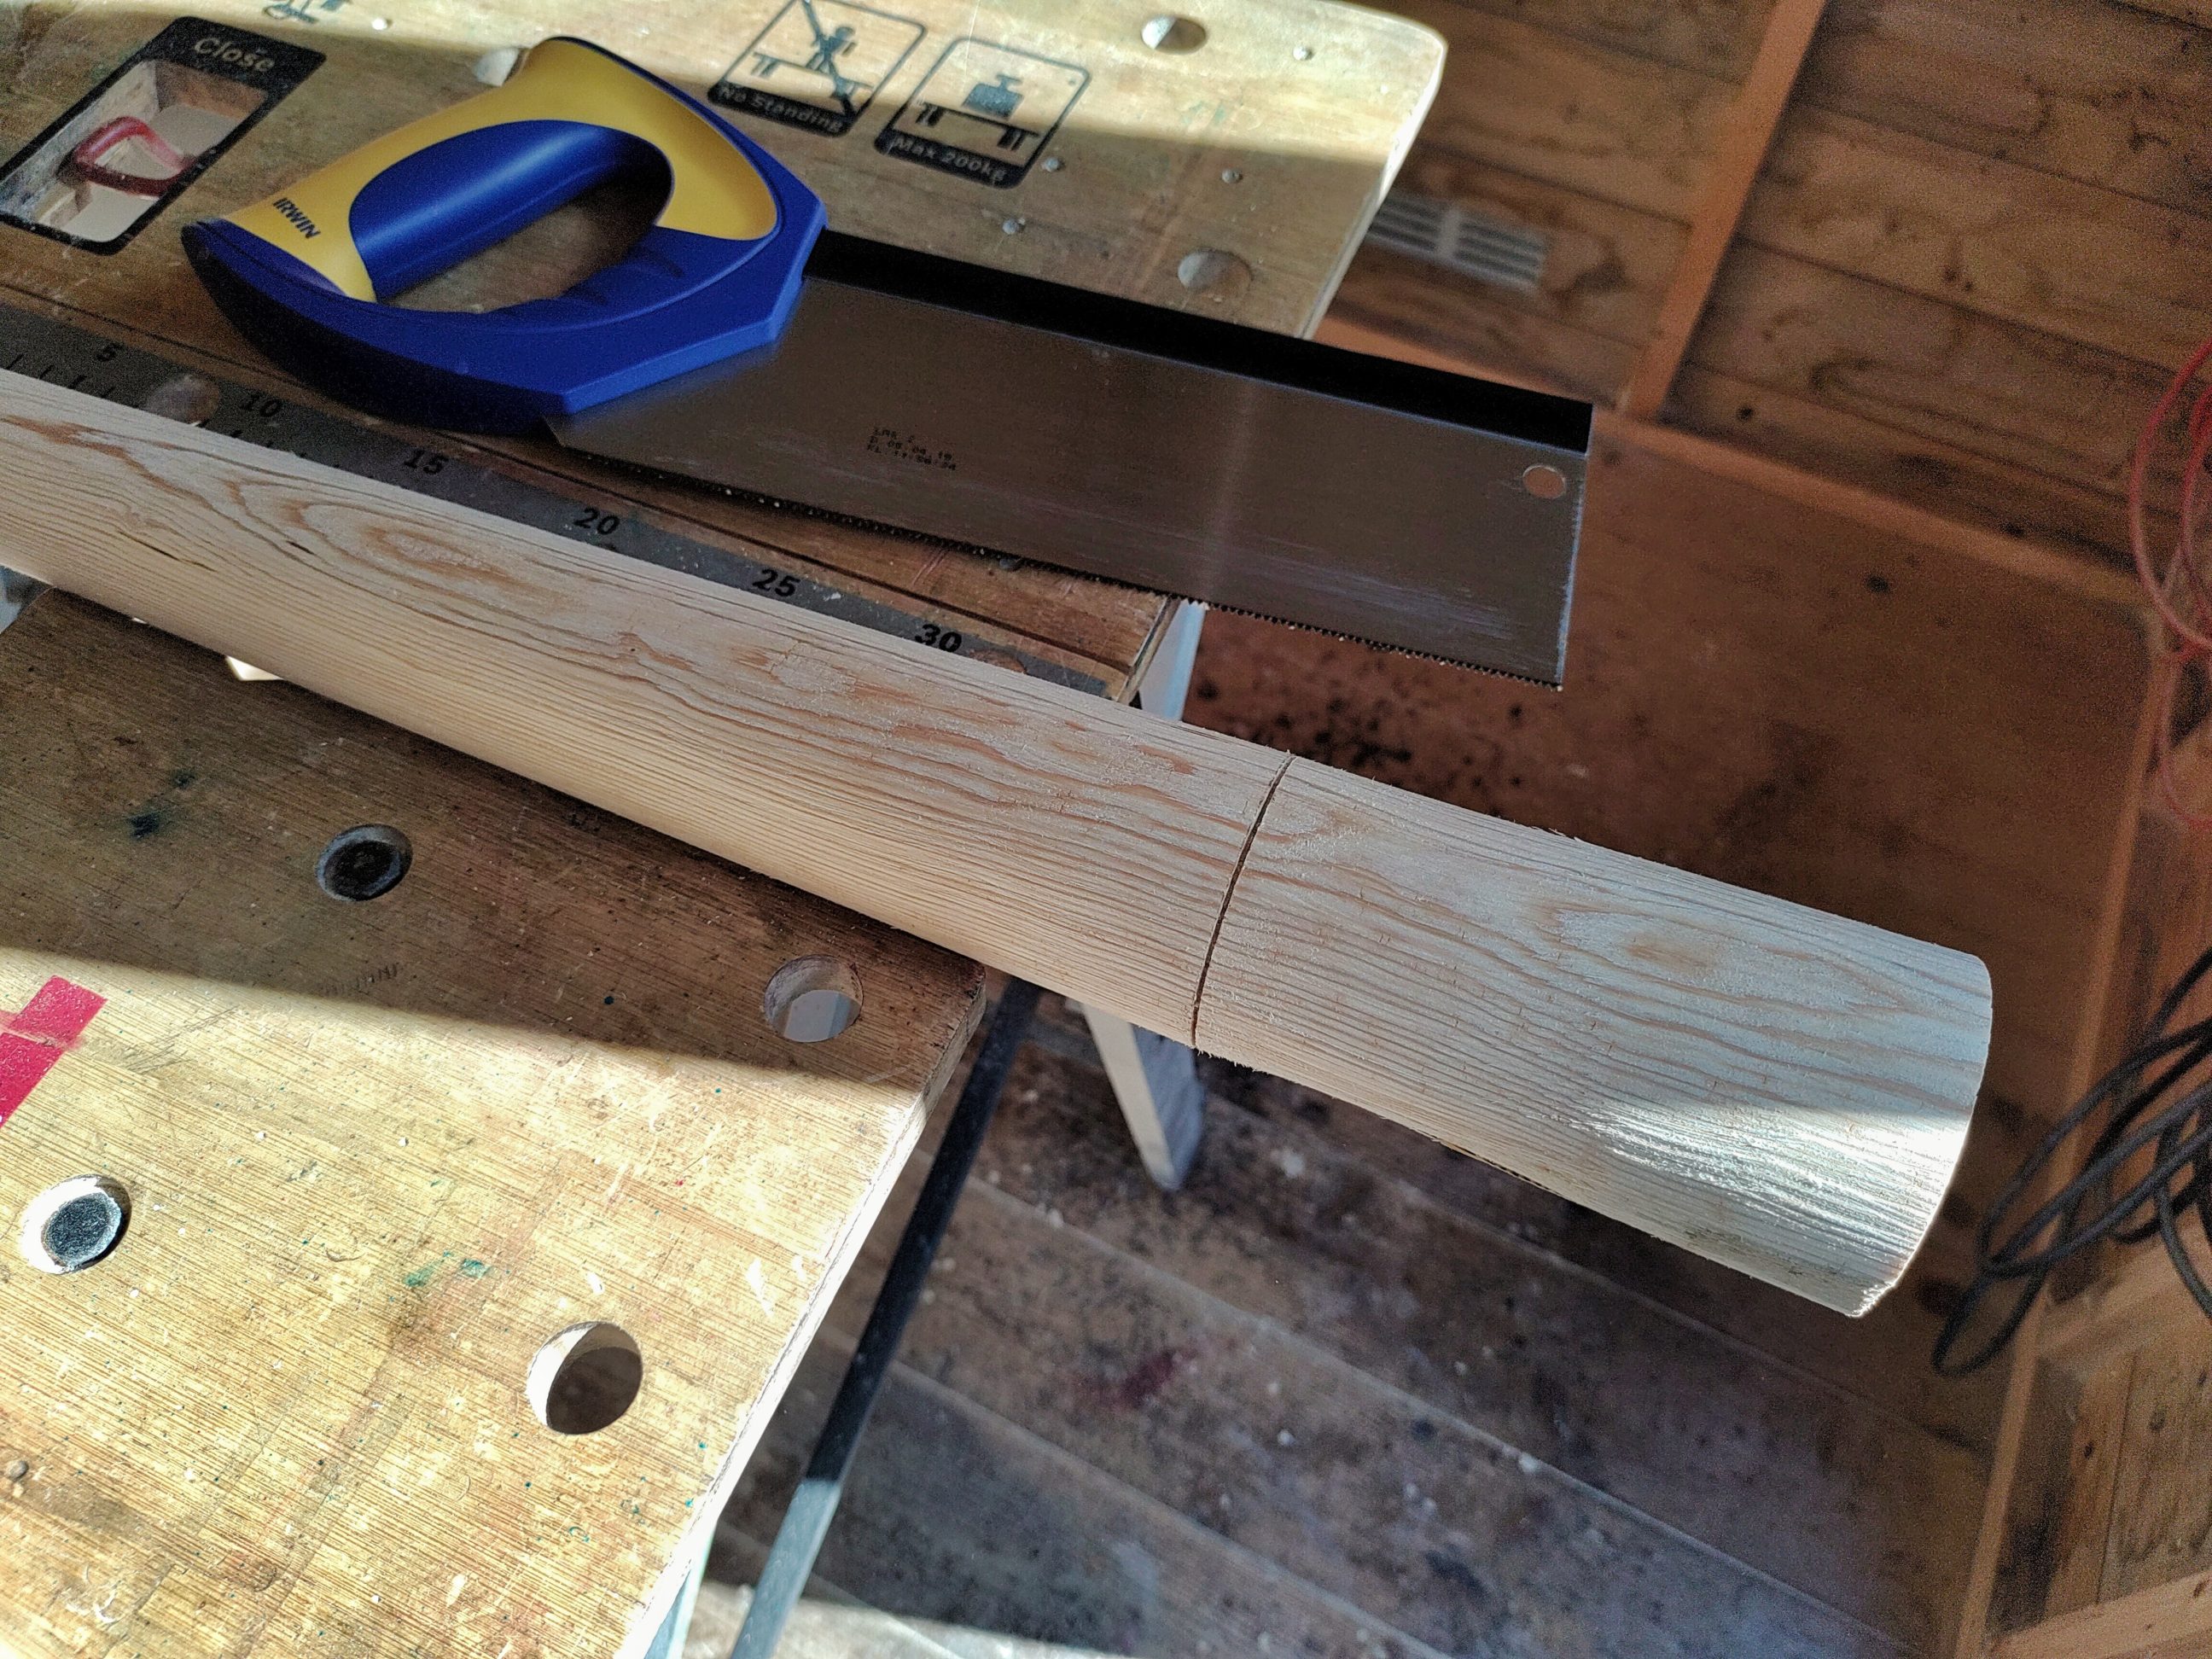
To clean up the surface I used the jig more like a lathe by rotating the workpiece by hand a full turn with a simultaneous forward push of the board. Once that was done, I marked a few lines – for cutting off the peak and for separating the base from the rest. It had to be either cut off or fixed because I got a couple of deep gouges and dips during “turning”.


Using a hand saw, I cut off the peak and scored a groove that visually separated the base from the top. It only had a depth of 2-3 mm (1/8″) and it was cut on the pull stroke to minimise tear-out. I also cut the bottom end off and the spire was ready for the wood filler.


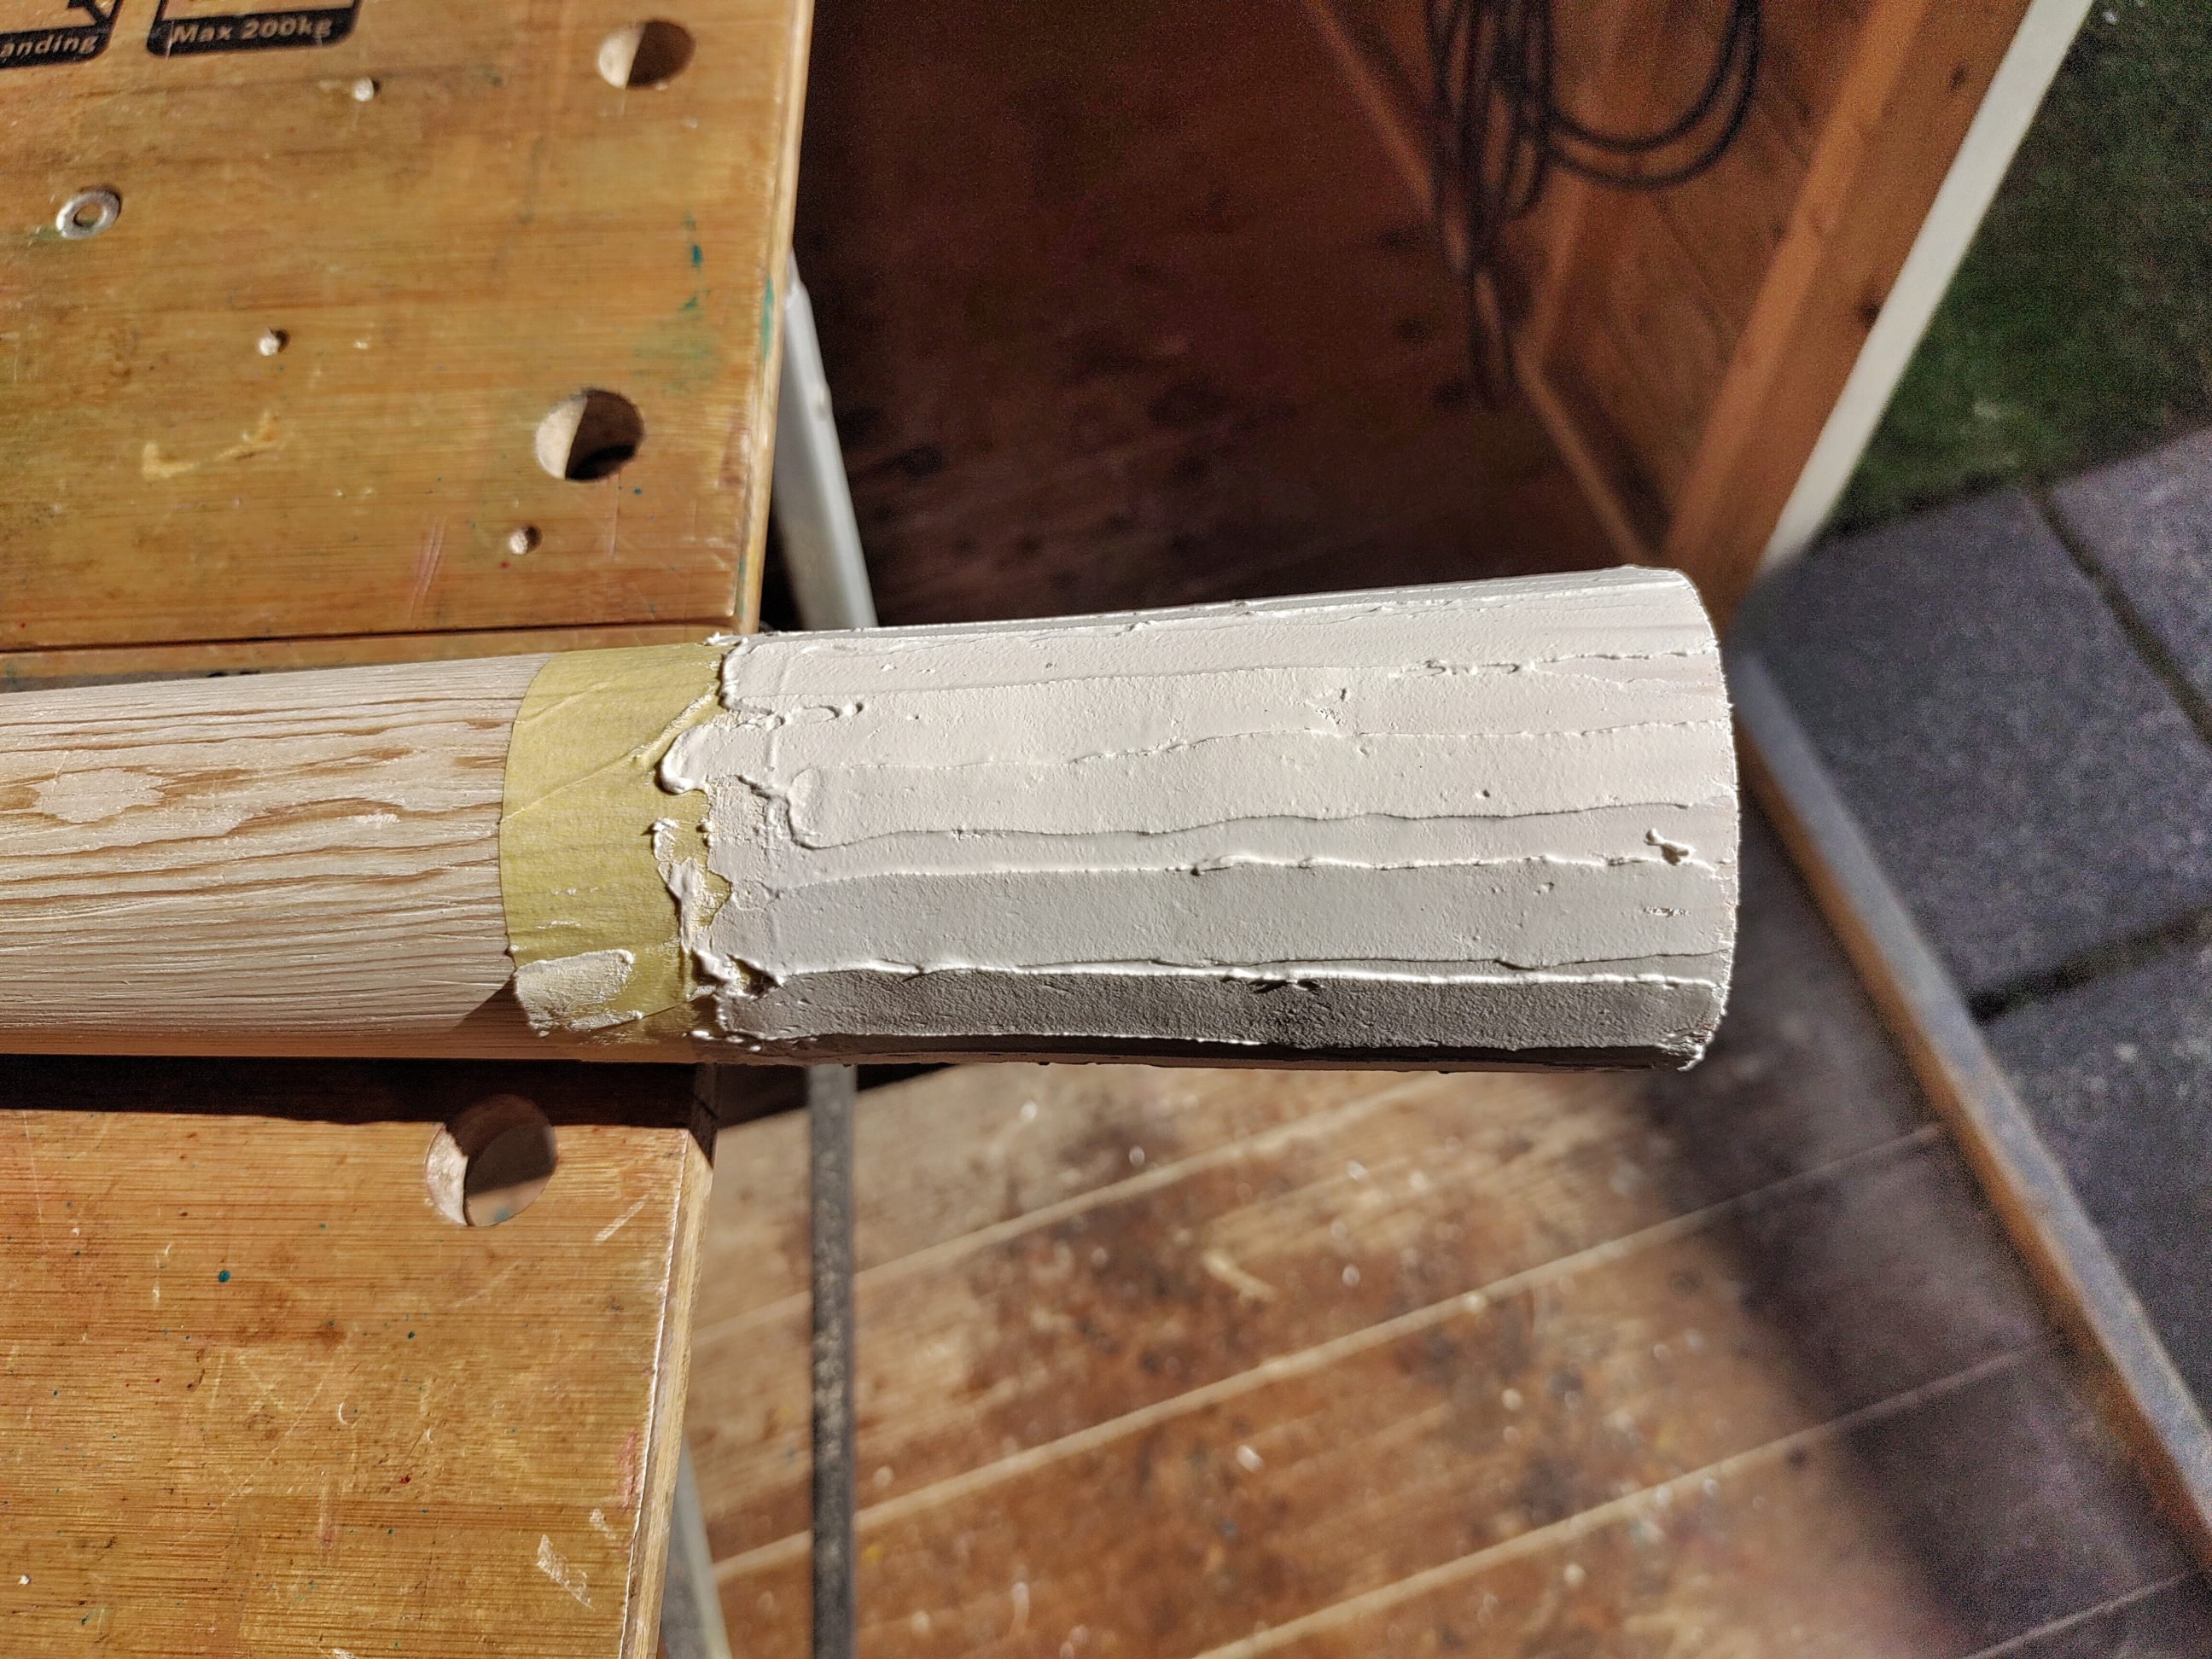
That part that created the base had a couple of deep gouges and low spots and could be cut off, but I wanted the spire to be taller and most of all – more stable with the larger base. So I applied the wood filler in 2 steps – first, I filled in all the imperfections and let it dry for 30 minutes – next, I covered it up with a decorative and textured layer of “plaster”. The masking tape was removed straight away while the wood filler was still wet.
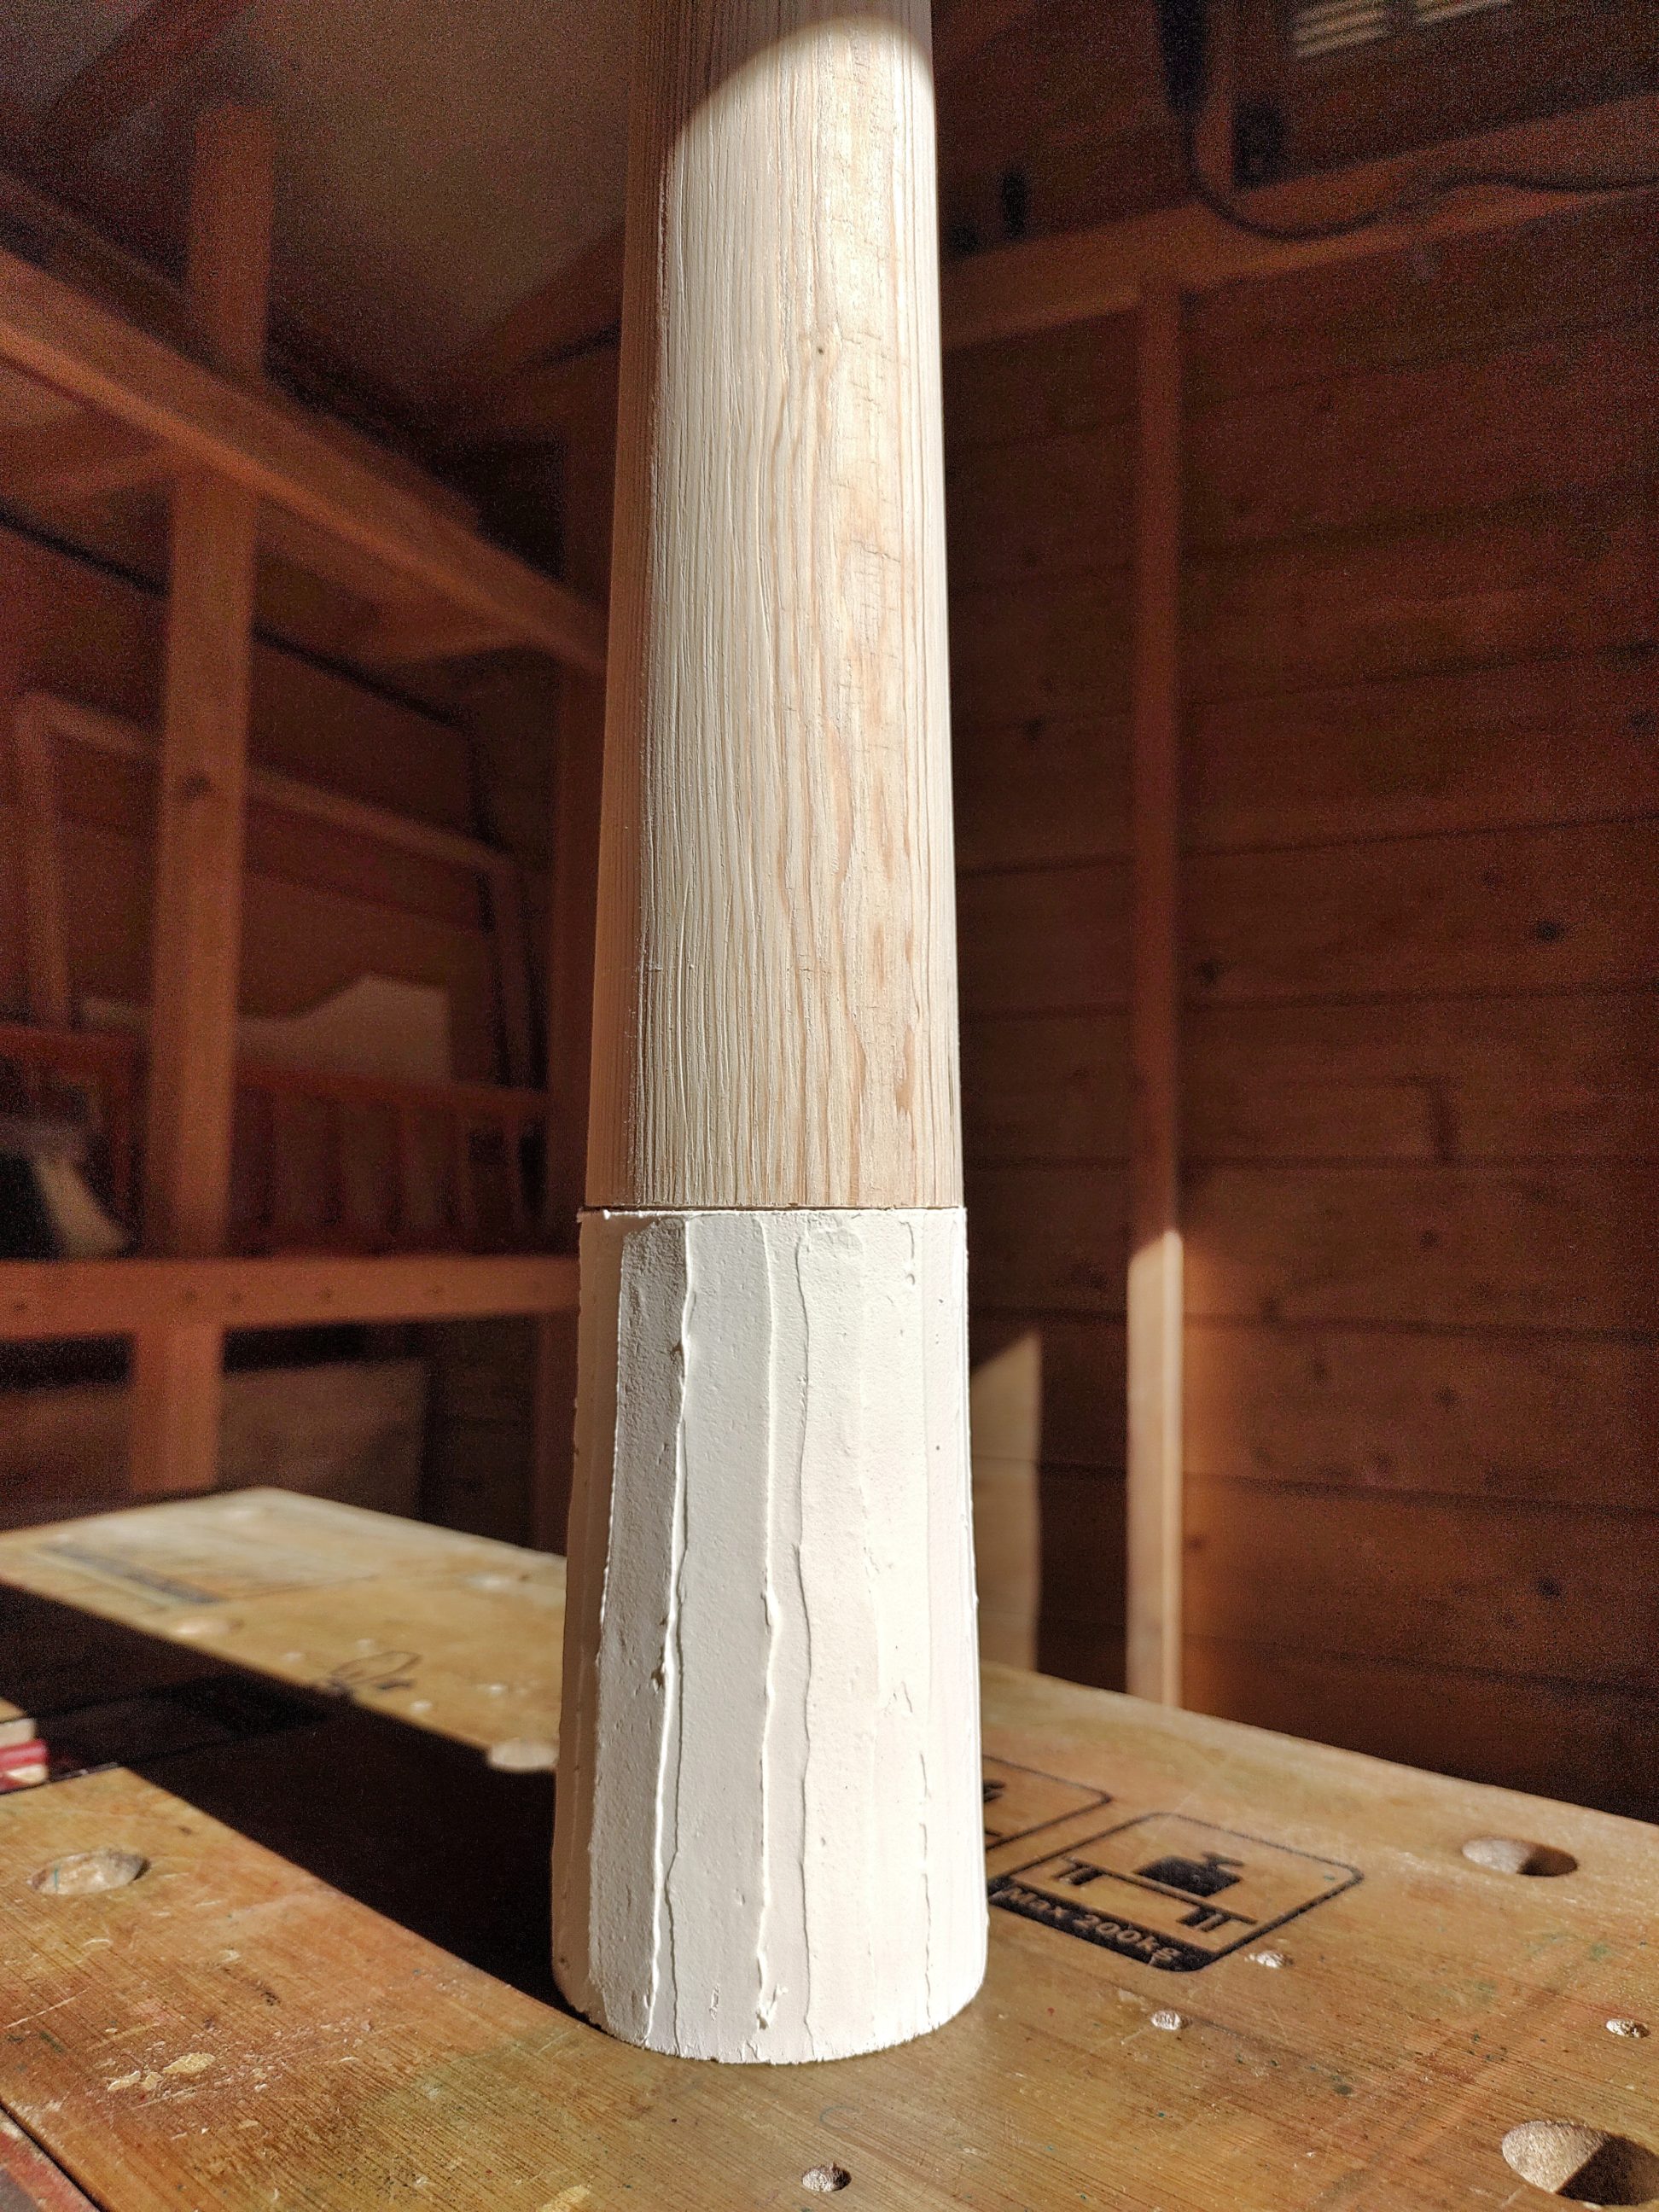
I drove a screw at each end of the workpiece – the top one was going through a board that I mounted to my workbench, the bottom one was driven by a drill. A quick sanding was followed by brushing off any loose material from the base. I used a stiff wire brush to complete that task.

I prepared for spray painting and applied the paint. Masking tape was removed straight away and the spire was left aside to dry for 20 minutes.


Next, I installed a screw hook into the already existing hole in the base, hung the spire upside-down and covered the upper part with 2 coats of wipe-on poly. It dried for 1 day and was buffed with wax and 0000 steel wool – as always. To make it furniture friendly, I stuck some foam feet to its bottom and it was ready to be displayed. The company I chose for it was my metal plane and the letter K.


One Comment
Pingback: