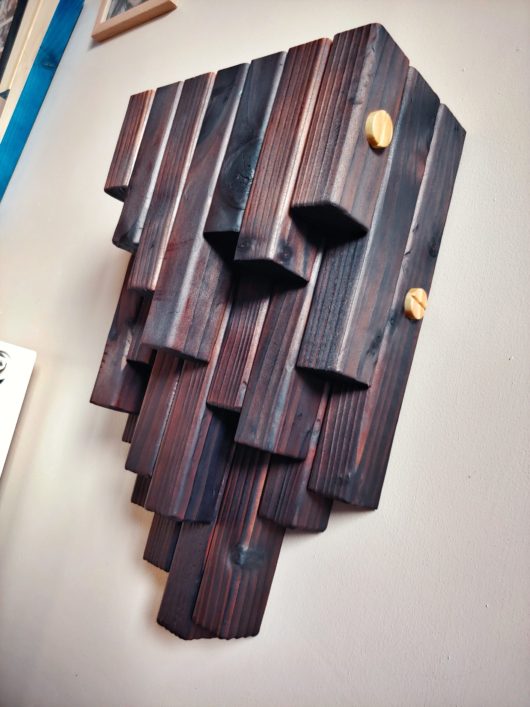
Radiator shelf
The purpose of this shelf was to fill out an empty space above the radiator, if it was hung somewhere else it’d have a different name. Shelves are the most common and frequent projects that I make. None of them is the same, they’re always unique. Their names have to be unique too. This is just an idea of giving them names instead of numbers. In this project, I used the joints that made the brackets naturally strong and they didn’t have to be reinforced with anything. The board is fixed to the brackets with screws and it has some room for seasonal movements, back and forth. However, it will never cup, because its up and down movements are restrained by the grooves.


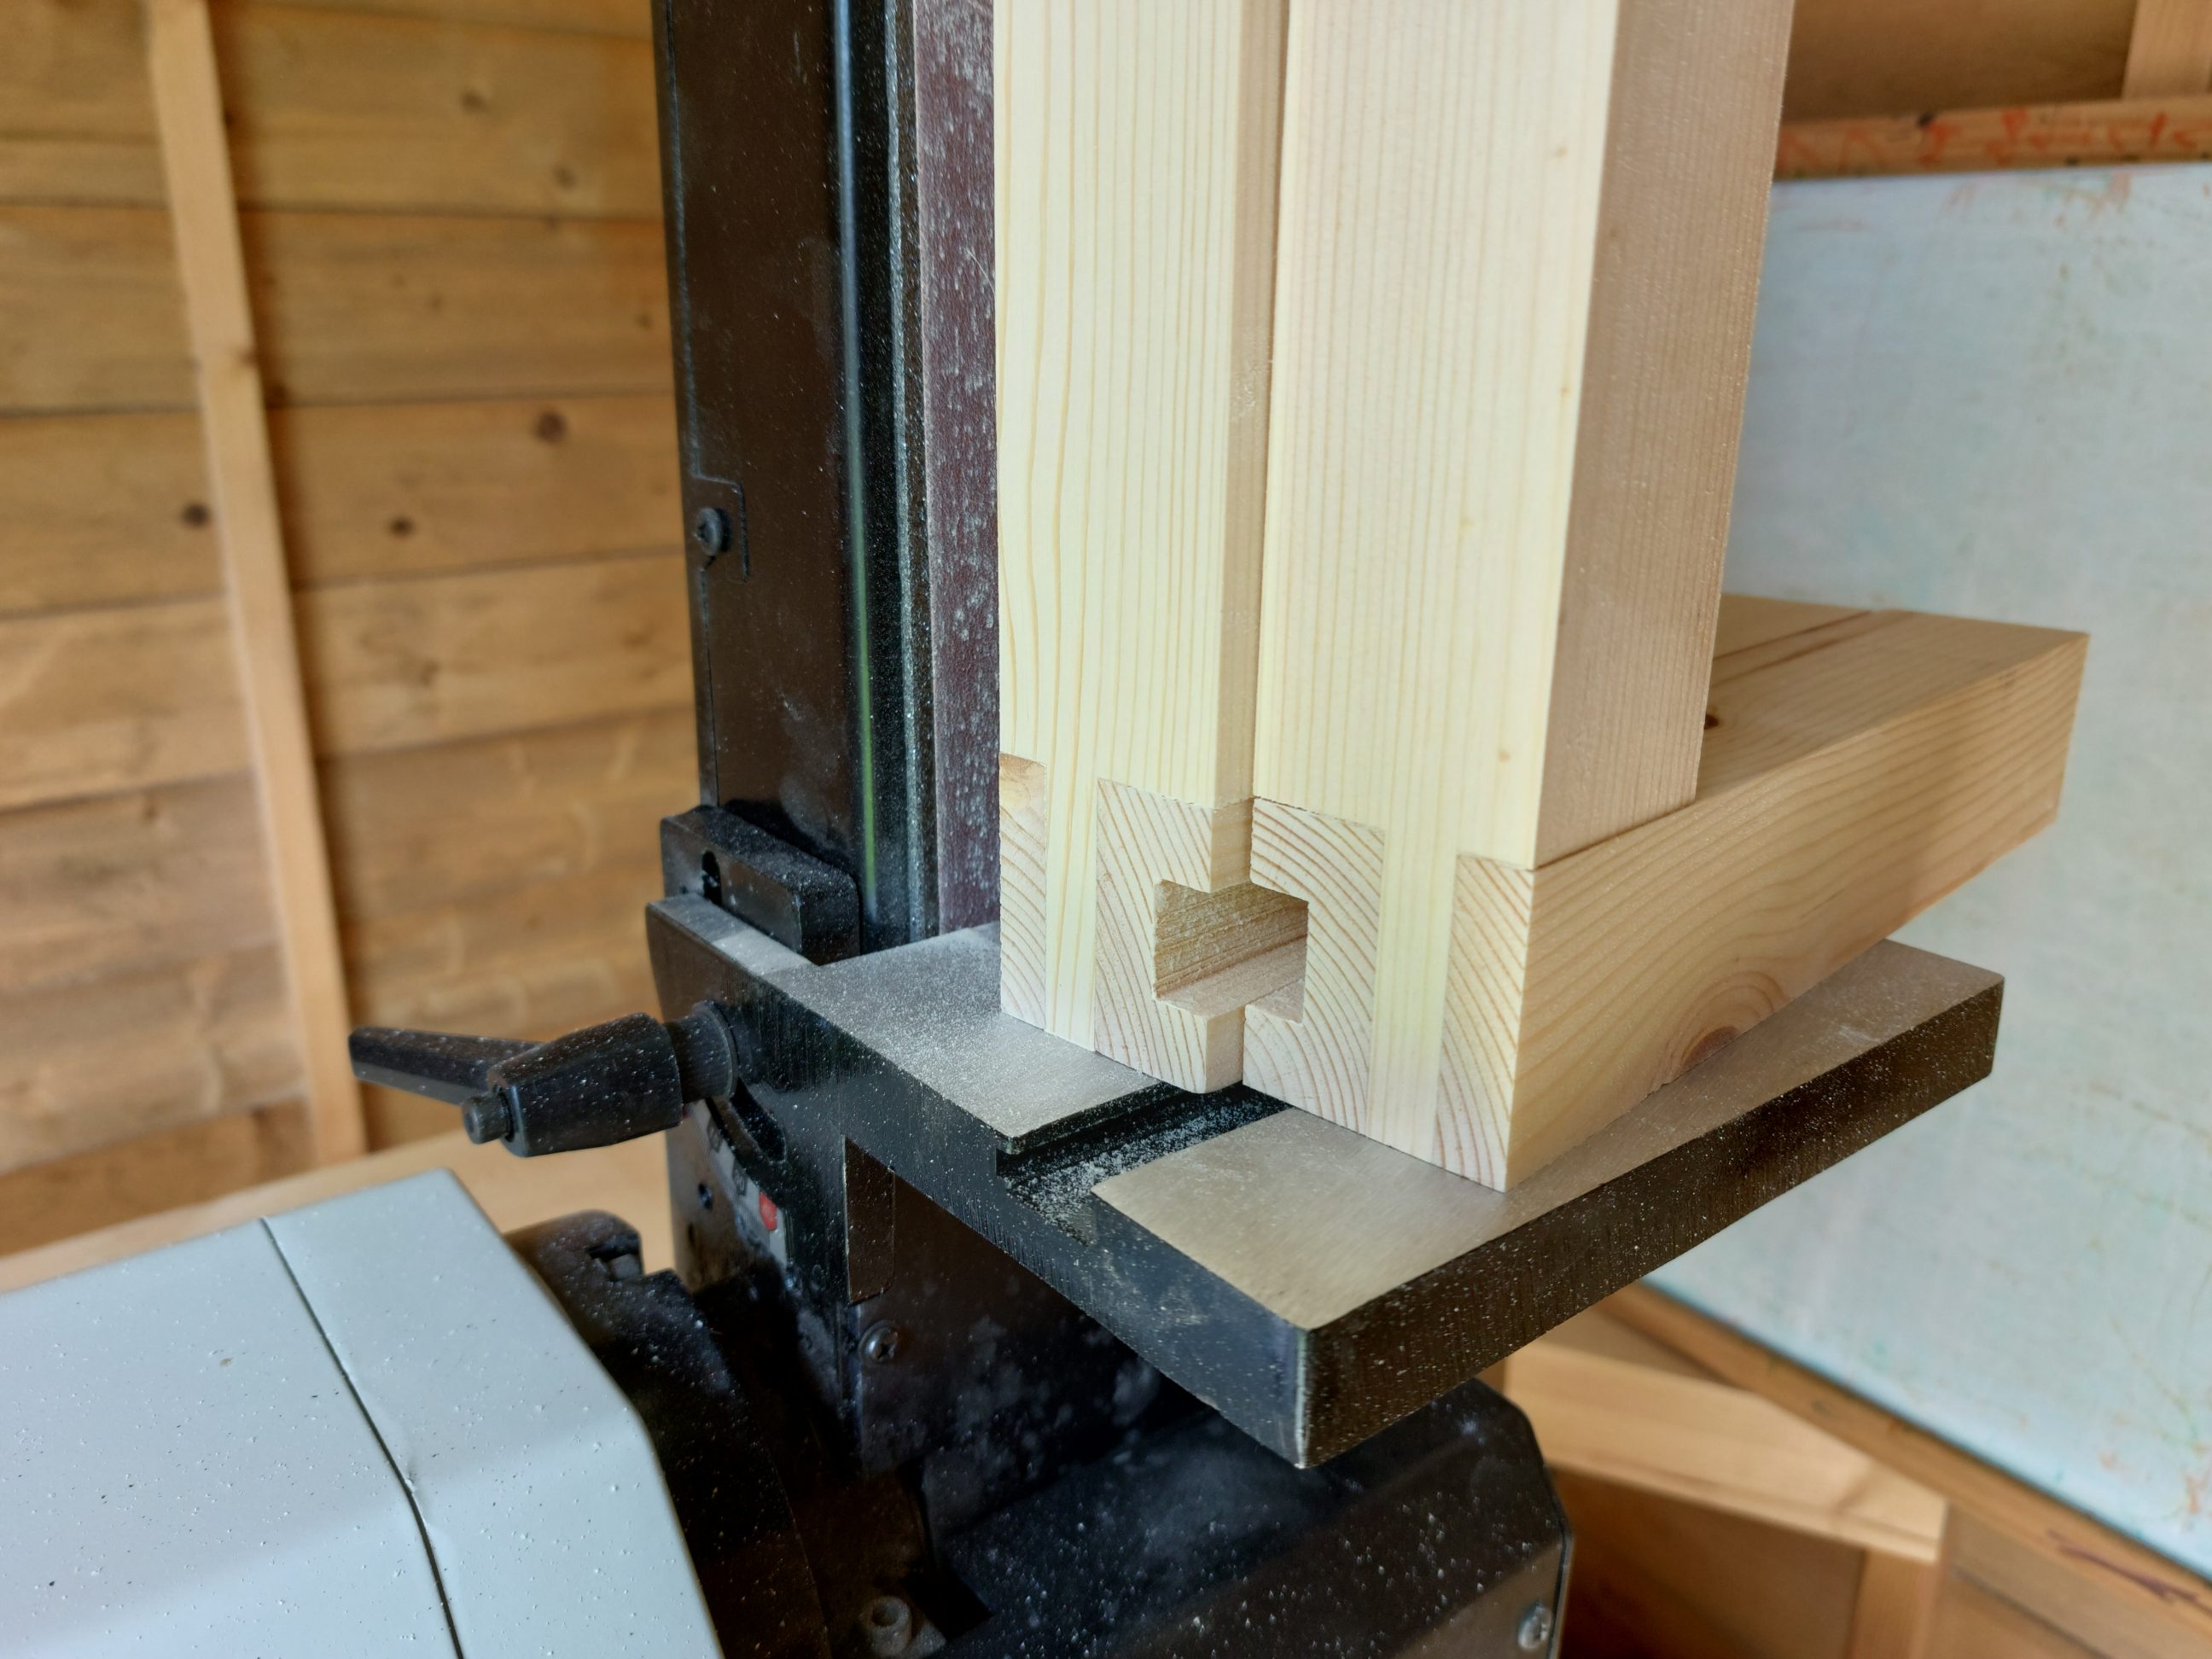
I had to remove the twist for the moulding first, it was also out of square. Using a hand plane I prepared 2 sides and proceeded to thickness planing. Once the moulding was perfectly straight, I started cutting the bridle joints. Tenons were easy to cut, but for the mortises, I had to build a simple jig. I used 2 pieces of scrap wood, joined together with double-sided tape and the workpiece was secured with a clamp.


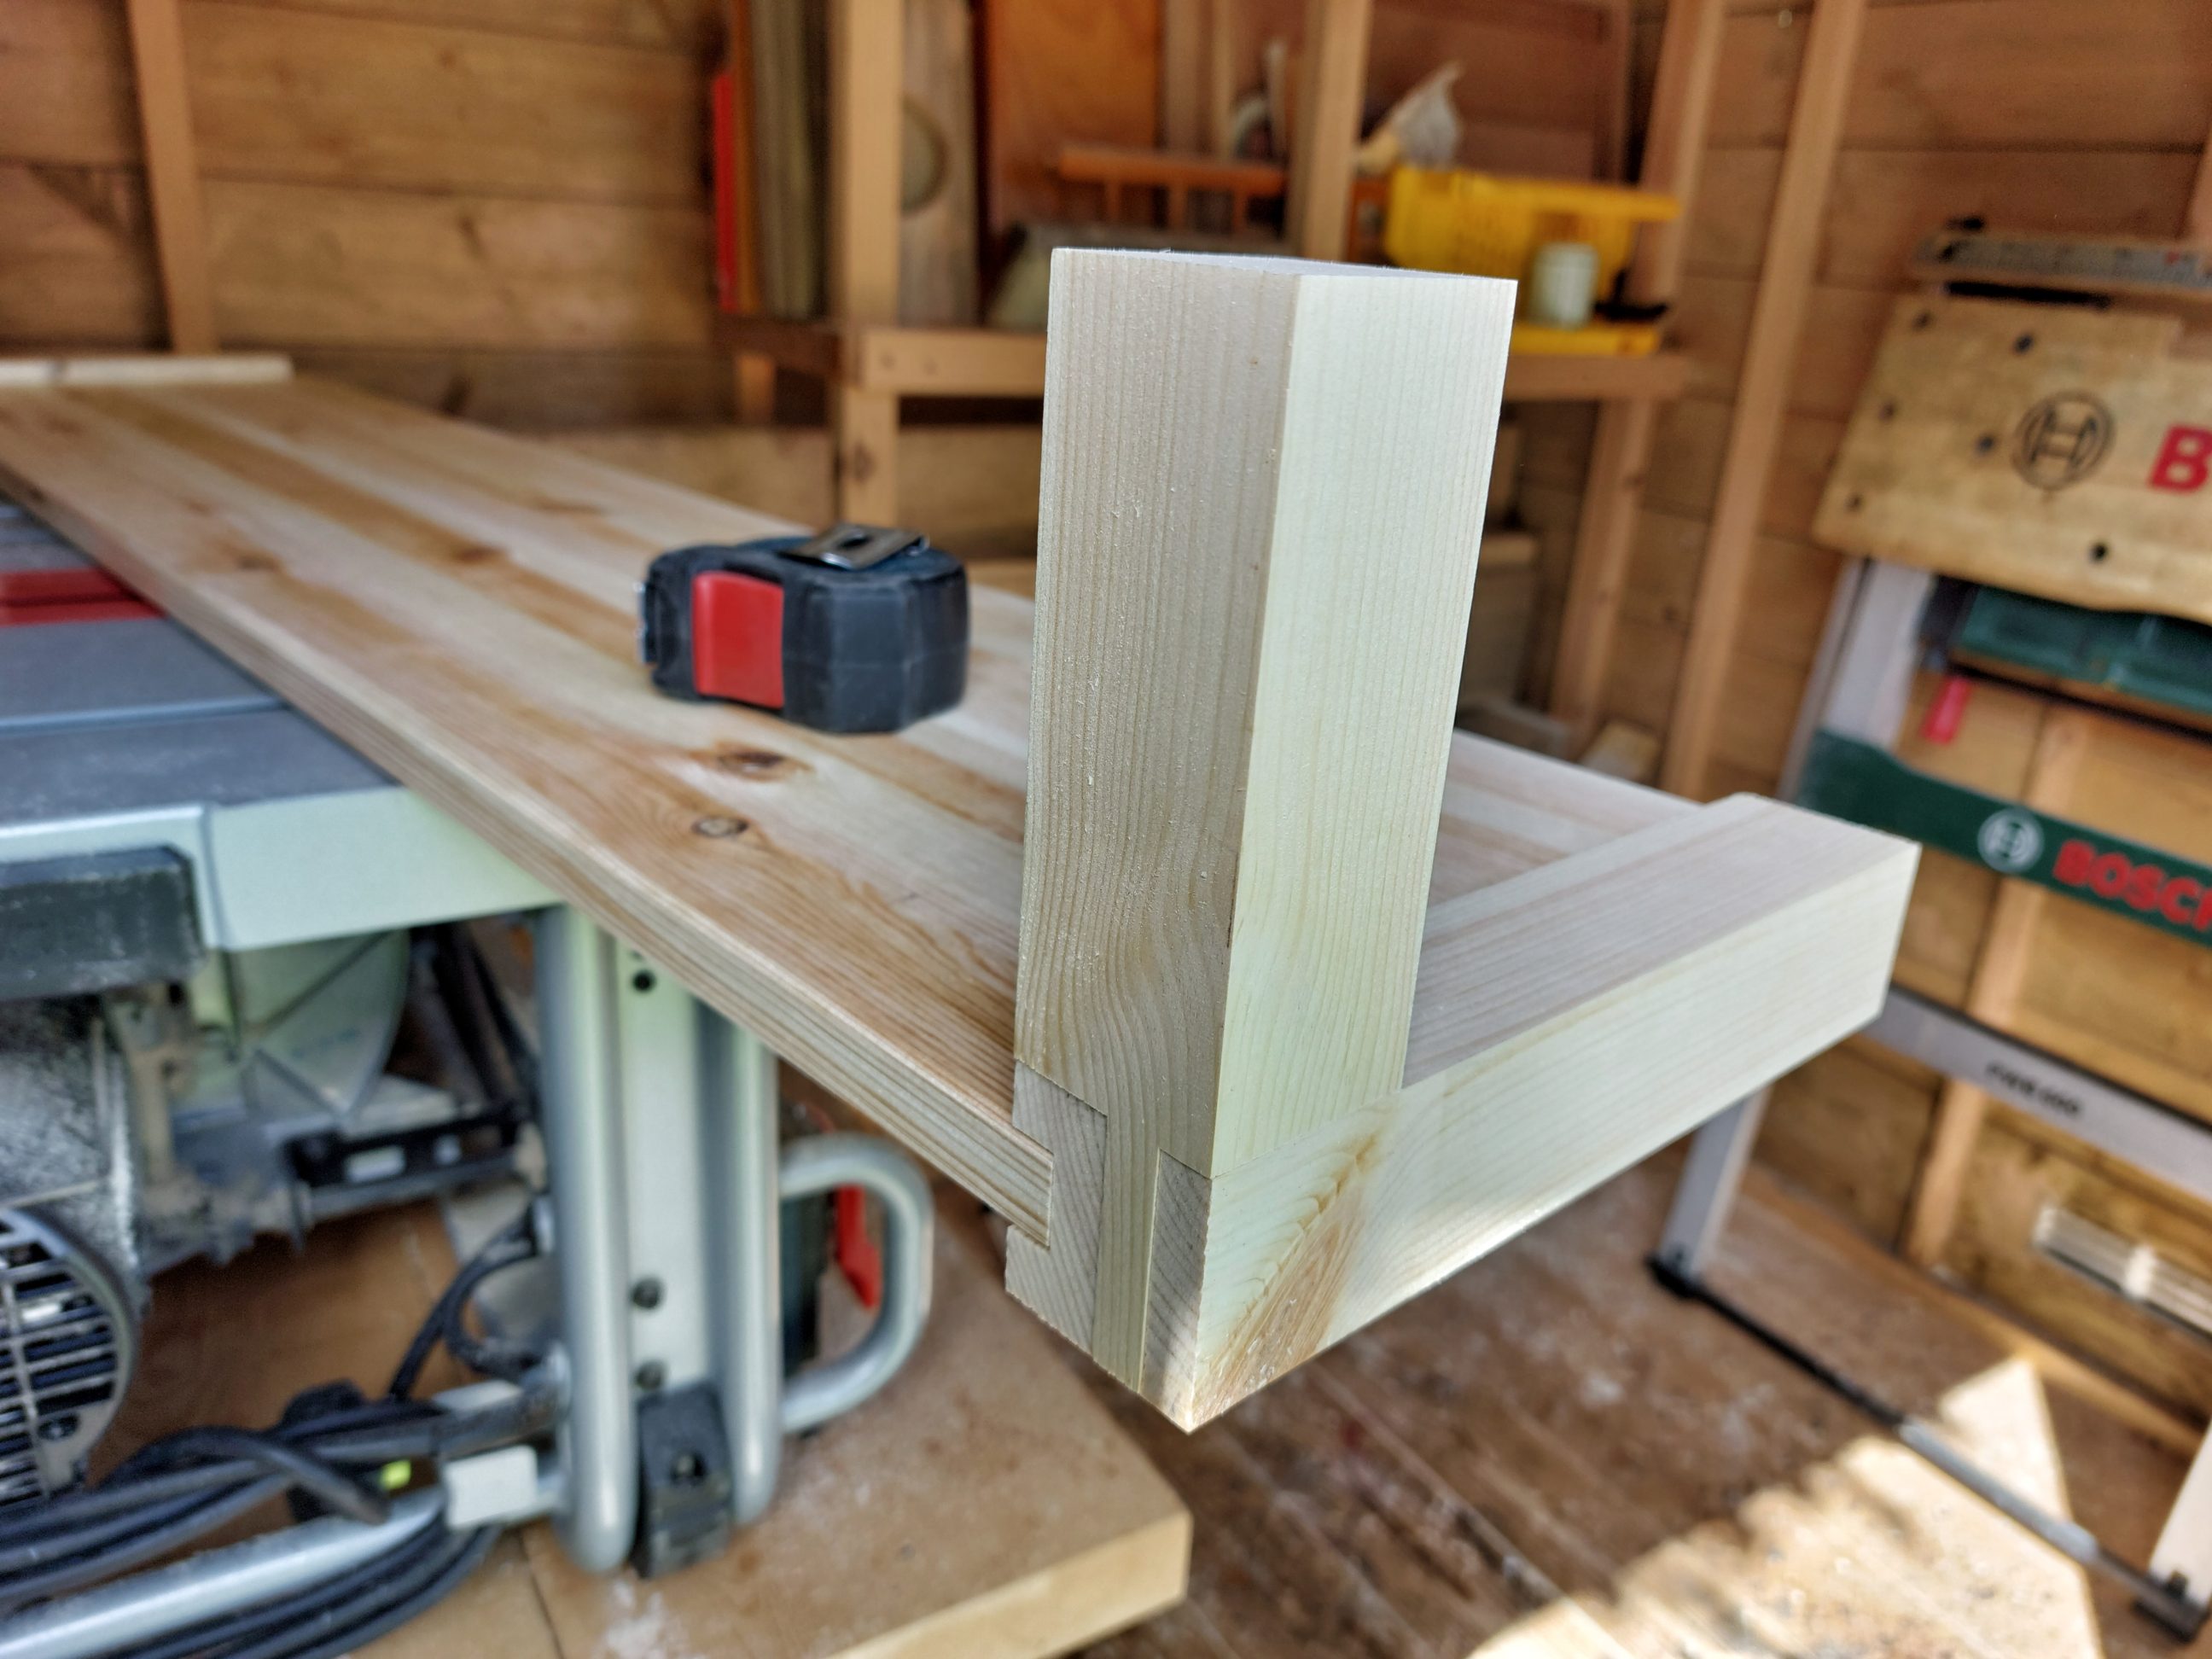
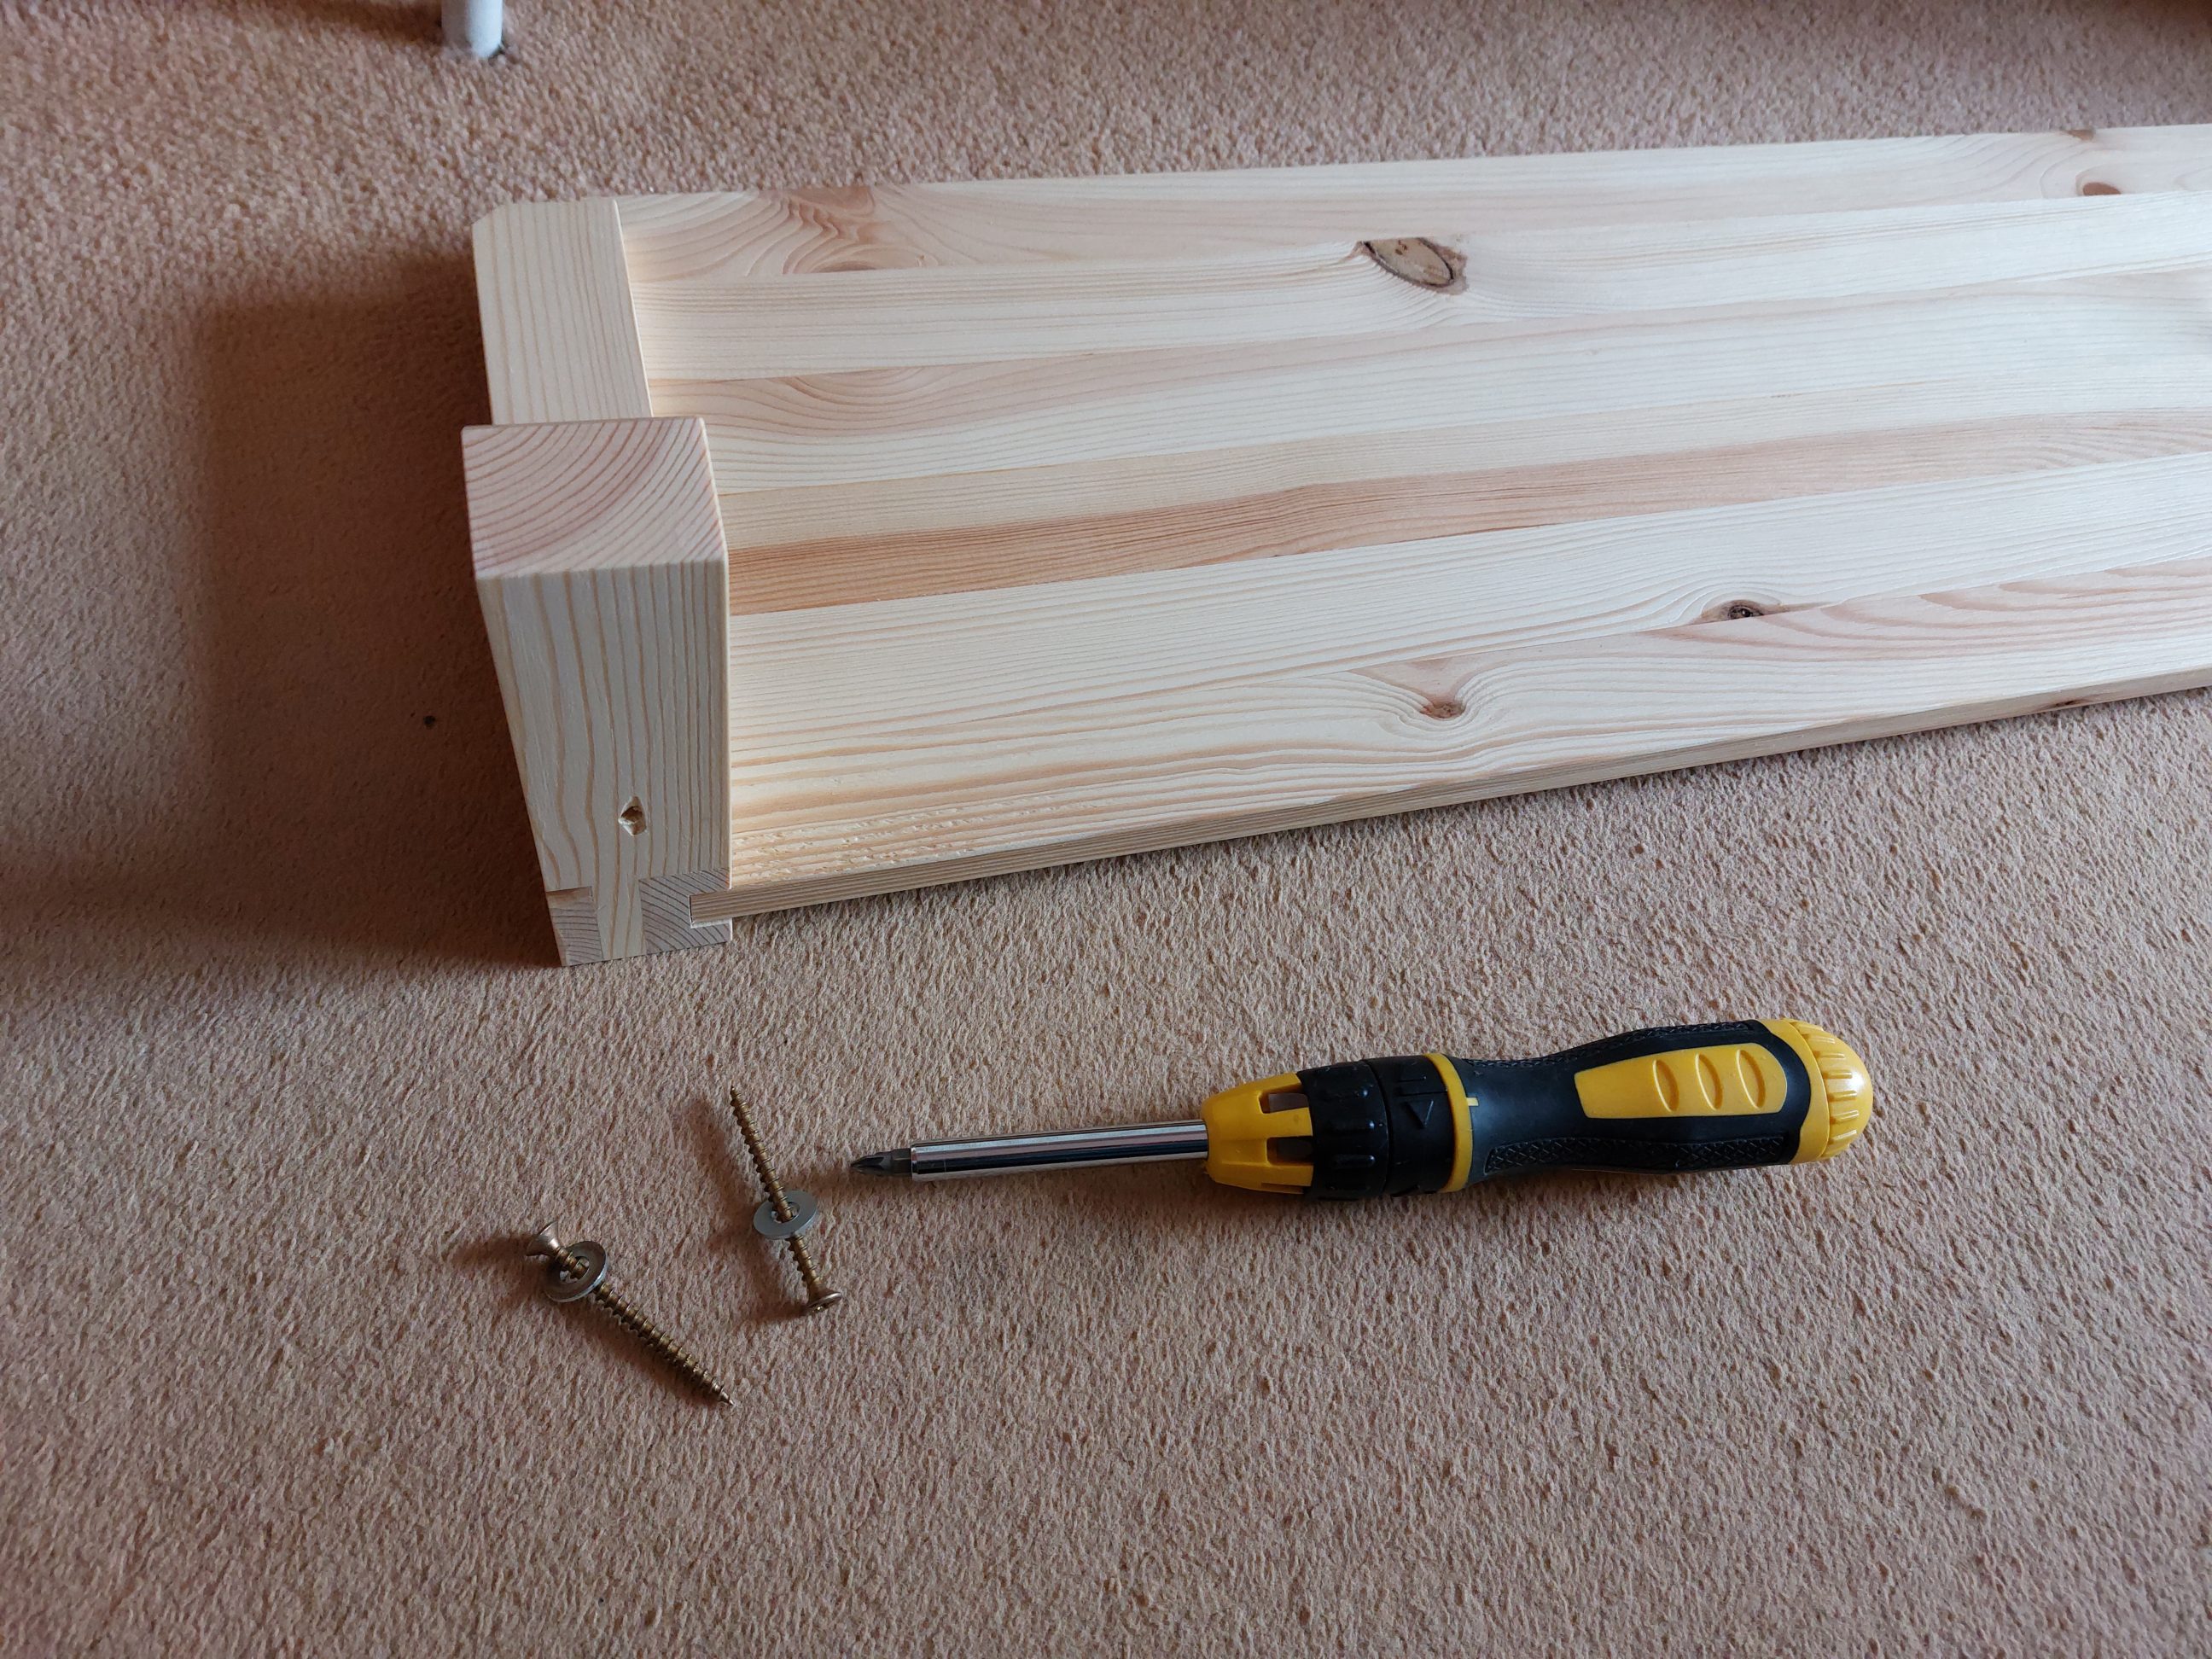
I did some fine alterations with a chisel and my shelf was ready for a dry fit. It looked good so I glued the bracket parts together, making sure they were not the same but mirrored. I didn’t use any clamps, the joints were tight and self-clamping, I only checked for square and gave the assembly some time for drying.
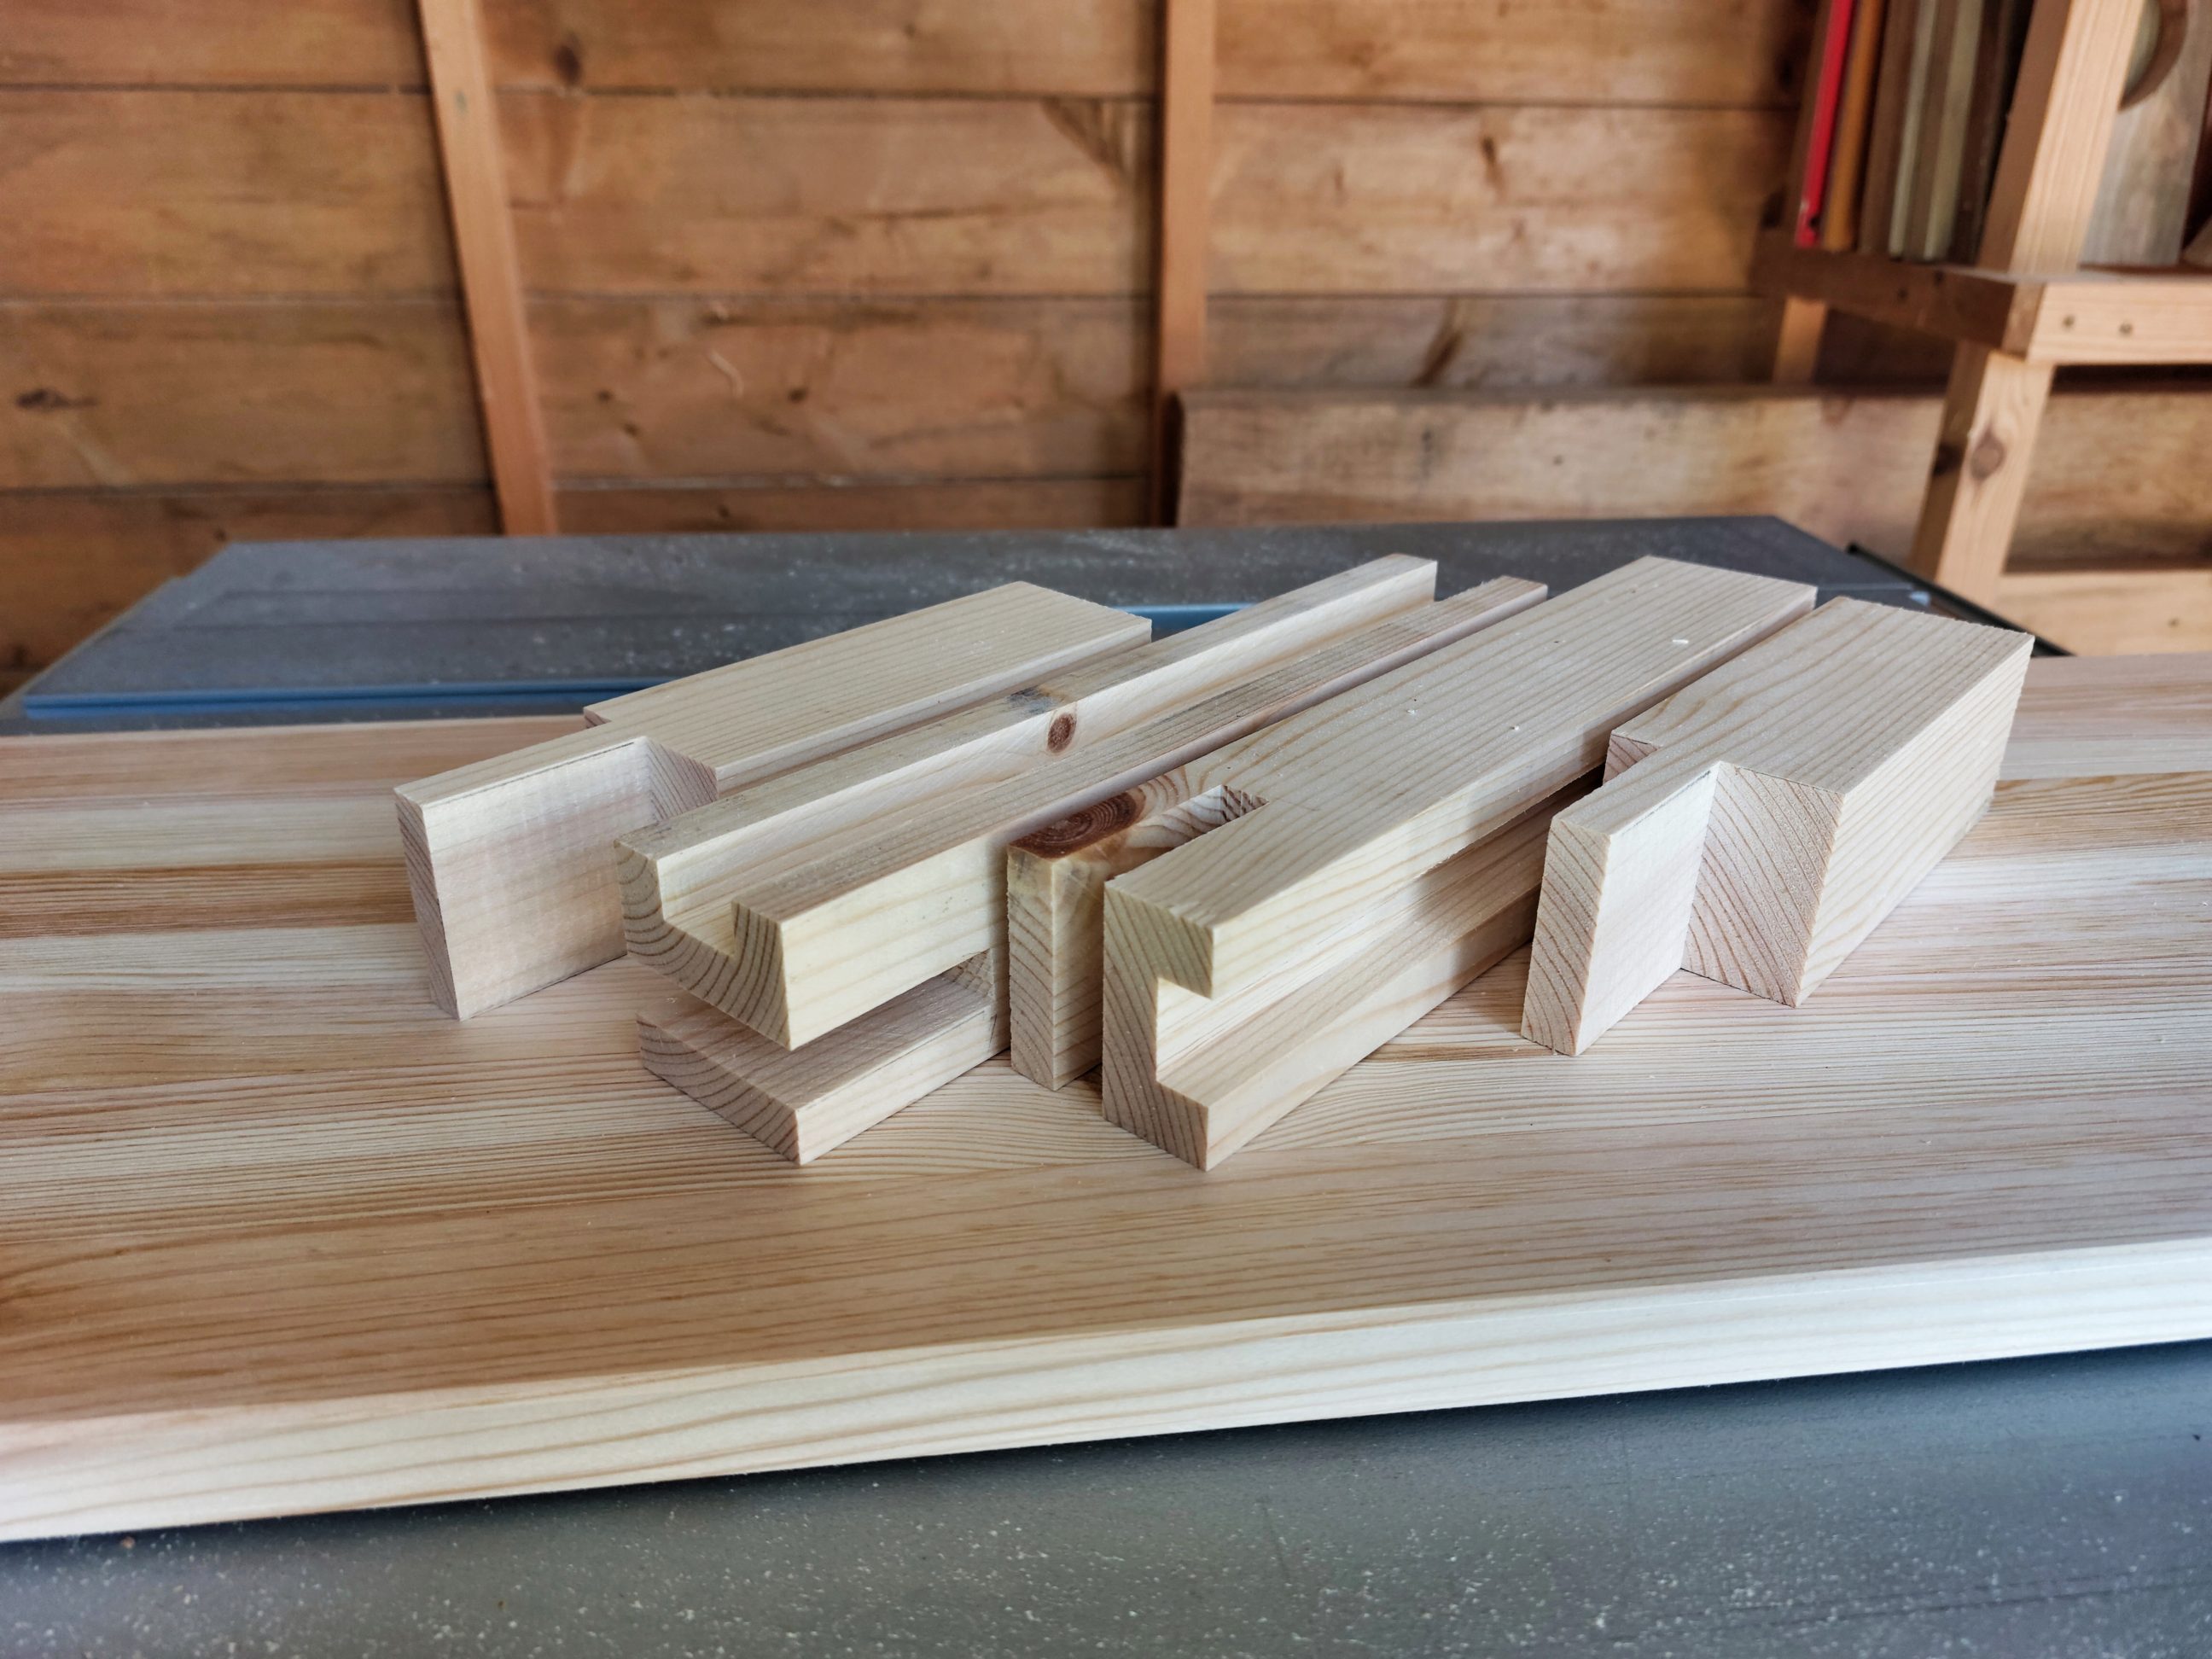


Using a circular saw and the jig, I cut the board to size and pulled out my sander to shape those chunky parts into something tamed. I tried to sand chamfers down as big as mortises and tenons, at least visually the same.


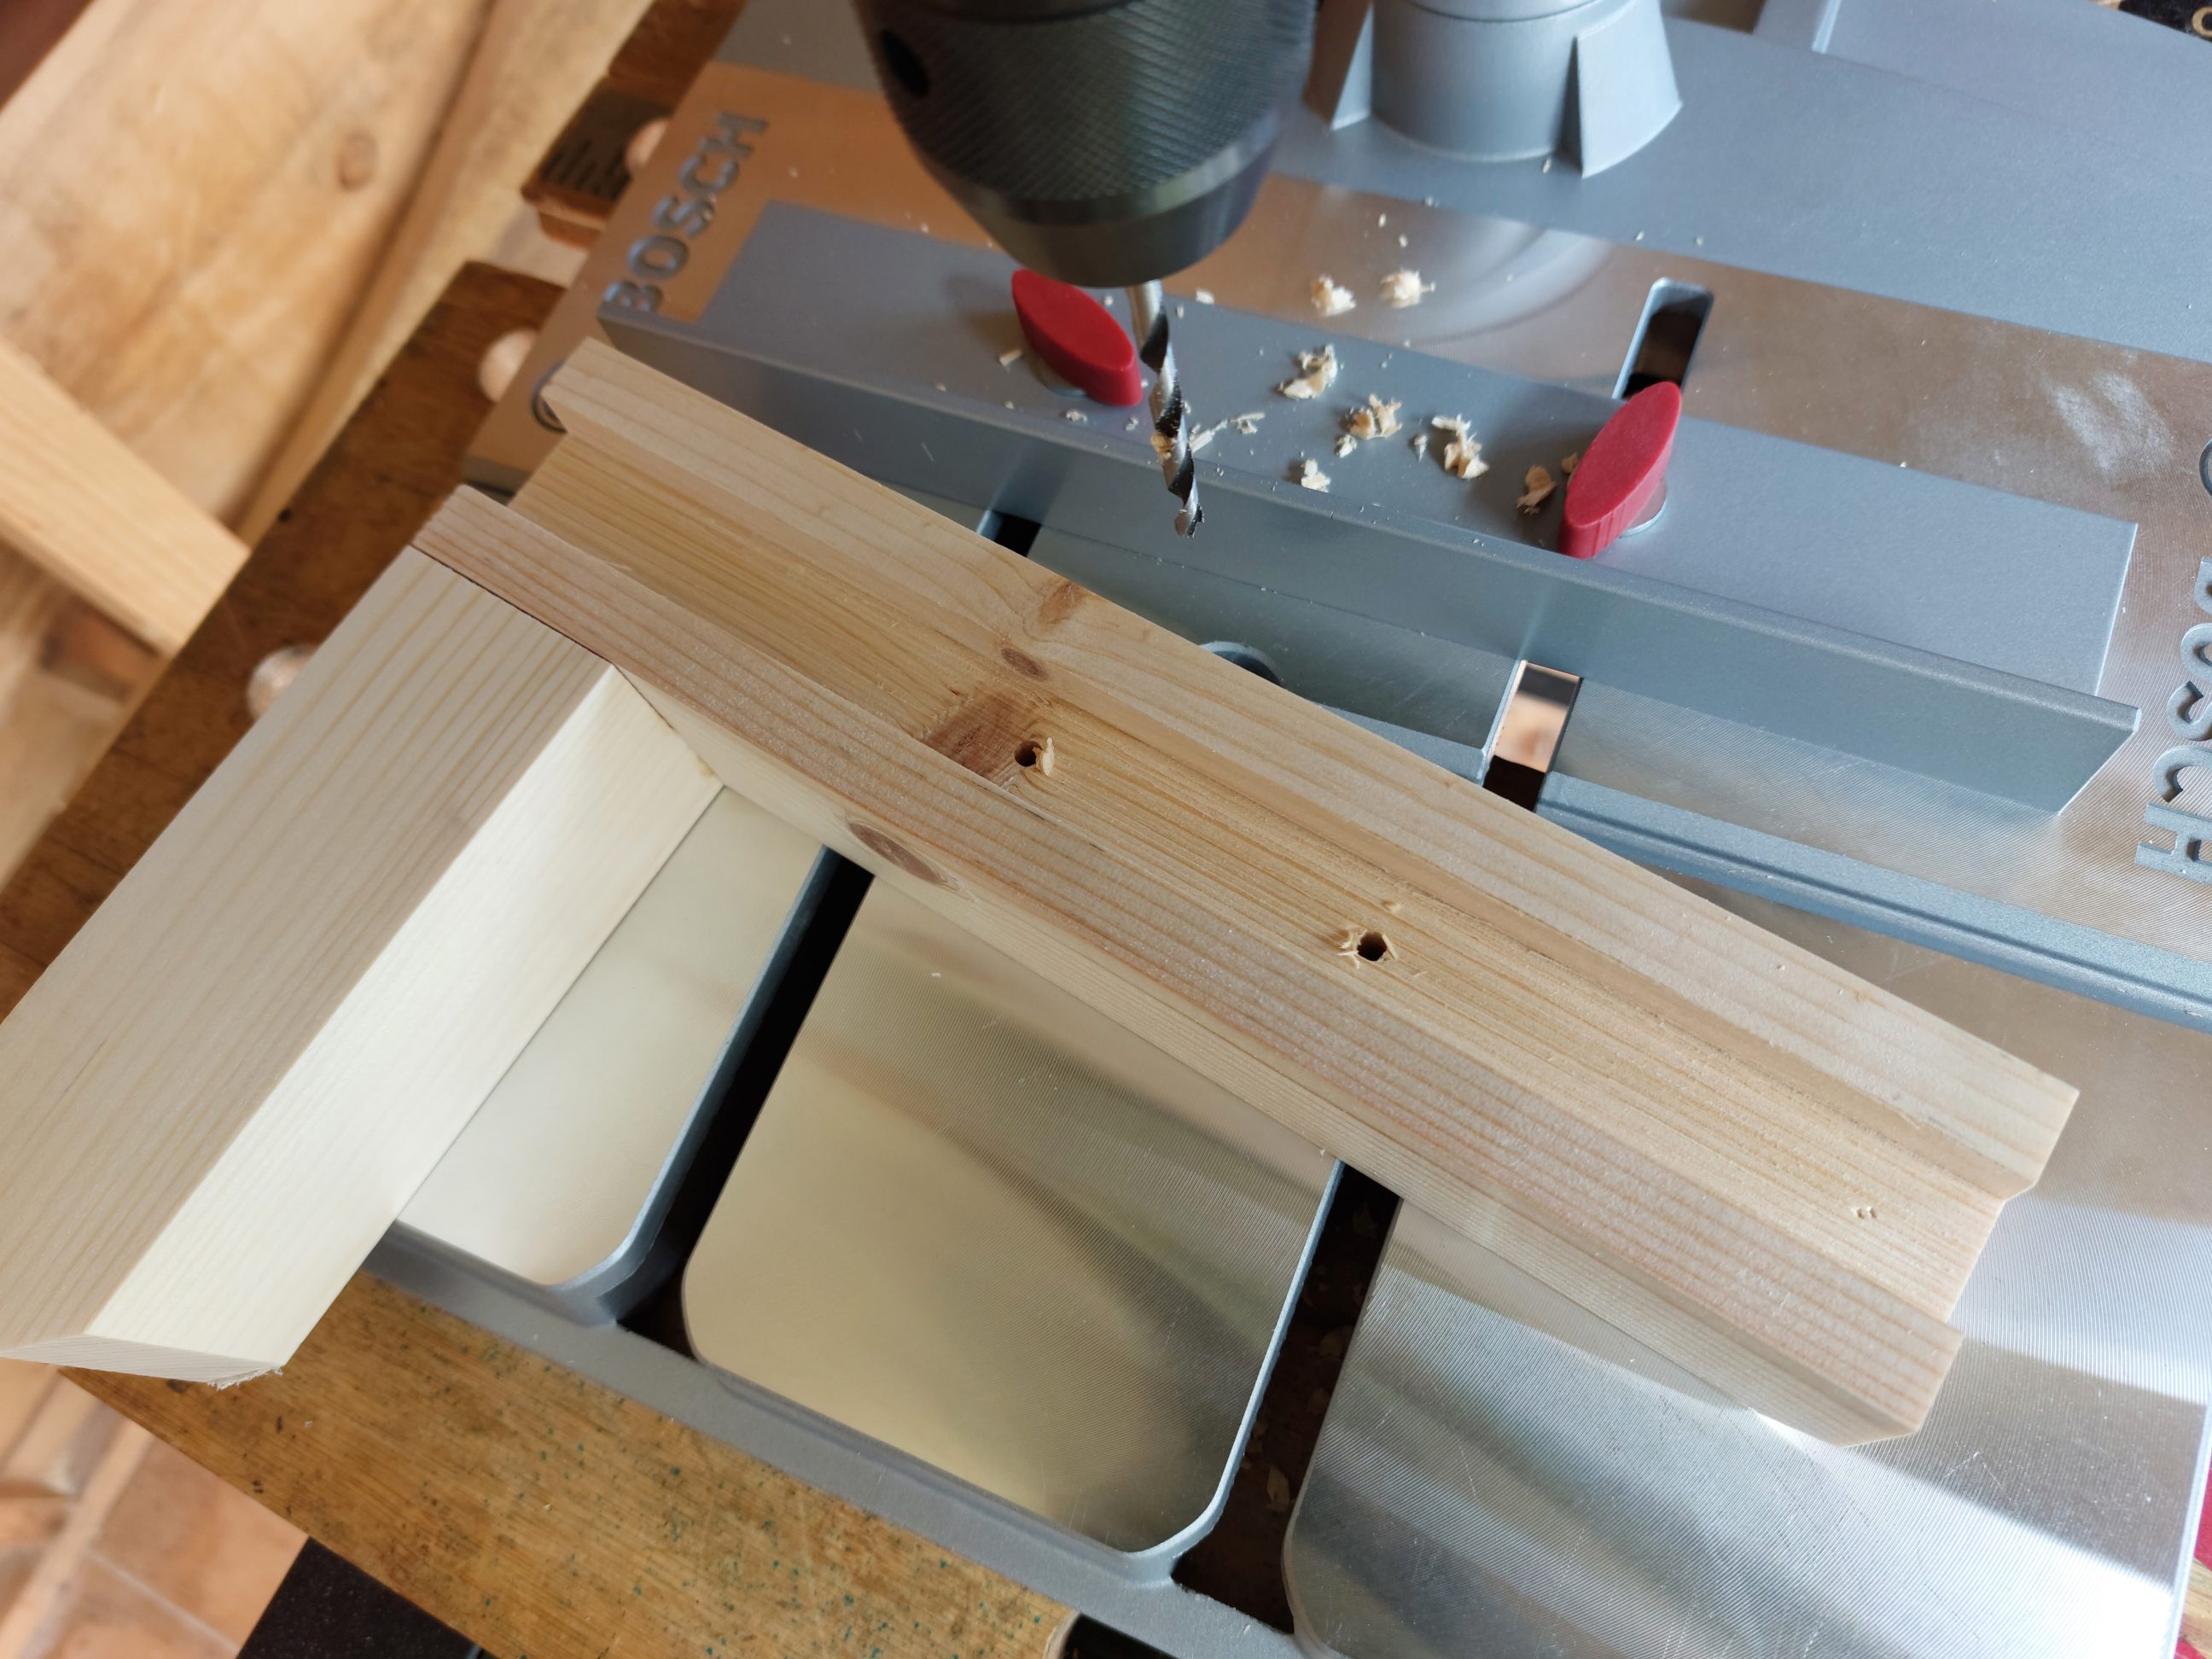
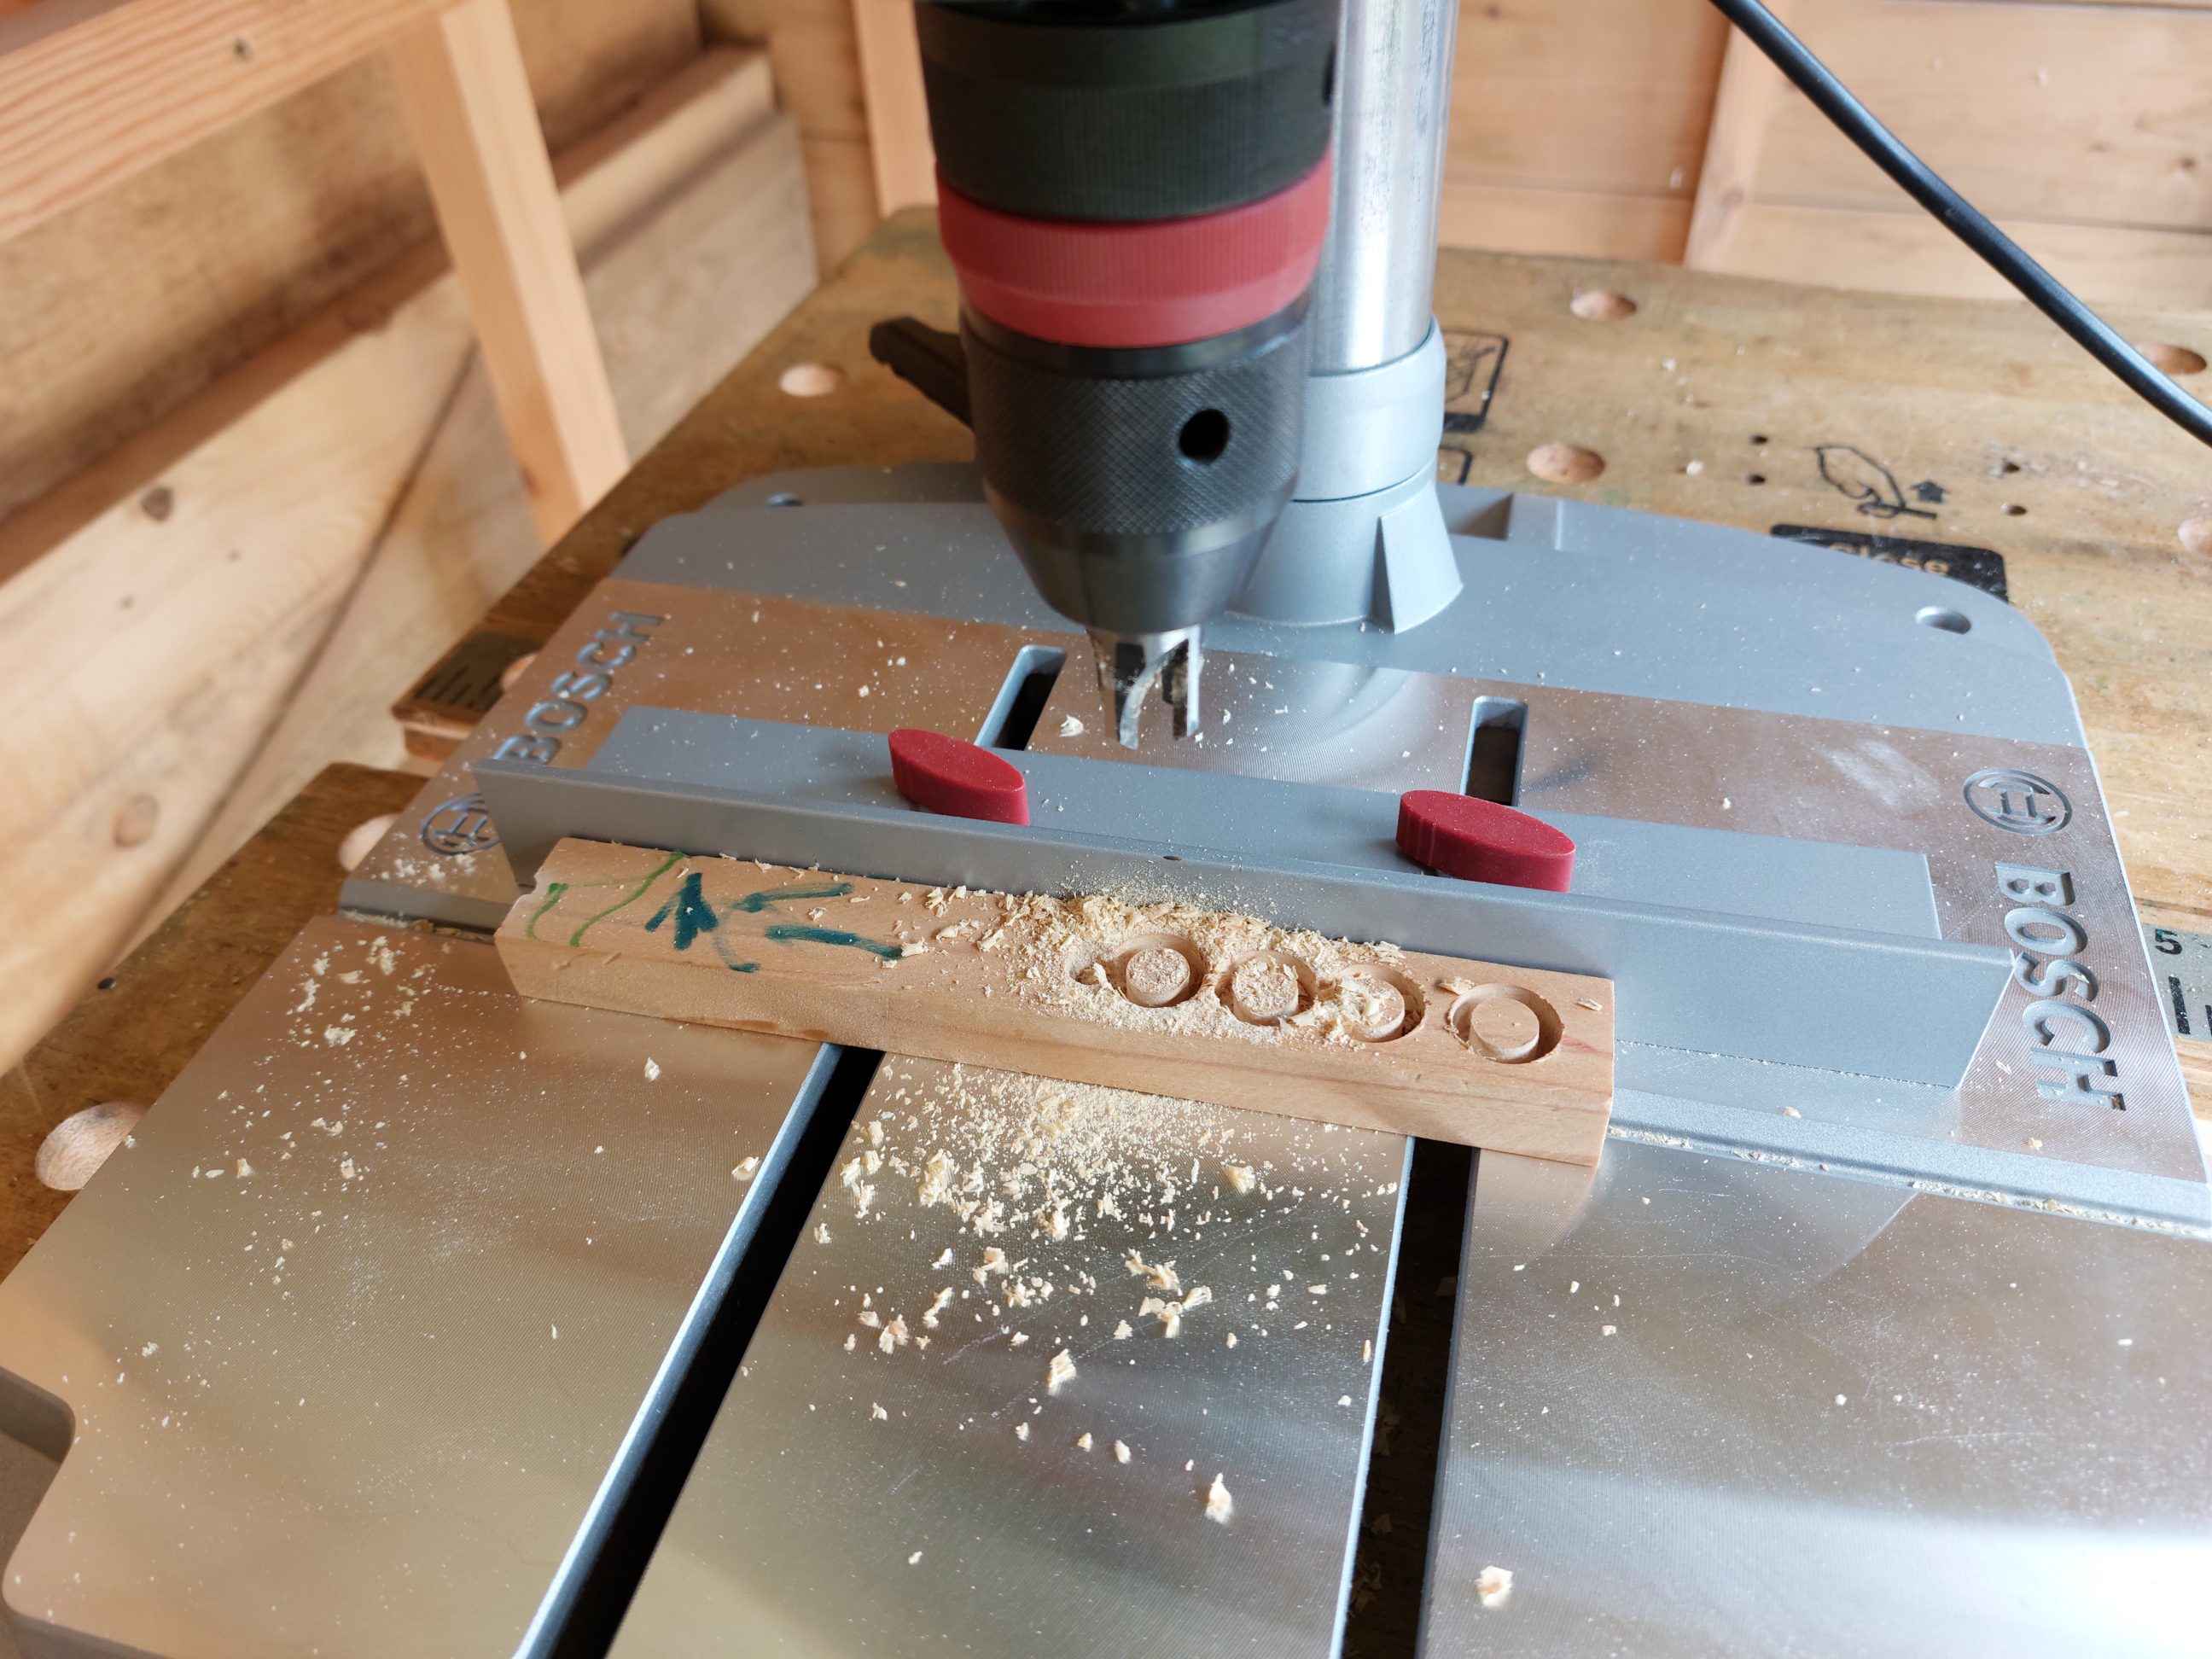
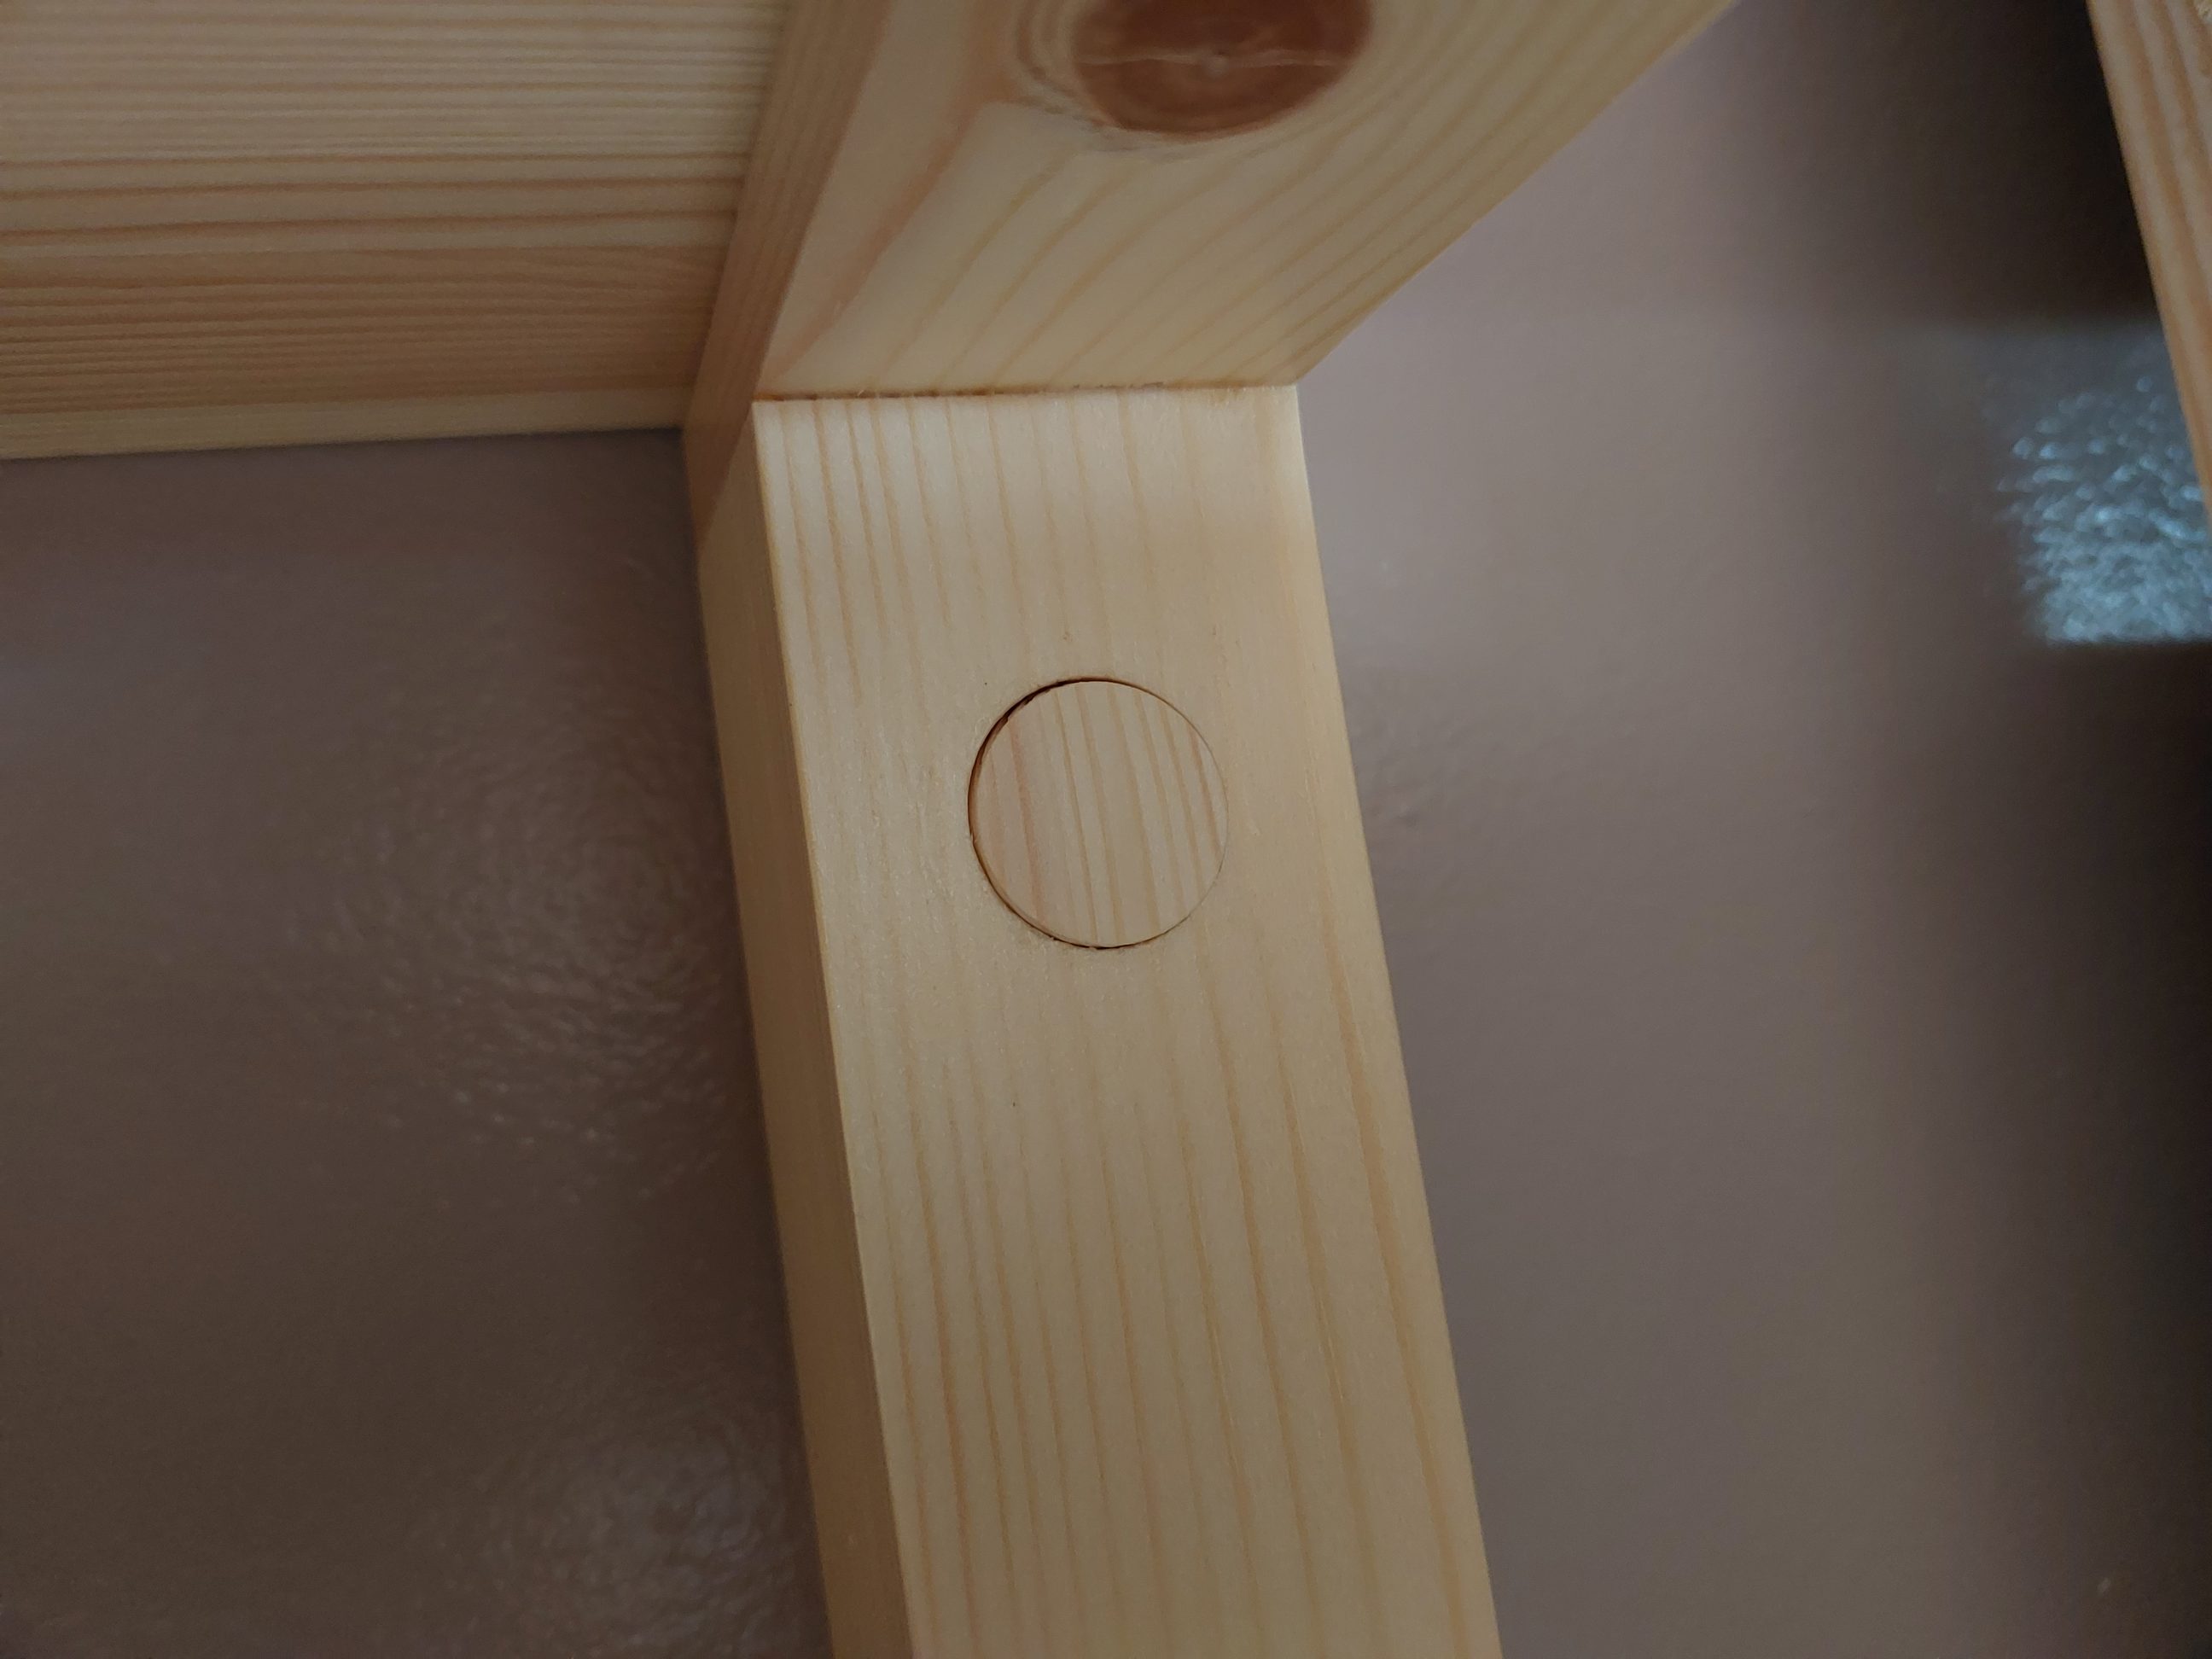
Next, I drilled all the holes and cut the 10 mm plugs. The shelf was pre-assembled in order to drill pilot holes into the board. I still had to cut larger 20 mm plugs, but I had to order a new plug cutter for that task.


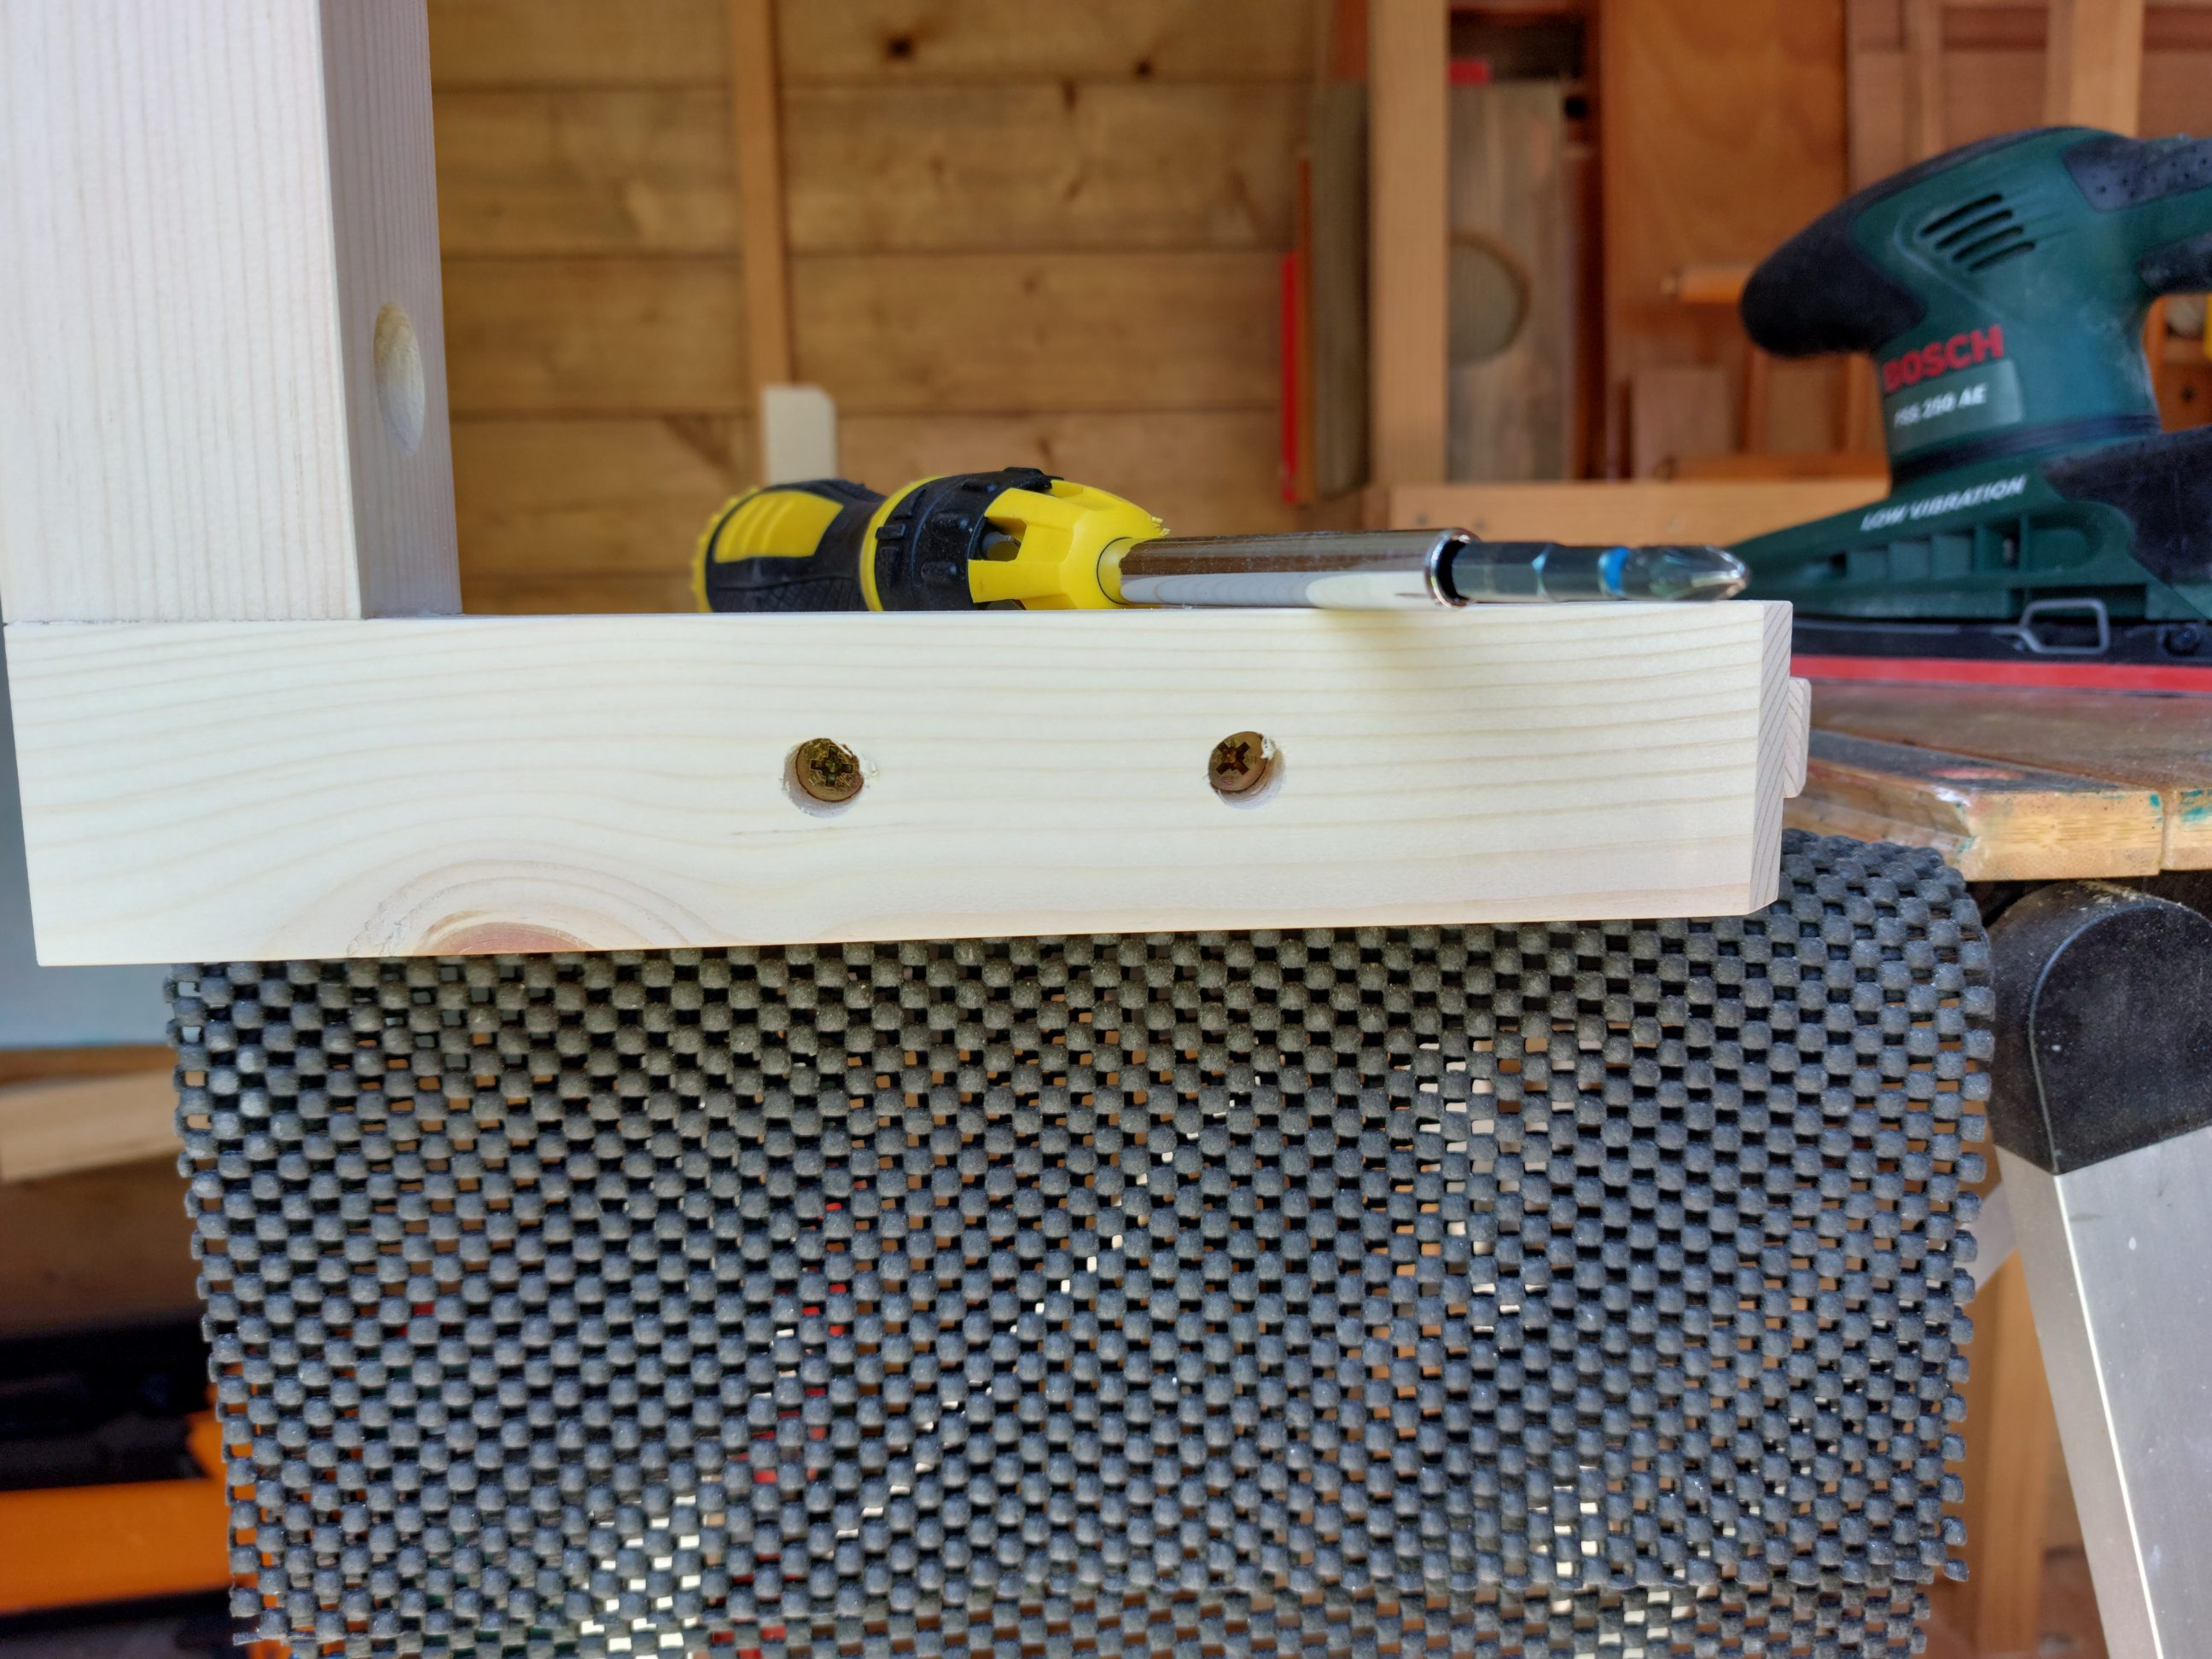
After a quick sanding, I assembled the shelf and plugged side holes with a dash of glue and the plugs I’d just cut. I didn’t put my sander away just yet, because it was needed in the next step. That was wet sanding to smooth out the plugs and fill in any remaining imperfections with sawdust filler, just around the plugs.


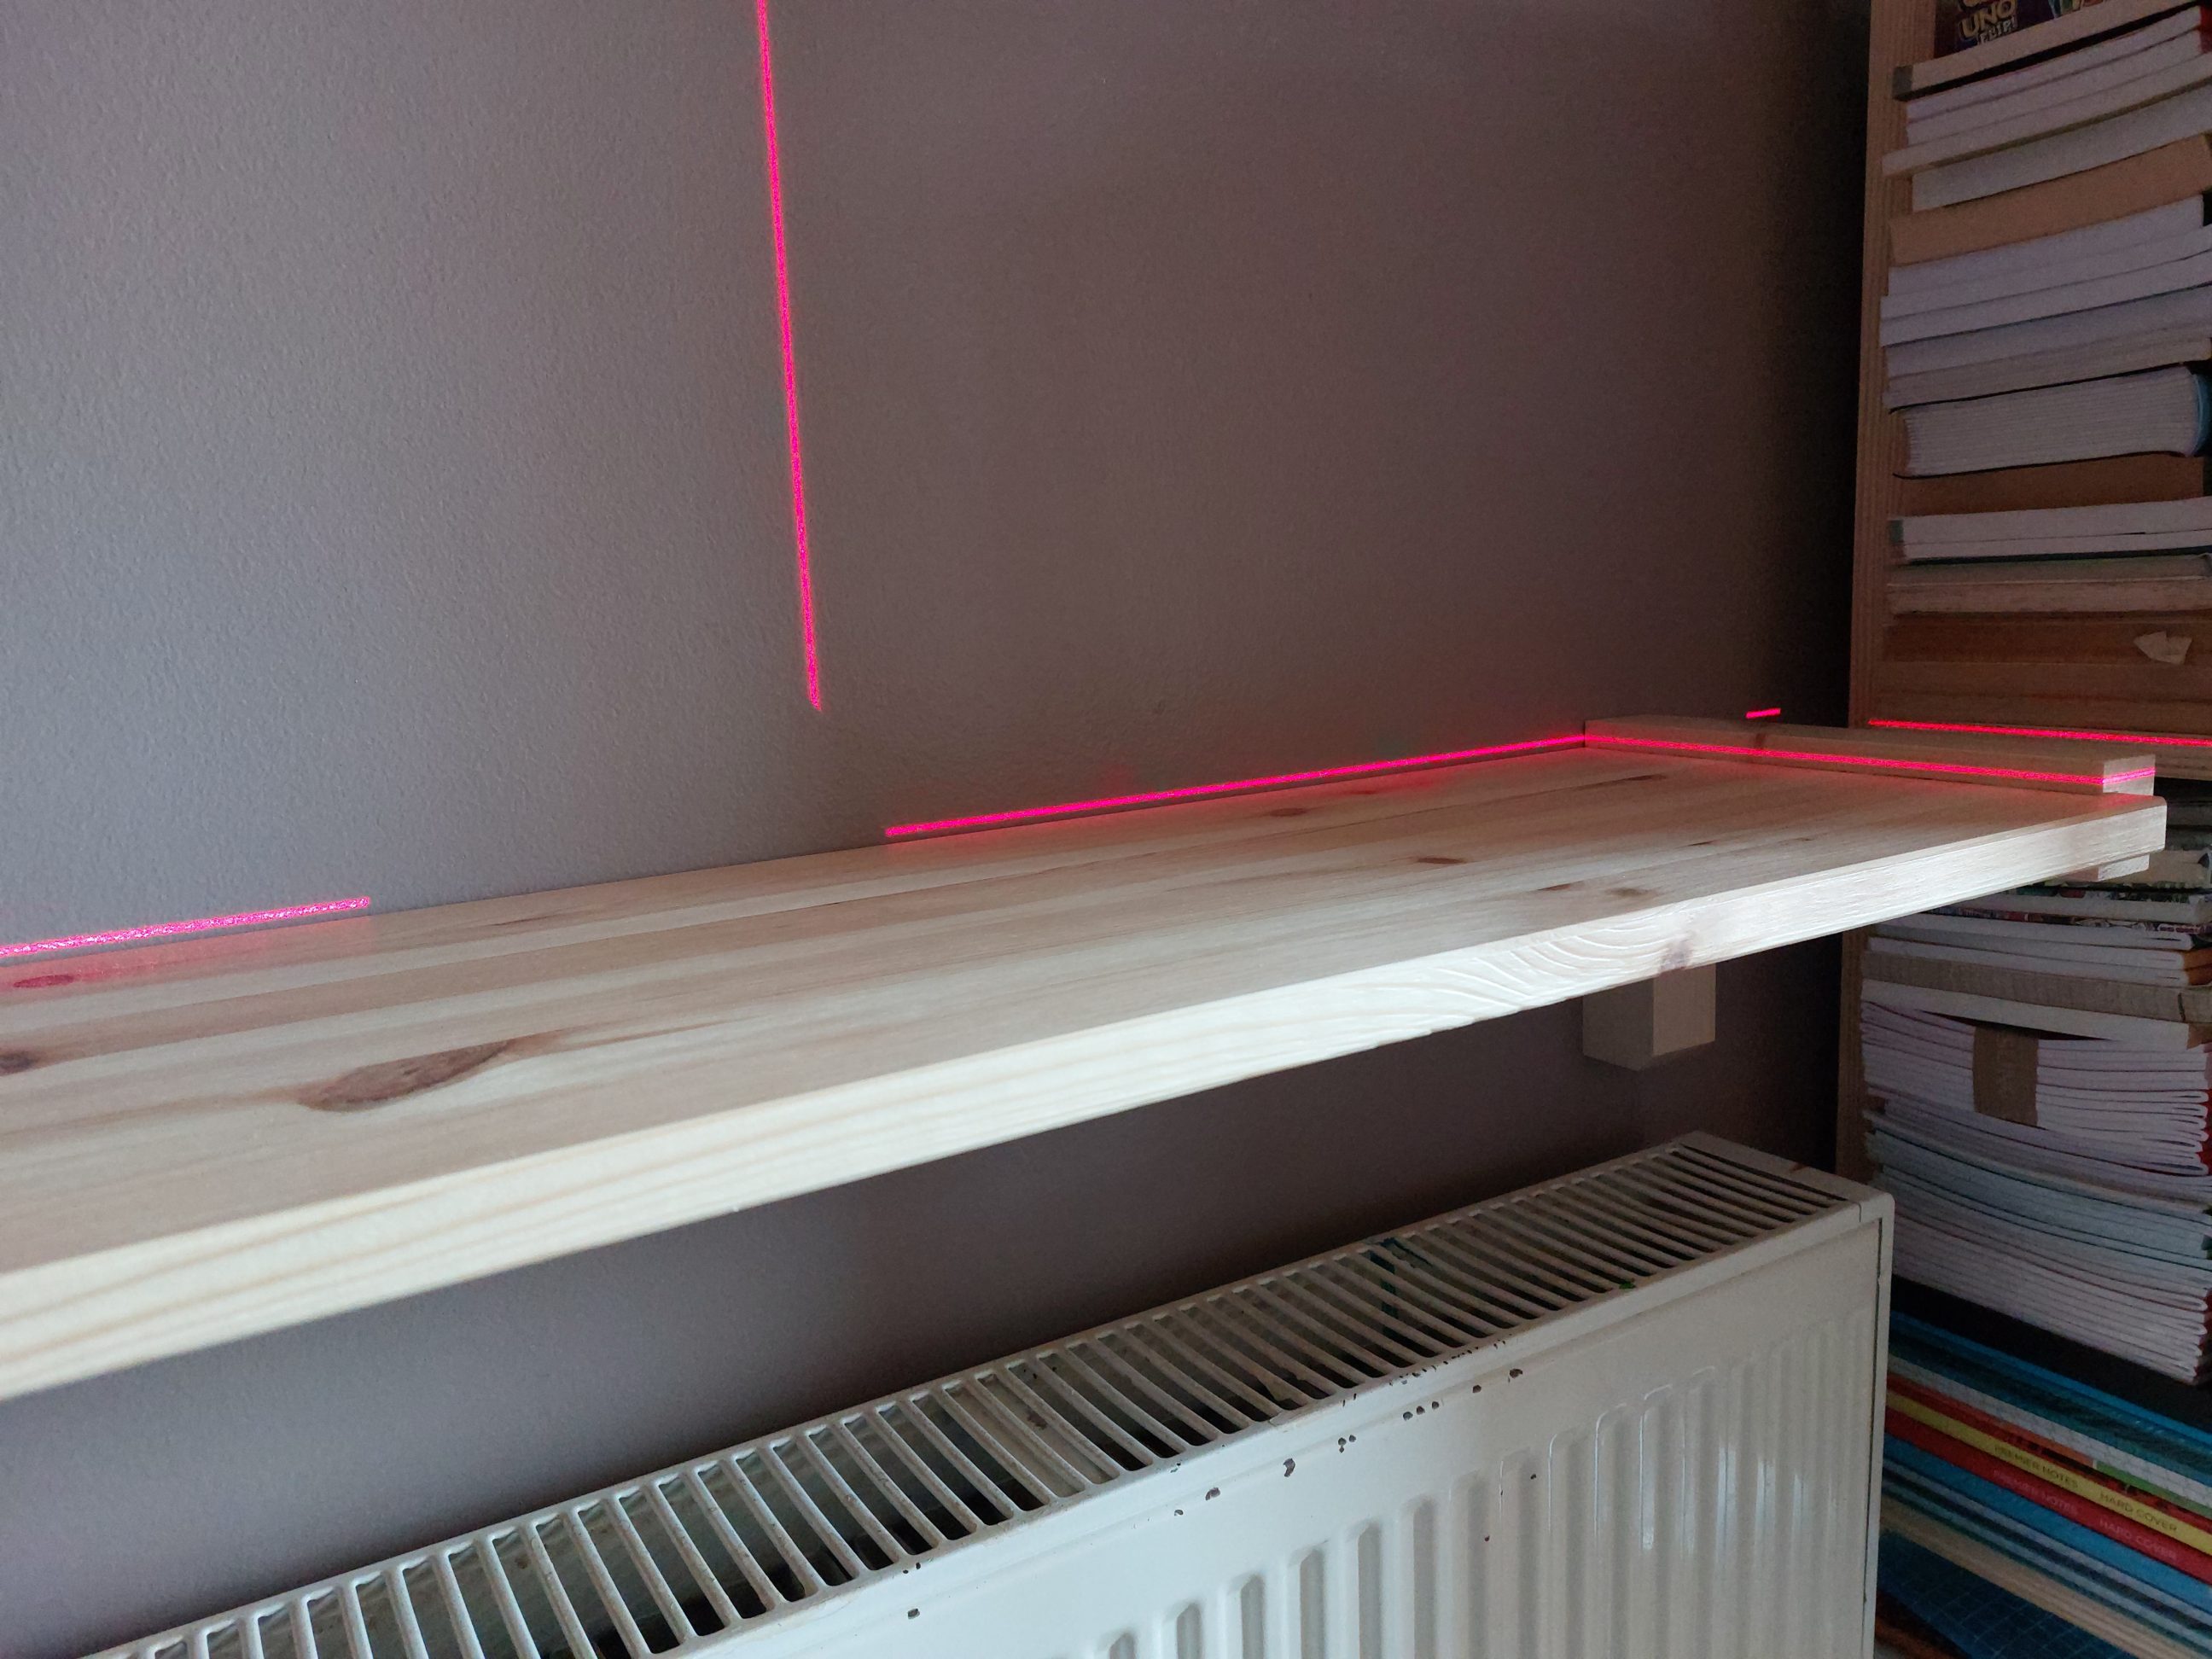
I applied 2 coats of water-based varnish and checked reflections of light with my inspection torch. It allowed me to see any inconsistencies and fix them straight away. When varnish dried all the dust nibs were flattened with ultra-fine sandpaper, and the shelf was hung on the wall.


The 20 mm hanging holes were that big for a reason – if there occurred (and it did) an error in drilling holes in concrete, the corresponding holes in wood could be enlarged with a rasp or a drill bit. That was exactly what I had to do, just about 2 mm (a bit more than 1/16″) from each hole had to be removed in order to line up with the holes in the wall. A 20 mm hole could also house a washer – an essential companion to a countersunk wood screw in that situation.


The bridle joints looked very good and the varnish I chose and professionally applied, perfectly matched the bookshelf I made some time ago. When the 20 mm cutter came in the post, I cut a few plugs straight away, using different scraps of wood. I even used the moulding I saved for that moment, but eventually, I ended up with different species and there was no consistency with already existing plugs. Anyways, they all looked good! I pounded in the new ones using a mallet and I called the project done.

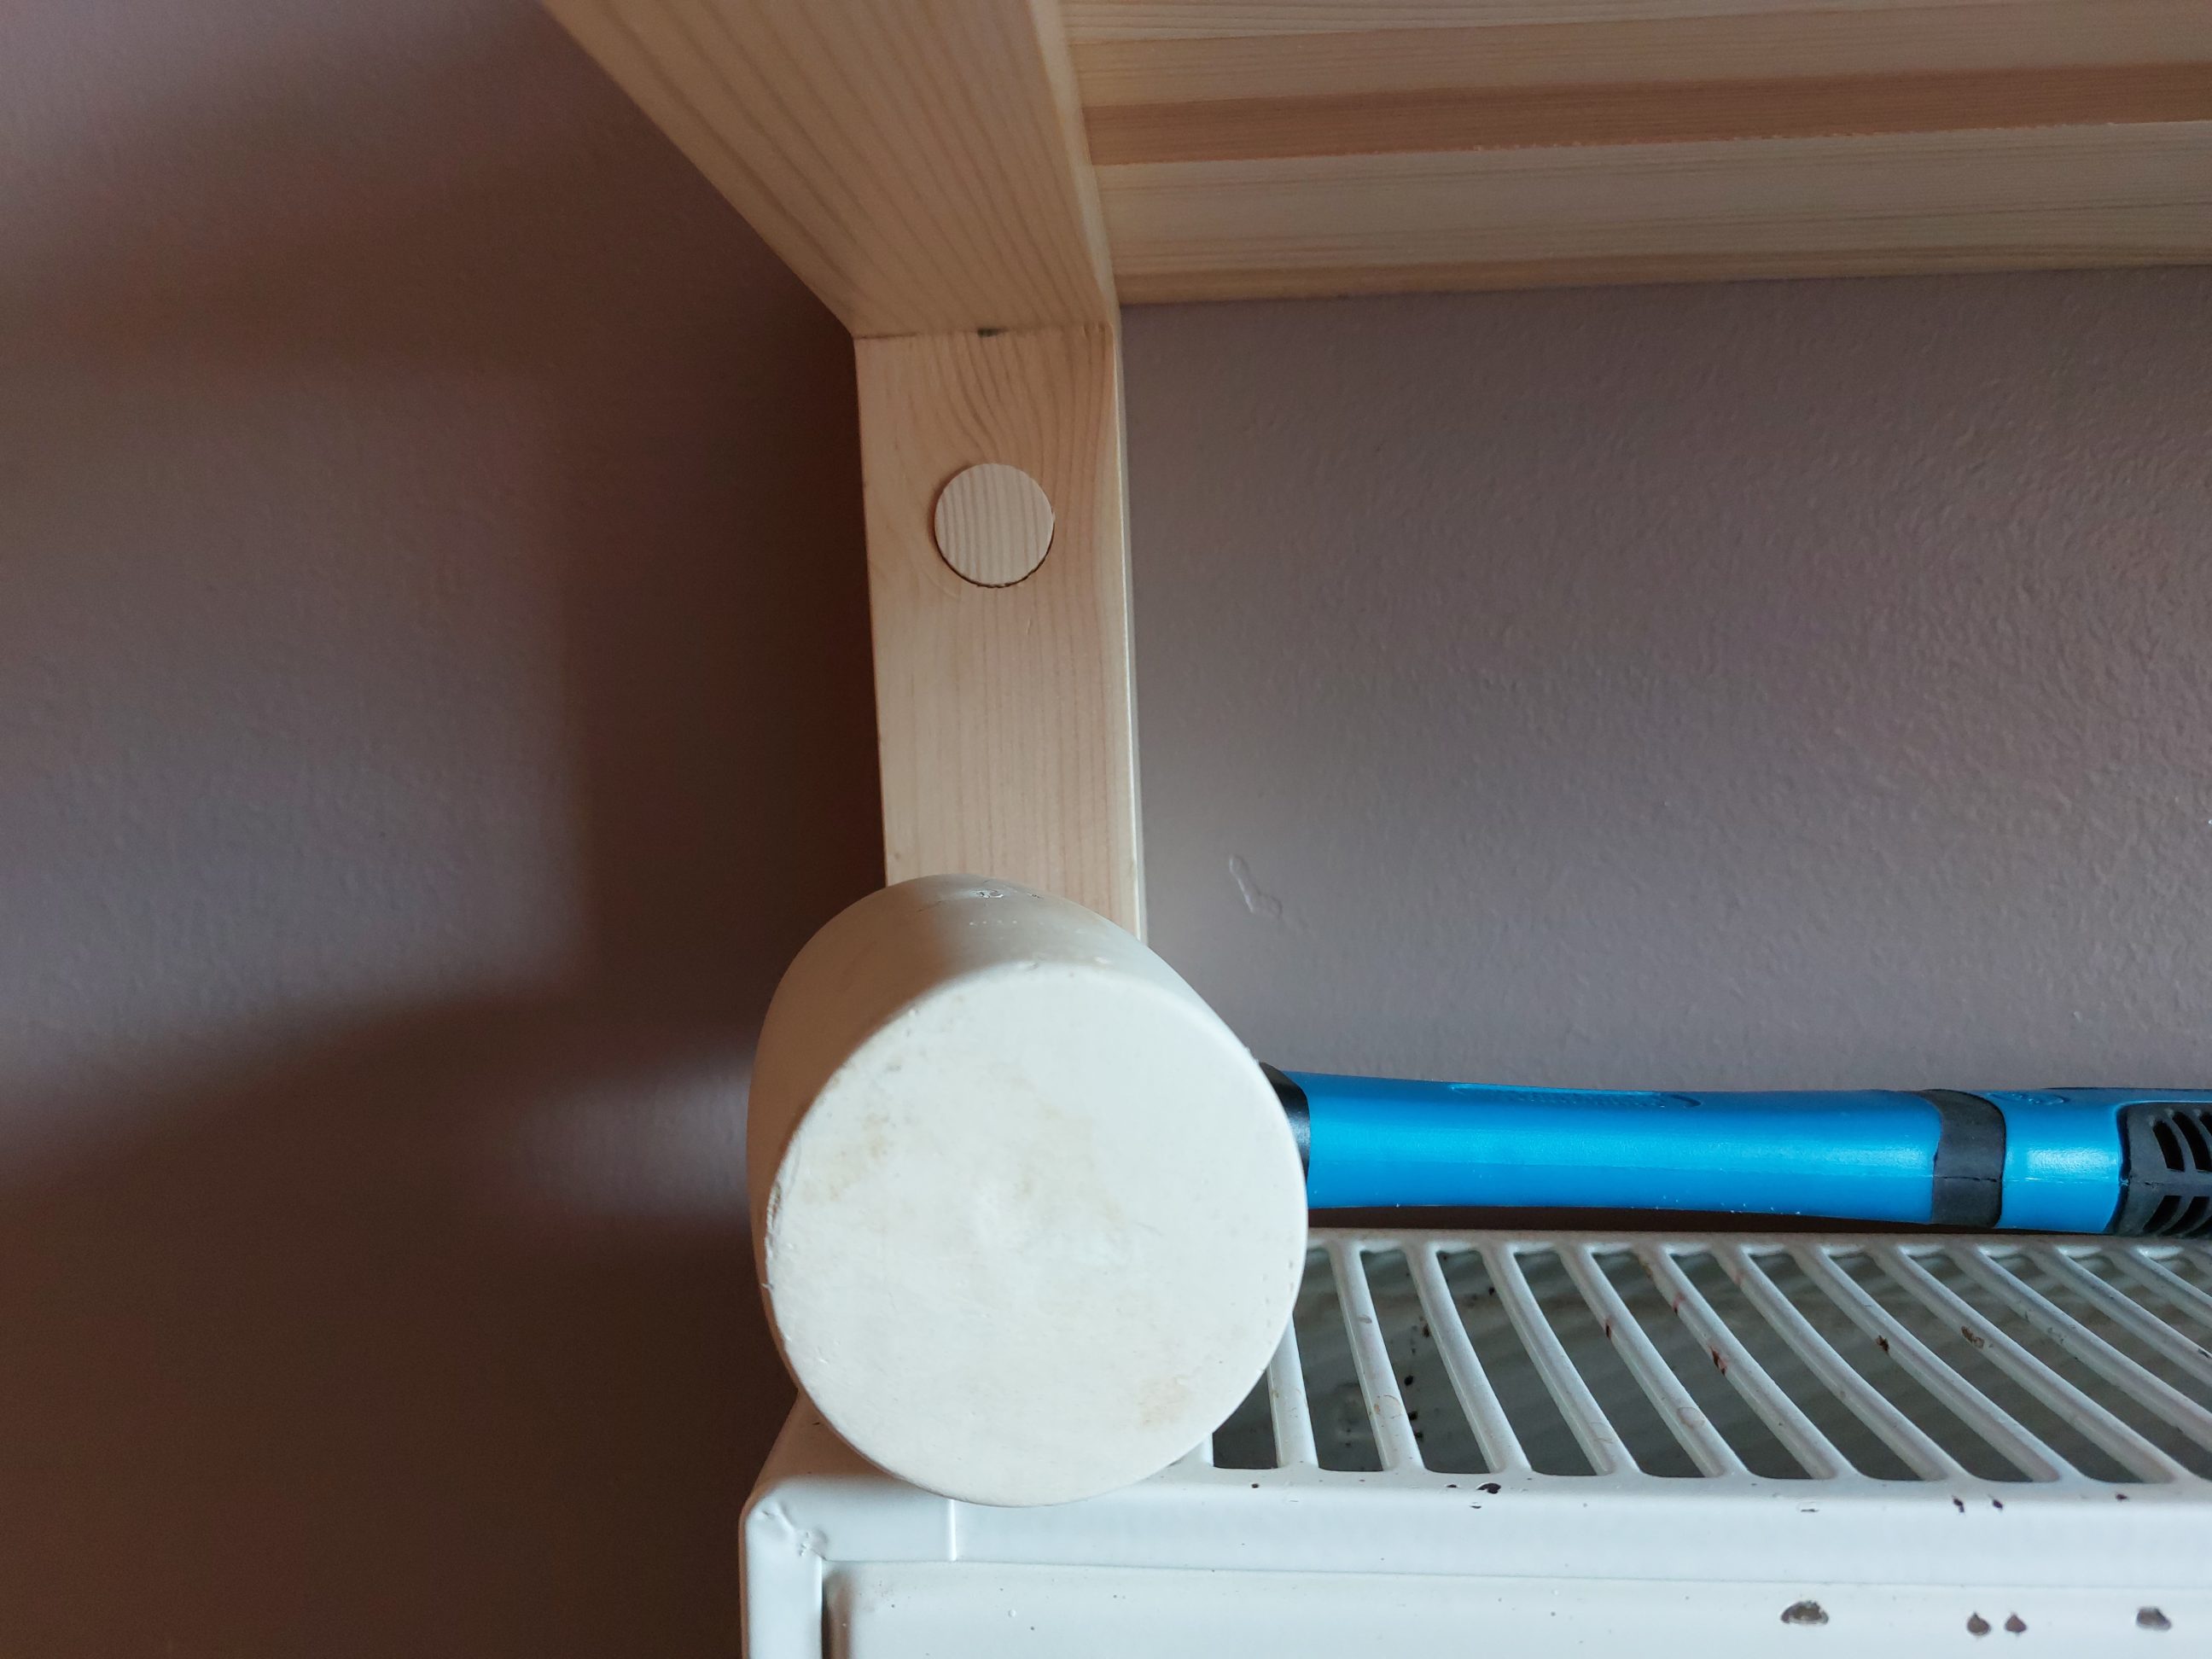
The larger plugs were left without any finish and were slightly proud of the brackets, just in case anyone needs to remove the shelf from the wall for any reason. The sturdiness and stiffness of this shelf are really impressive! If should easily withstand the weight of 4 heavy flower pots, it can be also filled up with books. Because of its depth, the distance from the radiator is big but just enough to allow airflow to warm up the room. There is still plenty of space above the shelf.