Chopping board remake
To remake or to rework – that is the question. Had it been my original project, I might call it a rework, but since the board was purchased as is, “remake” seems more fitting for the entire endeavour. The board was always a bit too big, too square and too plain. It functioned well for years but eventually began to crack at both ends. It also never was easy to manoeuvre. The time had come and I had a chance to resolve all these issues. Although the job was straightforward, it took time because the workflow in my workshop had never been exactly swift. Each tool had to be fetched, used, and then stored again due to limited space. For this project, I needed to operate heavy machinery like my table saw, drill press, and oscillating spindle sander. And let’s not forget the sizable shop vac. As the saying goes, there was “no room to swing a cat,” and all this for a mere chopping board!


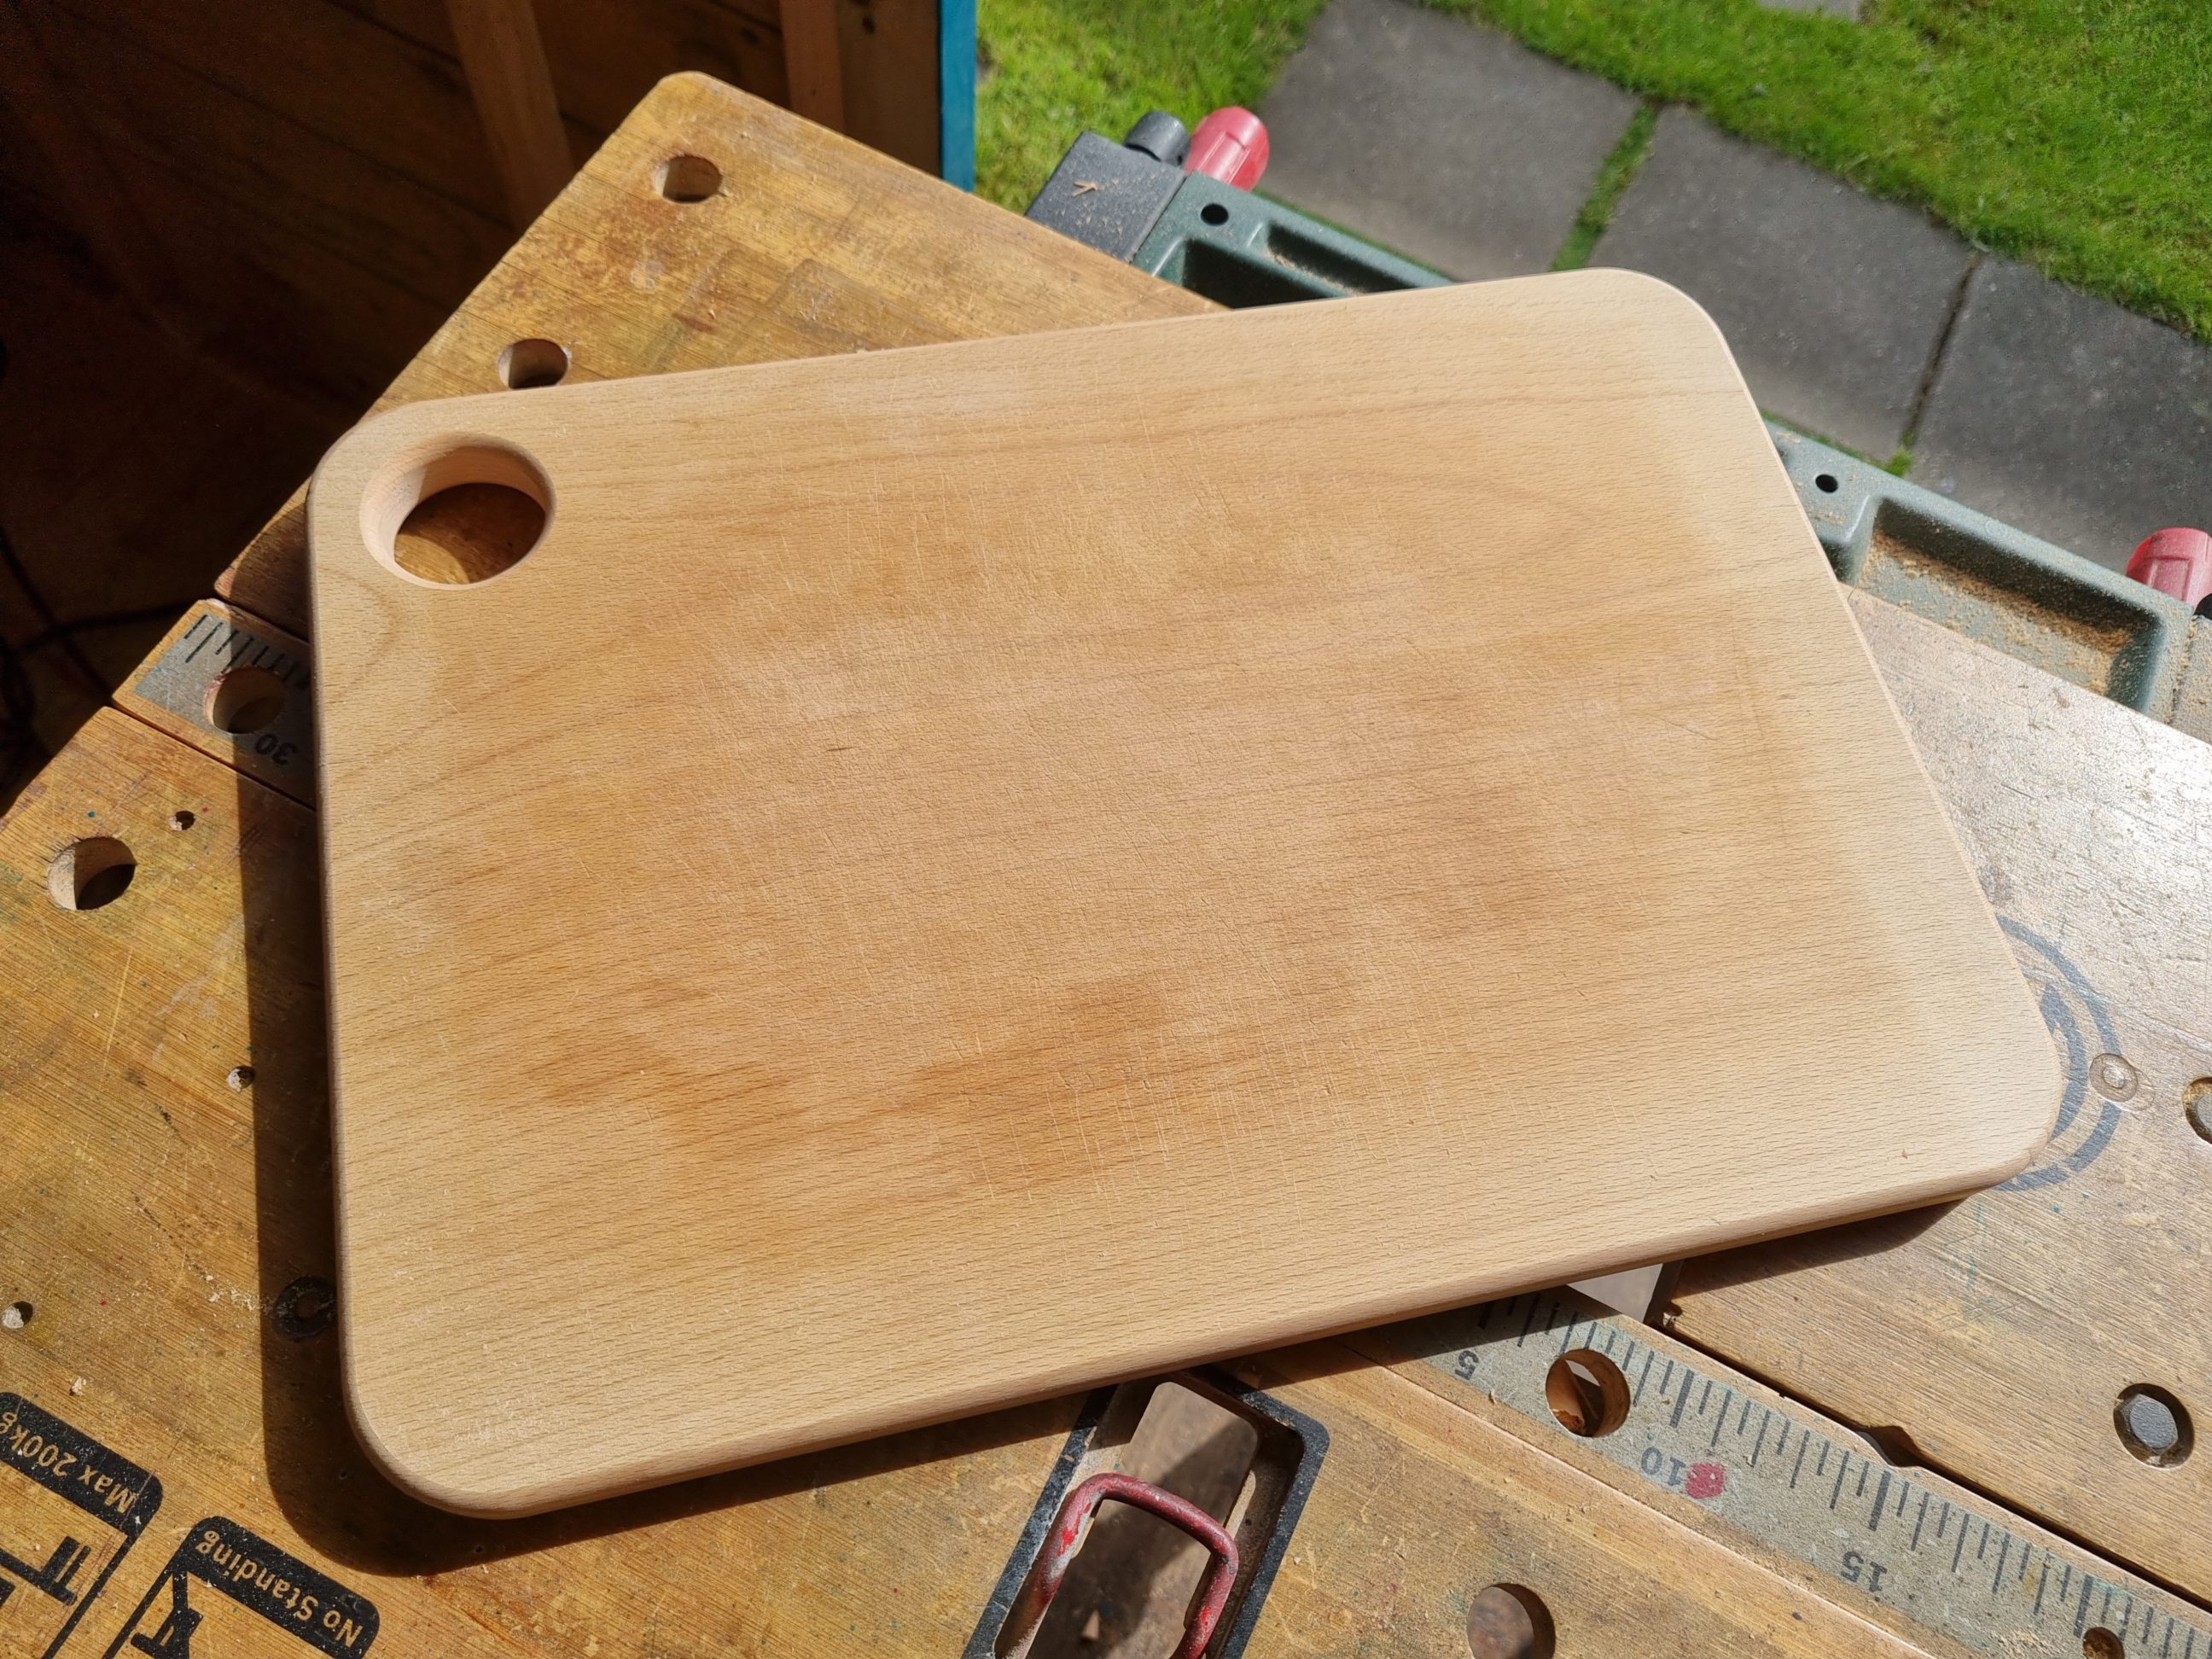
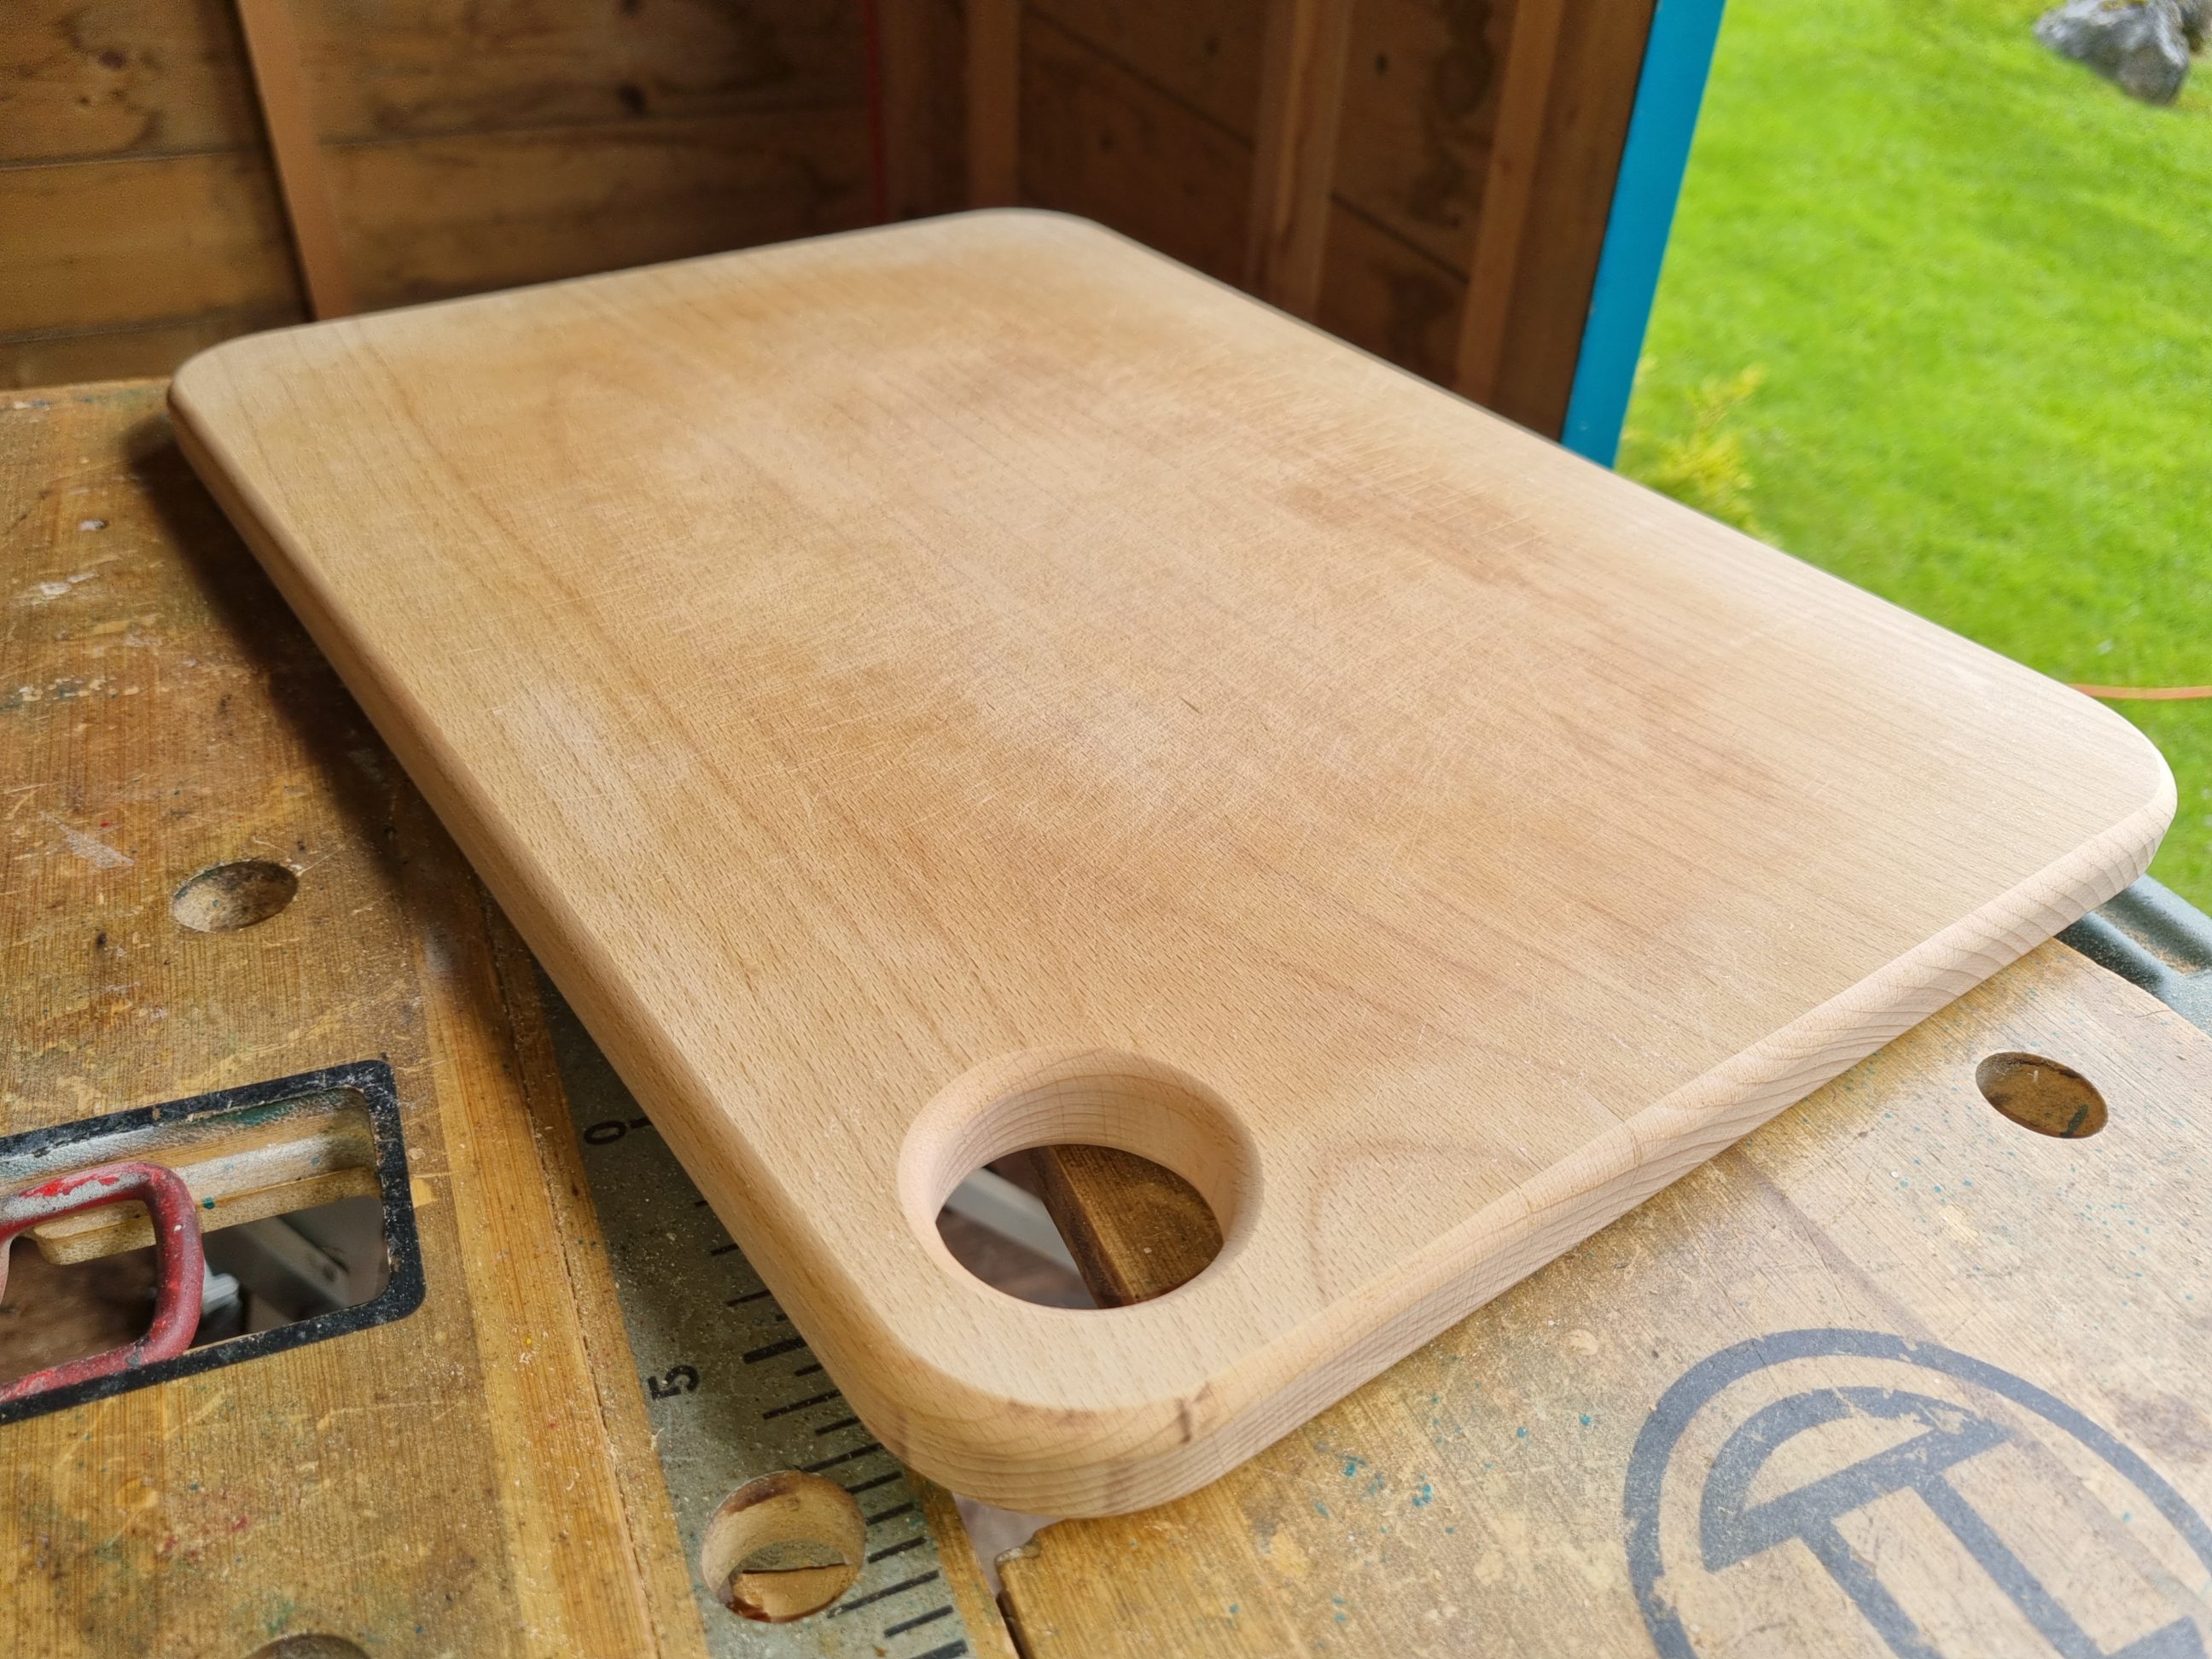
First, I cut off the strips from all 4 sides, they were either cracked or I wanted to remove the original round-over edges. With my router, and a 35 mm template, I shaped all corners, giving them a more user-friendly feature. The handling hole was drilled with a 40 mm Forstner bit, not corresponding perfectly with the corners, but that was all I could do. I didn’t have those two in the same size. Next, I sanded the hole from the inside as it wasn’t smooth enough to my liking.


I utilised the smallest round-over router bit available to soften all the existing edges and arrises, including the finger hole, all from both sides. The process was completed with a brief sanding using 180-grit sandpaper. No finish was applied – instead, it was simply rinsed with water. The entire remodelling effort proved to be time well spent – the modified board became more manageable, functional, and easier to clean. It now appeared to be the correct size, and the removal of the cracked edges not only enhanced its visual appeal but also improved its food safety.