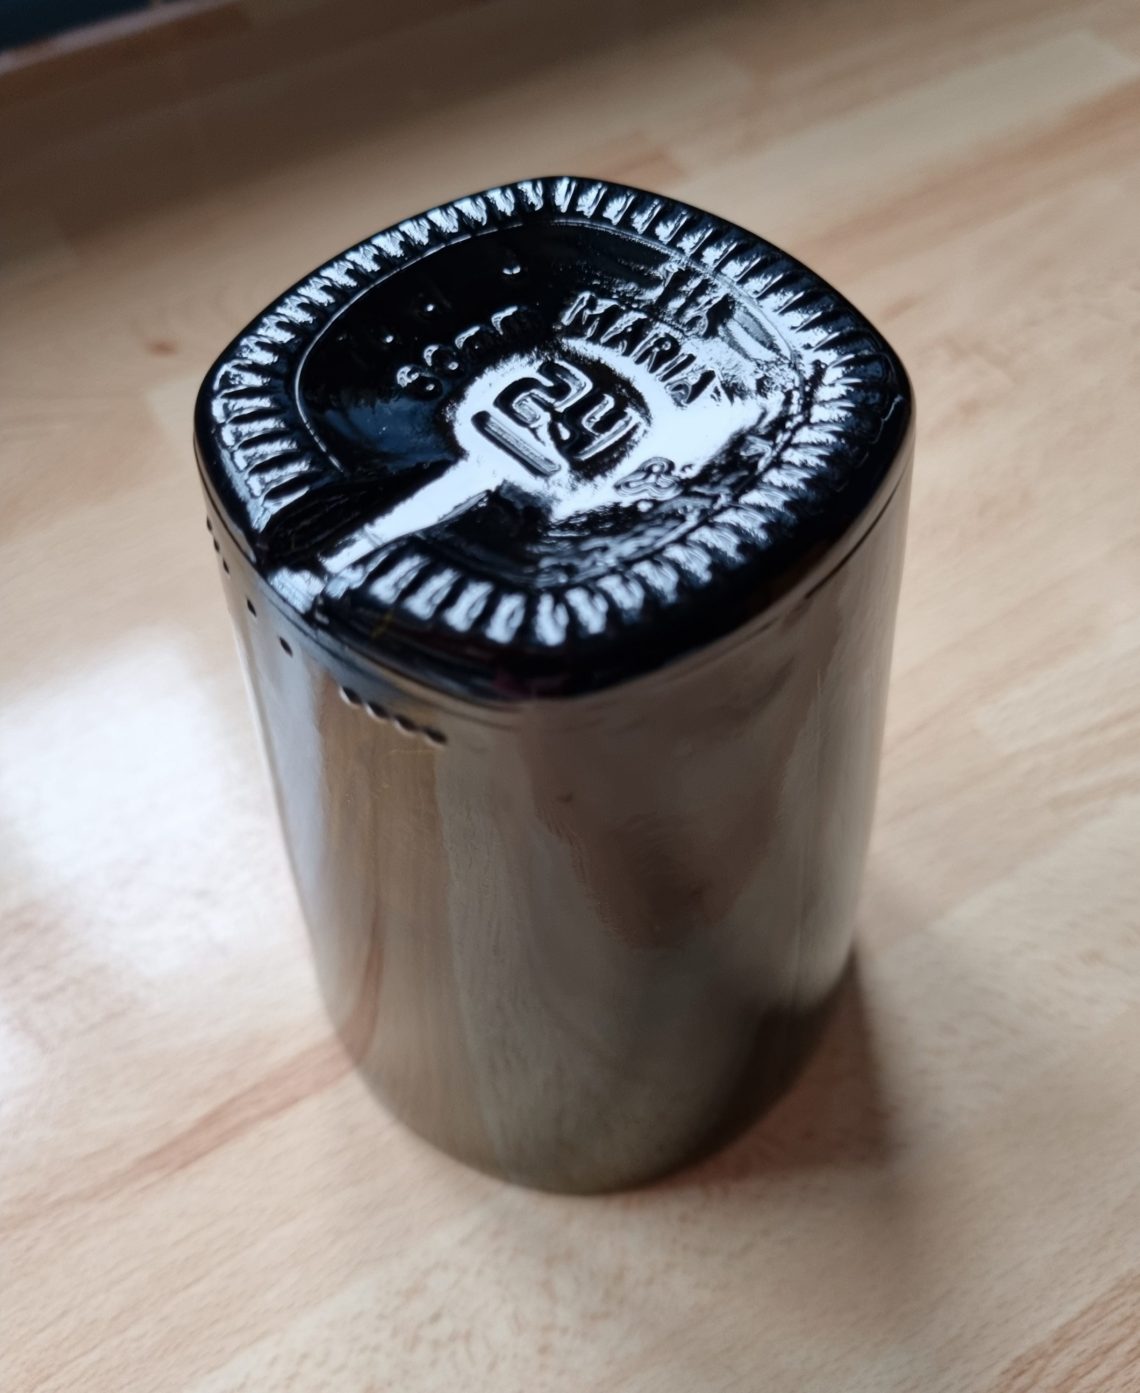
Tia Maria glass
That wasn’t the first Tia Maria bottle I attempted to cut, but this time, it finally cracked the way I wanted. The process of separating the bottom from the top is usually unpredictable, so when the results are satisfying, I can’t help but jump for joy. I also employ an alternative glass-cutting method using a rotary tool, but this particular technique is my favourite due to its time efficiency. The jig I made years ago still performs good – I use it with the same C-clamp, only occasionally refreshing the wooden base and cutters for maintenance purposes.


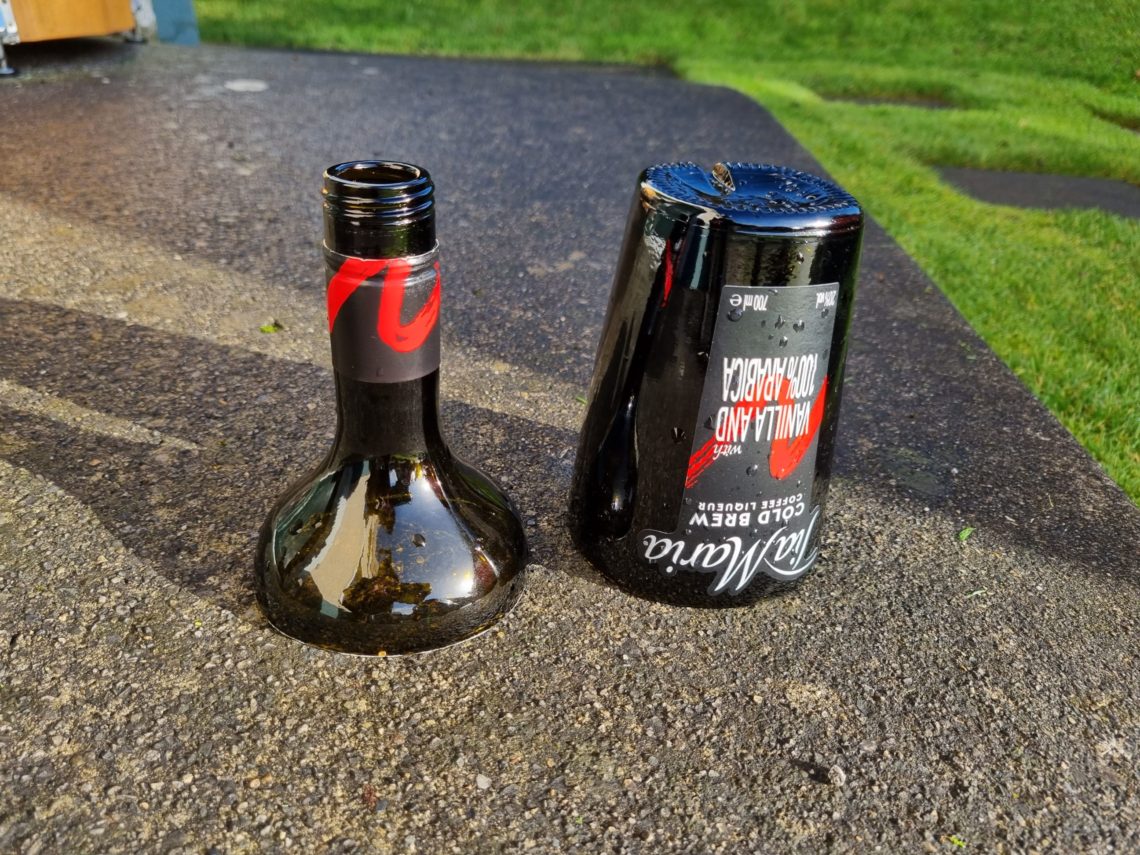
The workpiece is never physically secured to the base, instead, I hold it in my hands and press it against the scrap piece of wood while rotating it slowly and scoring along the intended line. The subsequent step involves using boiling and cold tap water to separate both parts. Before proceeding, I always ensure that the cap is unscrewed, as its presence can lead to issues during the process. Typically, I don’t remove any labels beforehand unless they obstruct the cutting line. Once the workpiece is separated, I pull out my pillar drill, lay it on its side, and commence the sanding process. I progressively change the grits from 40 to 2500 for a smoother finish. With the 320-grit disc, I begin removing the outer arris. To maintain the discs, I clean them with hardened silicone or synthetic wine corks – whatever gets the job done.


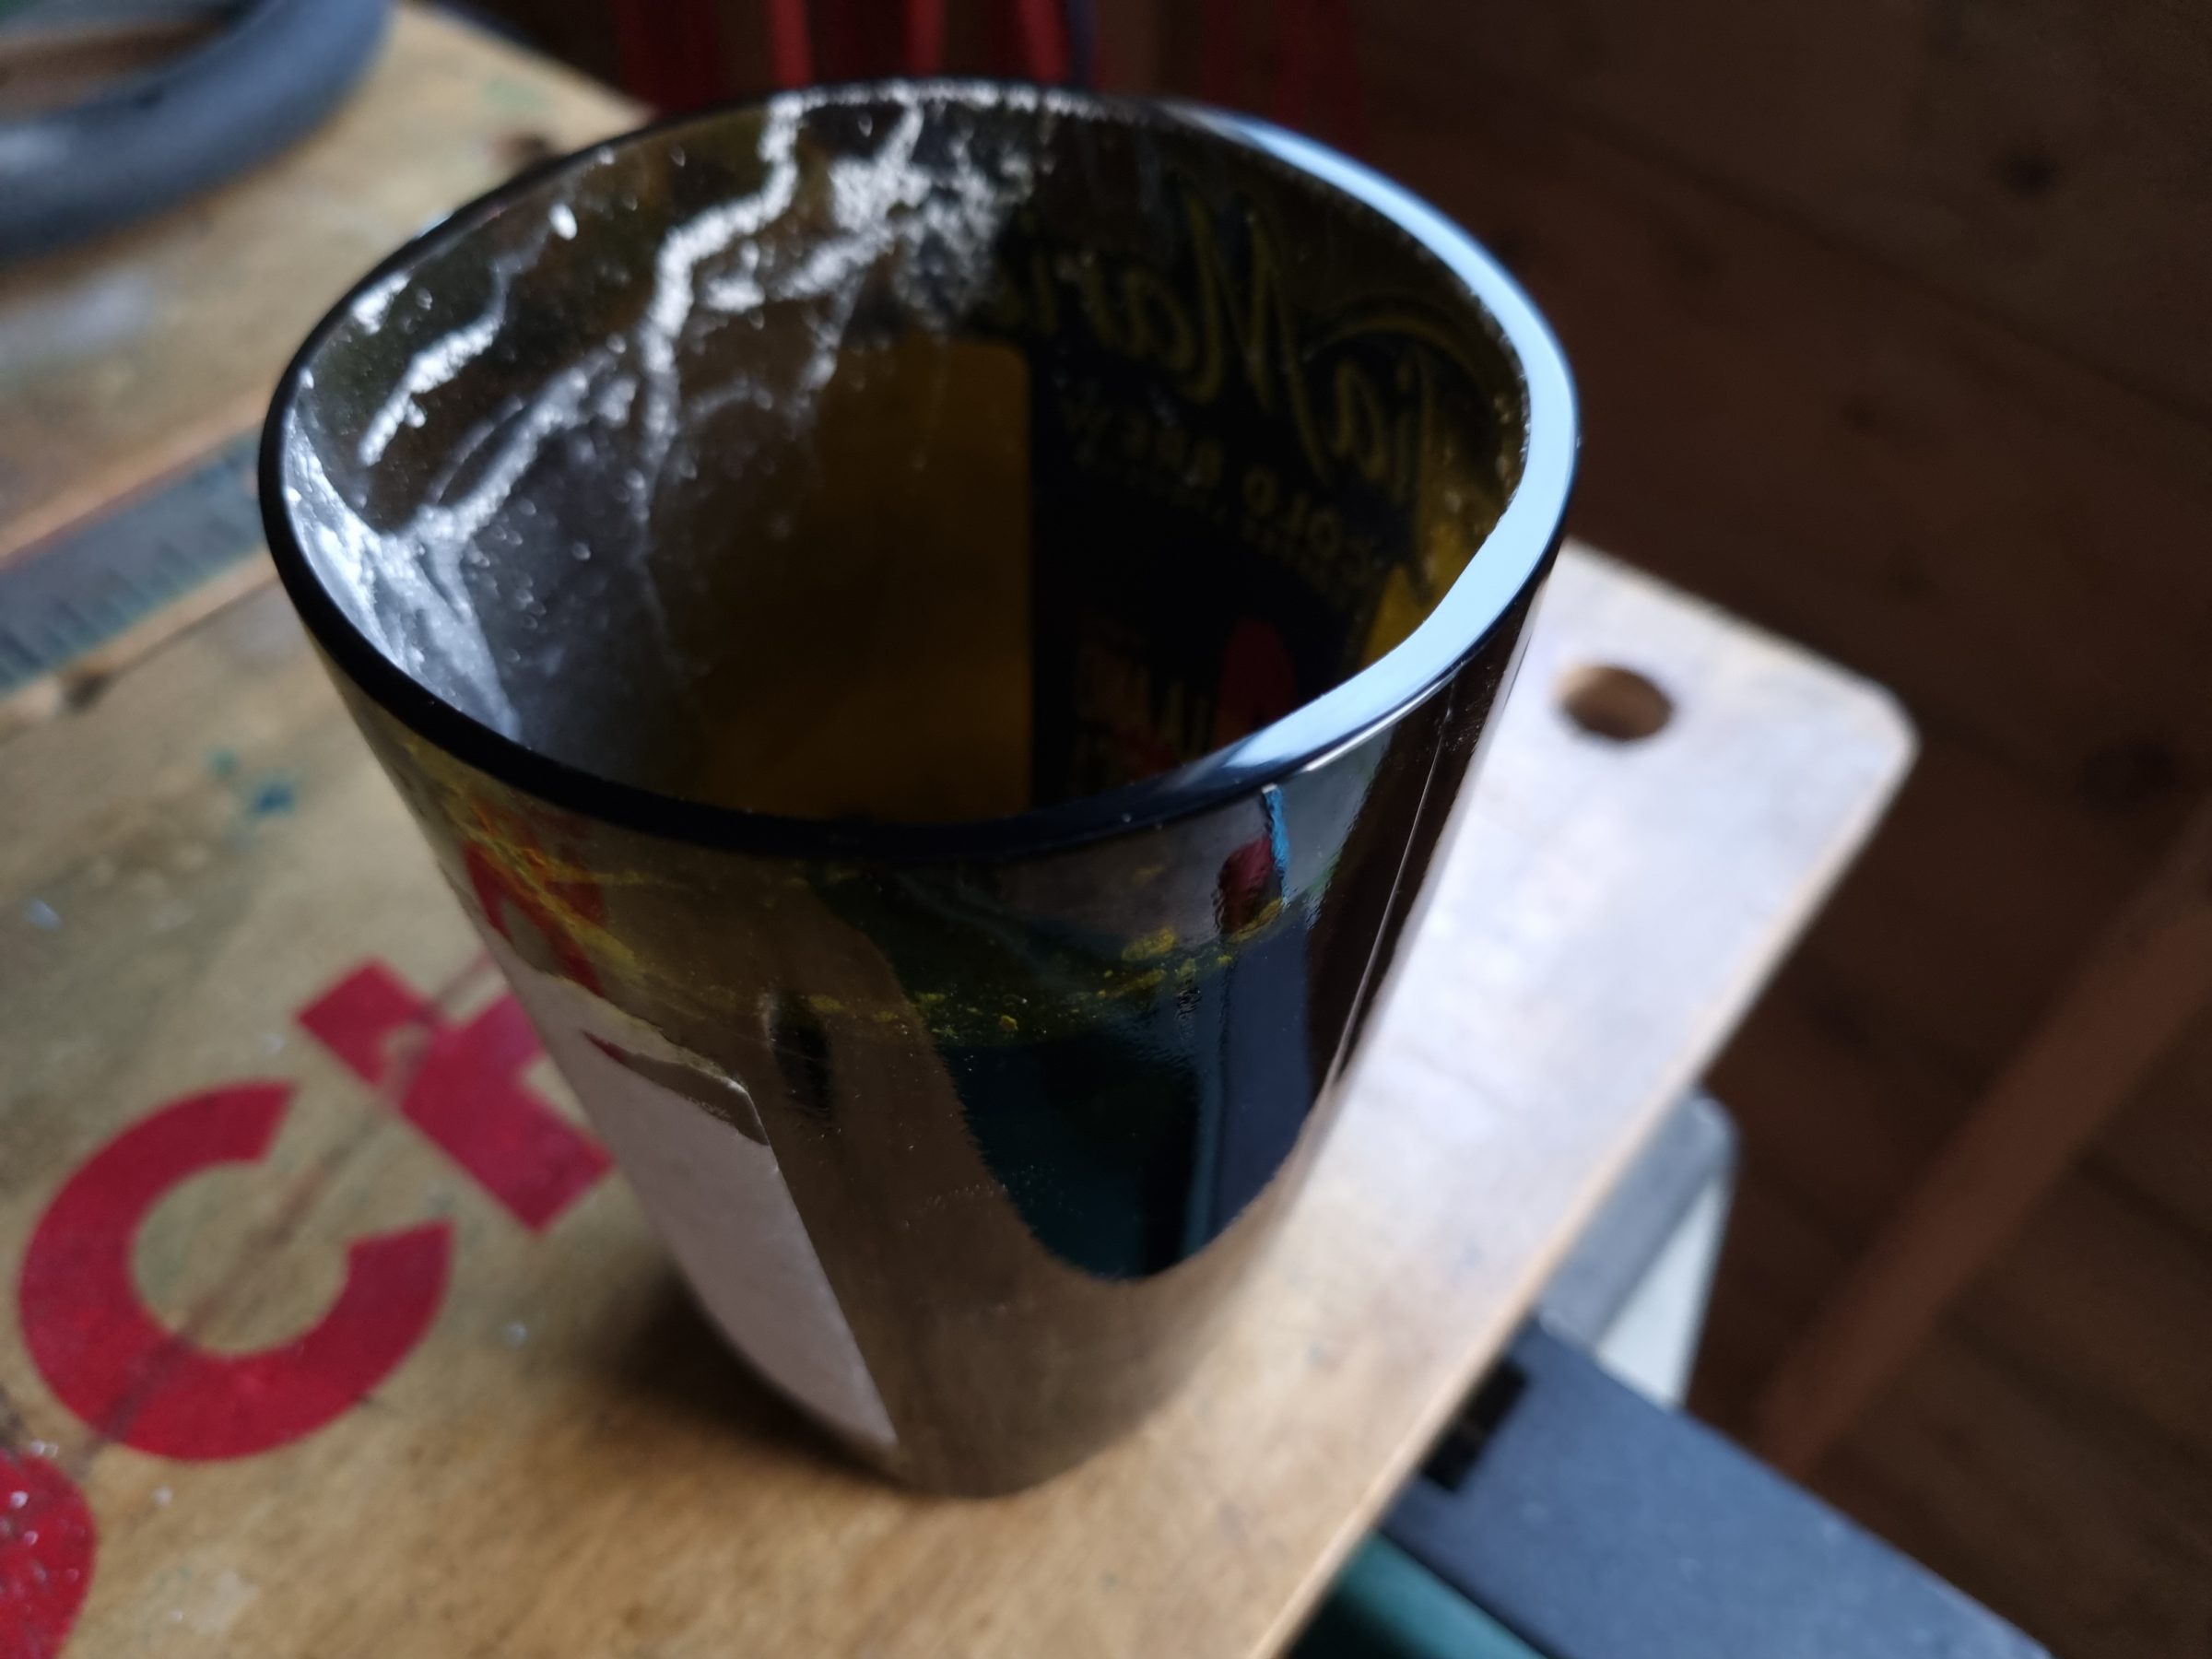
As with all my glass projects, the following step involves smoothing the inside arris, achieved using sanding drums of either 1/2 or 1 inch in size. I use 240, 400, and 600-grit sleeves for this purpose before moving on to the polishing stage. For polishing, I employ various methods depending on the project requirements. It could involve using blue compound or car scratch remover, and occasionally, I opt for cerium oxide to achieve ultra-fine surfaces. These compounds and powders are assigned to specific felt mops, either straight or tapered, depending on their particular application.


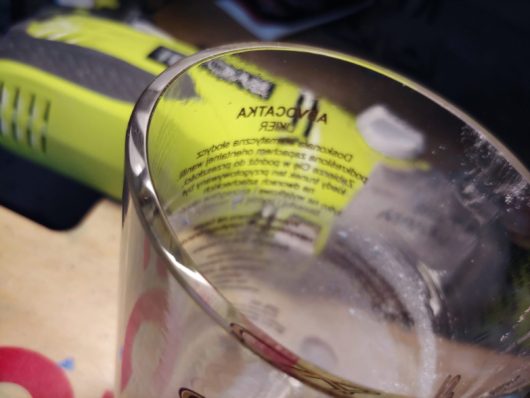
To initiate the cleaning process for that glass, I used a polishing mop. Removing the labels from it required a three-step process involving water, white spirit, and methylated spirits, an uncommon and somewhat frustrating situation. Identifying the adhesive base proved to be challenging, leaving me guessing about its composition.


The glass, tapered with uneven wall thickness, showcases an inner edge that doesn’t form a perfectly round shape, it rather resembles a polyline, tracing a path slightly different from its outer counterpart. This occurrence is typical when cutting bottles, where only the outer edge matters for the function of the container. My new Tia Maria drinking glass has a distinctive bottom featuring its name and a unique number, a beautiful detail exclusively reserved for homemade drinking glasses. Upcycling glass proves to be a time-consuming process, making these projects ideal for gifts. There’s something exceptional about gifting someone an item crafted with personal effort, adding a significance that surpasses mere commercial value.