
Mini table saw sledge
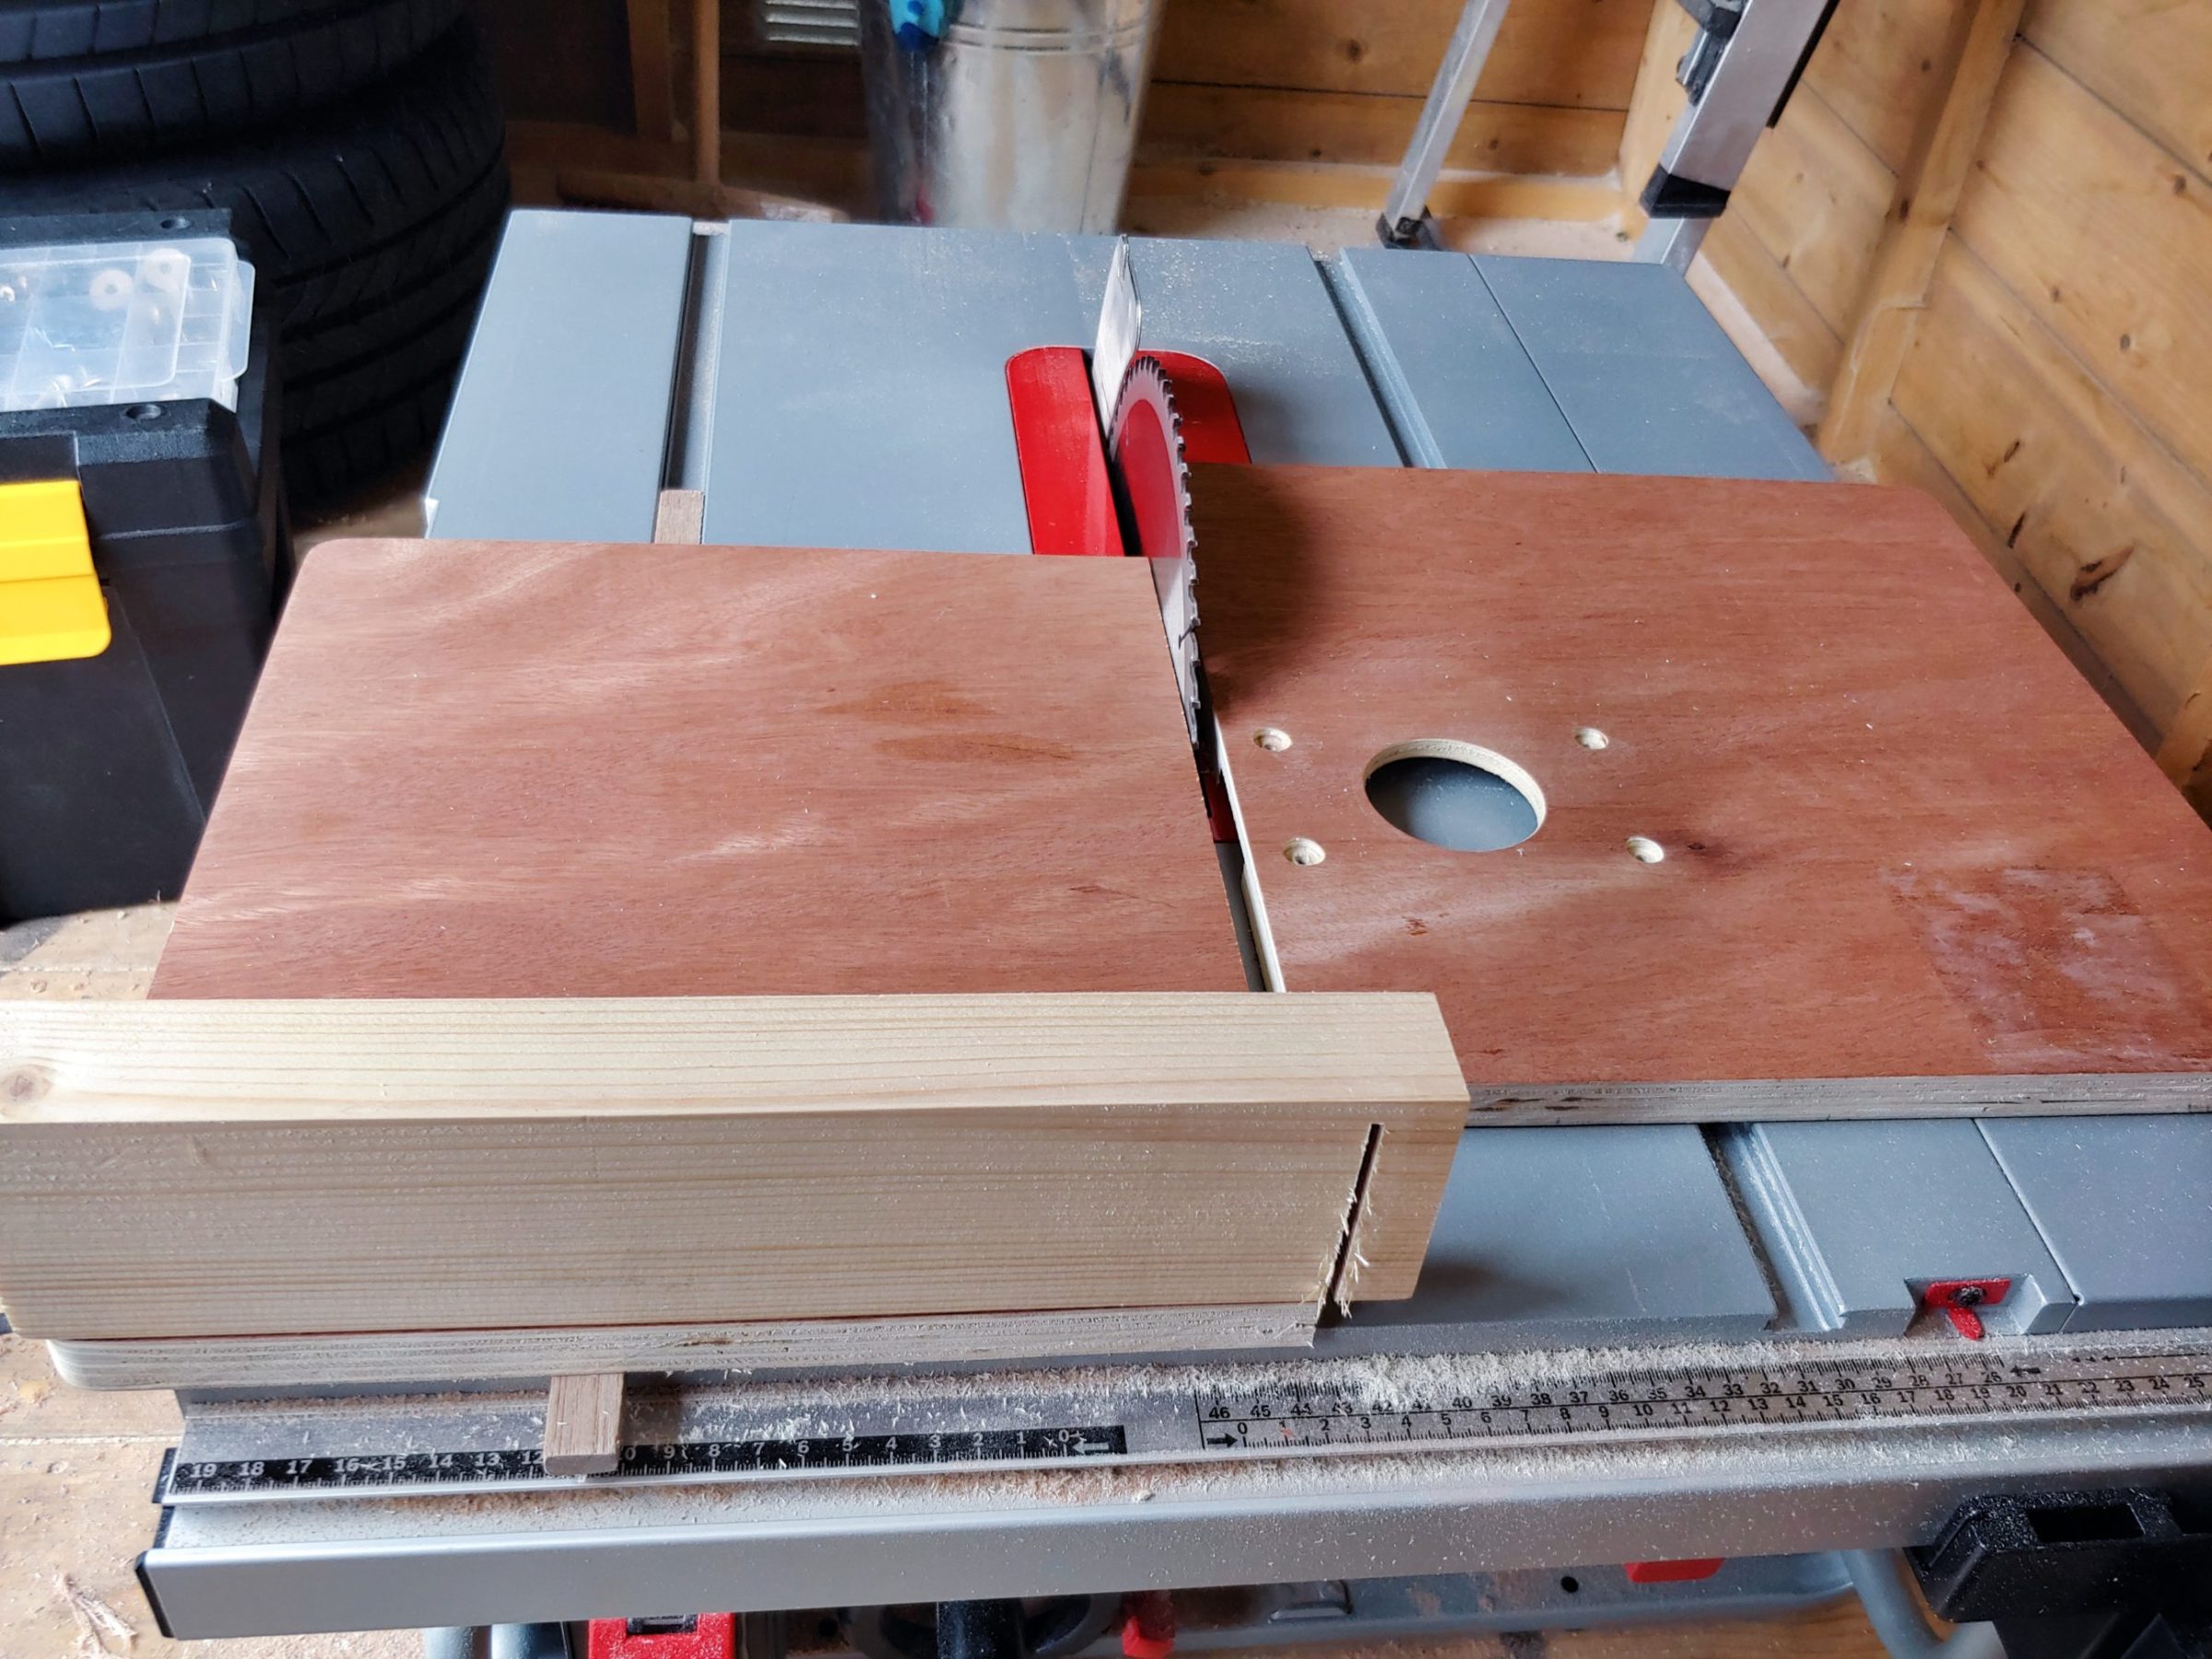
A must-have jig for every woodworker. Due to the limited storage space, I decided to build a mini version, with only one, but adjustable runner. I used plywood from my router tabletop as it wasn’t used very often. First I removed all the plastic caps and then the screws.

Using my straight line jig I cut the runner to width. Sanding and drilling holes came next. The runner can be adjusted with 4 little screws that also prevent the sledge from popping out of the slot.


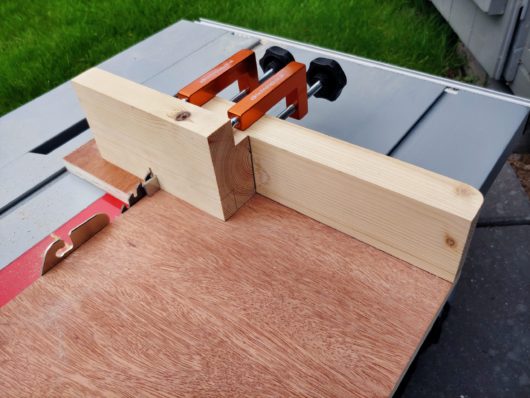
Fixing the back fence at the perfect angle took me 3 attempts thus there are 3 holes at the back. First I fixed the fence to one side of the base and using some silly methods I tried to figure out the right angle. It didn’t work at all. I fixed the fence in the most square position, cut the board, checked the angles and drew a line on the side to have a reference point for my progress.


I finally found the perfect angle and cut some test pieces to make sure the sledge is accurate.


The next step was to cut the excess off with my flush-cut saw and to round these edges with my belt sander.


That was easier than expected and didn’t take much time.


After a light sanding, it was ready to go!


6 Comments
Pingback:
Pingback:
Pingback:
Pingback:
Pingback:
Pingback: