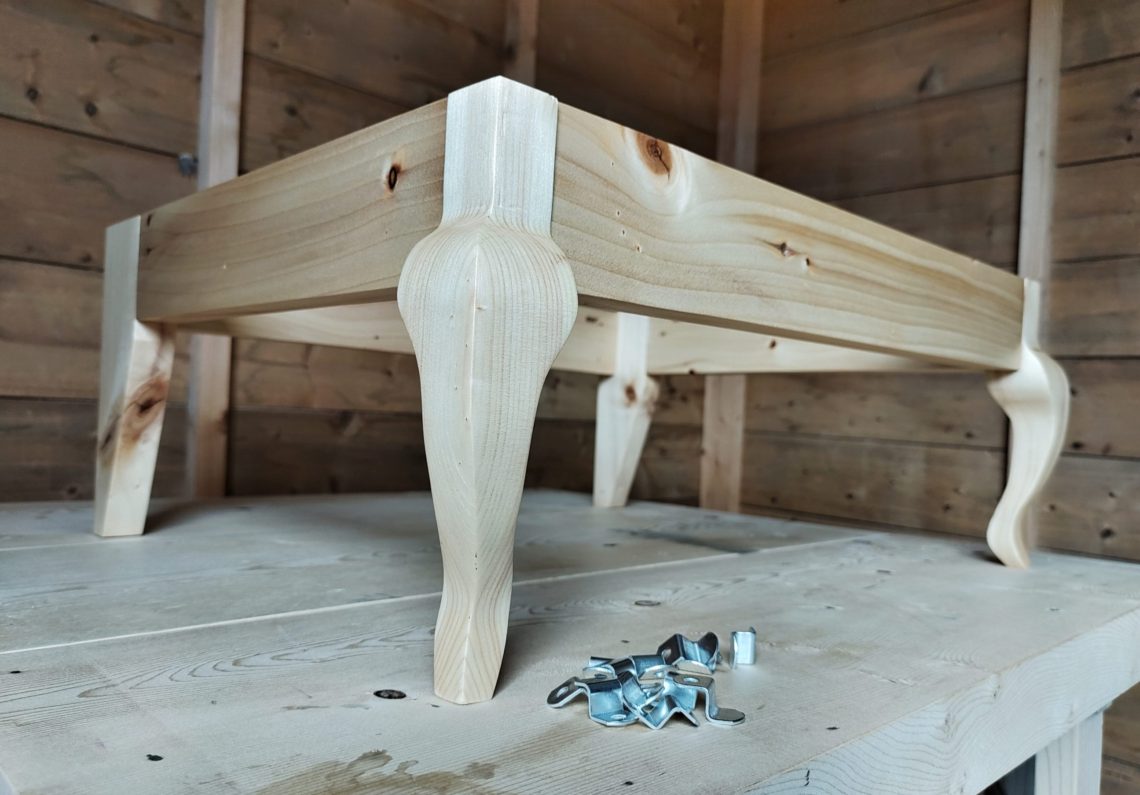
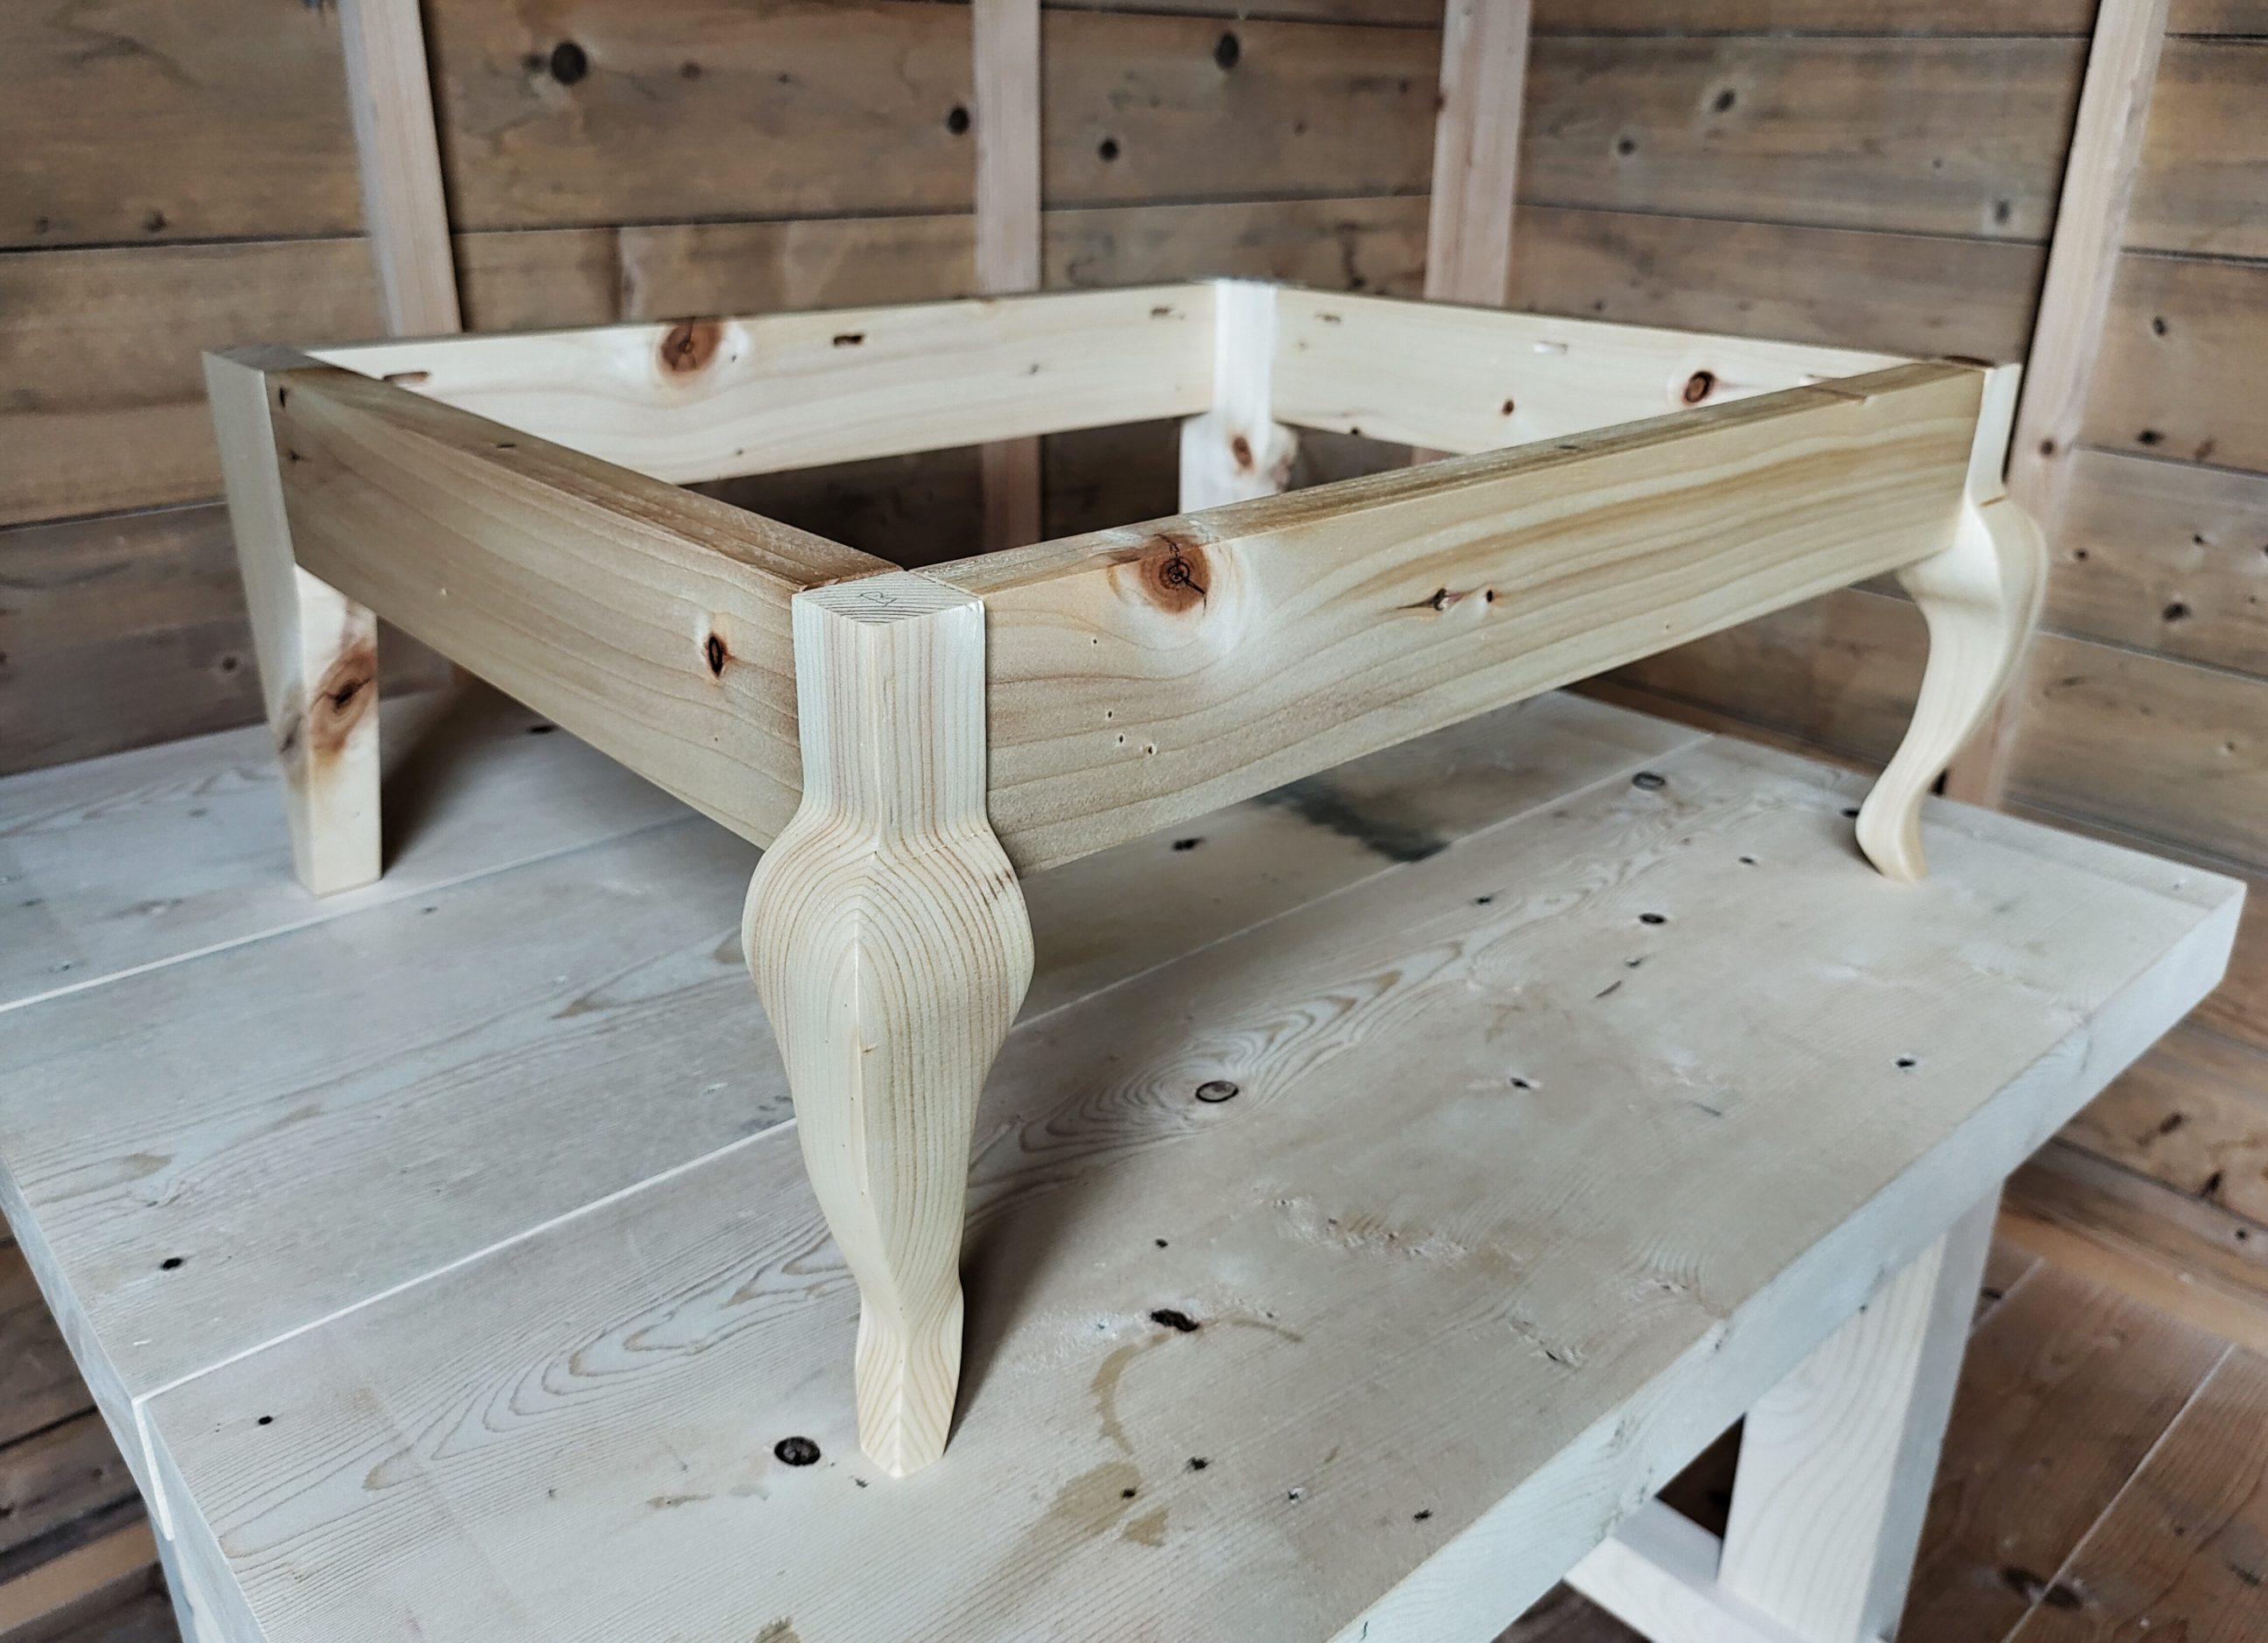
Jigsaw cabriole legs
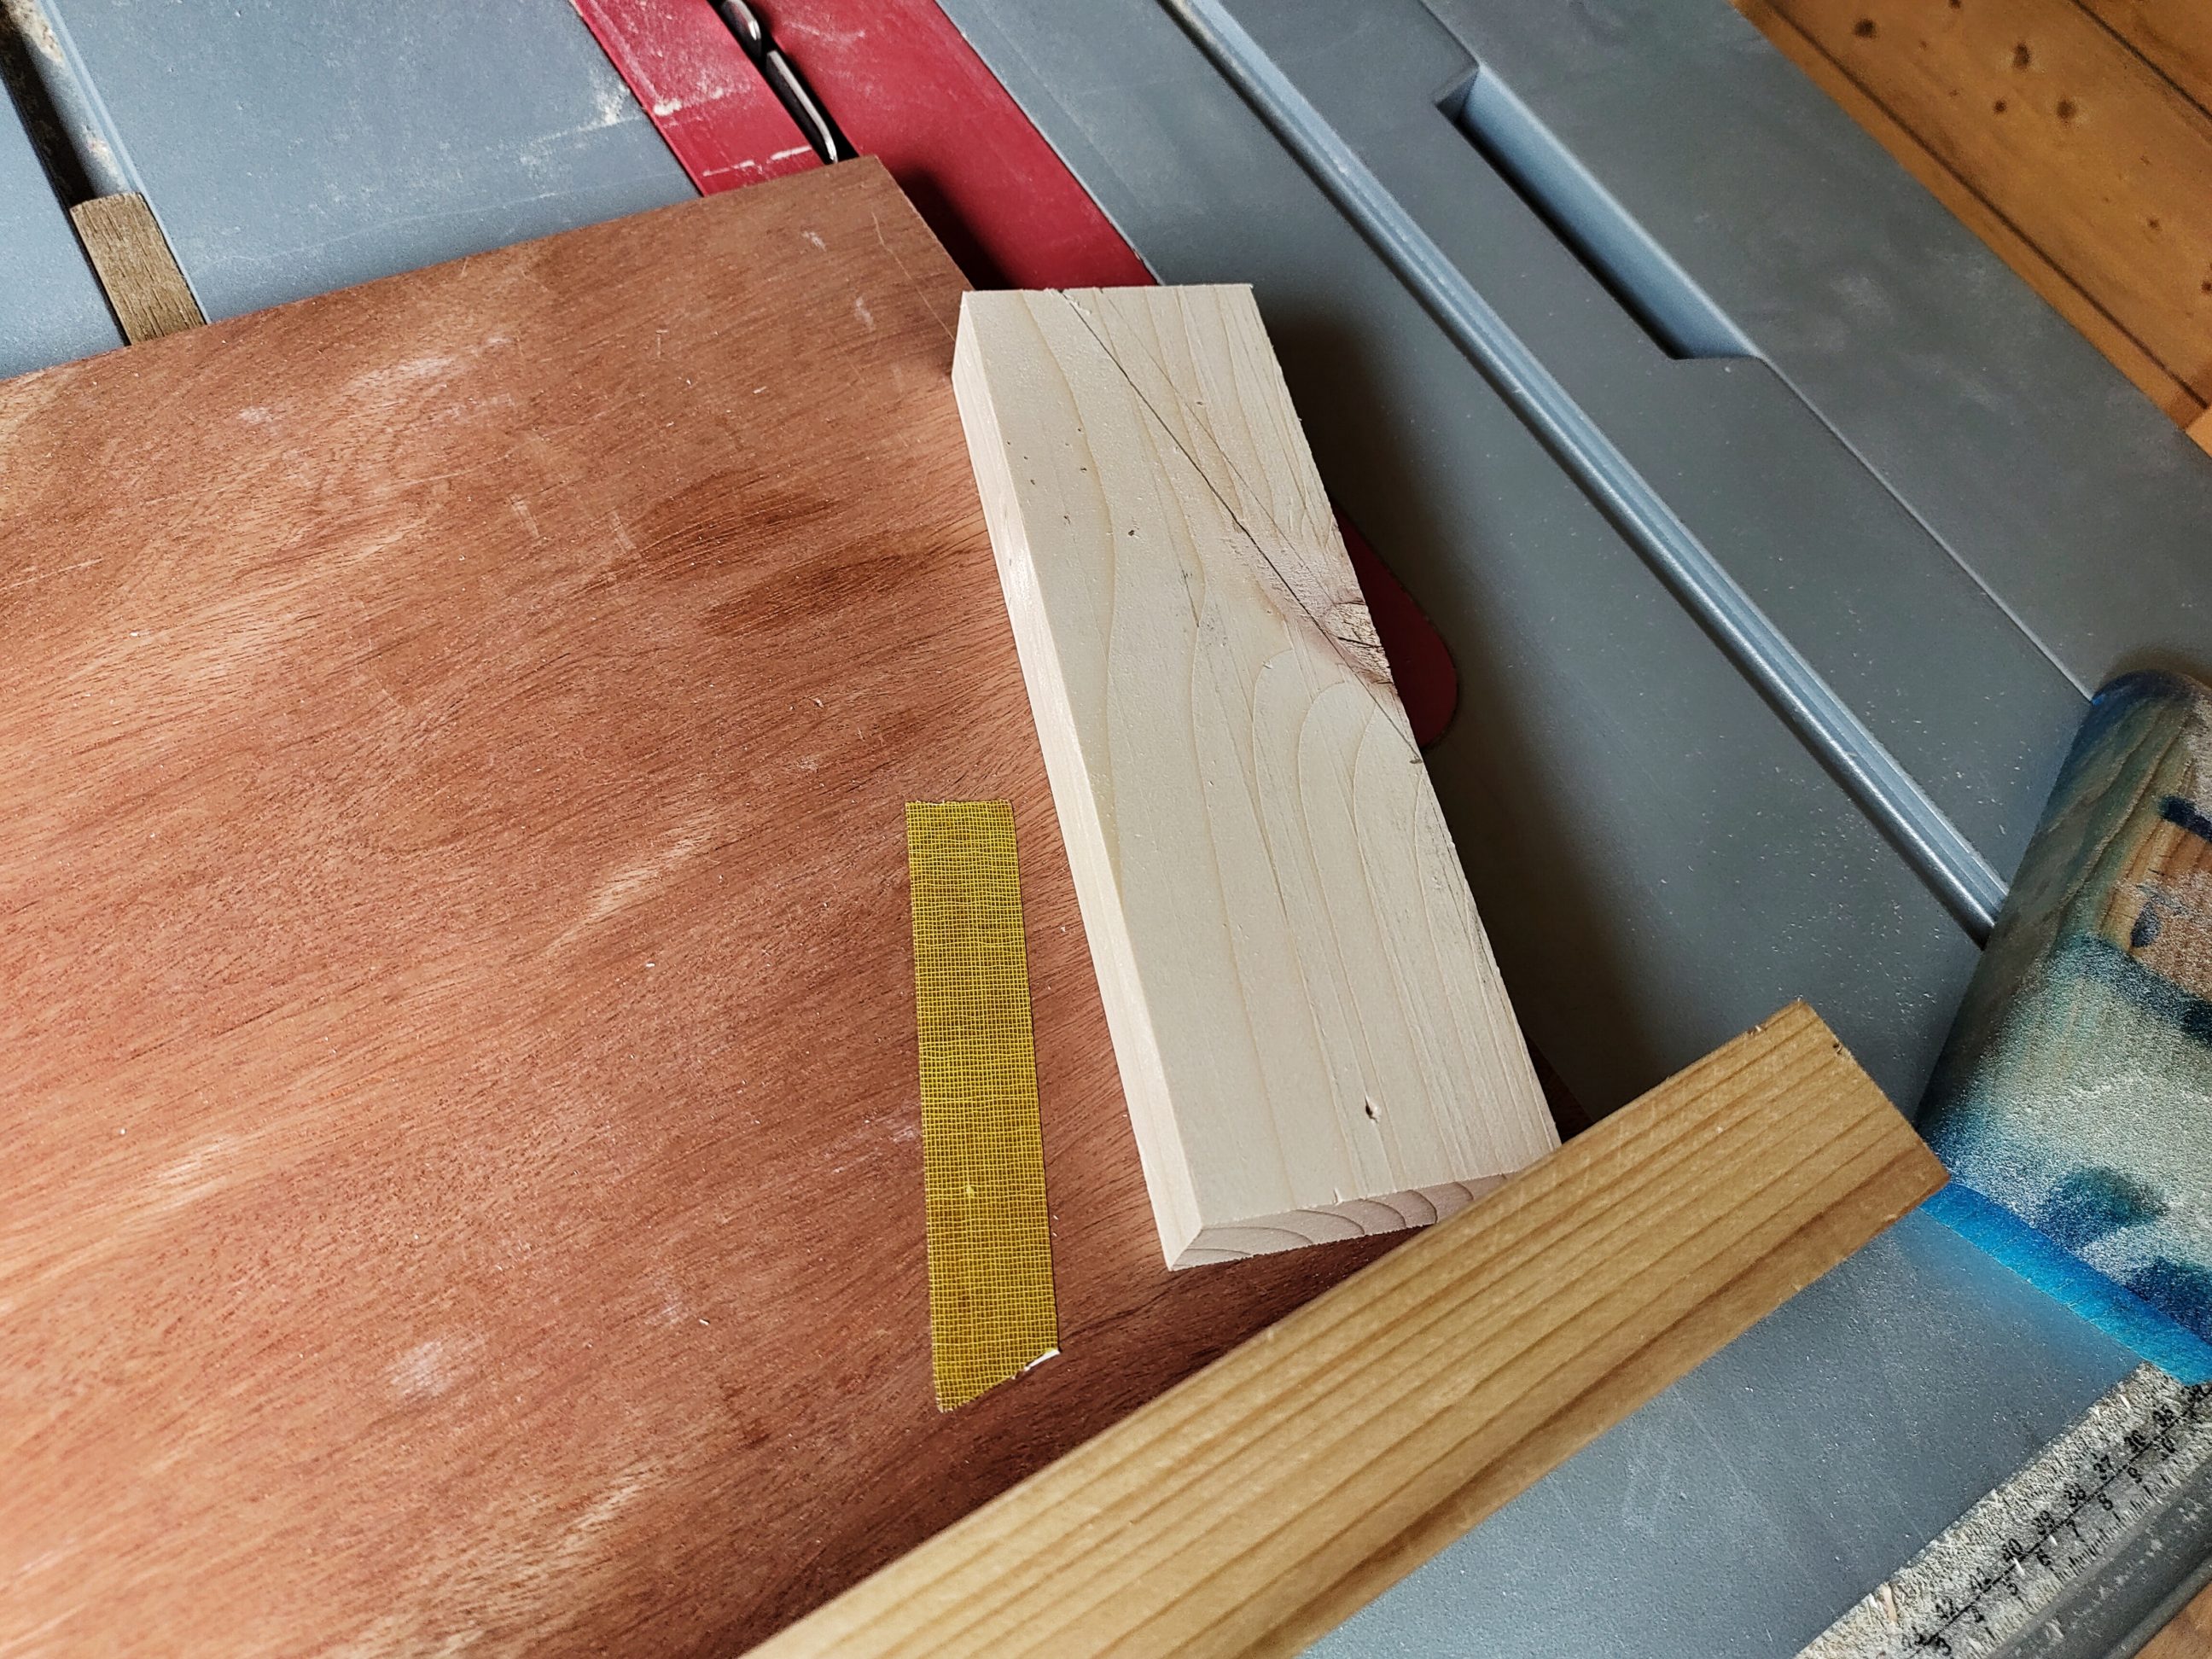
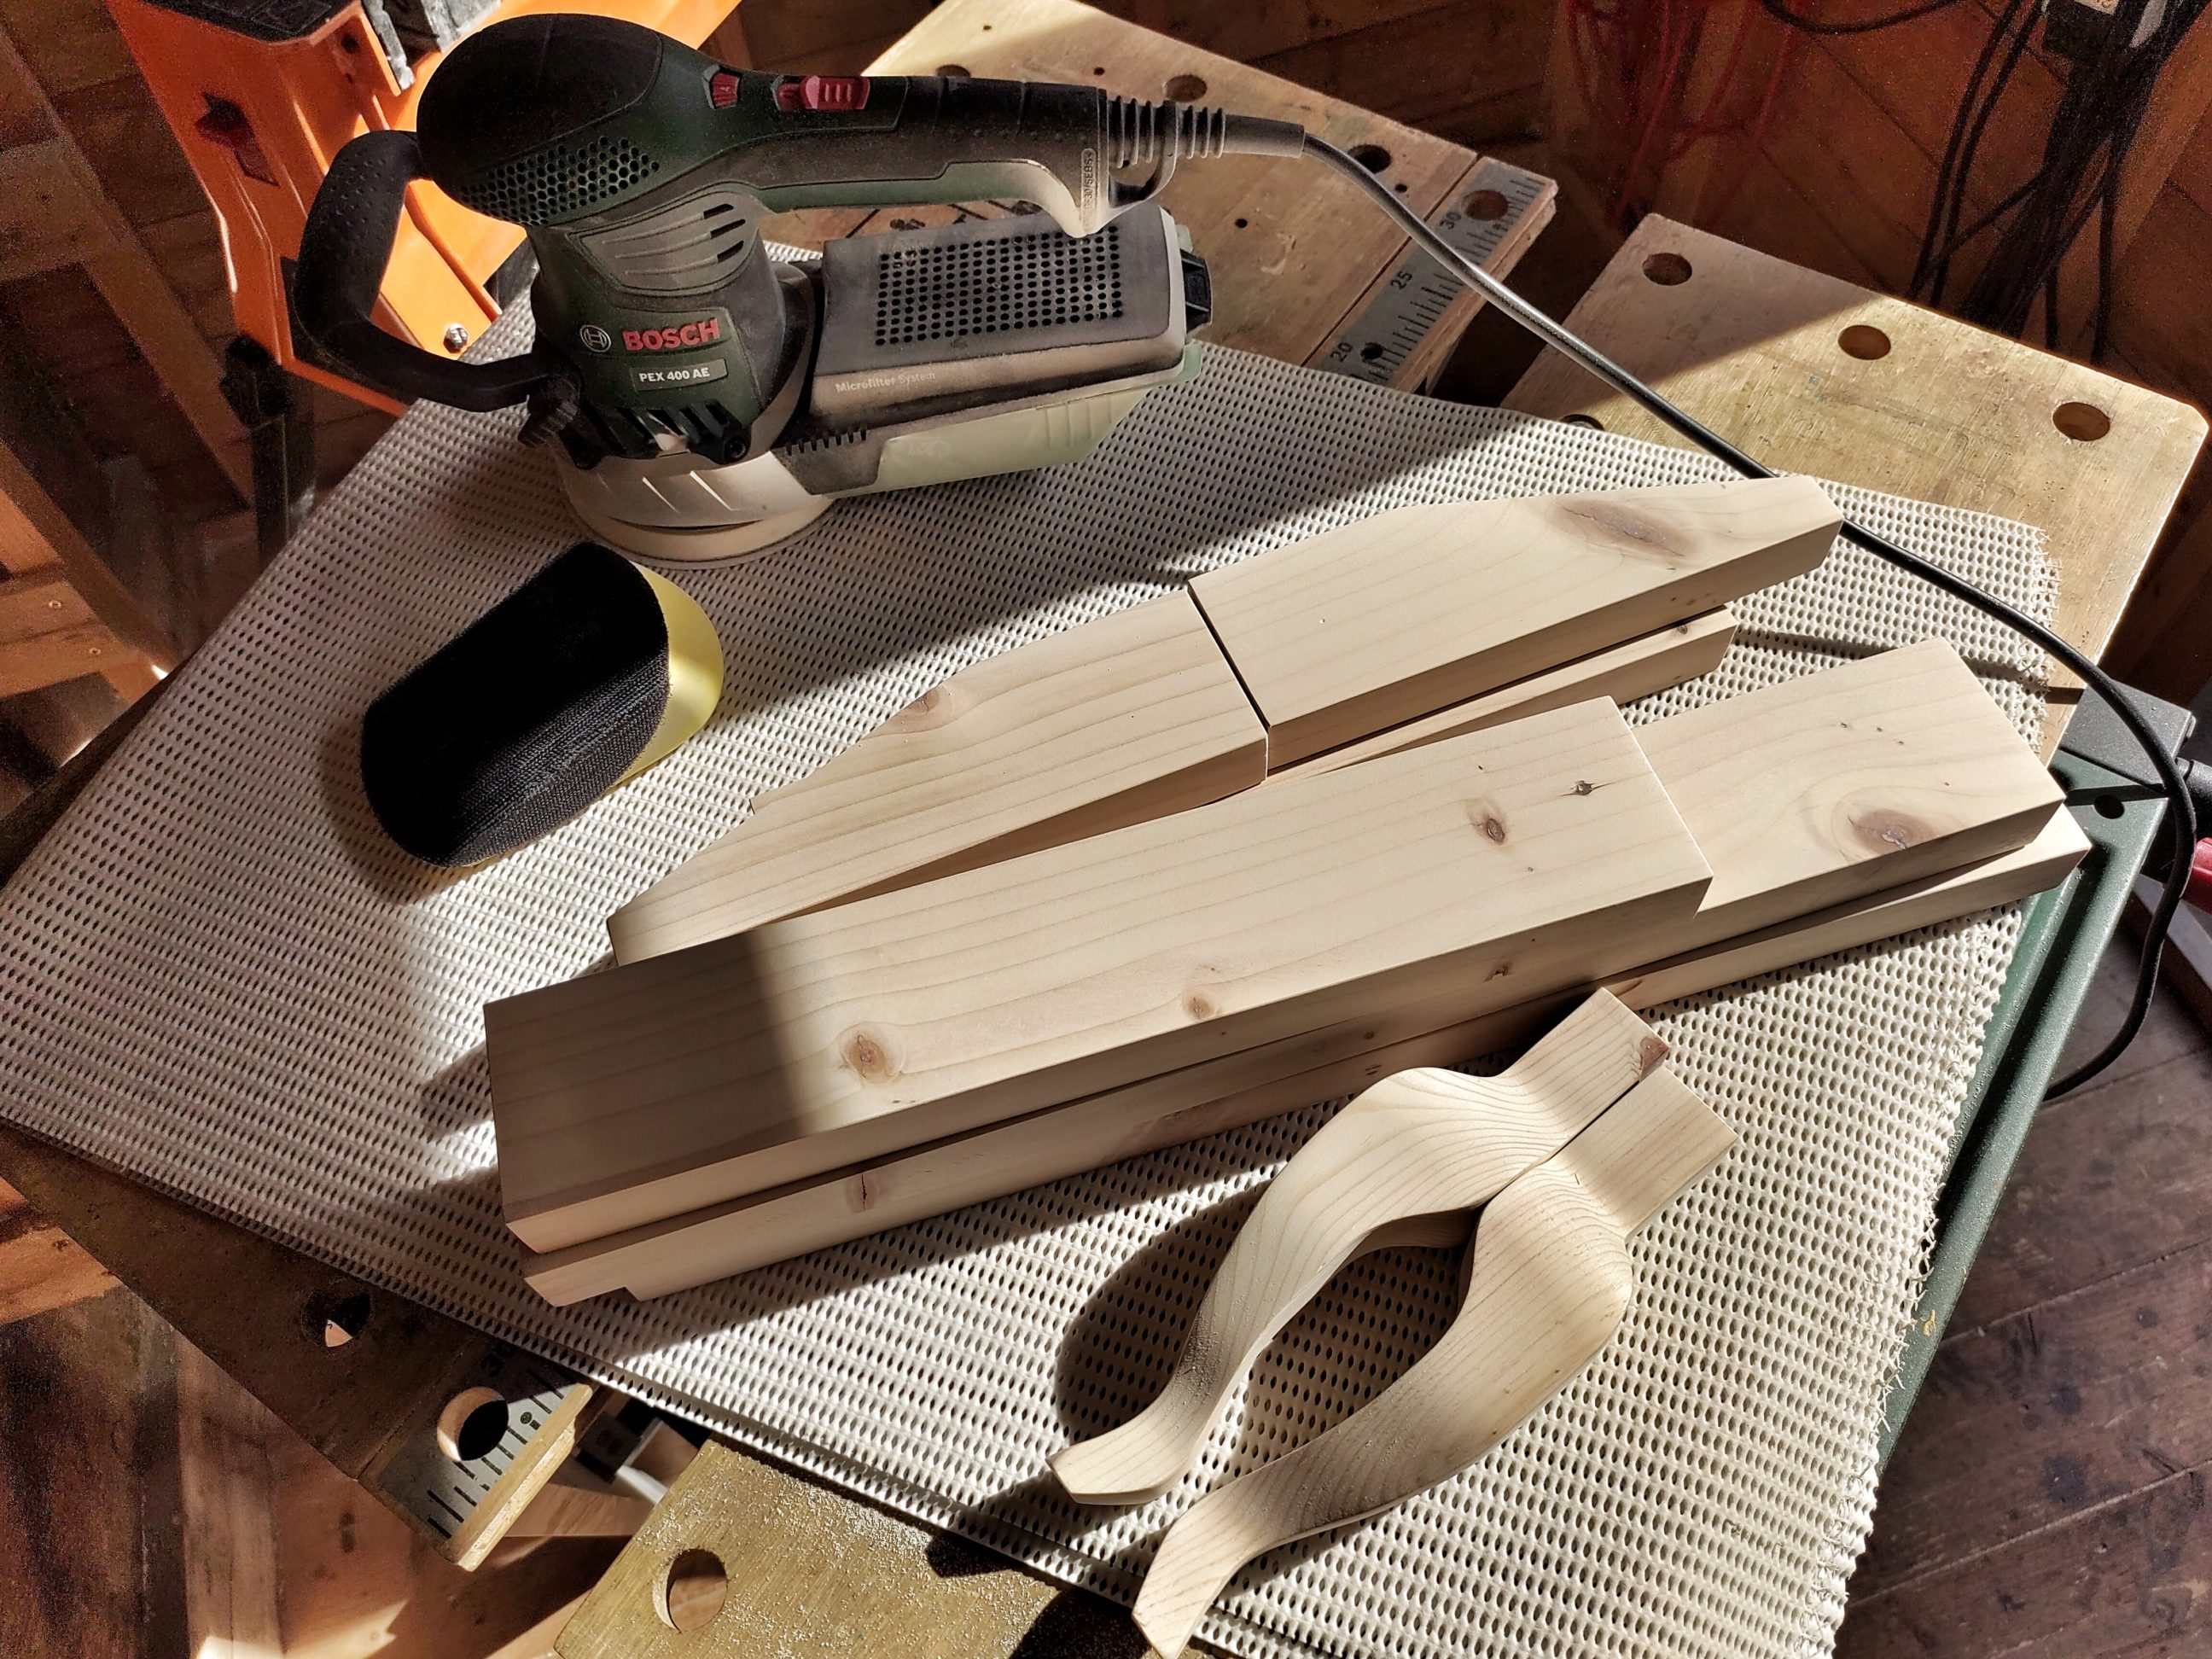
This base has 2 cabriole legs in the front and 2 regular legs at the back. It’s made that way because only the front ones will be visible. That was a project which I postponed for a long time, looking for the right tool for the job. The most obvious choice would be a band saw, of course, which I don’t have. But I like to complicate things and try alternative tools and methods to make stuff. The jigsaw, I used, was powerful and heavy-duty and could cut up to 150 mm (almost 6″) through the wood! It accepts blades of 250 mm (almost 10″) in length – a monster! I had to give it a try. The process should be the same as with a band saw, right? I used a cardboard template to trace out the shape and started cutting.

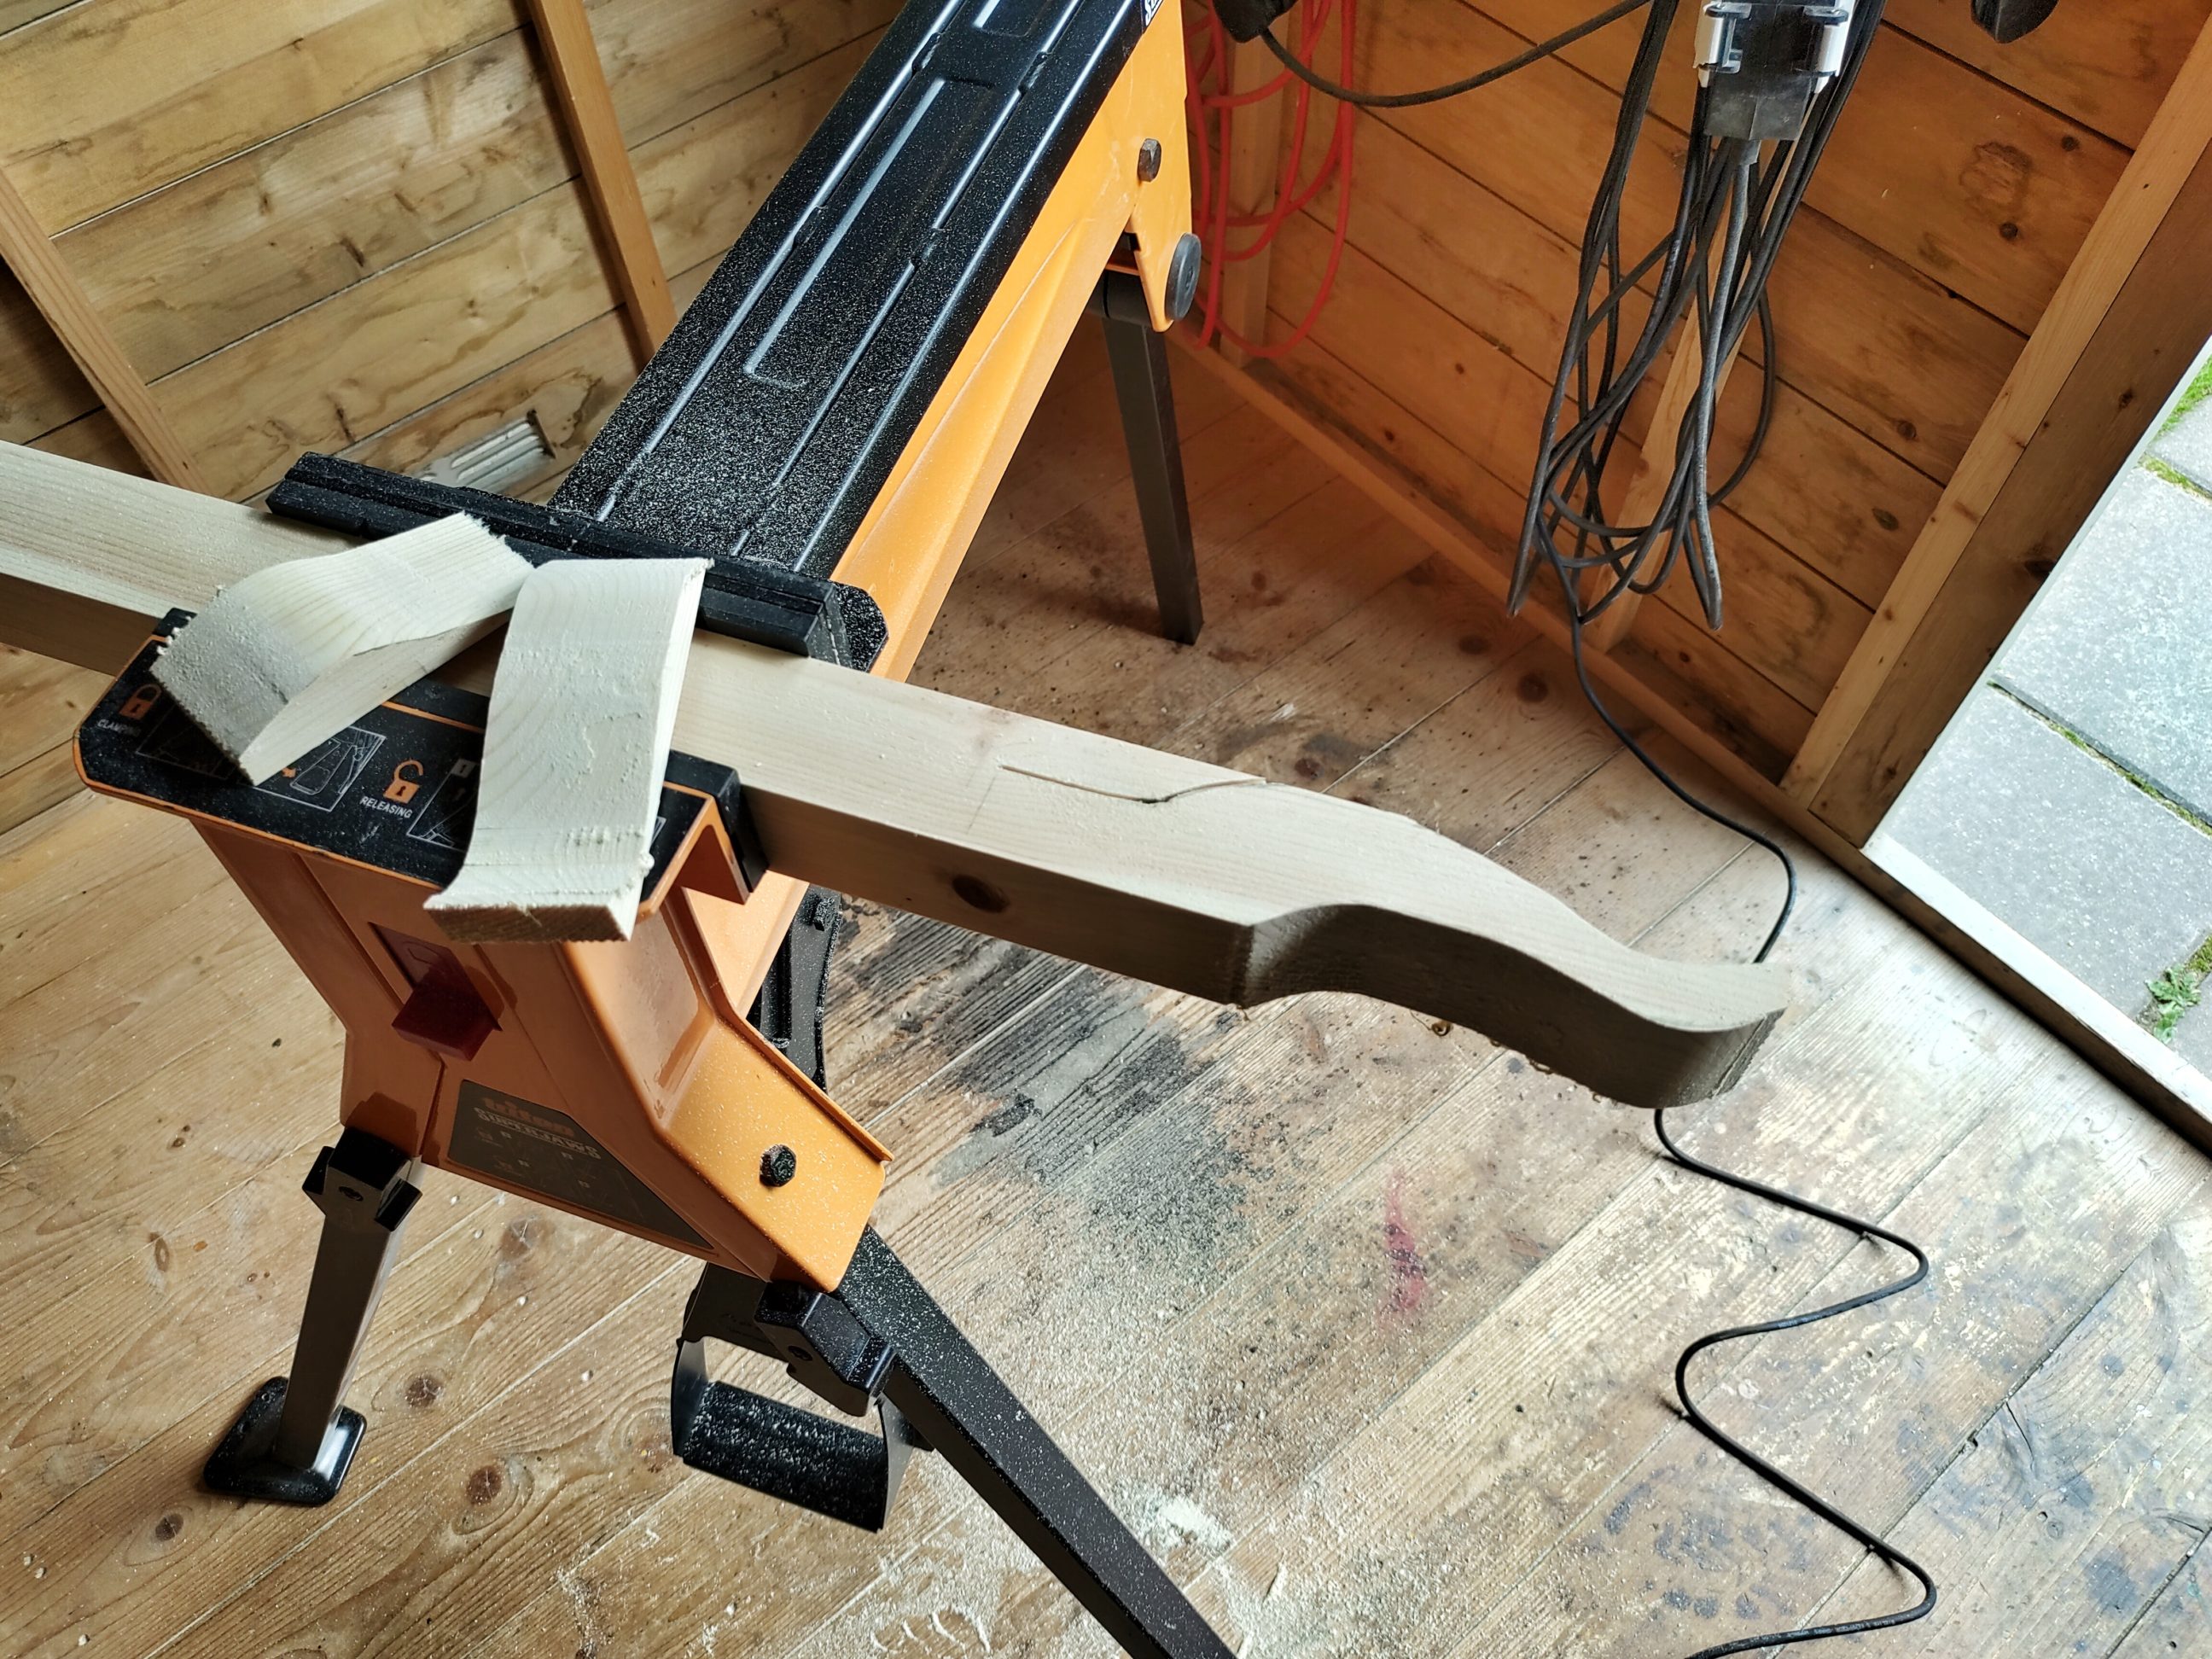
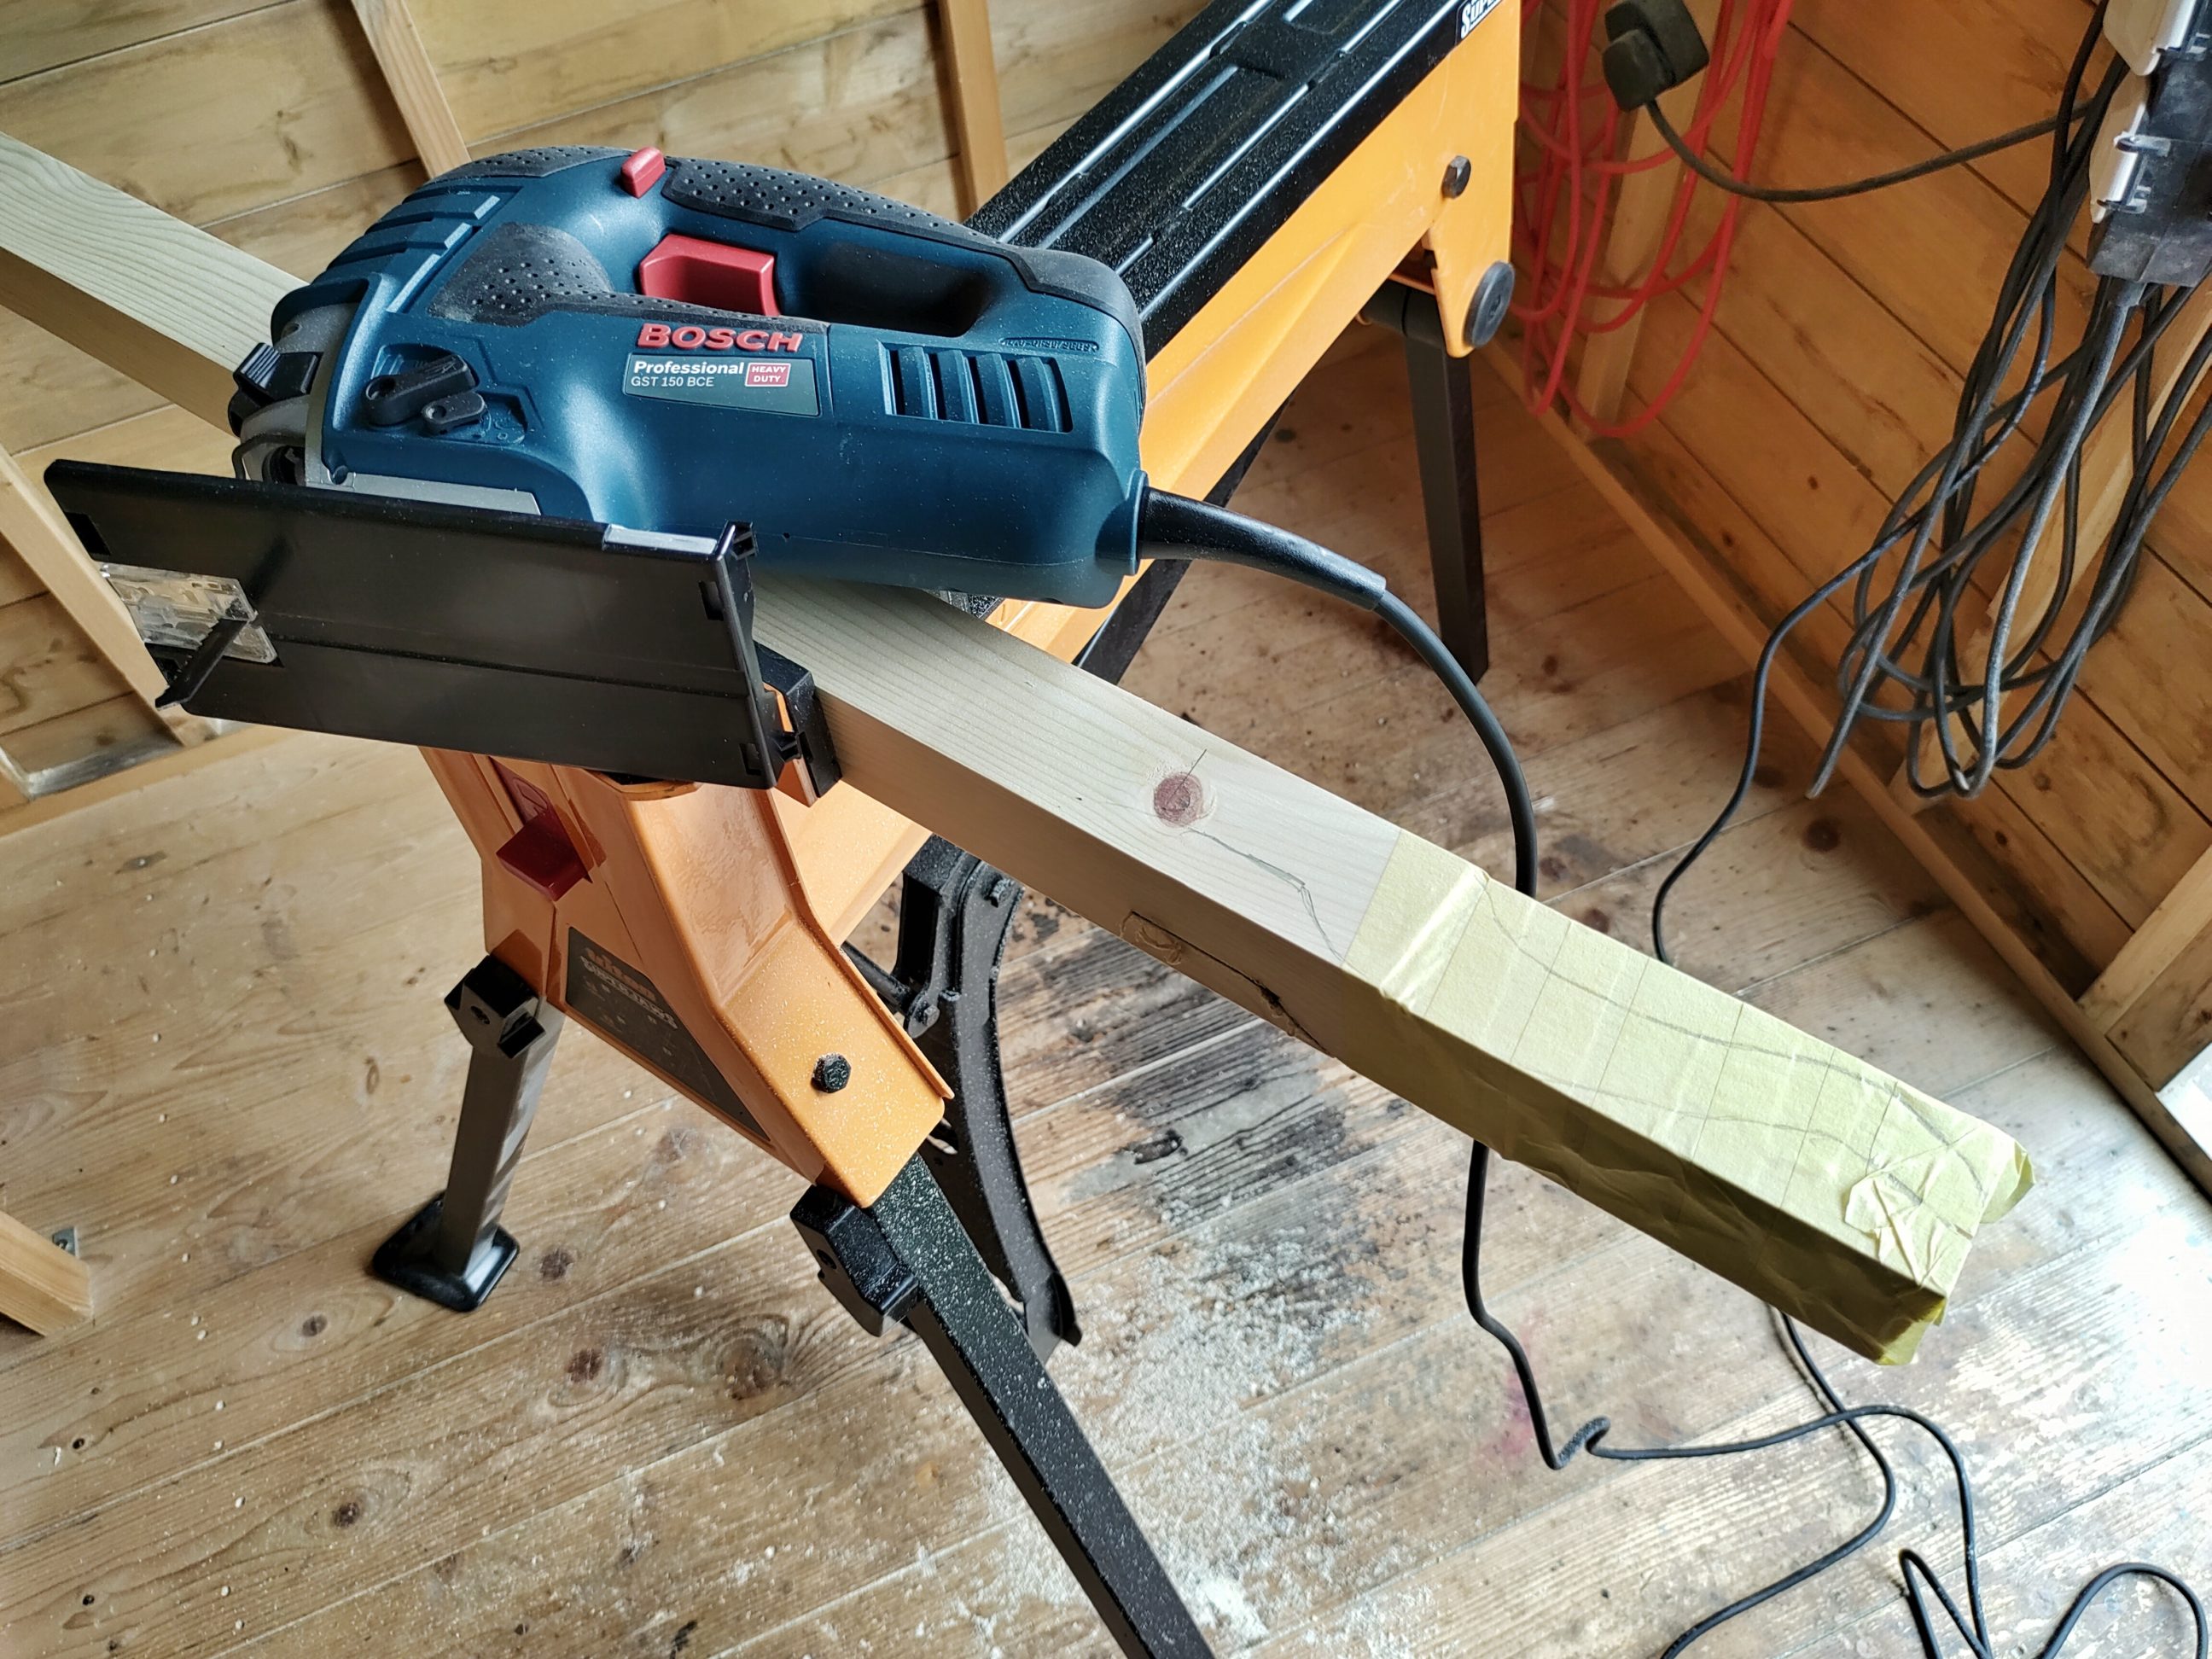


The first leg was cut off from the post after all the cuts were done. For the second leg, I did it differently – I had easier access to cut the top of the leg with the blade. But that was the only difference, the whole idea remained the same – cut one side, save the off-cuts, put them back with a painter’s tape, trace out the other side and cut again. It actually didn’t take long, sanding was the worst. It was helpful to use a rasp first, to remove the excess, and then proceed with a sanding block. A long process, that’s why the back legs were cut differently.


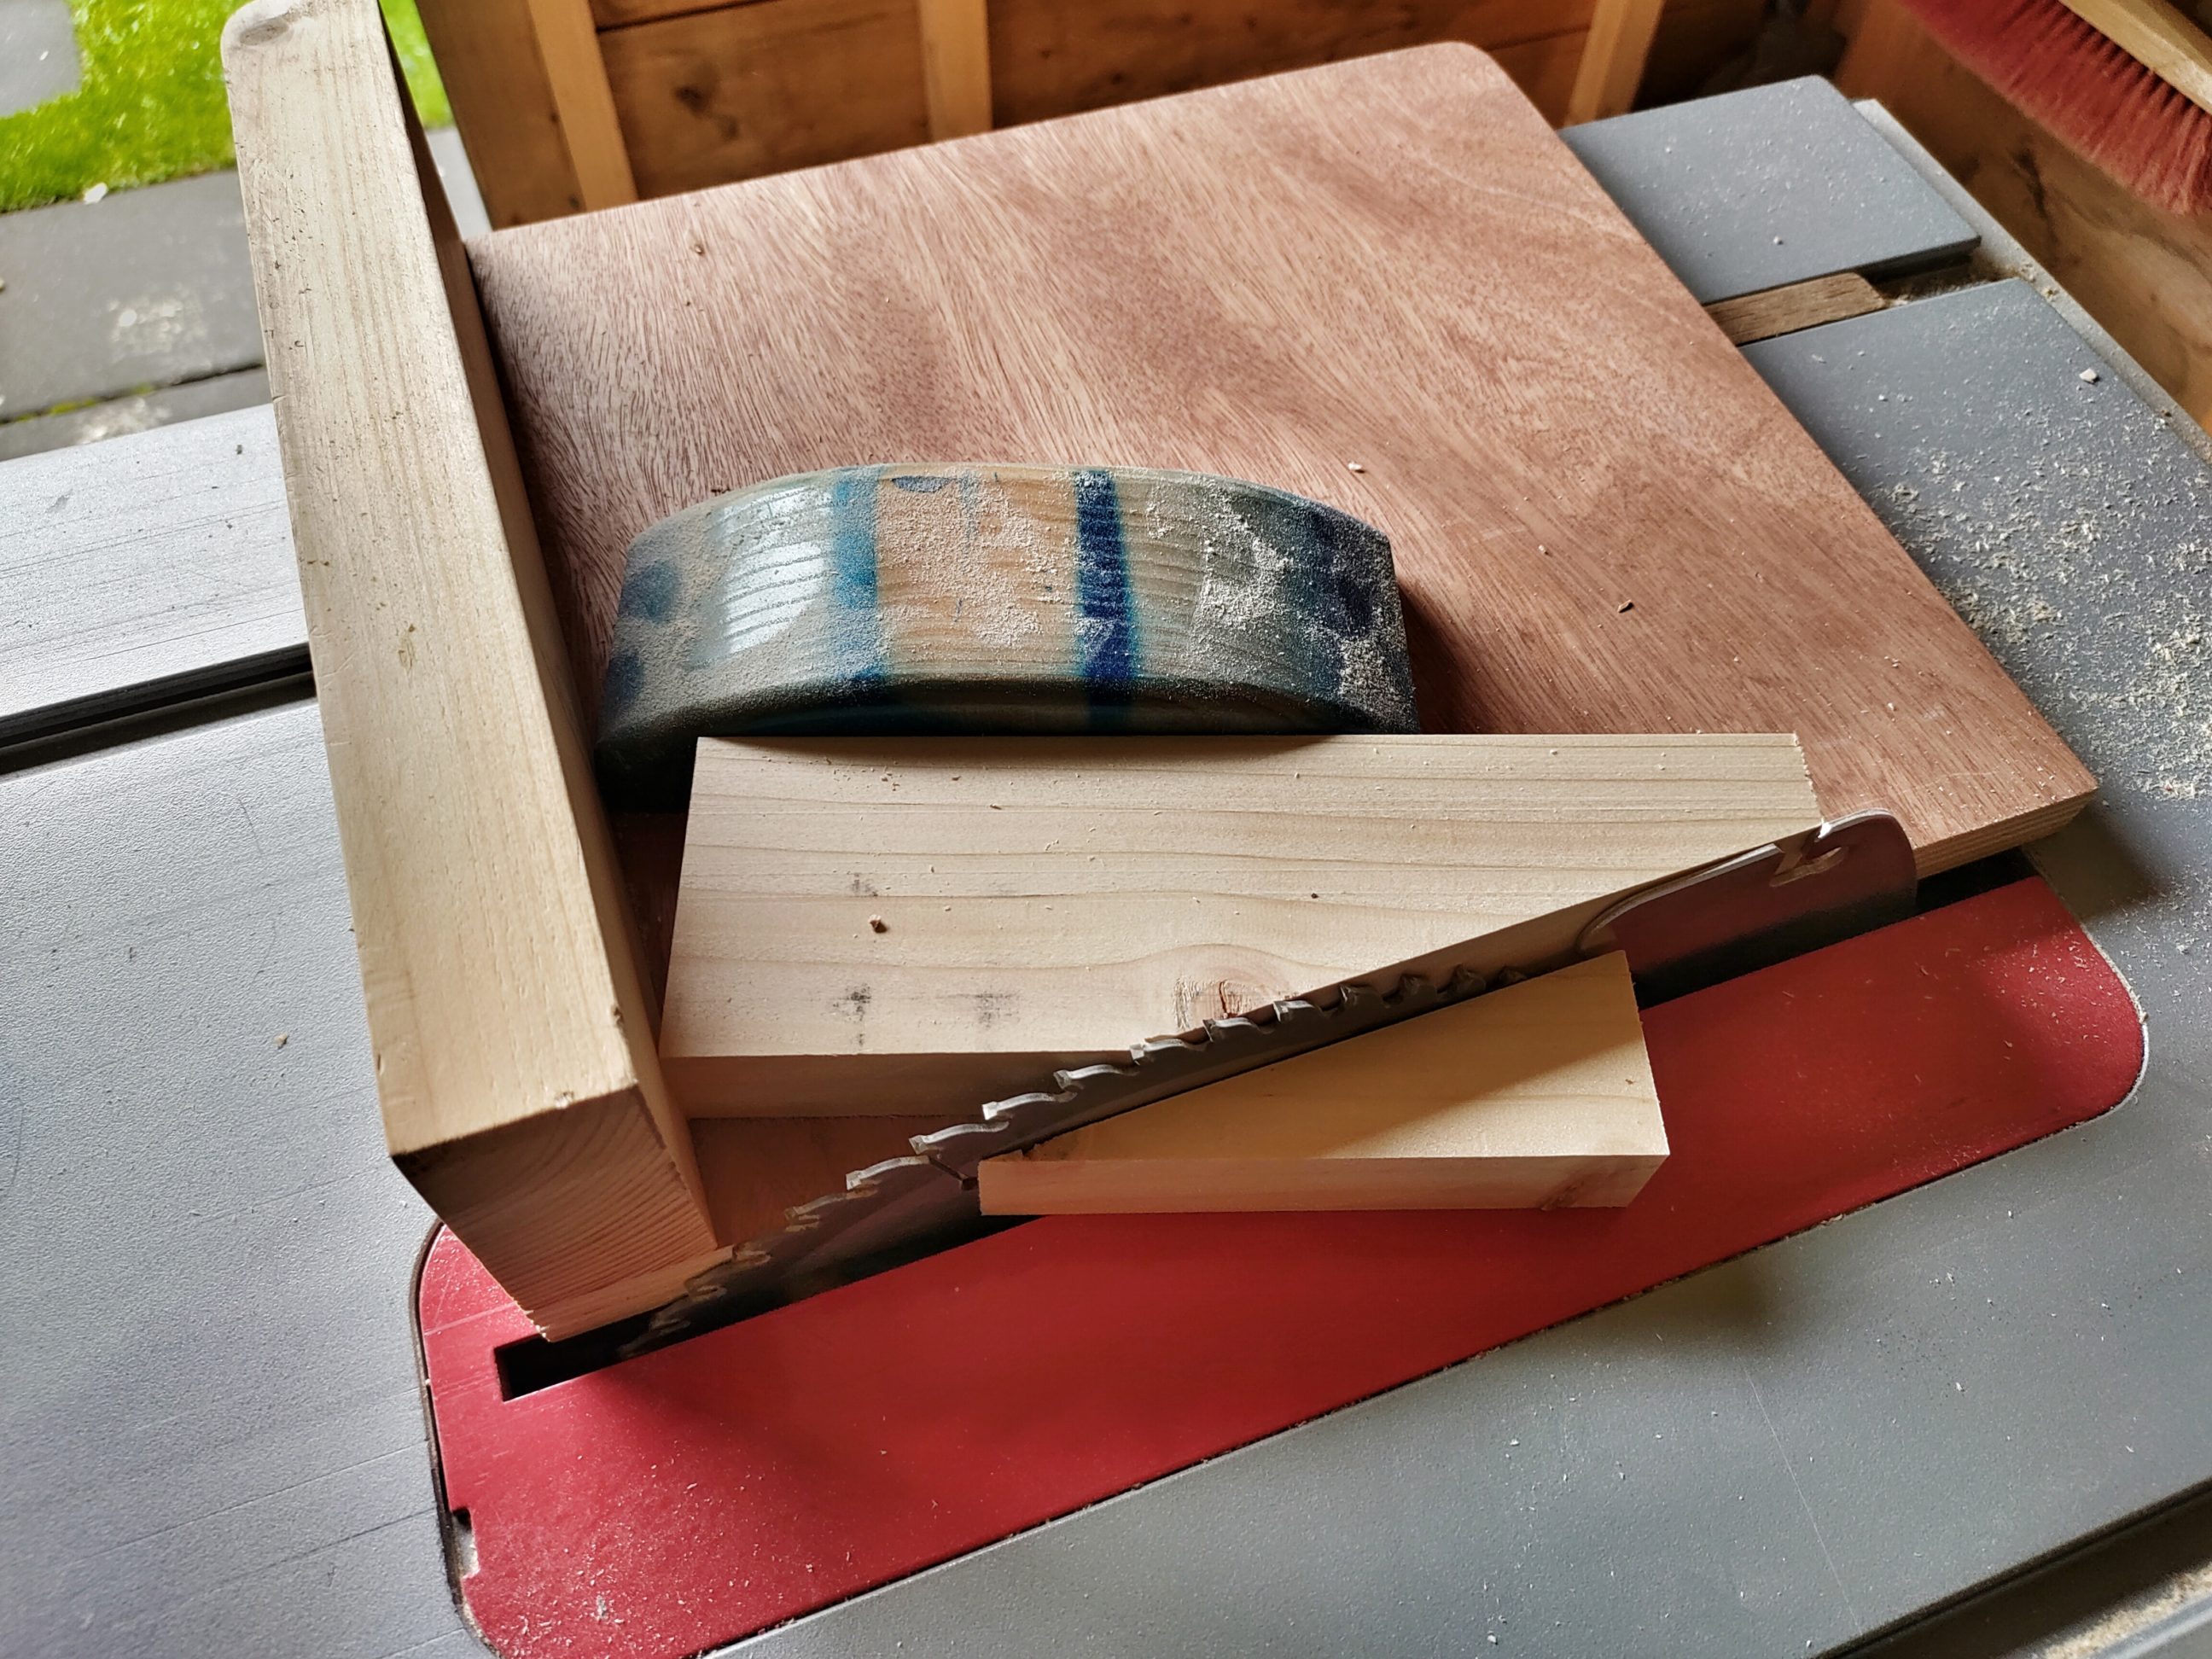
I cut off both ends on a table saw and sanded the bottoms again. Then I moved onto the apron and the back legs. They were made from old 2×4’s, I checked for metal and planed them down with a thickness planer.


Next, I cut them to width and length. That way, I got a base with dimensions of about 45 x 55 cm (18″ x 21 1/2″).


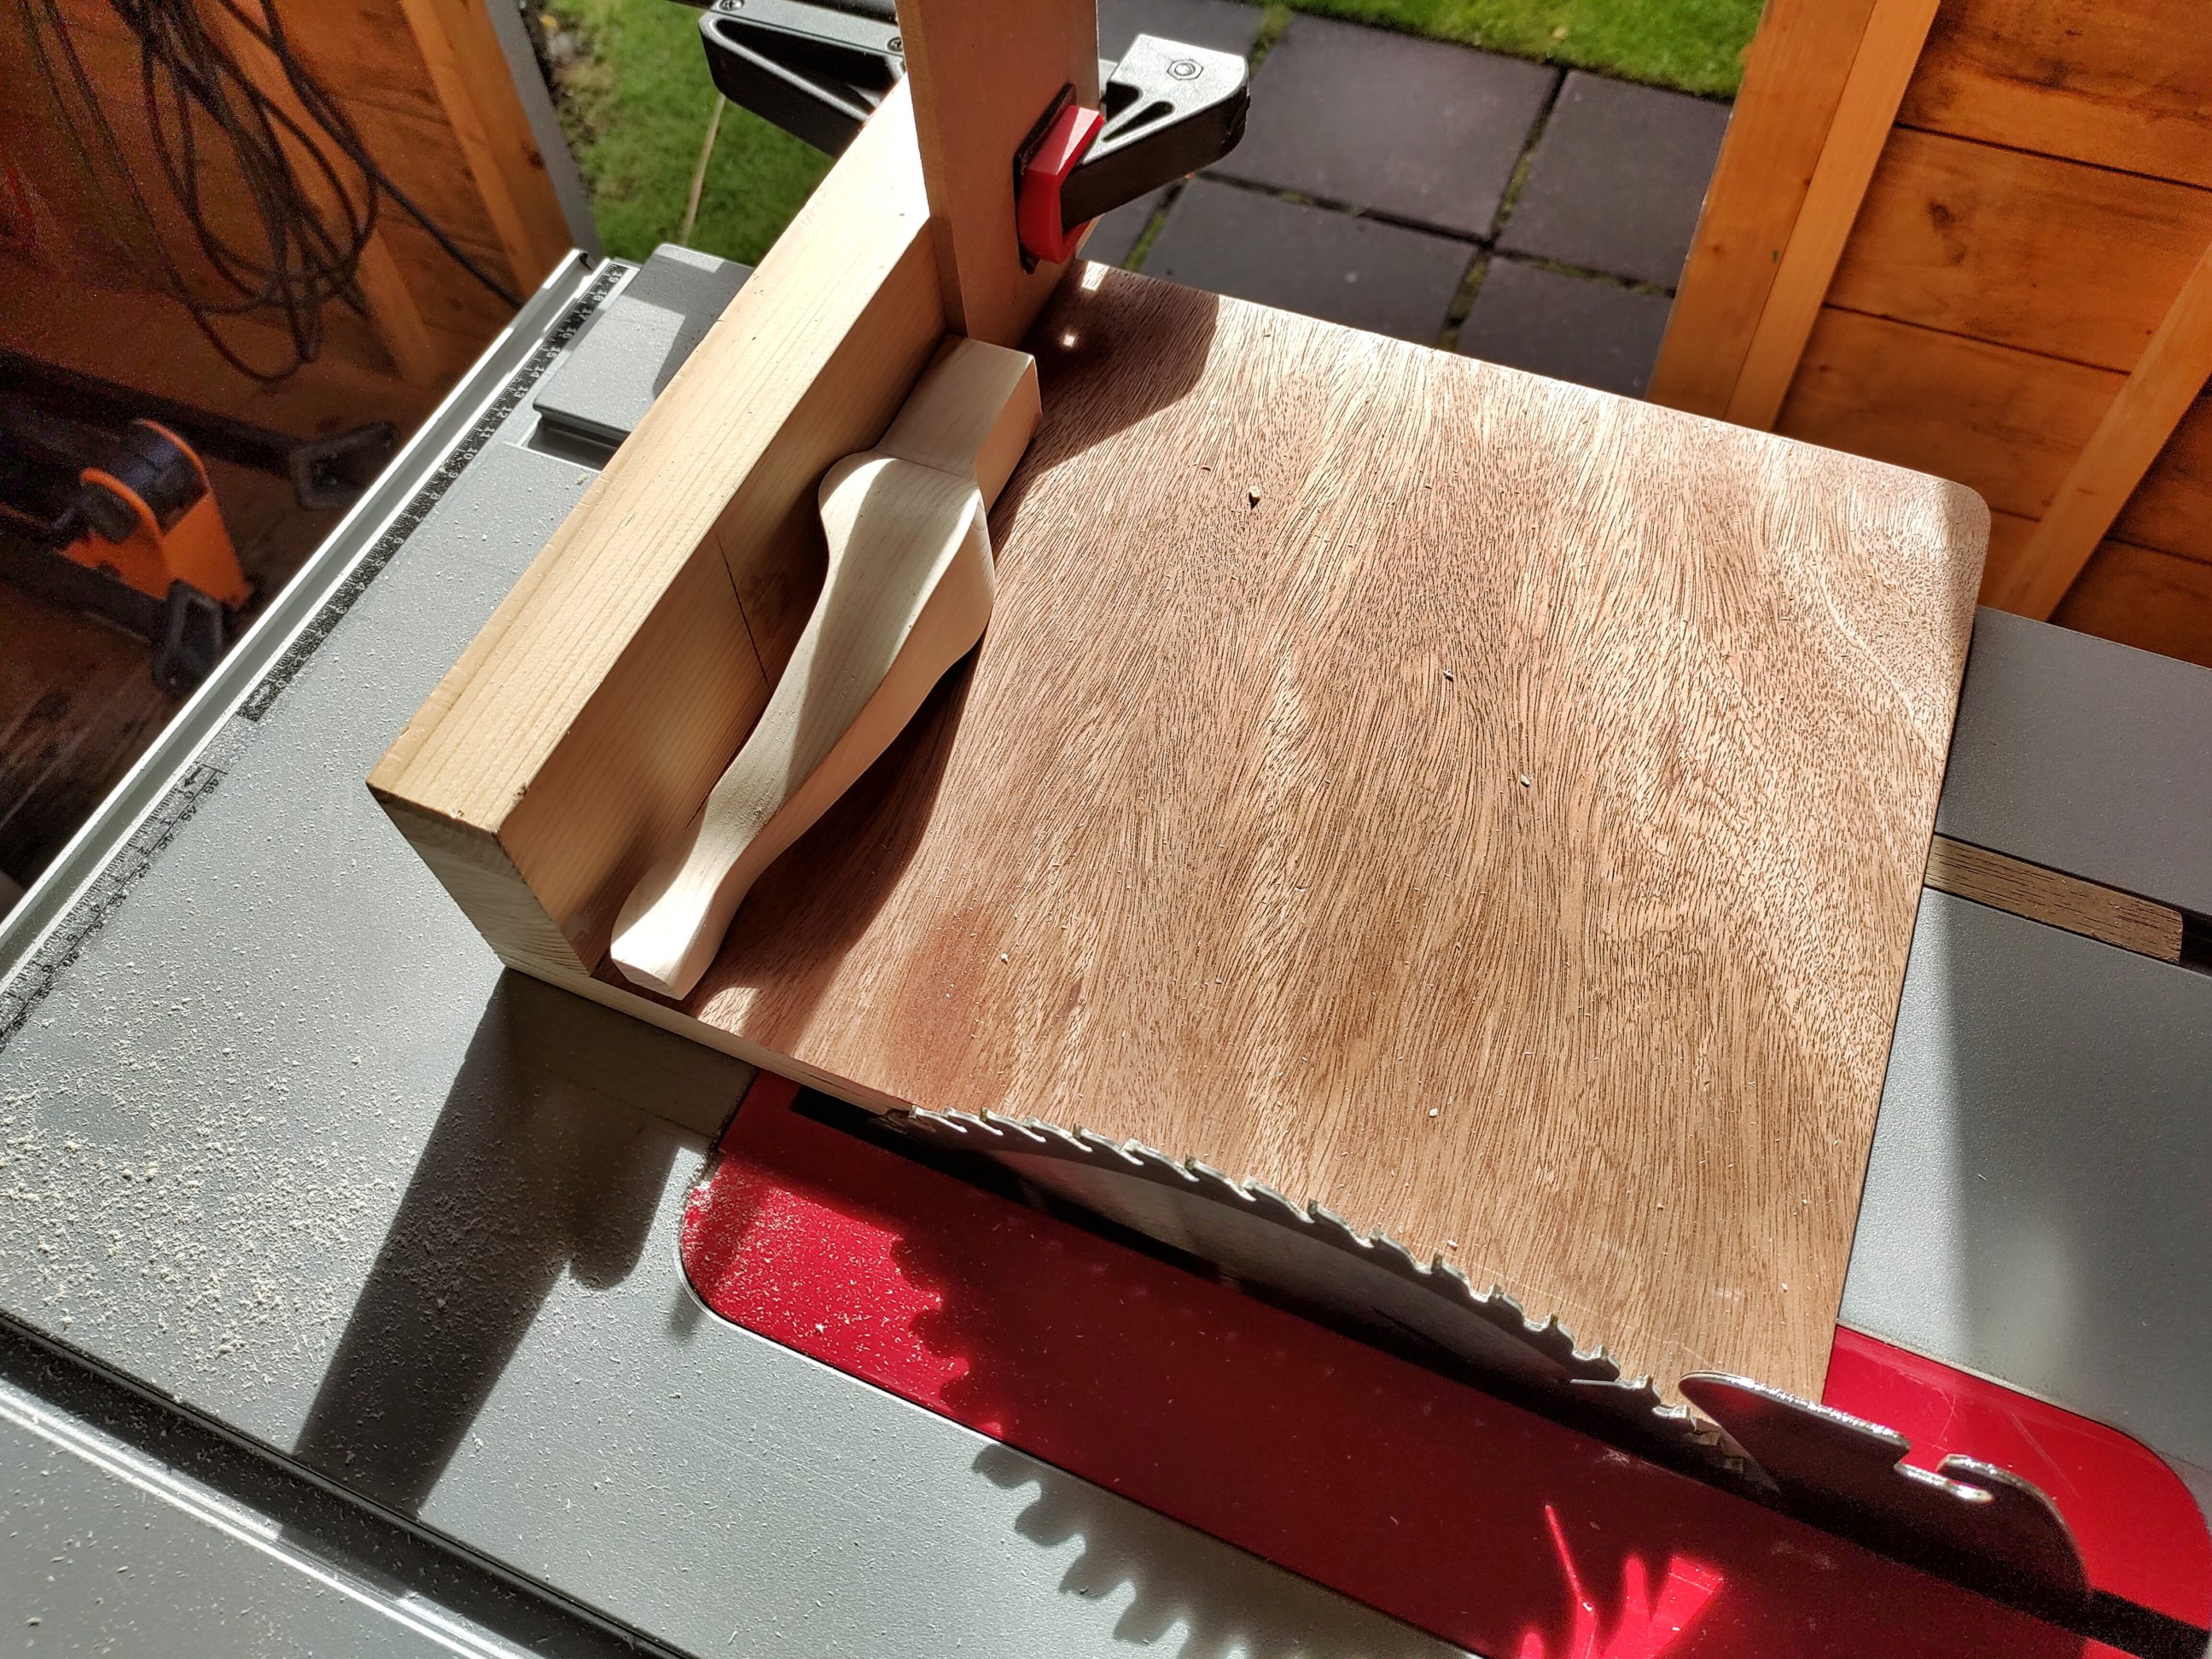
I had to cut tapers on the back legs and do it safely. The angle I needed was too big for my mitre gauge and also for my tapering jig. I used double-sided tape and firmly stuck a block of scrap wood to my table saw sledge. I finished with a pair of good-looking and identical legs.

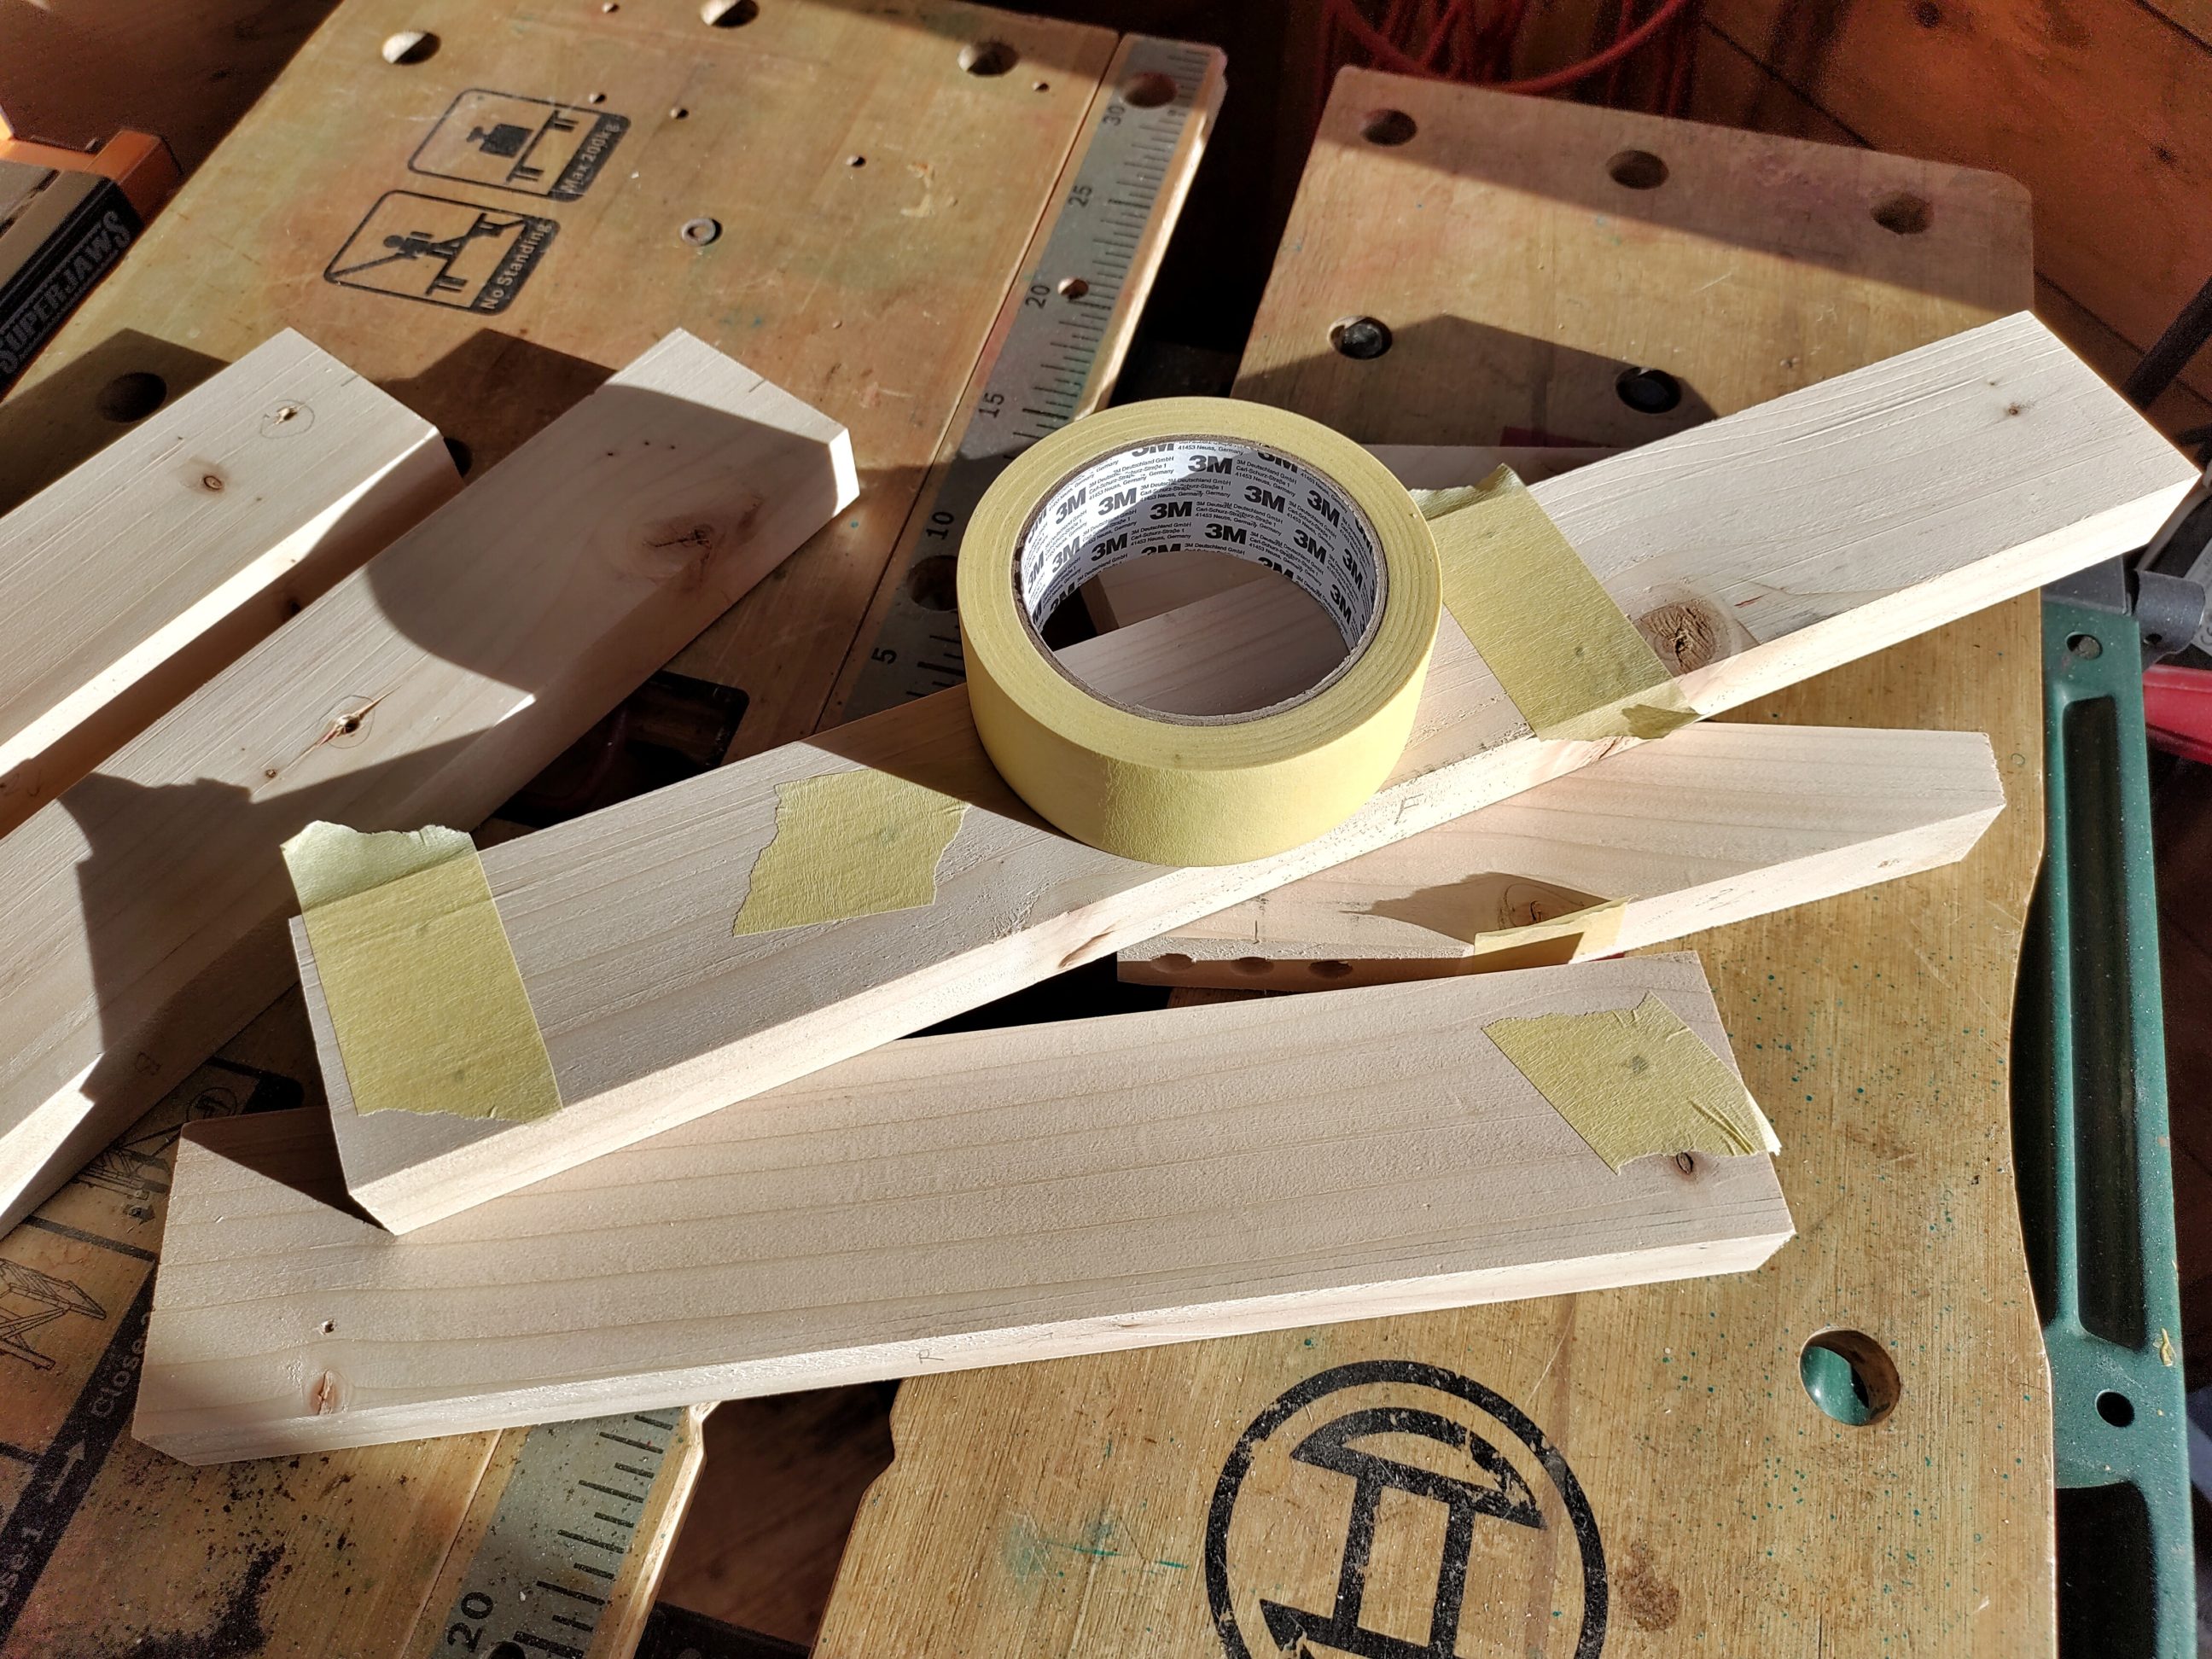
It still needed epoxy and sanding, as the wood was reclaimed and had some holes and badly looking knots. But before that, one very important thing had to be done – the dowels. I used my dowelling jig where I could, and for the rest of the holes, I used dowel centre point finders, marked drilling points and finished them using a drill press.


For the front legs, I had to cut dowel tips off at an angle of 45º. I simply used a hand saw for that task.


And finally, I prepared for epoxy and filled up all the cracks, knots and holes – just in the front of each board.

Once it dried, I sanded it and eased all the edges. That way, all the parts – even if flush – got a nice, subtle but still visible transition between them, once put together.

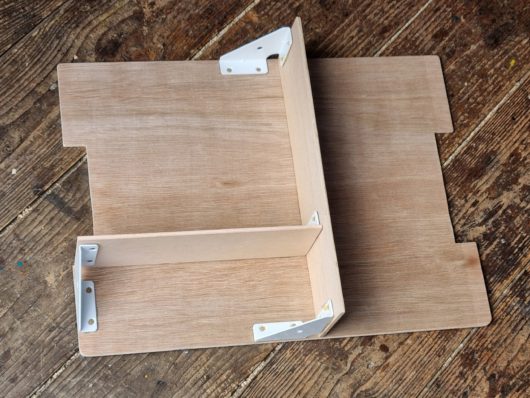
I routed out small notches for the brackets, 3 on each board. Everything was ready for the glue-up. It took some time to apply glue to each hole, but eventually I had it done. I clamped the assembly with strap clamps and checked for square. It was out of square, a lot, and I had to use a quick release clamp across the diagonal corners to fix the problem. Then, I clamped it to the workbench to eliminate the twist.


I finished it with Danish oil, 3 coats. The procedure used there (that gives the best results) was as follows:
- Oil was applied with a disposable brush
- Afterwards it was allowed to penetrate the wood
- When the surface oil started changing to thicker consistency, that meant the wood had absorbed the oil
- Next, I wiped off the workpiece with a clean cloth to remove the excess oil
- I made sure it was buffed completely dry and wasn’t tacky
- The same procedure was repeated for 3 days, leaving 24 hours between coats
- I removed any remaining fibres with a nylon brush.


The base was ready. I prepared 12 clips that were an integral part of the build. The next step, at some point in time, would be to build the rest. No hurry, no sweat.


One Comment
Pingback: