
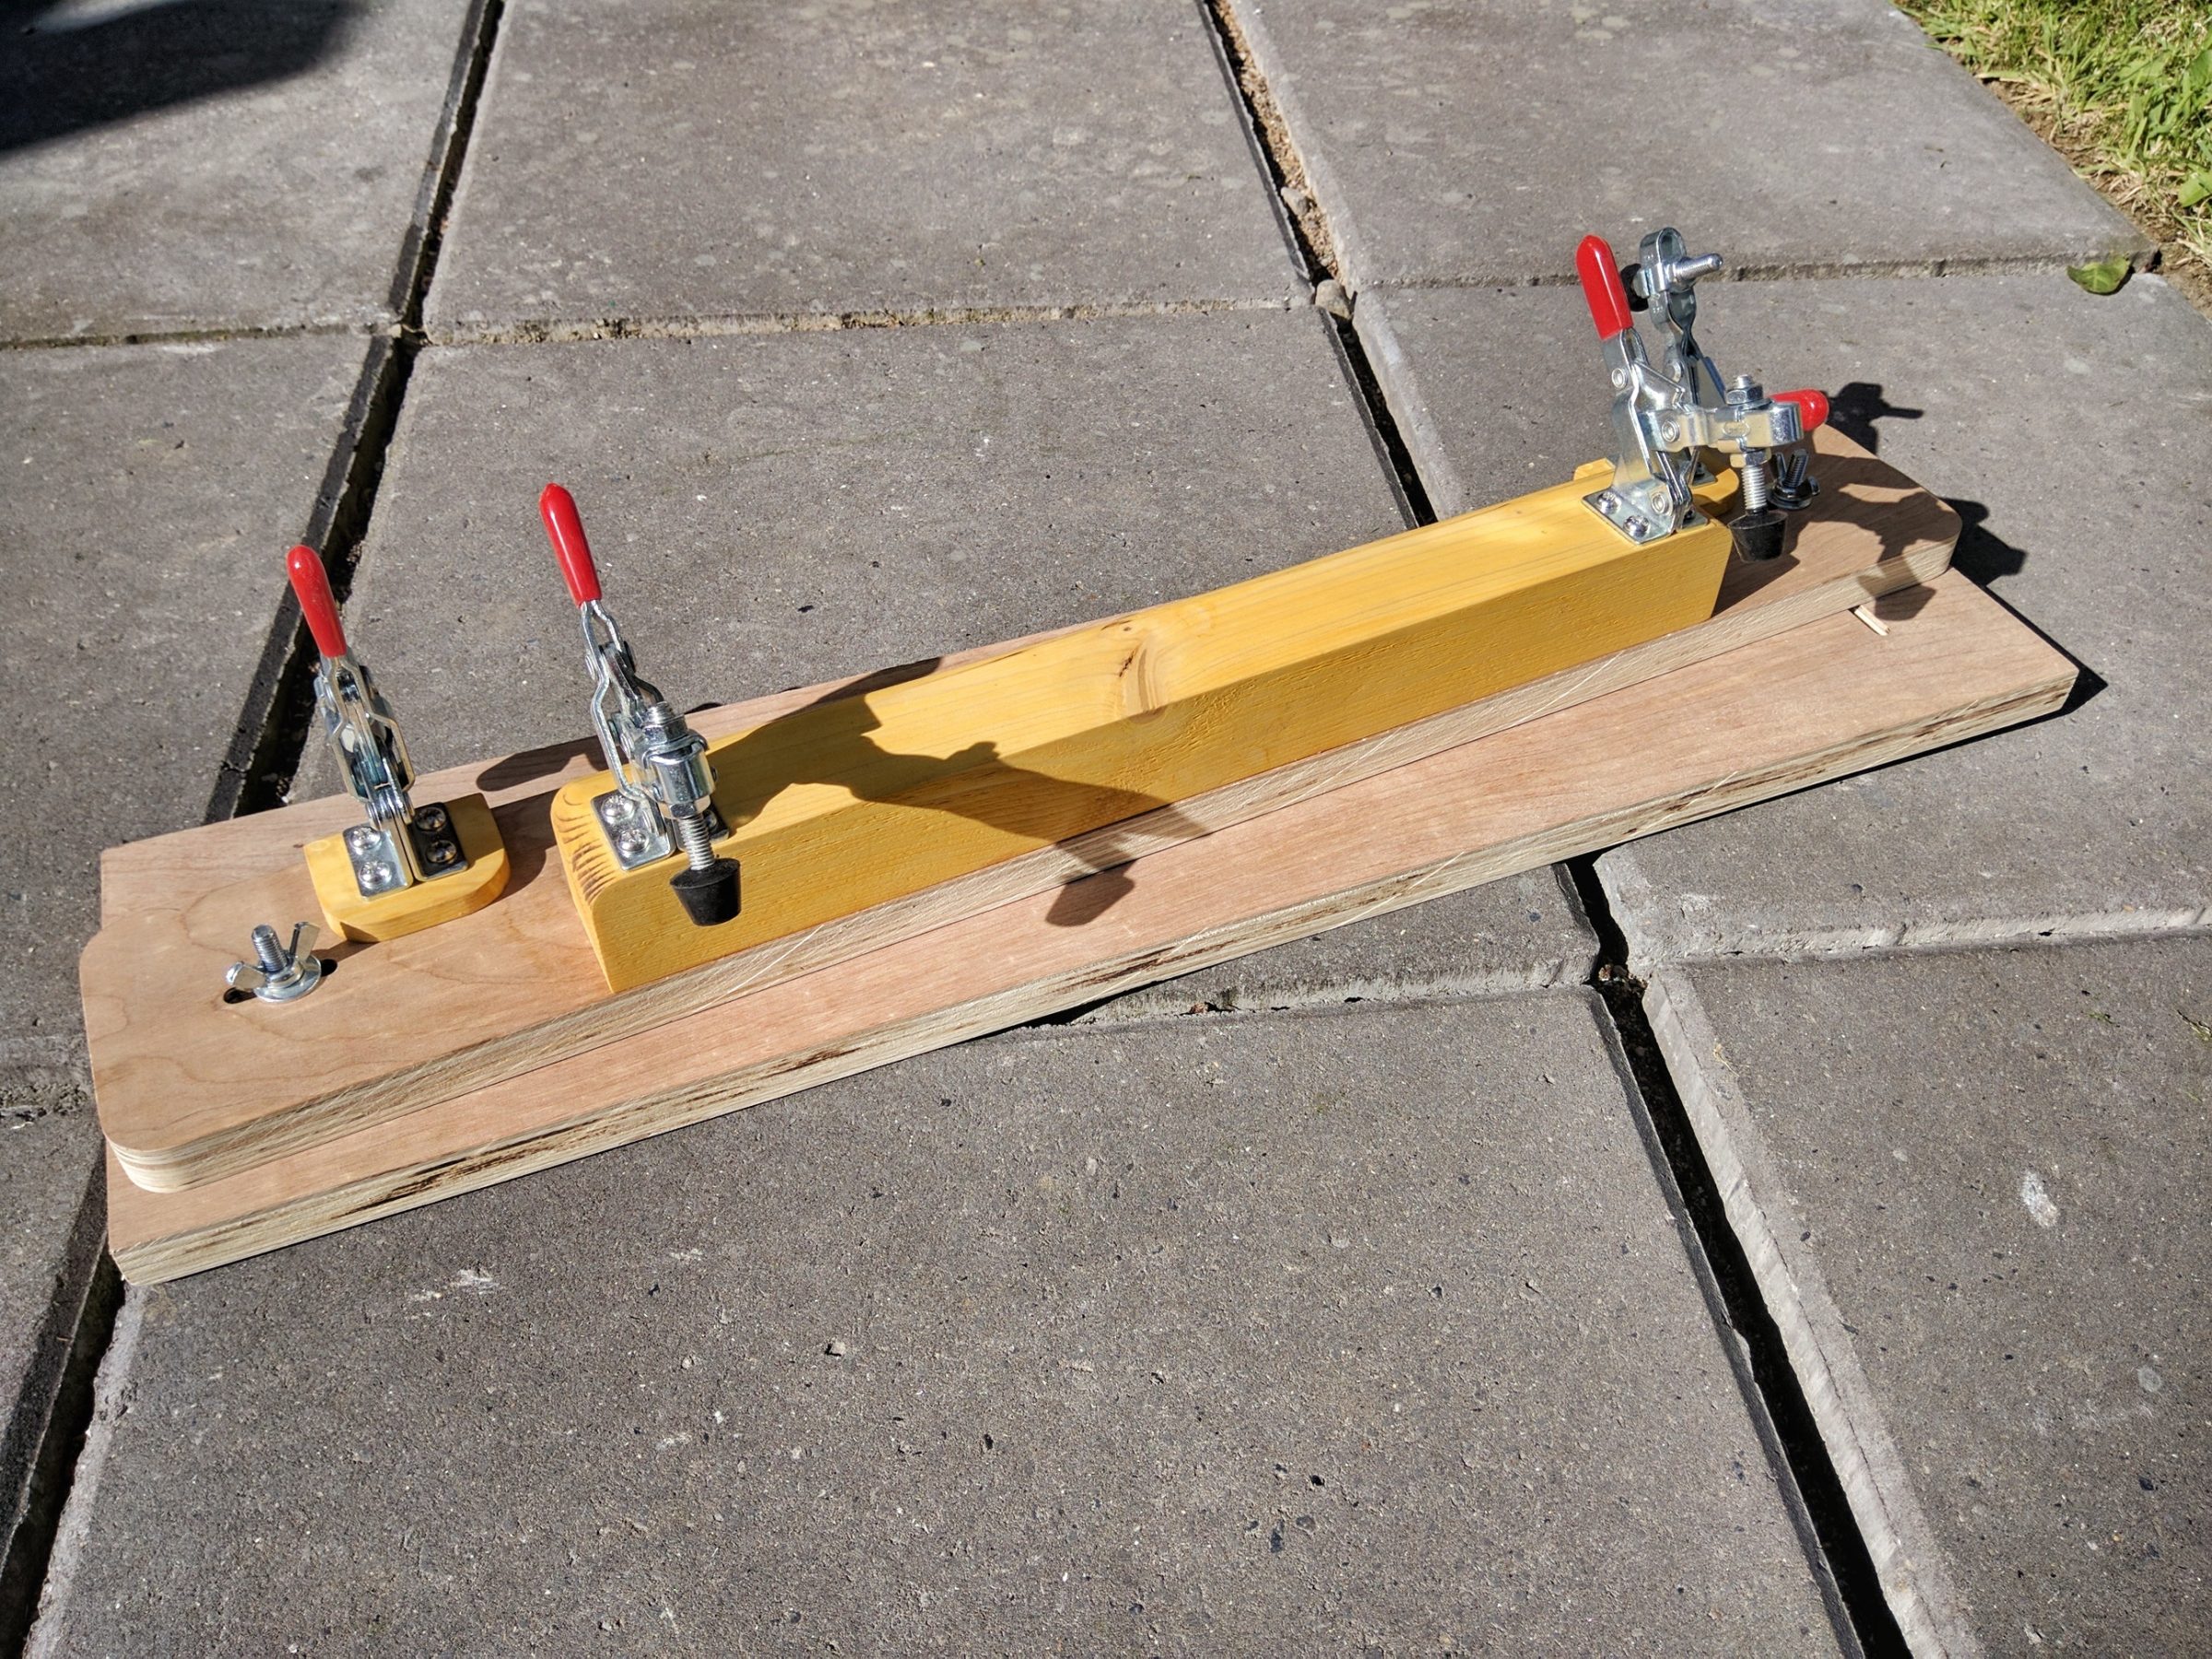
Tapering and straight line jig
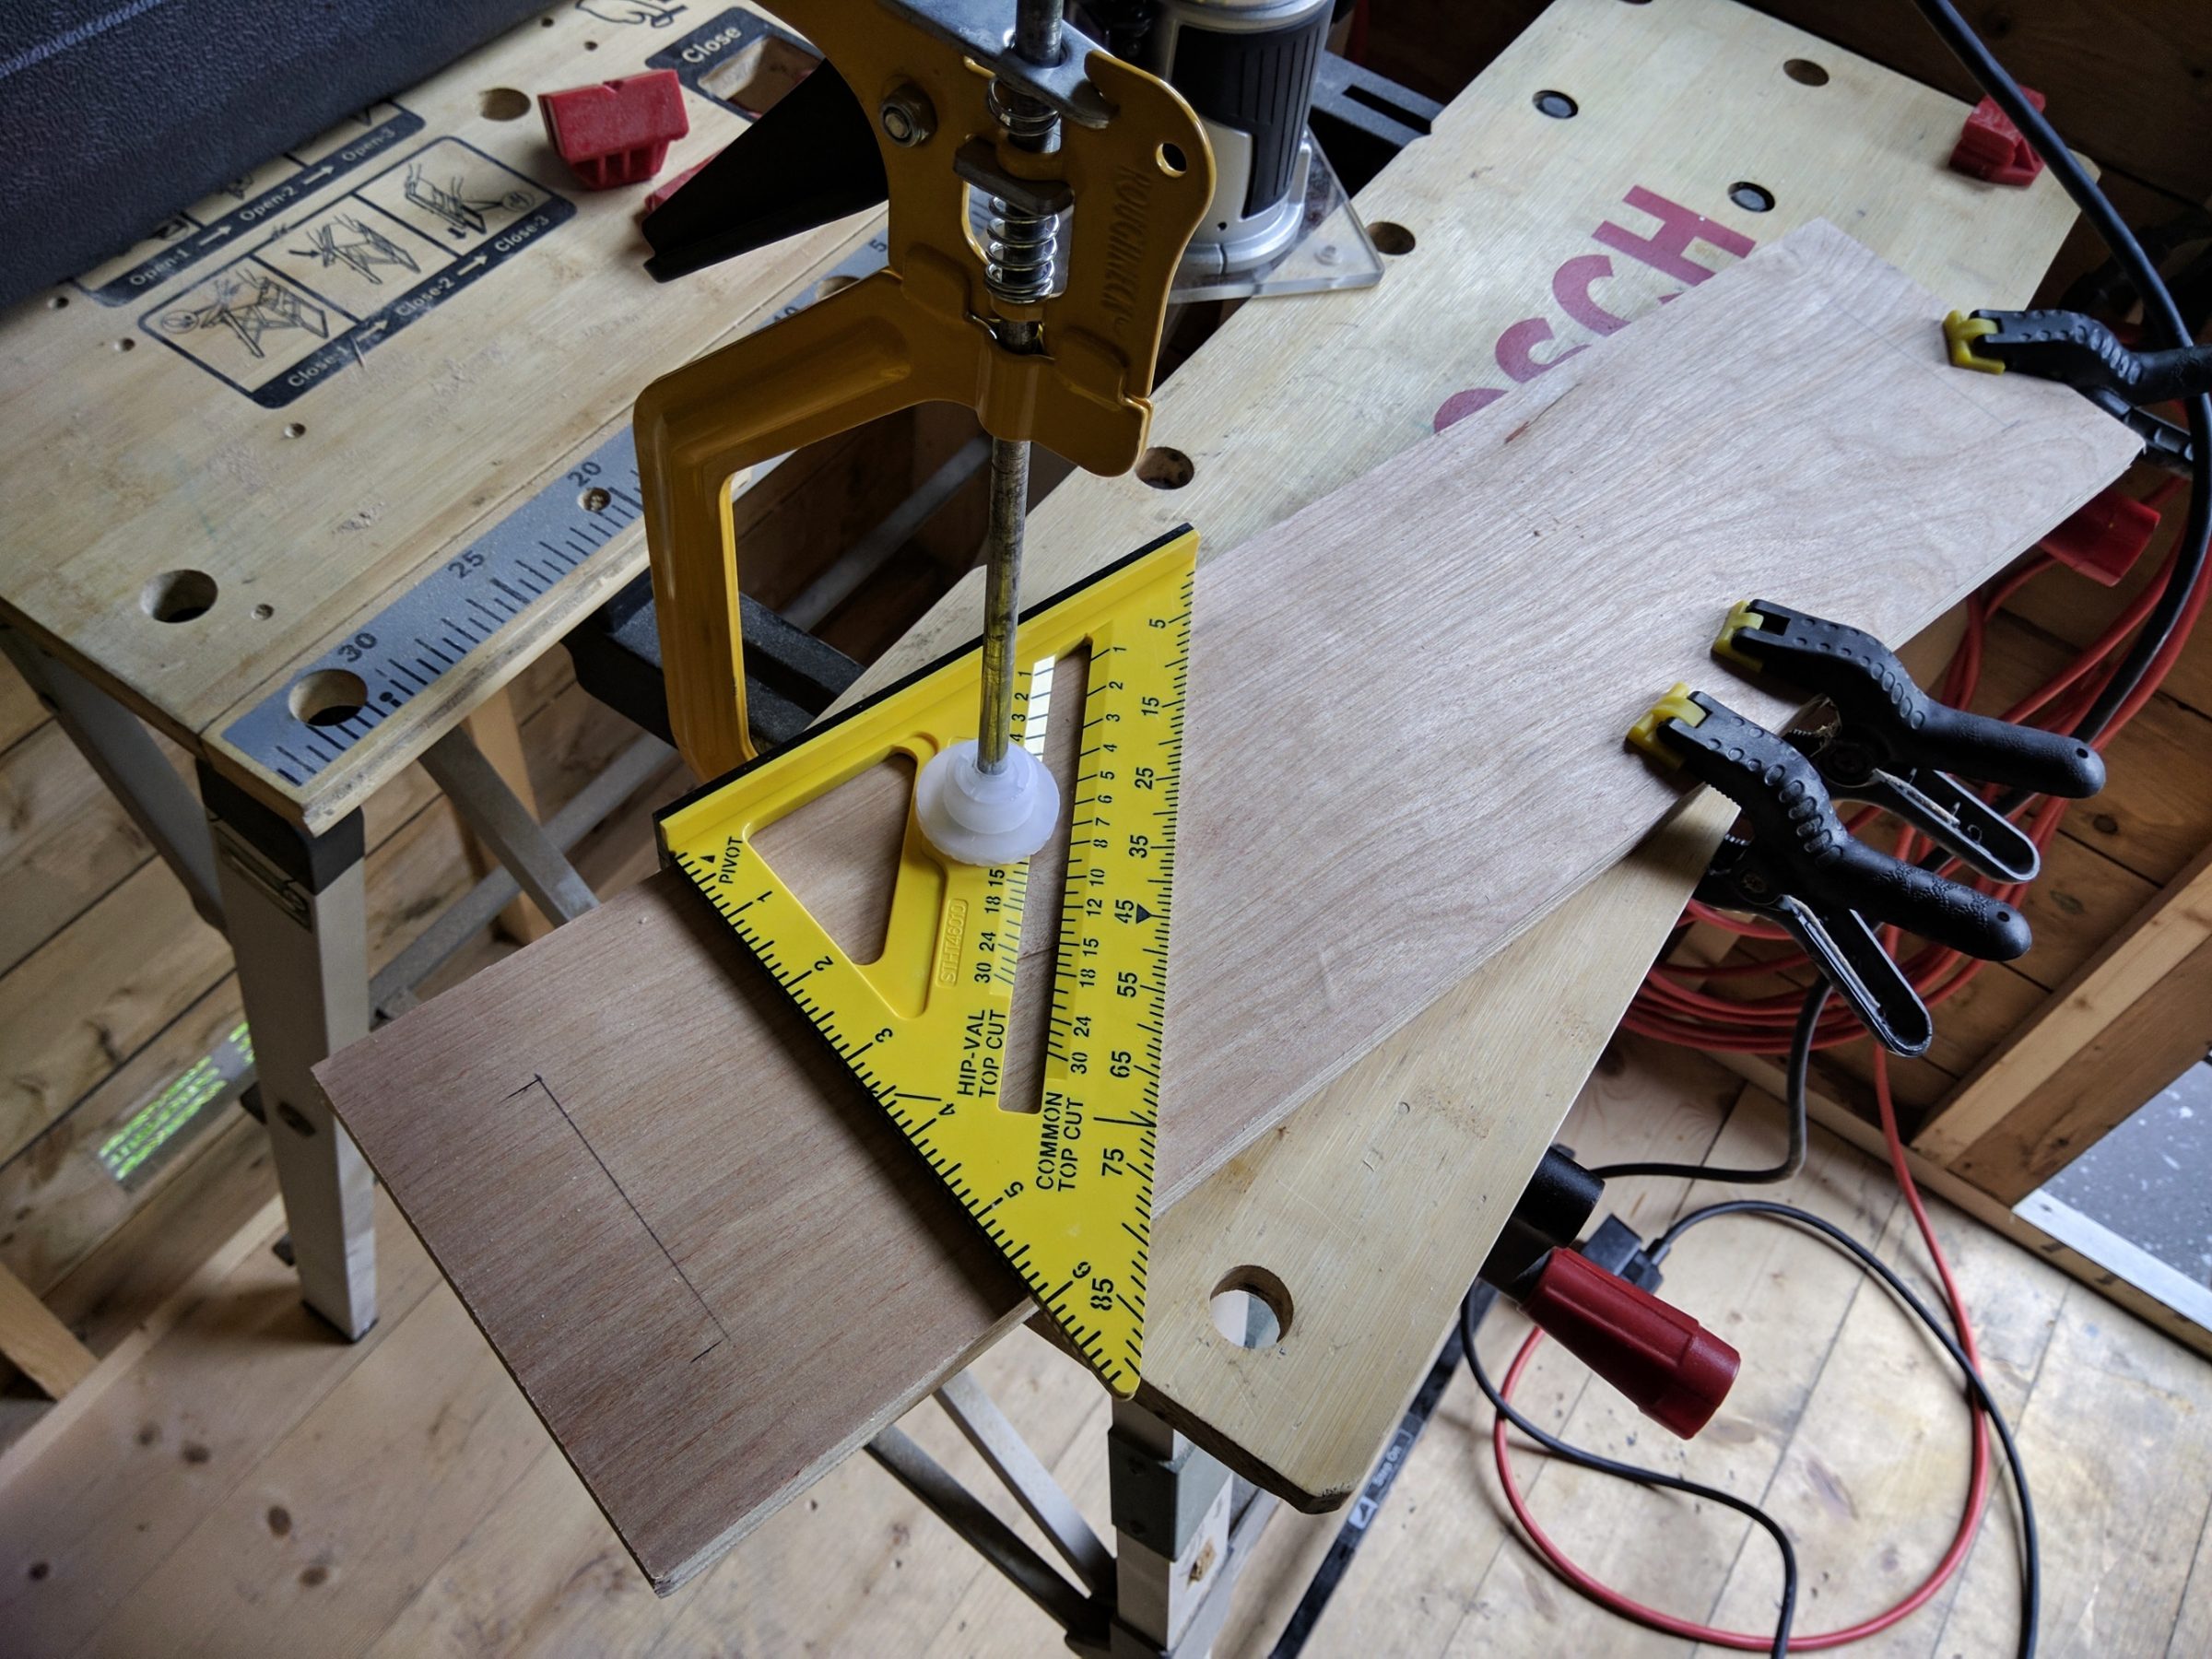
2 in 1 jig, cutting a straight line and making tapered cuts. It will allow me to get an angle from 0 to 7º. First I had to cut 2 pieces of plywood to the width. I kept its original length of 61 cm.


Then I had to cut a bolt head groove. The router bit I was using was too small in diameter so I had to do 2 passes and some freehand routing.
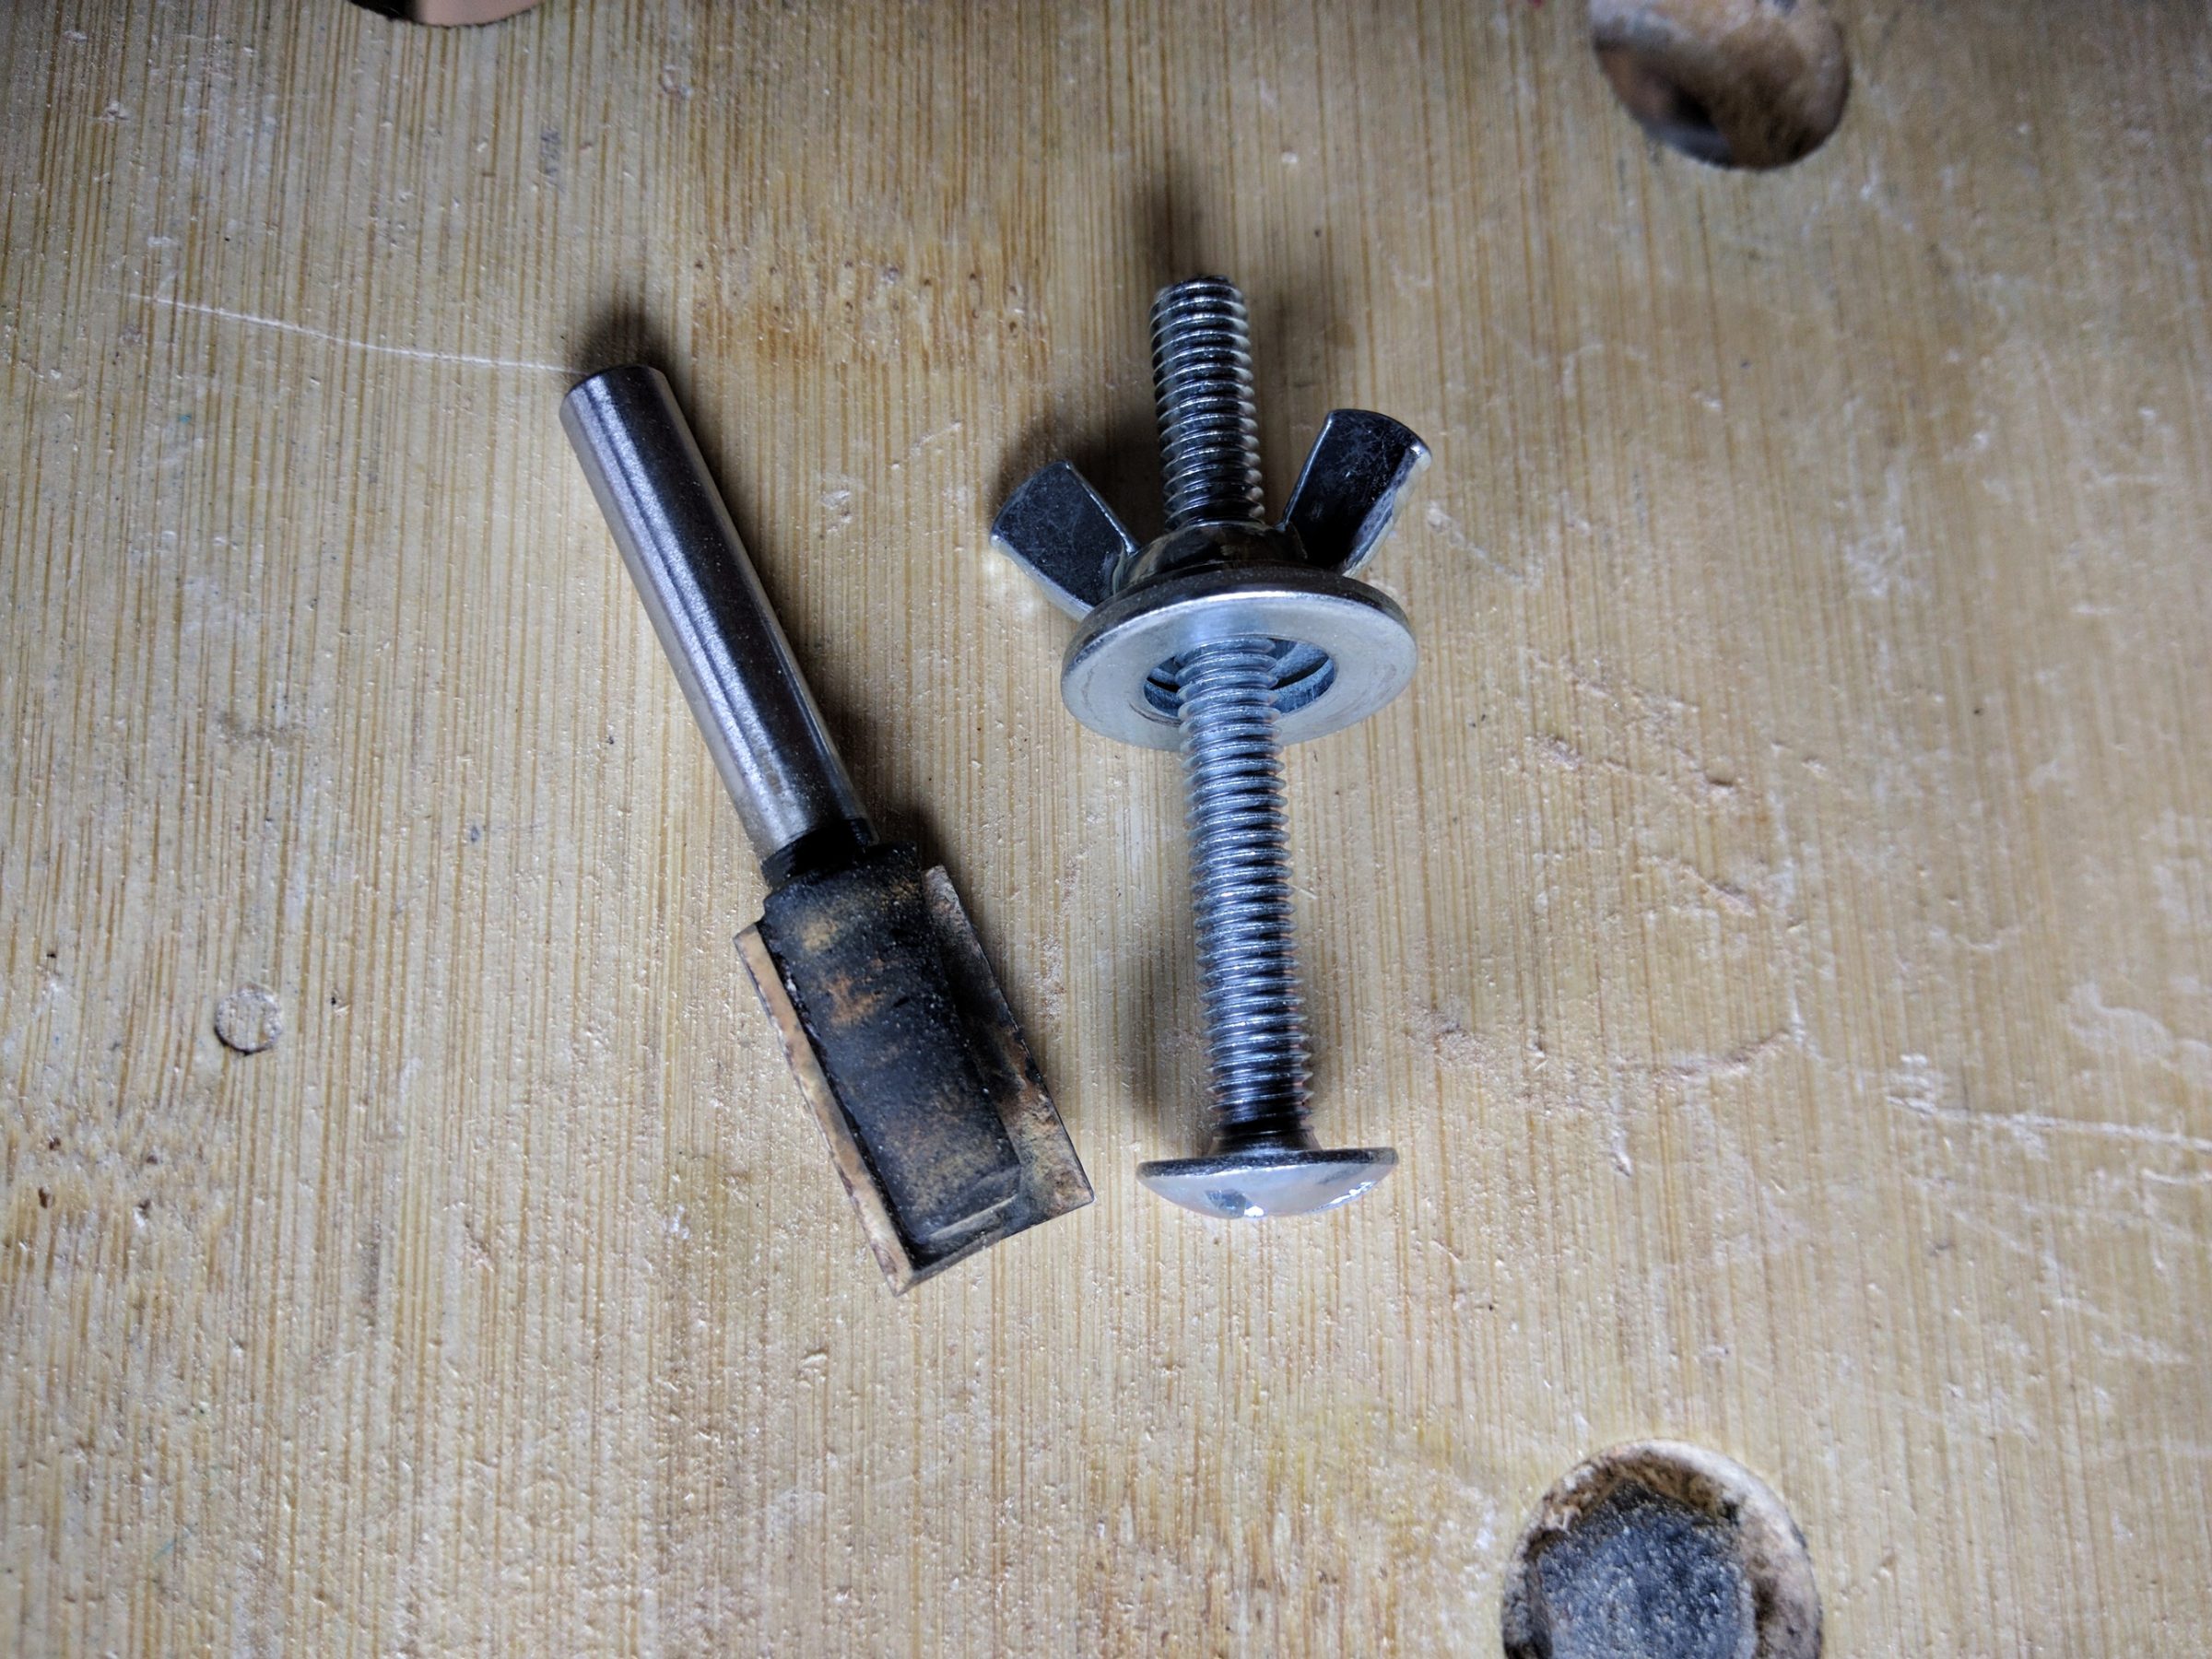

I switched for a smaller router bit and cut the grooves for bolt threads.


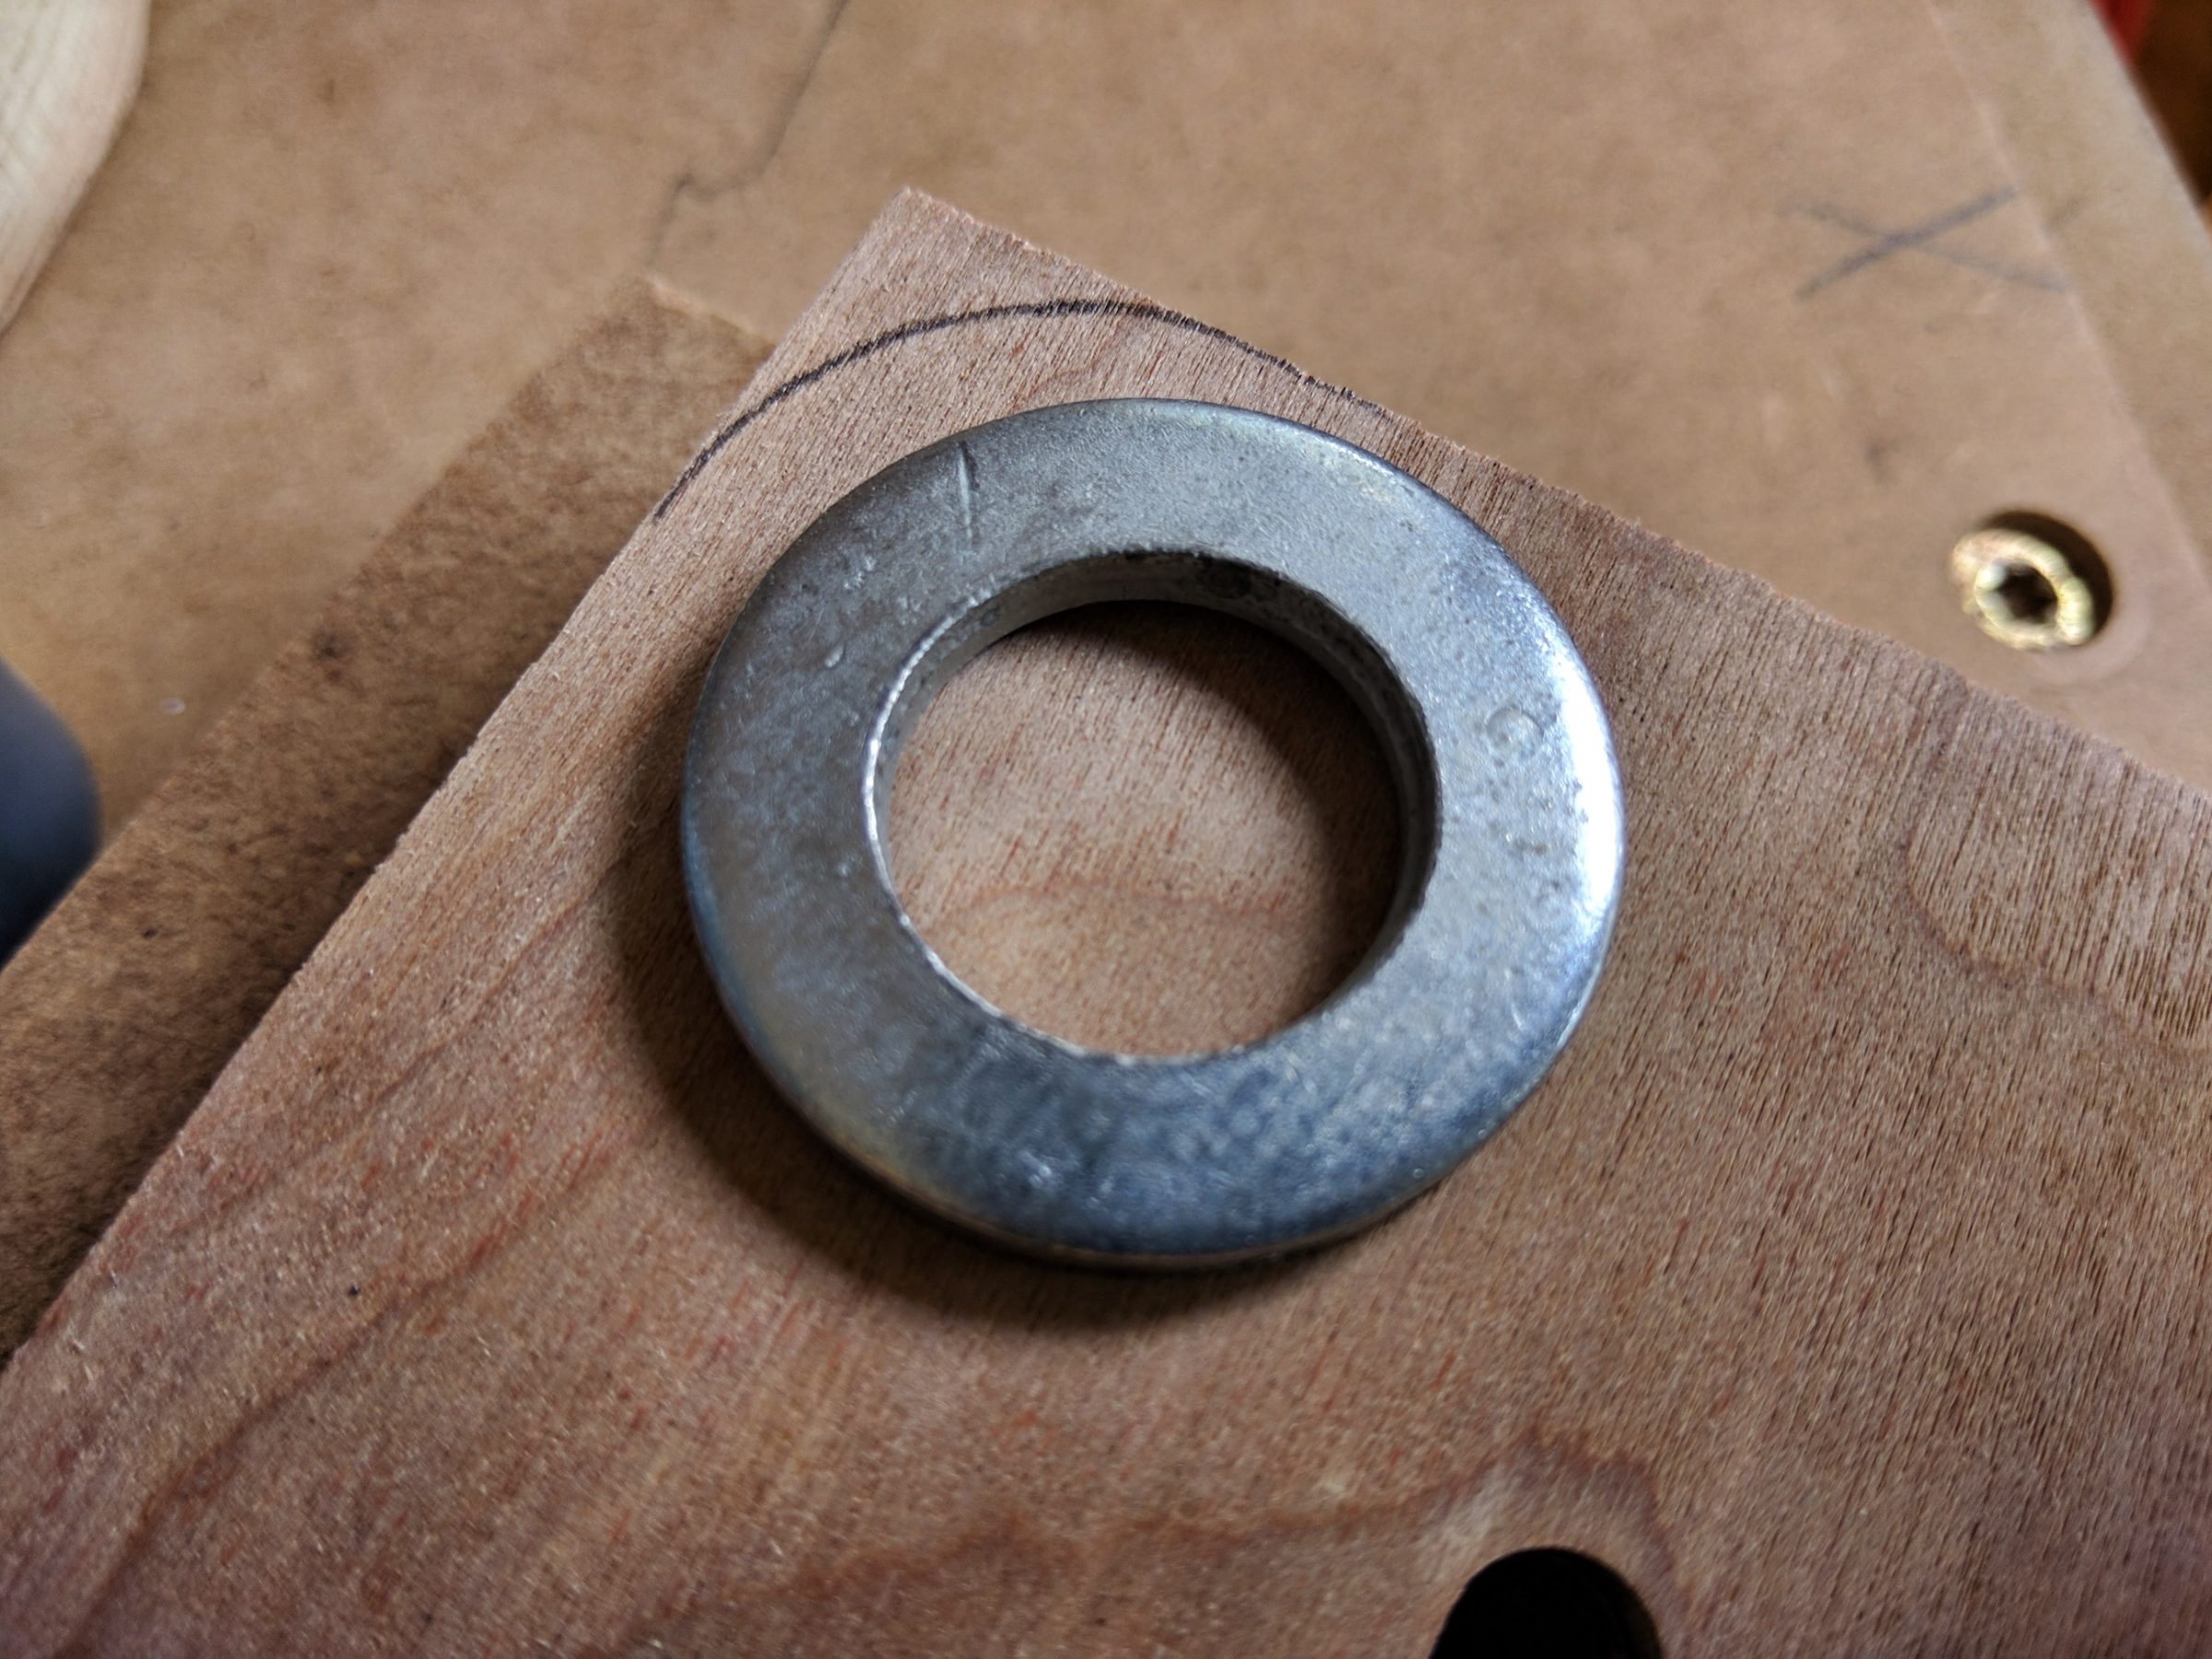
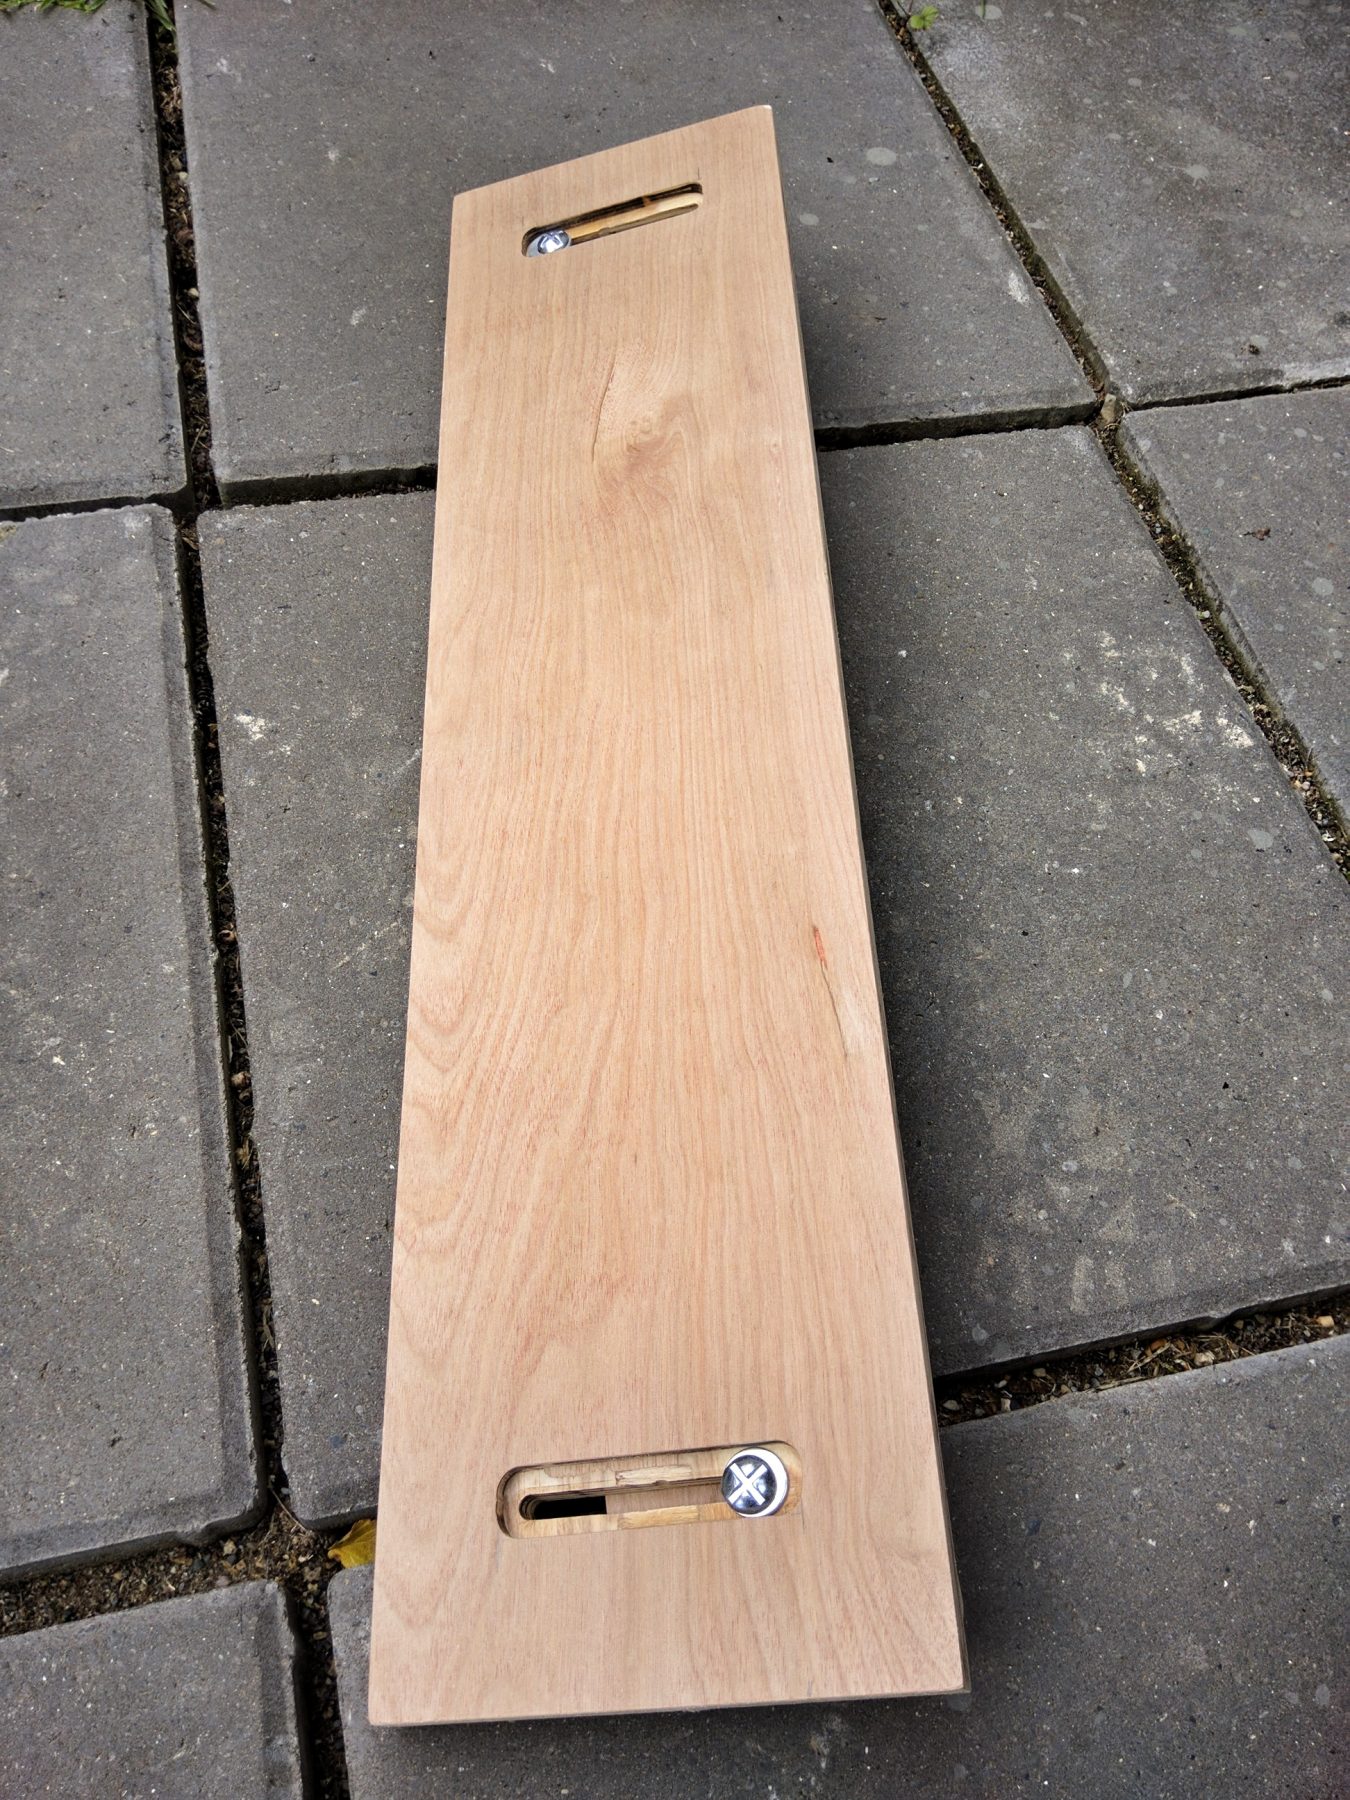
Once the bottom part was cut I moved to the top part. This time the only router bit I had was too short, so the top piece had to be cut from both sides. Not a perfect groove, but it will be covered by another washer and a butterfly nut.

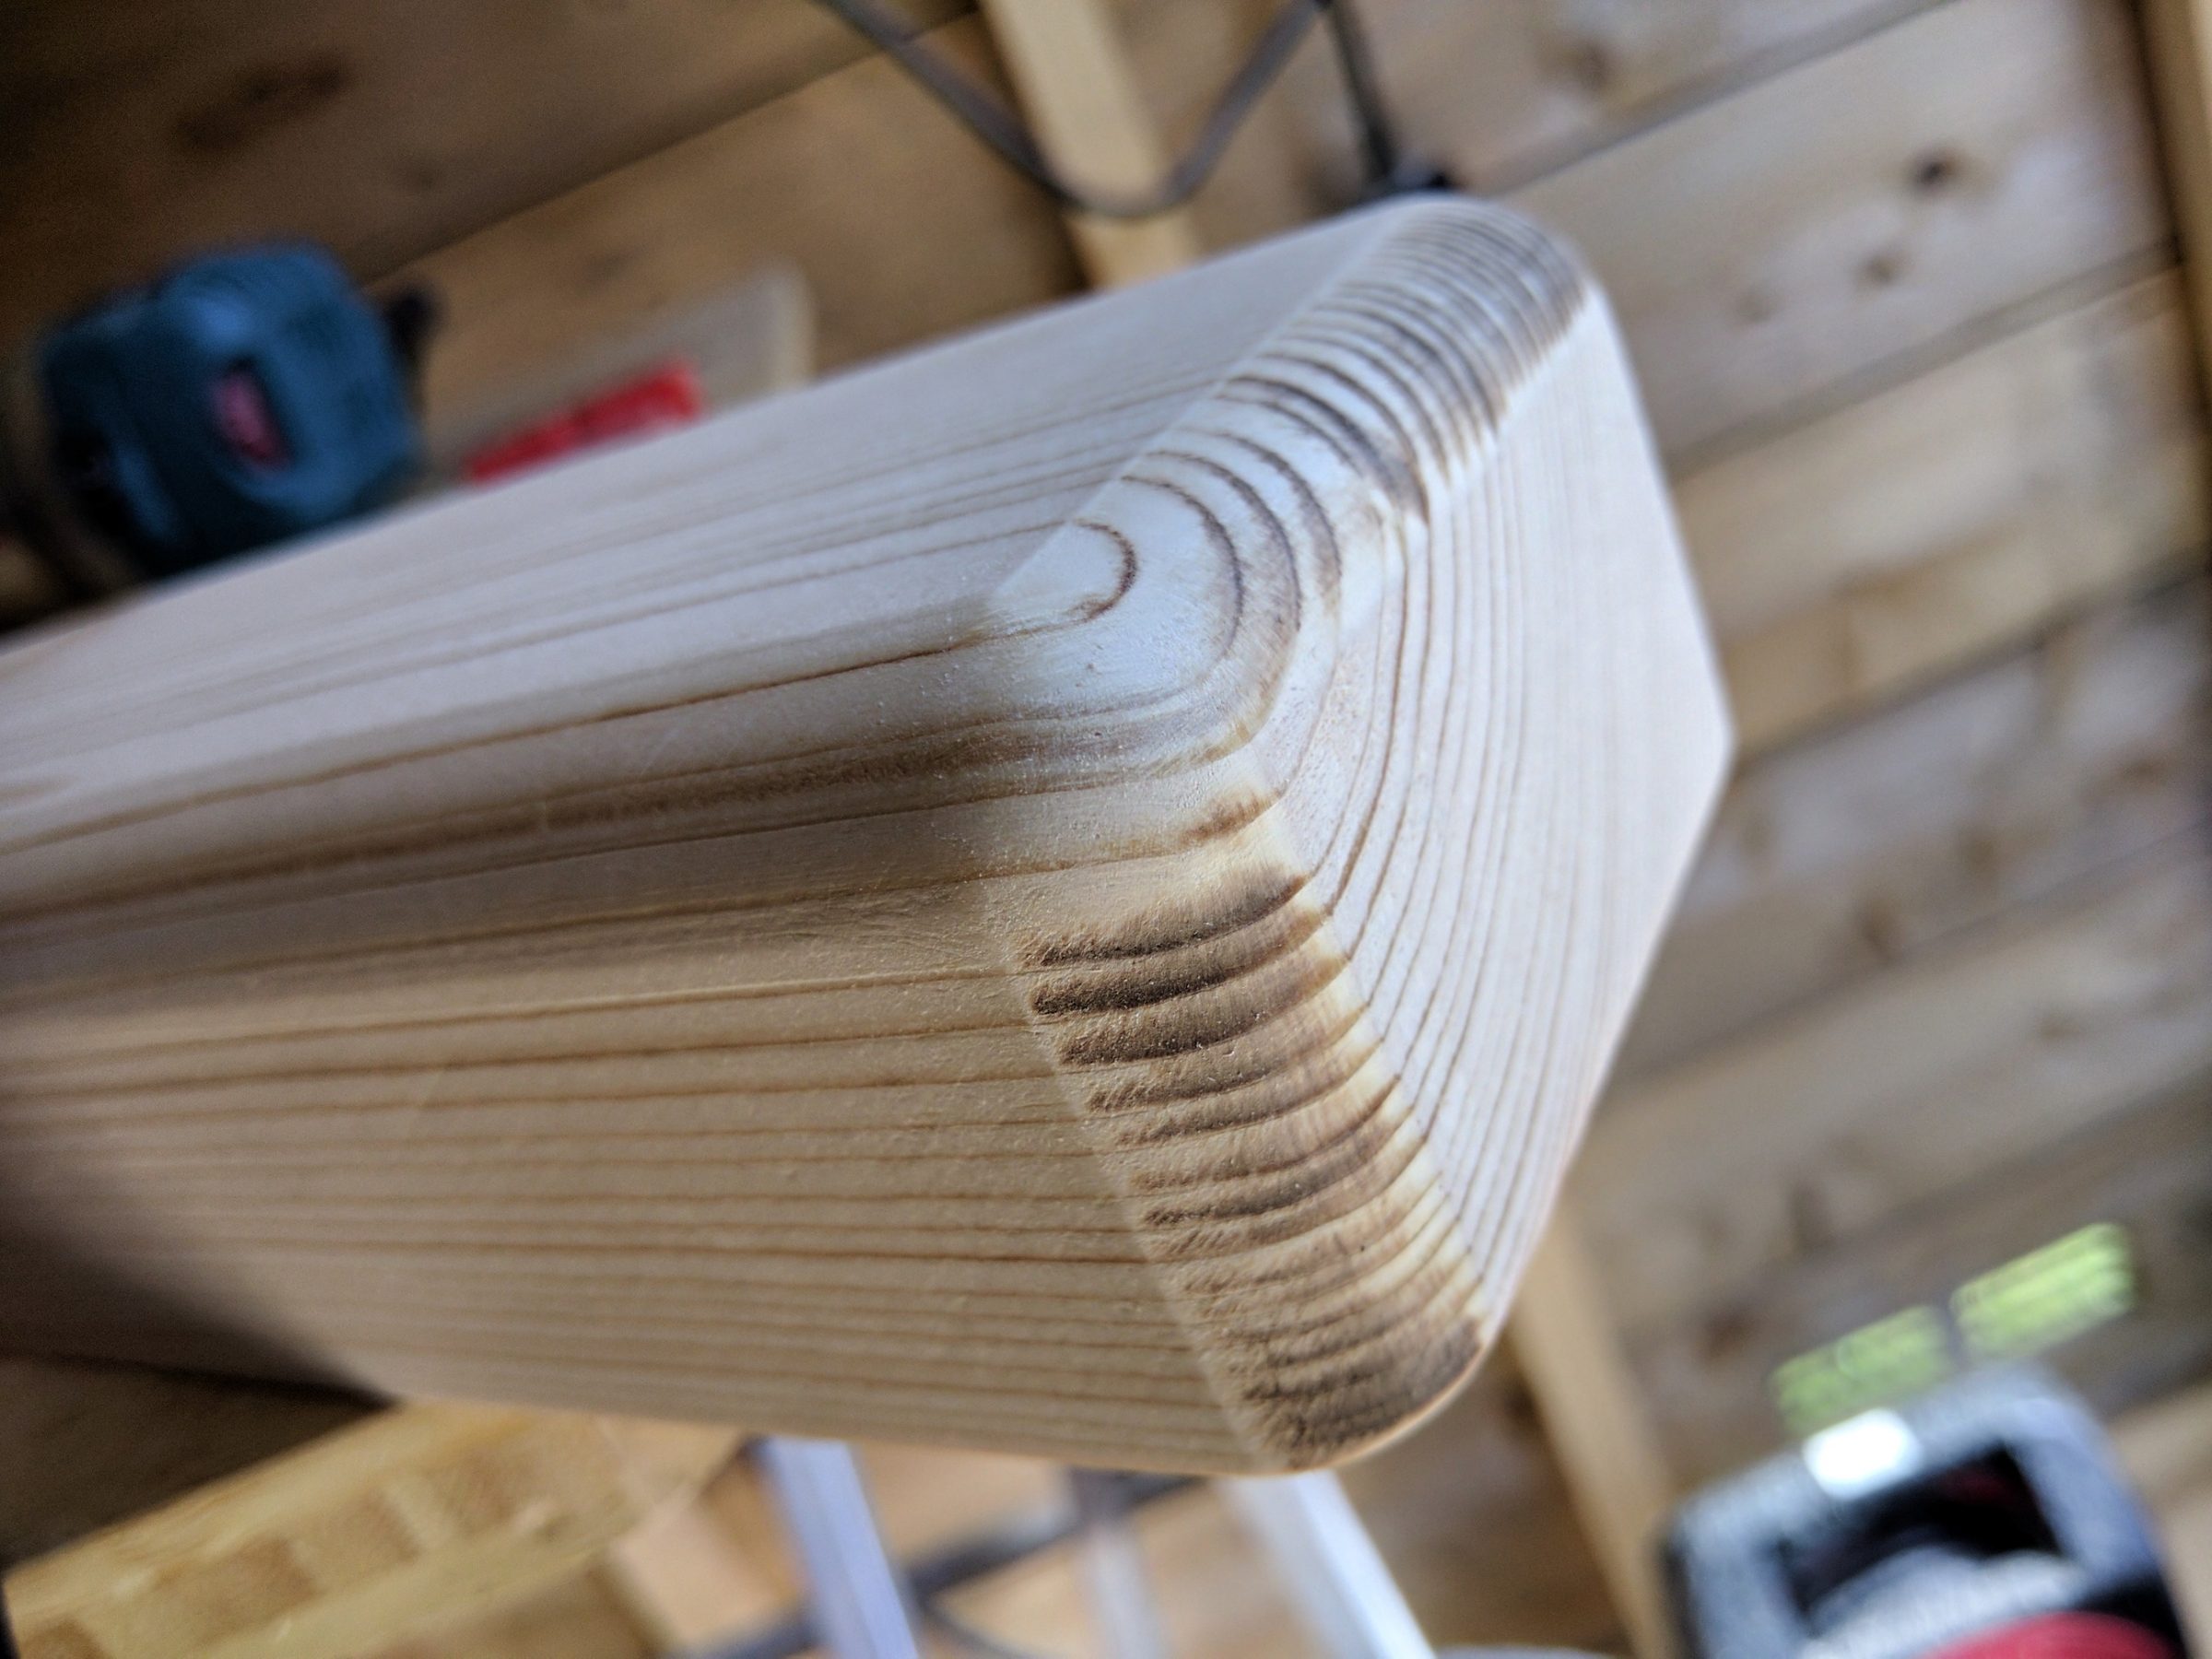
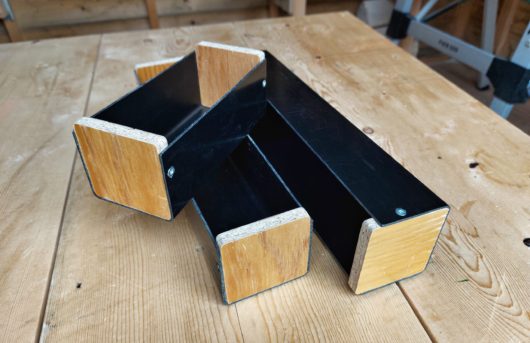
I kept the bottom piece square to maximize the reference line, the contact surface between the table saw fence and the jig. The top part, however, could be rounded.

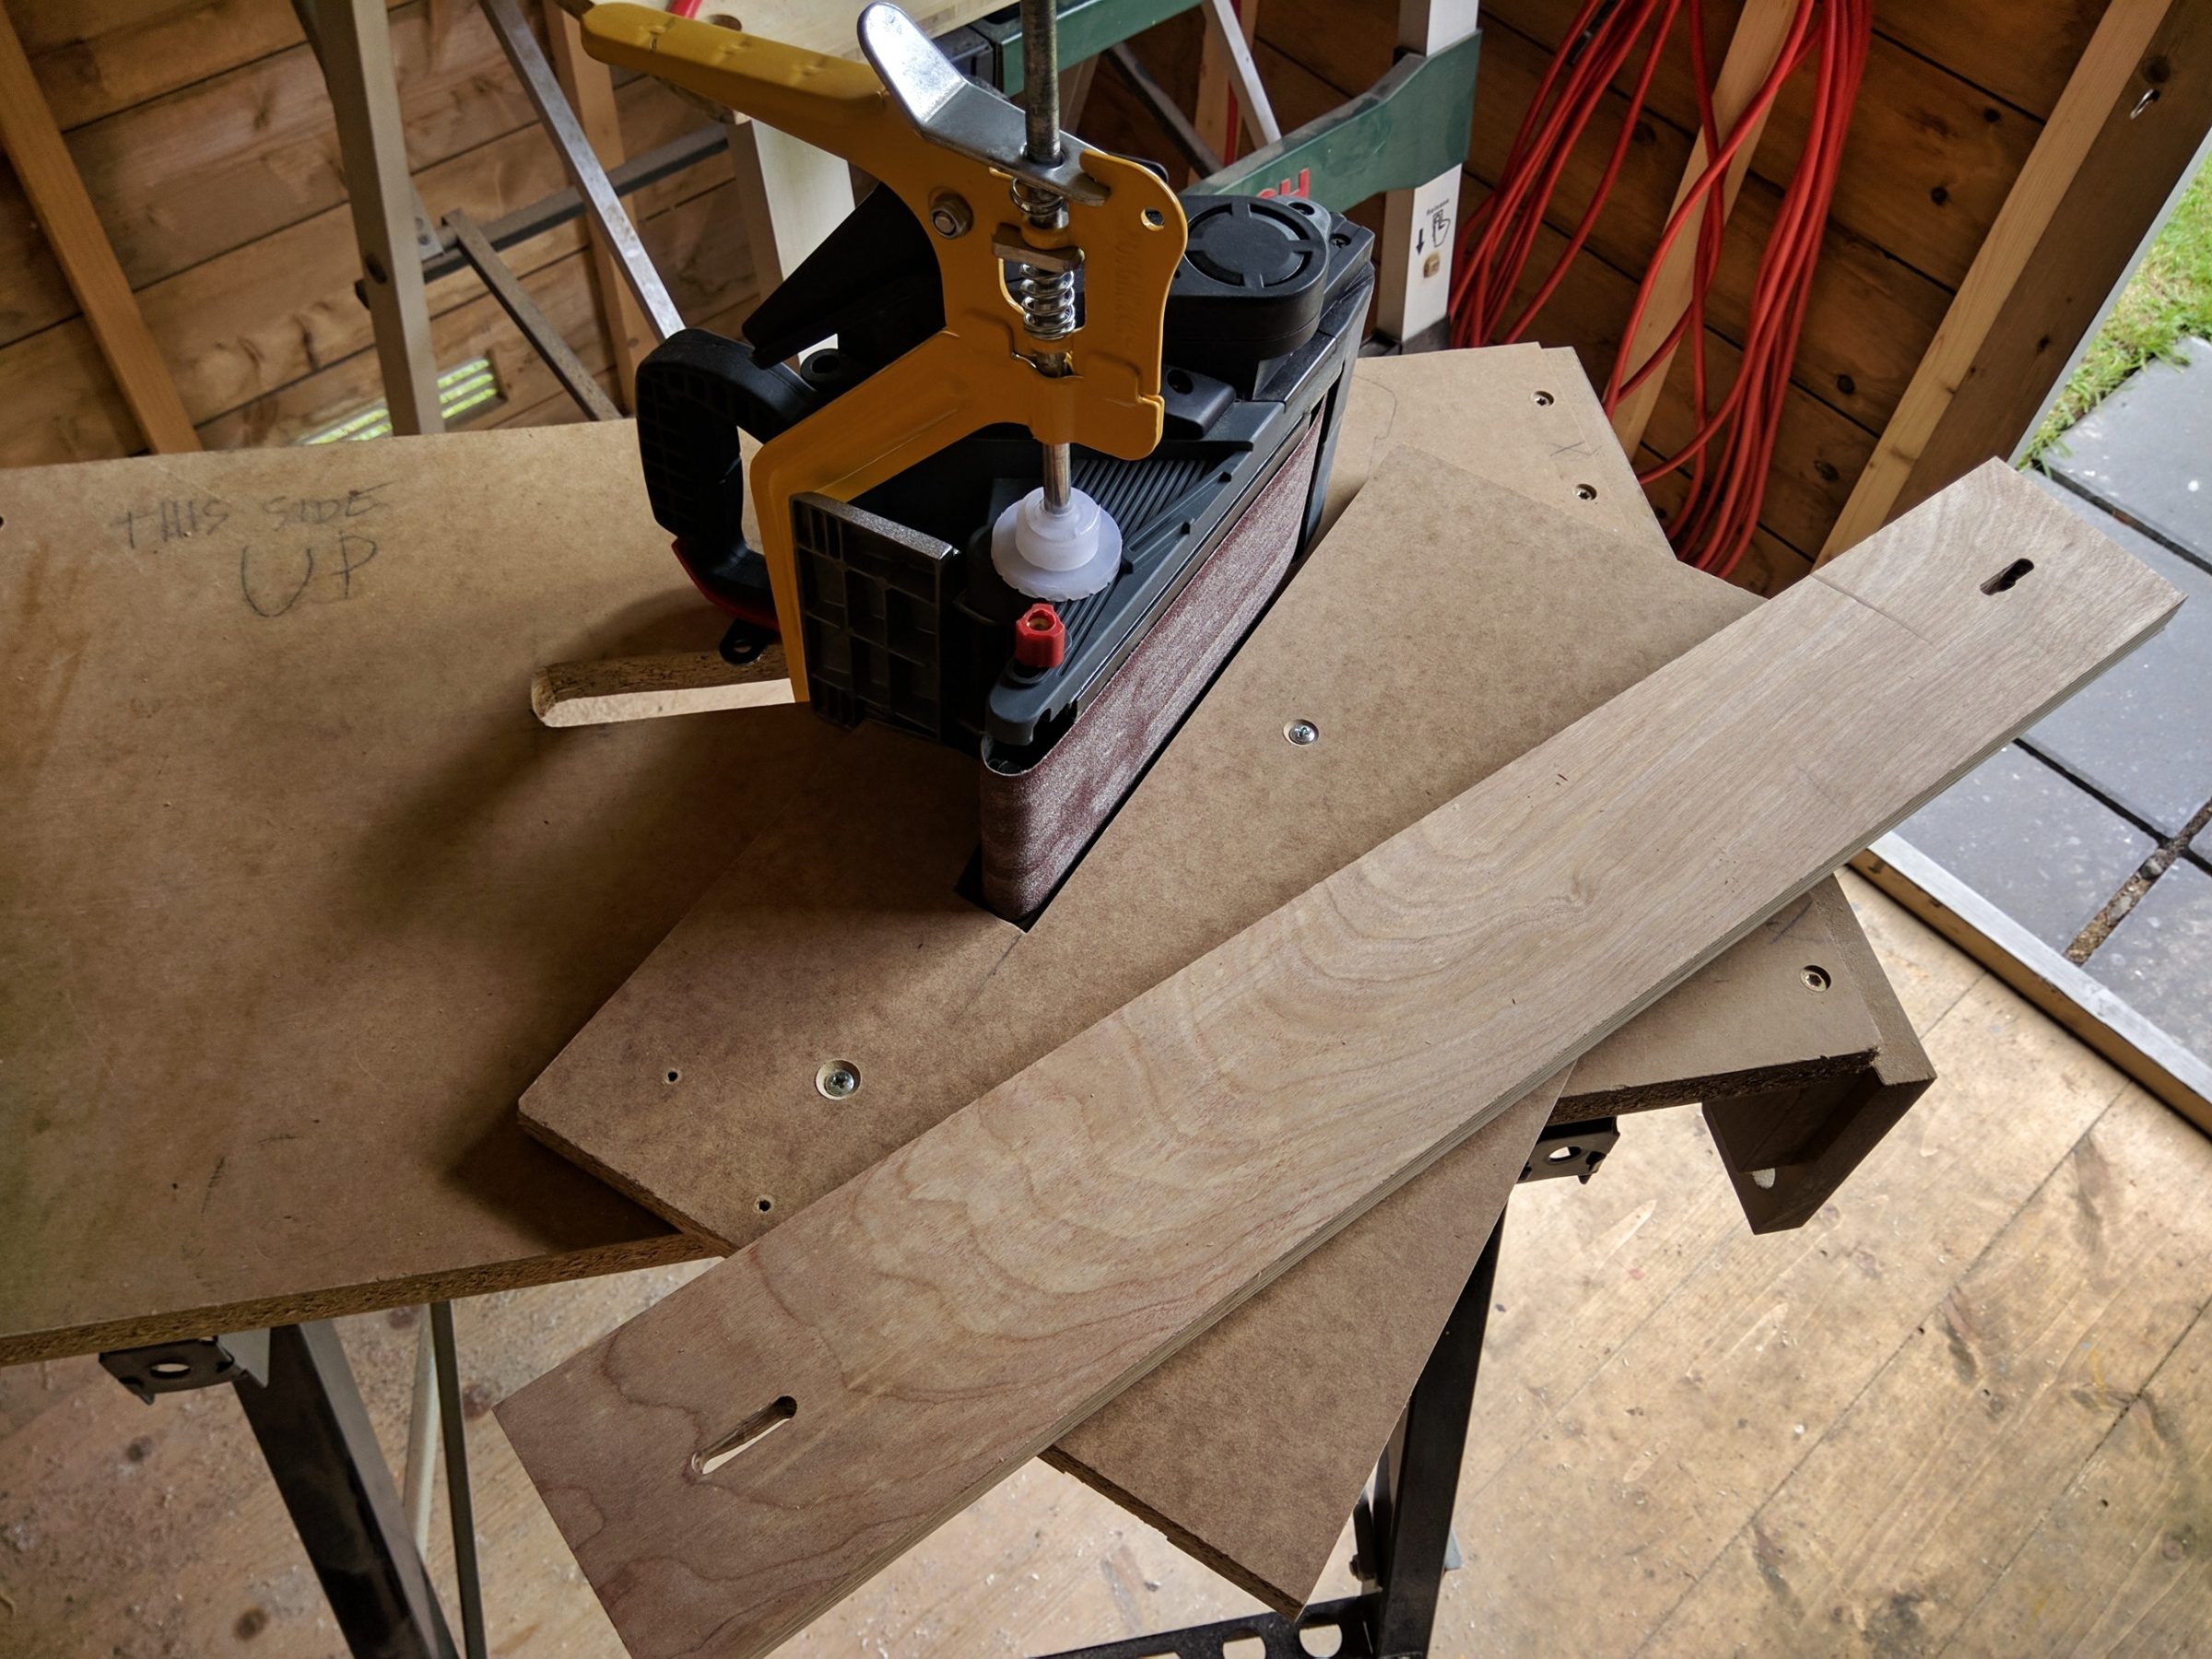
I did light sanding and it was ready for attaching the toggle clamps.


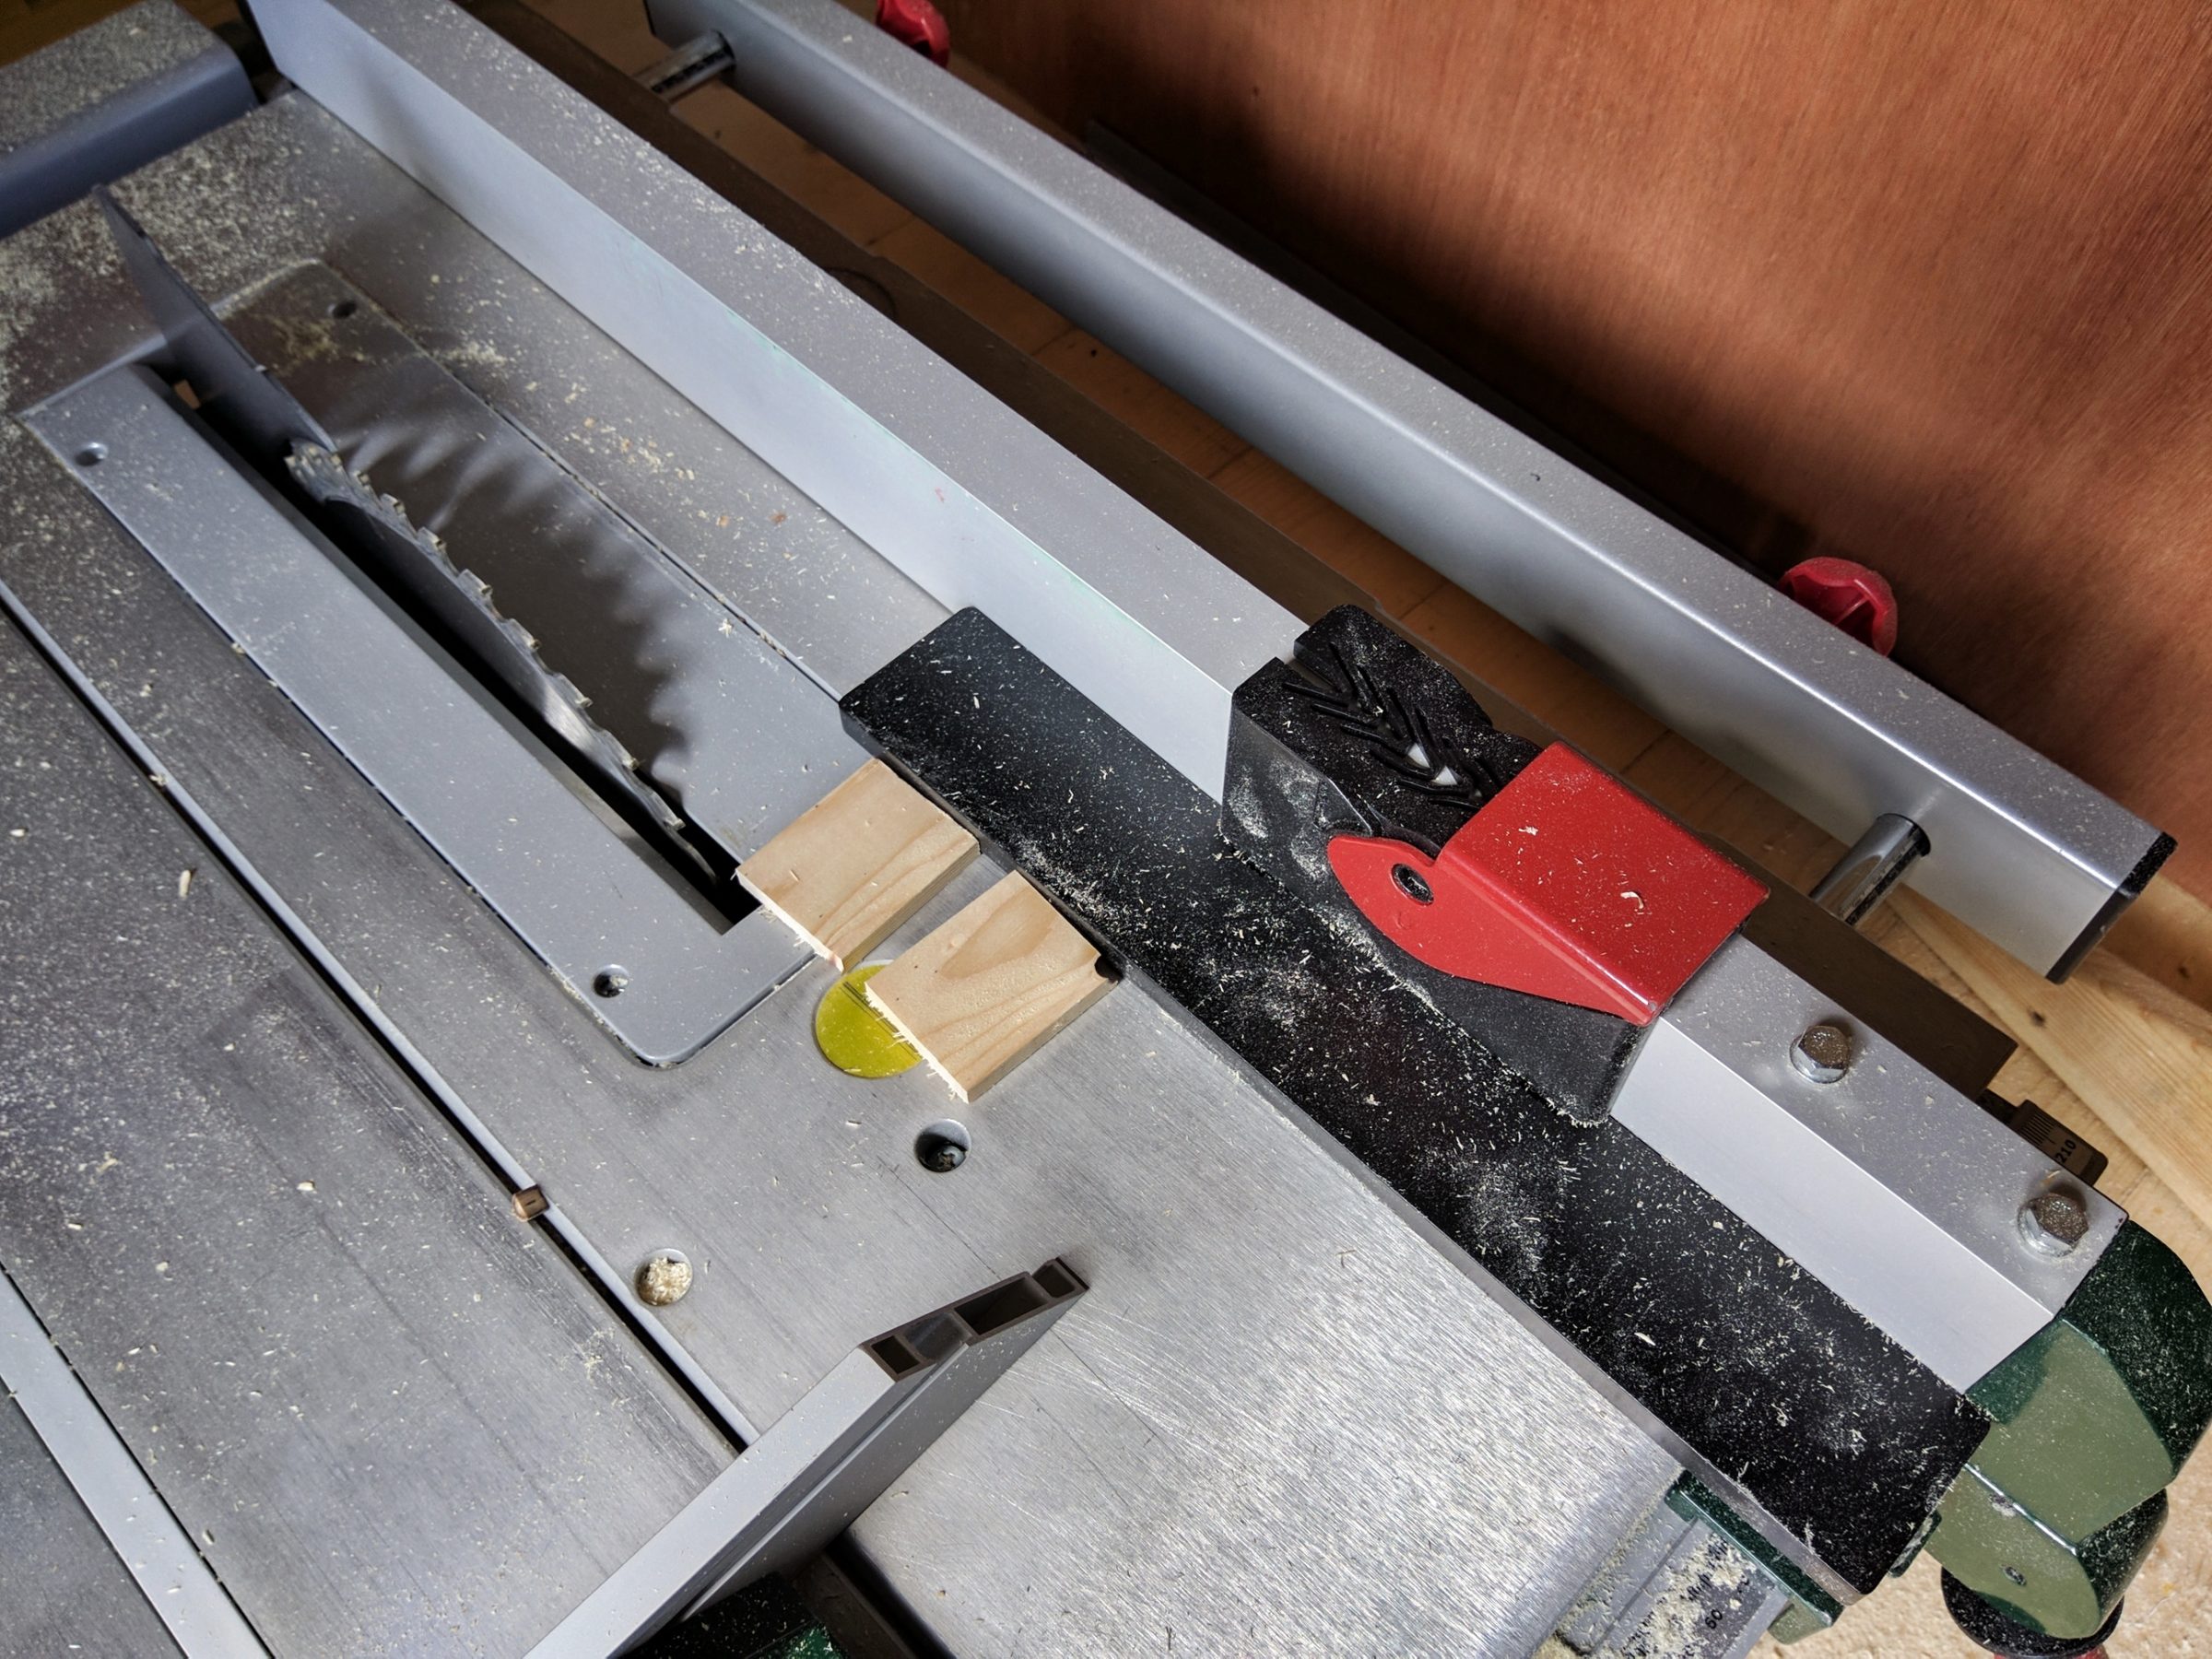
First, I had to cut spacer blocks for each set of clamps.

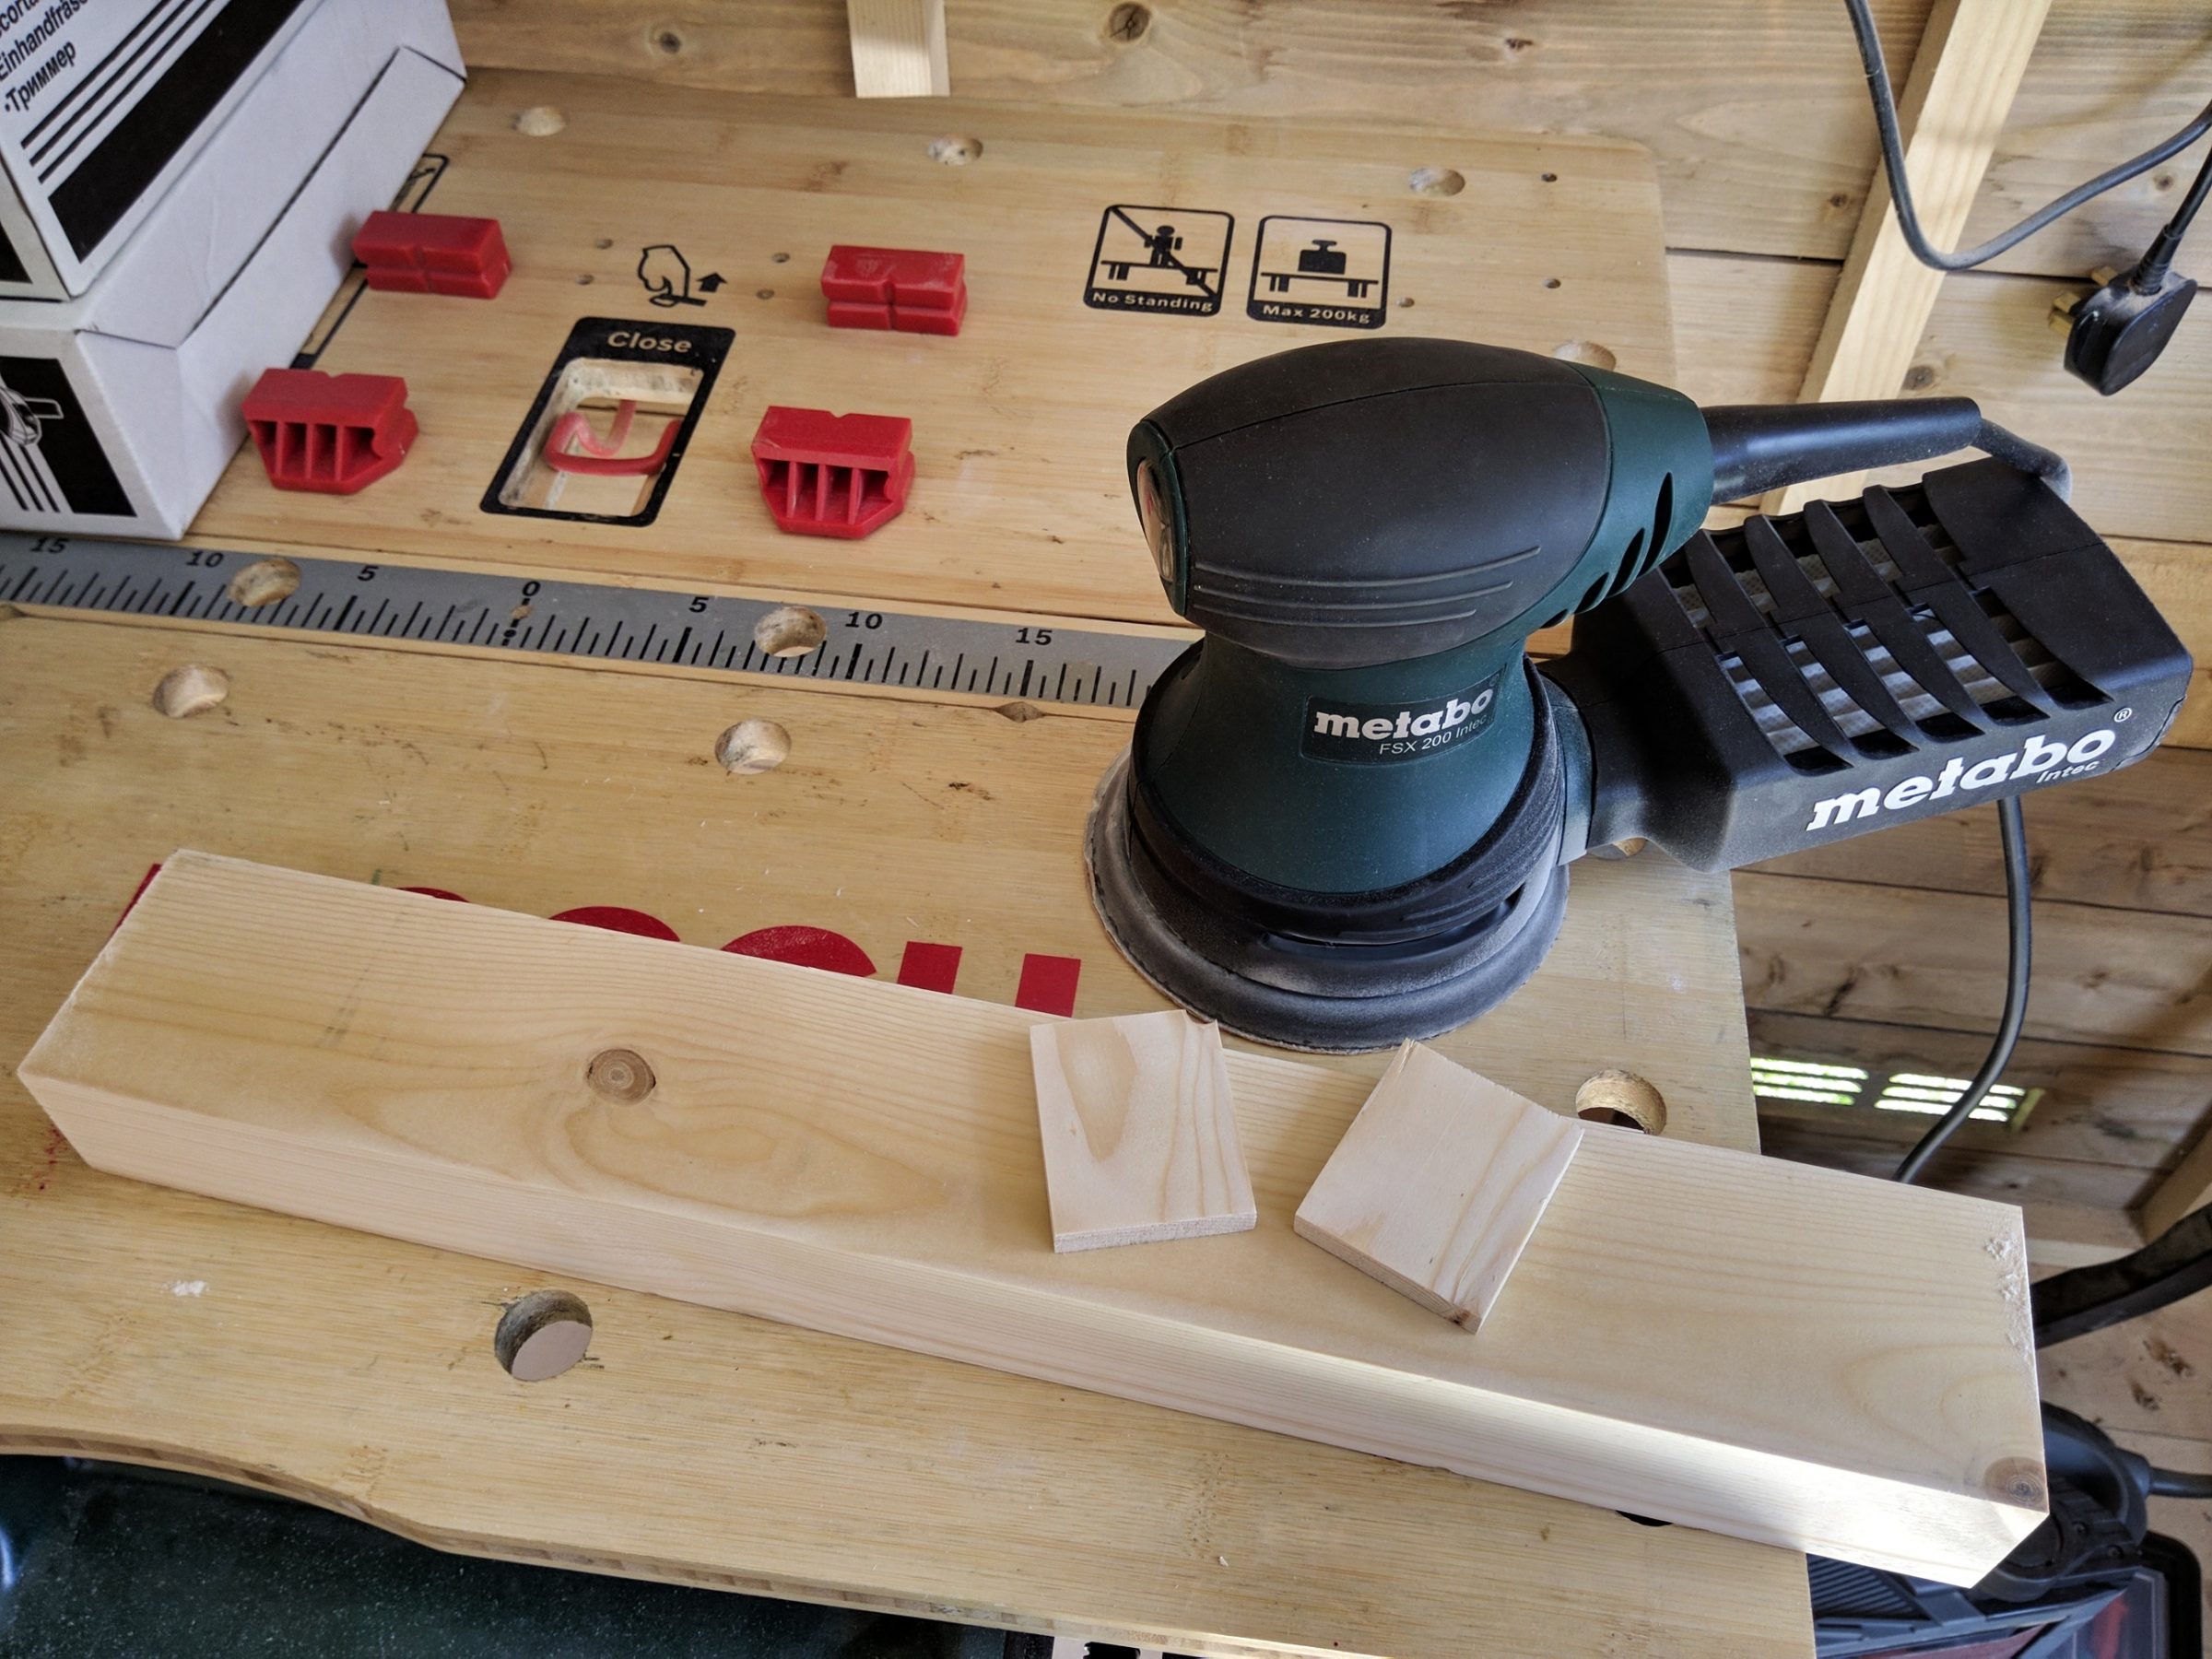
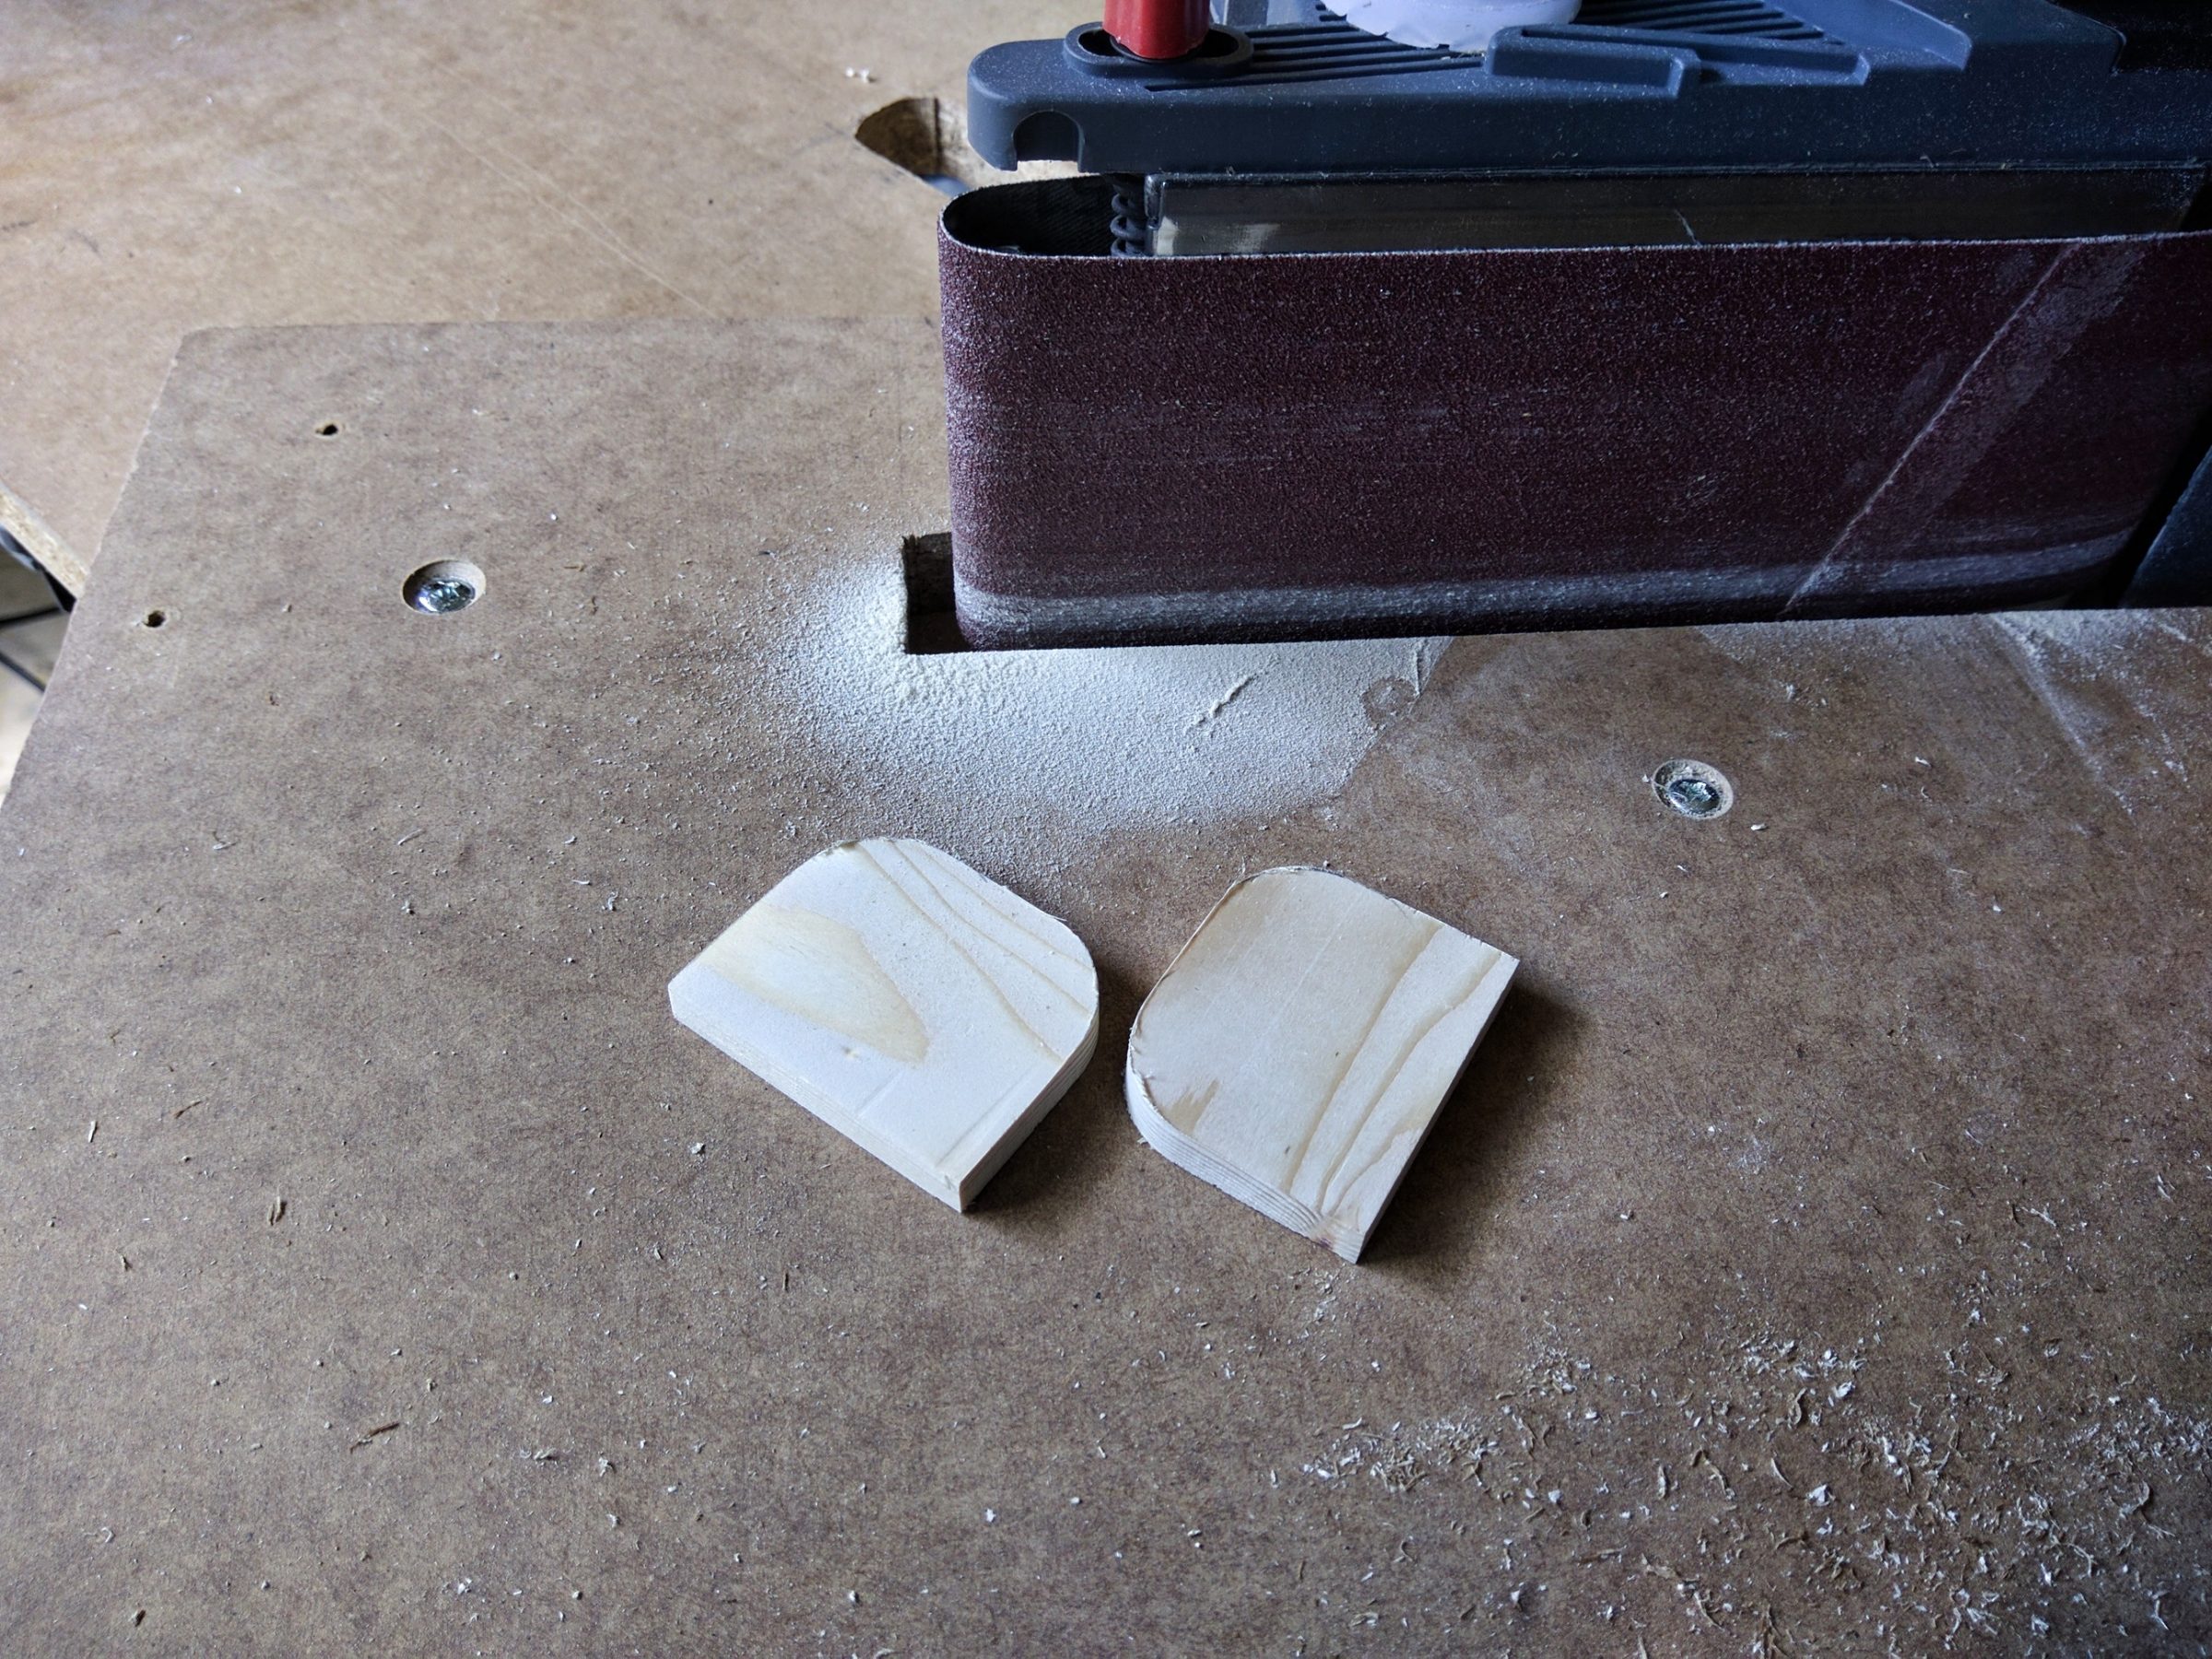
Sanding, routing etc … – the usual.

Then I realized that the bigger block was way too wide – back to the table saw – what I was thinking?!


Countersunk screws wouldn’t look good in this project, but they cut the thread in the wood for the proper screws.


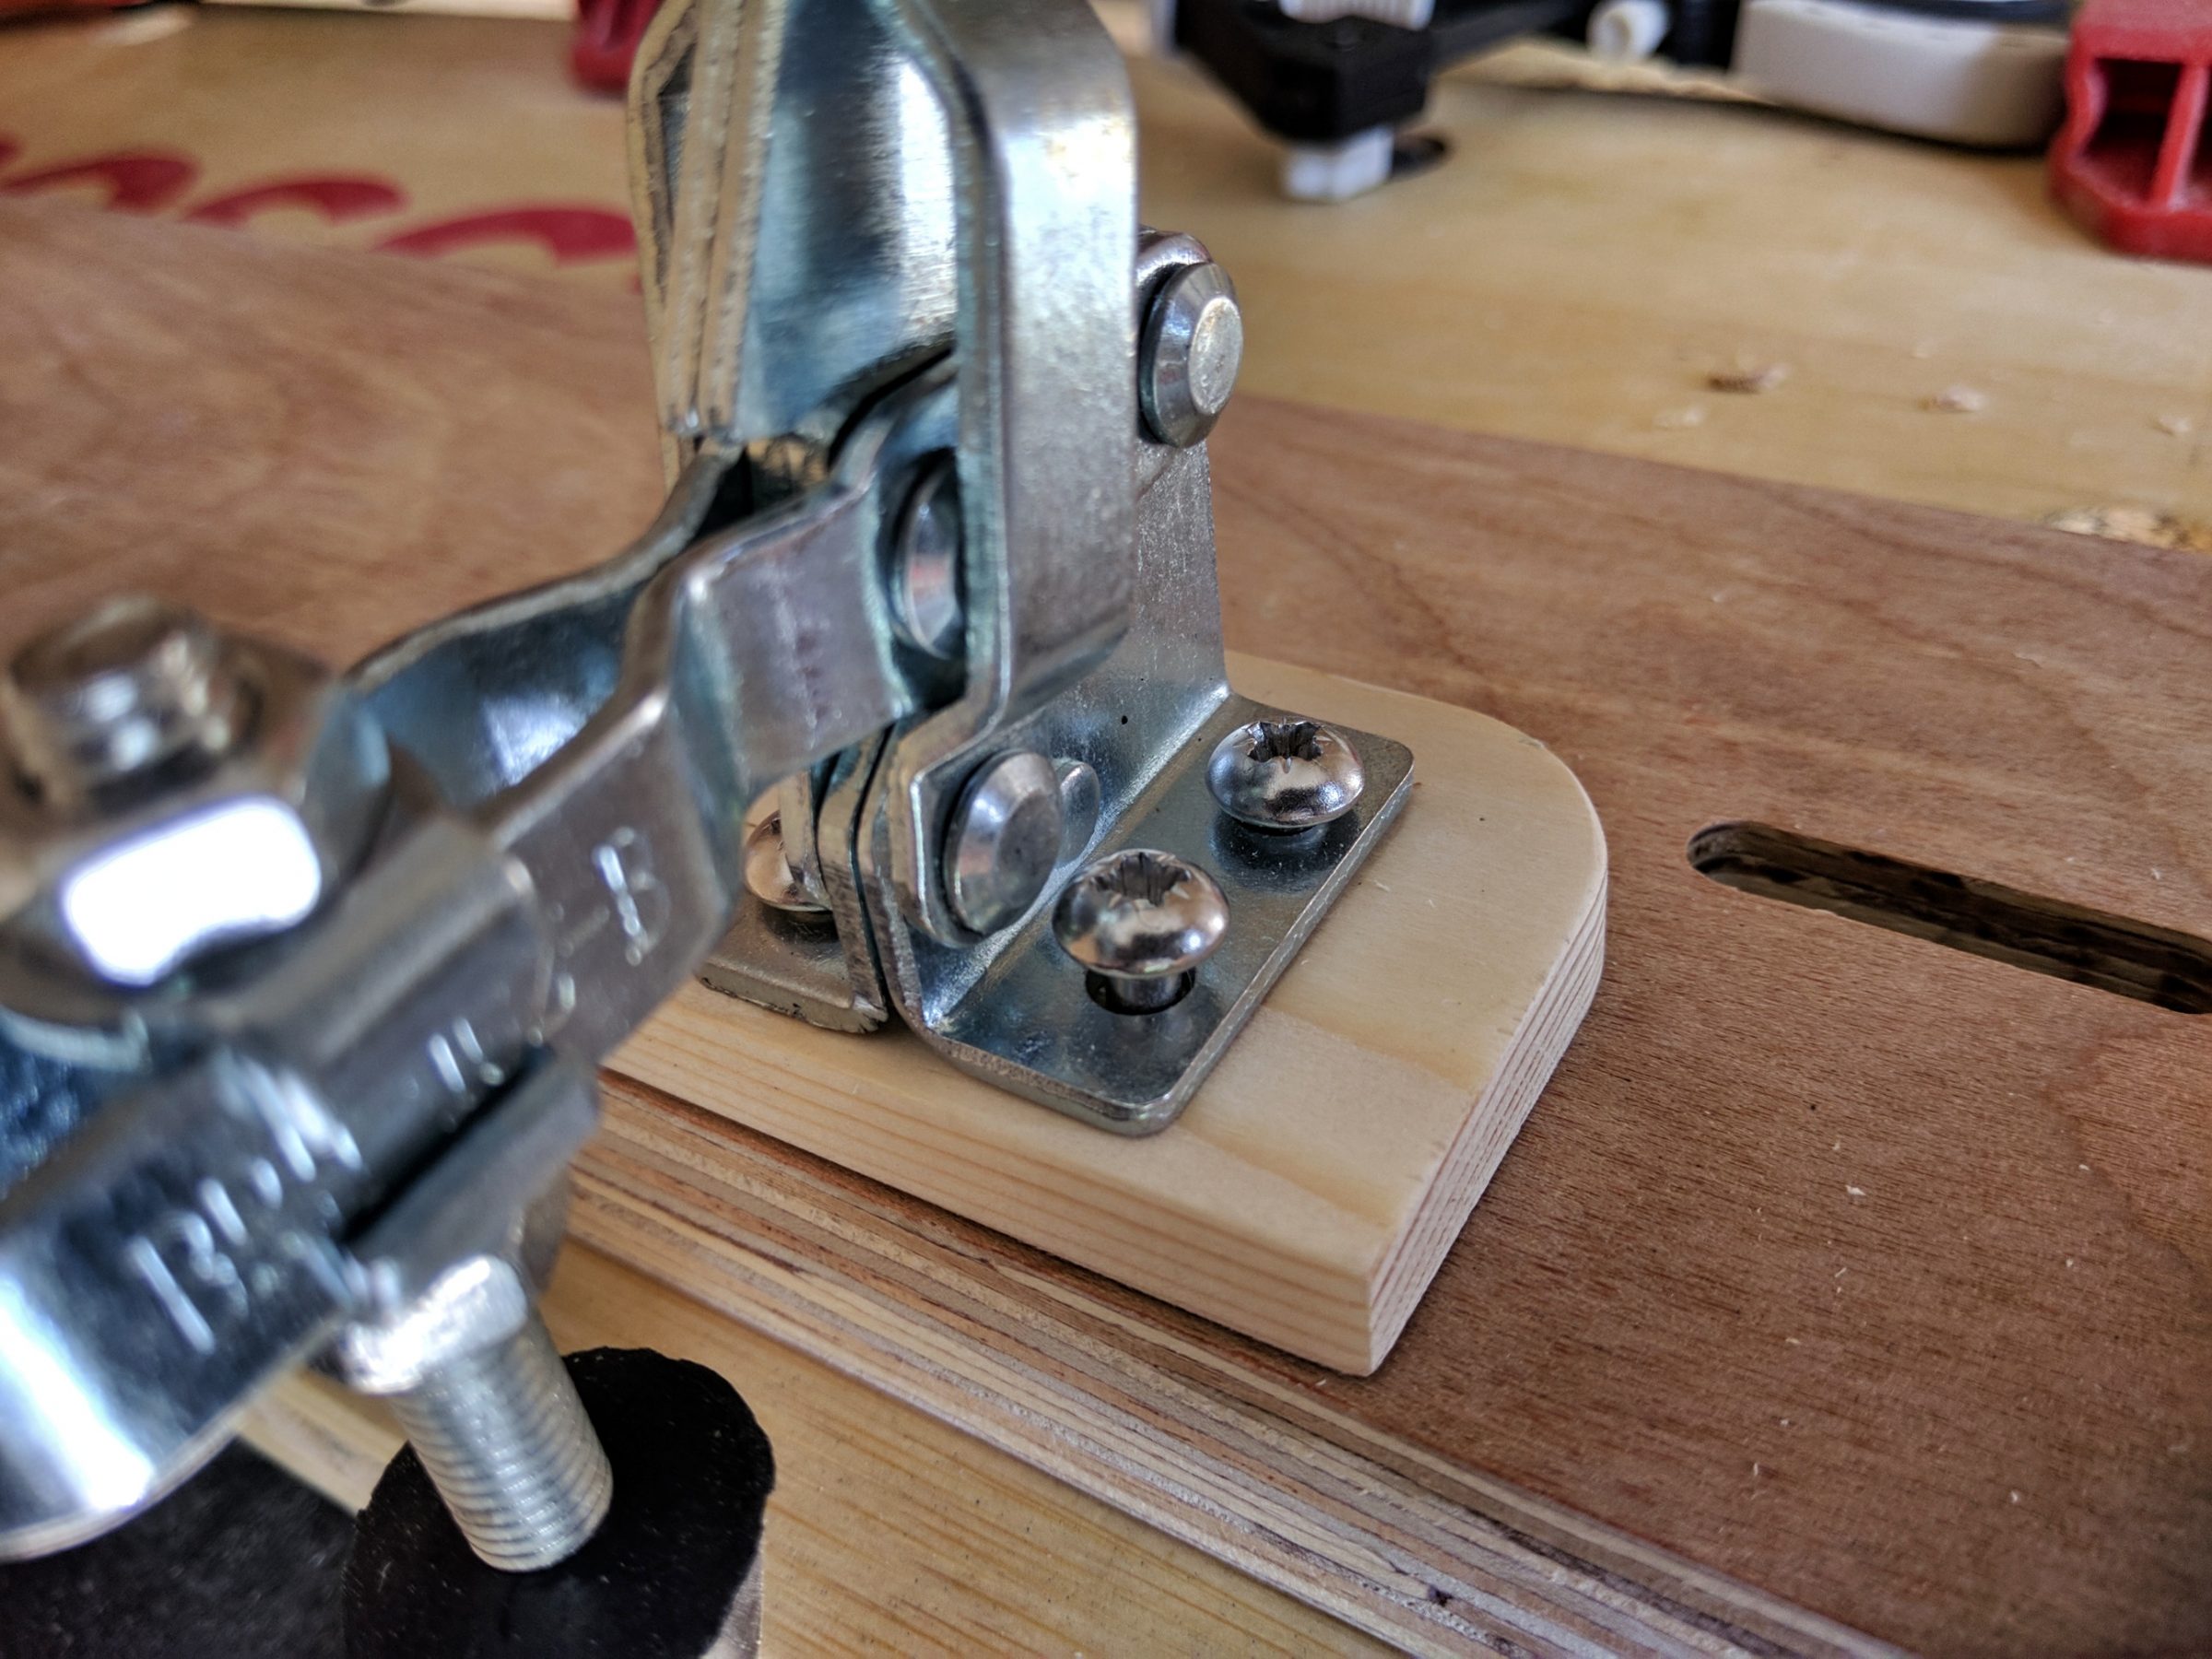
Drilling holes for the bigger block. This time I used countersunk screws.

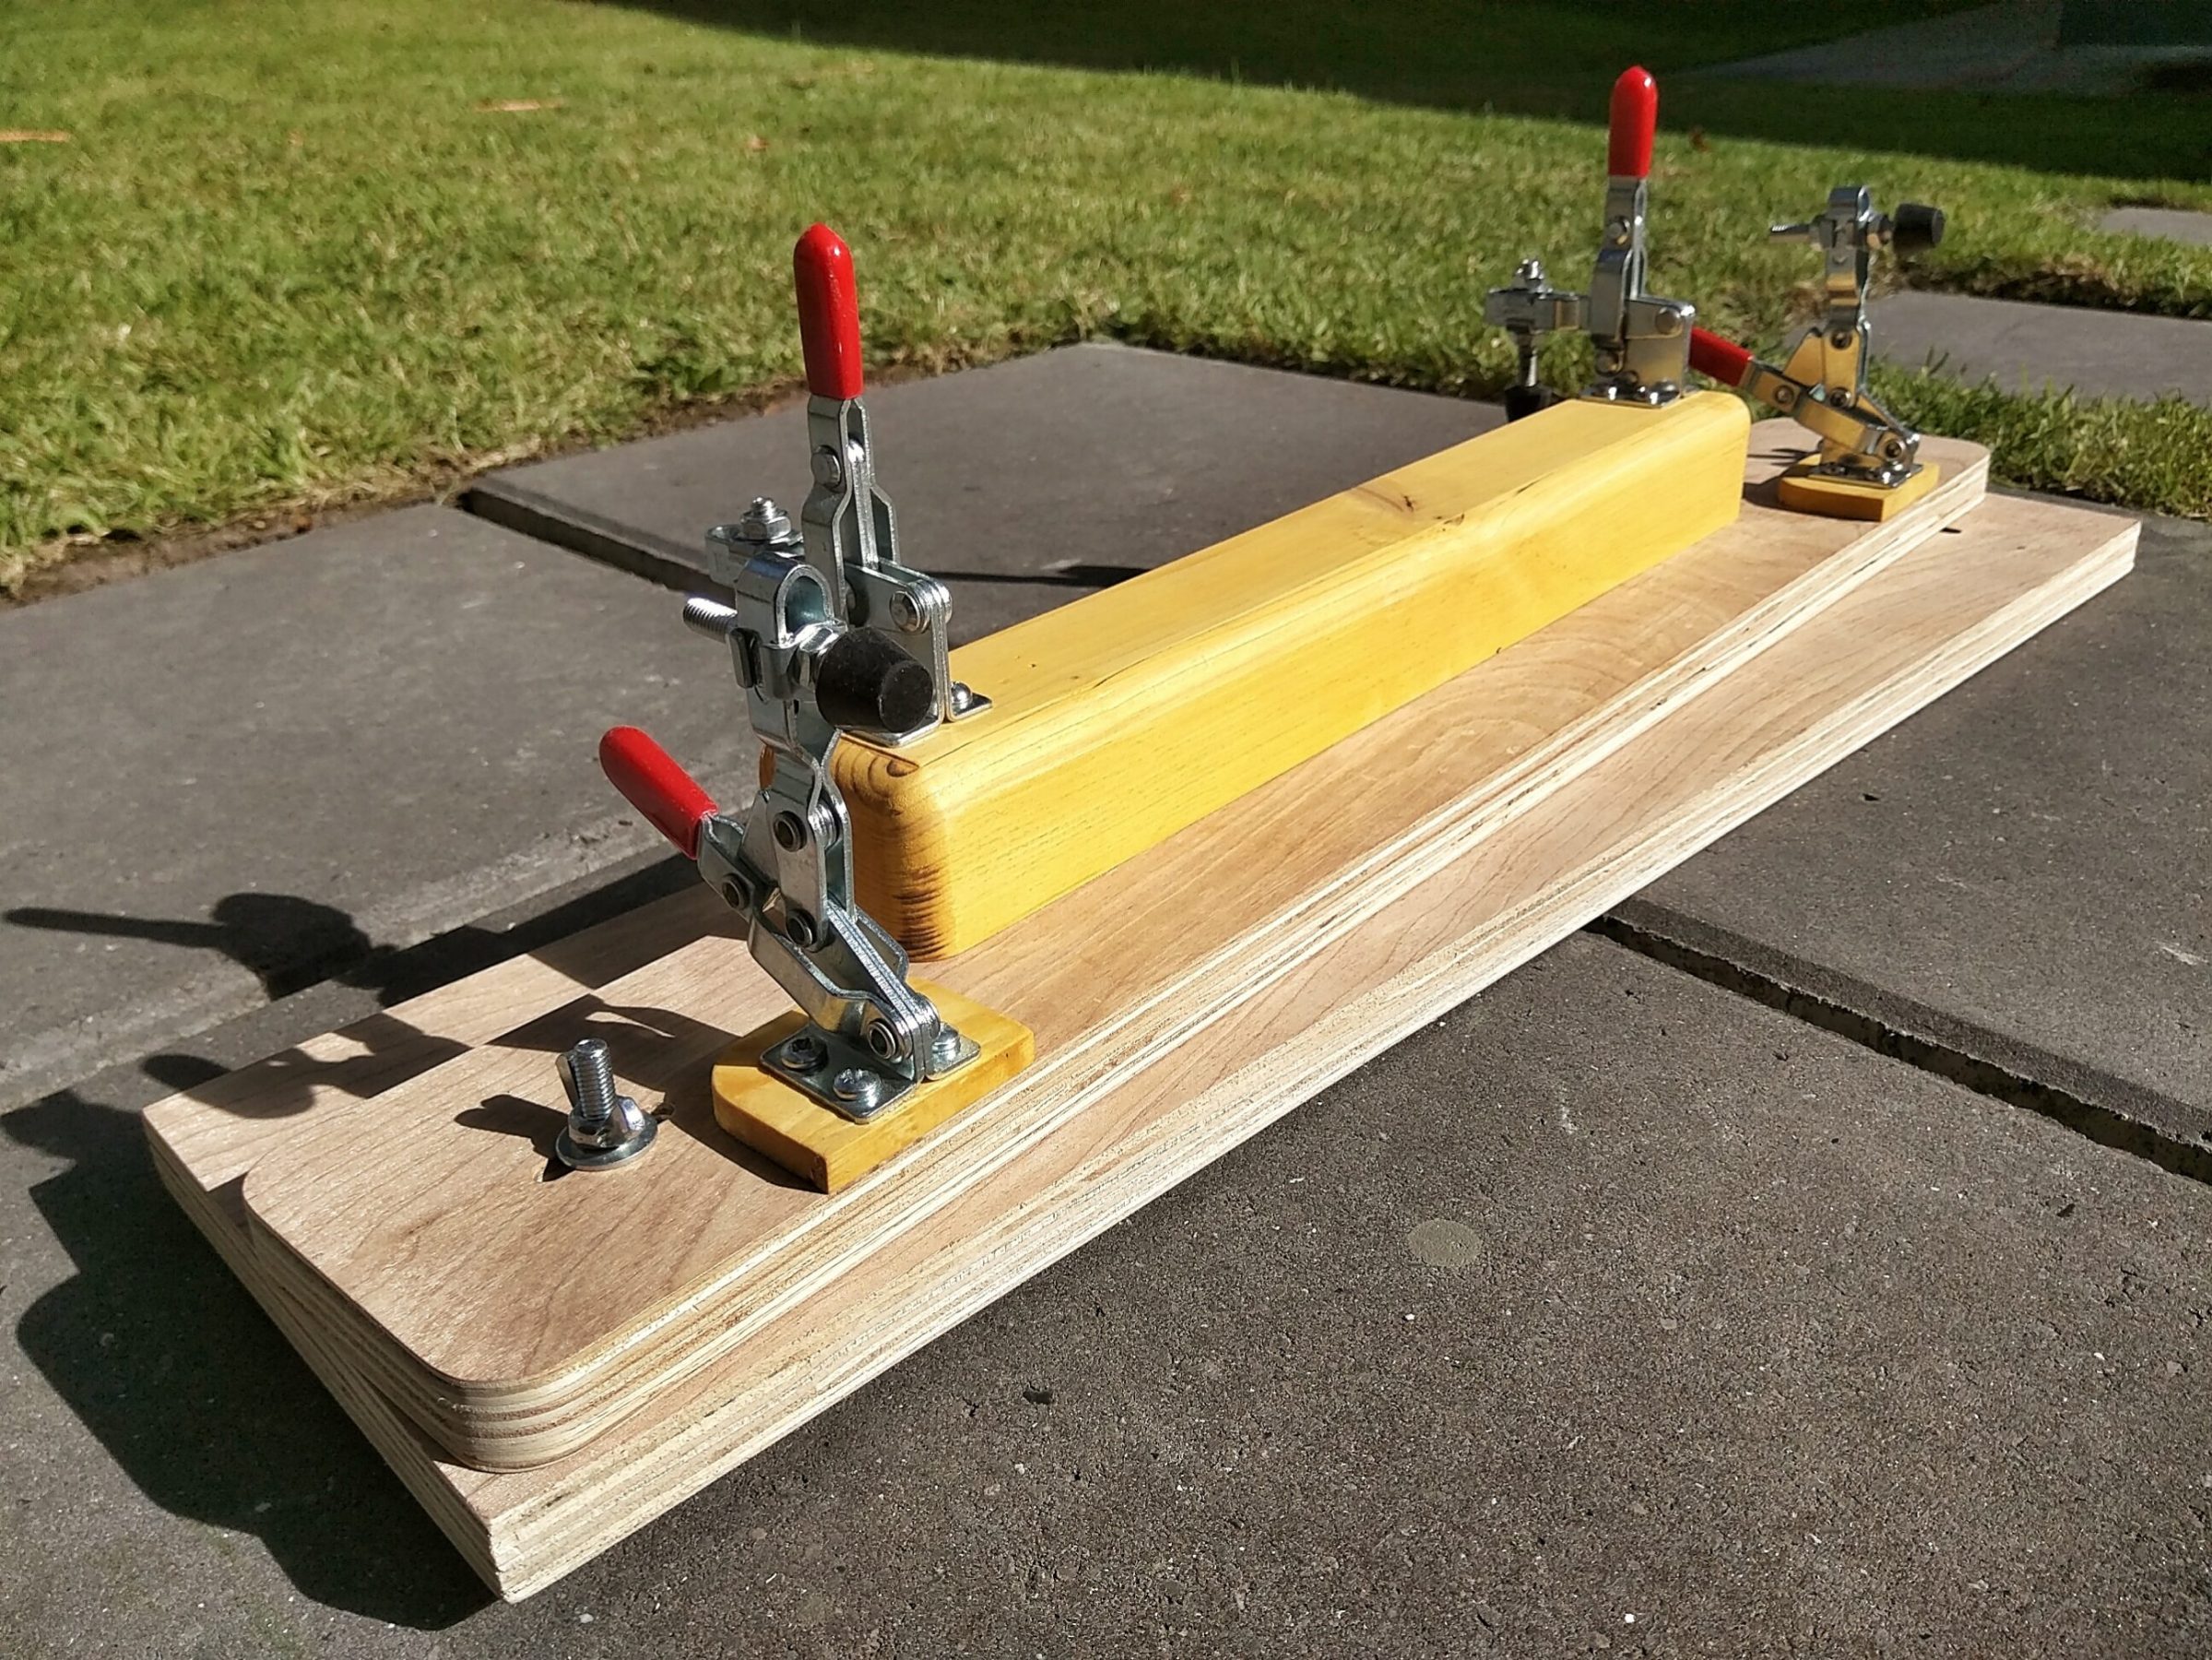
Taking everything apart, applying wood oil and putting it back together.


The wood oil dried very fast. I used my impact driver to assemble the jig.


5 Comments
Pingback:
Pingback:
Pingback:
Pingback:
Pingback: